Honda CRF450 Complete Top End Rebuild
Welcome to our comprehensive Honda CRF450 top end rebuild guide, in which we show you how to tear down and reassemble a Honda motorcycle engine.
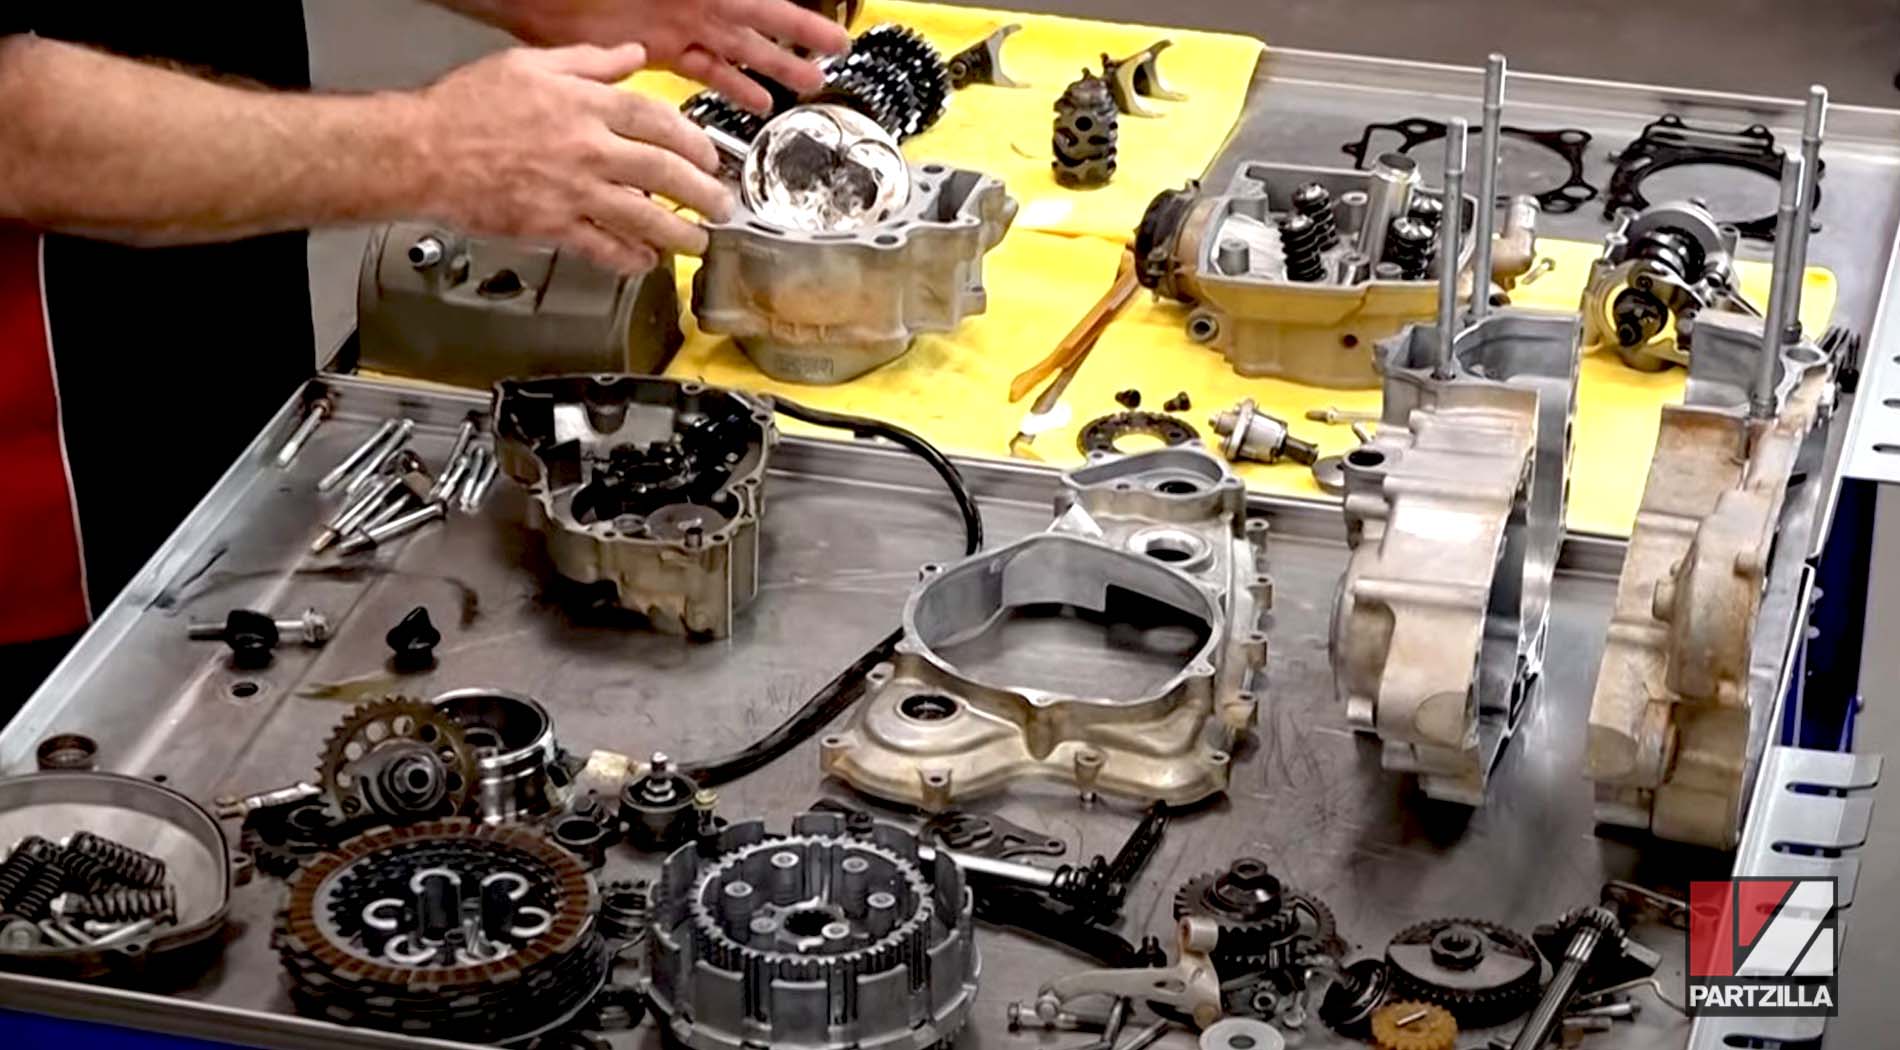
A top end rebuild on a Honda CRF450 motorcycle is a major undertaking that requires a lot of time and even more patience. In the video above, John Talley takes you through the whole process of a 2005 Honda CRF450 top end rebuild, using a combination of OEM Honda motorcycle parts and a Wiseco Garage Buddy rebuild kit. Use our Honda CRF450 exploded parts diagrams for additional reference.
Honda CRF450 Top End Rebuild: Engine Removal
In the first installment of our Honda CRF450R top end rebuild project, John Talley removes the engine from the CRF450 bike.
From bolts, fuel tank and rear fender removal to draining the fluids, John tackles them one at a time. Next, John continues stripping away down to the engine, including removing the exhaust, the radiators, the carburetor, the clutch and the ignition coil.
Honda CRF450 Top End Rebuild: Teardown
In part two of the Honda CRF450 engine rebuild, John Talley removes the cylinder head and piston.
This part of the project takes patience, as there are points where bolts are loosened incrementally to relieve the torque evenly. John removes the valve cover and finds top dead center, then works on the cam chain tensioner and gear. Next, each of the bolts holding the head in place are removed to free it from the engine, followed by the piston removal. John then examines the valves, cylinder walls and the piston, and shows why the Wiseco kit he’s using is a good fit for this motor.
Read the steps for how to tear down the top end of the CRF450 engine.
Watch the video below to see the complete engine teardown, including the bottom end teardown portion of the CRF450 engine rebuild.
Honda CRF450 Top End Rebuild: Piston and Cylinder Installation
In this part of our Honda CRF450R engine rebuild series, John Talley shows you how to install the piston and cylinder to the top end.
Details are everything in engine building, and since John is installing a new Wiseco forged piston, special attention is paid to the ring gaps and the position of those gaps around the piston. John measures the ring gaps and grinds the piston rings to meet the exact specifications for this build. He then gives pointers for making marks for and correctly installing the piston and rings. Once the piston is in place, John takes his time sliding the cylinder over the top without forcing it. A little pressure to the rings gets them past the opening at the bottom of the cylinder, then one bolt that holds everything in place completes this part of the rebuild.
Read the steps for how to install the piston and cylinder of the CRF450 engine.
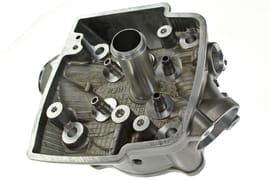
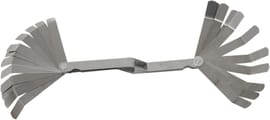
Honda CRF450 Top End Rebuild: Valve Adjustment and Head Installation
In this part of our Honda CRF450R top end rebuild, John Talley installs the cylinder head and adjusts the valves.
Many small pieces are involved here, and it’s crucial not to let them fall down into the engine. John demonstrates how to use magnets and grease to prevent that from happening. He also removes components from the old head and shows how to work on the new head. How to check the valve seals and install the valves are covered, as well as getting the springs in place and installing the CRF450 cylinder head. John adds the cam and measures the valve clearances before getting the timing chain and sprocket attached, and then closes the engine up by bolting the head cover into place.
Read the steps for how to install the valves and head of the CRF450 engine.