Honda CRF450R Engine Rebuild Part 1: Engine Removal
Welcome to the first part of a complete engine rebuild for a CRF450 Honda motorcycle, removing the engine from the machine before tearing it down and then rebuilding it.
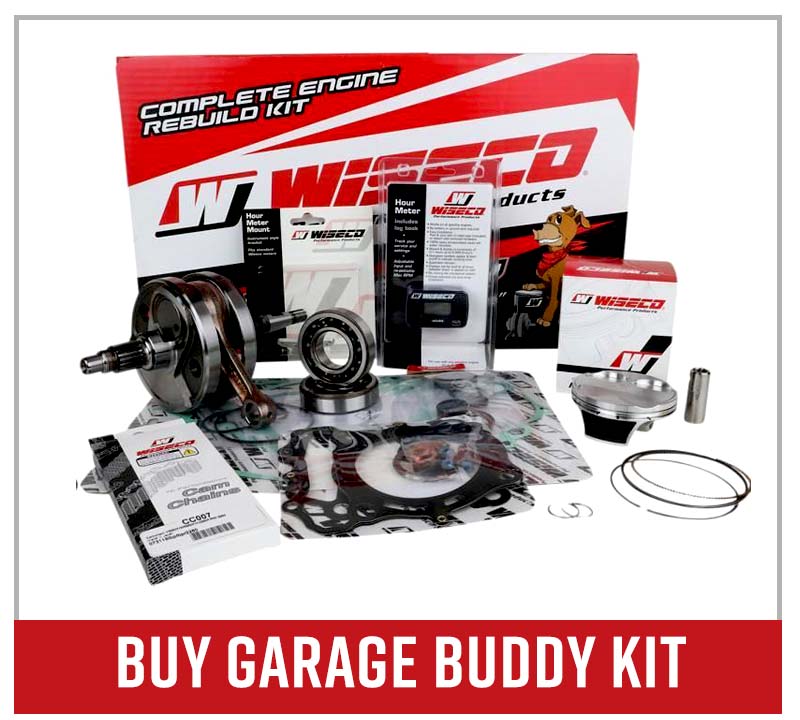
The engine rebuild kit chosen for this project is a Wiseco Garage Buddy. The kit comes with everything needed to do a complete rebuild starting all the way down at the crankshaft, all the way up to the rings on the piston.
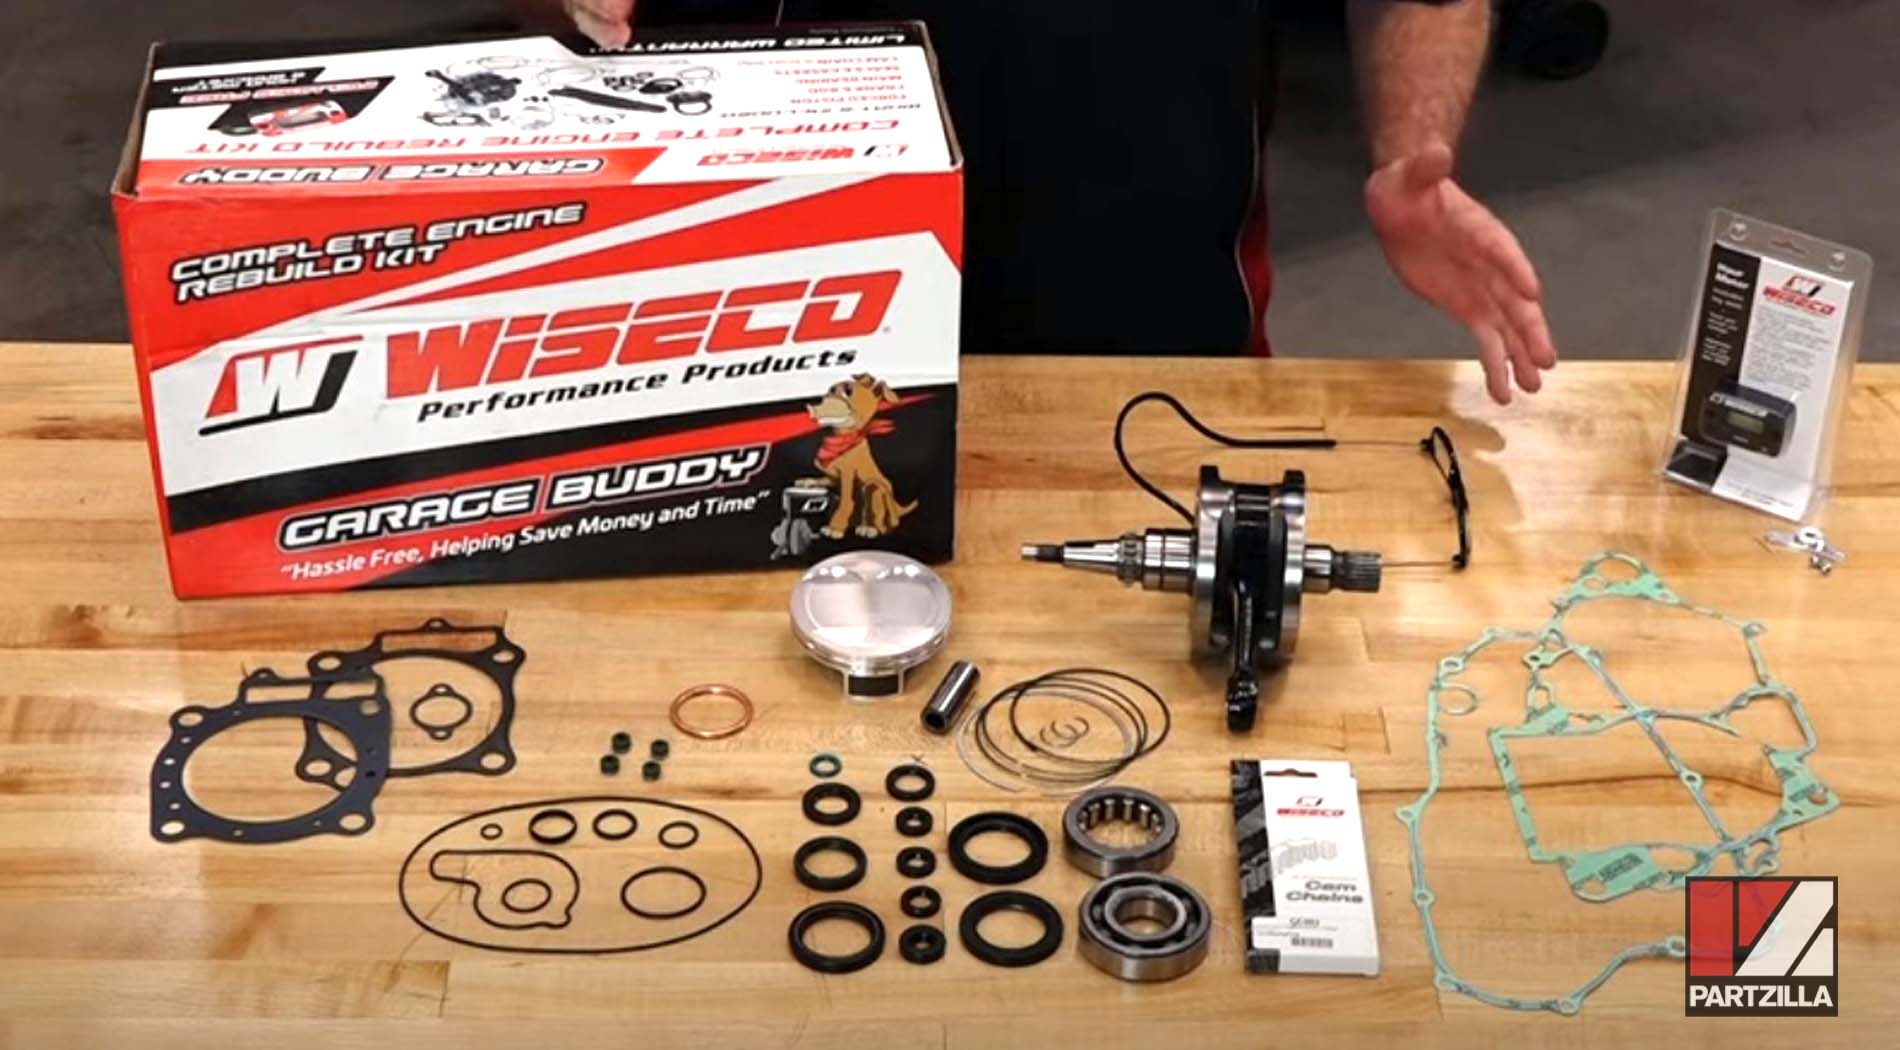
Watch the video above and follow the steps below to begin the process of a Honda CRF450 engine rebuild: removing the engine.
Tools - Honda CRF 450 Engine Removal
- Drain pan
- Ratchet
- 8mm, 10mm, 12mm, 14mm, 22mm sockets
- 6mm Allen
- Phillips head screwdriver
- Container and hose
- Zip ties

Honda CRF450R Engine Removal
Step 1. Get a drain pan under the engine and remove the 10mm drain bolt located under the shifter to let the oil drain out.
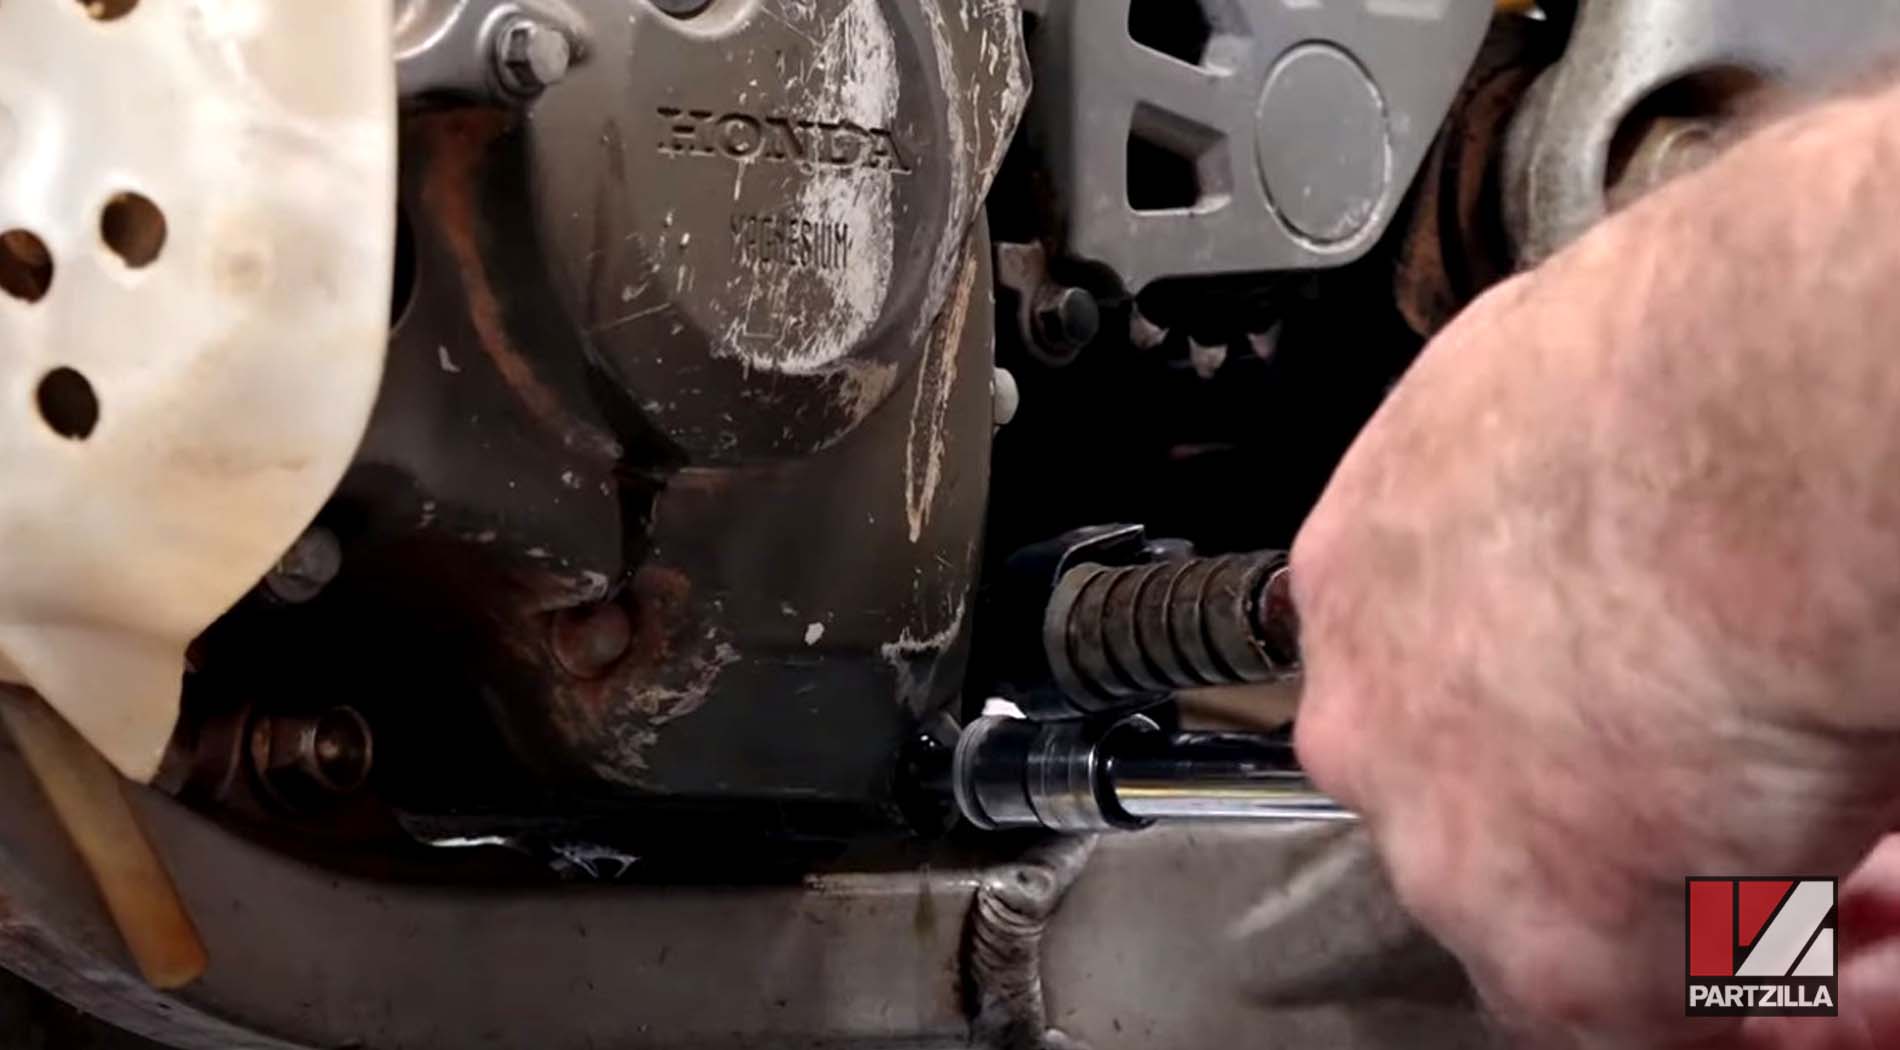
PRO TIP: Crank the engine over a couple of times to get as much oil drained out as you can.
Step 2. Remove the protective cover in front of the 8mm coolant drain bolt, followed by the bolt itself, then let the coolant drain out. Replace the drain bolt once the coolant is emptied out.

Step 3. Drain the fuel tank by turning the fuel valve off first, then disconnecting the hose that goes down to the carburetor. Next, connect a hose to the end of the fuel tank, then bring the hose down to whatever container you're going to empty it out to. Open up the valve and let the fuel drain out.
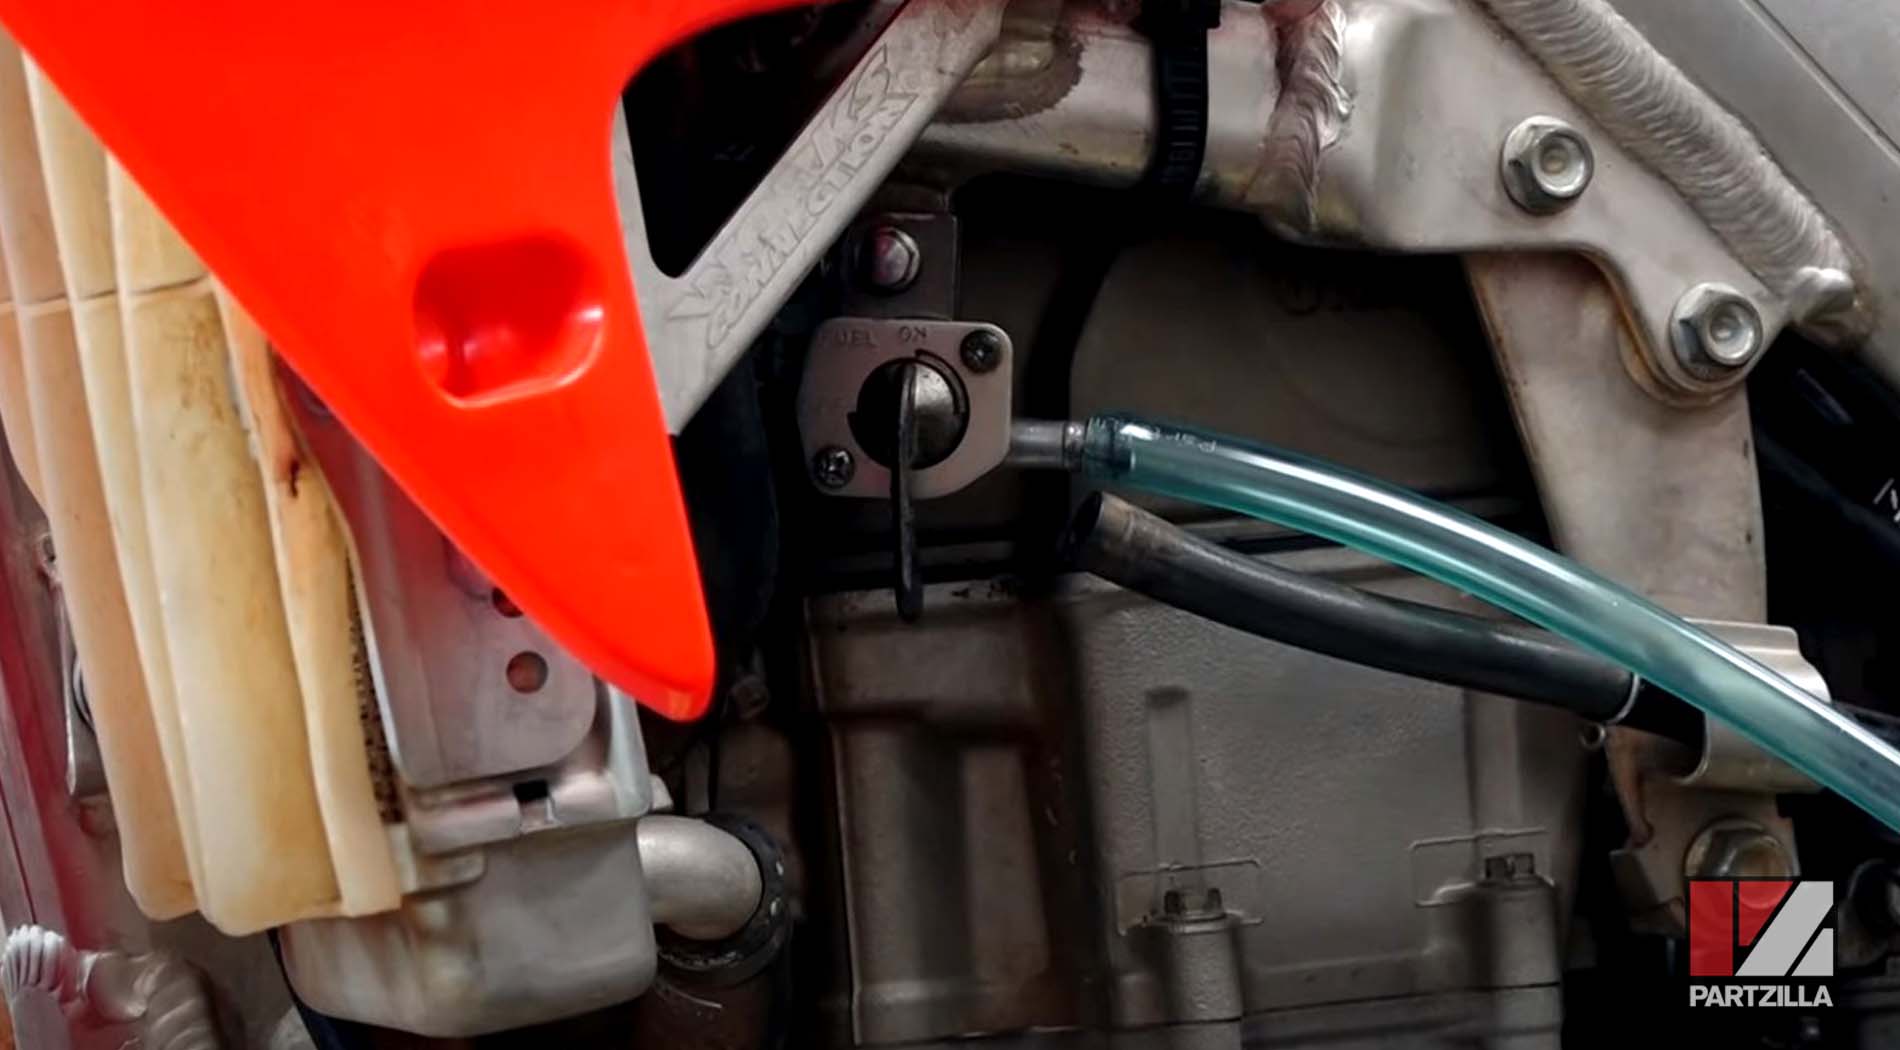
Watch the clip below to see the fluids draining segment of our Honda CRF450 engine removal video.
Step 4. Remove the seat by taking off the two 8mm bolts on each side at the back, then lifting the seat up and sliding it off.
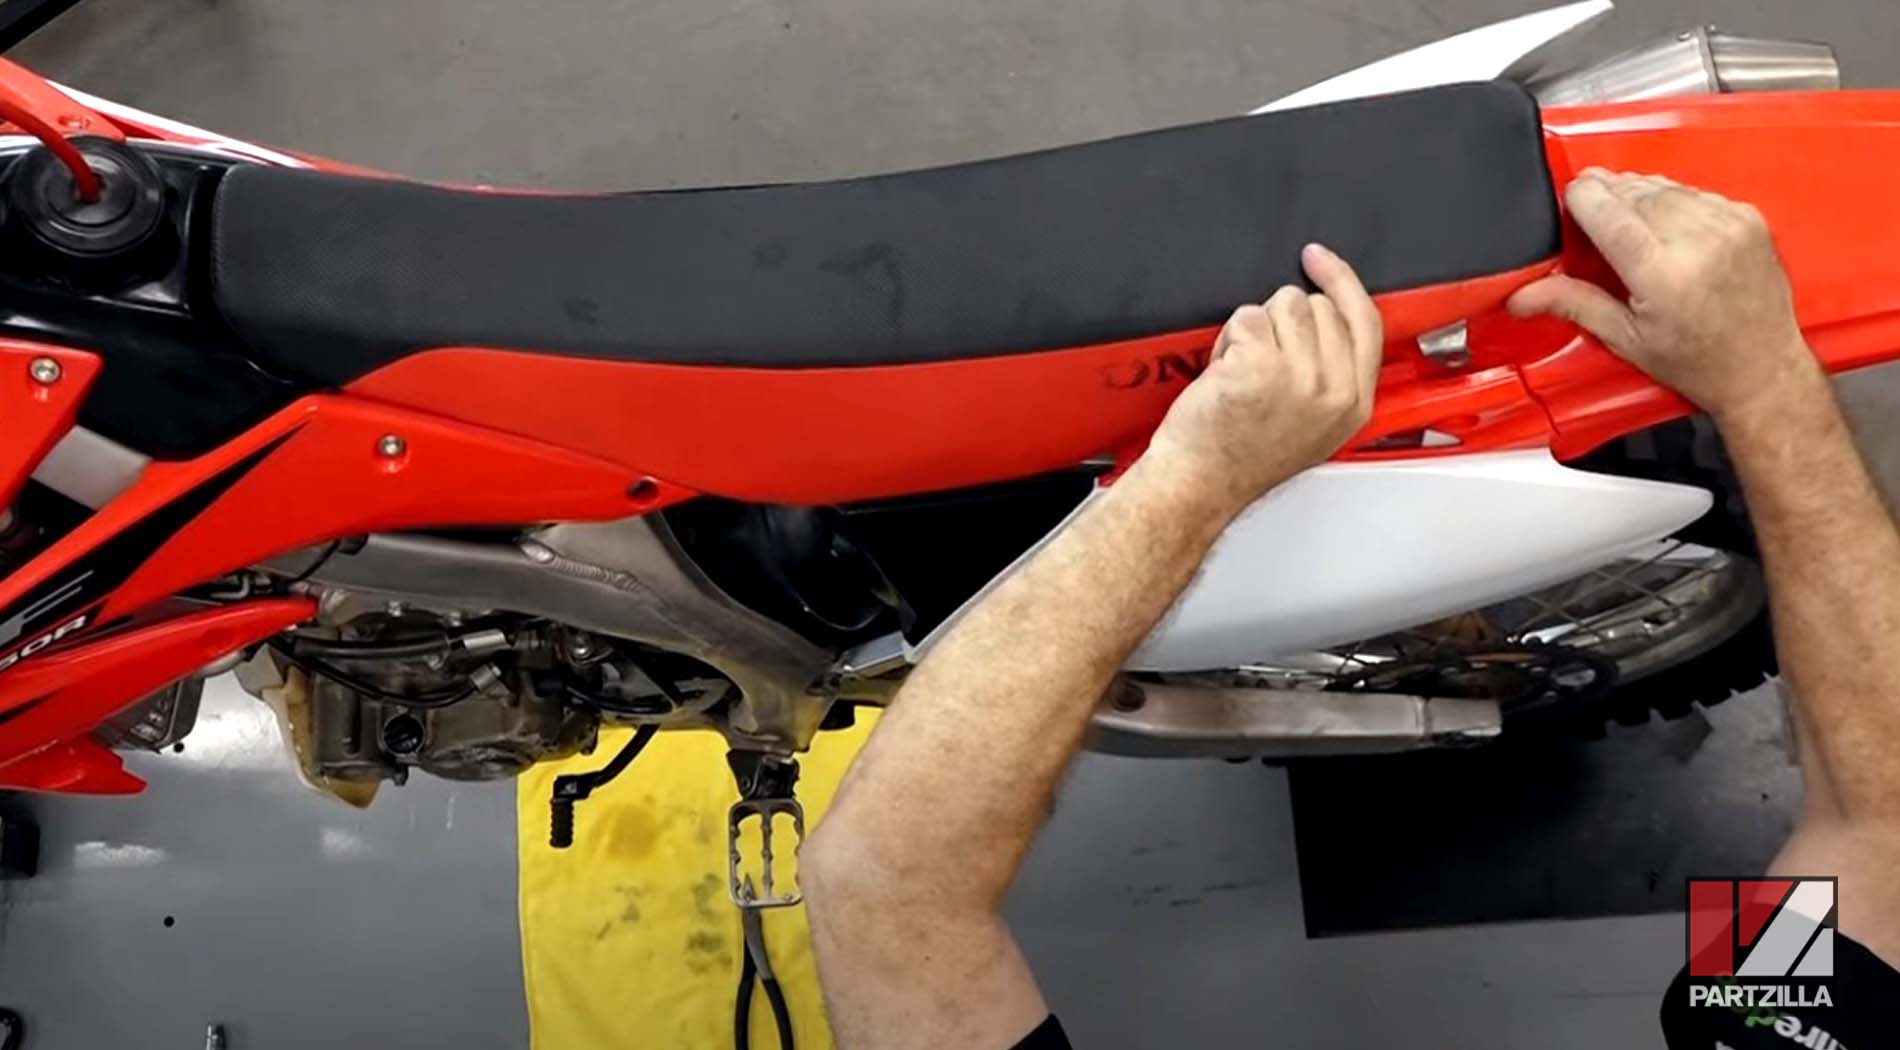
Step 5. Remove the fuel tank by taking off the bolt up top and the strap at the back, then lifting it off. You can remove the fuel tank as an assembly with the shroud still attached by disconnecting it from the frame and the radiator.
Watch the clip below to see the fuel tank removal segment of our Honda CRF450 engine removal video.
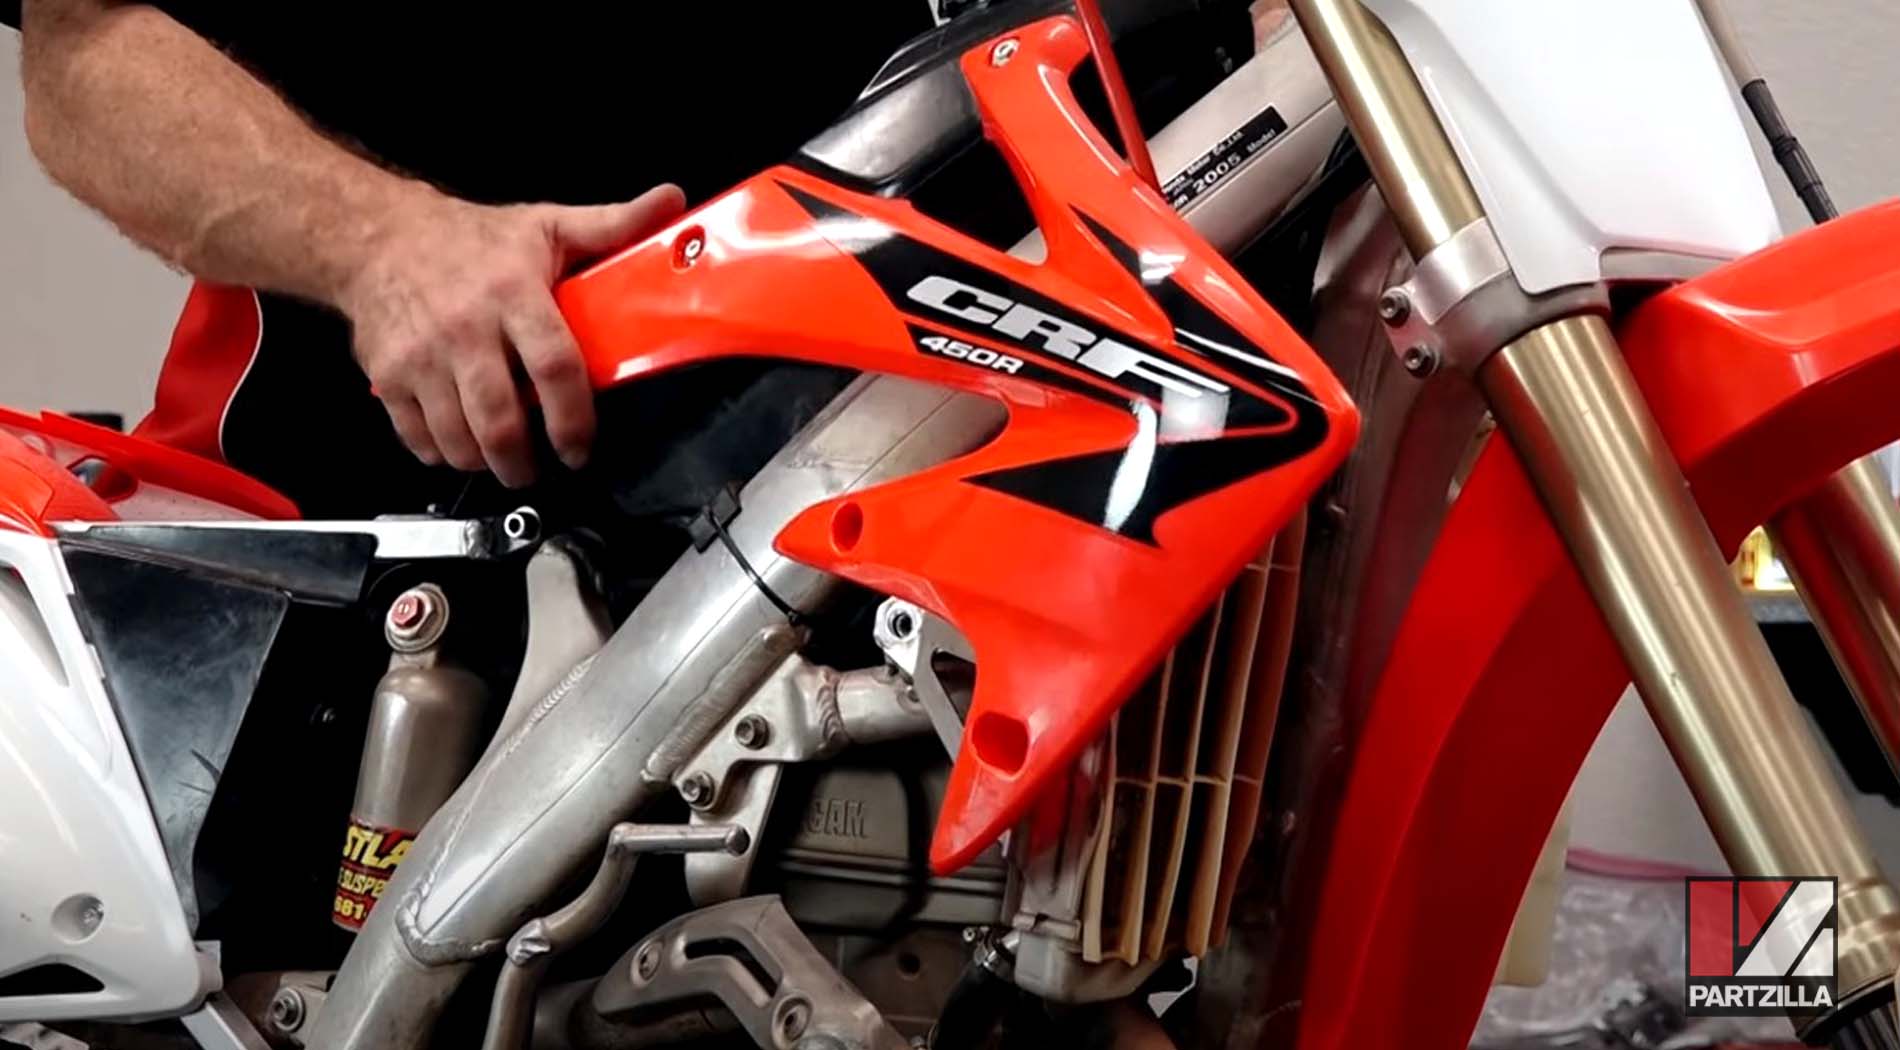
Step 6. Remove the entire fender as an assembly by taking off the four bolts up front going to the frame, the 6mm Allen and the Phillips at the base of the back of the carburetor. Once all of the bolts are removed, the whole rear section should come out.
Watch the clip below to see the fender removal segment of our Honda CRF450 engine removal video.
Step 7. Remove the exhaust by getting the slip-on off, then taking off the 10mm bolts that hold the exhaust in place. The two bolts for the head pipe have 12-millimeter nuts that also need to be removed.
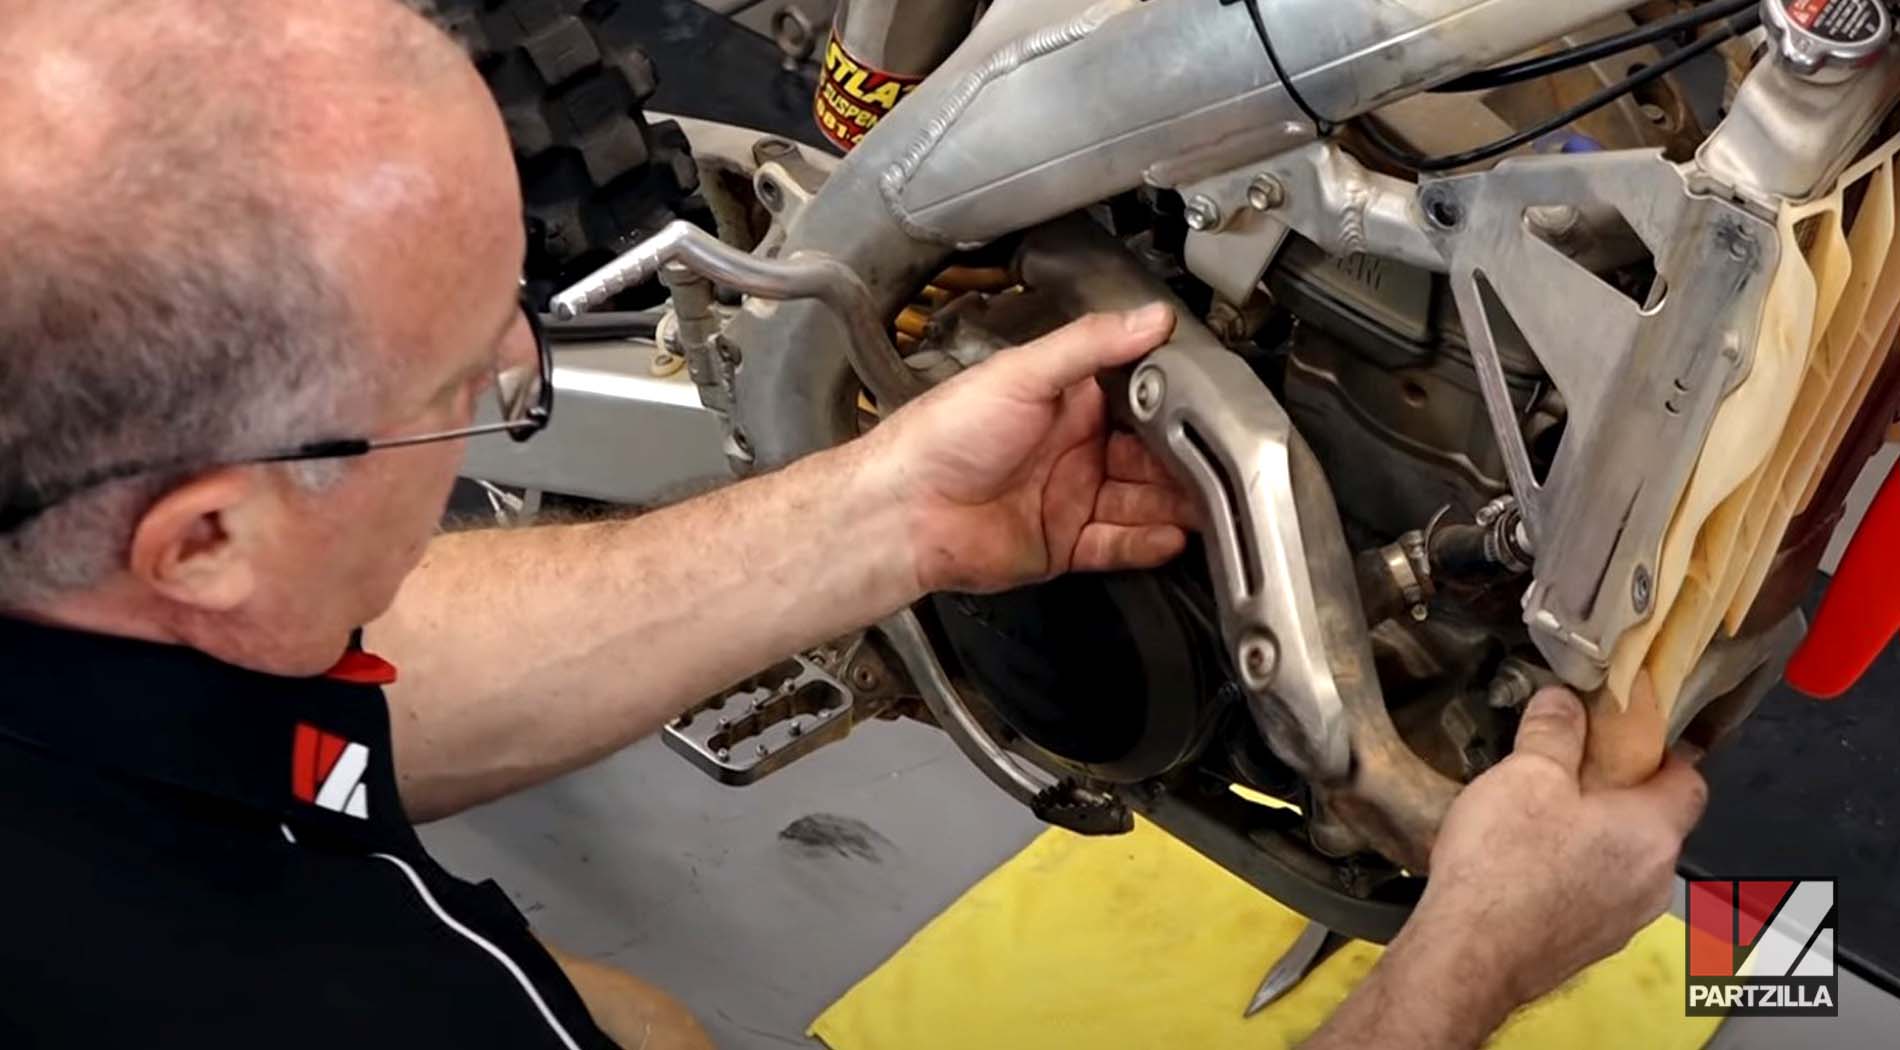
Watch the clip below to see the exhaust removal segment of our Honda CRF450 engine removal video.
Step 8. Remove the radiators by breaking them loose from the water pump, one side at a time. Take off the radiator hoses by breaking the seal loose at the clamp, then lifting the radiators off one at a time. Remove the top and bottom clamps from the hoses, then unbolt each radiator from the frame. Make sure to disconnect the overflow tube from the radiator itself and the hose that goes to the front of the head.
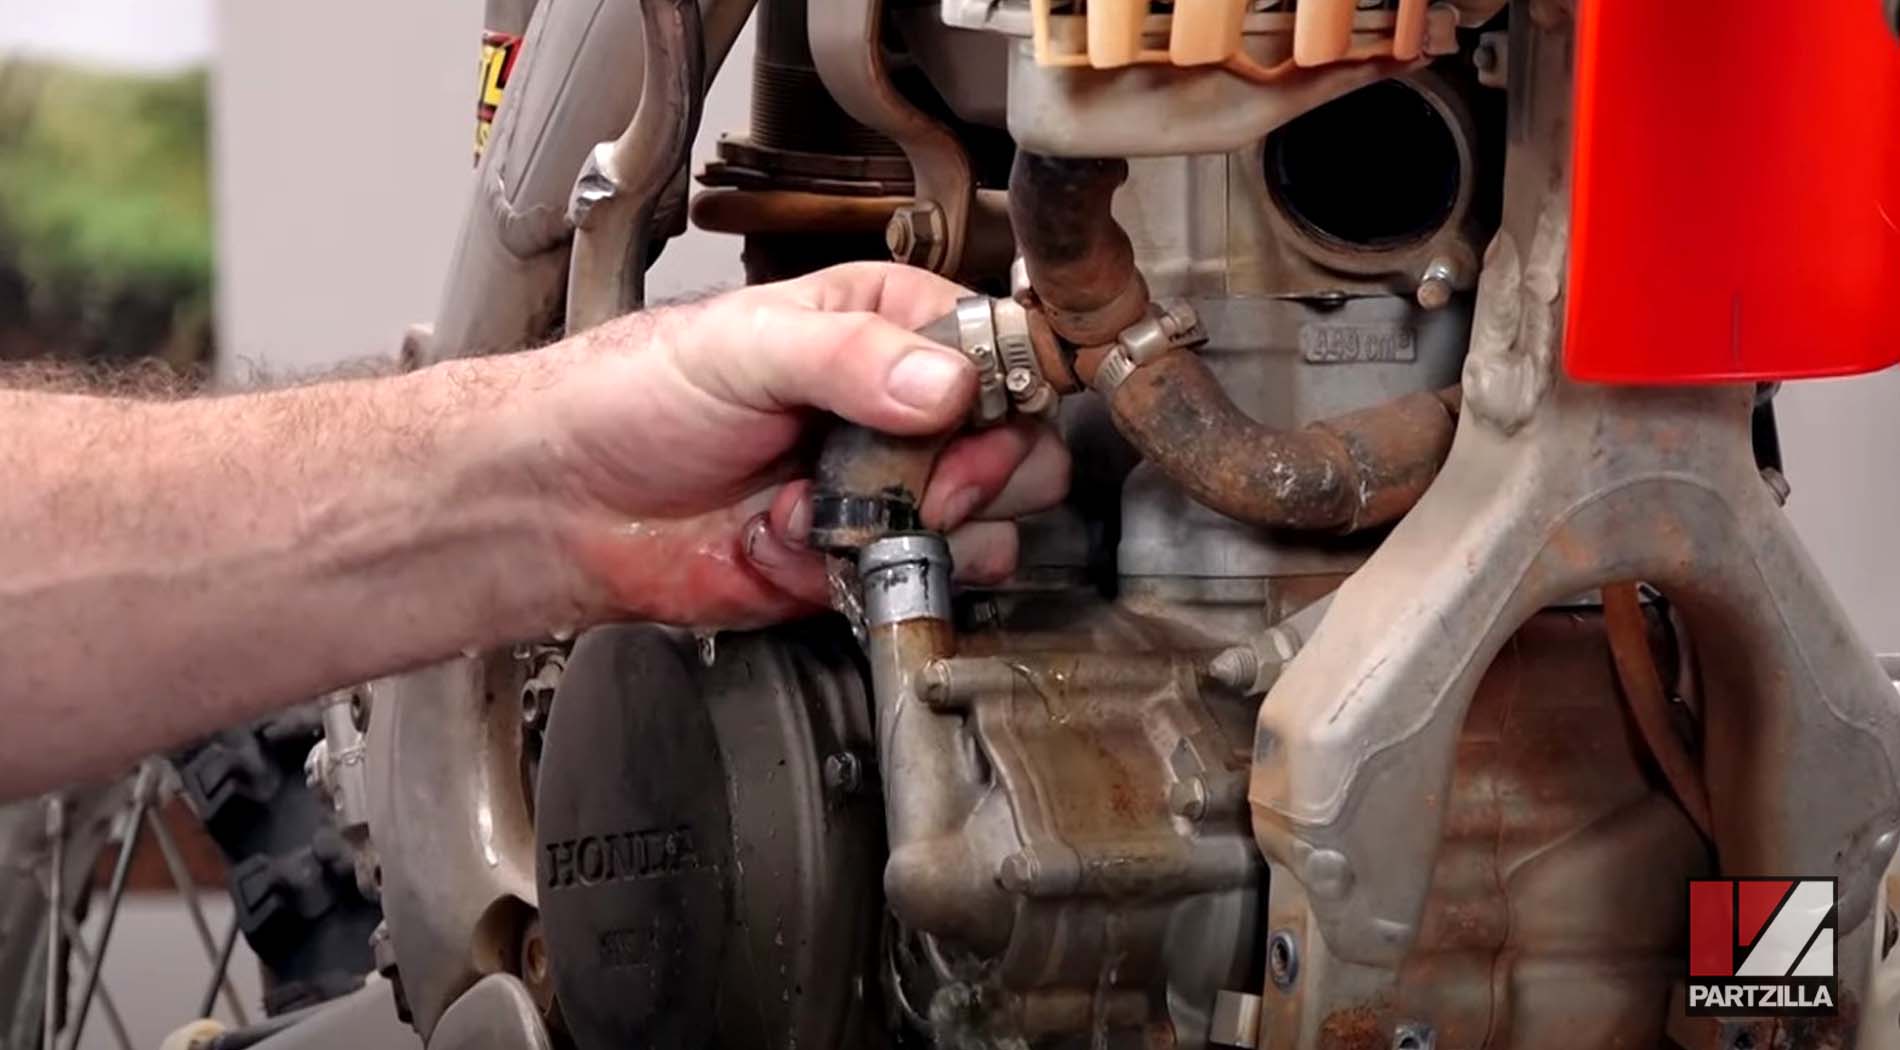
NOTE: There may still be some coolant in the system, so have your drain pan ready when you lift the hoses off.
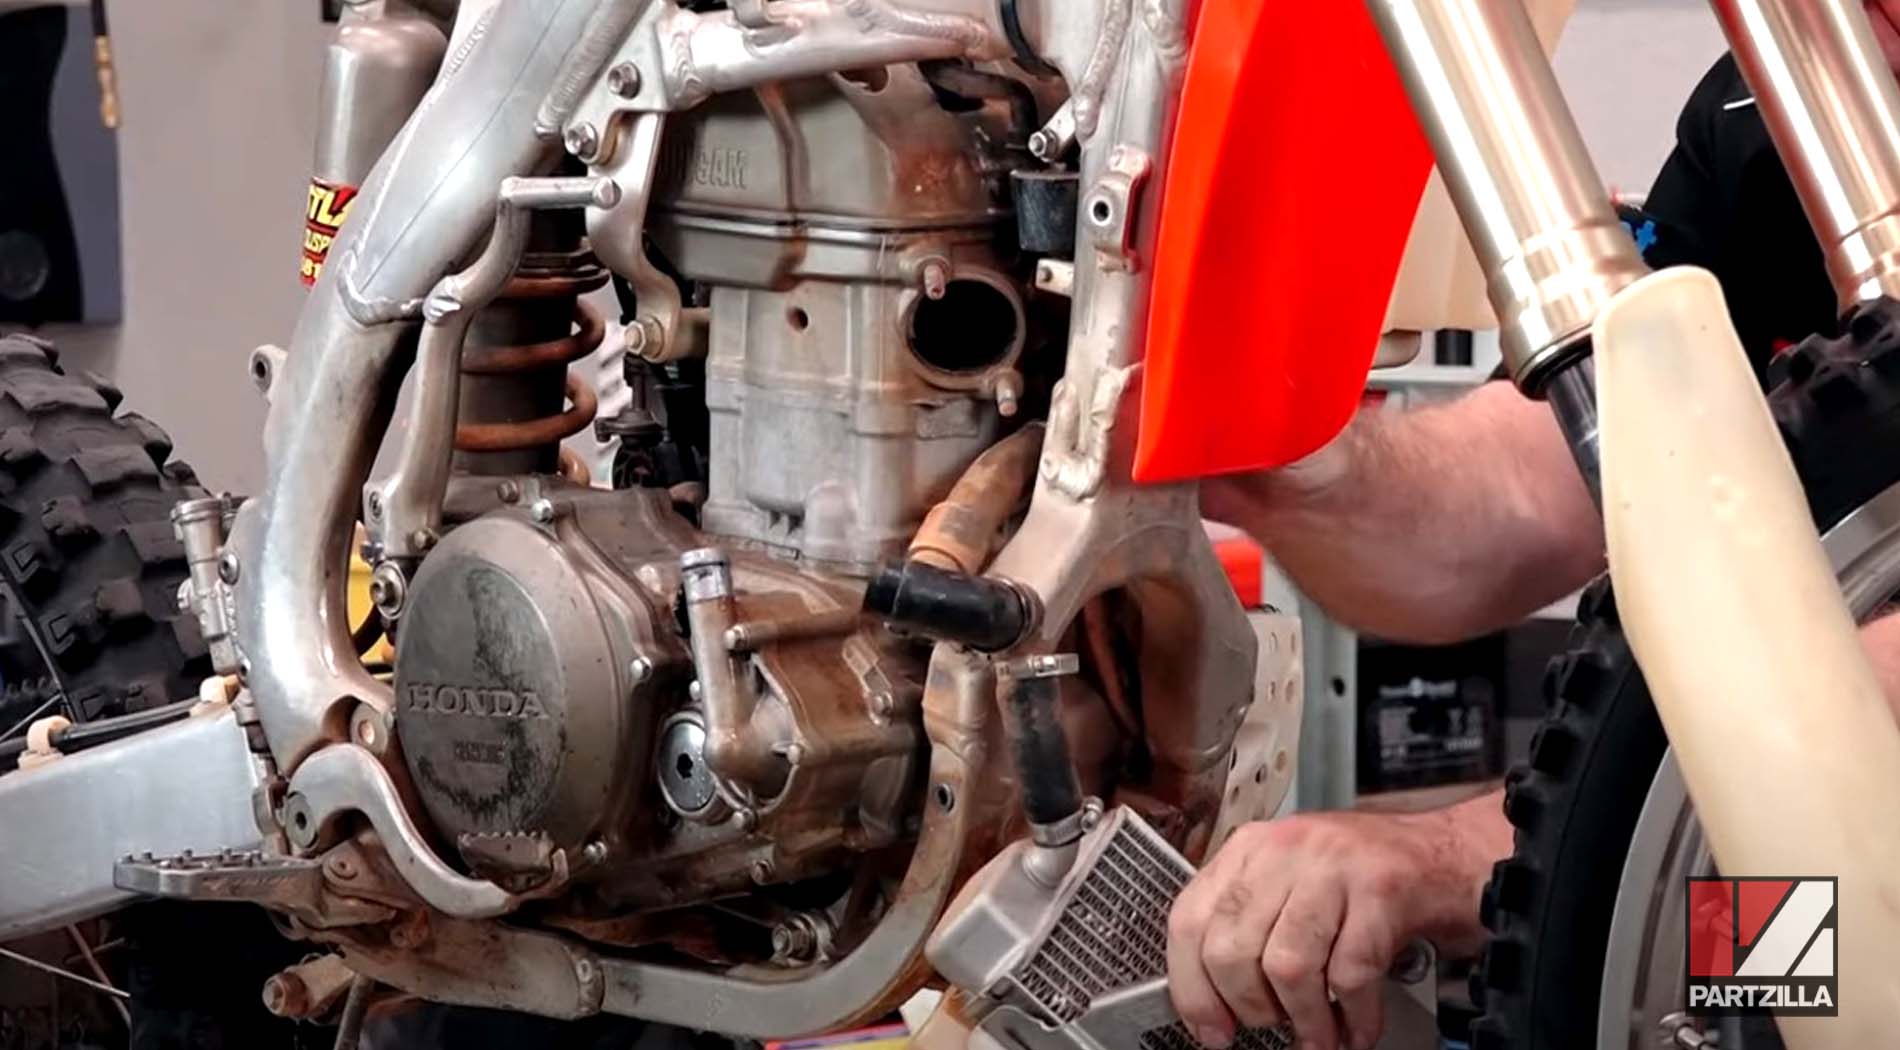
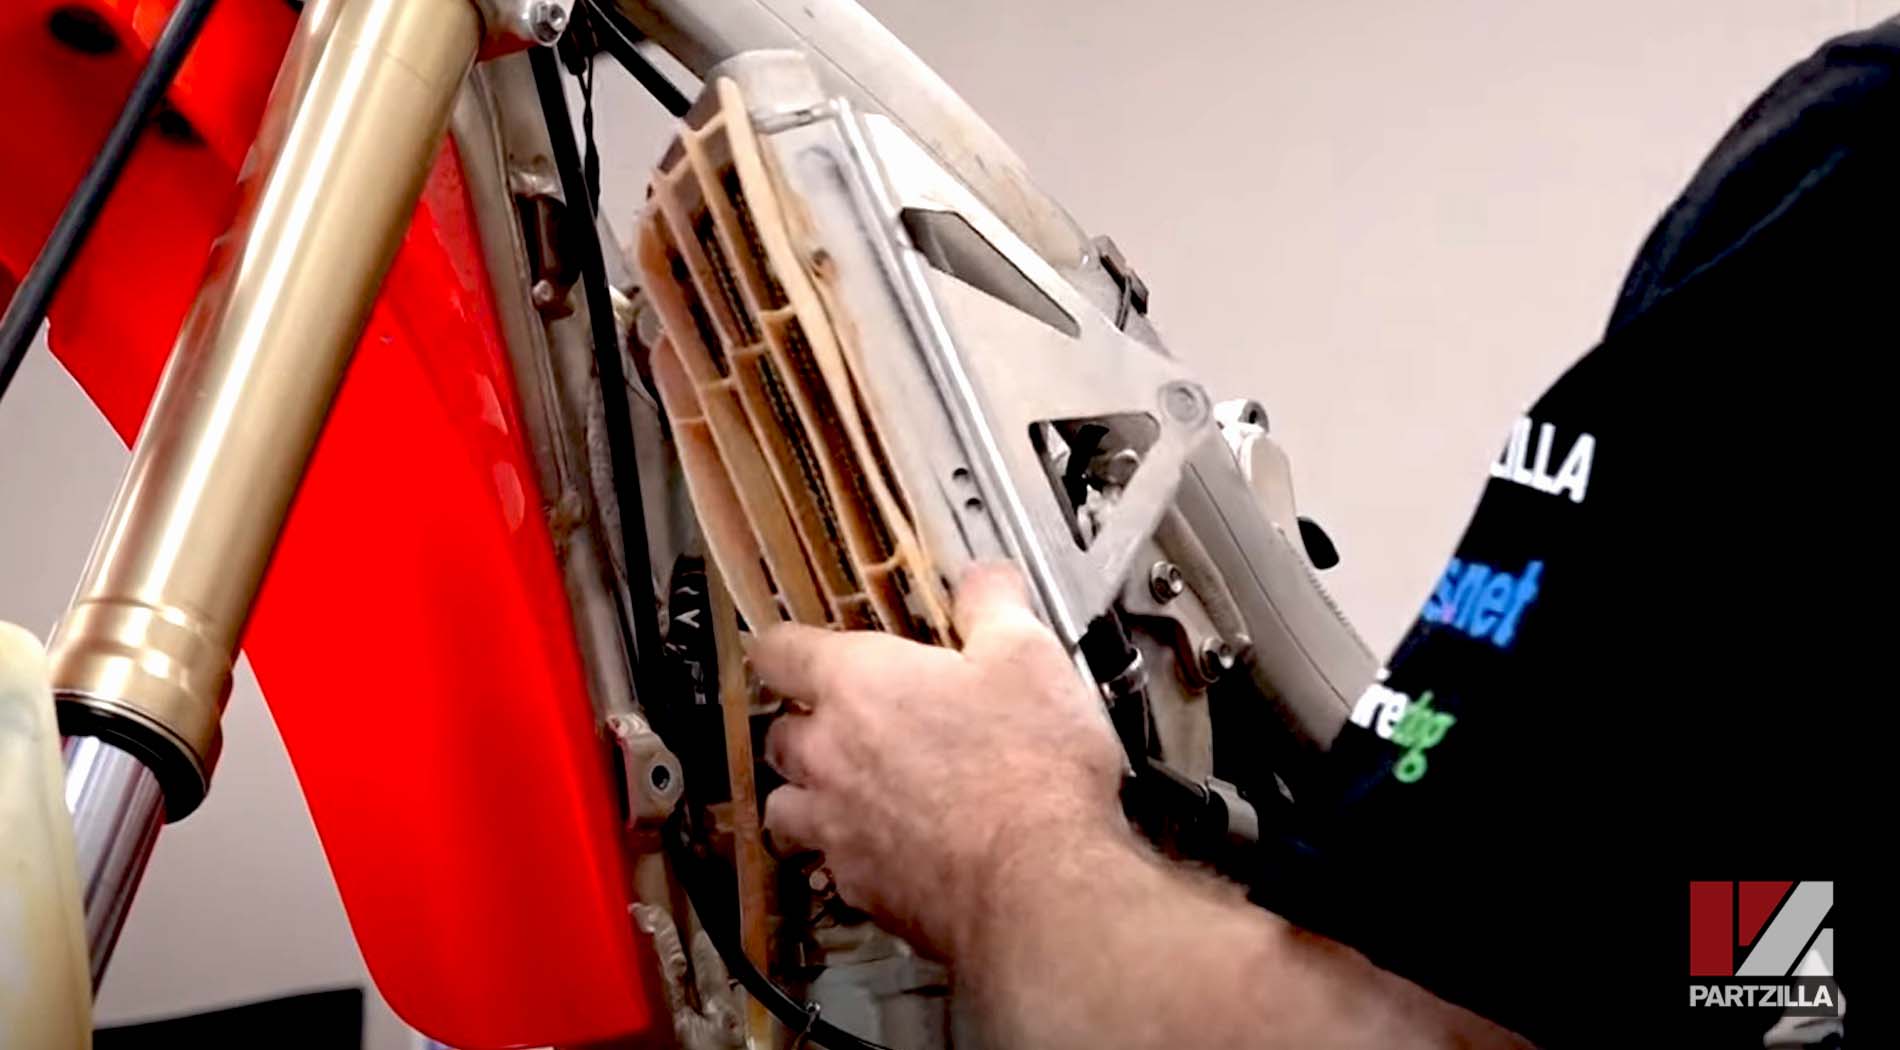
Watch the clip below to see the radiators removal segment of our Honda CRF450 engine removal video.
Step 9. Disconnect the carburetor by loosening up the clamps and hoses that hold it in place. Pull up the vents, then pop it back off the intake and bring it up. Disconnect the vent hose, then zip tie the carburetor next to the little holder for the front brake line.
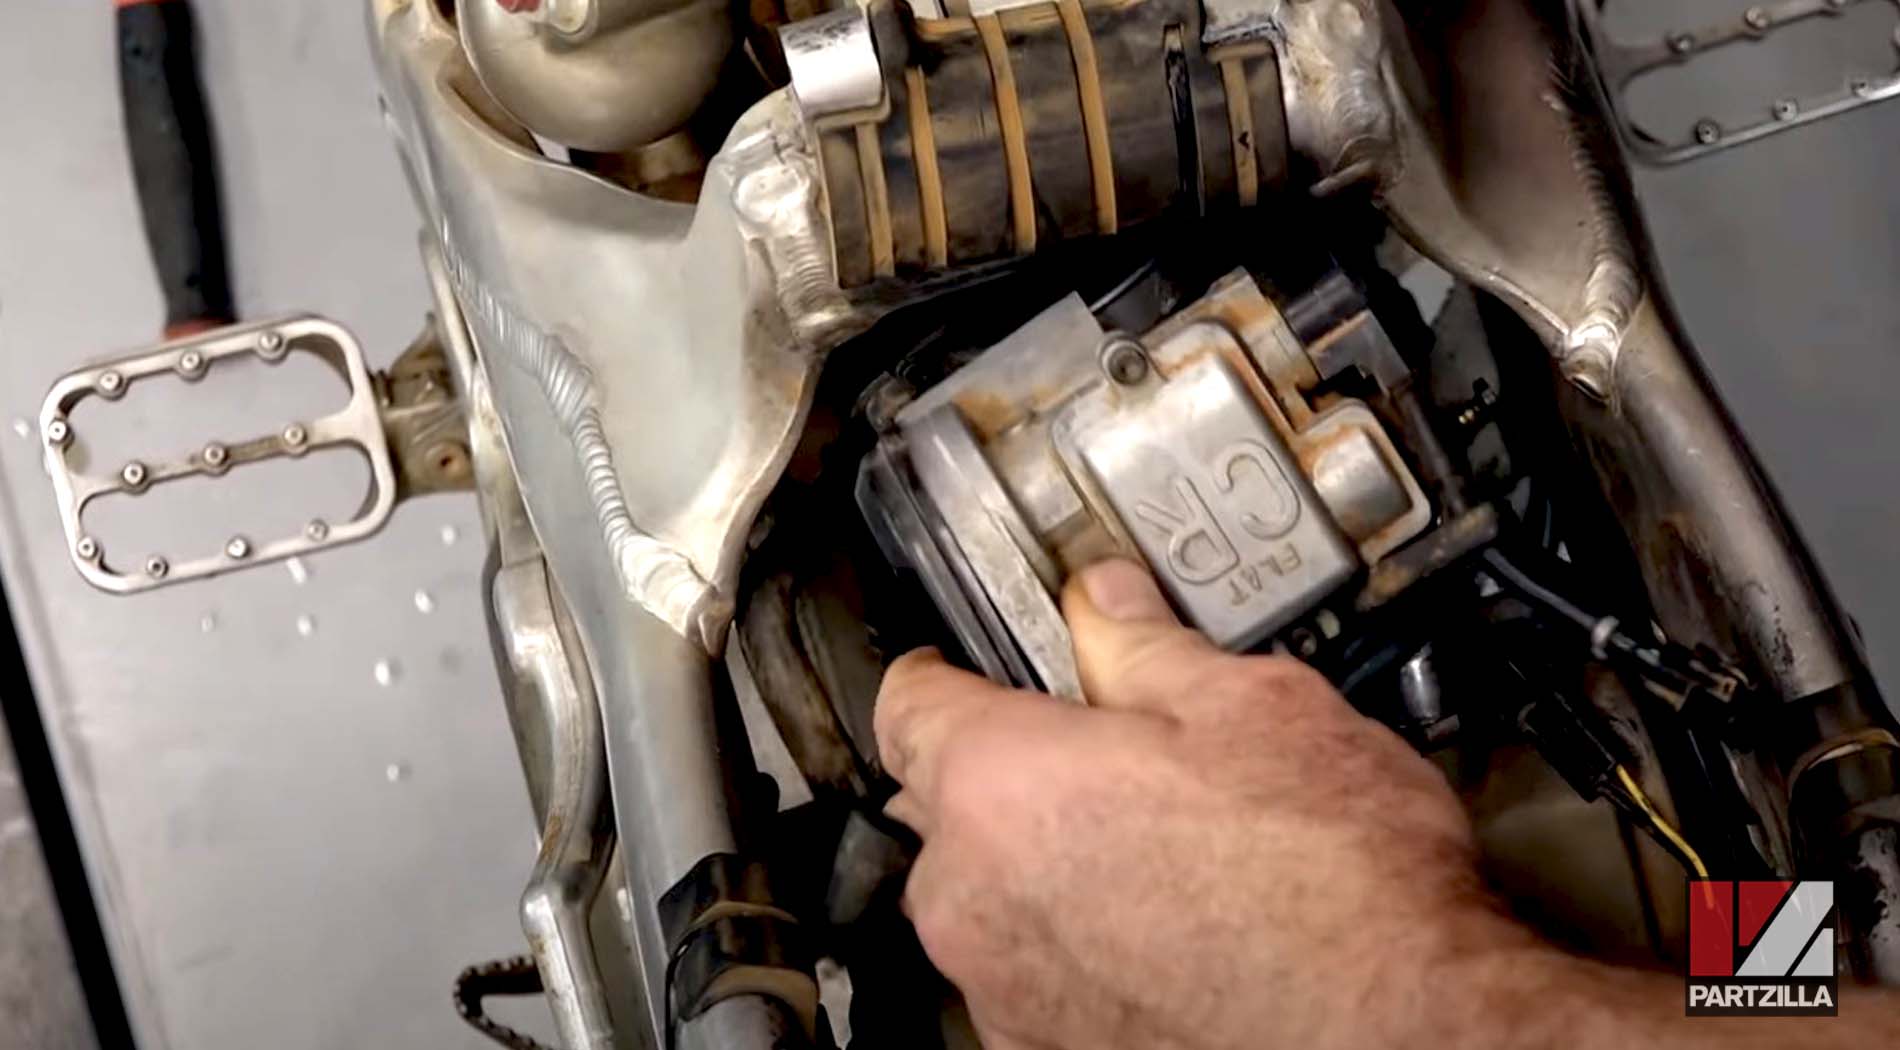
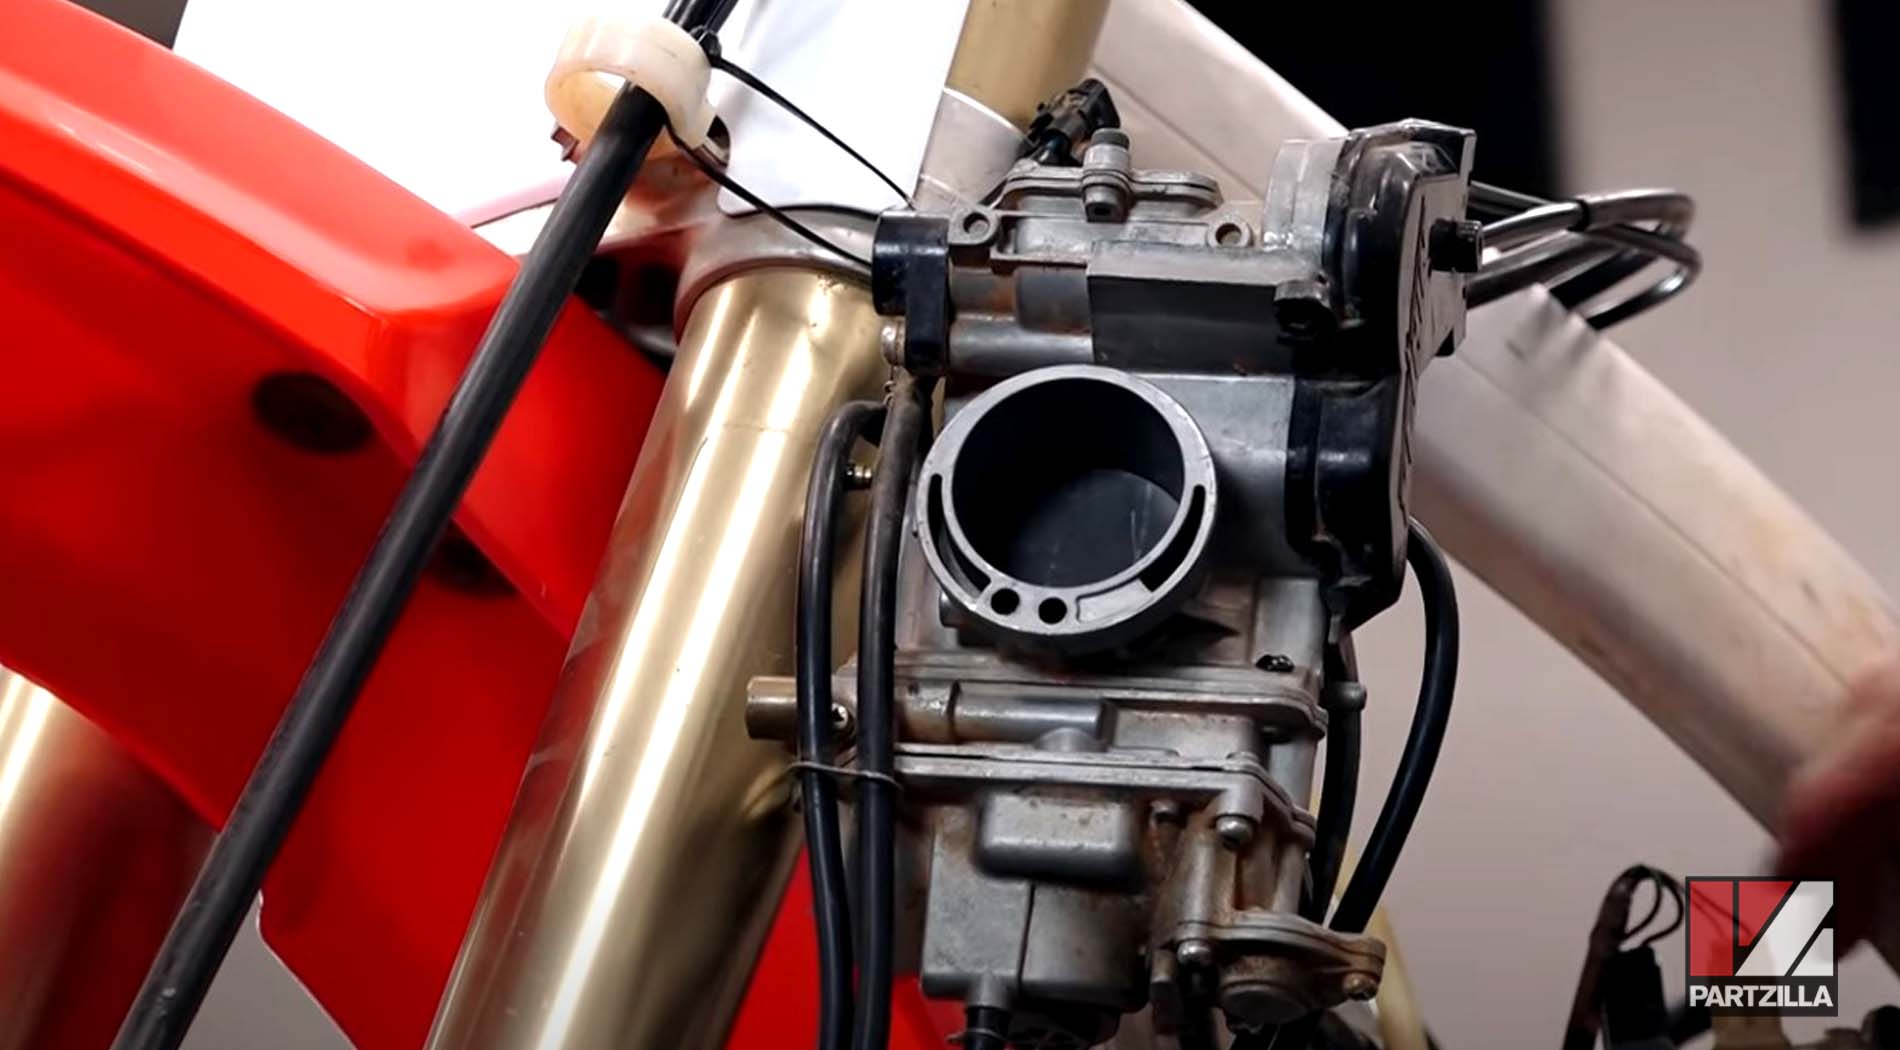
Watch the clip below to see the carburetor disconnection segment of our Honda CRF450 engine removal video.
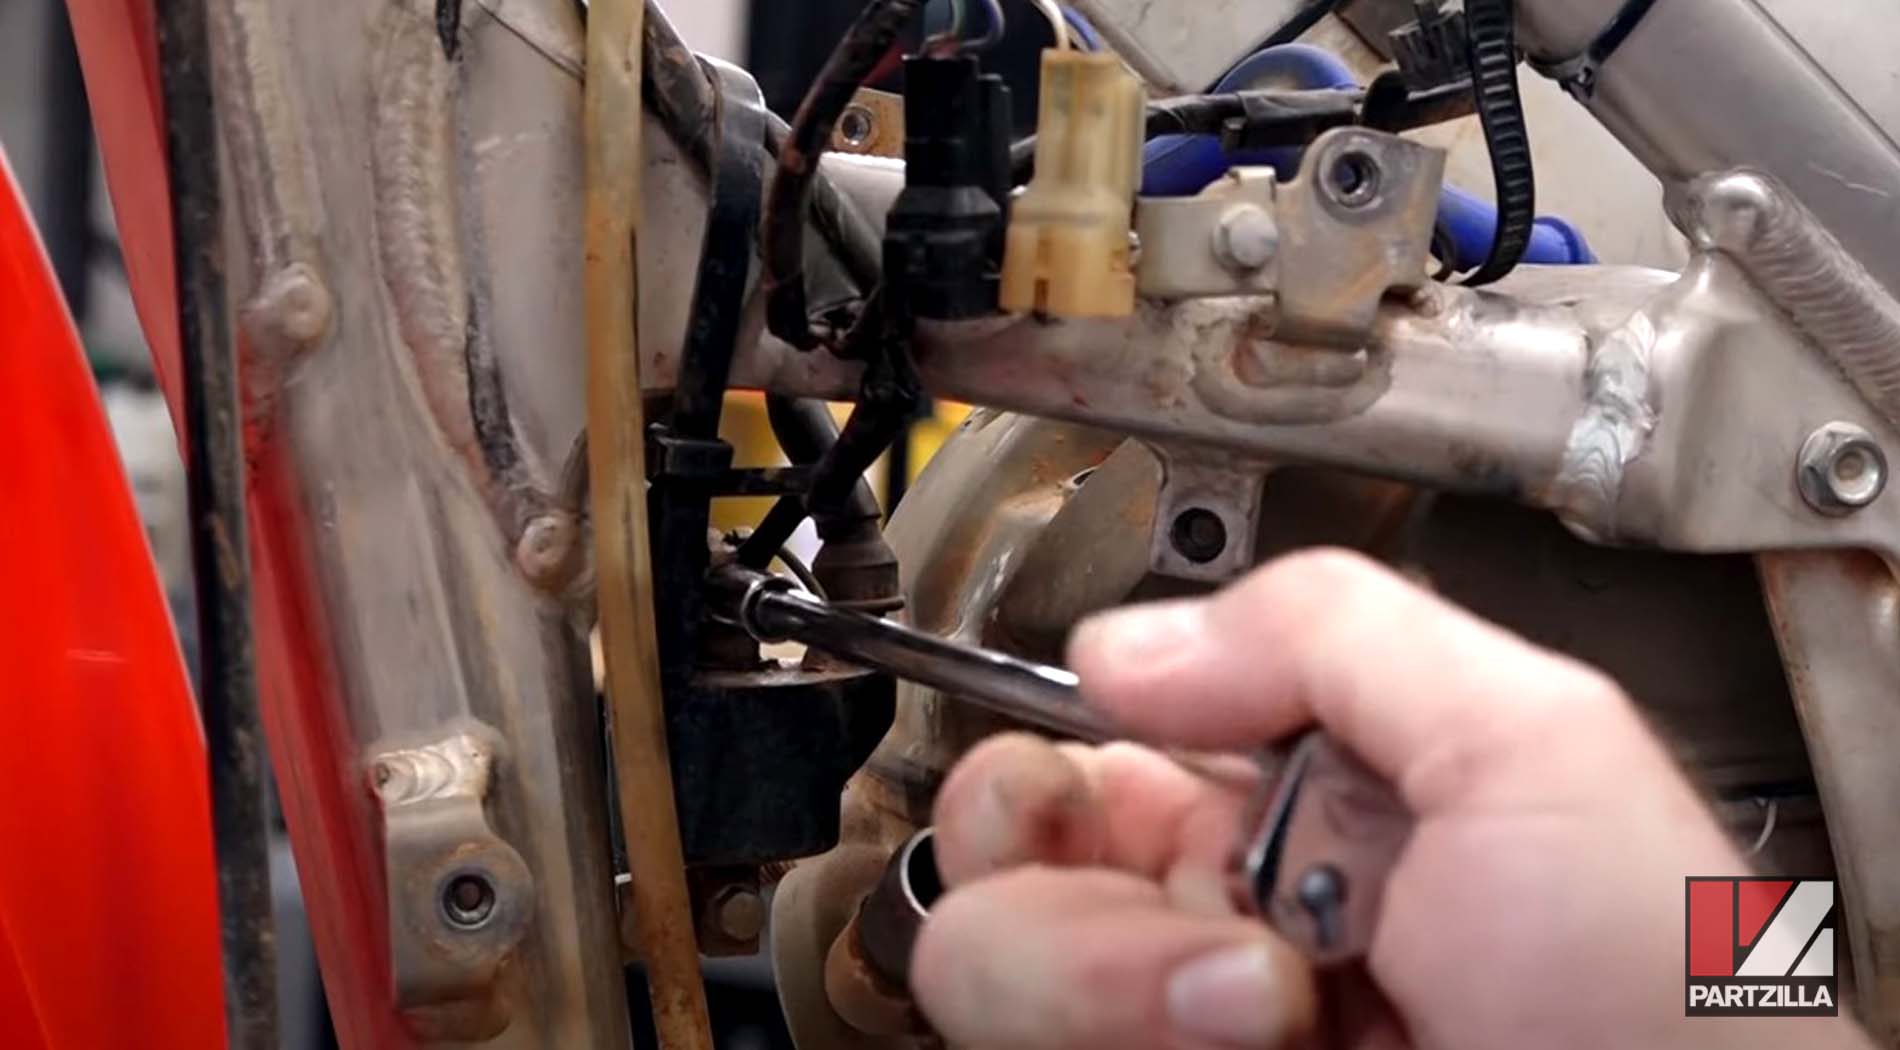
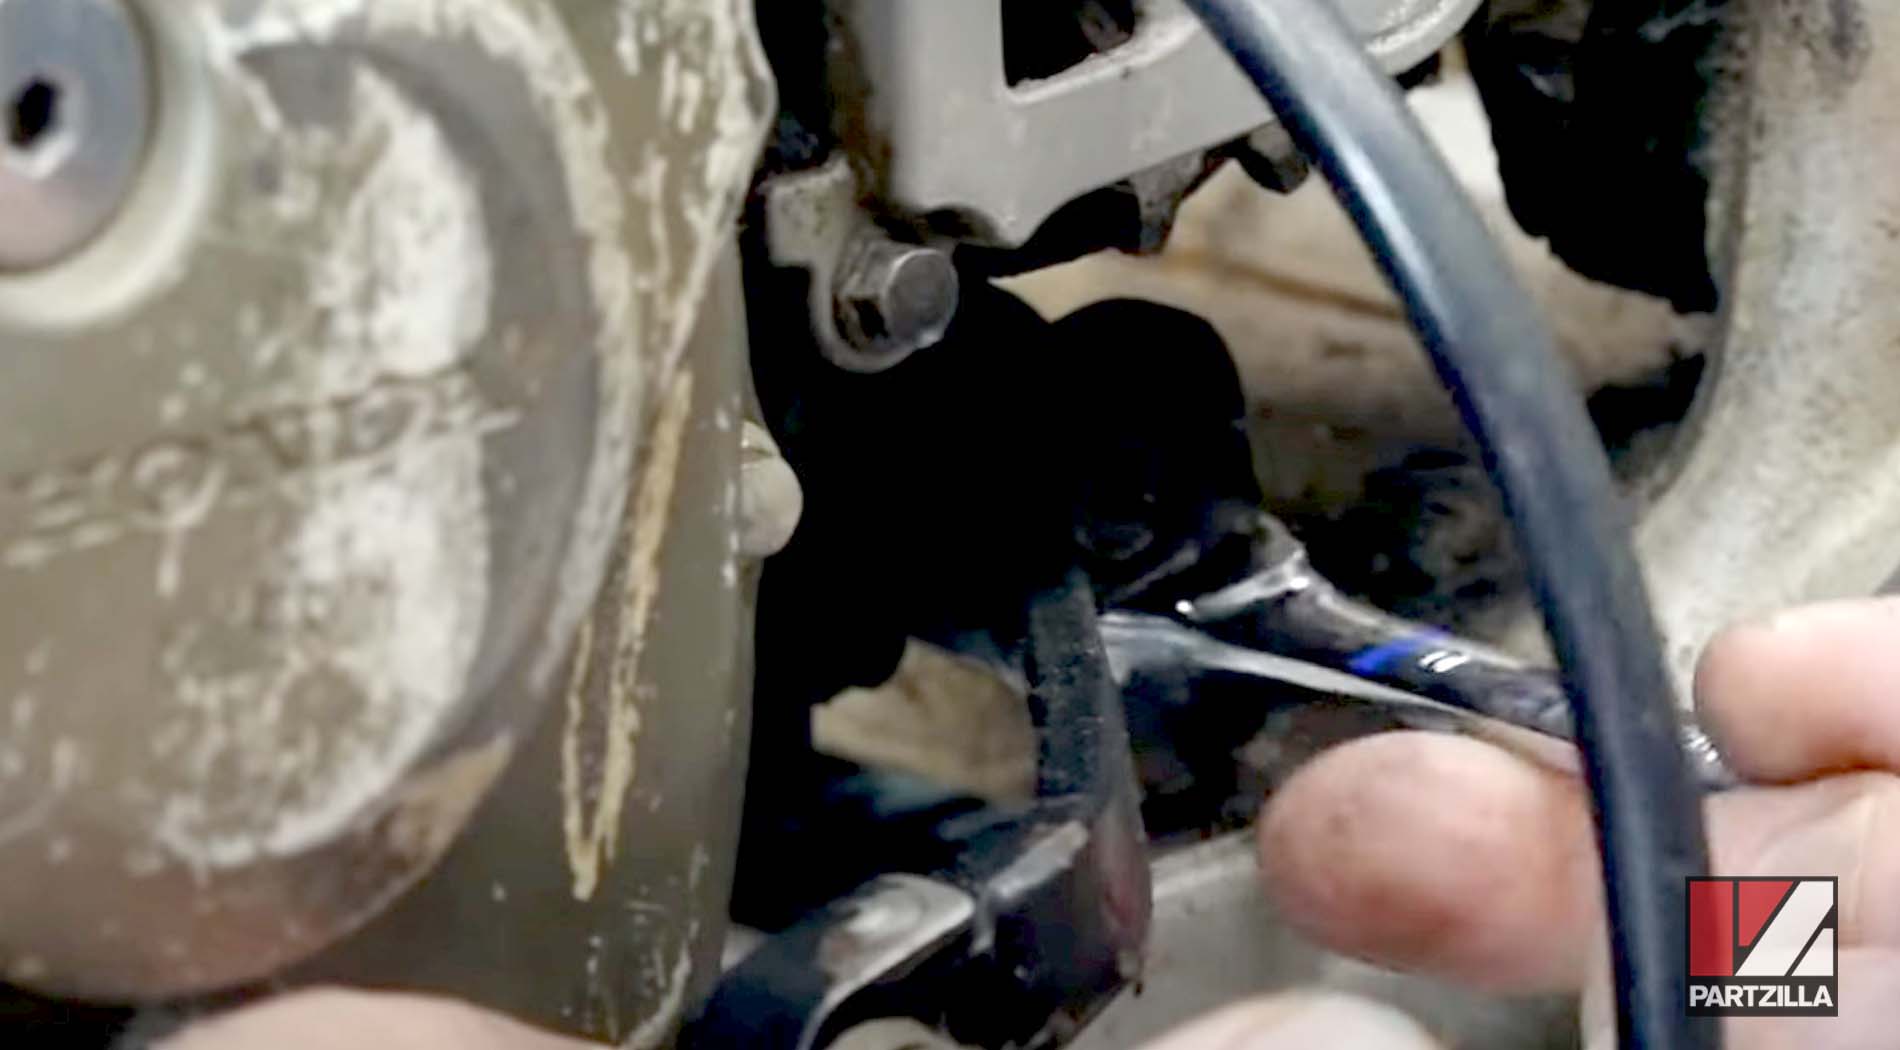
Step 10. Disconnect the cable for the stator and the crankshaft position.
Step 11. Disconnect the clutch by first pushing the boot back to give you some working room. Next, loosen up the play on it so you can wiggle it out. Take the adjuster and screw it all the way in to have that in line with the split, then pull the cable, bring it around, and drop it out of the lever.
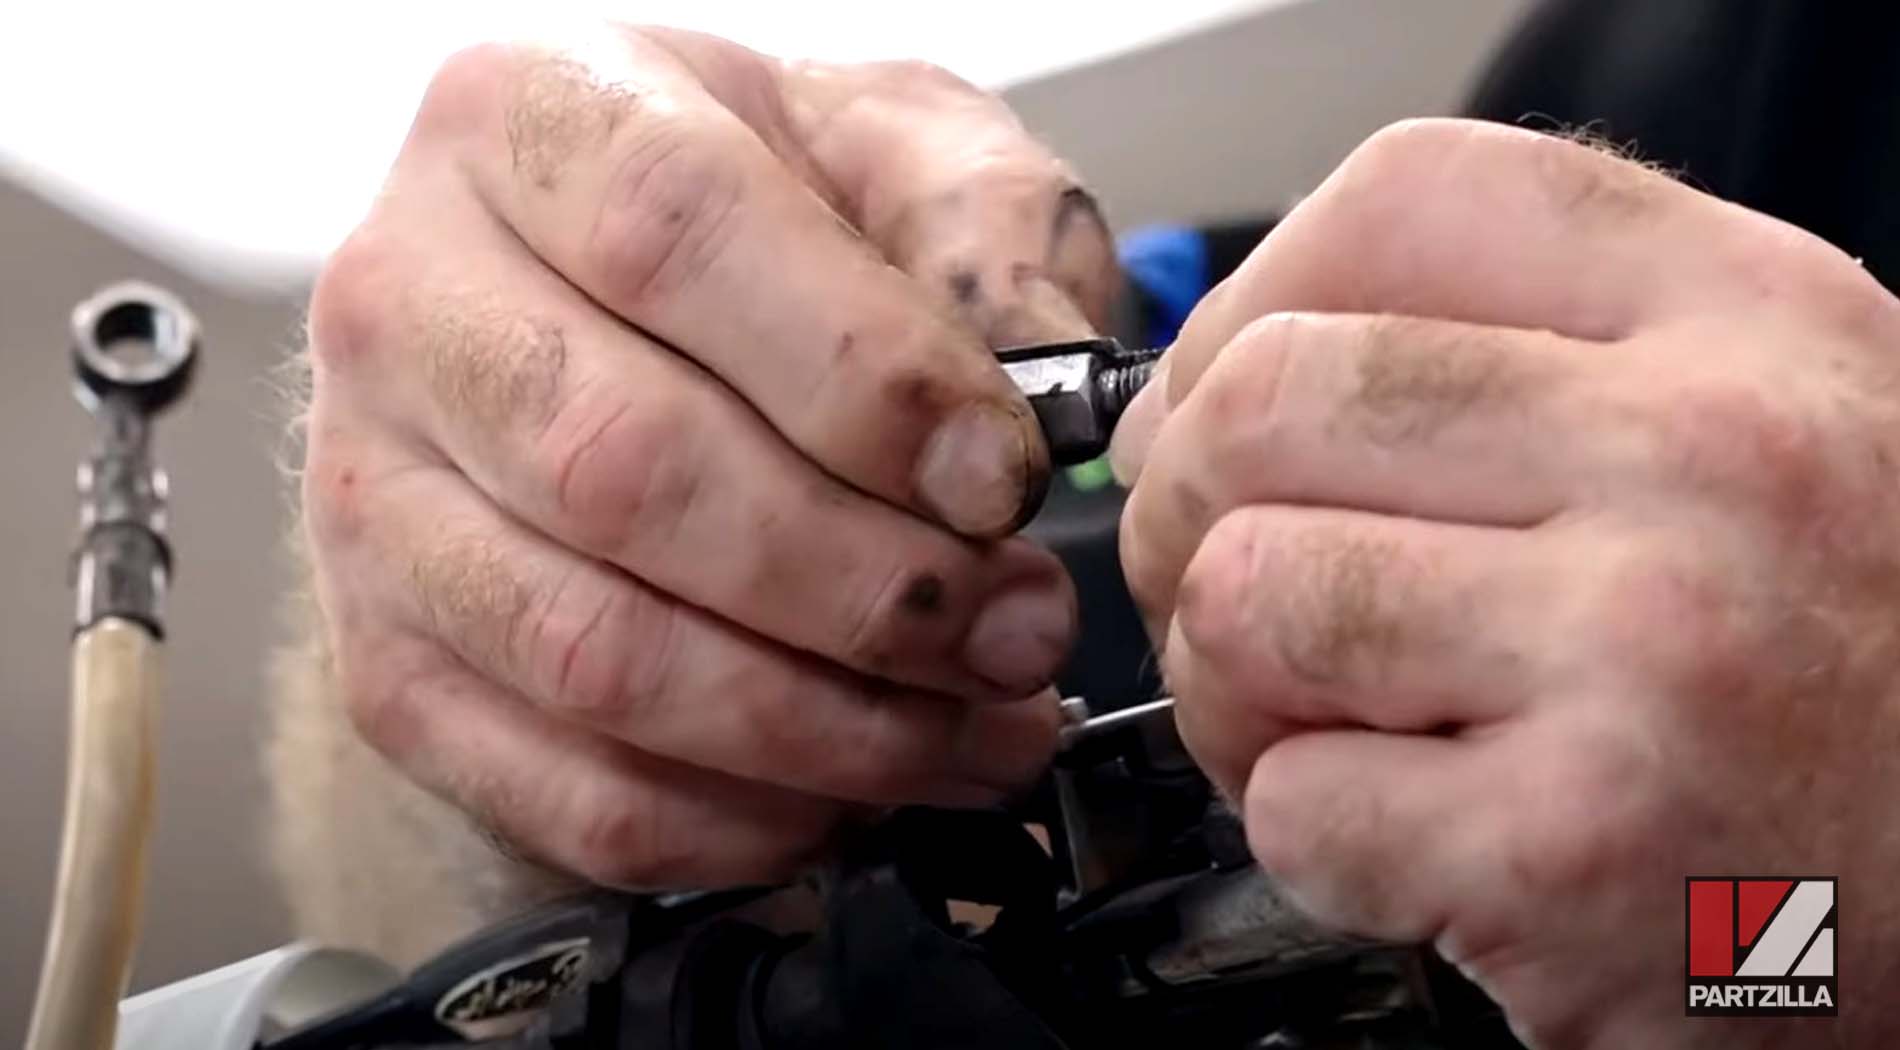
Watch the clip below to see the clutch disconnection segment of our Honda CRF450 engine removal video.
Step 12. Disconnect the ignition coil by pulling the coil cap off the spark plug first, then removing the coil completely to give you more room to negotiate the engine out of the frame and prevent damage to it.
Watch the clip below to see the ignition coil removal segment of our Honda CRF450 engine removal video.
Step 13. Remove the chain.
NOTE: The next steps cover removing the engine mounting bolts, so make sure to support the machine on a stand so that it doesn't collapse.
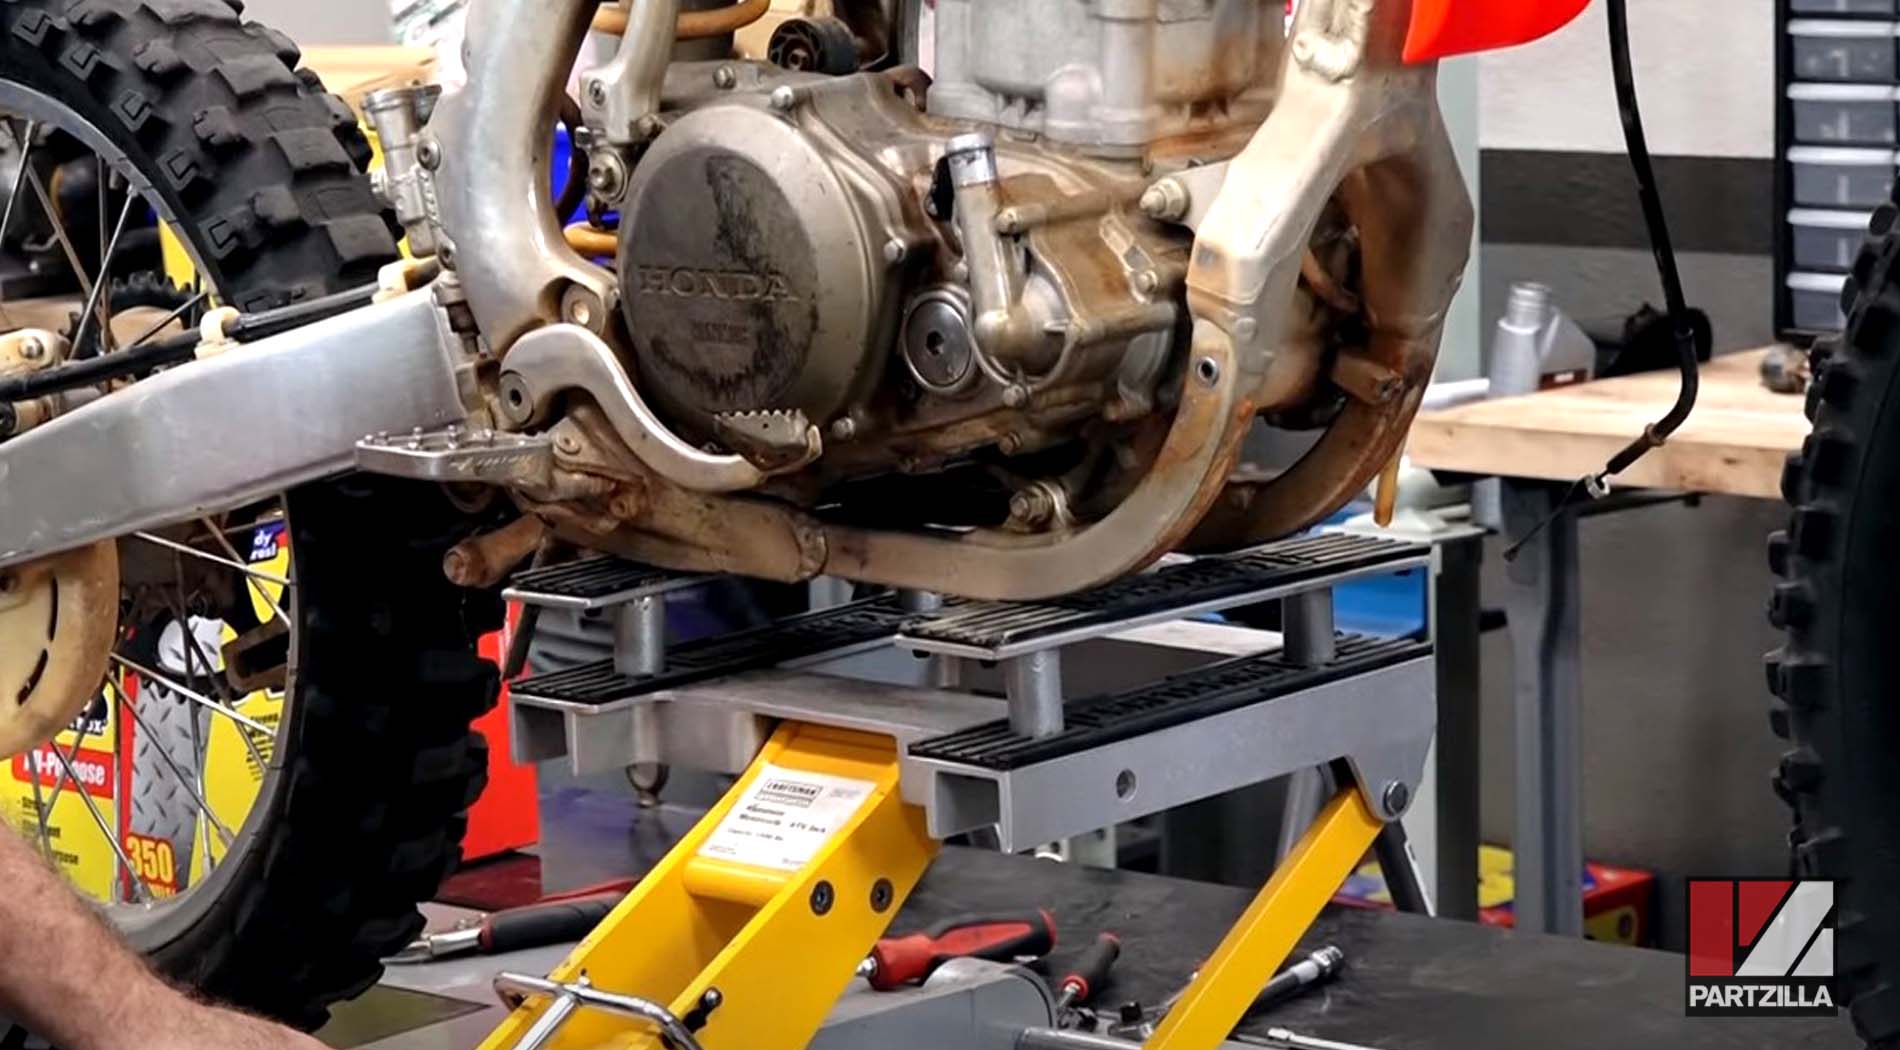
Step 14. Remove the top engine mounting bolts. There are four 12mm bolts up top (two on either side), plus a 14mm bolt on one side and a nut on the other.

Watch the clip below to see the engine unbolting segment of our Honda CRF450 engine removal video.
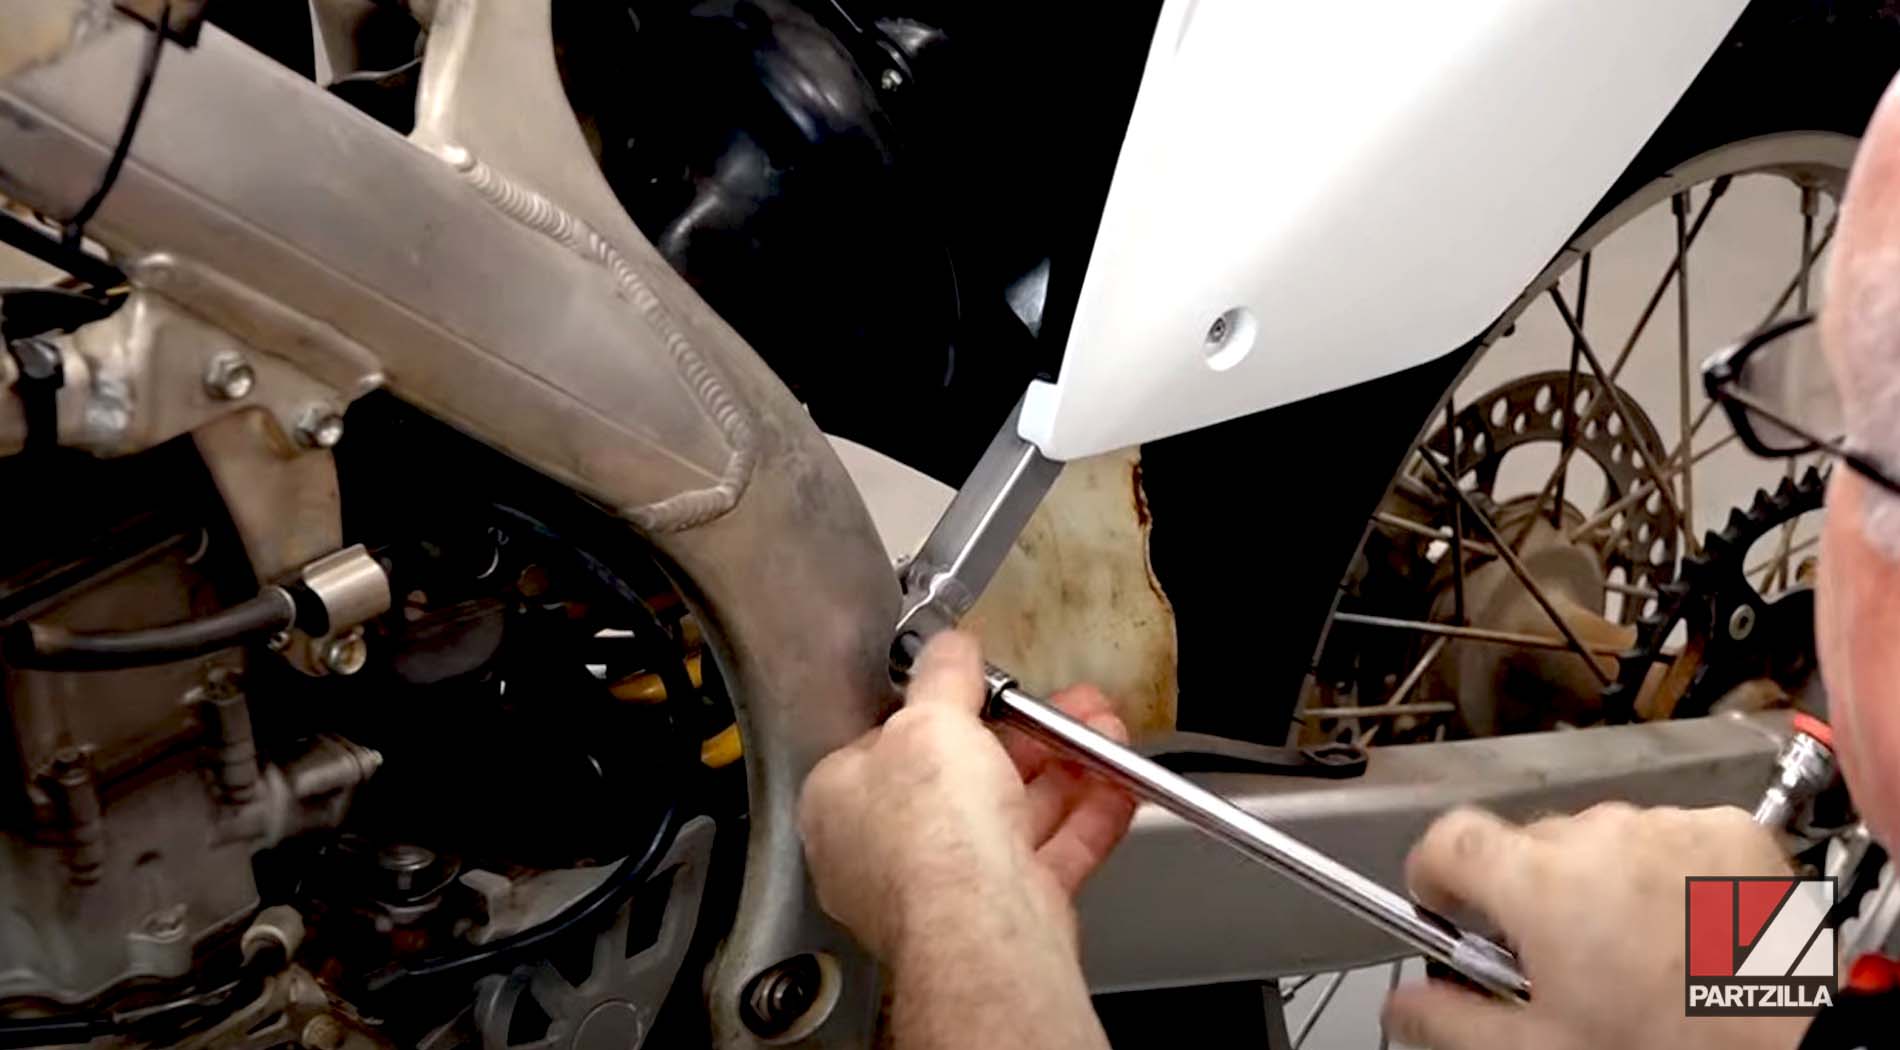
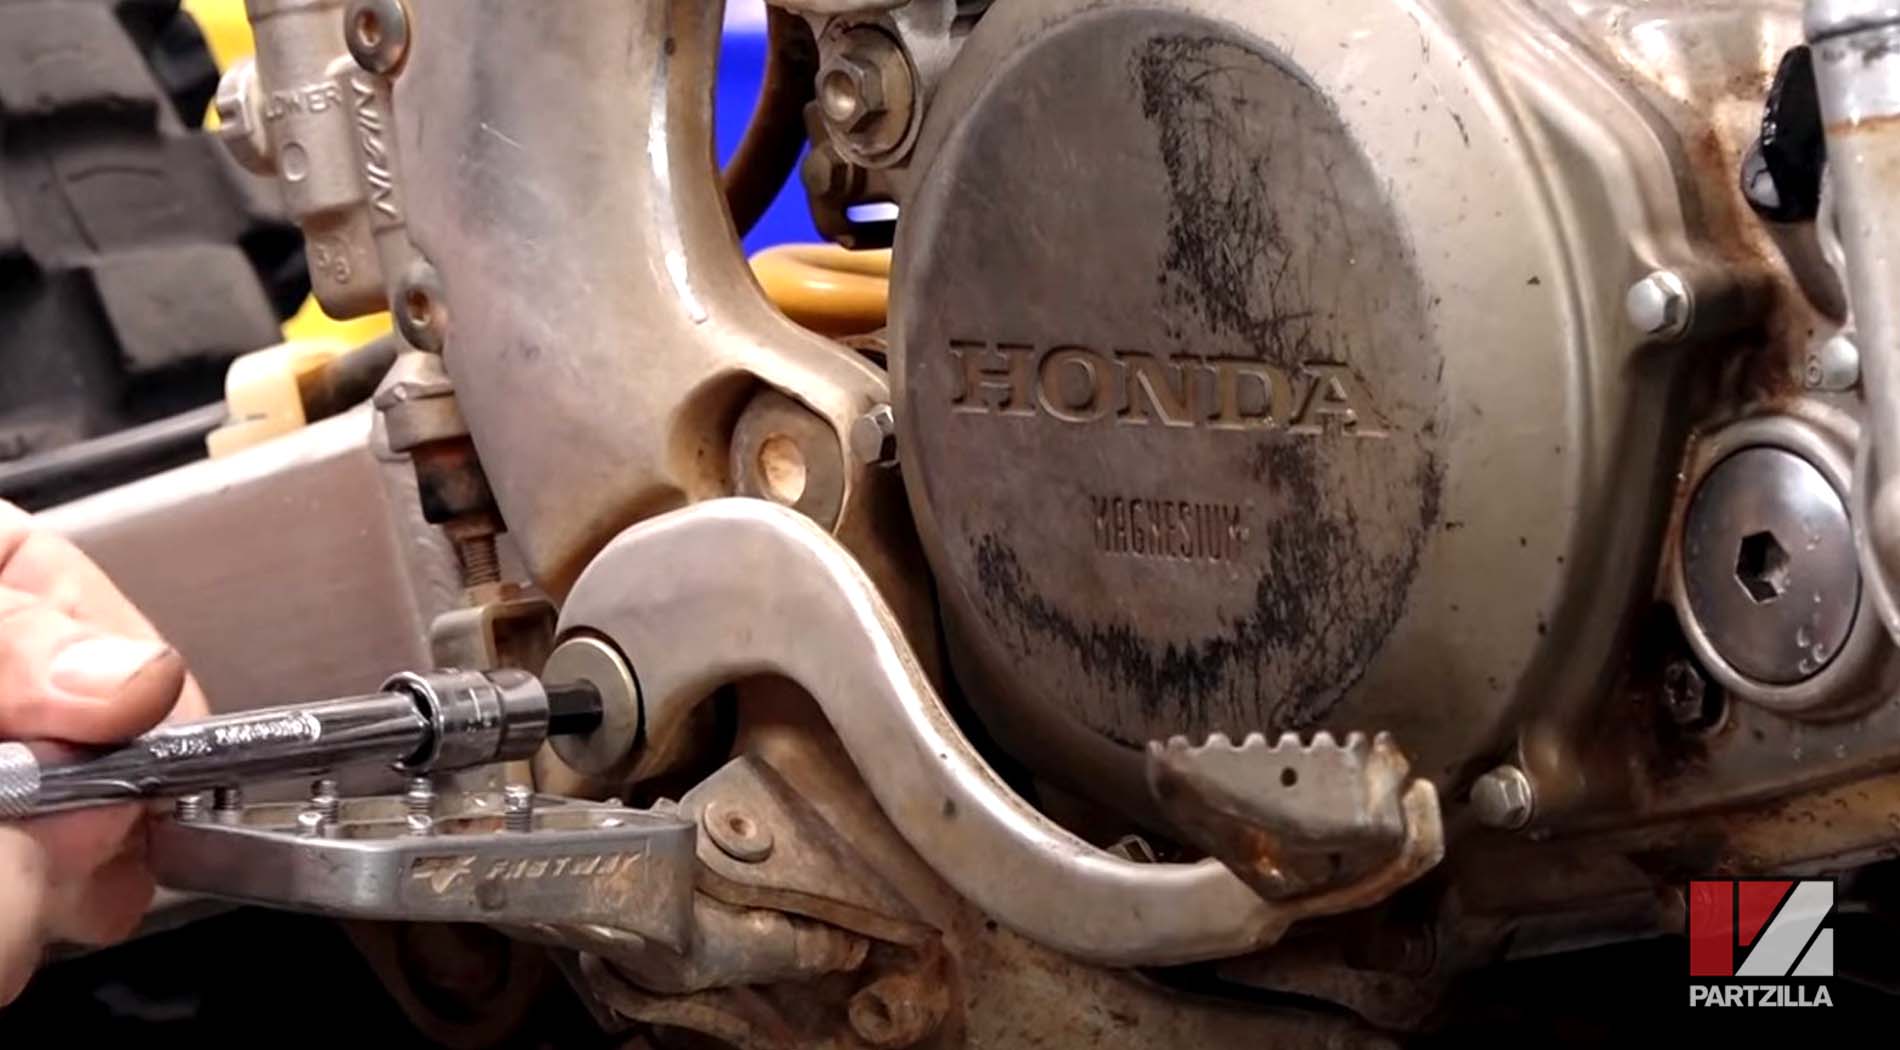
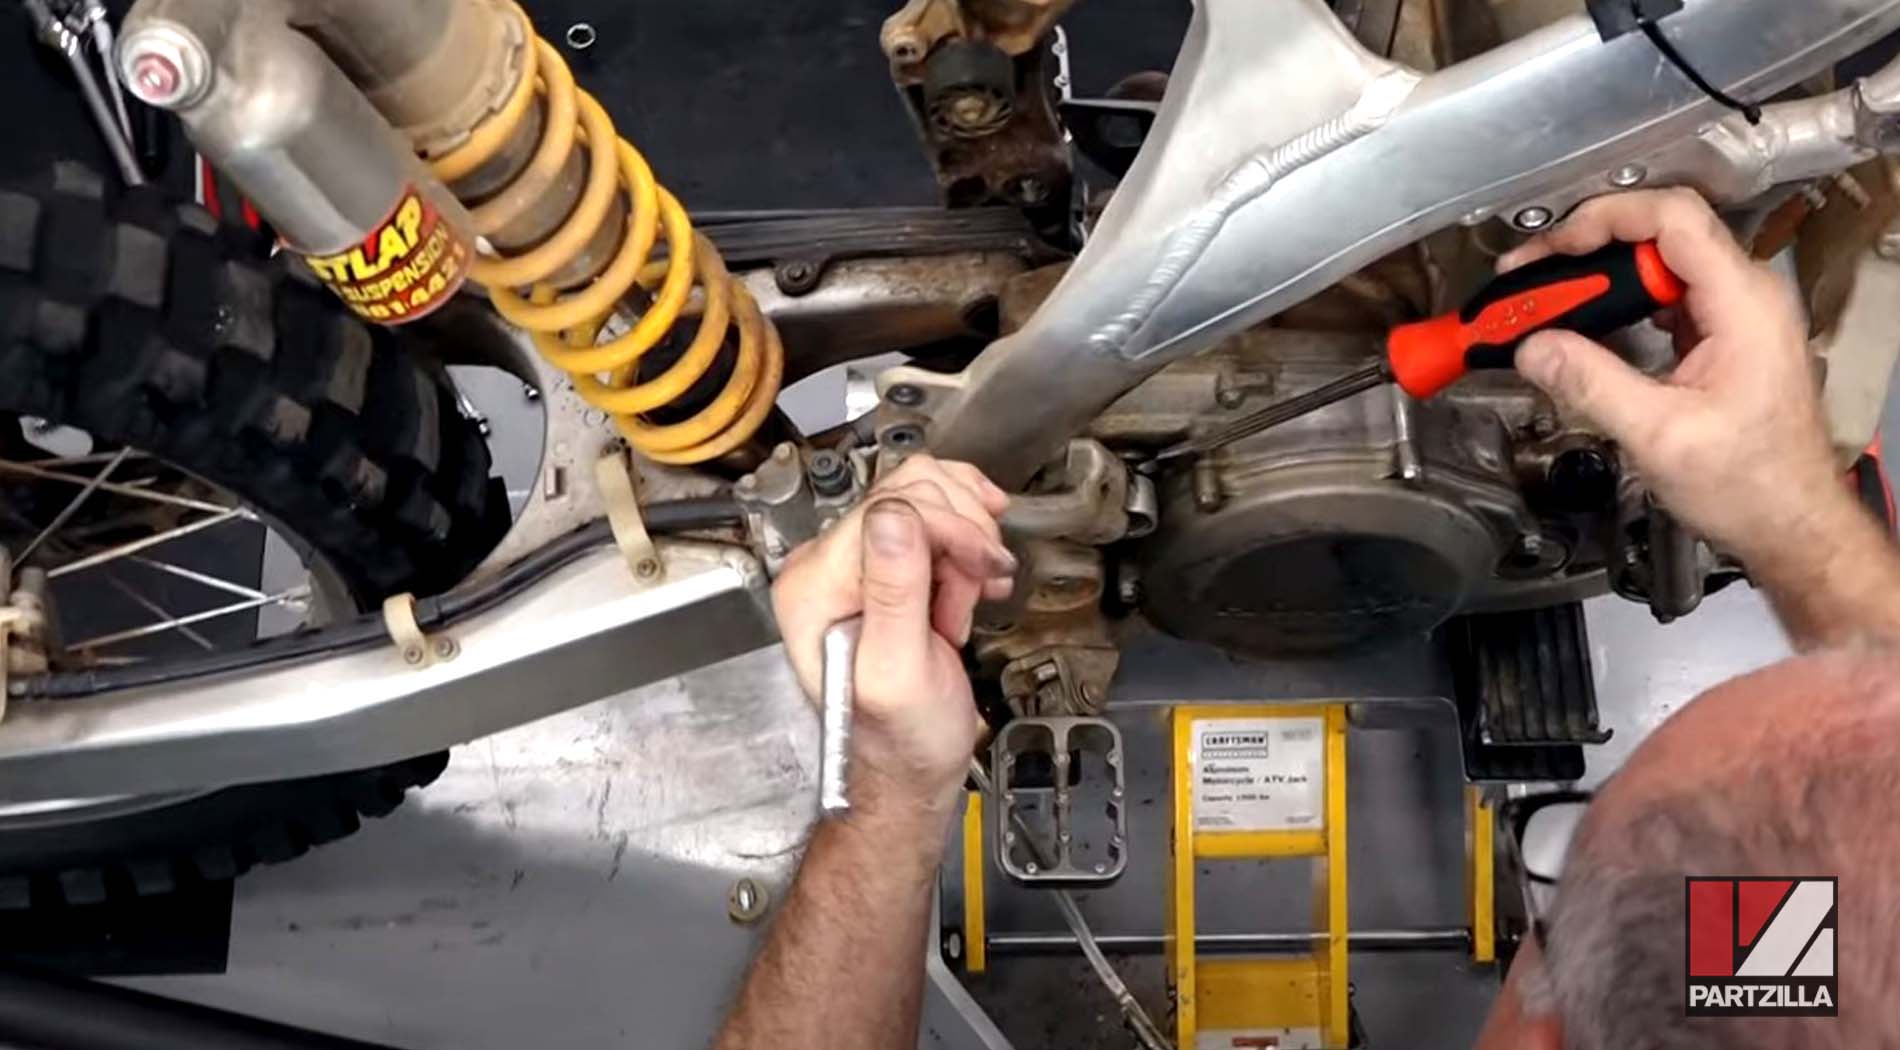
Step 15. Remove the brake pedal because it won't clear the swing arm bolt.
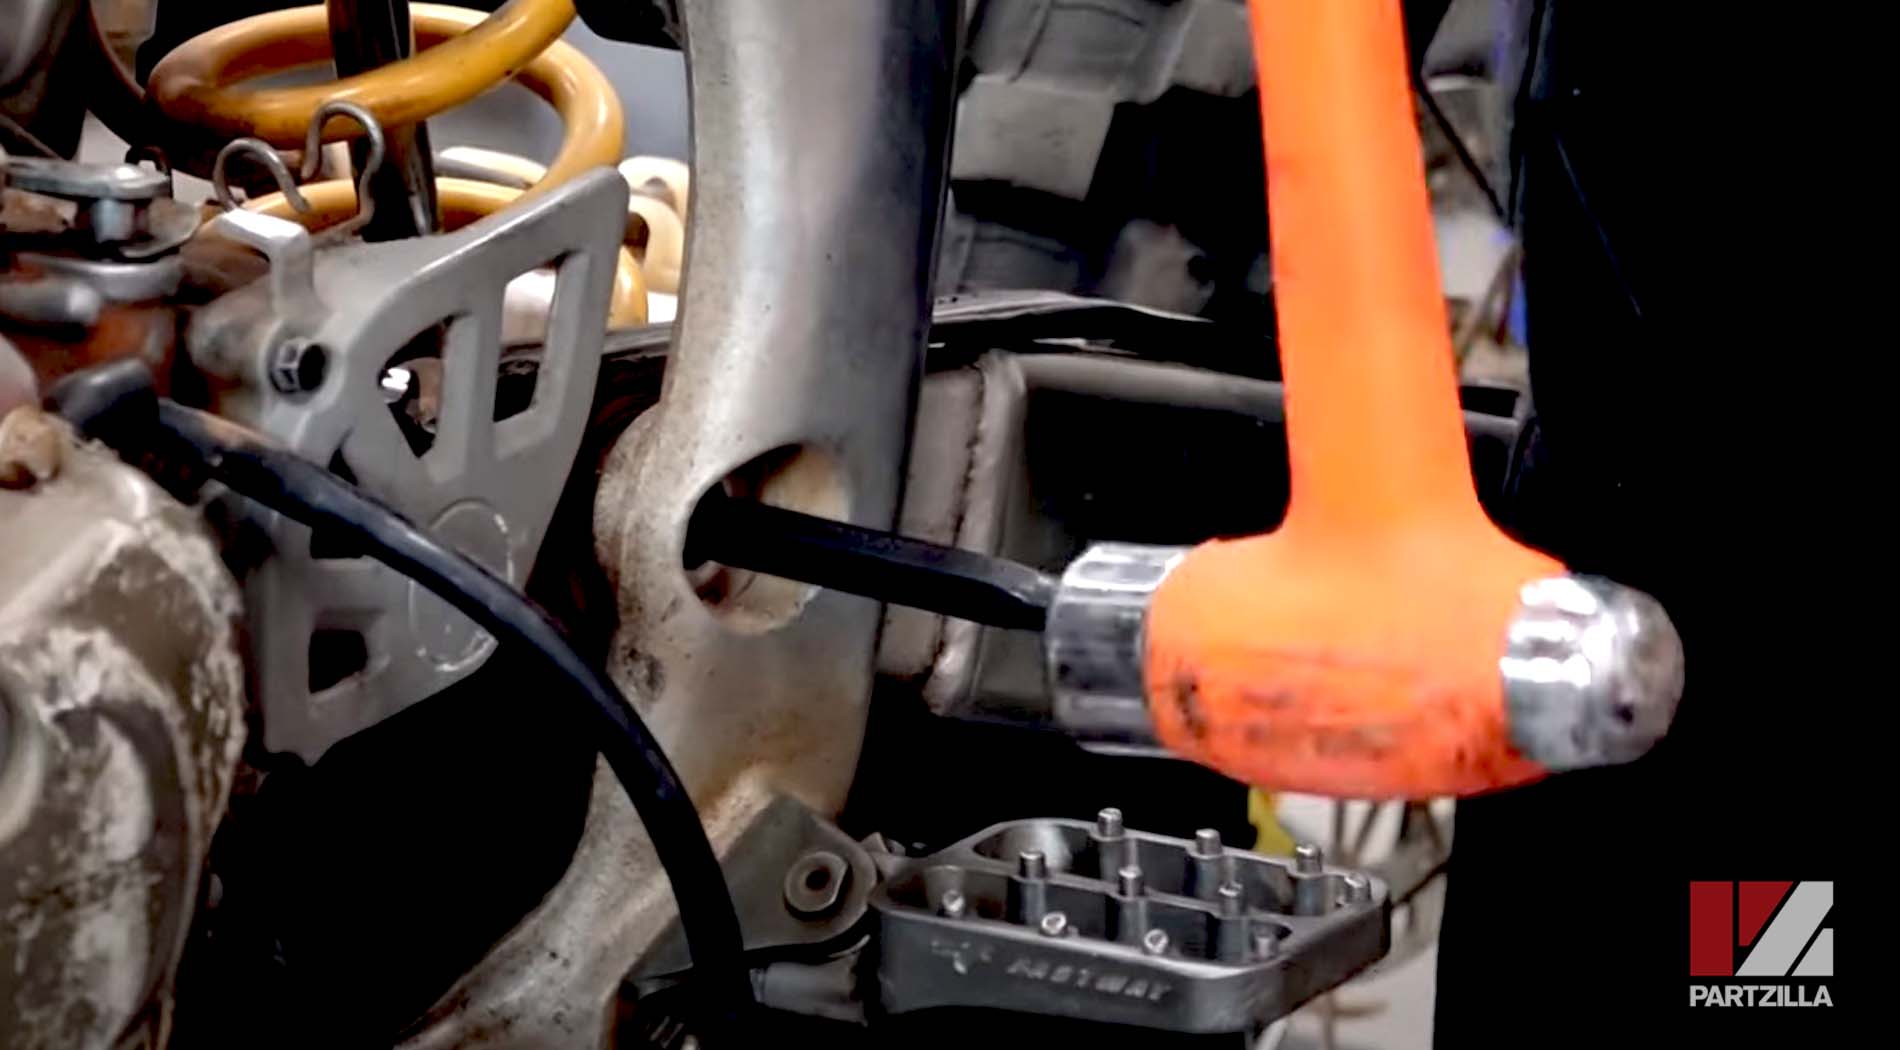
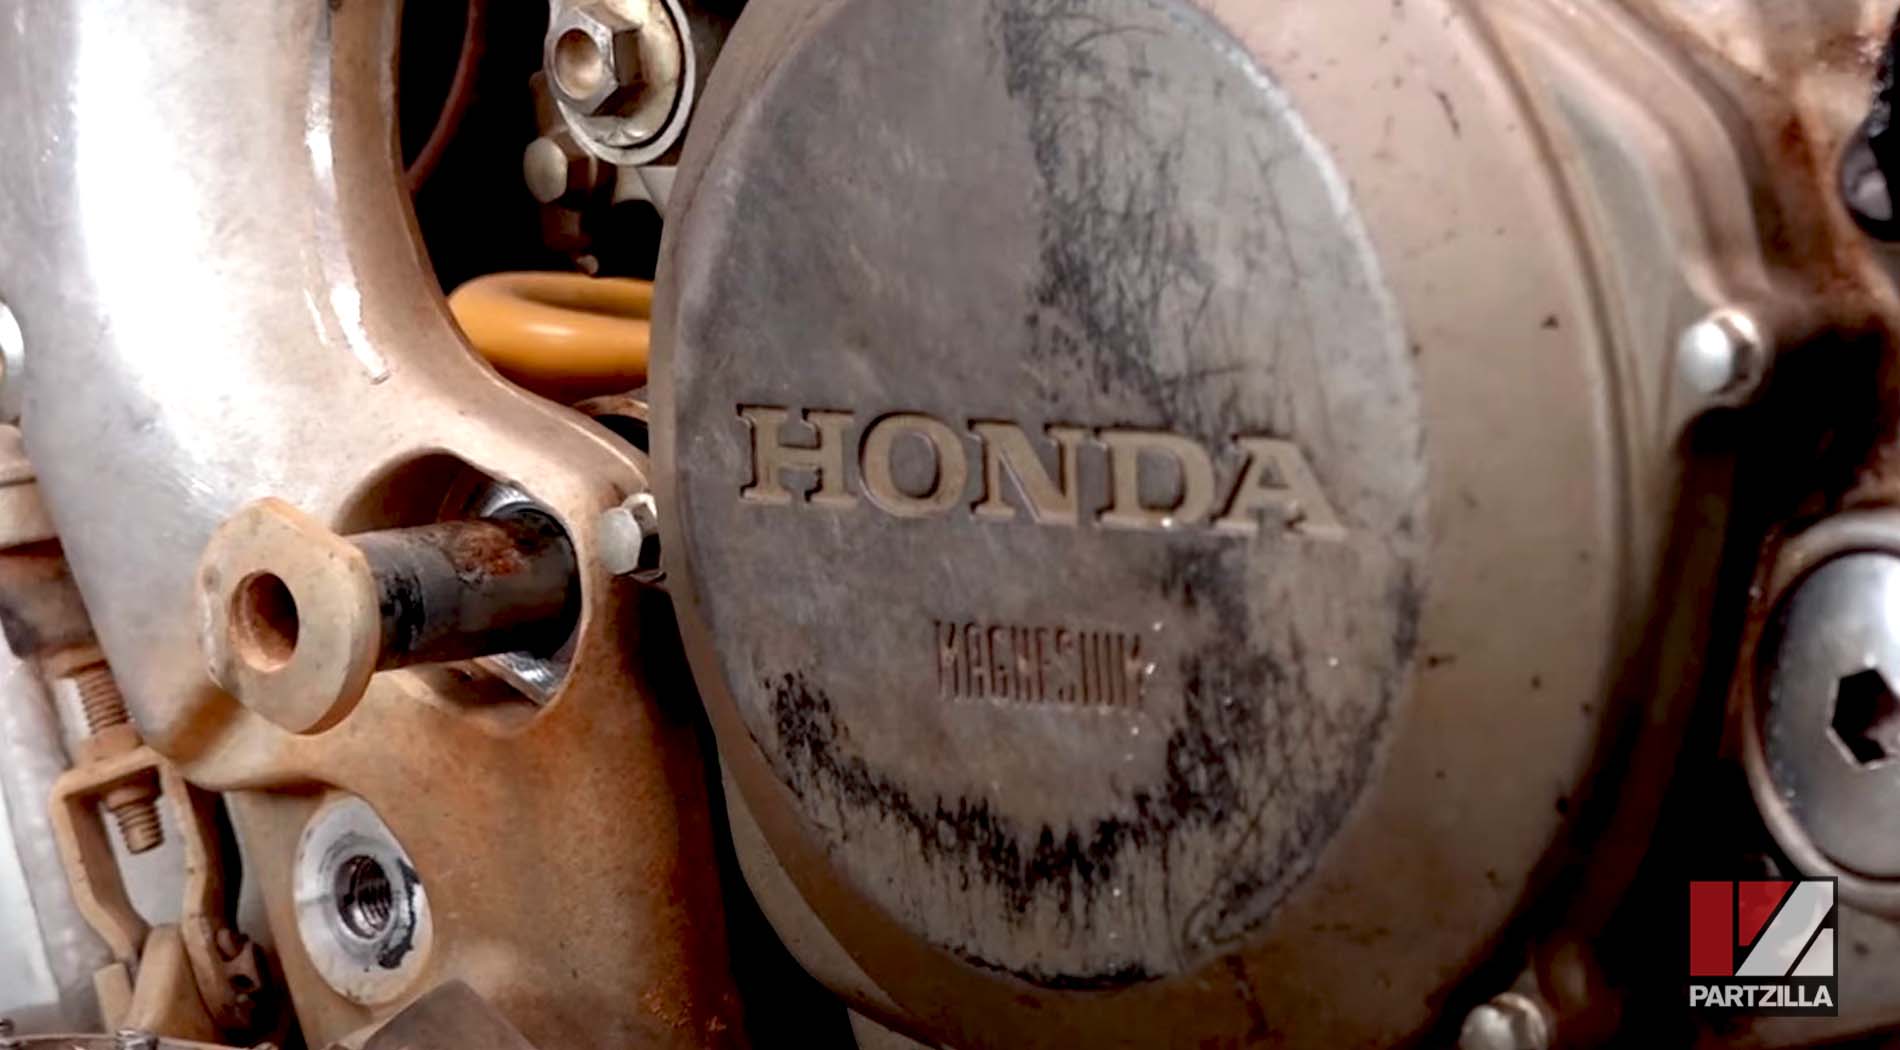
Step 16. Remove the 22mm bolt from the swingarm, plus any other remaining bolts holding the motor in place.

NOTE: If you’re using a hammer and a punch to remove the swingarm bolt, be careful not to damage the frame.
Watch the clip below to see the swingarm disconnection segment of our Honda CRF450 engine removal video.
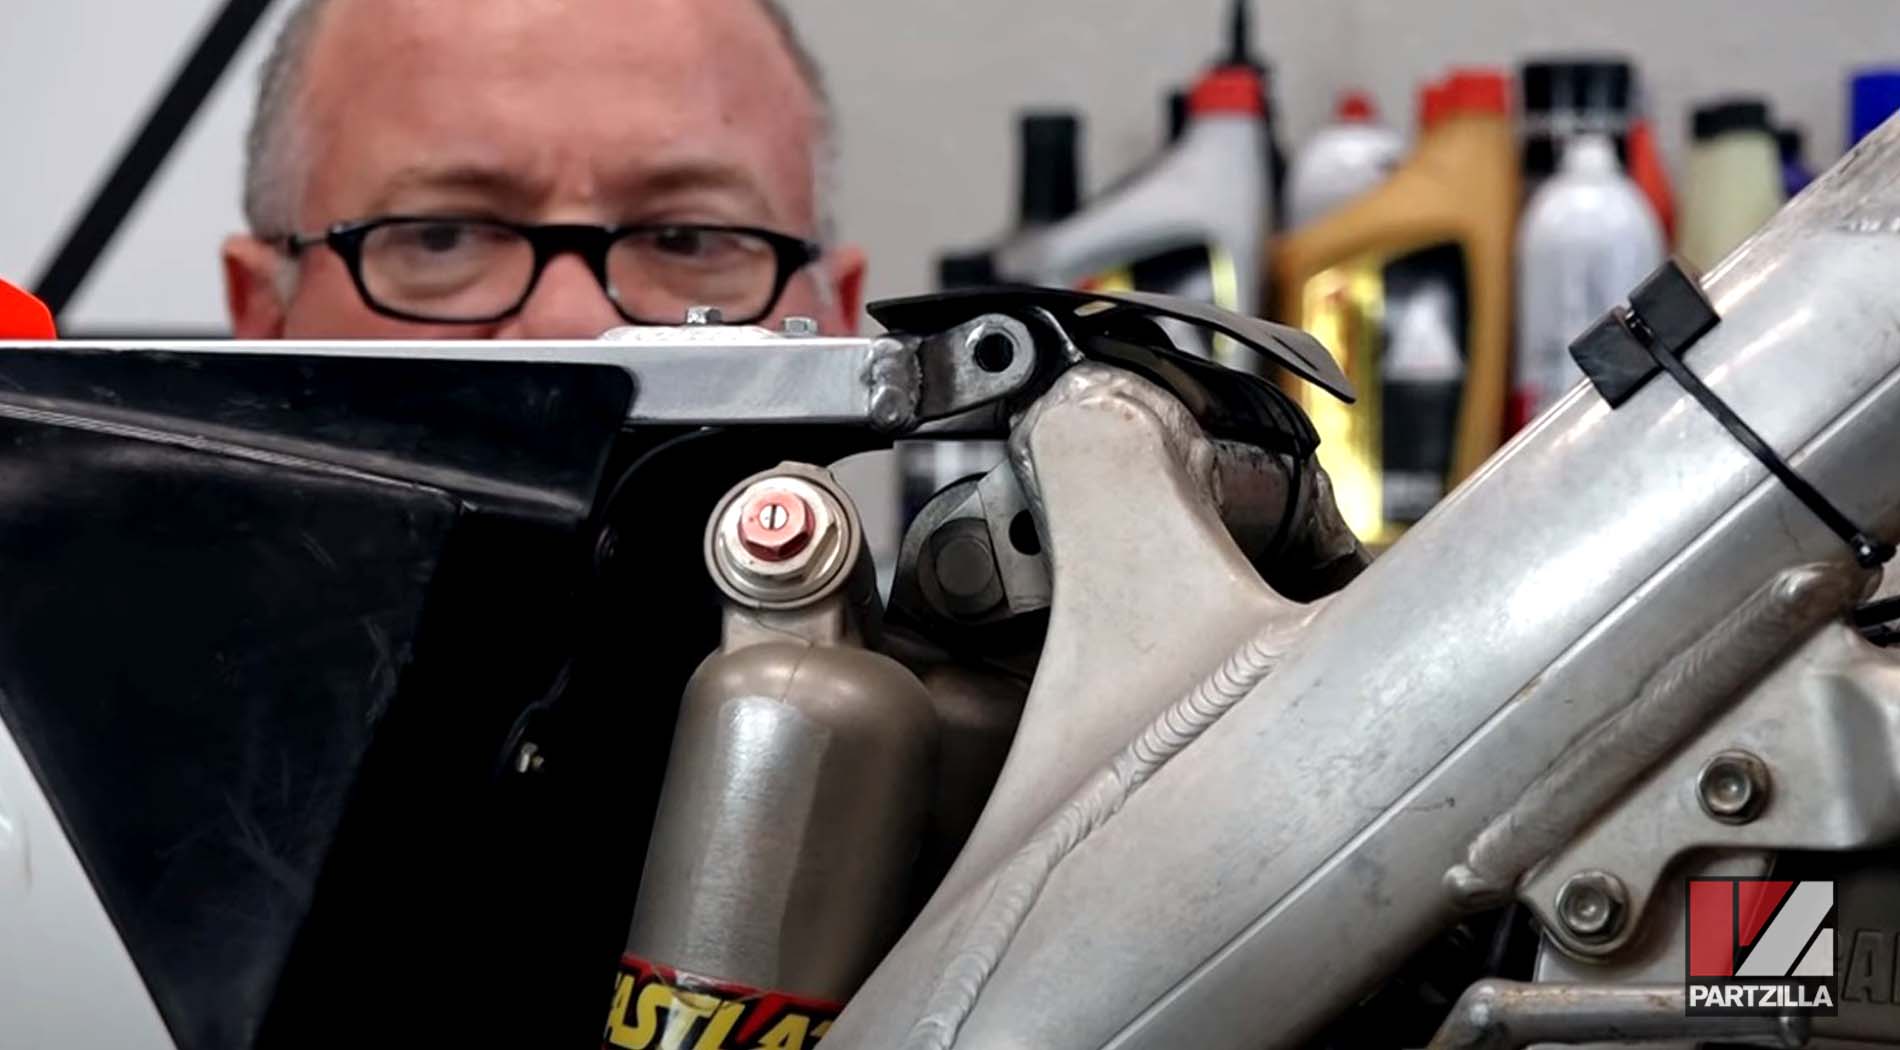
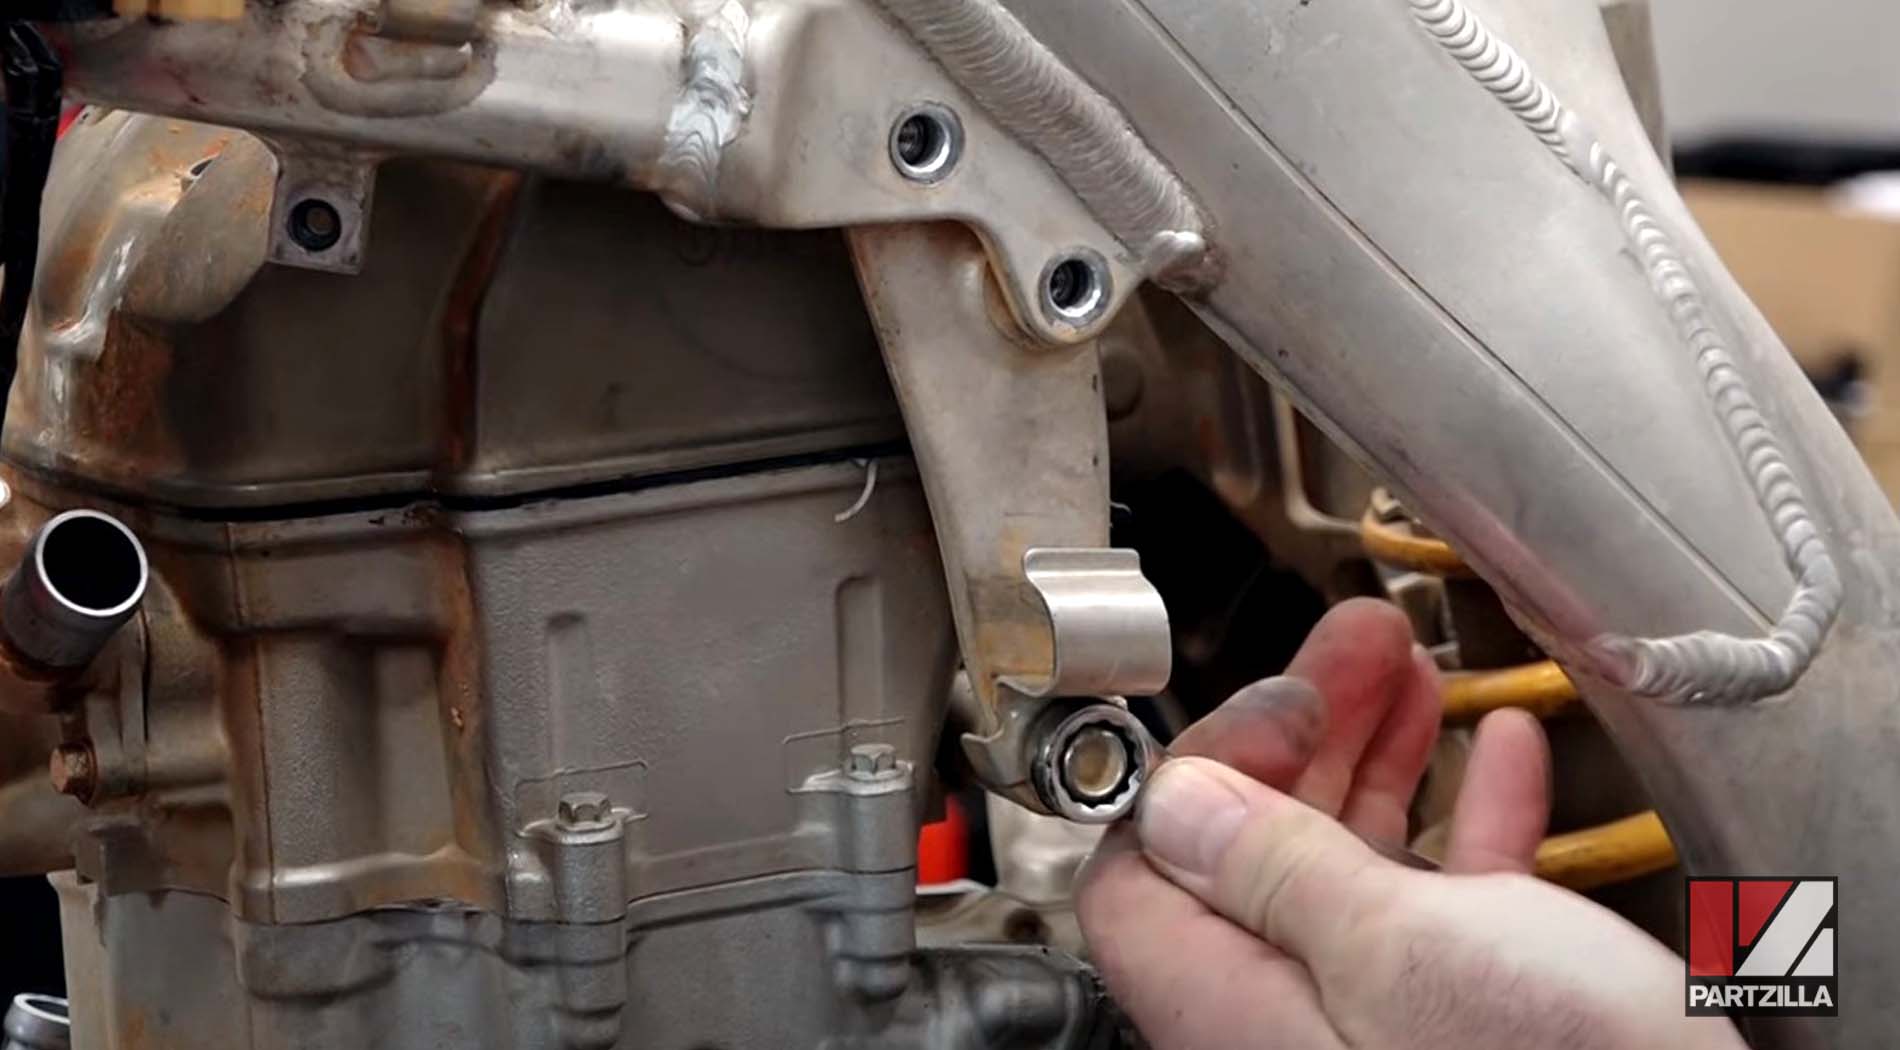
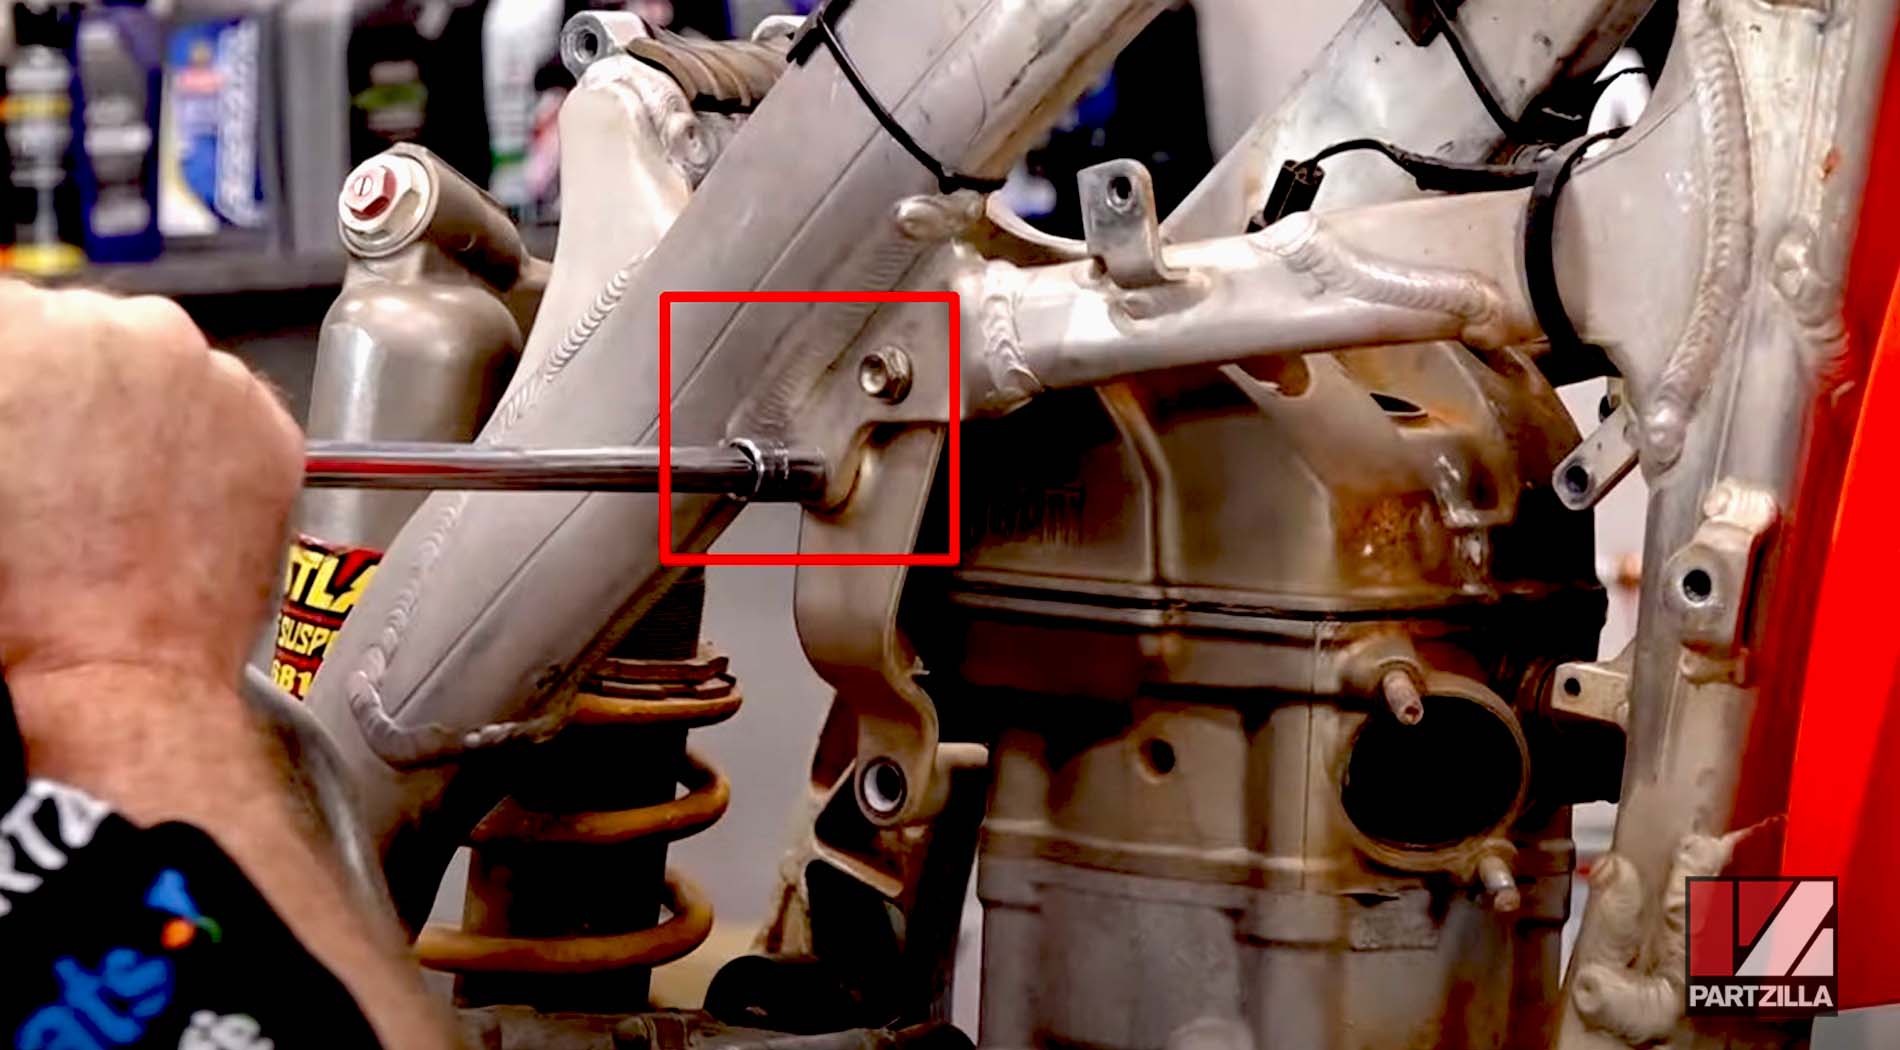
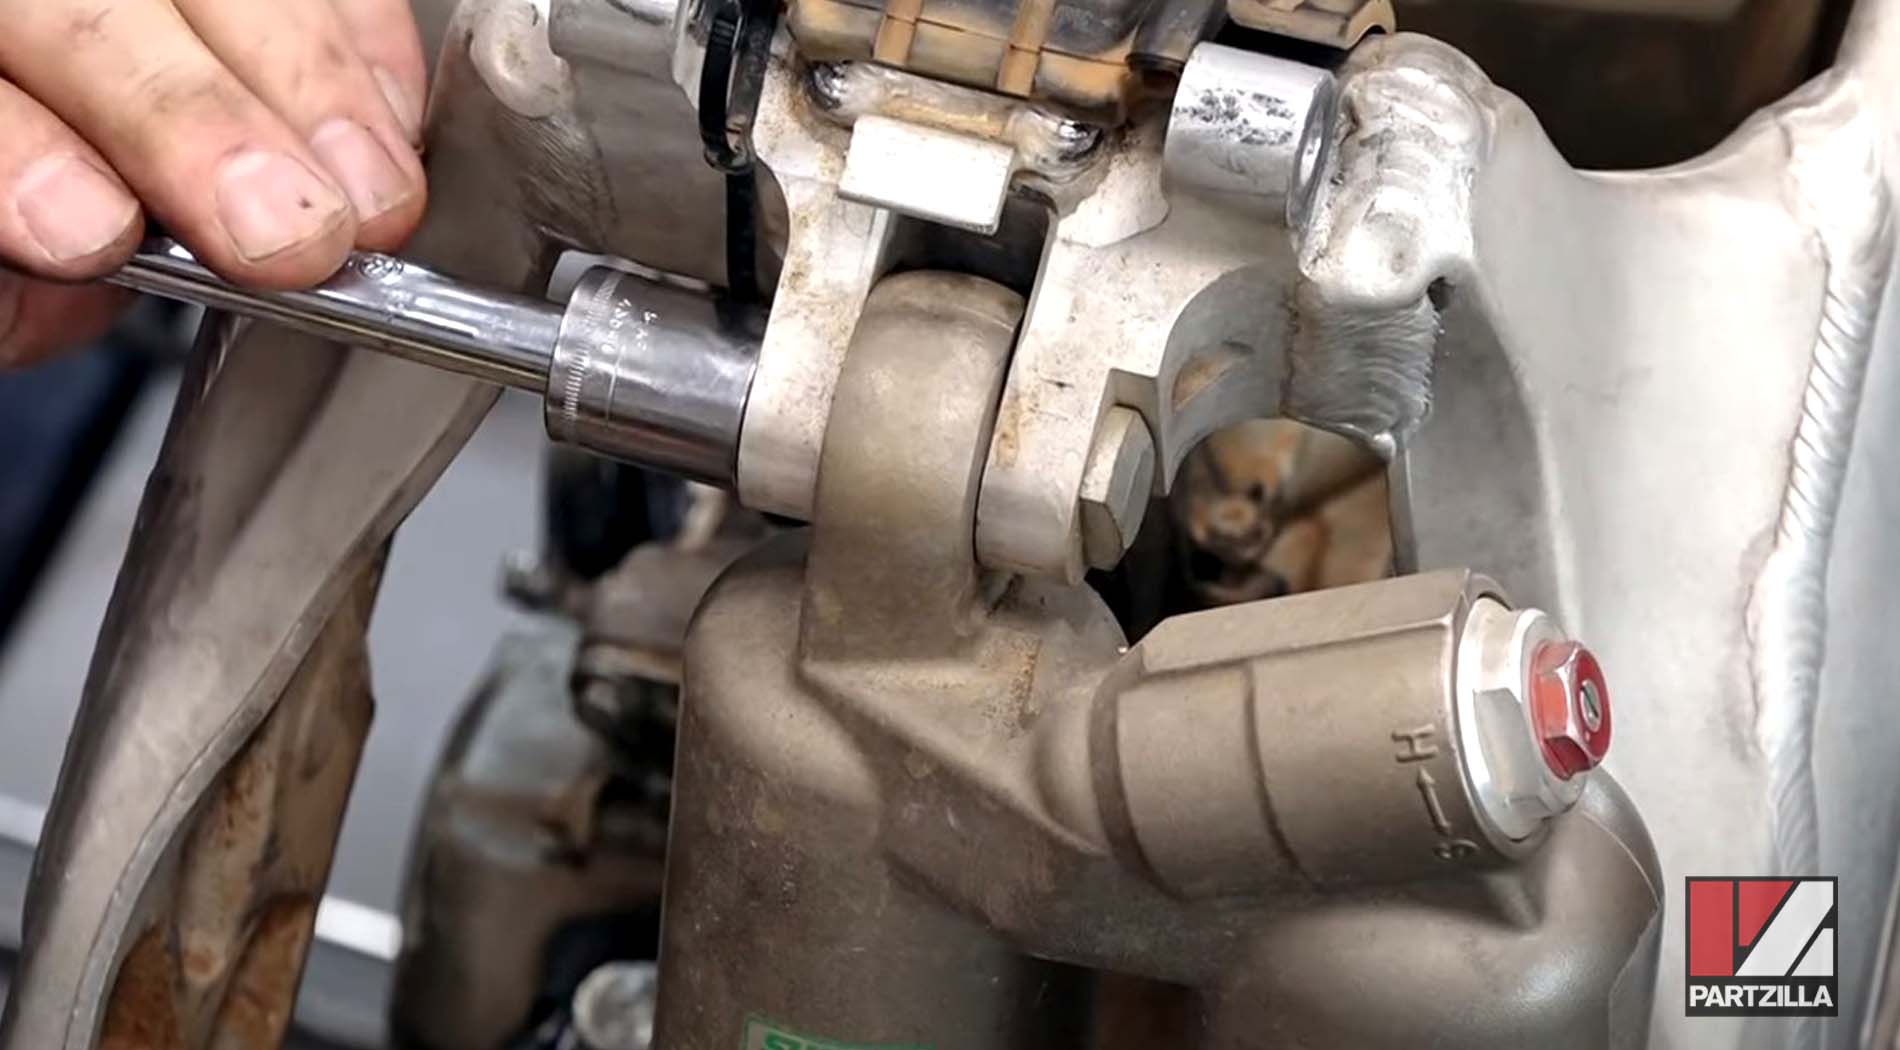
Step 17. Disconnect the top of the shock mount and swing it back, out of the way.
Step 18. Remove the kickstarter handle.
Step 19. Remove the gear shift, which is held in place by a 10mm bolt.
Step 20. Lift up the motor, turn it in, rotate it 90 degrees, then pull it out of the frame.
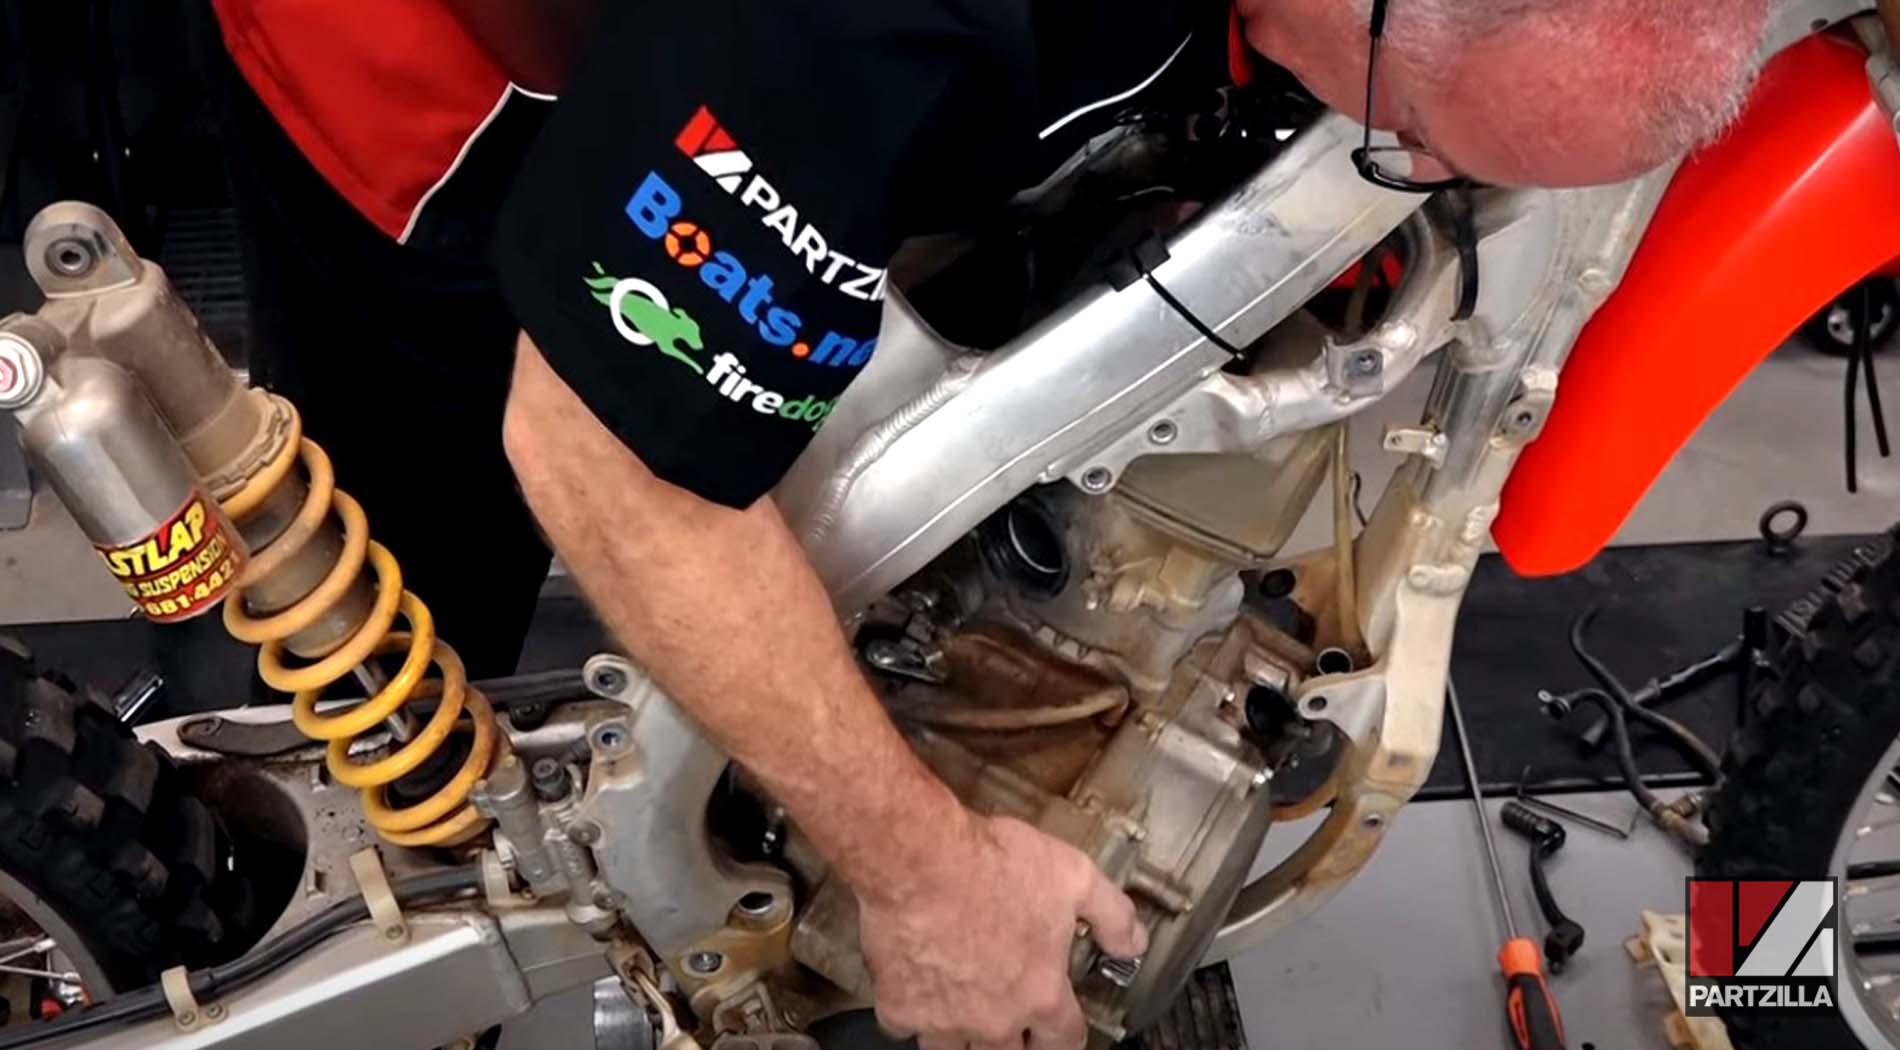
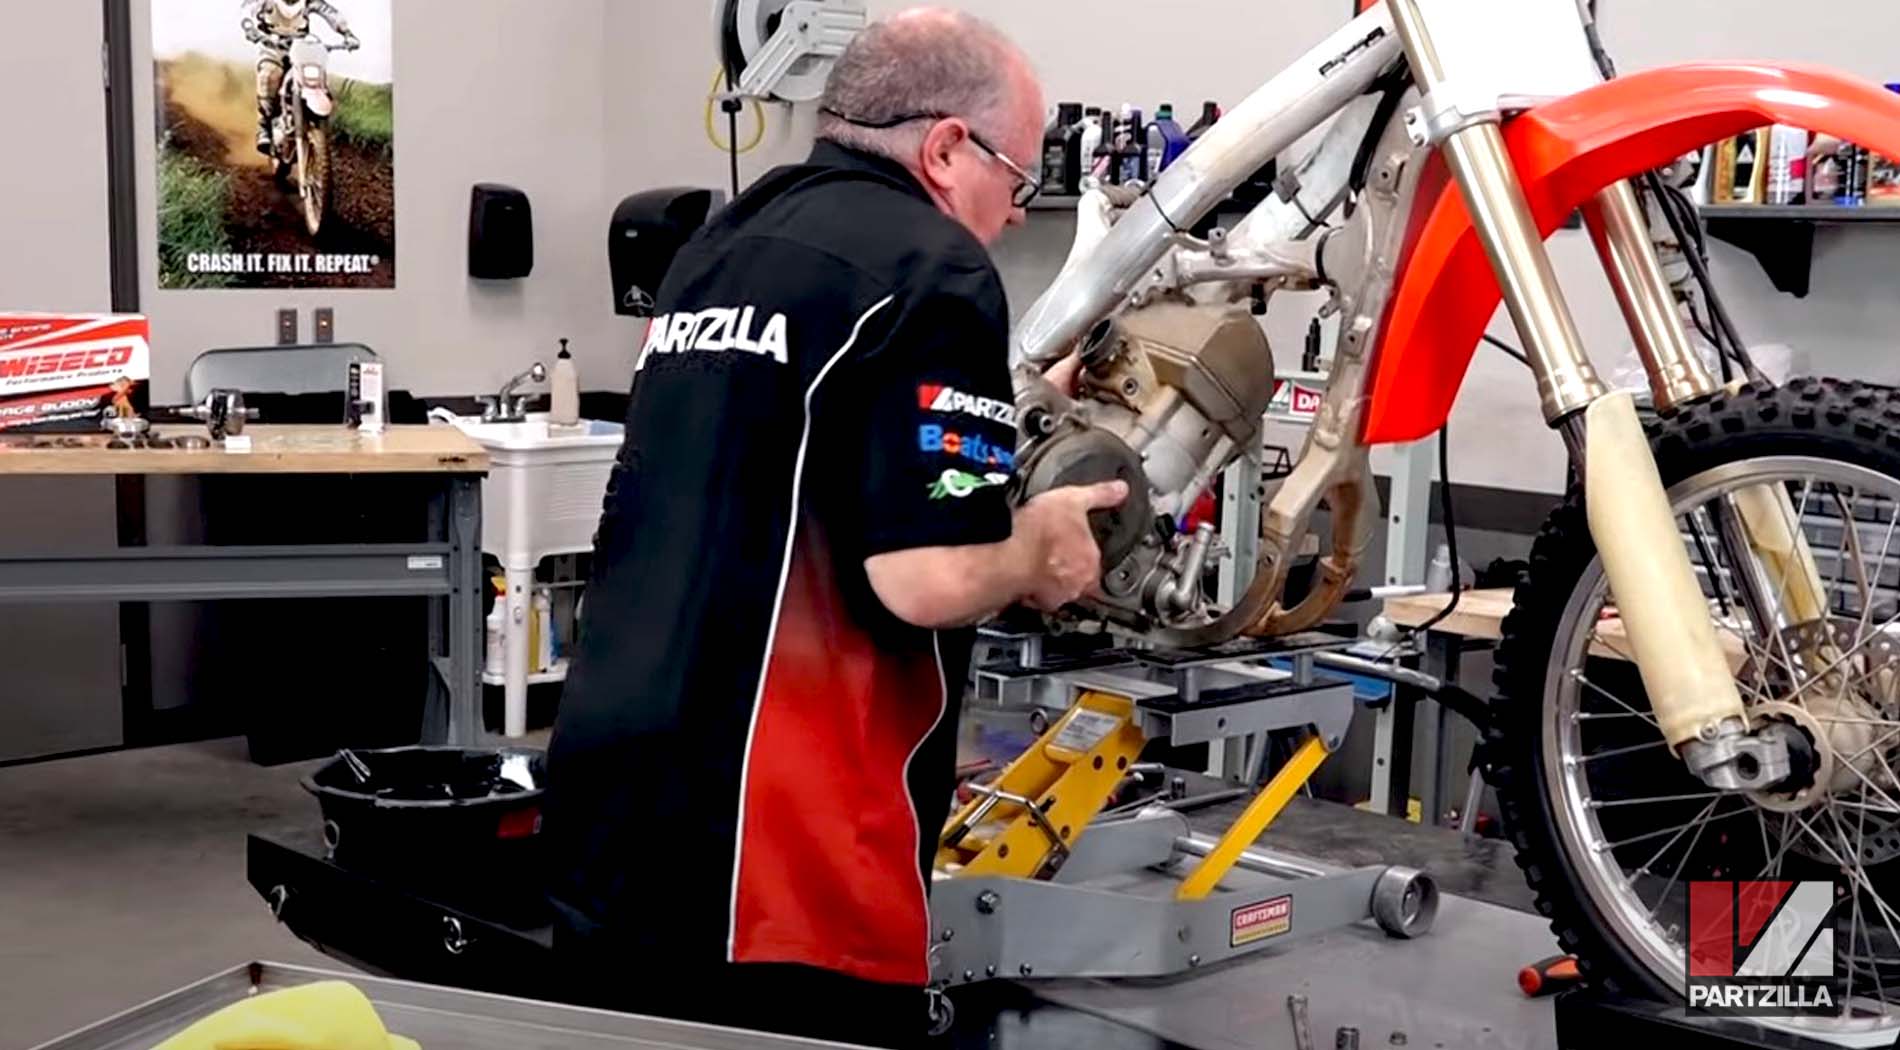
Watch the clip below to see the final motor removal steps segment of our Honda CRF450 engine removal video.
Now that the engine is removed, the next step is to start tearing it down before rebuilding it from the crankshaft all the way up.
Watch the video above to see the full engine teardown, including the top end and the bottom end, of our Honda CRF450R engine rebuild project.