Honda CFR450R Top End Rebuild: Engine Teardown
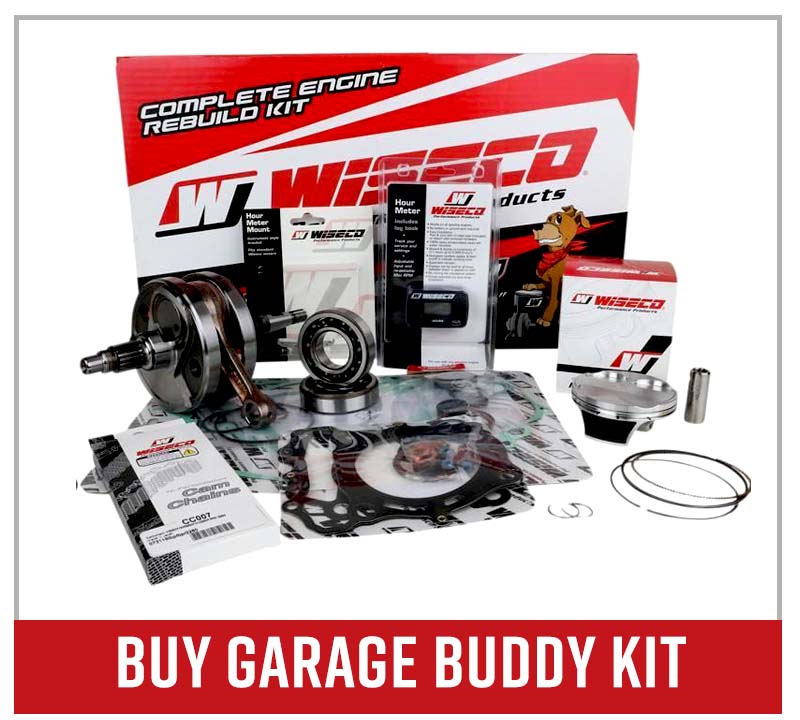
Welcome to the second part of our Honda CRF450R engine rebuild, in which we break down the top end down to the crankshaft before we rebuild it with a Wiseco Garage Buddy engine rebuild kit.
Watch the video above and follow the steps below to do an engine teardown on a CRF450 Honda motorcycle top end.
Tools - Honda CRF450 Top End Rebuild Engine Teardown
- Ratchet and extensions
- 6mm Allen
- Soft-blow hammer
- Needle-nose pliers

We removed the engine in the first part of our CRF450 top end rebuild. Watch the video below to see how to remove a Honda CRF450R engine.
Honda CRF450 Top End Engine Teardown
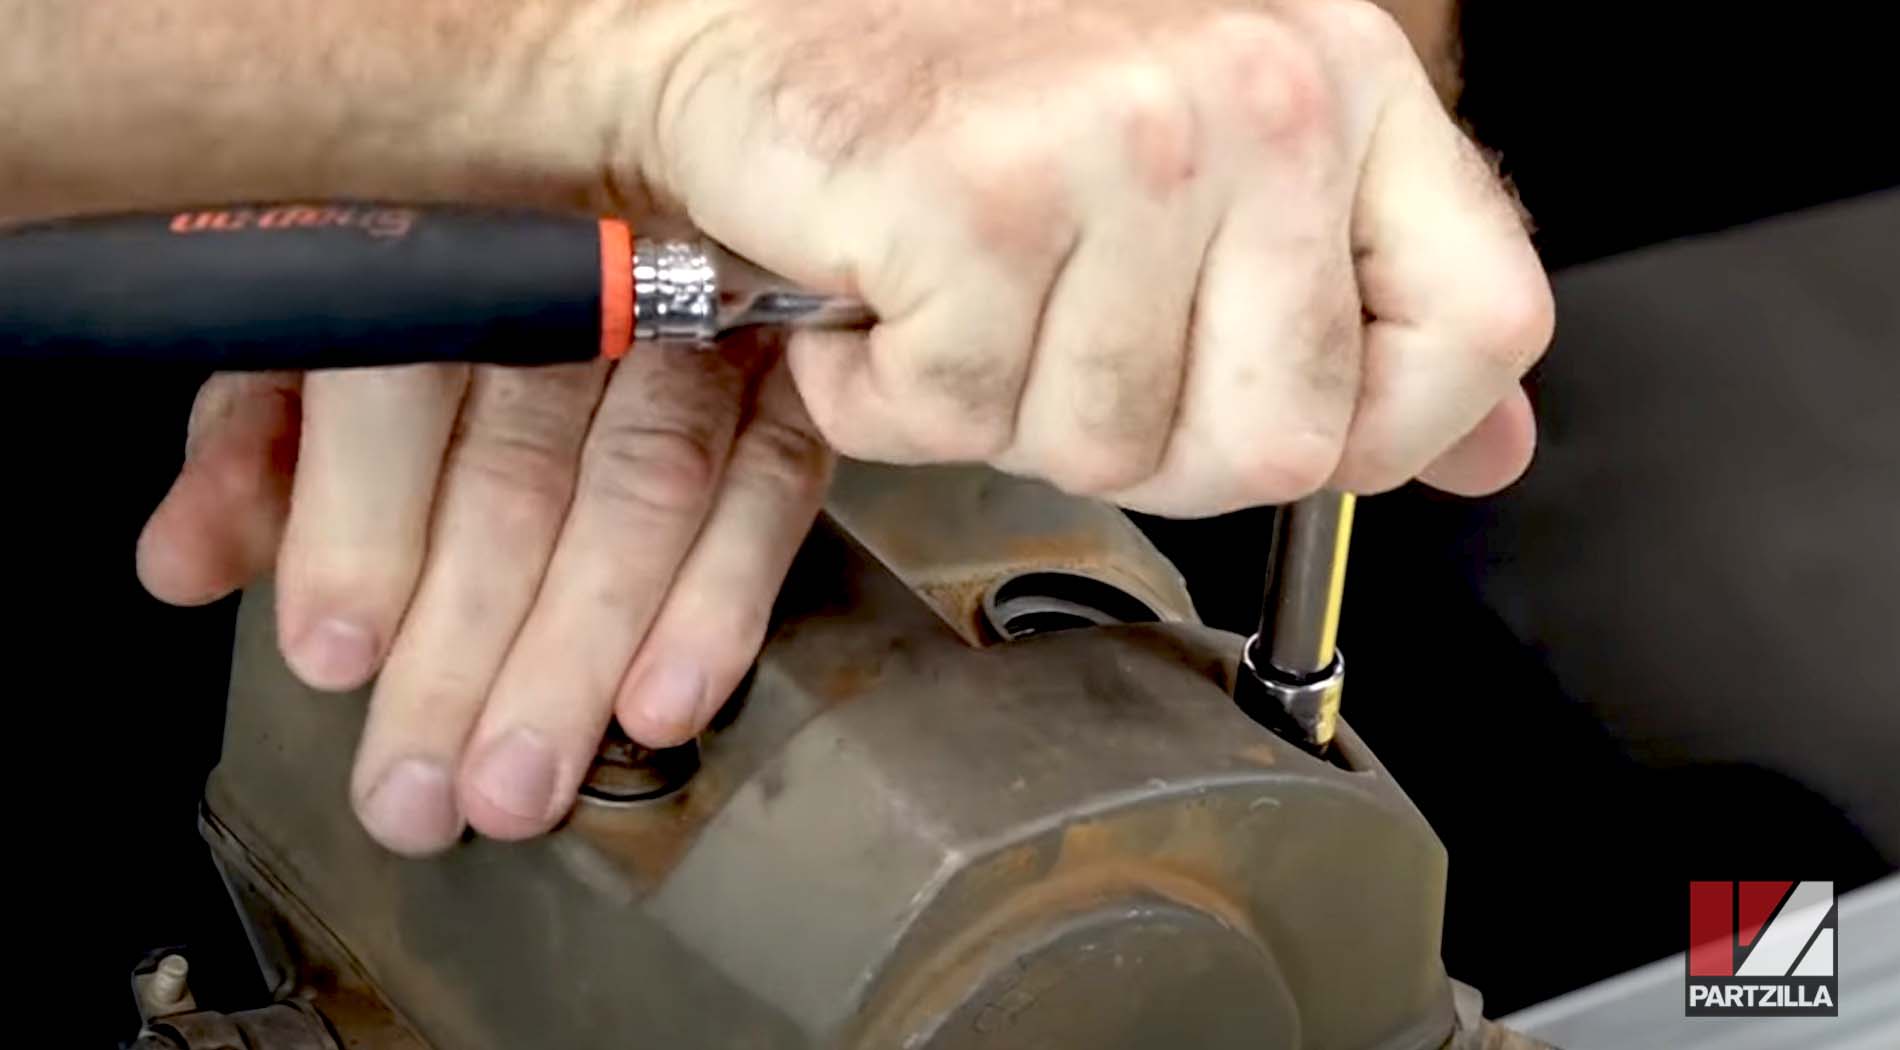
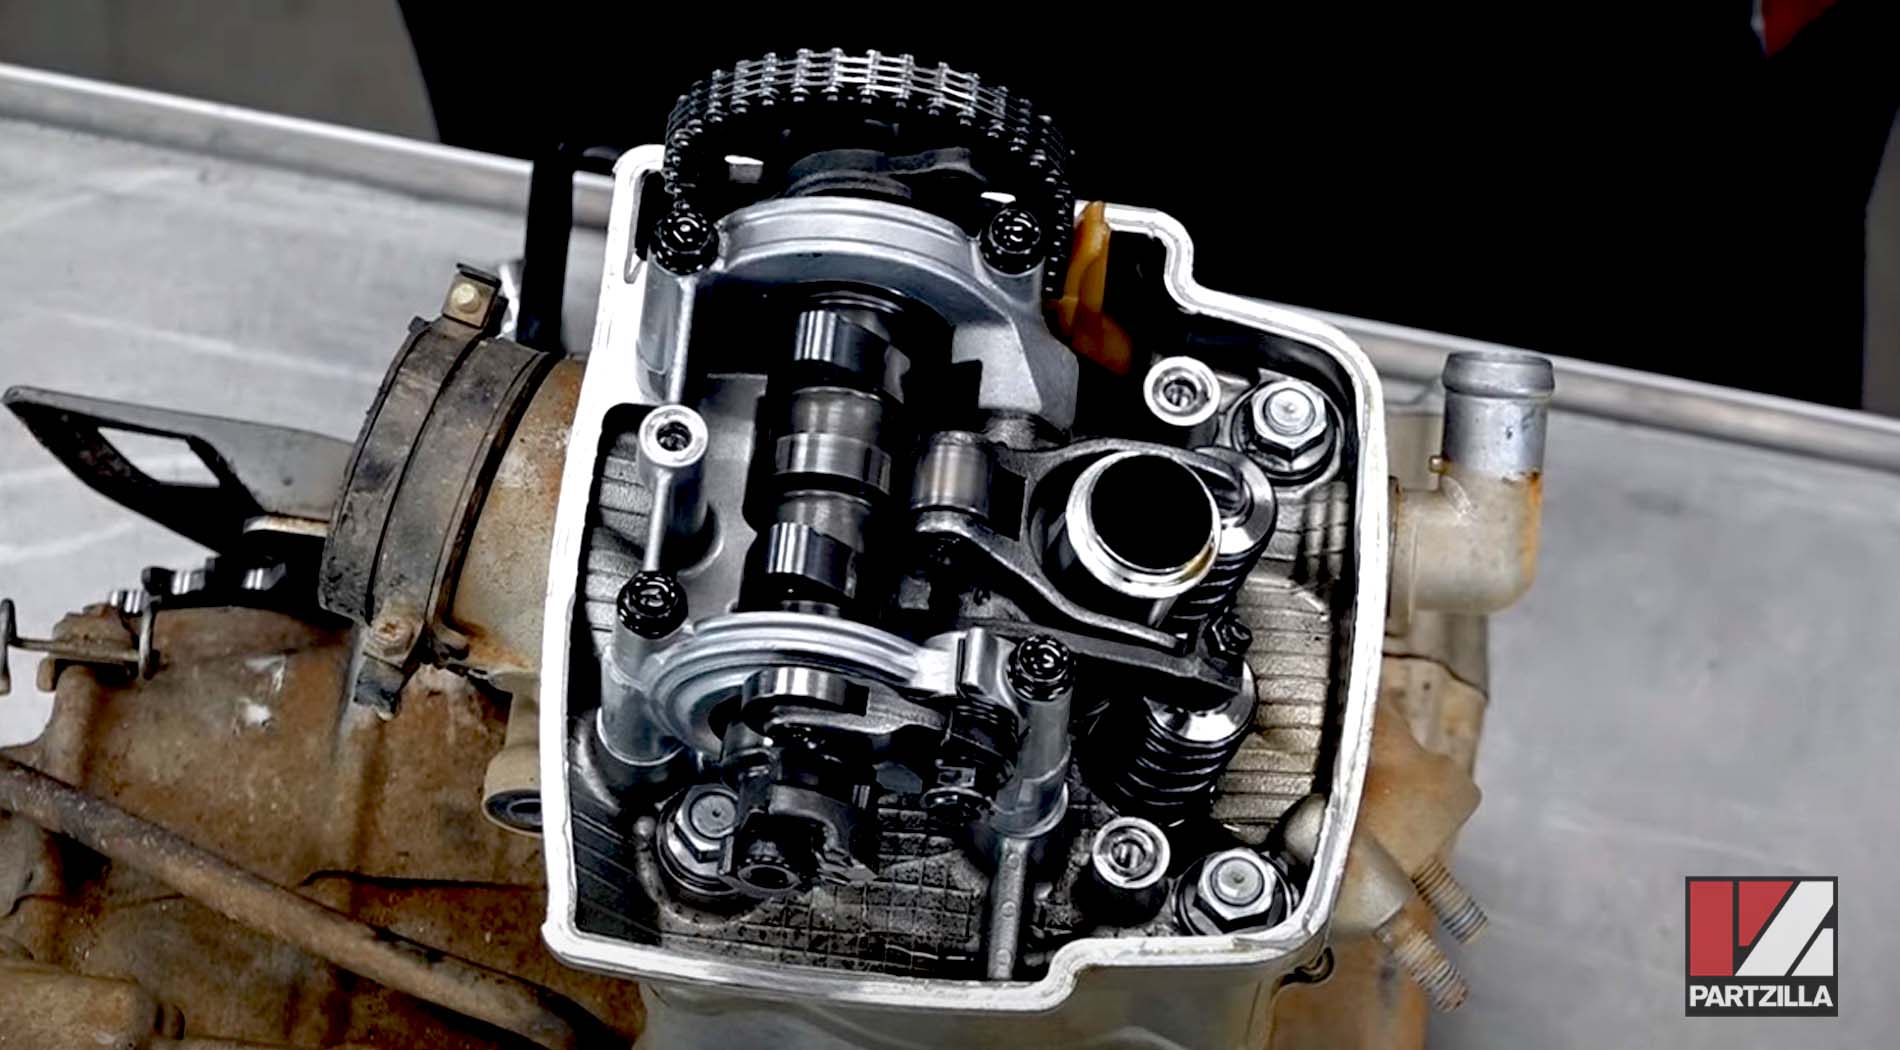
Step 1. Remove the cylinder head cover, which is held in place by three 10 millimeter head bolts.
PRO TIP: As you’re tearing down the engine, group everything together by sections to prevent getting parts mixed up. Use zip lock bags and a marker to organize and label the parts for each section.
Step 2. Remove the little cover on the side, then bring the engine to top dead center for the compression stroke by aligning the dot to the triangular pointer (as pictured below).
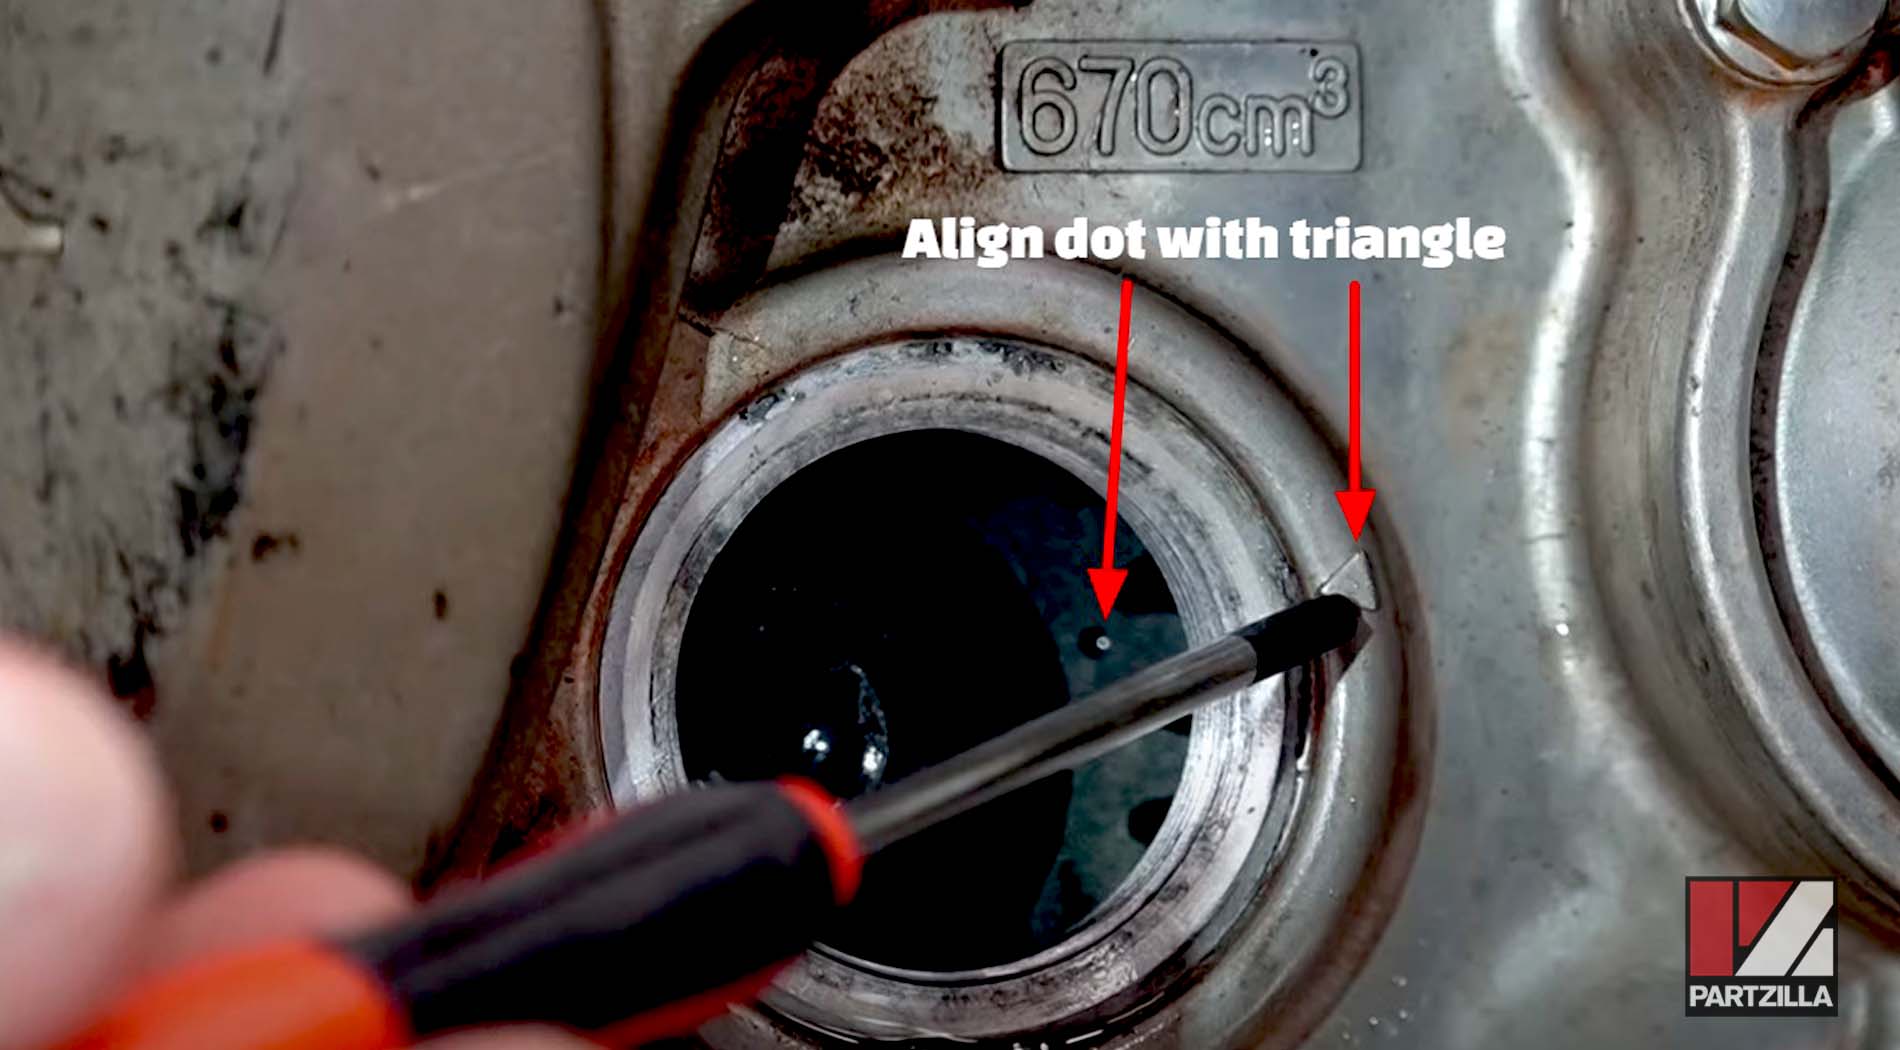
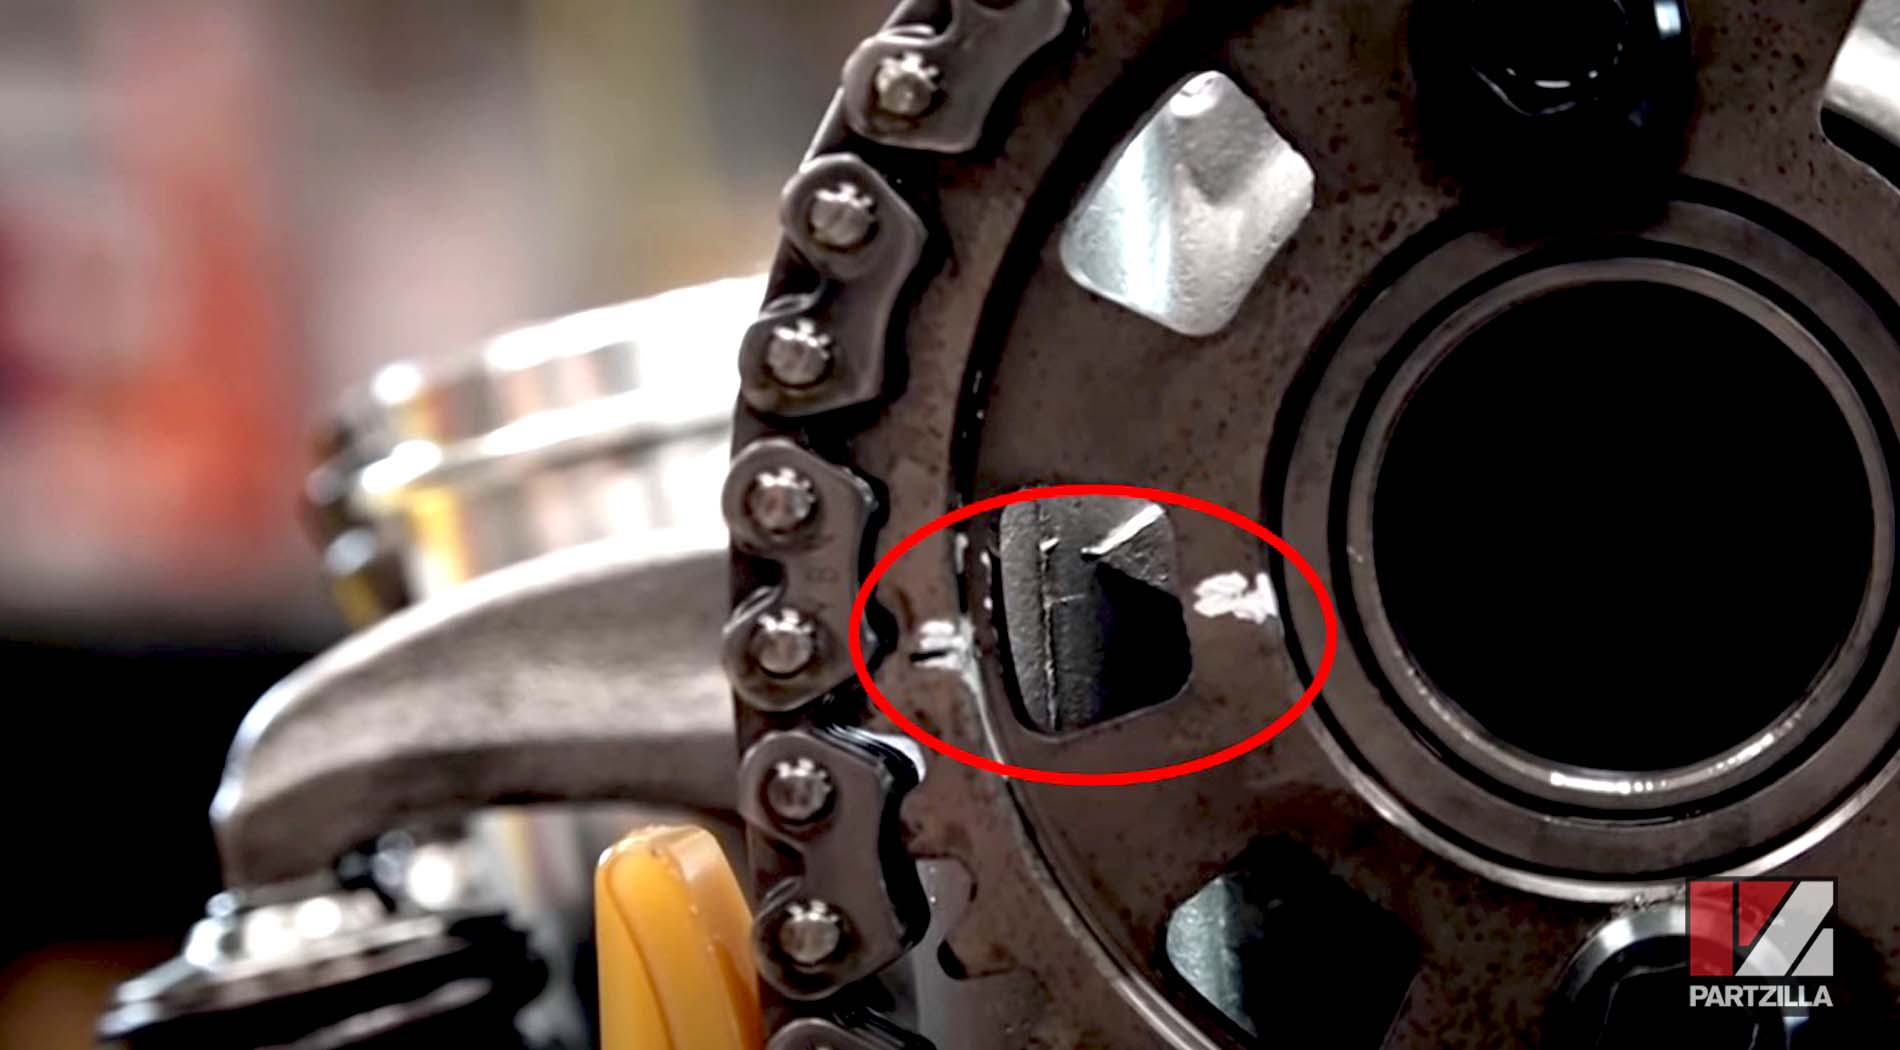
NOTE: You’ll know it’s at top dead center for the compression stroke if the cam lobes are facing up. Check for white paint marks too, which Honda may have put a on the cam gear for reference.
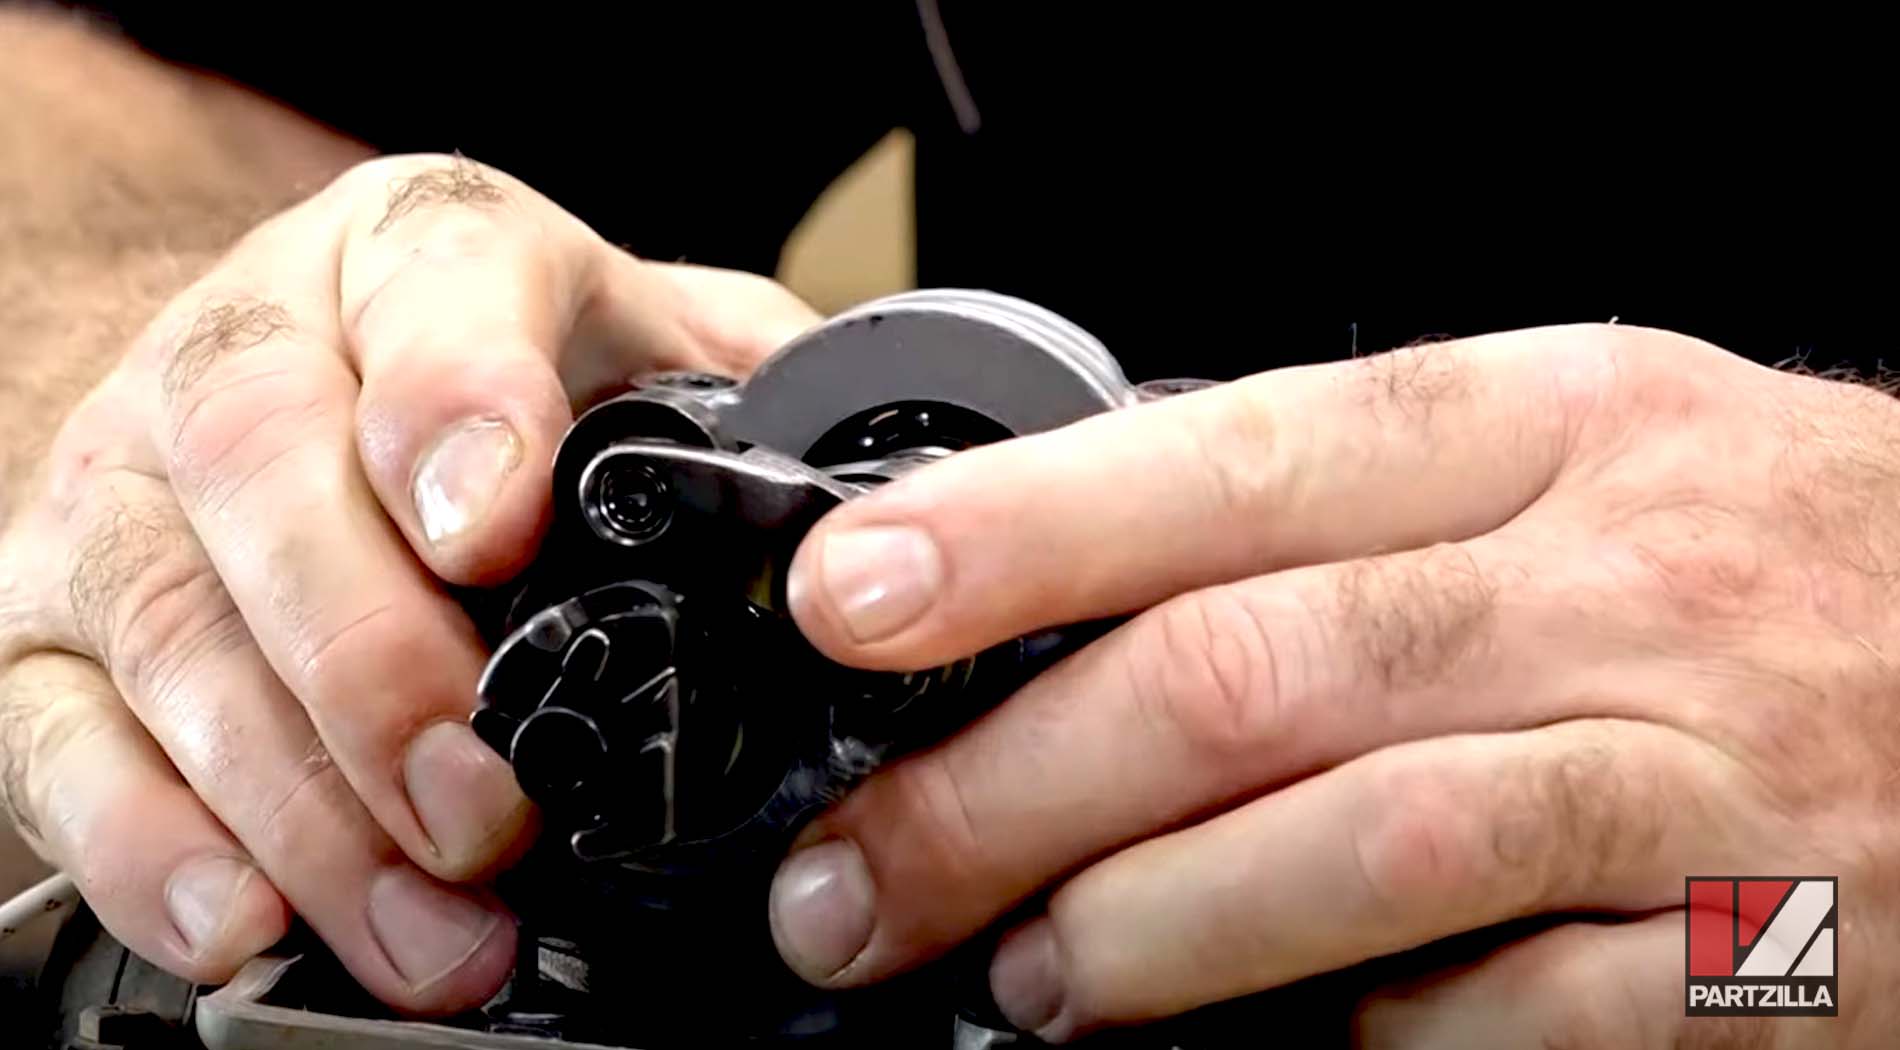
Step 3. Remove the cam chain tensioner.

Step 4. Hold the crankshaft still and remove the cam gear, which is held in place by two 6mm Allens.
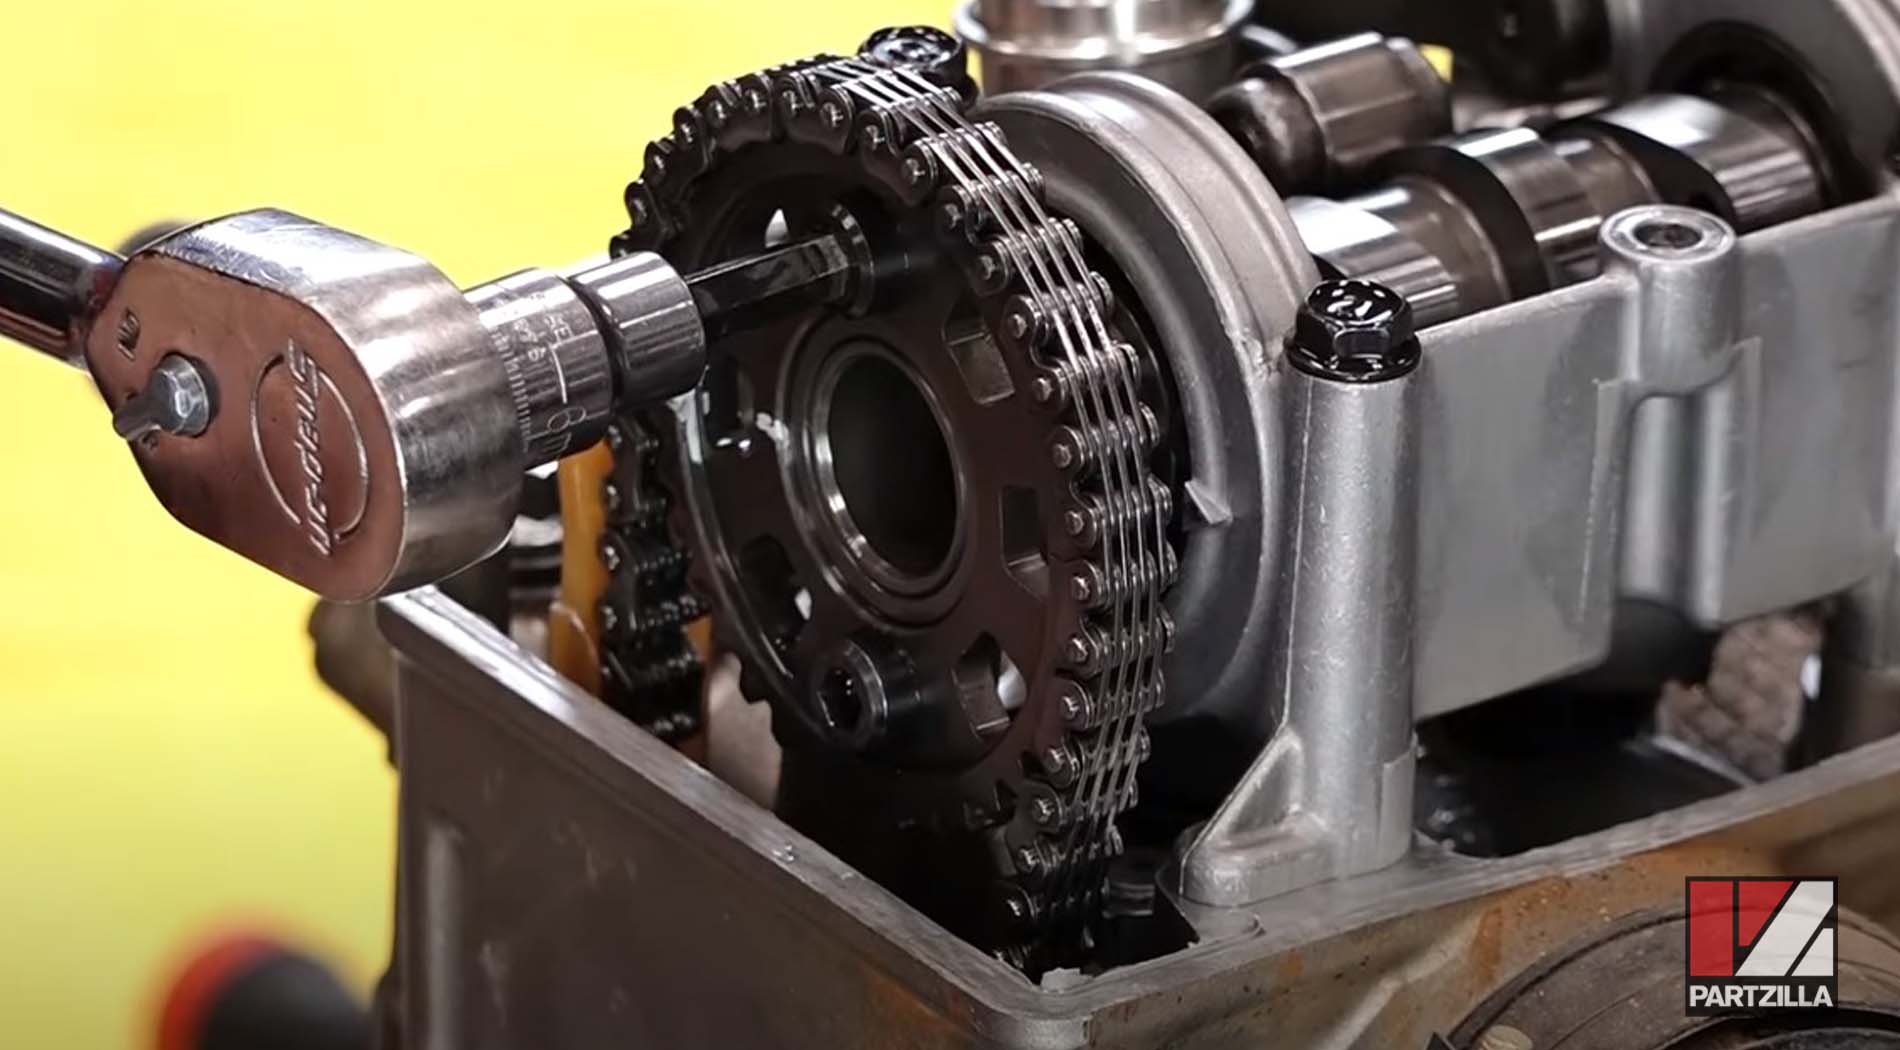
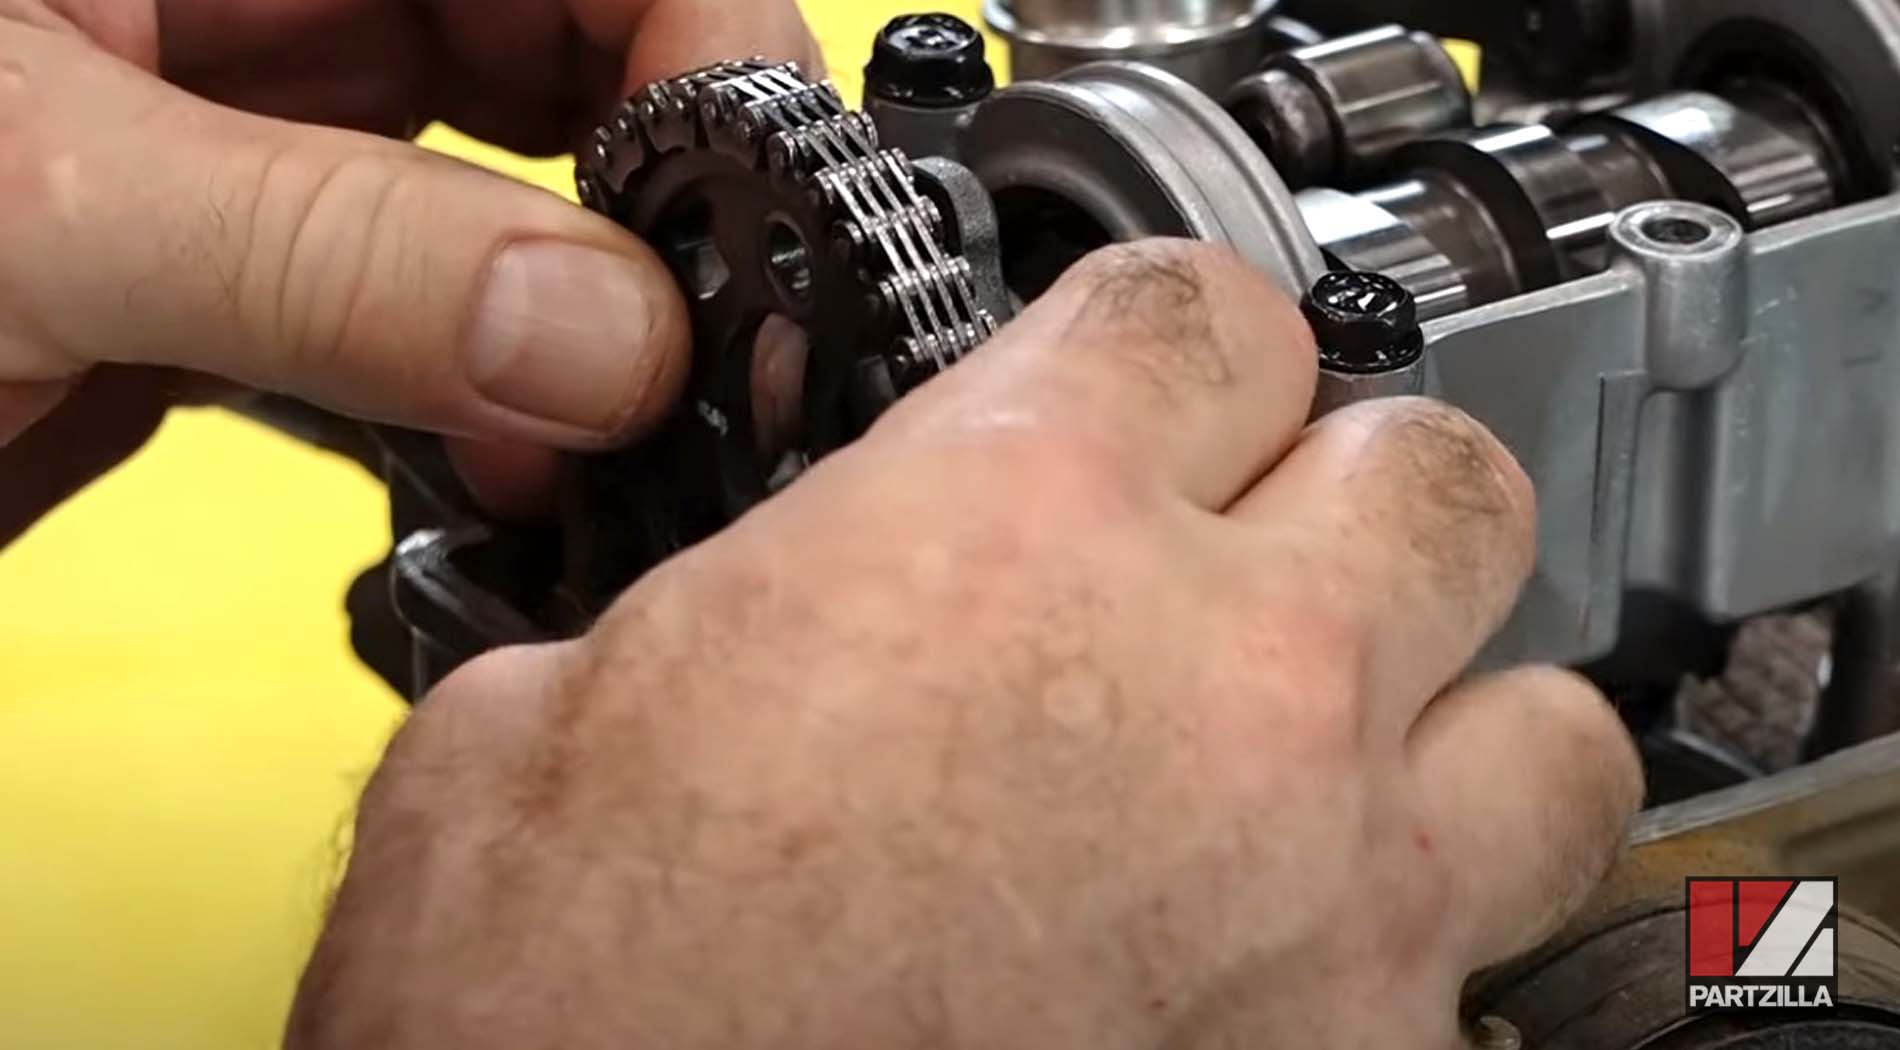
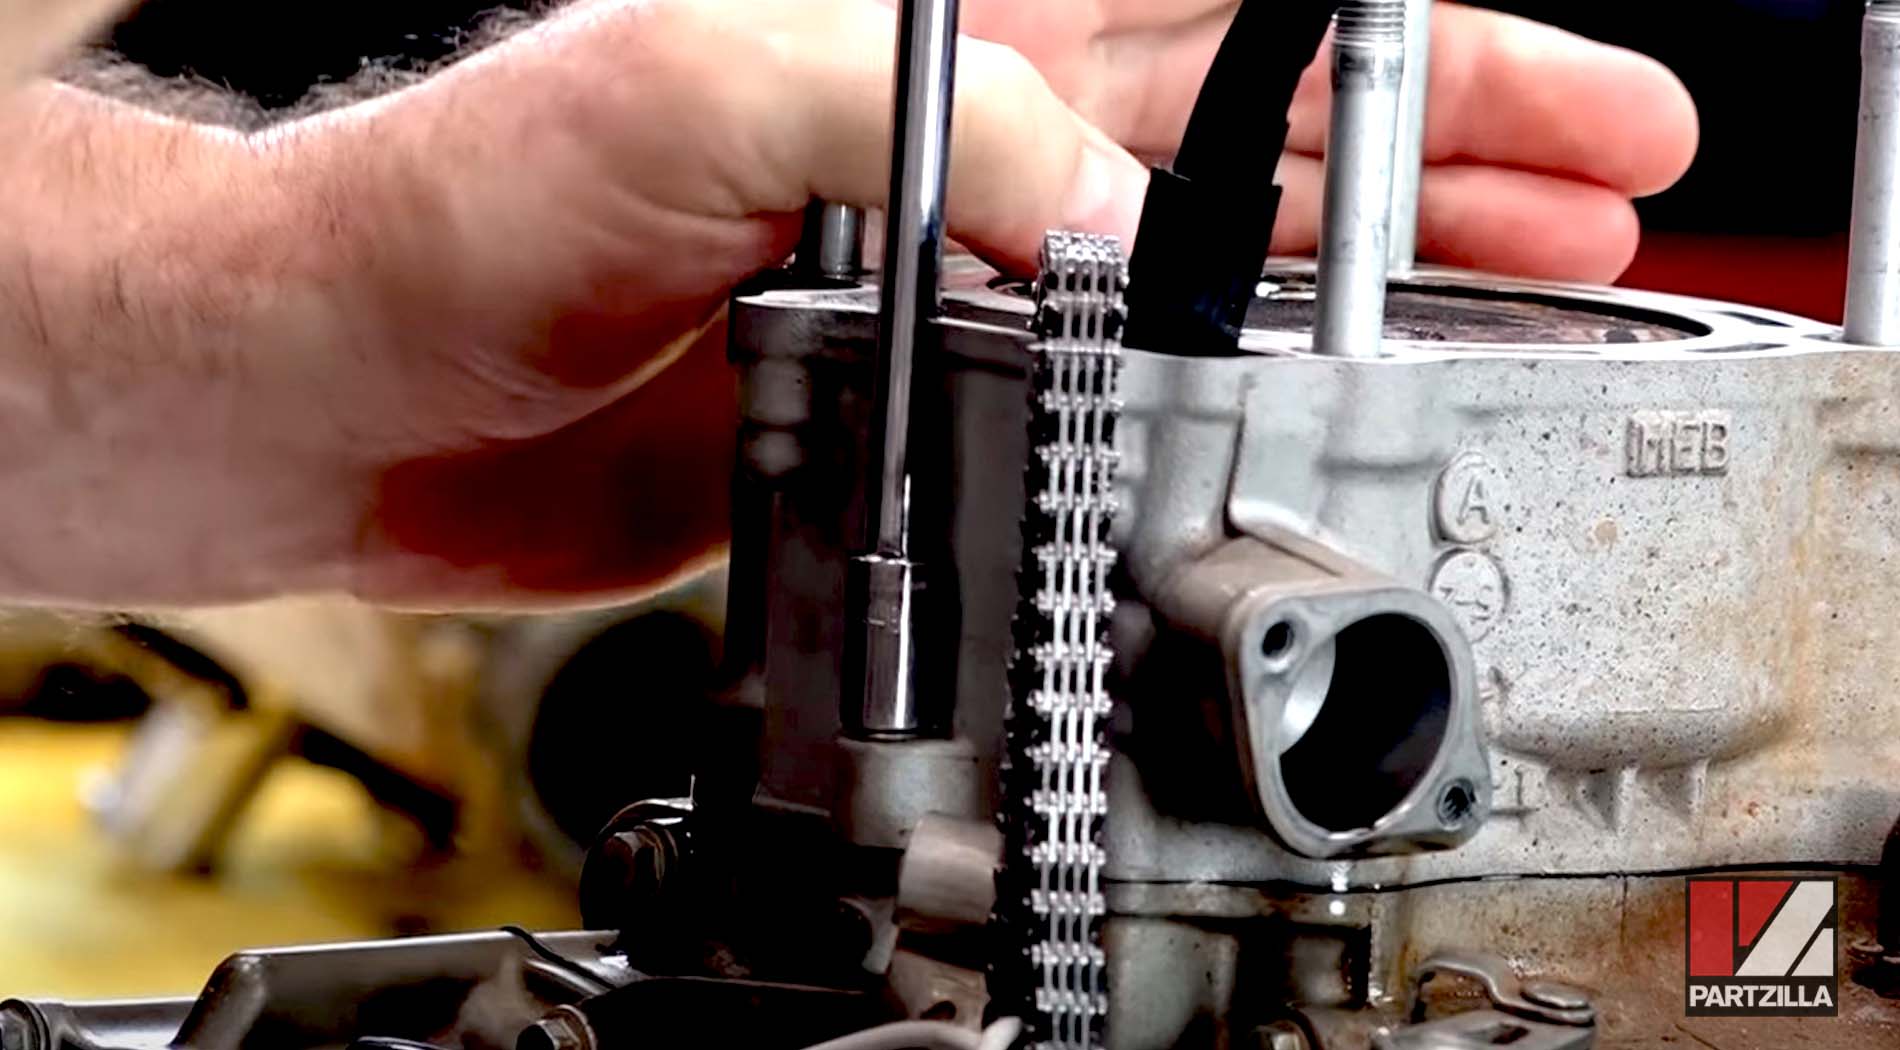
Step 5. Attach a wire to the cam chain to keep the chain from dropping down into the crankcase.

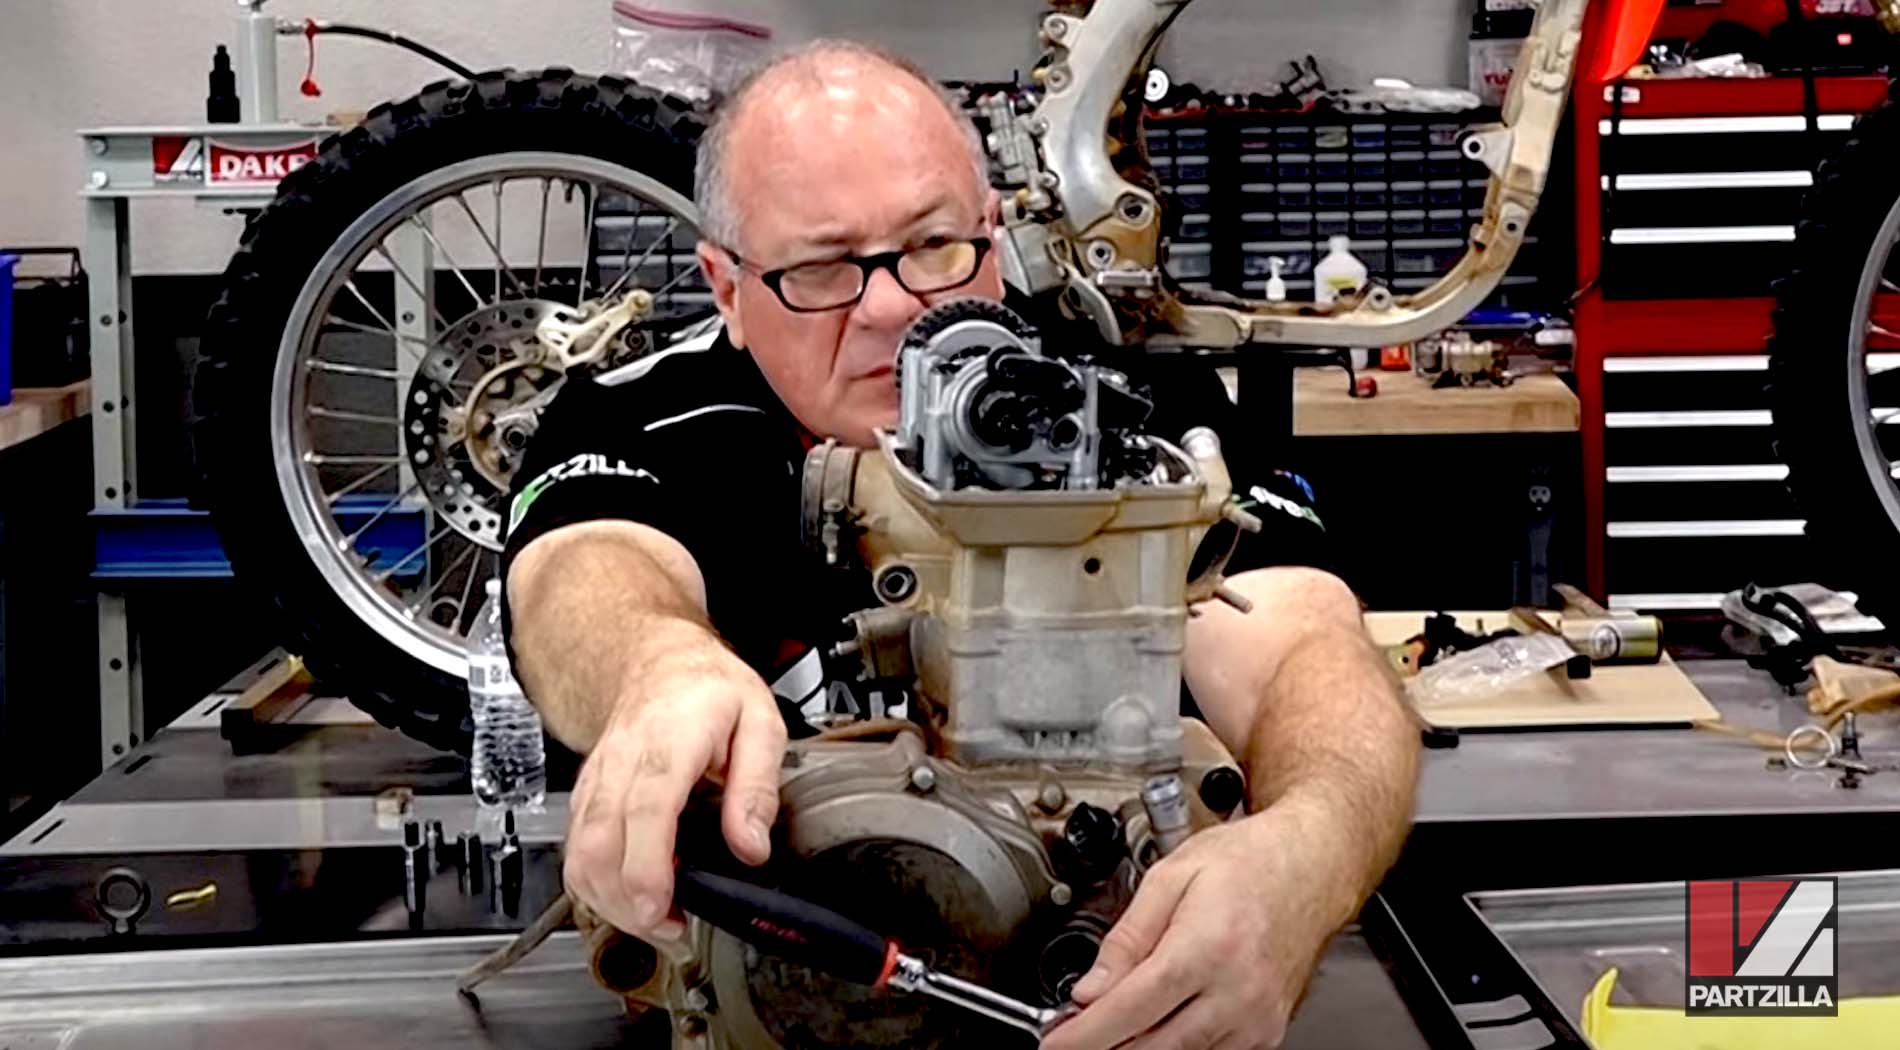
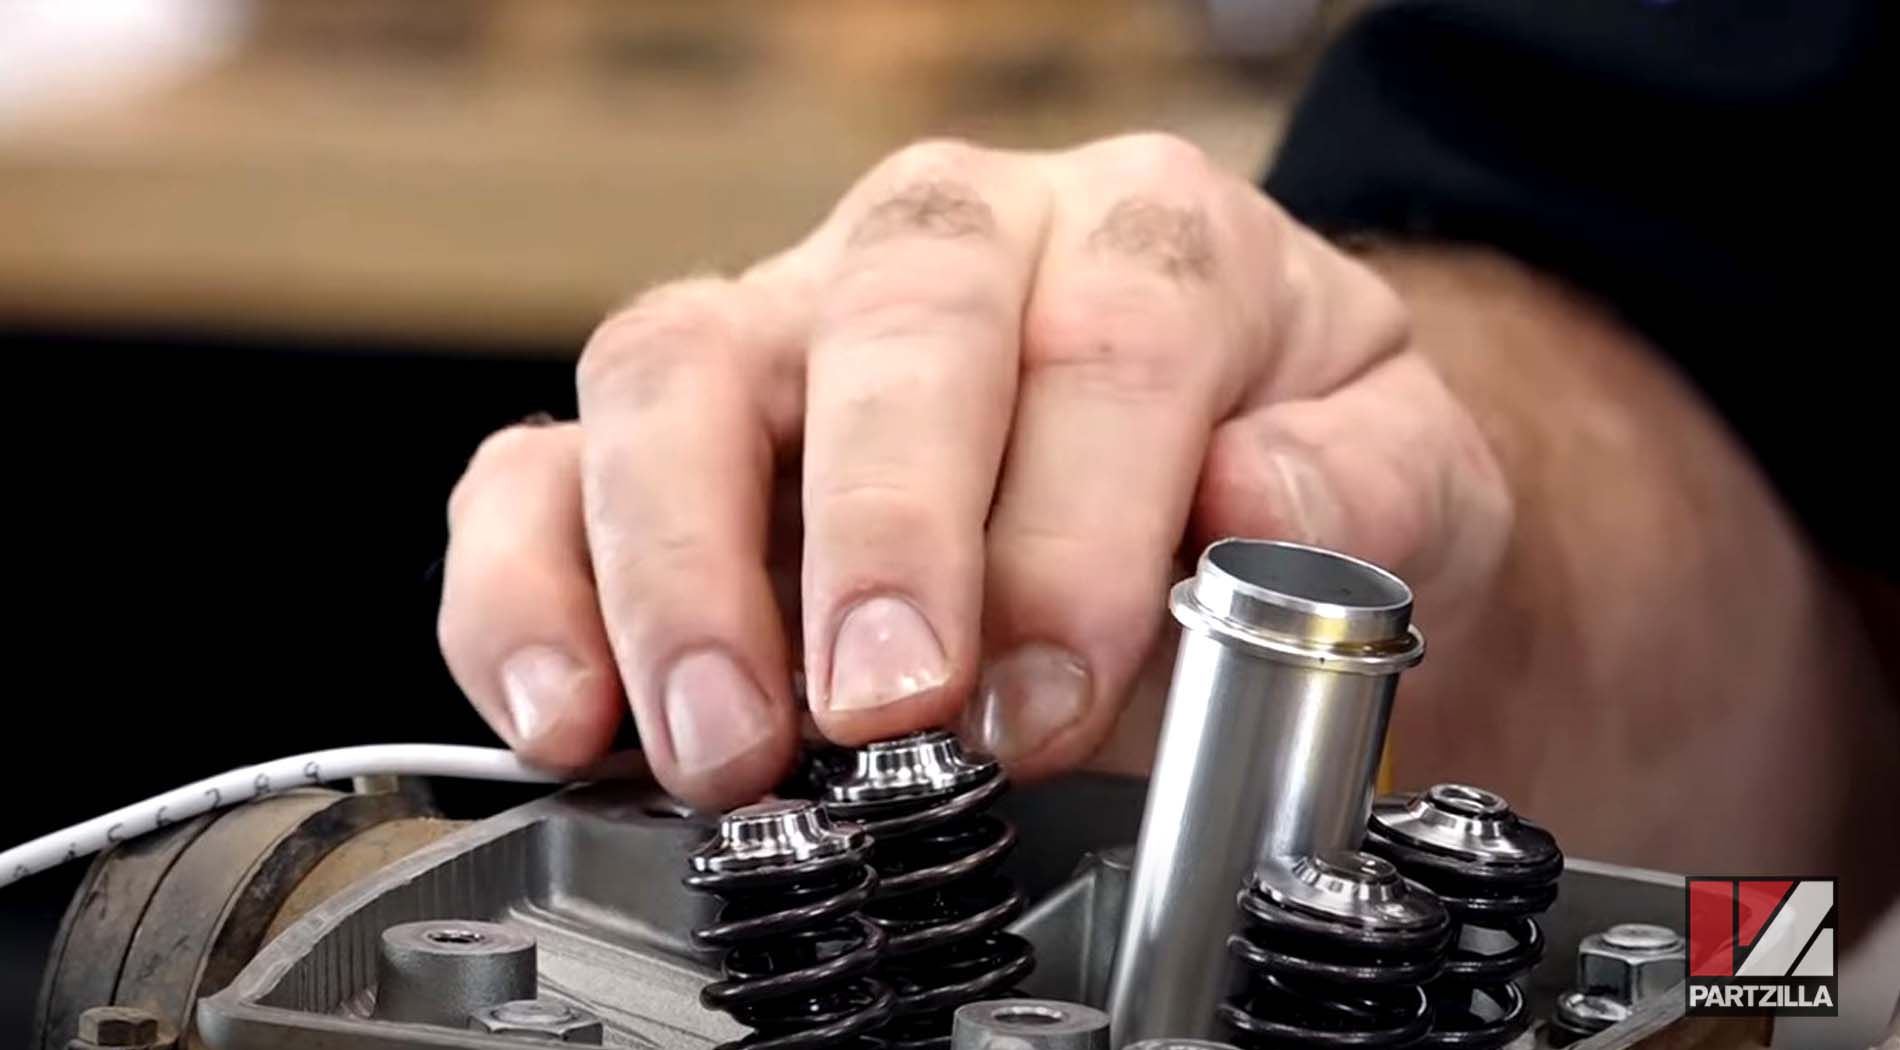
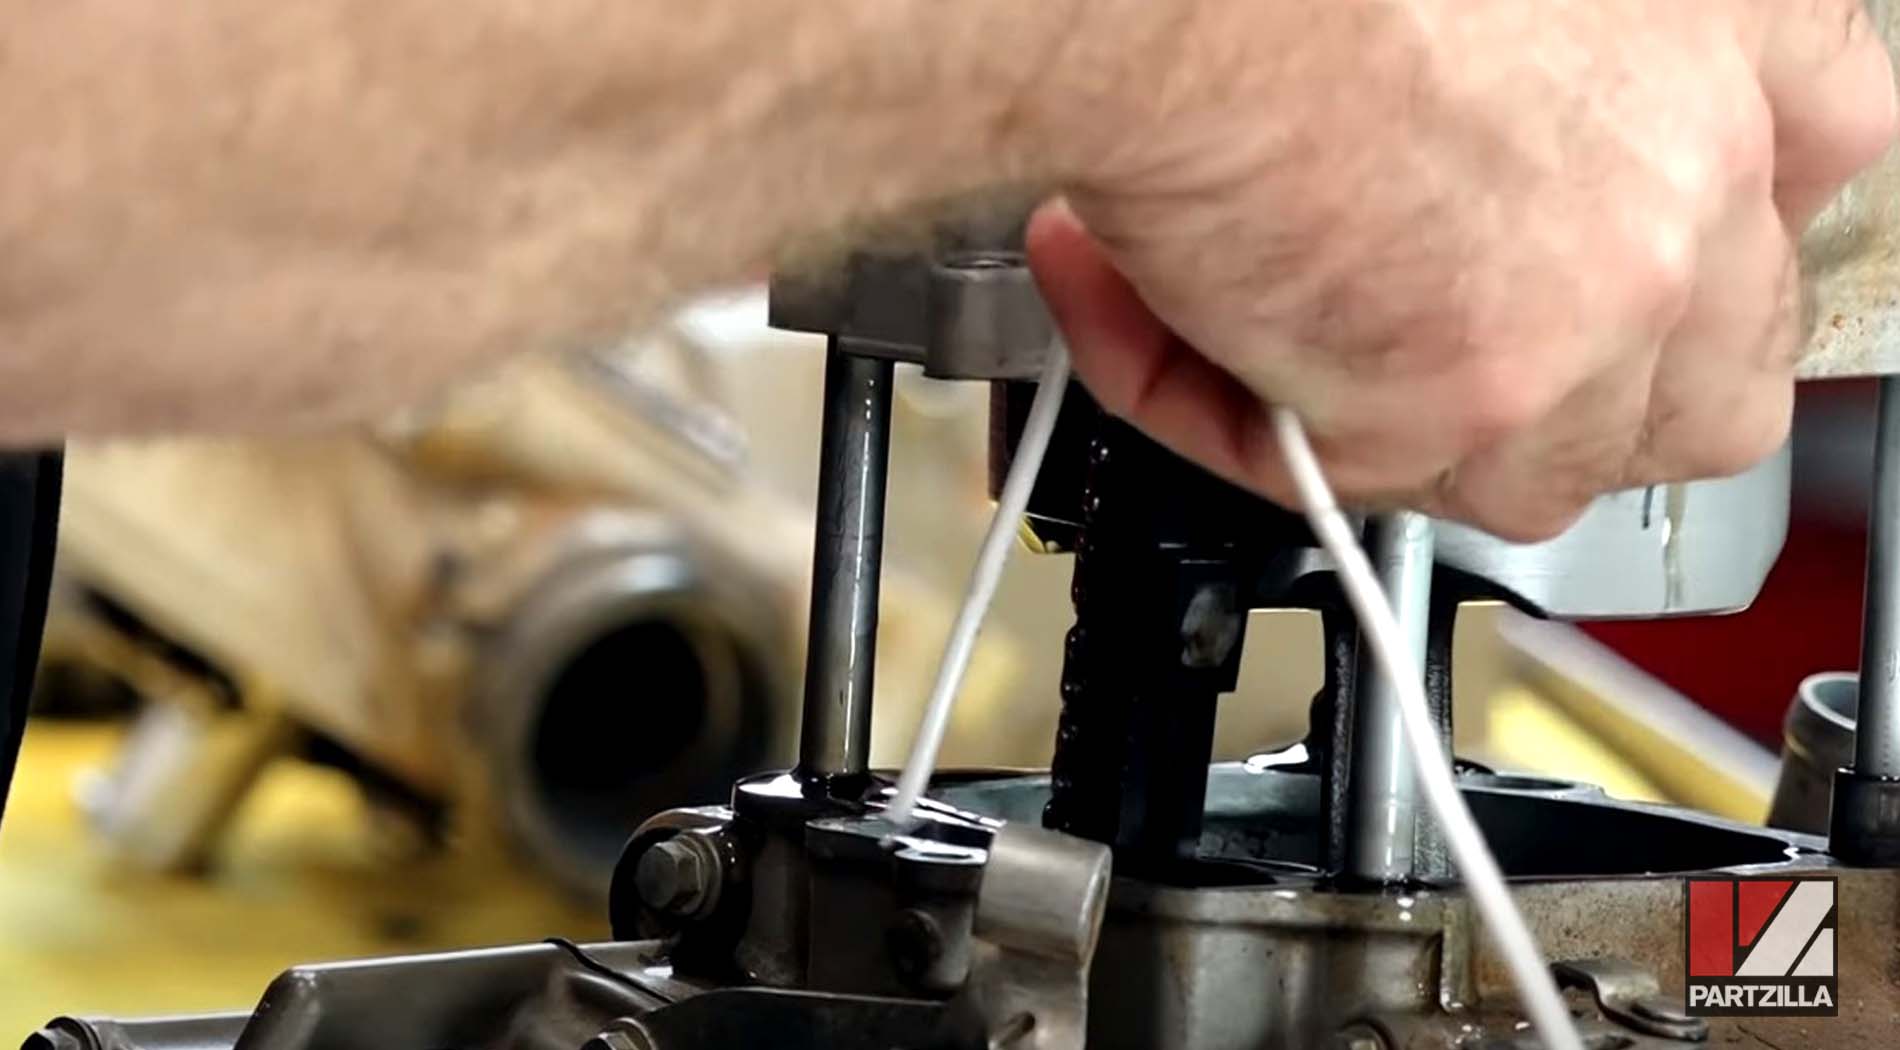
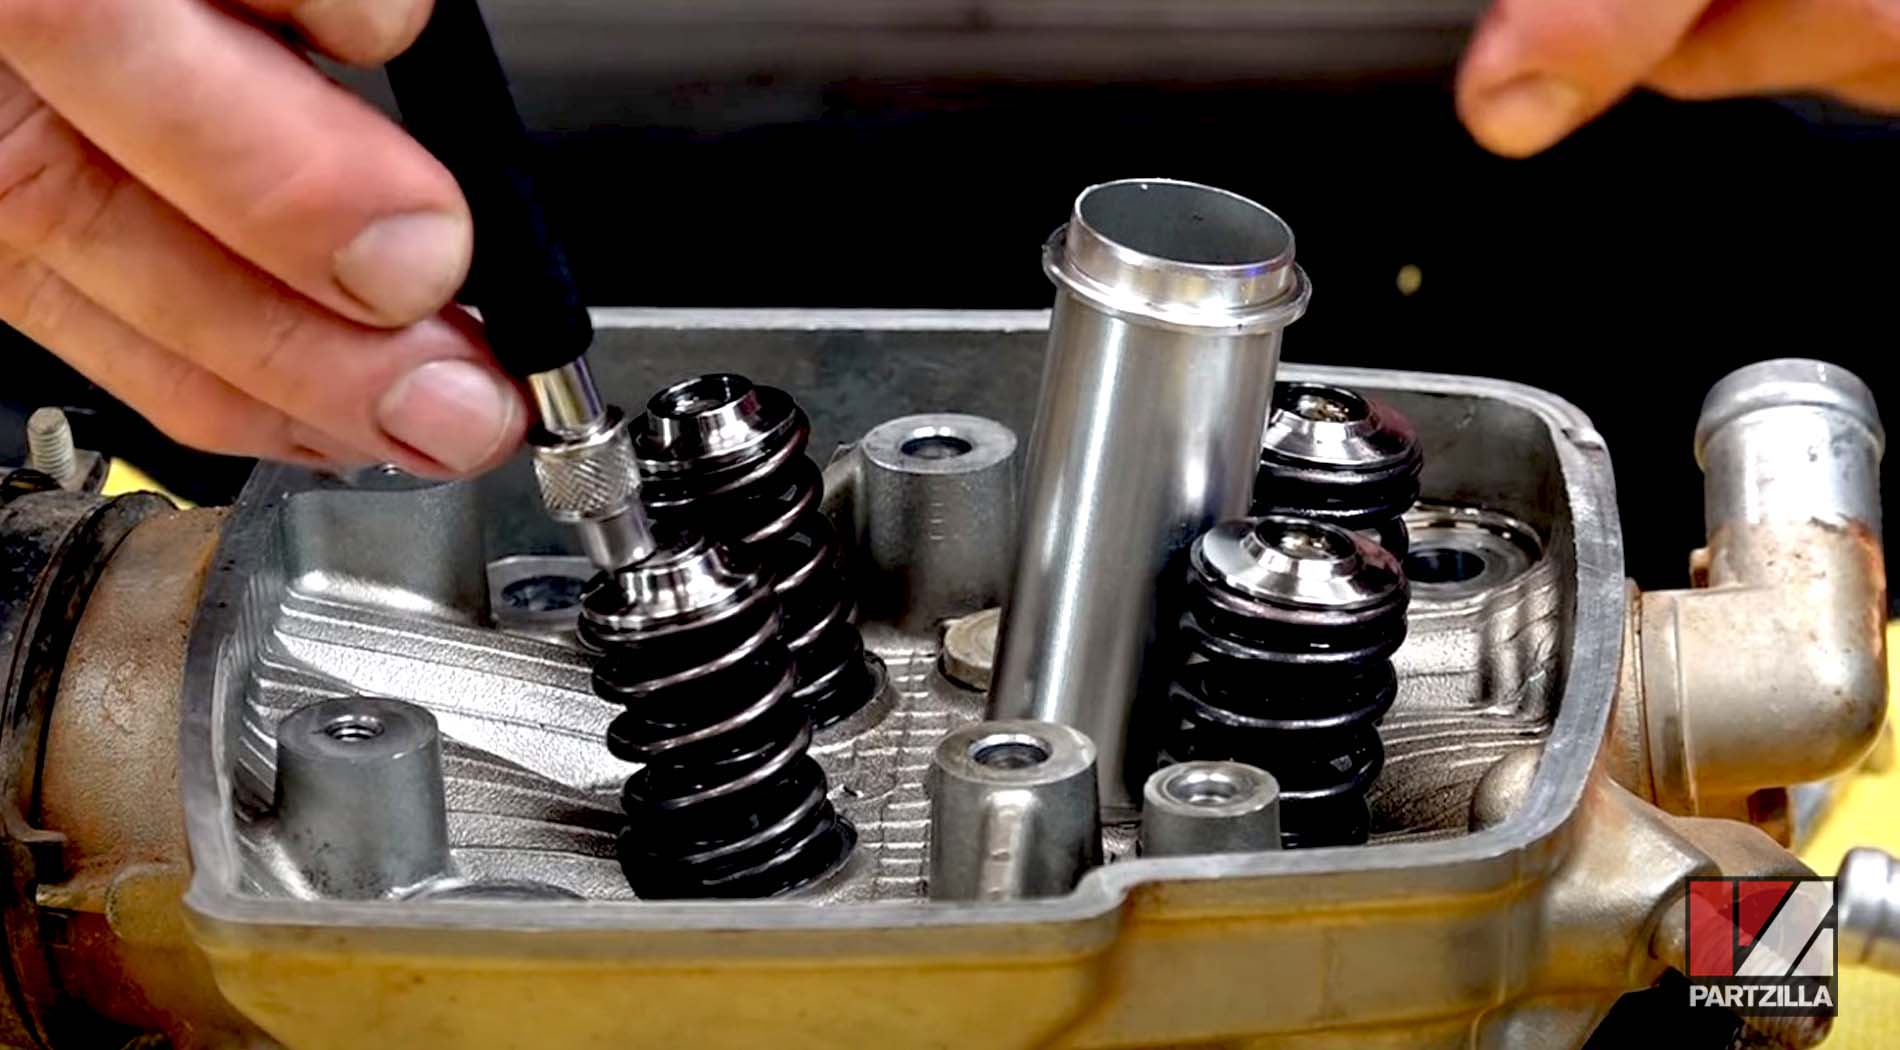
Step 6. Remove the camshaft assembly holder by first loosening each 10mm bolt in a criss-cross pattern to bring it up evenly, then lifting it off
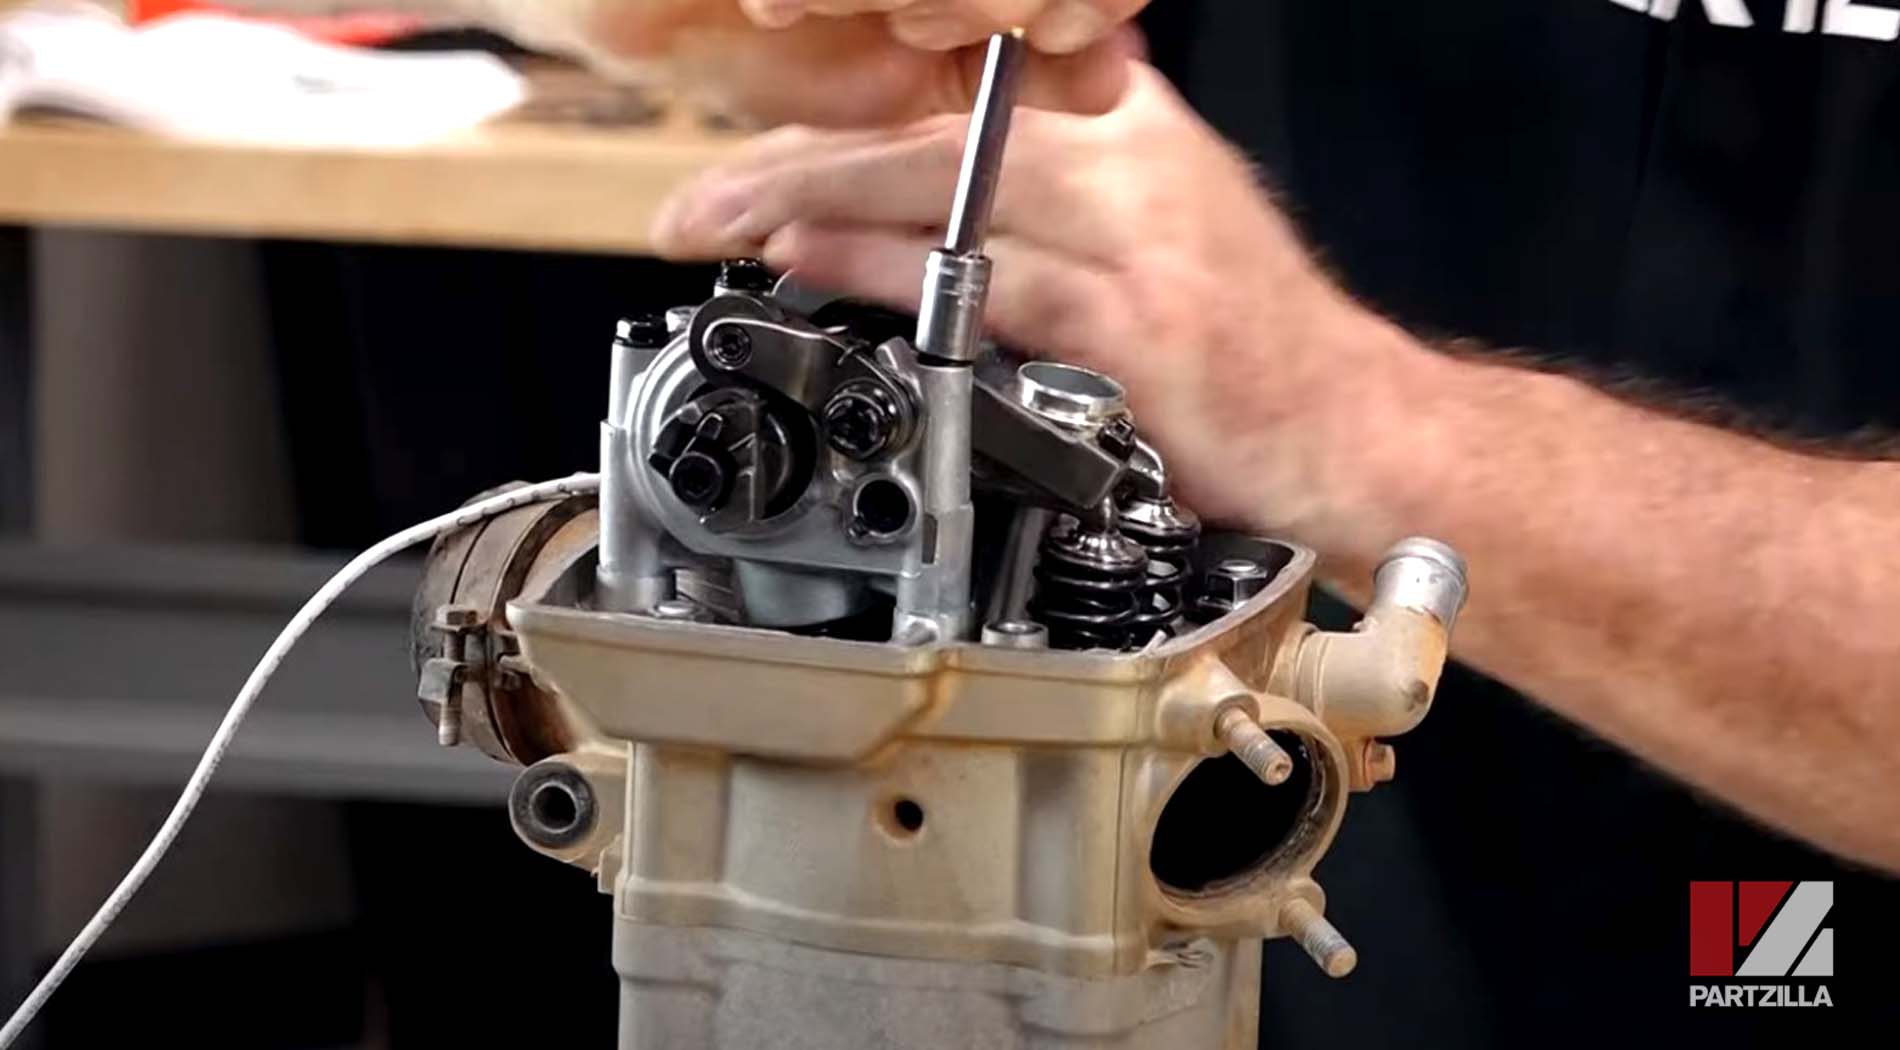
NOTE: When you lift the camshaft assembly off, make sure you don't drop the shim buckets out. The shims should stay in the keepers up top, but sometimes they'll stick to the bottom of the bucket, so be careful not to drop them down into the crankcase.
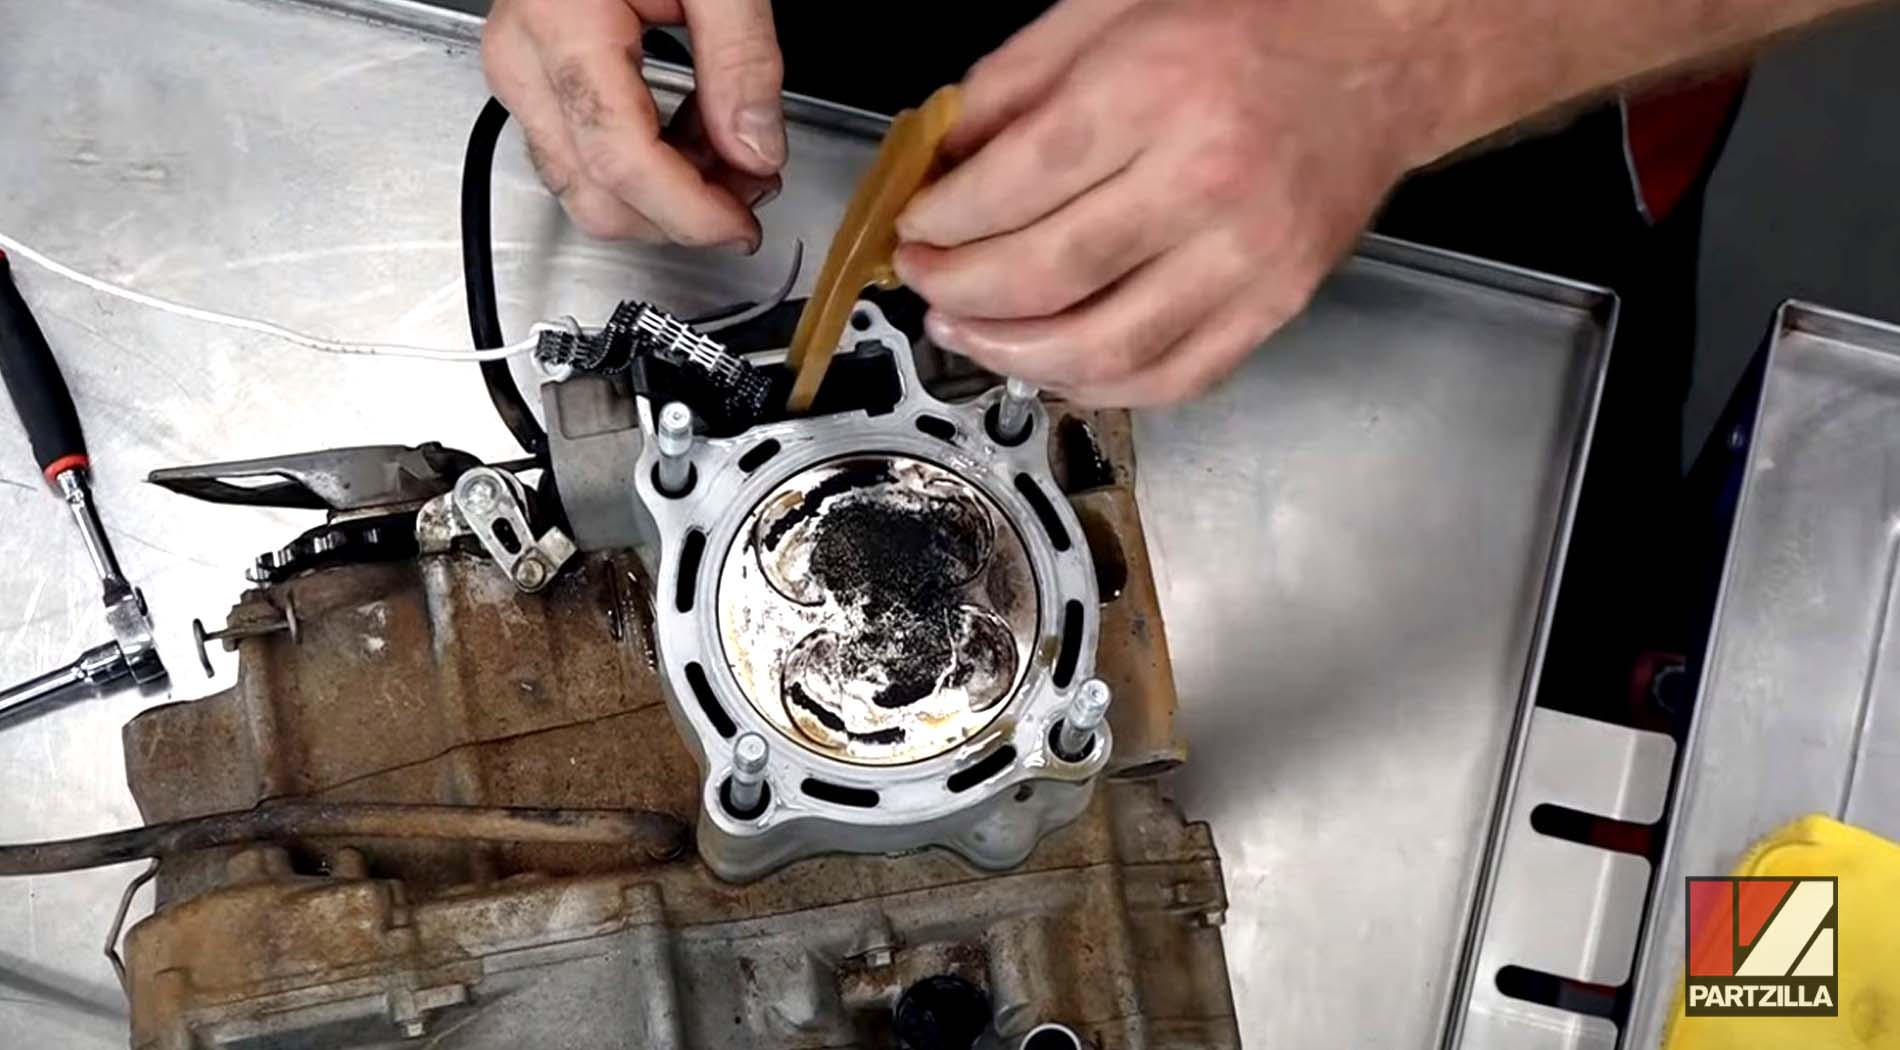
Step 7. Remove the two 8mm bolts at the base of the head.
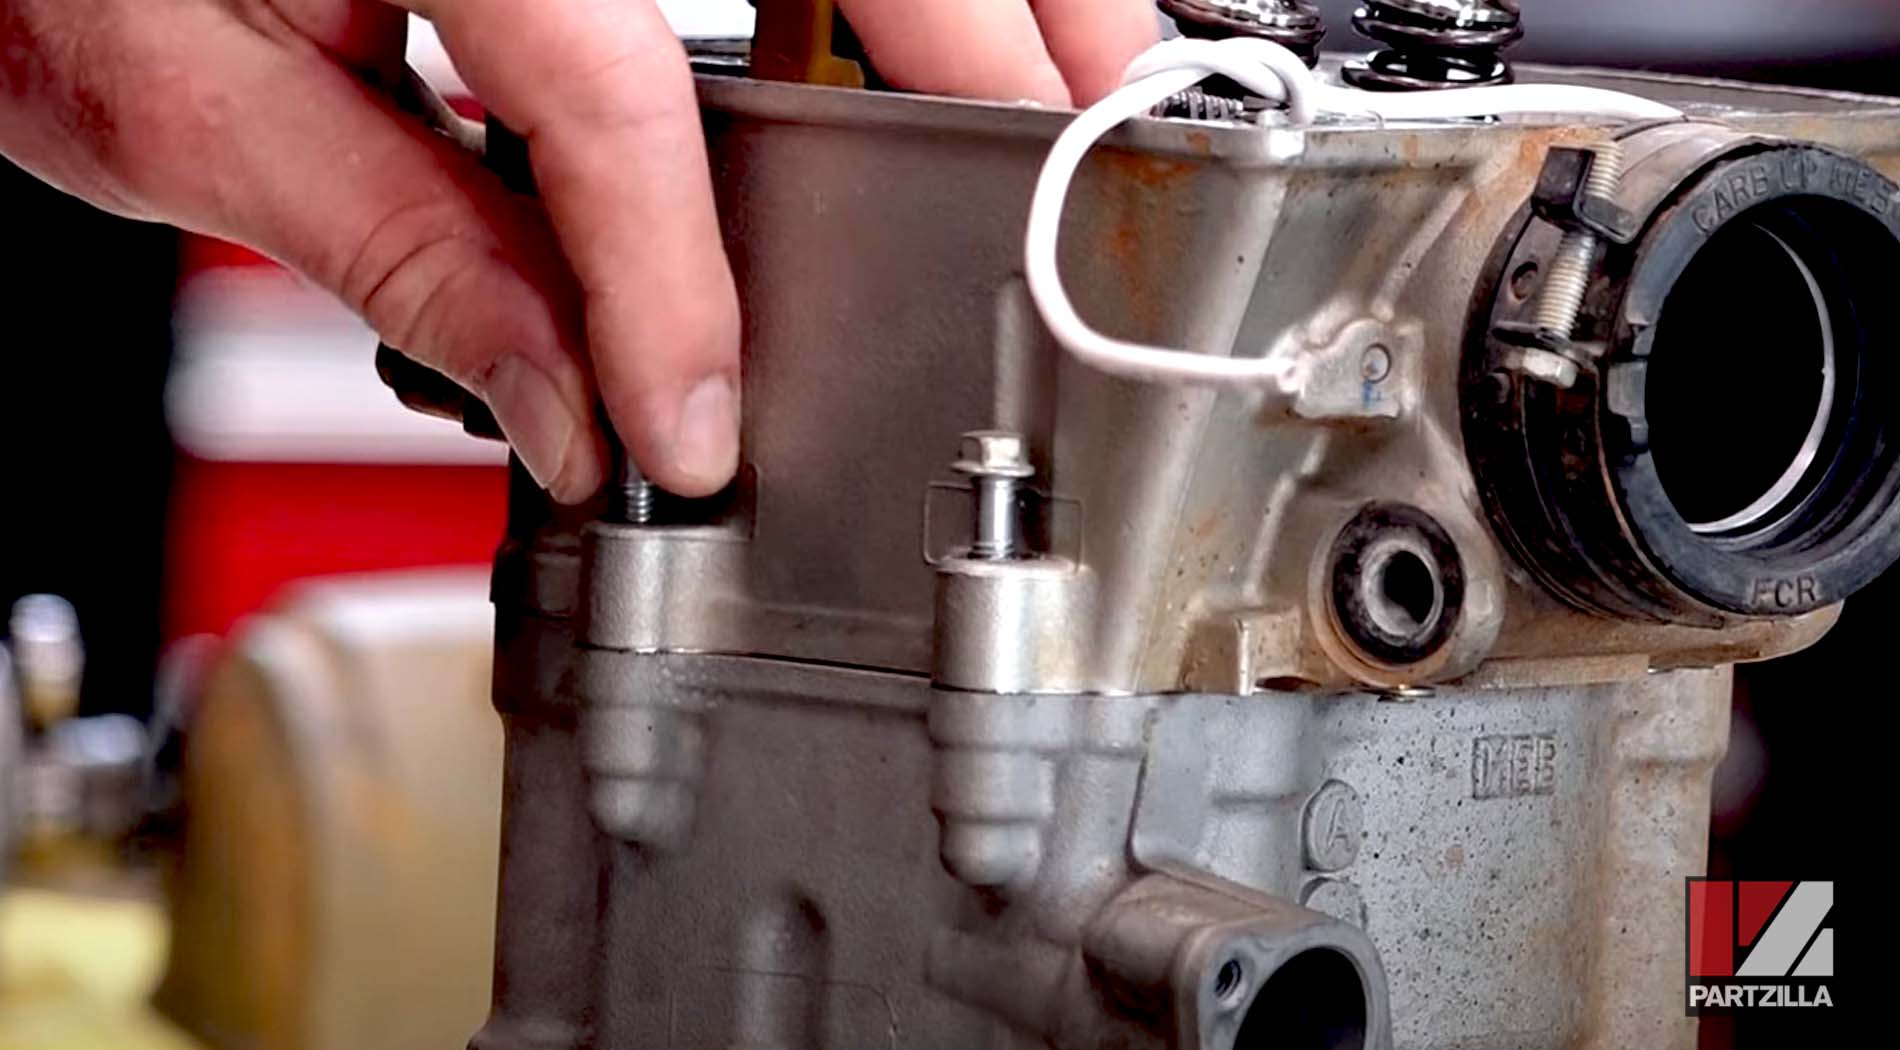
Step 8. Remove the four 14mm main nuts holding the head down. Use a longer ratchet because there’s a fair amount of torque on it, and do about a quarter of a turn on each nut to relieve the pressure evenly, then remove the head.

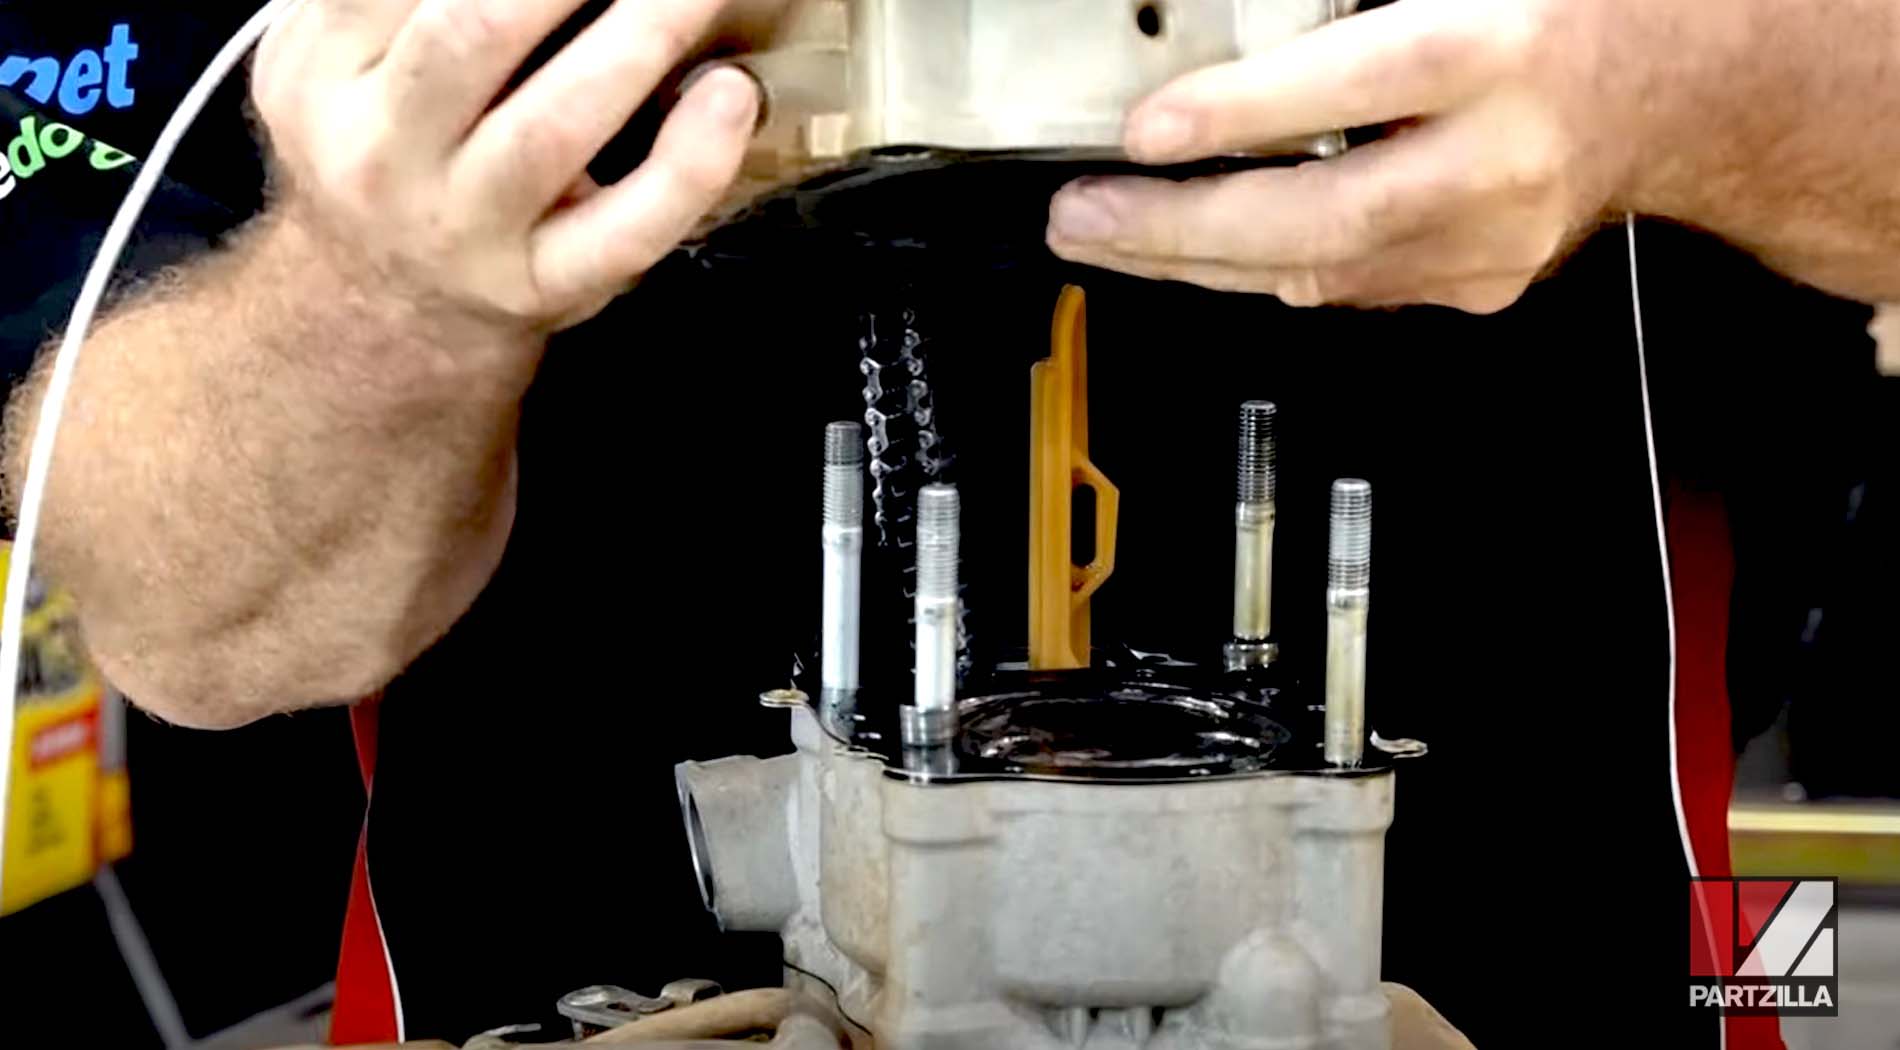
PRO TIP: Give the head a little tap to get it past the dowels if it doesn’t come off easily.
Step 9. Remove the head gasket out of the way, followed by two dowels under the gasket.

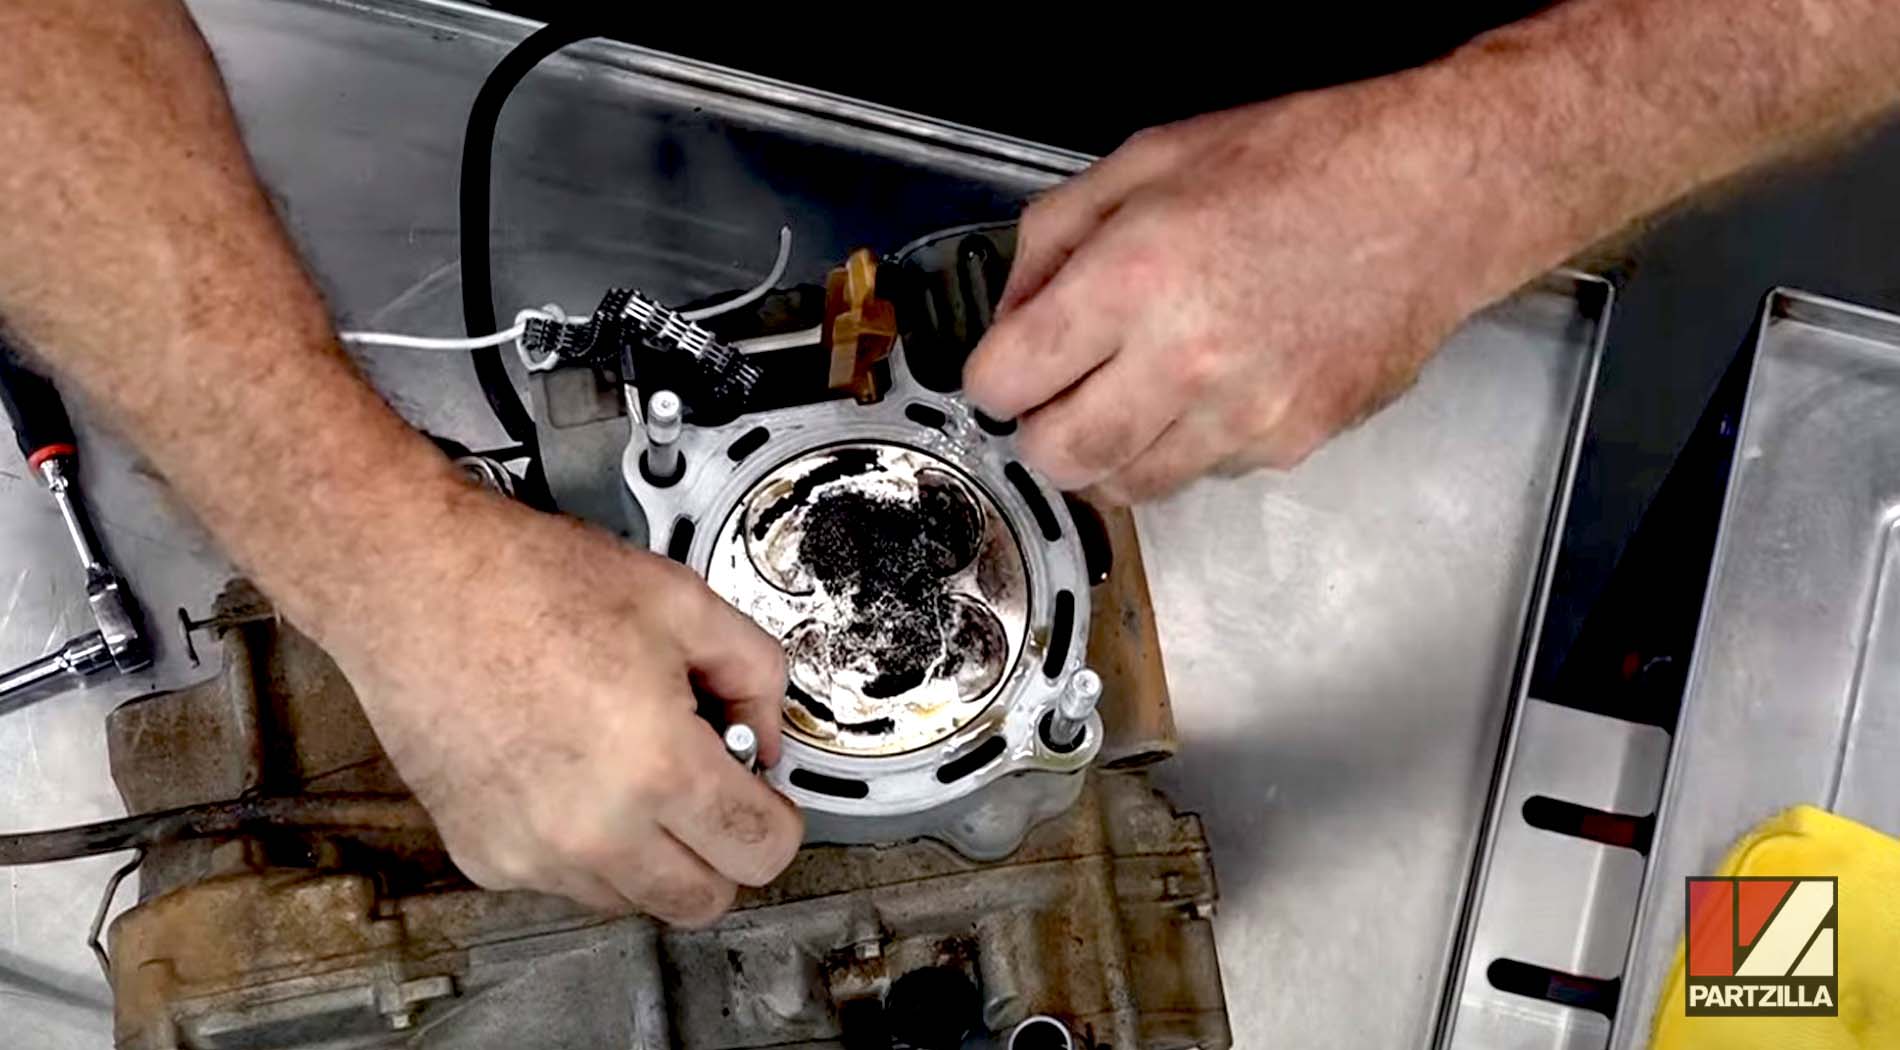
Step 10. Remove one of the chain guides.
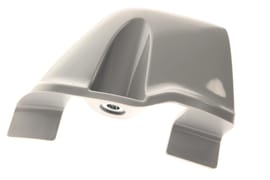
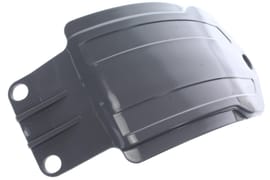
Step 11. Remove the 8mm bolt on the side of the cylinder, then lift off the cylinder itself.
Step 12. Use a pair of needle-nose pliers to remove the circlip from the piston, then remove the piston itself.
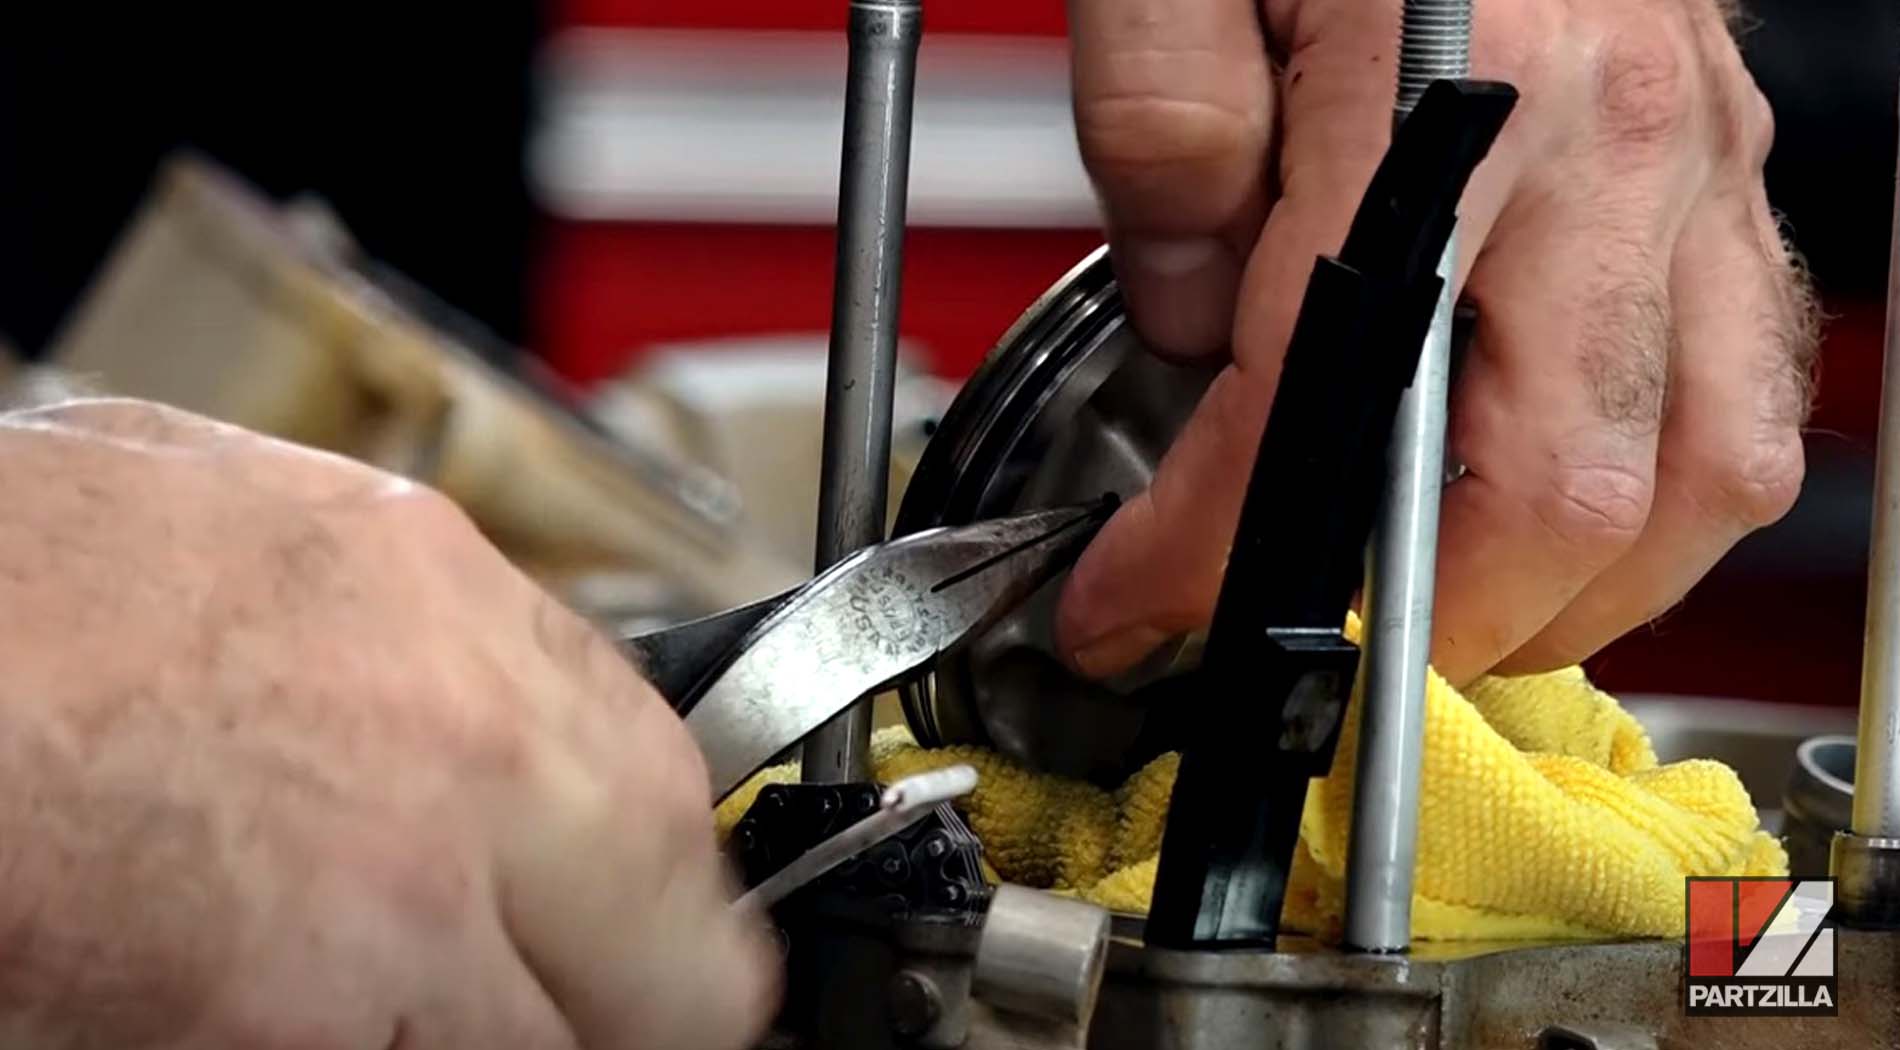
NOTE: Put a towel underneath the piston to avoid losing the circlip, as it has a tendency to fly out while you’re removing it.
Step 13. Push the wrist pin through the piston using a 3/8th extension and a soft-blow hammer to tap it out.
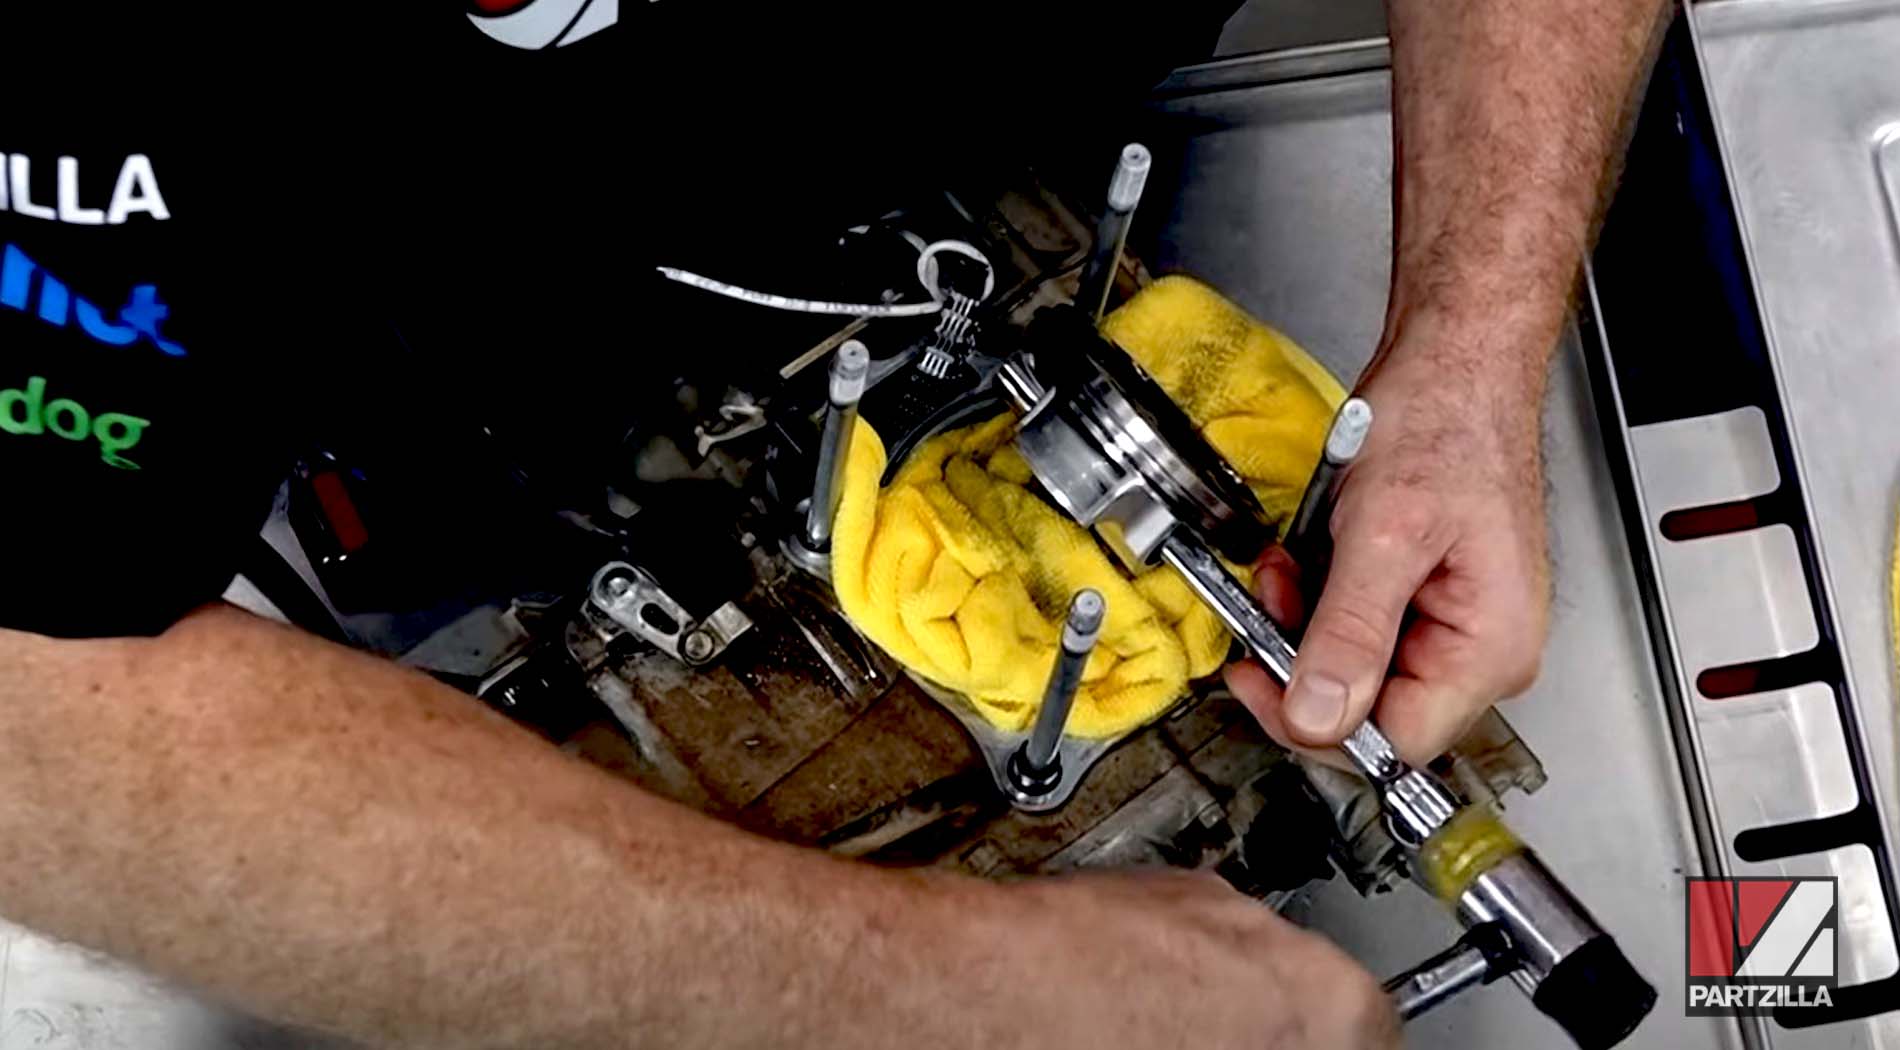
NOTE: Keep in mind you're tapping against the connector rod and you don’t want to bend it, so tap it lightly and carefully.
Step 14. Pull the shims out and keep them in the correct orientation.
Our CRF 450 engine rebuild continues in part 3 with the bottom end teardown. Watch the video below to see how to tear down the bottom end of a Honda CRF450 engine.