Honda CRF450R Piston and Cylinder Installation
Welcome to the piston and cylinder installation portion of our CRF450R engine rebuild project. We chose a Wiseco kit for this Honda motorcycle engine rebuild.
Watch the video above and follow the steps below to do a piston and cylinder installation on a Honda CRF450R.
Tools and Supplies Needed - Honda CRF450R Piston Installation
NOTE: The tools listed above are just the specialty tools, which you’ll need along with standard tools found in a toolbox such as a torque wrench and flathead screwdrivers.
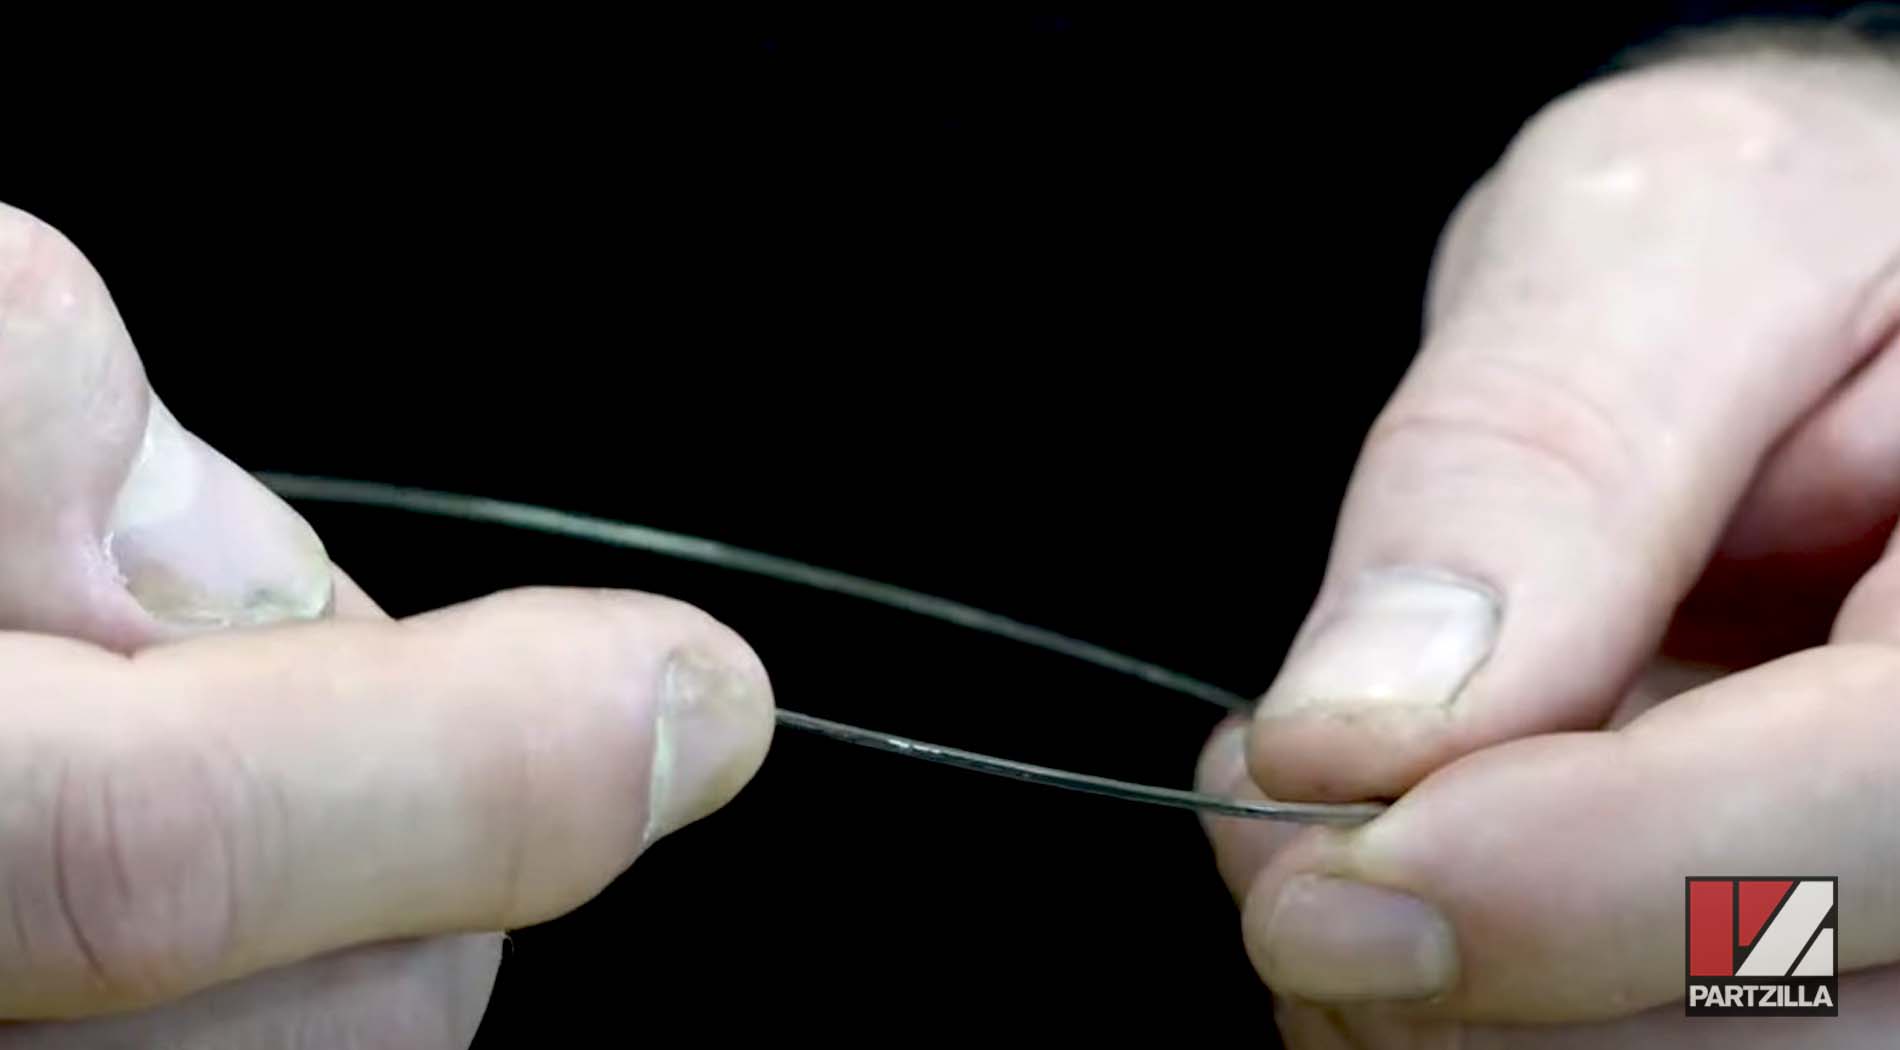
Honda CRF450 Piston Installation - Ring Gap Measurement
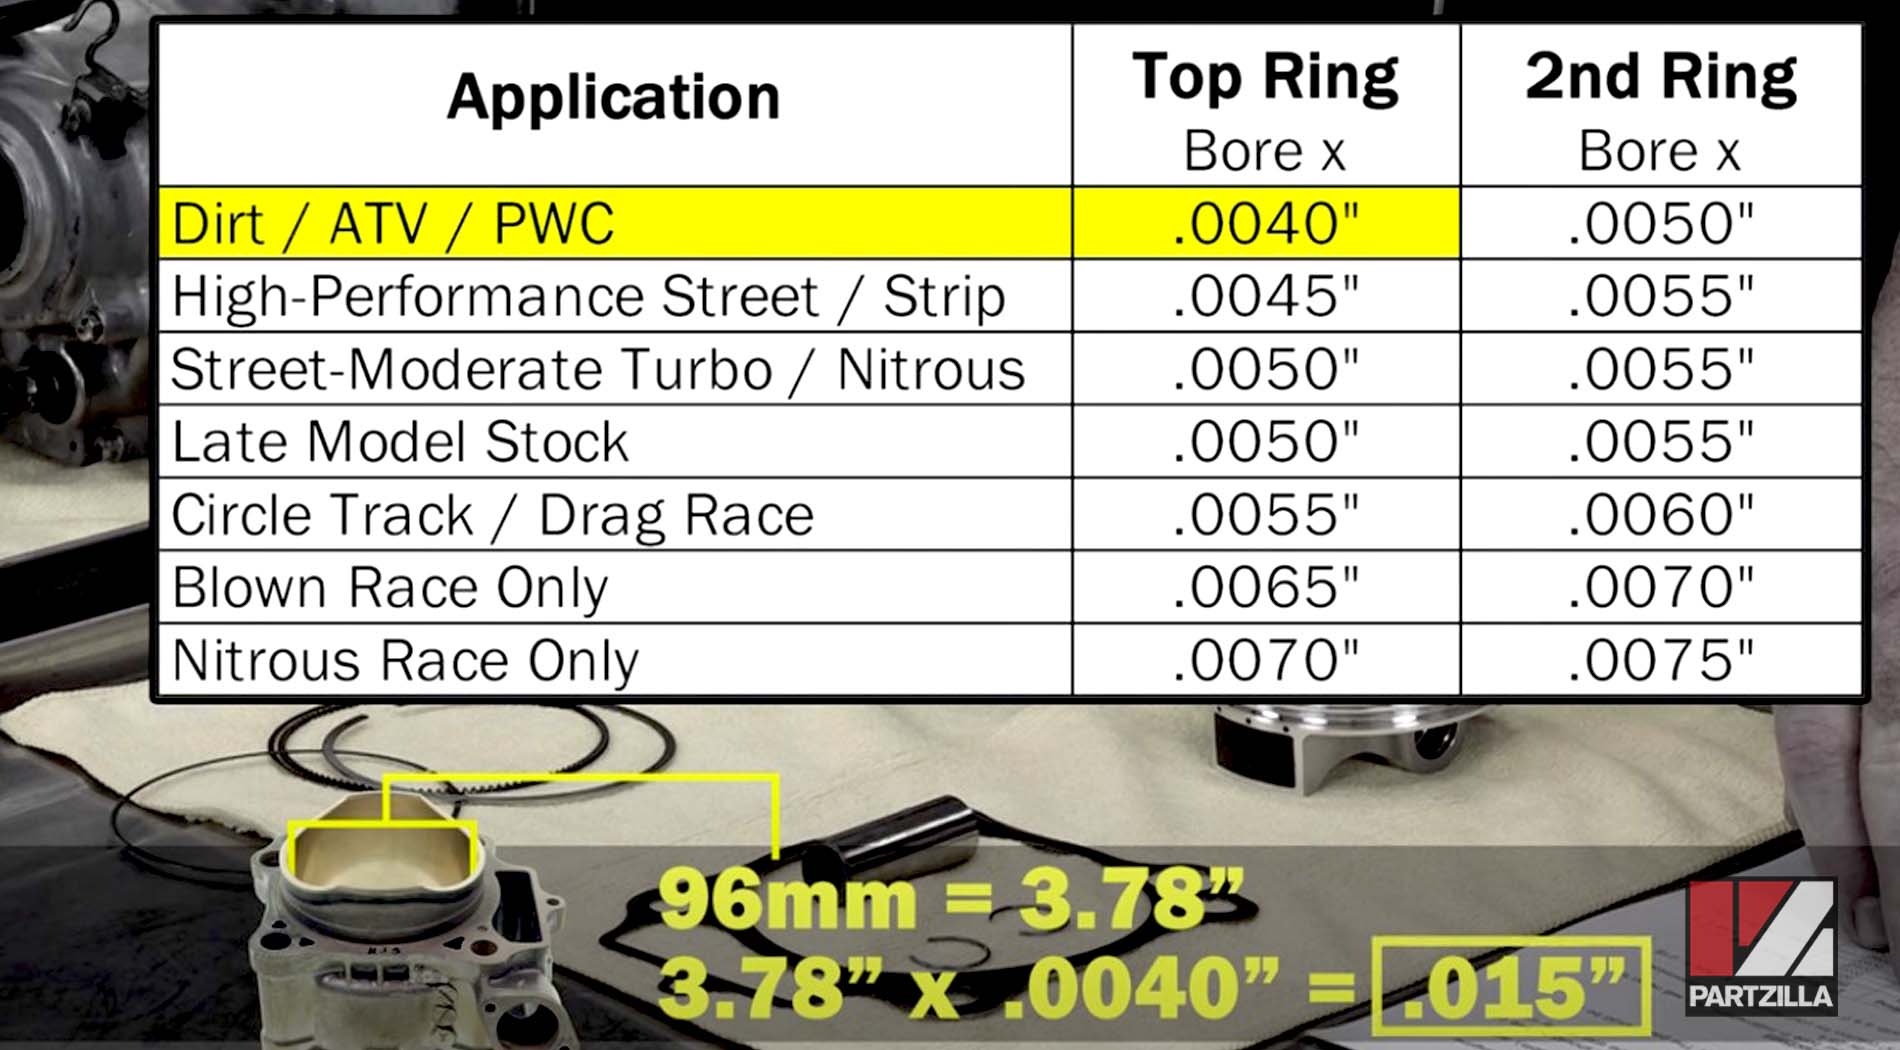
The Honda spec for a ring gap is between 10 and 12 thousandths. However, we installed a Wiseco piston, which has its own specs and behaves a bit differently than the factory Honda piston.
The dirt bike application we worked with calls for a bore times .004, for which we needed to convert our 96 millimeters to inches, and that works out to 3.78. With that multiplication, the Wiseco gap spec called for .015 inches, or 15 thousands, a slightly bigger gap compared to the Honda spec.
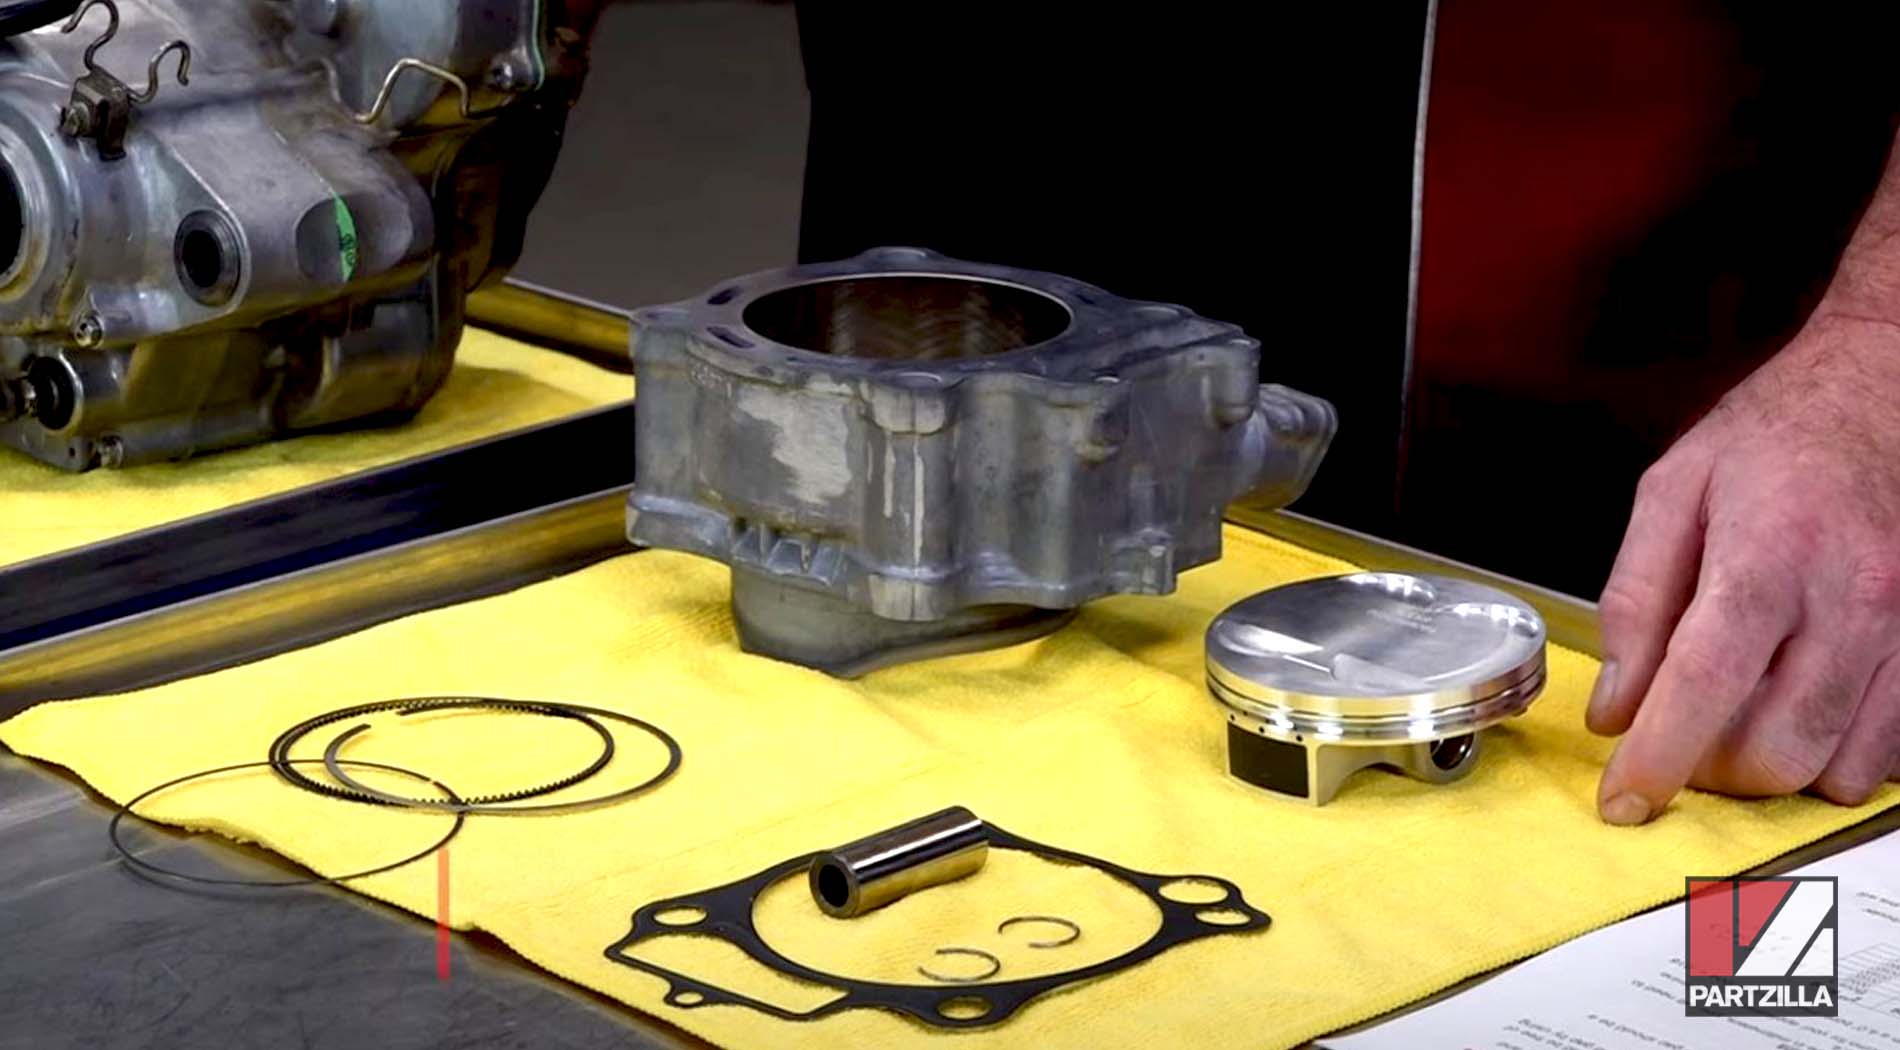
Honda CRF450 Wiseco Piston and Cylinder Installation
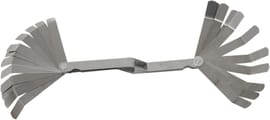
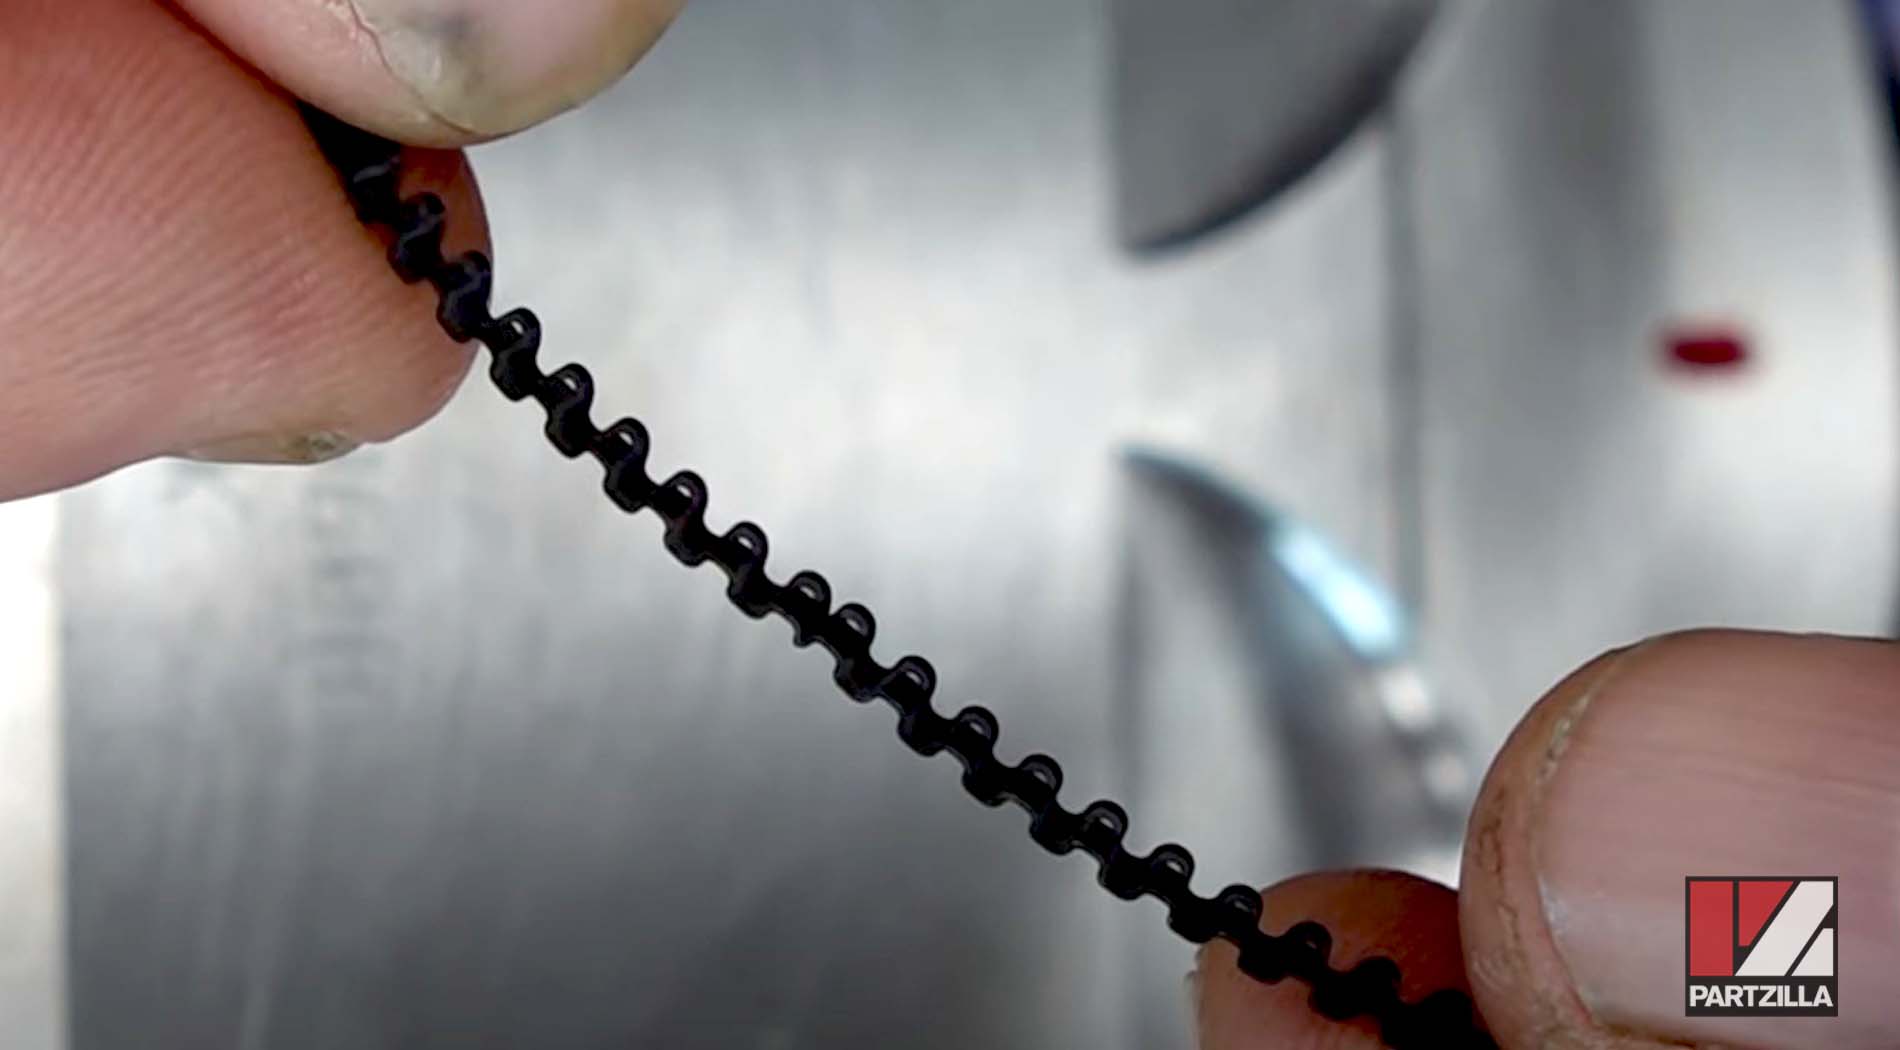
Step 1. Use a feeler gauge tool to measure the ring gap on the top piston ring, and a ring gap end grinder clamped down in a vise at a perpendicular angle to file down the ring up to spec (a couple of thousands in our case).
Step 2. Use a file to chamfer the edge of the top piston ring to remove any filings left over from the grinding. This helps clean the ring up and smooth out any sharp or jagged edges.
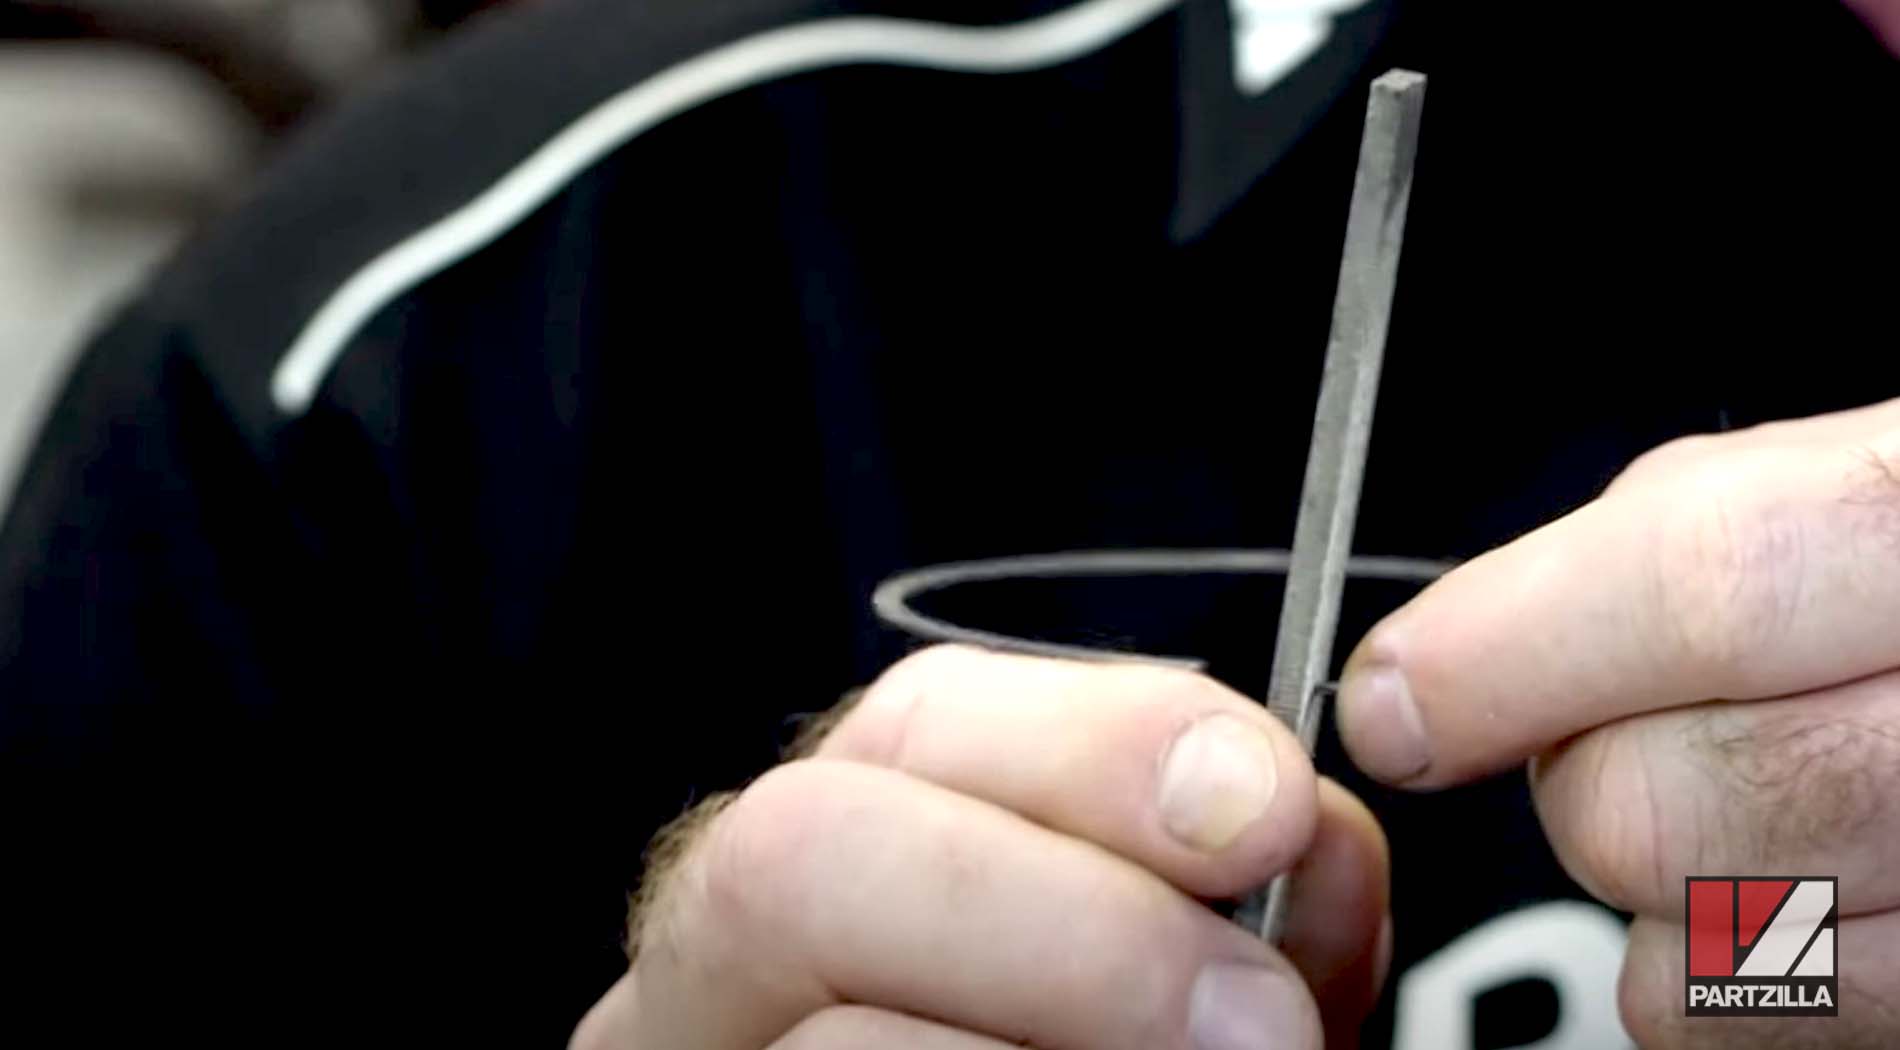
Step 3. Place the top piston ring into the cylinder, and use the piston to square it up so you can measure the ring gap.
NOTE: Repeat steps 1-3 if the ring gap is not up to spec.
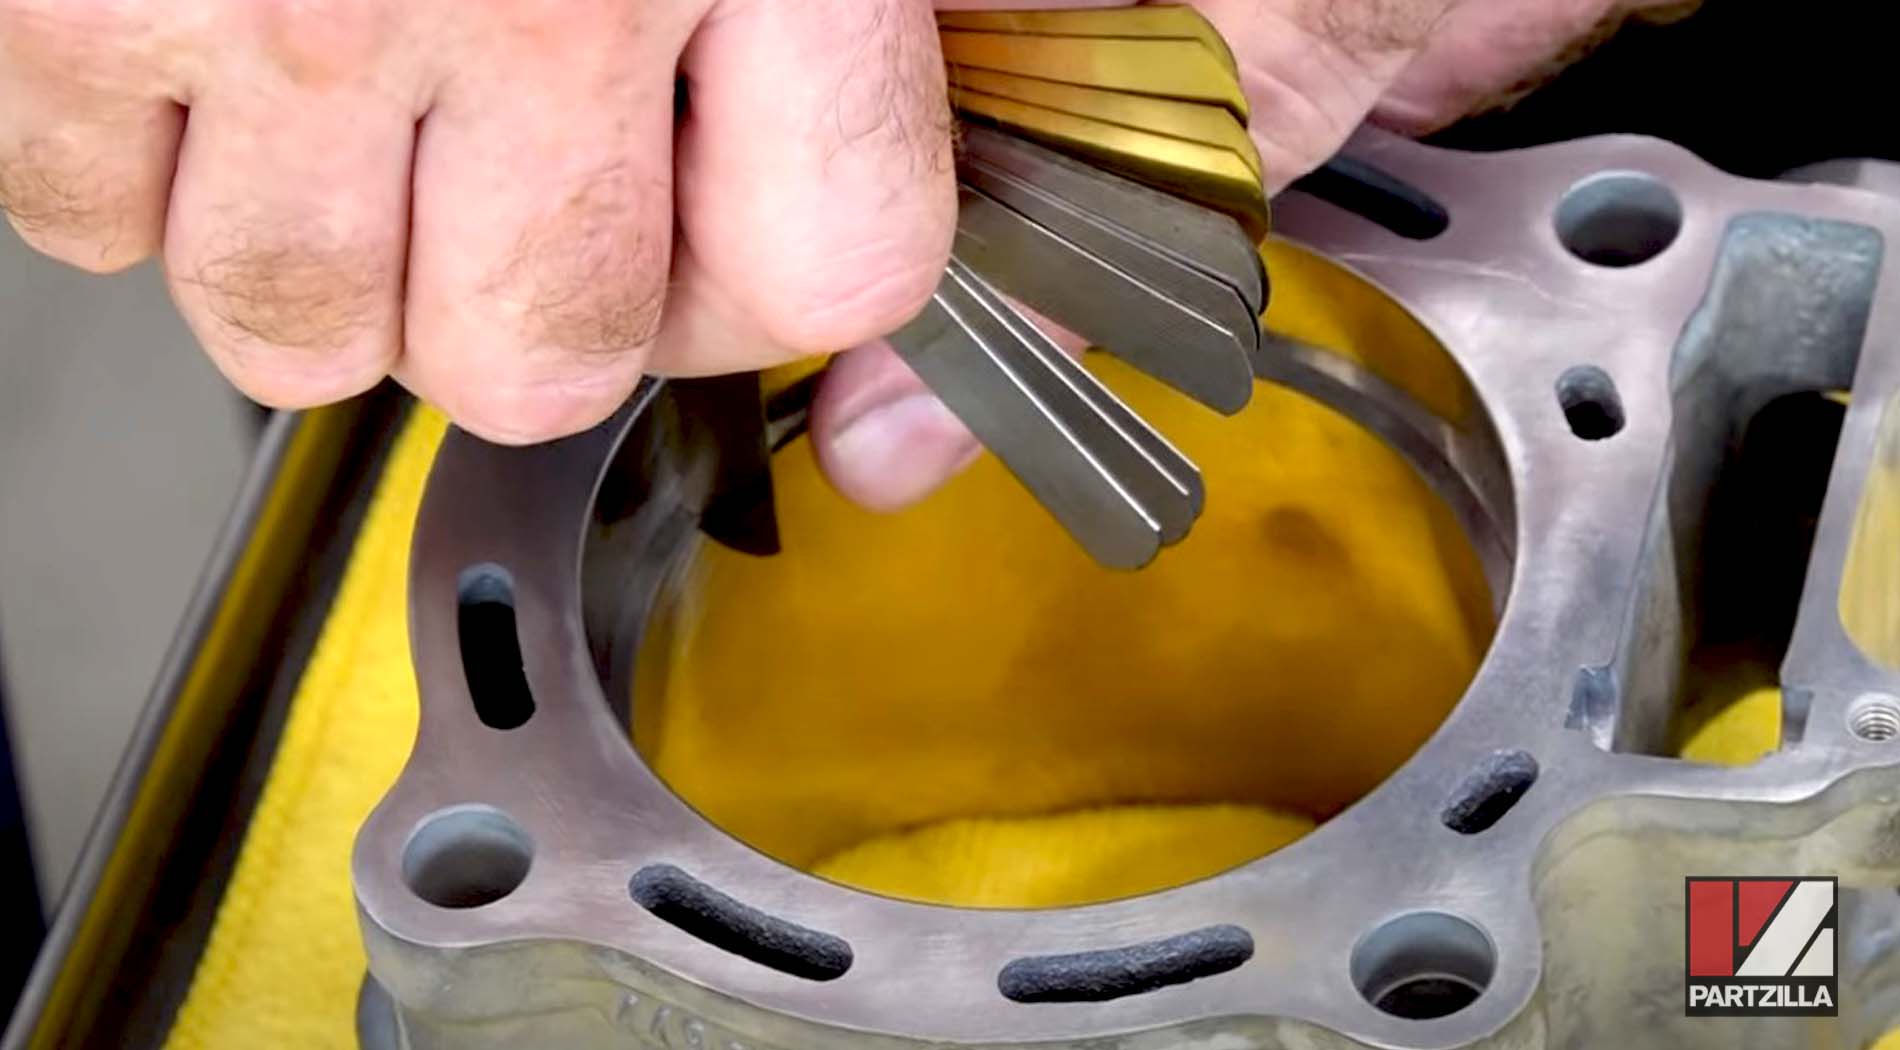
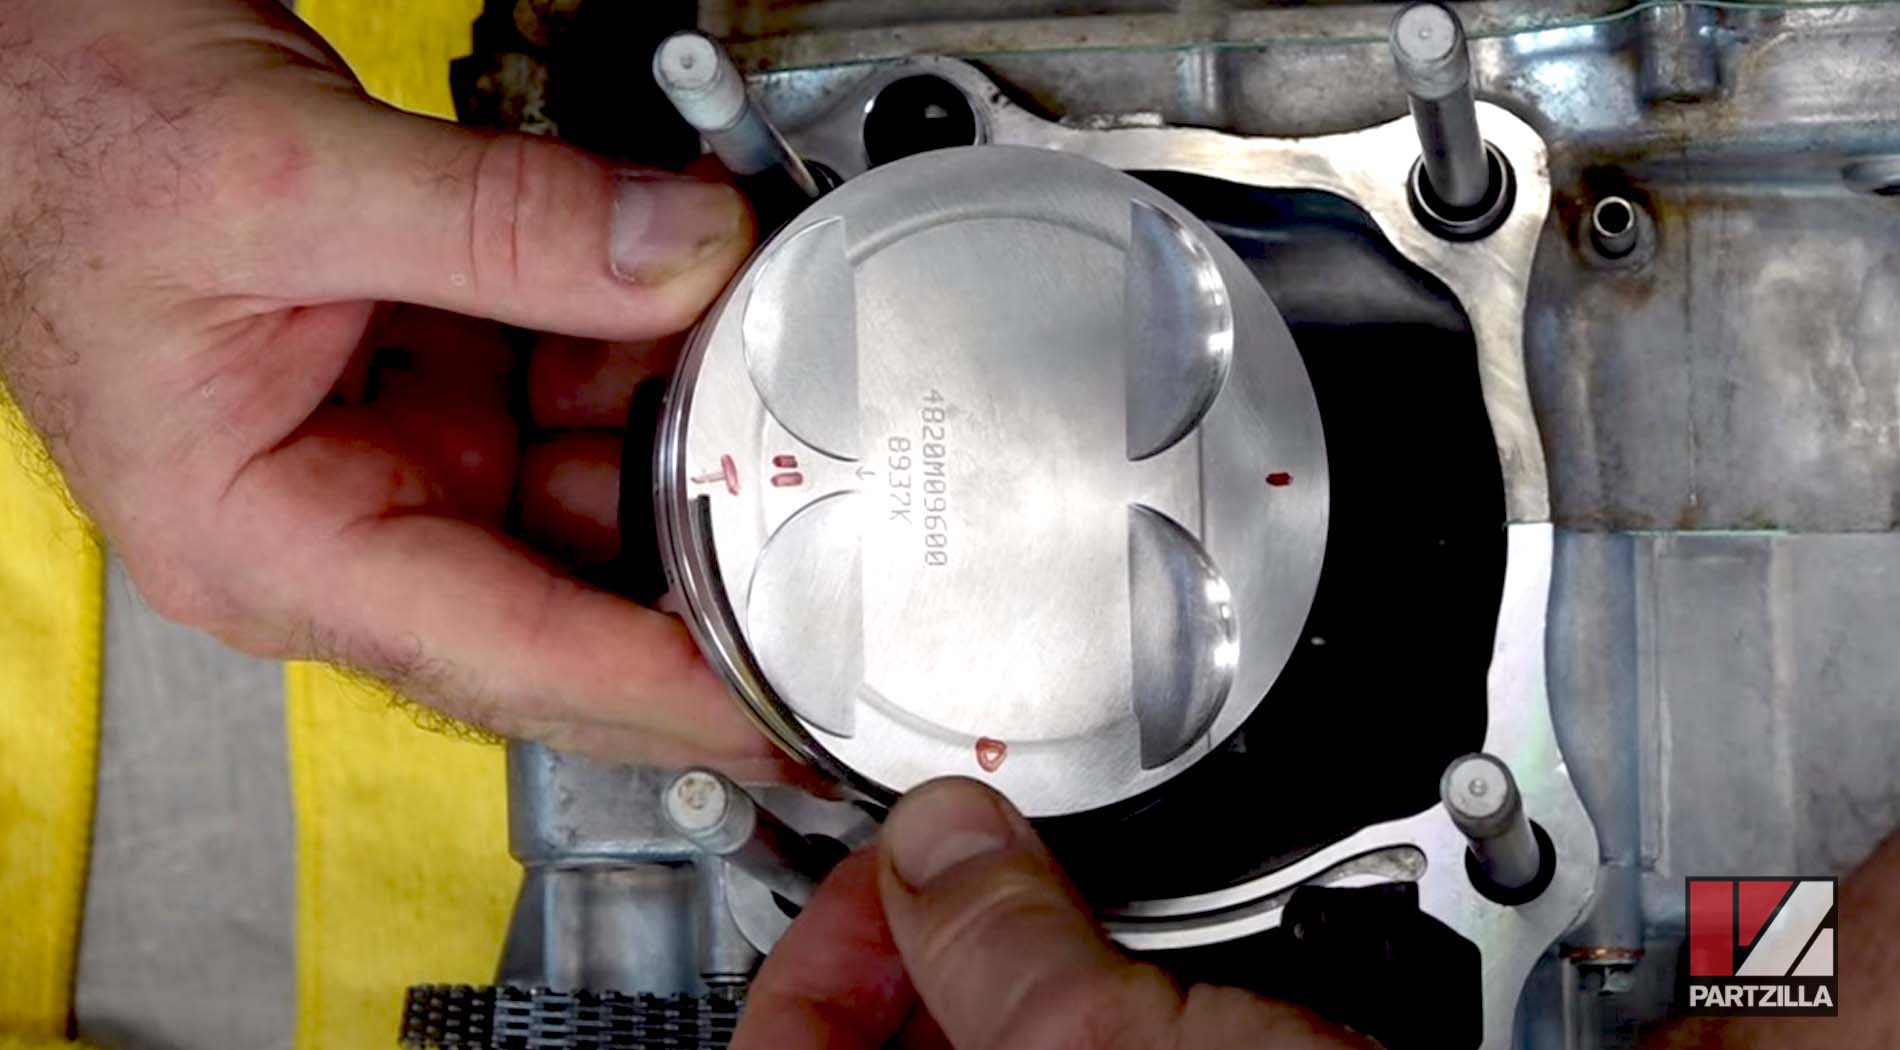
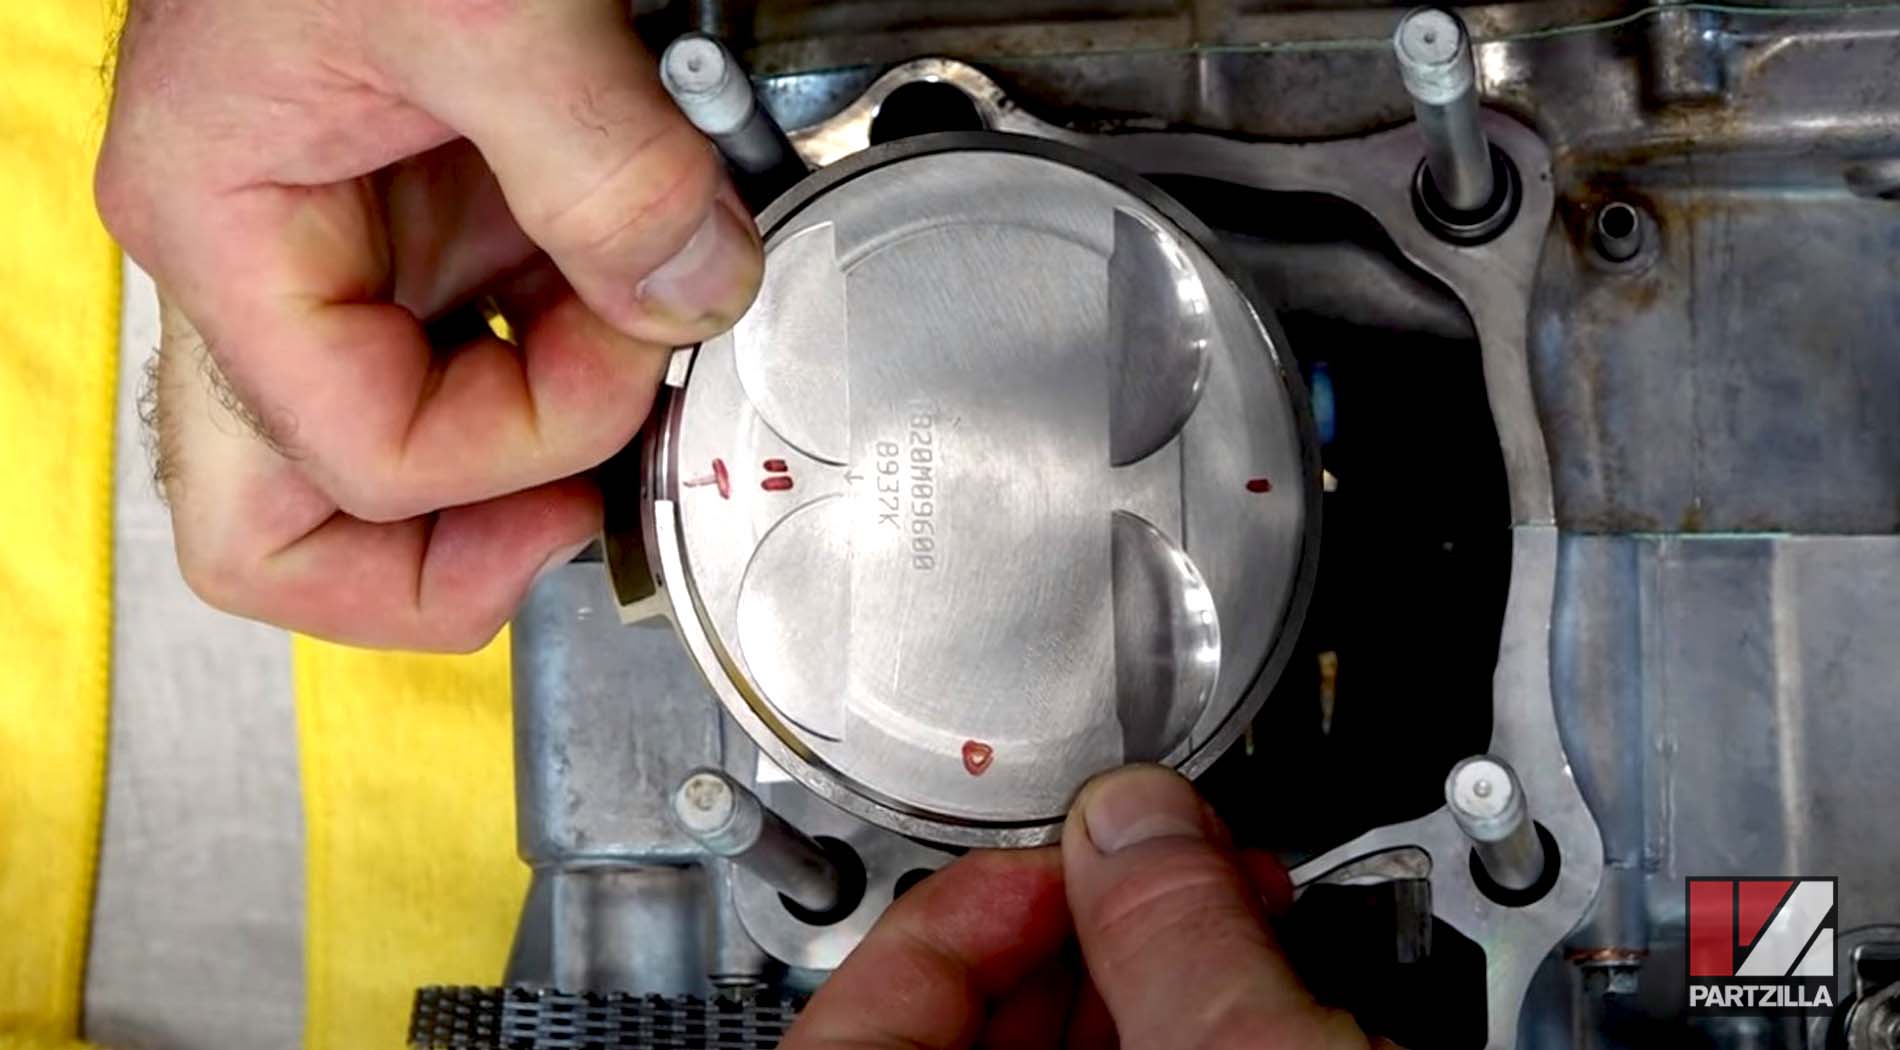
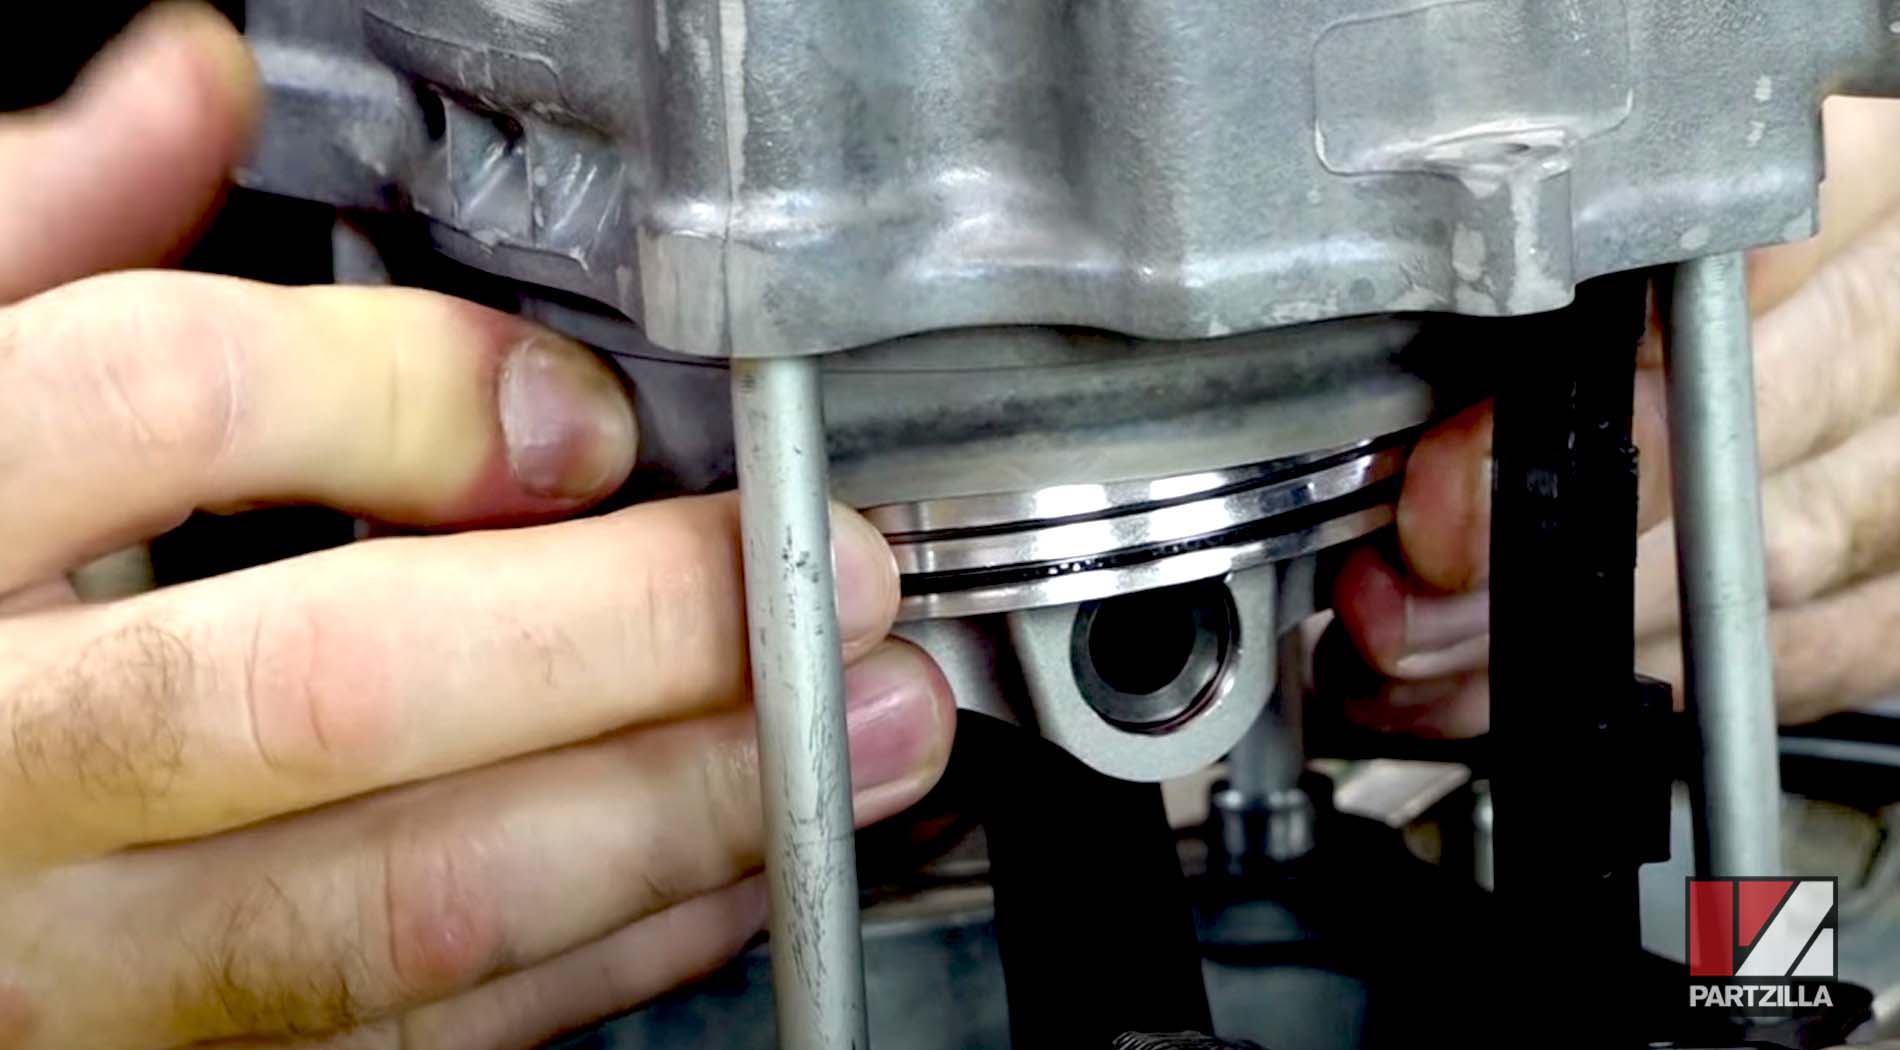
Step 4. Use a marker to label the piston for the orientation you’ll be installing the top piston ring, the oil ring and the rings that hold the oil ring in place.
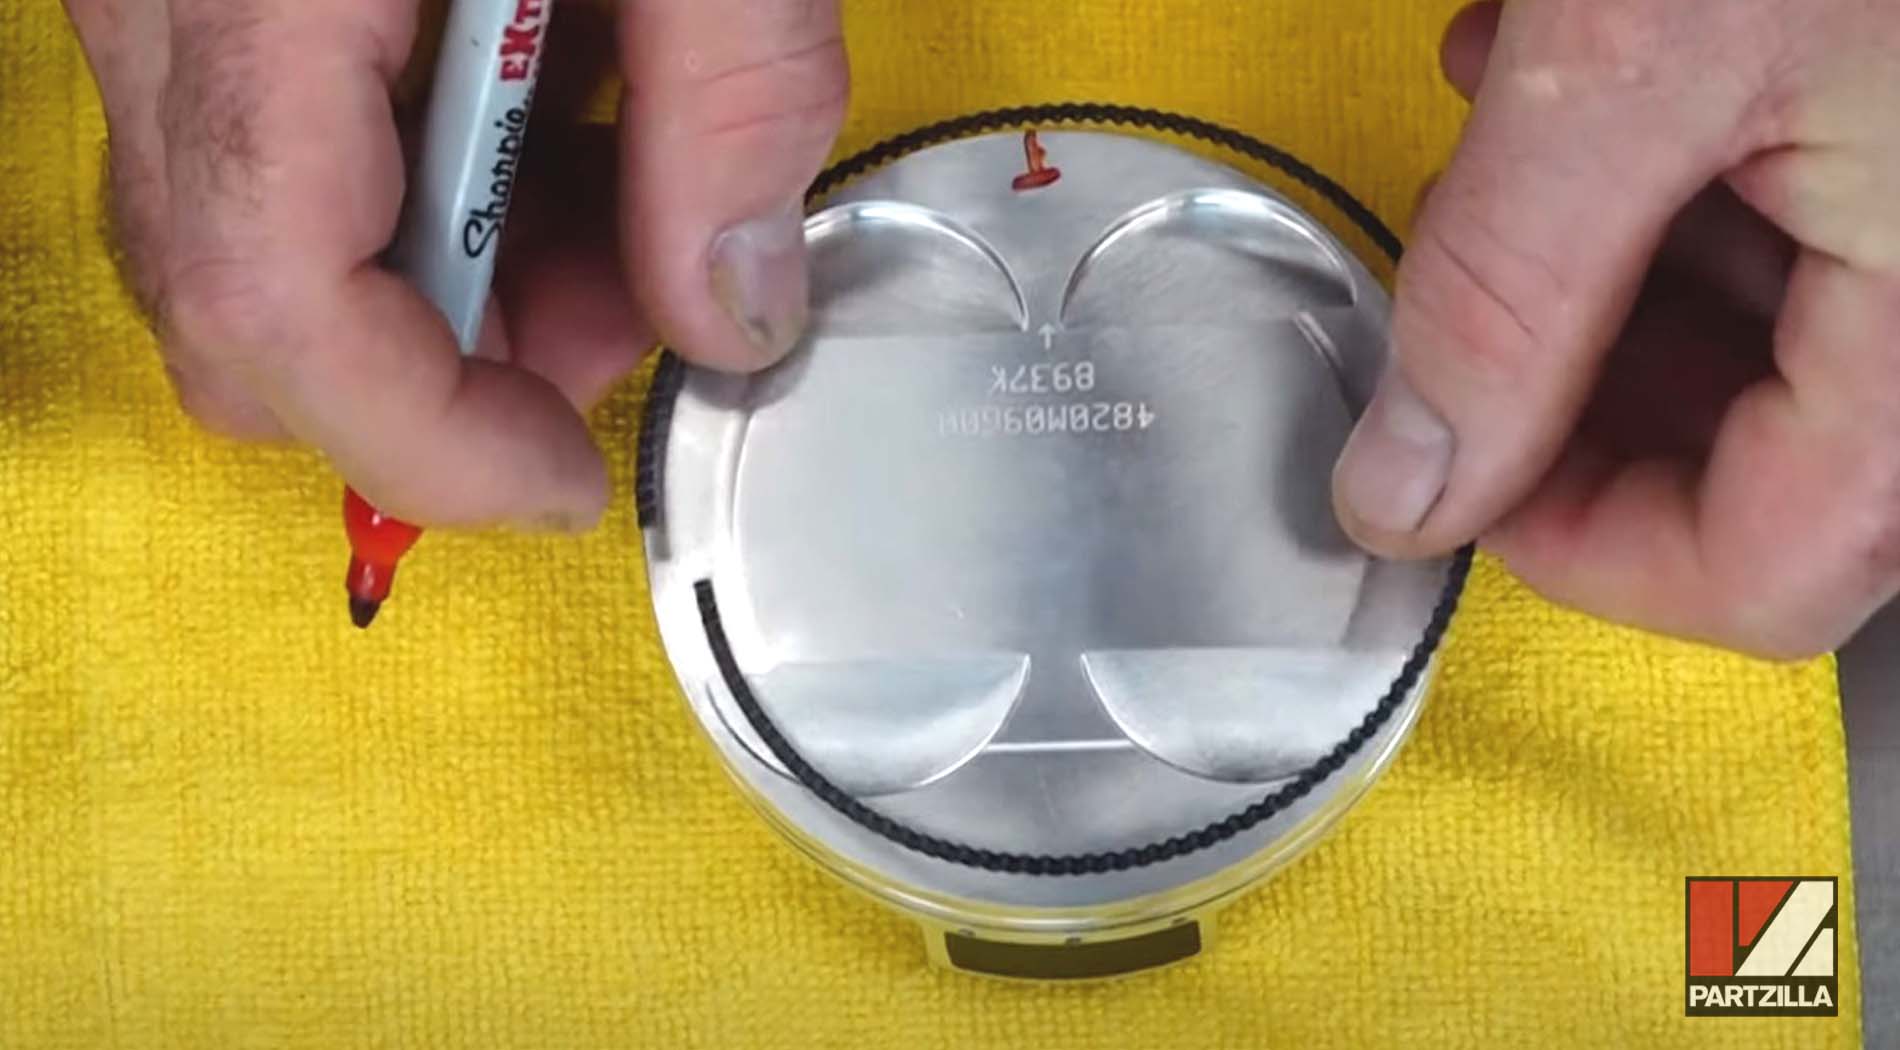
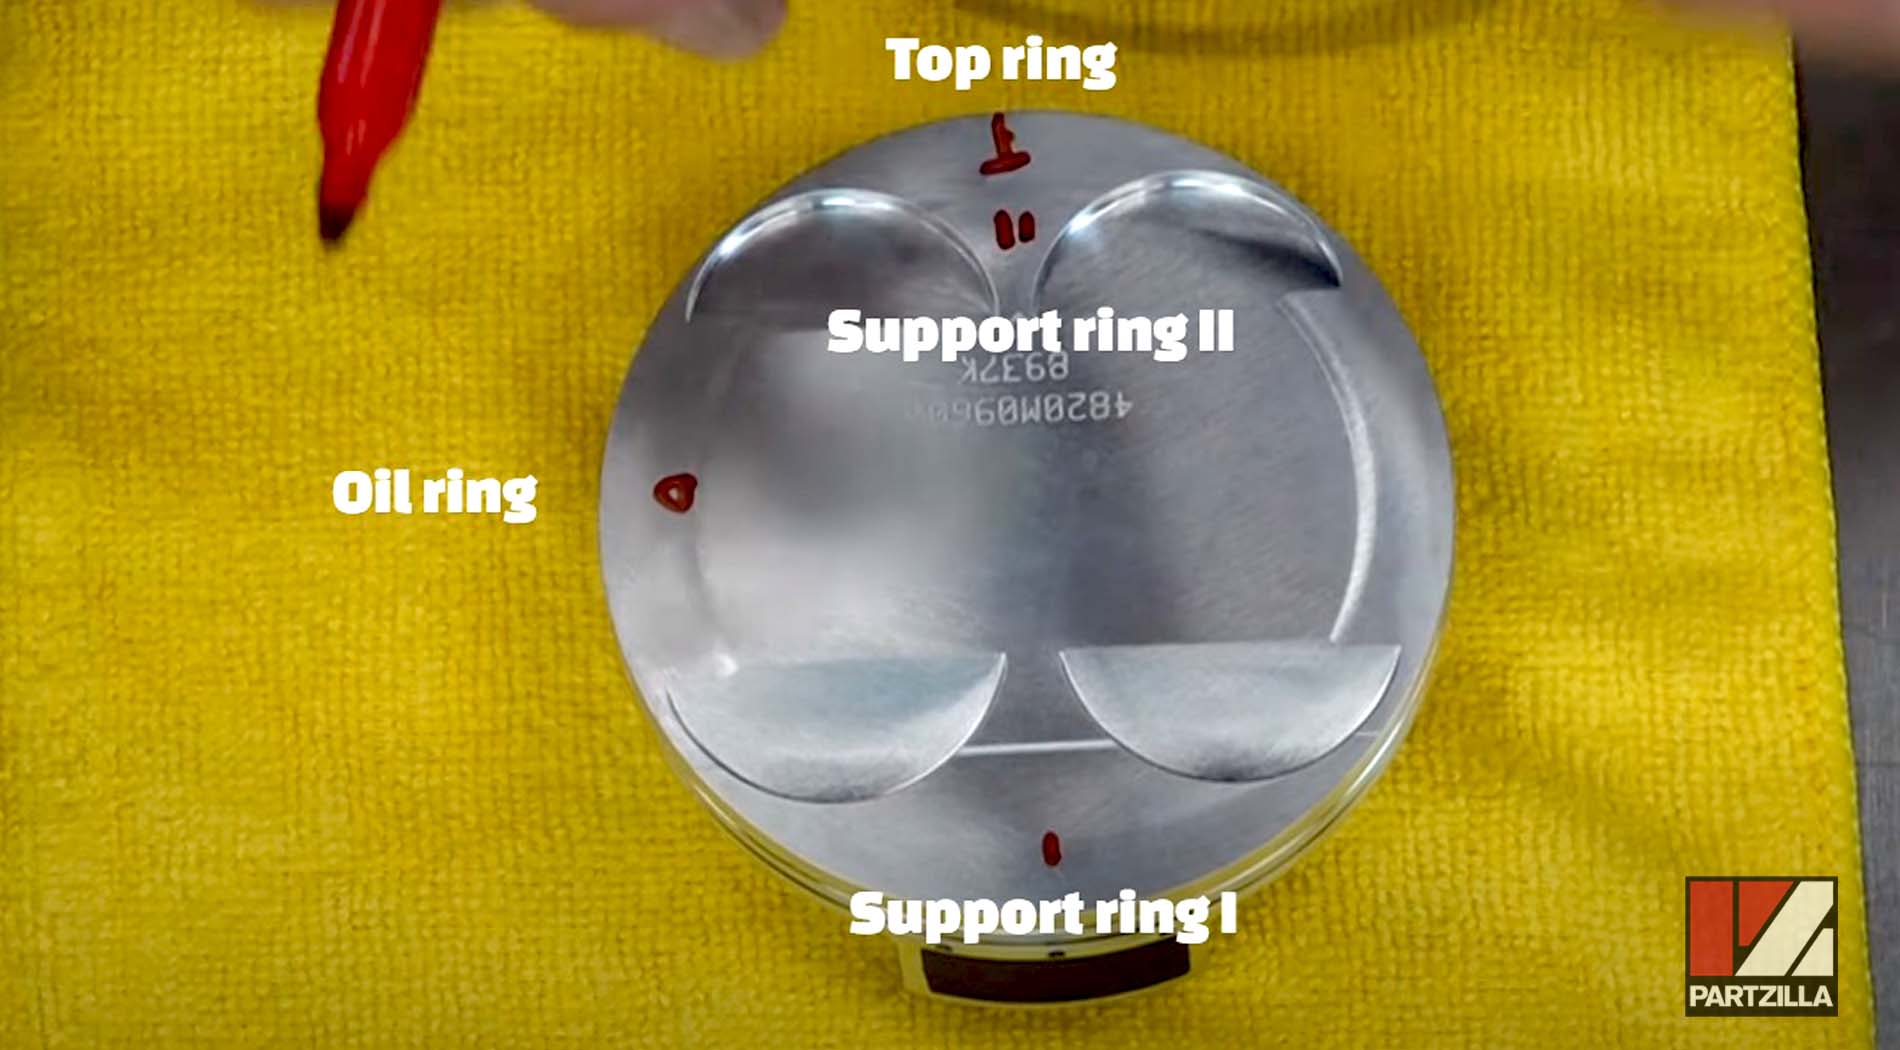
NOTE: The Wiseco diagrams call for the top ring pointing toward one end of the piston wrist pin, with the second ring going over to the other side. Wiseco’s setup has two rings: a top ring and an oil ring. However, we went with what Honda recommends, which is the top ring facing toward the exhaust side, and the oil ring and the two rings at the top and the bottom that hold it in place, which we labeled as O for O-ring, and I and II for the top and bottom support rings.
Step 5. Place a rag or a towel around the connecting rod to prevent the wrist pin circlips for the piston from falling into the bottom end, then lube and attach the circlips on one side of the piston’s wrist pin opening.
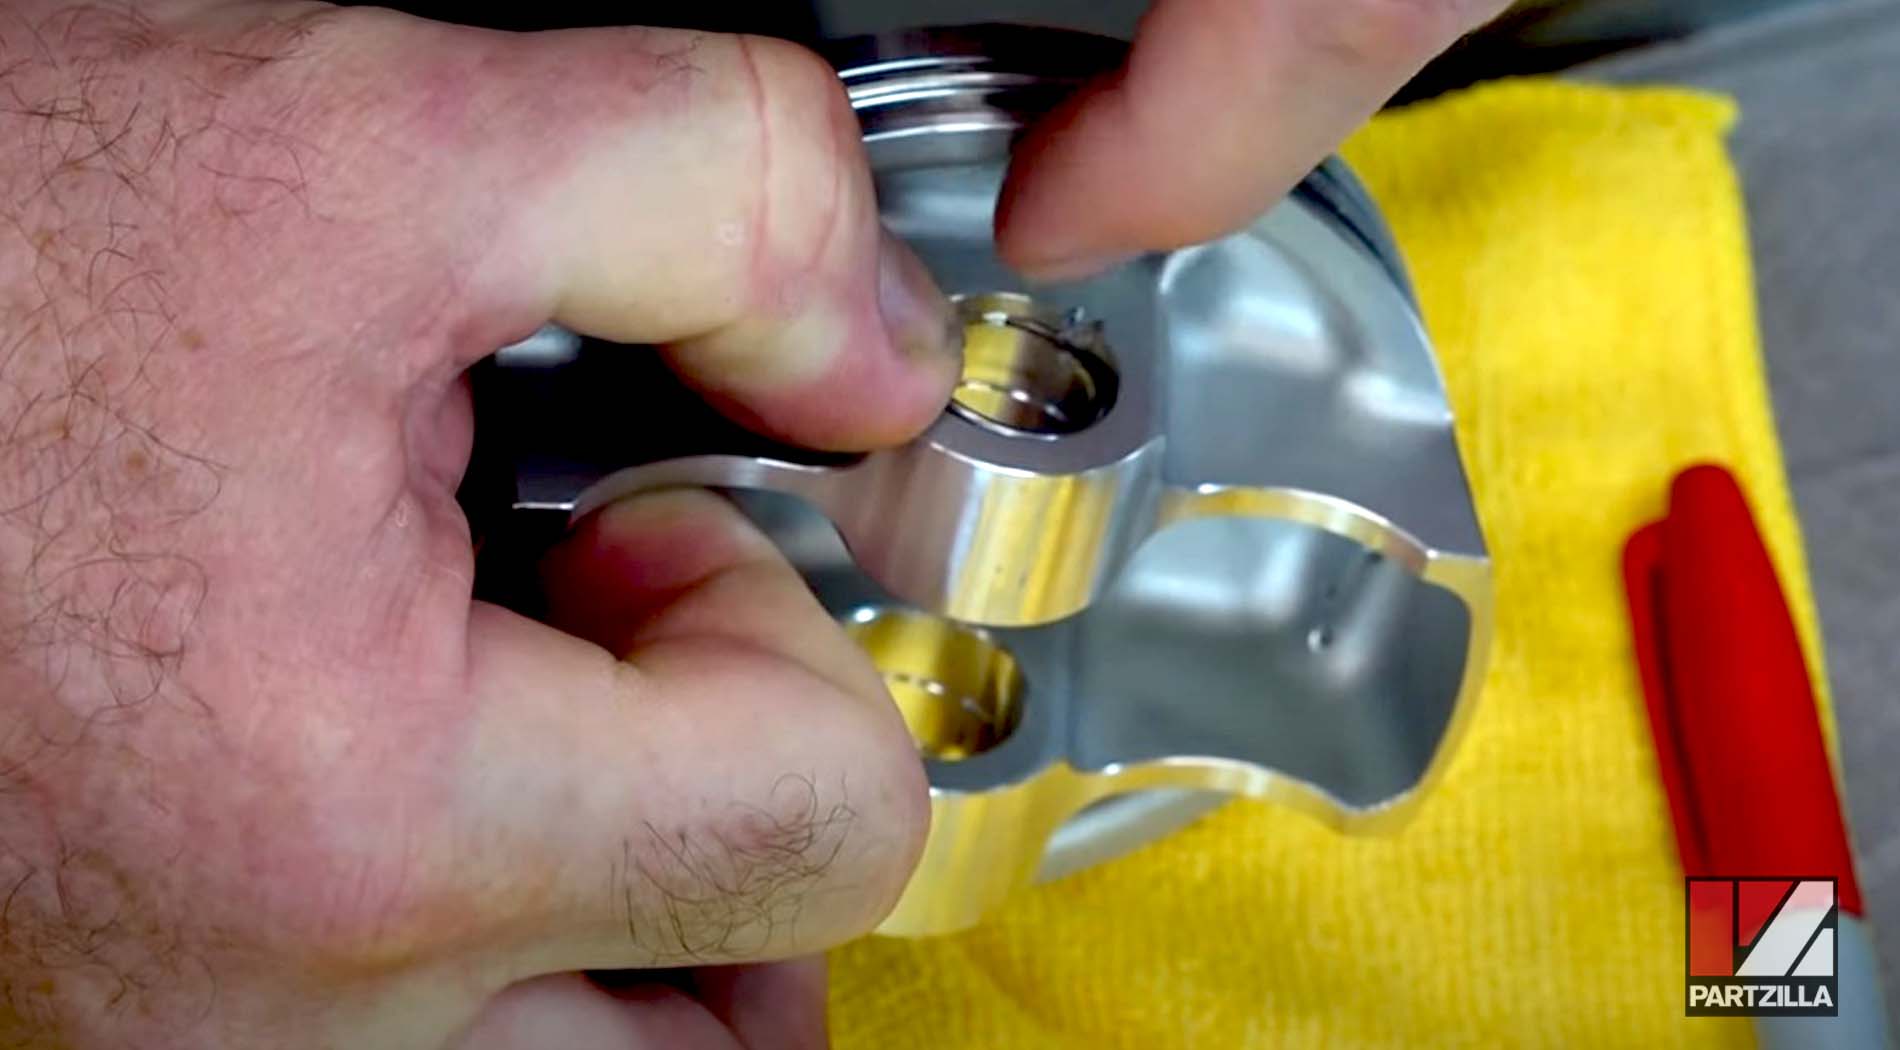
NOTE: The Wiseco orientation is marked pointing toward the exhaust side. On a factory Honda piston, it actually has an end for the intake on one side, so don't do it backward.
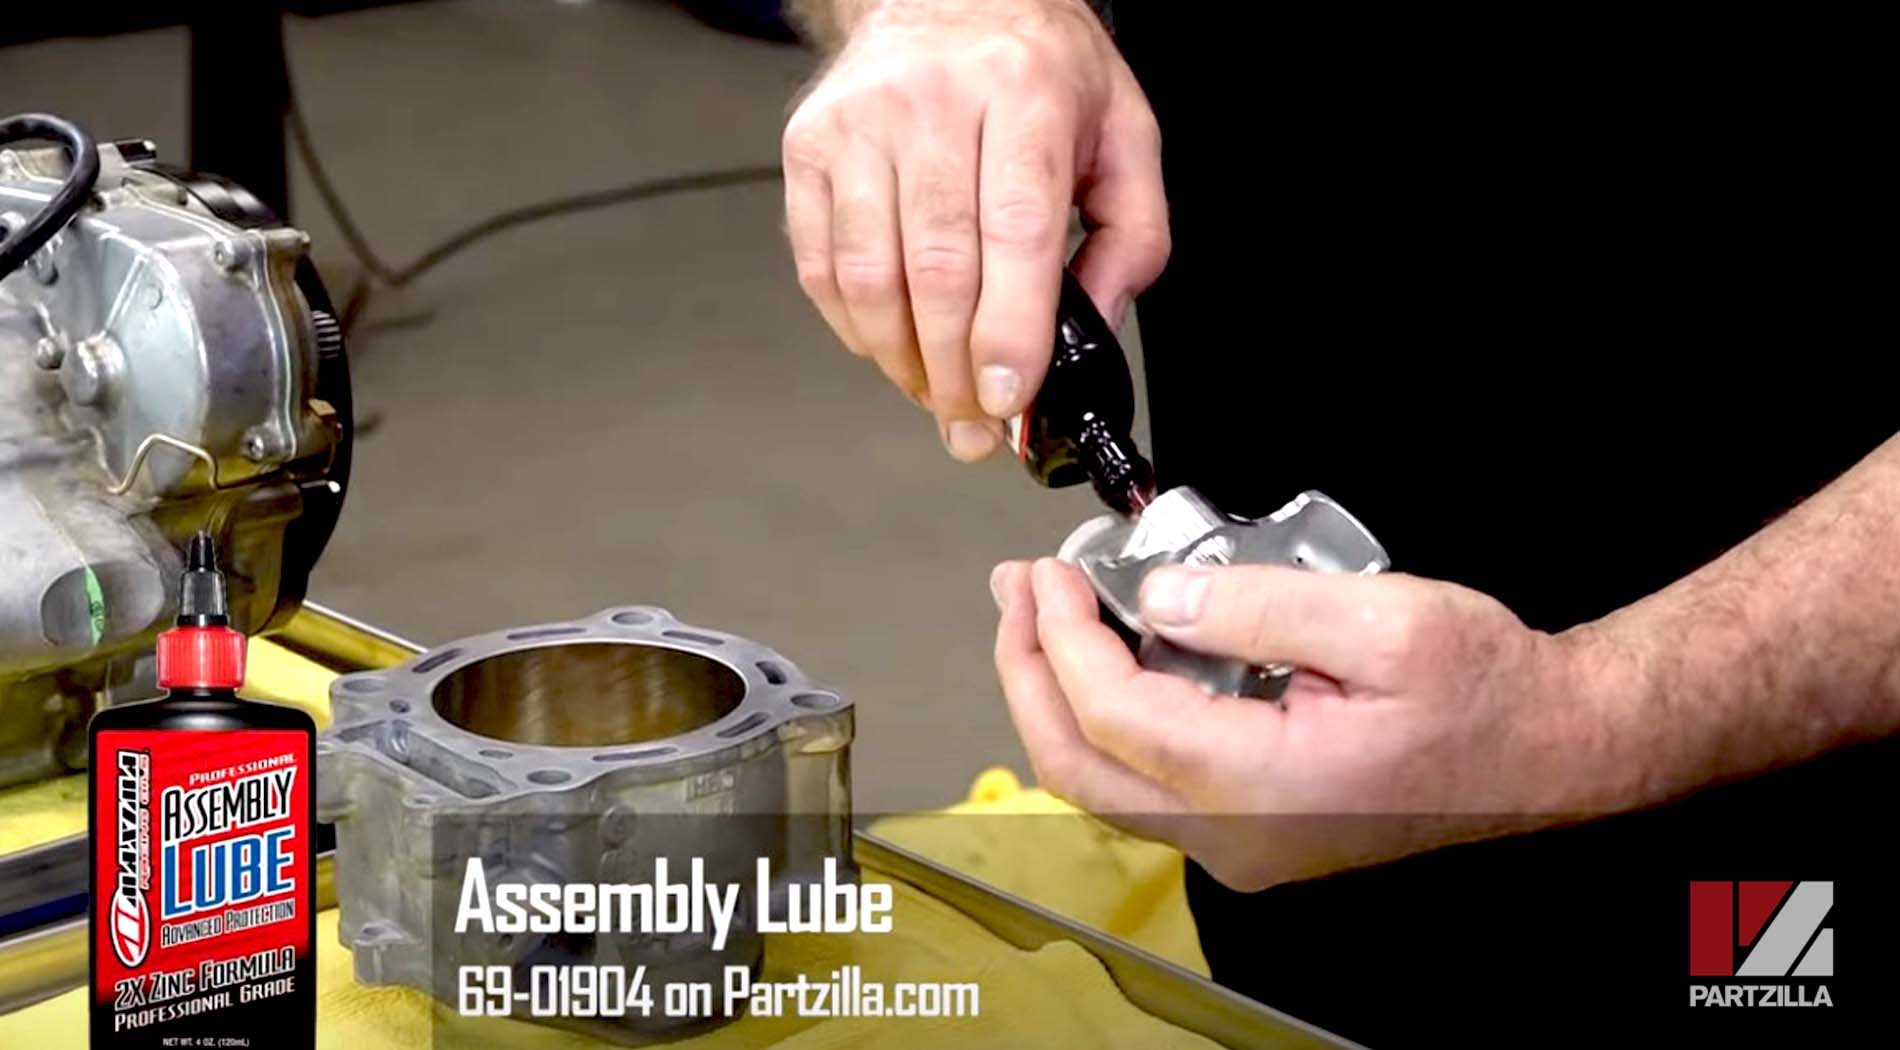
Step 6. Put a little bit of assembly lube on the surface where the wrist pin is going to be and on the connector rod.
Step 7. Insert the wrist pin into its slot on the piston, then attach the piston to the connector rod and the wristpin circlip onto the other side.
NOTE: Be careful when pushing against the piston, as you don’t want to scar it up. Use a cloth to protect the piston while you’re seating the circlip into place.
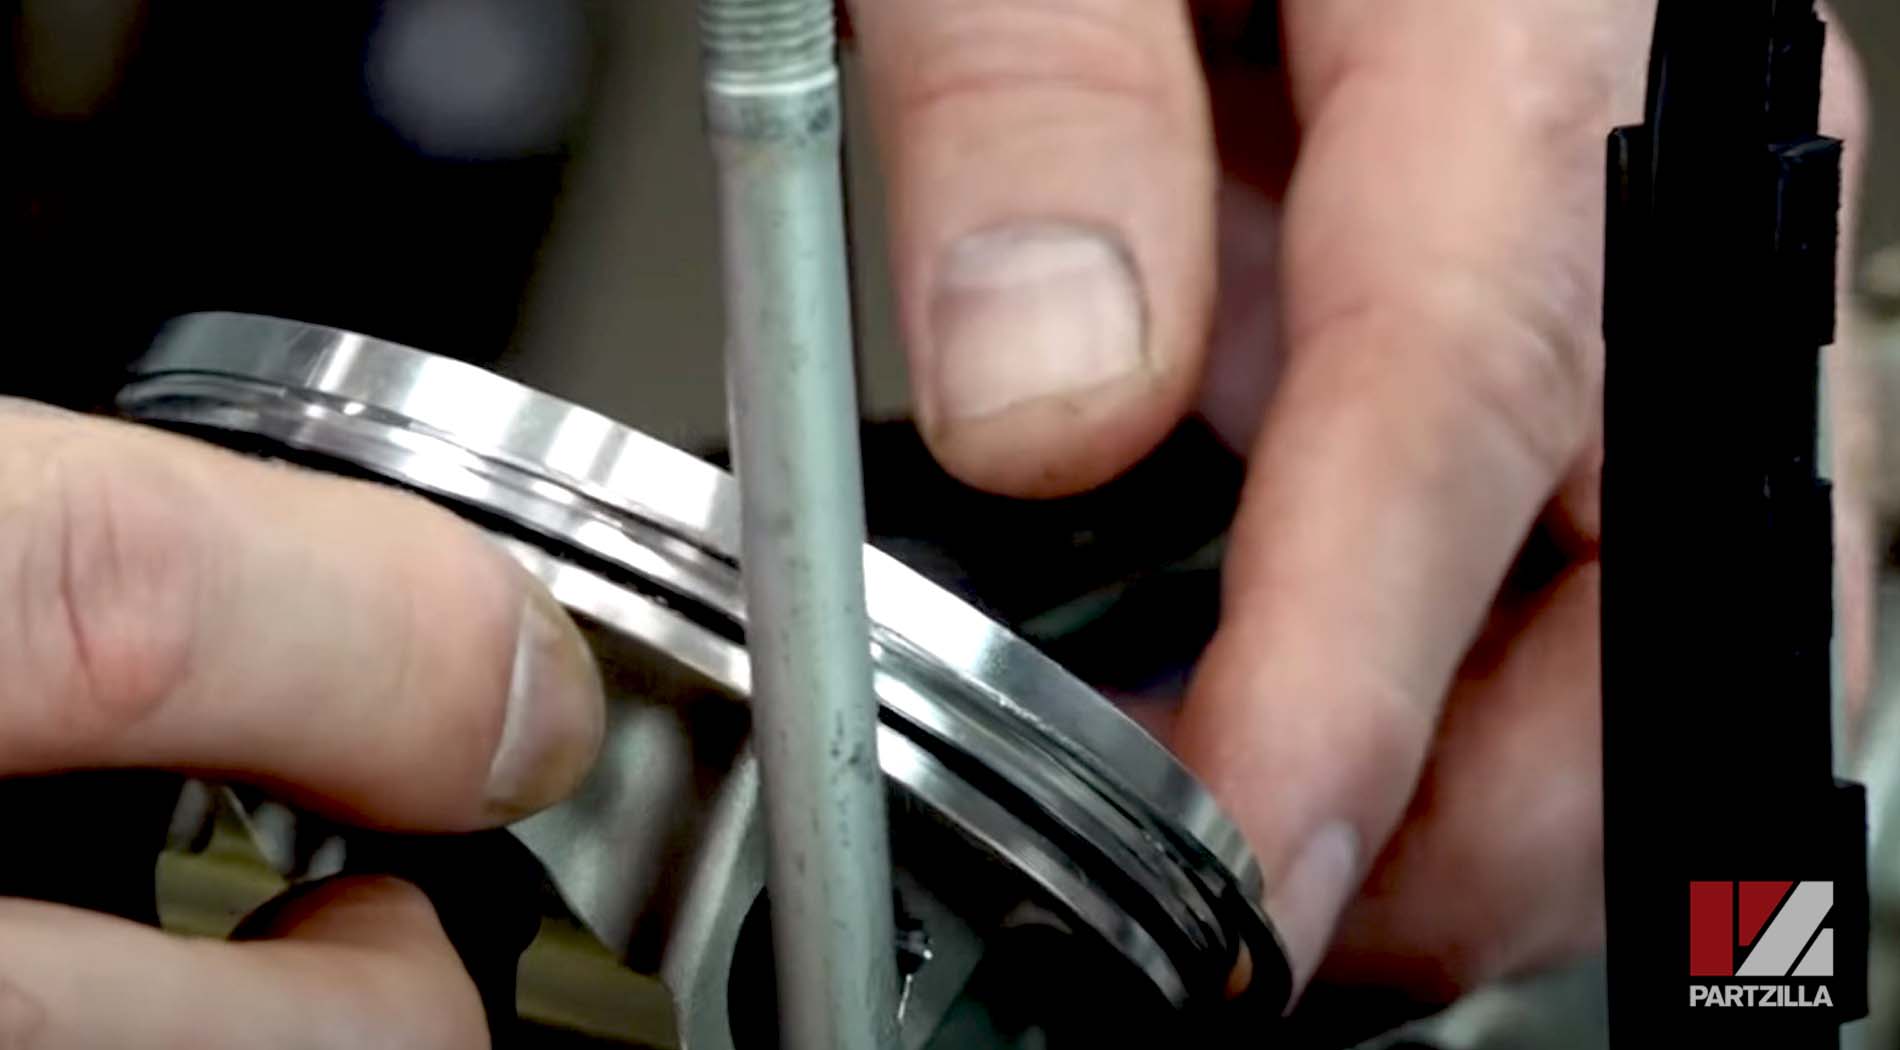
Step 8. Install the oil ring onto the piston, making sure the ends of the ring butt together and don’t overlap.
Step 9. Install the top and bottom oil ring support rings, which hold the oil ring in place.
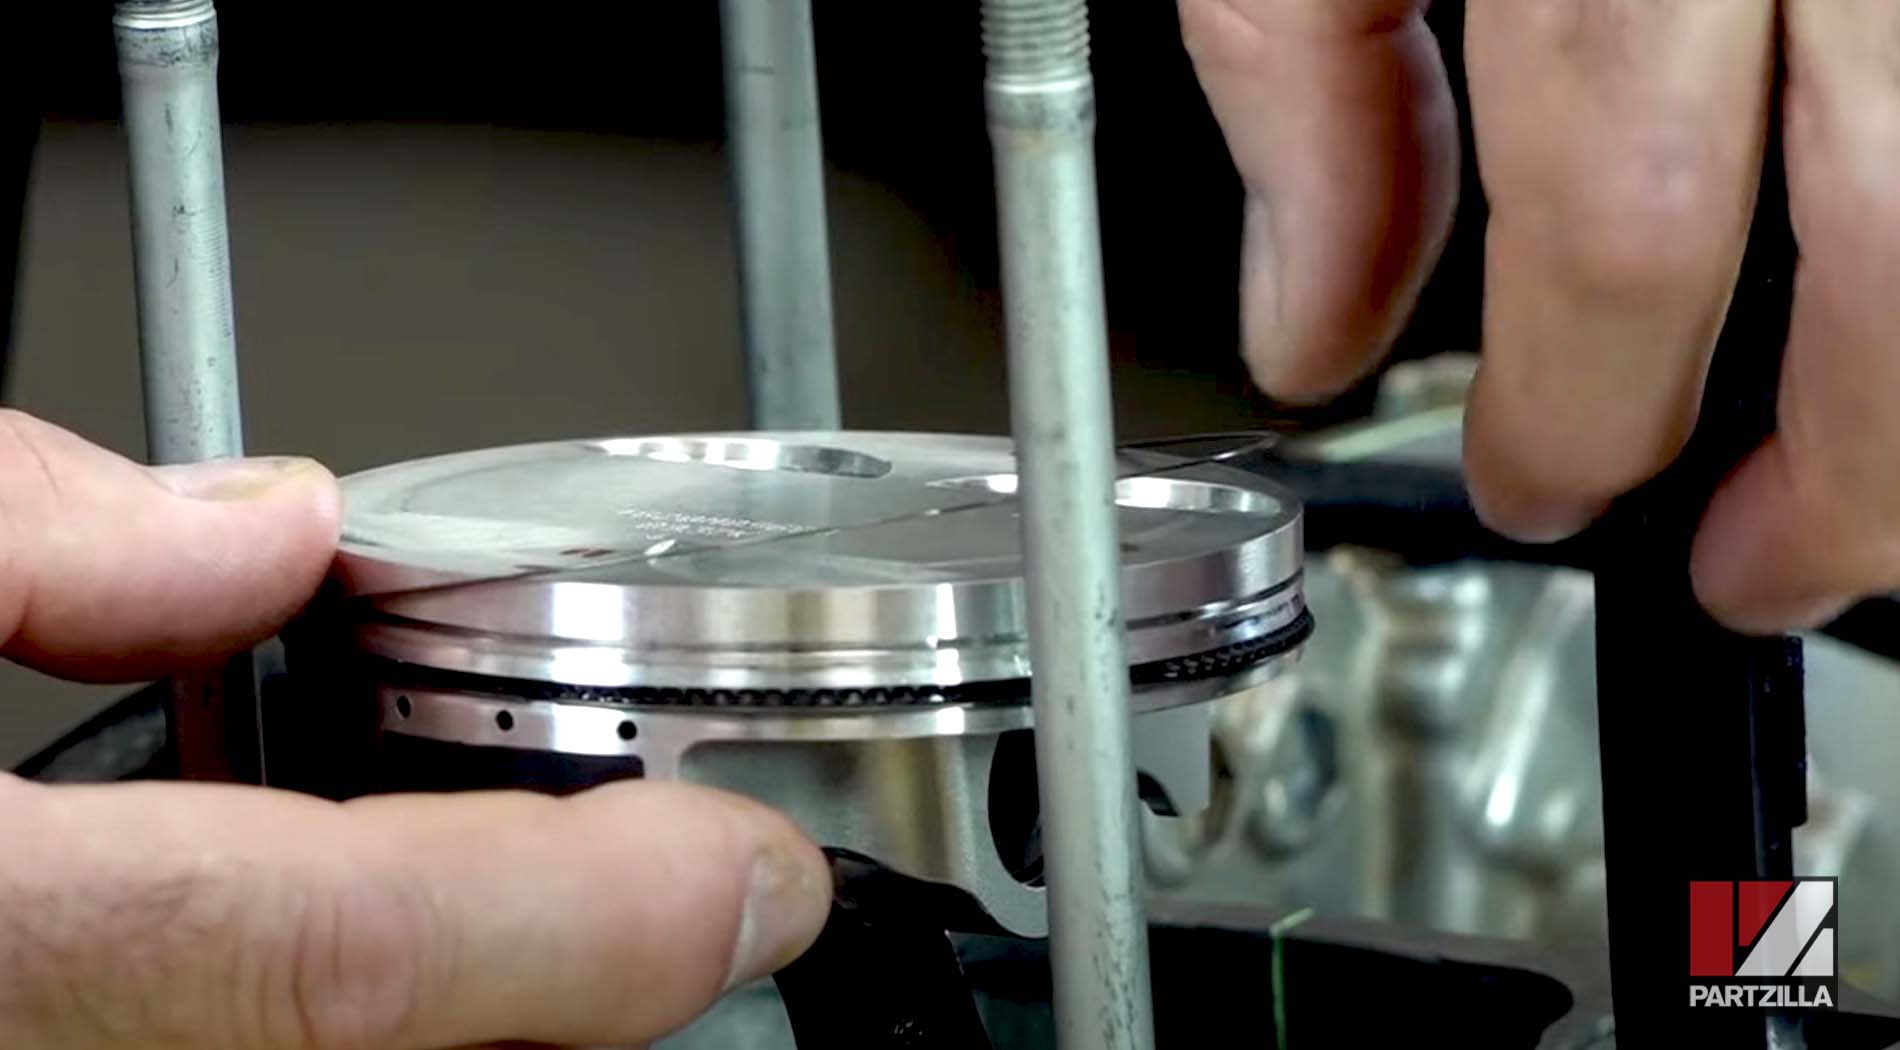
Step 10. Add a little bit of oil all the way around the top piston ring with your fingers, then install the top ring onto the piston with the end mark facing up.
PRO TIP: Use a piston ring installer tool for this step if you have one, otherwise just pull the ring the minimum amount to get it to clear.
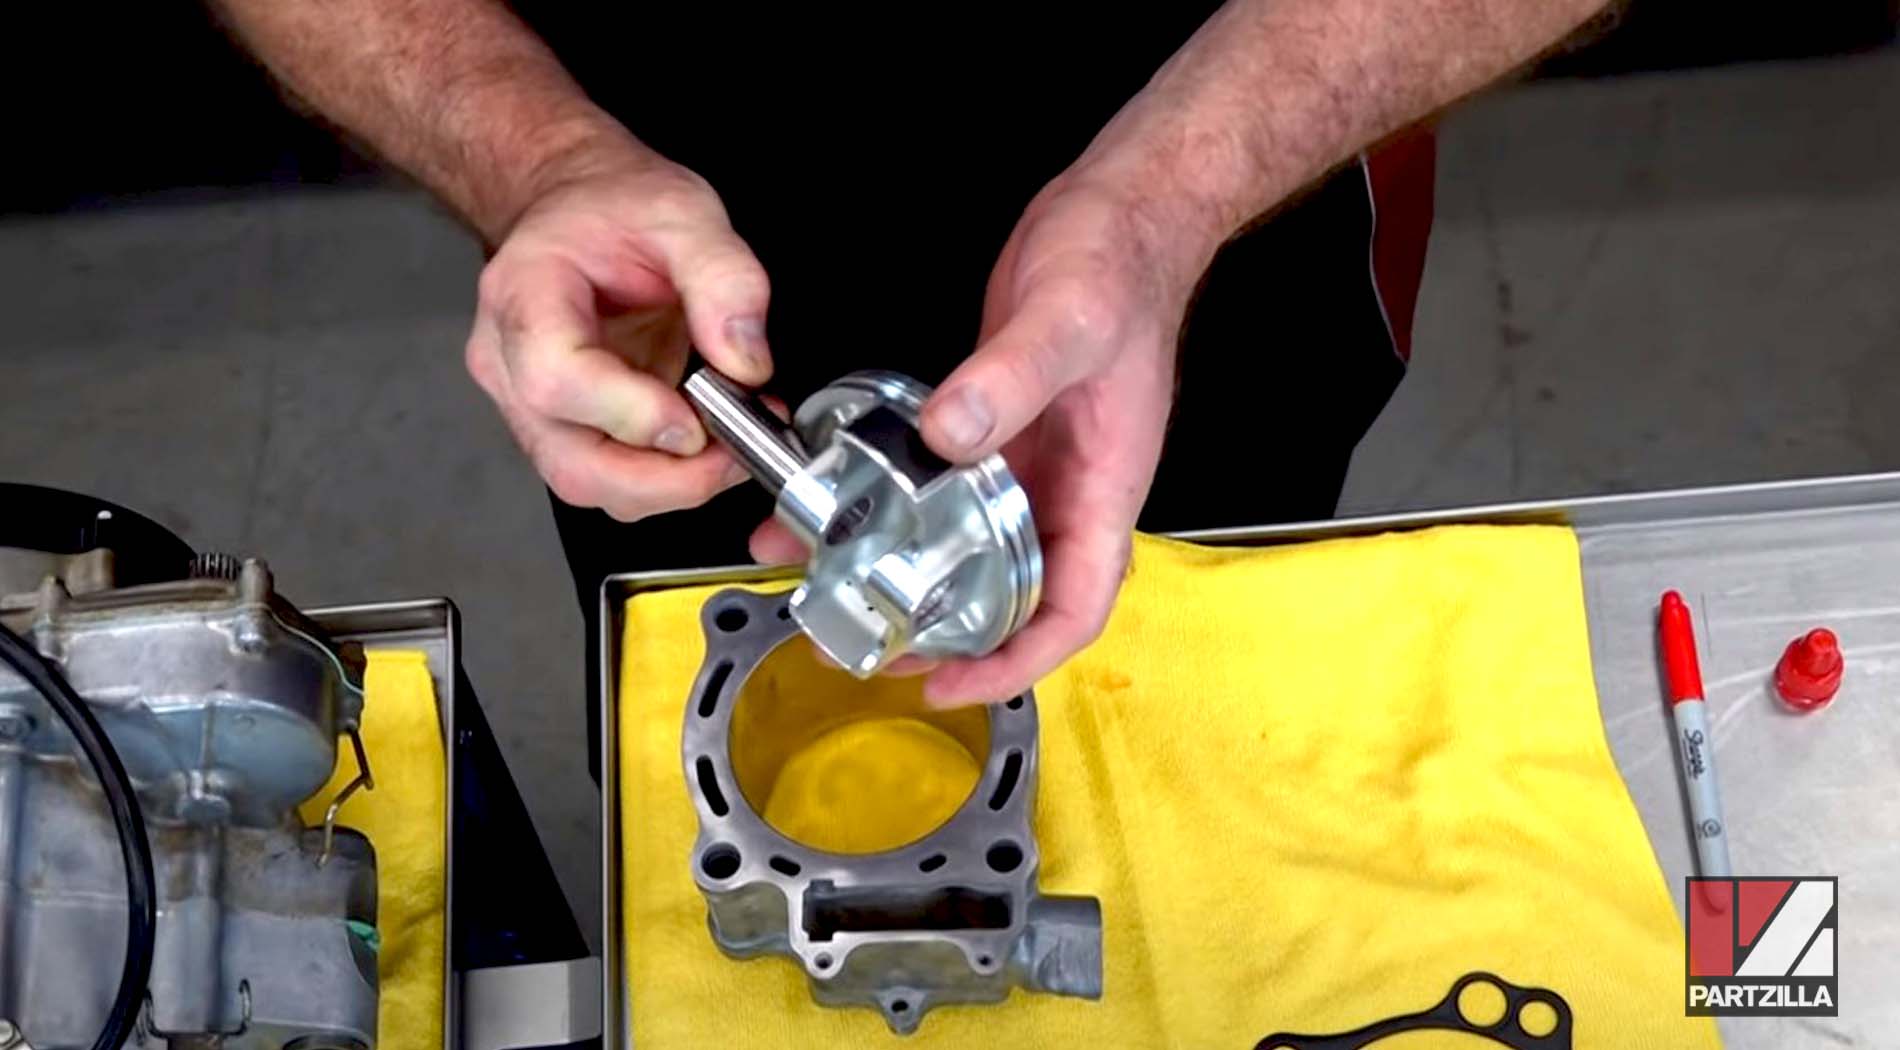
Step 11. Wipe a light layer of oil on the piston, especially on the skirts.
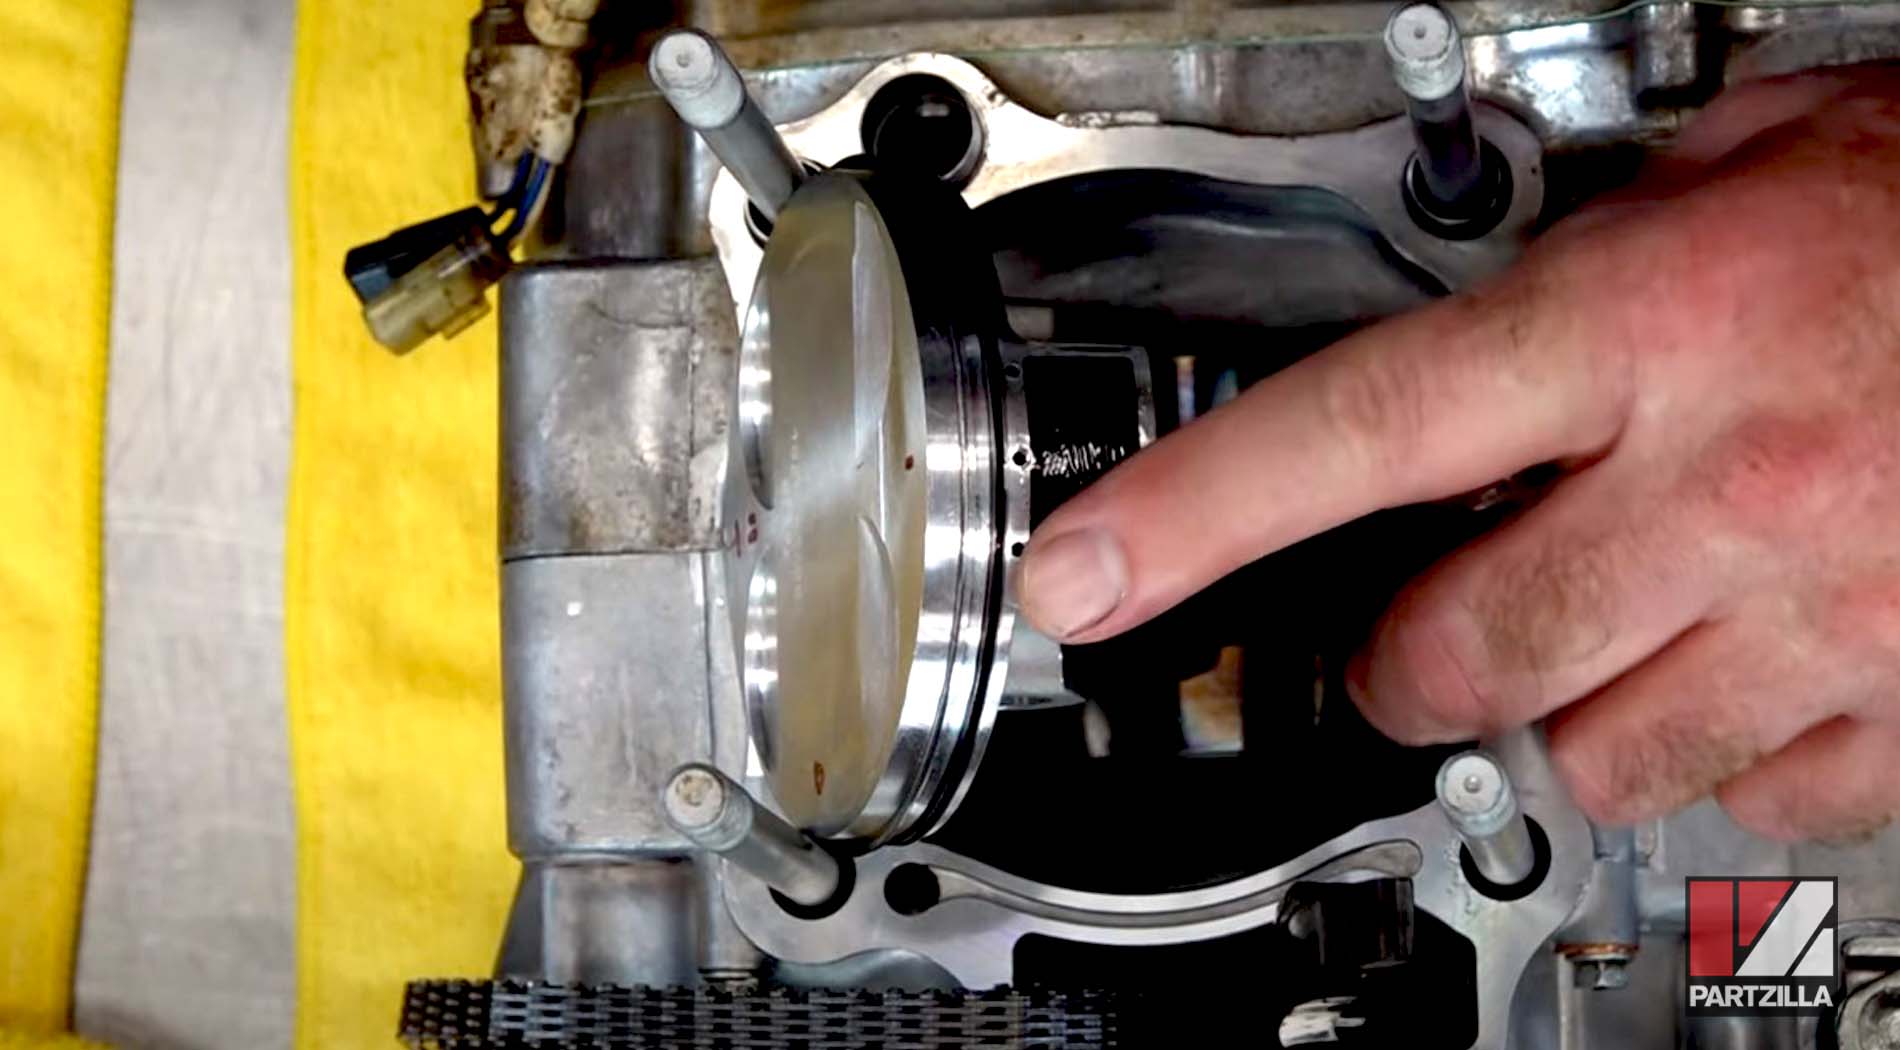
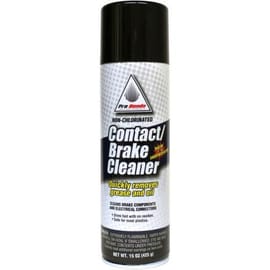
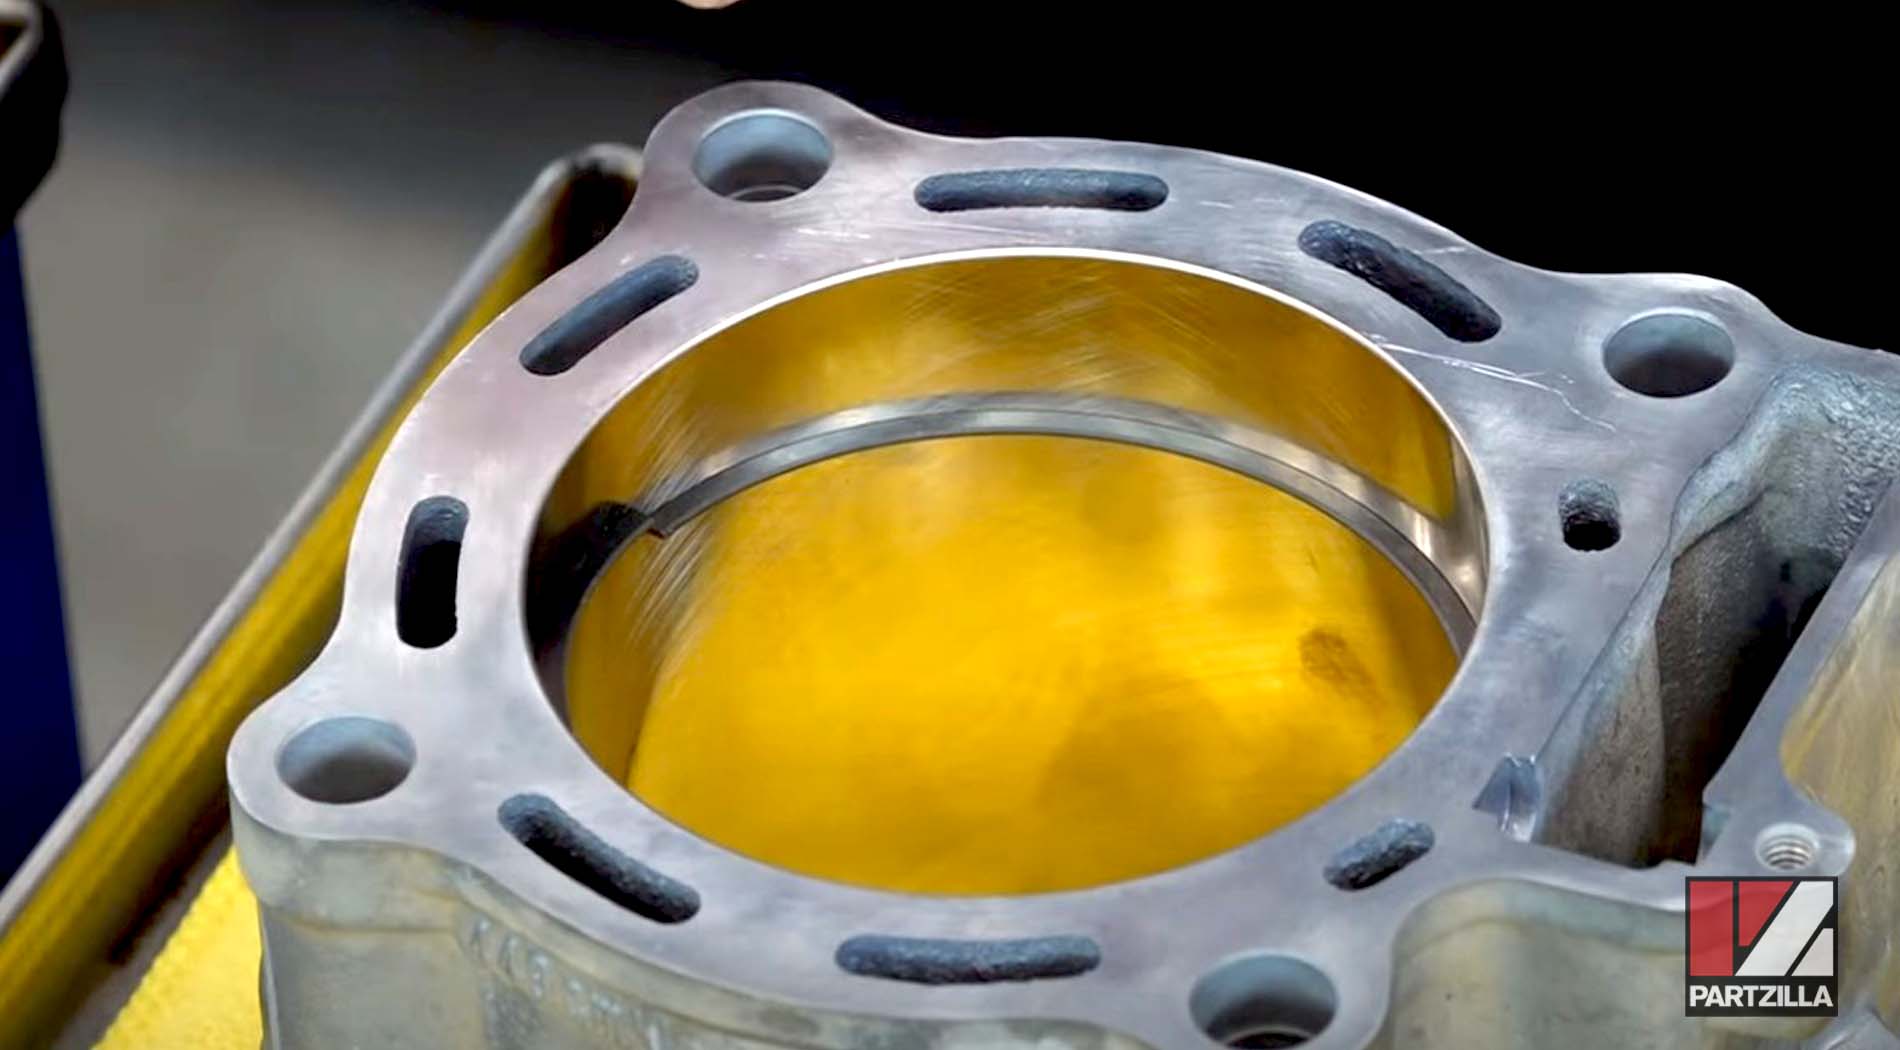
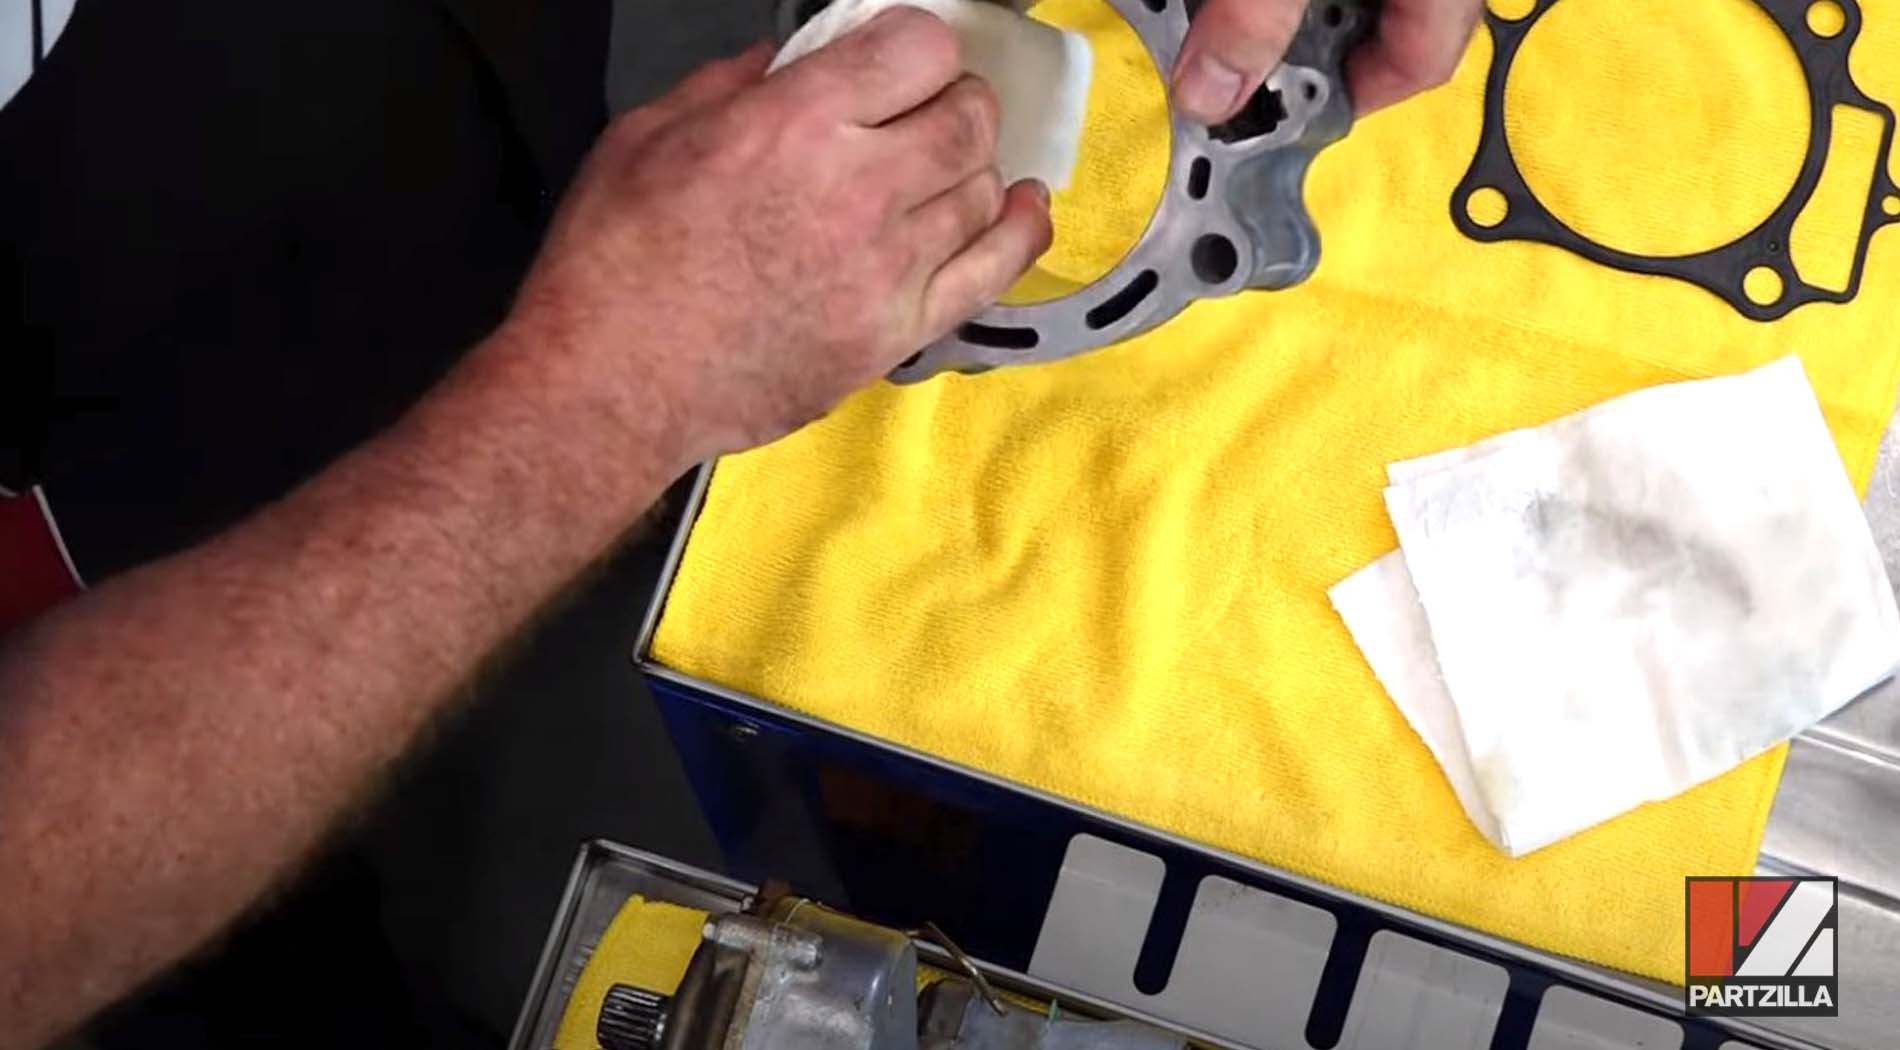
Step 12. Clean the cylinder with some contact-brake cleaner, and then wipe the inside of it with a thin layer of oil on a cloth.
NOTE: Don’t glob a bunch of oil in there, as you’ll want a certain amount of friction on startup to get the rings to seat properly.
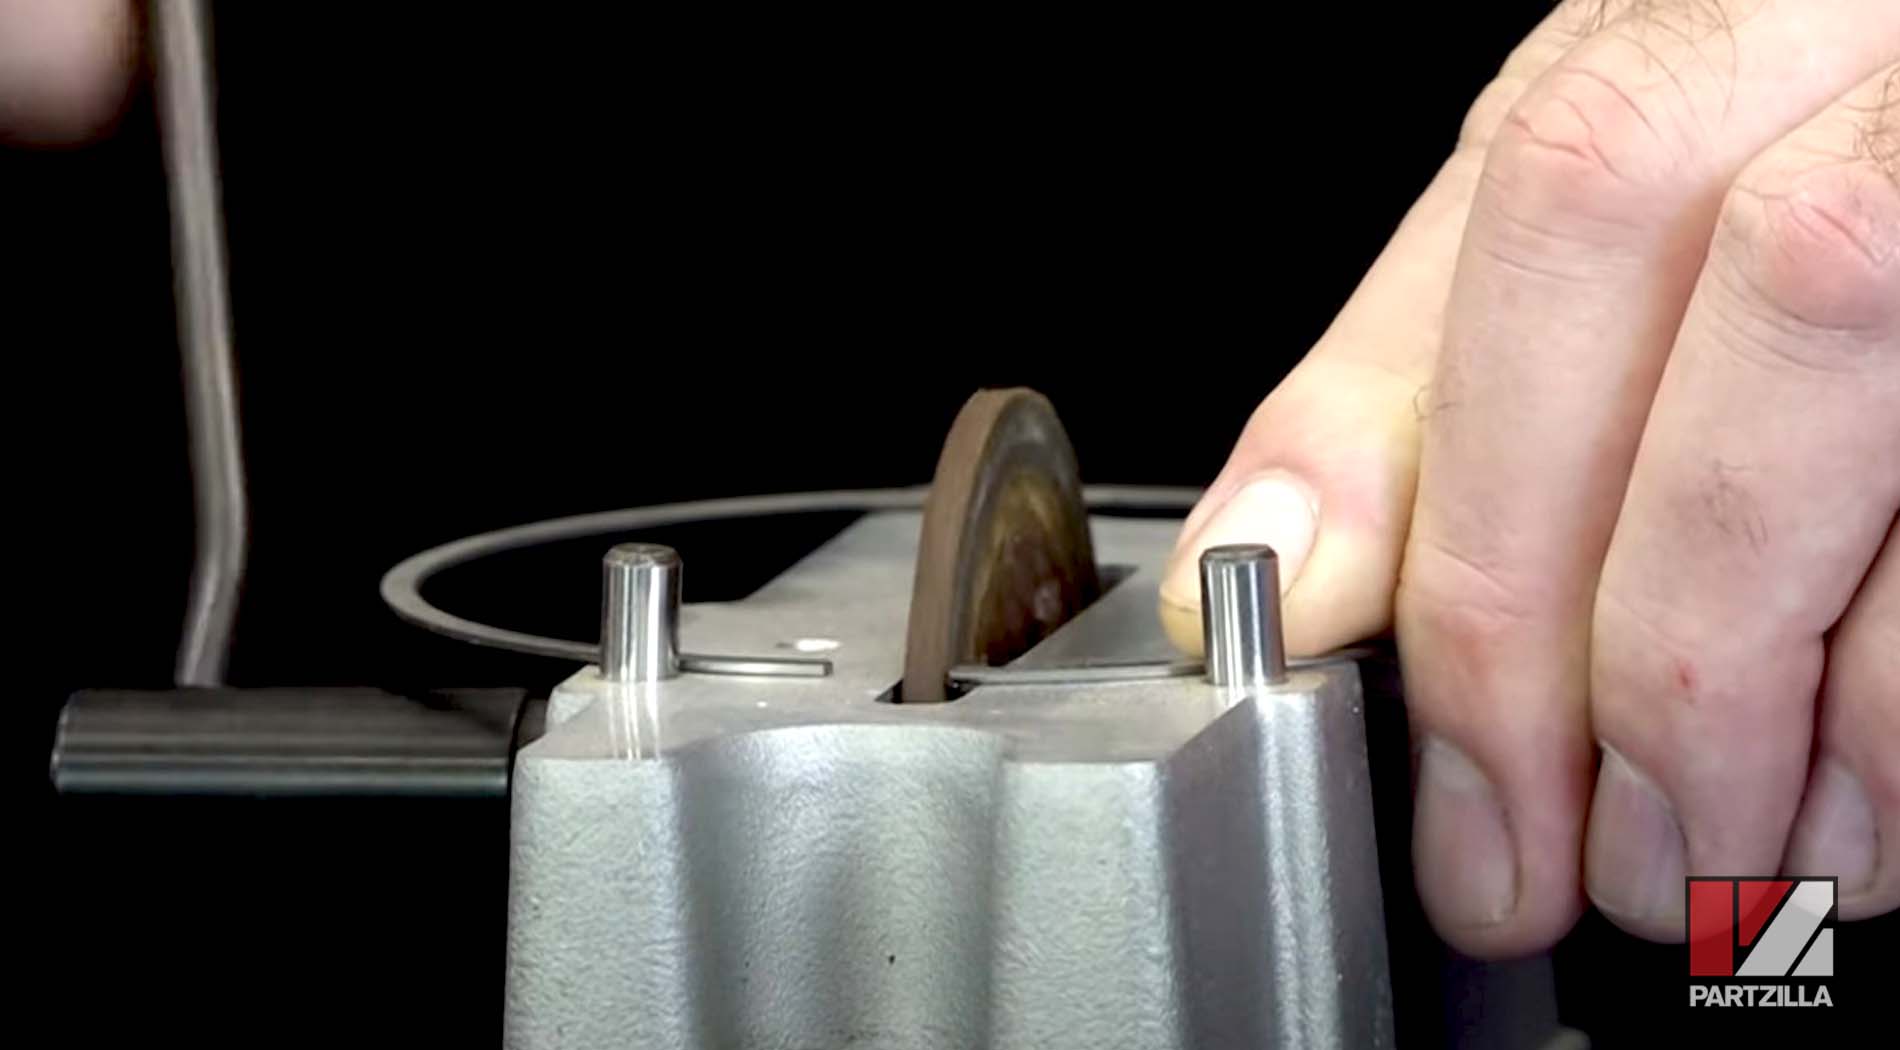
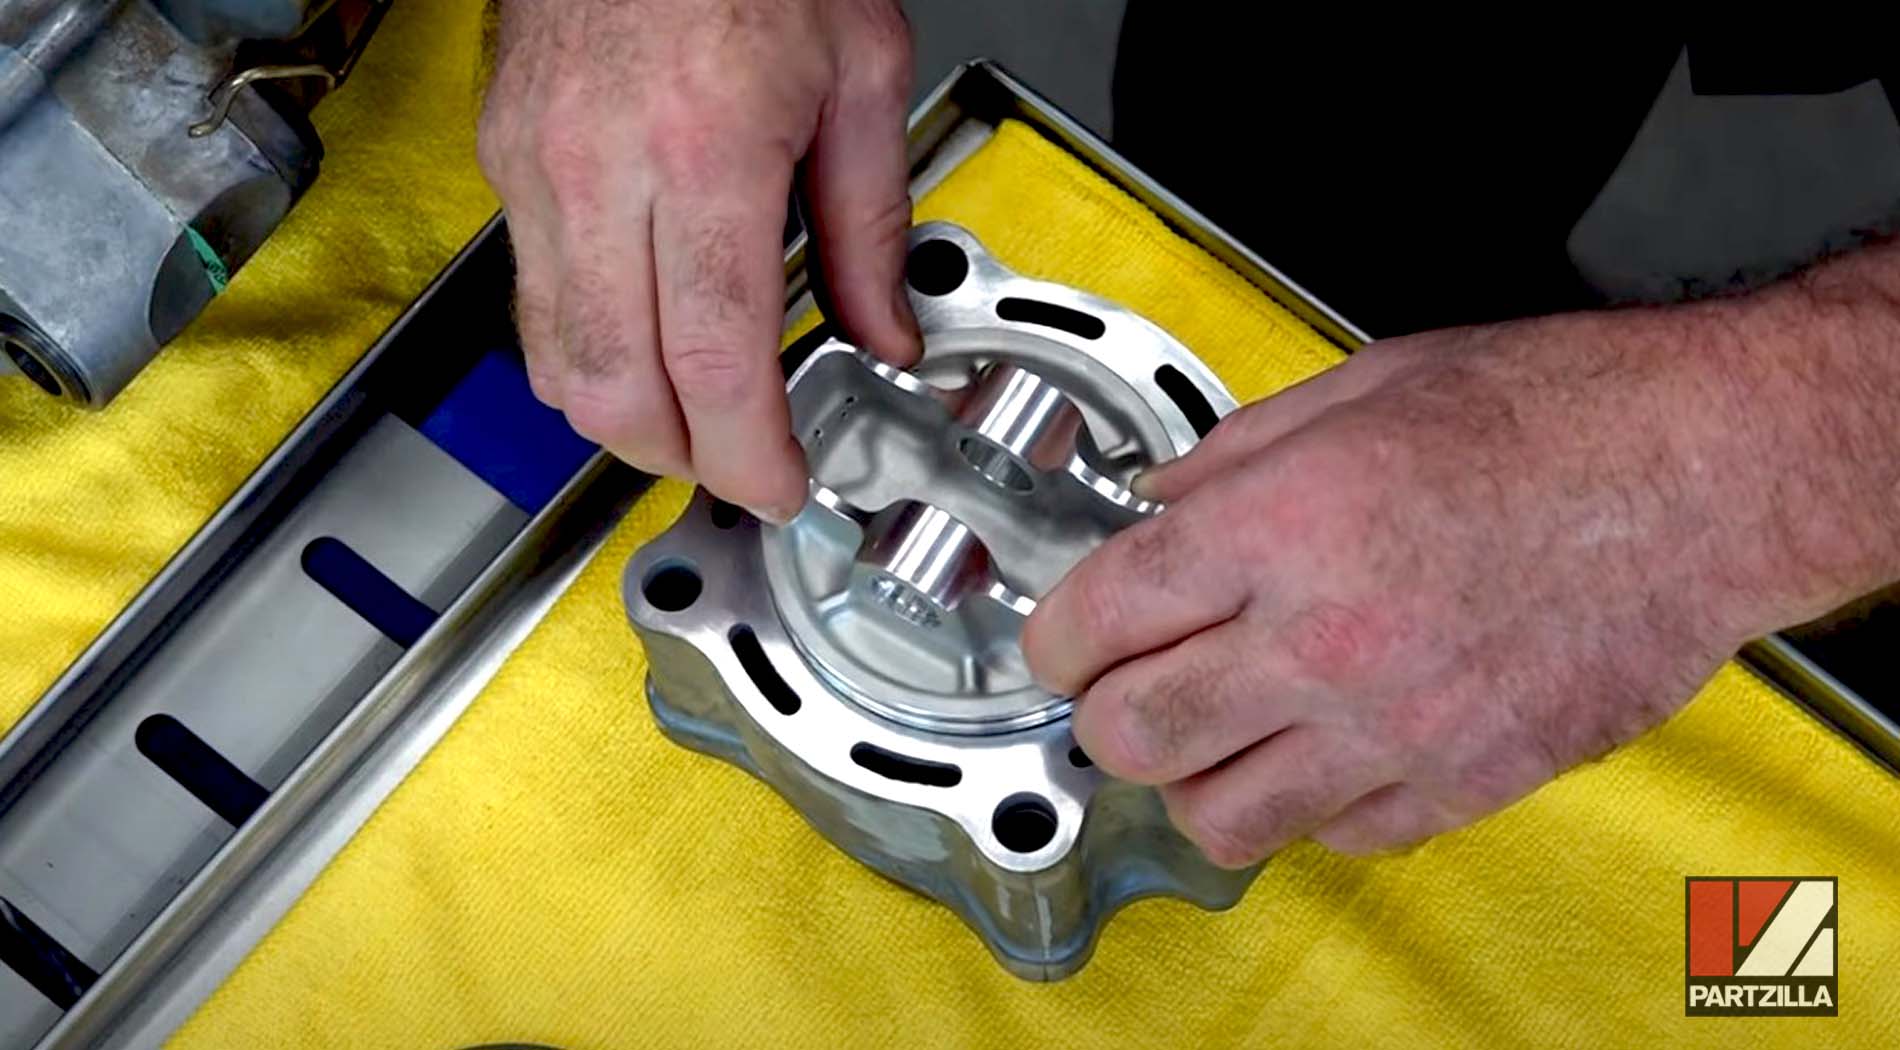
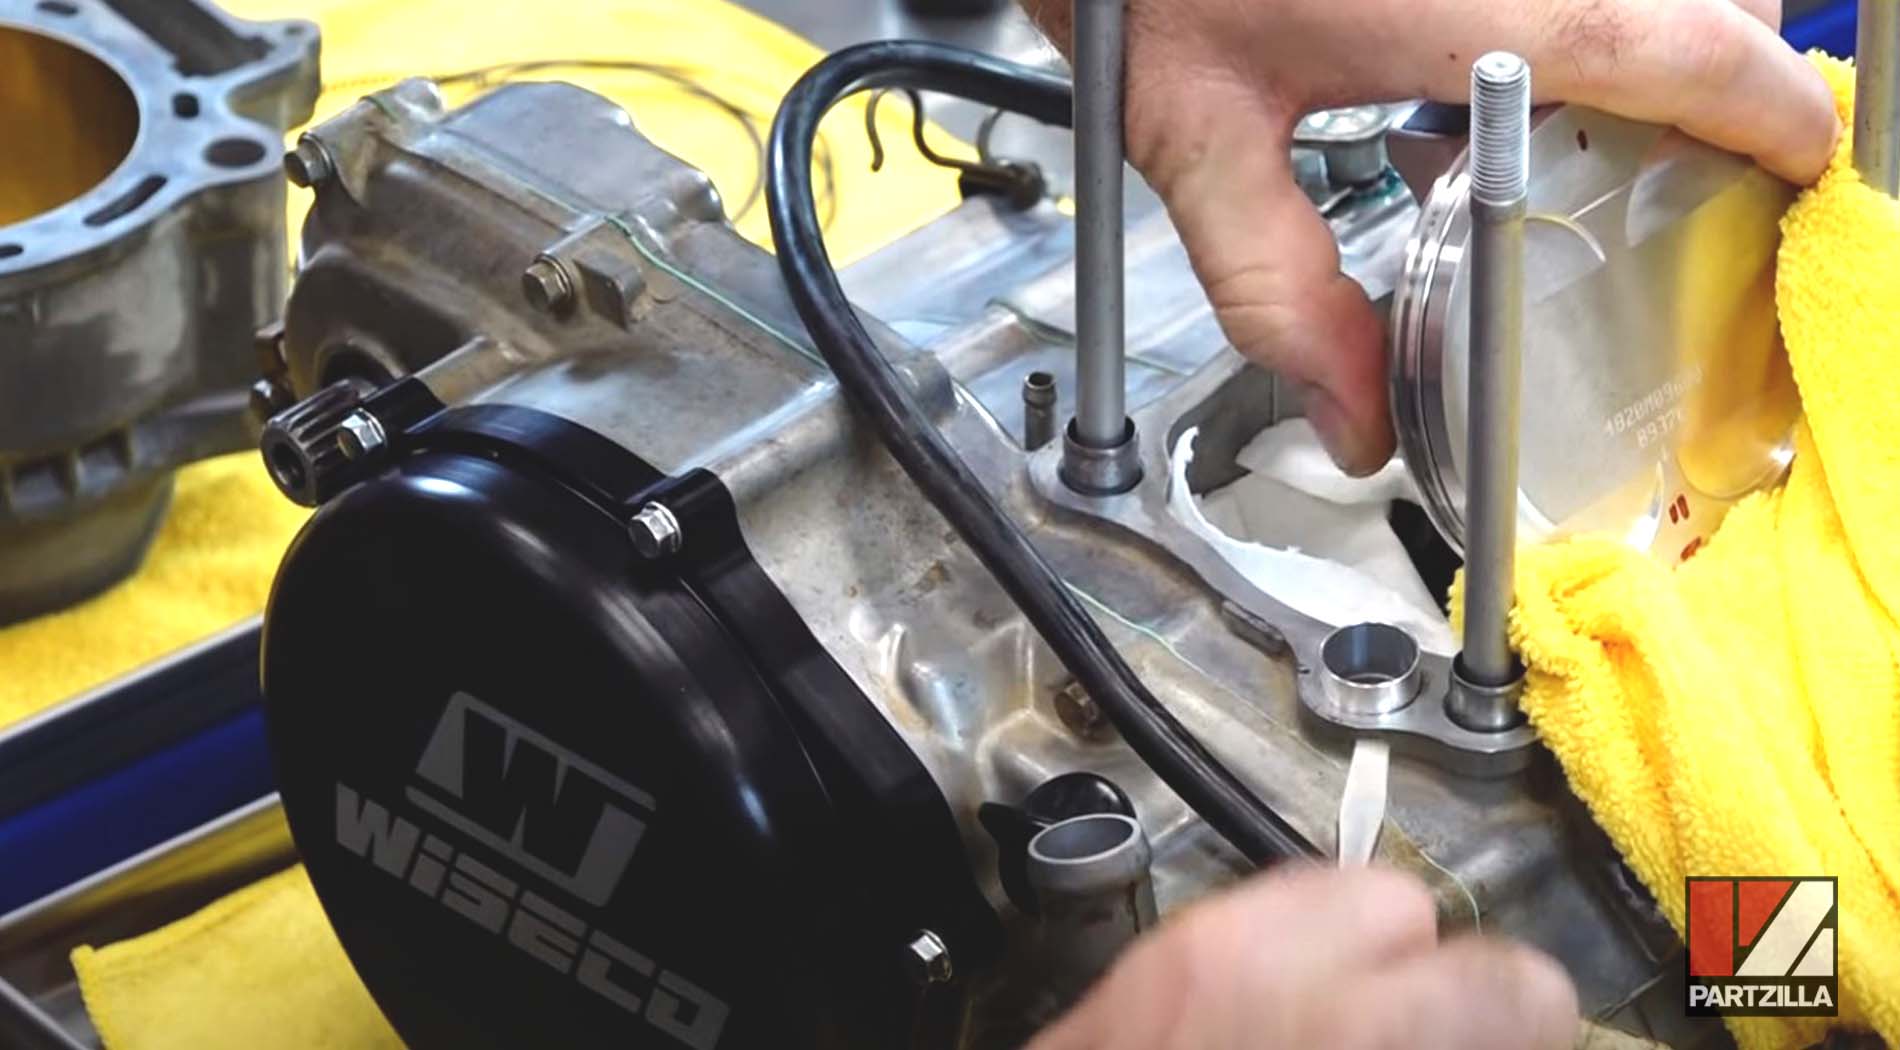
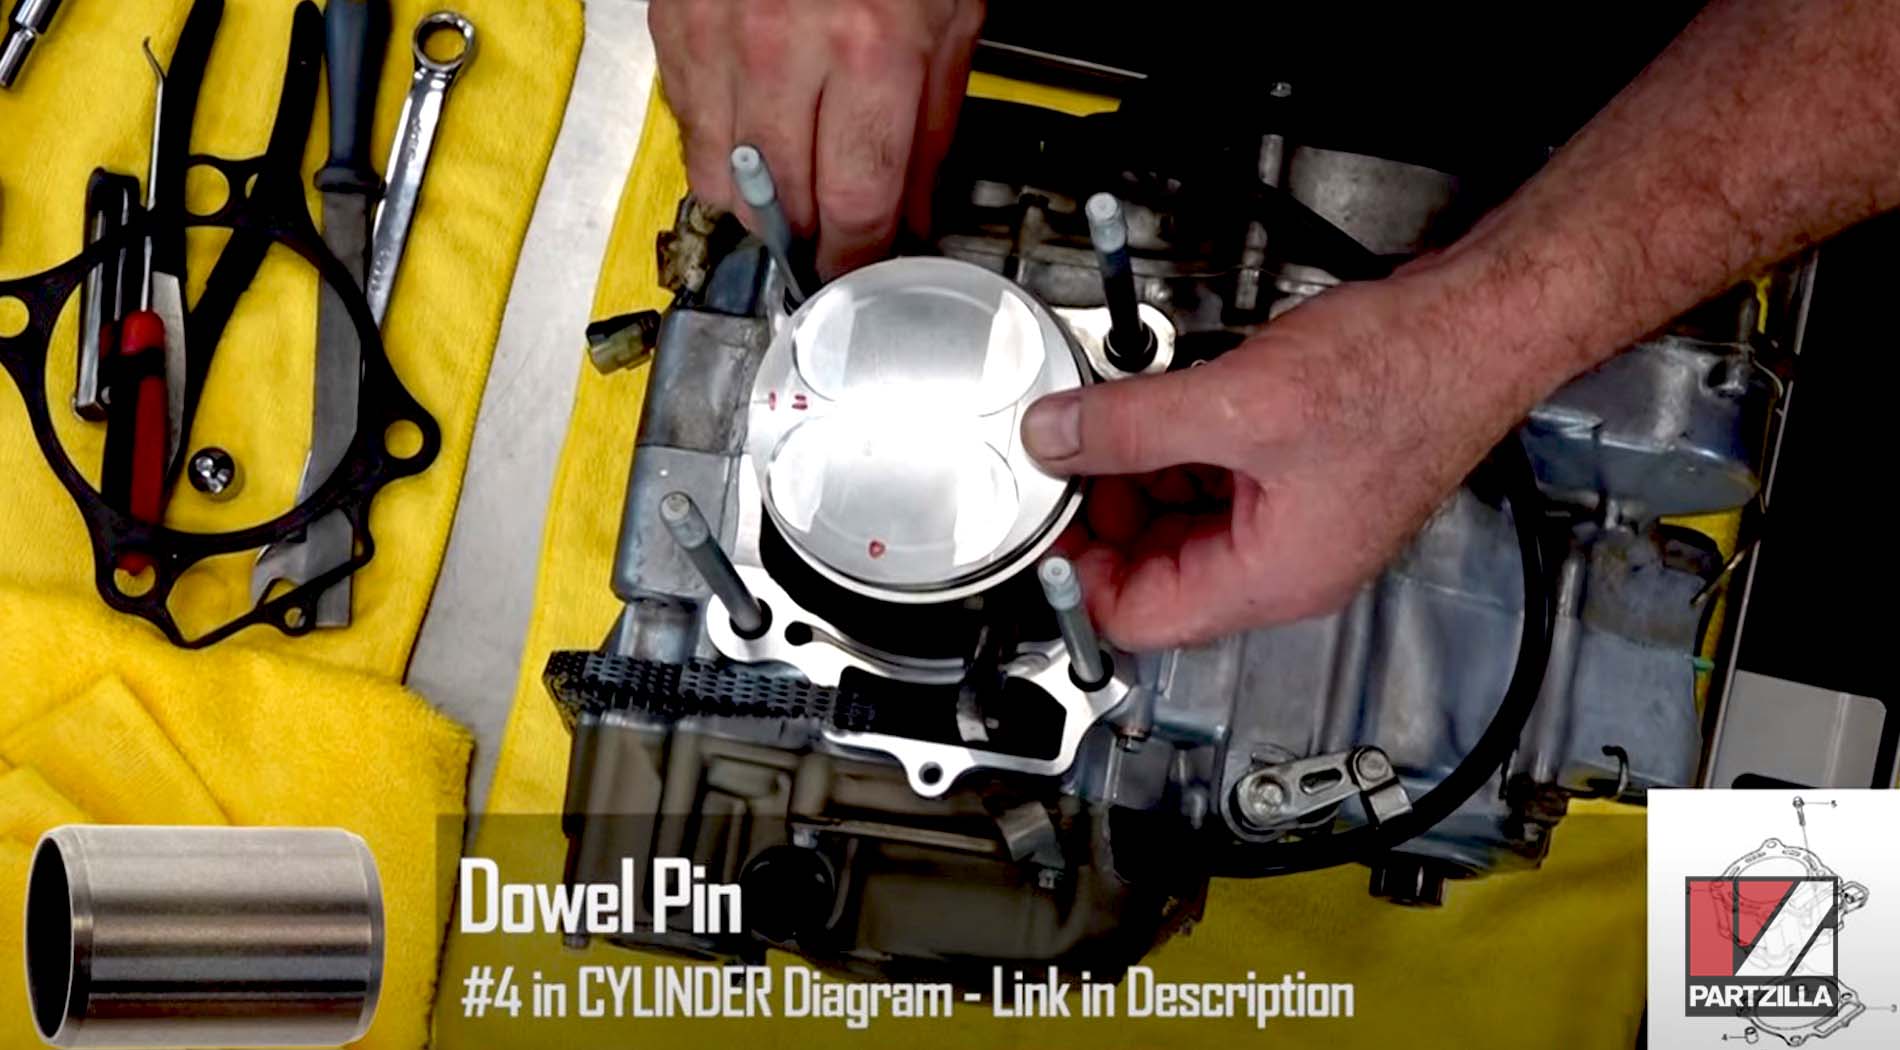
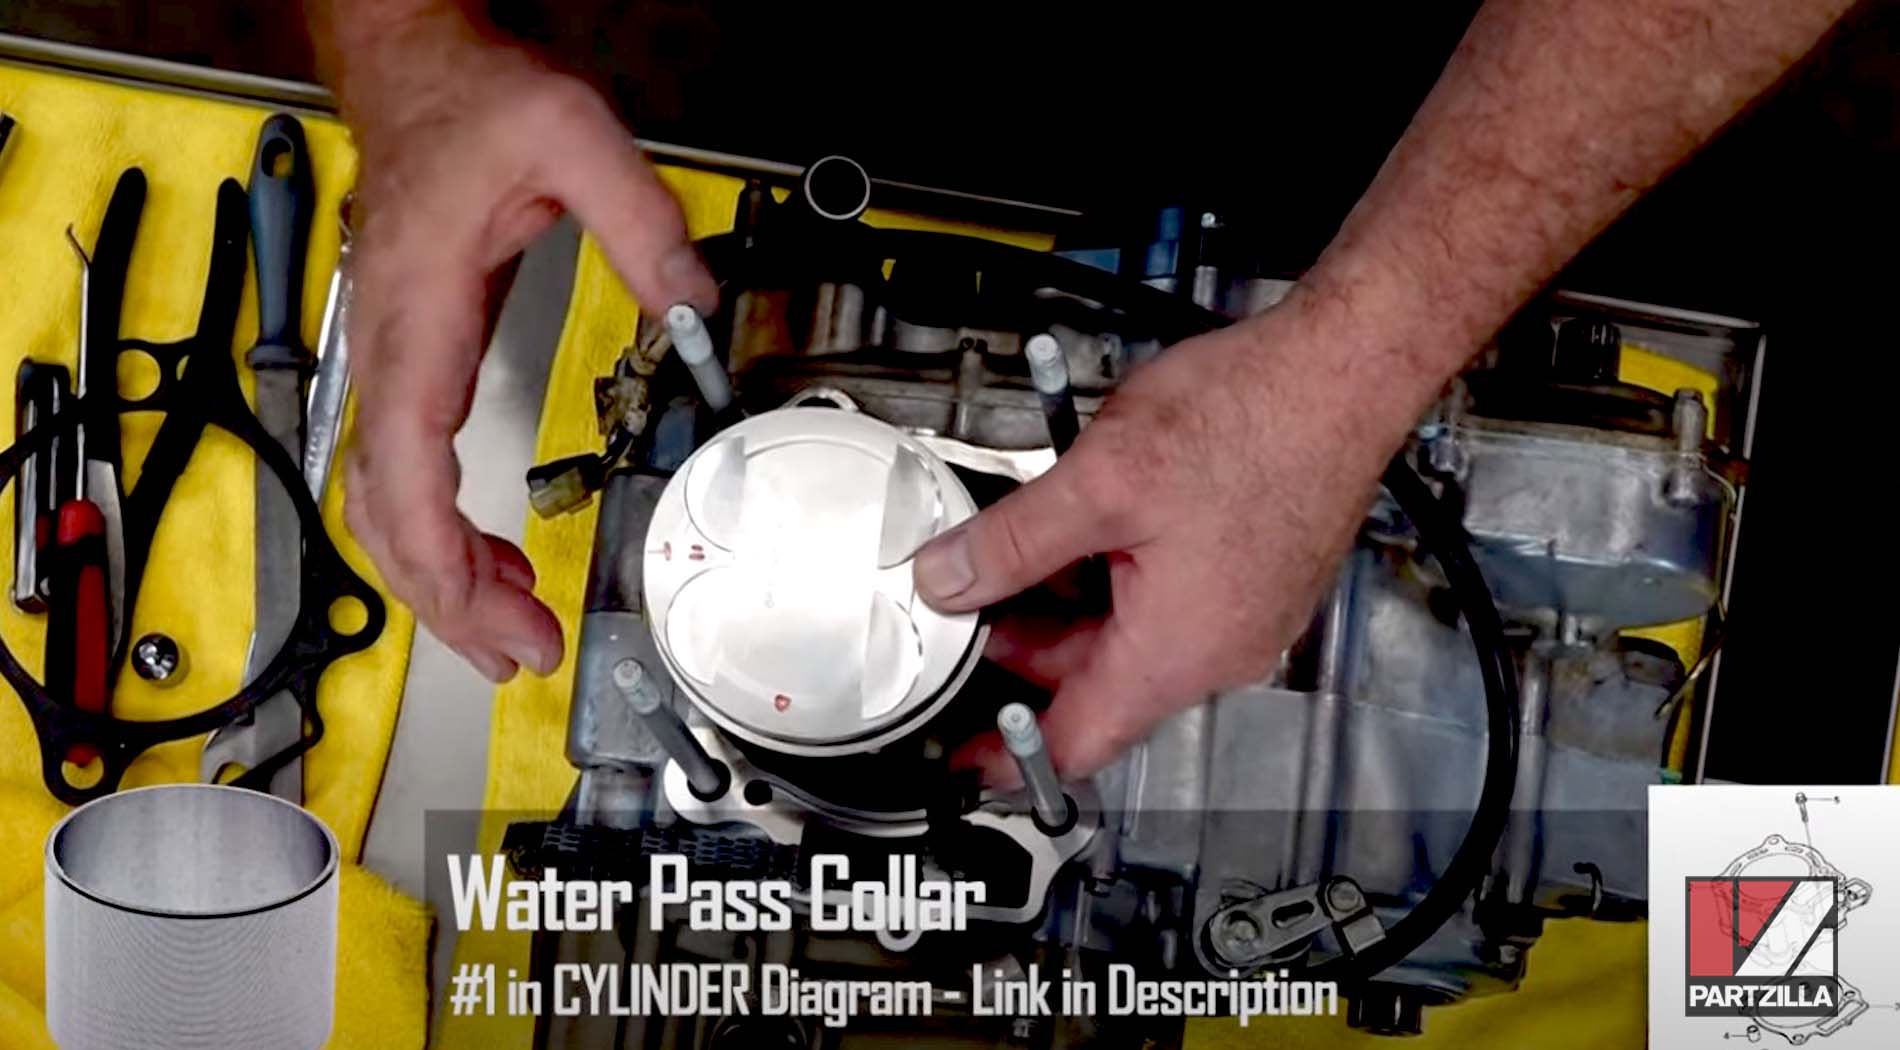
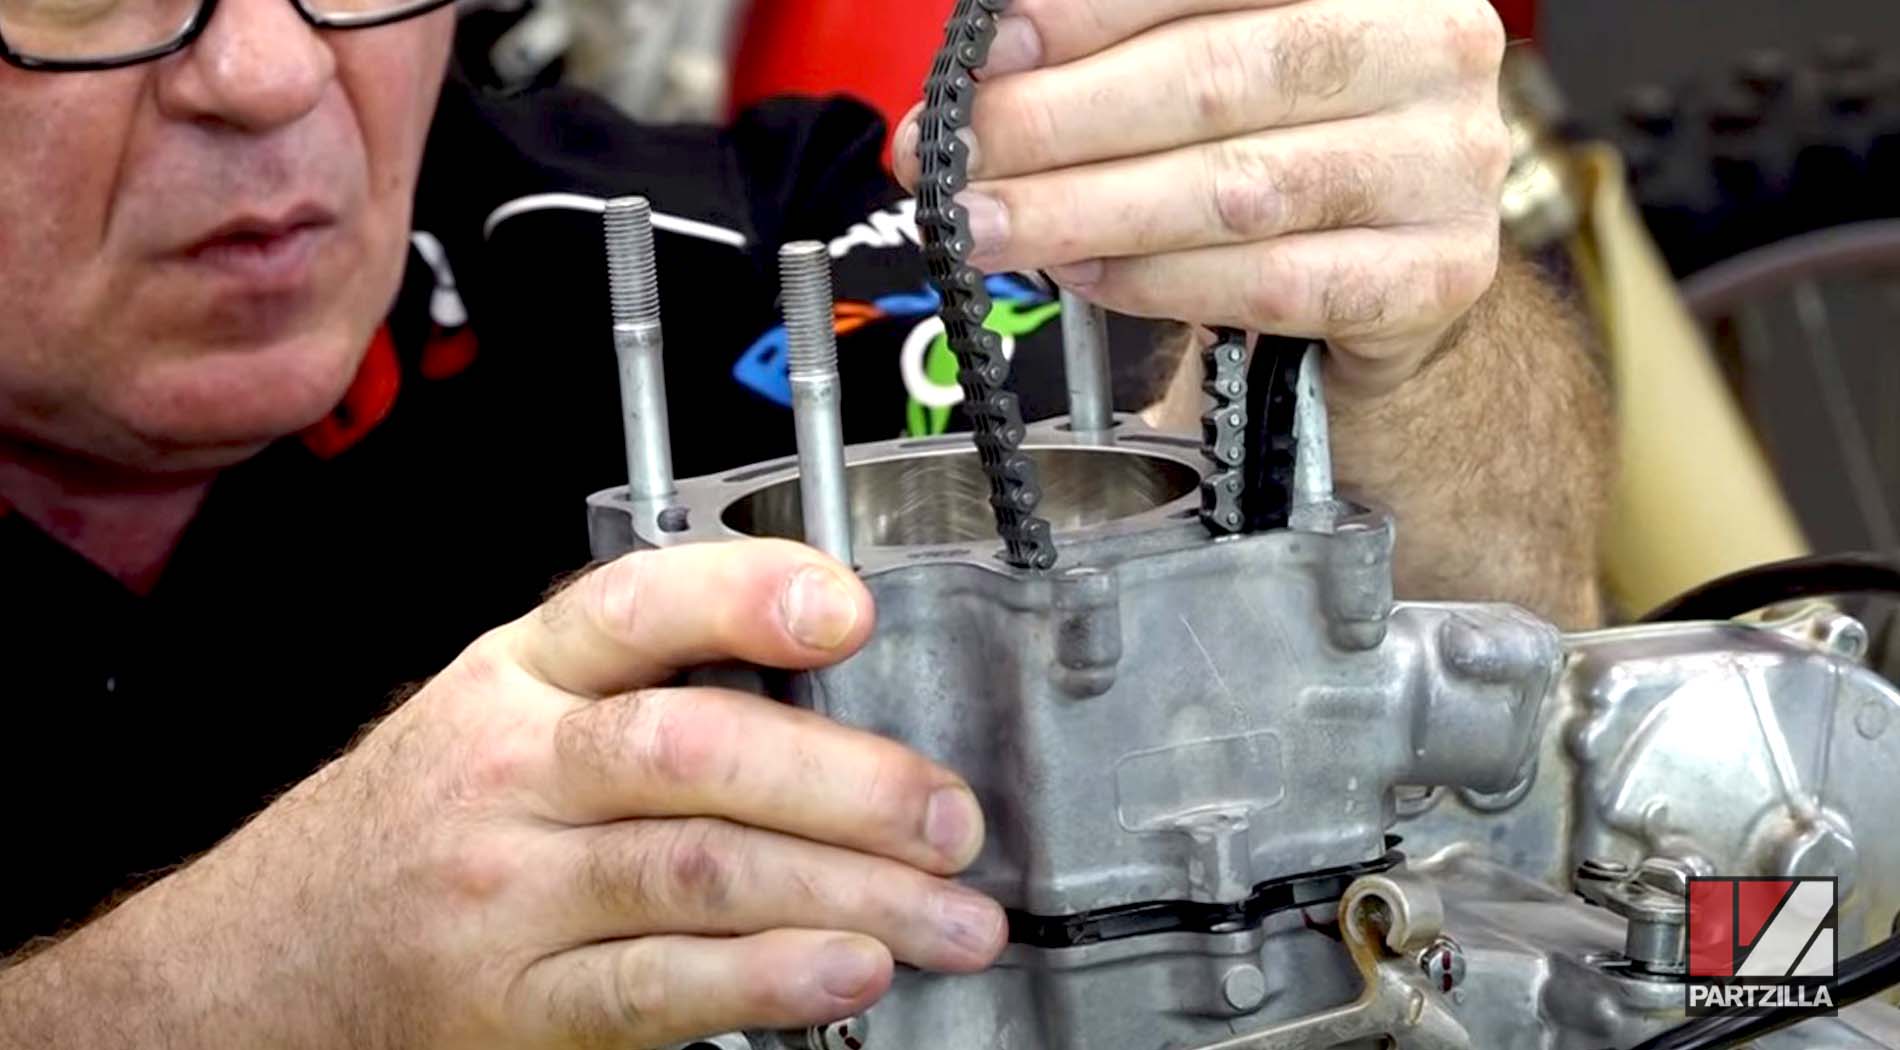
Step 13. Install the dowel pins and the water pass collar.
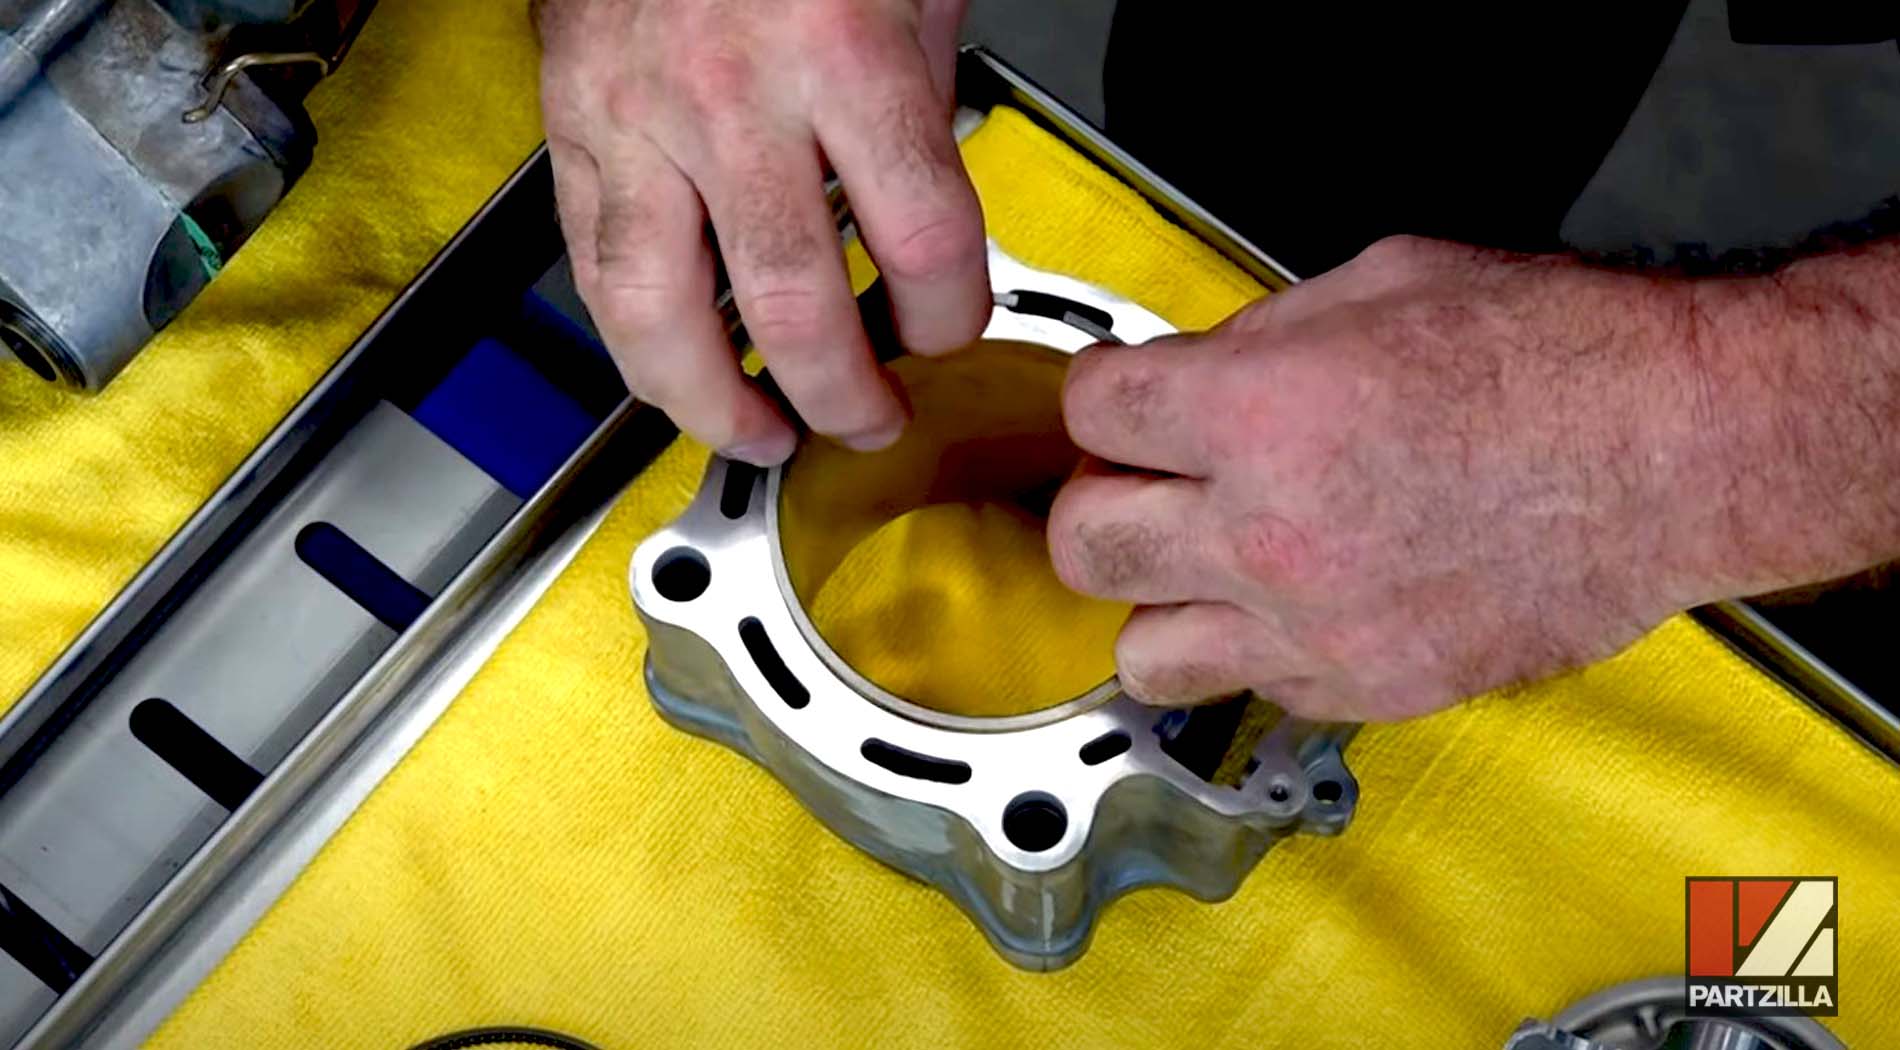
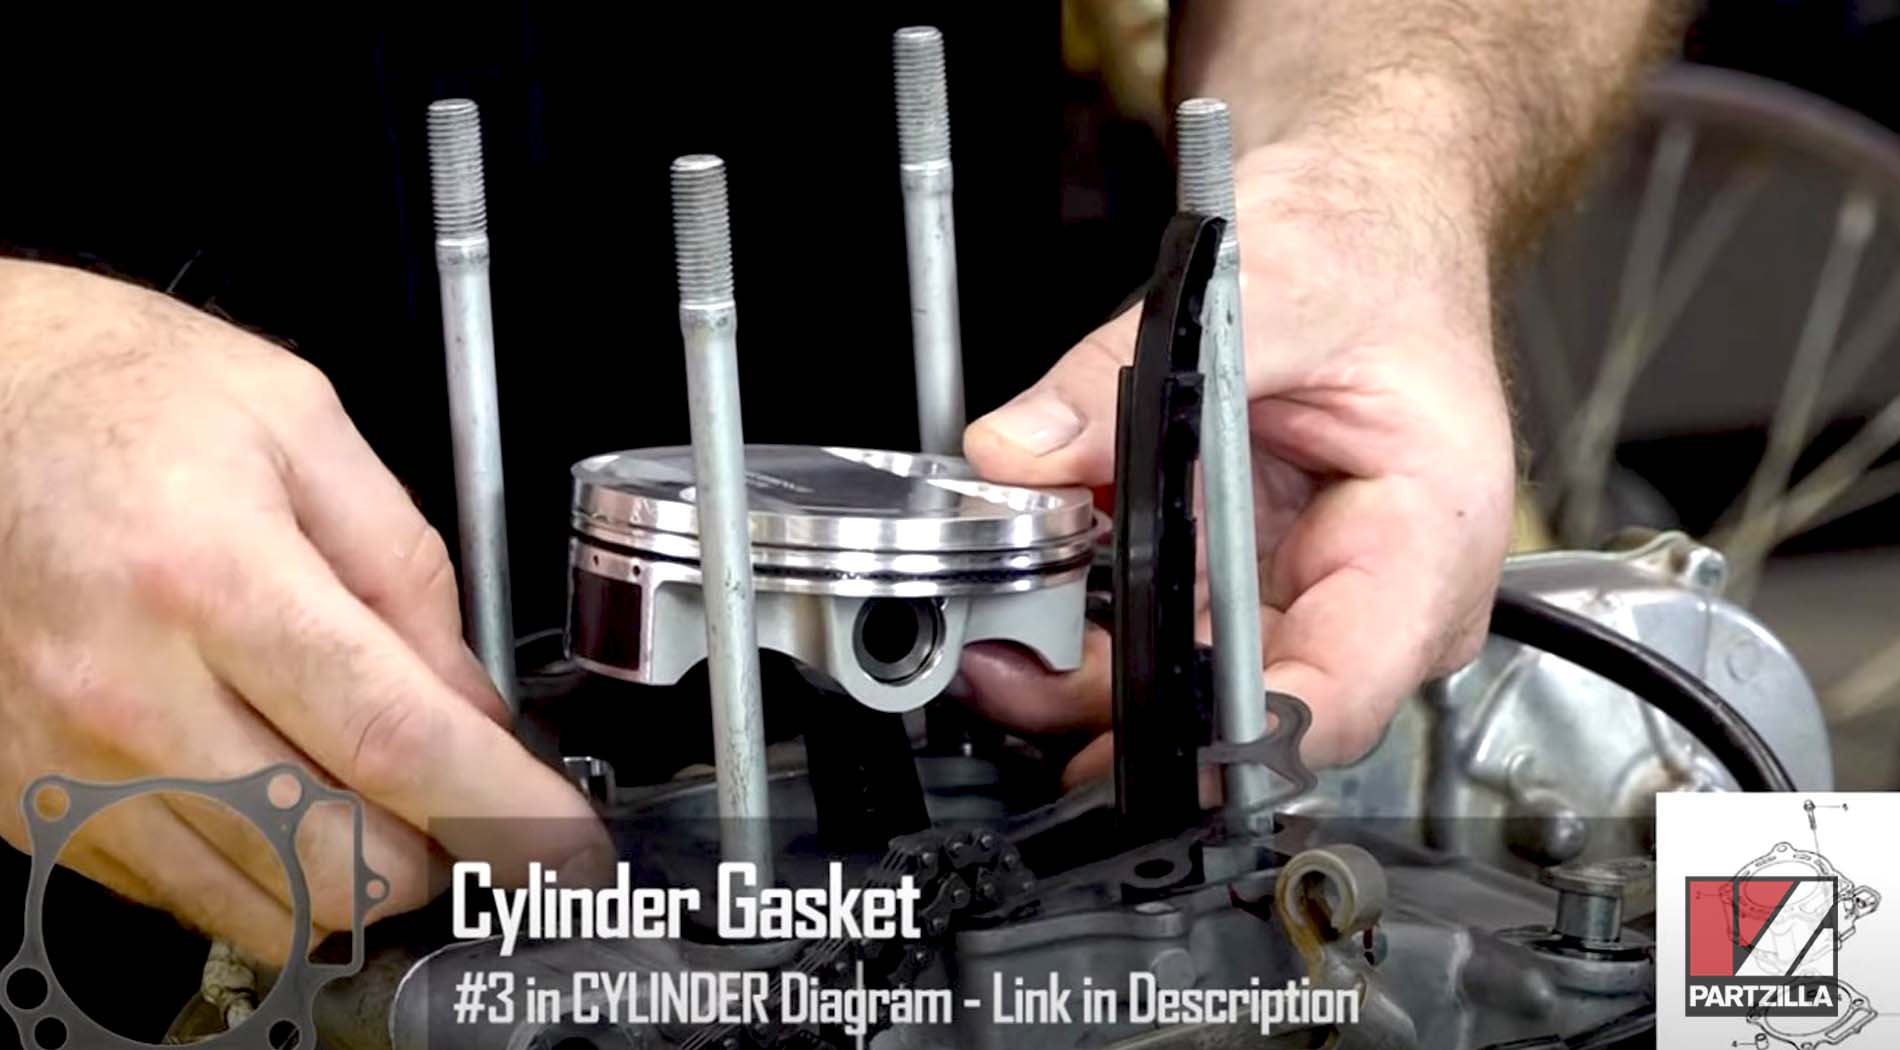
Step 14. Gently install the cylinder gasket, followed by the cylinder itself.
NOTE: Take your time while installing the cylinder and don’t force anything.
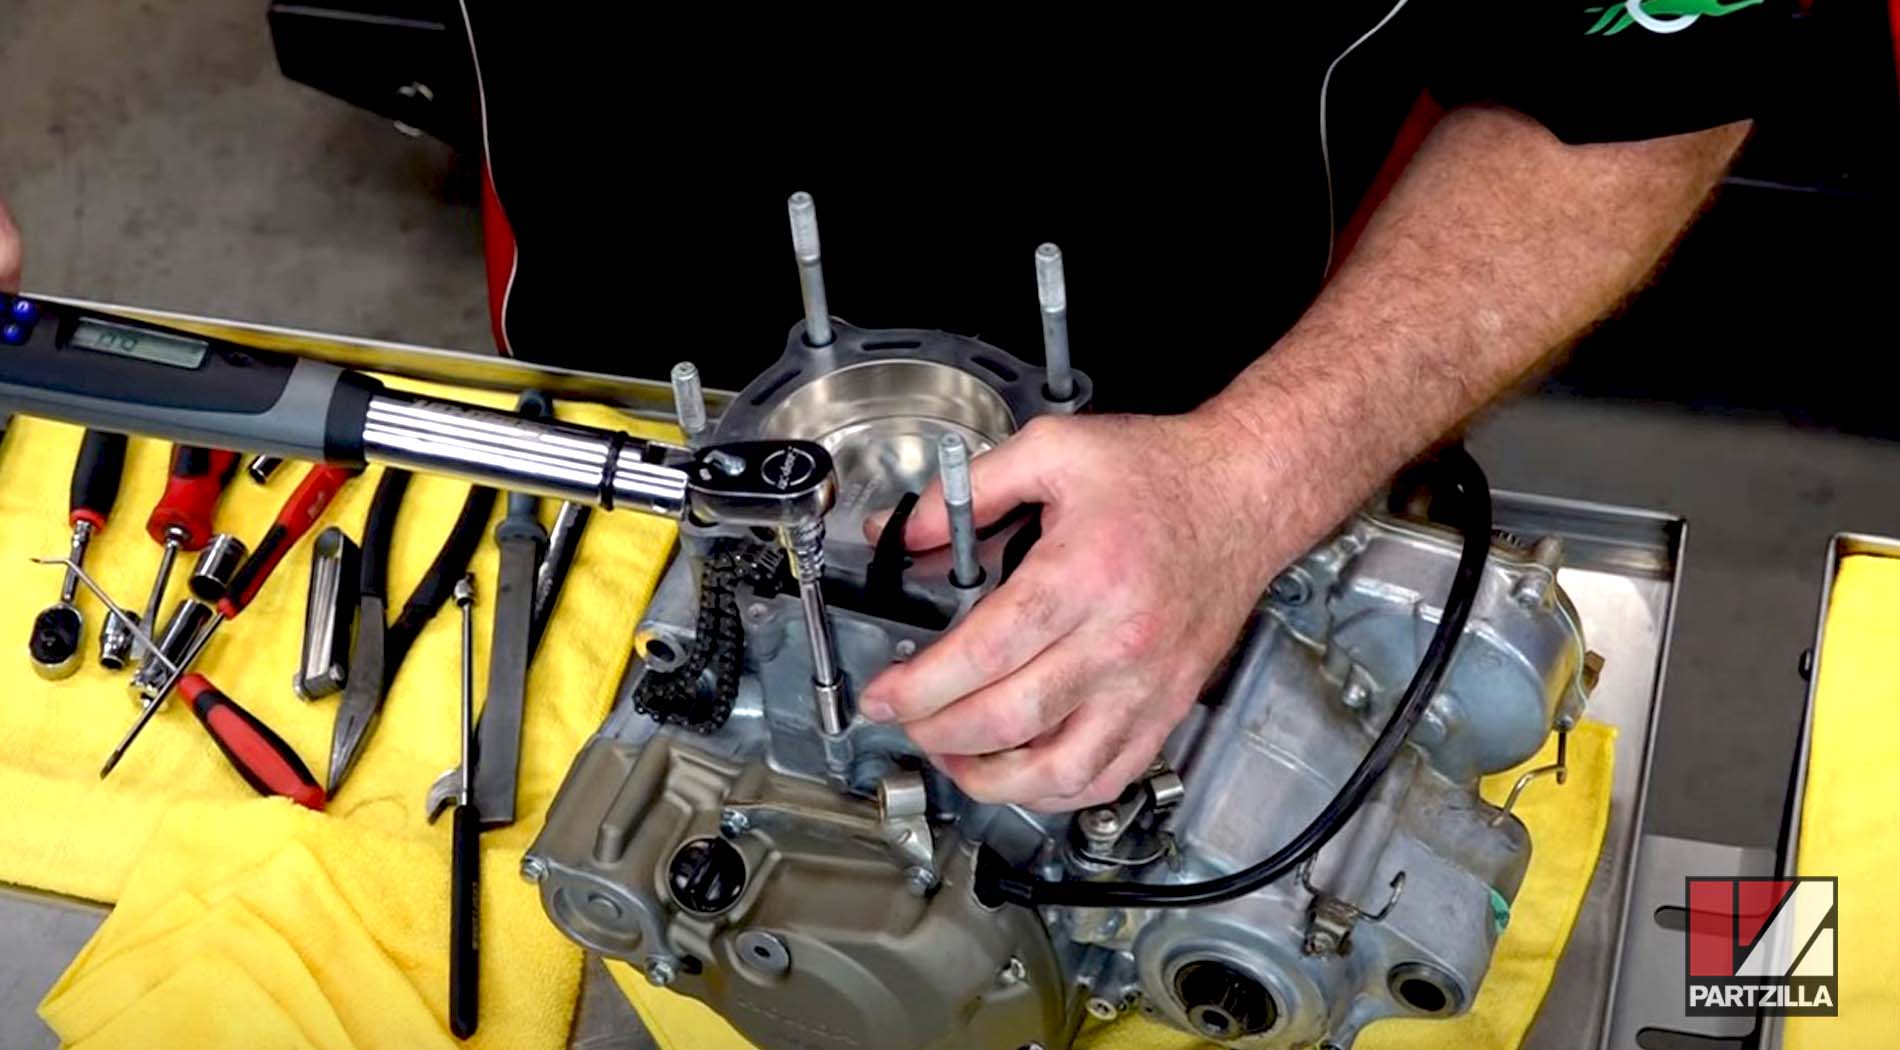
Step 15. Bring the chain up and seat it, then install the 8mm flange bolt on the side that holds the cylinder in place and torque it to 7 foot-pounds.
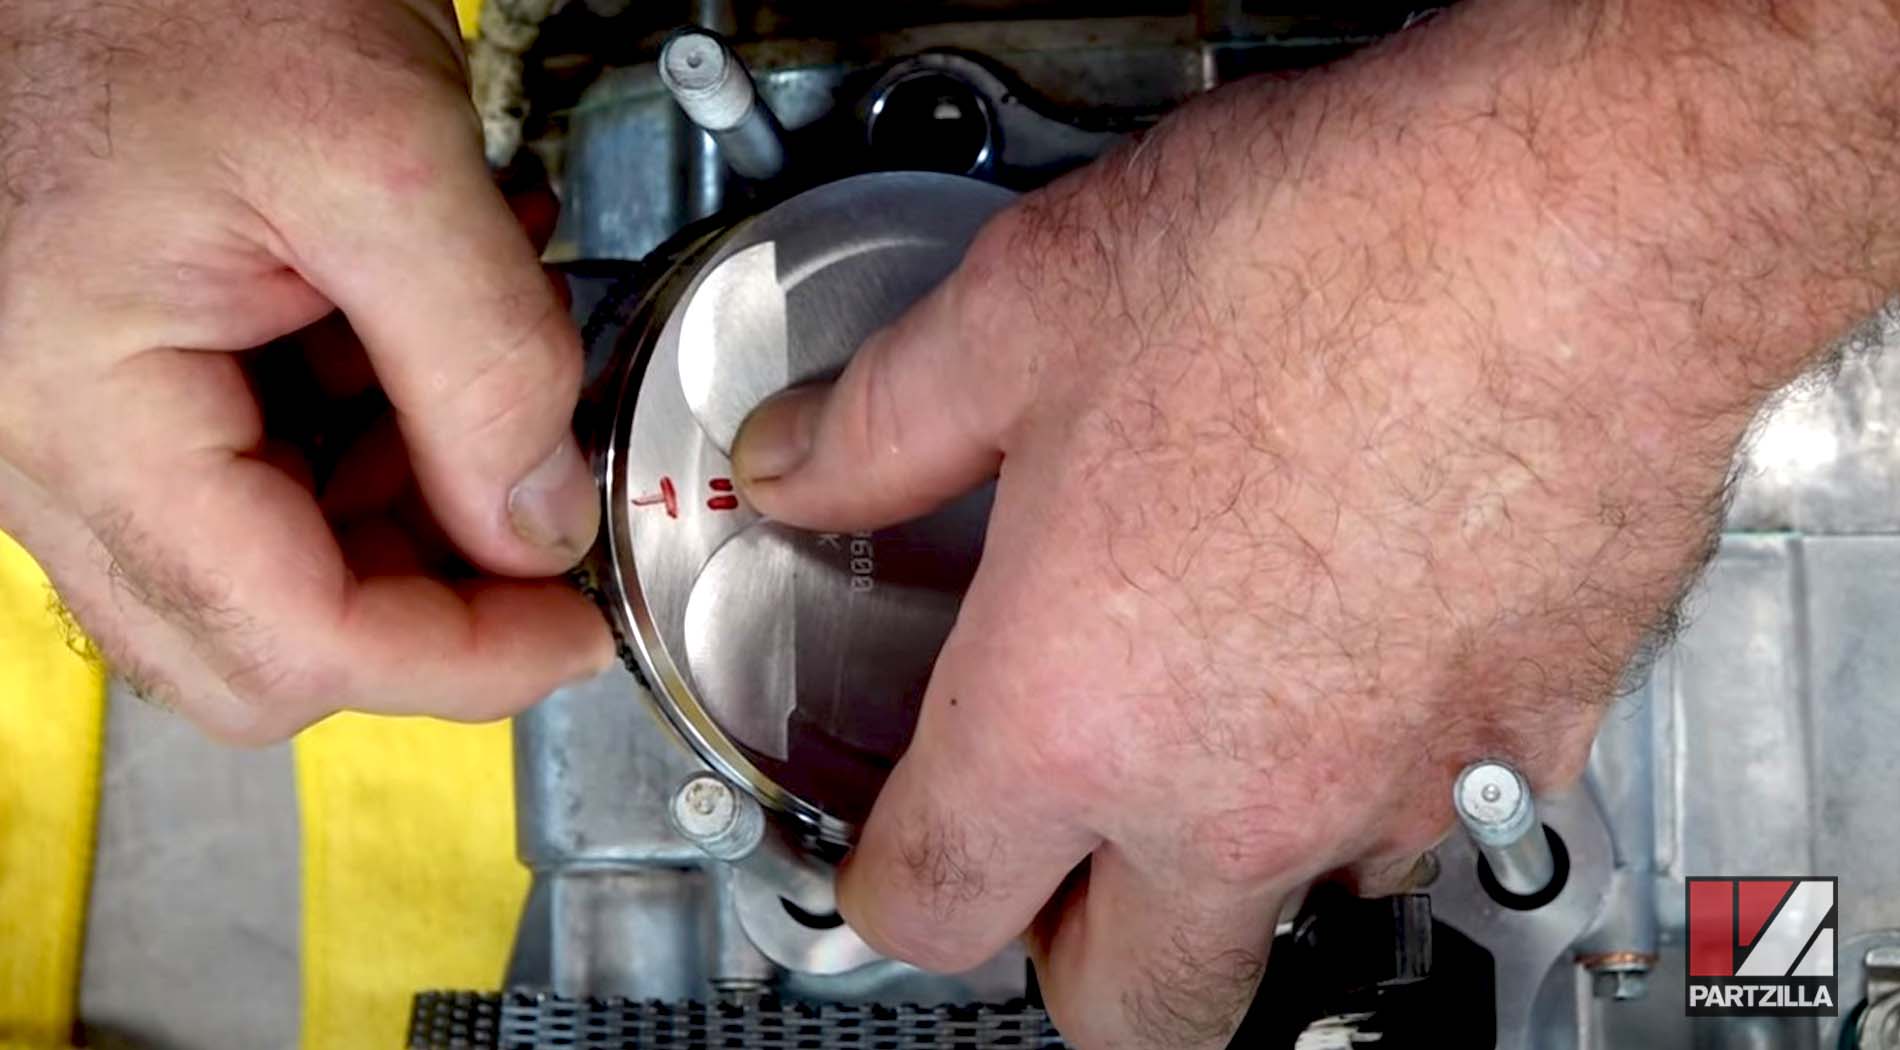
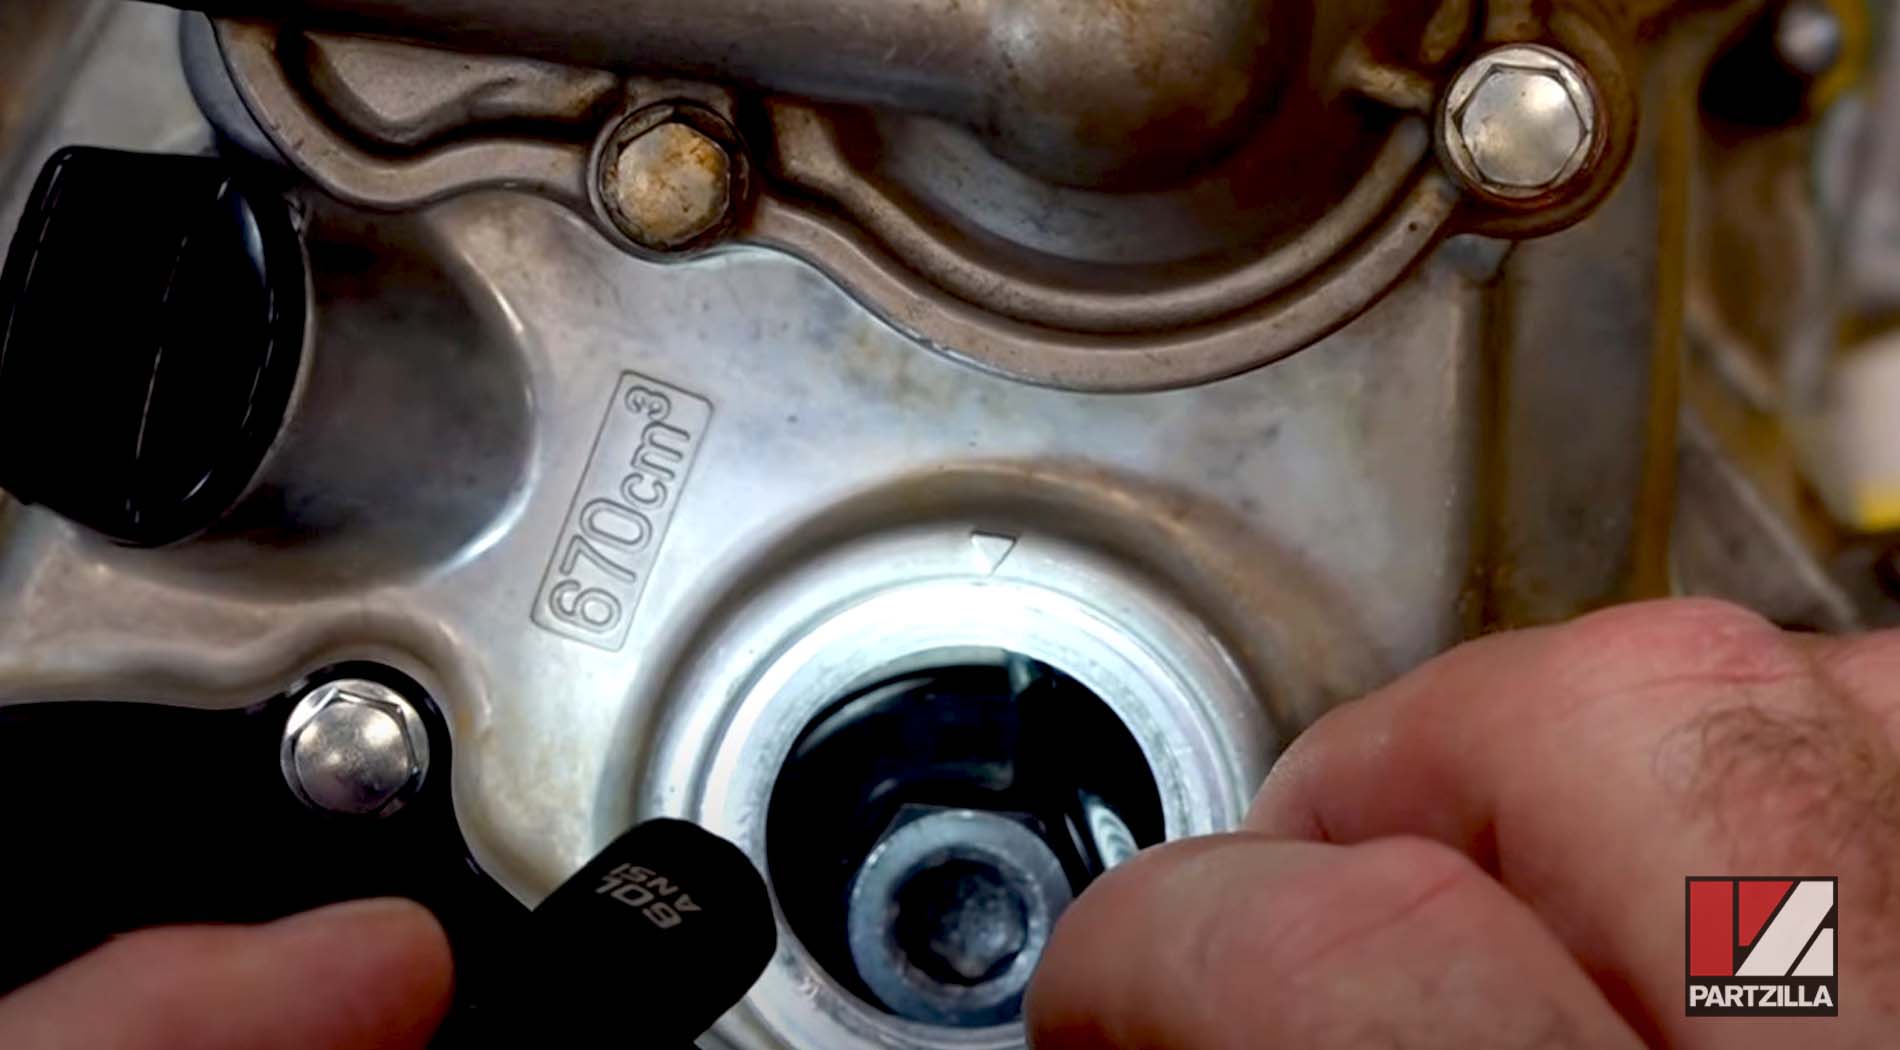
Step 16. Bring the engine up to top dead center and you’re done with the piston installation.
The next step in our CRF450 engine rebuild is the head installation and the valve adjustment. Watch the video below to see how to install the head and adjust the valves on a Honda CRF450 motorcycle.