How to Bleed Honda VTX 1800 Brakes
The constant heat cycling from using the brakes on your Honda motorcycle break down the fluid, making it necessary to change it out occasionally.
Watch the video above and follow the steps below to manually bleed the brakes on a 2005 Honda VTX 1800.
Tools and Supplies – Honda VTX 1800 Brake Bleed
- 8mm, 10mm wrenches
- Pliers
- Pick tool
- Phillips screwdriver
- Container
- Shop rags
- Drain hose
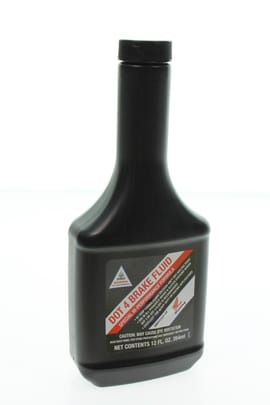
- Honda DOT 4 brake fluid
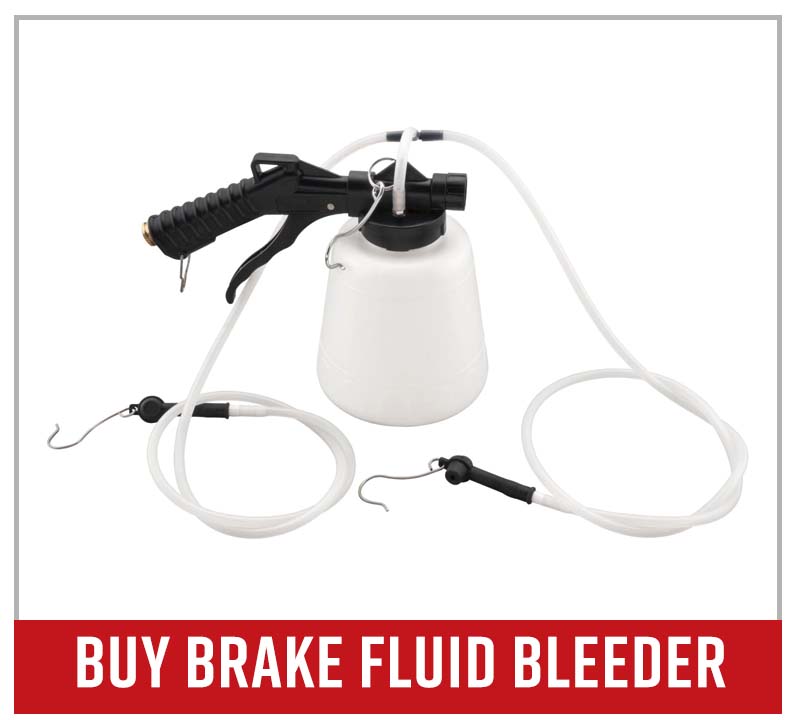
- Fluid evacuator (optional)
NOTE: We bled the brakes manually on our 2005 Honda VTX 1800 motorcycle. A fluid evacuator can be used to do a brake bleed automatically, but only manual brake bleeding steps are covered here.
Honda VTX 1800 Brake Bleeding
Step 1. Cover the fuel tank with shop rags or a blanket to protect the paint, and have some extras laying around to clean up any spills.
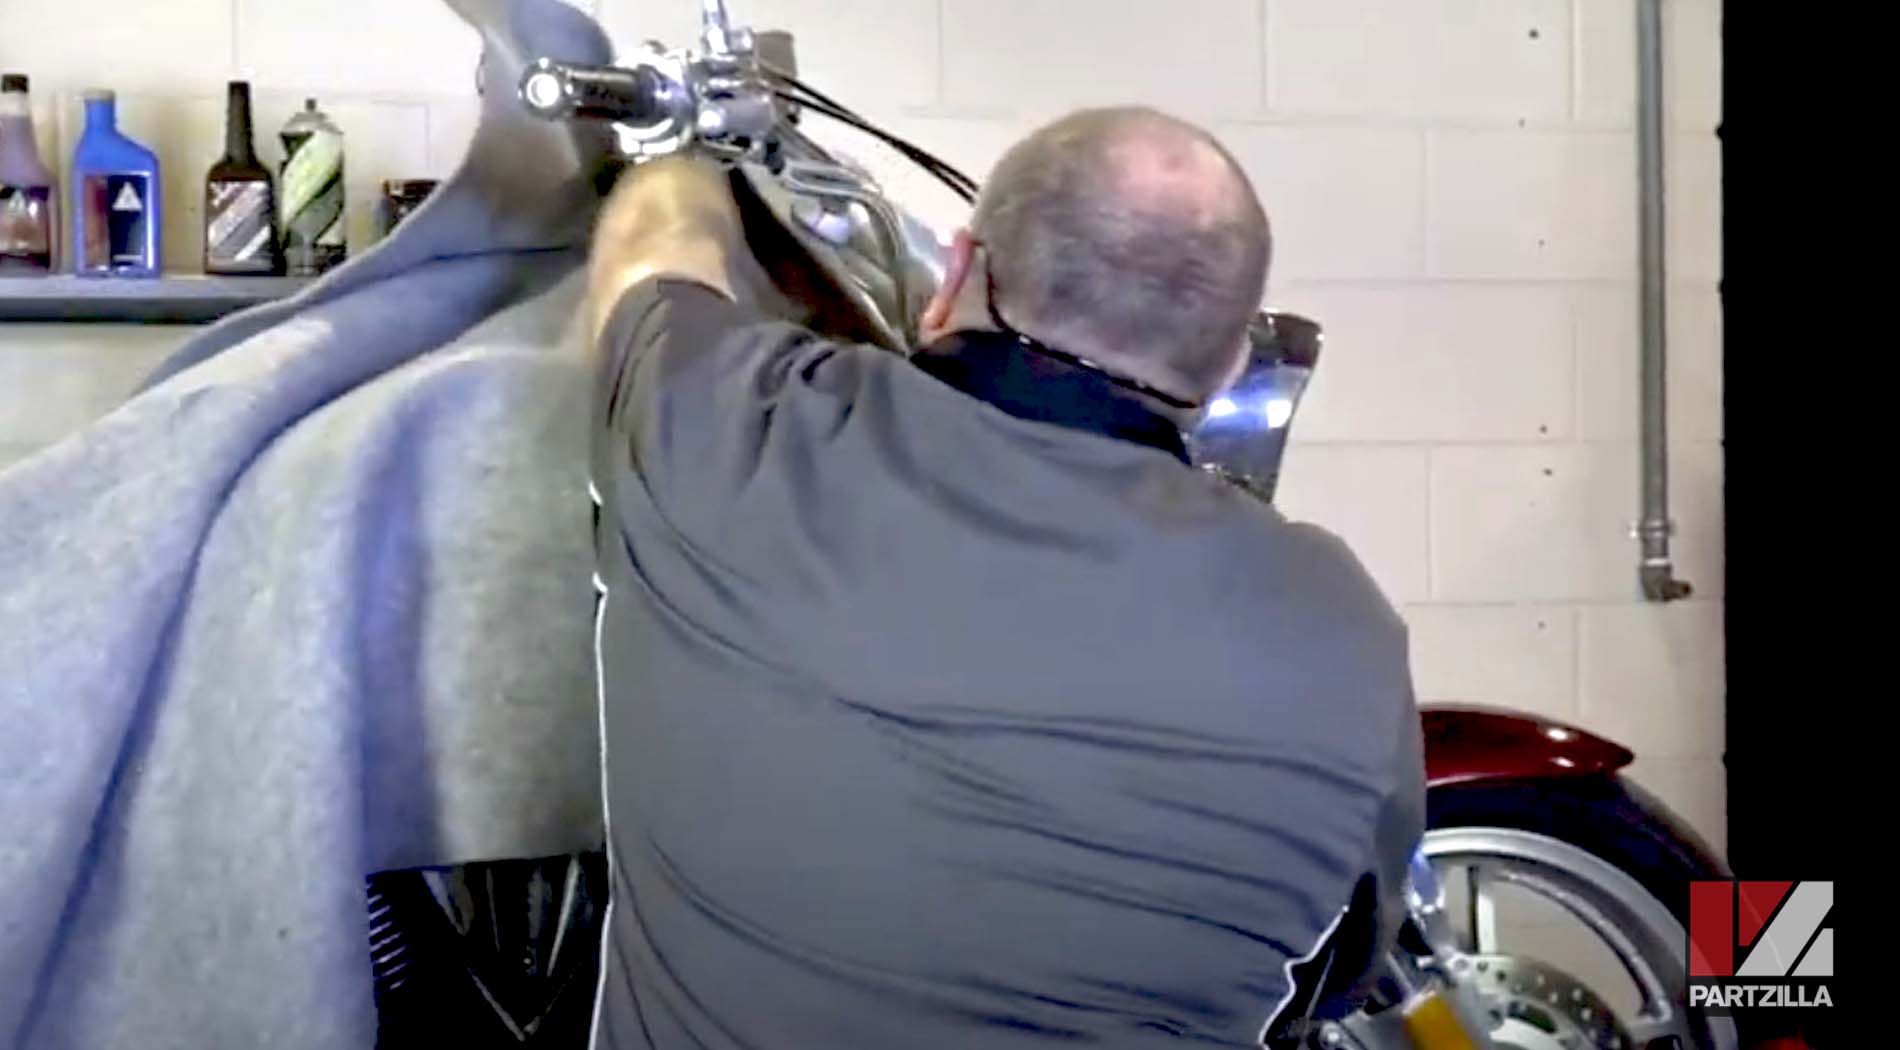
Step 2. Remove the two screws that hold the brake reservoir cover. Next, take off the plastic cover, the rubber diaphragm and the floating foam piece.
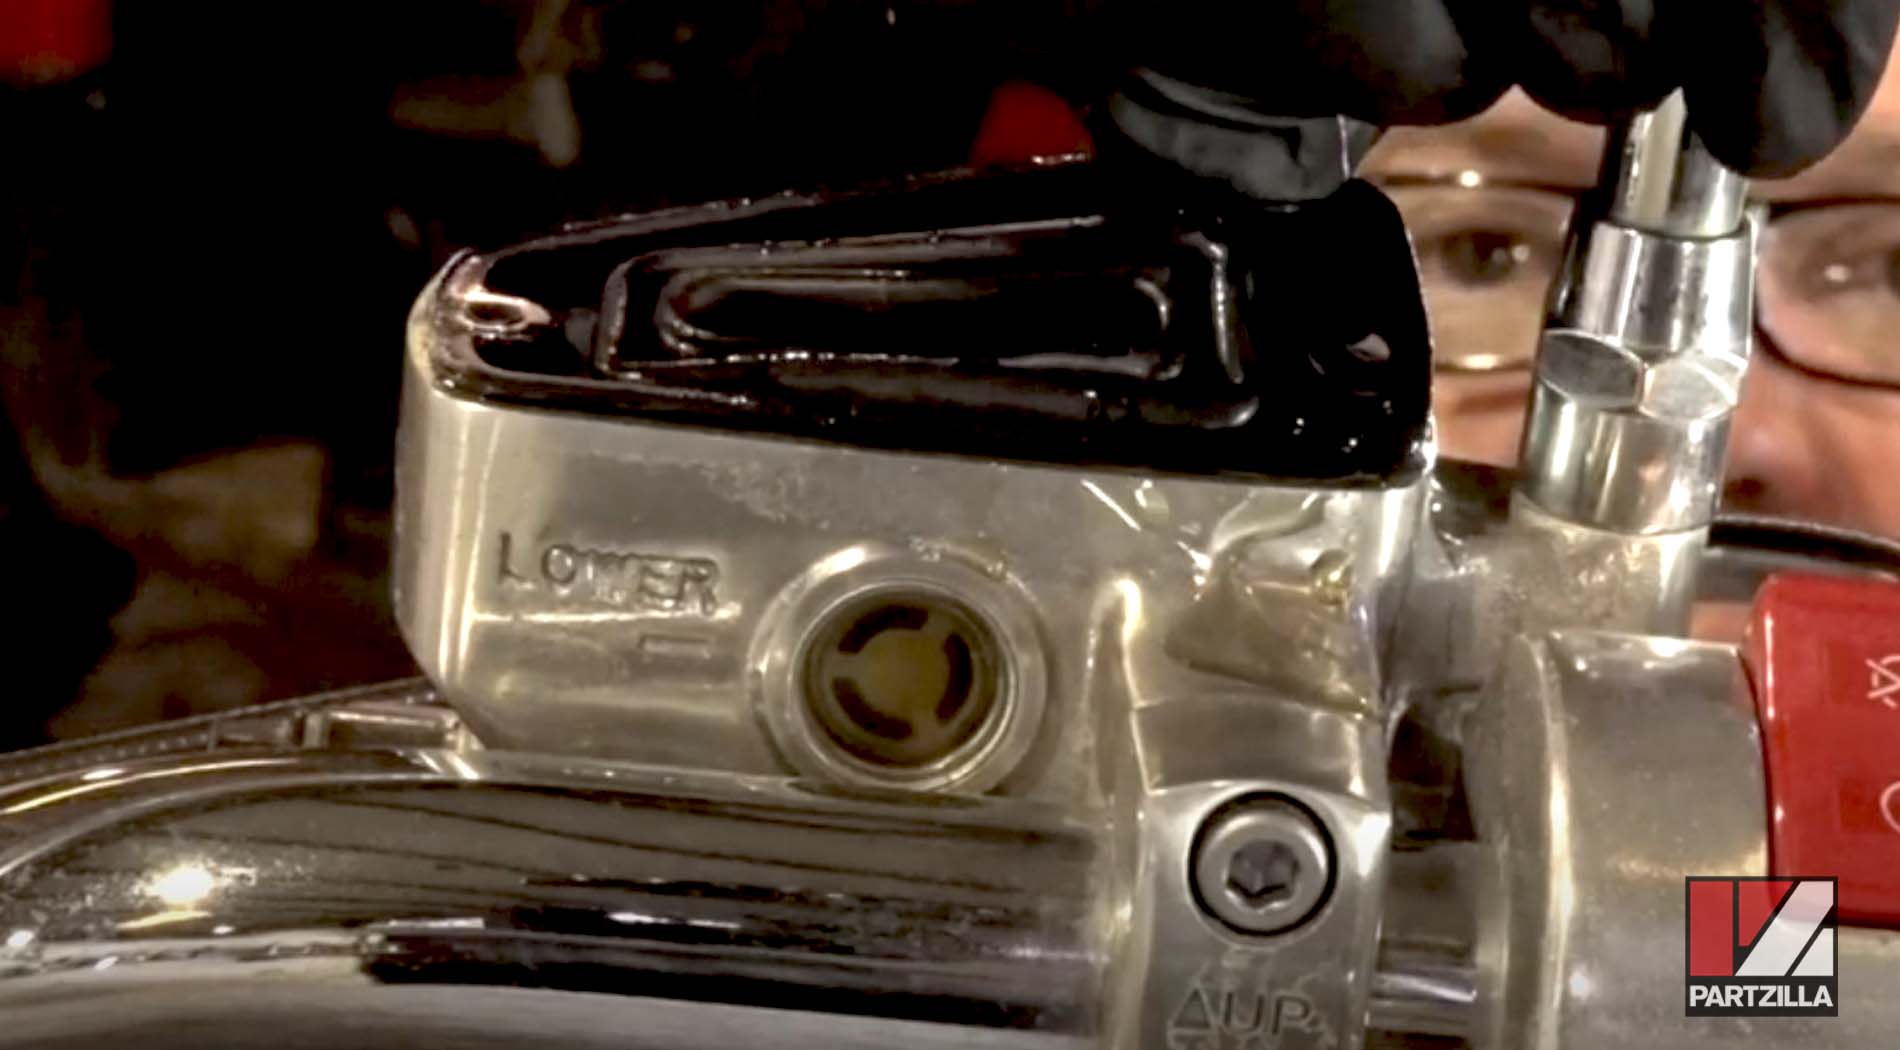
NOTE: Throughout this process, you’ll likely spill some brake fluid, so be ready with some extra rags.
It’s recommended to start on the right side for this VTX 1800 brake bleeding process. There are five bleed valves on this motorcycle, each one to bleed a separate line.
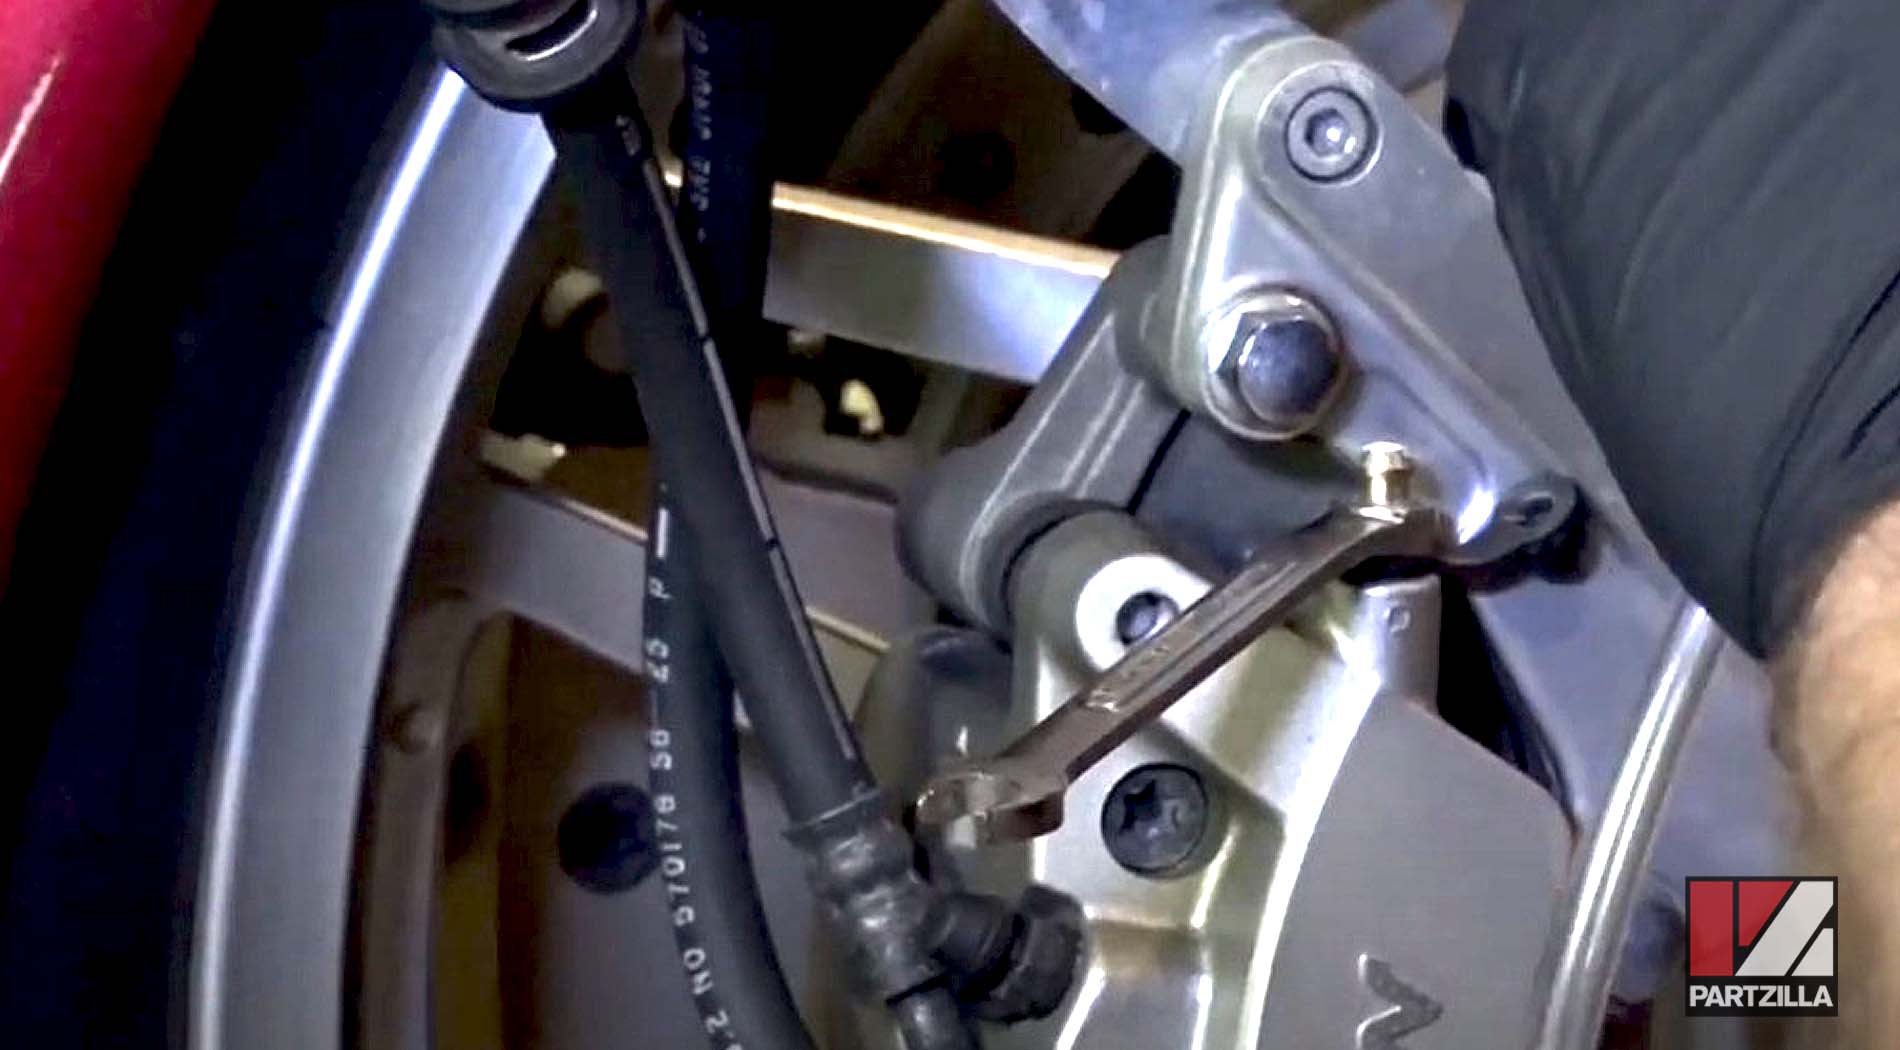
Step 3. To bleed the right front brake line, place an 8mm wrench on the right side upper bleed valve. Secure one end of the drain hose to the valve, and the other into the drain container. Pump the front brake three times, then hold it down on the third pump, maintaining pressure on the brake system. When you open the bleed valve, the lever will compress all the way to the grip and you’ll see the dirty brake fluid coming out of the hose.
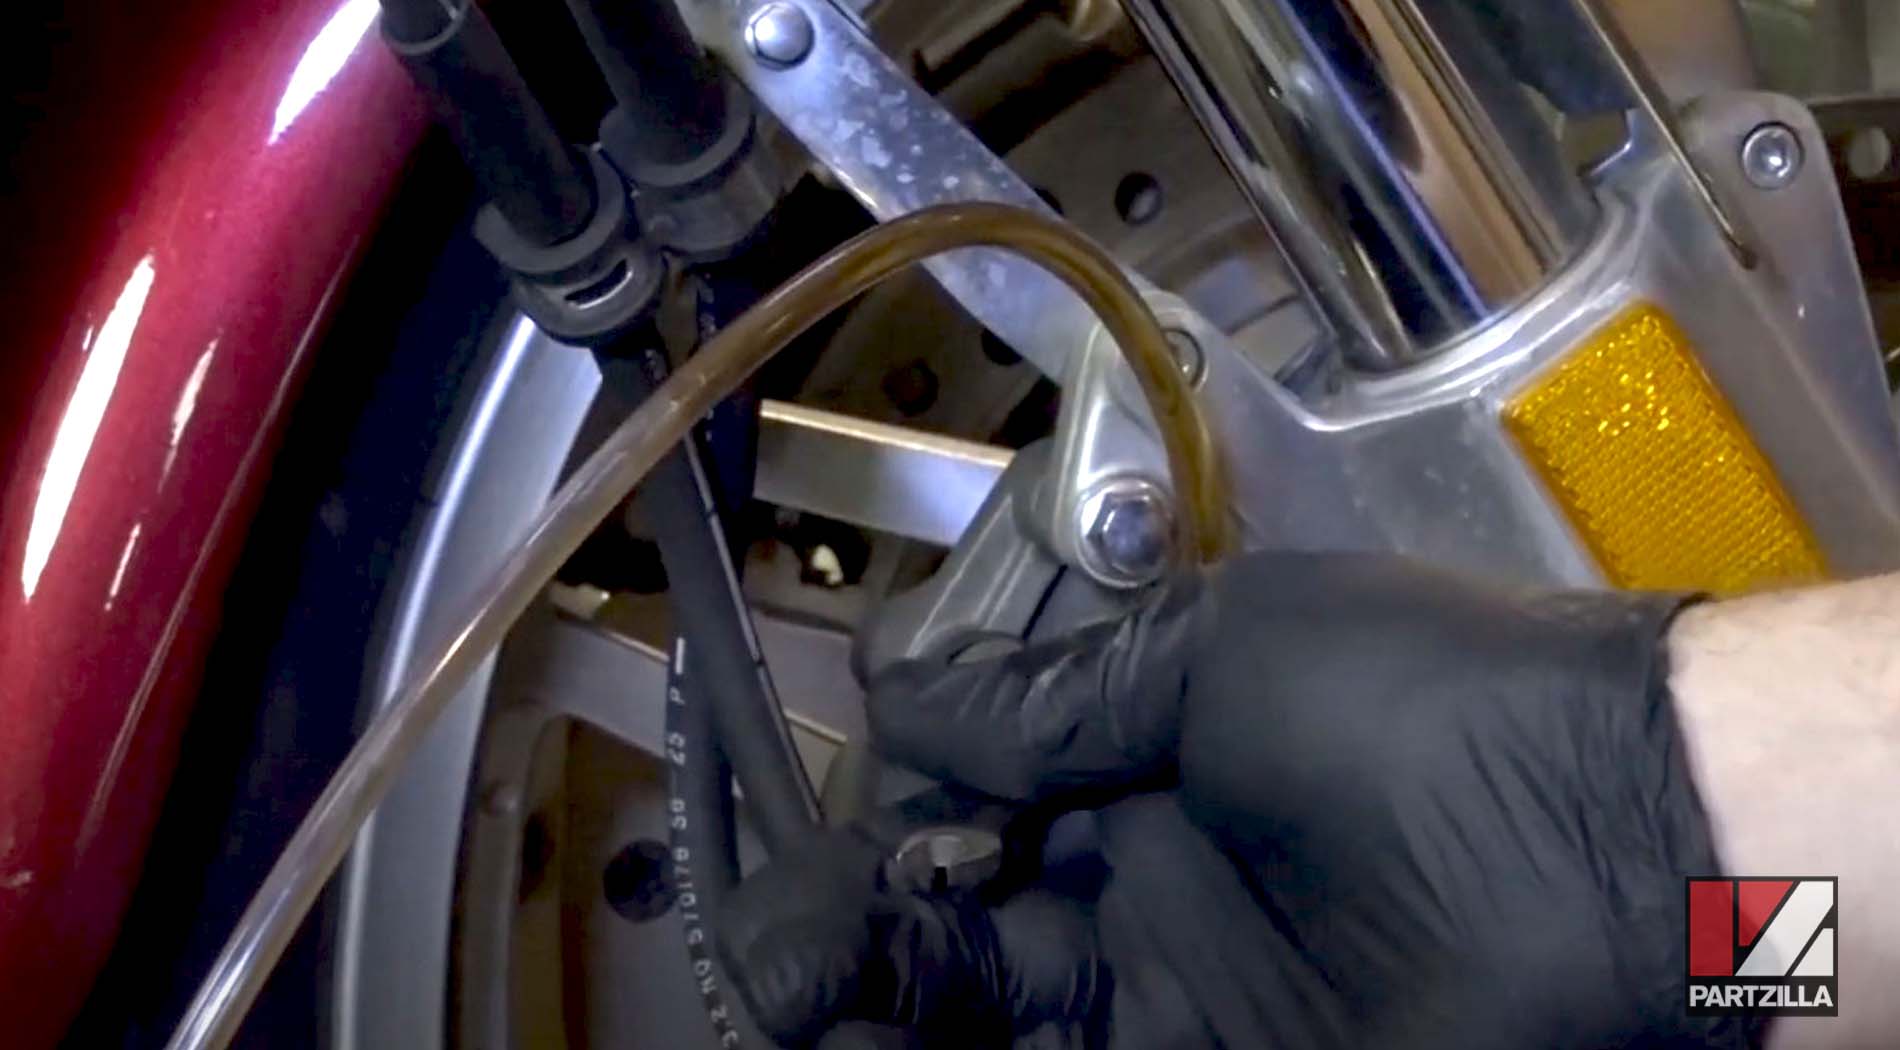
Once the lever touches the grip, close the valve. As you bleed the old fluid out, top off the reservoir with fresh brake fluid so air doesn’t get in the system. Repeat this process until all the dirty fluid is gone and you see clean fluid coming through the drain hose, then close the bleed valve.
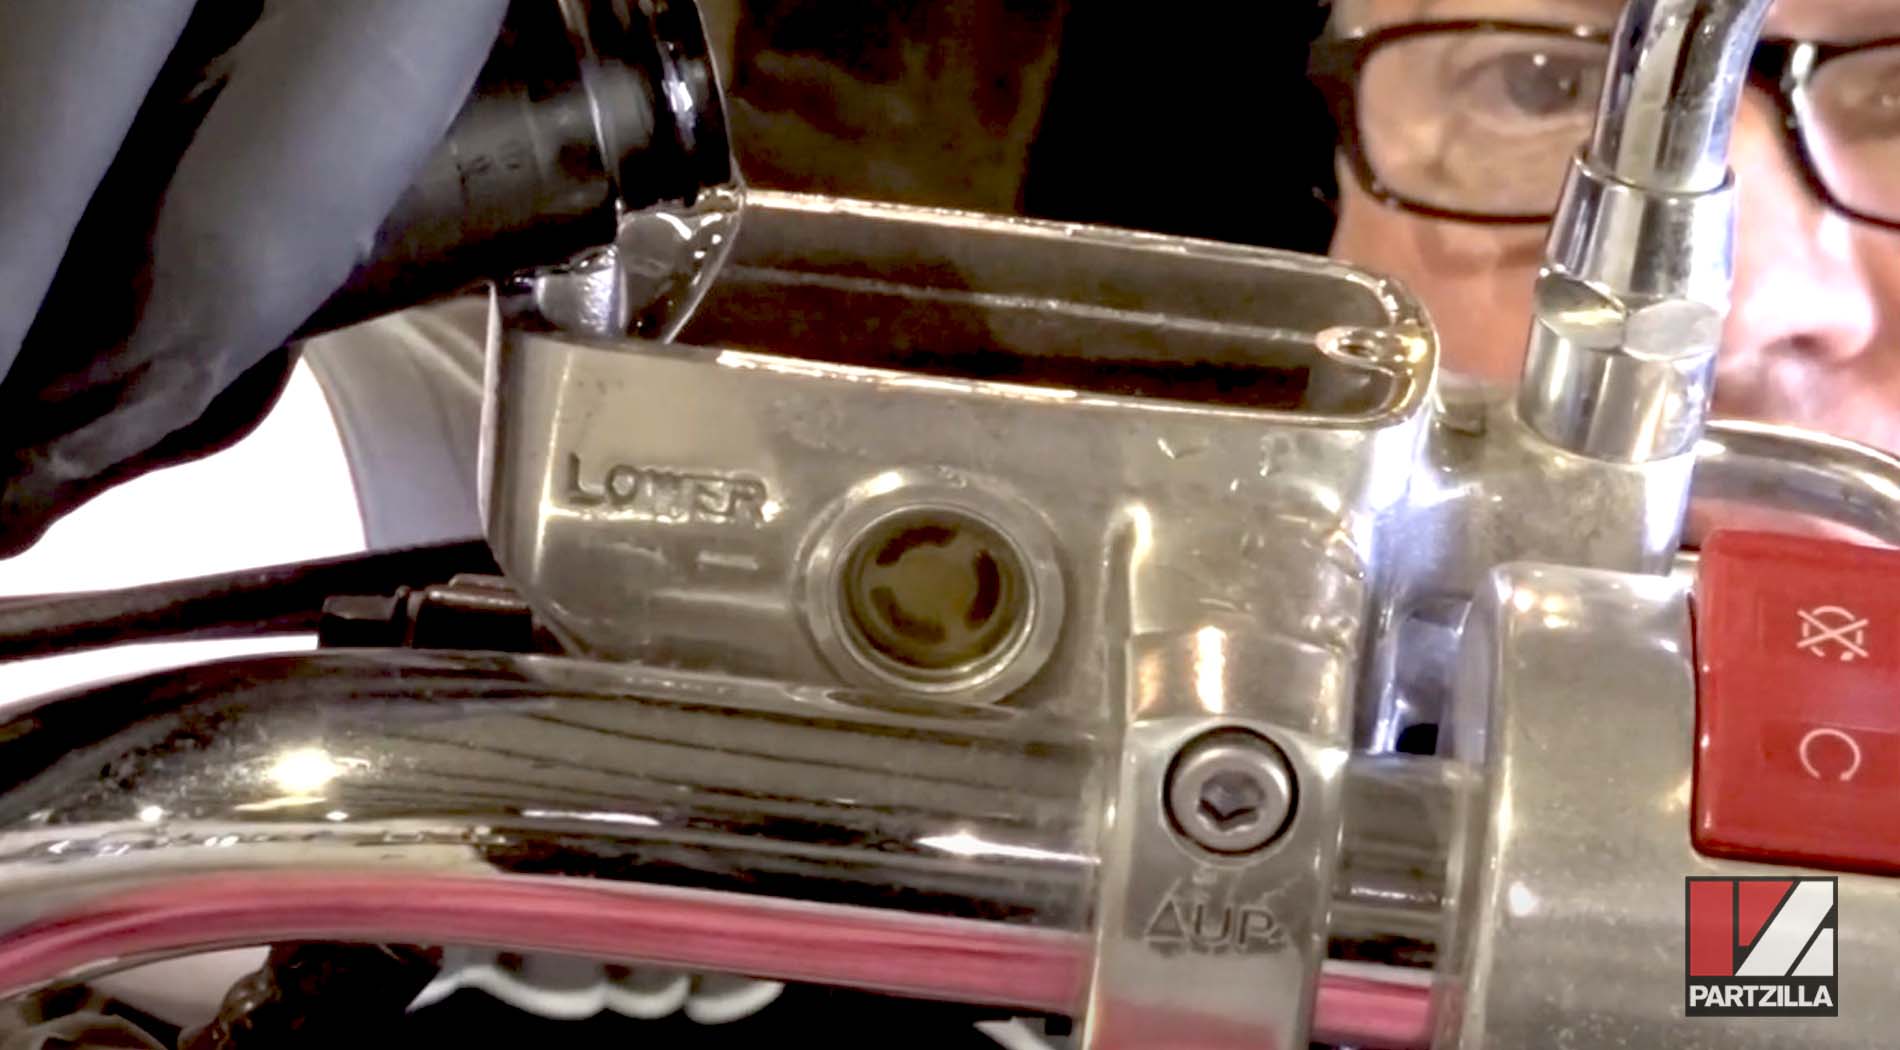
Bleeding the brakes on a VTX 1800 is a little different from most other bikes. The left caliper has two bleed valves. The top valve is for the front line and the lower bleed valve is for part of the rear lines. This motorcycle has a linked rear braking system.
Step 4. To bleed the left front brake line on the other side, use a 10mm wrench and repeat Step 3 until the system spits out clear fresh fluid. Close the bleed valve, then top off the brake reservoir and recap it.
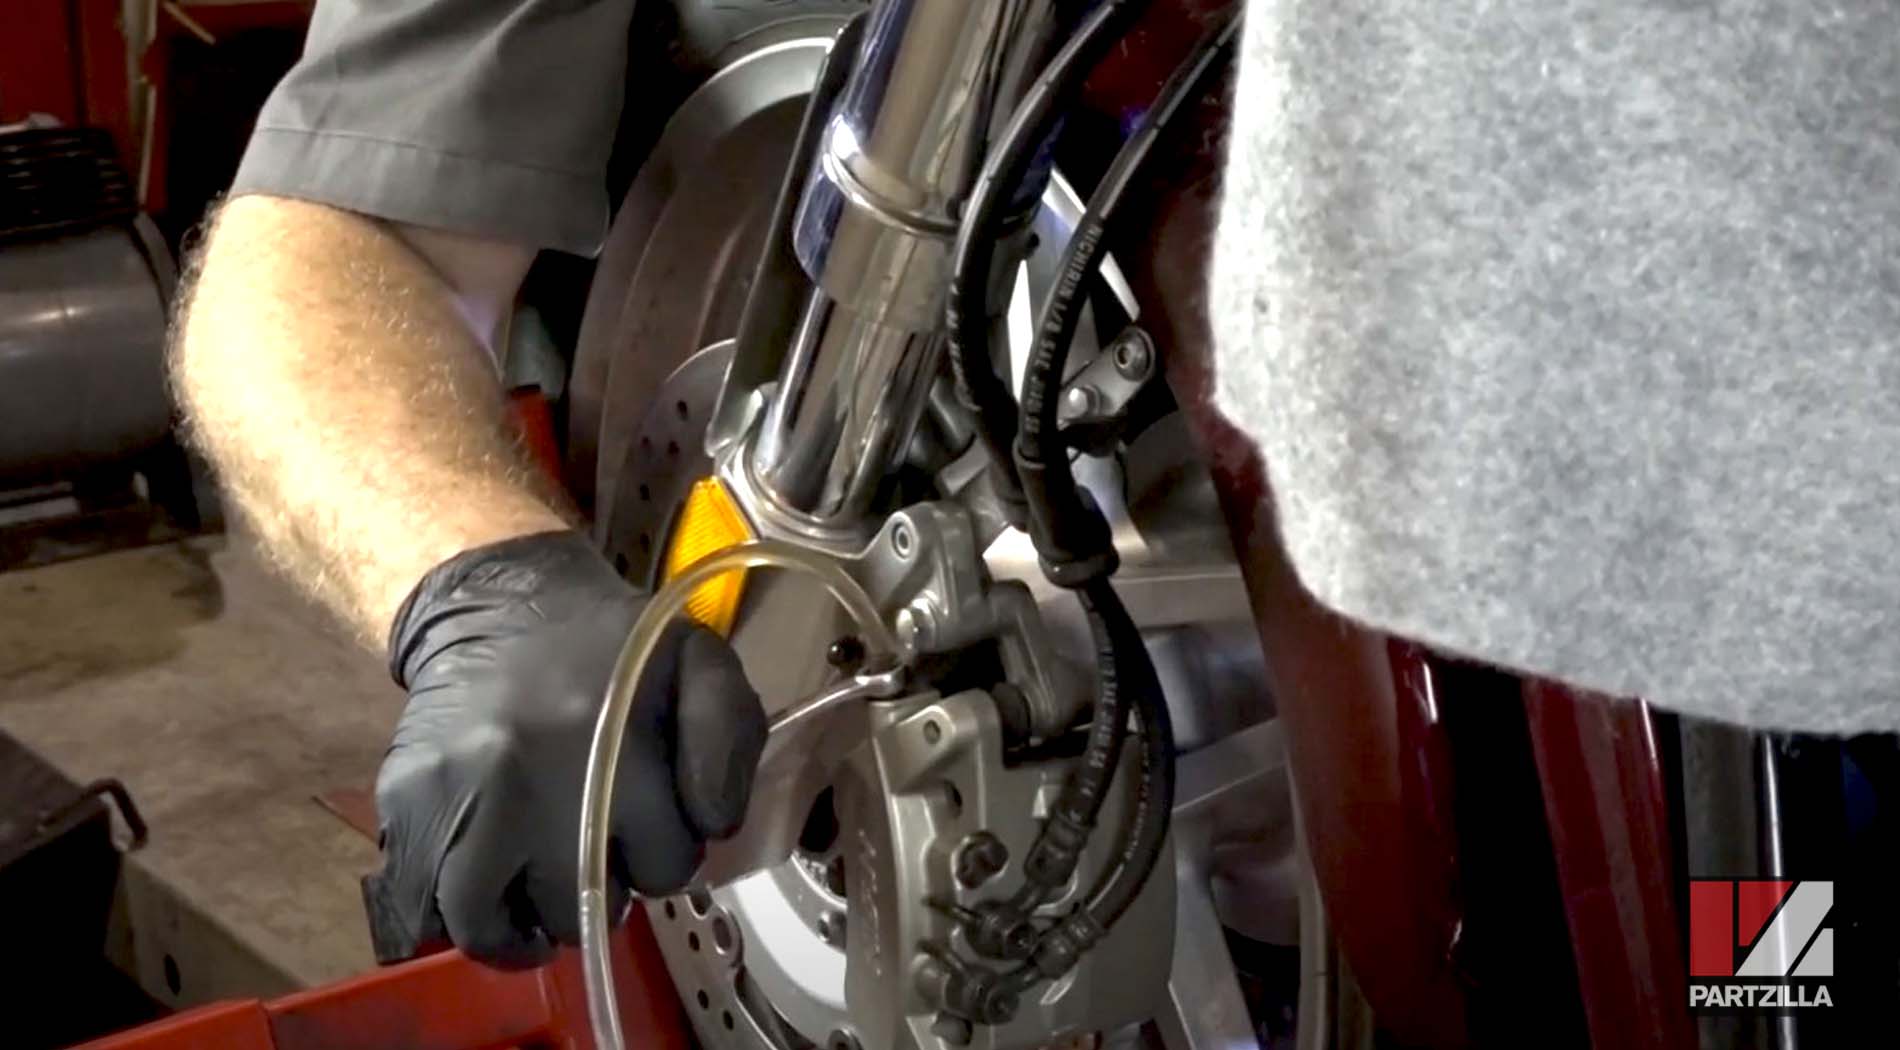
NOTE: If you have old brake pads on, only fill the reservoir ¾ of the way up, so when you put in new pads, you’ll have the necessary space to compress the calipers.
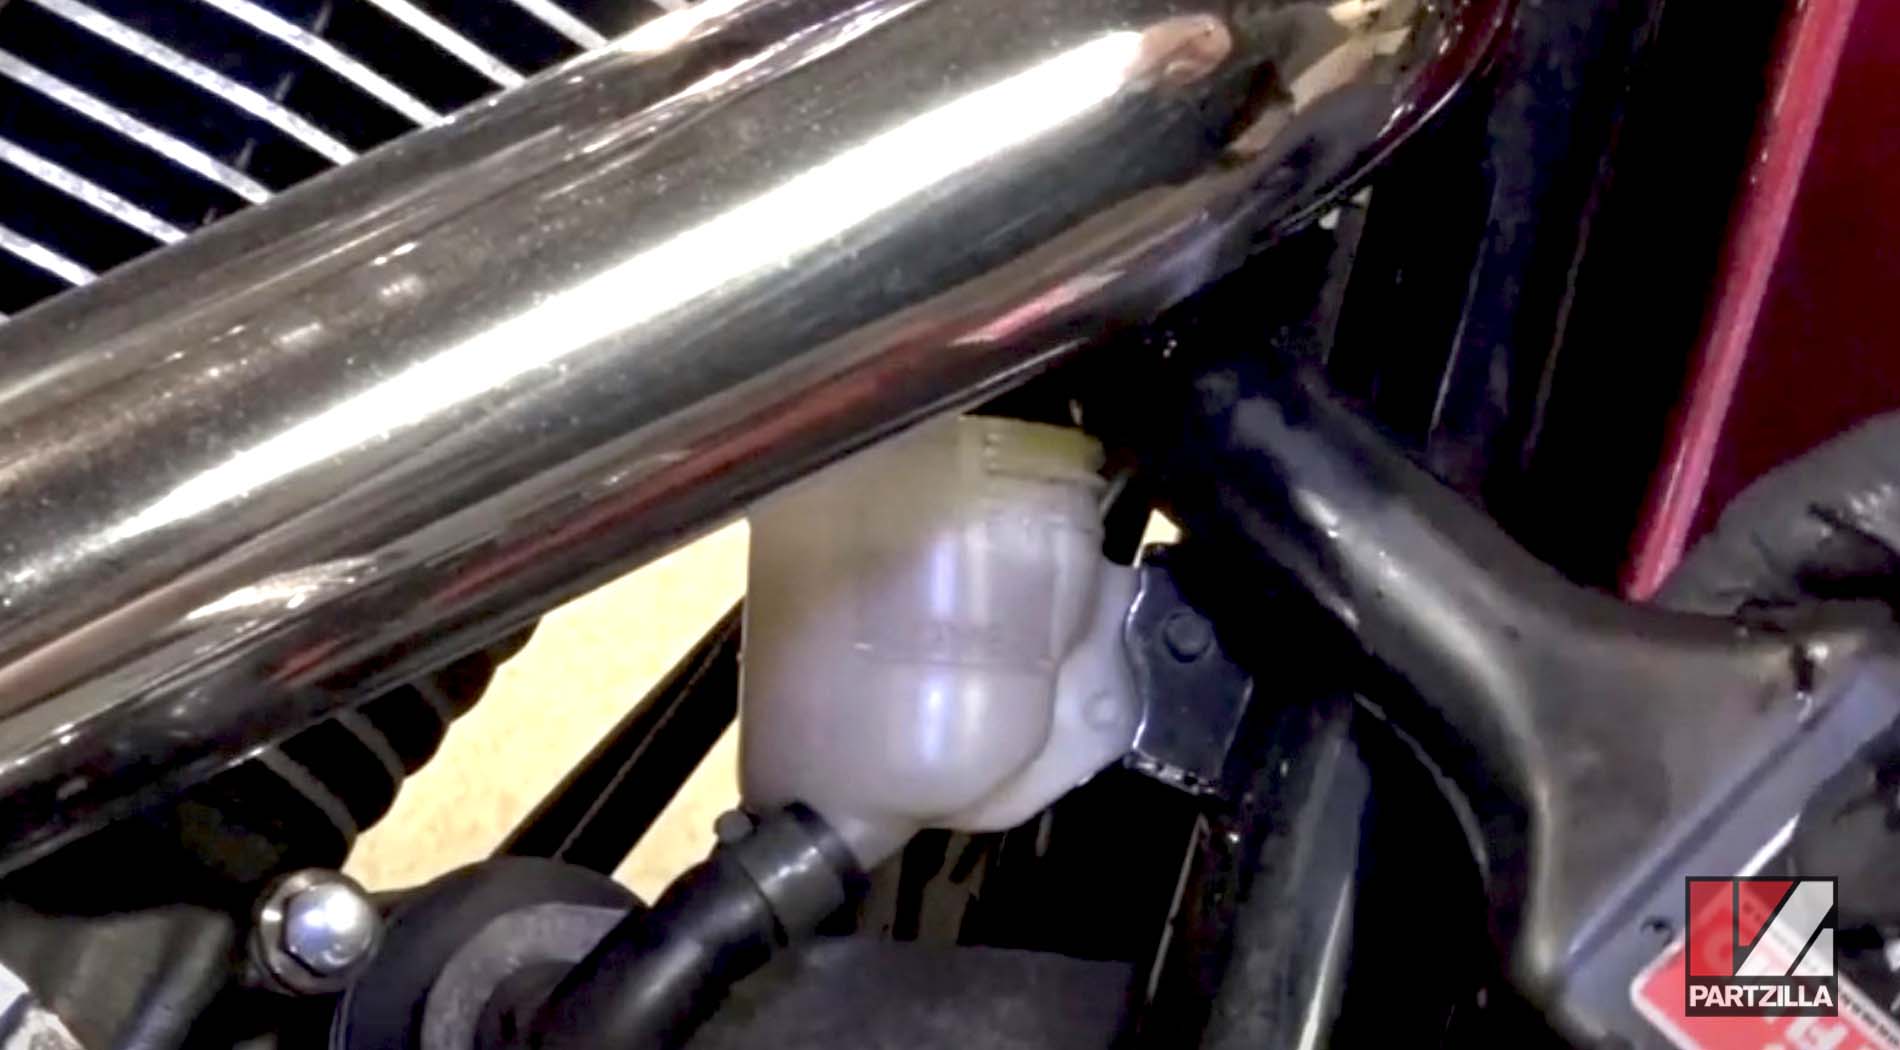
Step 5. To bleed the rear line on the front calipers, remove the cap cover on the rear brake reservoir and top it off with fresh fluid. Use the 8mm wrench and drain hose on the lower bleed valve of the left front caliper. Repeat the bleed process using the rear brake pedal to pump pressure into the line. Add fluid to the rear reservoir until clean fluid drains out of the hose. Repeat this process on the right side lower bleed valve.
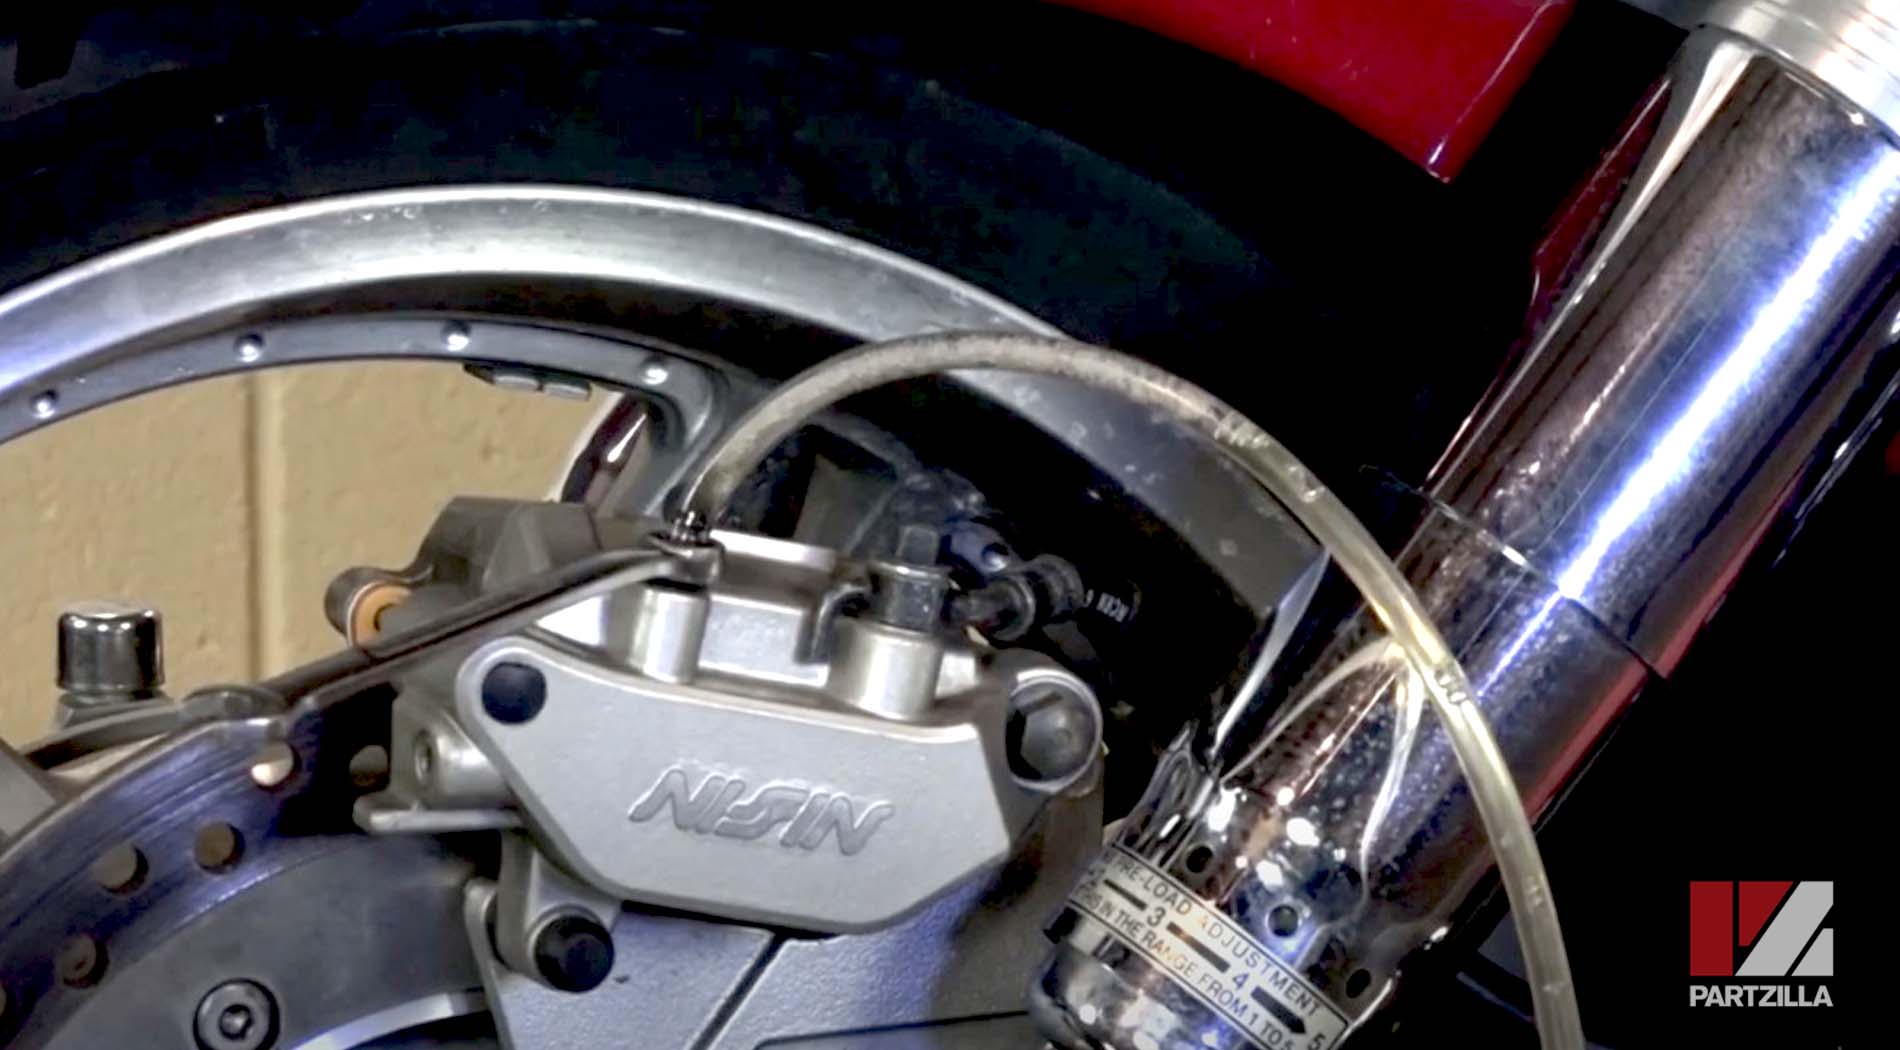
Step 6. To bleed the rear brakes, remove the dust cover on the rear brake caliper, and use the wrench and drain hose to continue the bleeding steps. Once you get clear fluid, top off the rear brake reservoir to the proper level, then replace the cap and you’re done.
Need to replace the brake pads on your Honda VTX motorcycle? Watch the videos below to see how to replace the front brake pads and rear brake pads on a 2005 Honda VTX 1800.

