Yamaha YXZ1000R Turbo Kit Installation
Welcome to the turbo installation upgrade of our 2016 Yamaha YXZ1000R engine rebuild project. We've already done several projects on this machine, including upgrading the frame to a 2019.
Also, we added a frame strengthening kit to make it even stronger, dropped the engine compression from 10.5 down to 9.5 to1, and installed a gear reduction kit. (See playlist at the end). Watch the video above or read on below to learn how we upgraded the engine on our 2016 Yamaha YXZ1000R with a GYTR turbo kit installation.

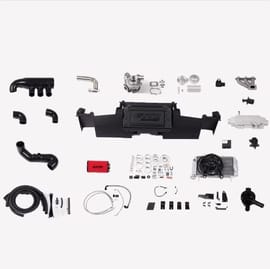
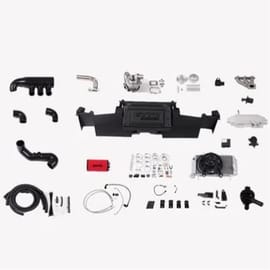
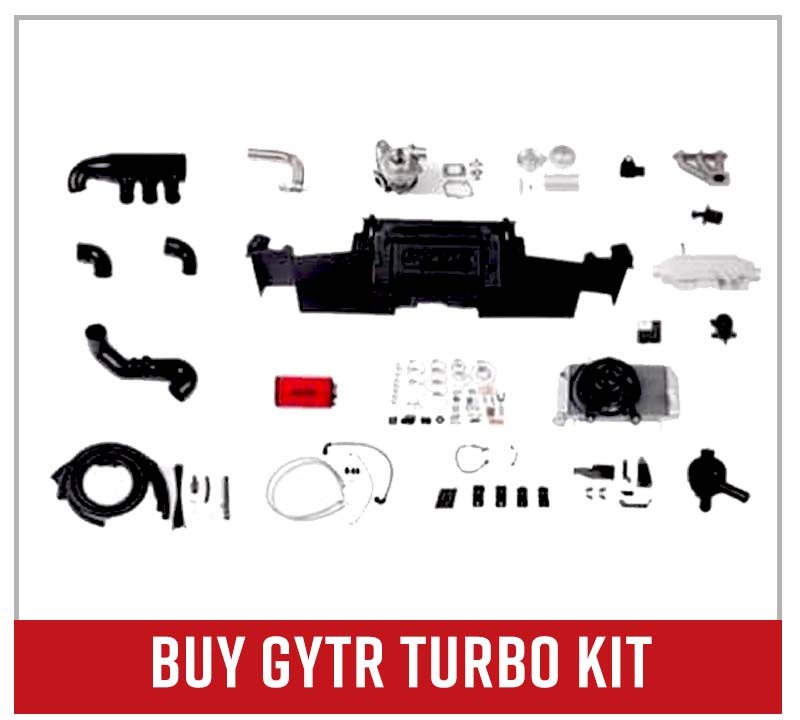
All of those previous projects were leading up to this GYTR Yamaha turbo kit upgrade. The kit has only one part number, with many parts included. This is the version 1 kit from GYTR.
NOTE: The installation for version 2 of this kit for newer models is very similar to what we’re doing here, so you should be able to follow along regardless of which version you’re installing.
Tools and Parts - Yamaha YXZ1000R Turbo Installation
- Standard tools (wrenches, ratchet, screwdrivers, etc.)
- Anti-seize
- Contact cleaner
- Yamalube anti-freeze
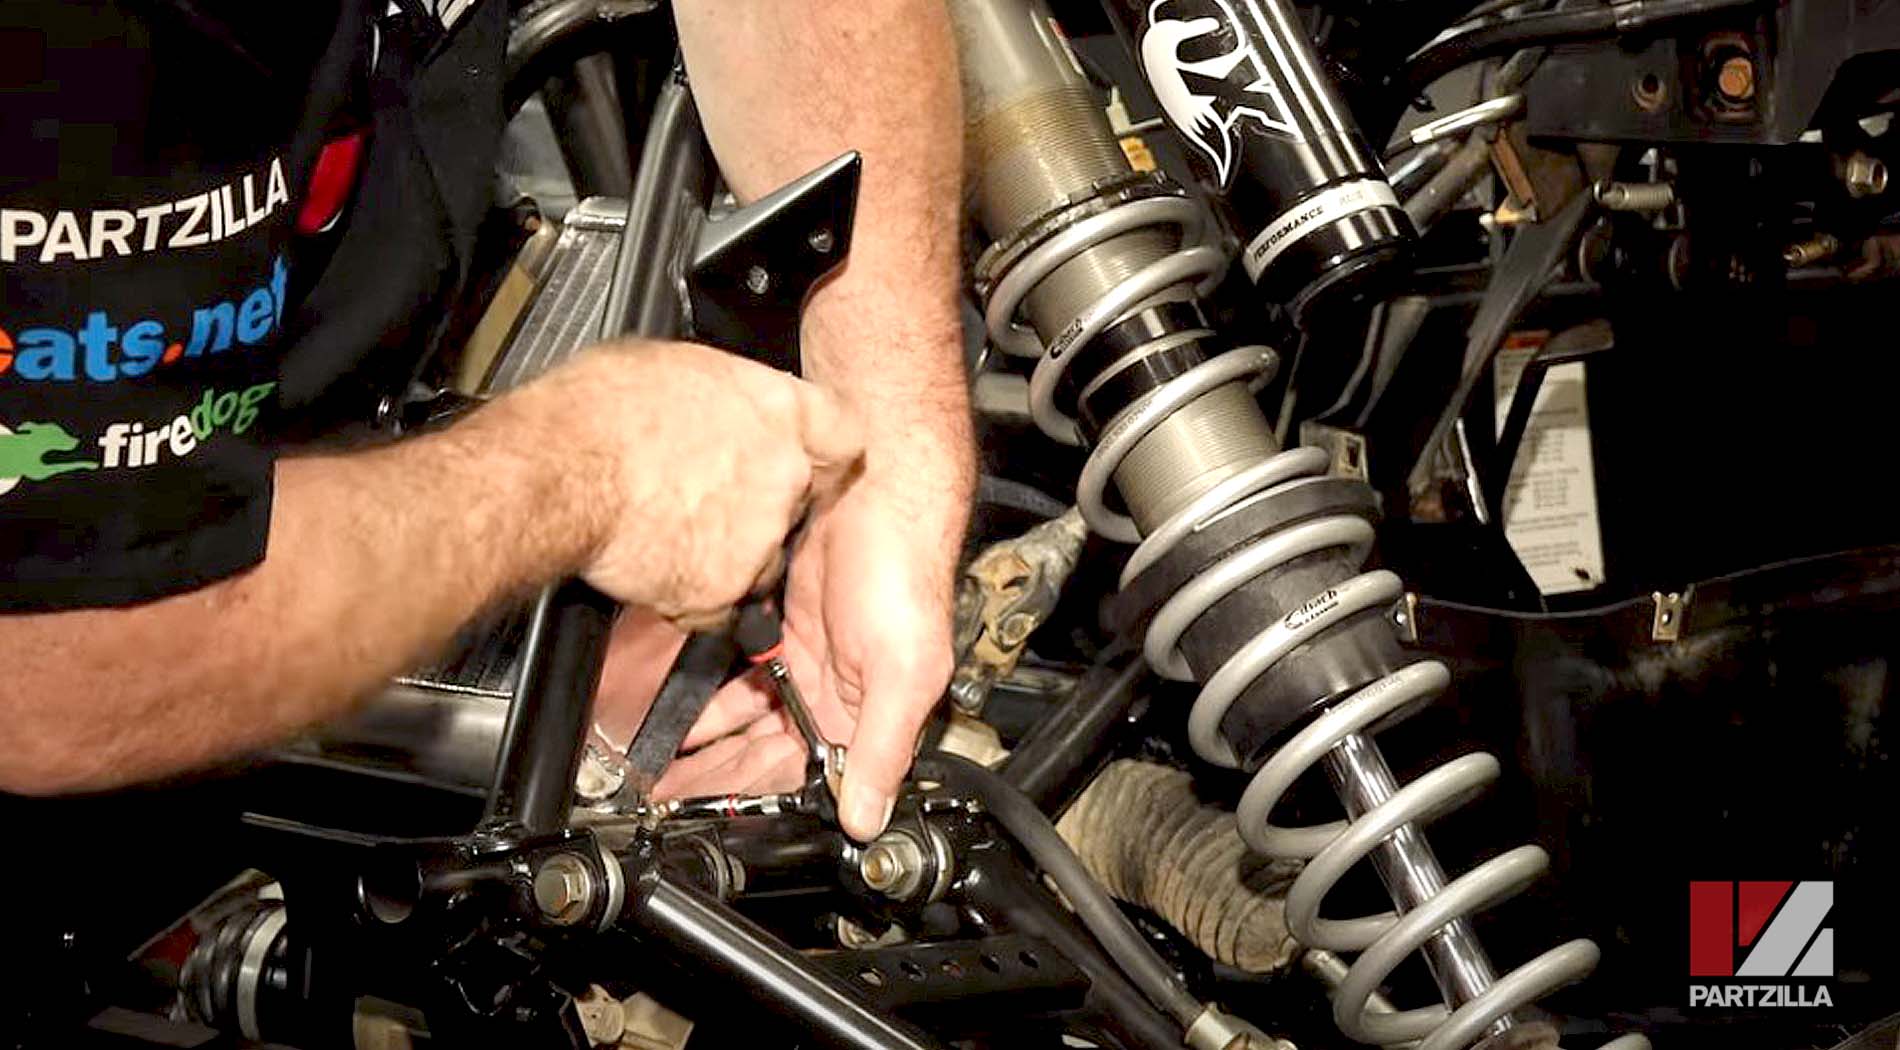
Yamaha YXZ1000R Turbo Upgrade: Radiator Installation
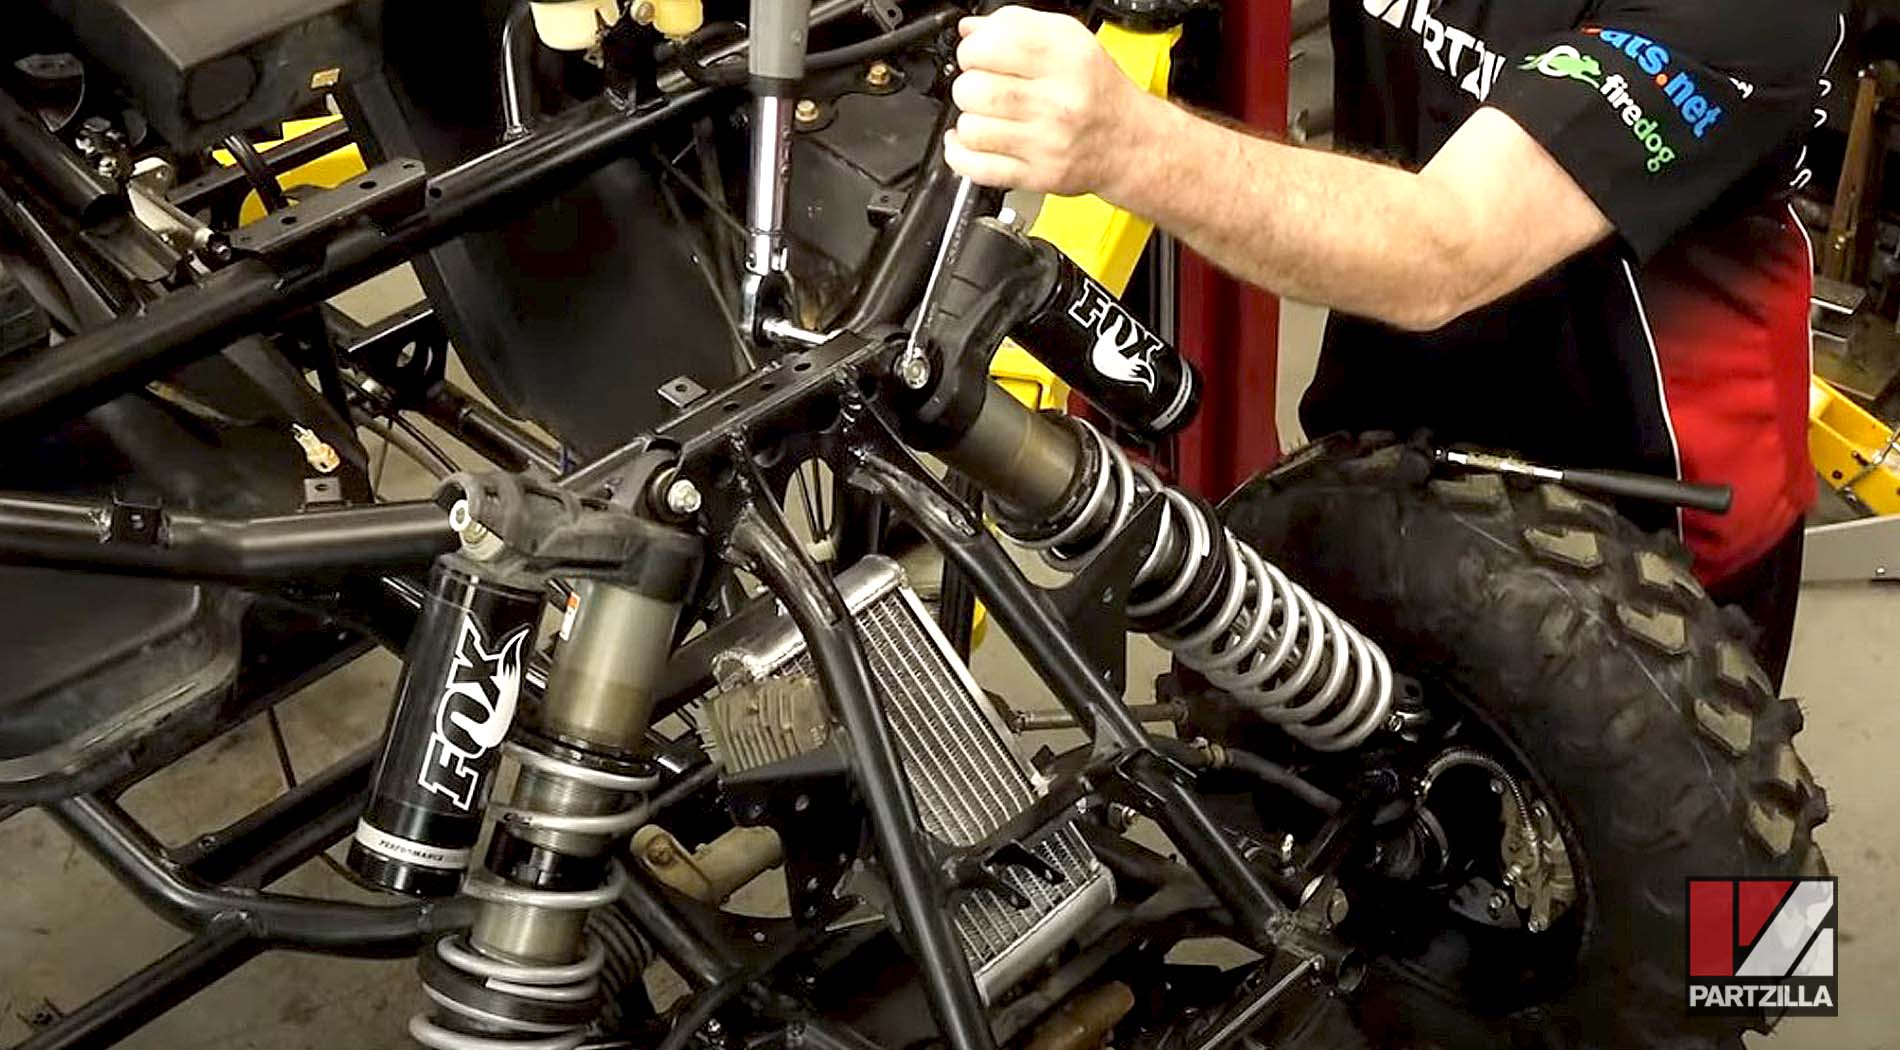
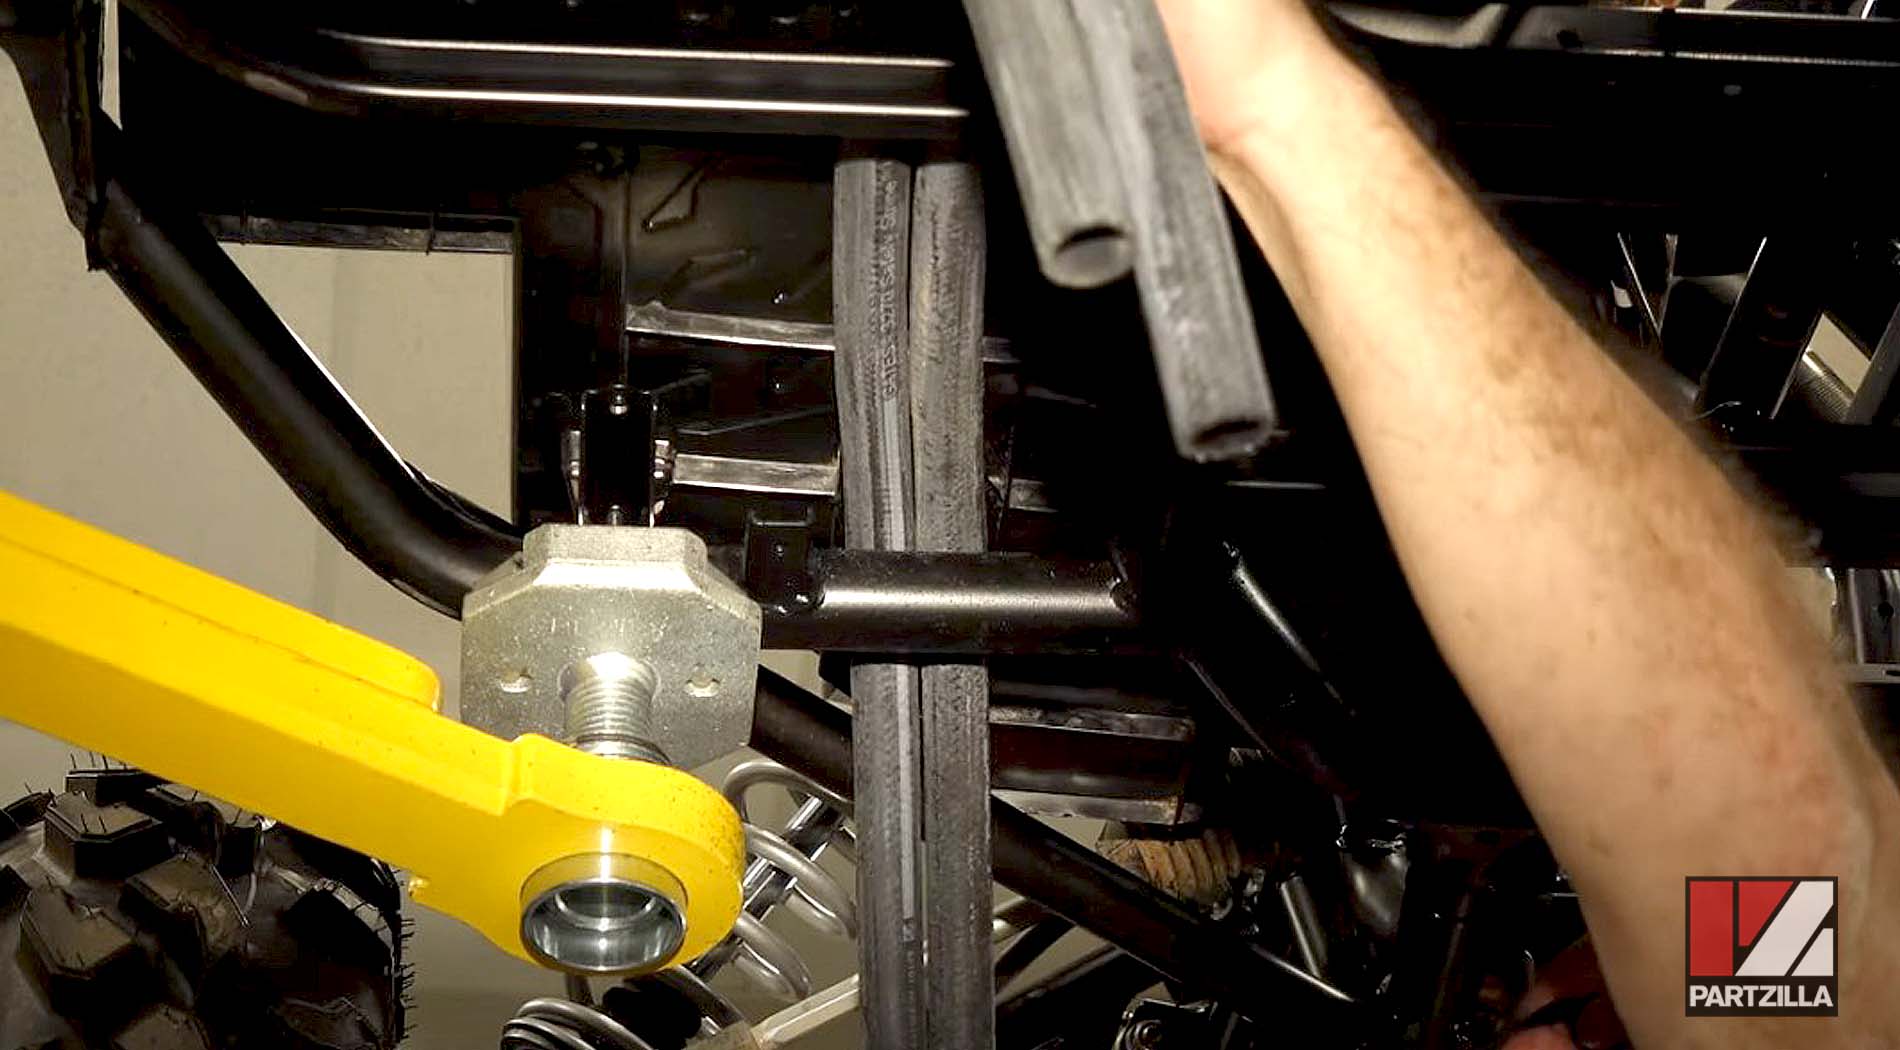
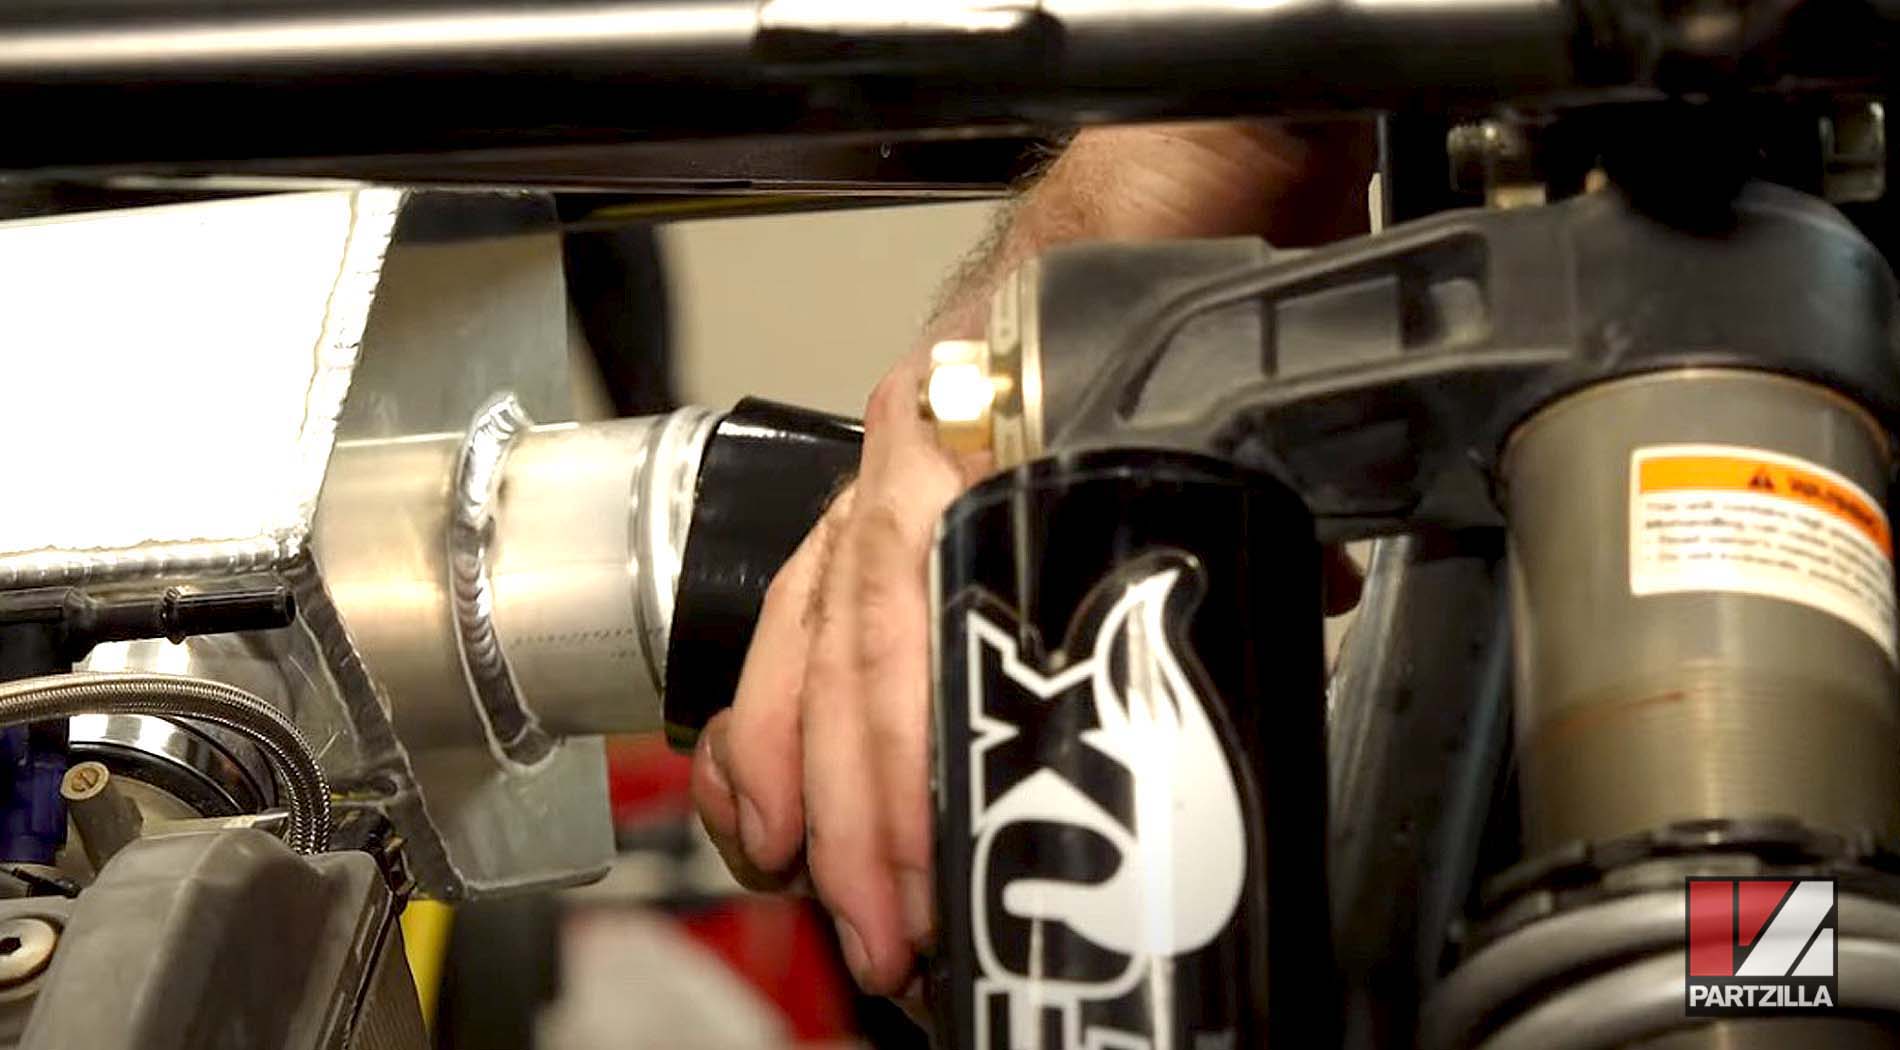
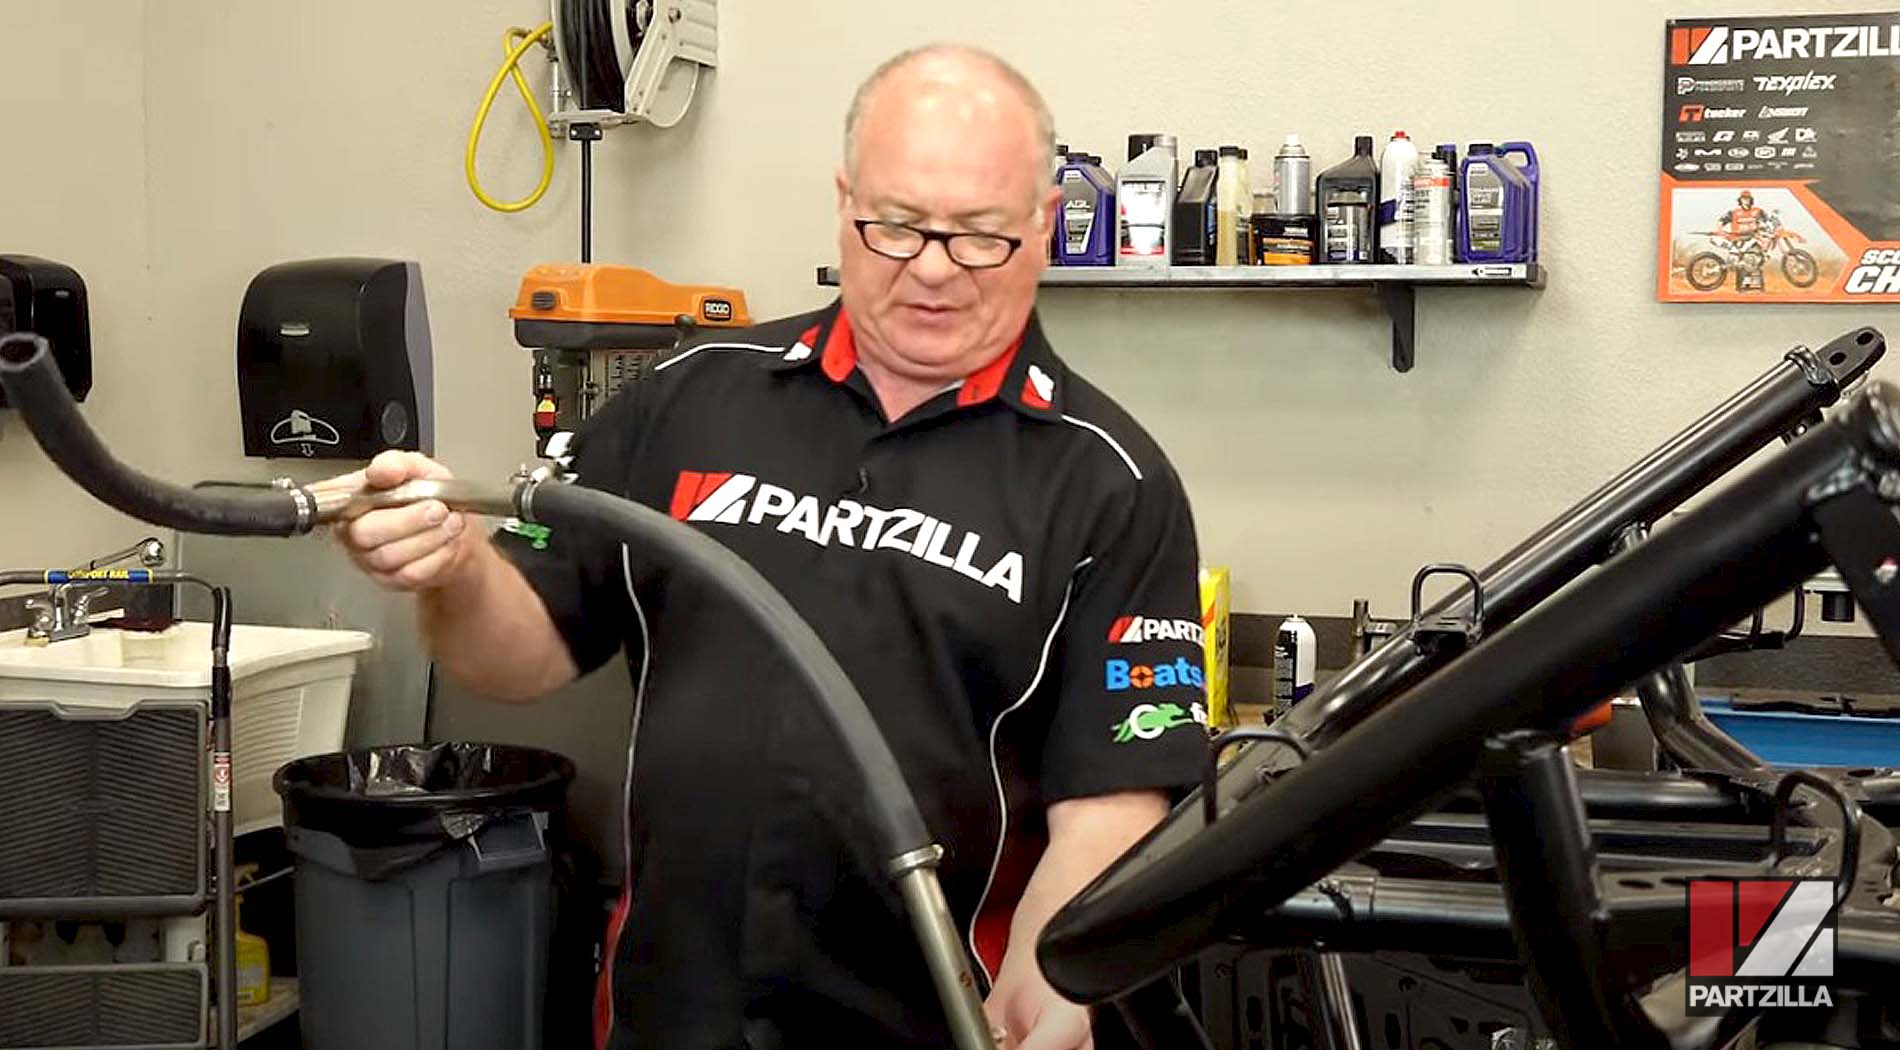
We started with getting the radiator installed up front, which requires getting one of the shocks out of the way so the radiator would fit.
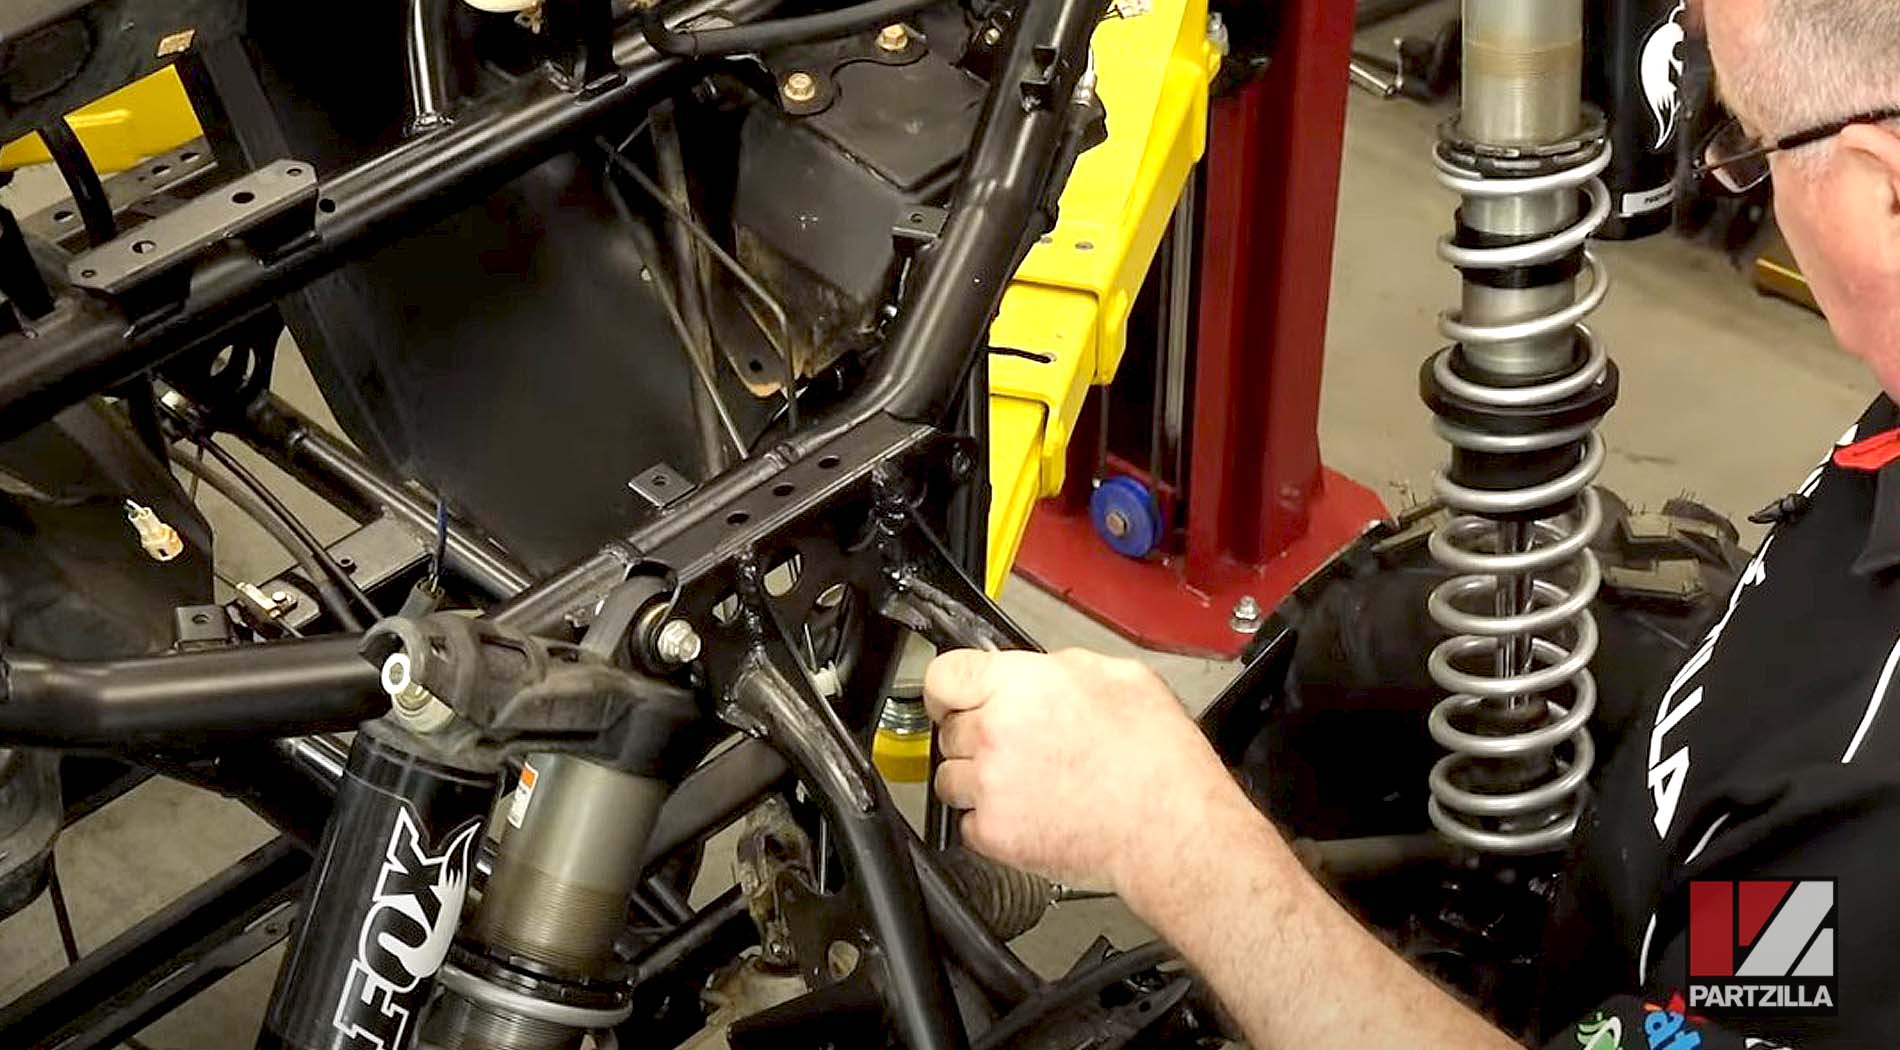
Our YXZ1000 has original shocks, but the springs were upgraded with a set from Eibach to make sure our suspension components are up to the task. That includes making sure the bushings are in good shape on all the different pivot points, plus beefier CV axles all the way around.
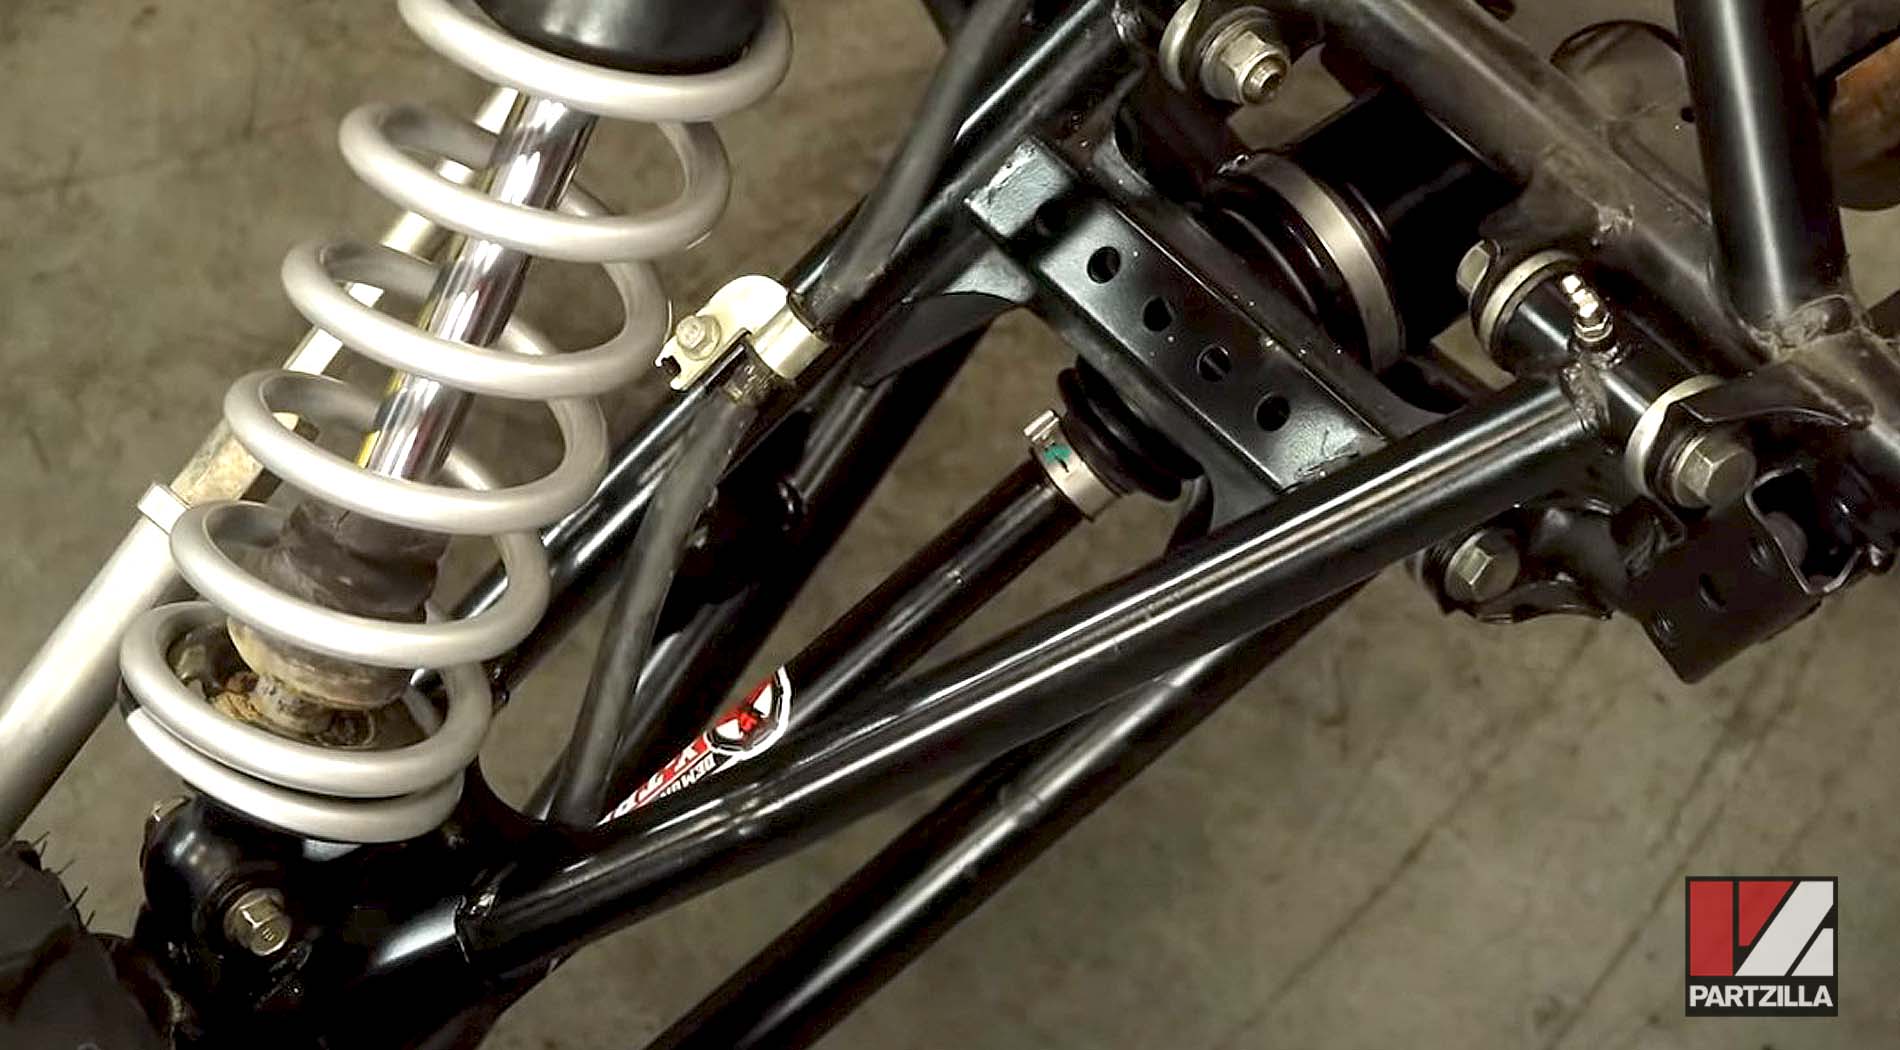
NOTE: Your UTV needs to be up to the task when you add a turbo to it, because it's going to stress everything out more than it was originally designed to handle.
The radiator has three attachment points, and it gets sandwiched between the voltage regulator-rectifier.
Once the radiator was in place, we remounted the shock and torqued it to 47 foot-pounds.
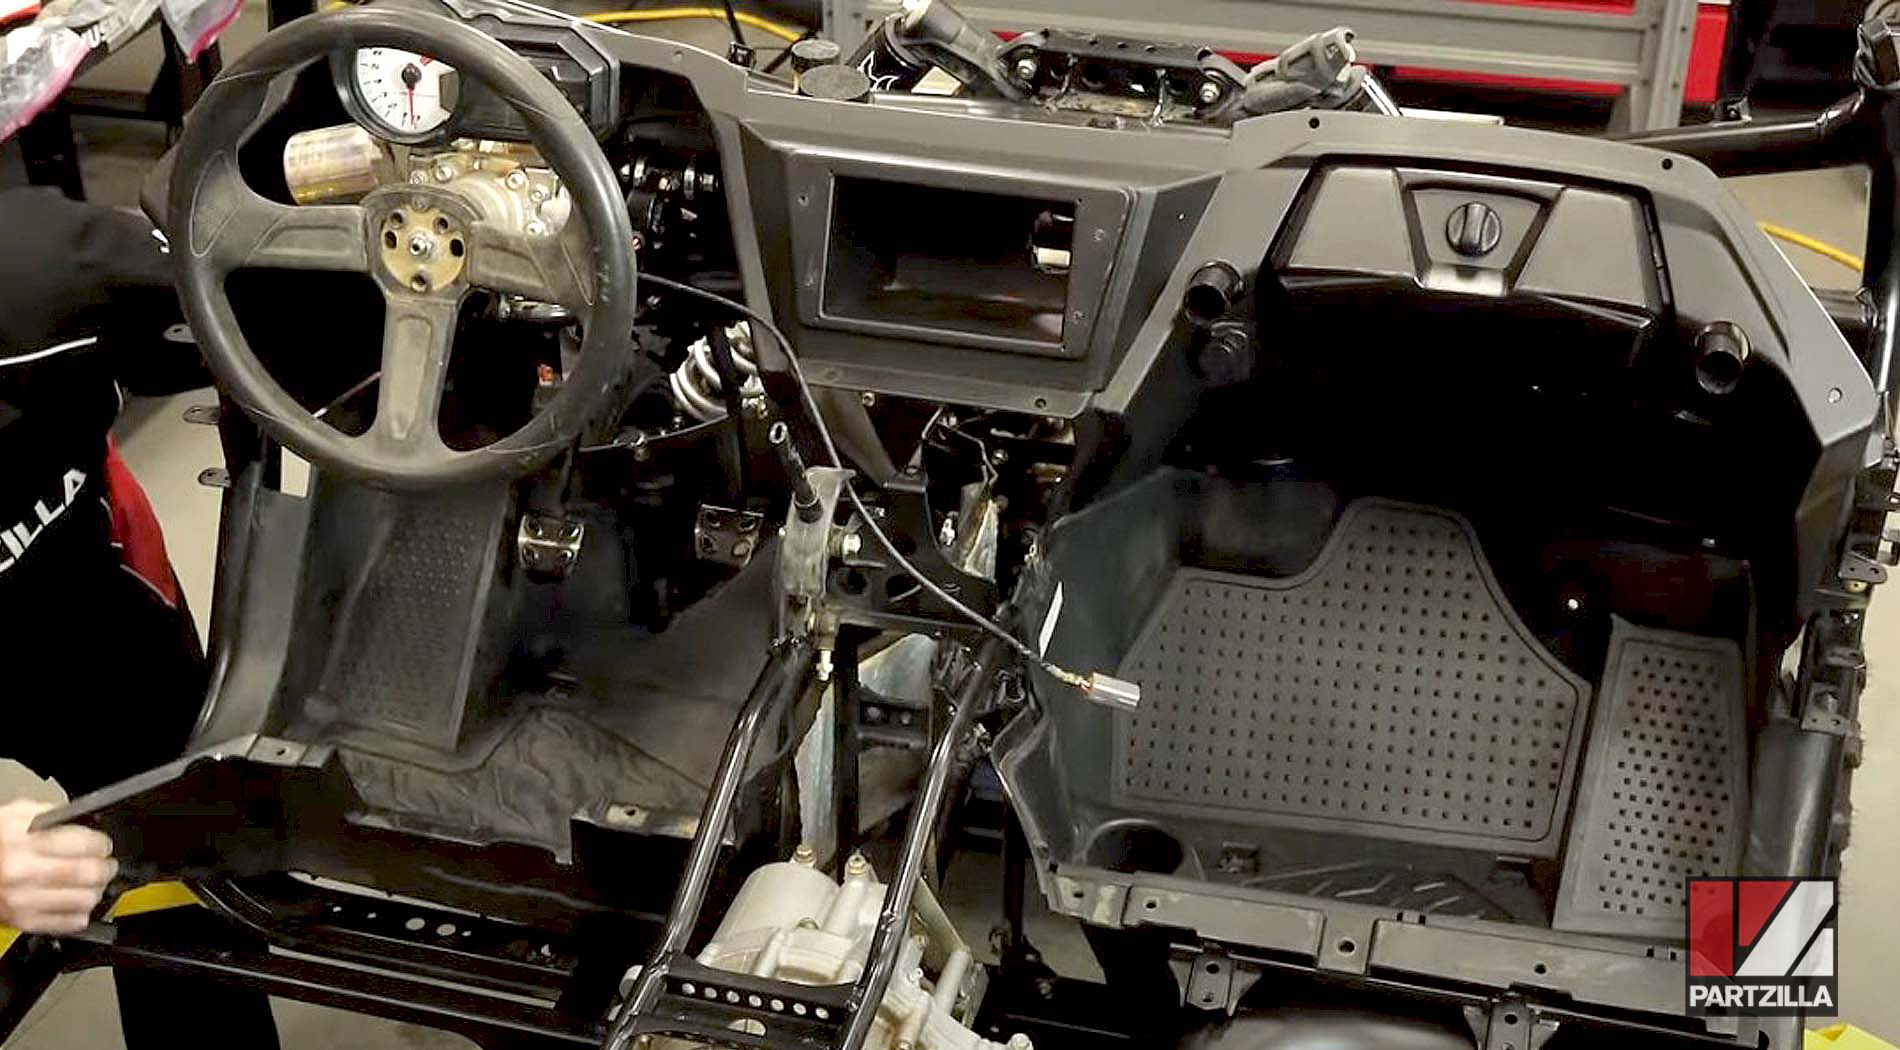
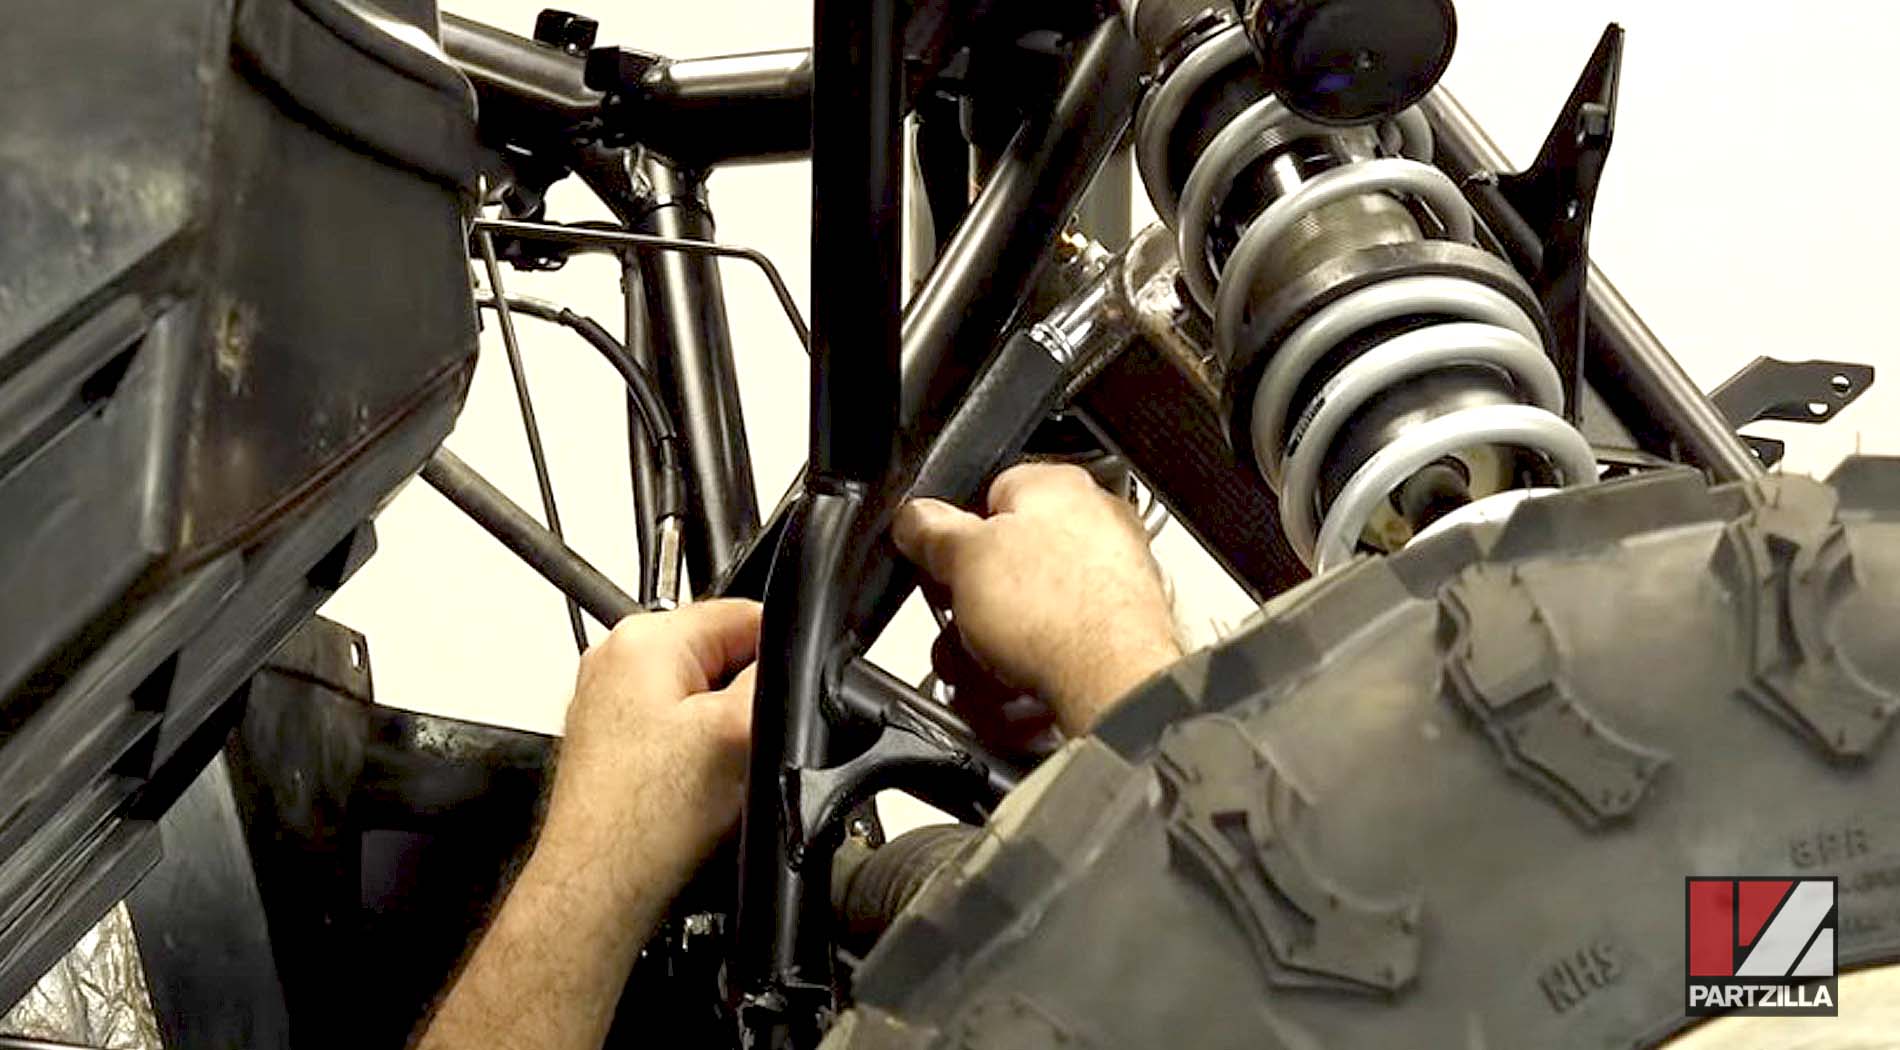
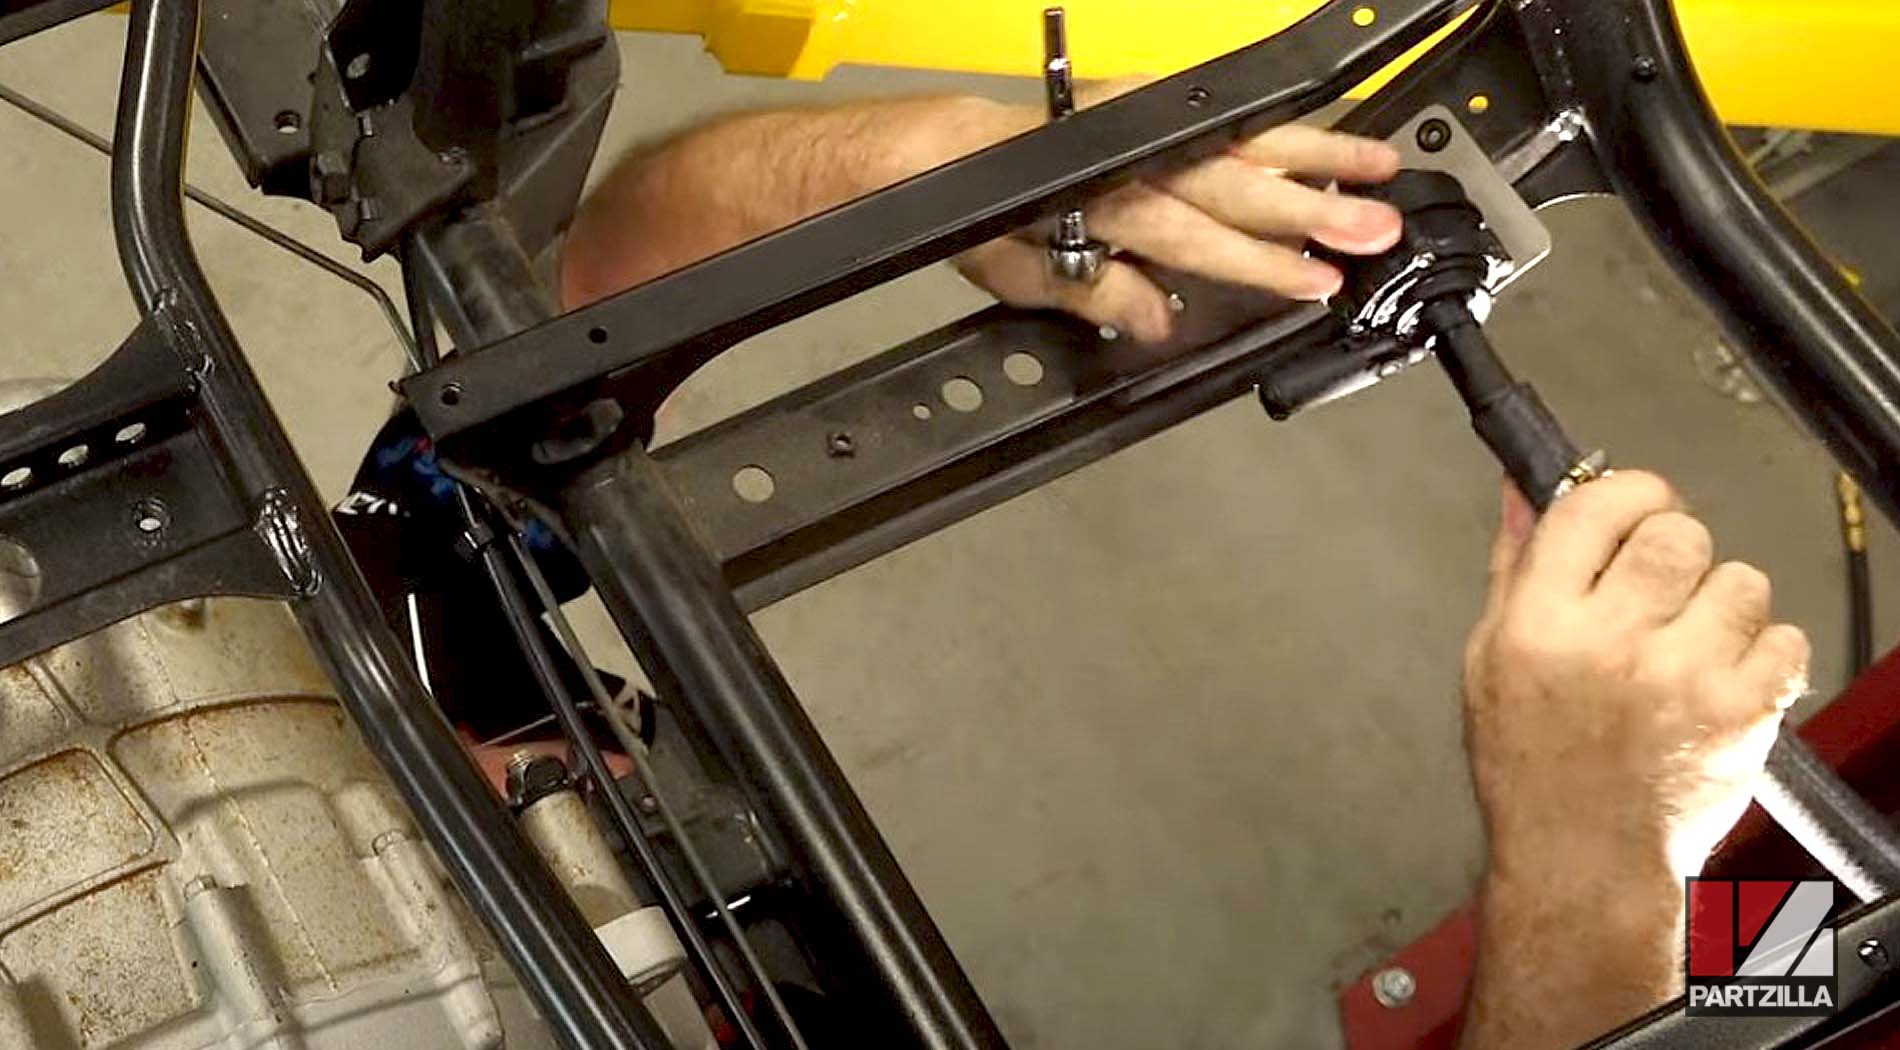
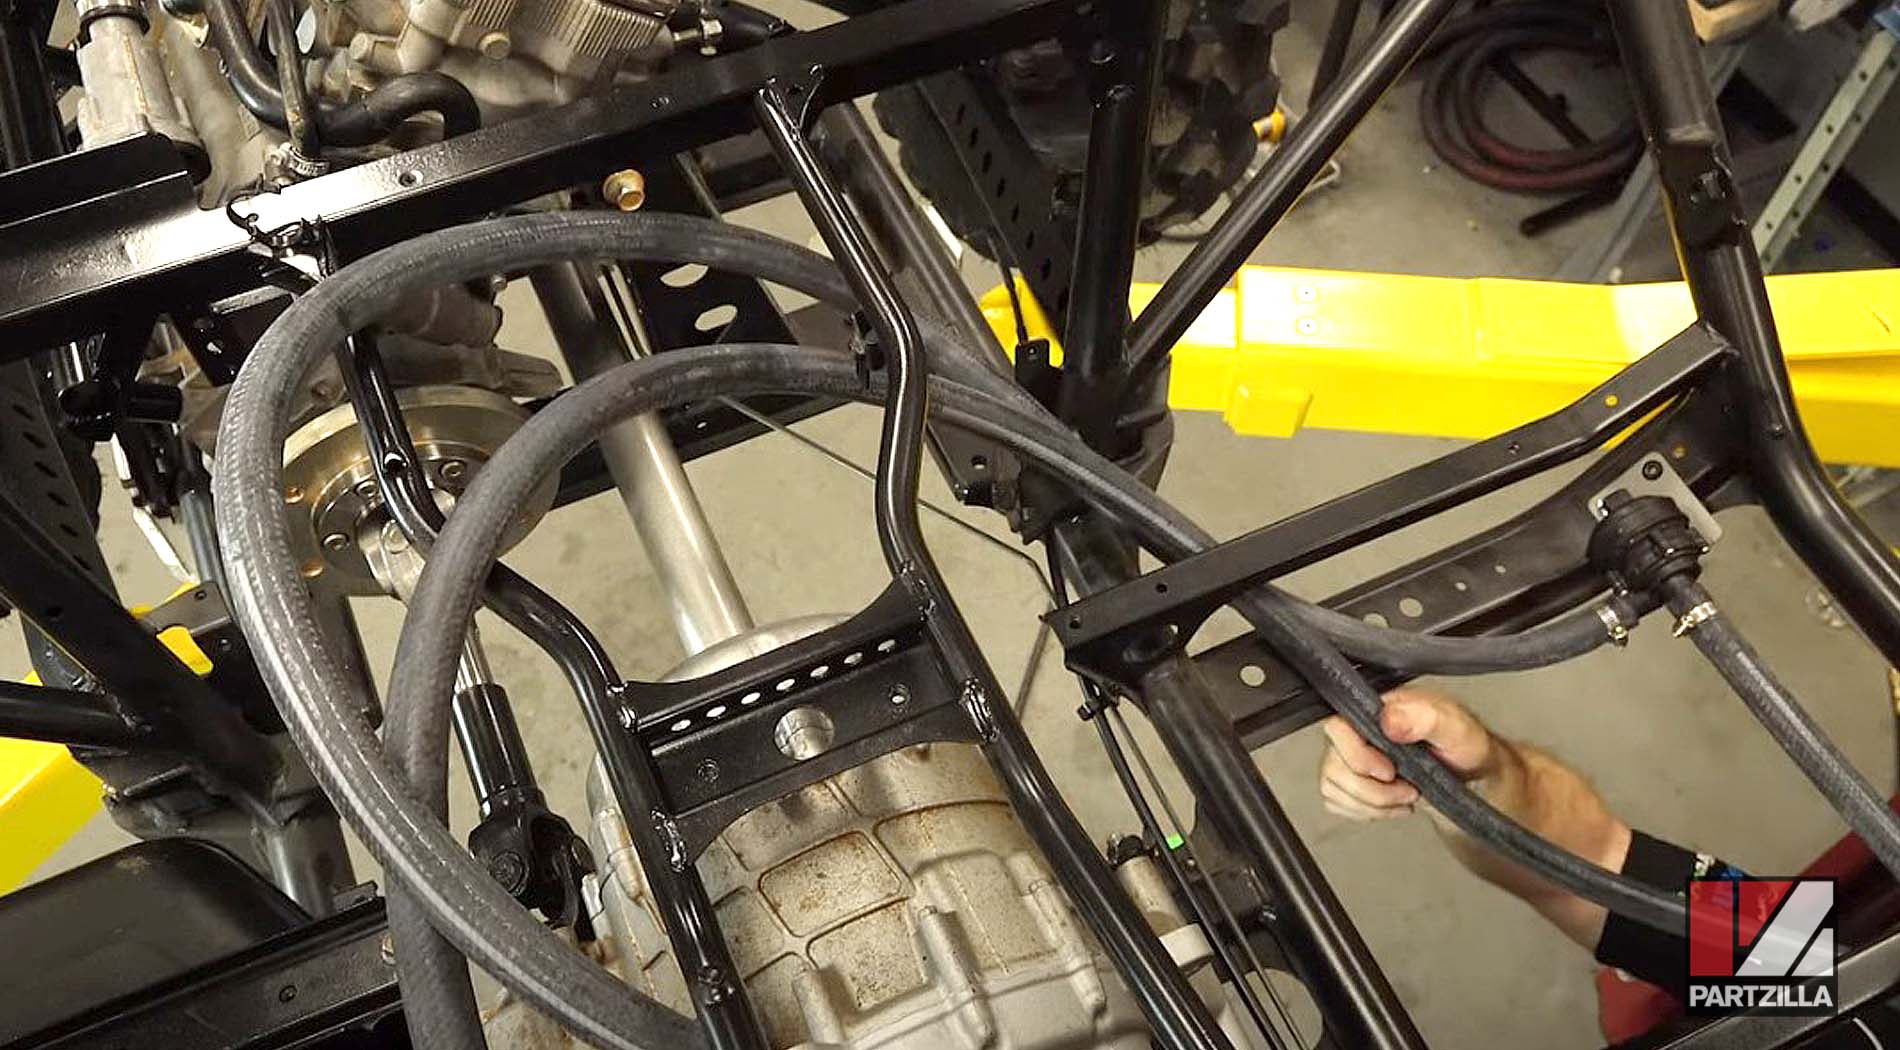
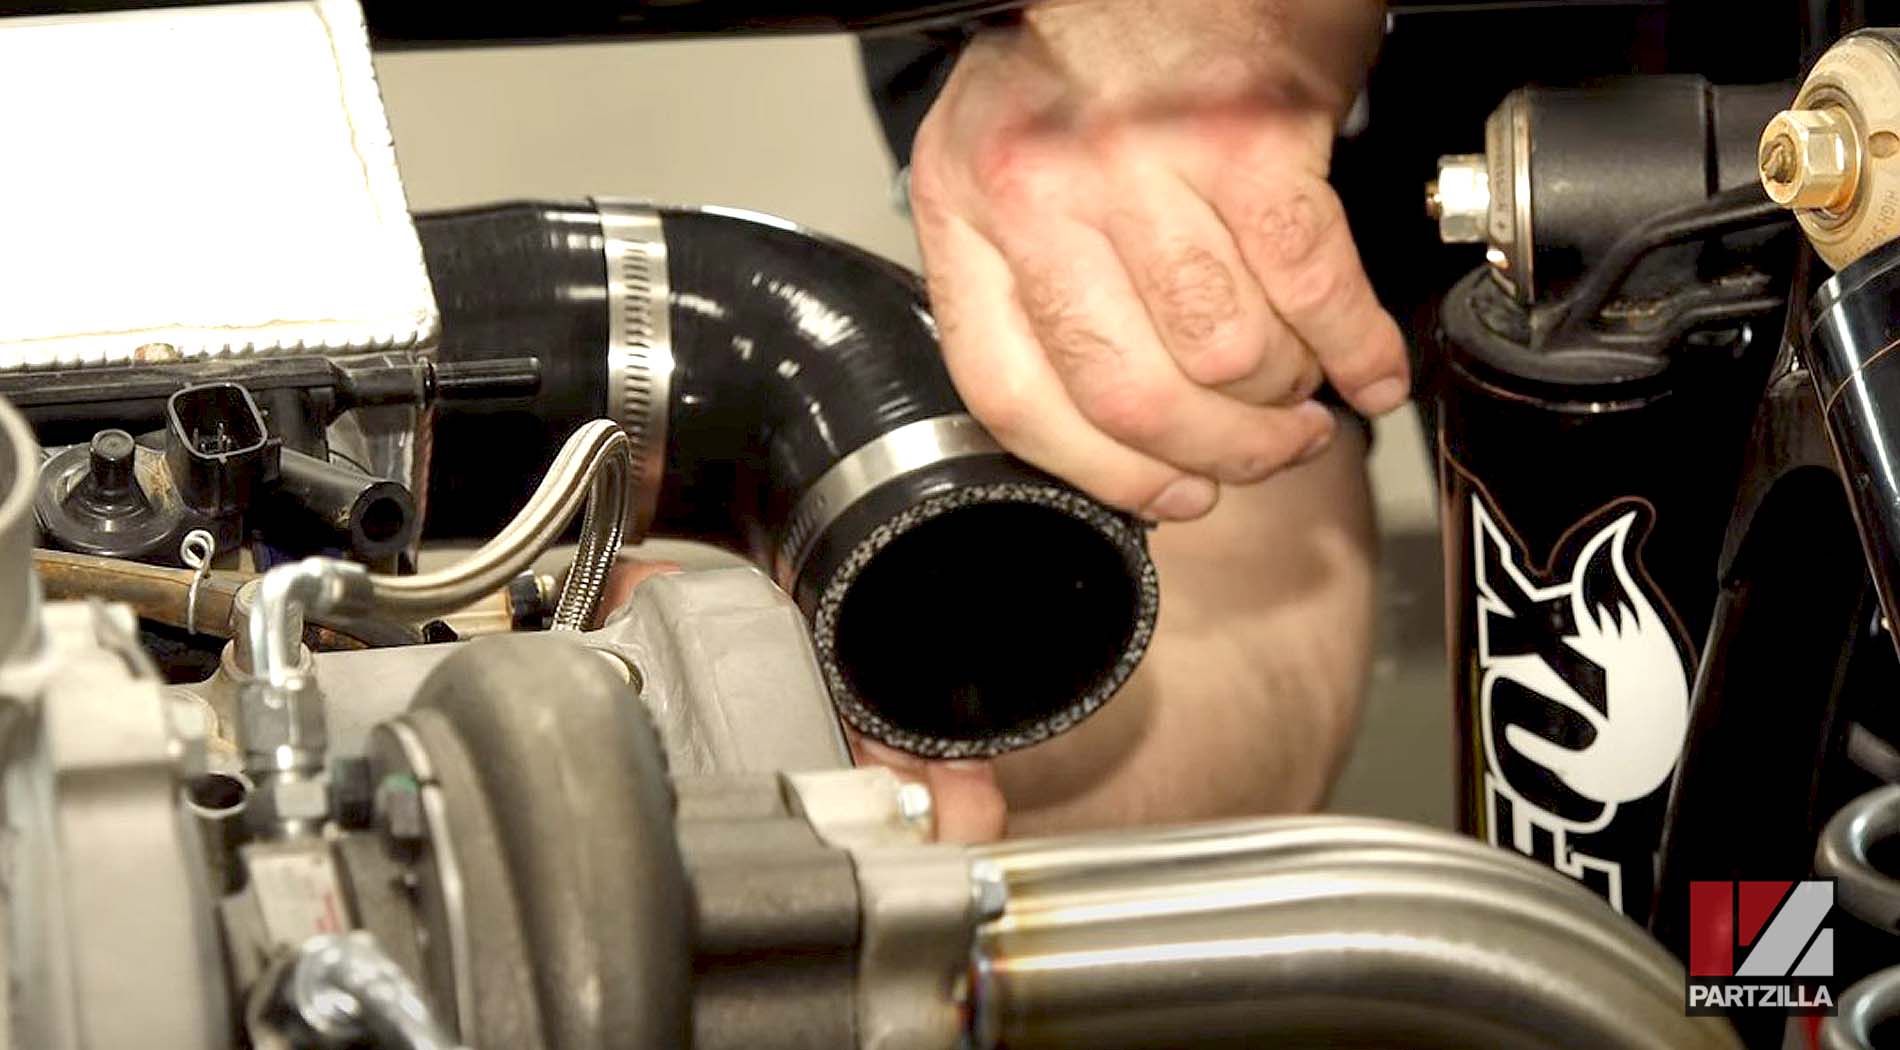
Yamaha YXZ1000R Turbo Upgrade: Routing Radiator Hoses
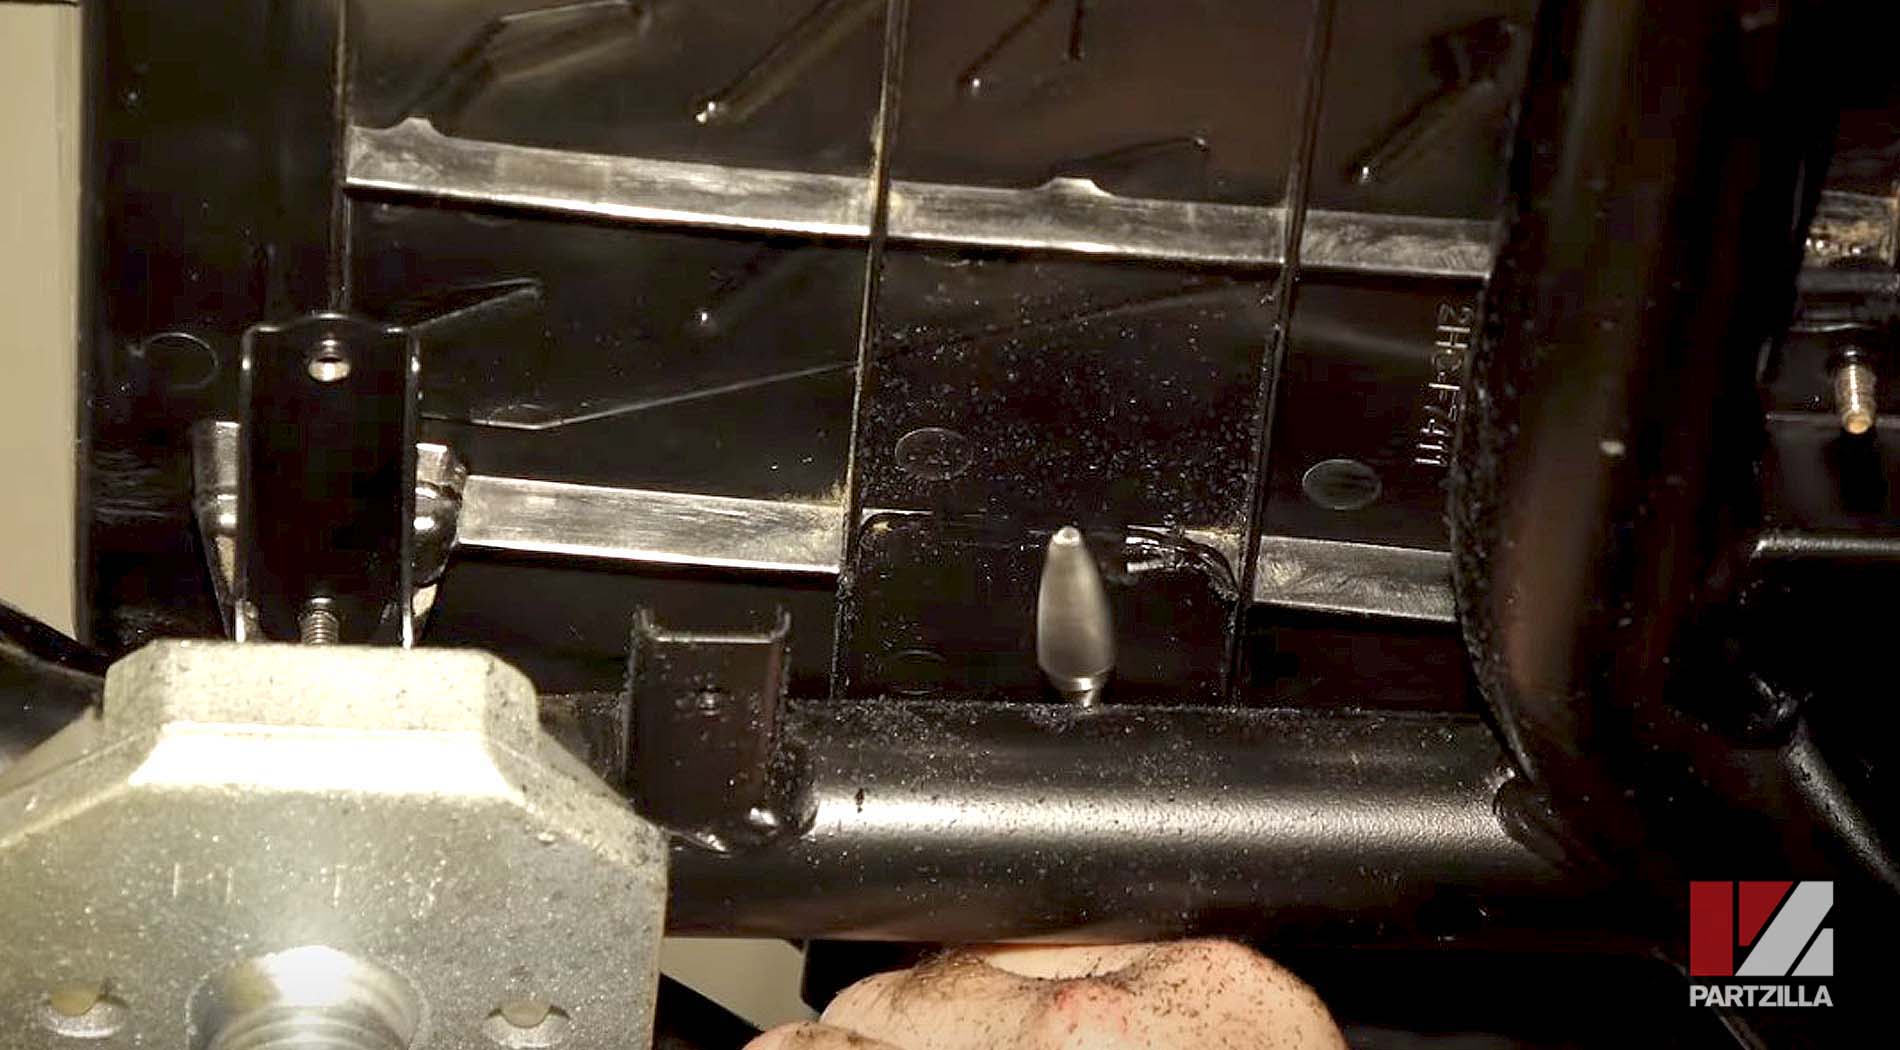
To route the radiator hoses through the driver’s side, we had to remount the footwell to notch it out. That involved taking out one section of webbing underneath to create enough clearance for the hoses.
NOTE: You may not find this on your YXZ1000R, as that section is part of the frame strengthening kit mentioned earlier.
The radiator hoses were already cut to length: the 44 hose for the heat exchanger on top, and the 43 hose for down at the bottom. The longer hose goes toward the outside of the rail; the shorter one on the inside. It loops up and over the drive shaft, where we zip-tied it to hold it in place until we get it connected at the back.
Yamaha YXZ1000R Turbo Upgrade: Water Pump Installation
Next, we installed the water pump up under the driver’s seat on the lower frame rail.
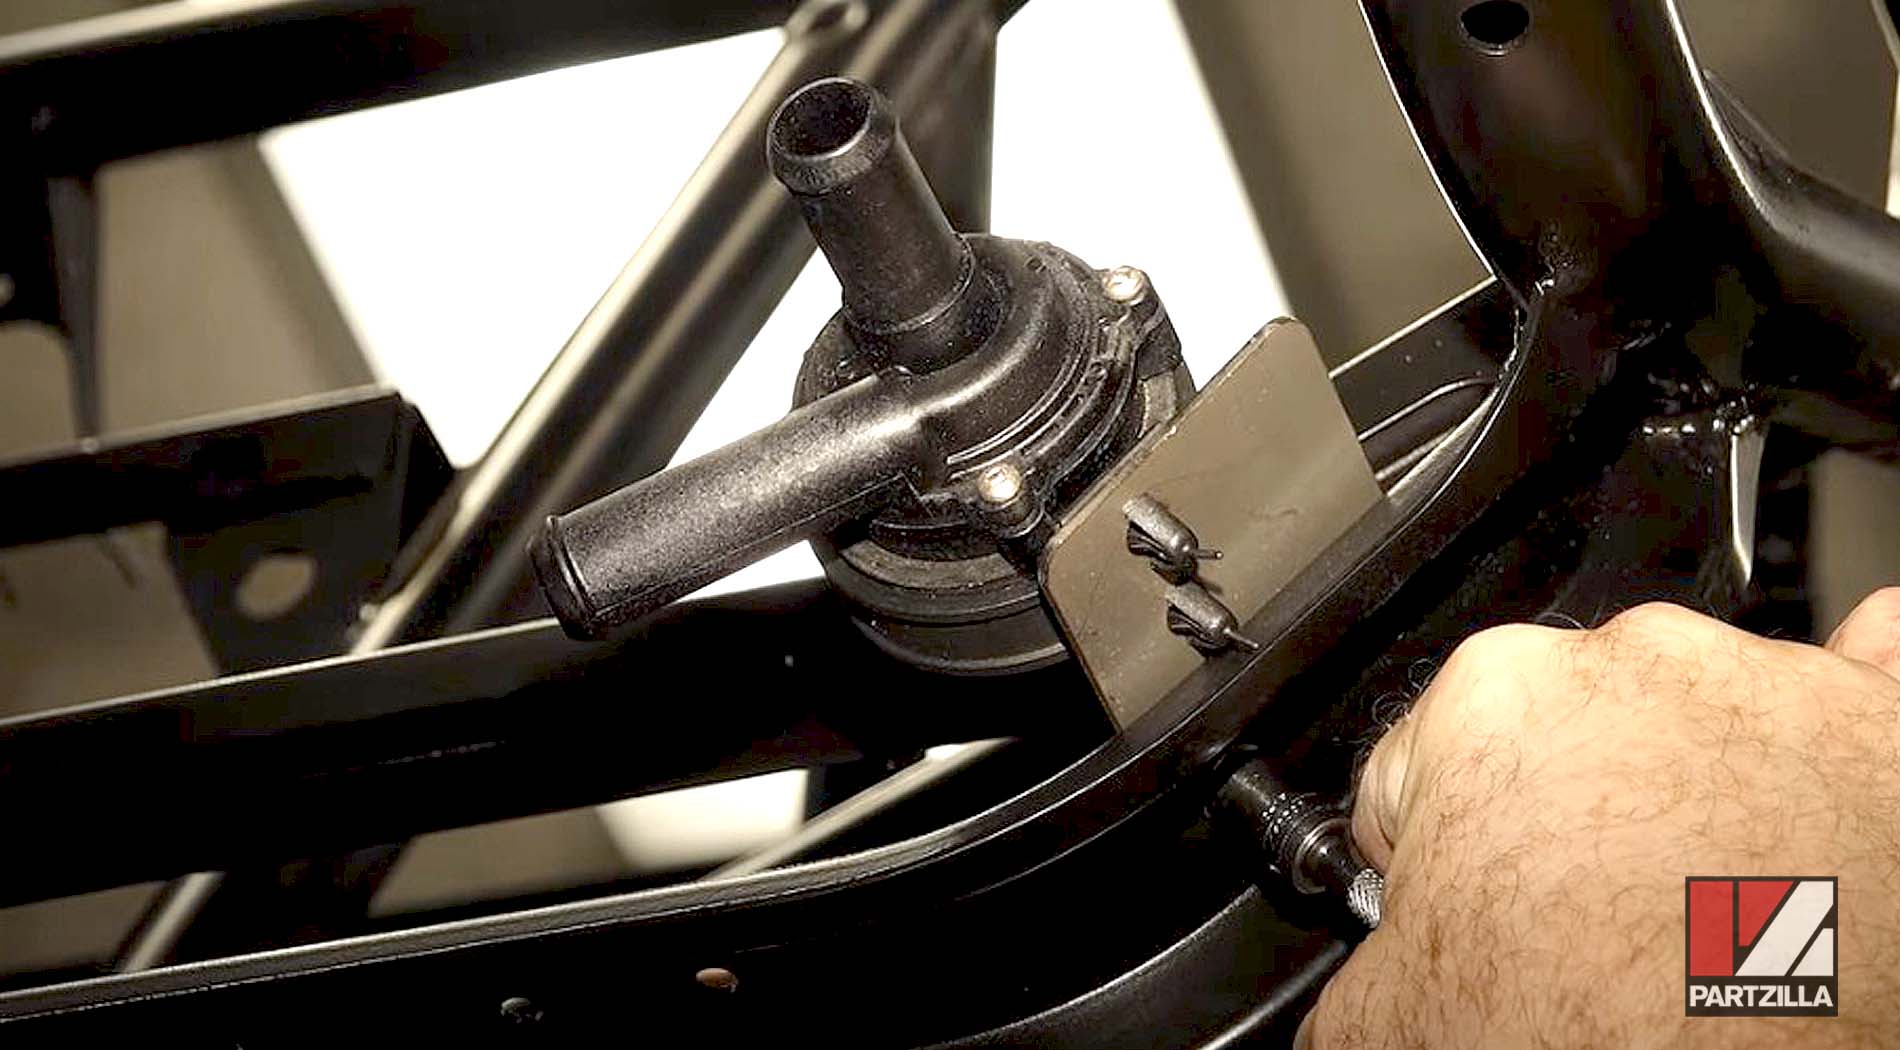
NOTE: While the Yamaha diagram shows the long hose to the outside, we put the short hose on that side instead because it lines up better going to the water pump. Spraying contact cleaner also helps get the hoses on easier.
We took the 56 long hose and put it up next to the longer 110 hose, and attached it to the water pump.
Once the hoses were routed correctly to the water pump, we put the last two clamps on the radiator/heat exchanger.
Next, we connected up the wiring, even though the battery was not yet in place. The cable provided in the kit has a plus and a minus, and a fuse built into it, which we left in place to connect later.

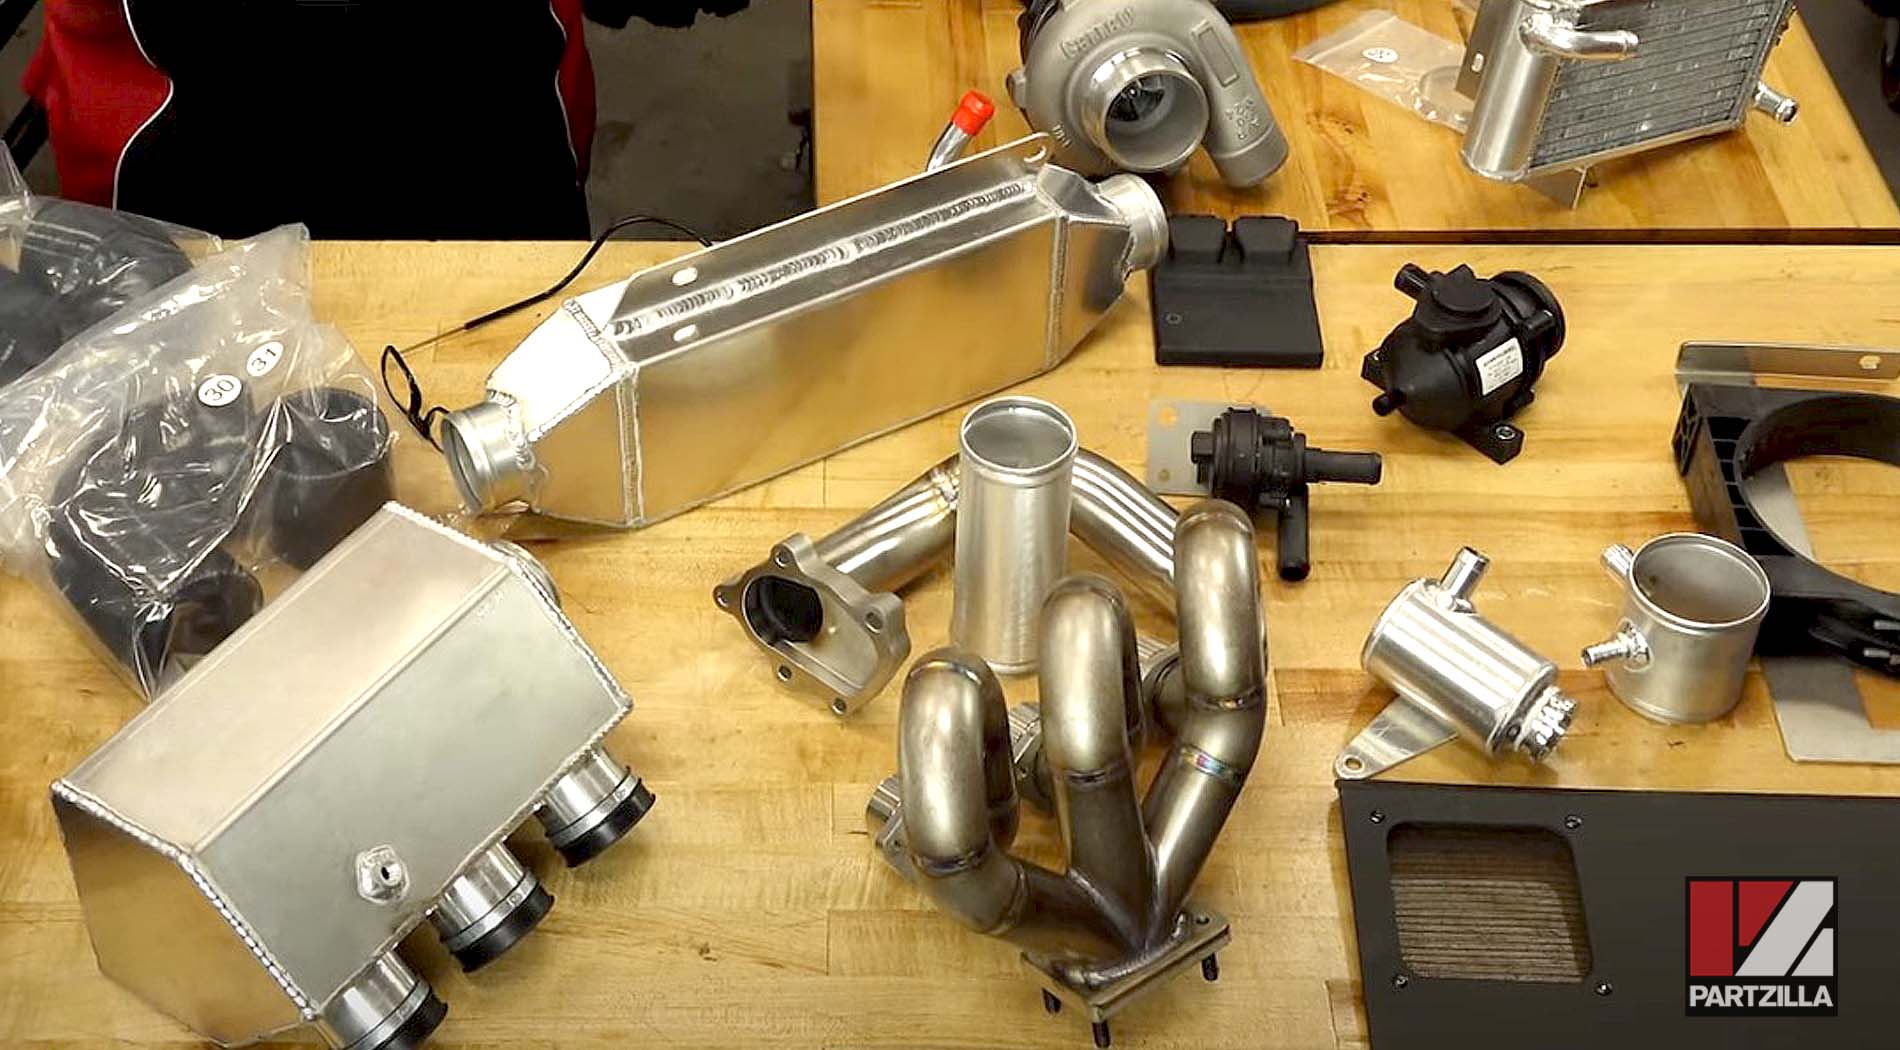
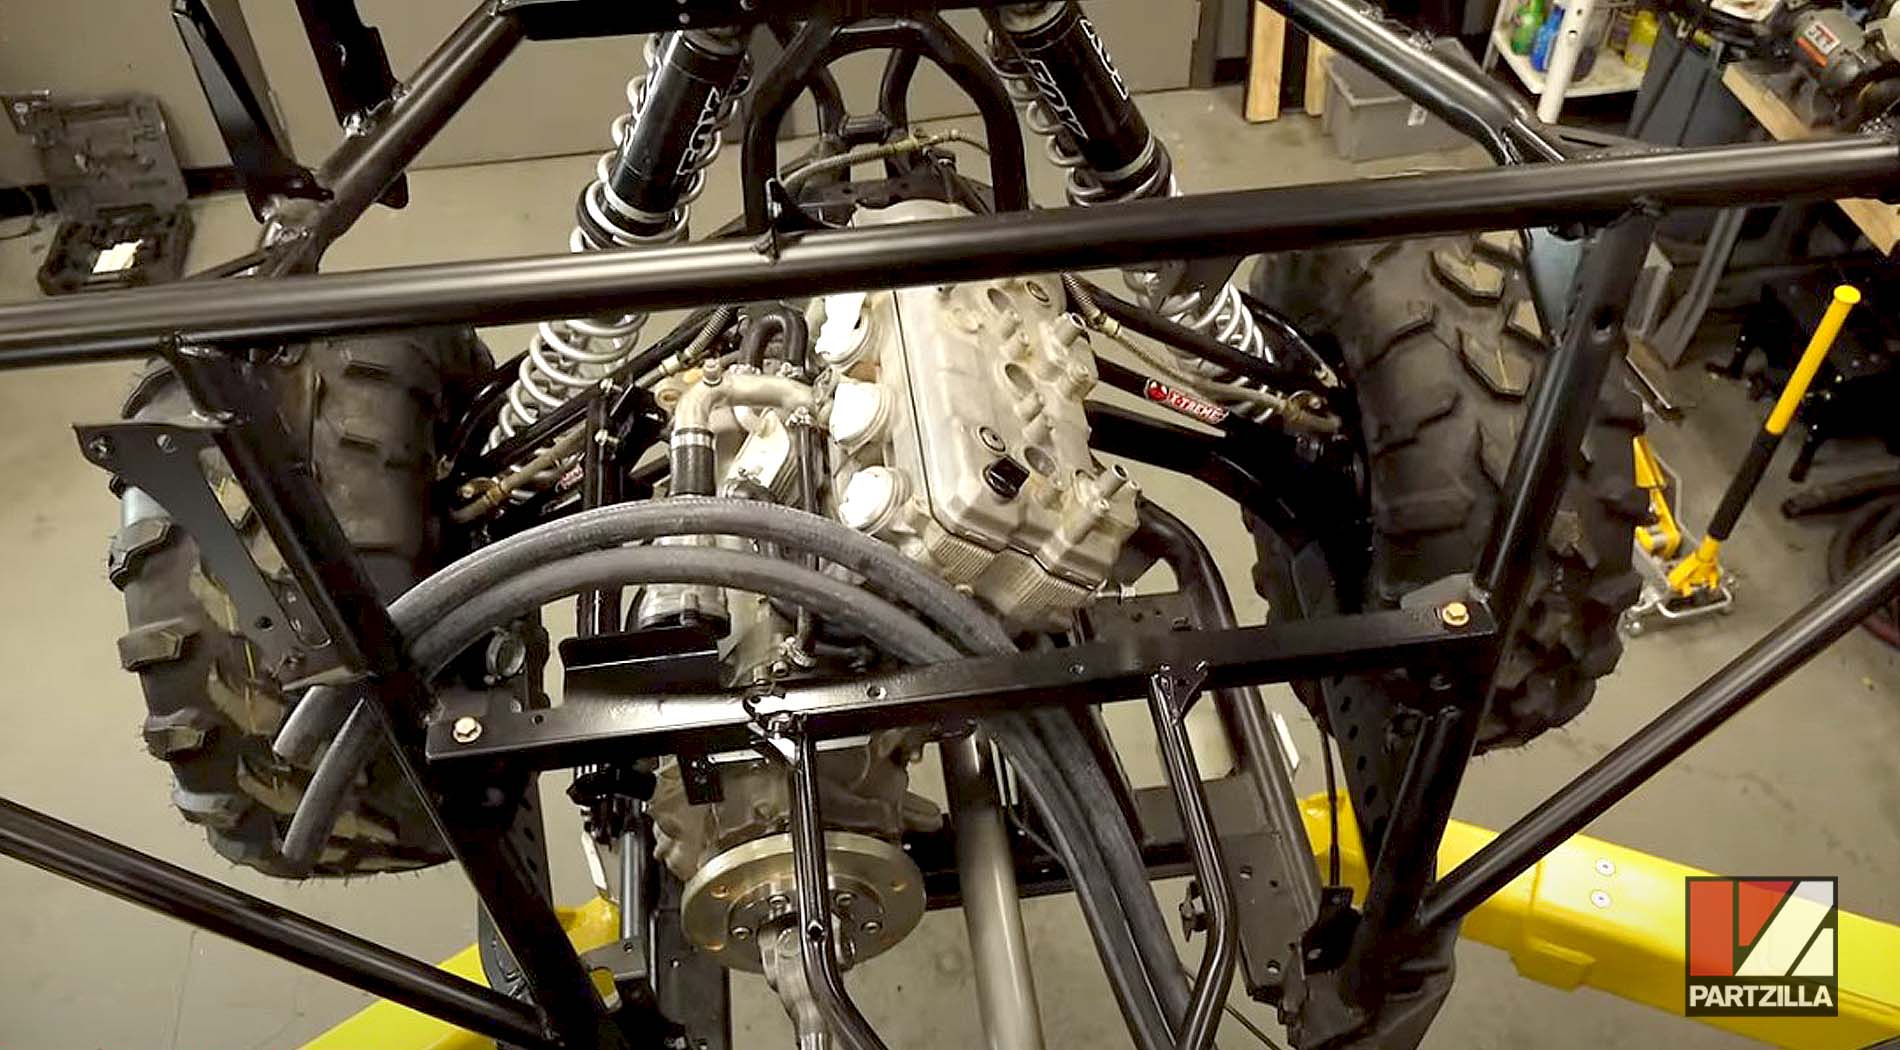
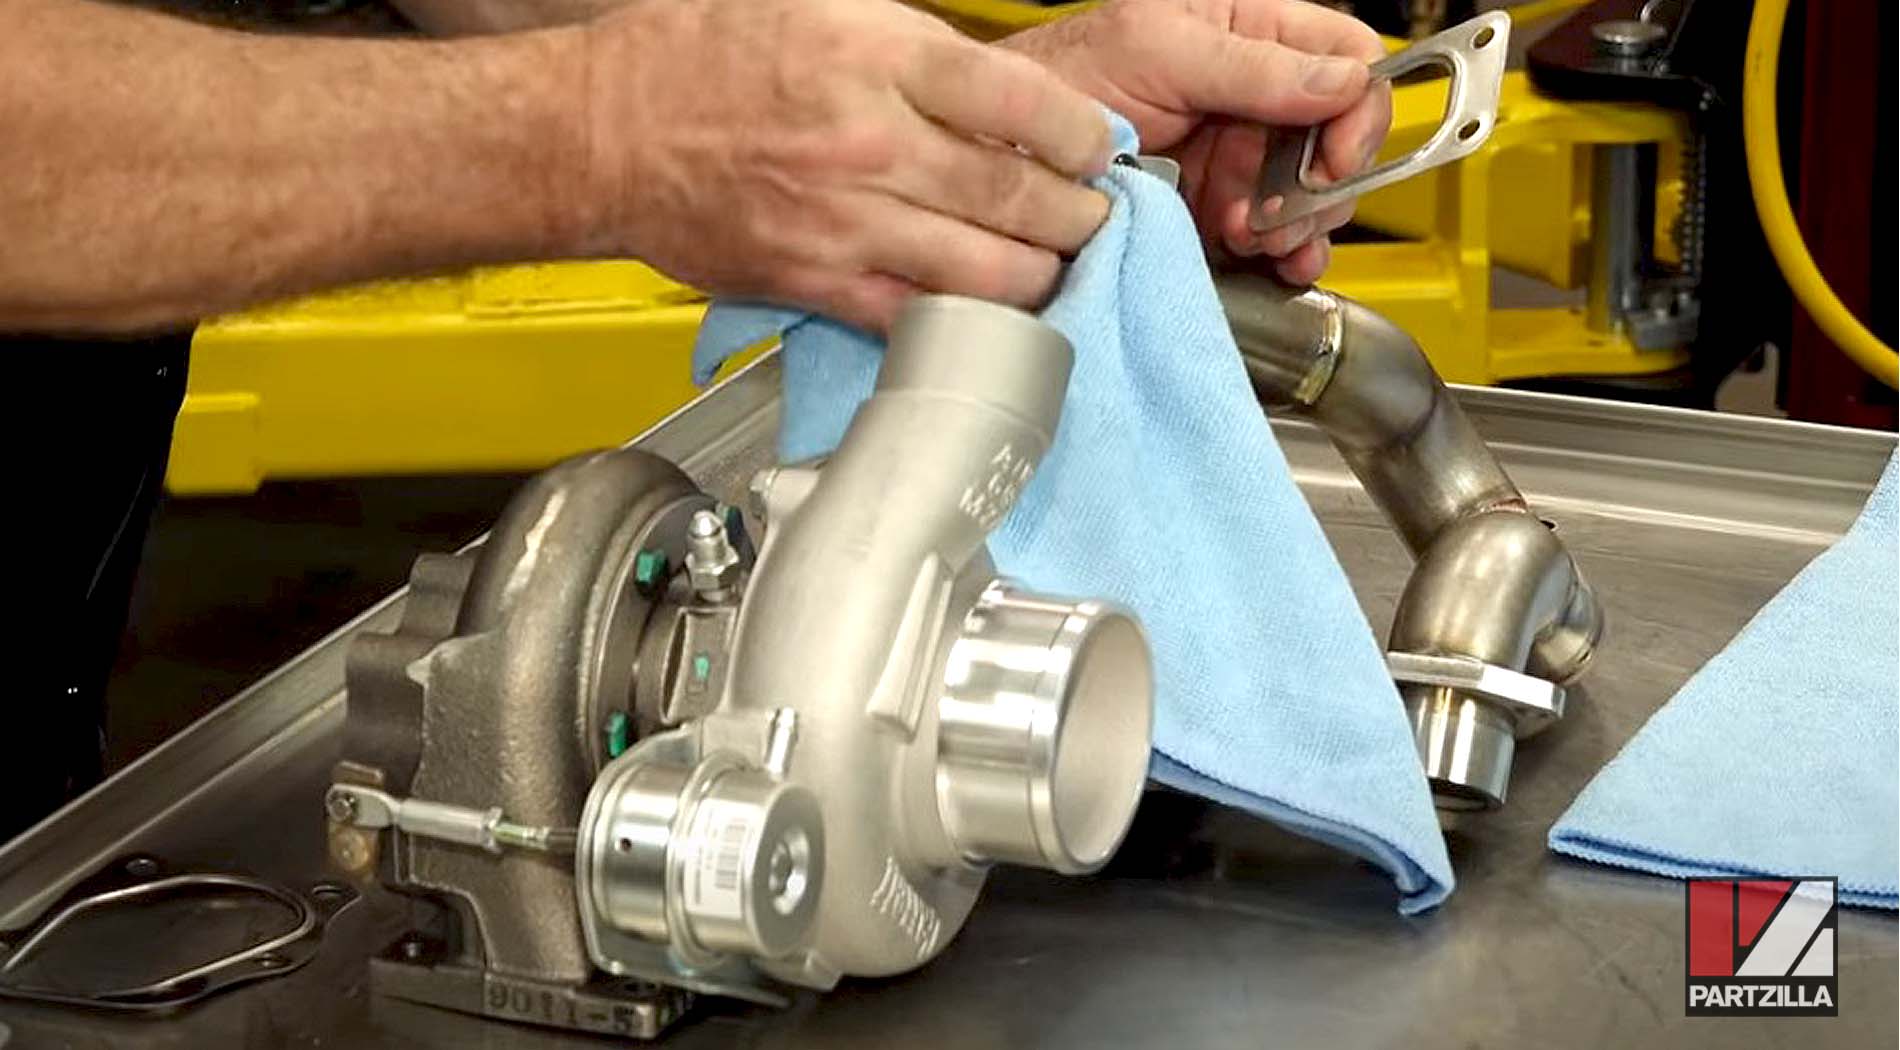
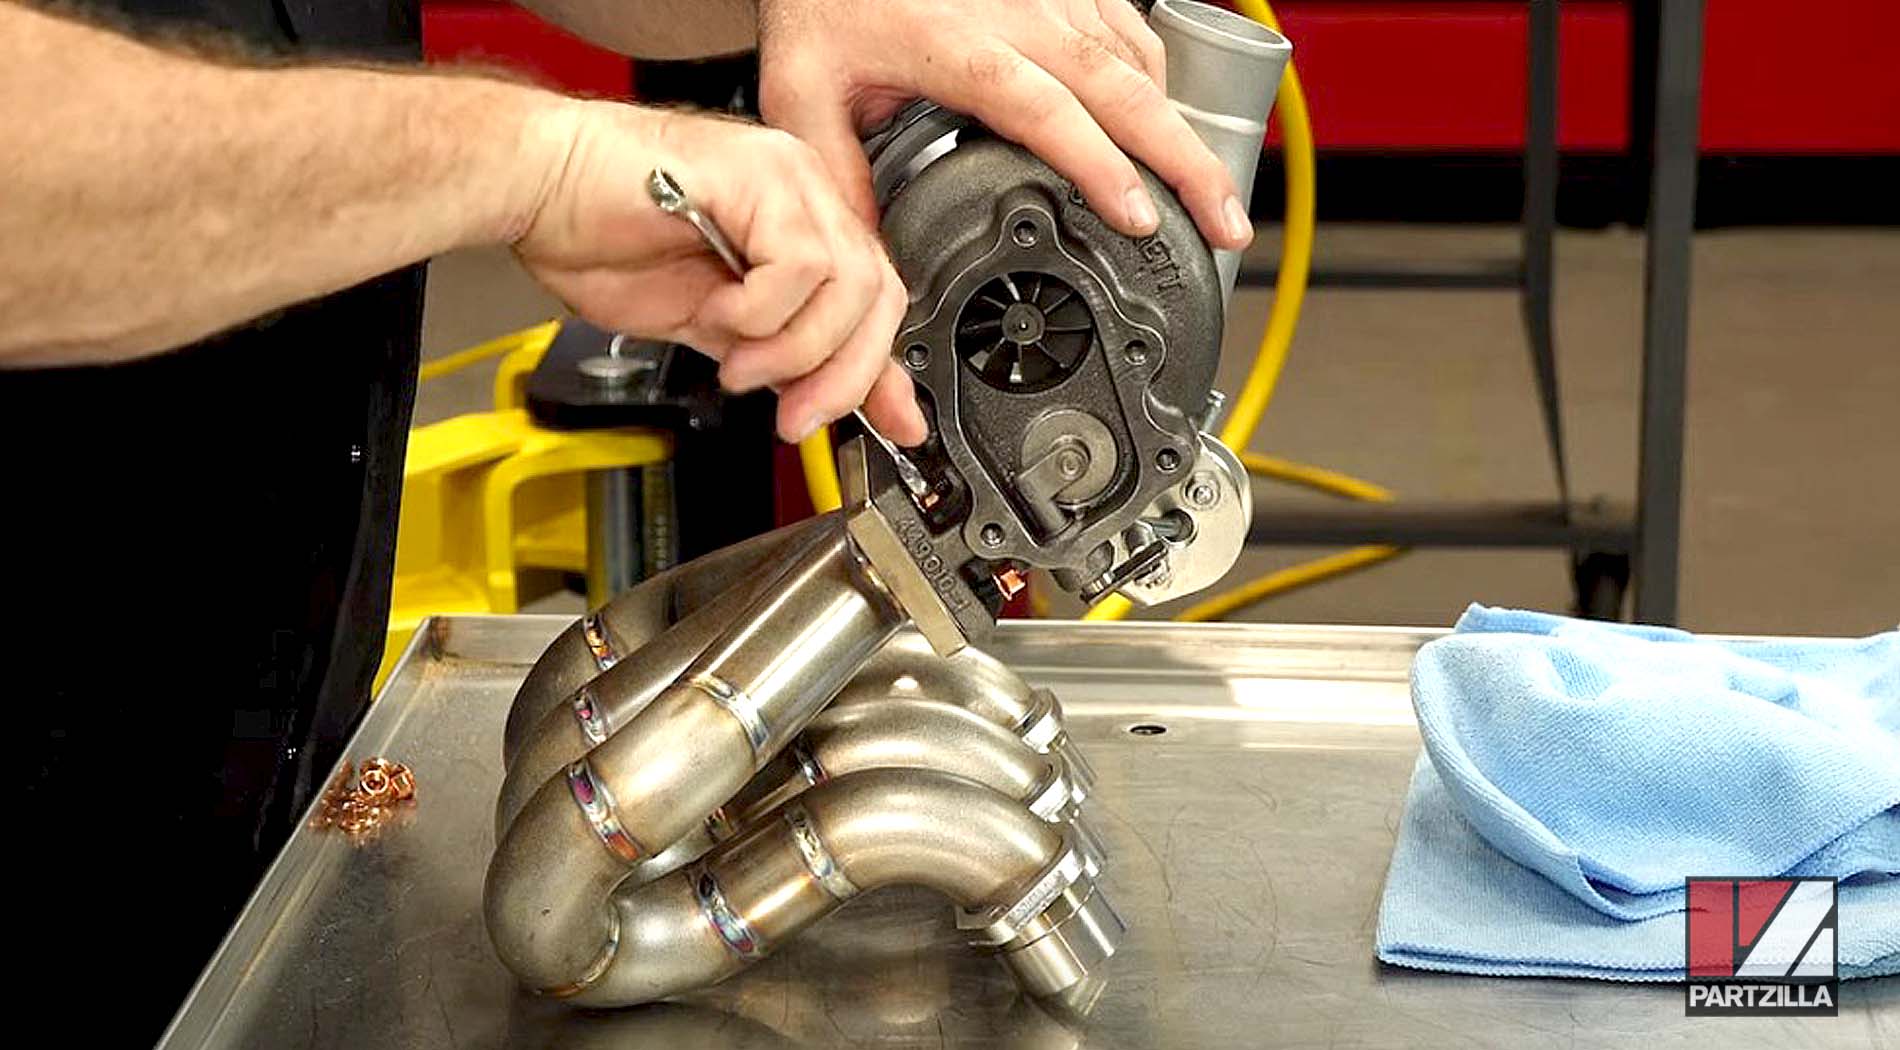
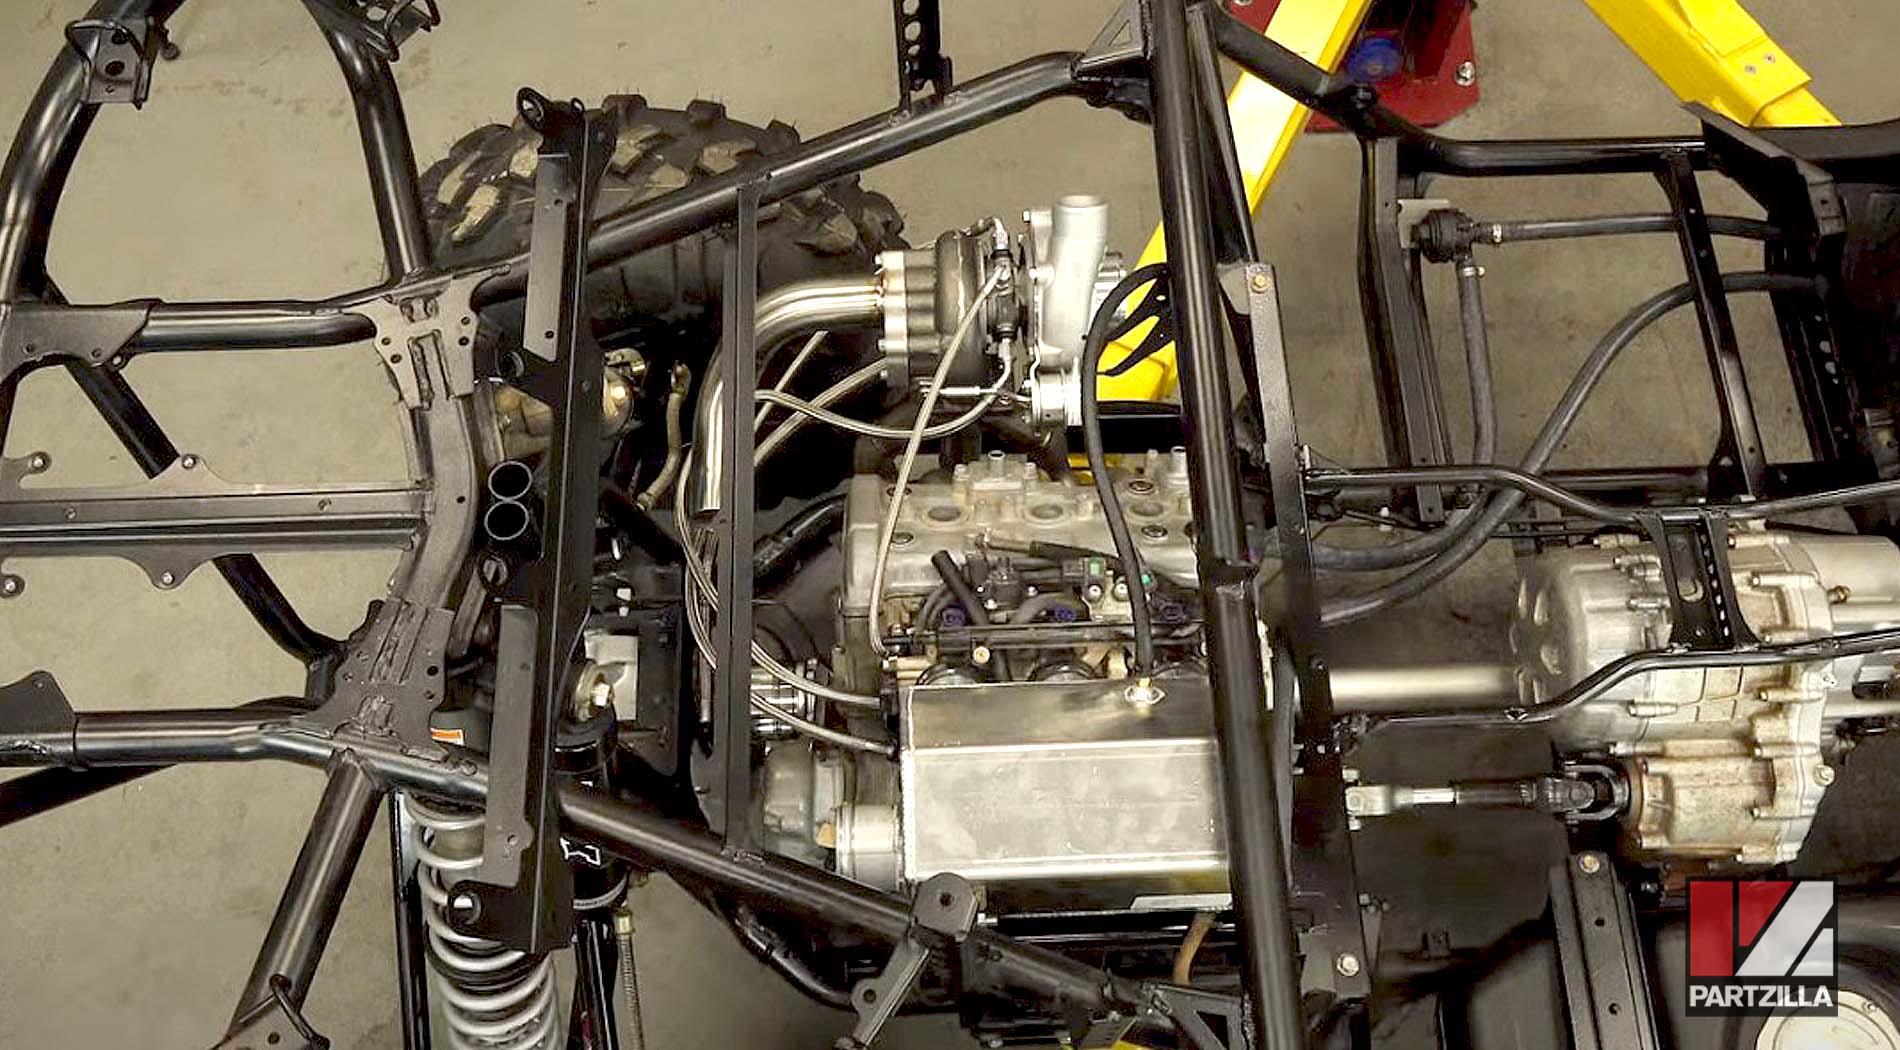
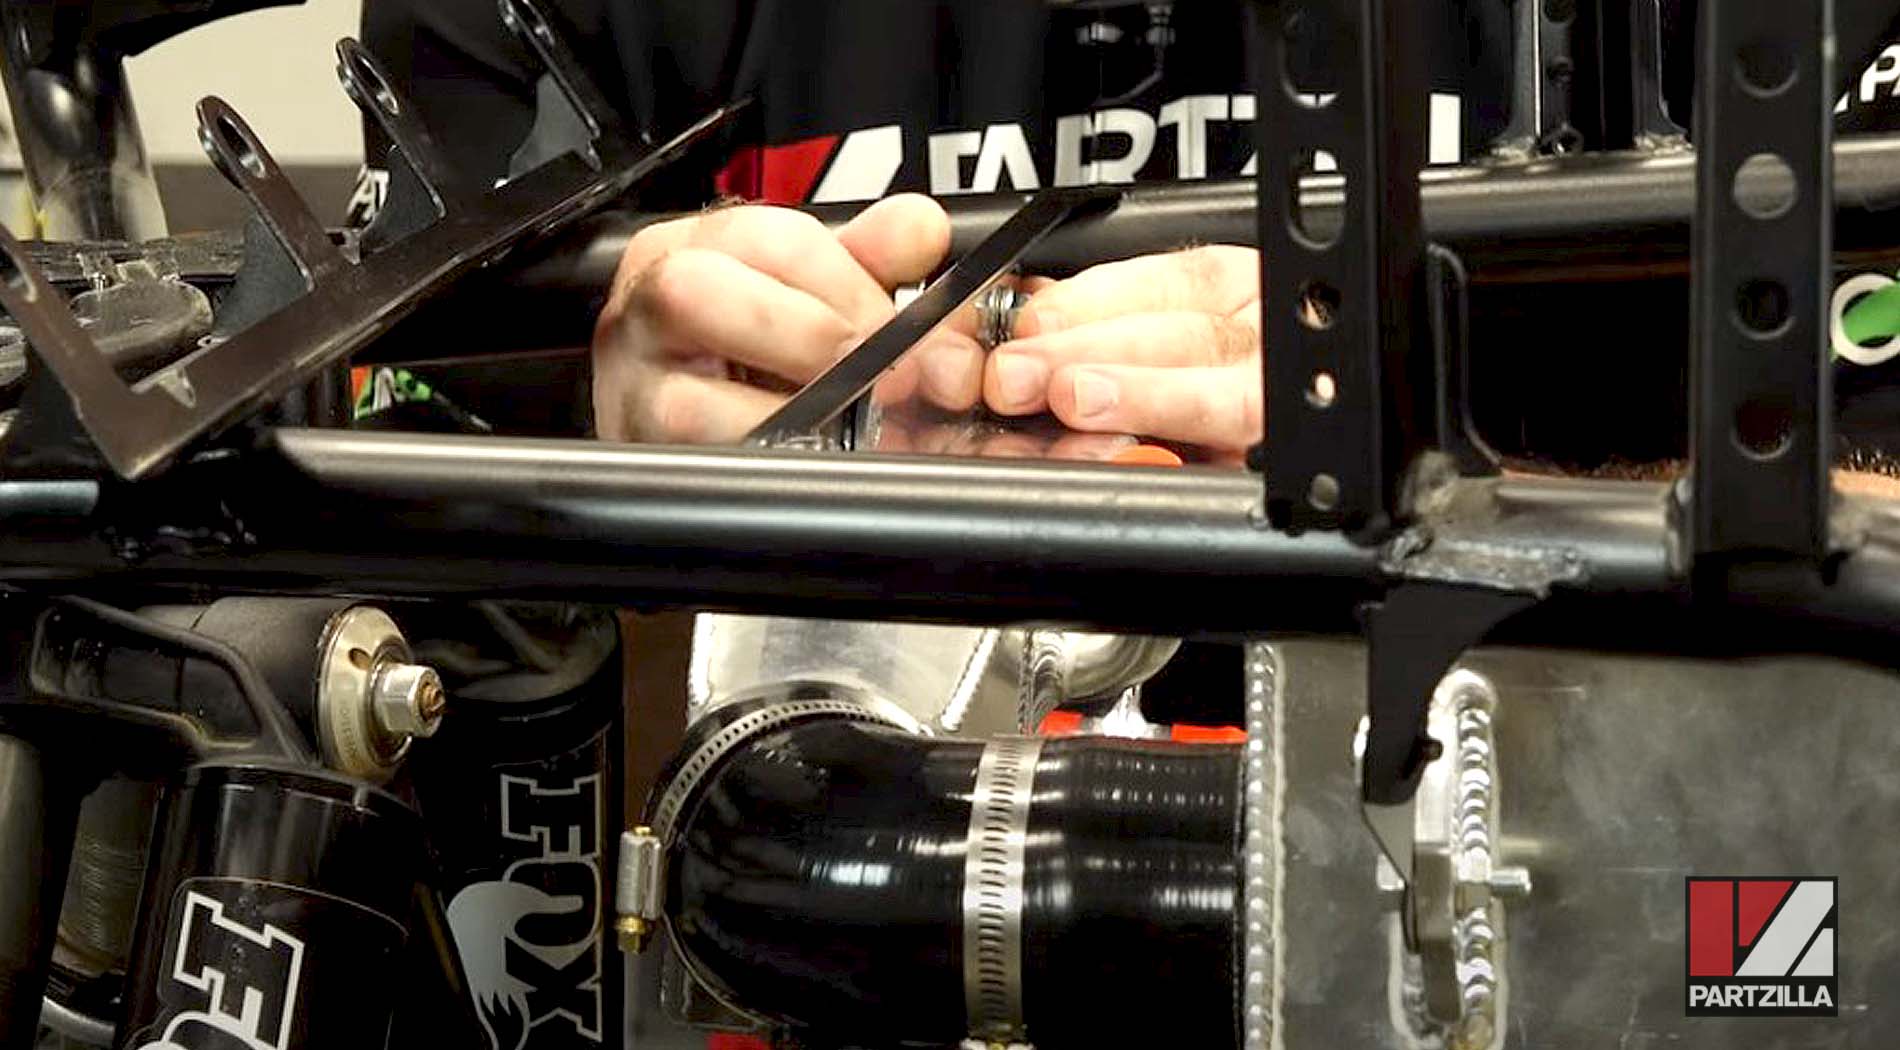
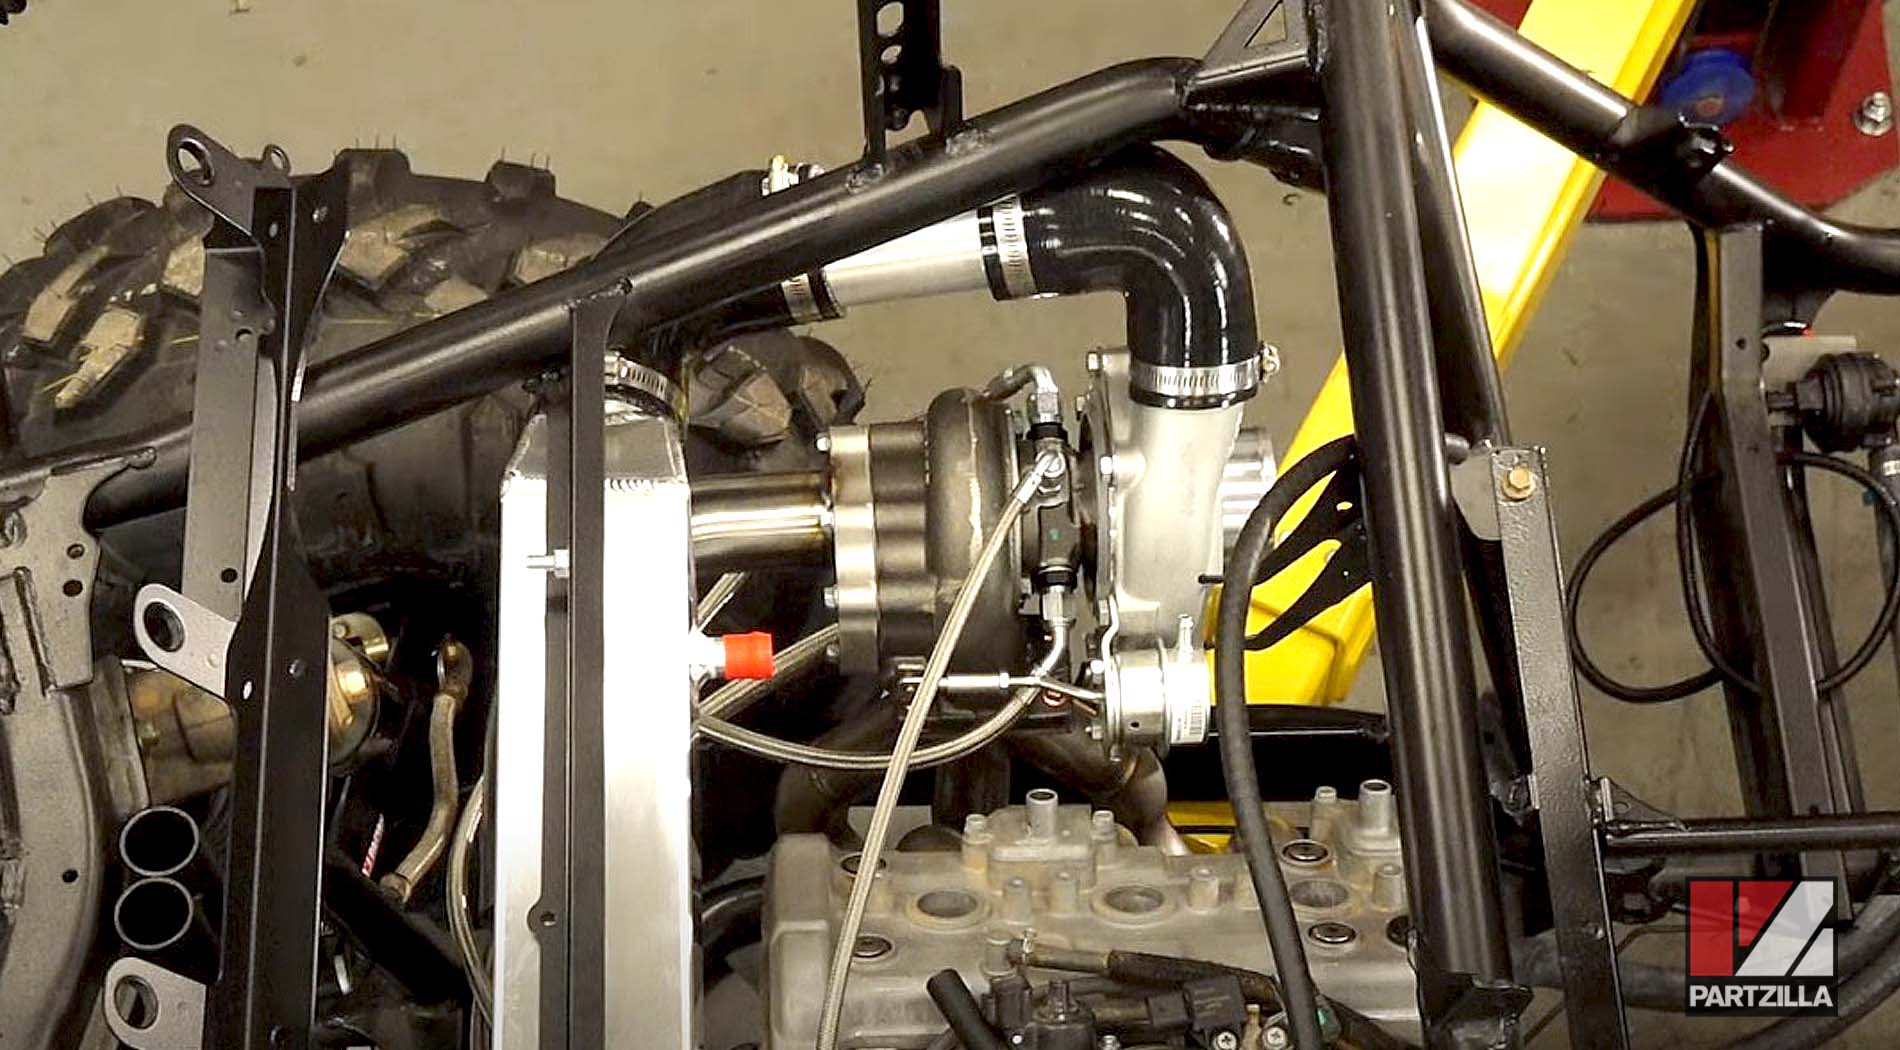
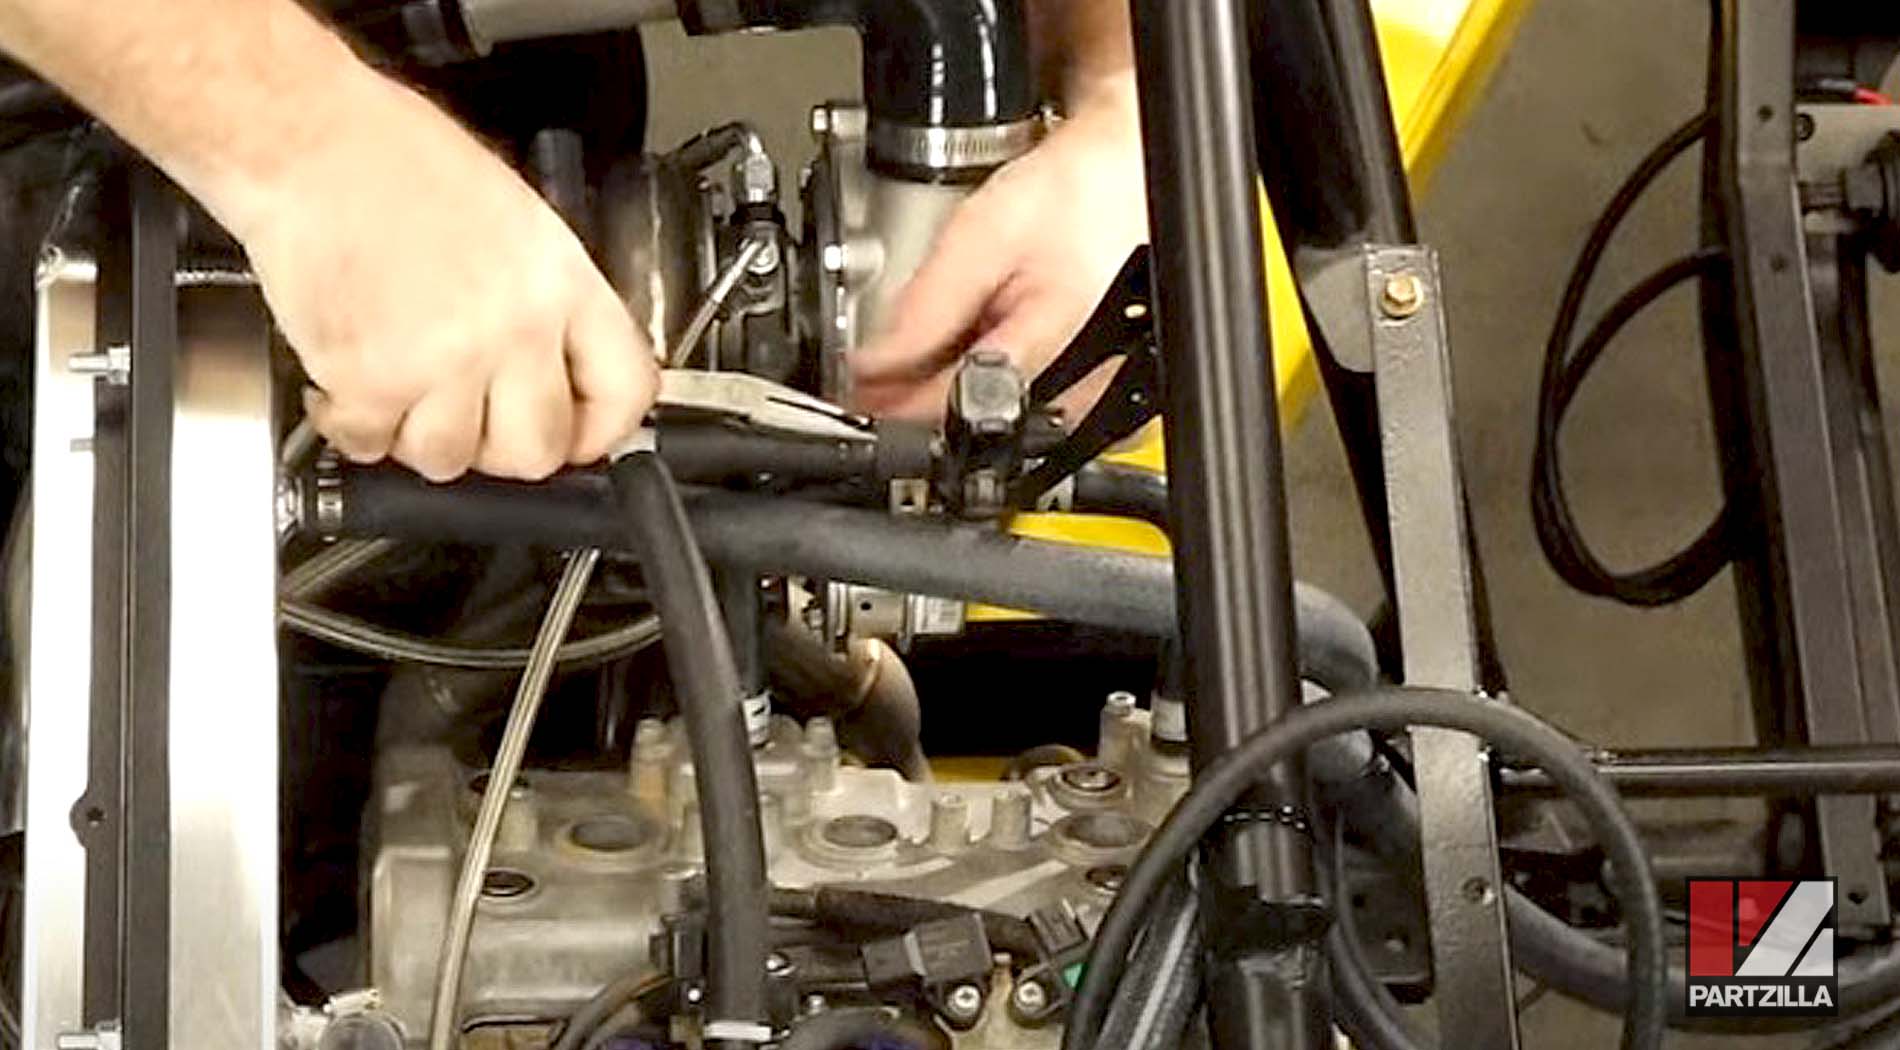
Yamaha YXZ1000R Turbo Upgrade: Turbo-Manifold Assembly & Installation
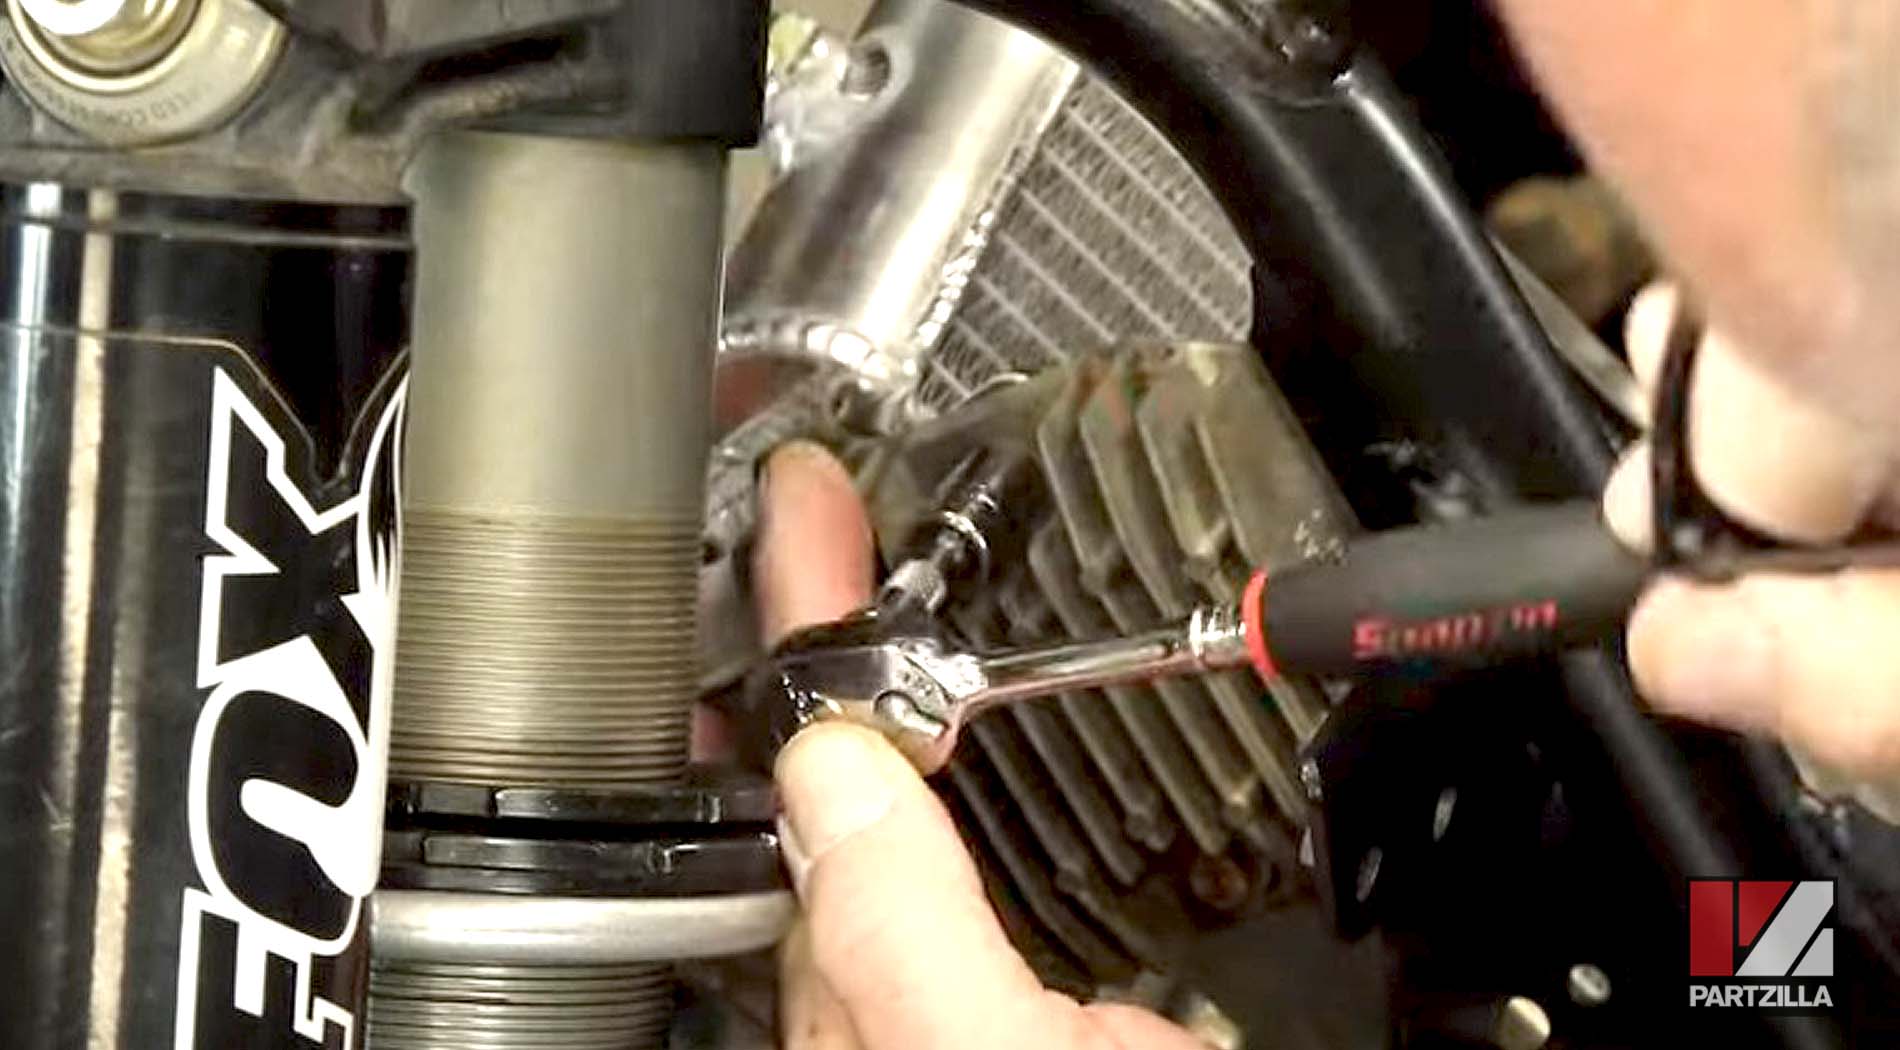
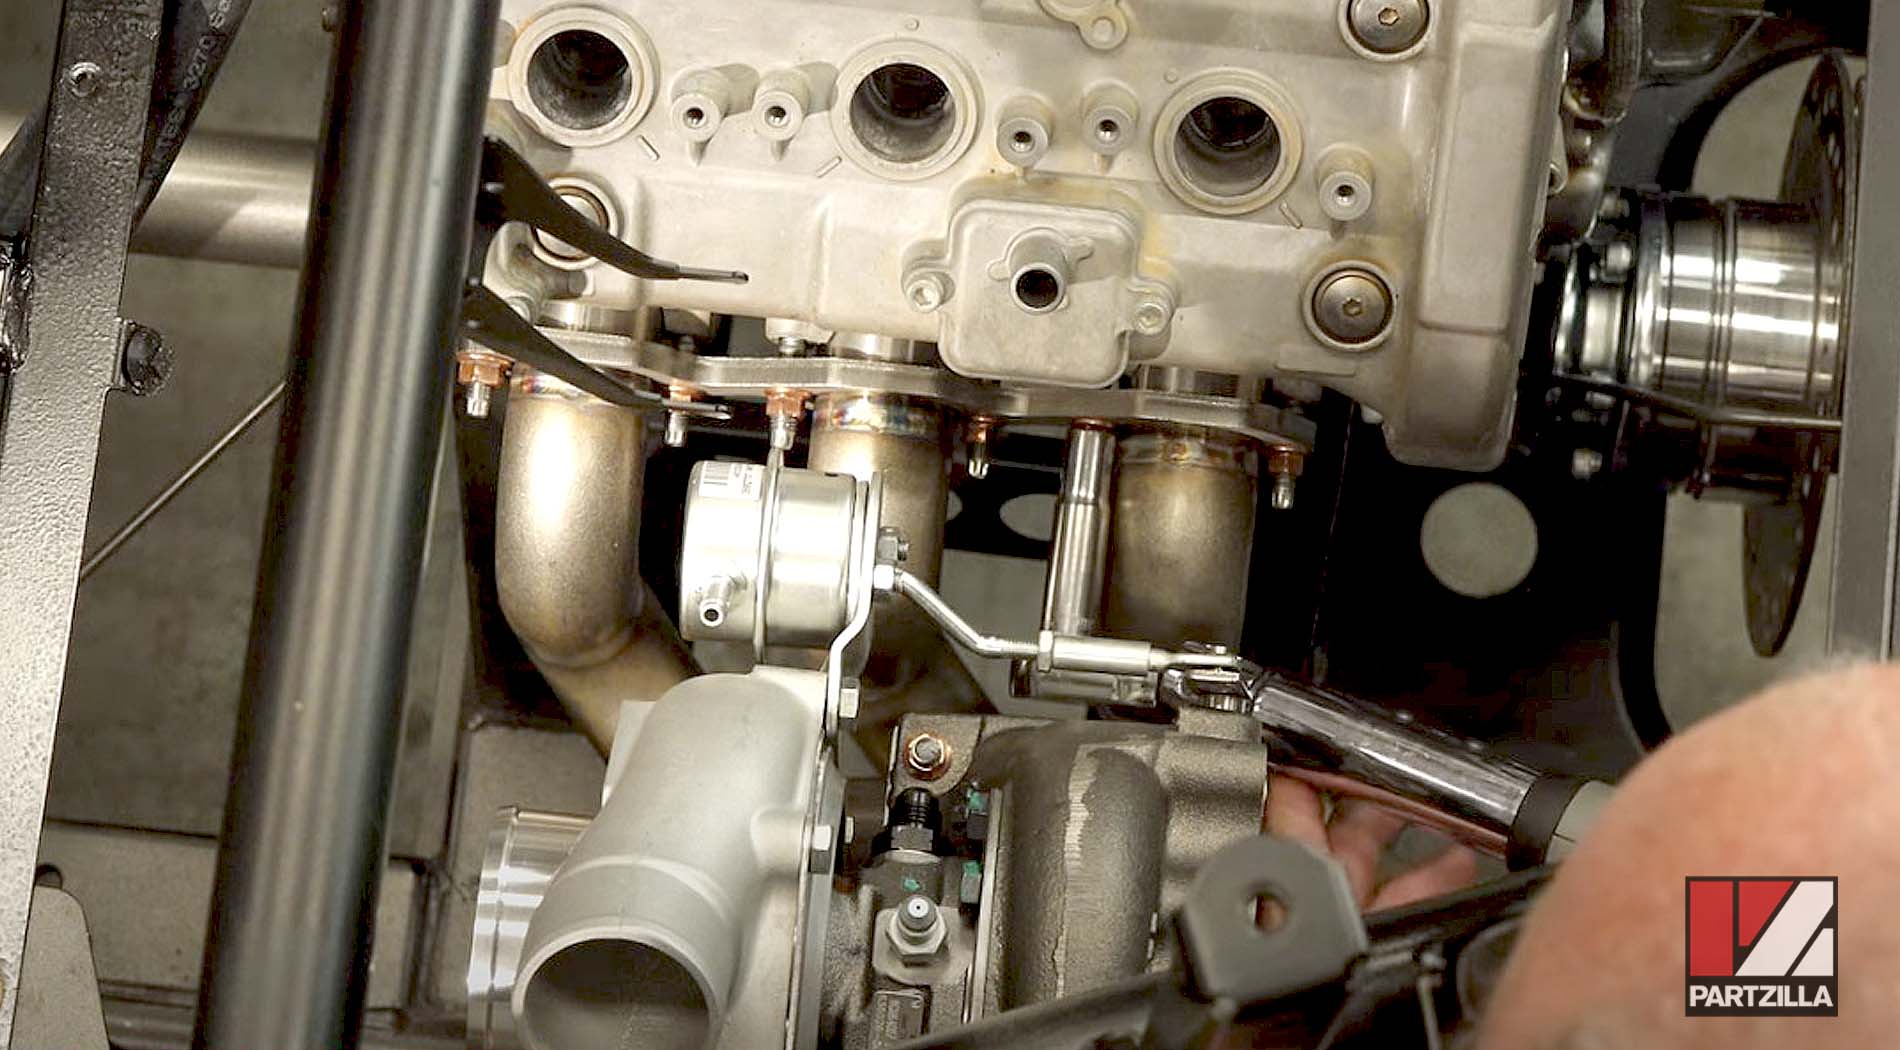
With our hoses in the general area where they’re going to end up, we turned our attention to mounting the turbo onto the intake manifold, before mounting it to the engine itself. First, we got our gasket in place, then joined both parts.
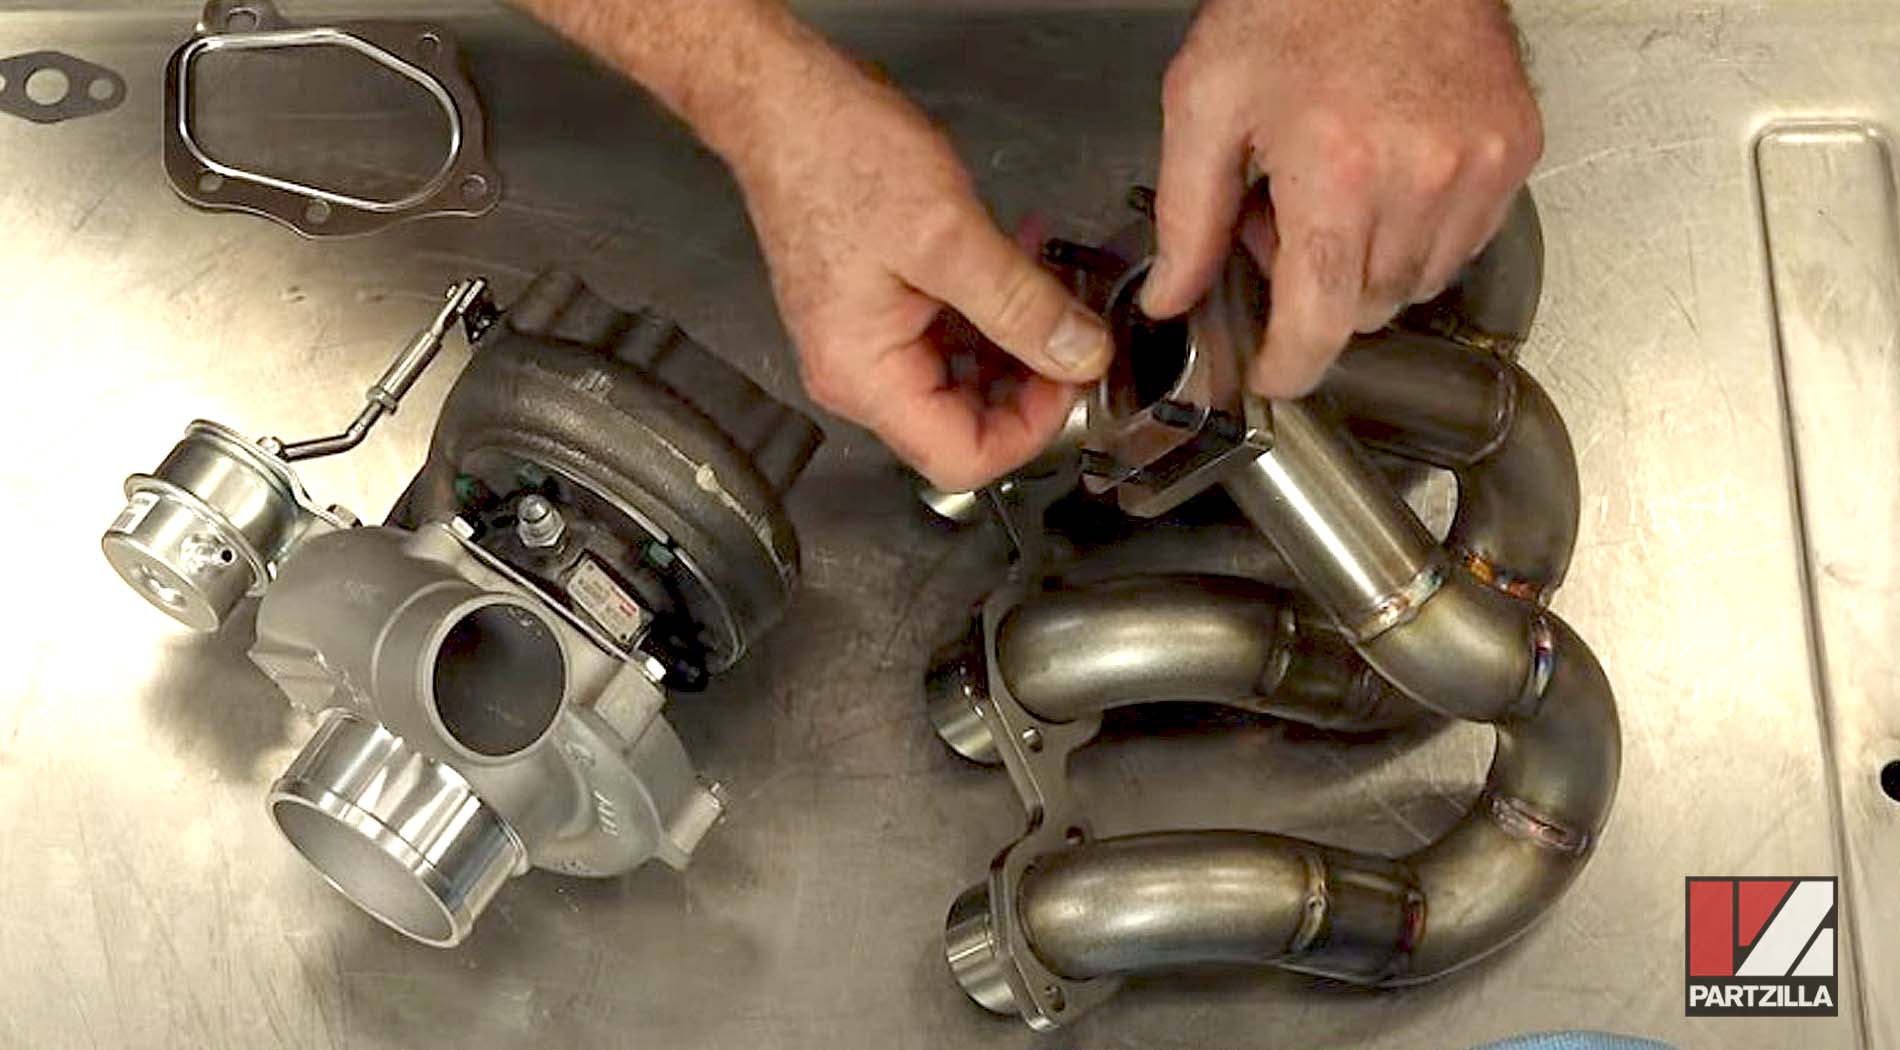
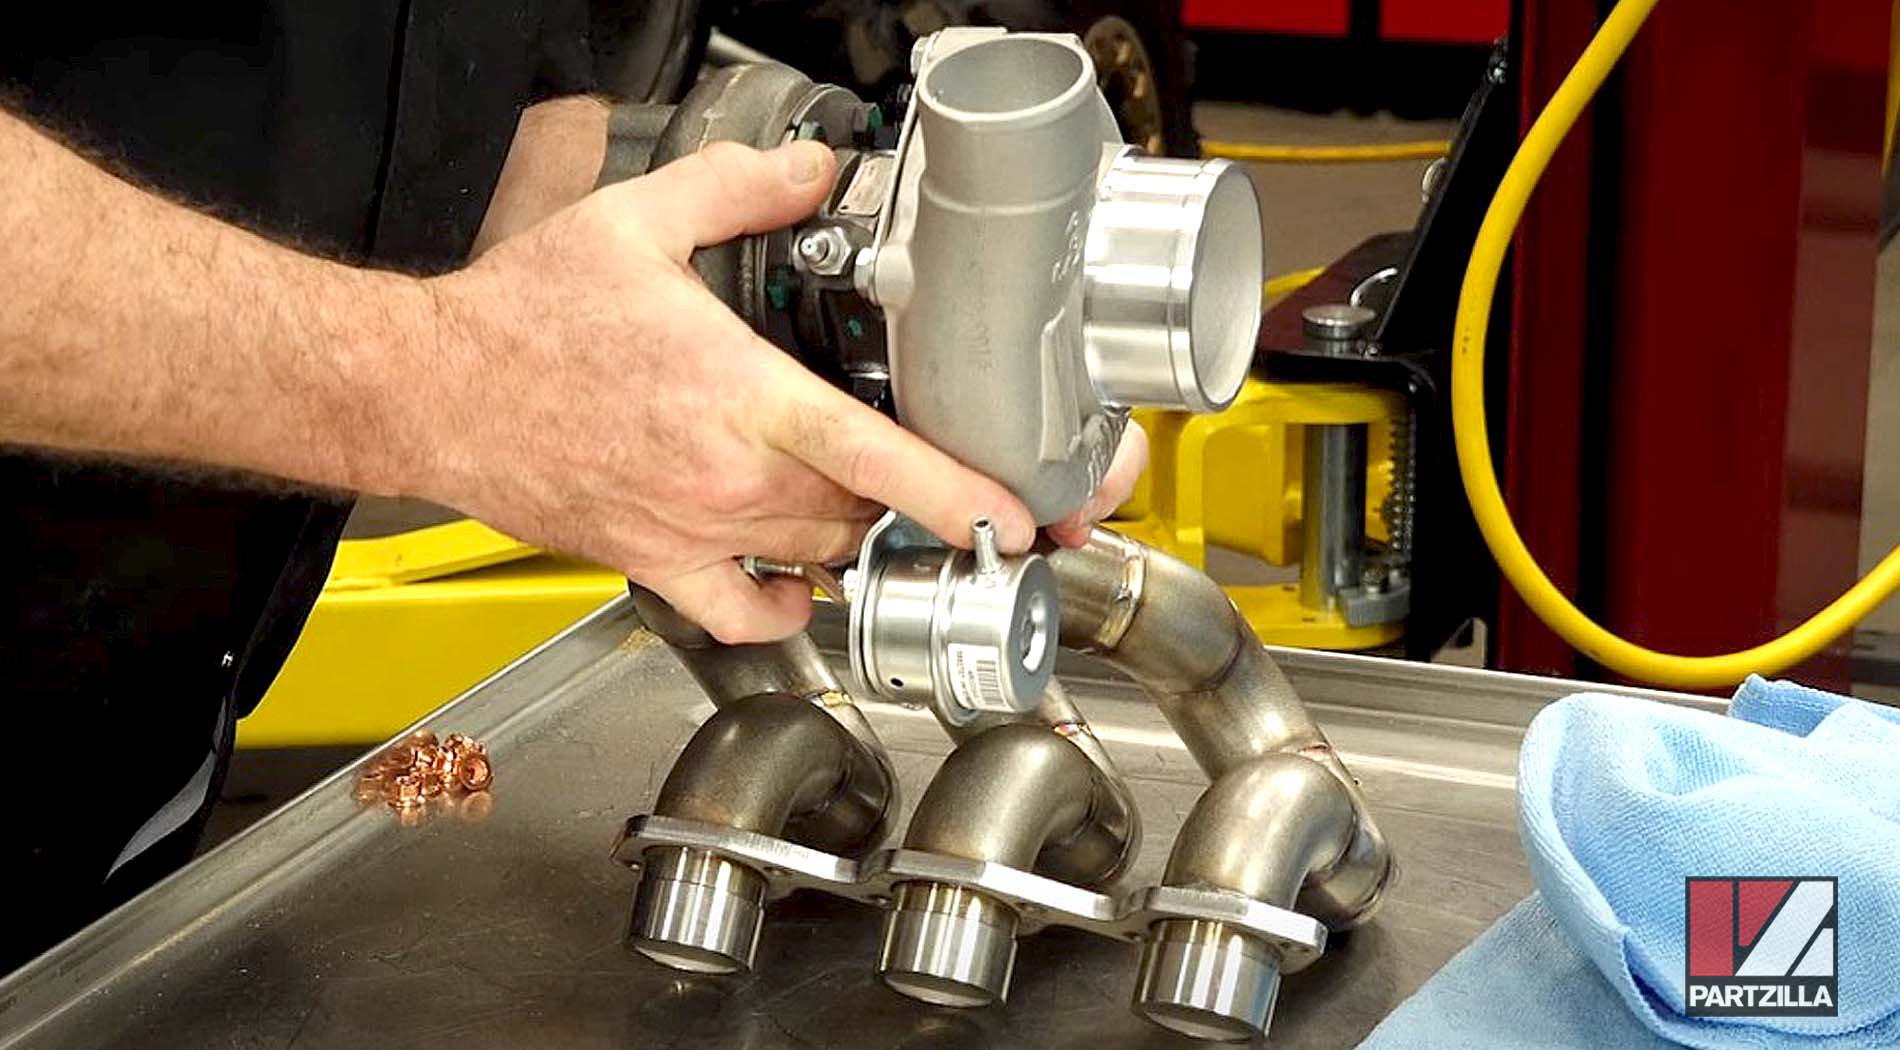
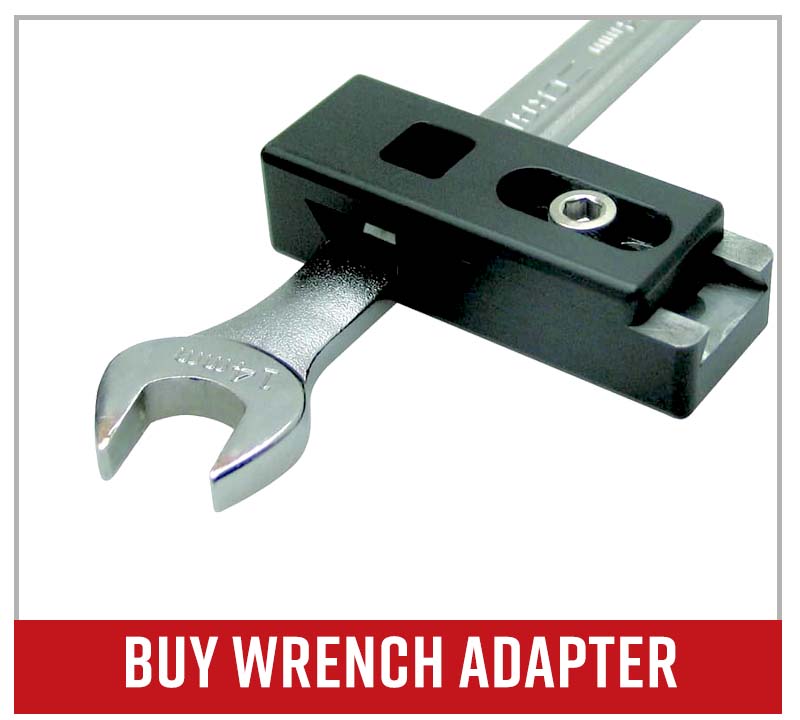
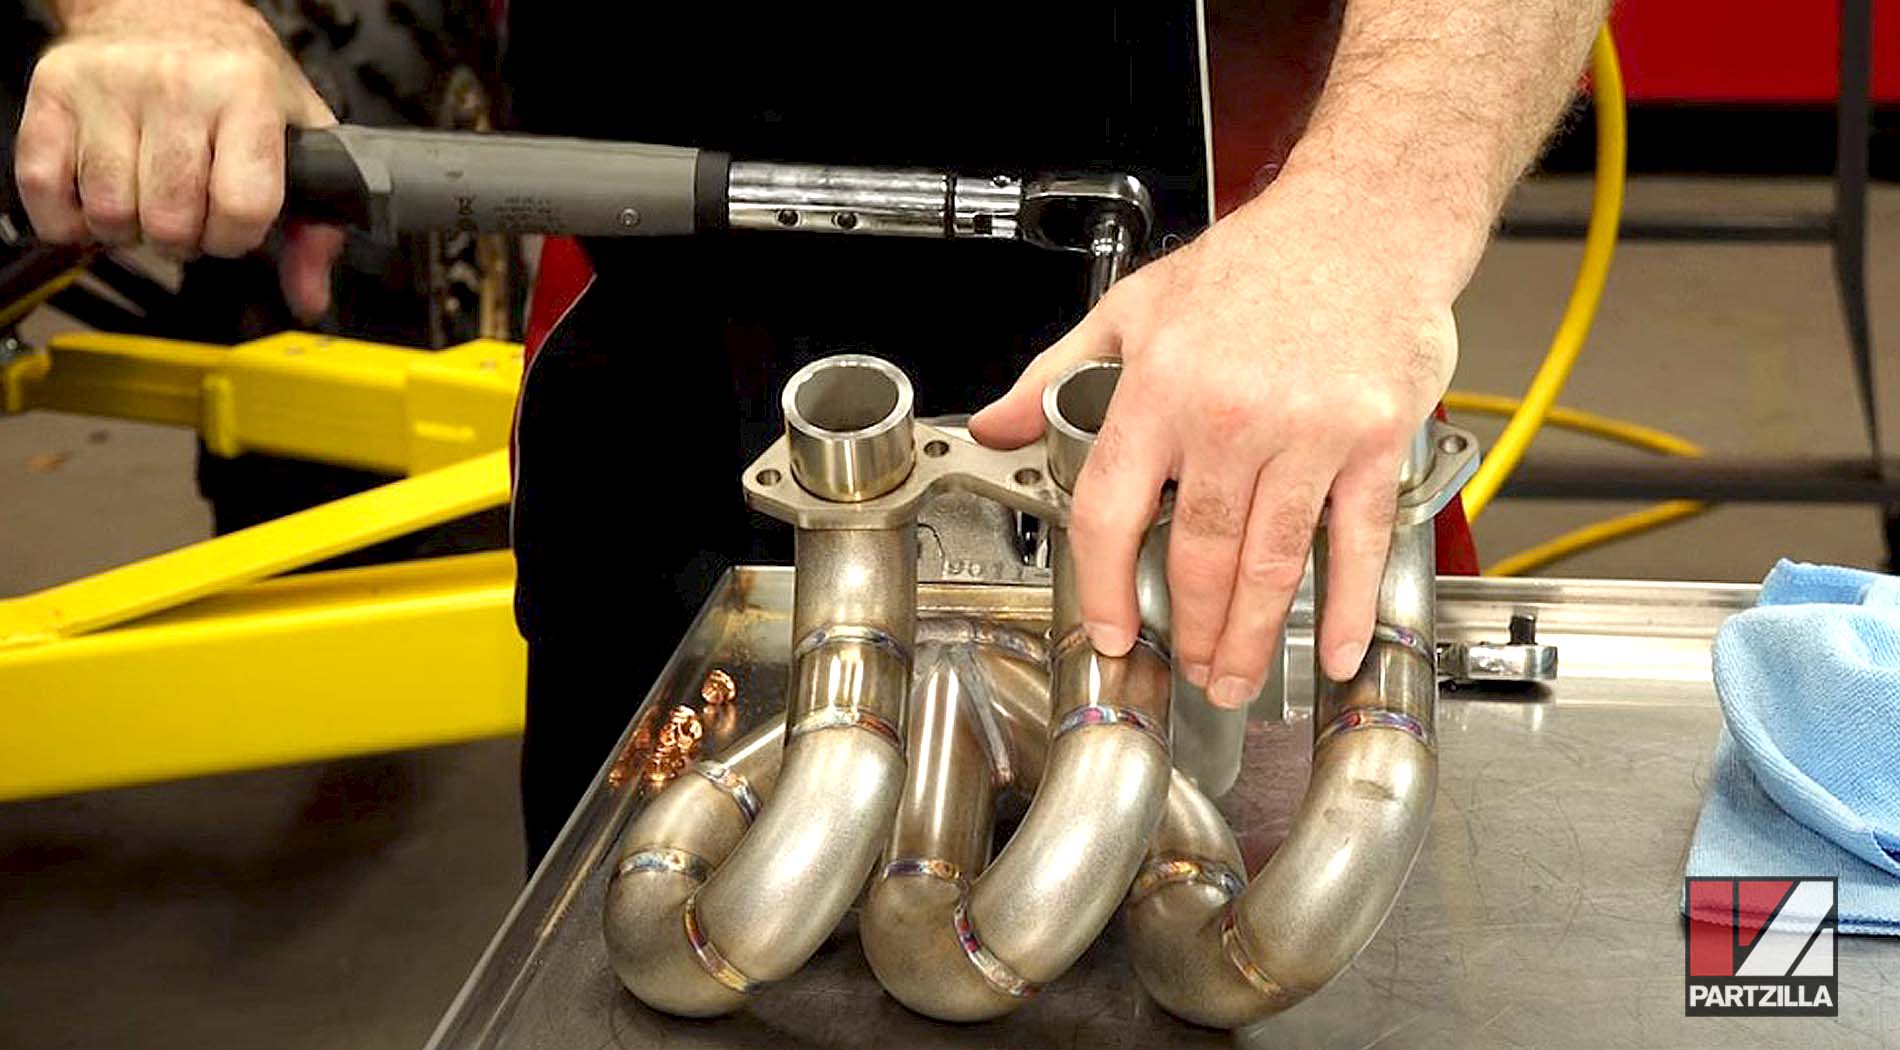
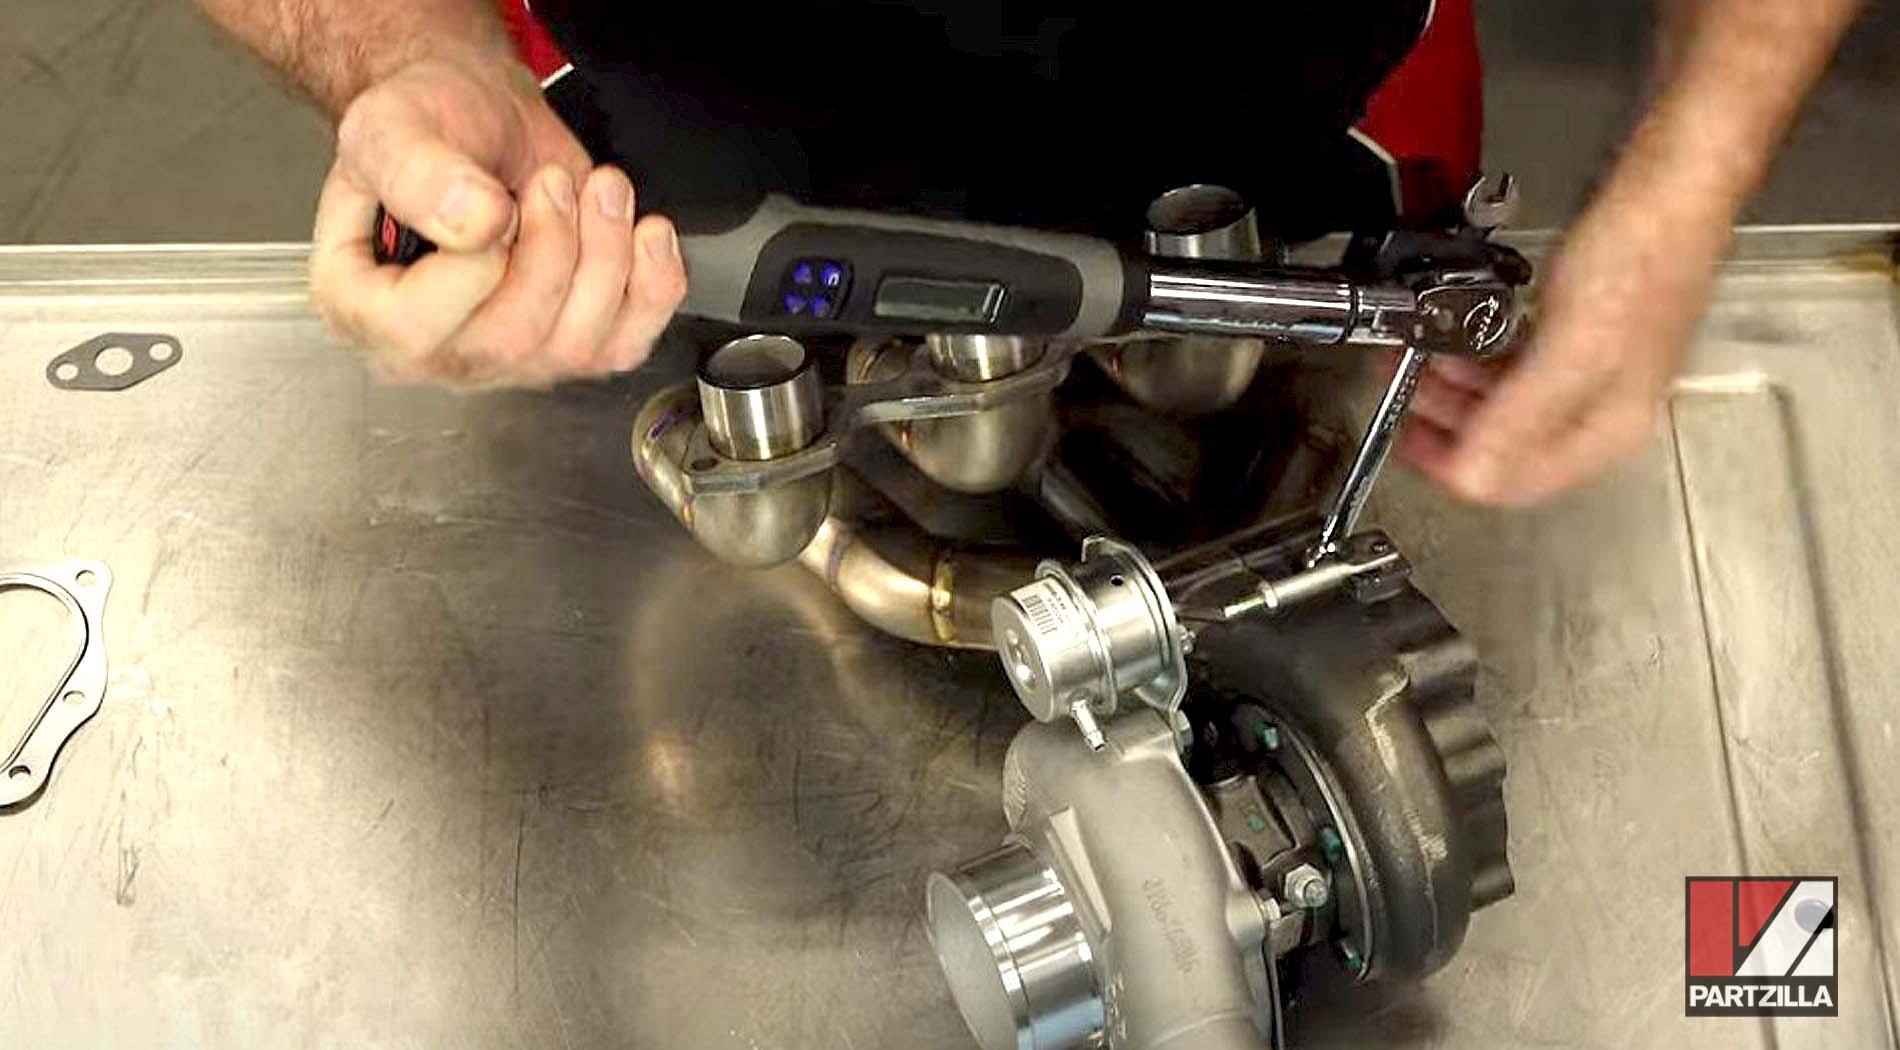
Next, we got everything snugged down — using a Motion Pro torque wrench adapter at 90 degrees so we could get a torque on the hard-to-reach bolts — to 18 foot-pounds, making a couple of passes just to make sure everything all four bolts are seated correctly.
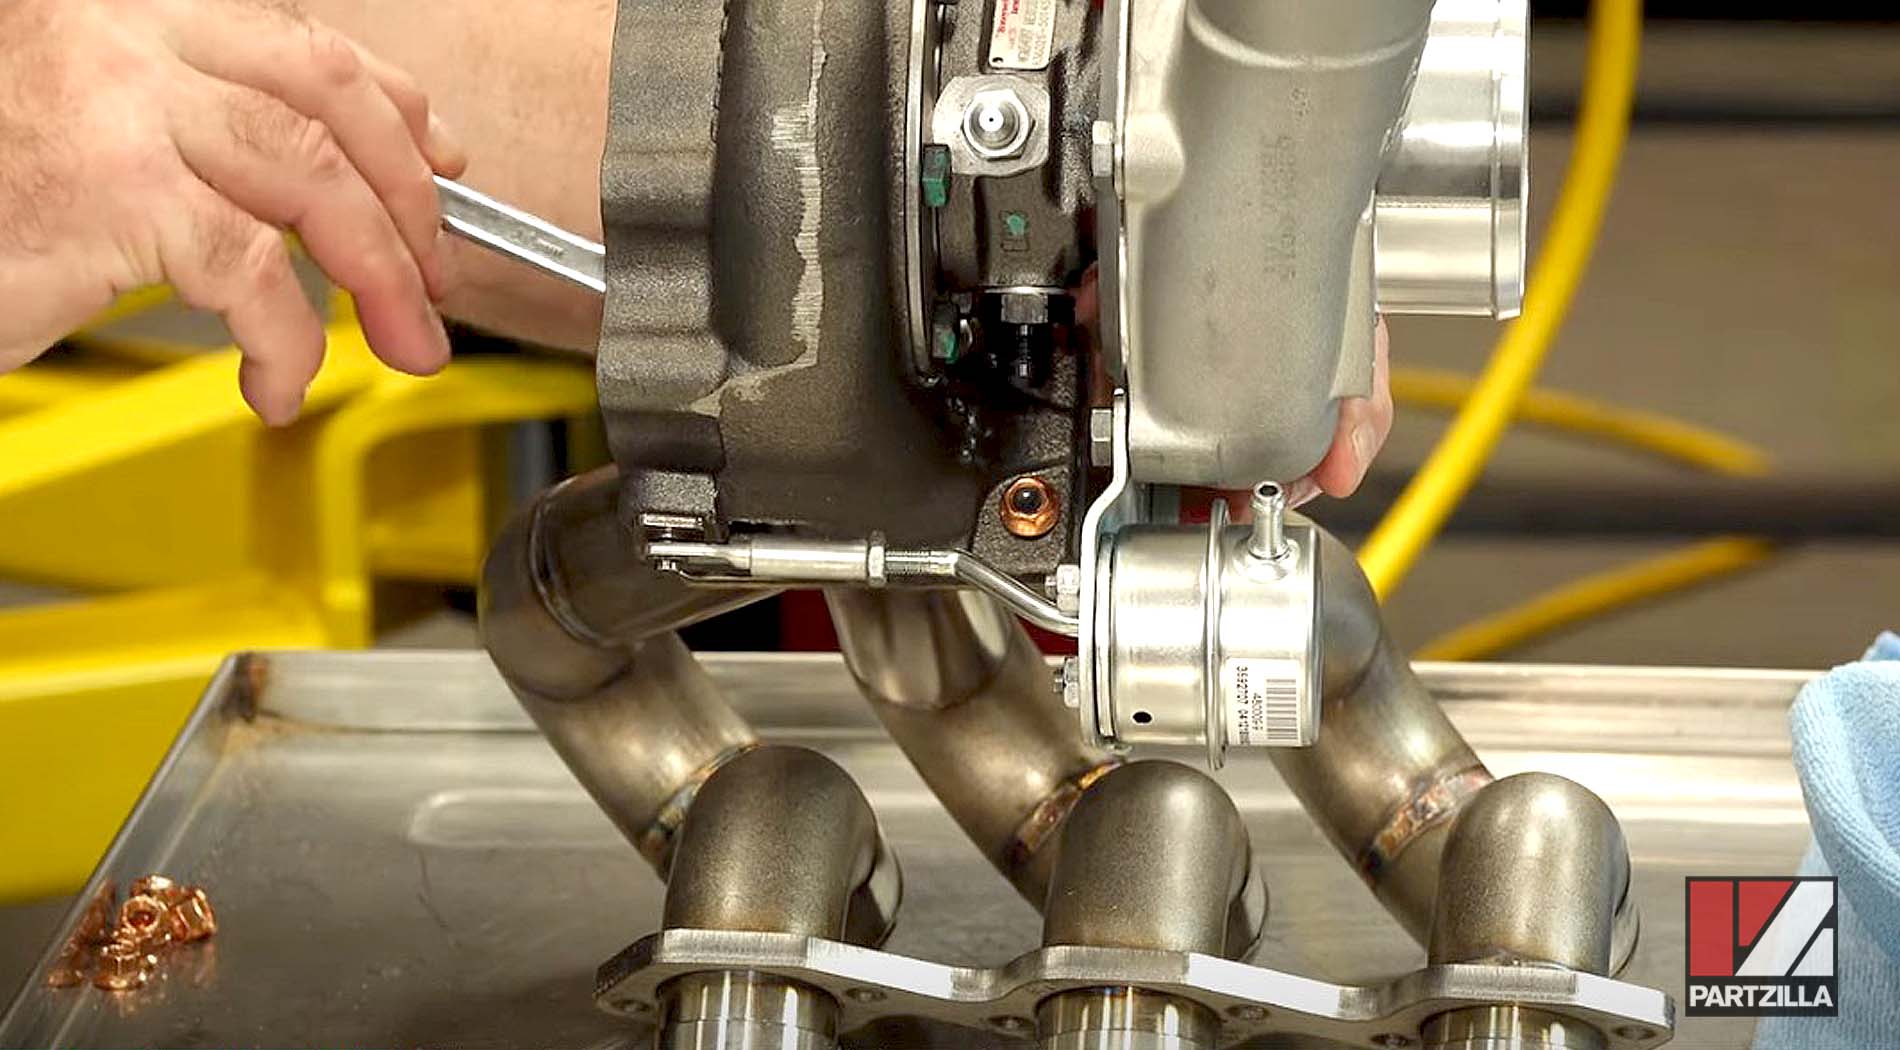
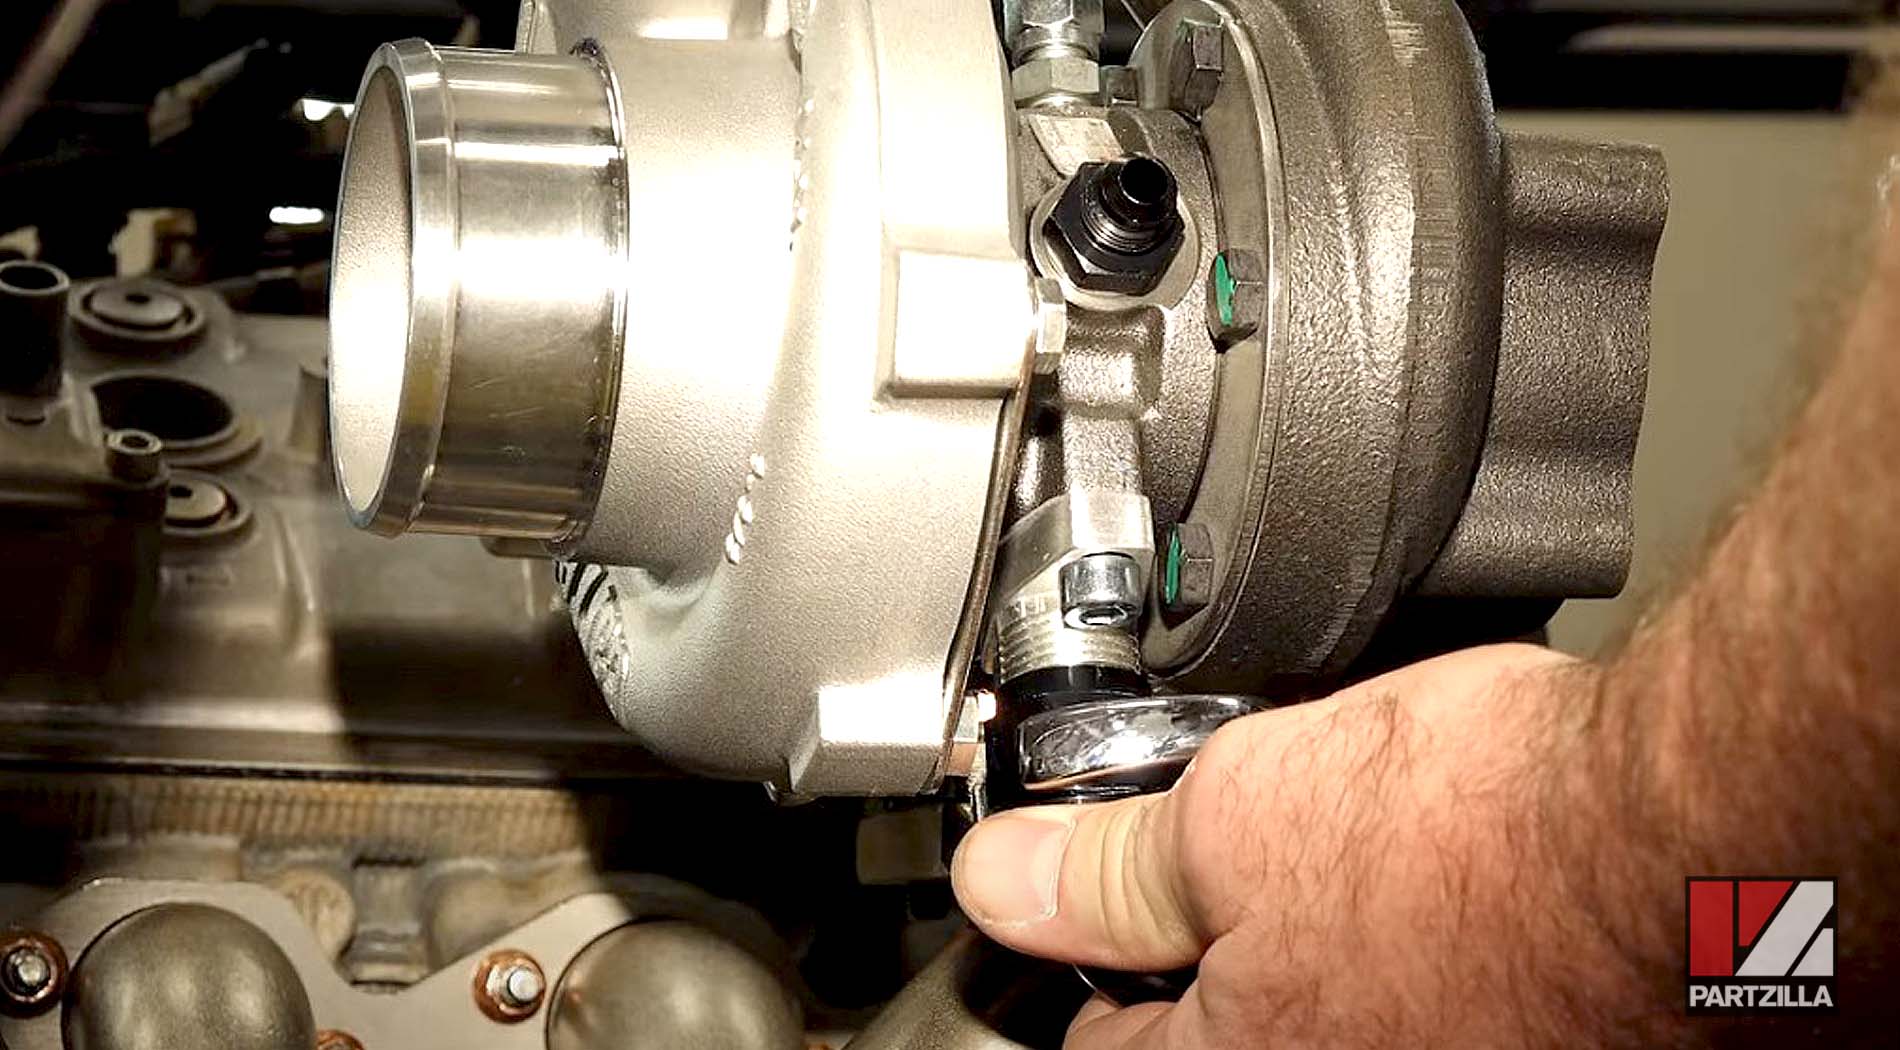
Next, we installed the turbo and manifold onto the machine by first prepping the studs with a high-temperature anti-seize spray. Then, we put in the exhaust gaskets and brought the unit up into position.
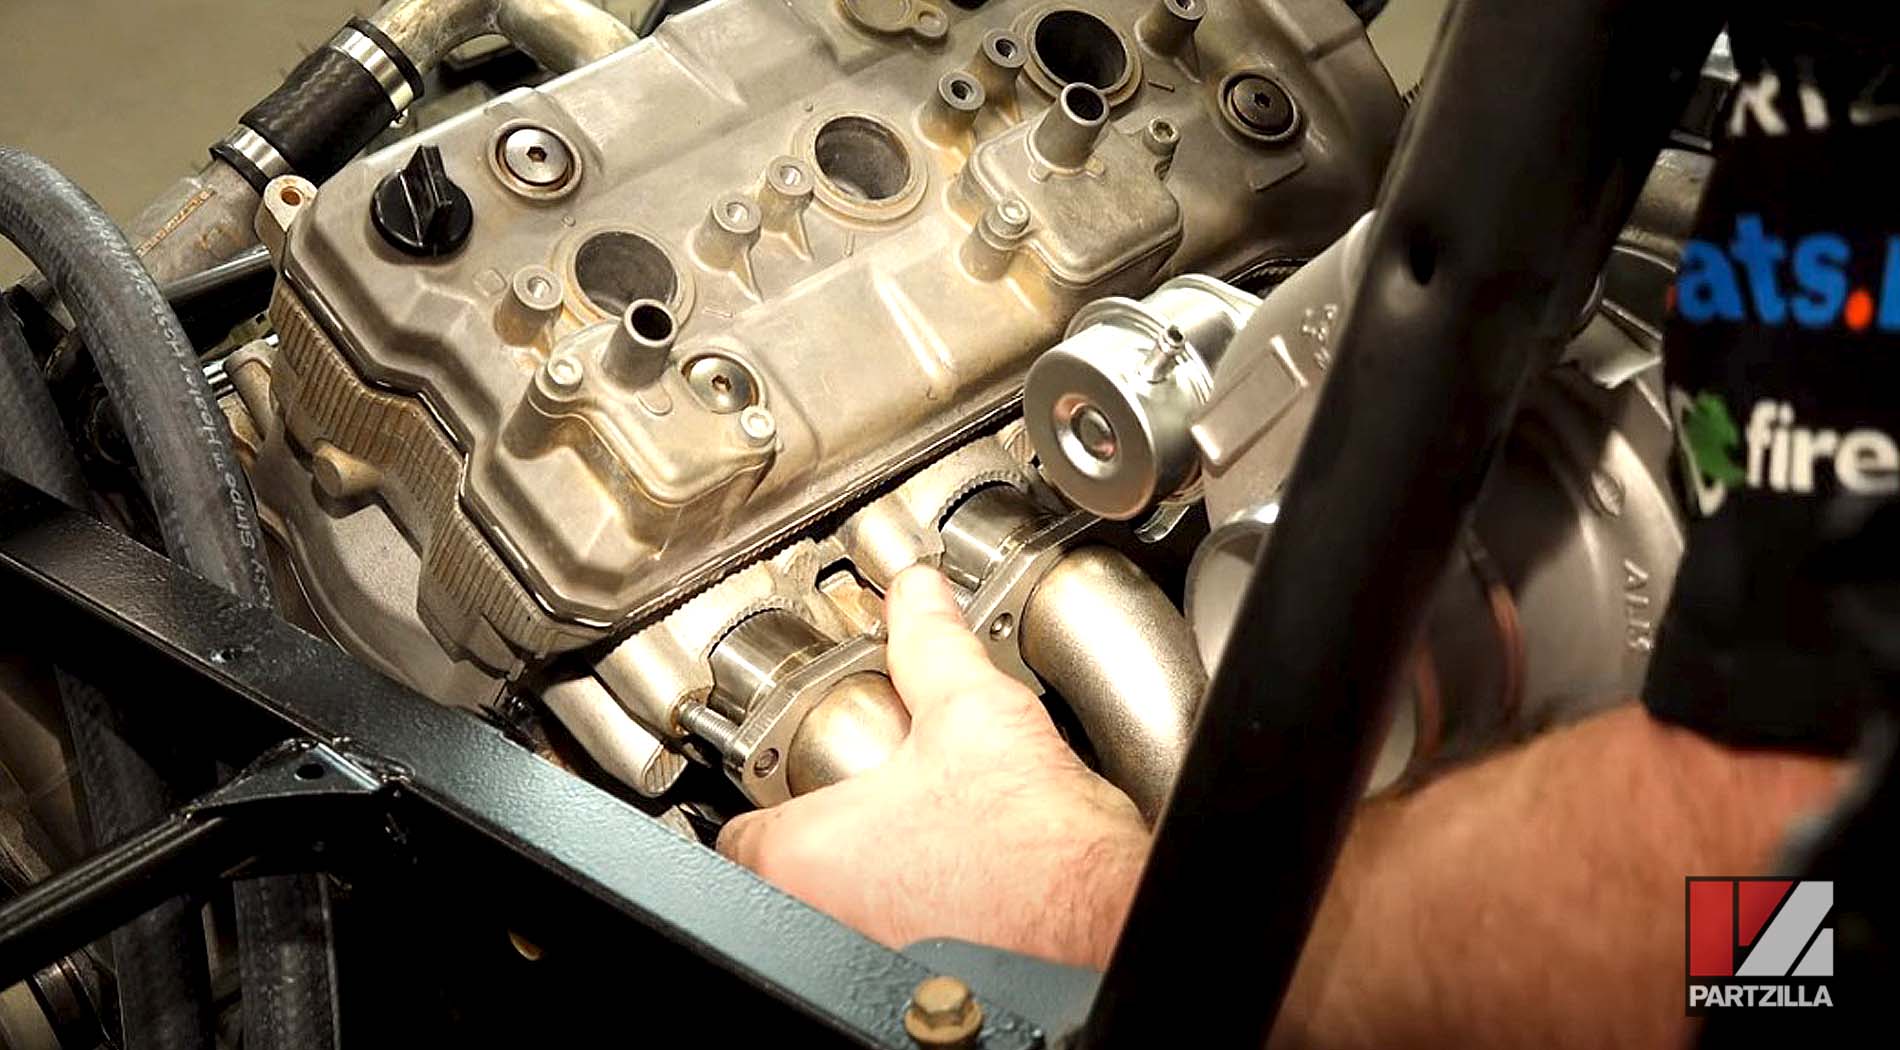
As we worked the bolts down, we went back and forth a few times before everything got compressed into place and torqued down to 14 foot-pounds.
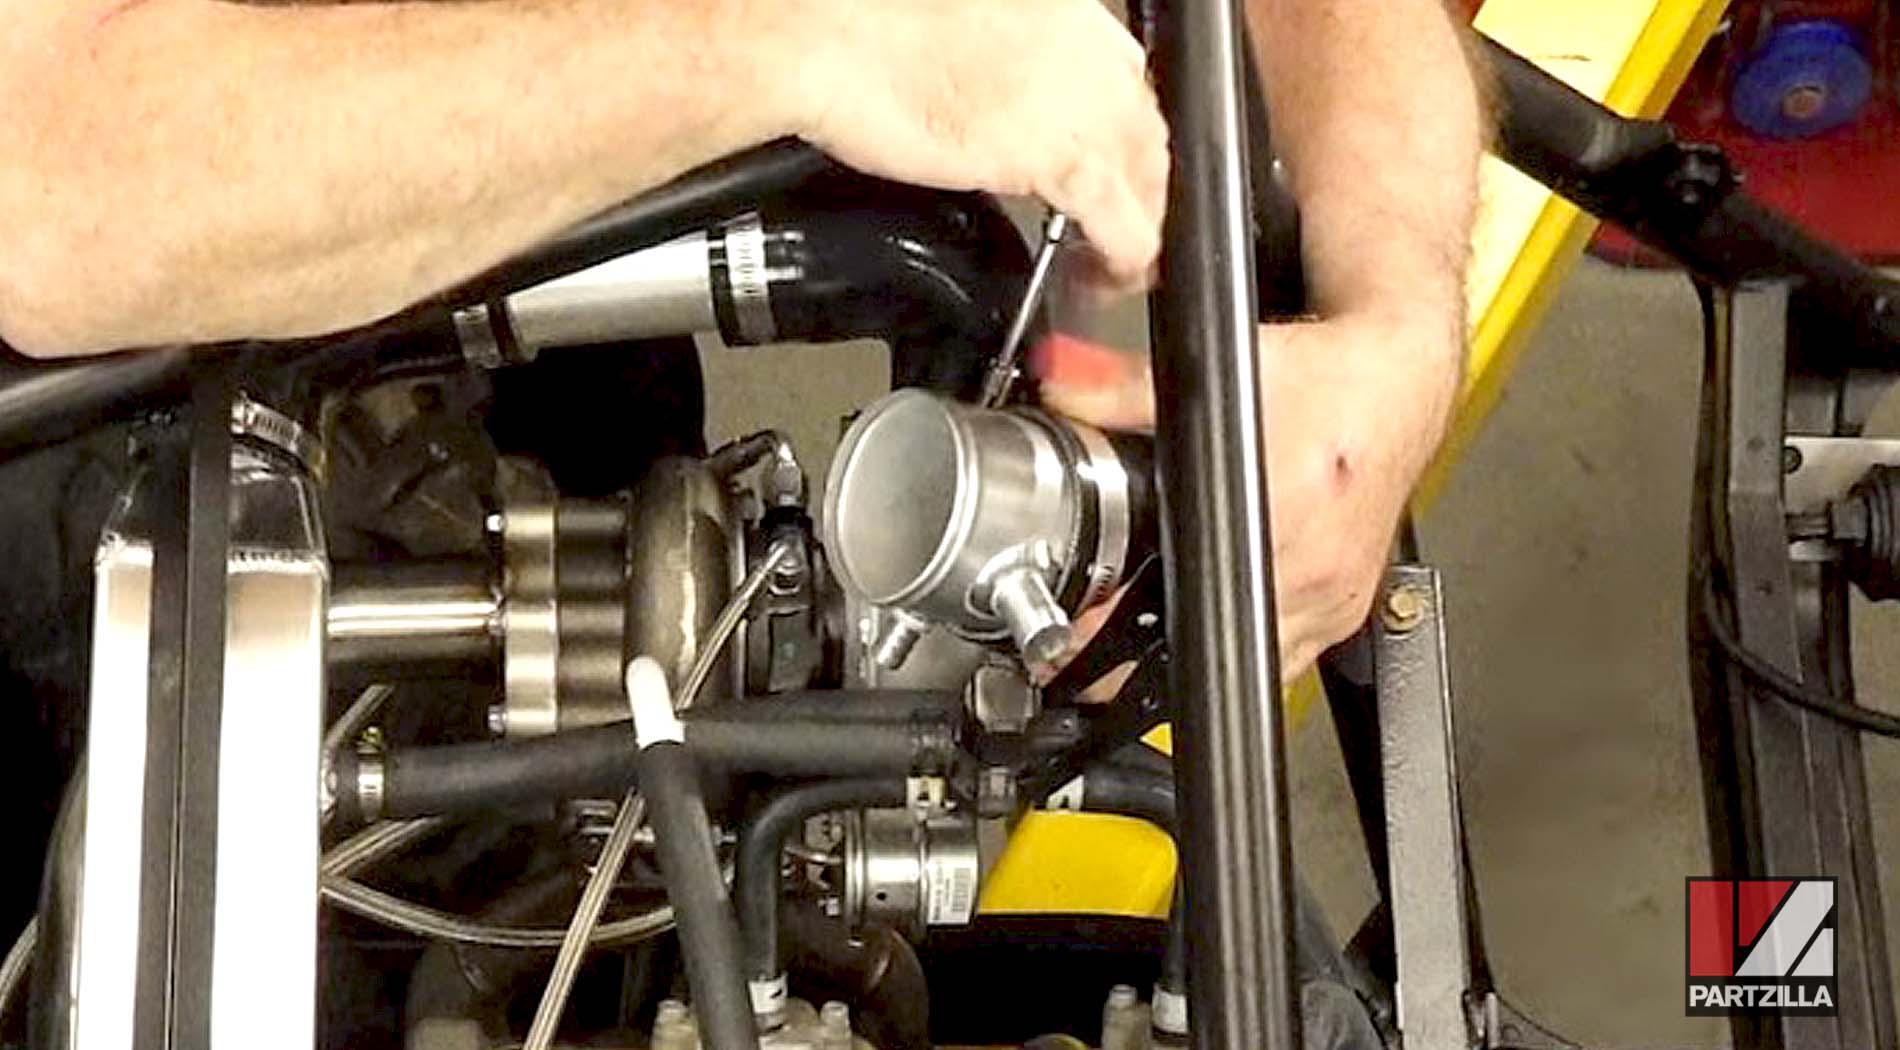
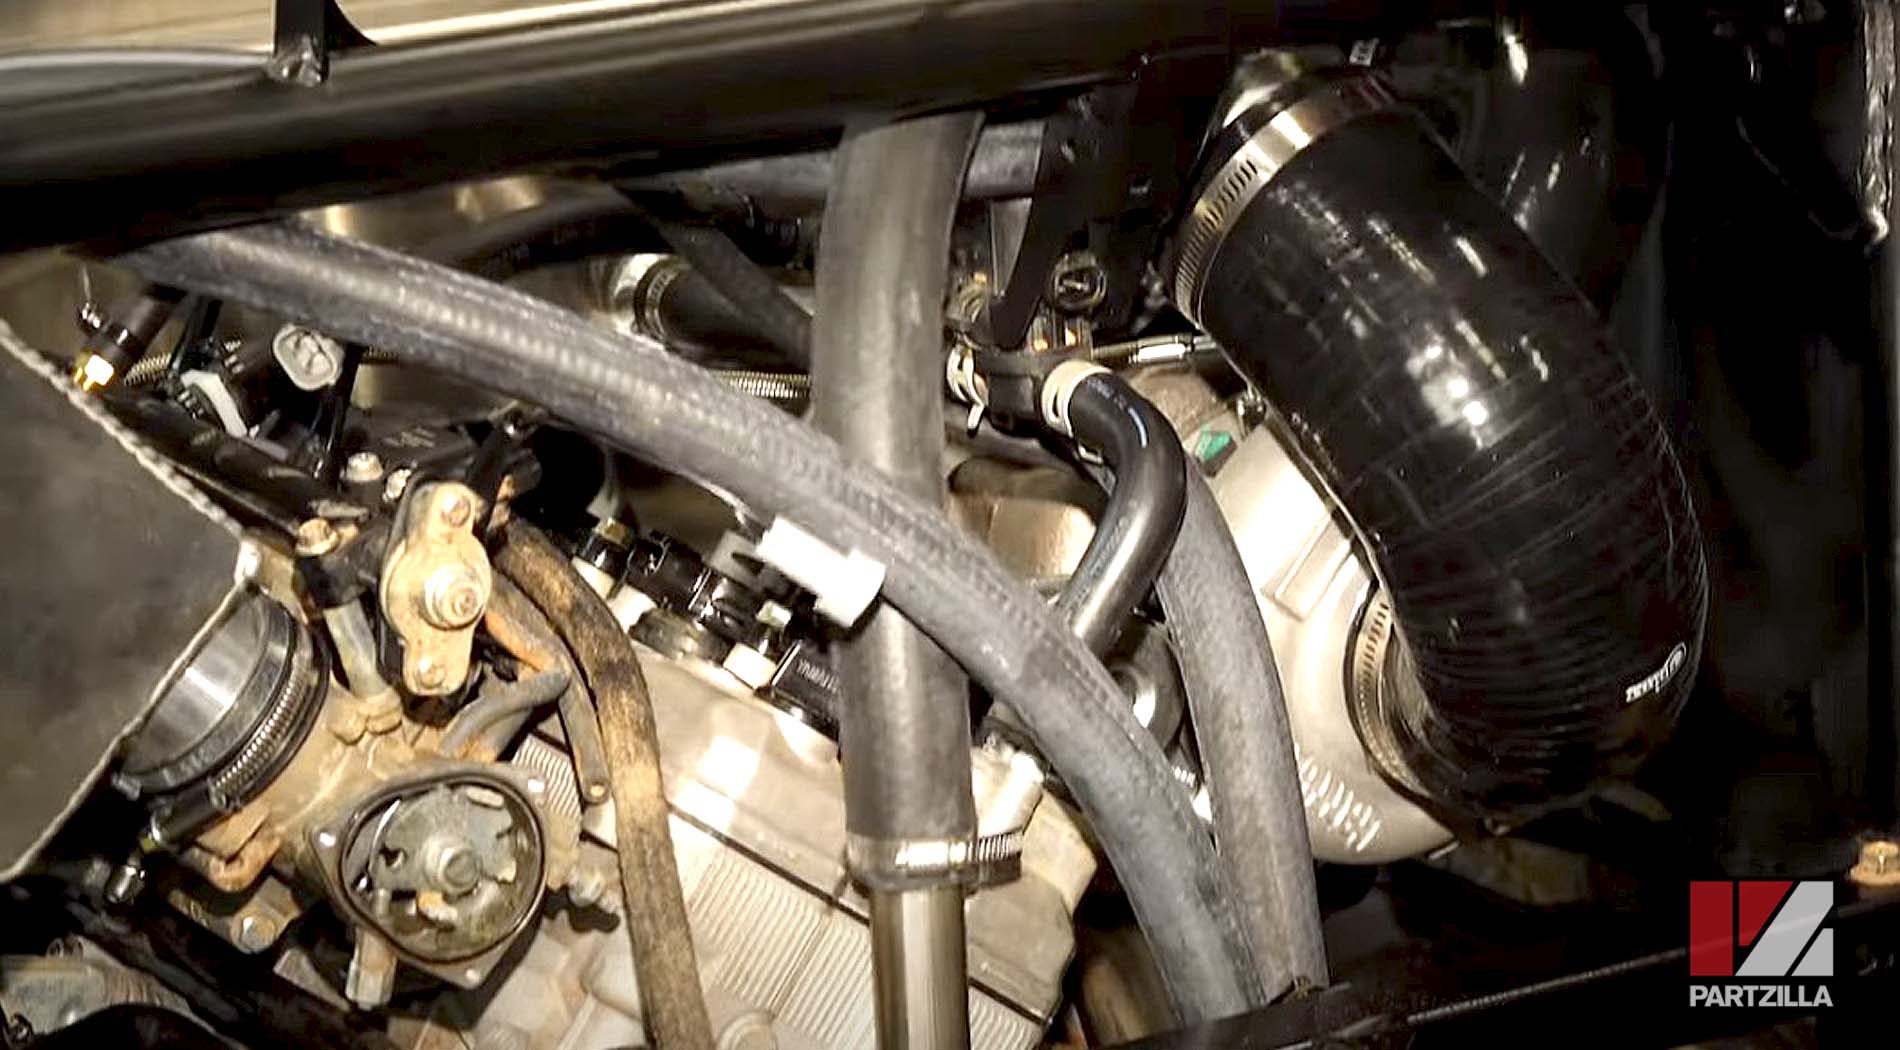
Yamaha YXZ1000R Turbo Upgrade: Oil + Coolant Lines & Throttle Body Installation
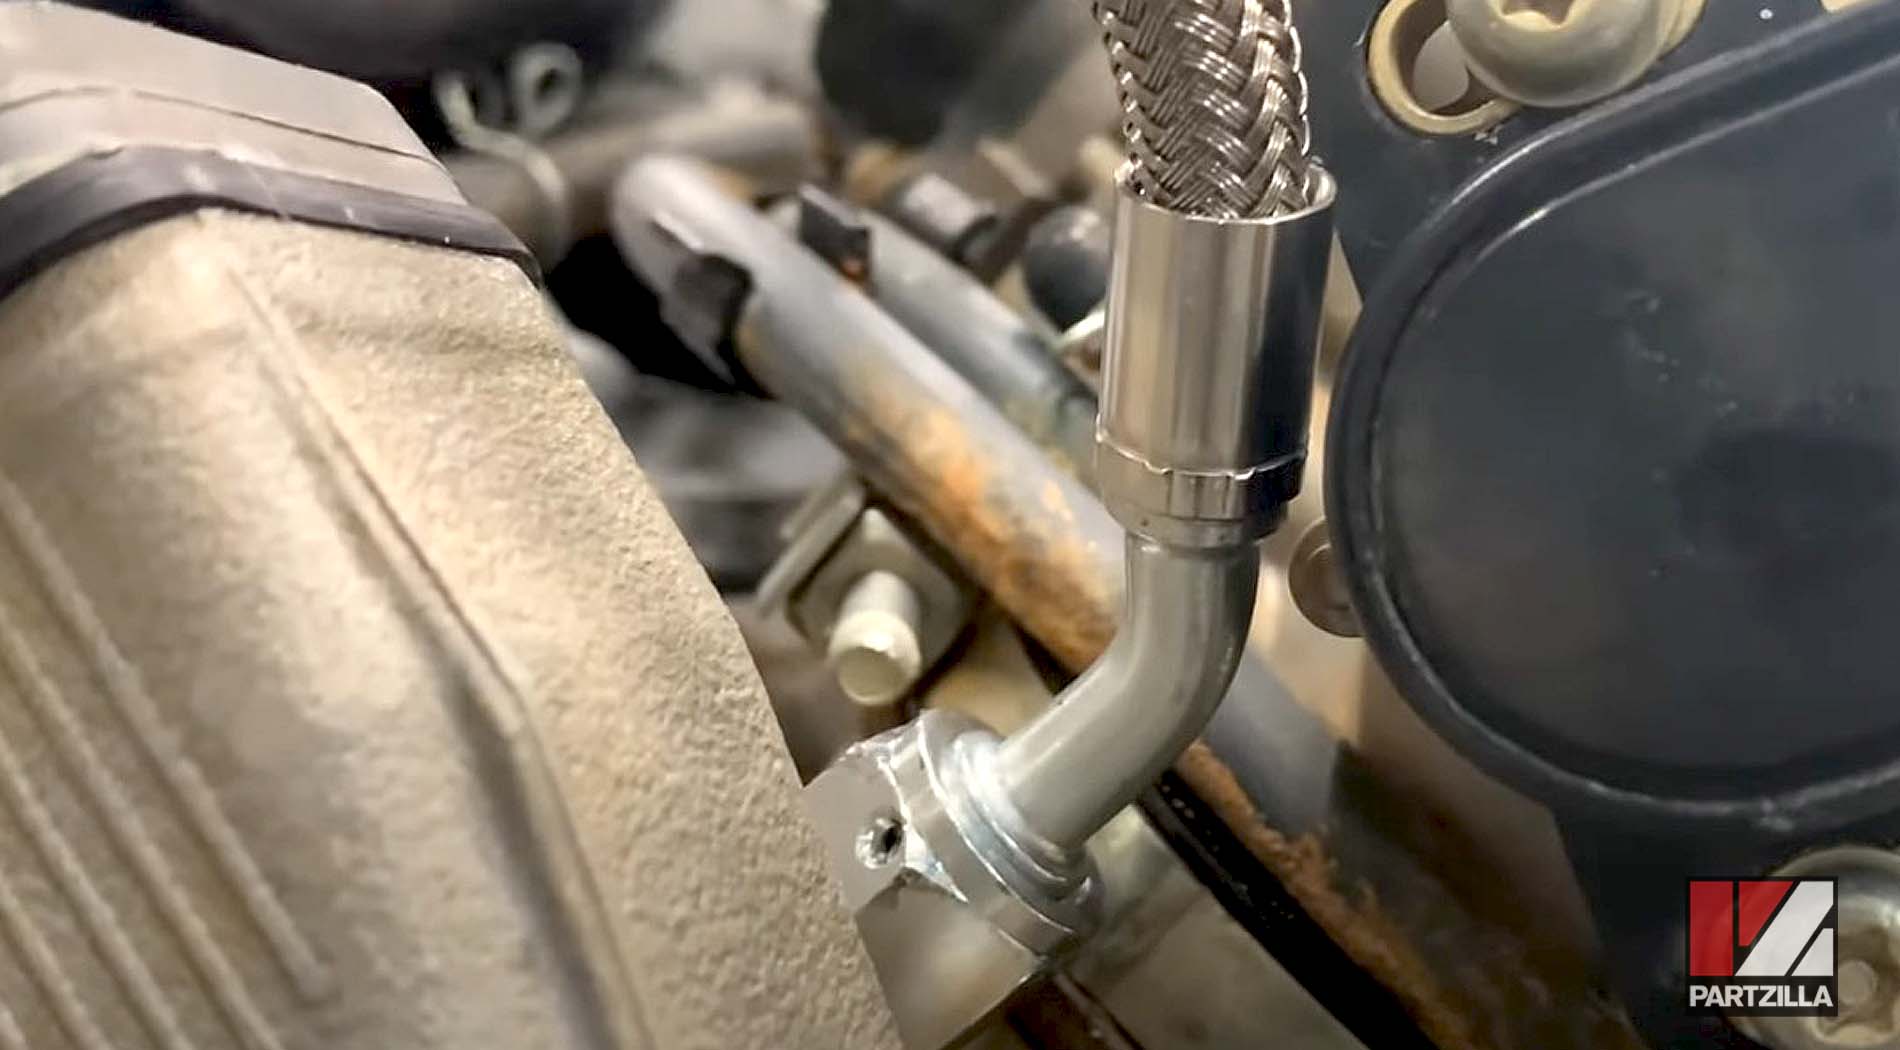
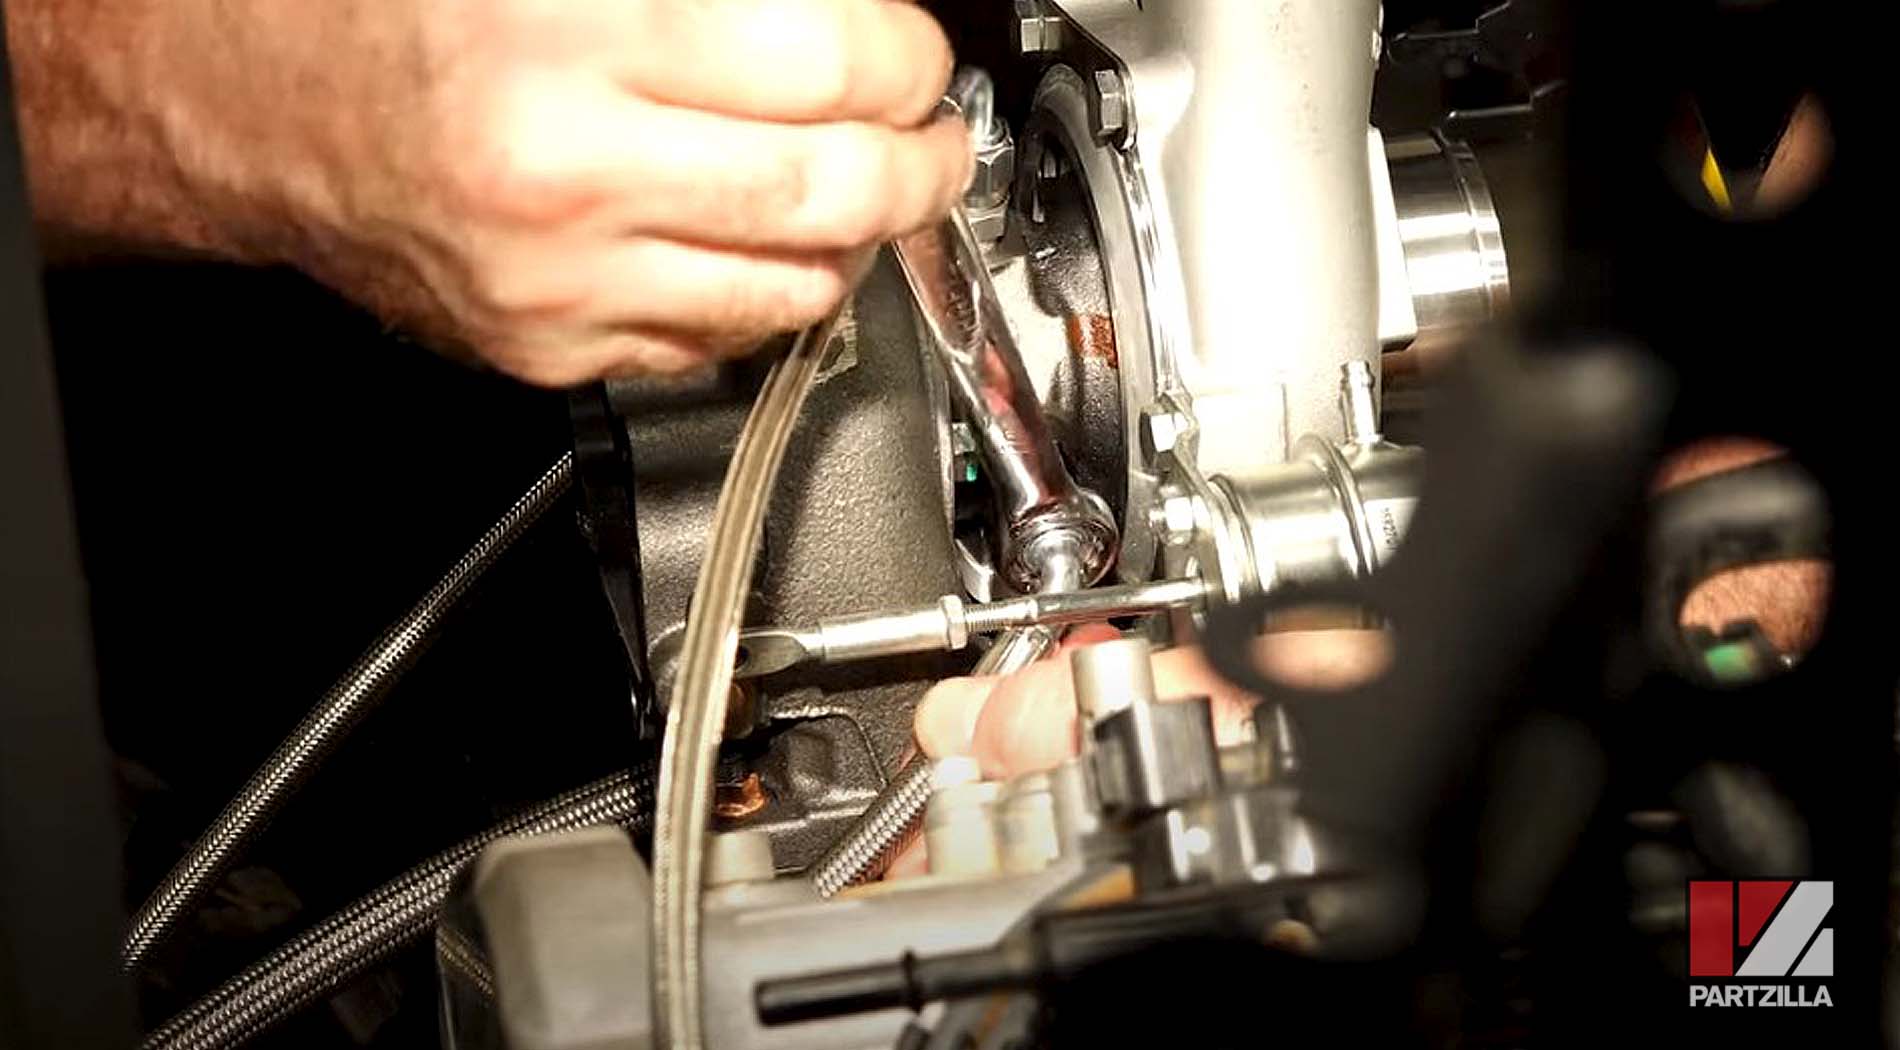
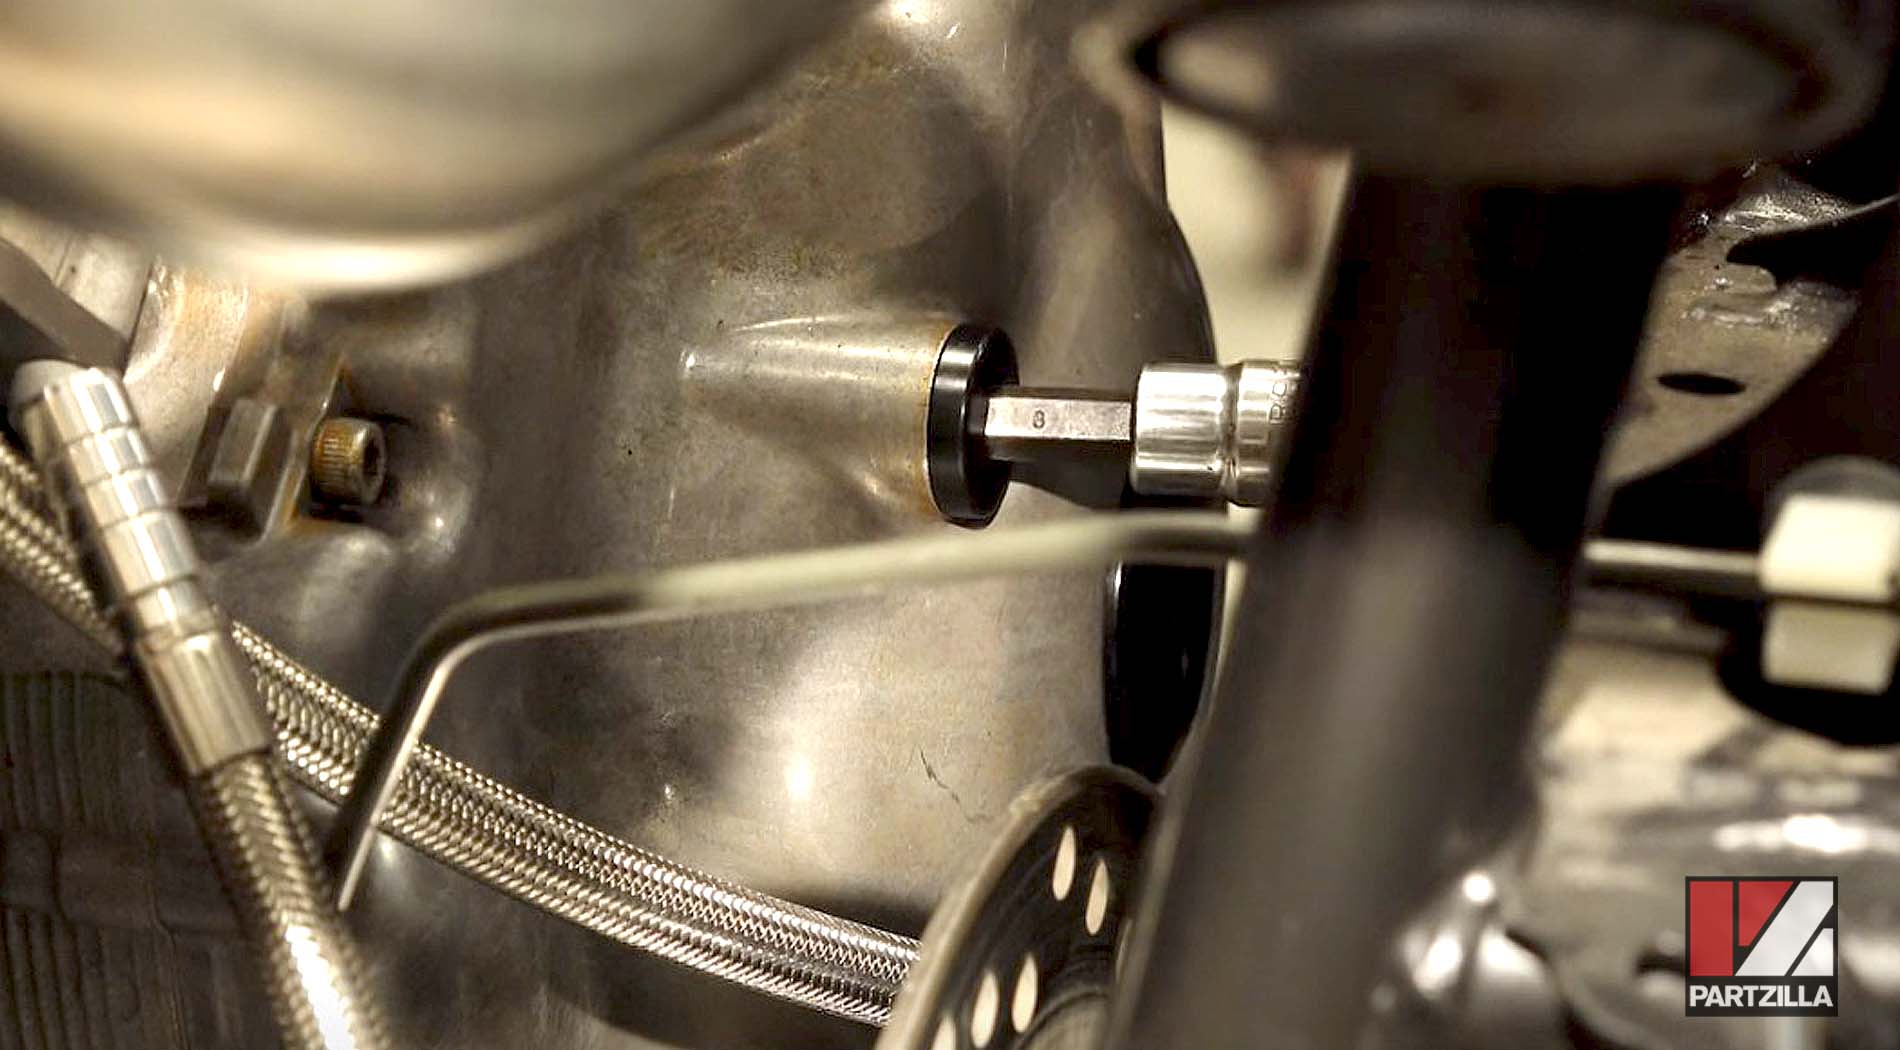
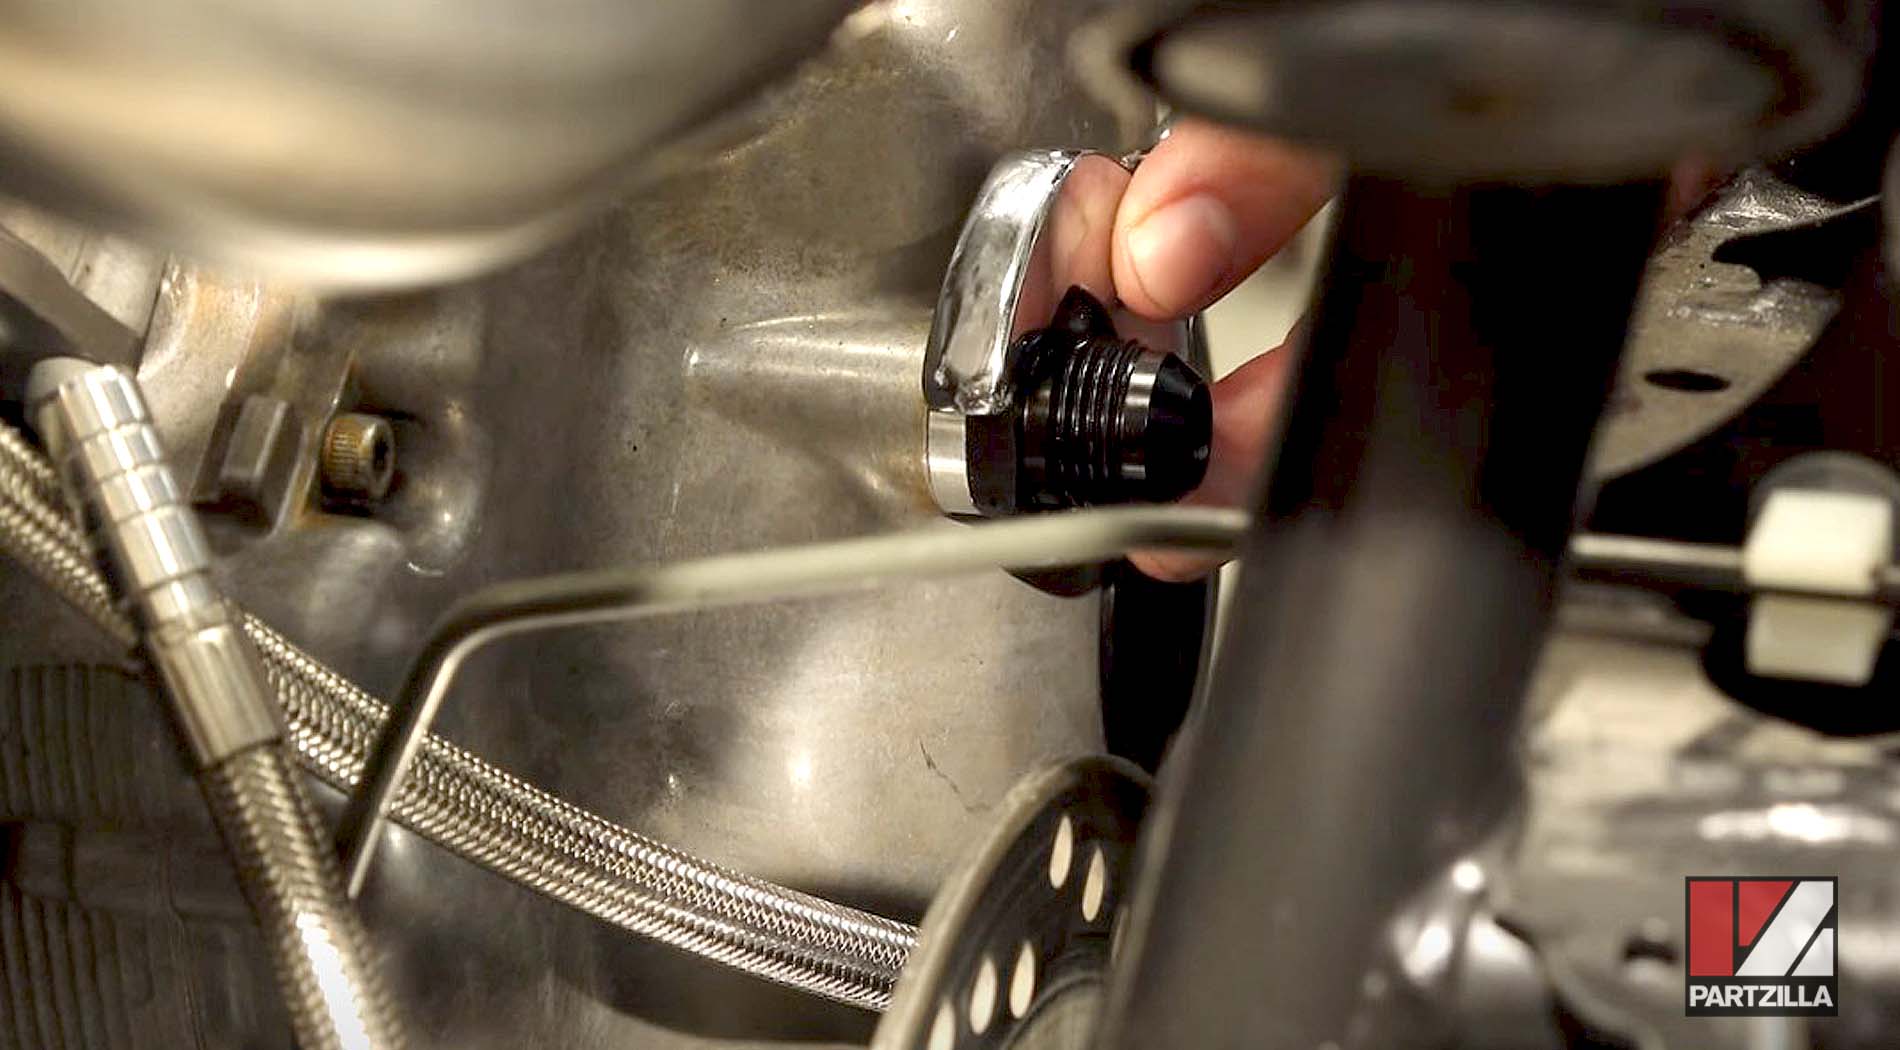
On the other side of the engine, we removed one of the oil passageway plugs and put in a flange bolt for the oil line. First we snugged the bolt down, then torqued it to 8.7 foot-pounds.

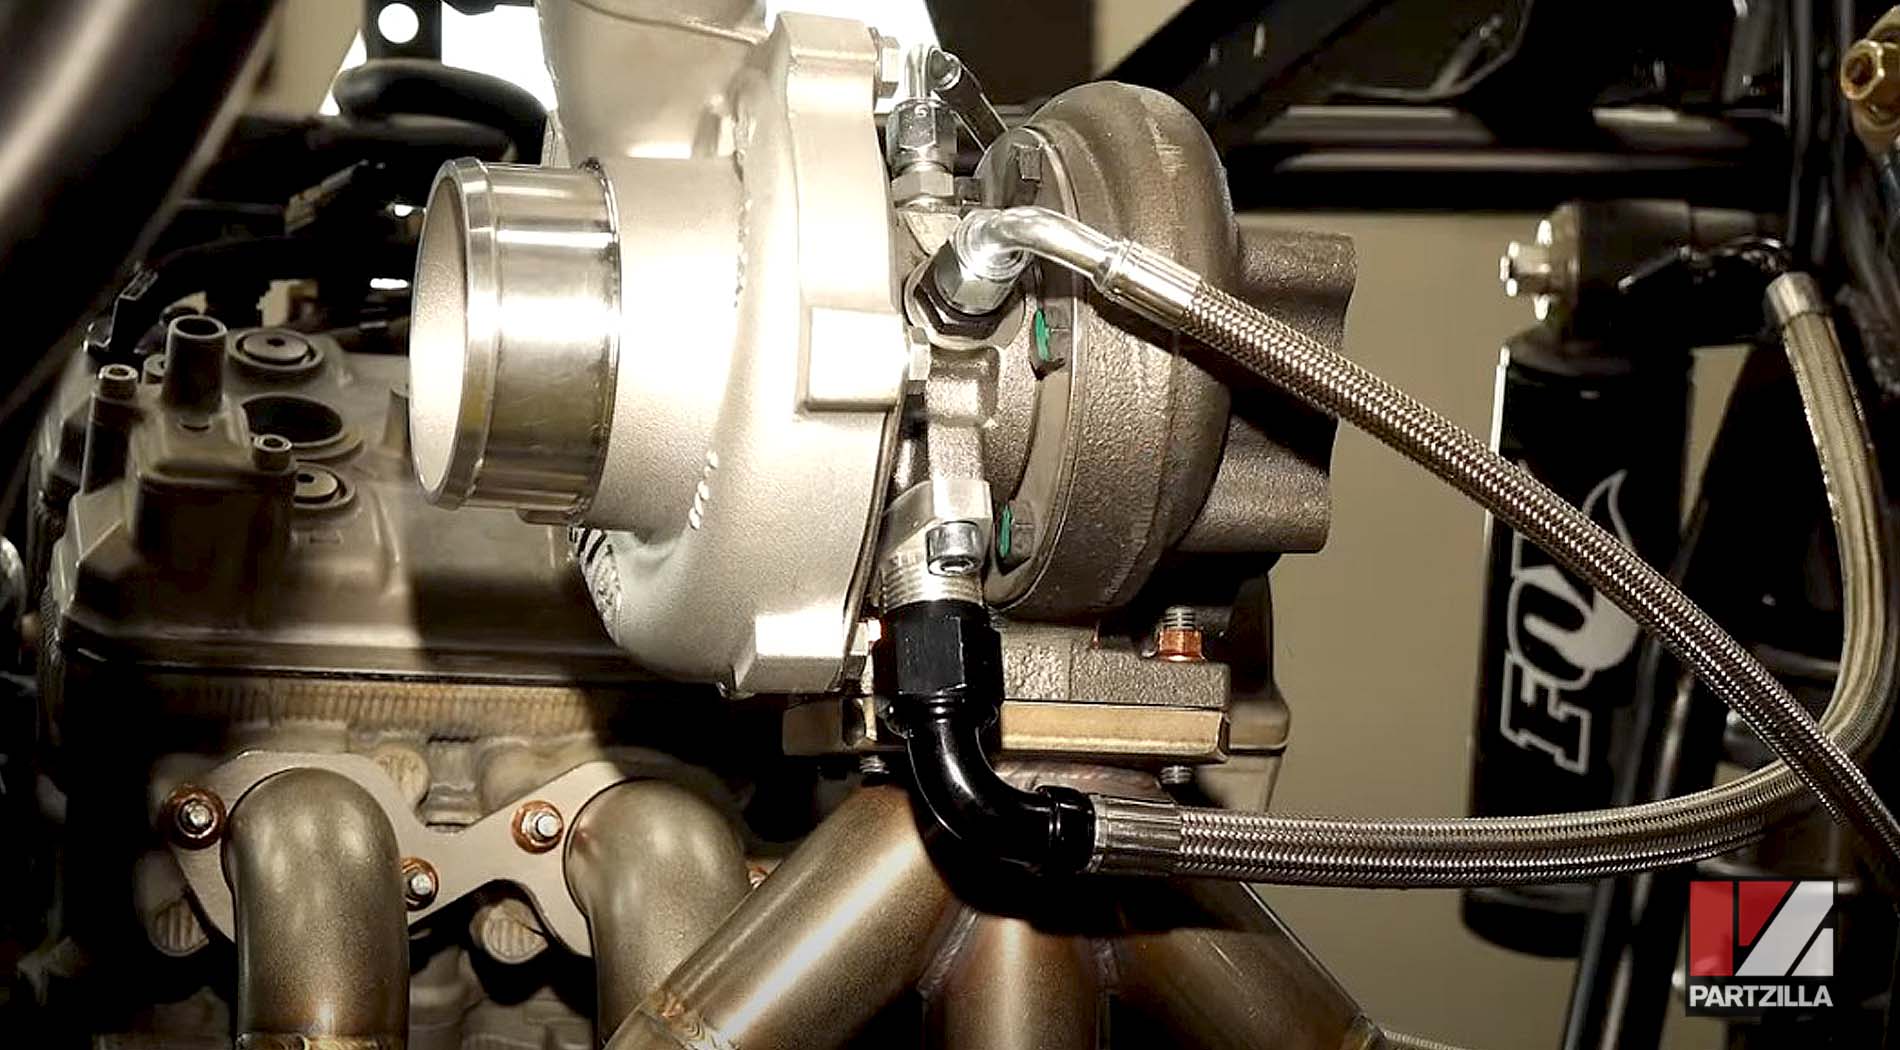
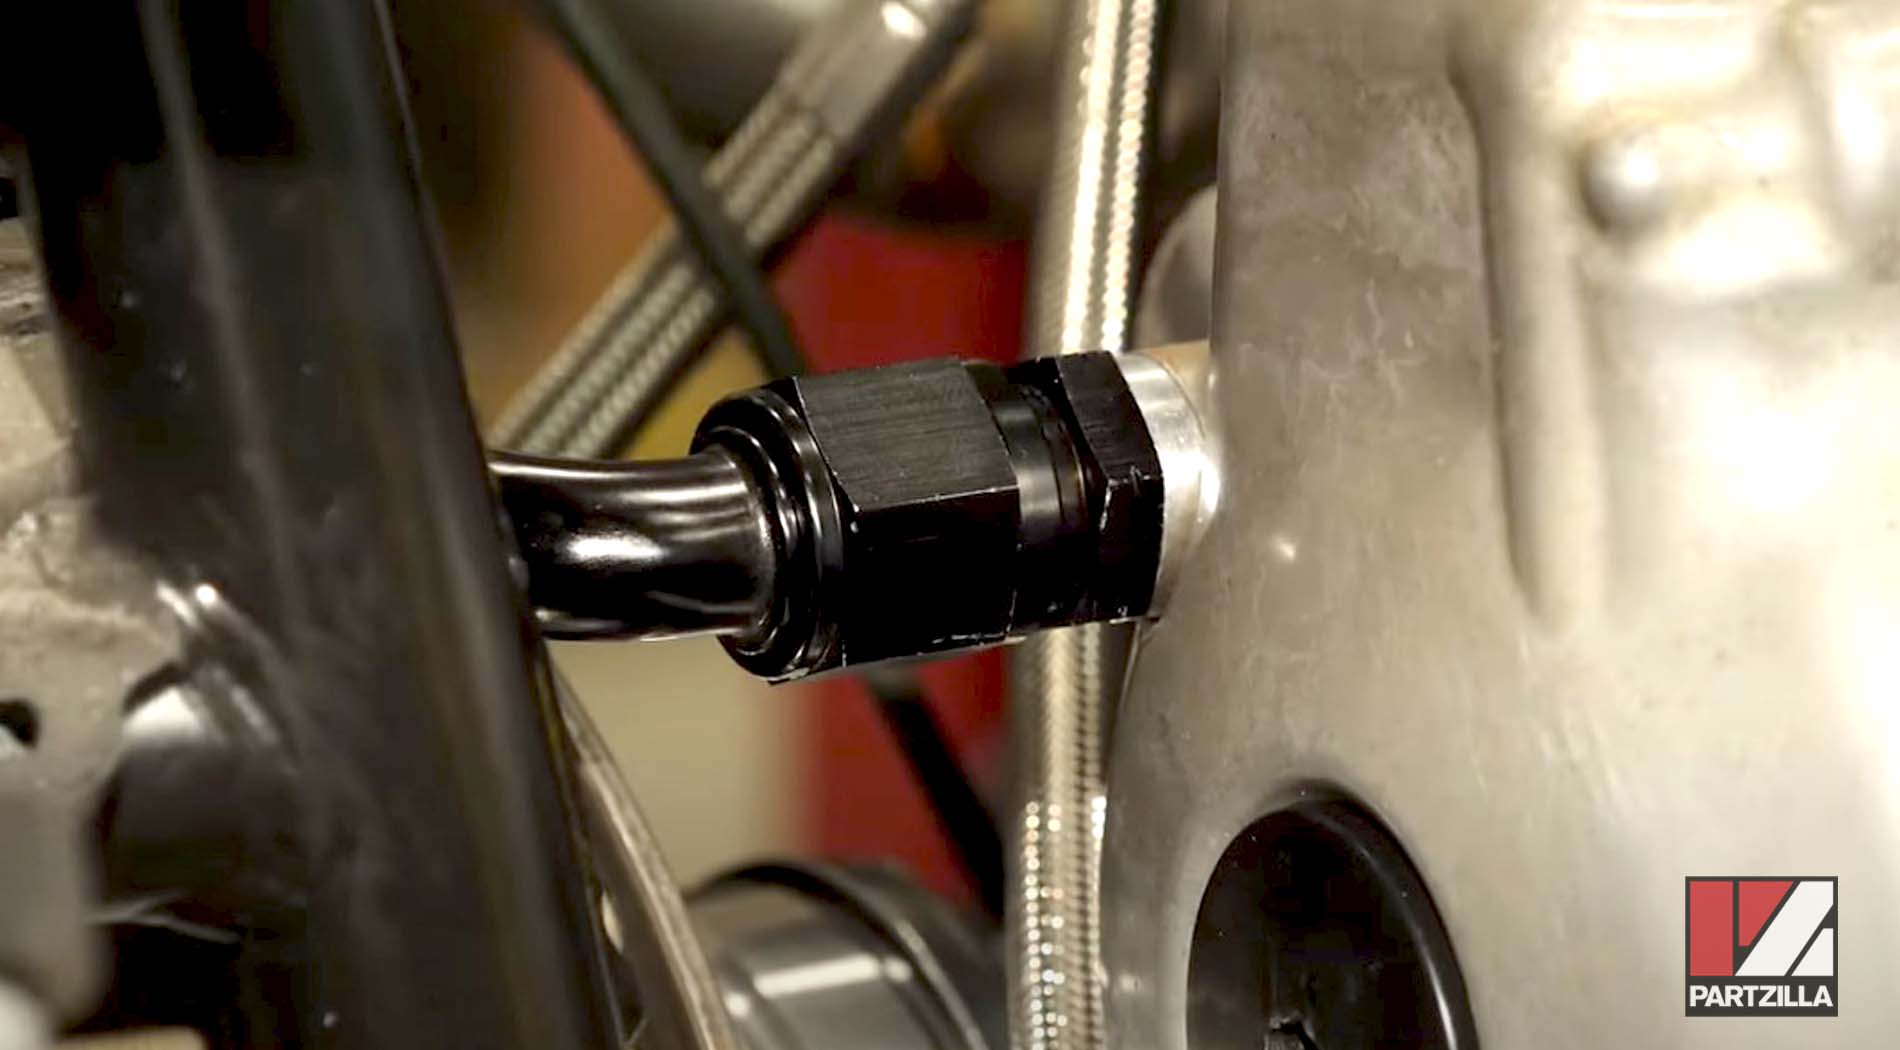
Next, we got in our first oil line to that fitting that we had just installed. The 90-degree bend goes to the turbo; the 45-degree heads over to the other side.
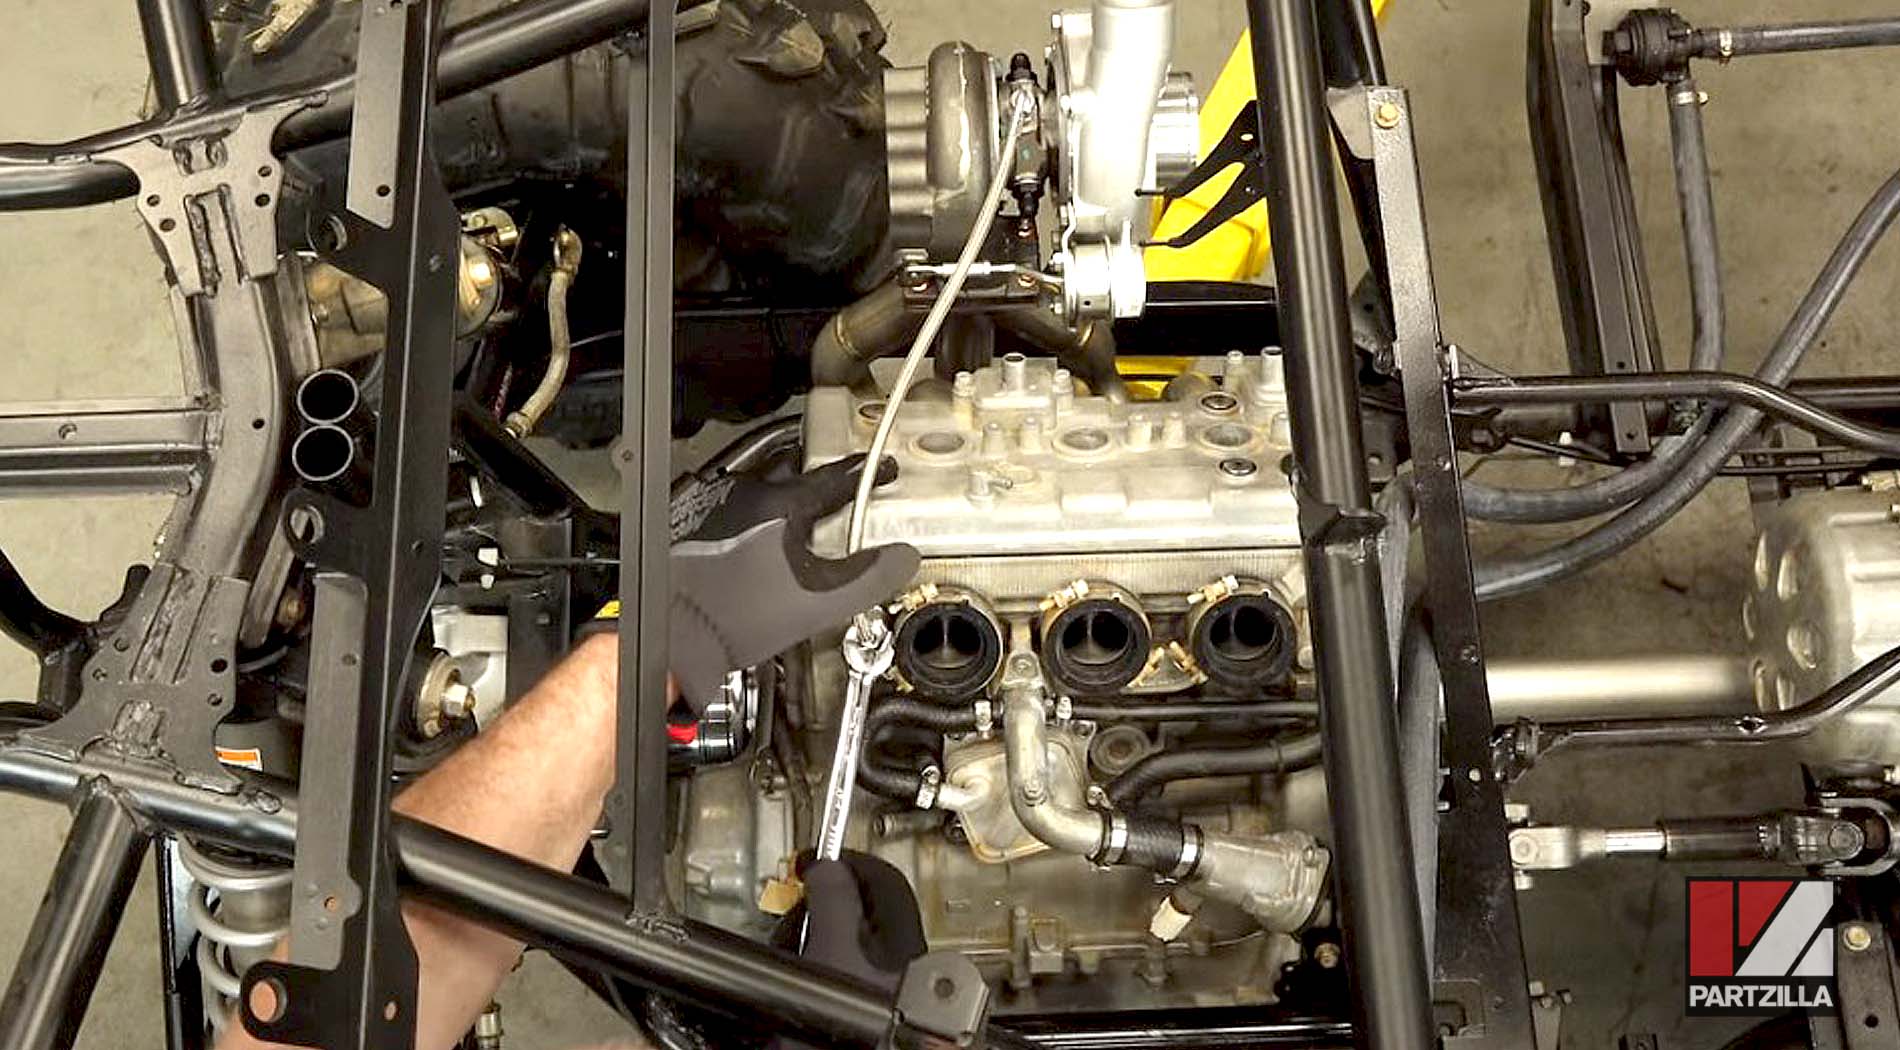
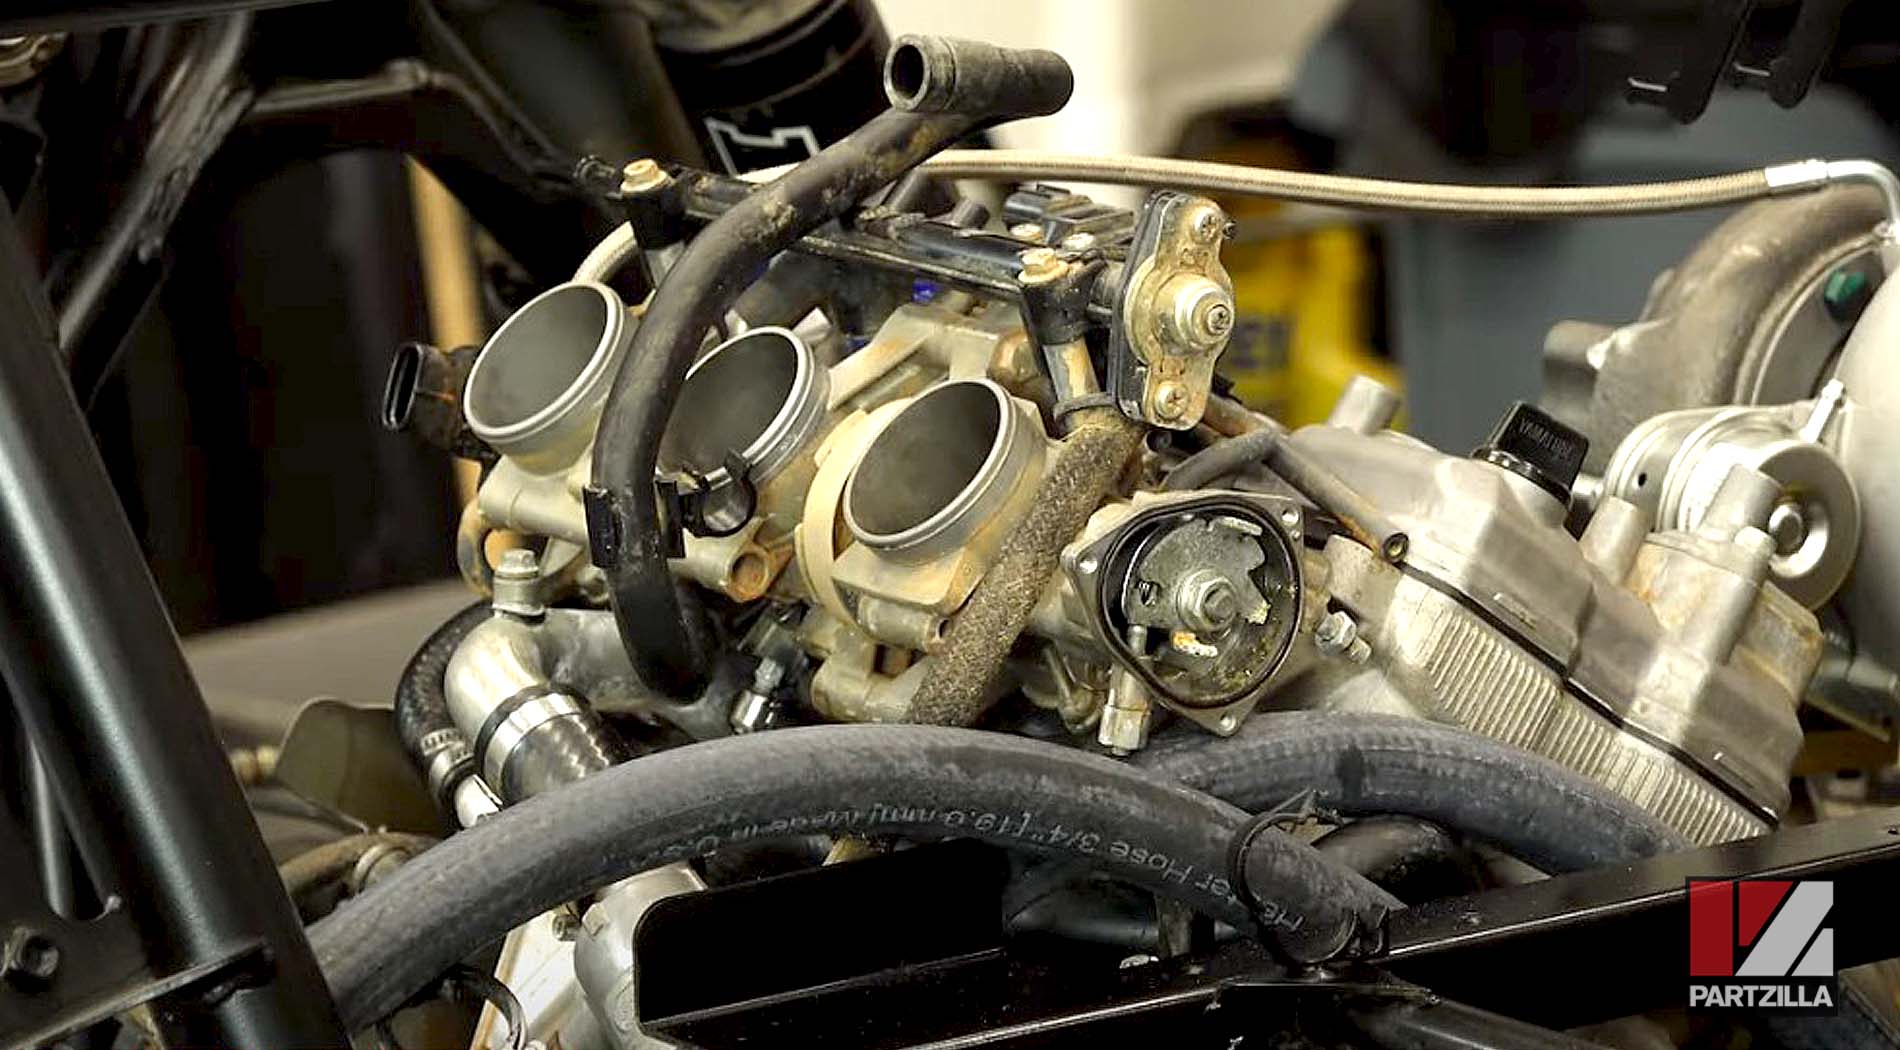
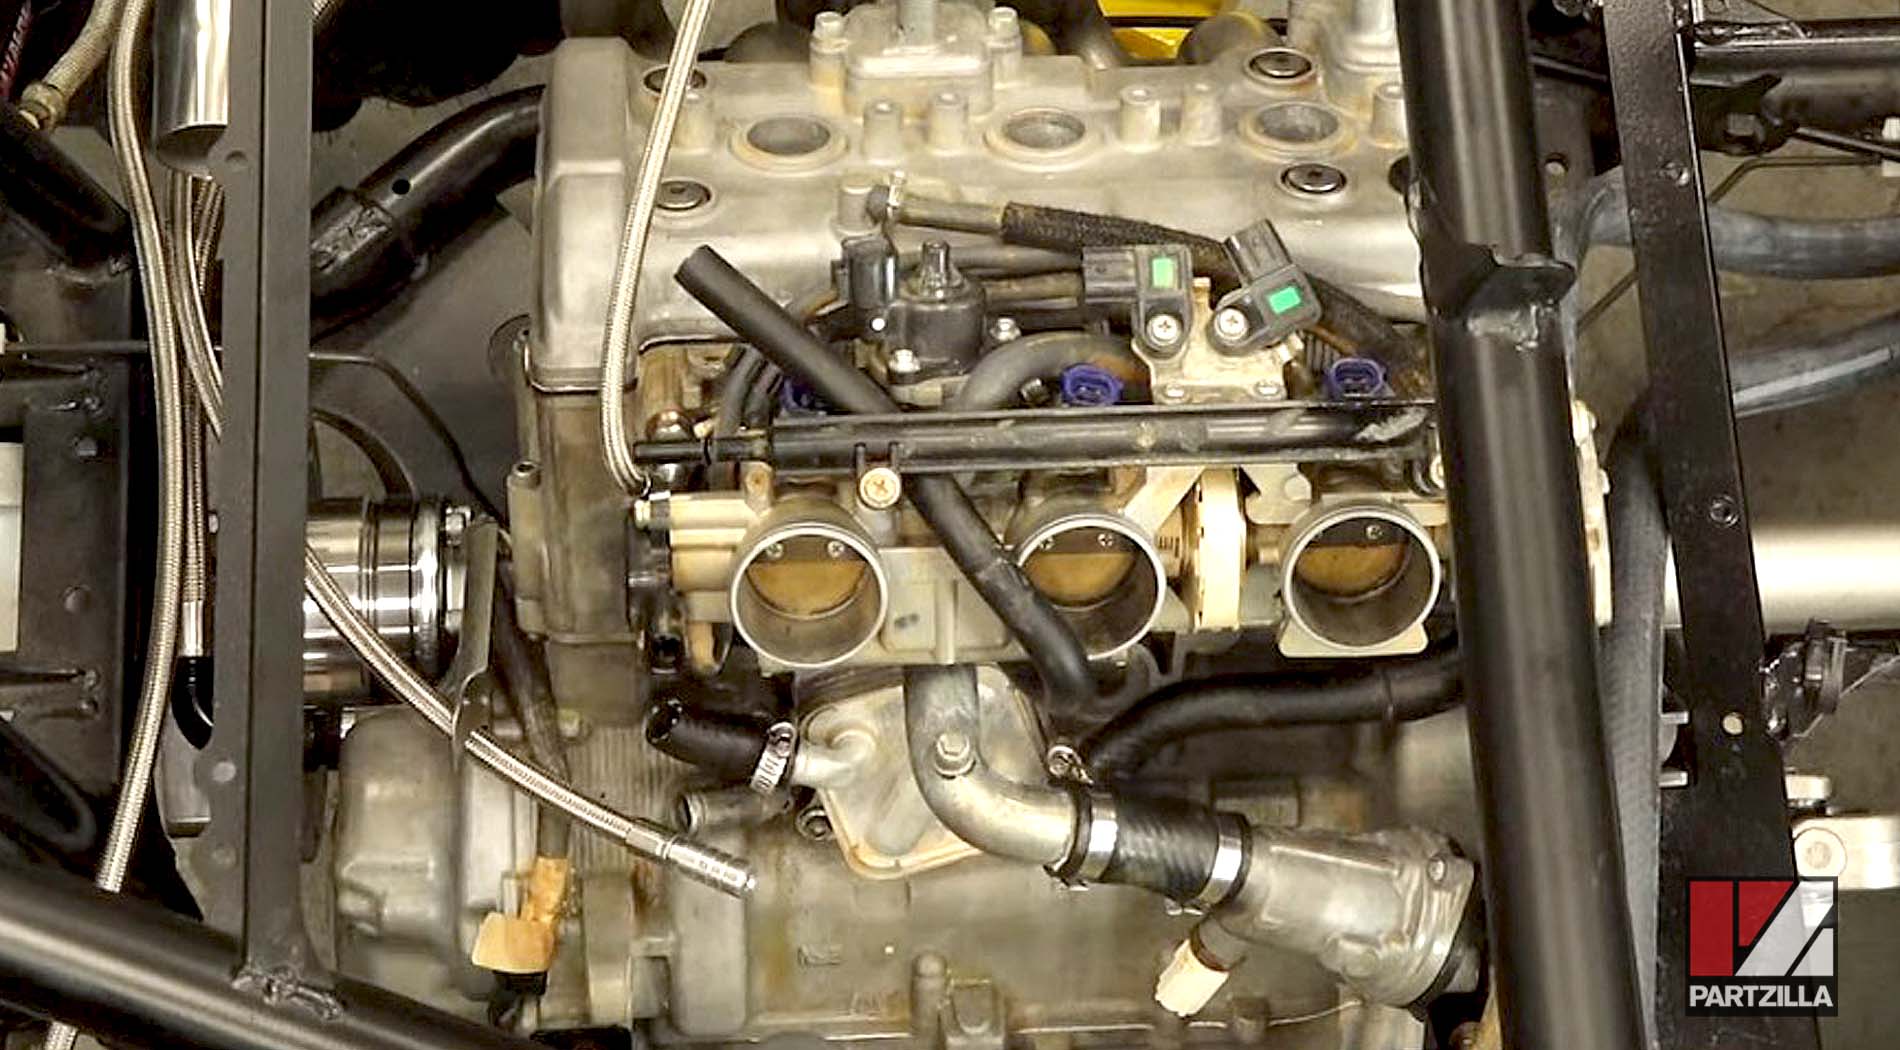
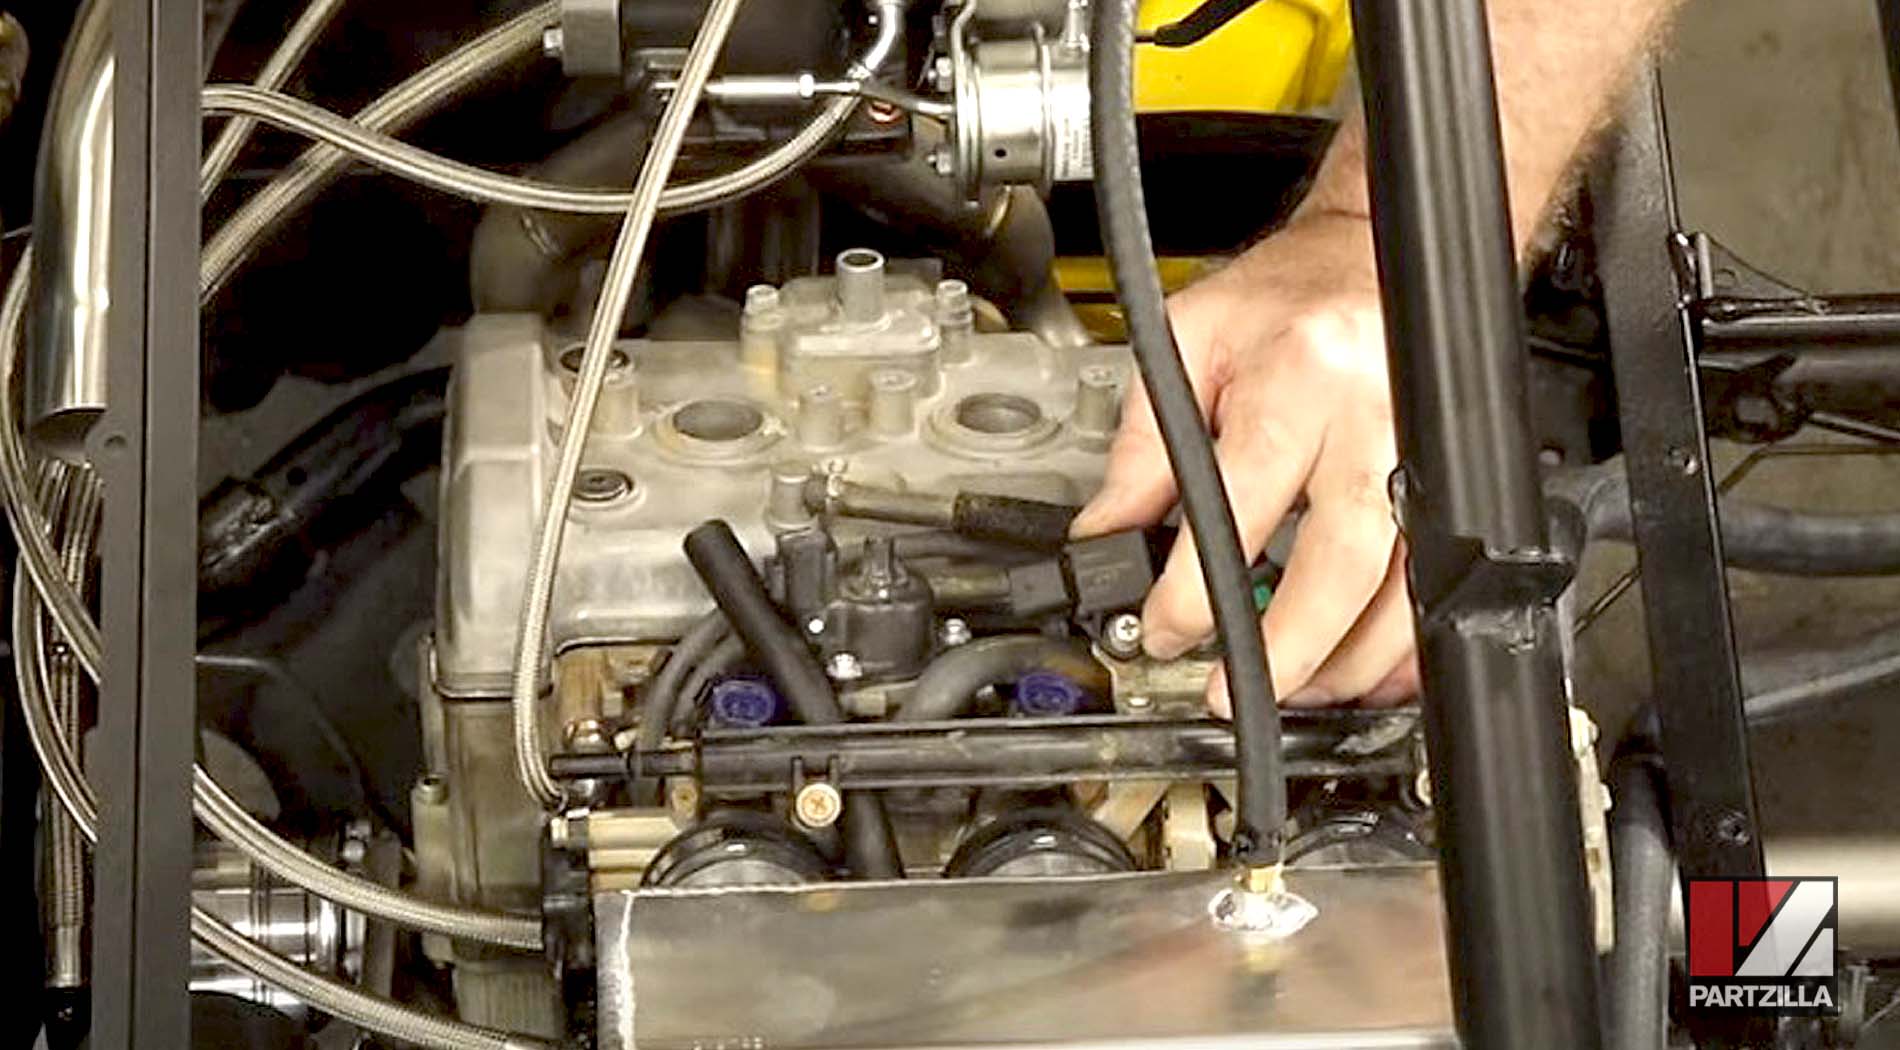
Next, we installed the throttle bodies, making sure everything clears first before getting the throttle body bolts tightened down.
PRO TIP: Use a little bit of contact cleaner to get the throttle body to slide on easier.
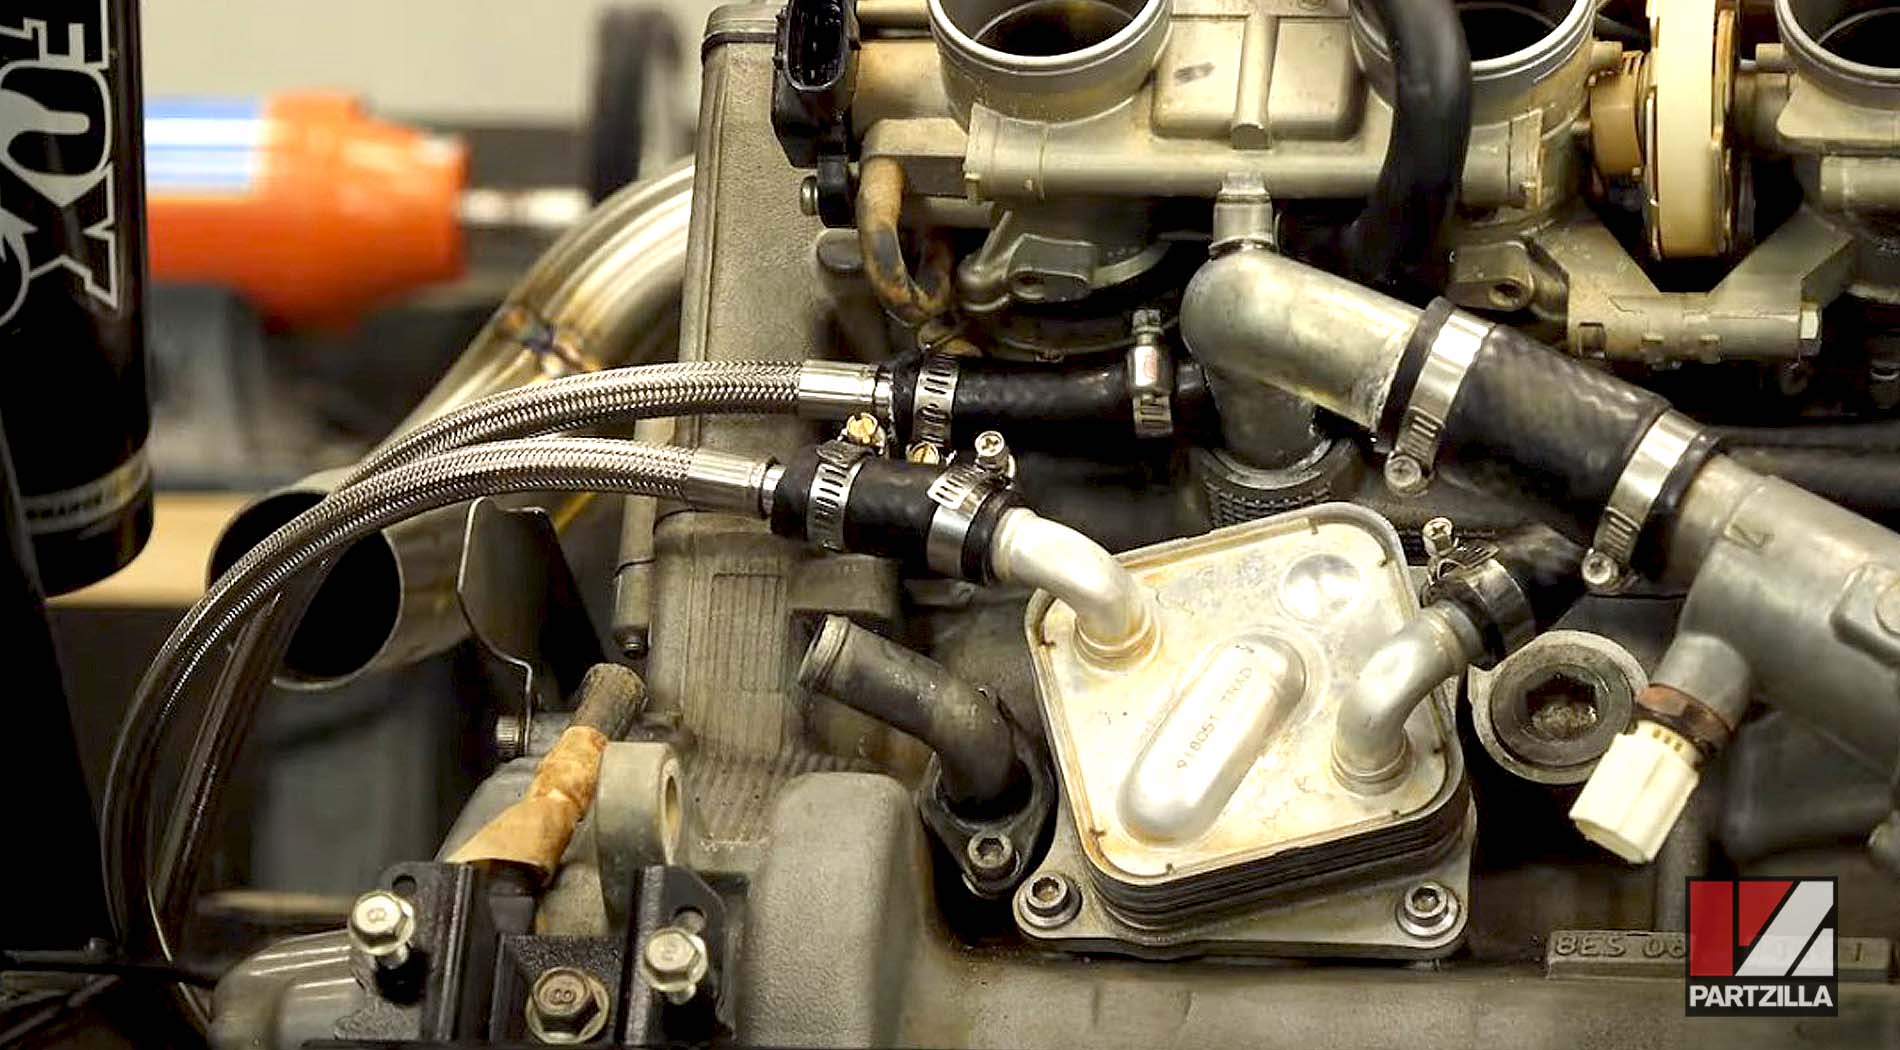
Next, we installed the oil drain flange with its gasket, which goes to the bottom of the turbo, and torqued the bolts to 18 foot-pounds. Then, we attached the oil drain and the 40-inch coolant line, and the 38-inch line over on the other side.
Next, we installed the turbo outlet pipe, along with its associated gasket, without torqueing the bolts yet, since the exhaust will be addressed later.
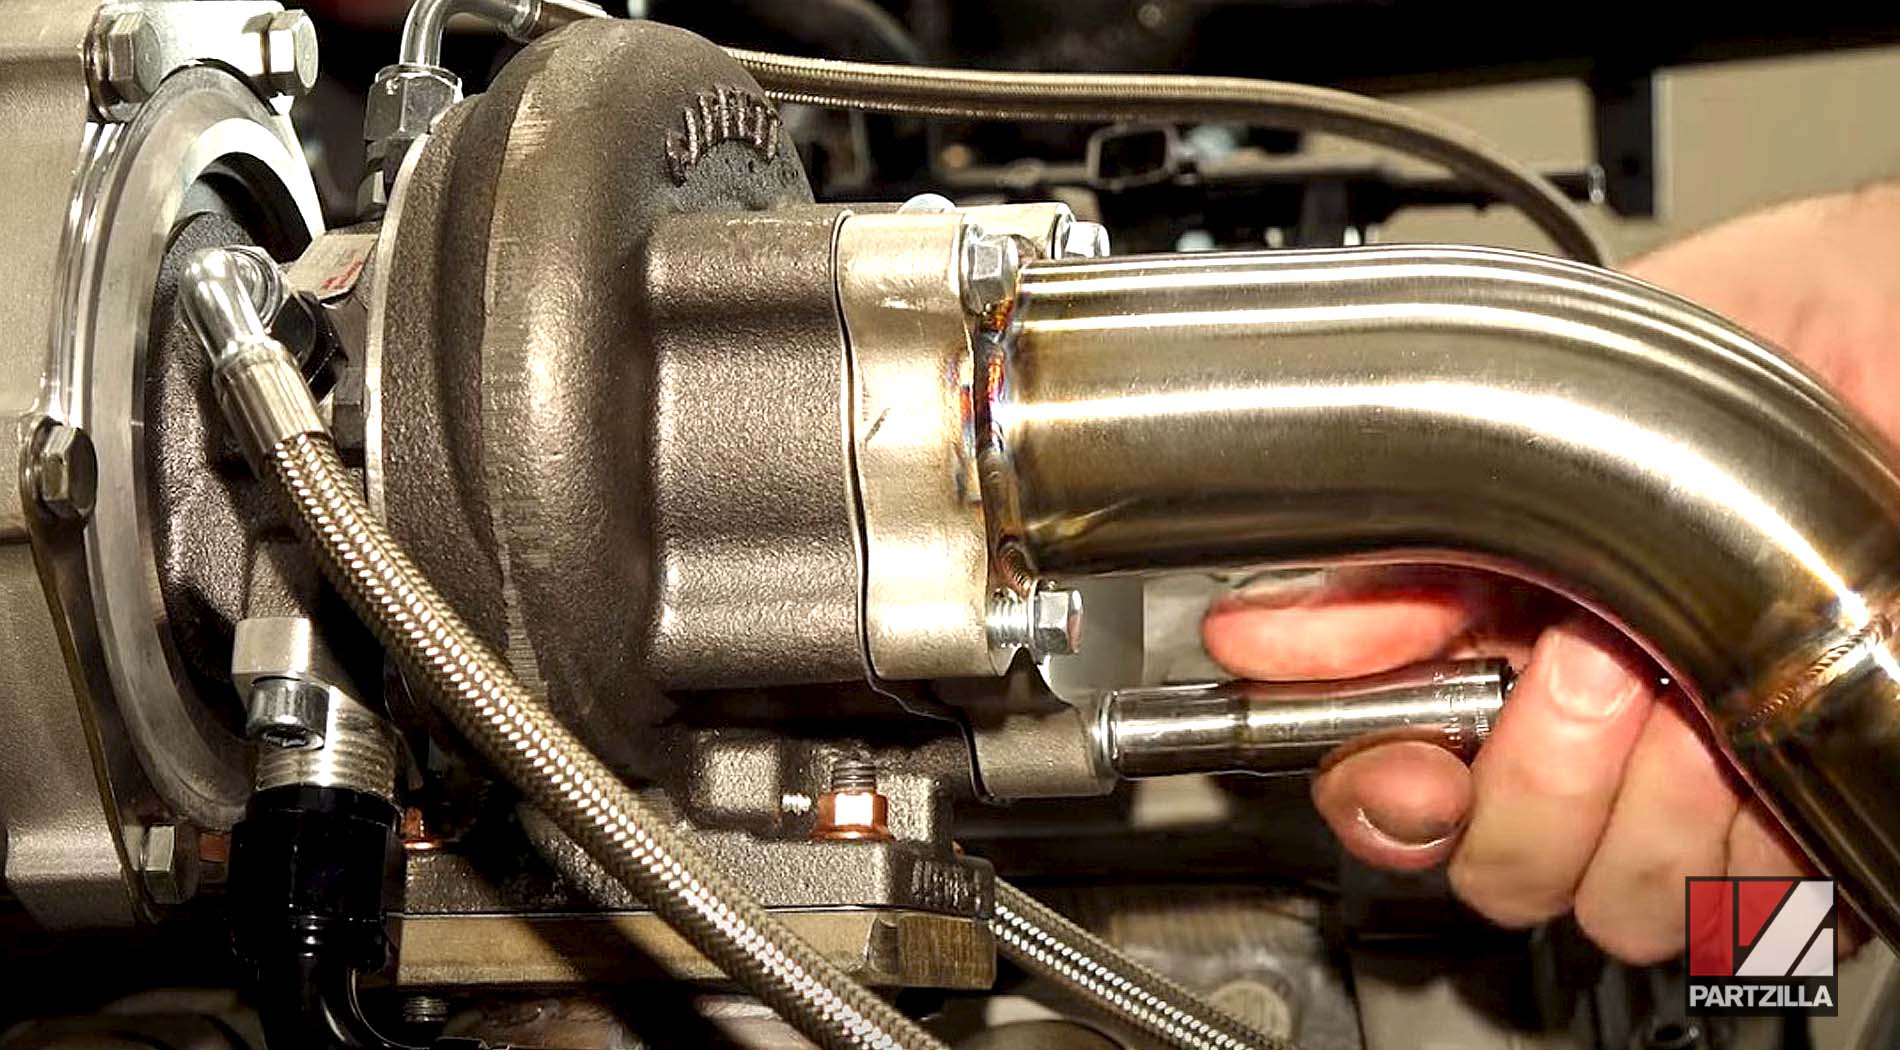
We then removed the timing cover — where the oil drain line attaches to the engine —and used an adapter and a 5mm spacer for a proper fit.
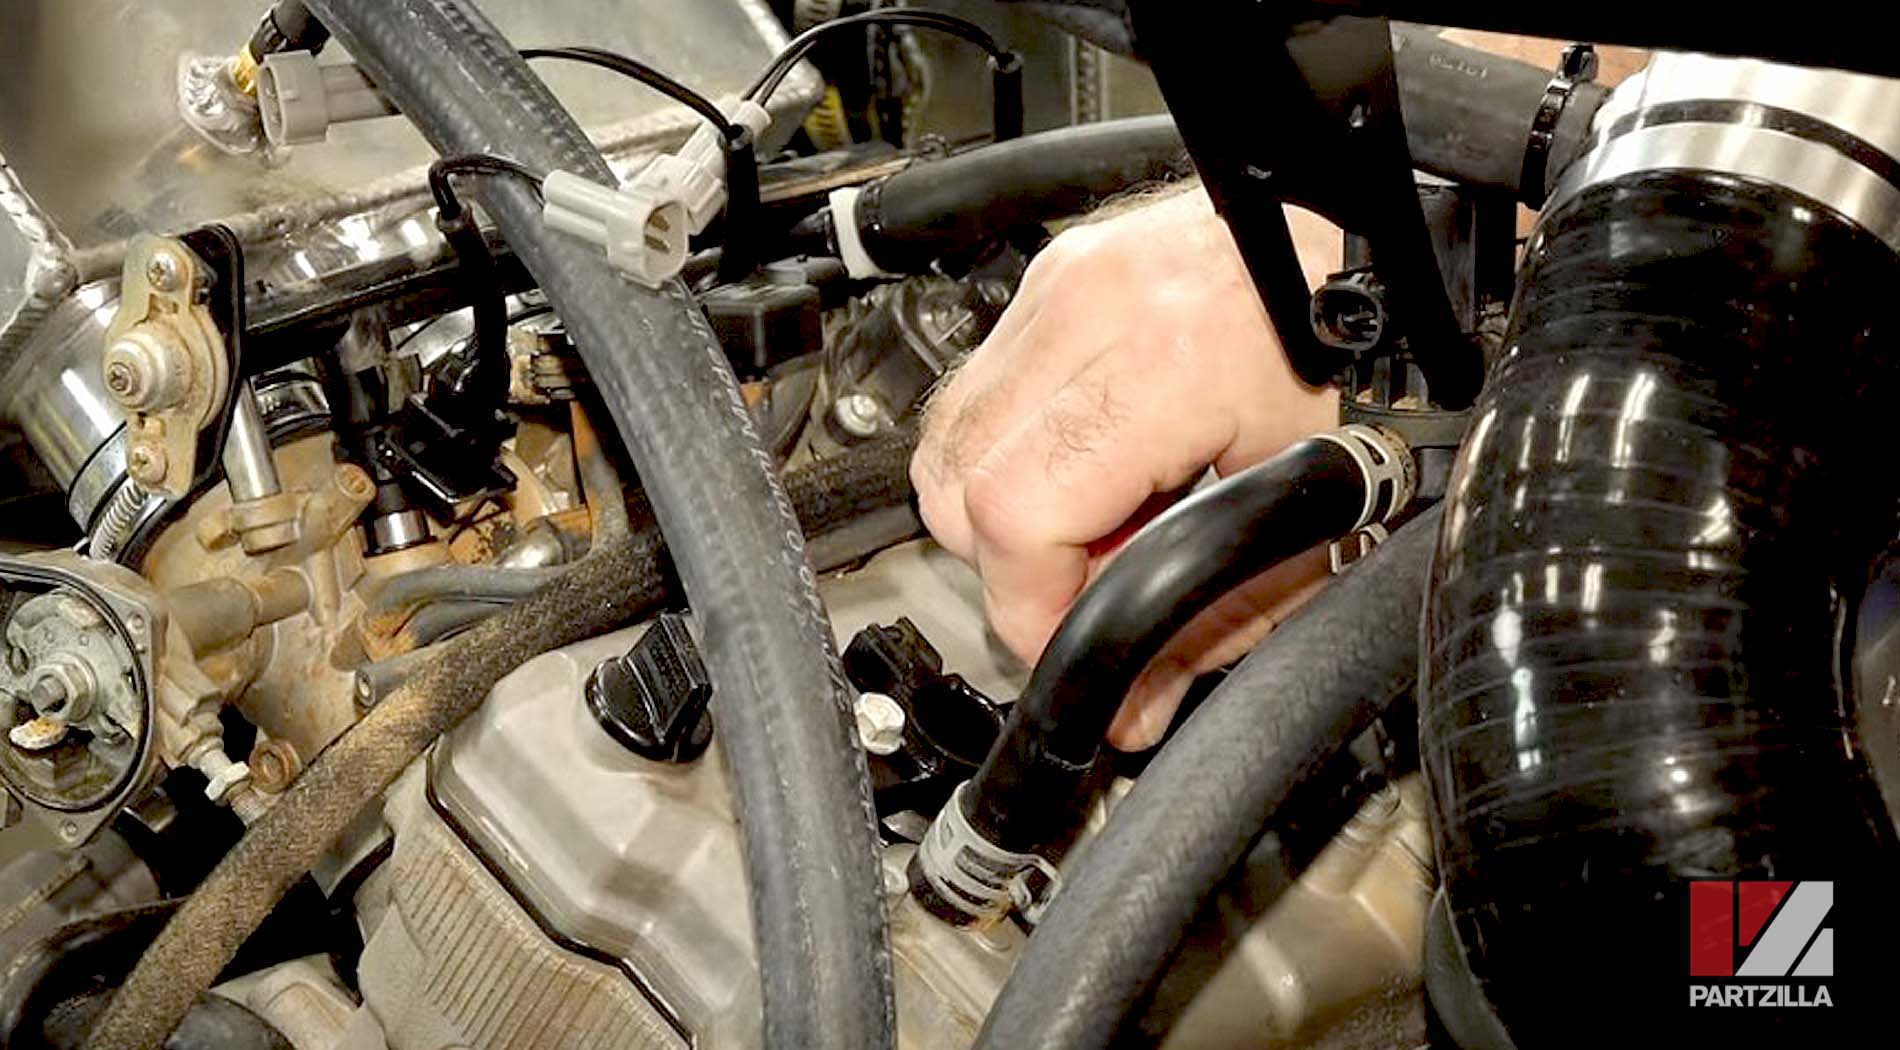
Next, we rerouted the idle air control line under the throttle bodies, and then up in between the intakes for cylinder 2 and 3, making a cut right before it goes into the turn. We left two straight sections to attach to our two coolant lines that were still hanging over the side.
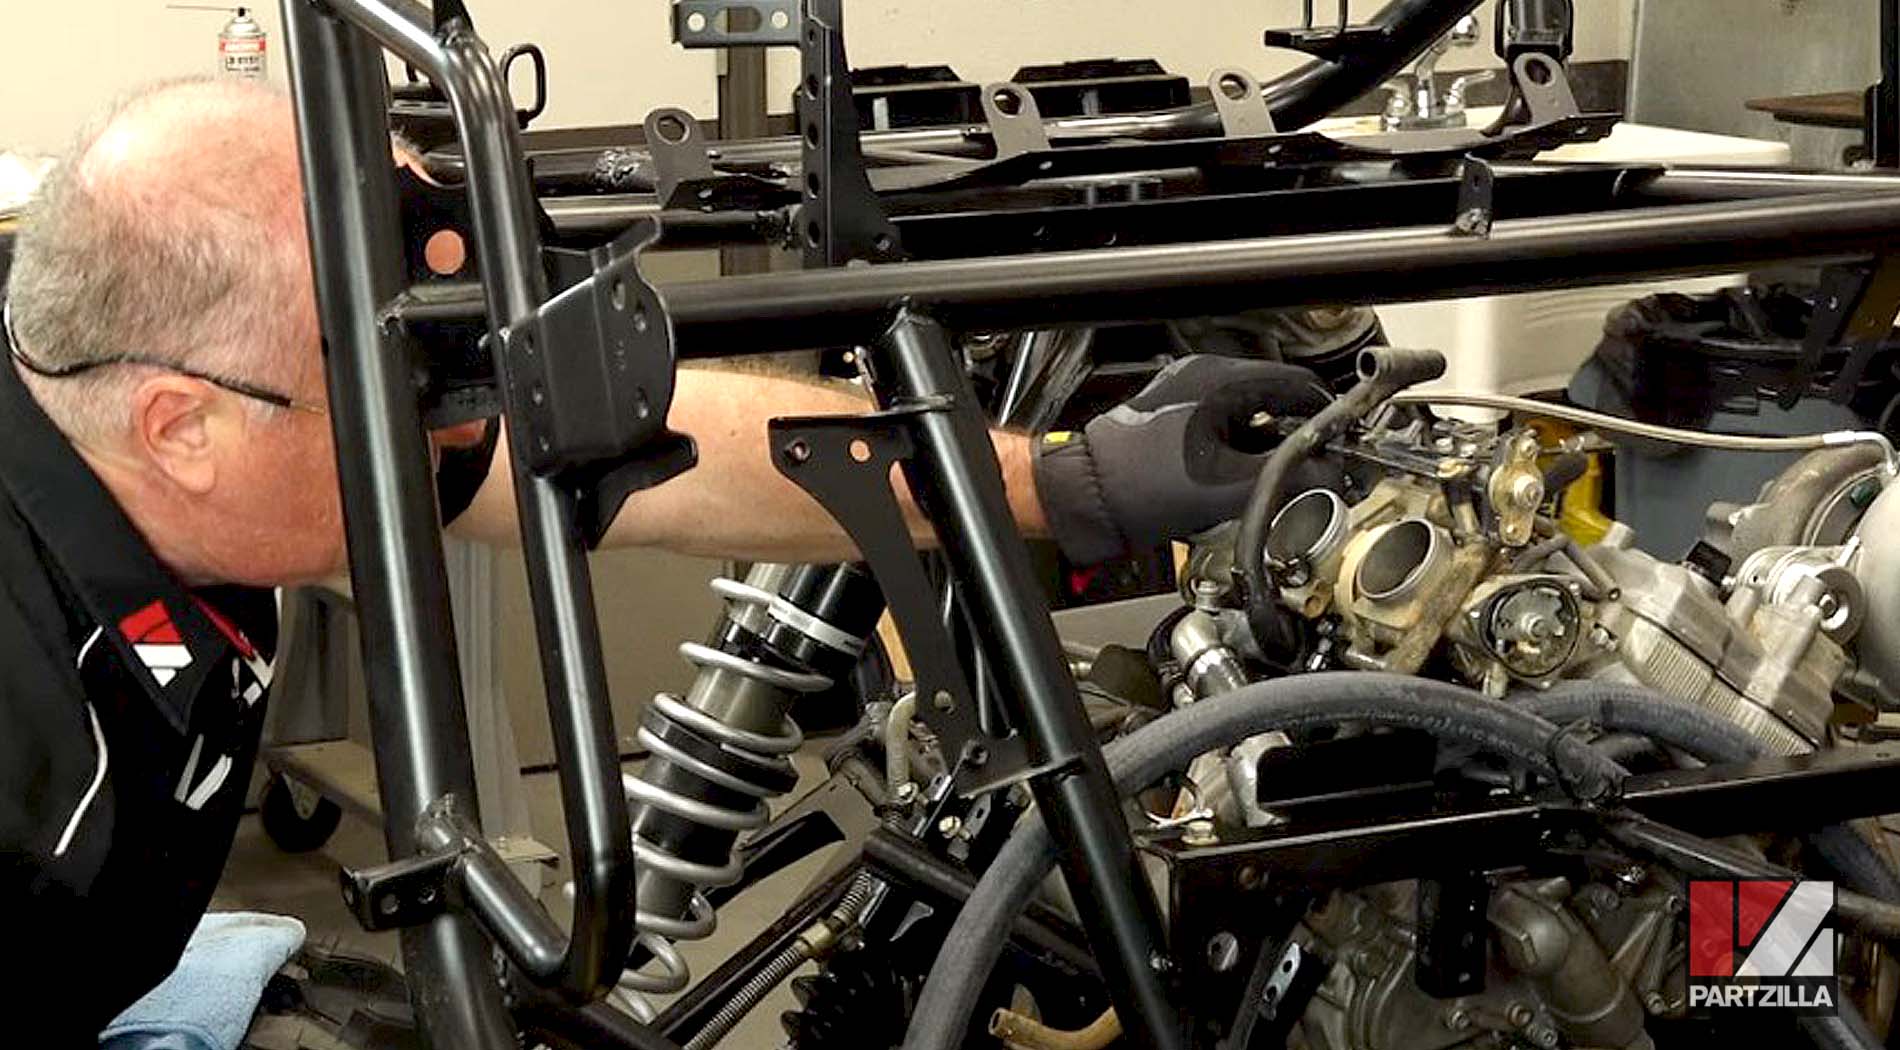
Yamaha YXZ1000R Turbo Upgrade: Intake Manifold Installation
We removed the intake air temperature sensor off of the old airbox and transferred it over after cleaning it up.
We then installed the nipple onto the intake manifold, then we hung the clamps on and tightened them down. After installing the manifold and tightening the clamps, we got the support bracket for it in place.
Next, we put the boost pressure hose to the nipple and attached it with a zip tie to keep pressure on it.
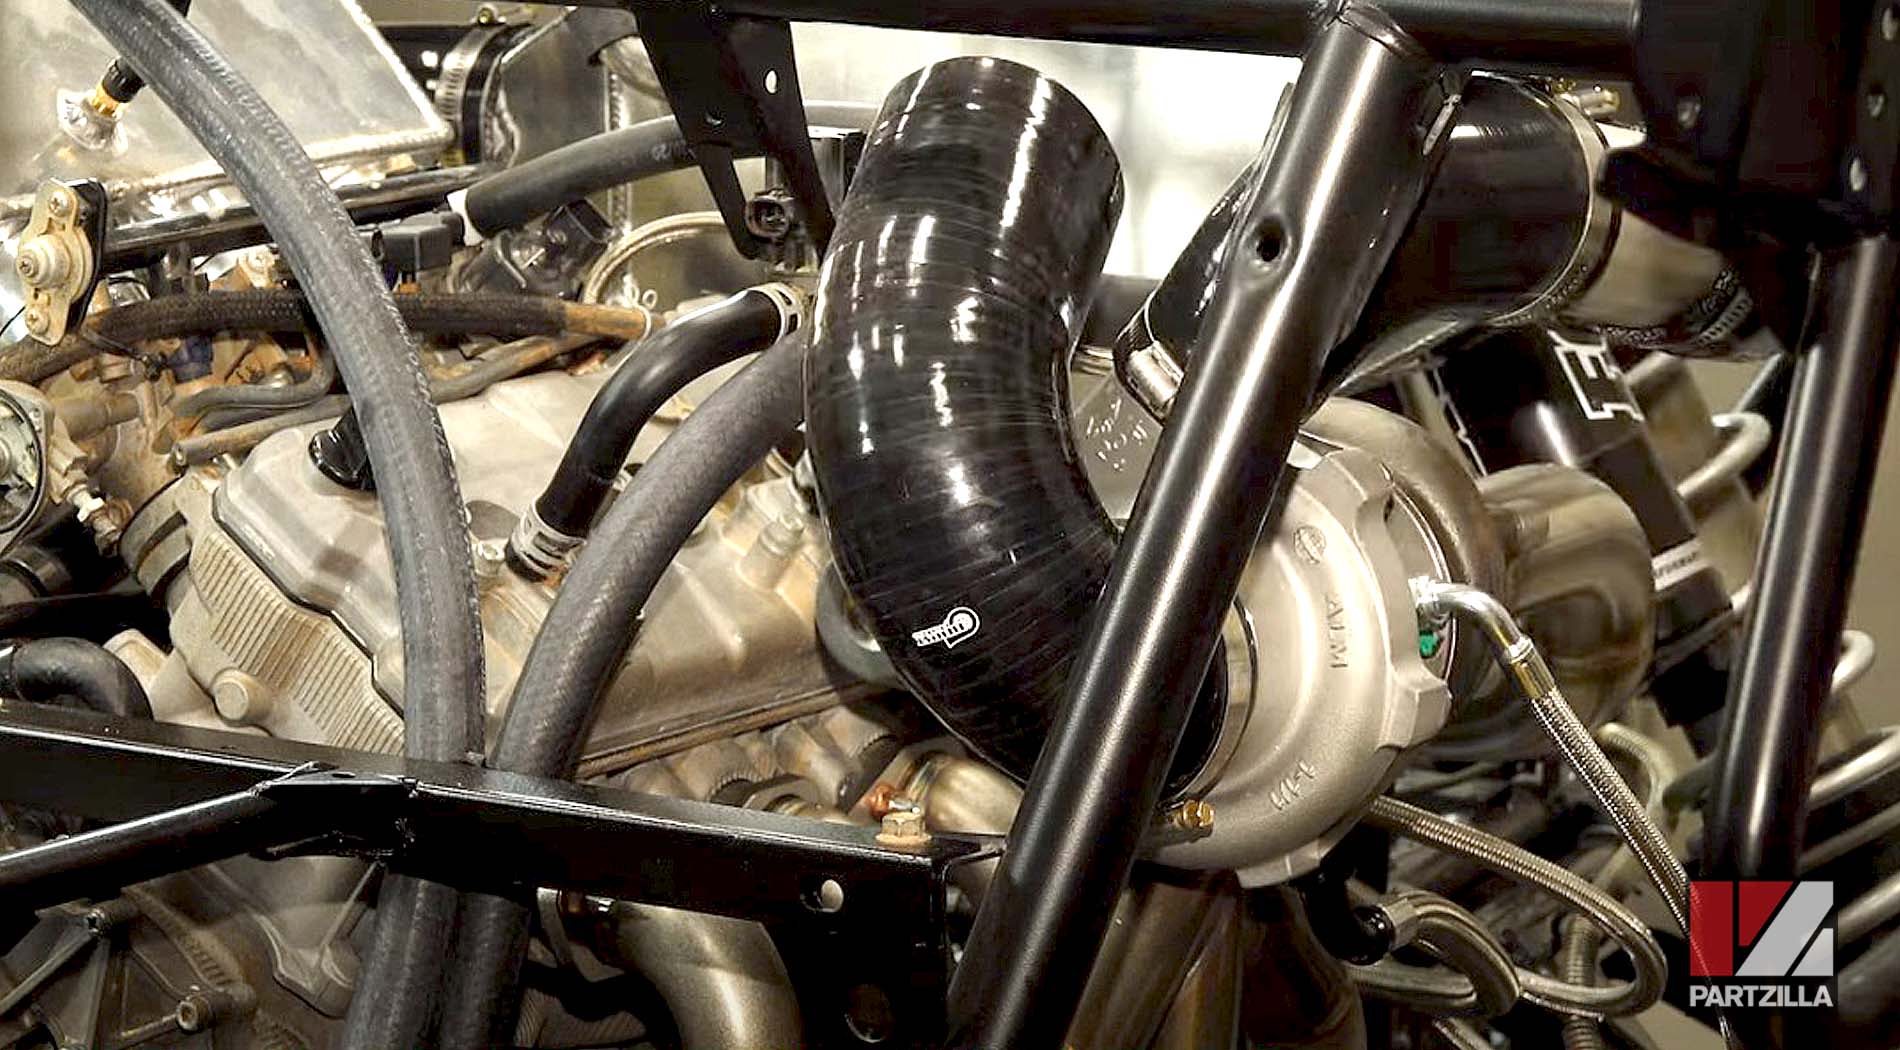
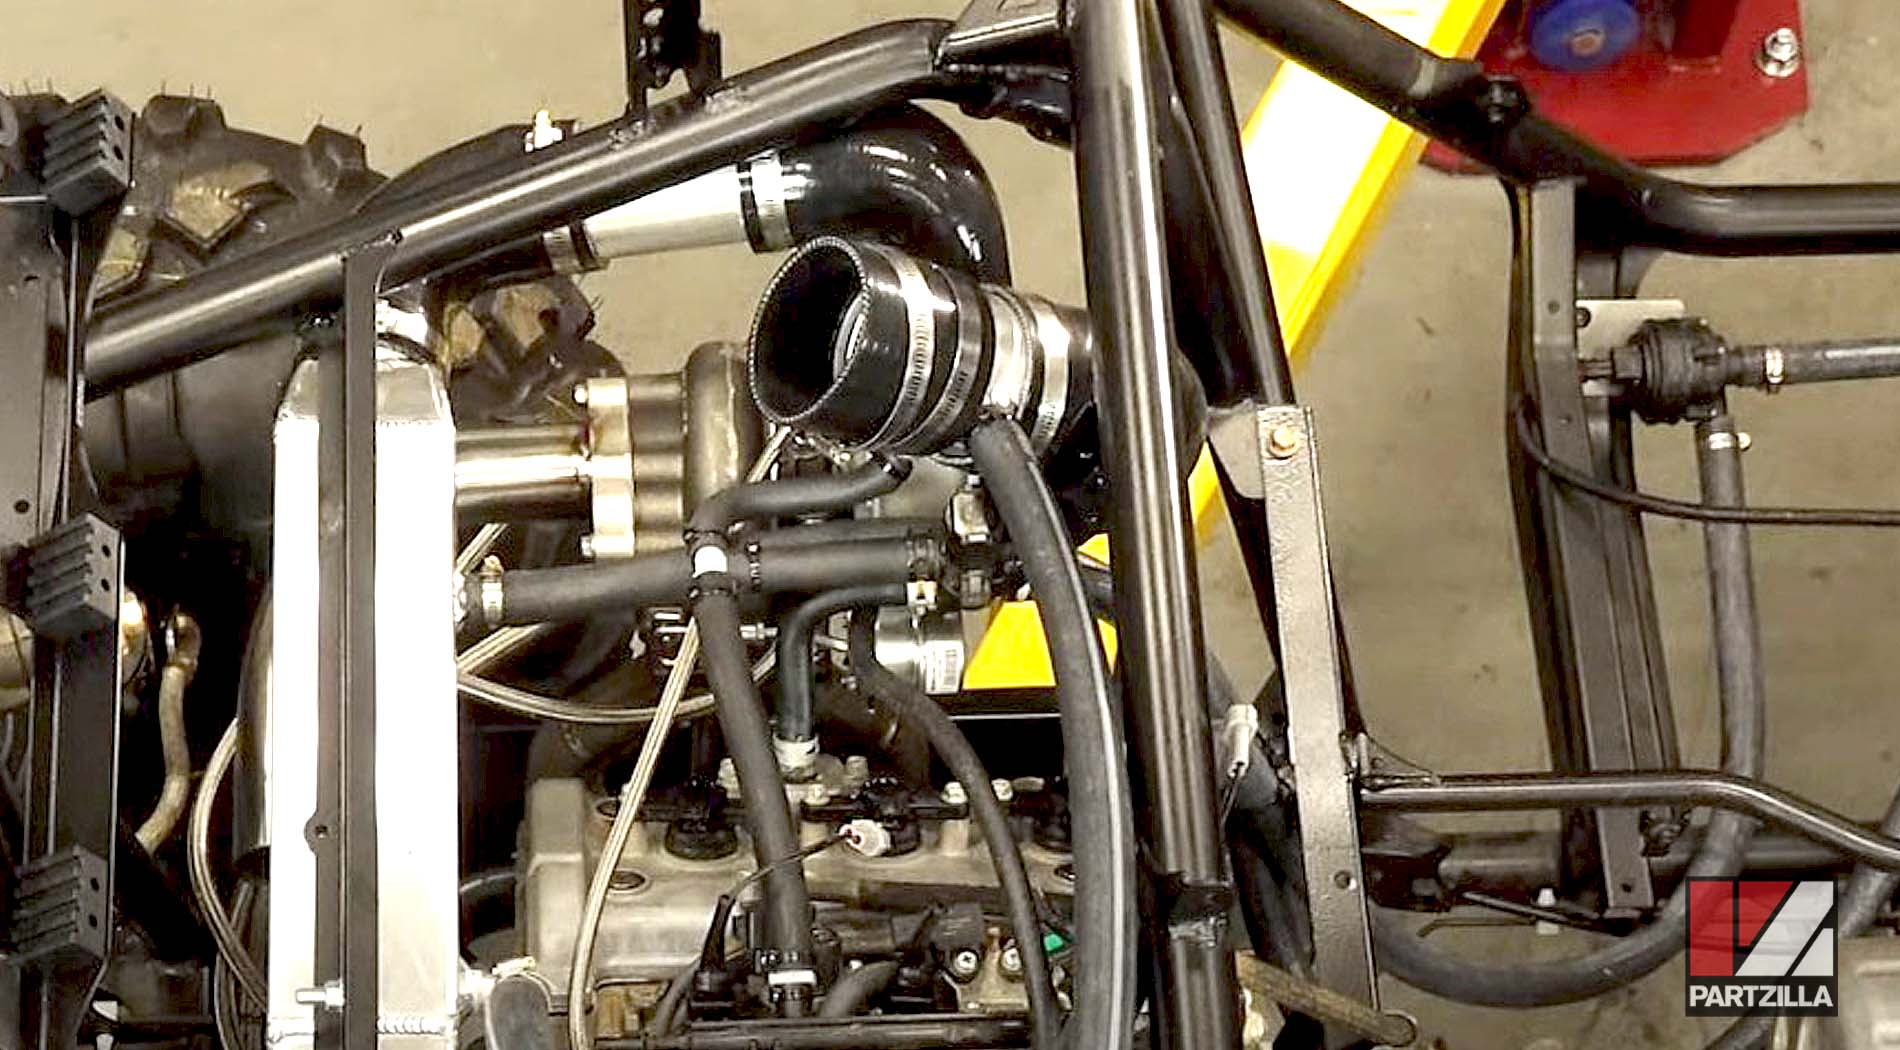
Yamaha YXZ1000R Turbo Upgrade: Air Cooler Installation
We attached the first 90° silicone elbow and its two clamps, which will be tightened down later once we get the air cooler in place.
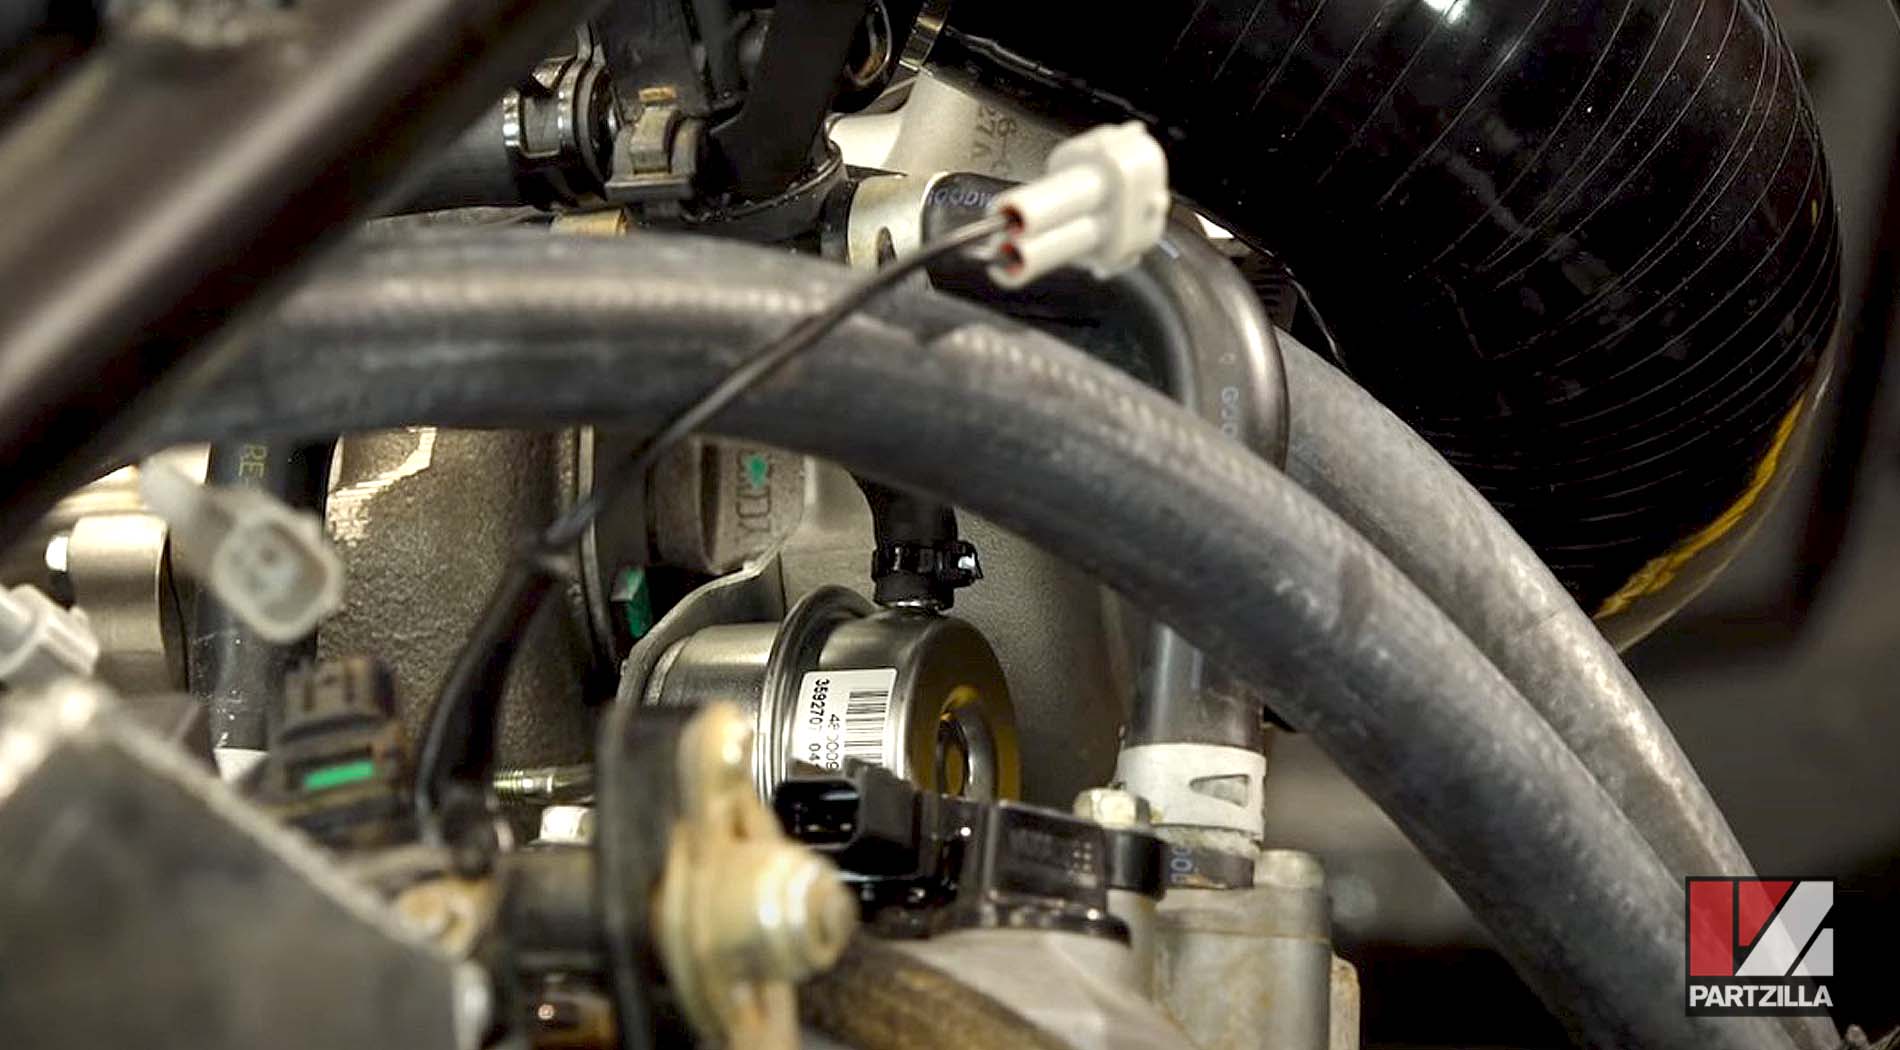
Next, we removed the MAP sensor on the back and replaced it with a three-bar unit from the kit.
Before we installed the air cooler, we needed to cut about an inch off the first hose that goes into because it pushes out too far.
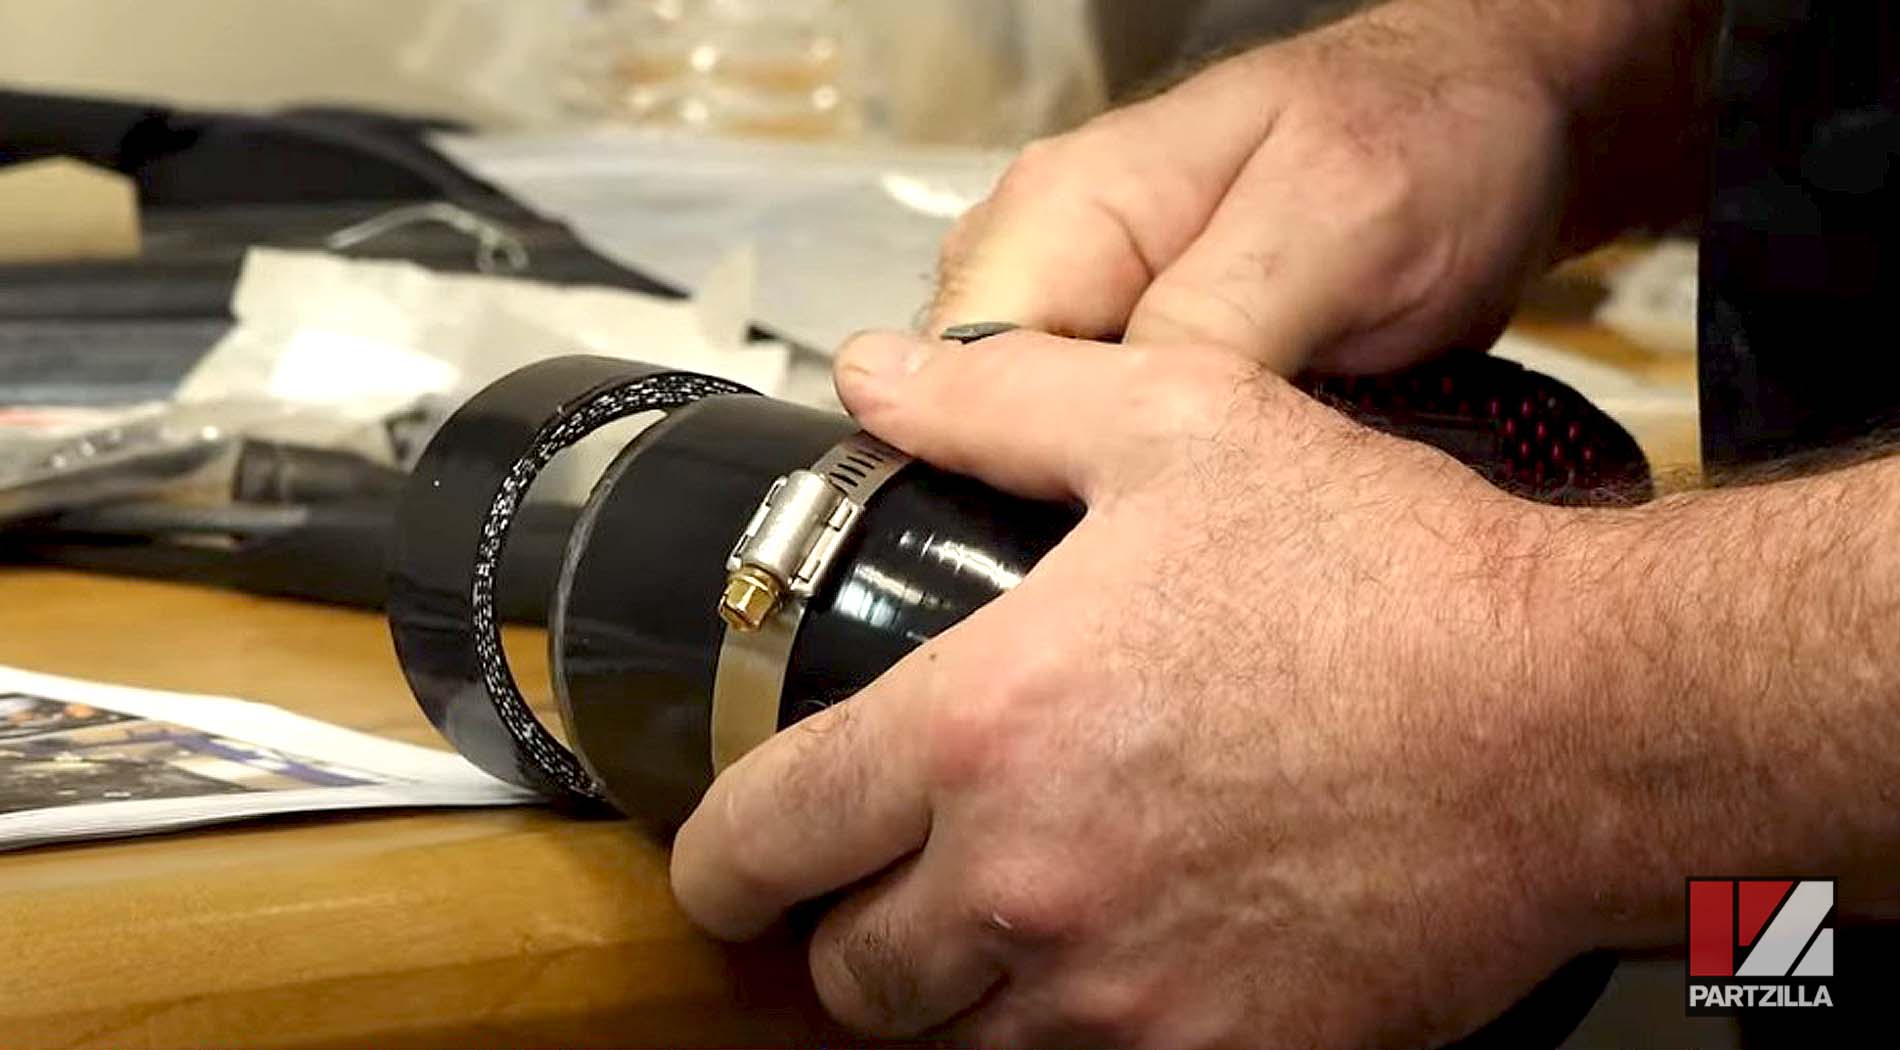
We tightened up a couple of clamps from the kit, which had three 90° elbows; two of them were the same, and one goes from a 2 ½ down to a 2 that goes over to the turbo side.
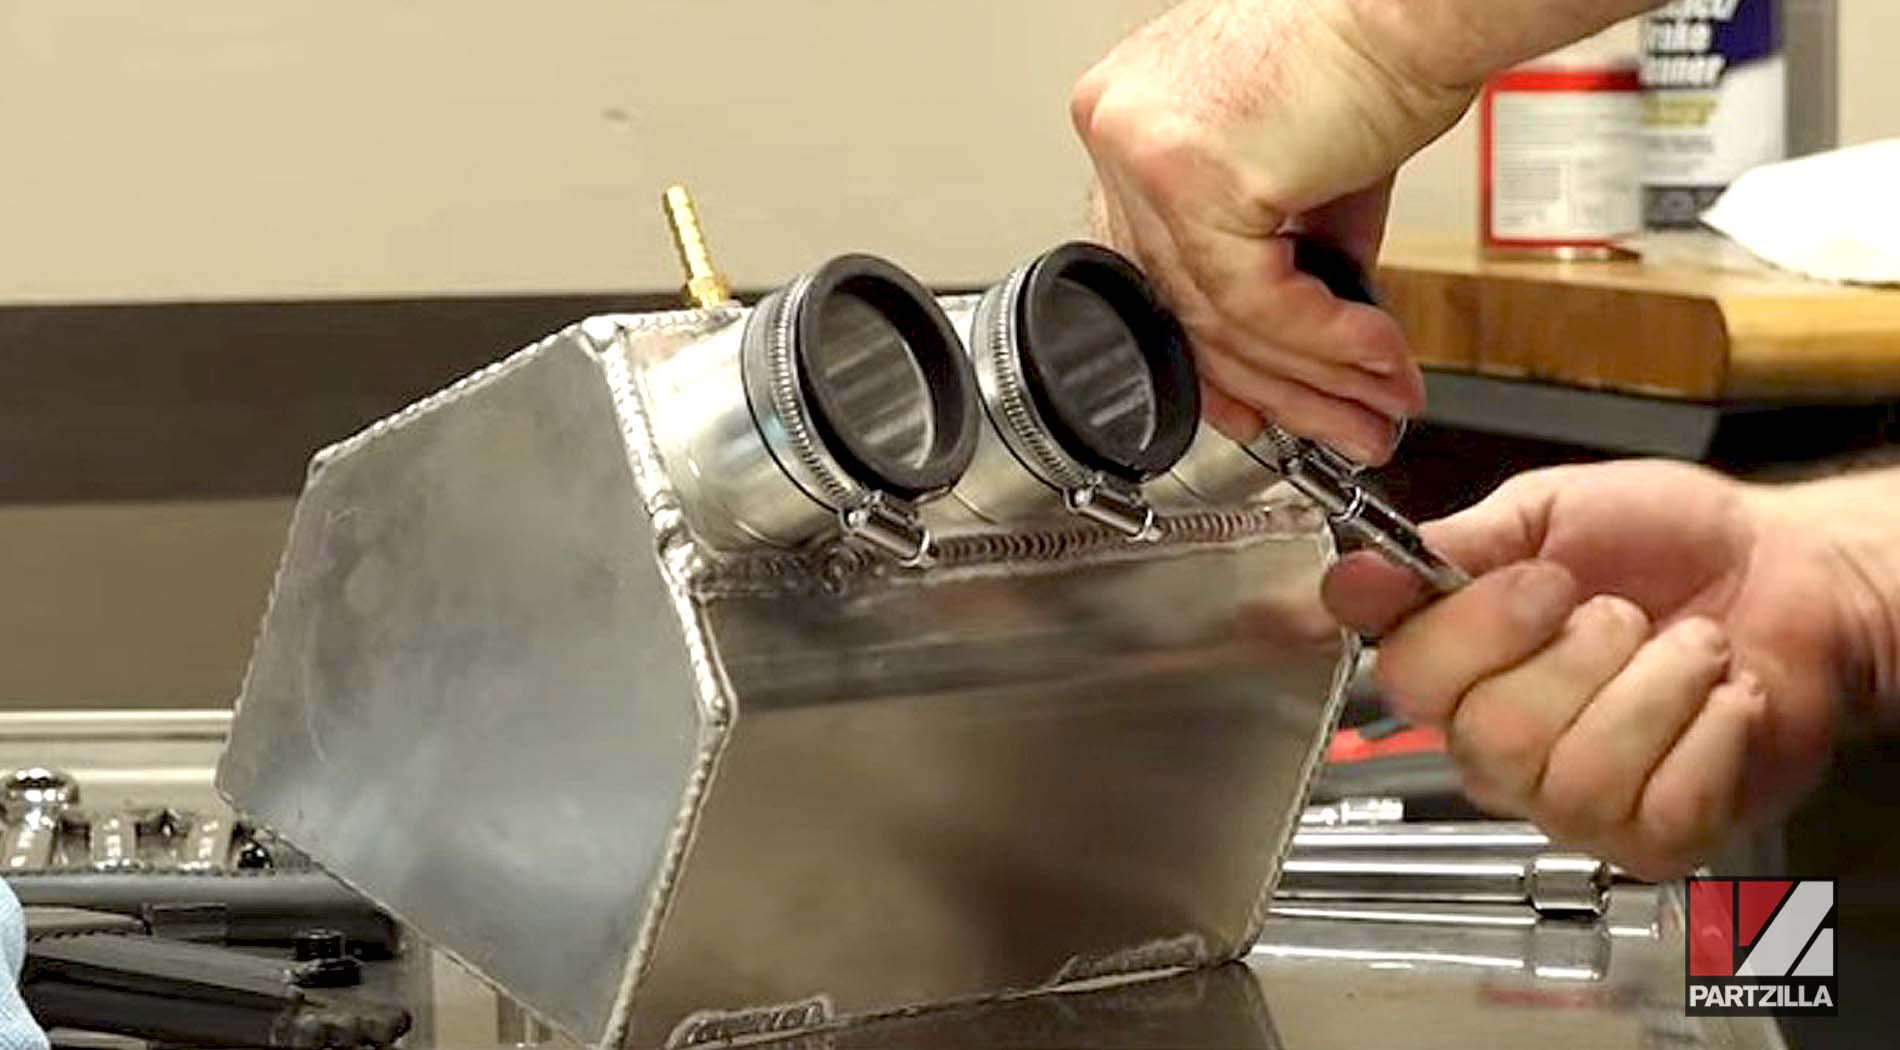
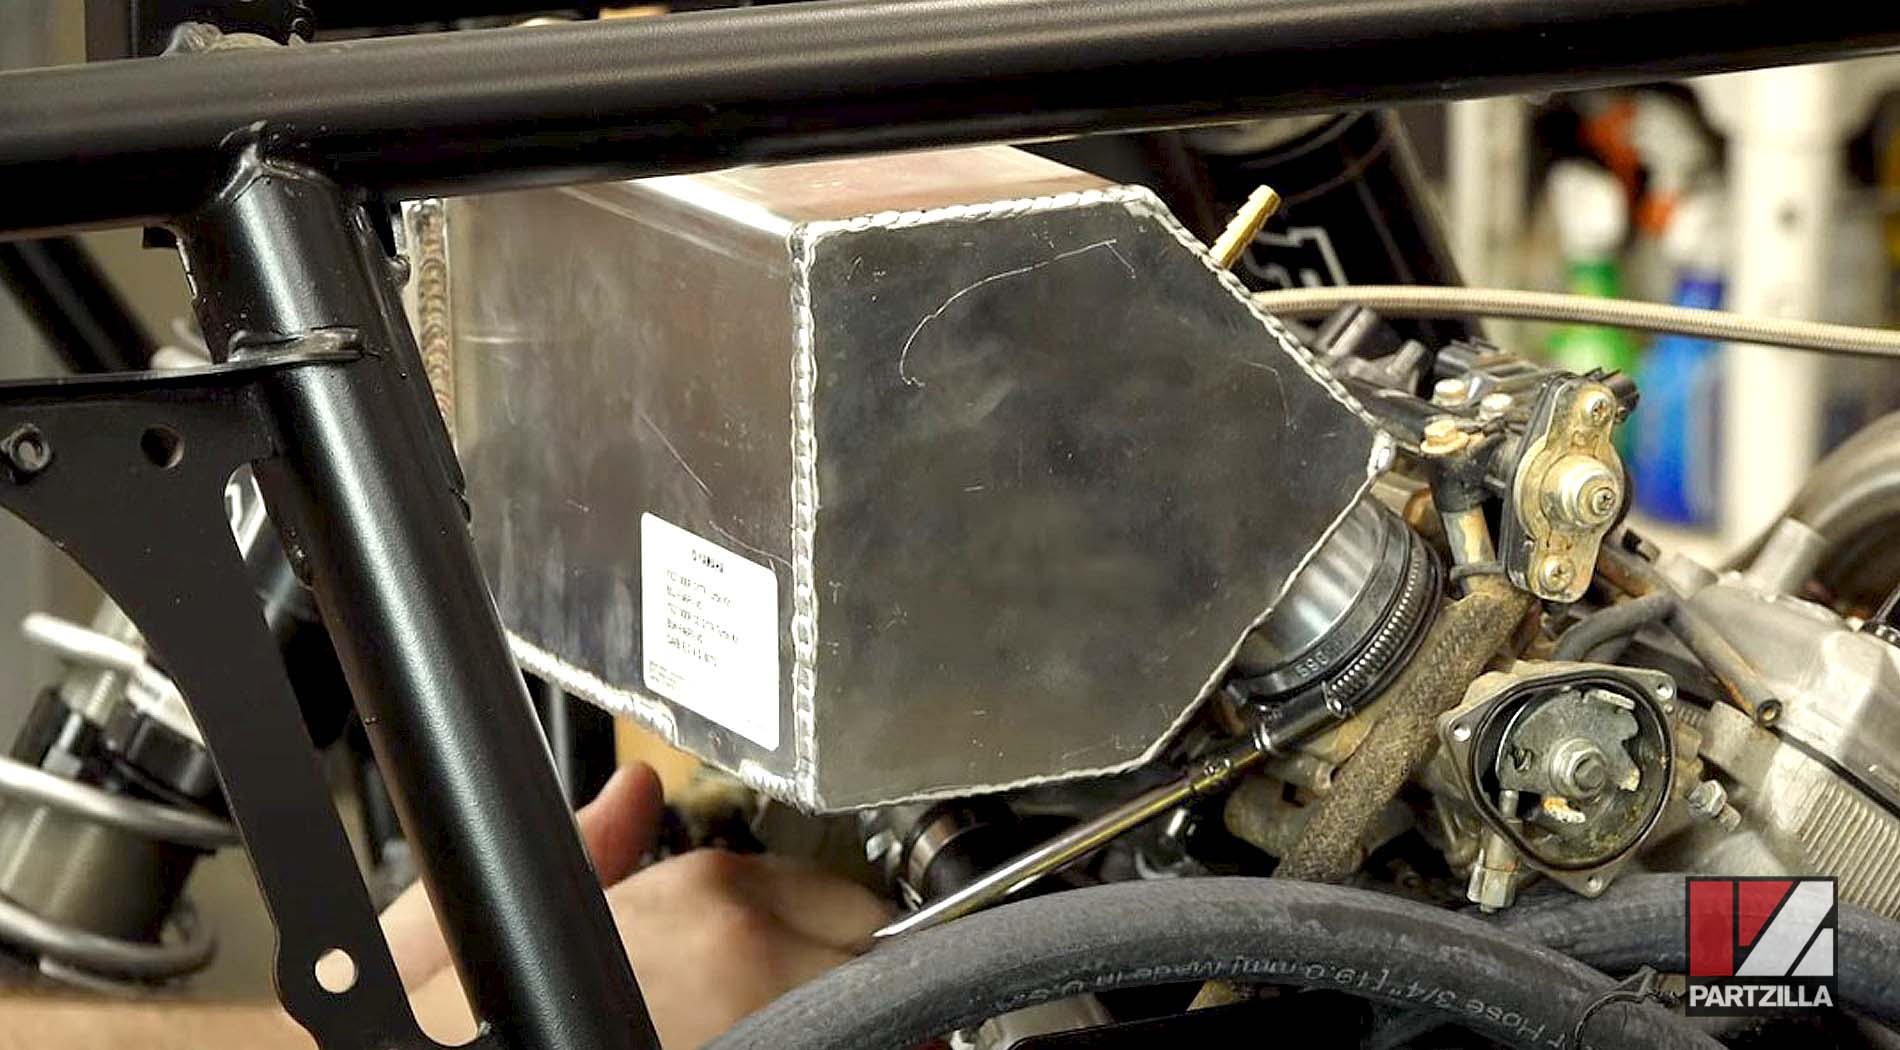
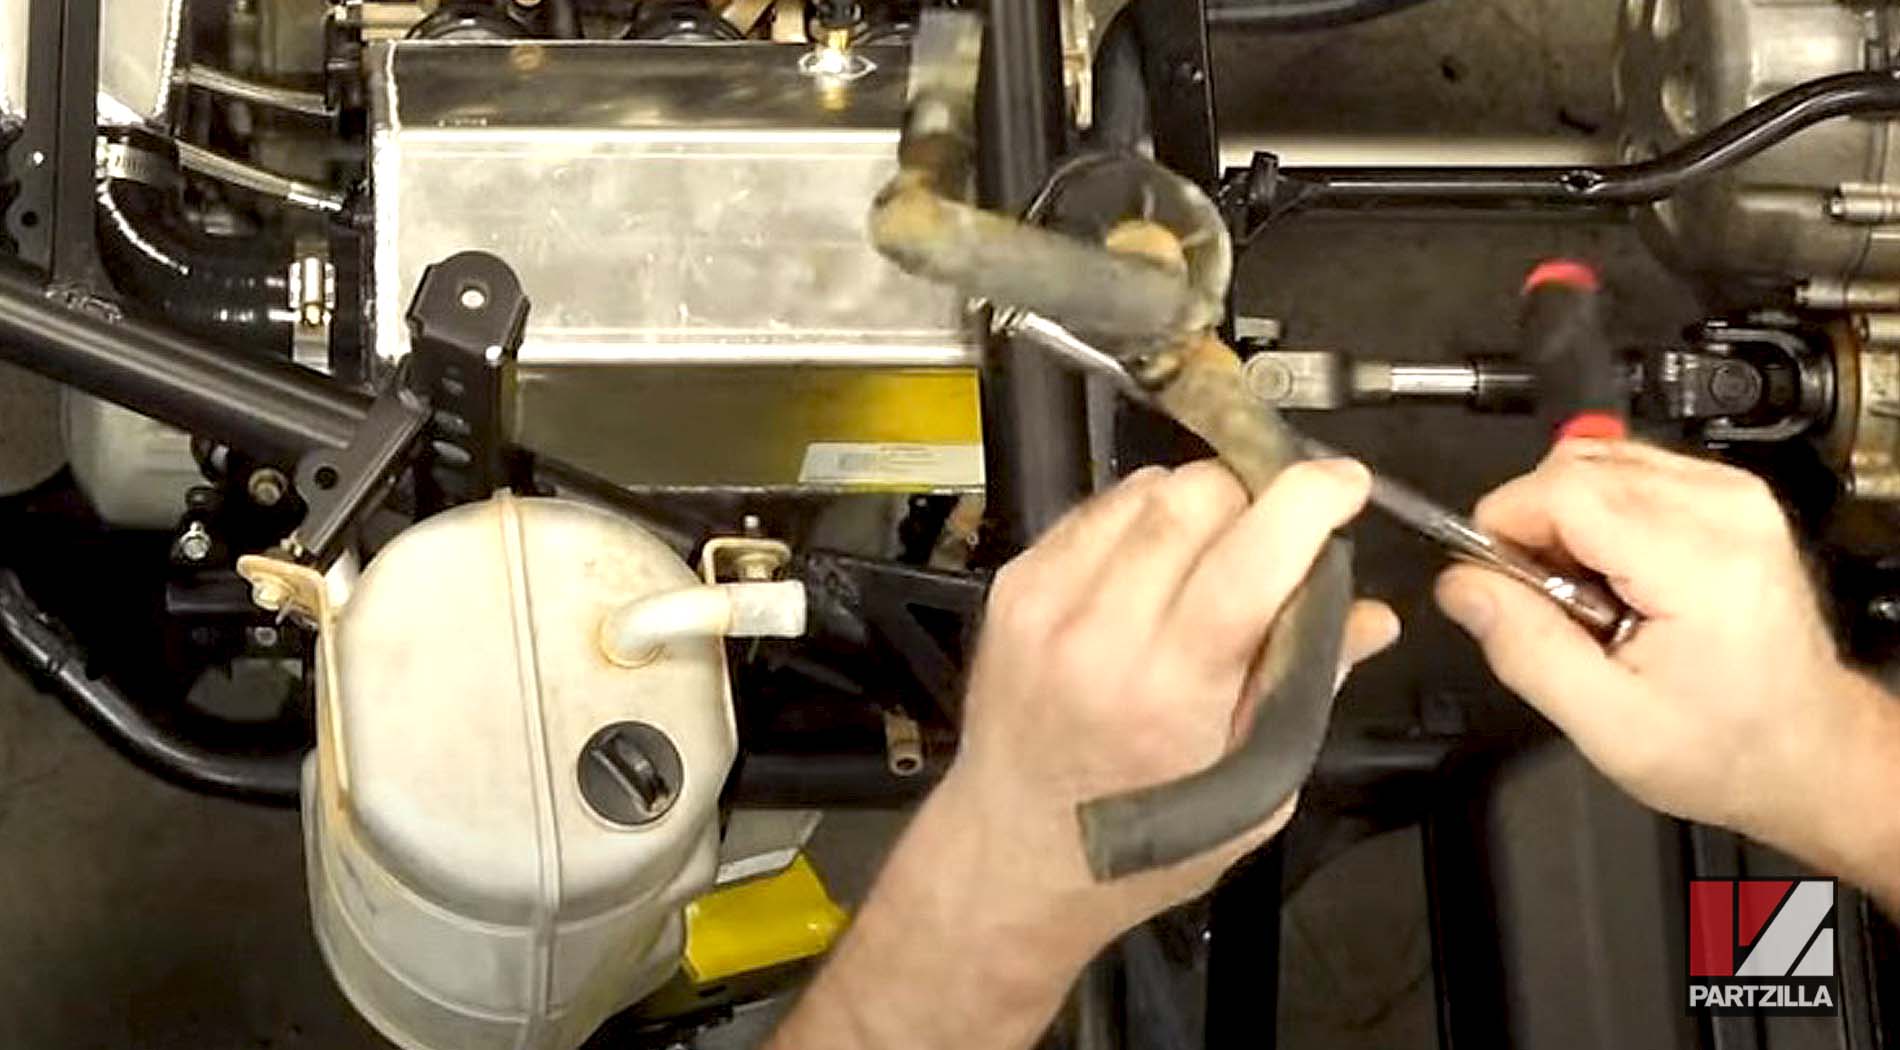
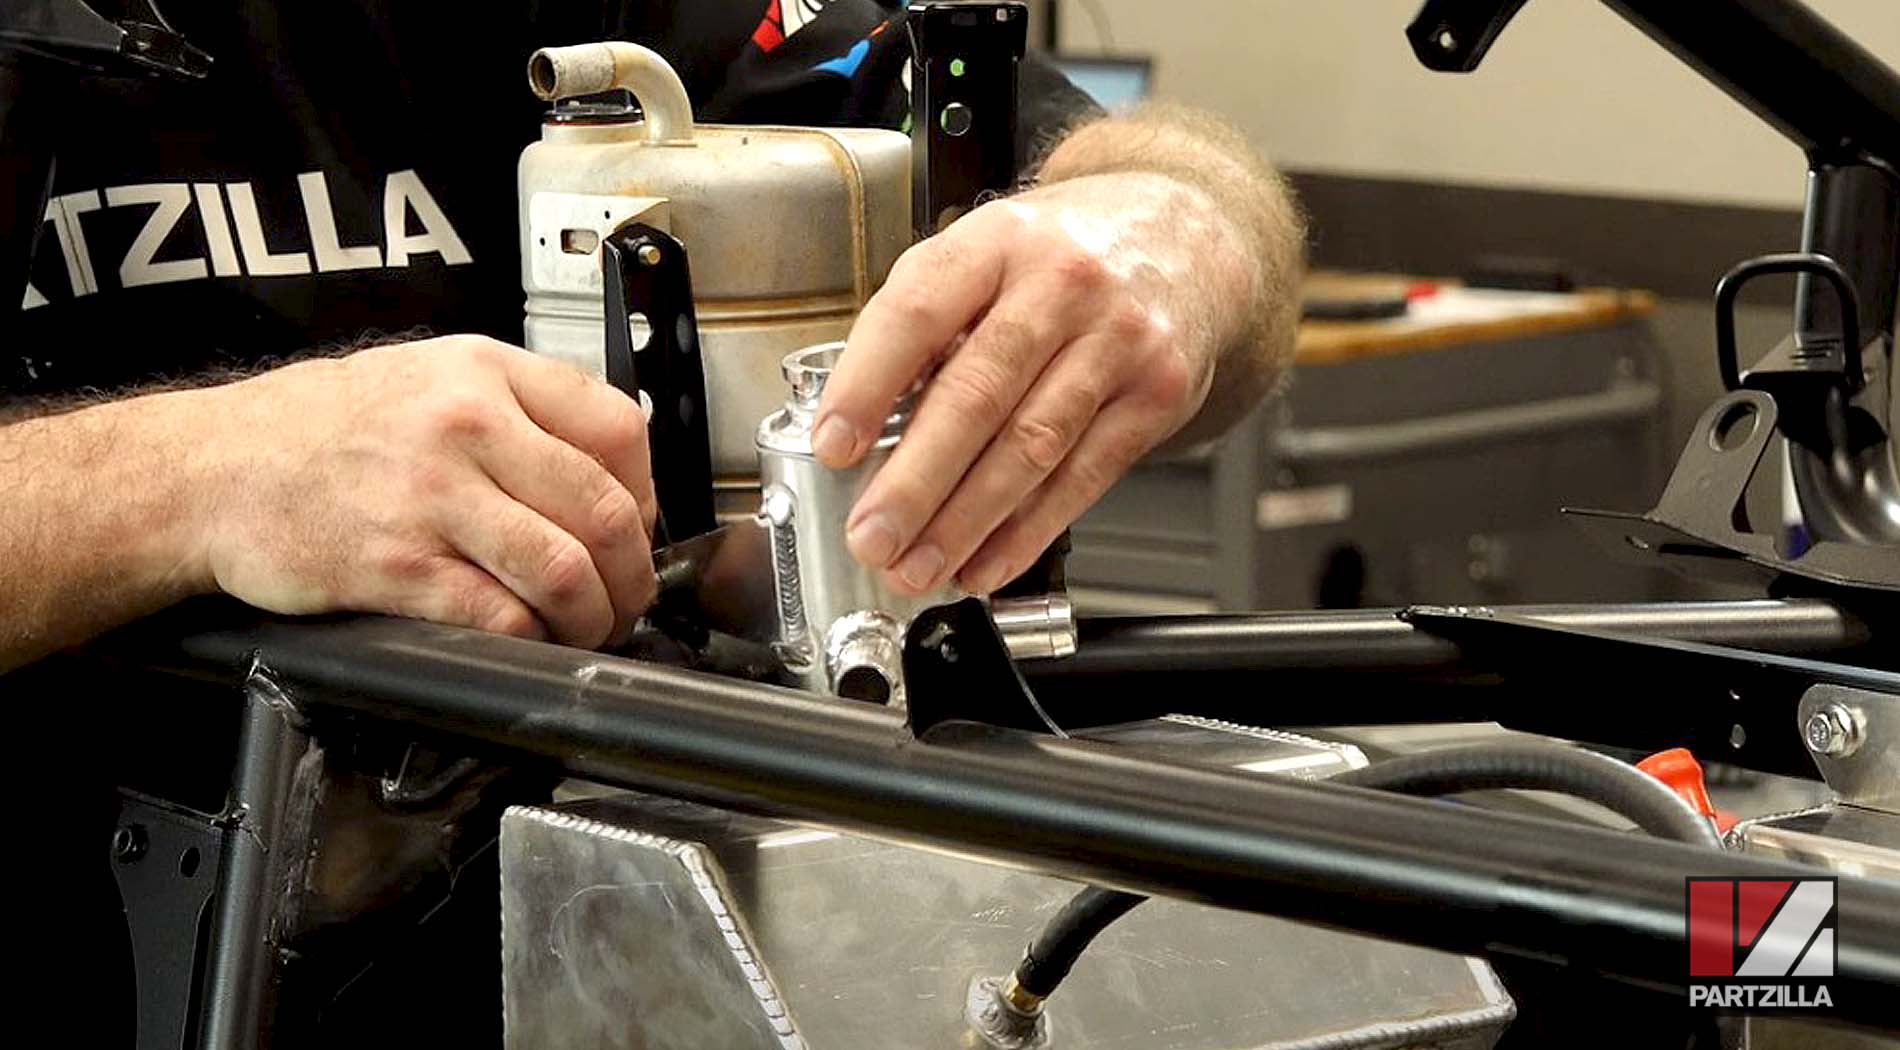
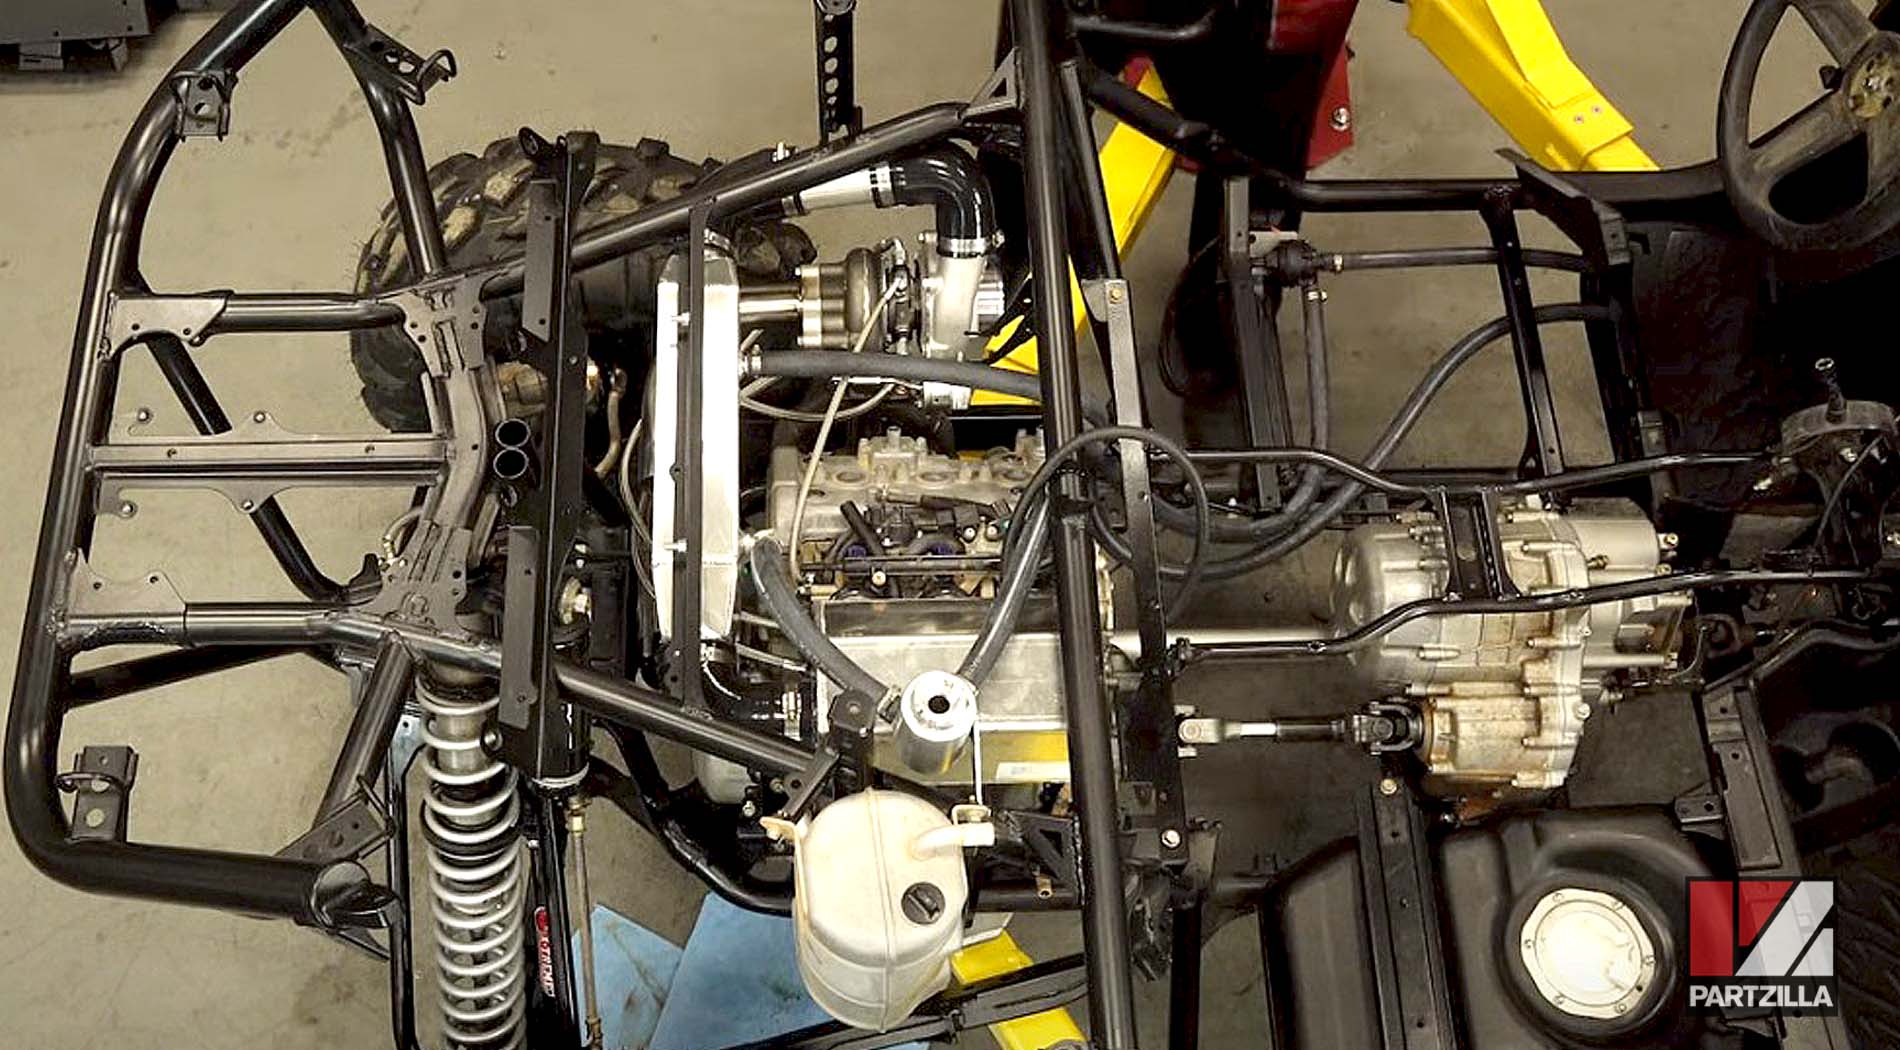
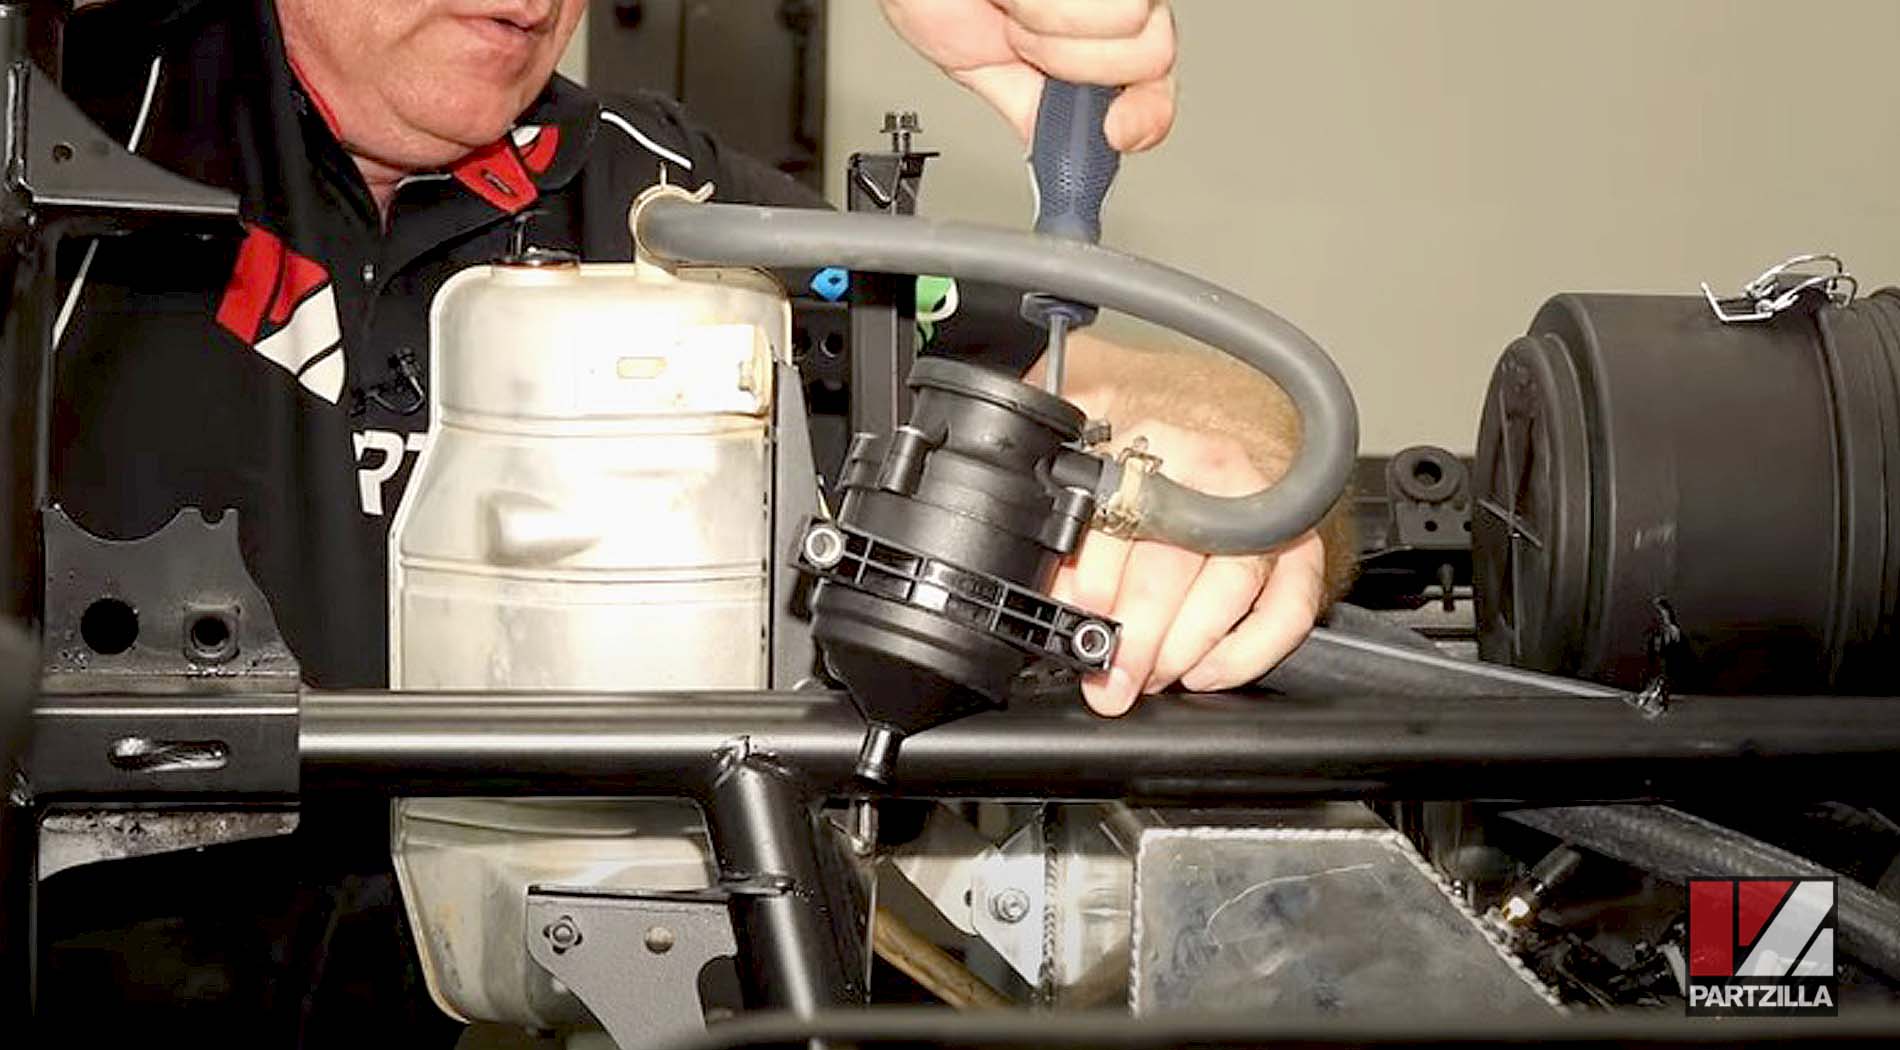
Yamaha YXZ1000R Turbo Upgrade: Oil Tank Installation
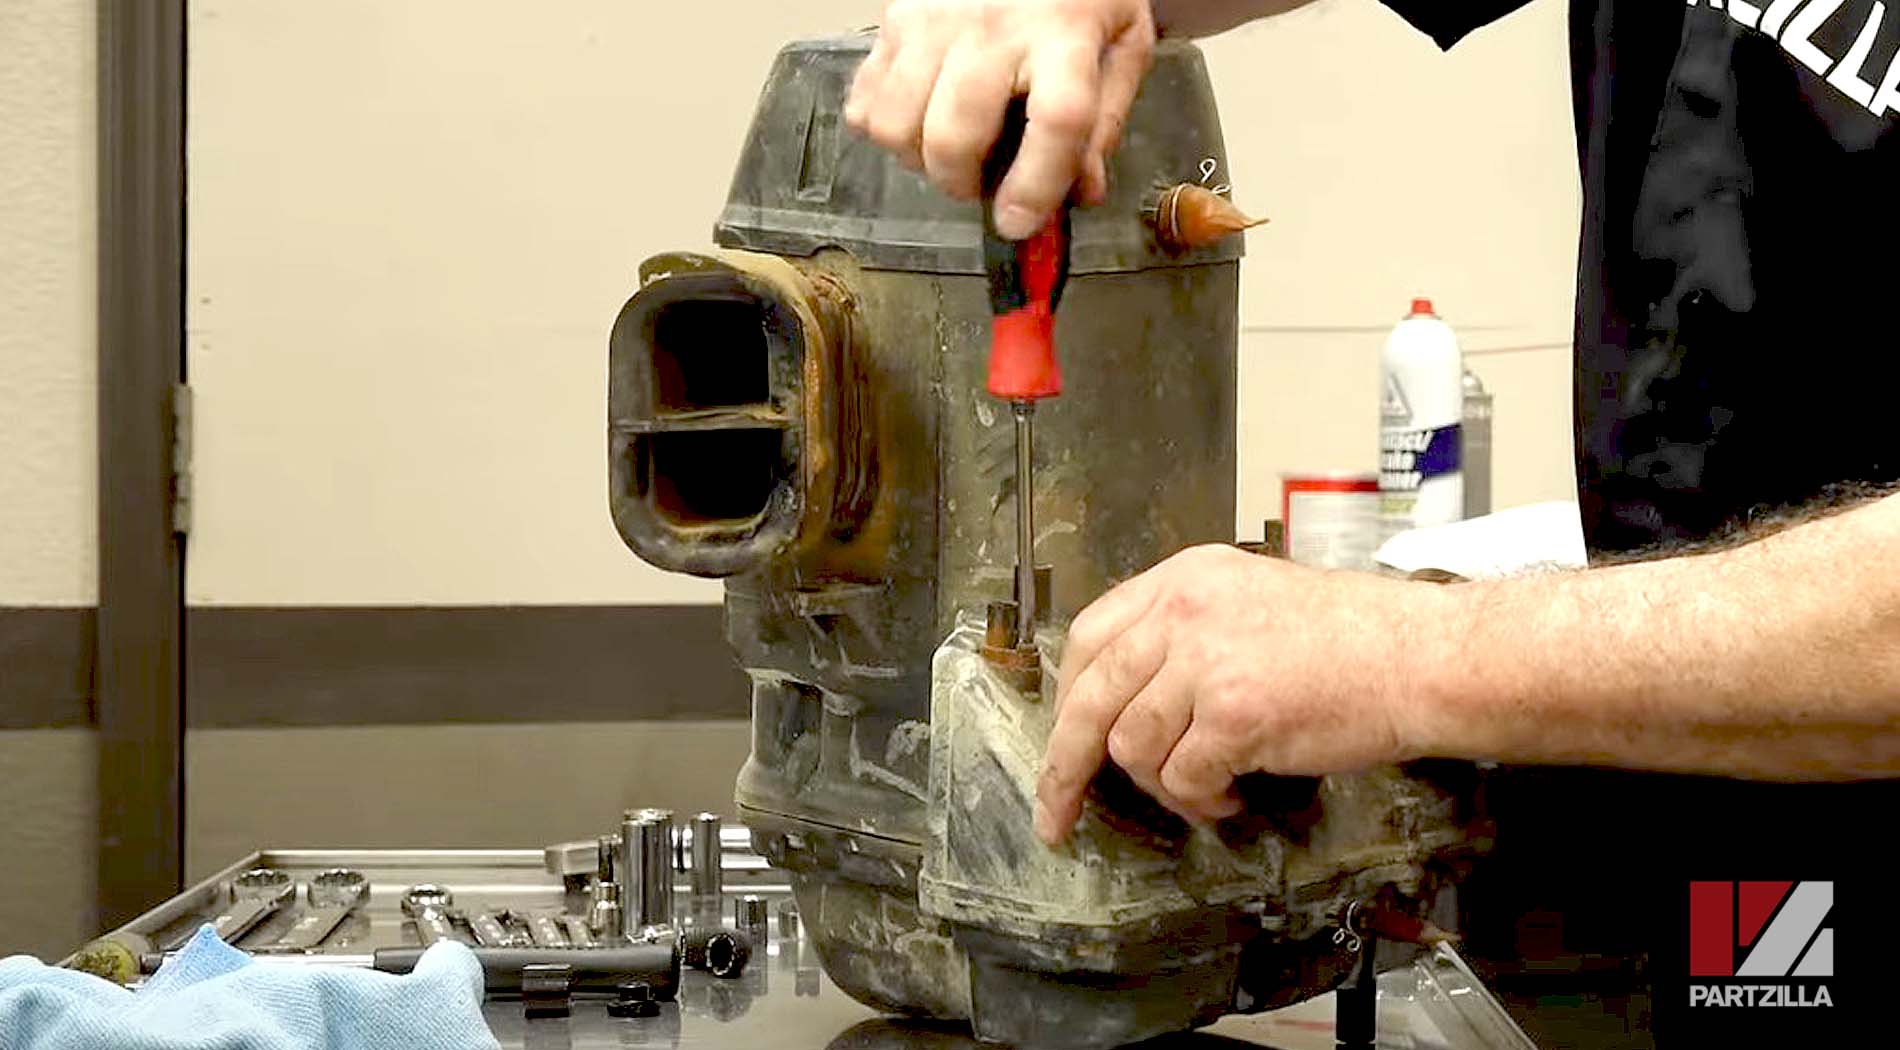
We remounted the oil tank, then modified the hoses accordingly to get the new catch can and separator installed. Next, we removed the two hoses from the oil tank, along with the oil separator.
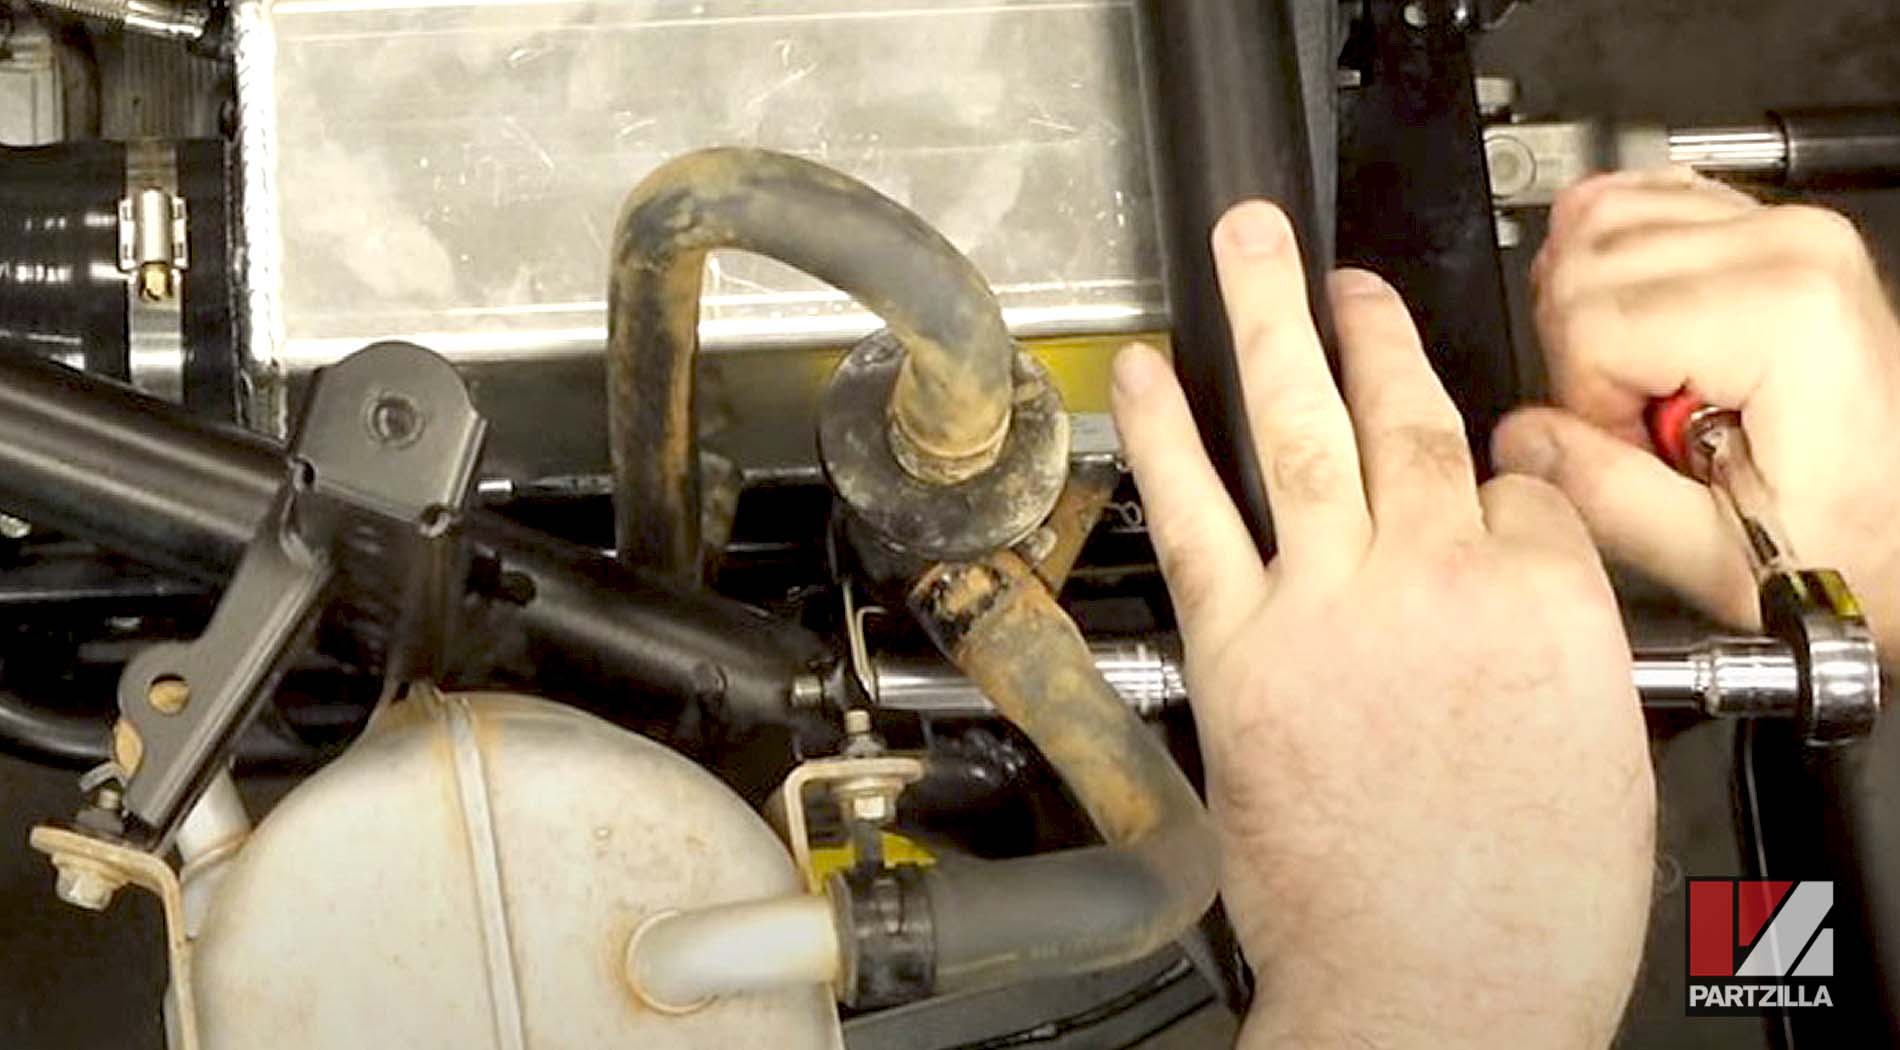
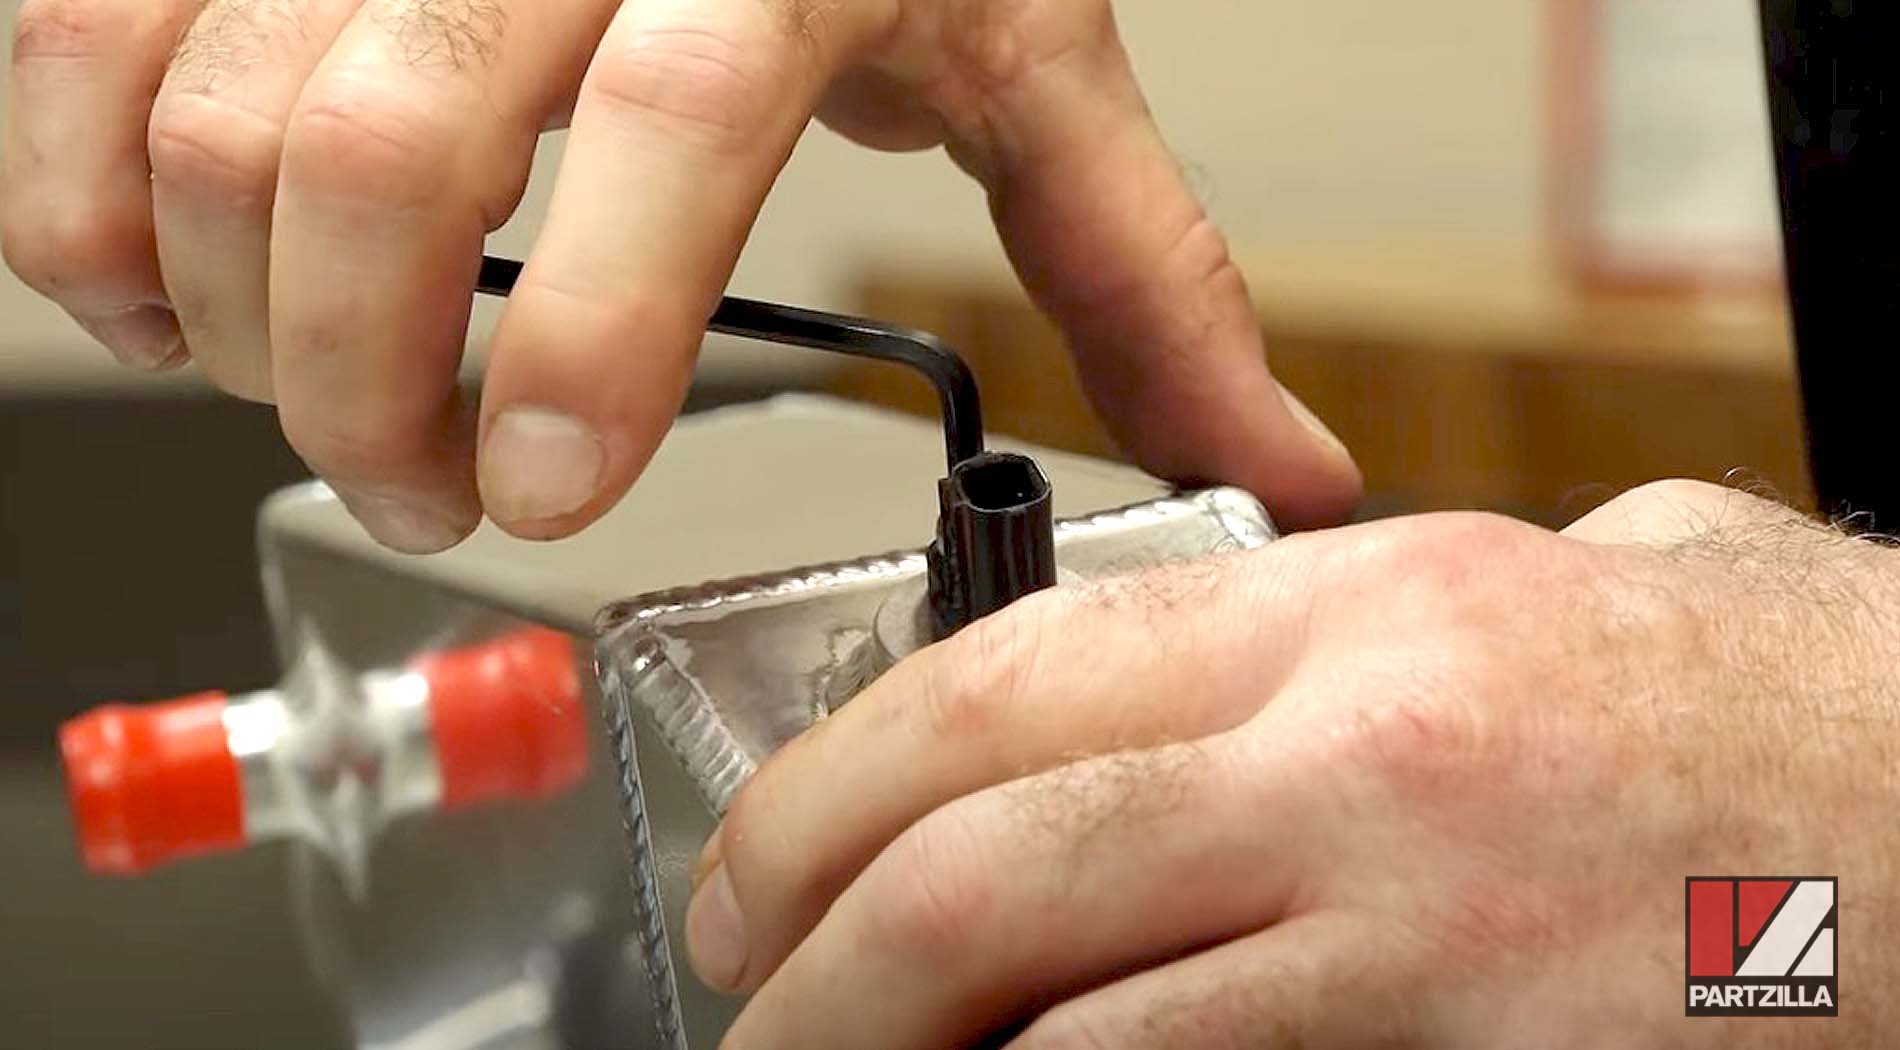
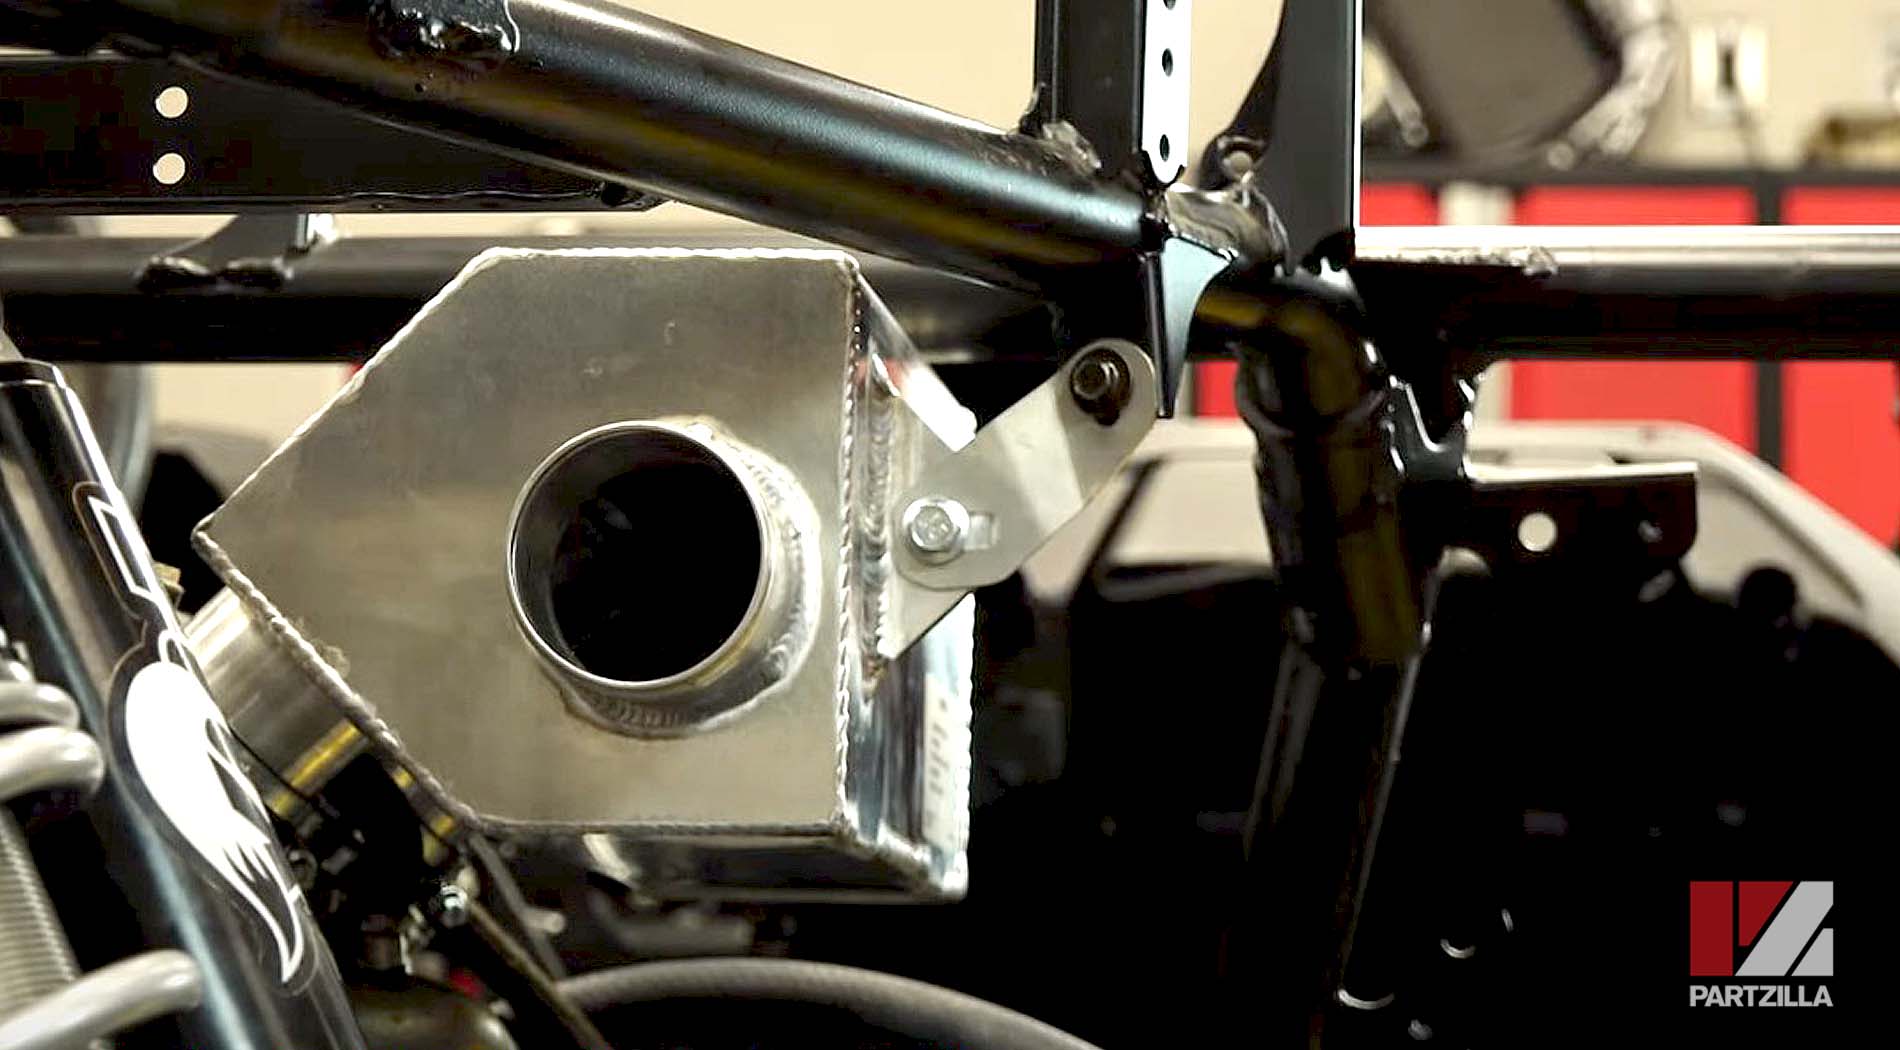
With the oil separator out of the way, we used its mounting place for the cooling surge tank. Before tightening it down, we had to make sure there was a little bit of clearance in between it and the intake box.
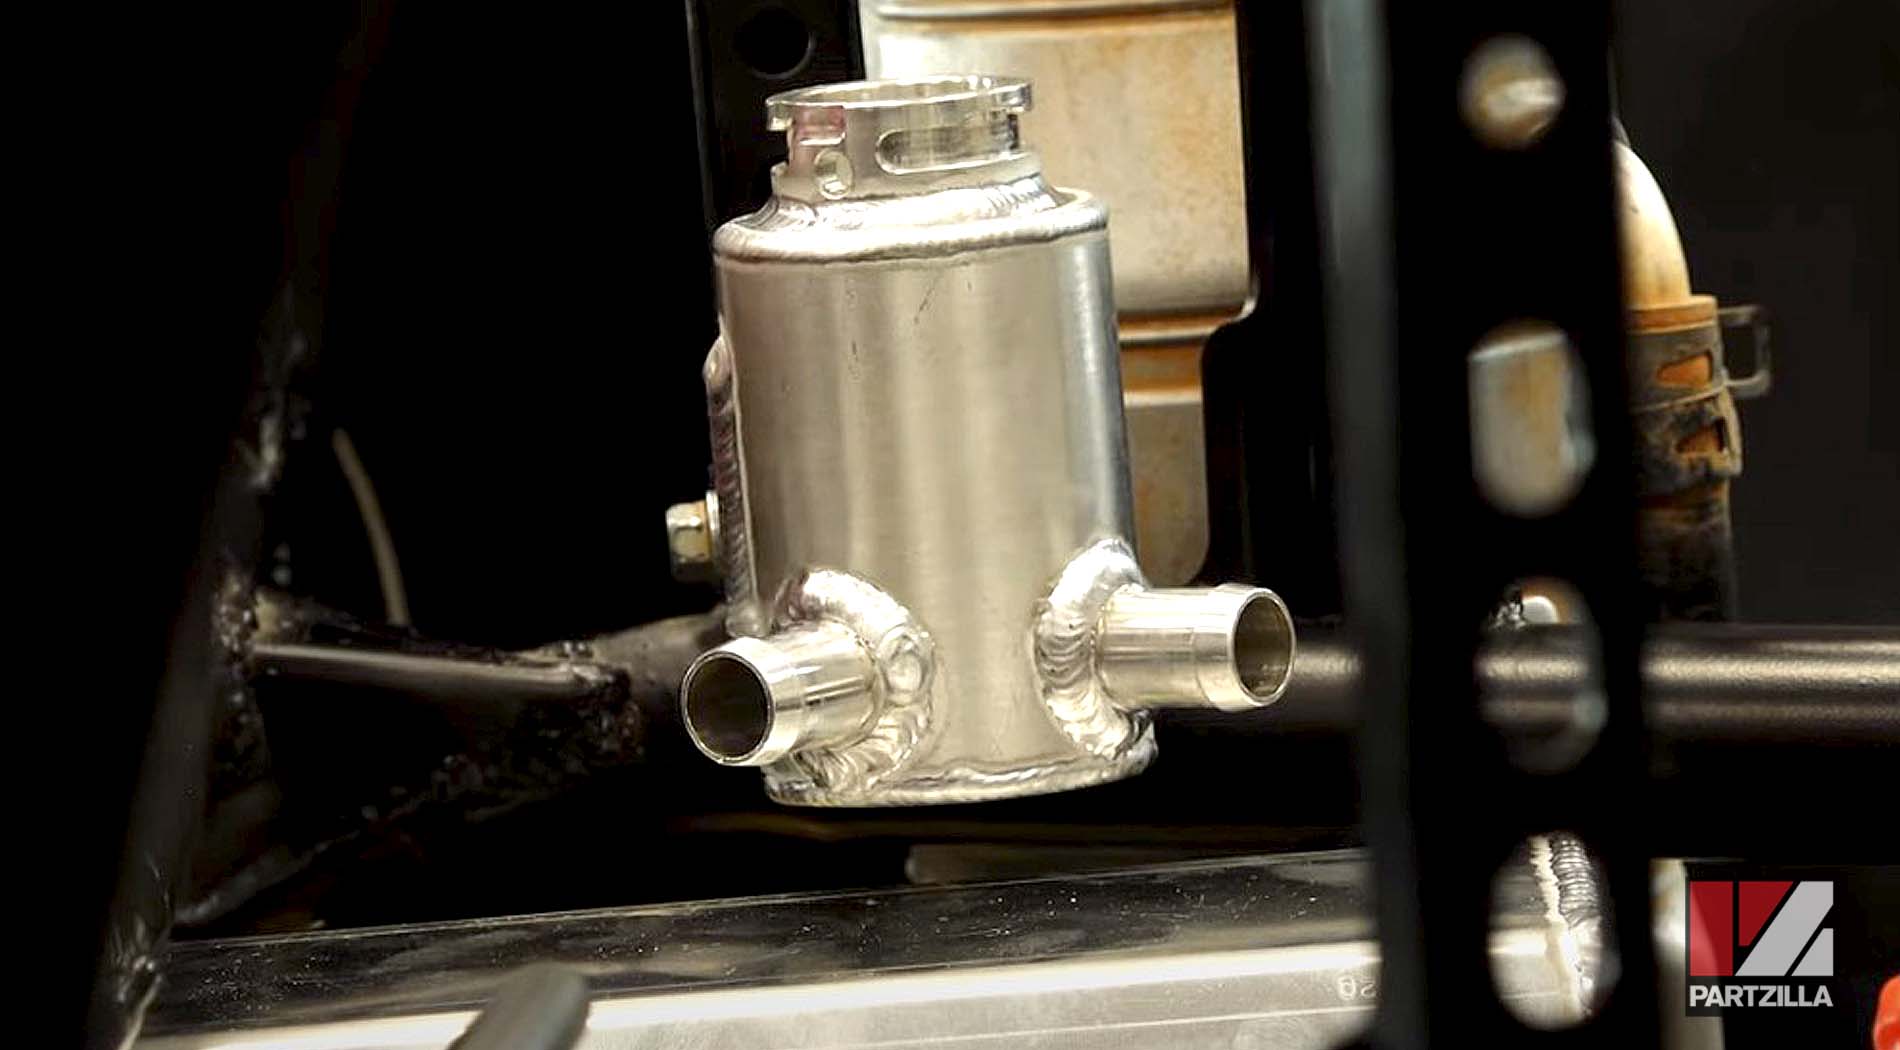
After taking away the oil separator’s mounting place, we mounted the new oil separator, followed by connecting and zip-tying the hoses we ran from the front of the vehicle. The 44 hose heads to the bottom of the heat exchanger, and the other one that comes off the pump goes to the cooling surge tank.
NOTE: If you’re doing your own turbo kit installation, keep the hoses as far away from the turbo as you can, because a lot of heat gets generated from it.
Next, we attached the hoses for the idle air control hose setup, getting everything in position before locking it in with zip ties.
Then, we installed the135-degree arm that turns up to the airbox through another fitting. After cutting it to the correct length, we installed the clamp, then got in the air hose to where the larger barb goes toward the right side of the vehicle, and the smaller one faces down.

Yamaha YXZ1000R Turbo Upgrade: Fuel Injector Replacement
We swapped out the fuel injectors for 1000cc Bosch injectors, plus new OEM seals to go with them.

NOTE: With these particular injectors, we had to use an adapter to handle the conversion.
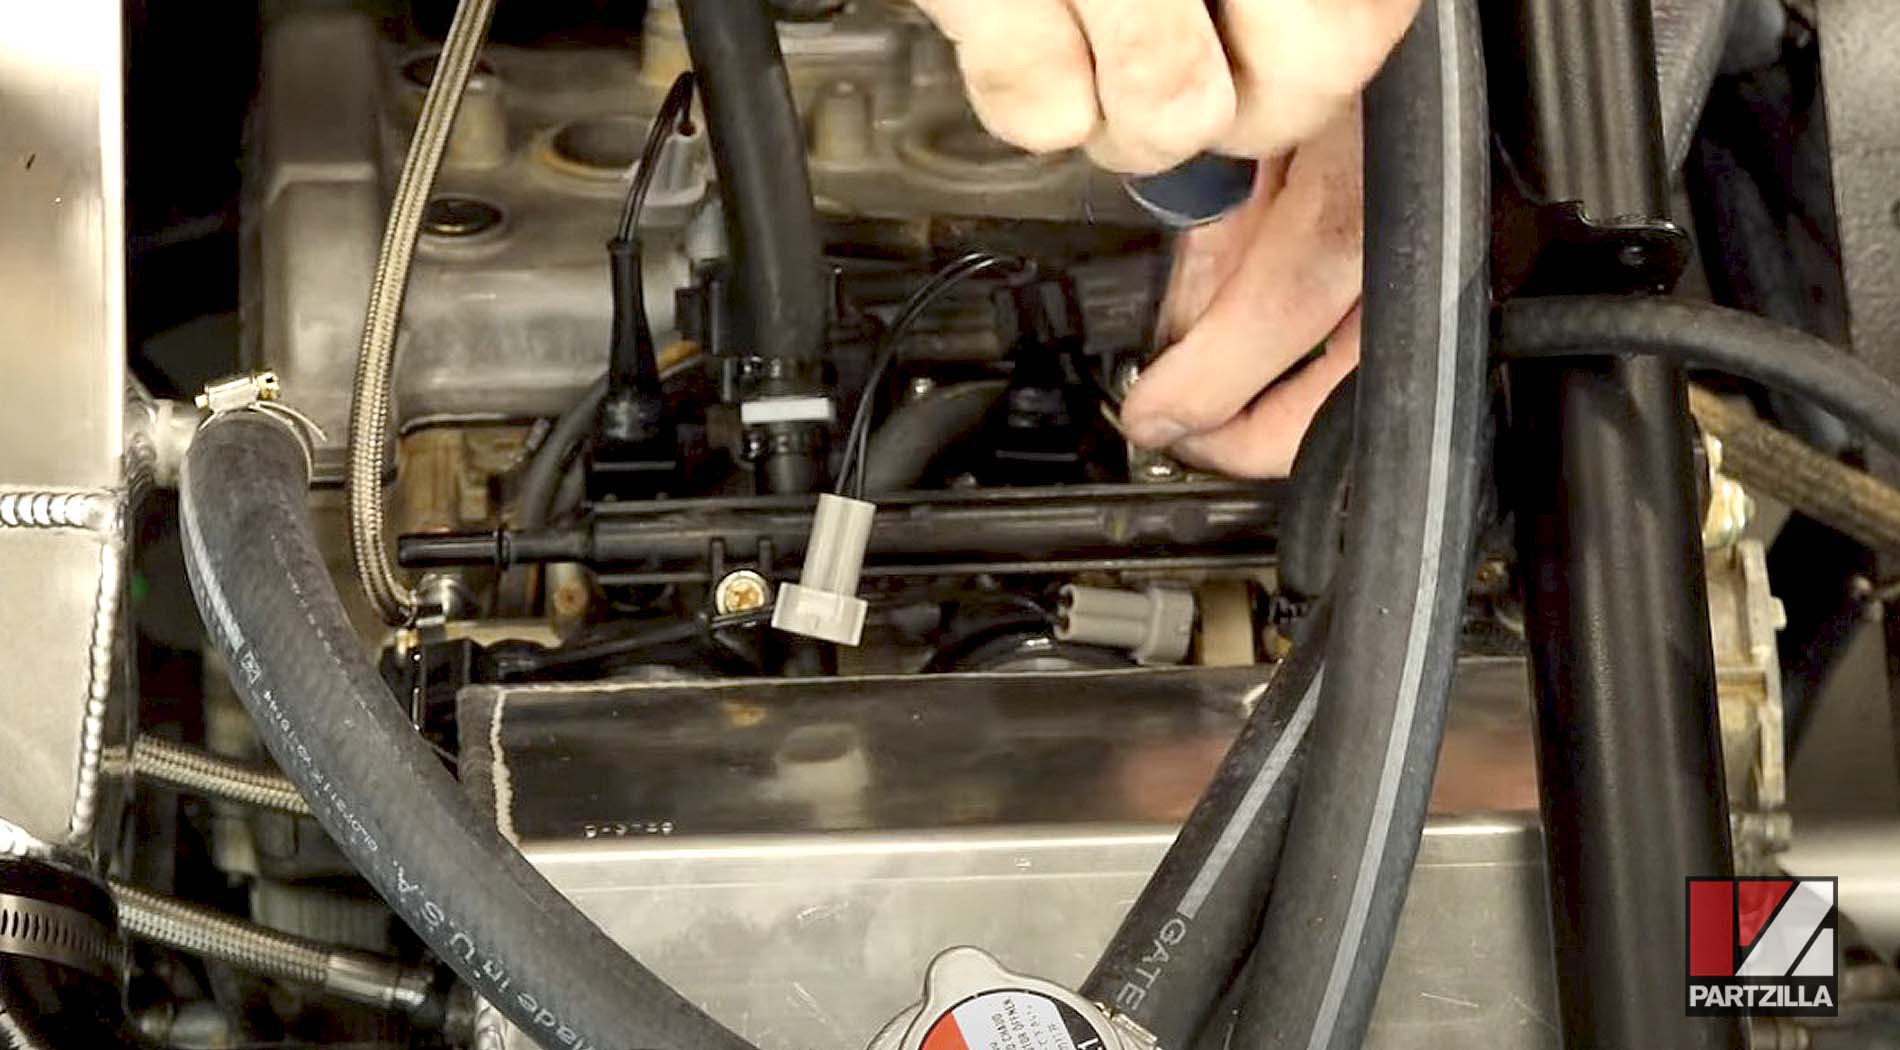
We then installed the coils, and the quarter-inch boost pressure hose to the barb on the waste gate actuator, and secured it with zip ties.
Next, we installed the last 3-inch silicone tube onto the aluminum T-fitting, then got the clamps in place to prepare it for the airbox installation.
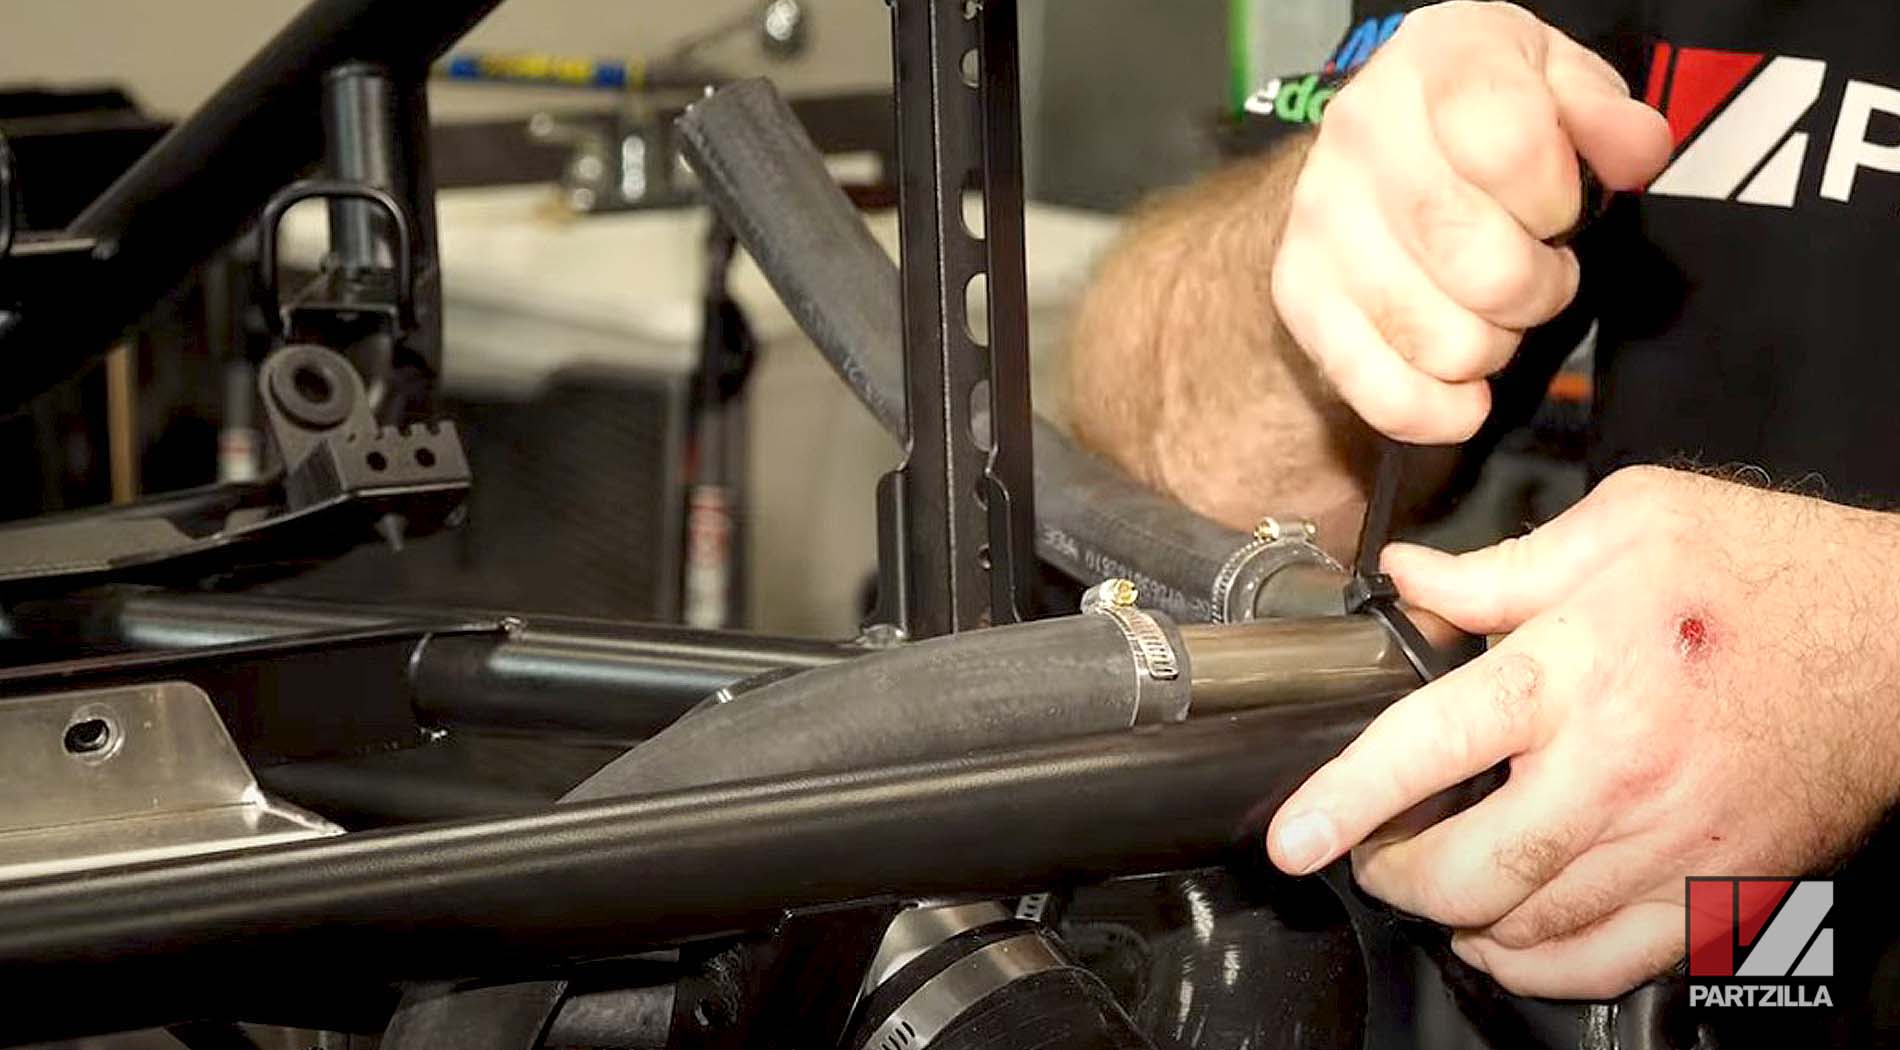
Yamaha YXZ1000R Turbo Upgrade: Radiator Hose Connection
We got the hoses for the radiator put together — which are the 66, 69, 67, and then 68 — and attached them to one side of the radiator. Then, we connected the hoses to the water pump, using a long zip tie to wrap up the plumbing modifications for the turbo install.

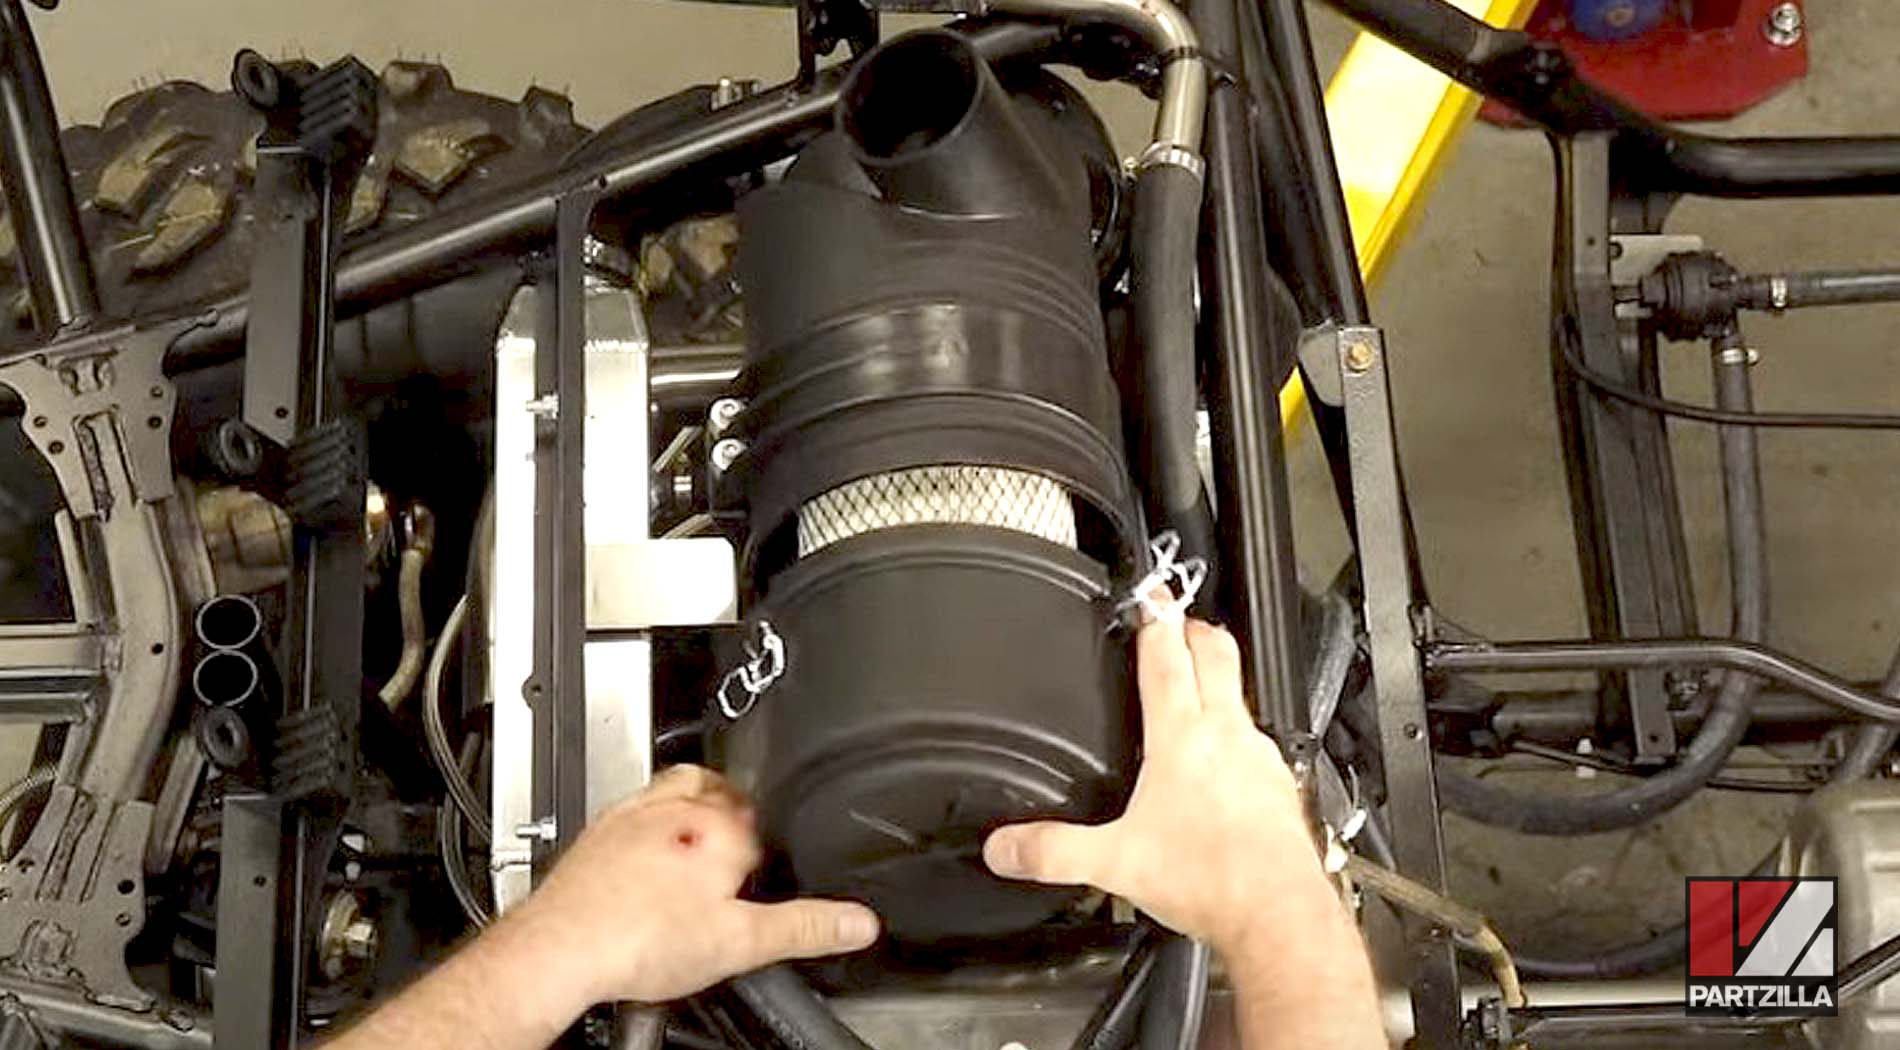
Yamaha YXZ1000R Turbo Upgrade: Air Cleaner Installation
We mounted the holder and the air cleaner to the bracket, and then mounted the bracket to the frame. The silicone hose goes onto the airbox, and we put a little bit of brake cleaner on it to make it slide in easier. Then, we fed through the bracket, the air cooler, and then through the frame.

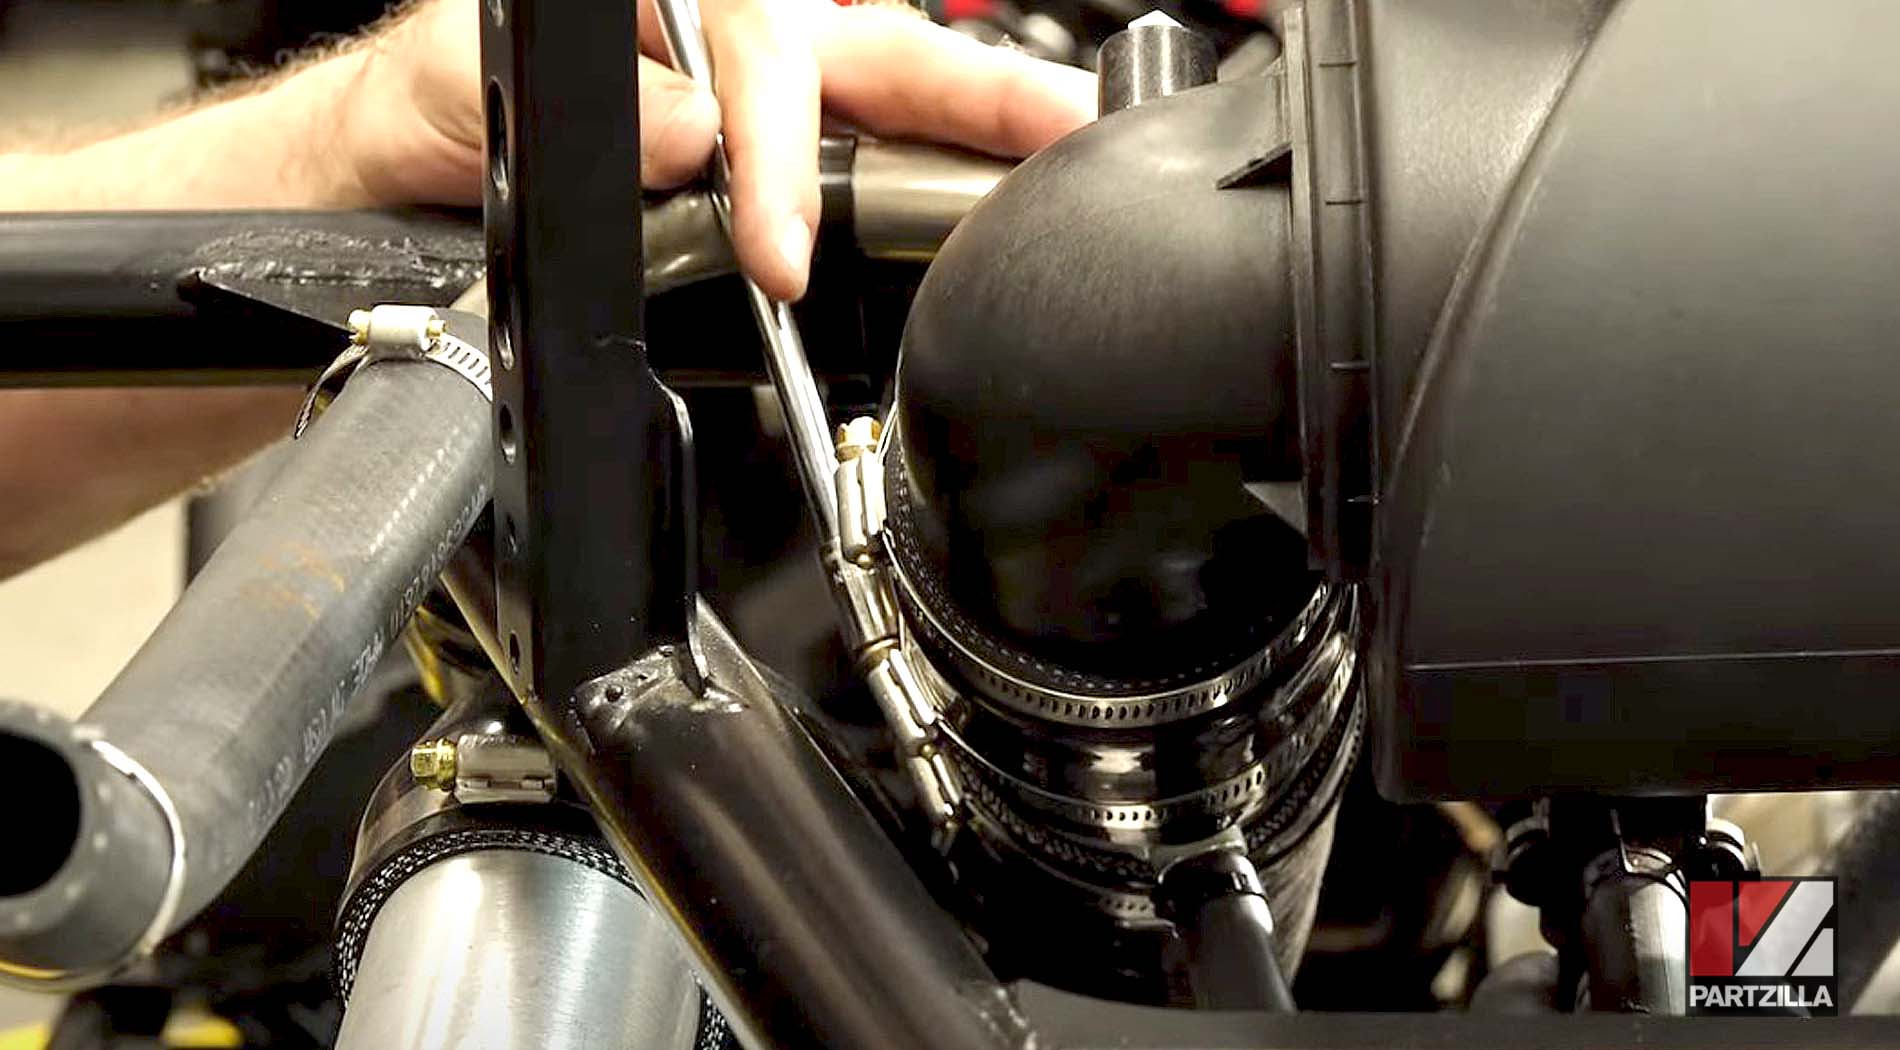
Next, we installed a new air filter and closed up the airbox.
Yamaha YXZ1000R Turbo Upgrade: Air/Oil Separator Installation
We mounted the air/oil separator to the bulkhead with a couple of nuts and bolts, then reattached the drain line, which was connected to the old separator.
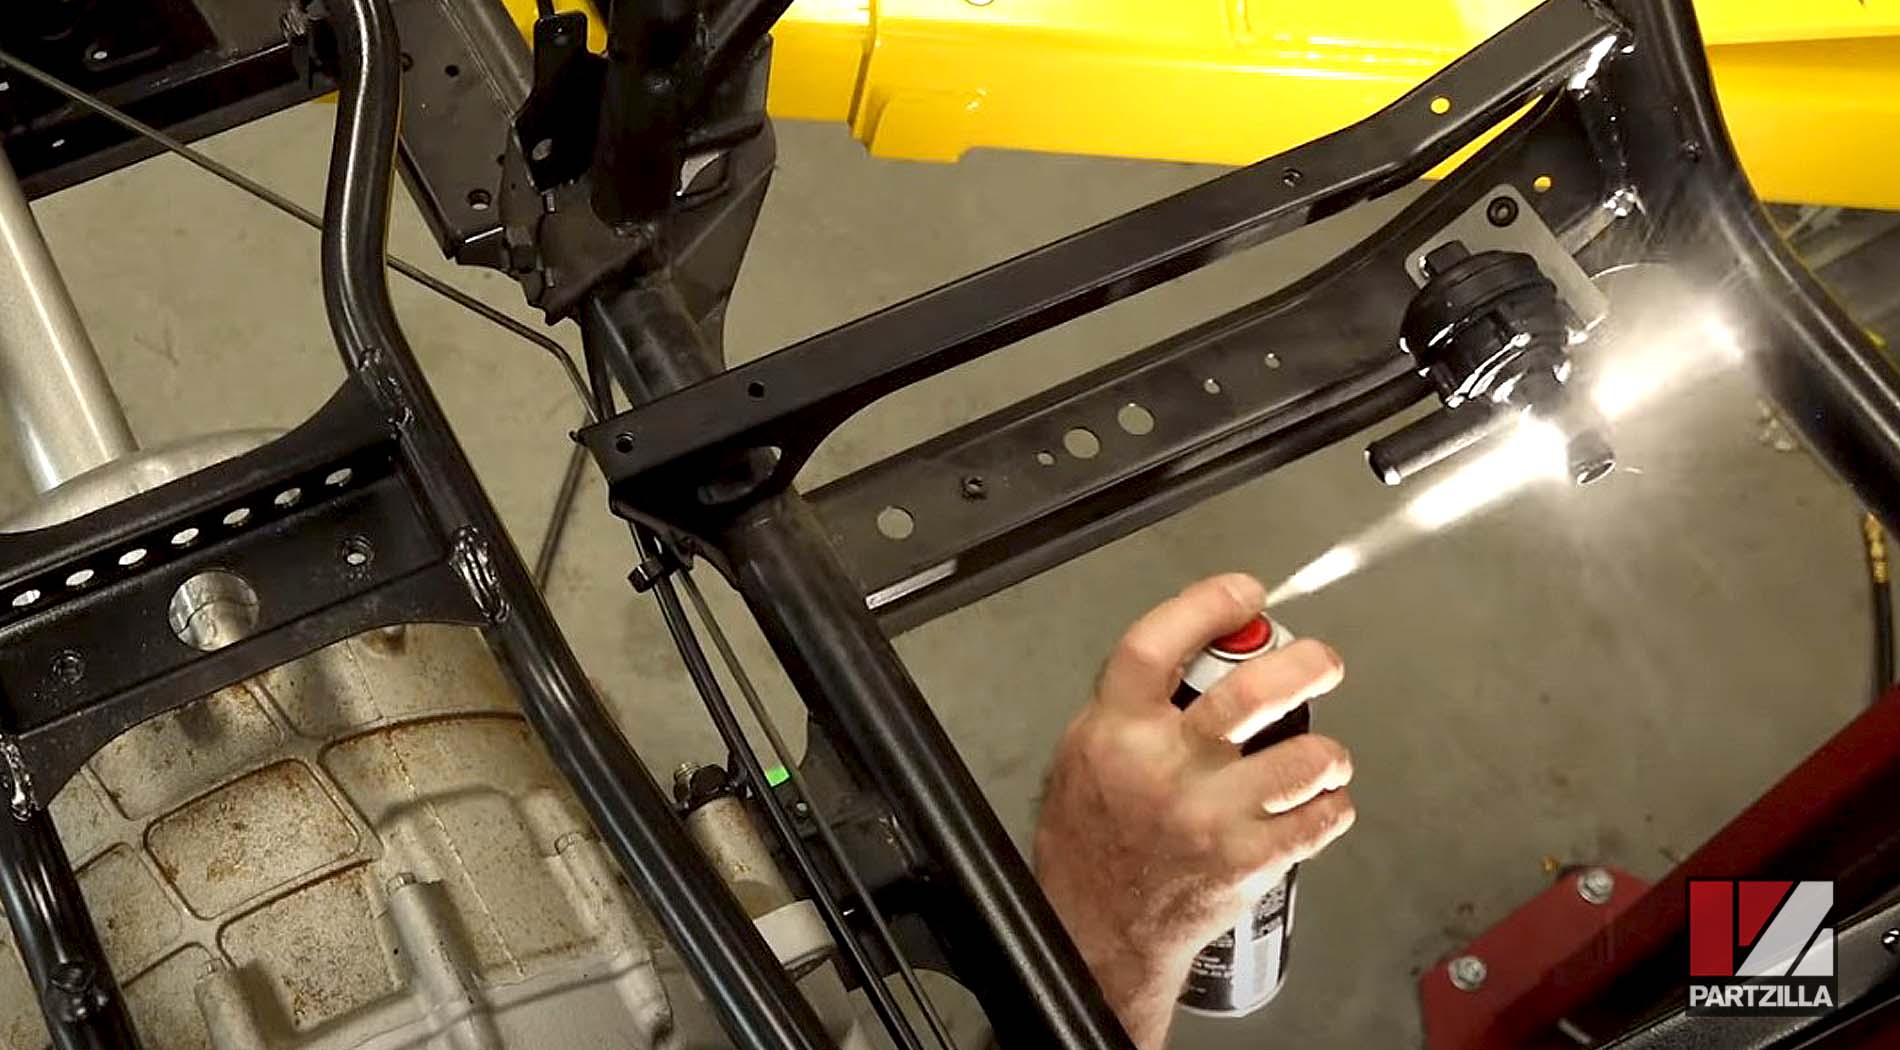
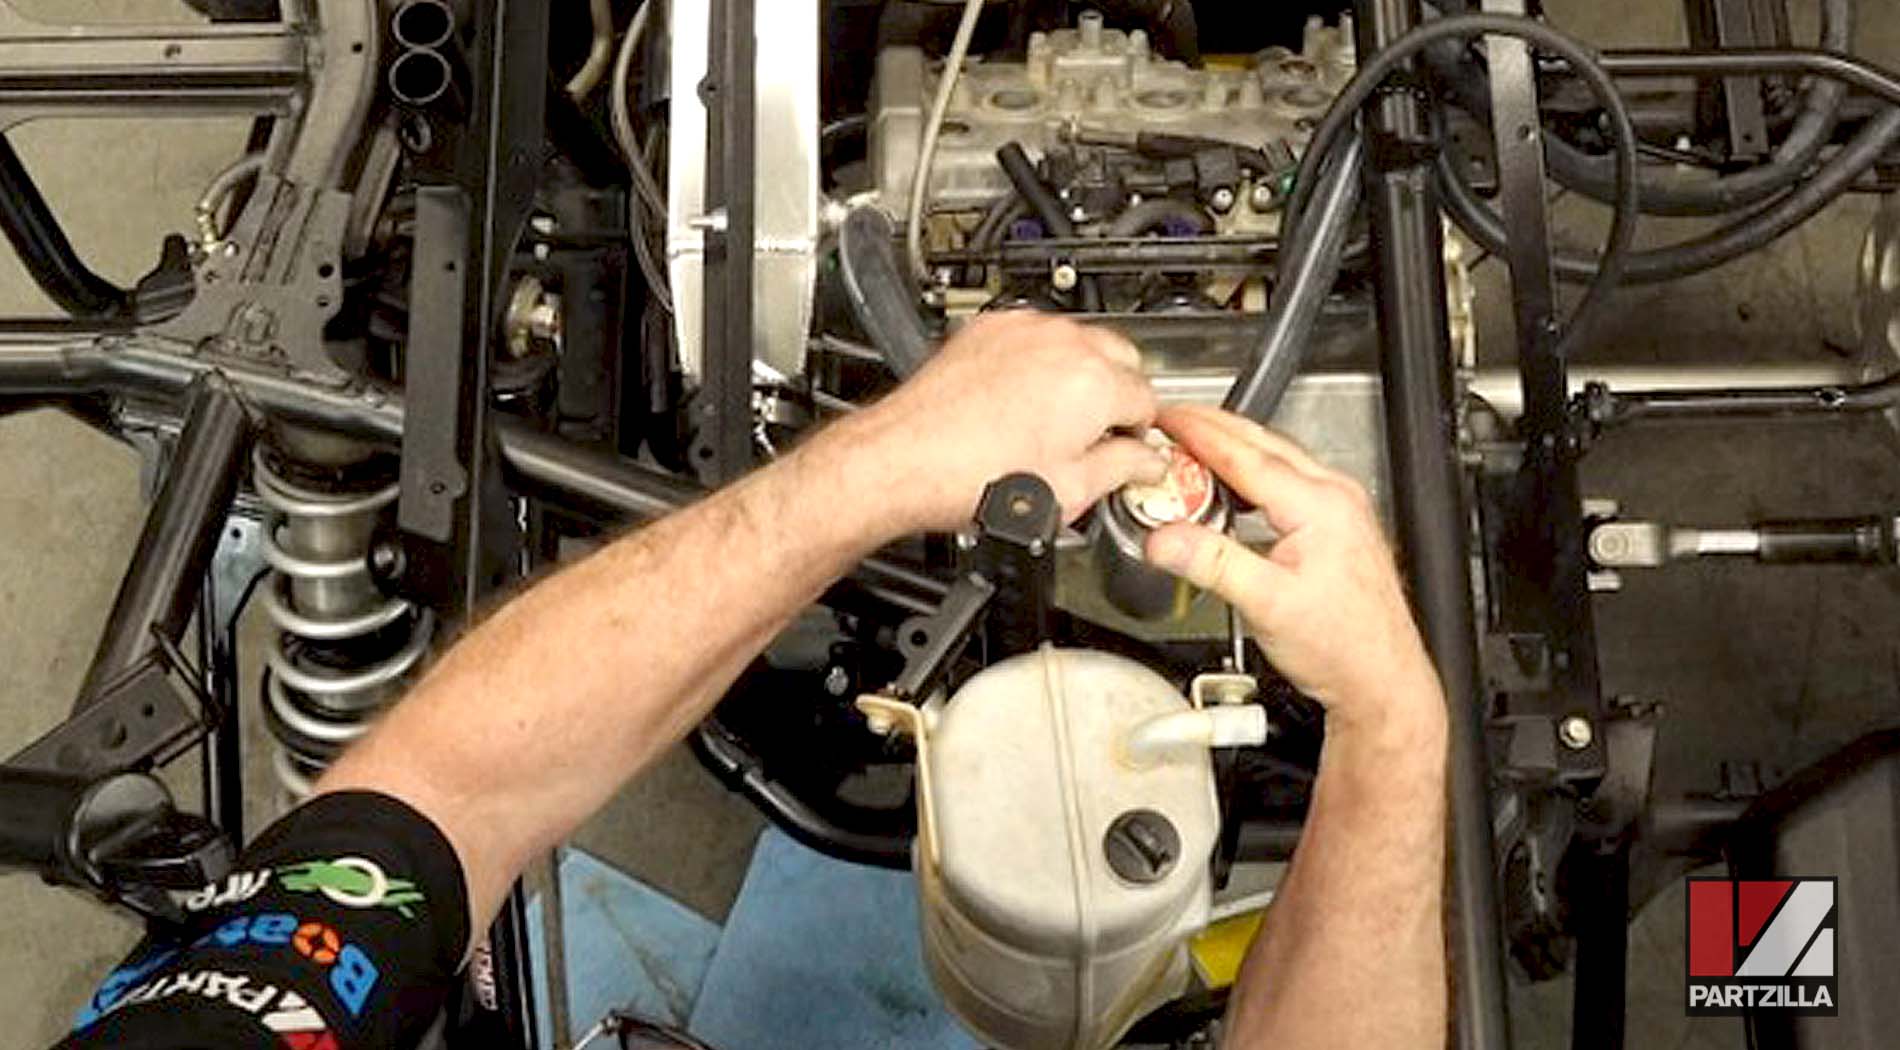
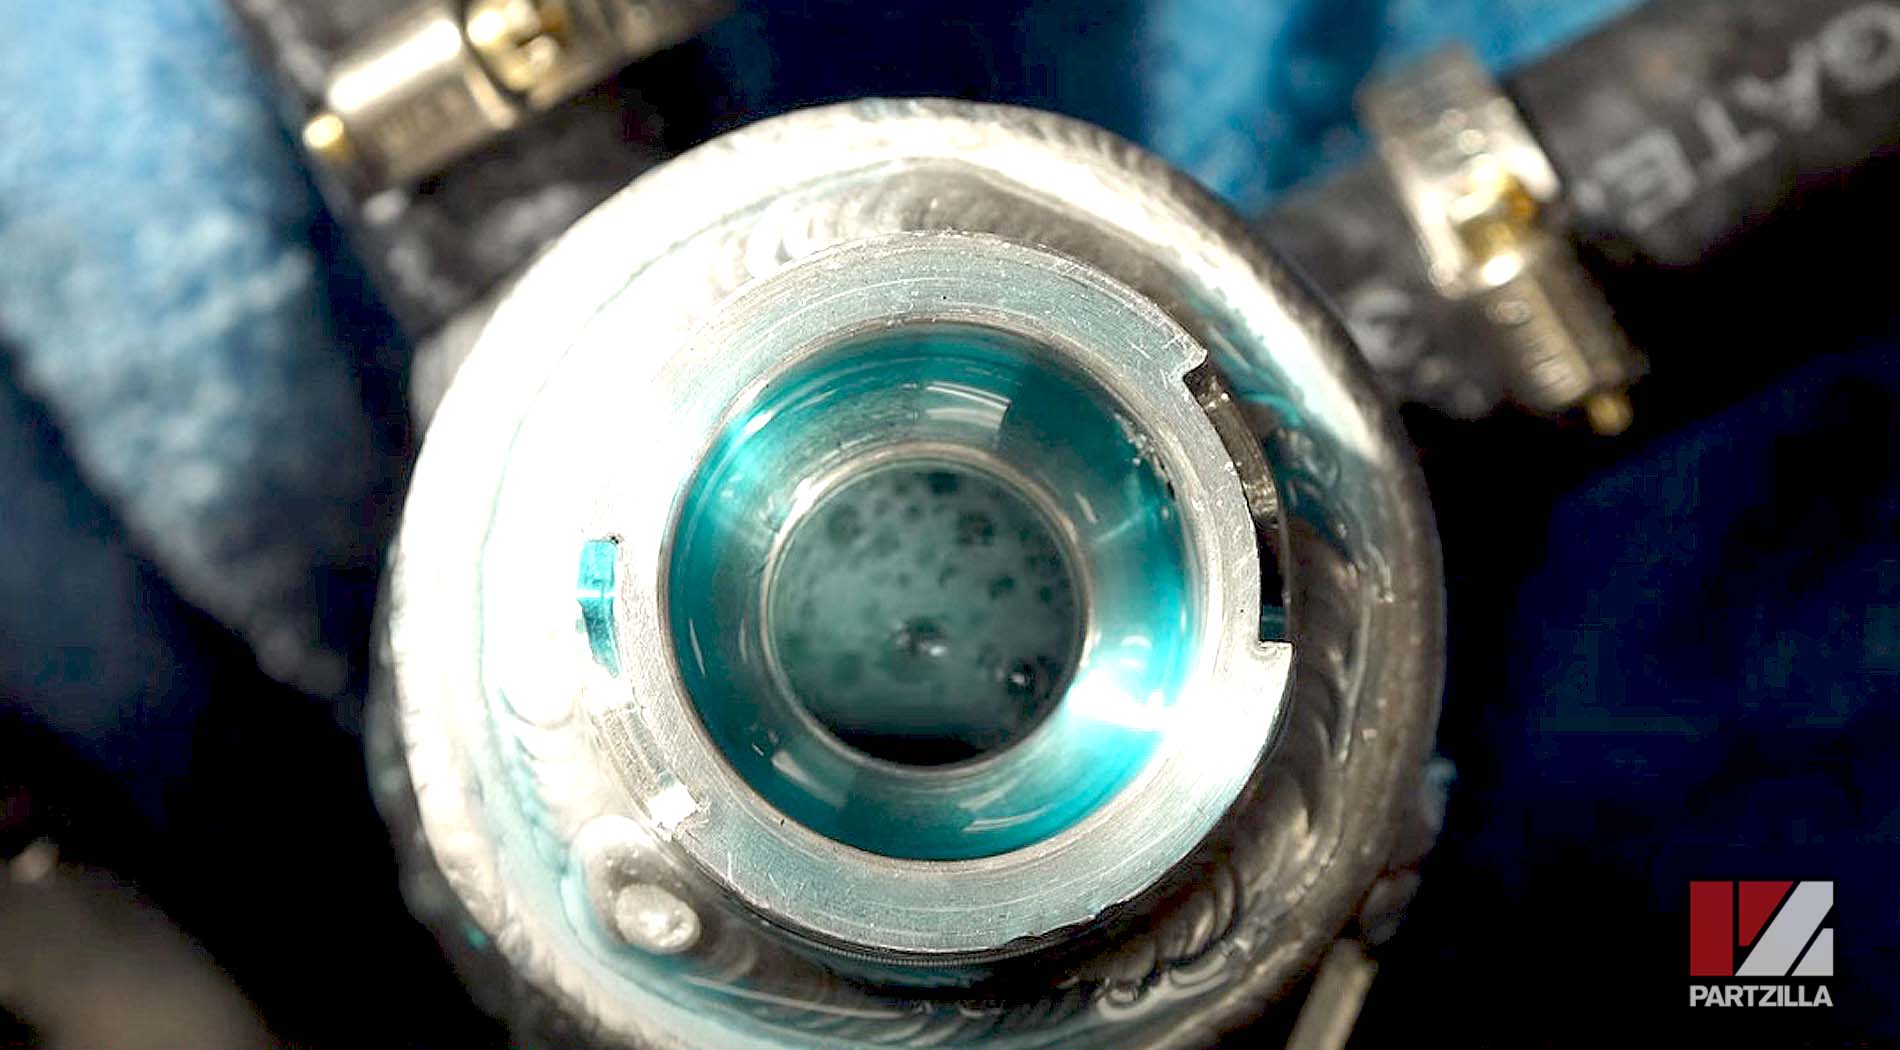
Yamaha YXZ1000R Turbo Upgrade: Coolant Refill
We added radiator fluid for the cooling surge tank, then refilled the engine cooling system. Since we couldn’t turn on the ignition at this point, we used a battery to cycle the pump during the refilling process.
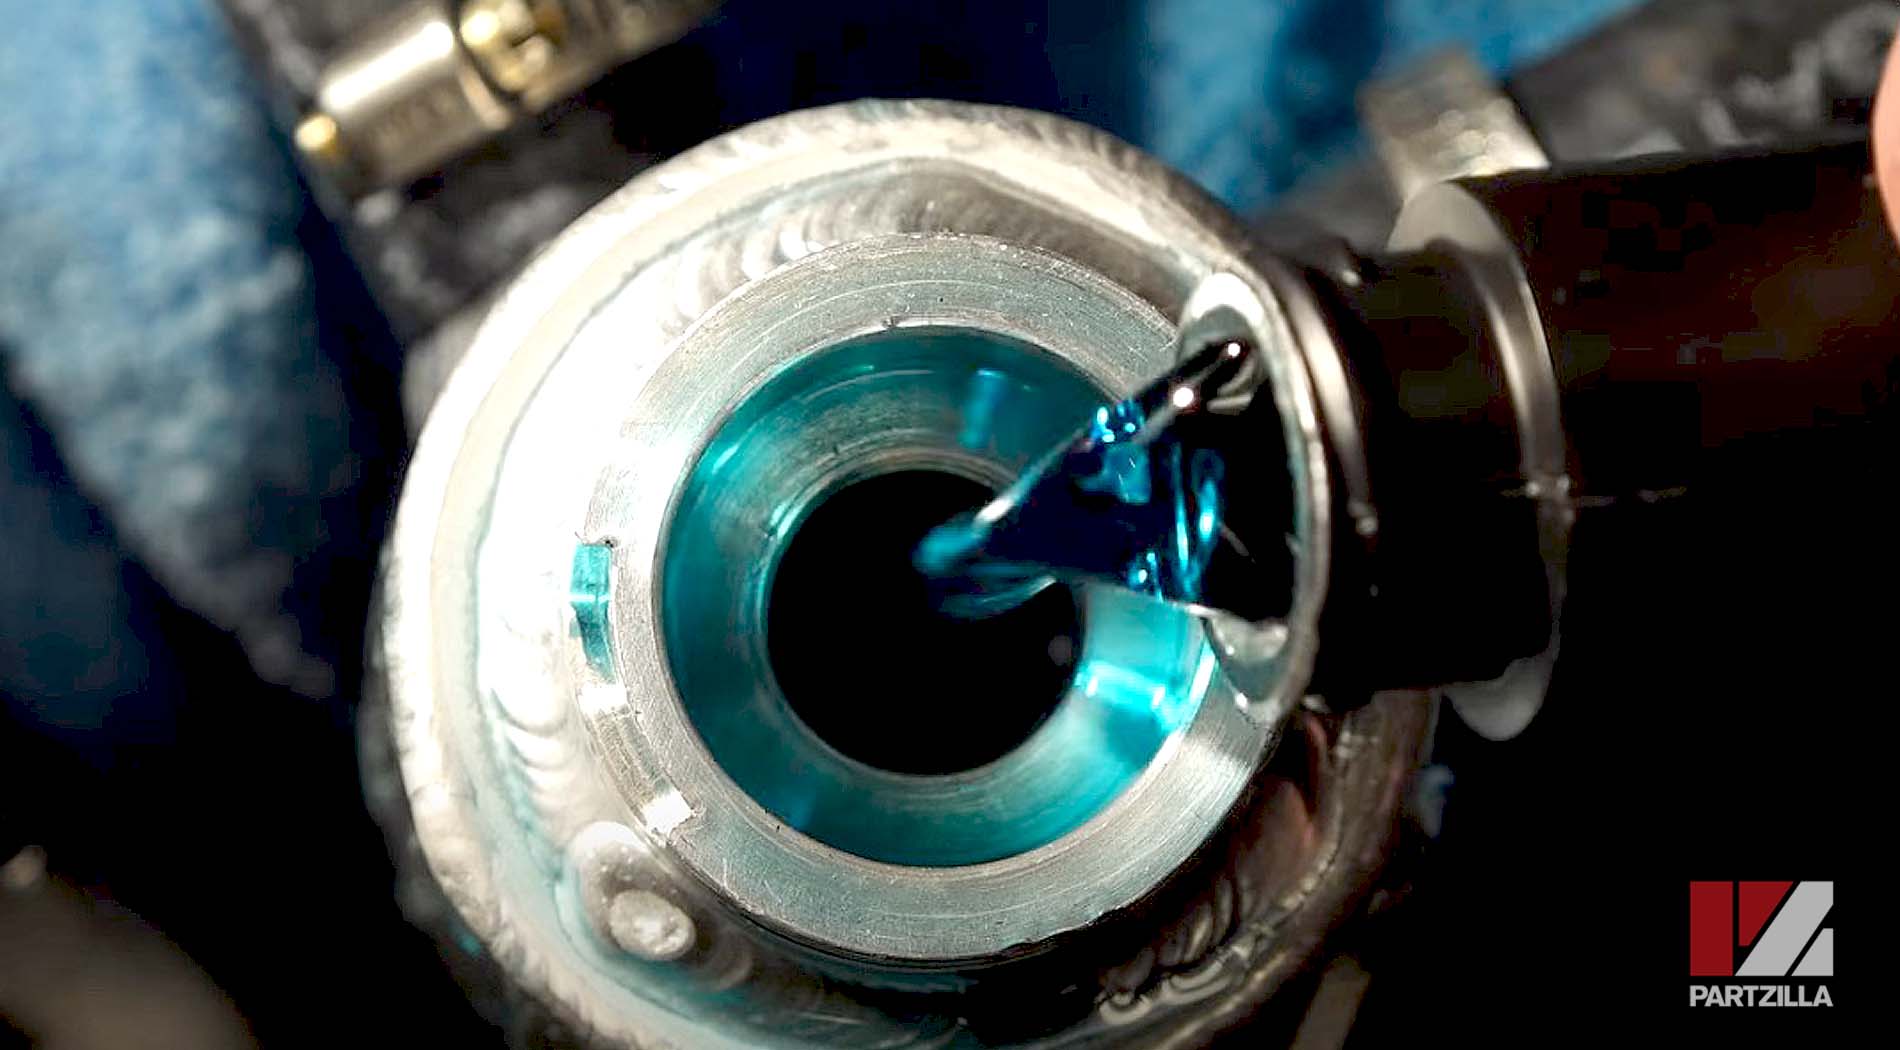
This machine needs at least 5 quarts of Yamalube coolant. We located the bleeder valve on top of the radiator in the front, then opened it up until we started seeing coolant flow out of the bleeder itself. Next, we closed the valve, checked the surge tank, and then filled it again to get air out of the system.
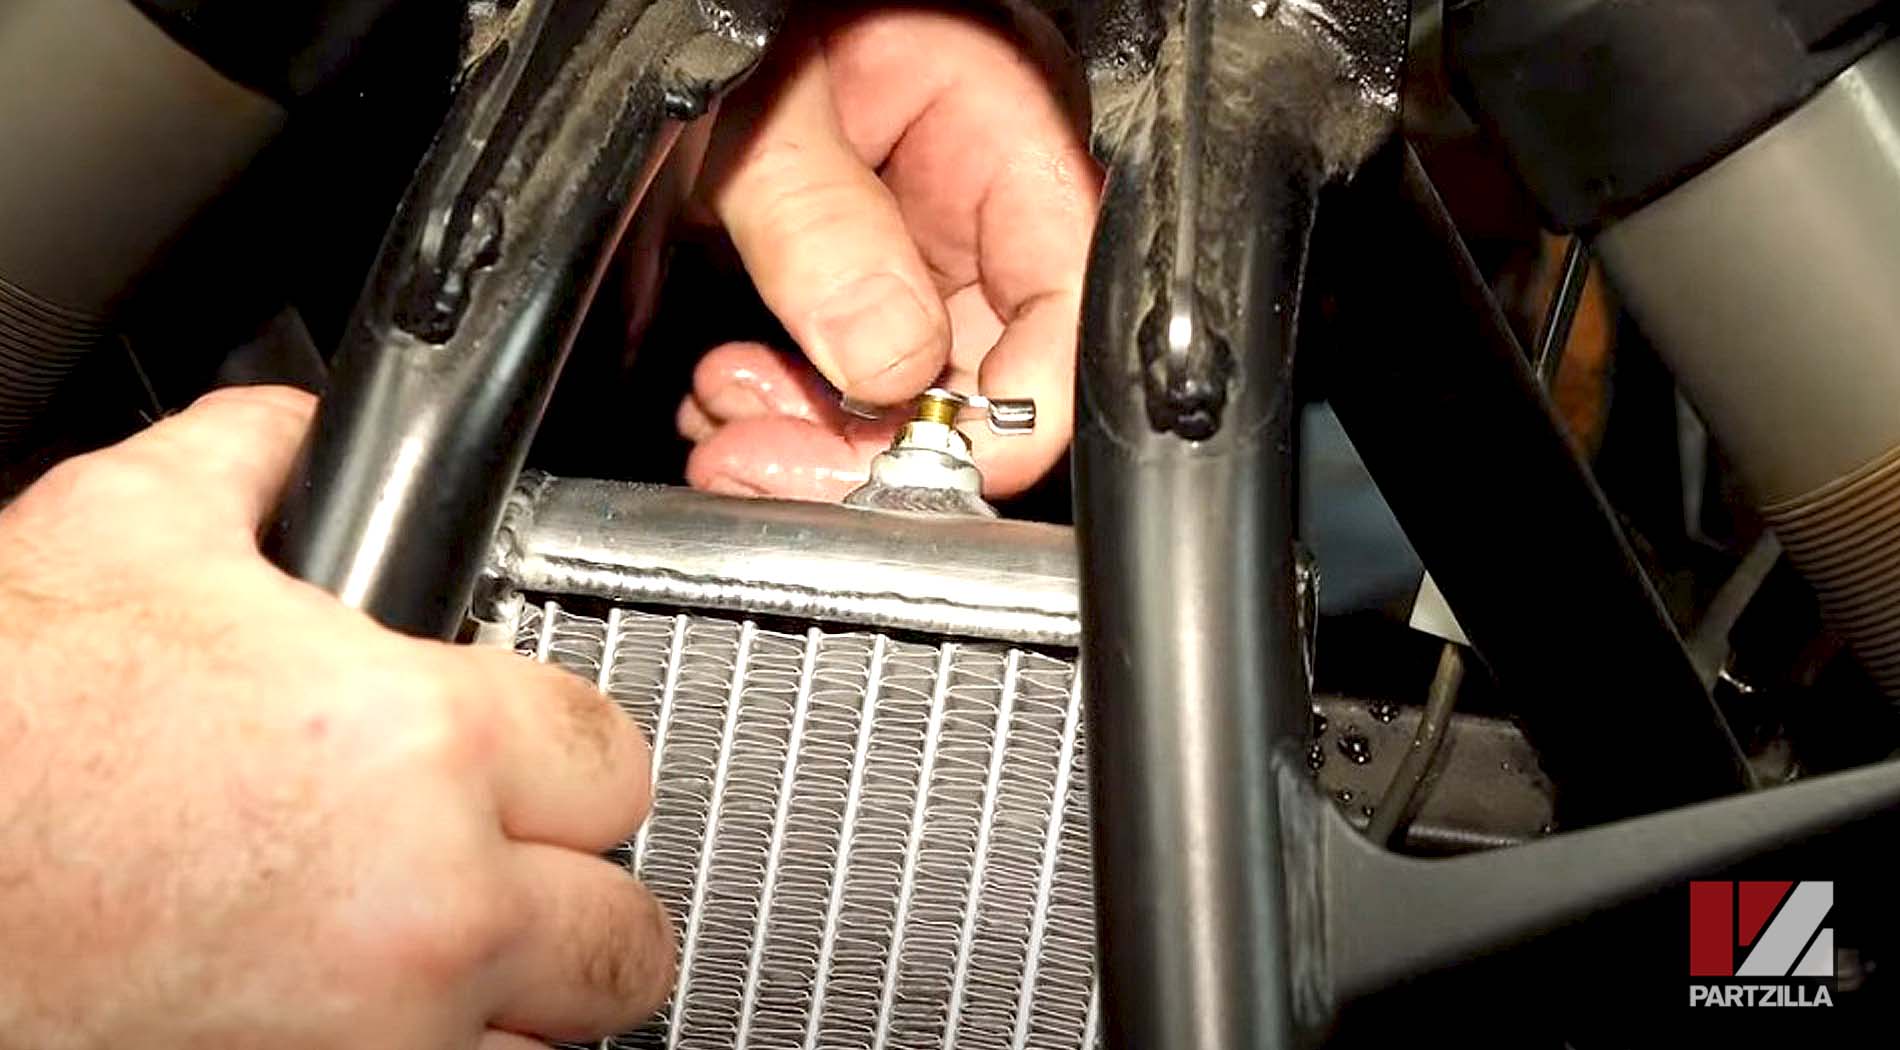
PRO TIP: If the coolant doesn’t flow, unbolt the pump from the bracket, then position the pump at the lowest point of the cooling circuit, and lightly shake the pump to free any trapped air. After that, you reinstall the pump, and refill the surge tank up to the radiator cap.
All that’s left is for us to prime the turbo with oil, and then get the oil system refilled to wrap up the turbo installation.