Yamaha YXZ1000R Bottom End Rebuild Part 1
Welcome to the bottom end rebuild part of our 2016 Yamaha YXZ1000R engine rebuild project. The goal of this project is a turbo rebuild for the Yamaha side-by-side.
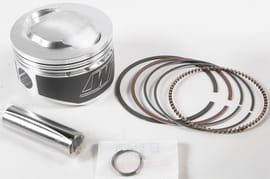
For this project, certain things needed to be modified and upgraded so this engine will hold together. The main parts chosen for this build, which is centered around reducing the compression ratio of the engine, are Wiseco pistons.
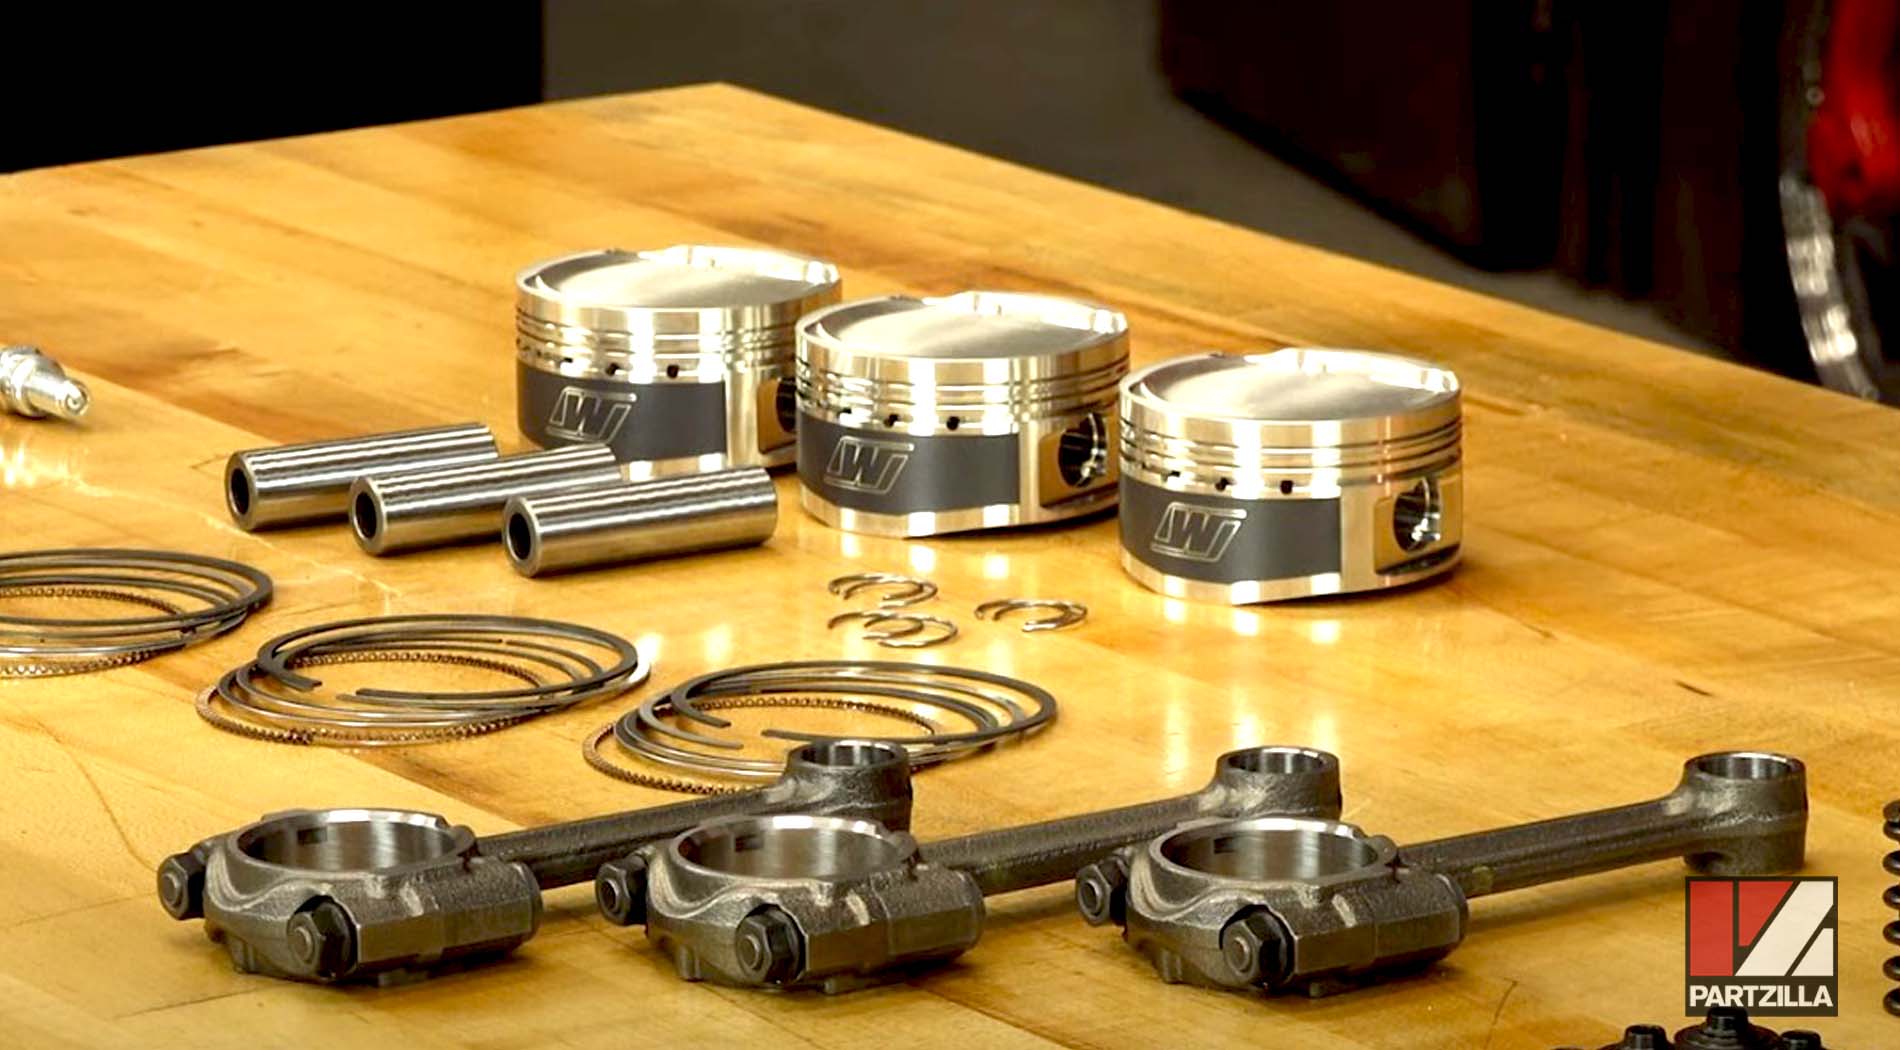
These pistons of exceptional quality bring the compression ratio down to 9.5 to 1. Each Wiseco piston kit comes with the piston, rings, circlips, wrist pins and everything else needed to connect the piston to the connecting rod. Our 2016 Yamaha YXZ1000R is an older engine, and its weak point is the connecting rods, so we're updating it with rods for a 2019 engine.
Beyond the piston kit, we got the basic gaskets and output seal that need to be replaced. We’re also replacing the main and the connecting rod bearings on the crankshaft for this build. Watch the video above or follow the steps to learn how to do a turbo bottom end rebuild on a Yamaha YXZ1000R.
Tools and Parts - Yamaha YXZ1000R Bottom End Turbo Rebuild Part 1
- Flat-blade screwdriver
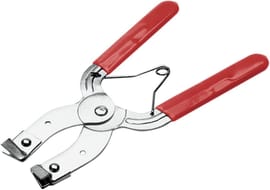
- Piston ring compressor
- Soft-blow hammer
- Engine oil
- Torque wrench
- Bearing driver

NOTE: For article length purposes, we’ve broken this Yamaha YXZ1000R rebuild up into two separate posts. This post covers up to the crankshaft bearing sizing and installation portion of the bottom end rebuild. The rest is covered in a separate post (see part 2 here), starting with the crankshaft installation.
Yamaha YXZ1000R Bottom End Rebuild
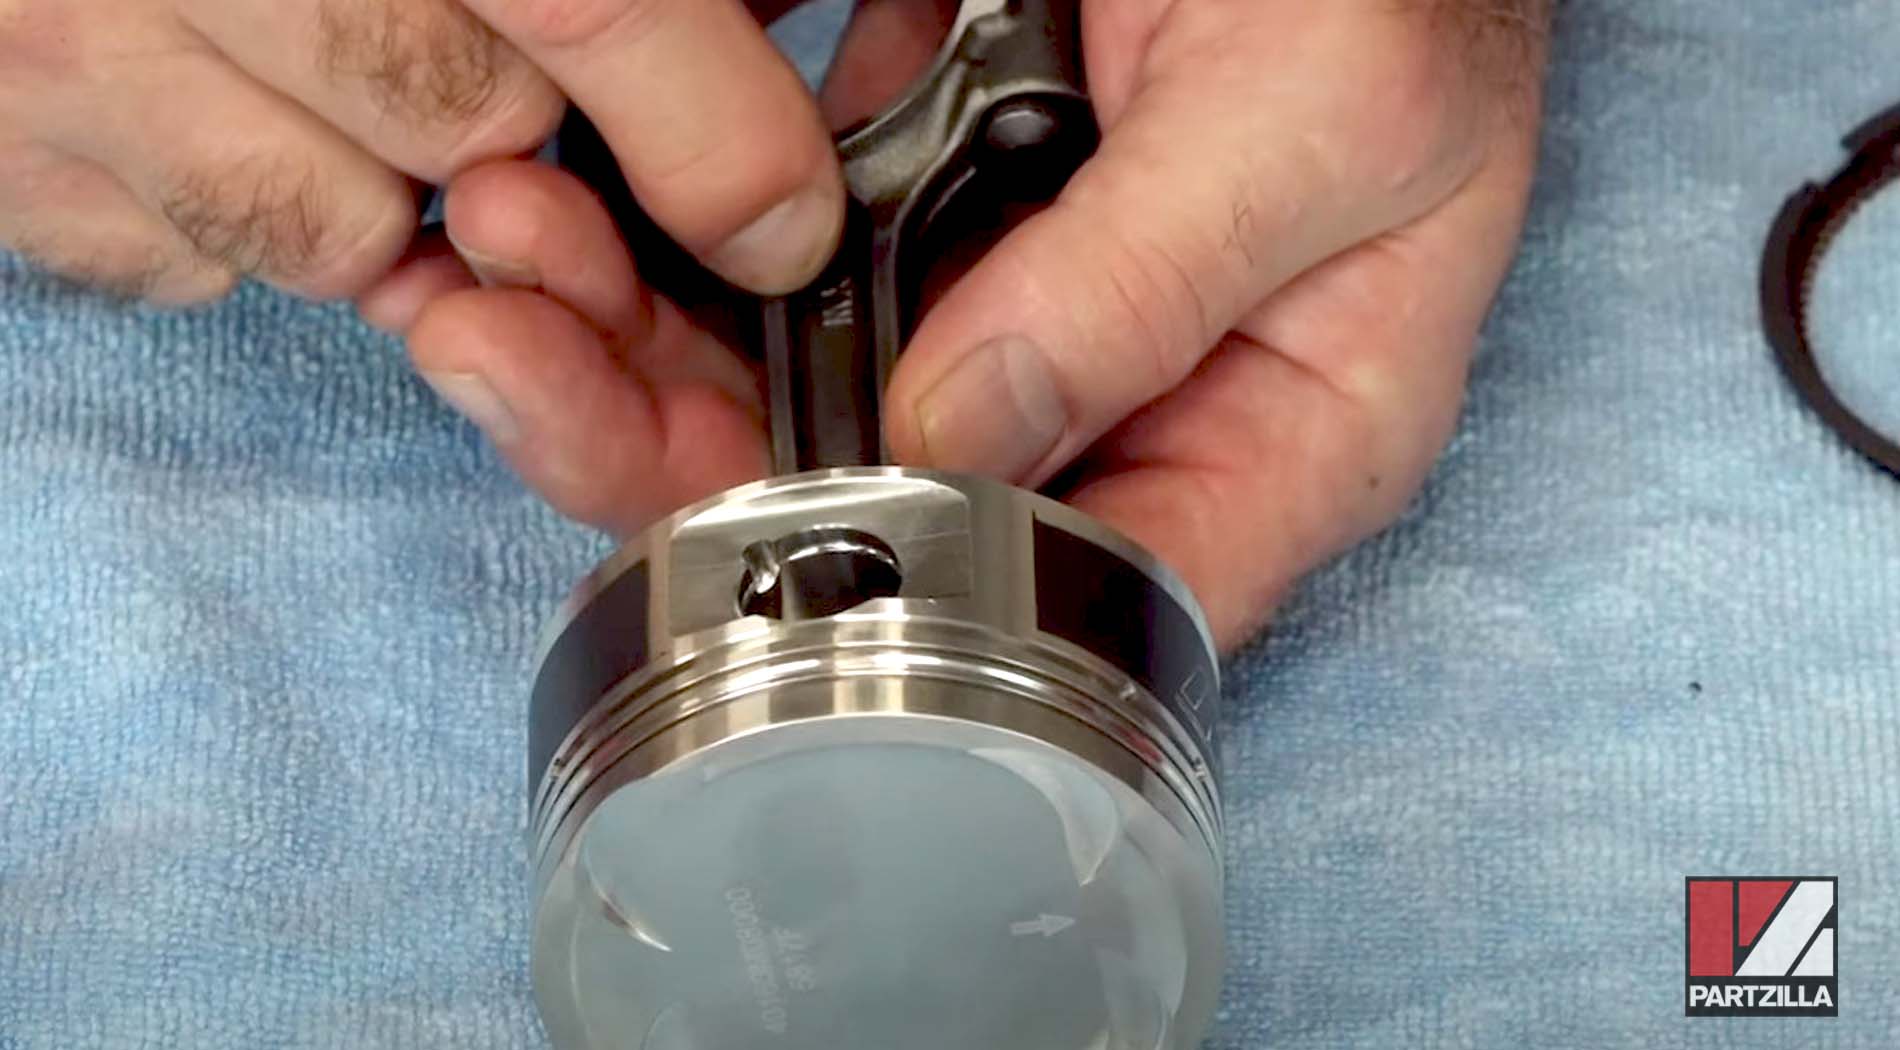
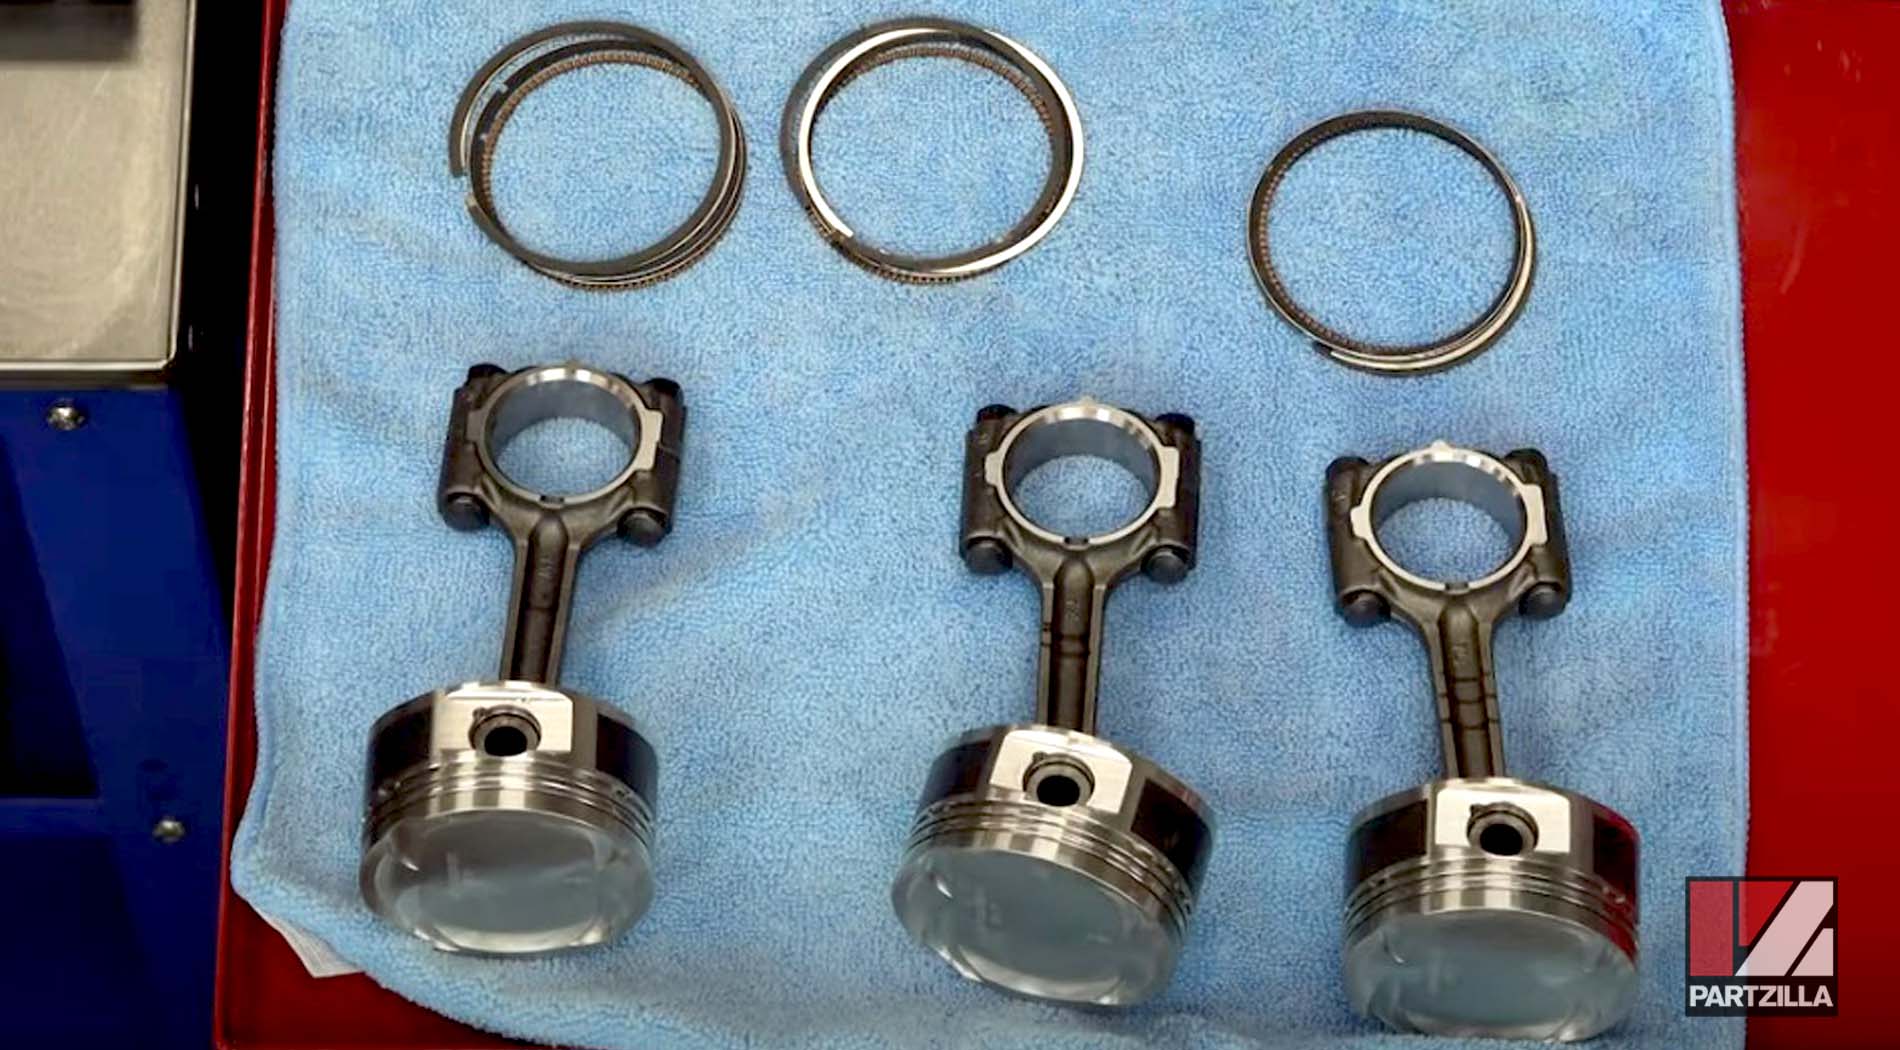
Step 1. Attach each piston to its connecting rod, with the orientation of the connecting rod having the "Y" facing to your right and the arrow on the piston facing up.
Step 2. Install the first circlip, making sure not to scratch the piston as you walk it in with your fingernails. Next, use a screwdriver to get it properly seated.
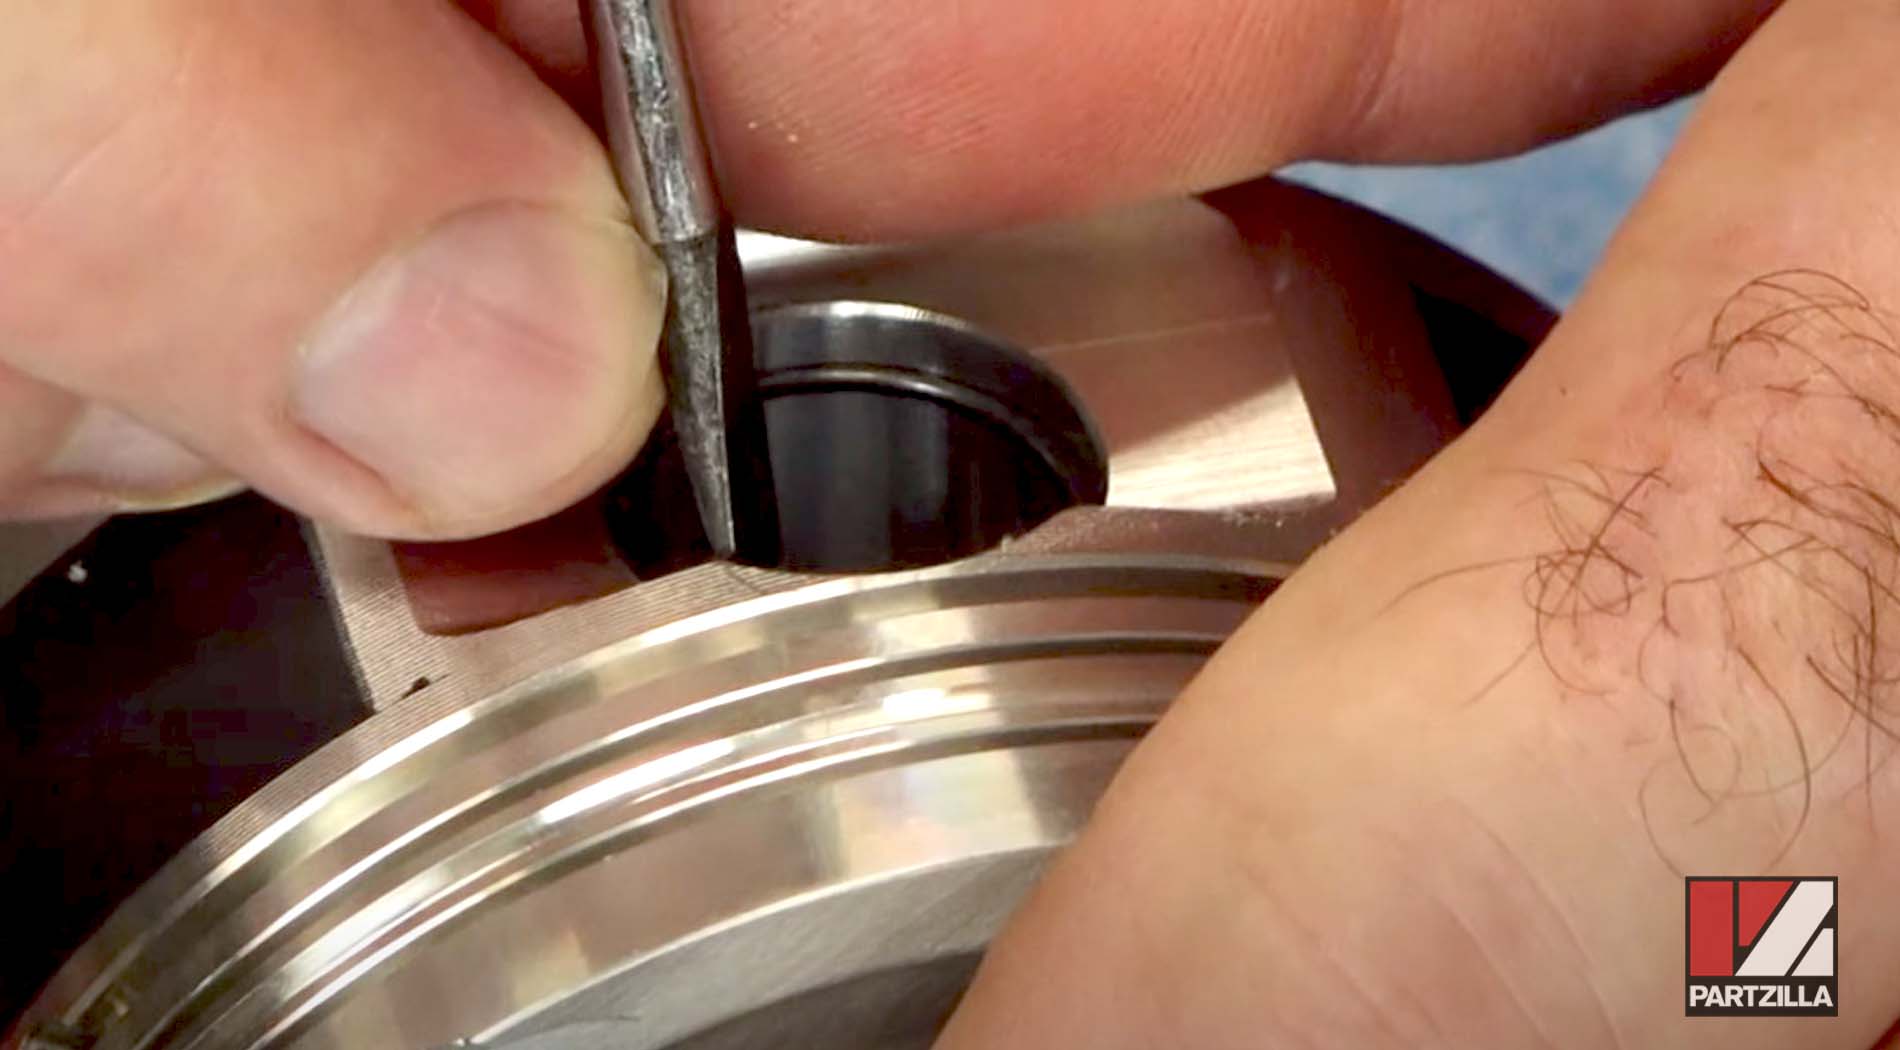
Step 3. Put some assembly lube where the wrist pin goes in the piston, then install the wrist pin itself.
Step 4. Install the second circlip on the other side the same way as the first.

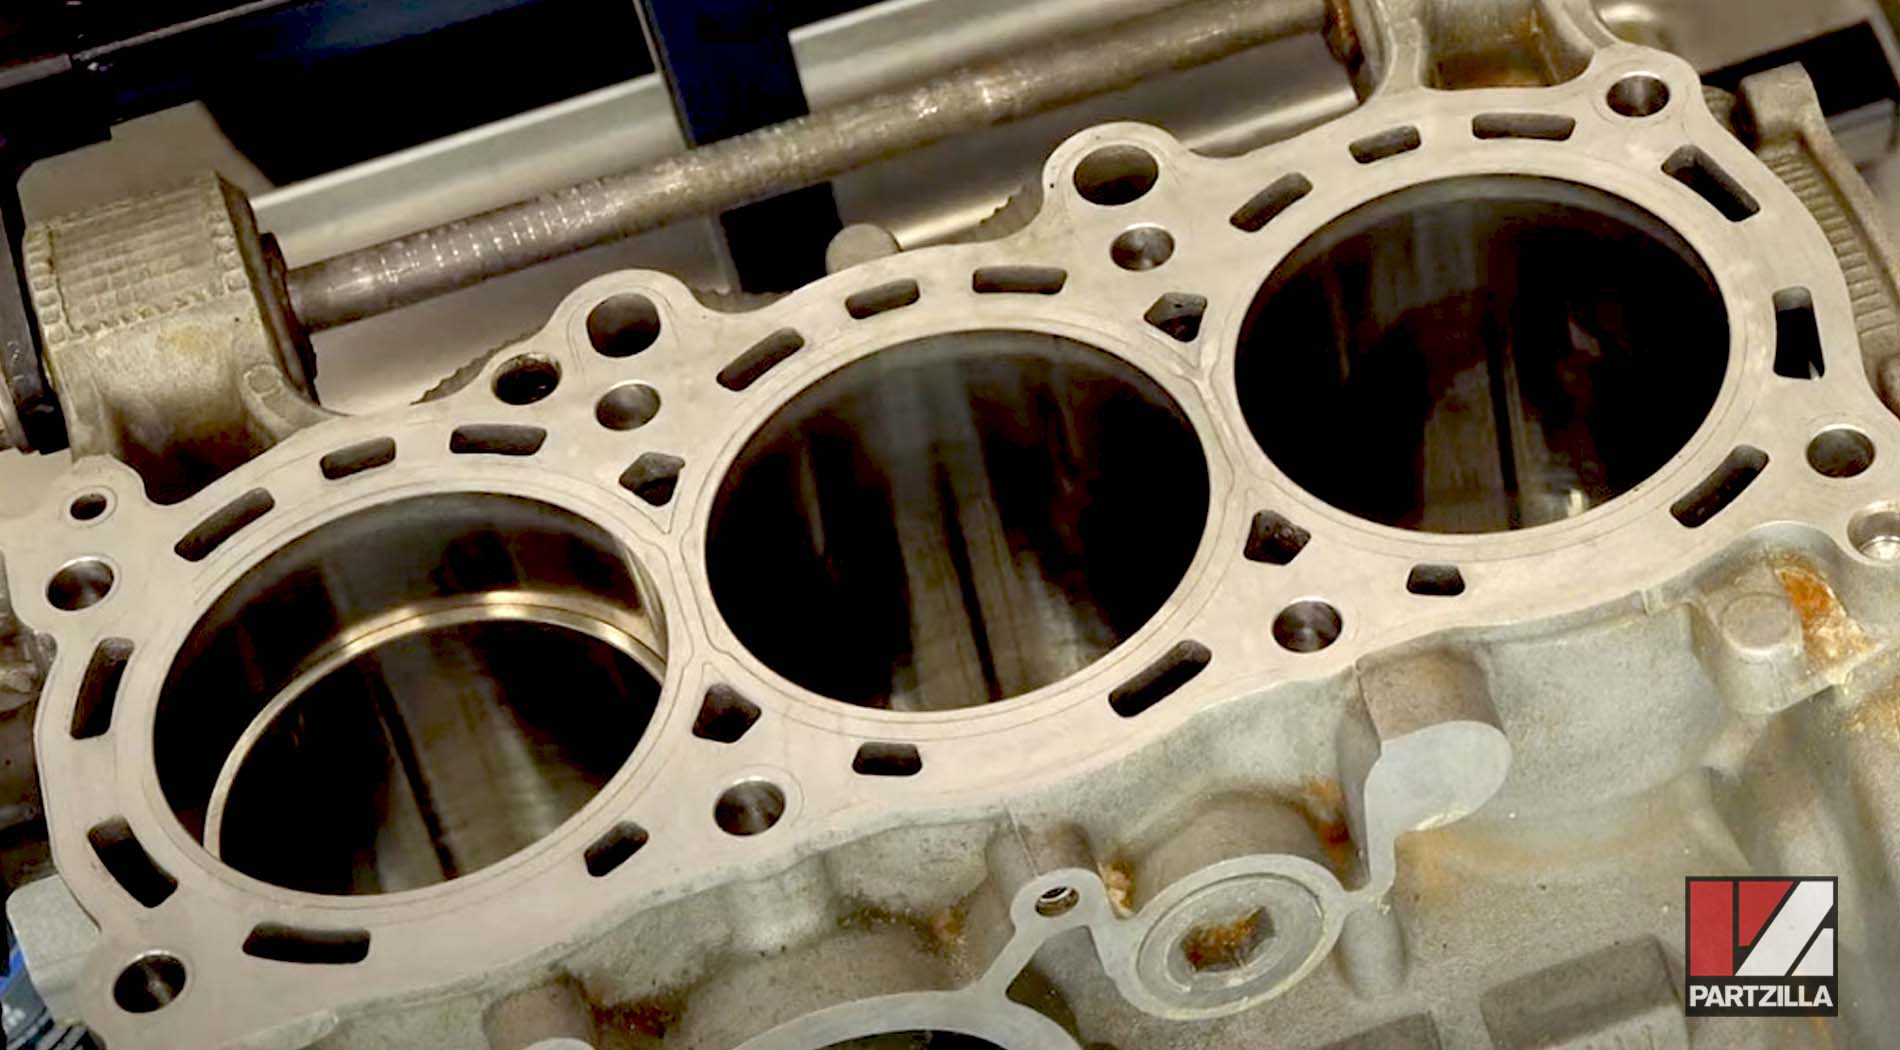
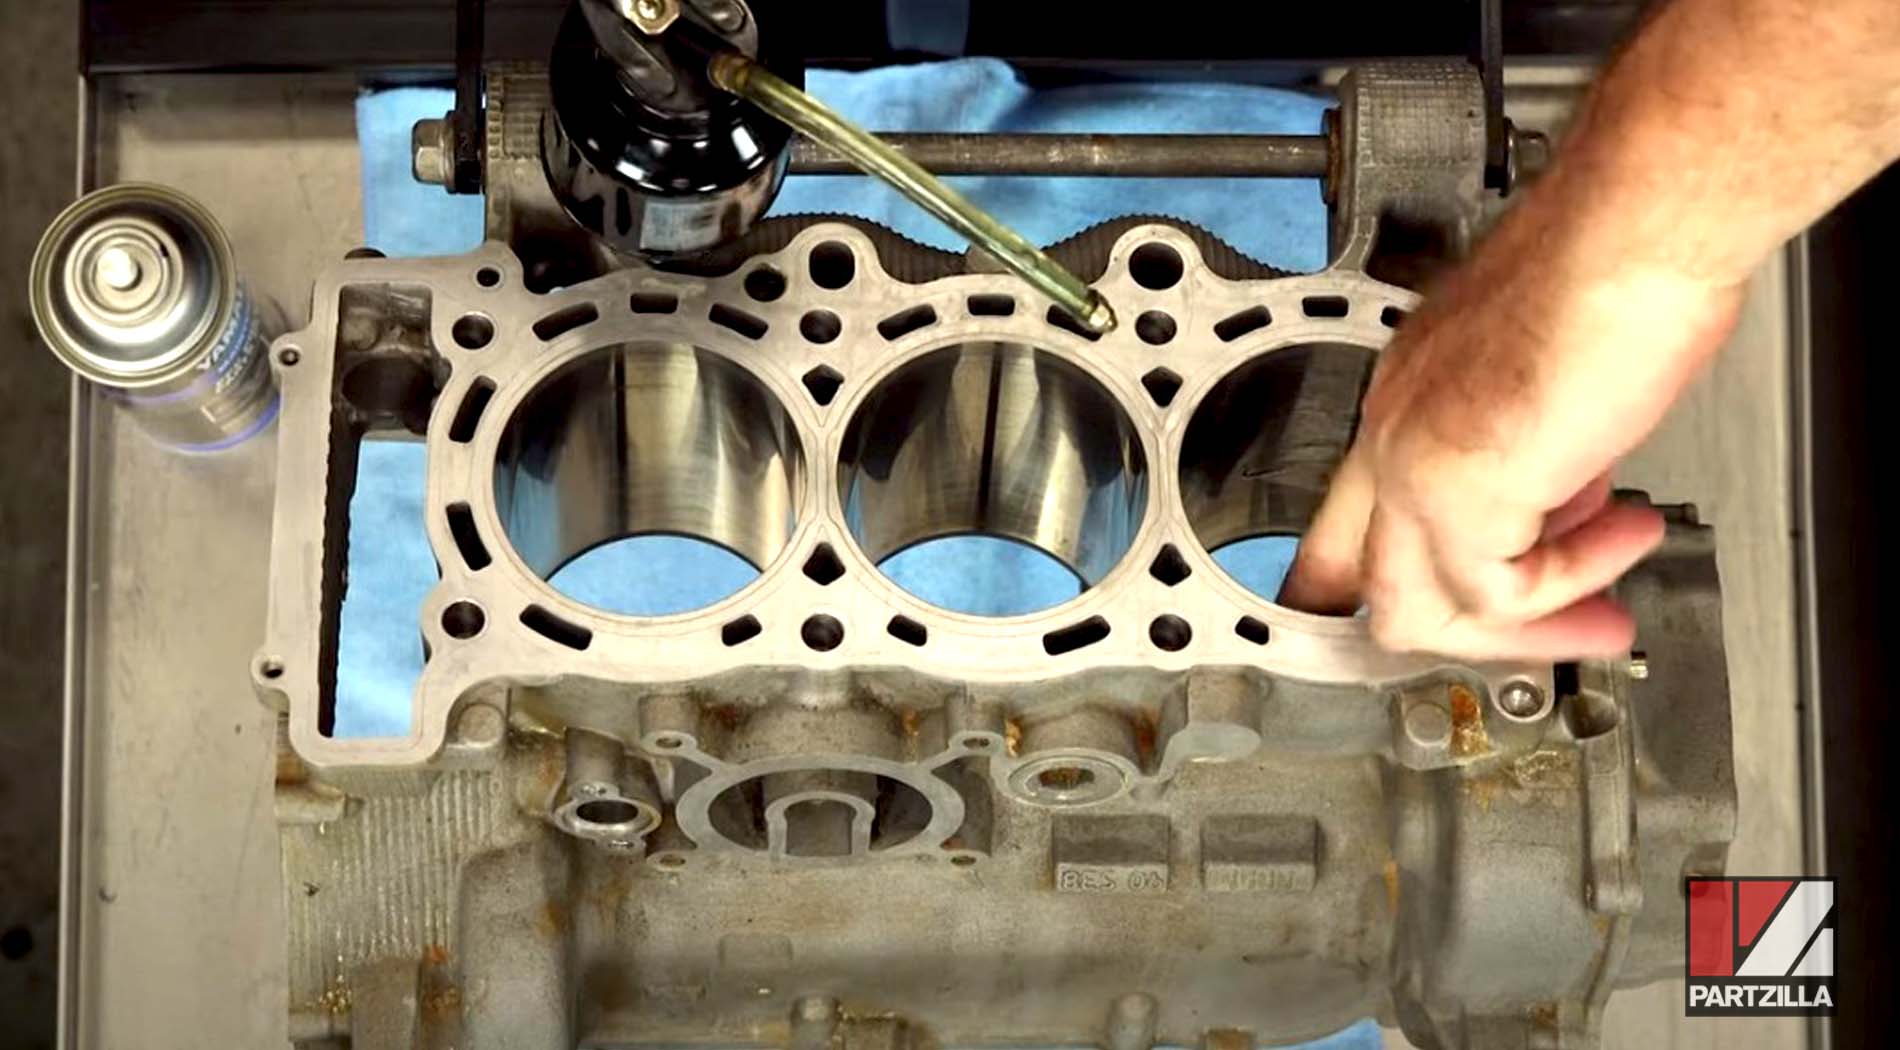
PRO TIP: Number each piston to distinguish each one for when it’s time to check the ring gap and the bearing sizes. Also, before continuing, make sure there's no residual left on any of the engine block’s surfaces. We recommend using Yamaha PPC Precision Parts Cleaner for this type of job.
Watch the clip below to see the connecting rod and piston attachment segment of our Yamaha YXZ1000R bottom end rebuild video.
Checking Piston Ring Gap Measurements
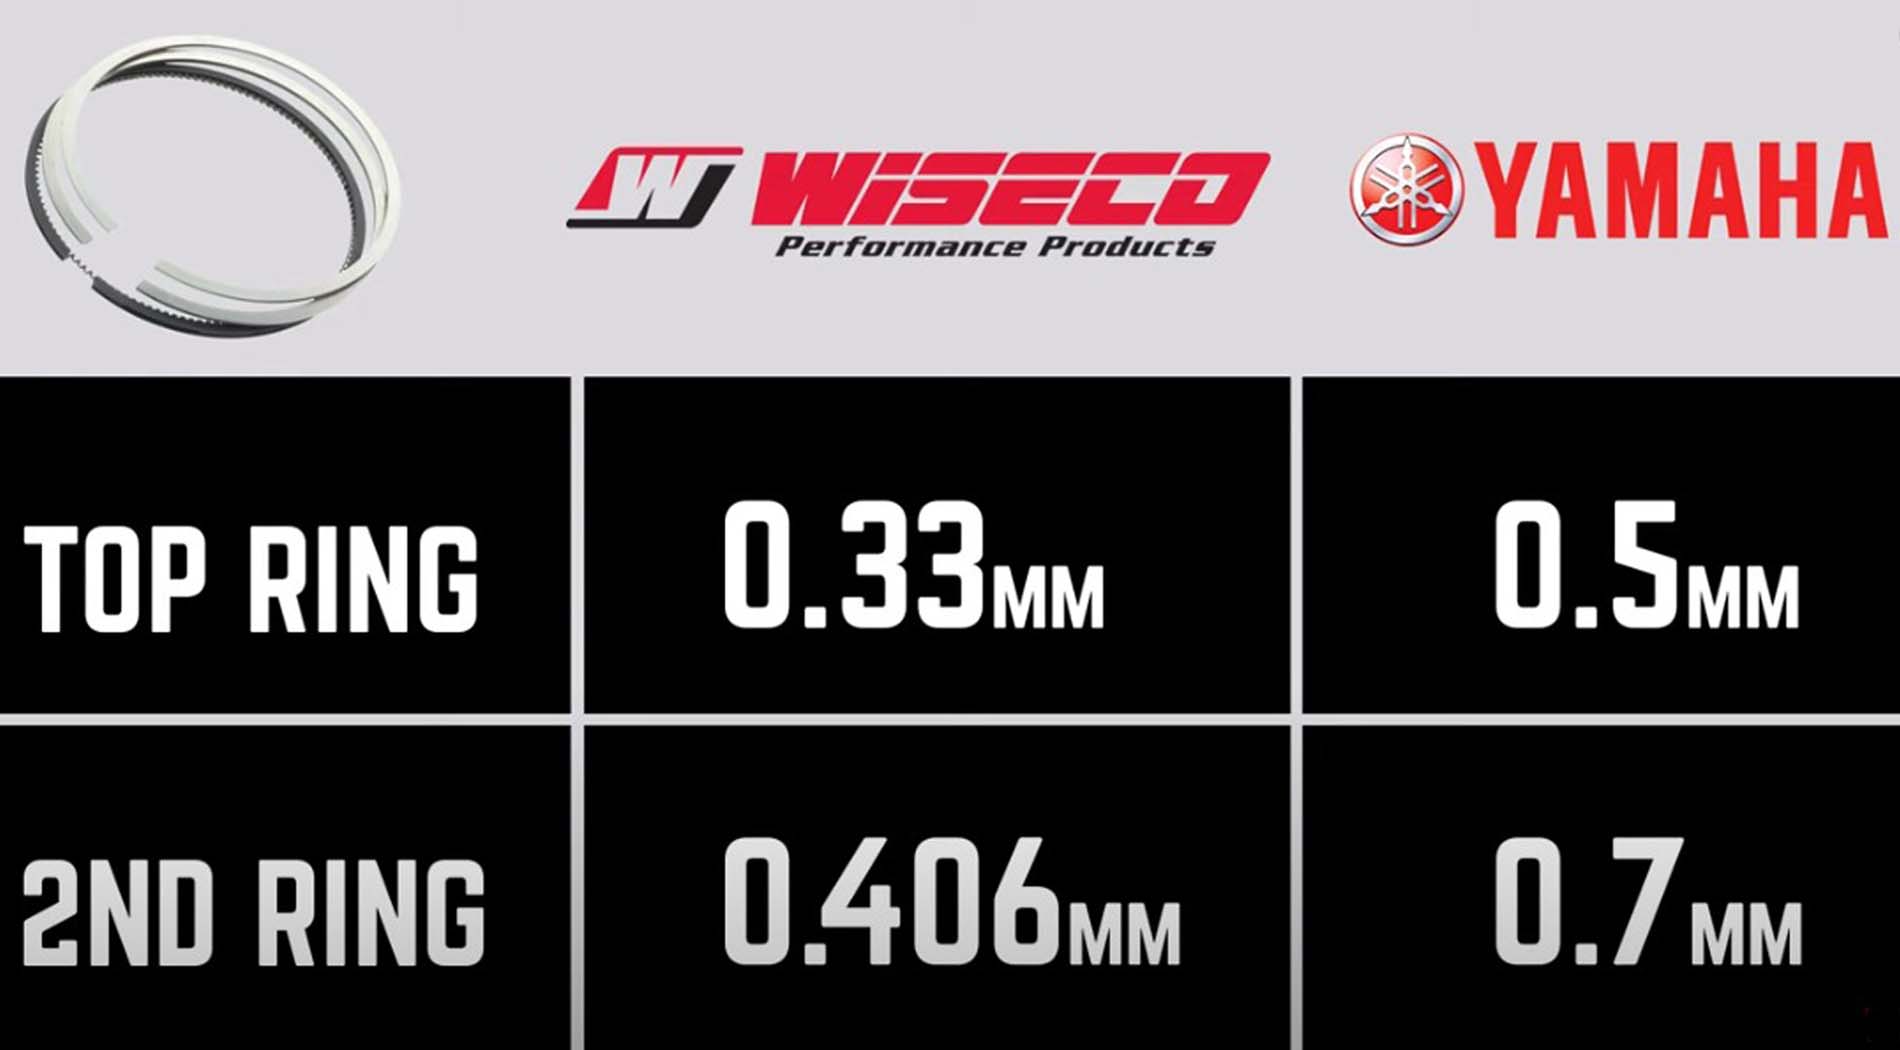
Wiseco pistons run a little bit tighter tolerances than Yamaha for piston ring gaps.
- For the OEM Yamaha piston, the gap is 0.5mm for the top ring and 0.7mm for the second ring.
- For the aftermarket Wiseco piston, the gap is 0.33mm for the top ring and 0.406mm for the second ring.
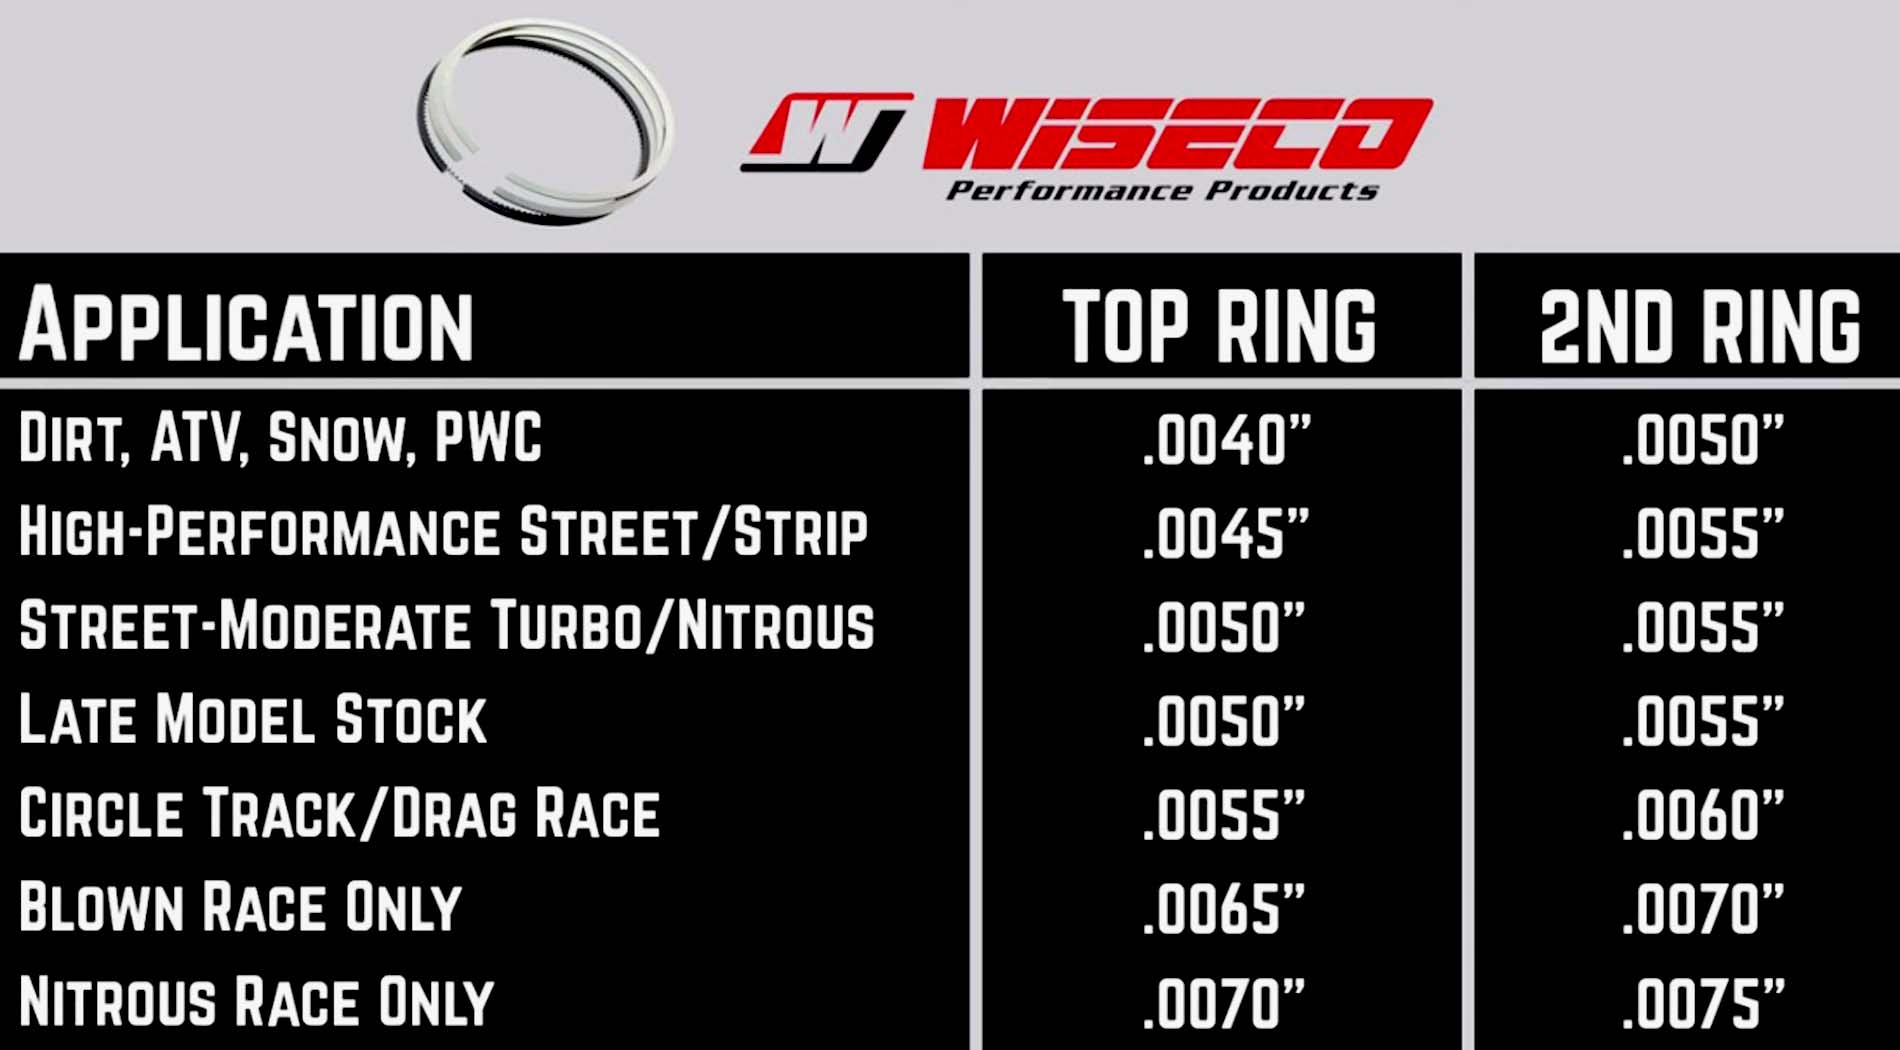
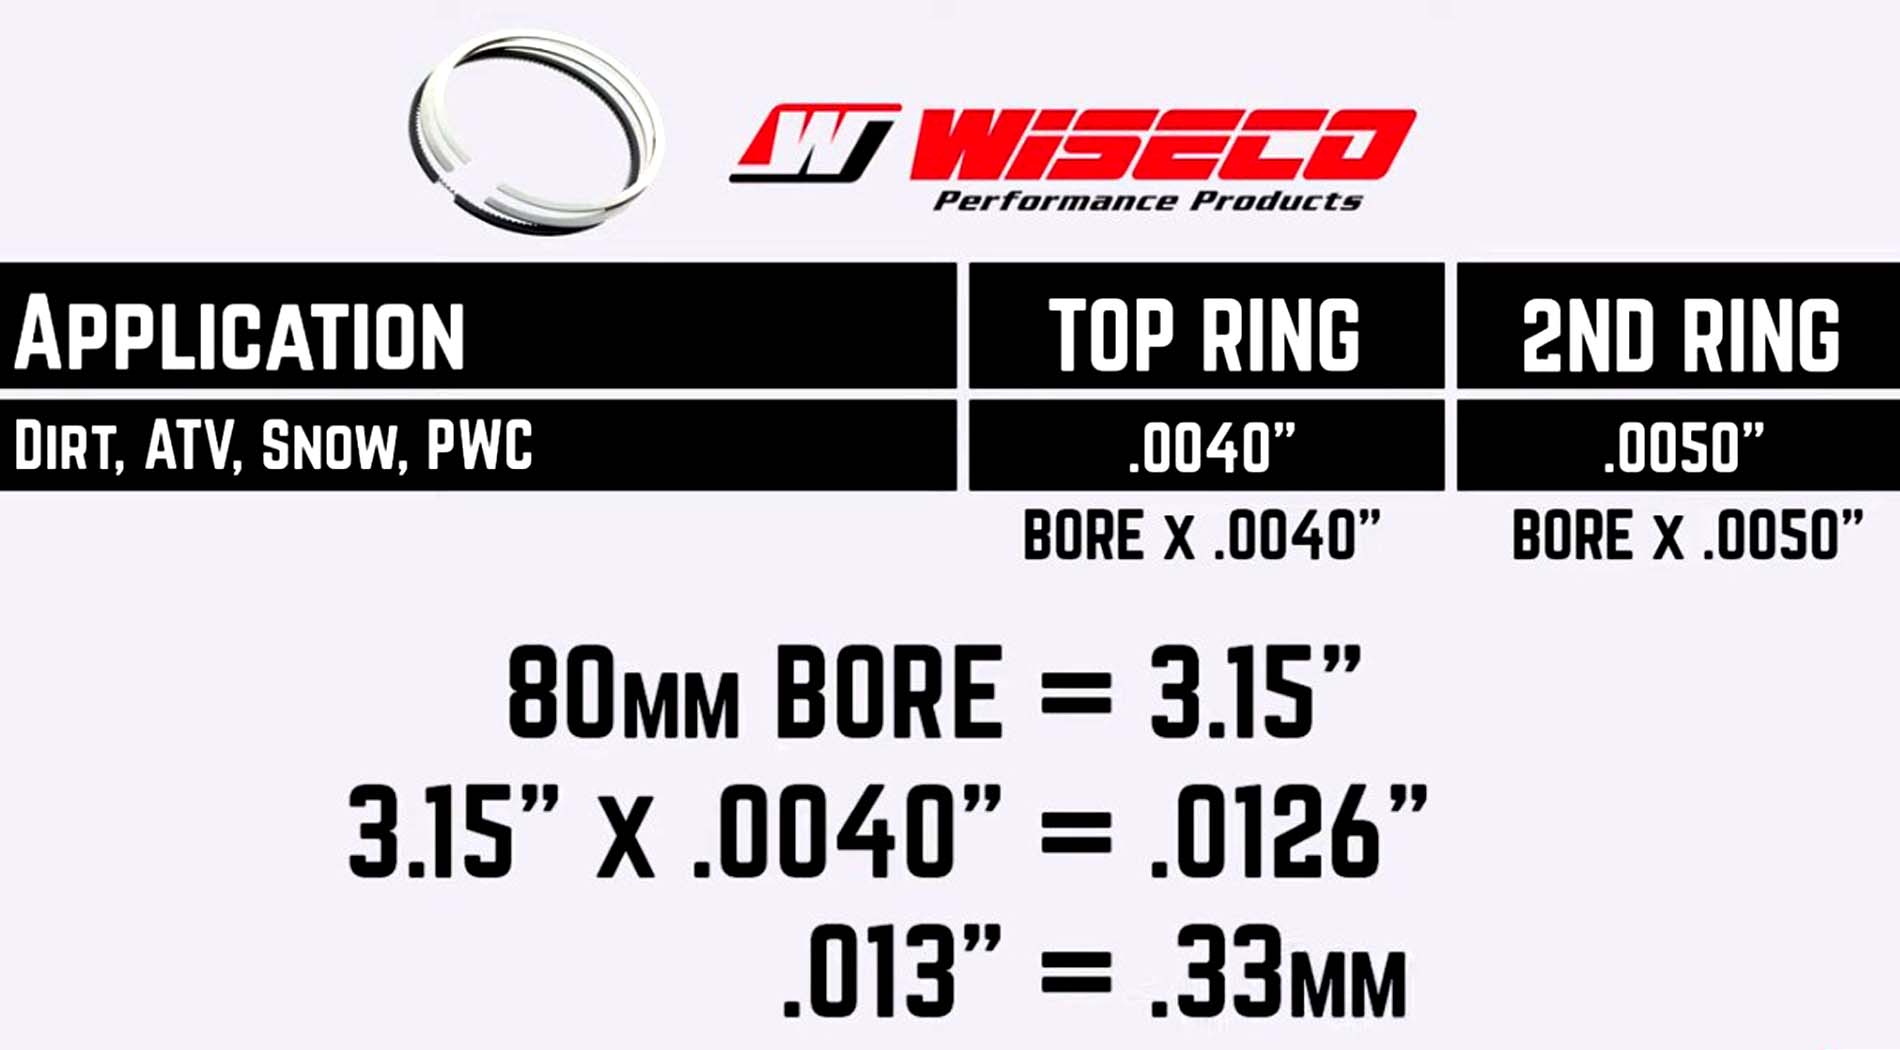
The Wiseco piston kits include a chart that shows you how to calculate the ring gap. For this particular application, we're using the bore, converting it over to inches, and then multiplying that number by .004.
We ended up with 3.15 in x .004 in, which equals .0126 inches, and that gets rounded up to .013, which then translates to 0.33 millimeters.
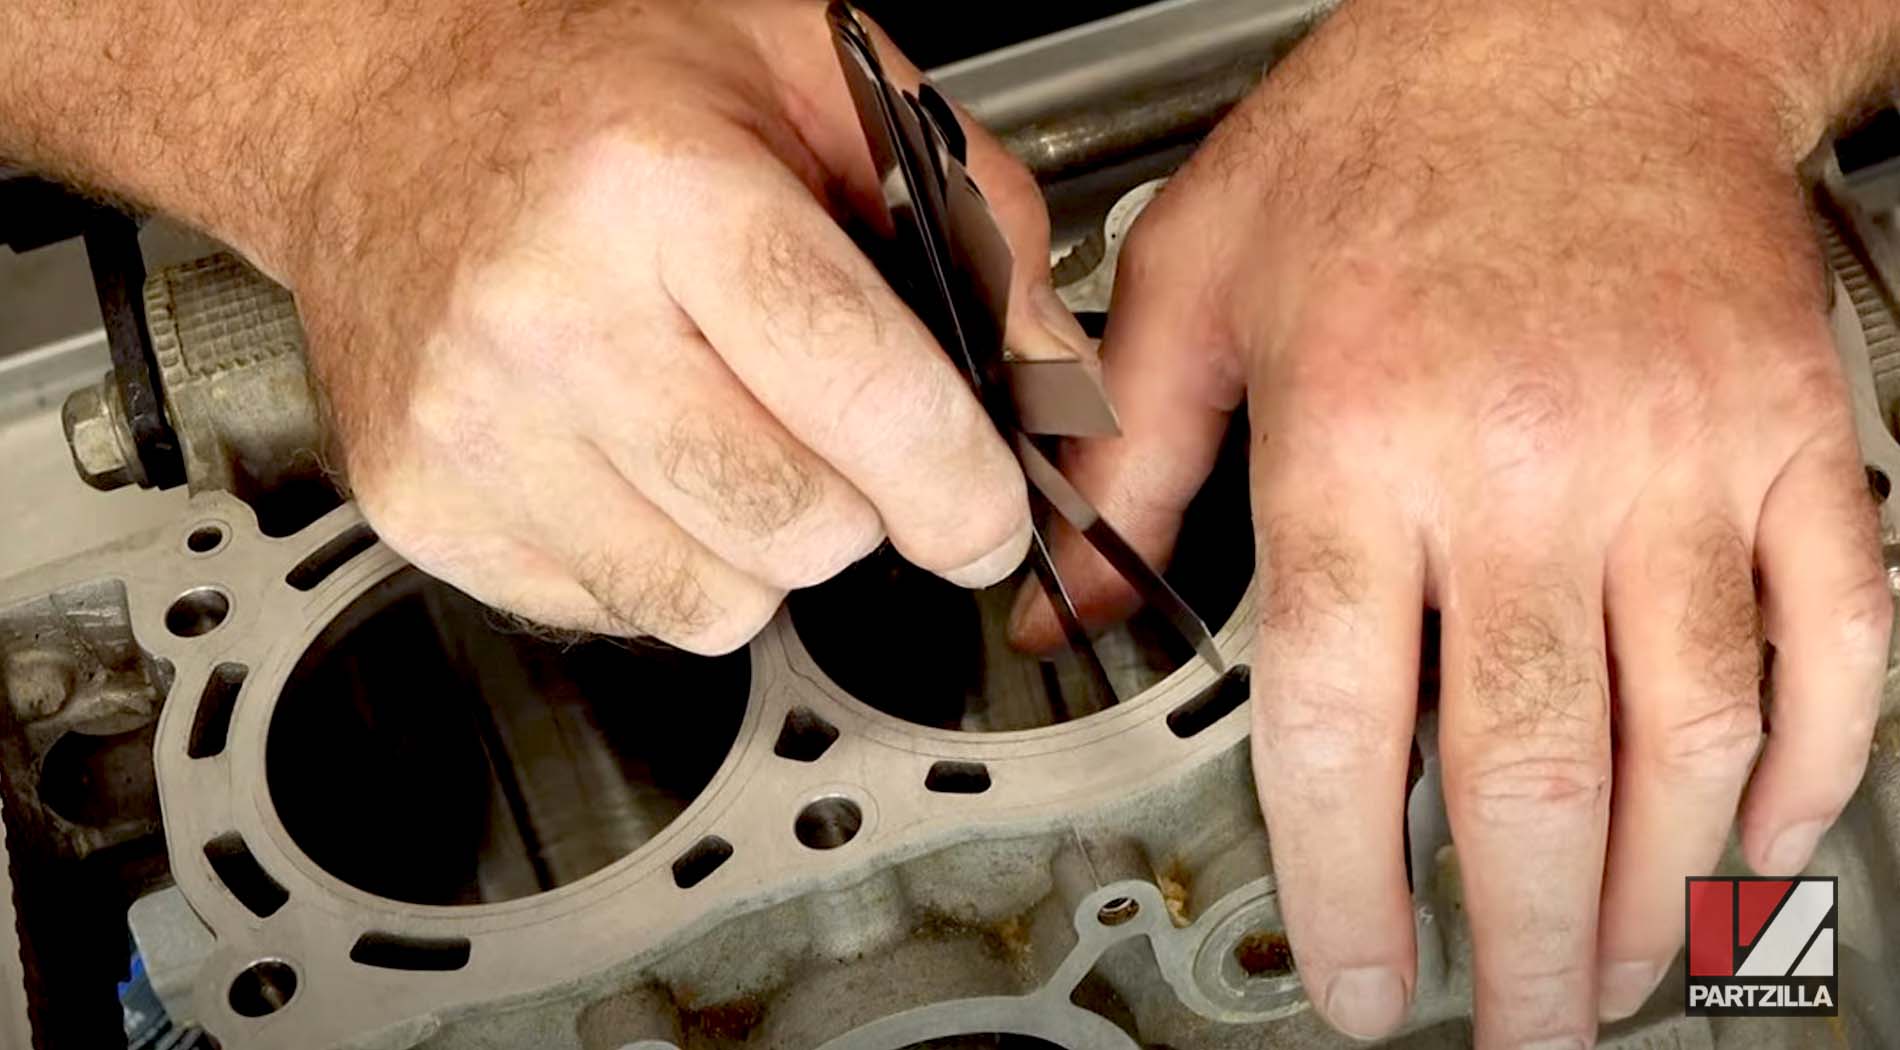
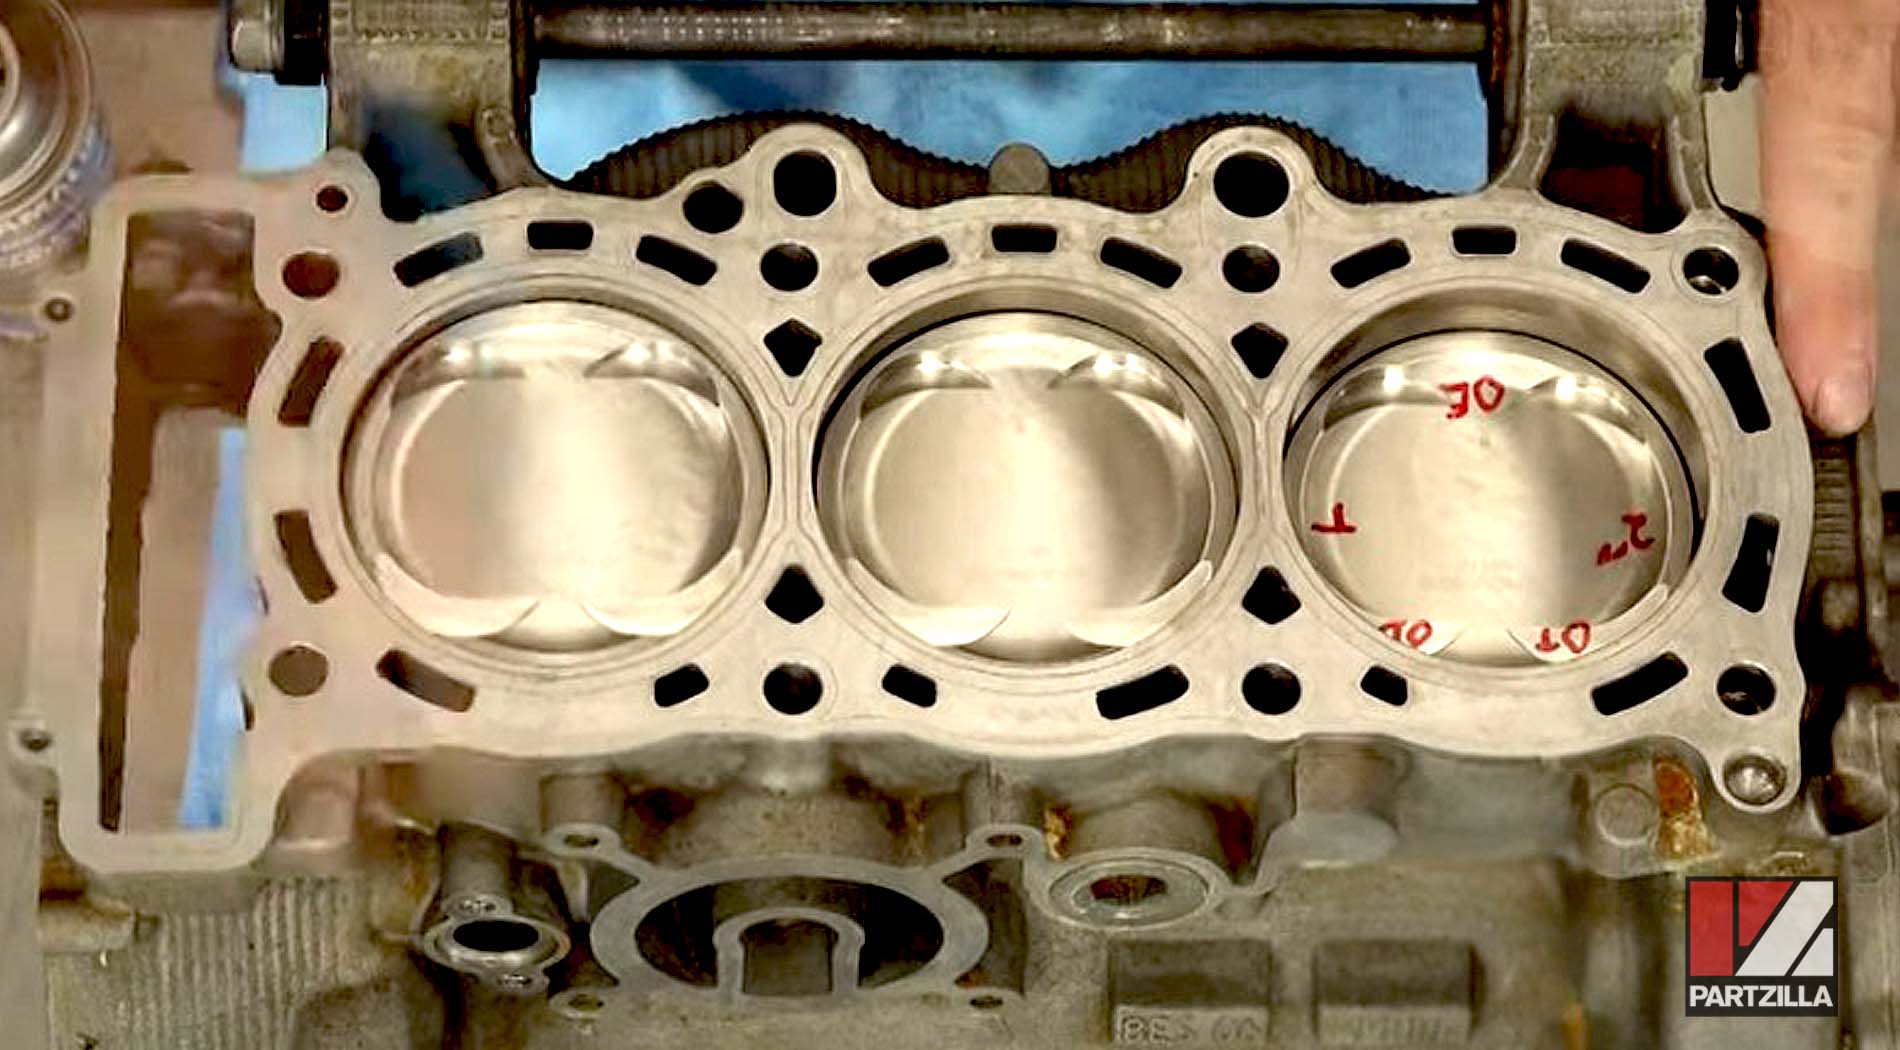
Step 6. Check the gap for the top ring and second ring for each individual piston by inserting the piston into its corresponding cylinder to see if anything needs to be adjusted.
The gap should match the specifications provided by the manufacturer, because if it’s any smaller, the rings won’t have room to expand and they’ll damage the cylinder wall. Use a feeler gauge to measure the gaps for each cylinder.
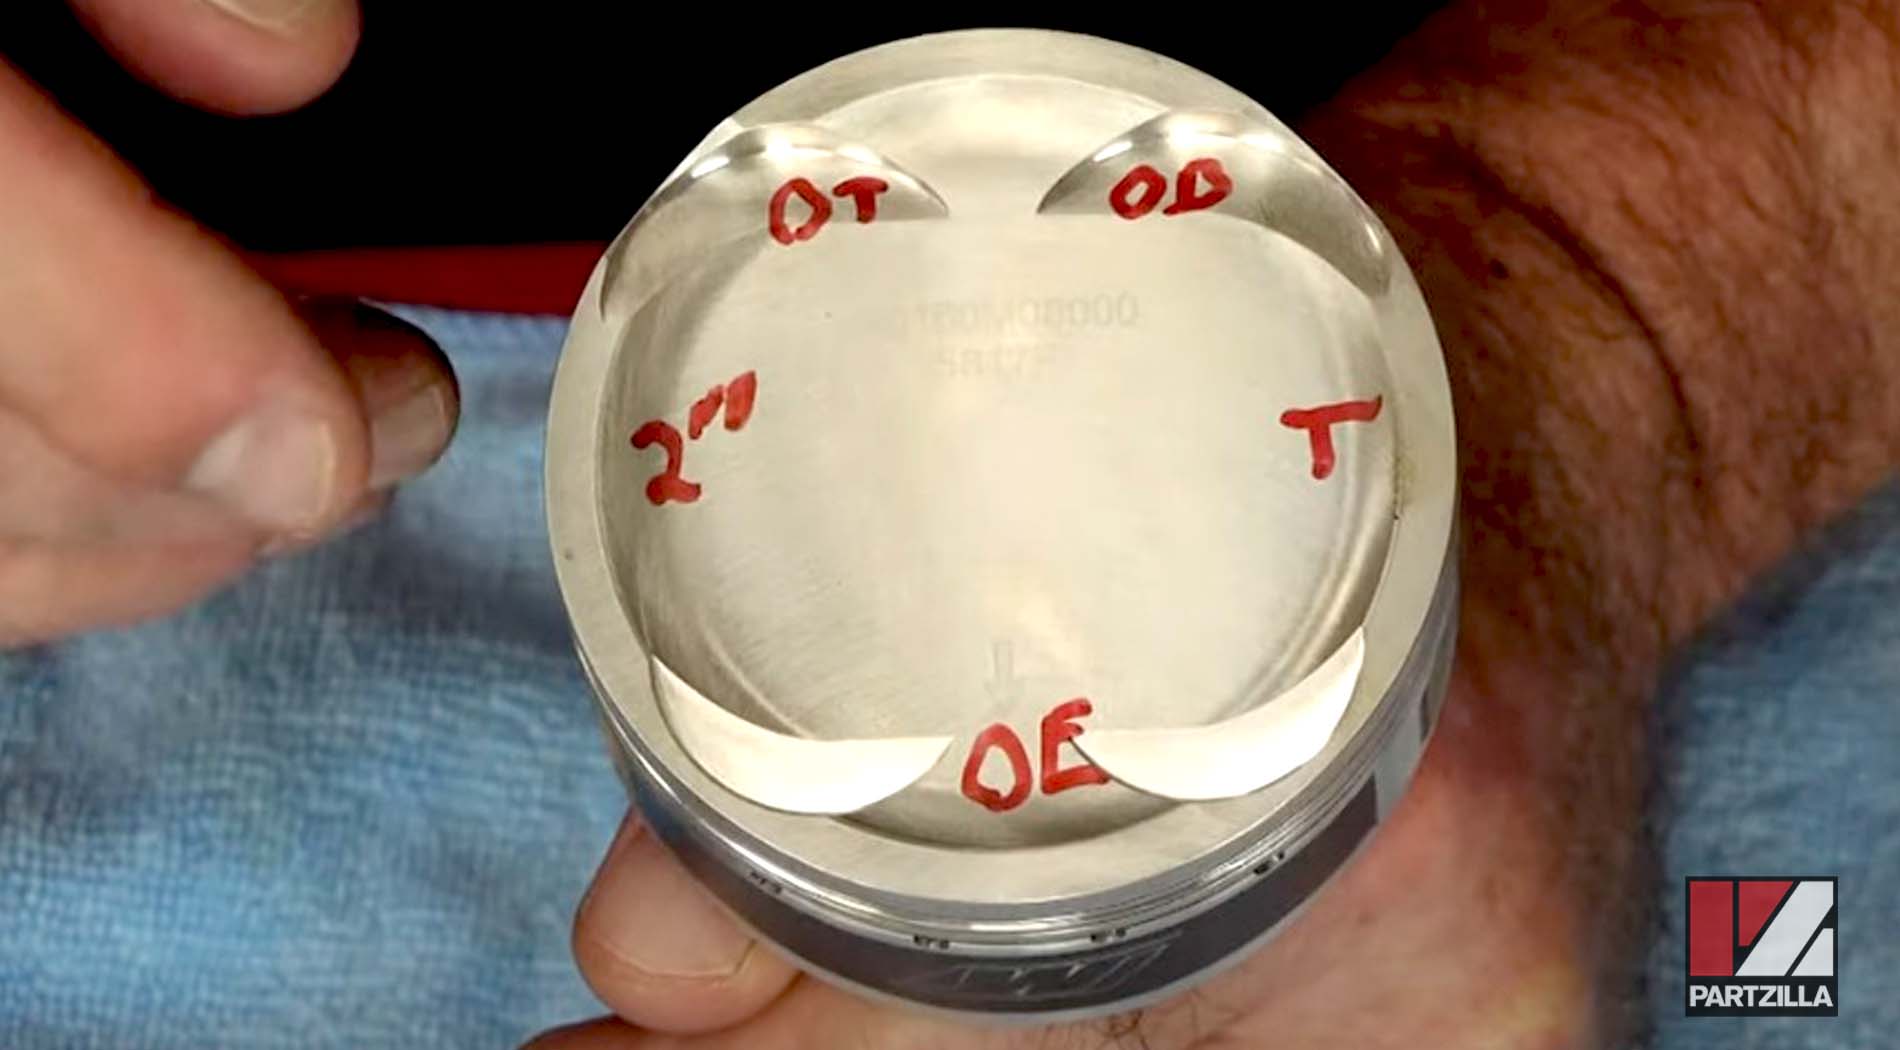
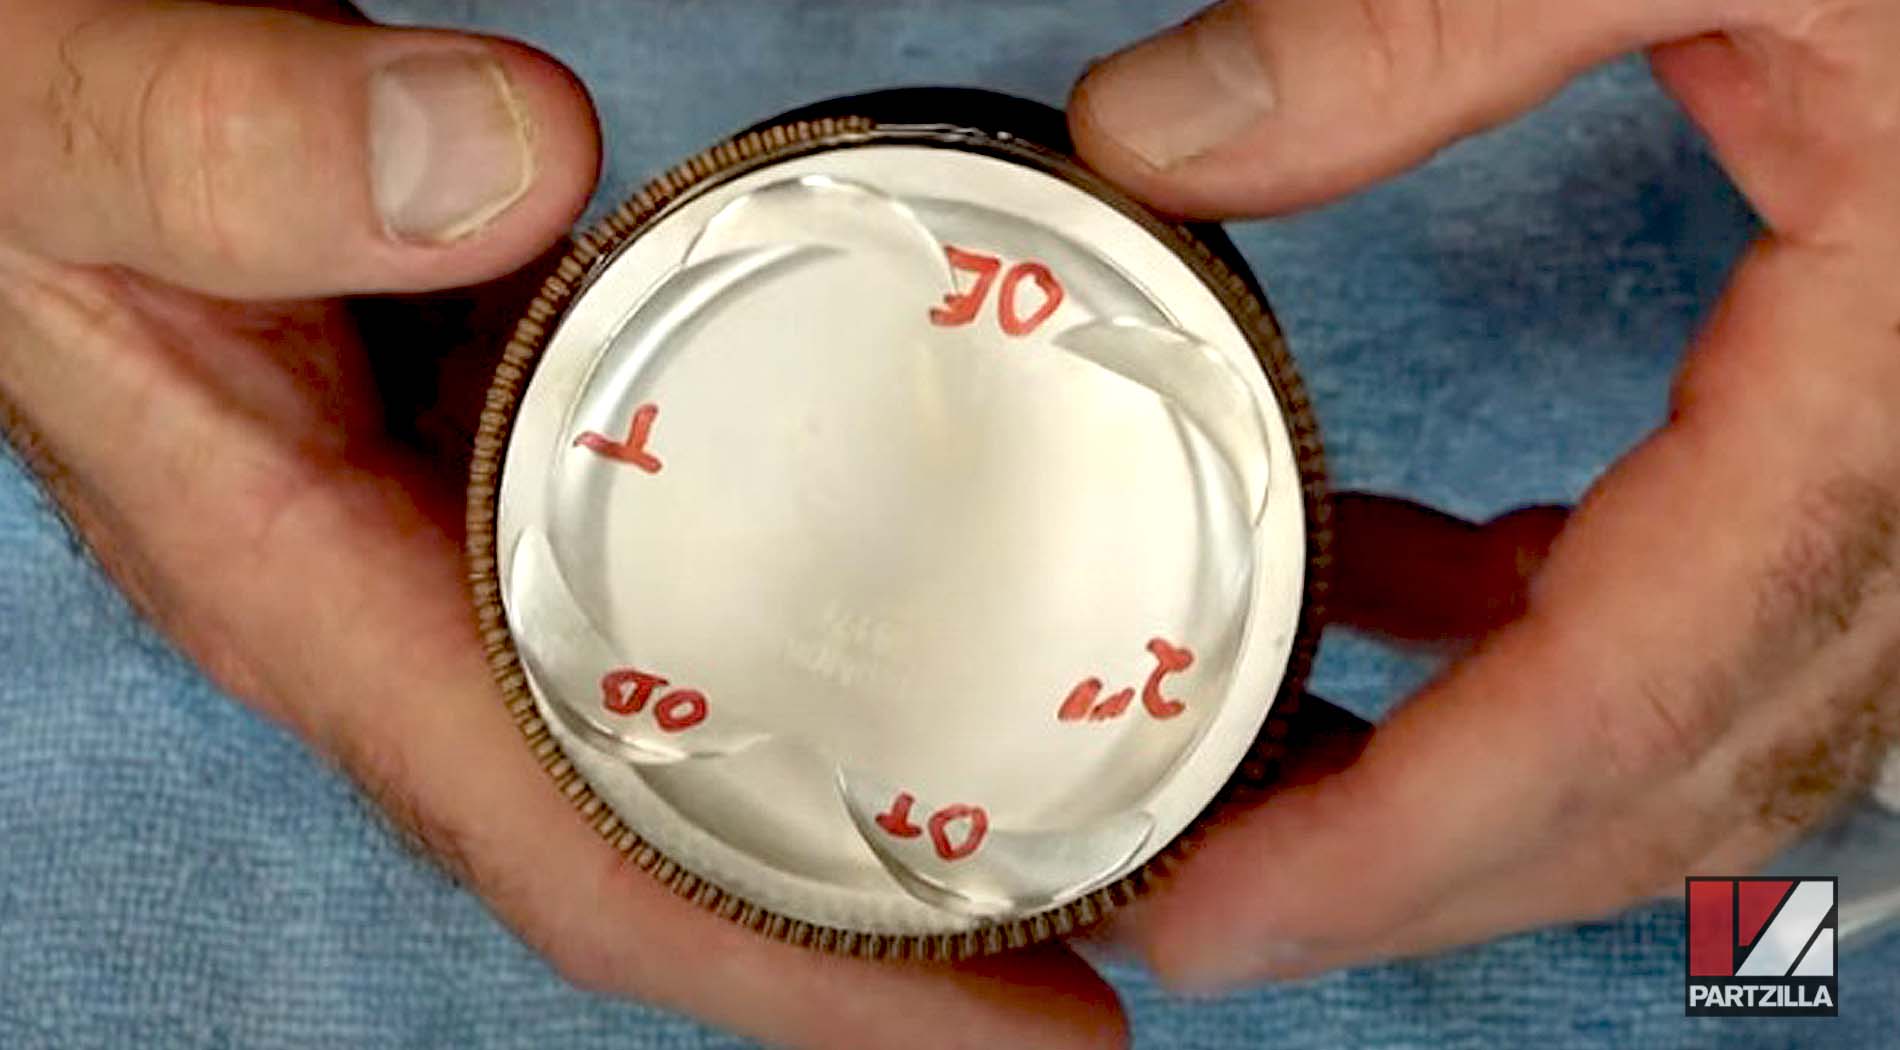
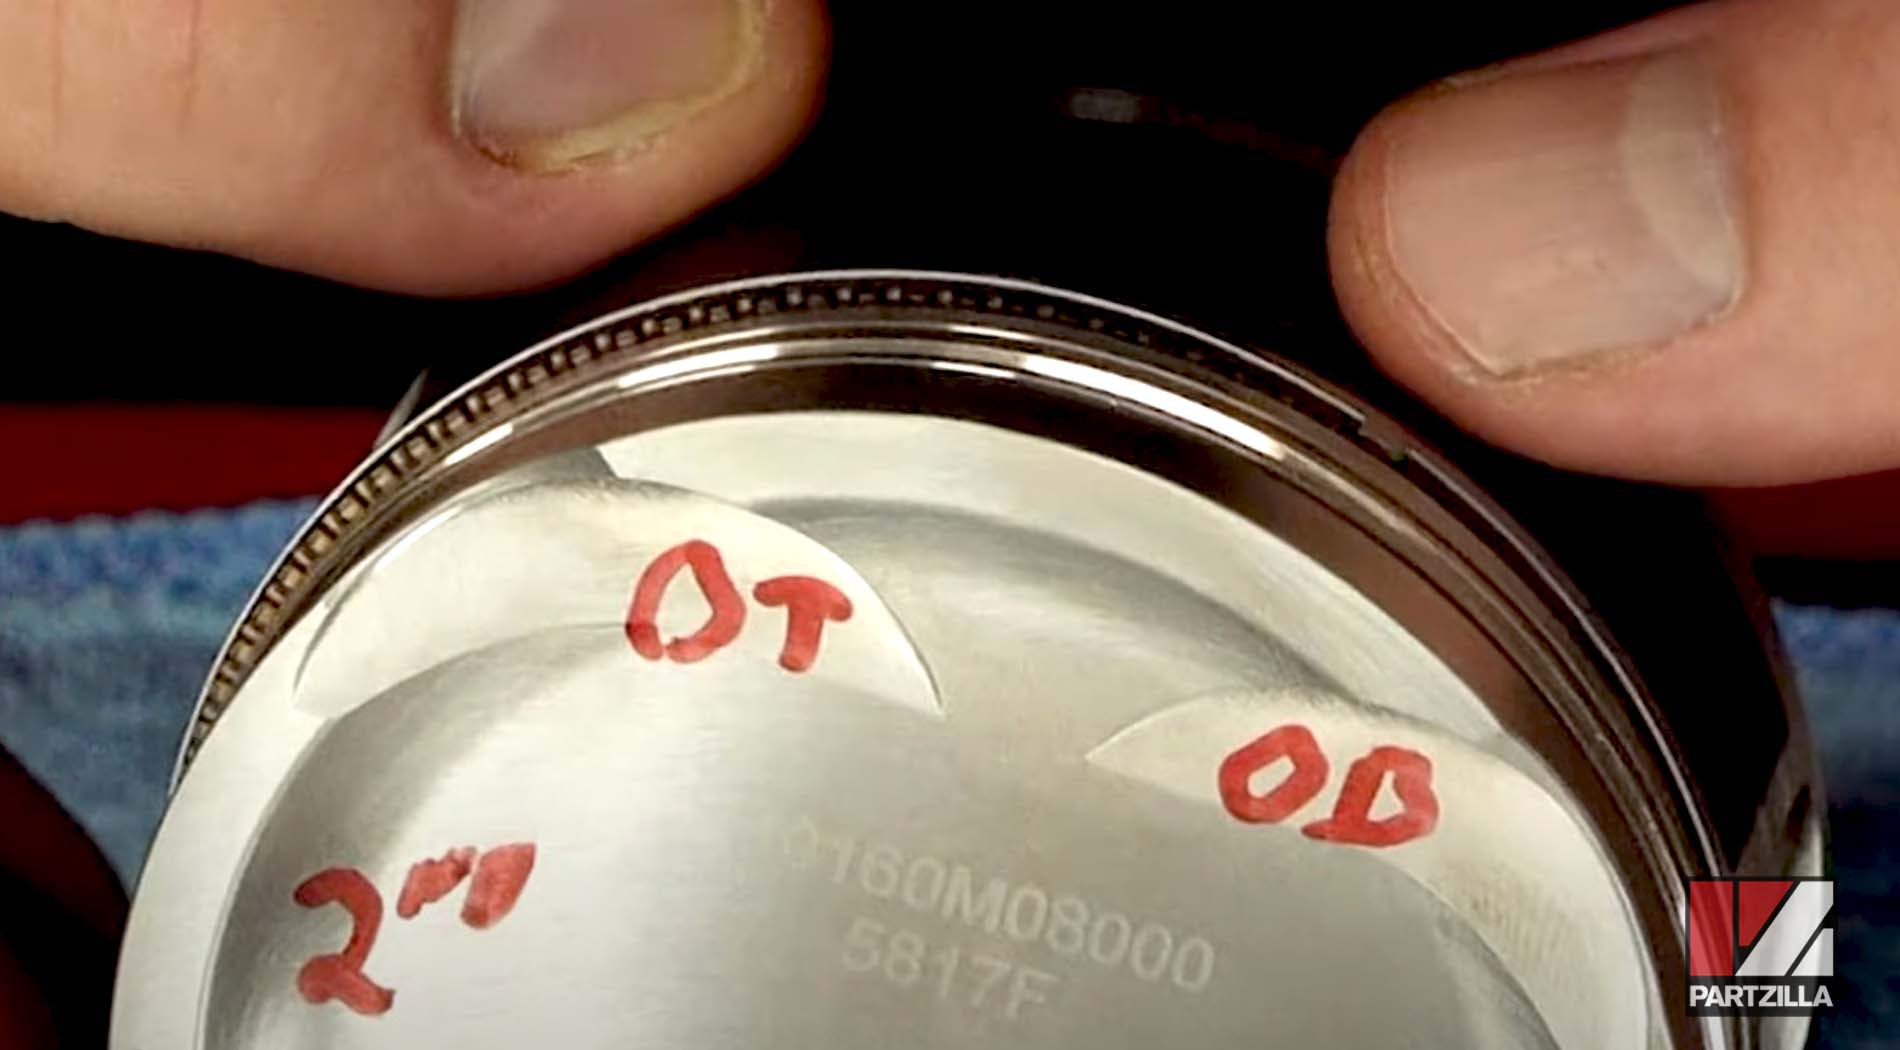
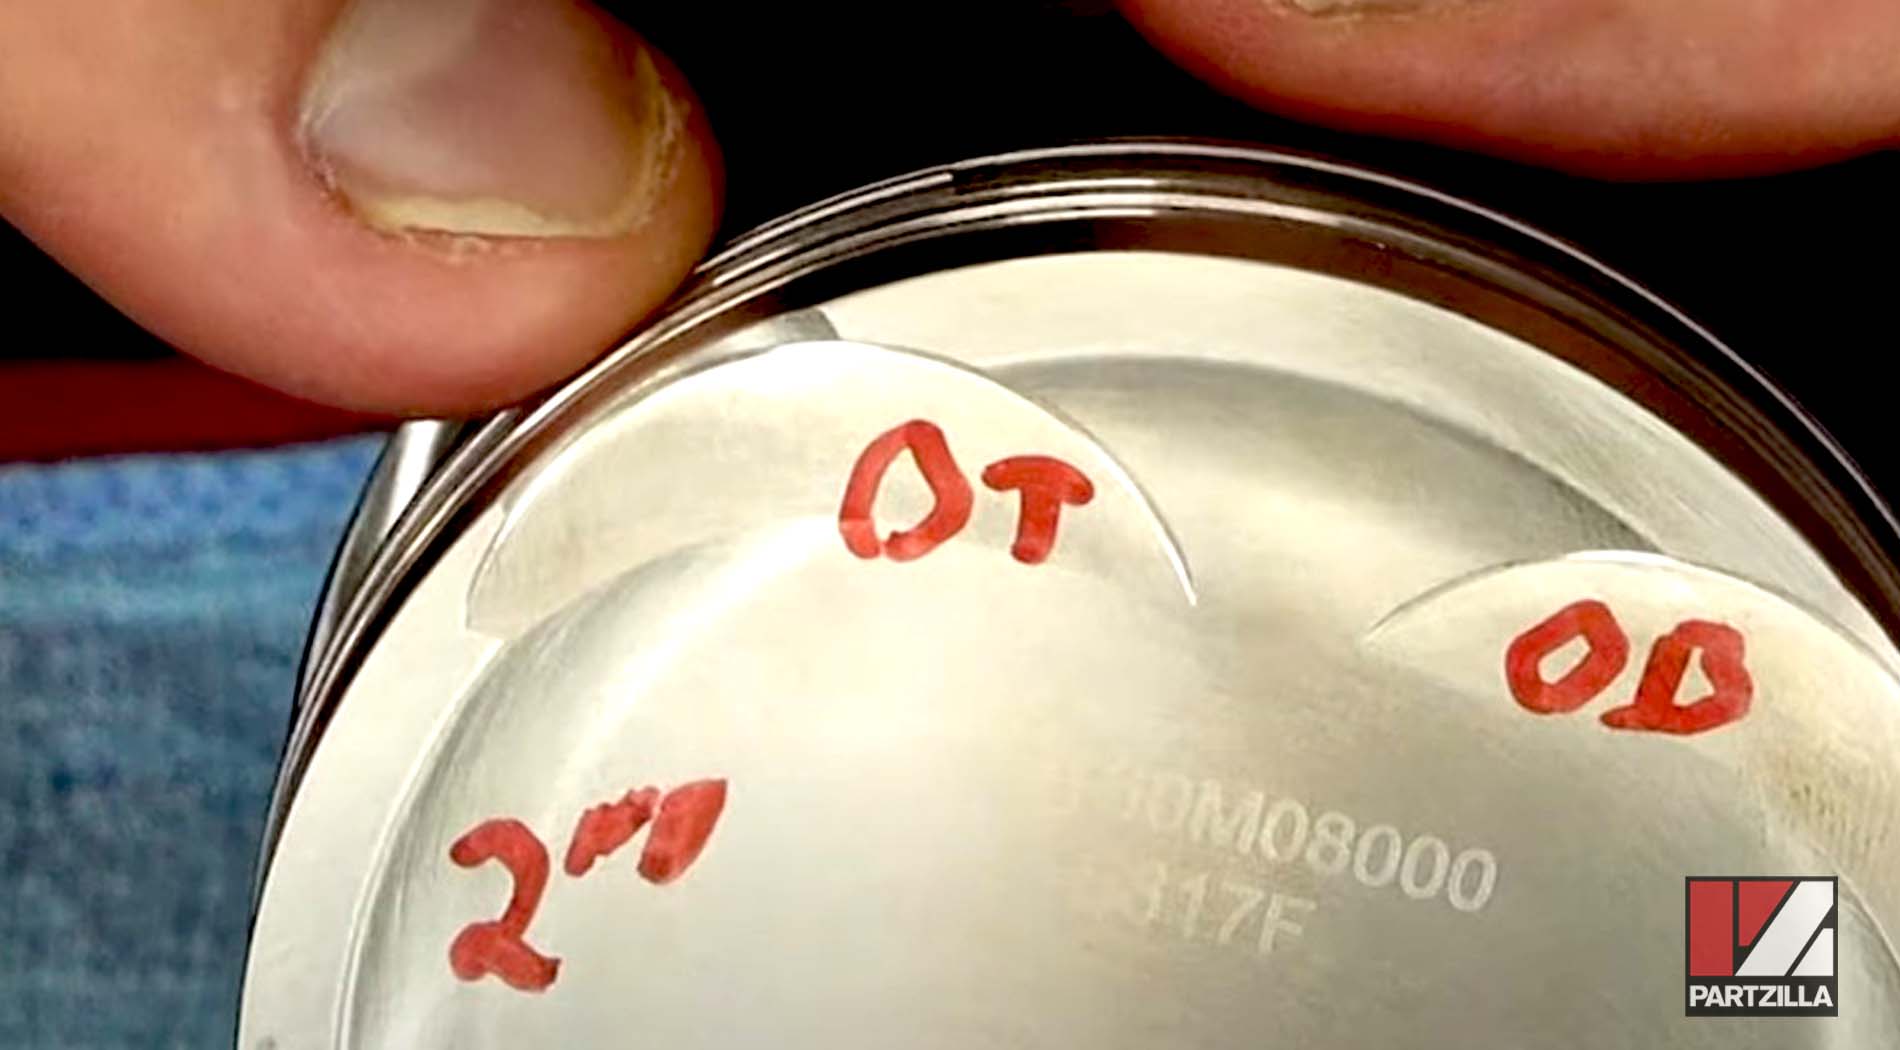
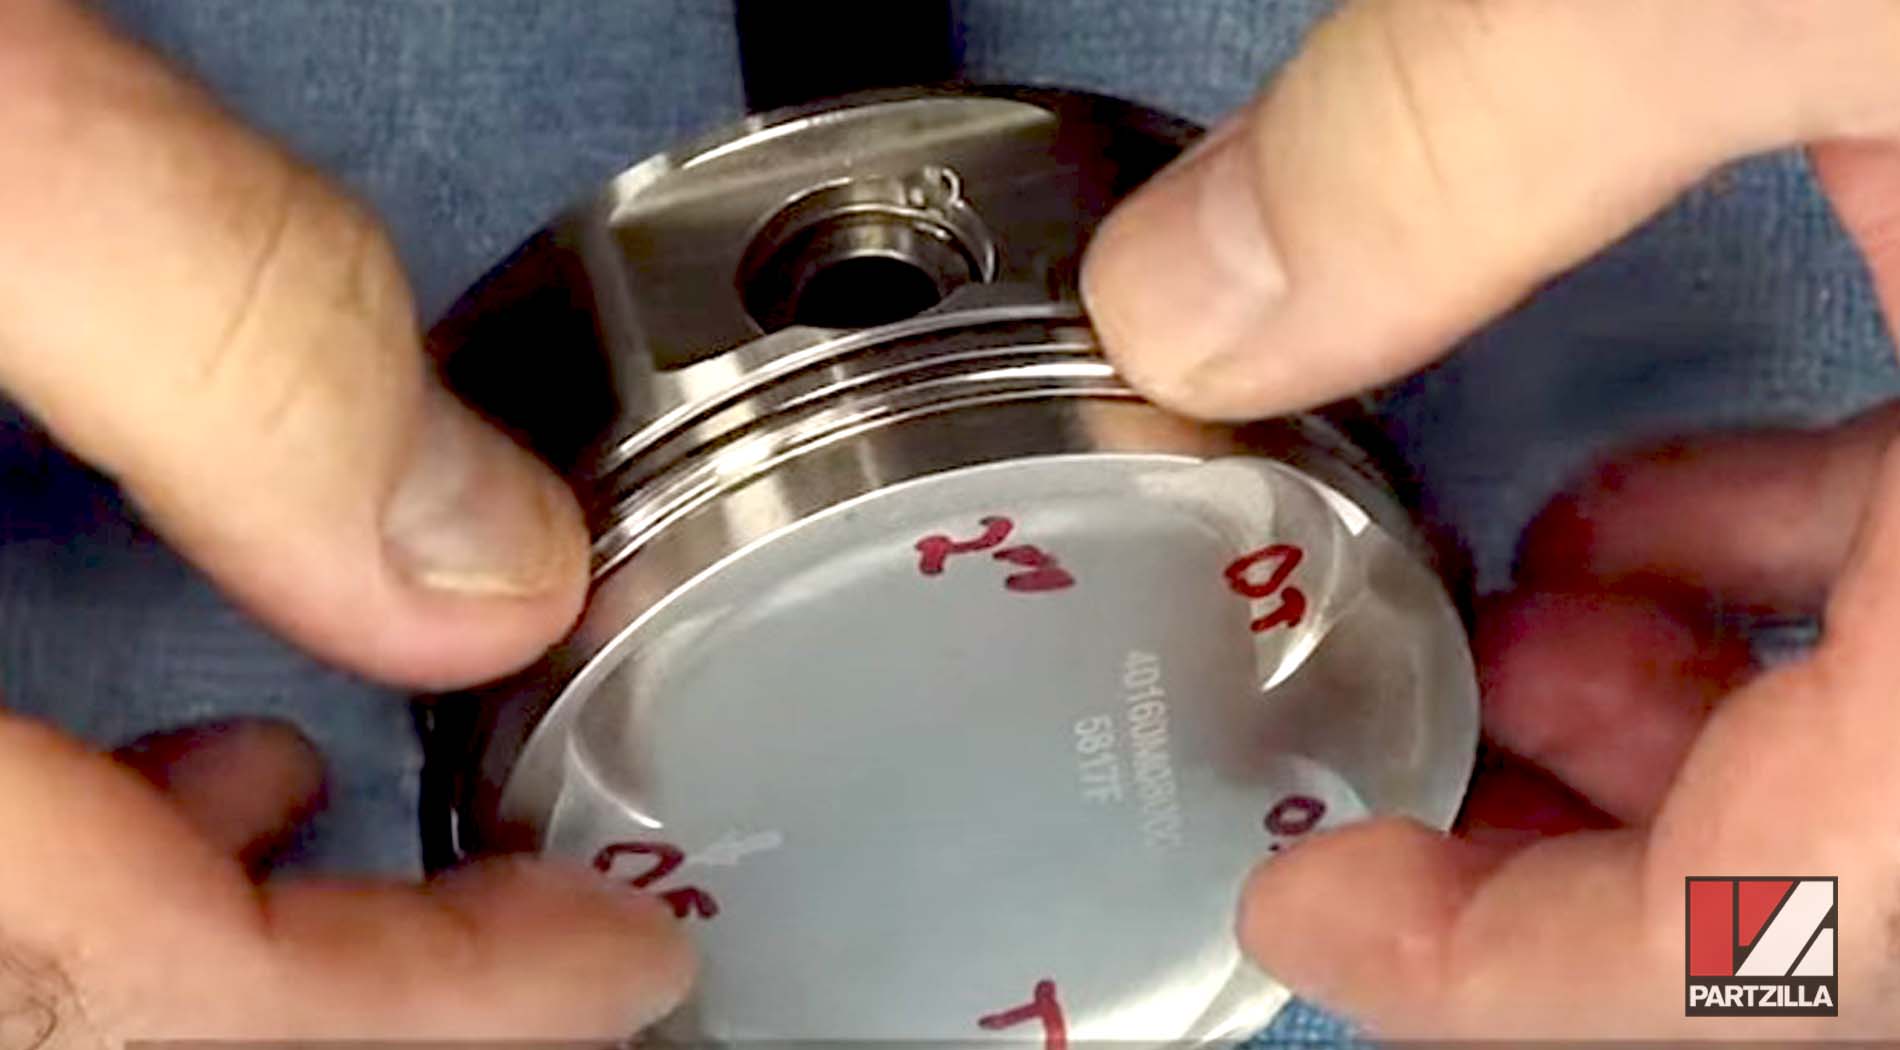
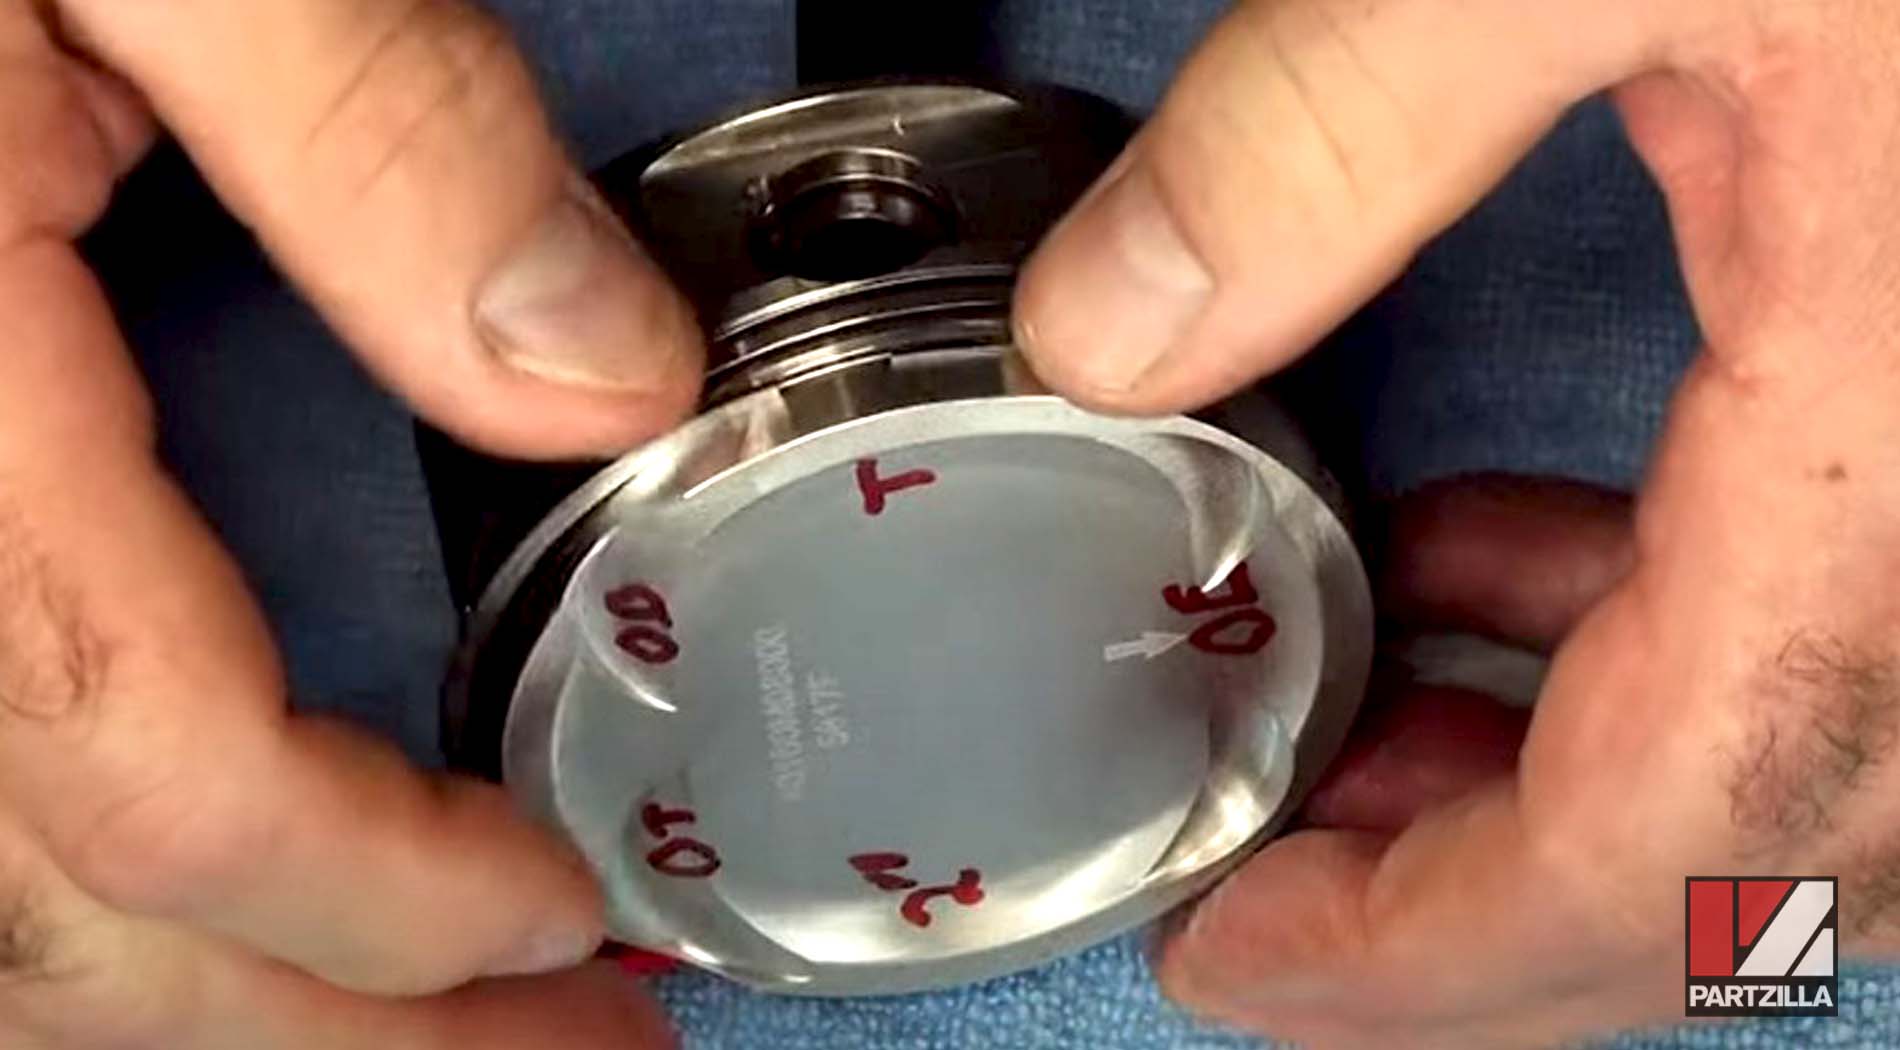
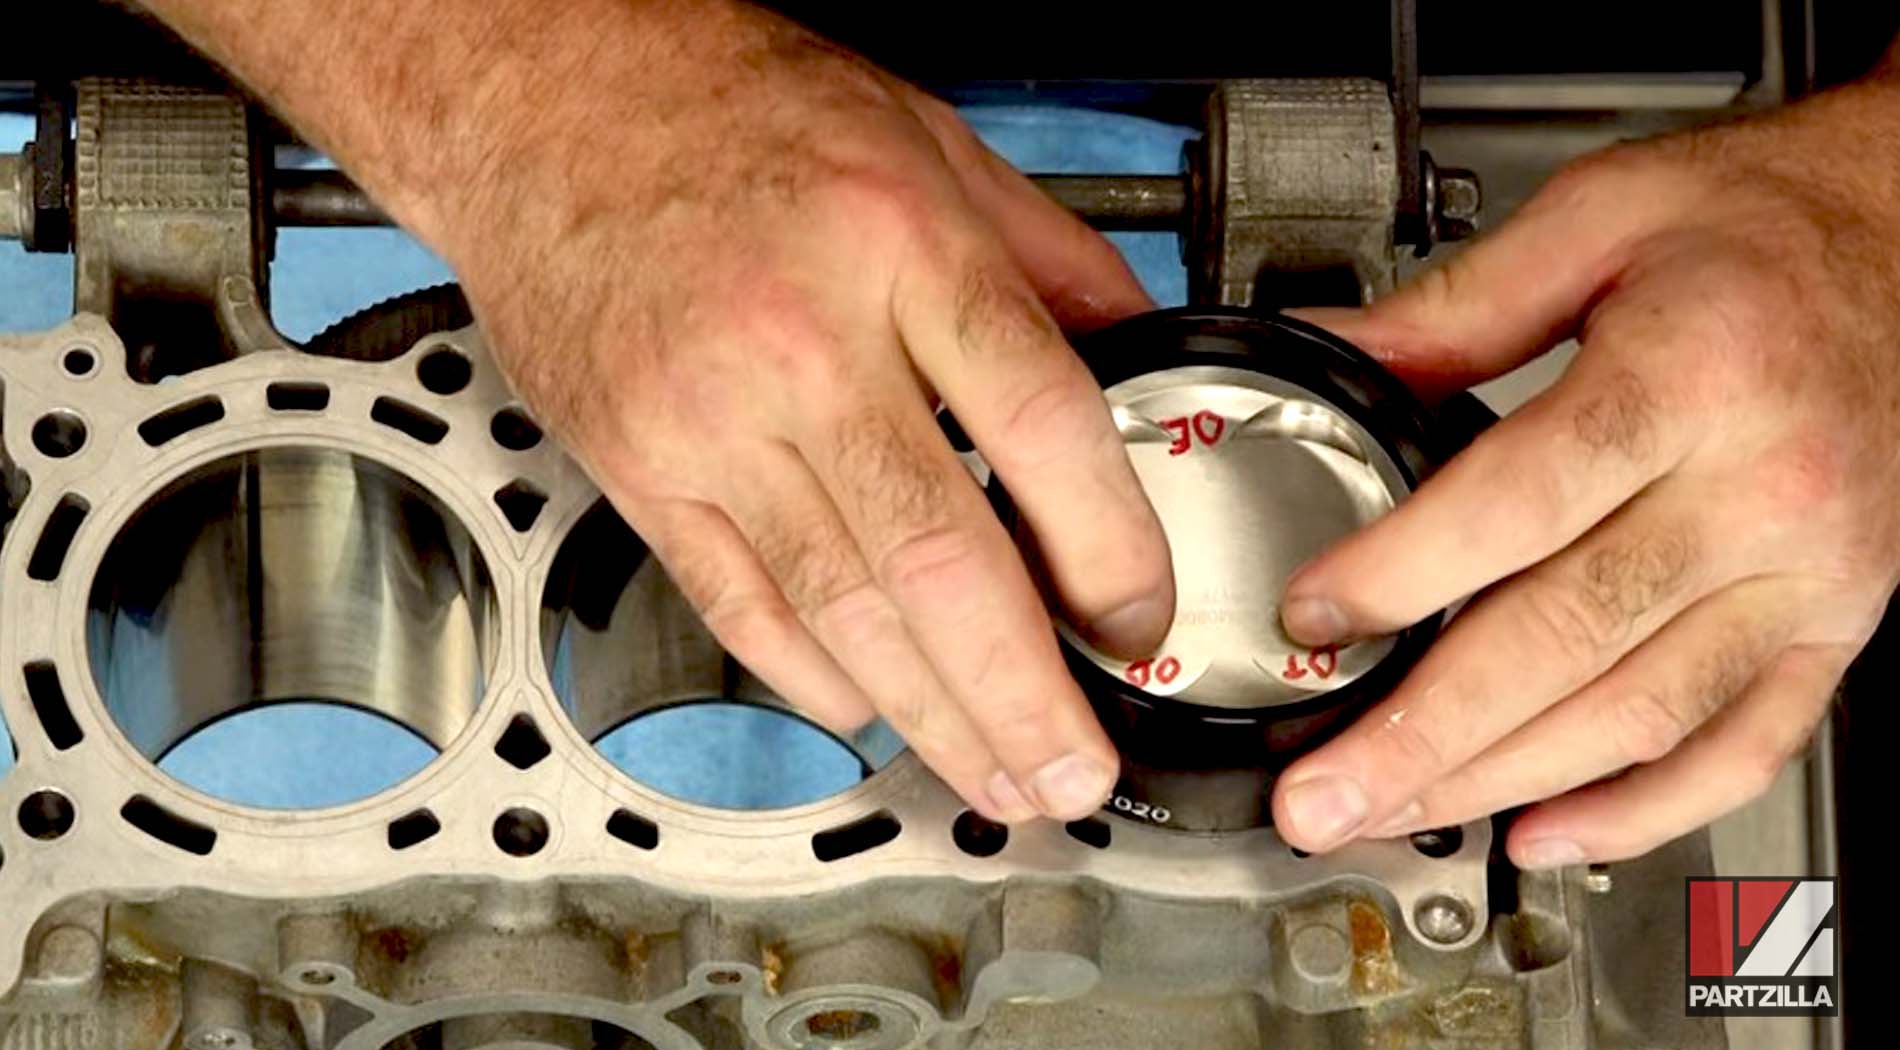
PRO TIP: Label the placement for the end of each ring on the piston according to the manufacturer’s recommendations. We used a red marker to label the placement of where the piston rings go according to the Wiseco manual as follows:
OT = Oil Top ring
OB = Oil Bottom ring
OE = Oil Expander ring
T = Top ring
2nd = 2nd ring
Watch the clip below to see the piston ring gap measurement segment of our Yamaha YXZ1000R bottom end rebuild video.
Step 7. Install the oil expander ring, making sure the ring doesn't overlap. The ends should butt together when installed correctly.
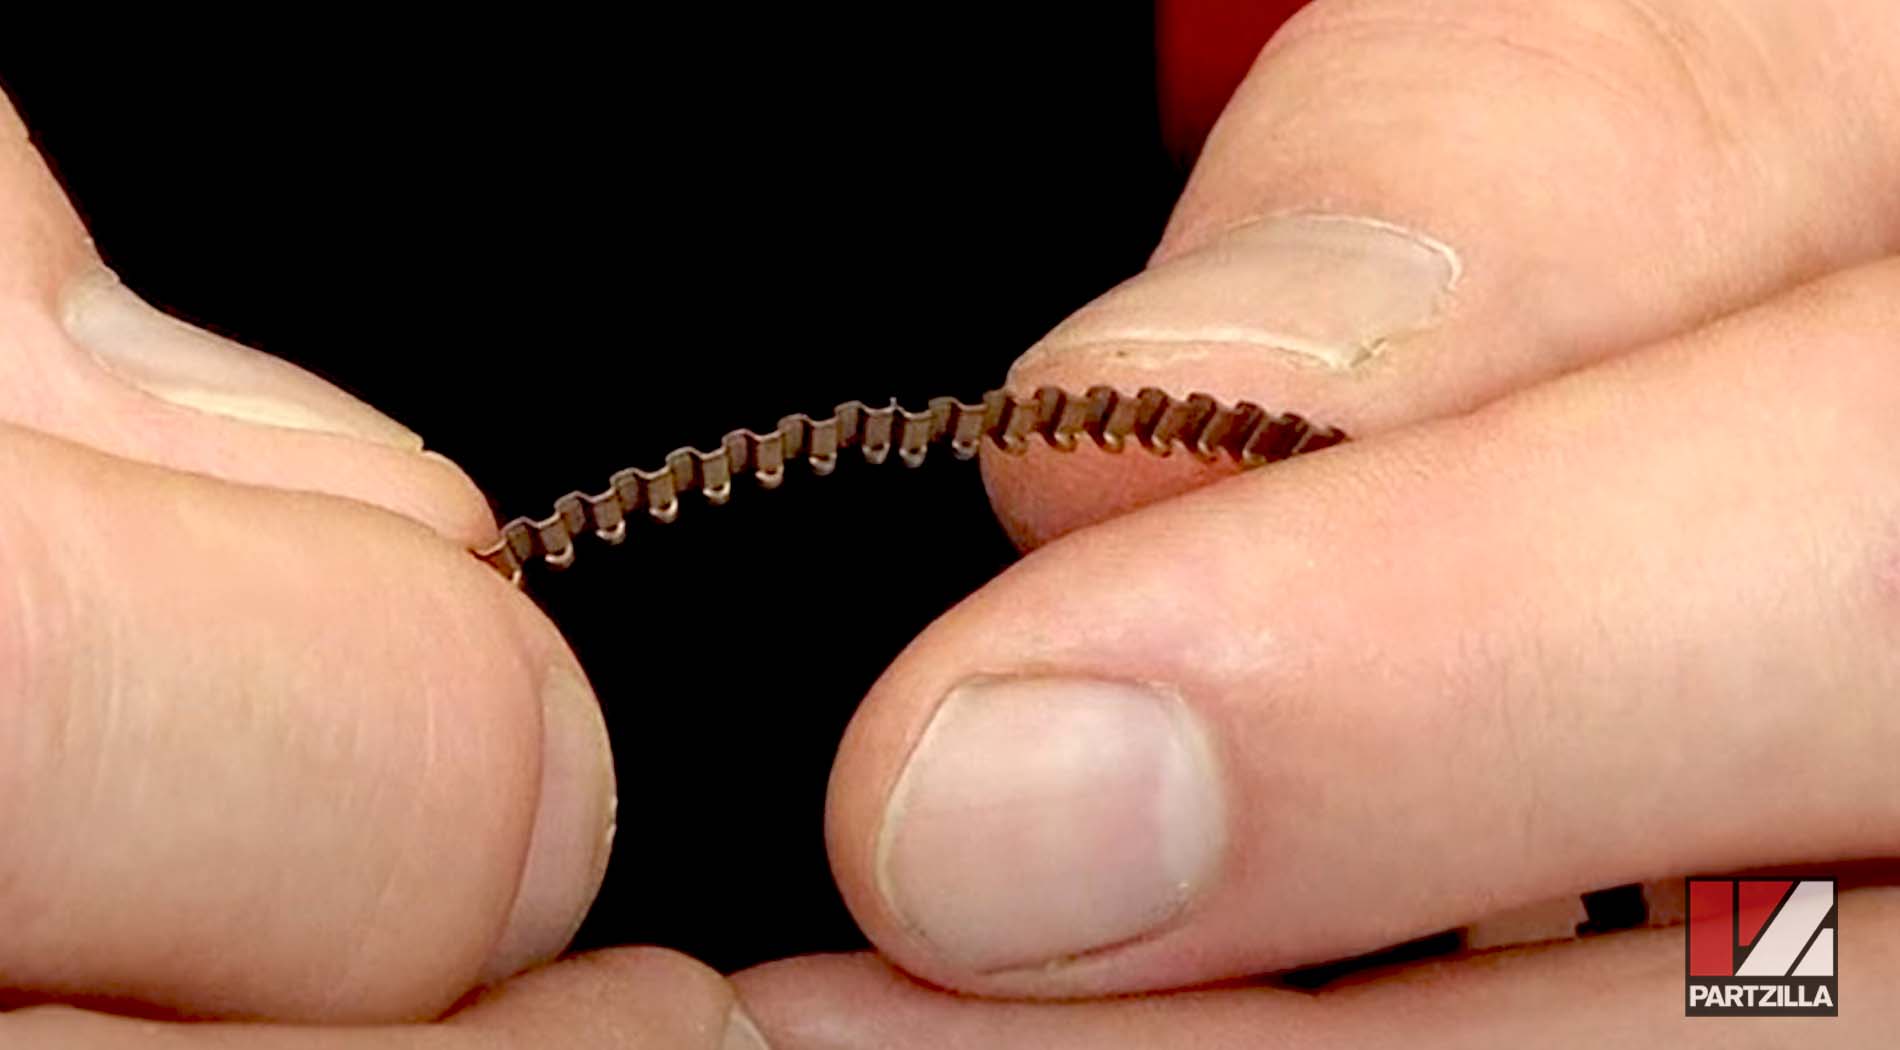
Step 8. Install the oil bottom ring, followed by the oil top ring.
Step 9. Add a little bit of oil to the 2nd ring before installing it (with the N stamped on the ring facing up).
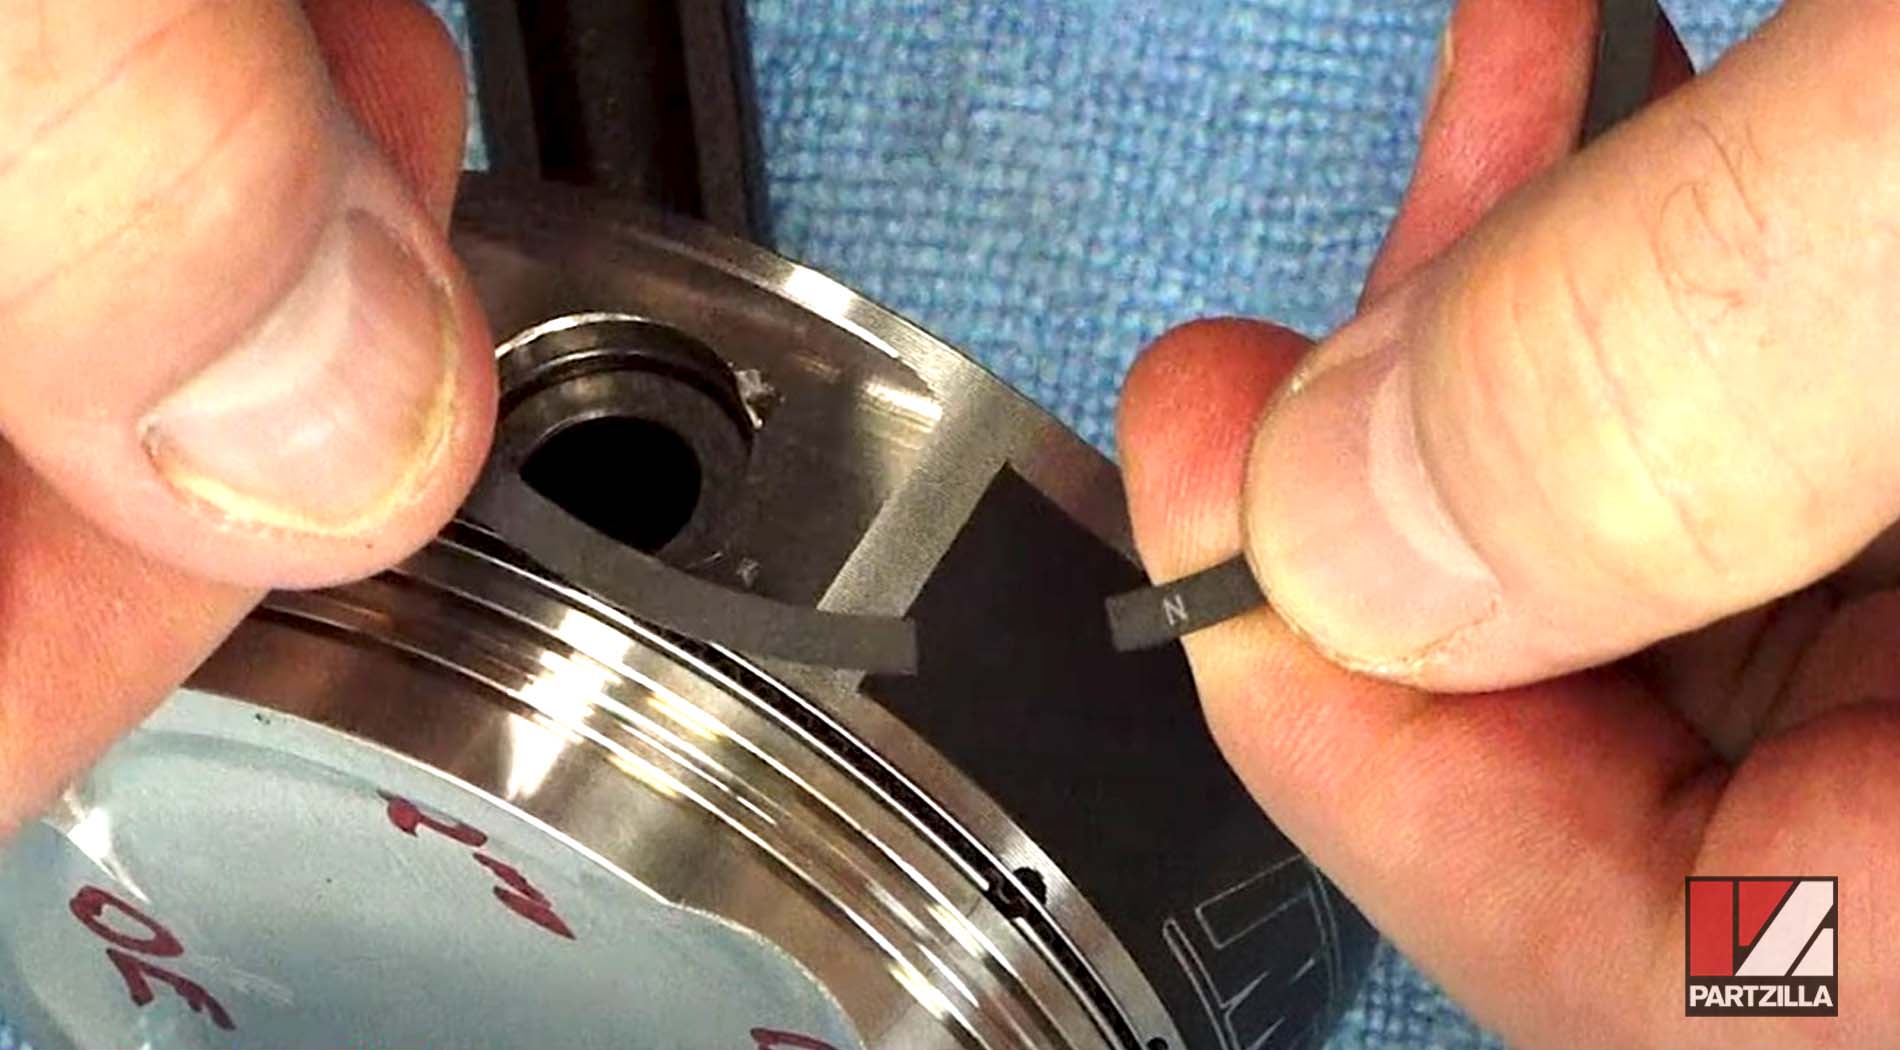
PRO TIP: If you don't want to hurt your fingers while installing the piston rings, use a piston ring installer tool. However, if you're doing this with your fingers, try not to scratch anything as you're bringing the edges down.
Step 10. Lightly oil and then install the top piston ring, only spreading it apart the minimum distance.
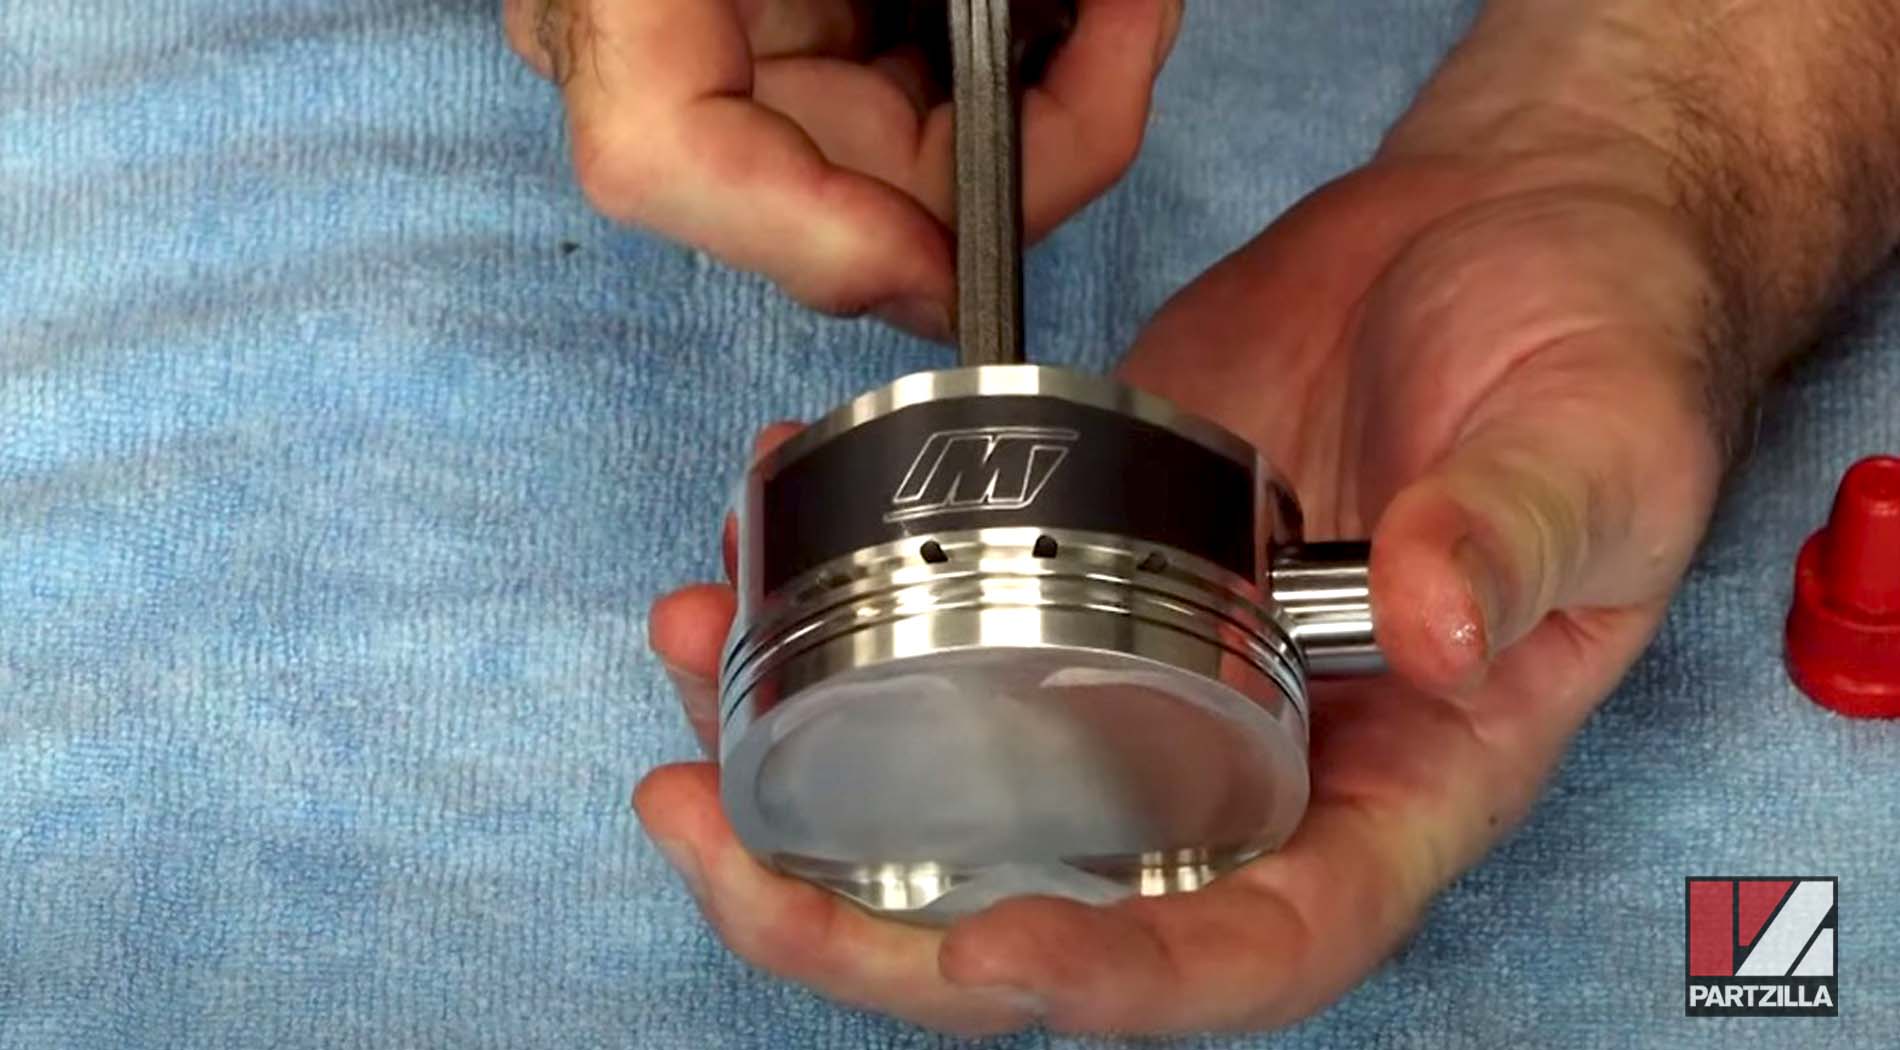
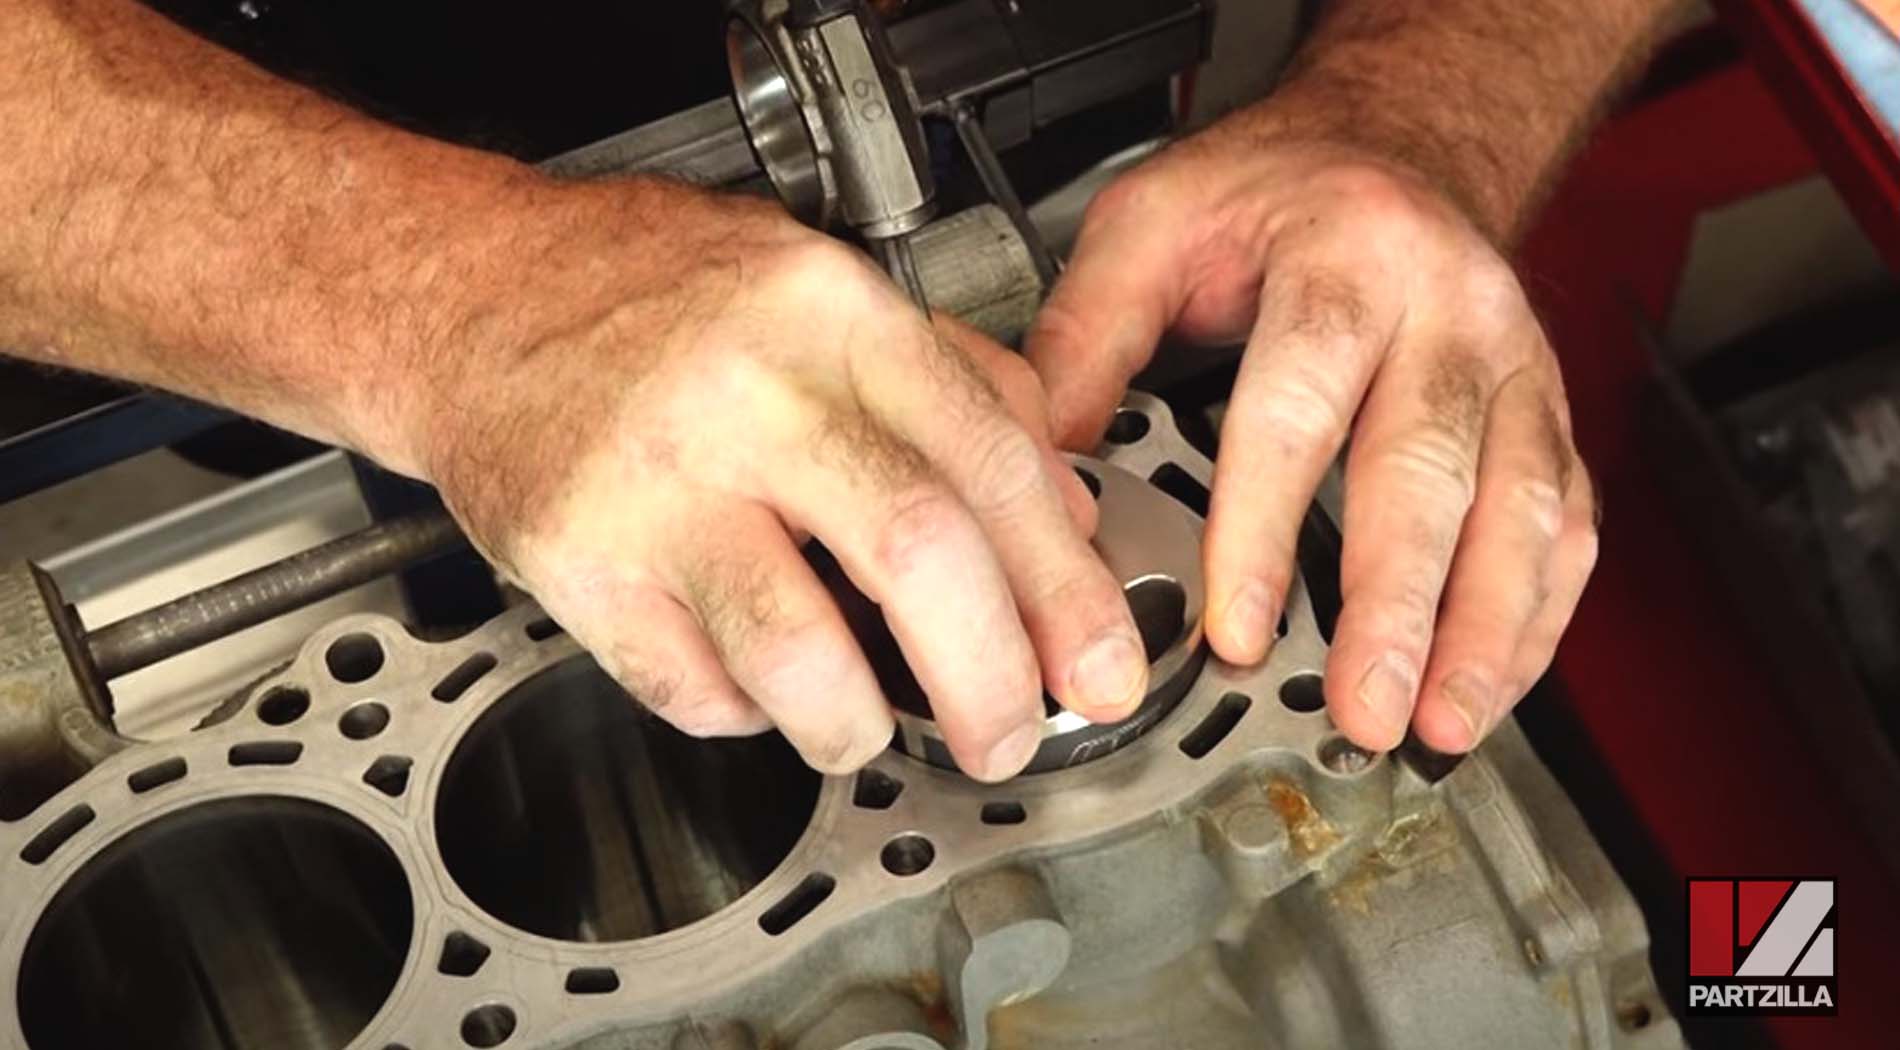
Step 11. Put a little bit of oil on the piston, especially on the skirt, then oil and place a piston ring compressor over the piston to help keep the rings seated.
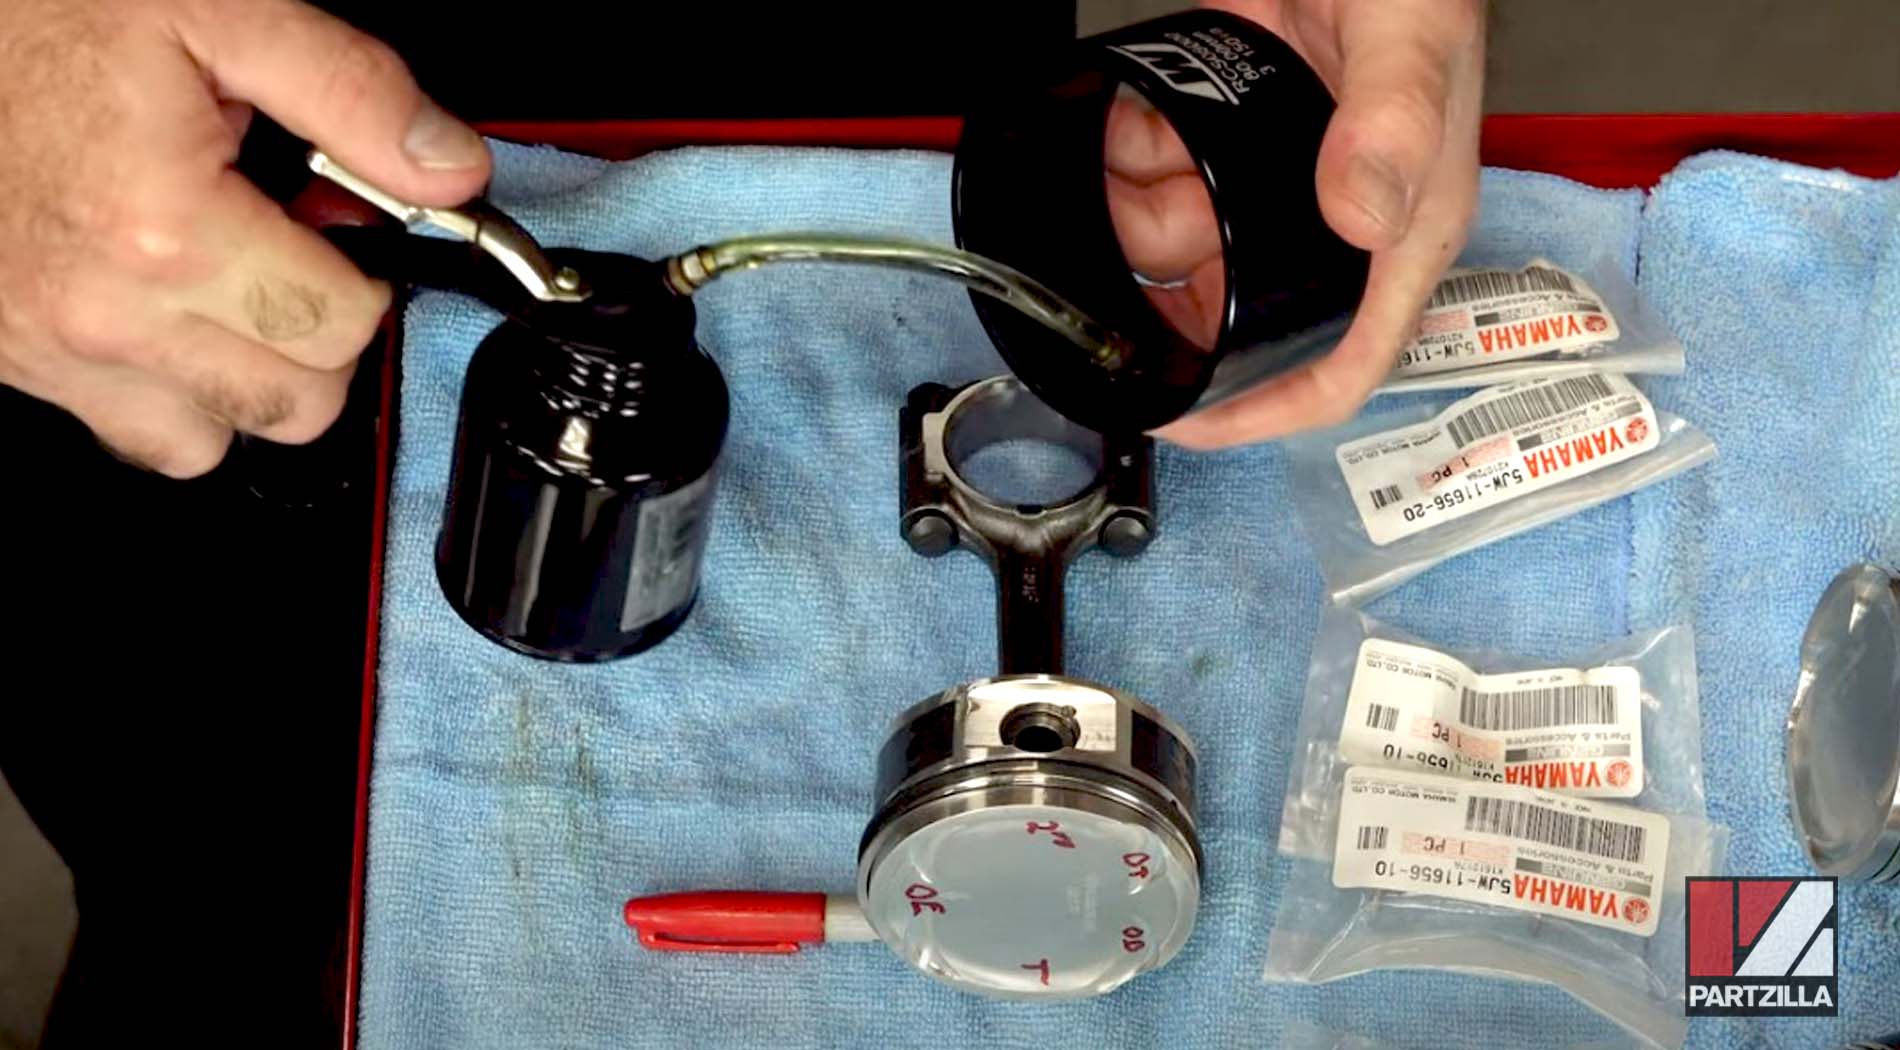
Step 12. Remove the 12mm end cap bolts and the end cap itself from the rod connector.
Watch the clip below to see the piston ring installation segment of our Yamaha YXZ1000R bottom end rebuild video.
Sizing the Connecting Rod Bearings
On the end of the crankshaft you’ll find a set of numbers. The first set of three numbers on the right are P1, P2, and P3 connecting rod bearing values.

The other four numbers are for the main (crankcase) bearings, but those numbers come into play later. In this case our values are P1 = 4; P2 = 3; P3 = 3.

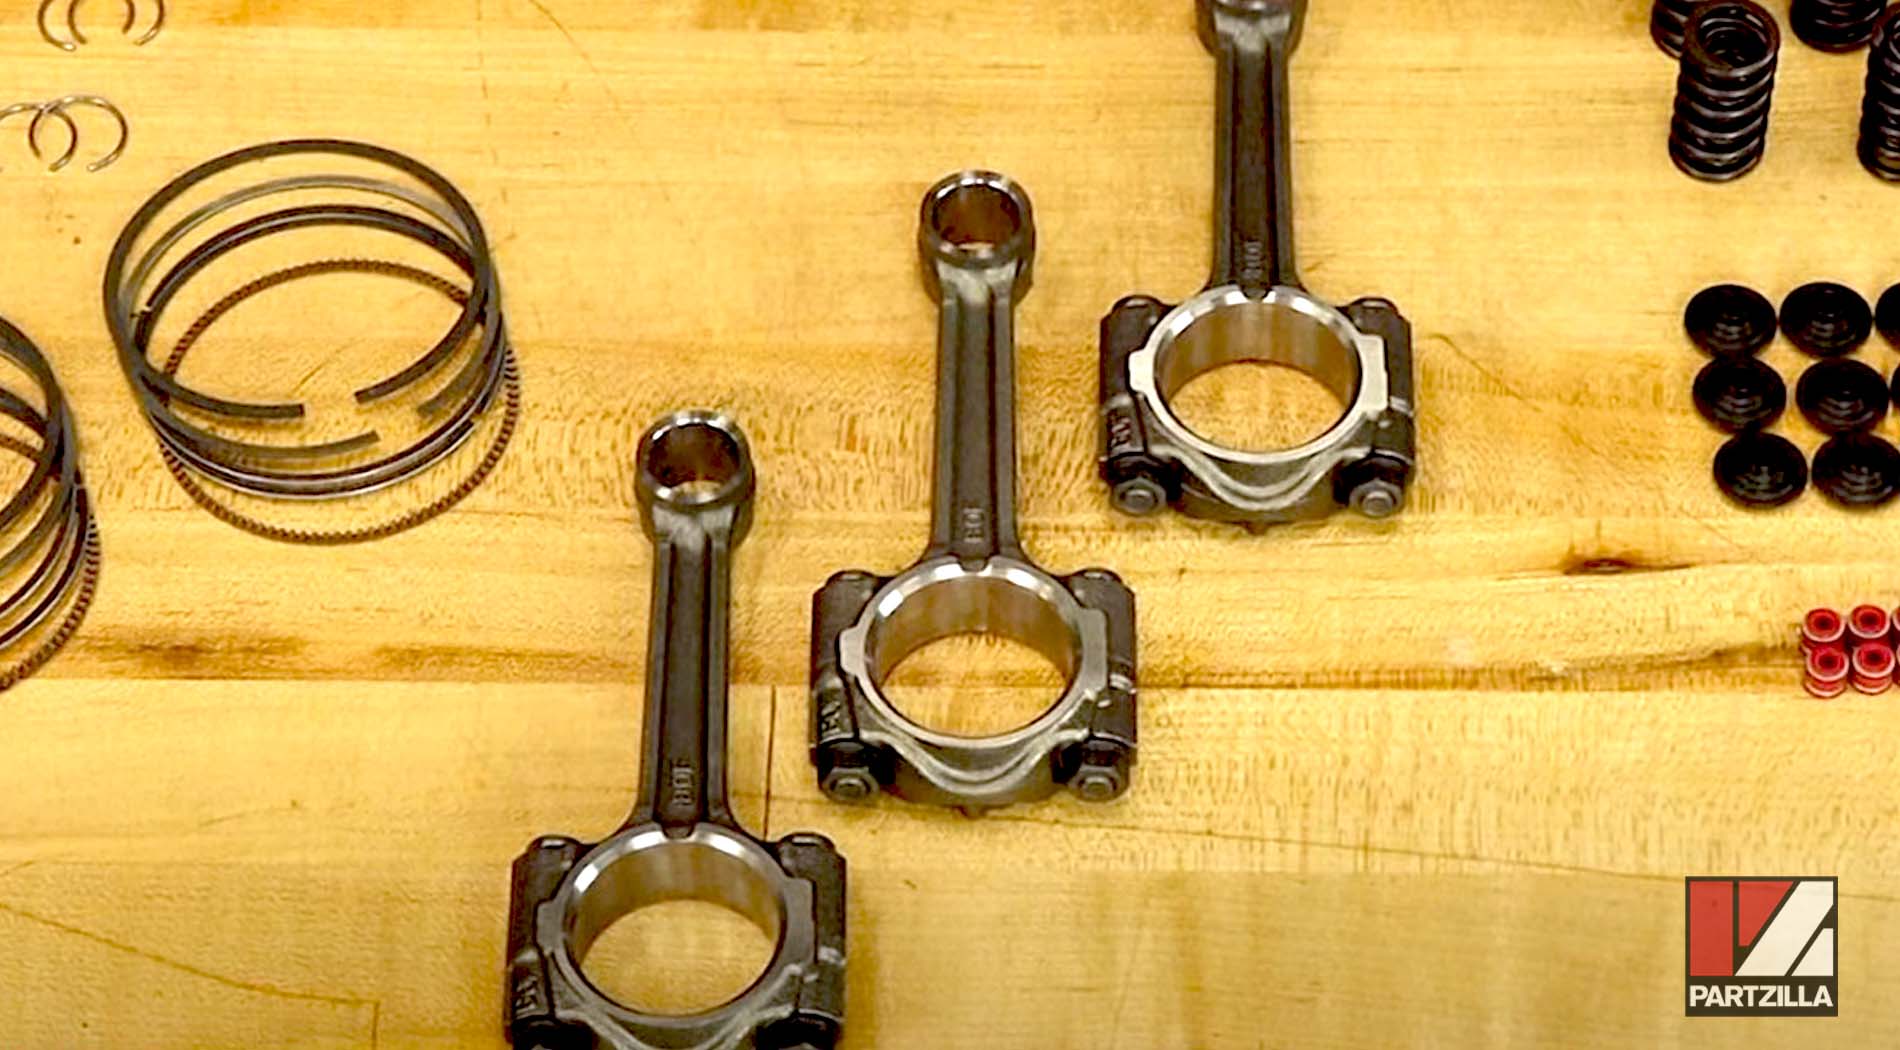
On each piston’s connecting rod cap, you're going to find a number. In our case, all three connecting rod ends have a number 6.
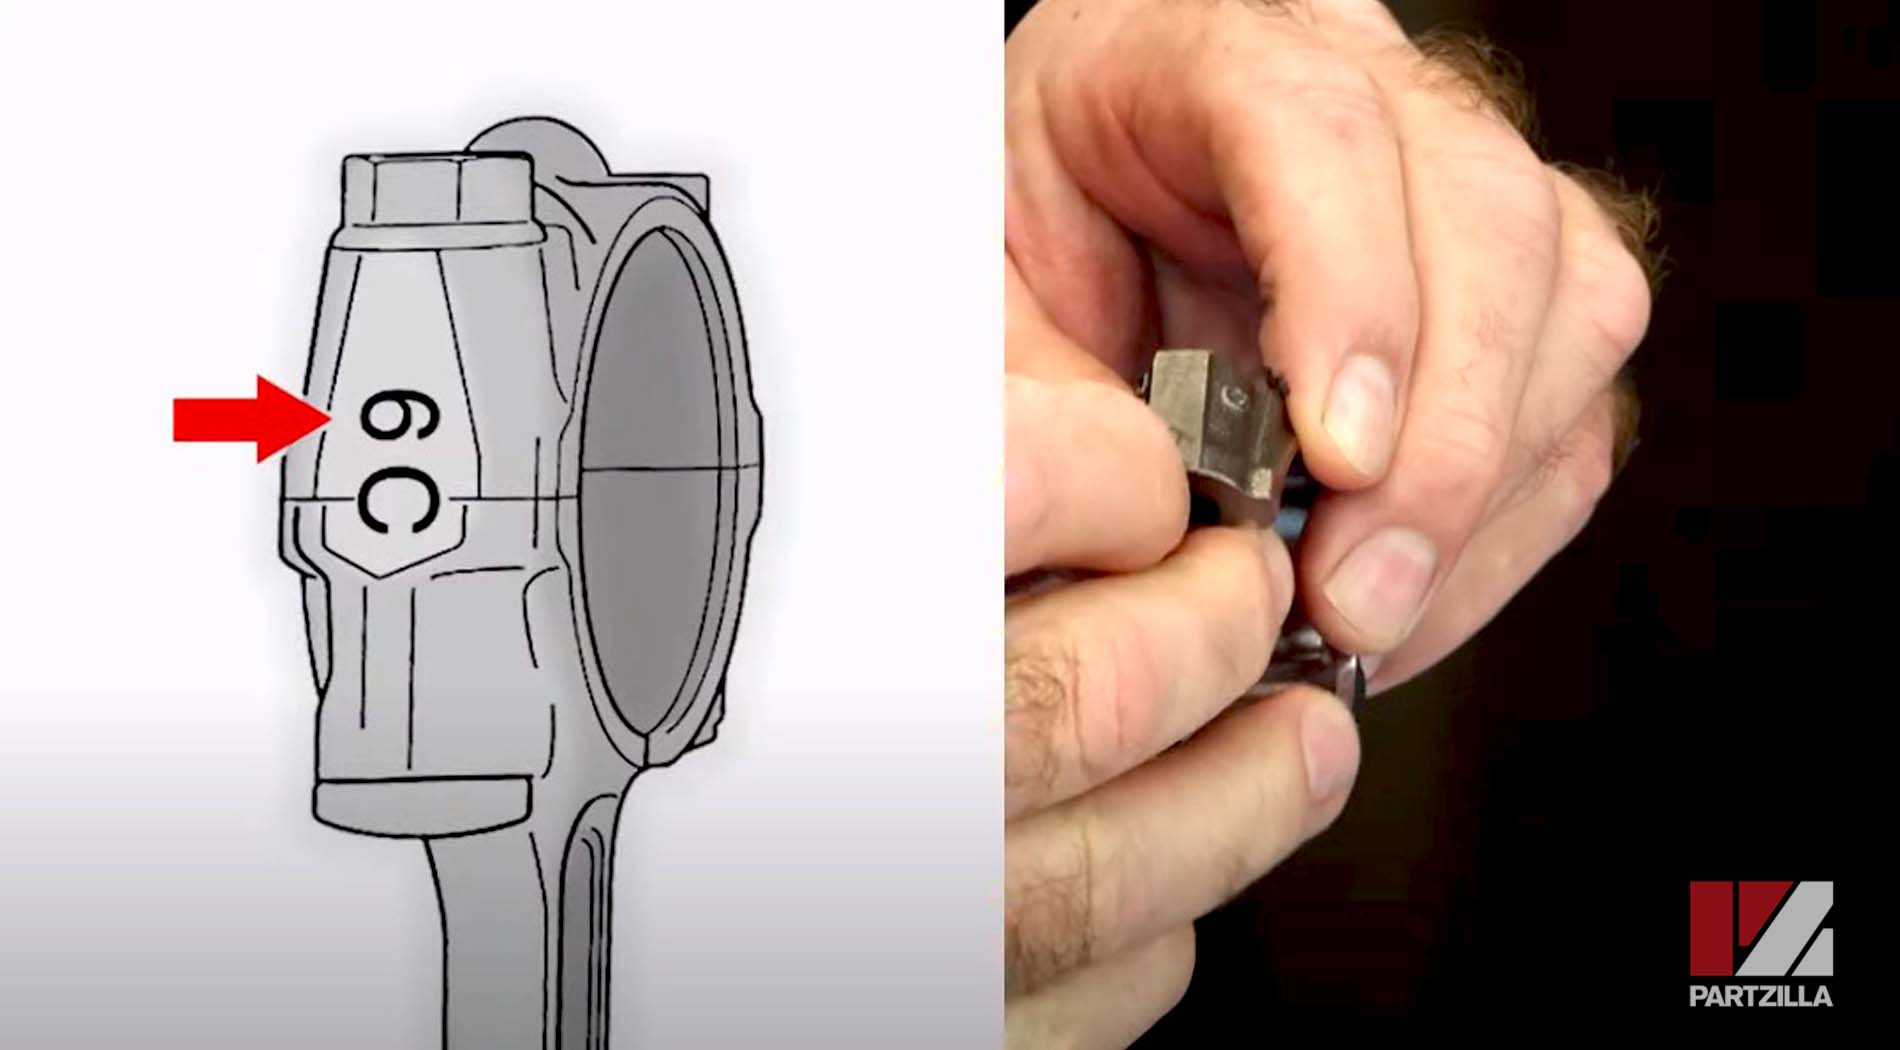
Step 13. Subtract the number on the connecting rod cap with the P value for each number. In our case it’s 6 minus P1, P2, and P3.
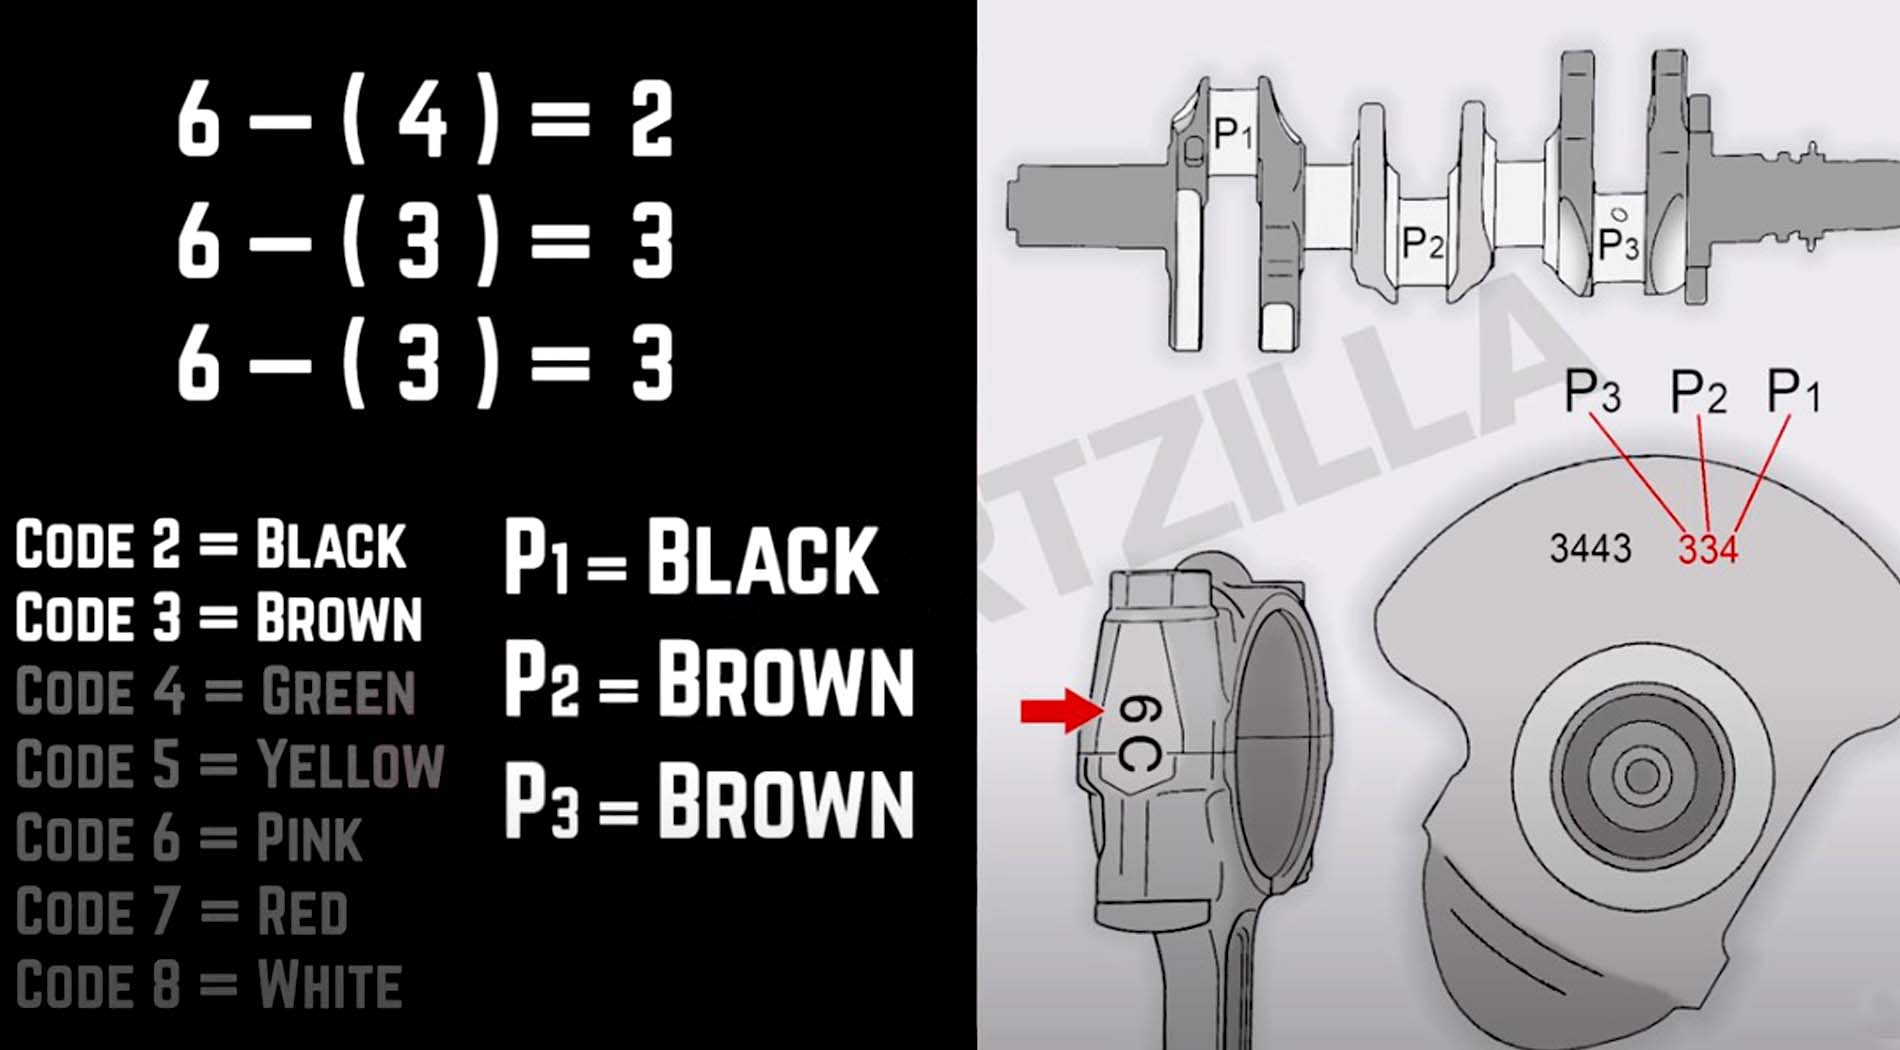
P1 = 2, P2 = 3, and P3 = 3. And that translates into Black, Brown, Brown.
Watch the clip below to see the connecting rod bearing sizing segment of our Yamaha YXZ1000R bottom end rebuild video.
Step 14. Make sure all surfaces are clean before installing the pistons, then reinstall the end cap of the connector rod.
Step 15. Put a little bit of oil on the cylinder walls.
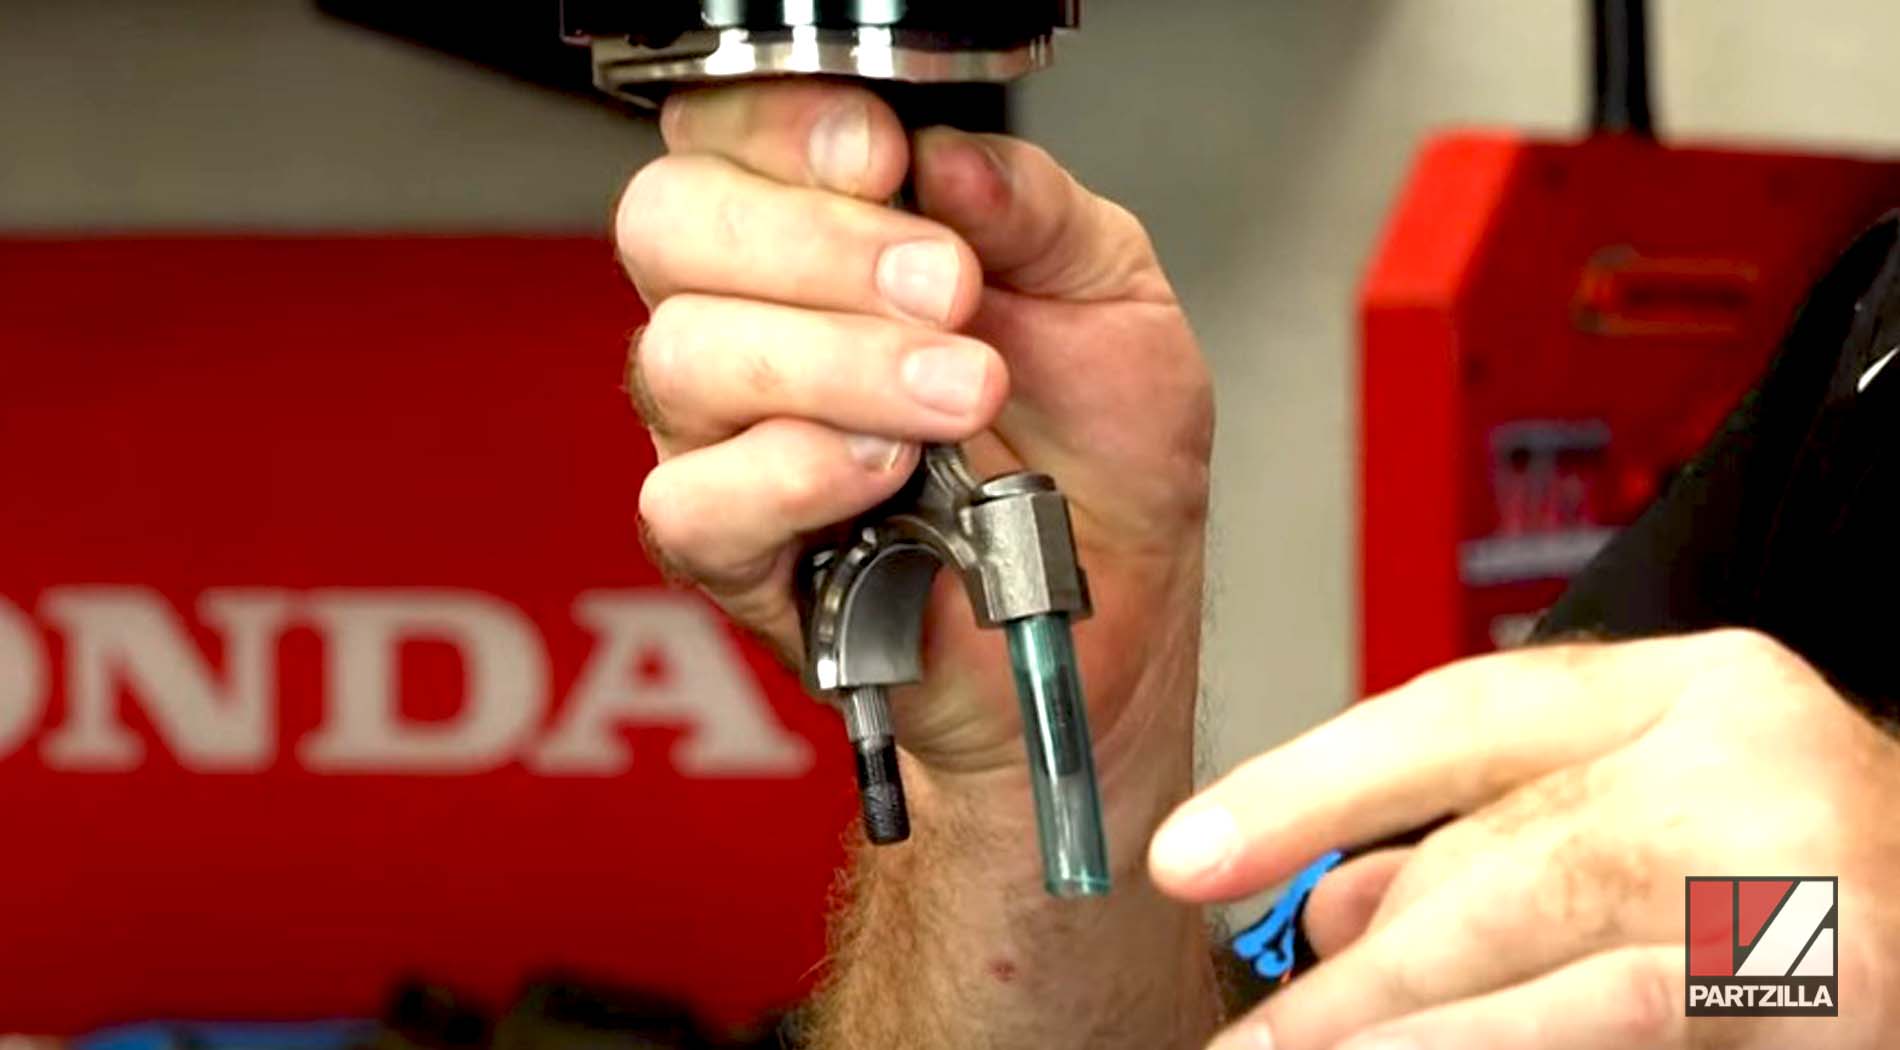
PRO TIP: Before installing the pistons, use a small piece of fuel line to cover up the end of the connector rod so it doesn't touch the cylinder walls.
Step 16. Install each piston with the arrow pointing toward the exhaust.
NOTE: When installing each piston, make sure you have the piston ring compressor all the way down flush, then use the soft end of a hammer to gently pop the piston out of the ring compressor.

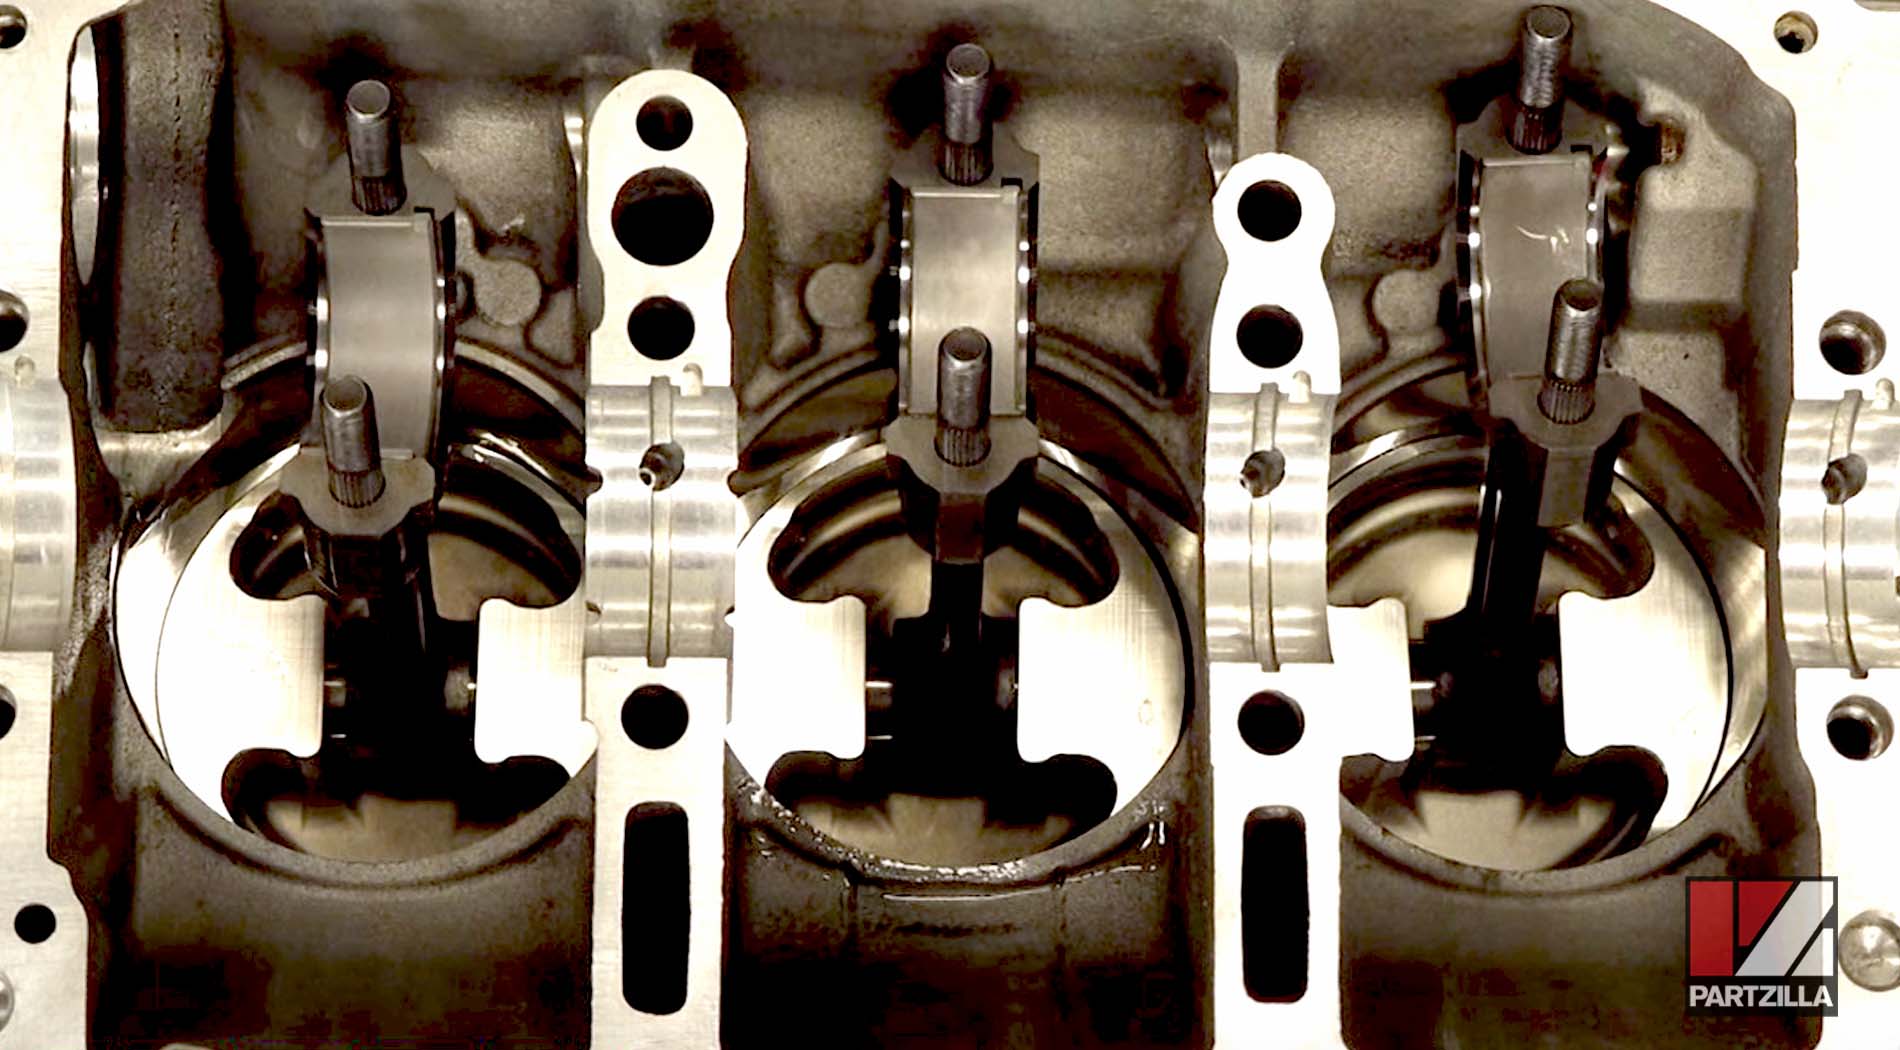
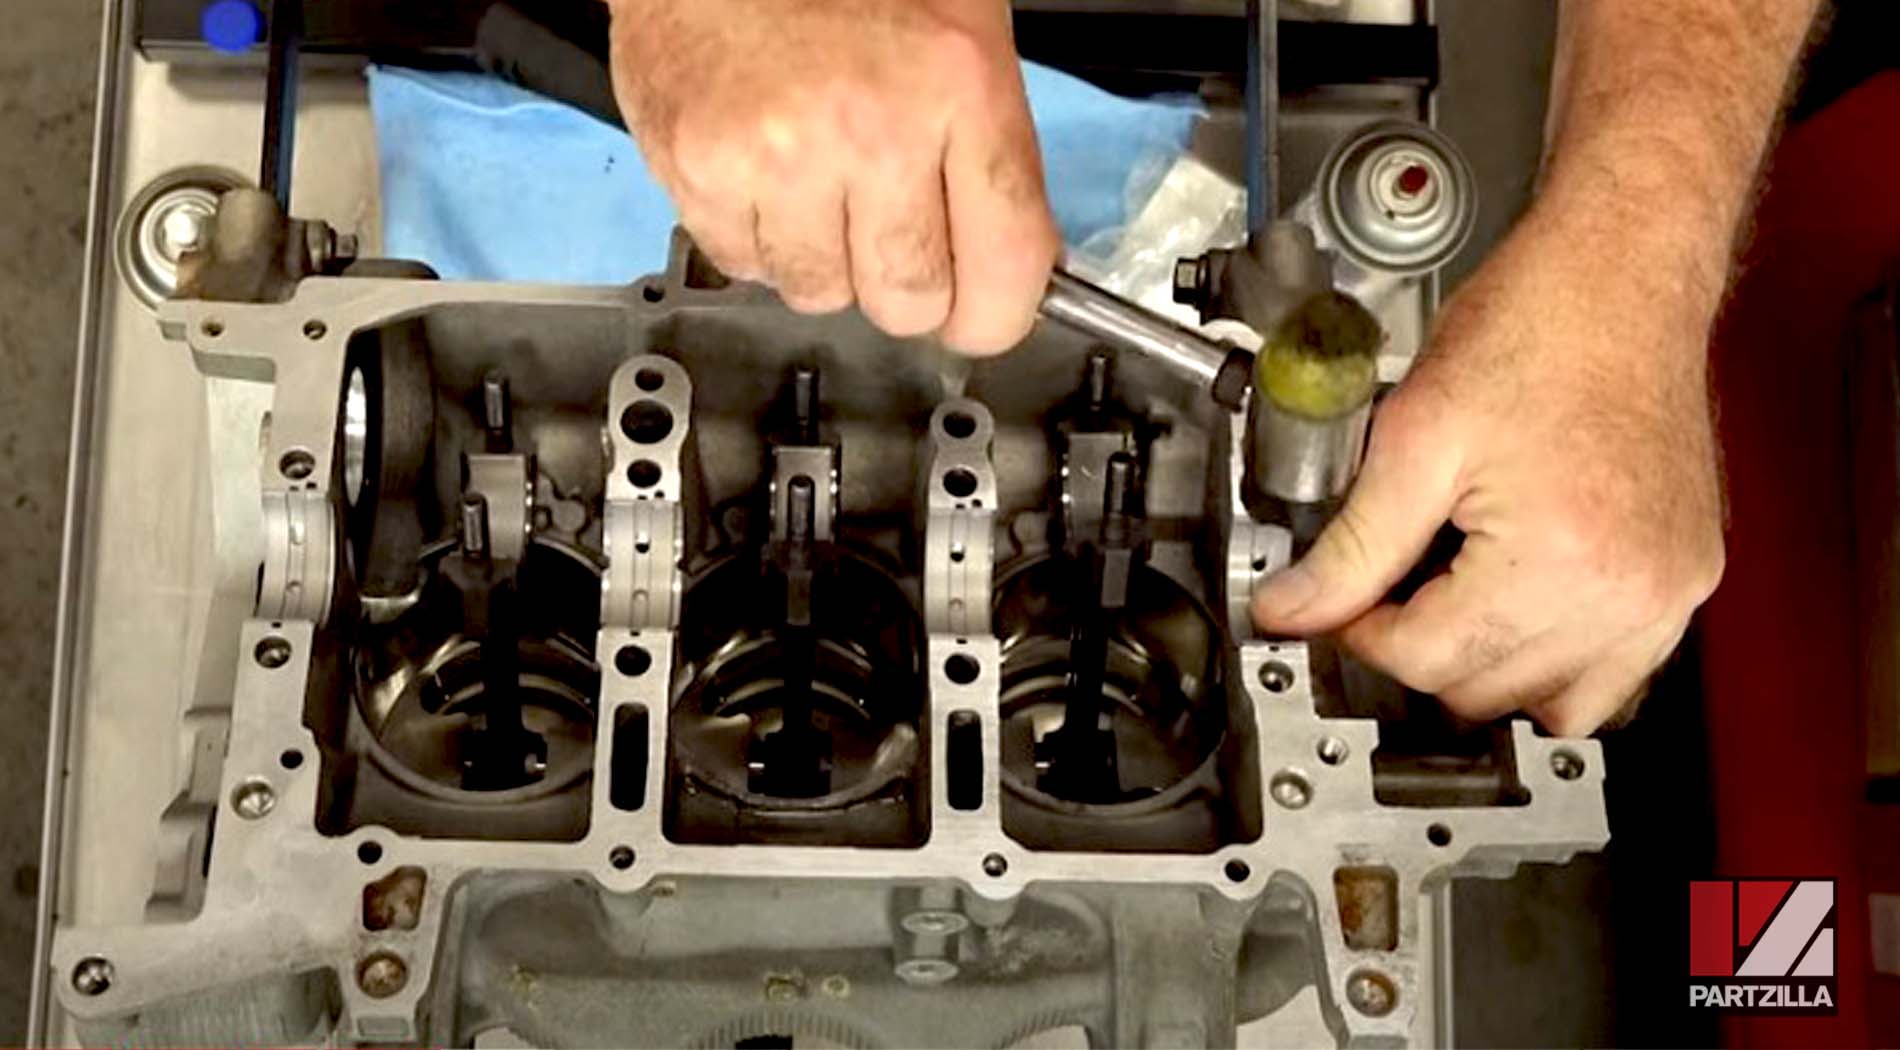
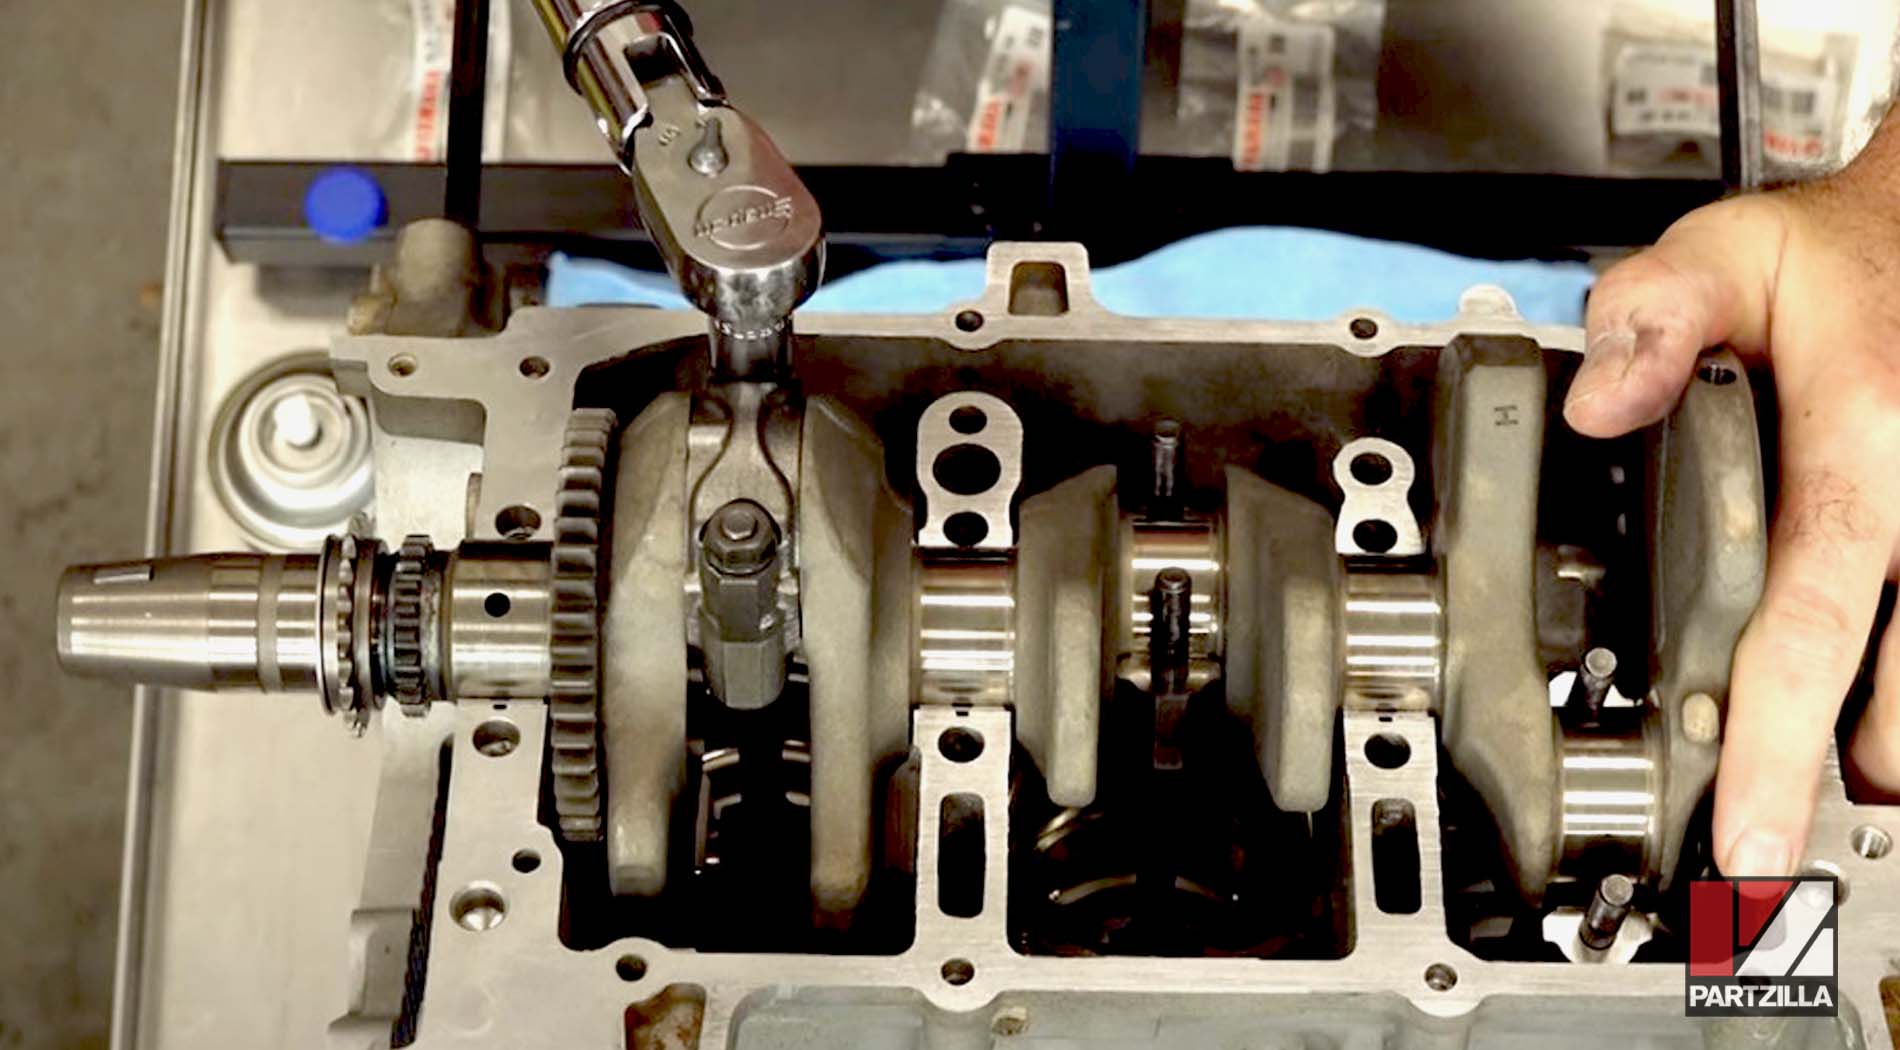
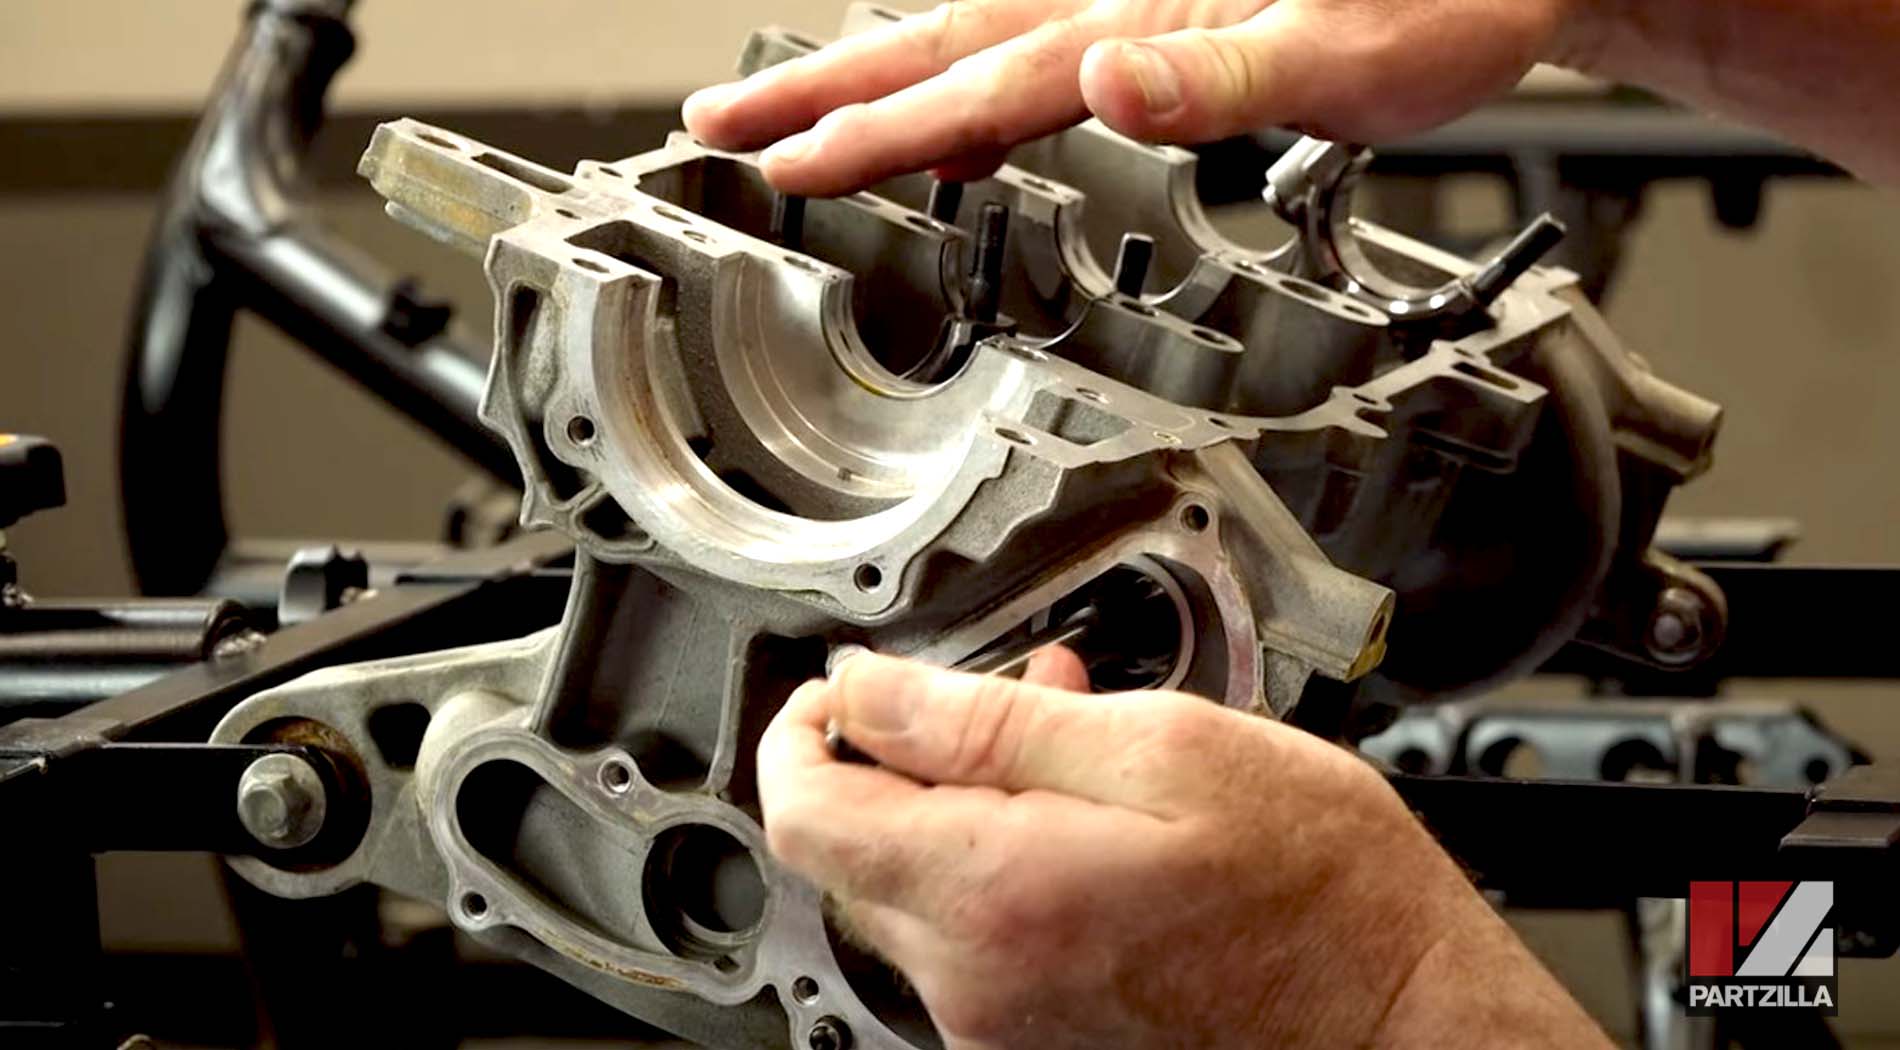
Step 17. Flip the cylinder block upside down to prepare to install the crankshaft bearings.
Watch the clip below to see the piston installation segment of our Yamaha YXZ1000R bottom end rebuild video.
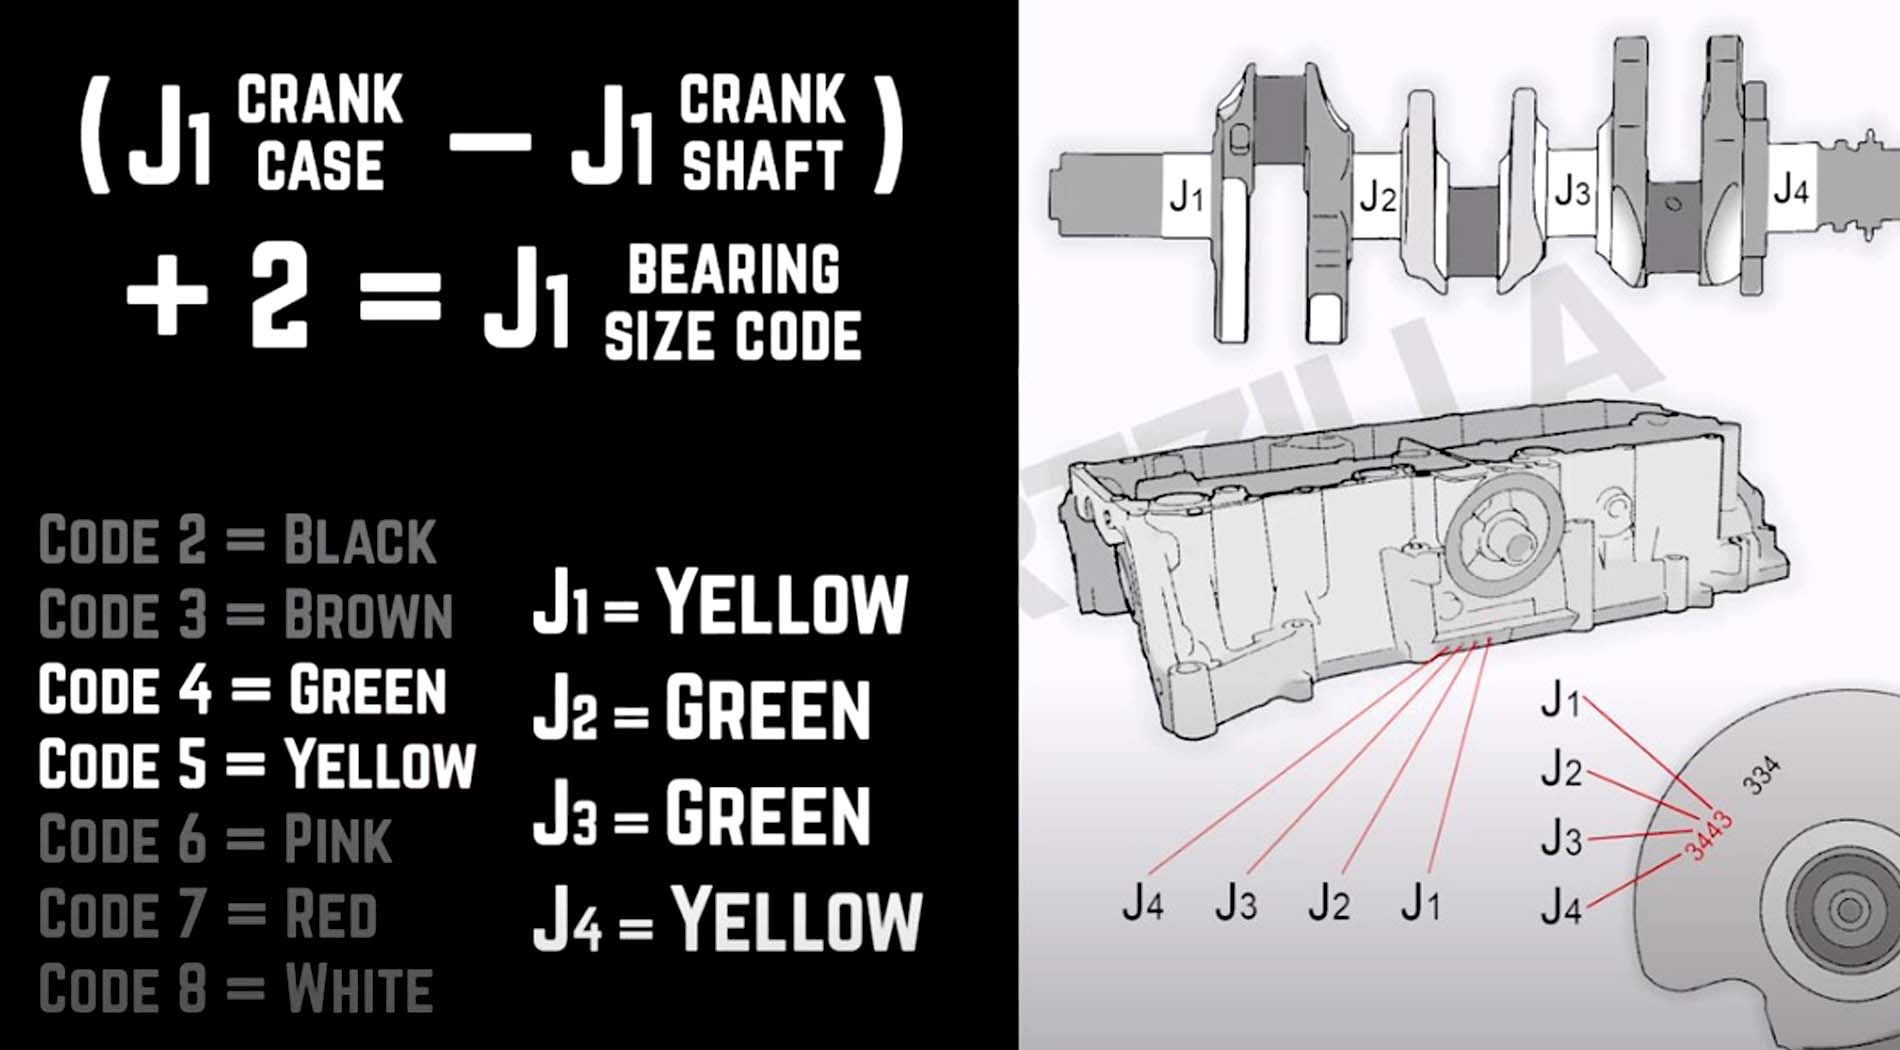
Sizing the Main (Crankshaft) Bearings
Use the three digits for the connecting rod bearing sizes to determine the crankshaft bearing sizes. The main bearing size reference numbers in our case are 3, 4, 4, 3. The other number needed is stamped on the cylinder block itself.
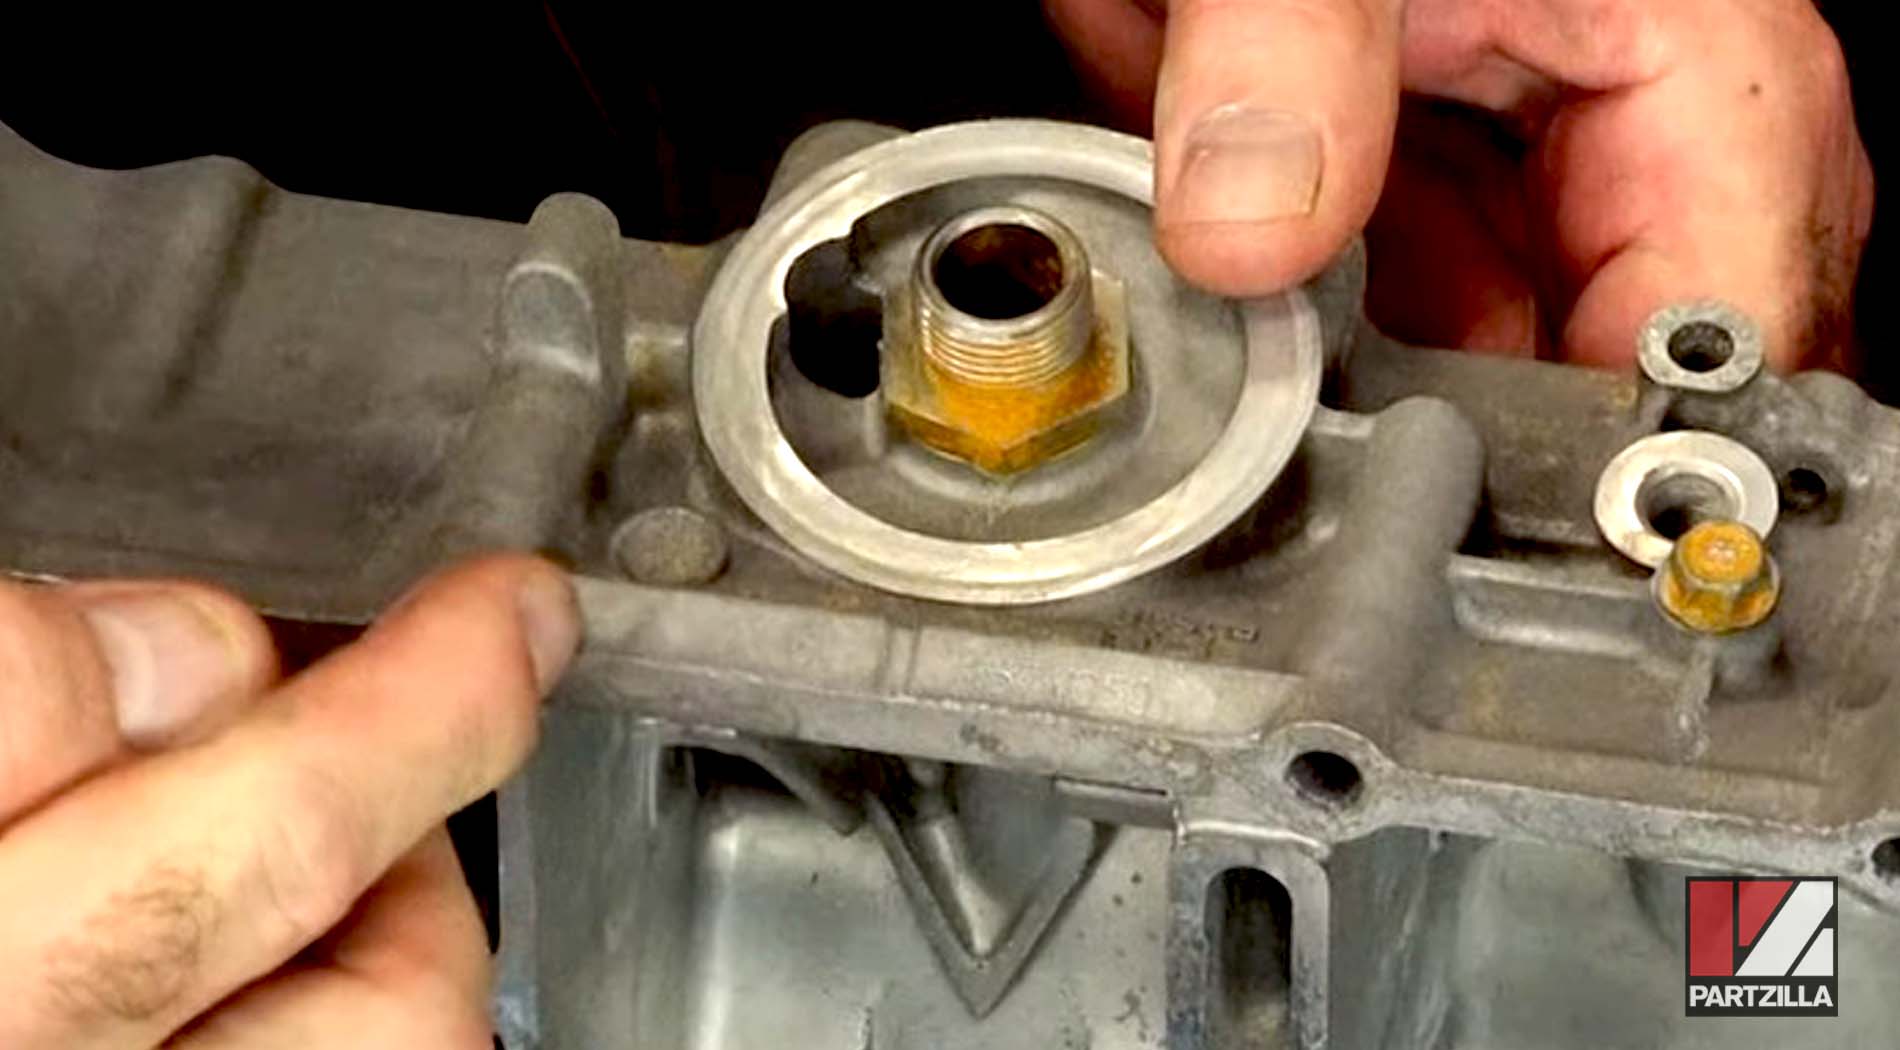
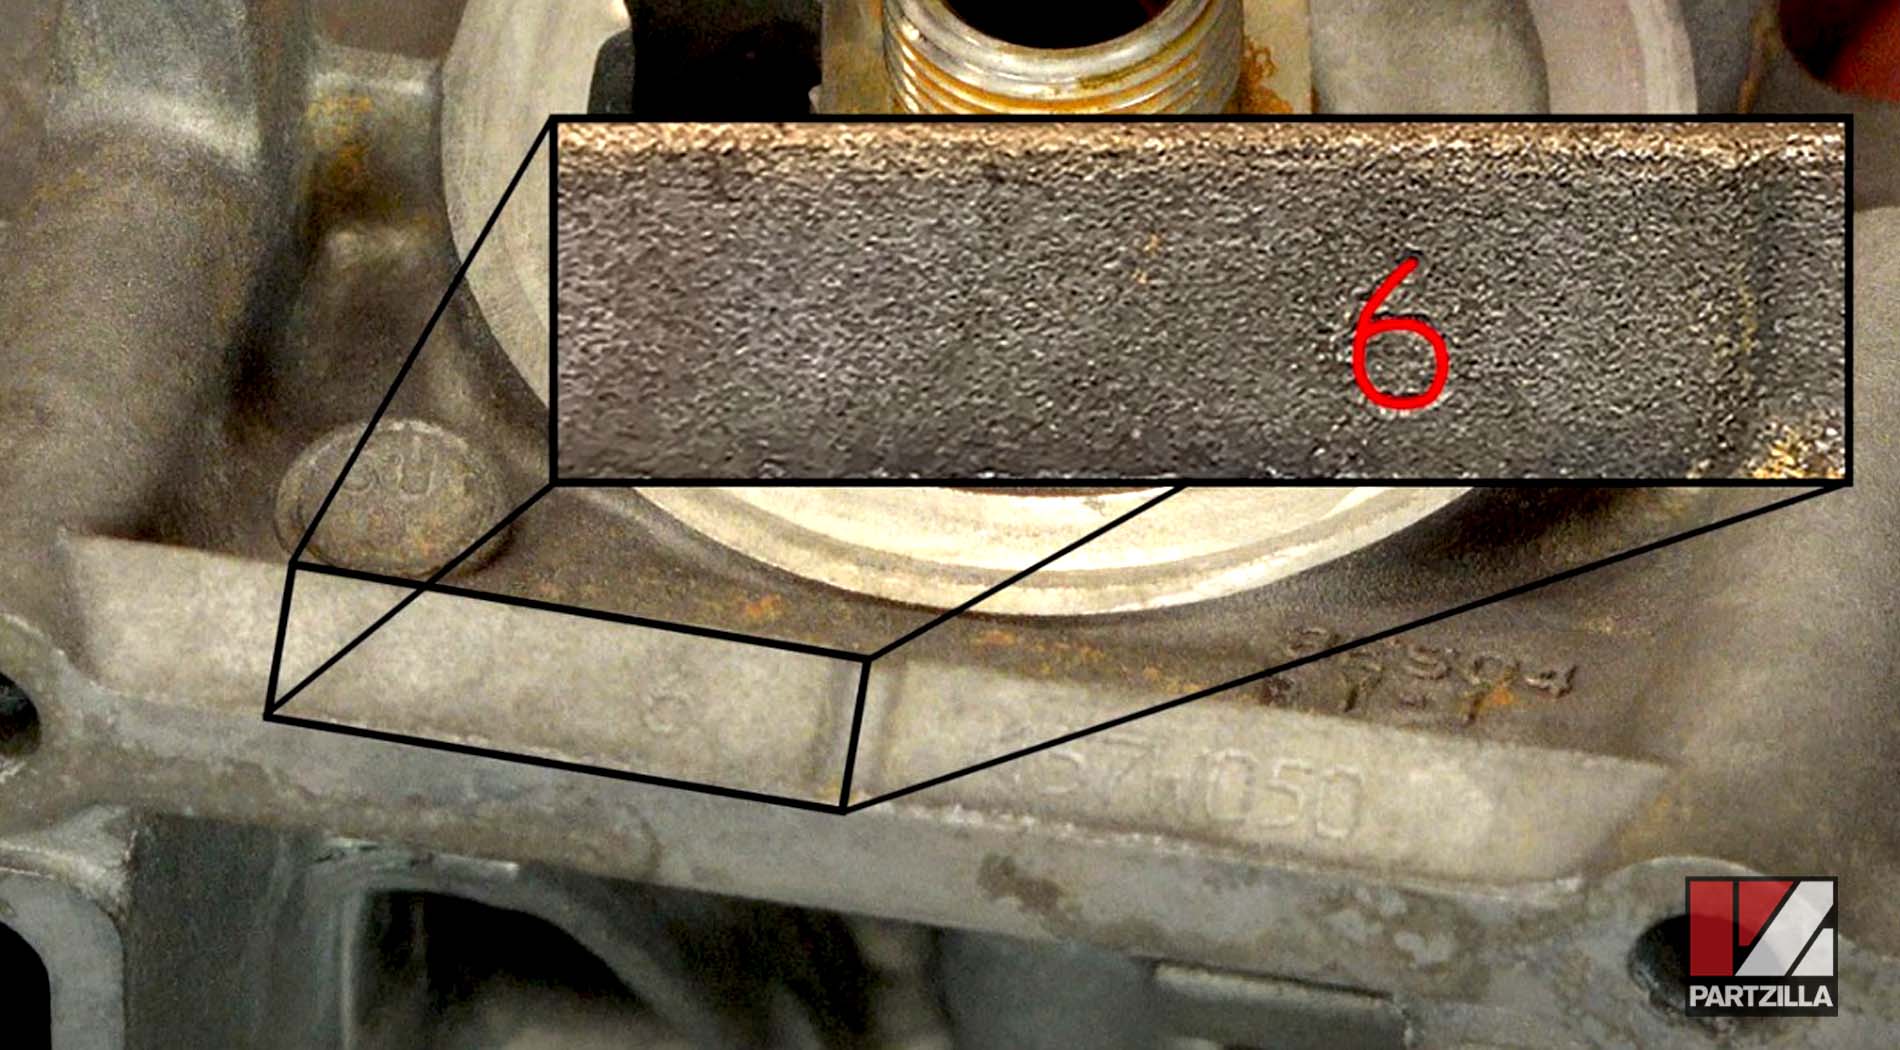
On our cylinder block there's only one number stamped: 6, which means that all four numbers are the same.
The equation we're using is J1 crankcase minus J1 crankshaft plus 2, which is going to give the value we're looking for. And in our case, J1 is going to be 6 - 3 + 2 = 5, which translates to a Yellow bearing size. J2 and J3 are both the same, and in this case it's going to be 6 - 4 + 2 = 4, which makes them both Green.
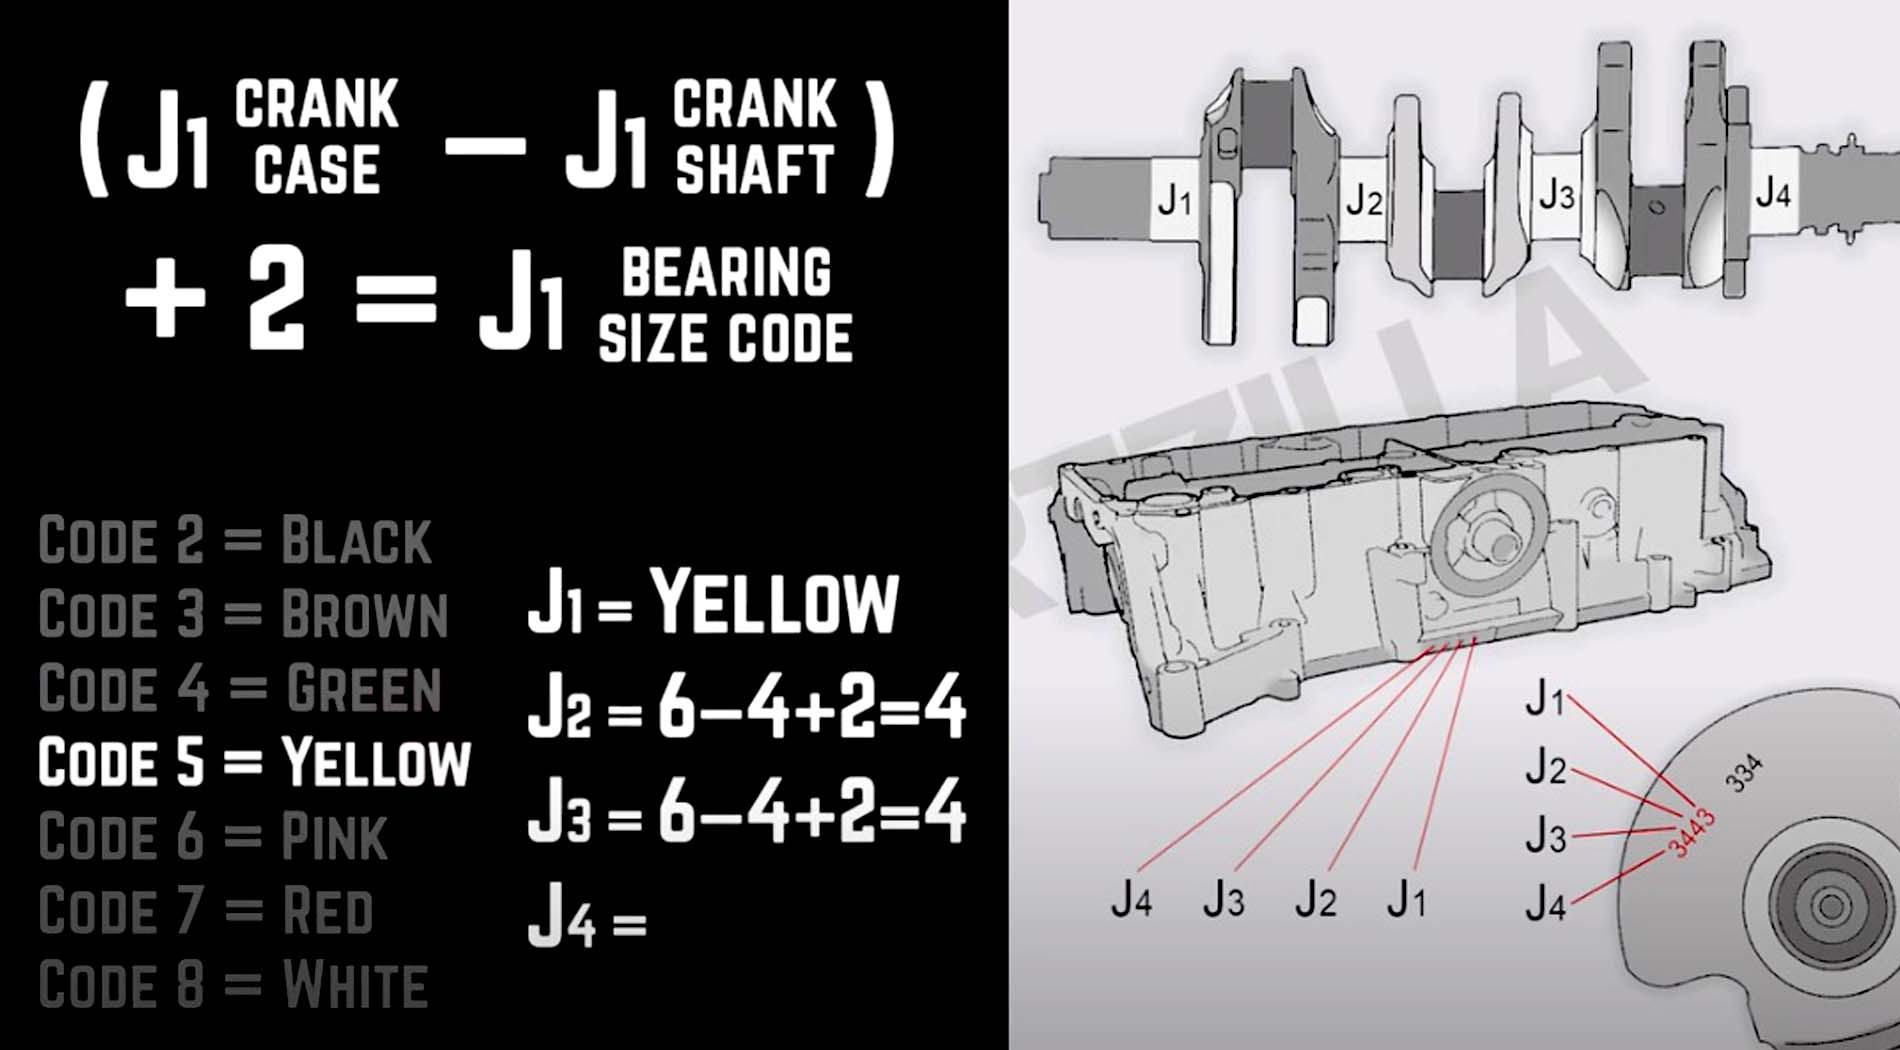
J4 is the same as J1, so that's going to be another Yellow bearing.
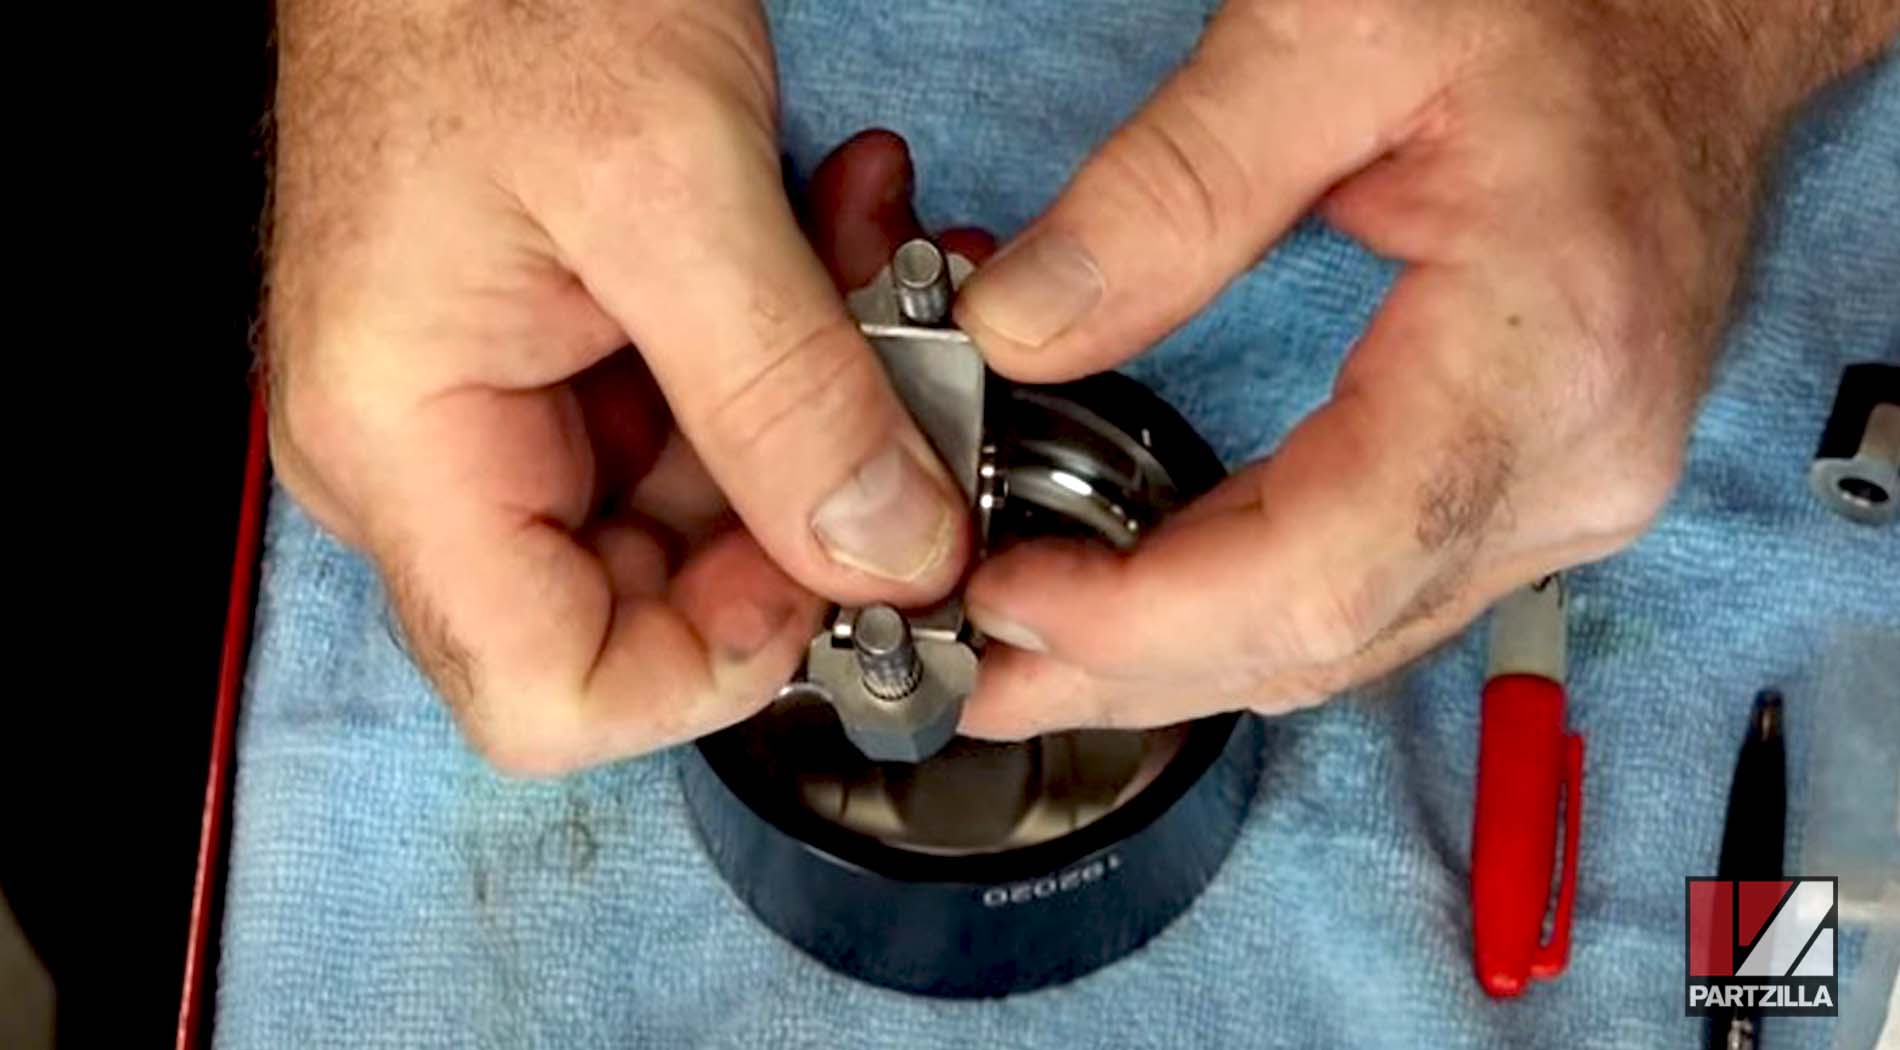
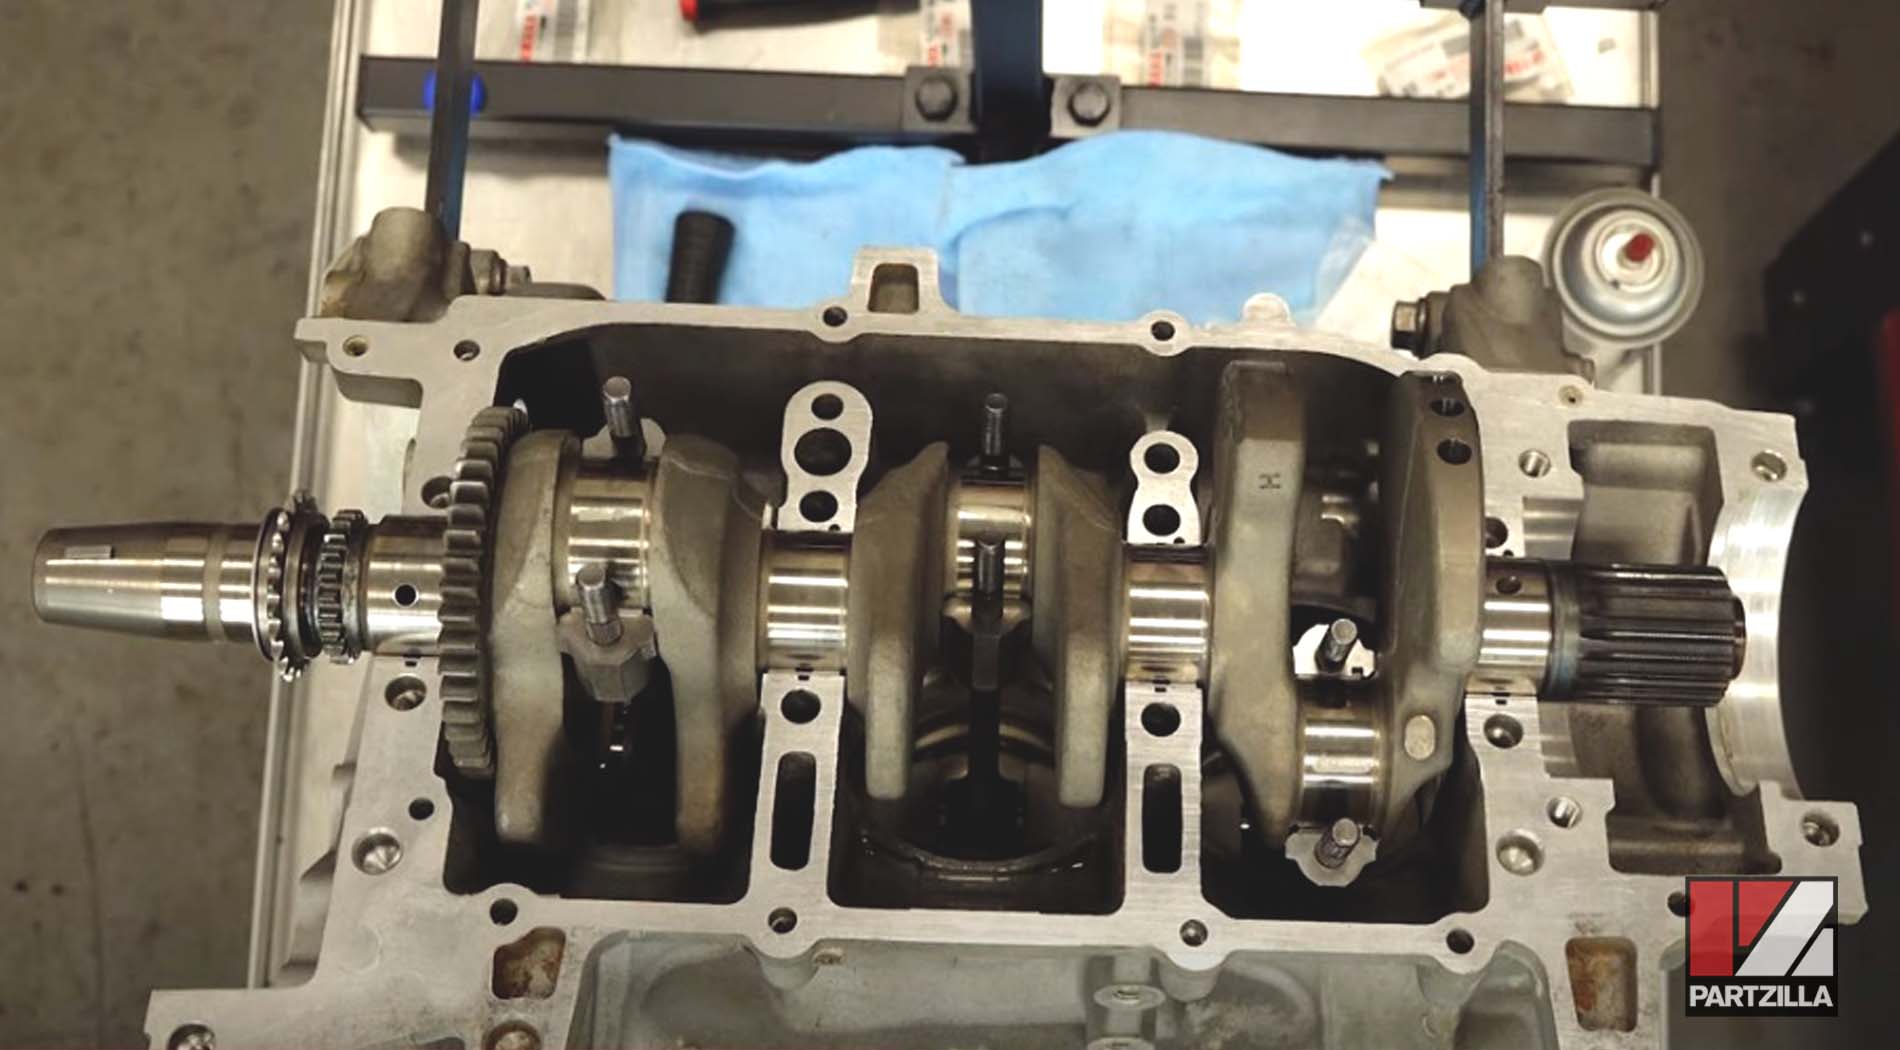
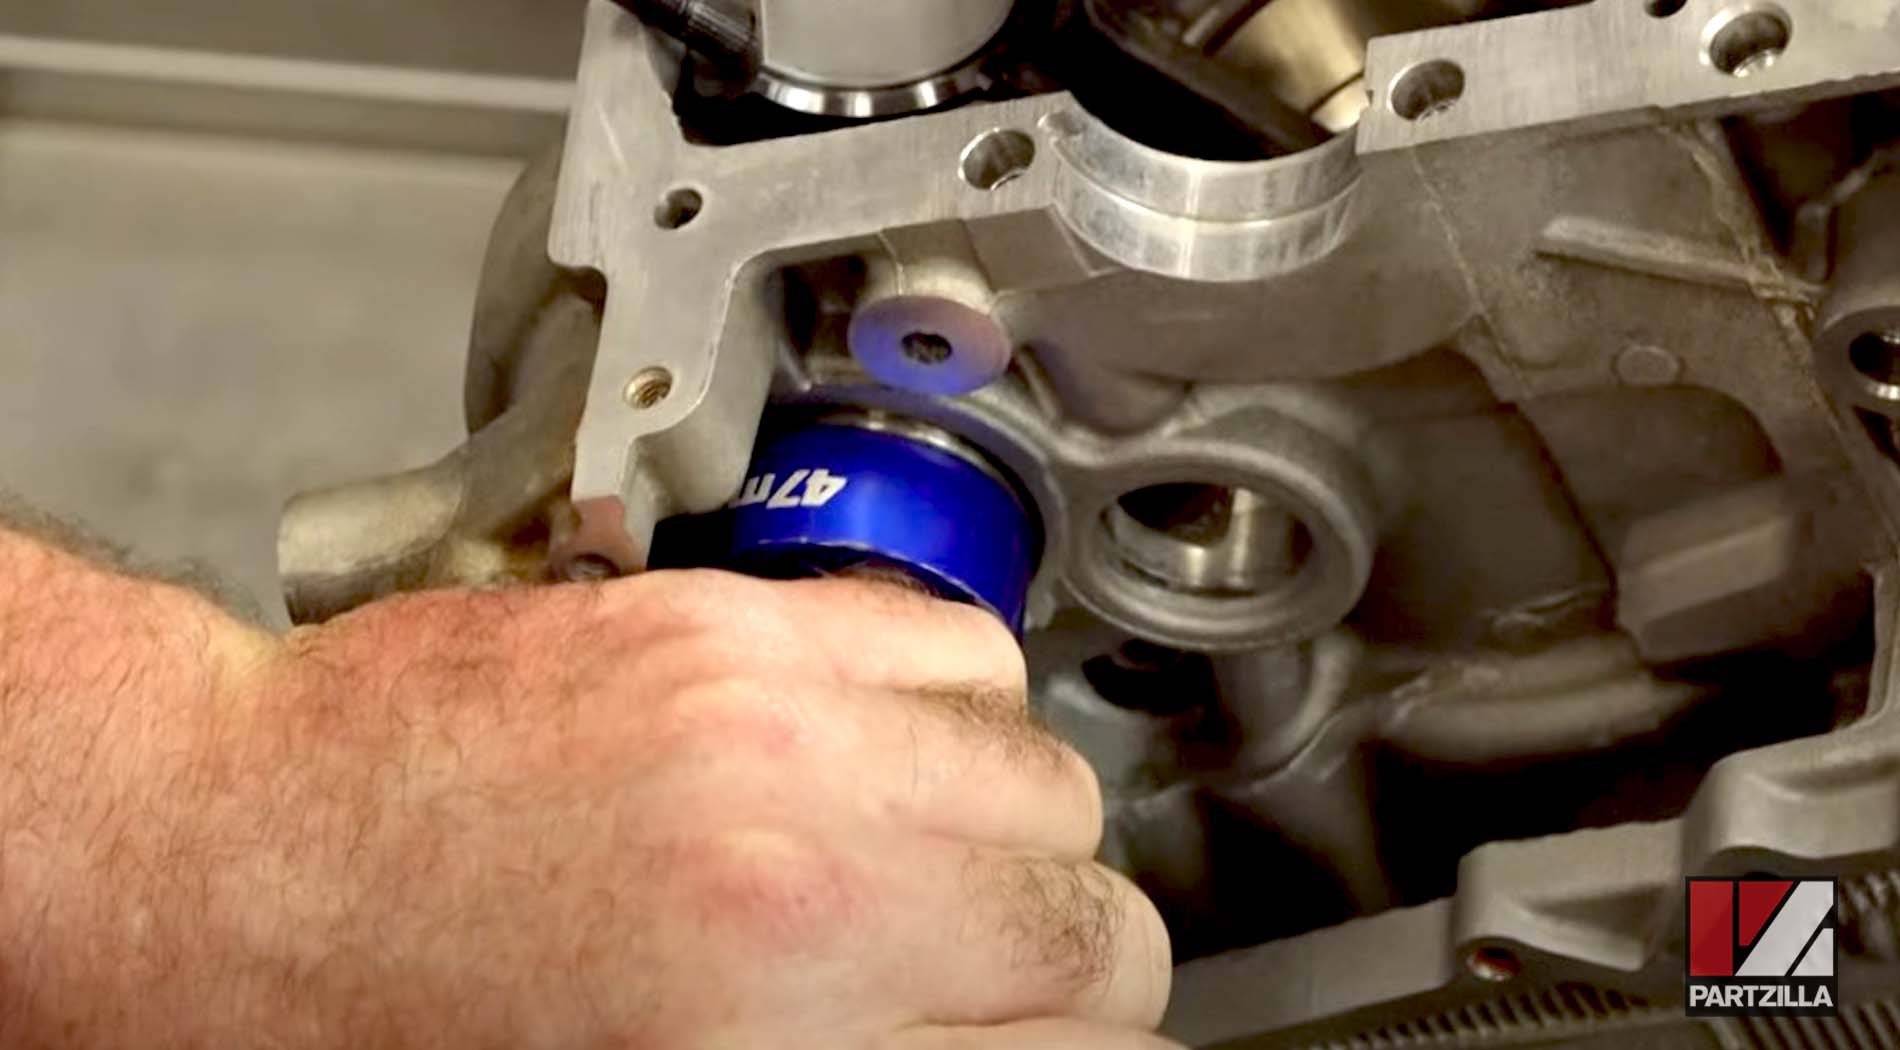
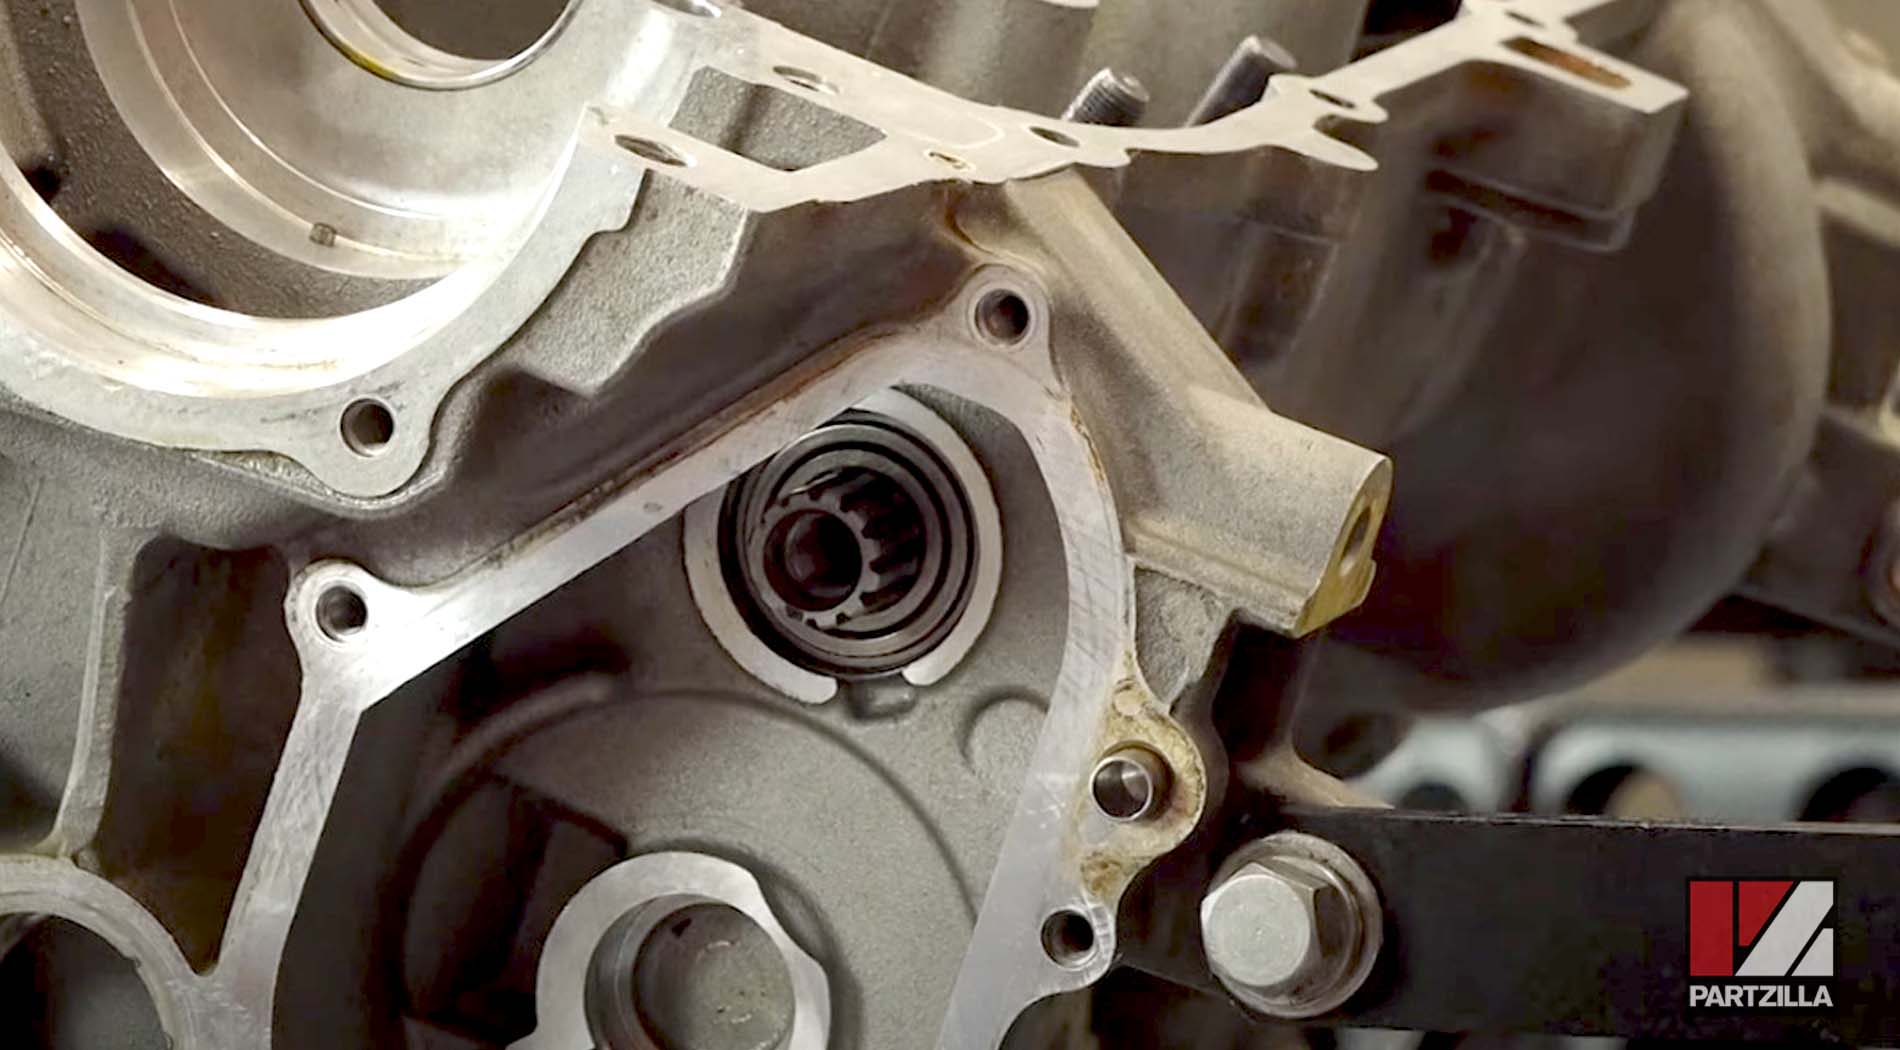
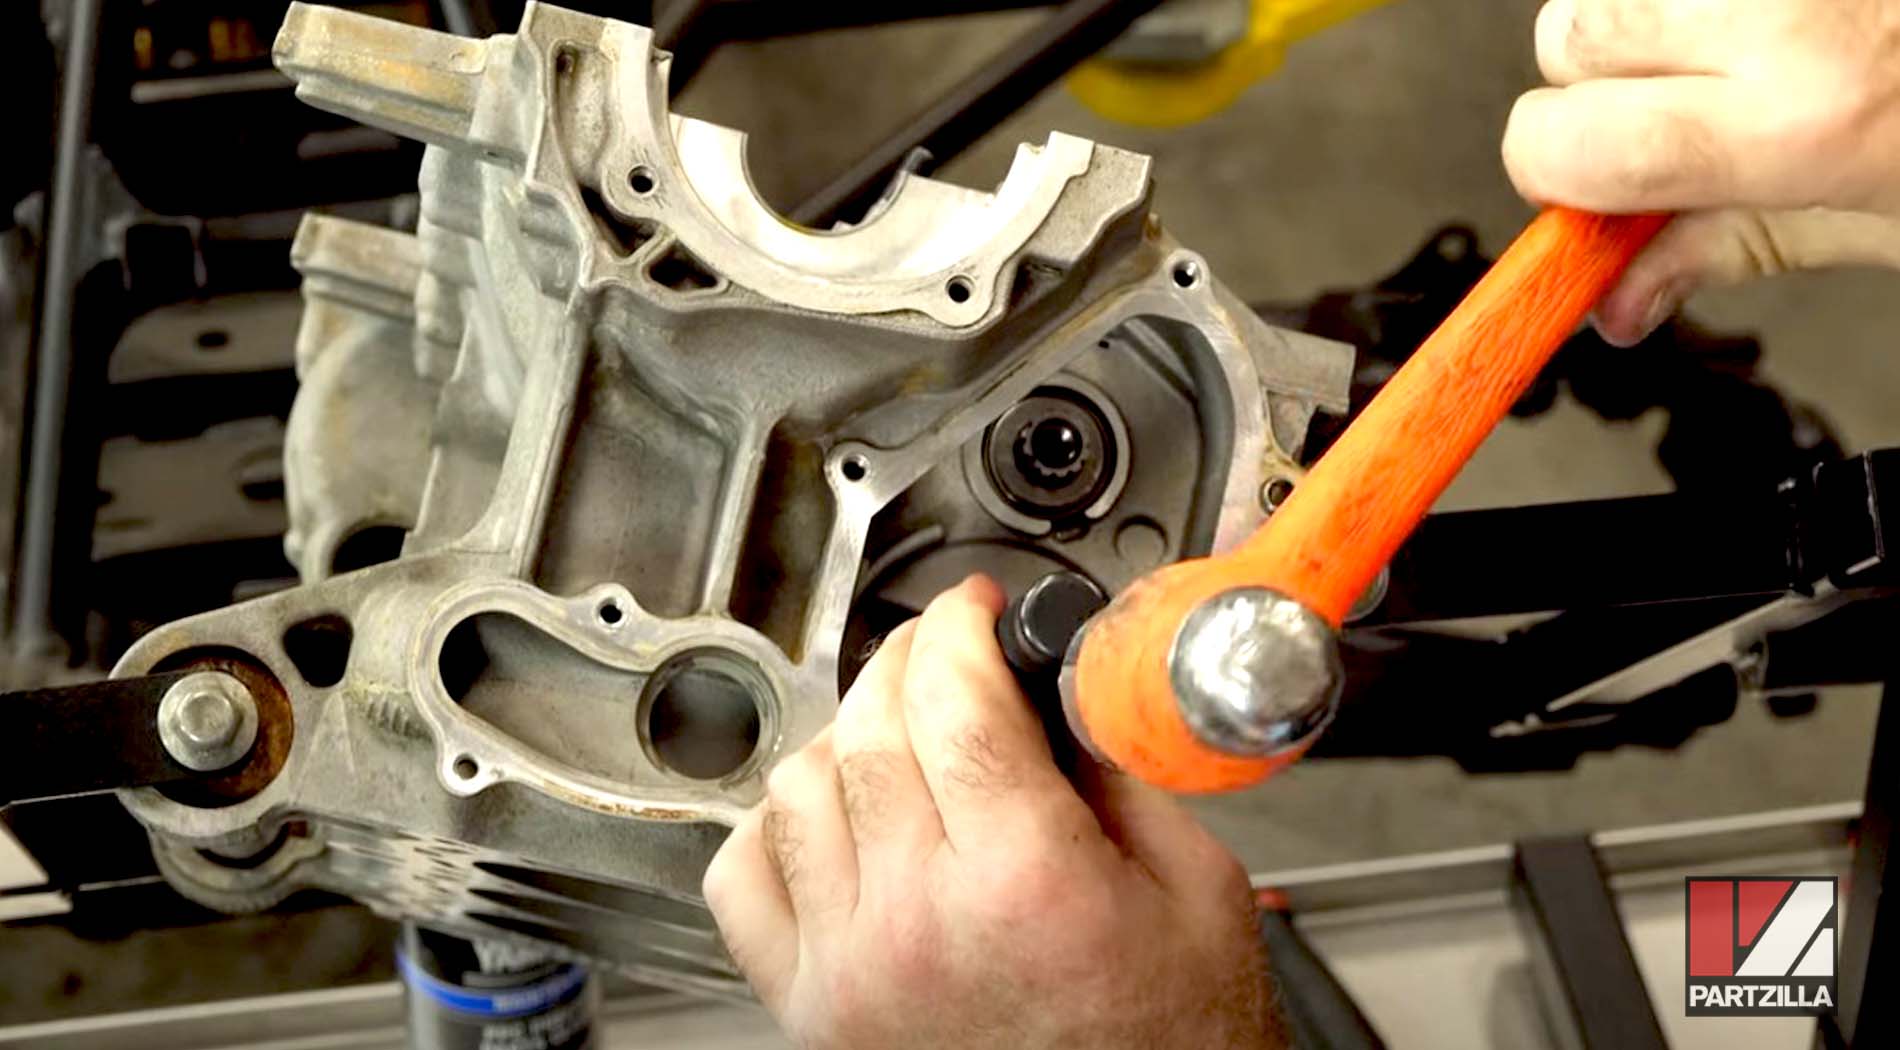
Step 18. Wipe down the cylinder block one more time just for good measure, then install the four crankshaft bearings and tap them in gently with a soft blow hammer. Put the crankshaft in place to help you check for accuracy.
PRO TIP: Use a little bit of plasti-gauge on the connector rod bearings before installing them.
Step 19. The connecting rod bearings will be installed in two segments (continued in Yamaha YXZ1000R rebuild part 2). First, torqued to 15 foot-pounds, and then again torqued to 120 degrees. Torque them down one at a time, then remove each one, make sure it's correct, then go to the next one.
NOTE: The safest way to do this is to do them one at a time, because if it rotates as you're going through this procedure, it's game over.

When you're doing this, take your time and keep everything straight to avoid having to go back and doing everything again.
Check all three: P1, P2, P3 to make sure they’re good to go by putting the crankshaft in place without installing it.
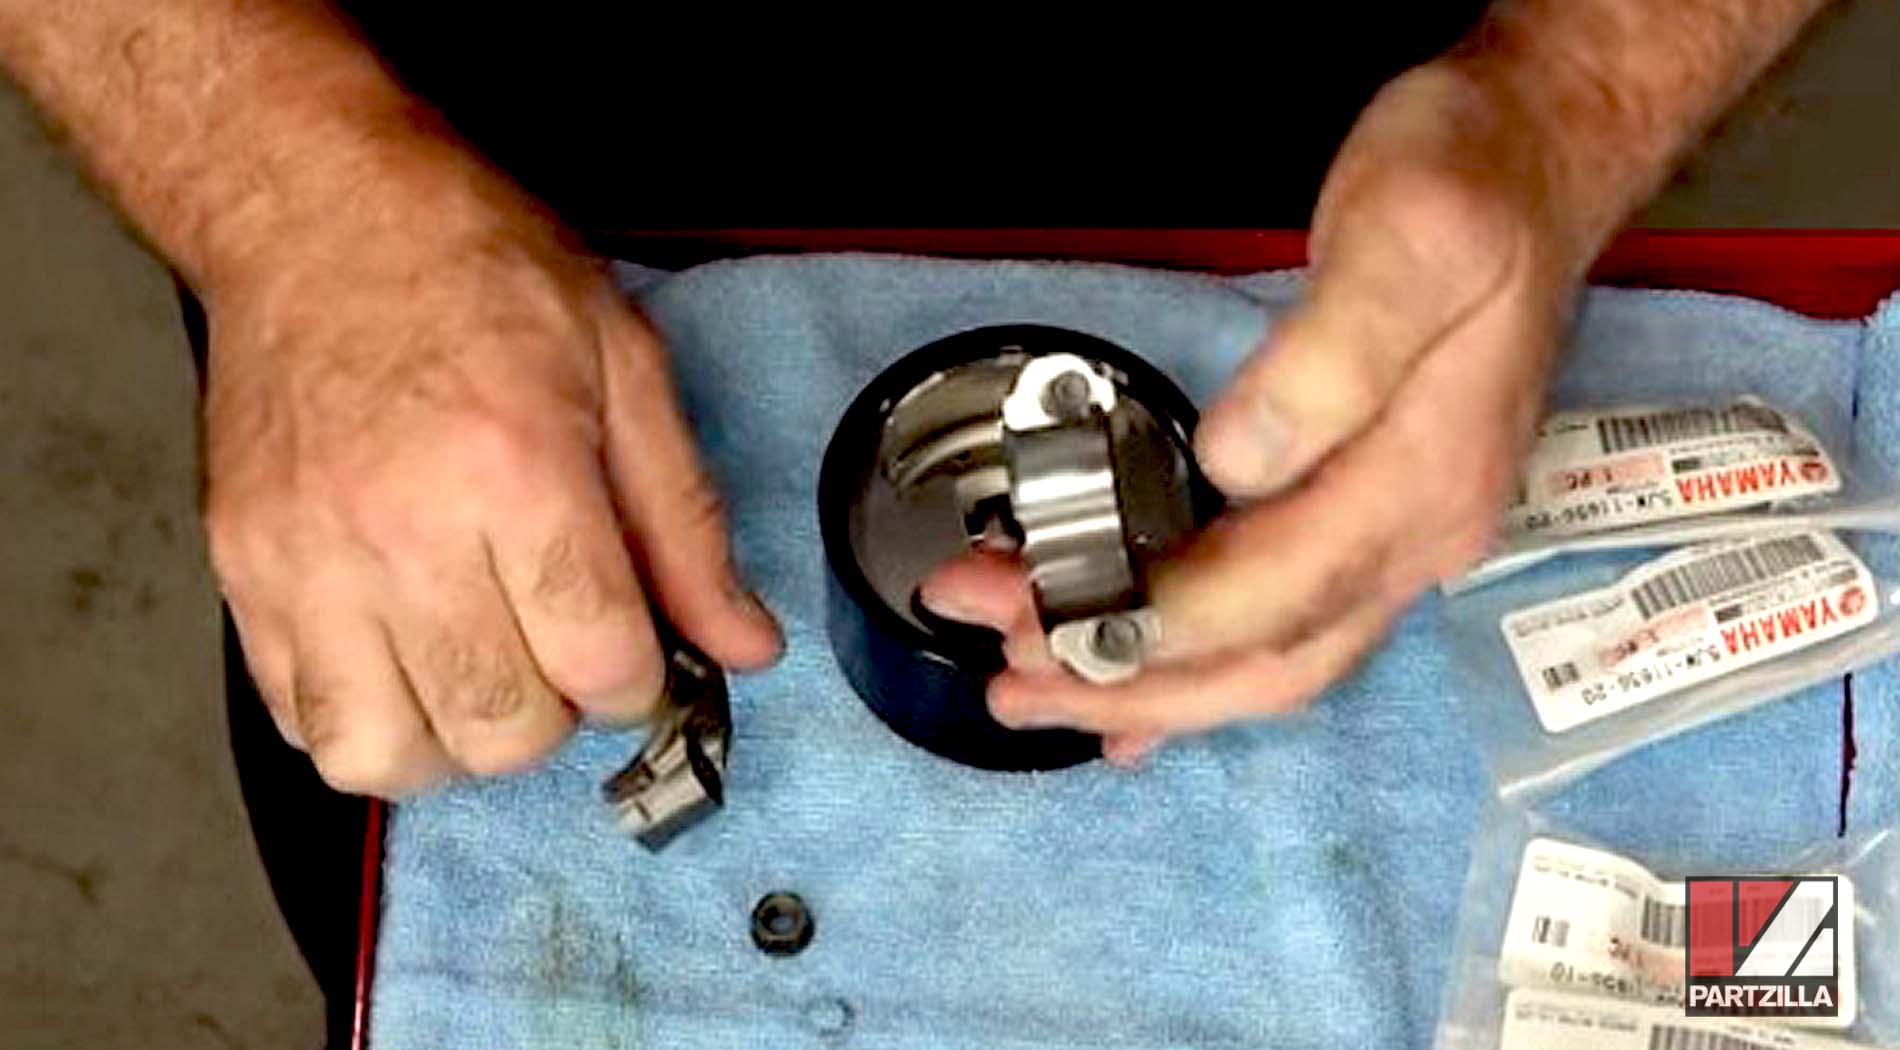
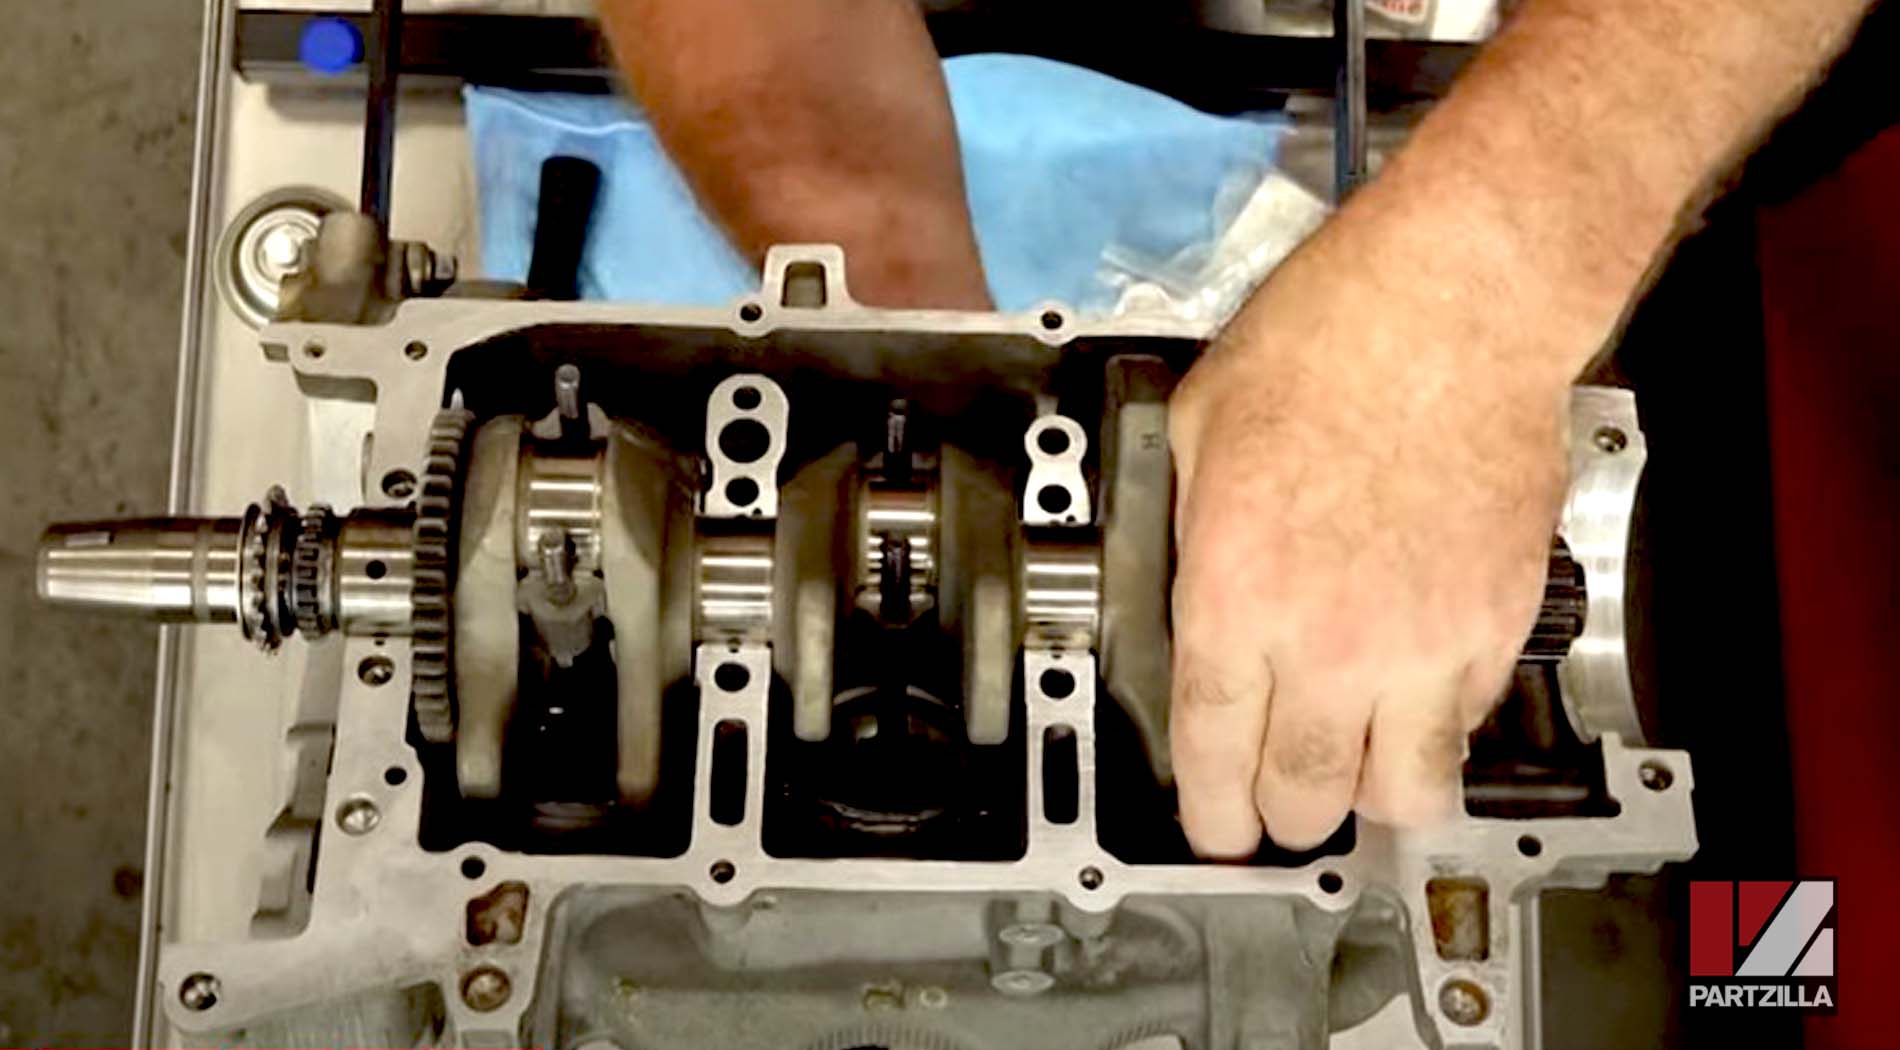
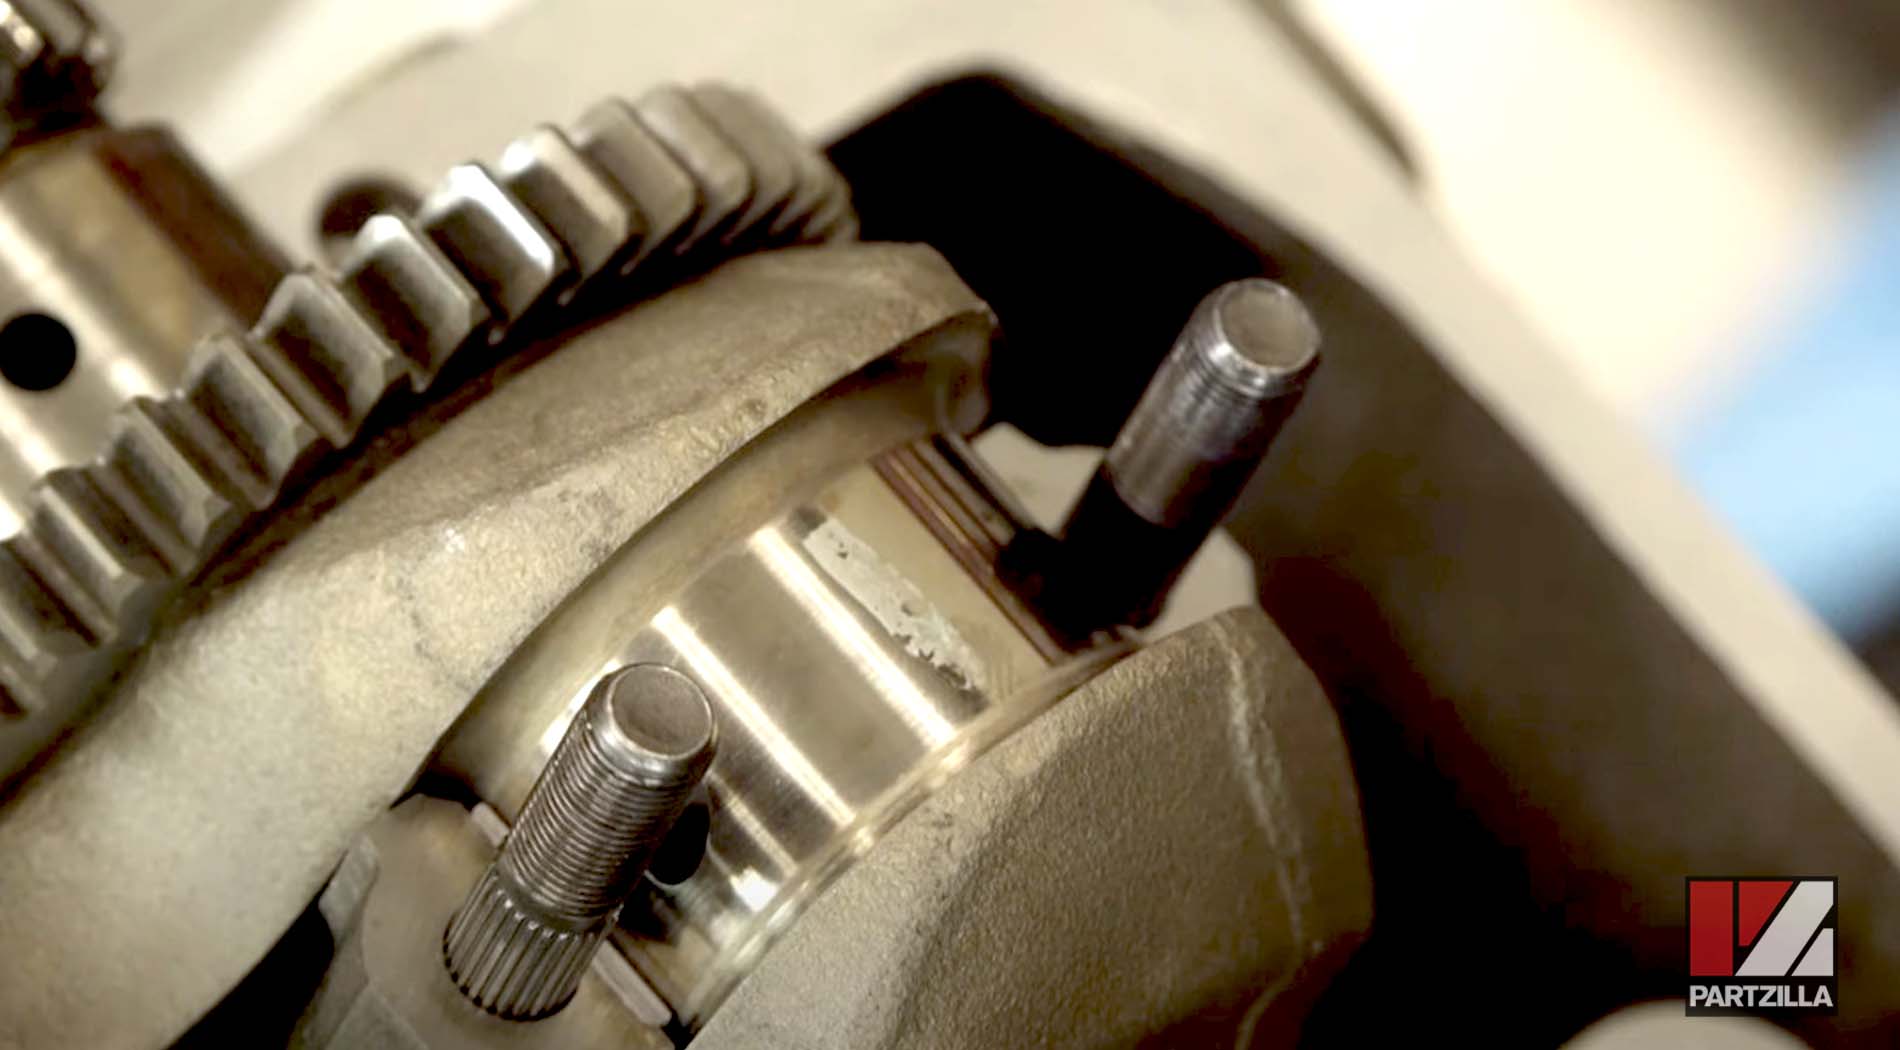
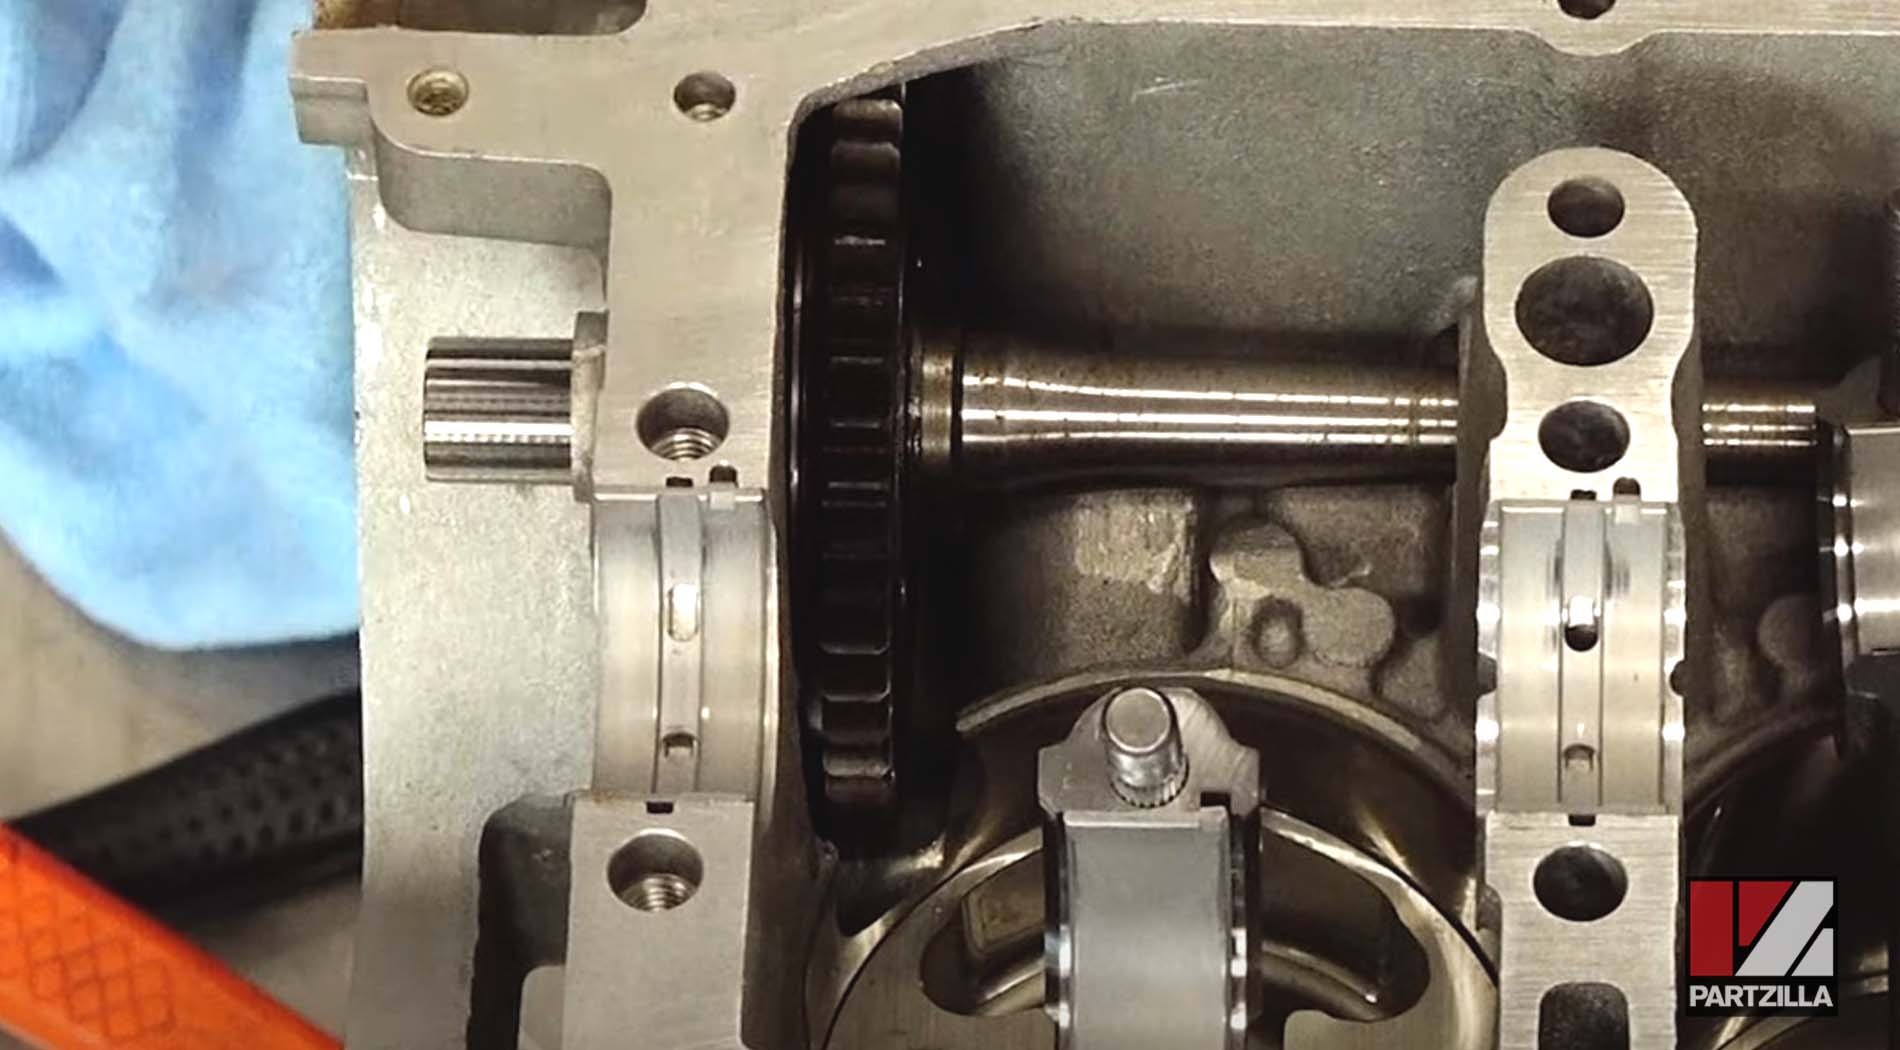
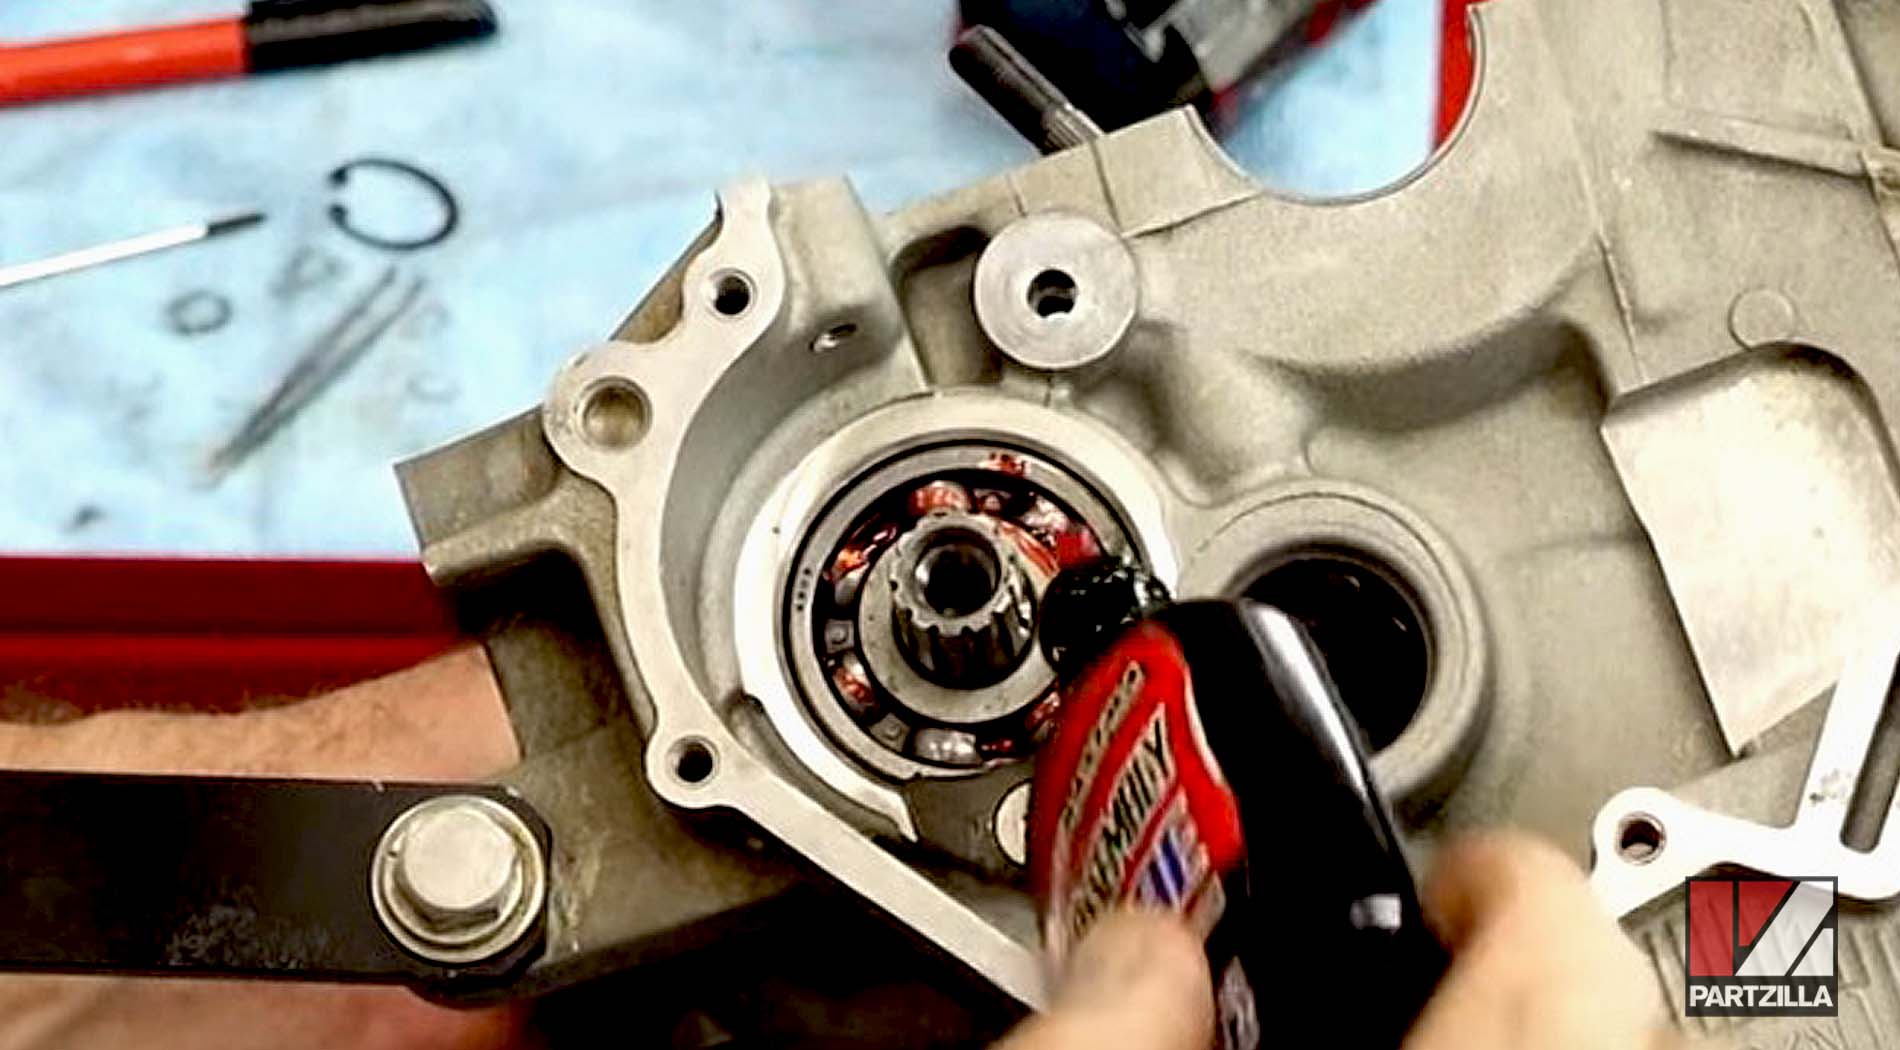
Step 20. Clean everything off again, then remove the crankshaft to install the counterbalance. Before installing the counterbalance, you’ll need to install some bearings and other parts that hold it together, including the counterbalance gear.
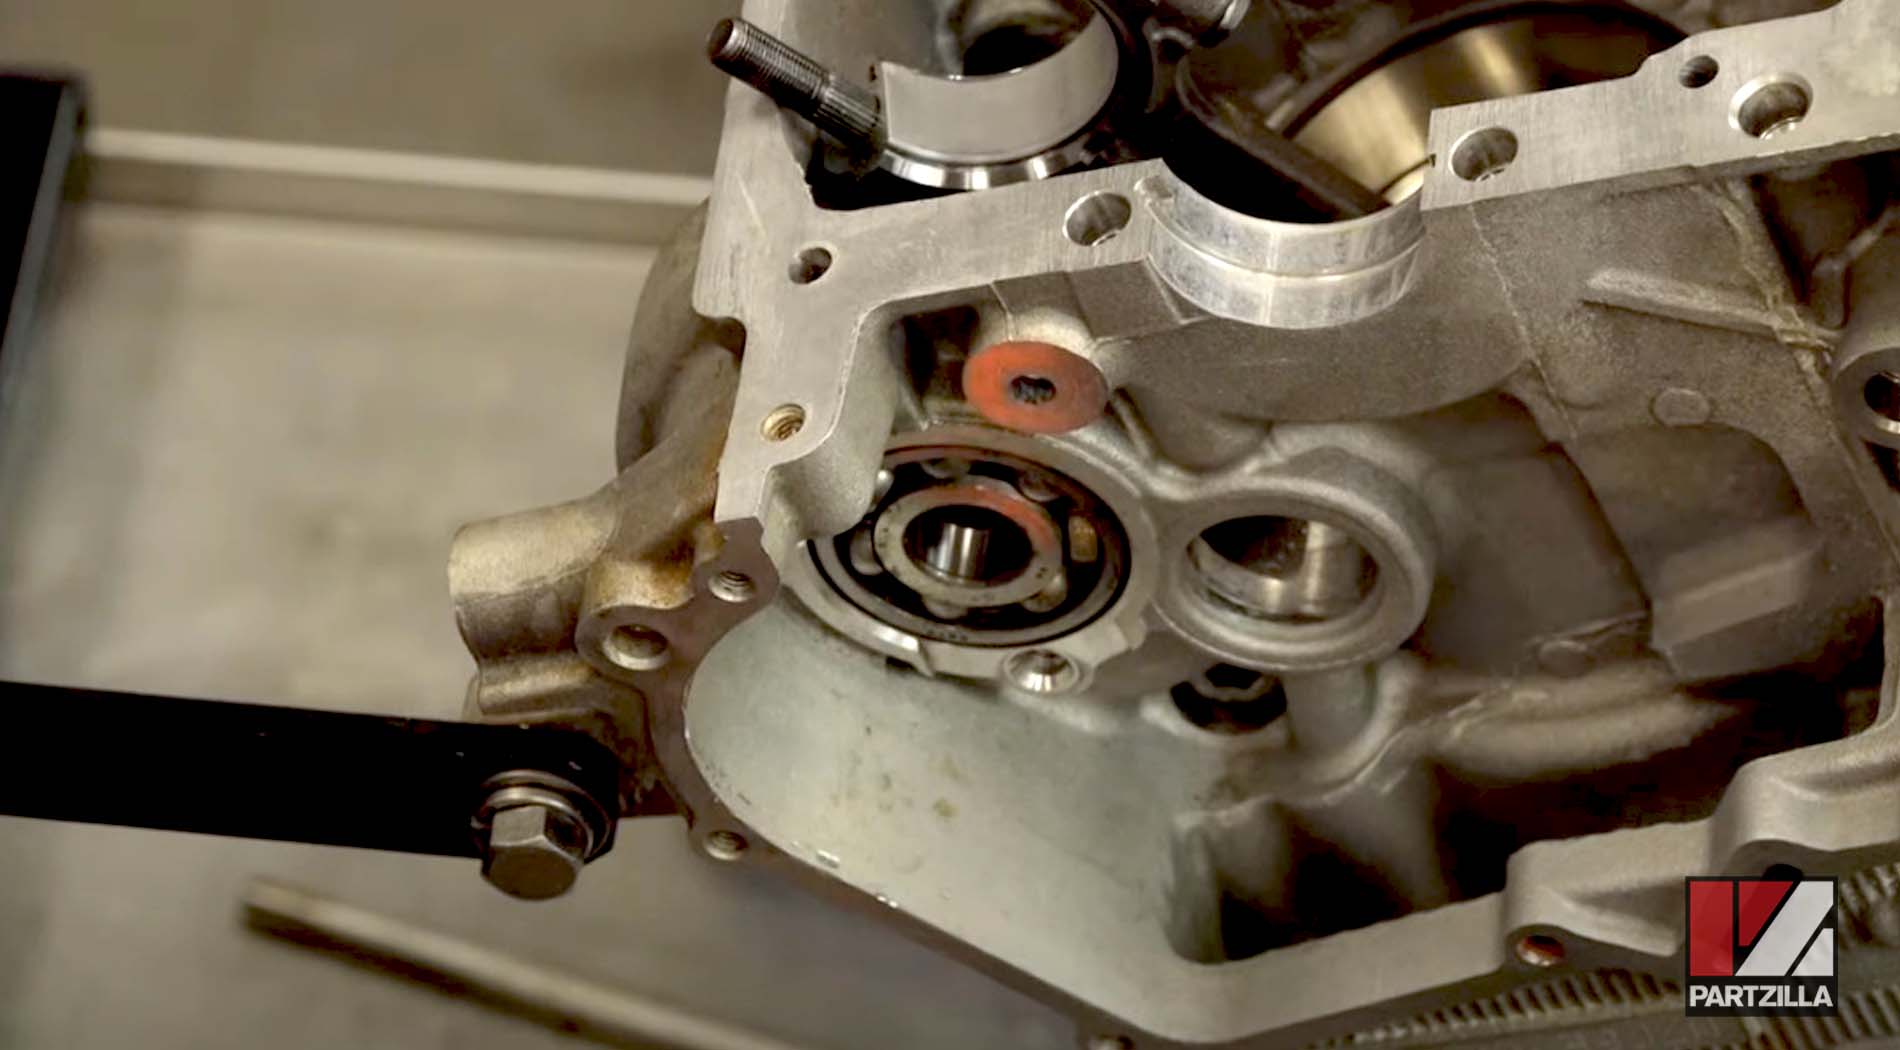
When you're feeding the main shaft through, the counterbalance gear needs to go on, but it has to be held in place as you're pushing the counterbalance shaft through. There’s a channel and a dowel on the shaft itself where it needs to line up.
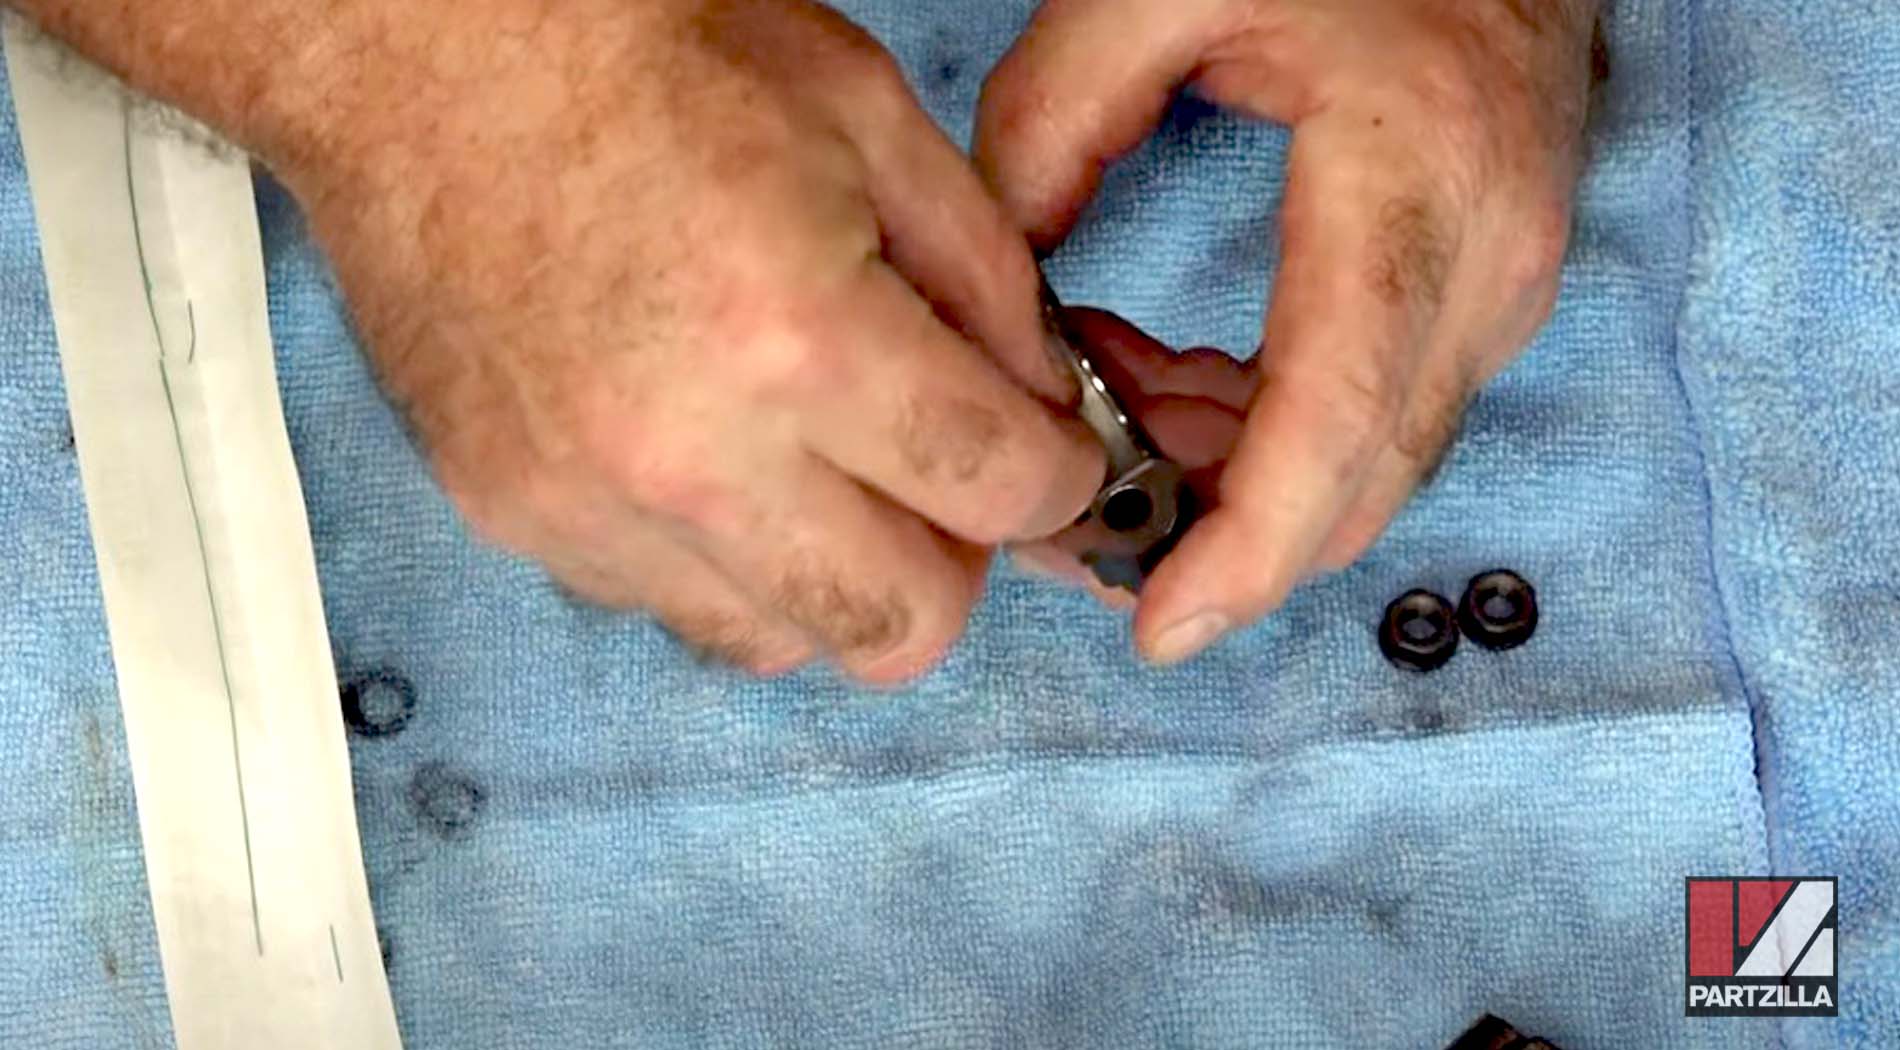
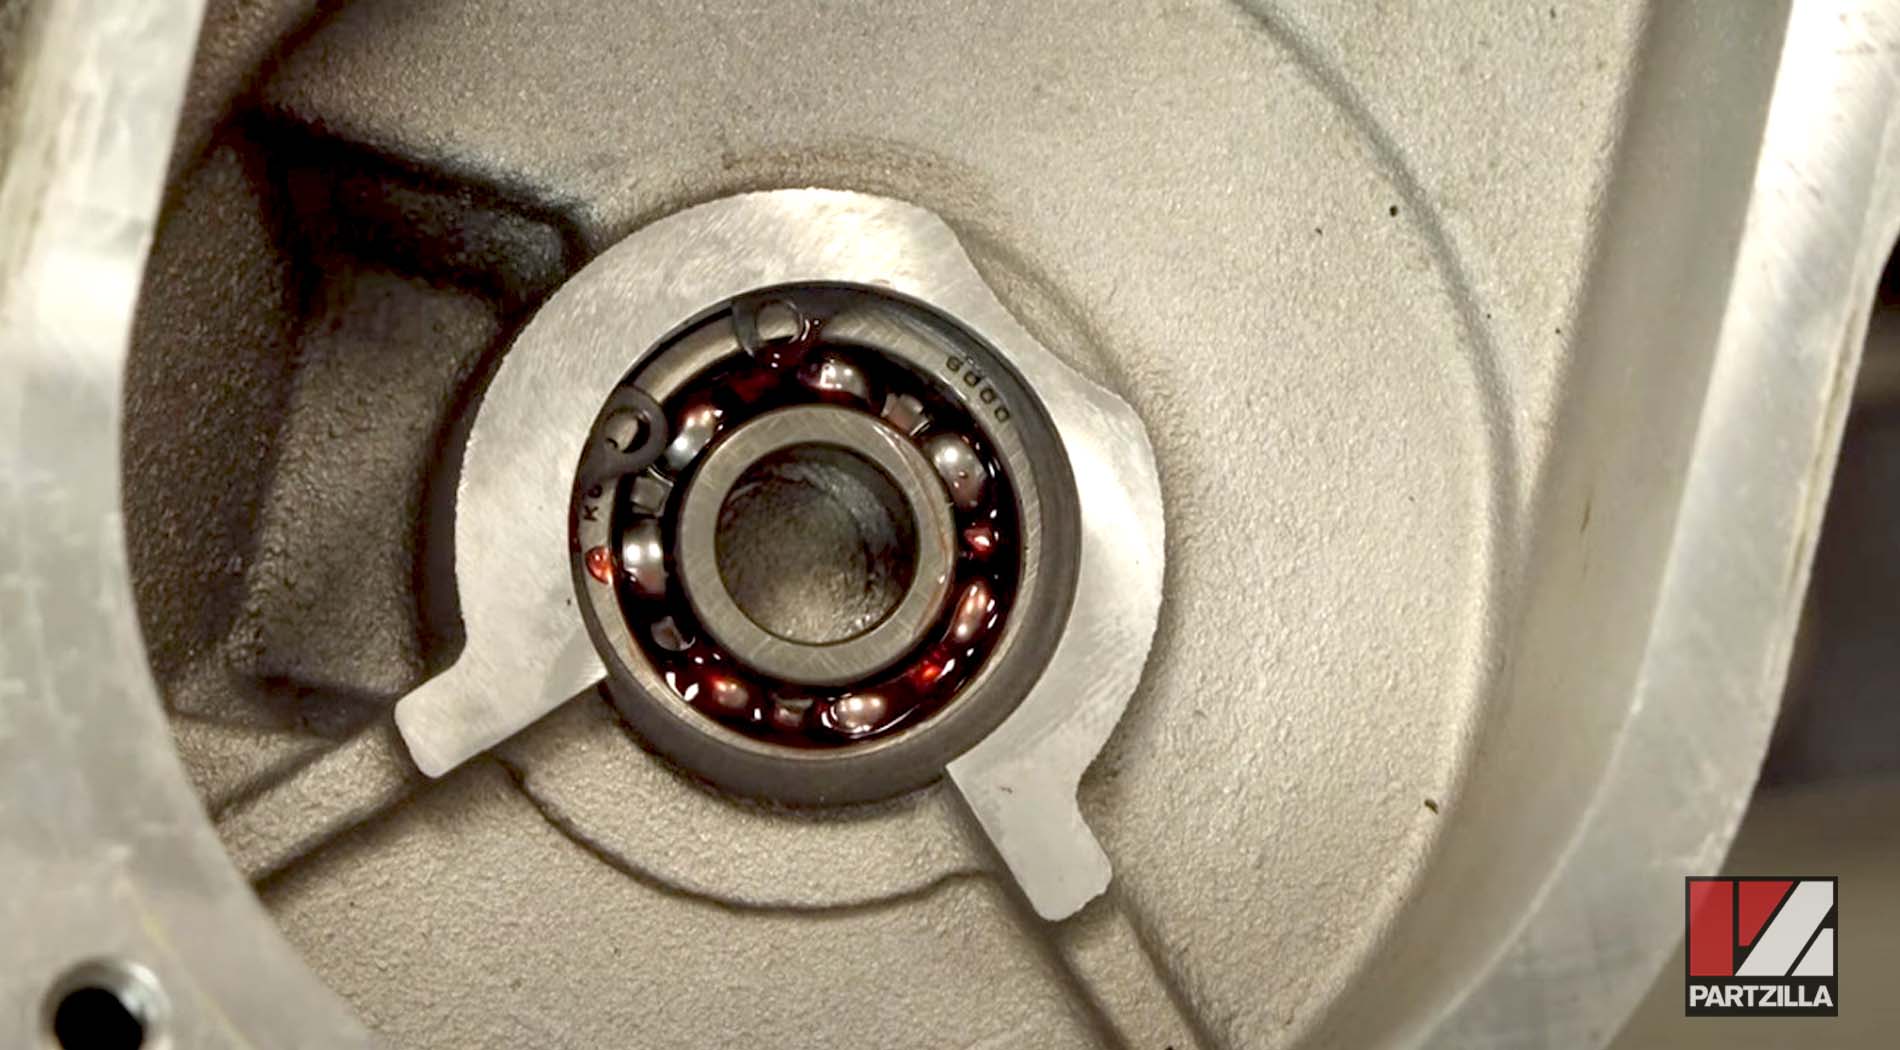
On the other end of the counterbalance goes a needle bearing and a washer that goes on the back side of it.
There's also a retention plate for the Torx that needs to go in.

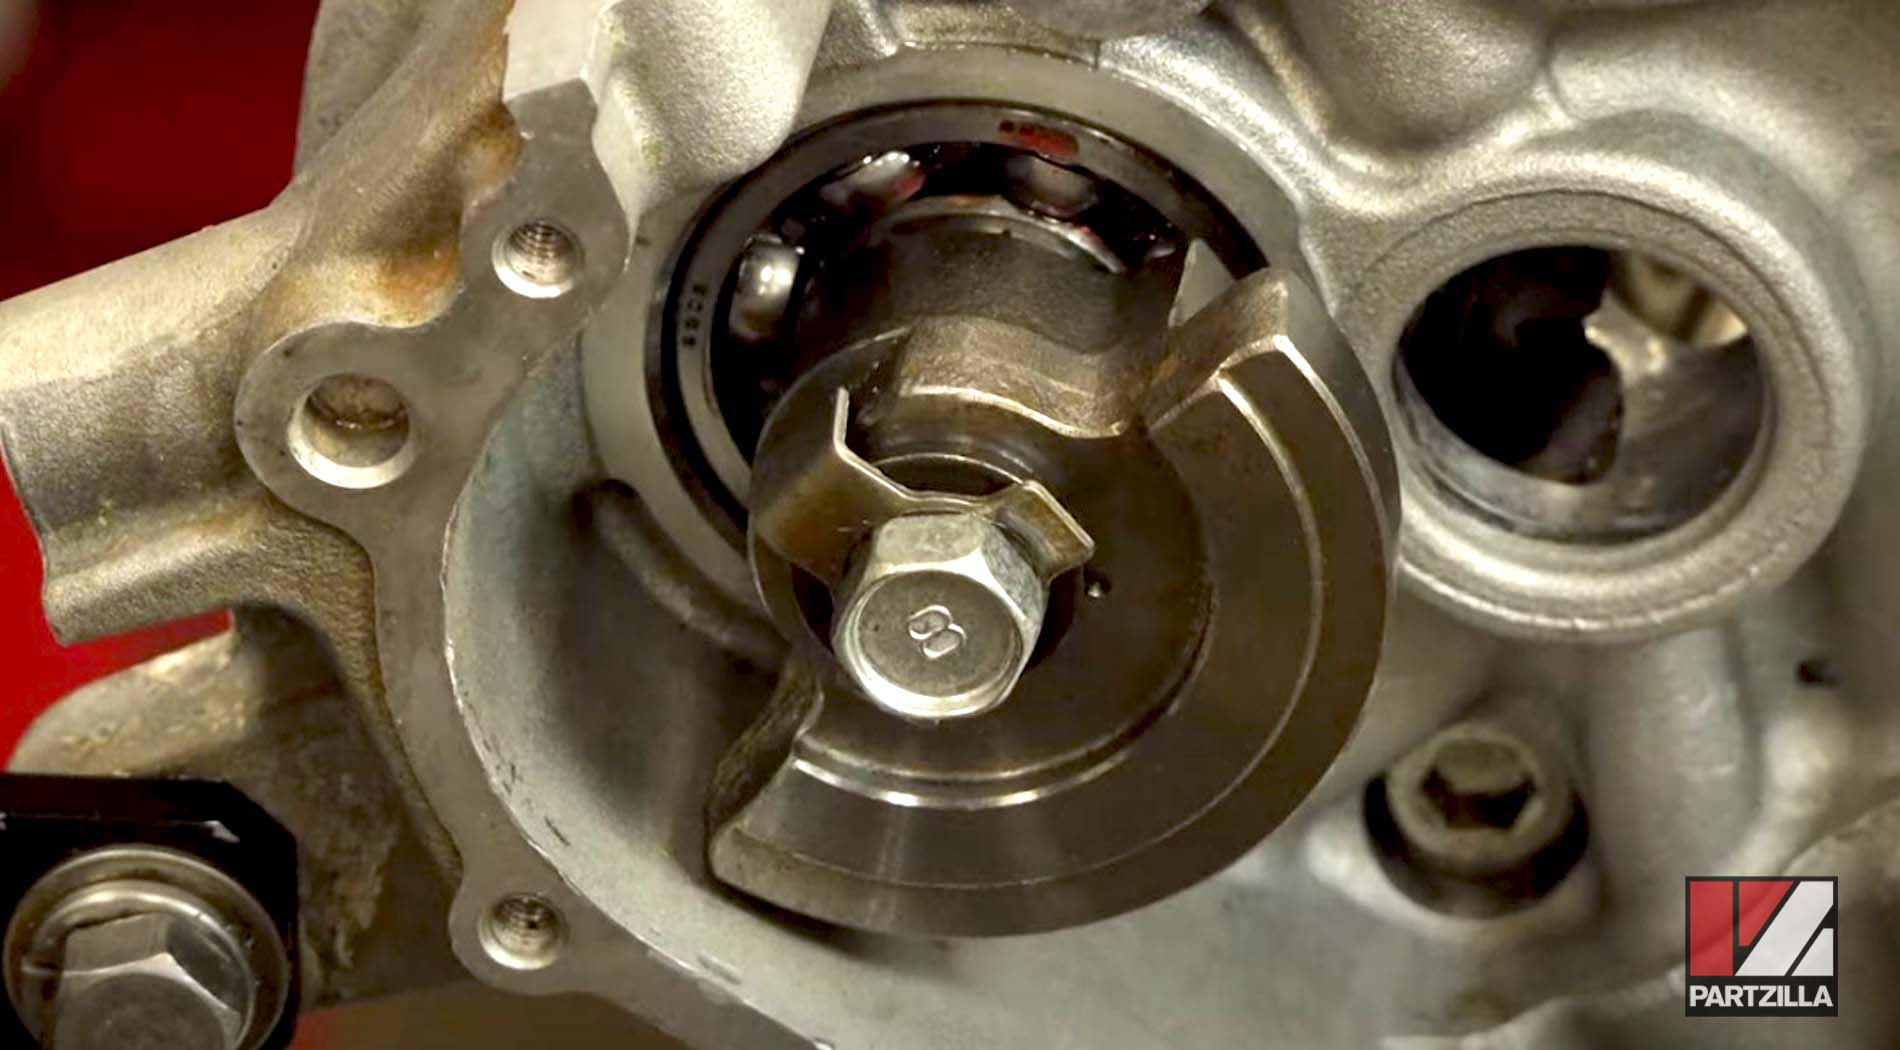
Install the remaining bearings and their corresponding parts (circlips, bolts, etc.), then wrap up the counterbalance installation by lining up the dot of the counterbalance with the dot of the bearing and gear pictured below.

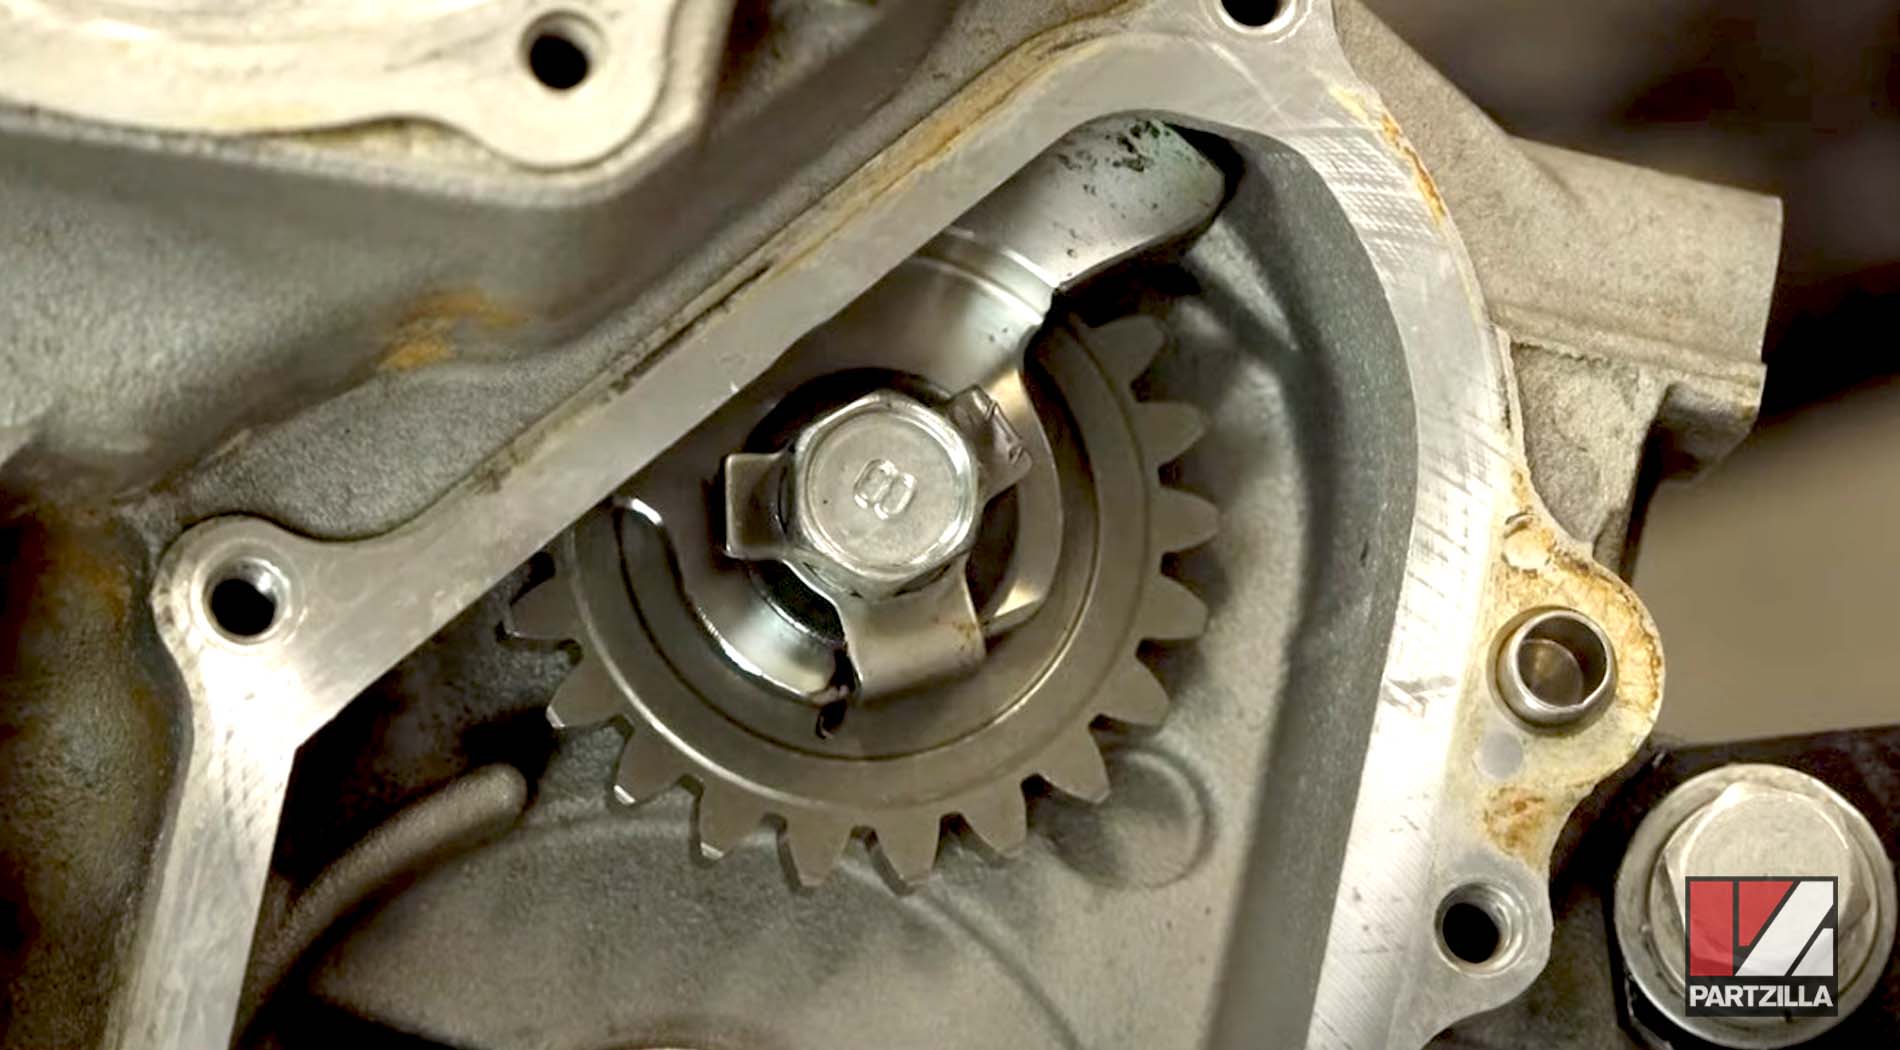
Put the end bolt in finger tight, and then it'll be ready for the crankshaft installation and the final torque on the connecting rod bearings (continued in part 2).
Watch the clip below to see the crankshaft bearing sizing segment of our Yamaha YXZ1000R bottom end rebuild video.
As mentioned, we broke this Yamaha YXZ1000R rebuild into two separate posts. Watch the clip below to continue with the crankshaft installation of our Yamaha side-by-side bottom end rebuild.