How to Test and Replace a Yamaha Grizzly Stator
The charging system on a Yamaha Grizzly YFM700 is made up of three components: the battery, the regulator/rectifier and the stator.
If your Yamaha Grizzly YFM700 isn't charging properly, the first thing to test is the battery's voltage. If the voltage checks out, the next step is to test the stator, which is the component that generates the electricity your YFM700 relies on. A faulty stator means no power for your ATV.
Watch the video above and follow the guide below to test the stator for your Yamaha Grizzly.
Tools and Parts Needed - Yamaha Grizzly Stator Test
Tools
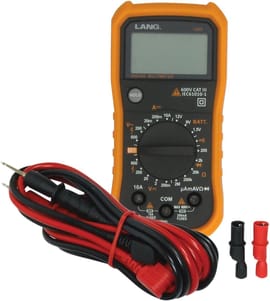
- Multimeter
- Ratchet and extensions
- 8mm, 10mm, 12mm, 17mm sockets
- 4mm Allen
- 10mm wrench
- Screwdrivers
- Pliers
- Gasket scraper
- Torque wrench
Parts
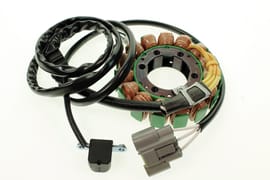
- Stator
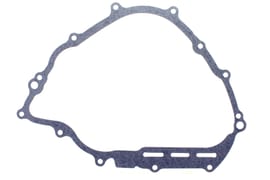
- Crankcase cover gasket
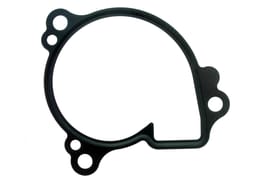
- Water pump housing gasket
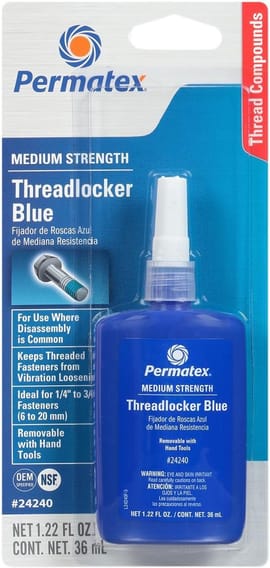
- Blue threadlocker
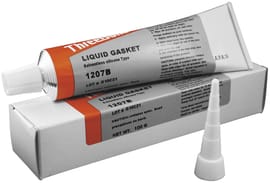
- Gasket maker
- Contact/brake cleaner
- Engine oil
- Coolant
Testing Yamaha Grizzly YFM700 Stator
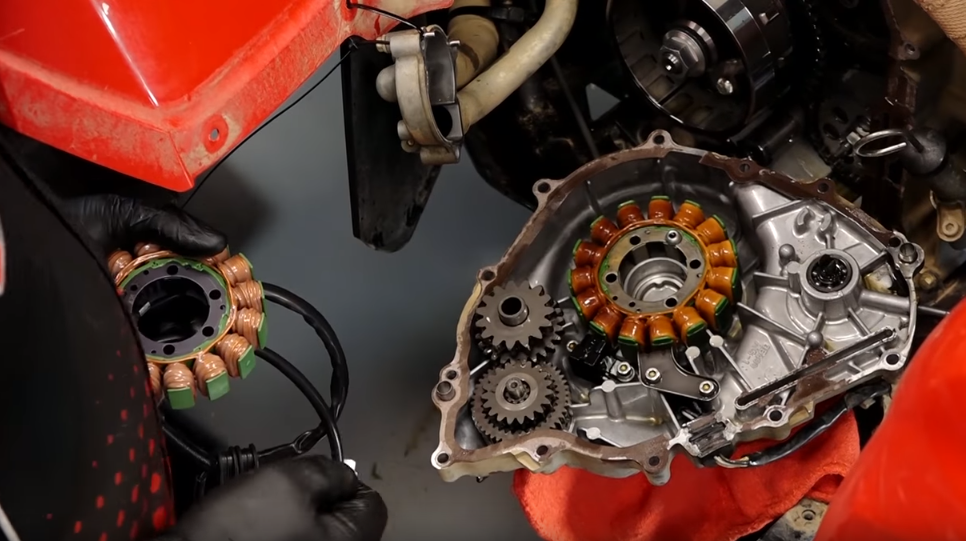
The Yamaha Grizzly stator is a set of three wire coils, or stator windings, that generate an AC electrical current. This current is sent to the regulator/rectifier, where it's converted to DC current and then sent onto the battery.
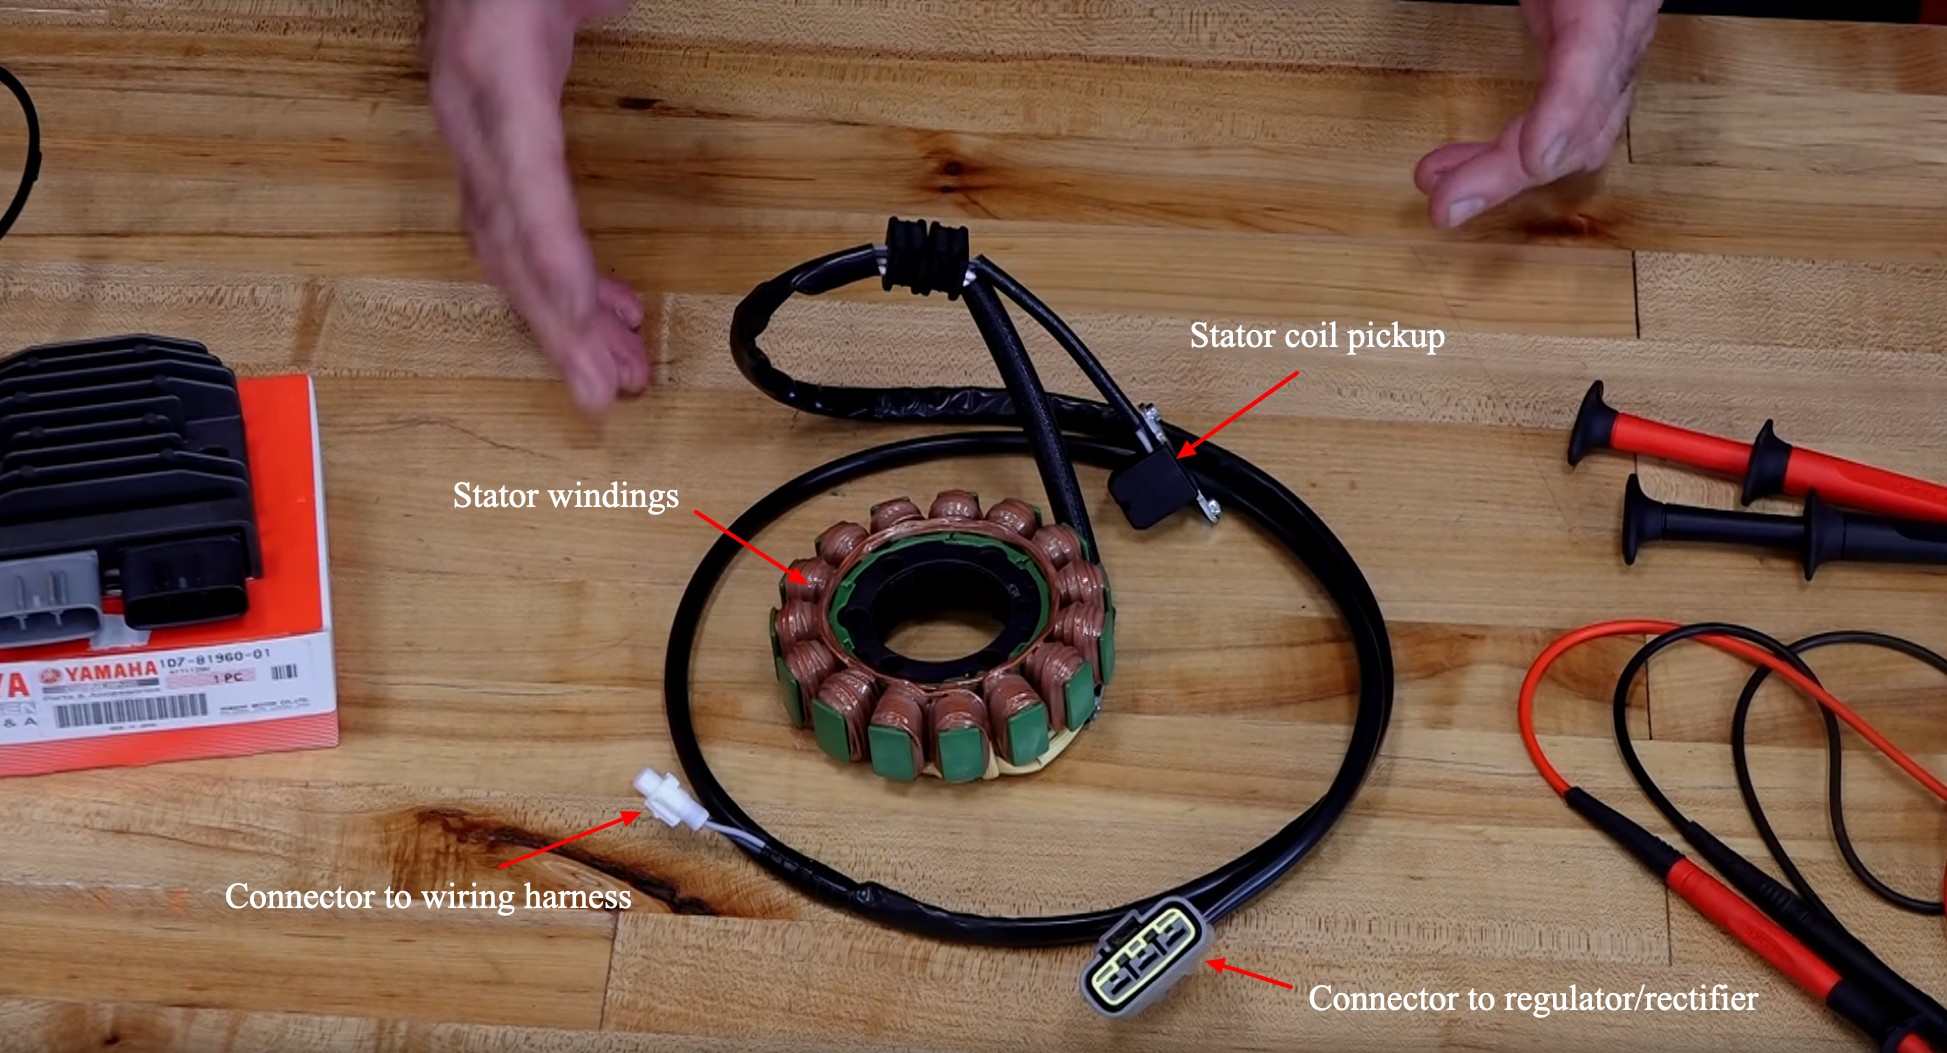
To determine whether the stator is working or not, you have to test each of the three windings to make sure they're not grounded out and are generating the correct amount of electrical current.
YFM700 Stator Ground Test
Test that none of the stator's windings or its cable has shorted to ground.
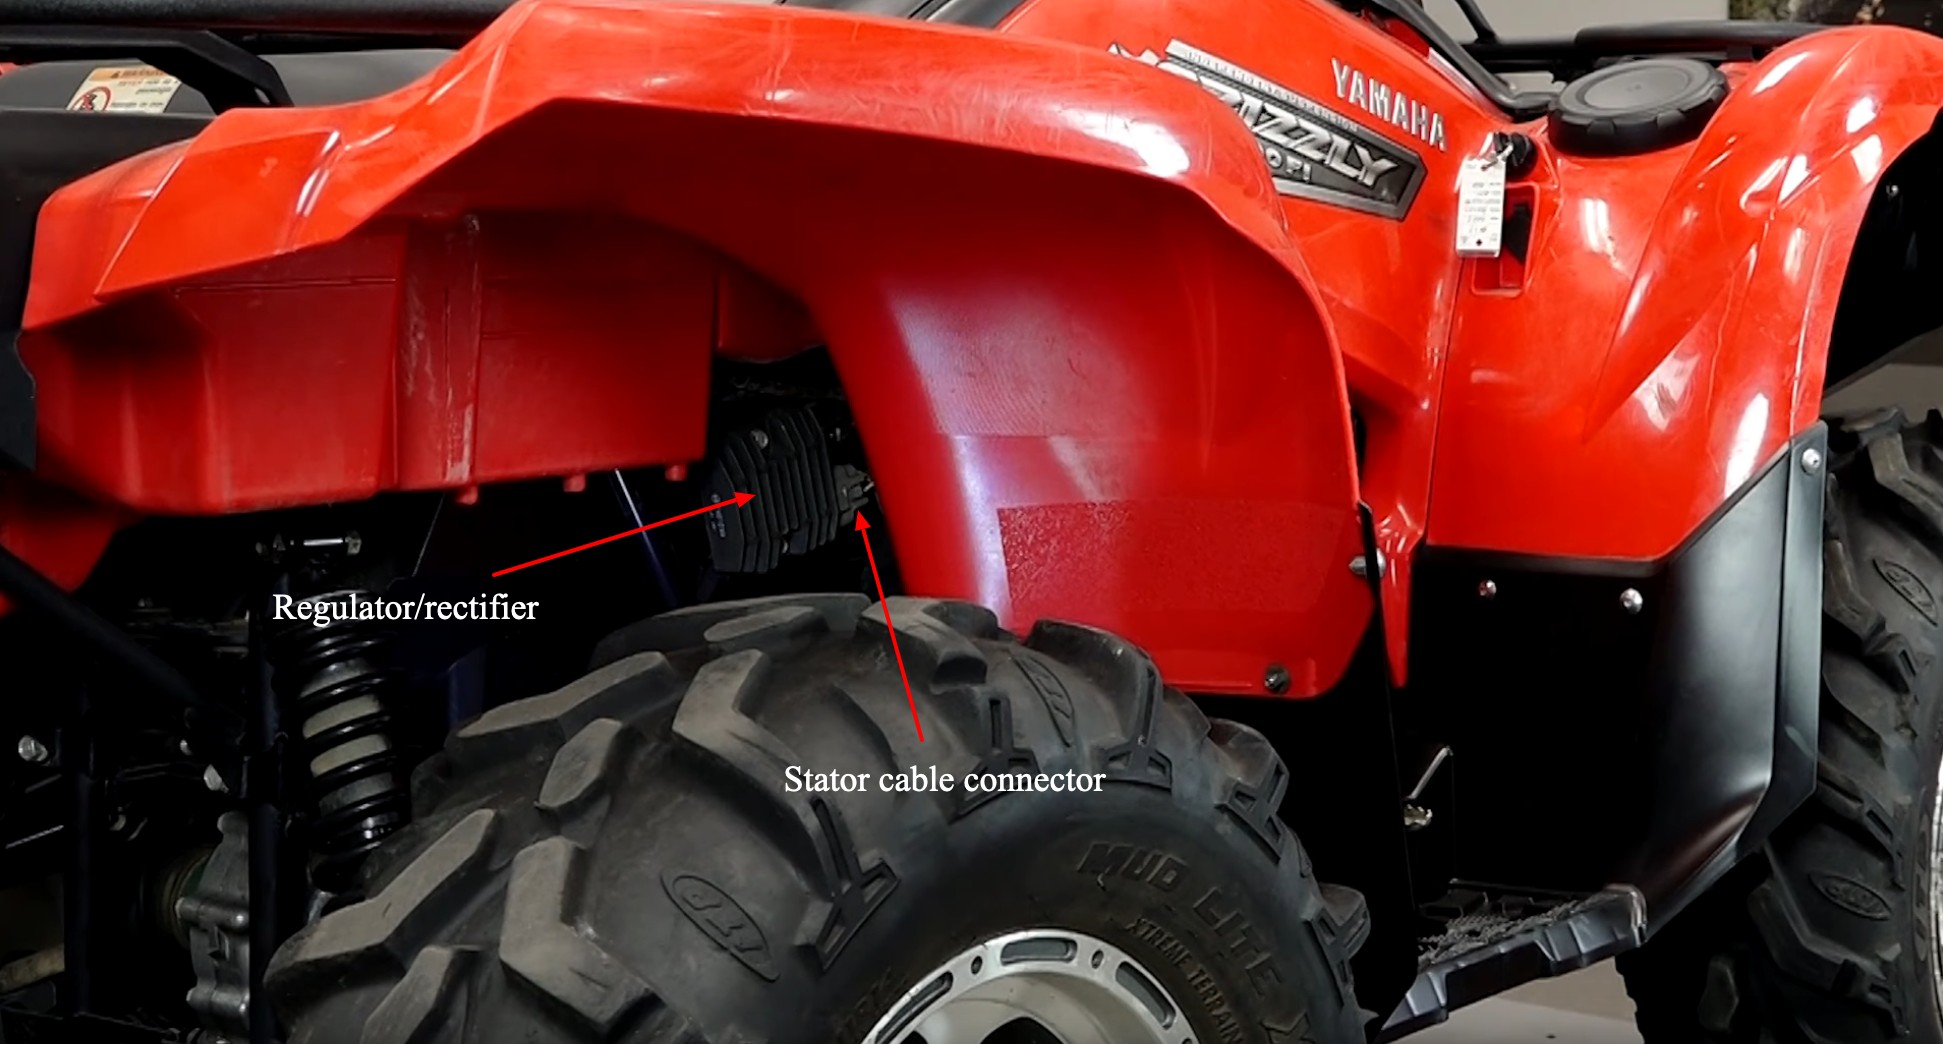
Step 1. Locate the regulator/rectifier under the right rear fender and disconnect the stator cable from it. The stator cable is the lower of the two cables, attached via the gray connector.
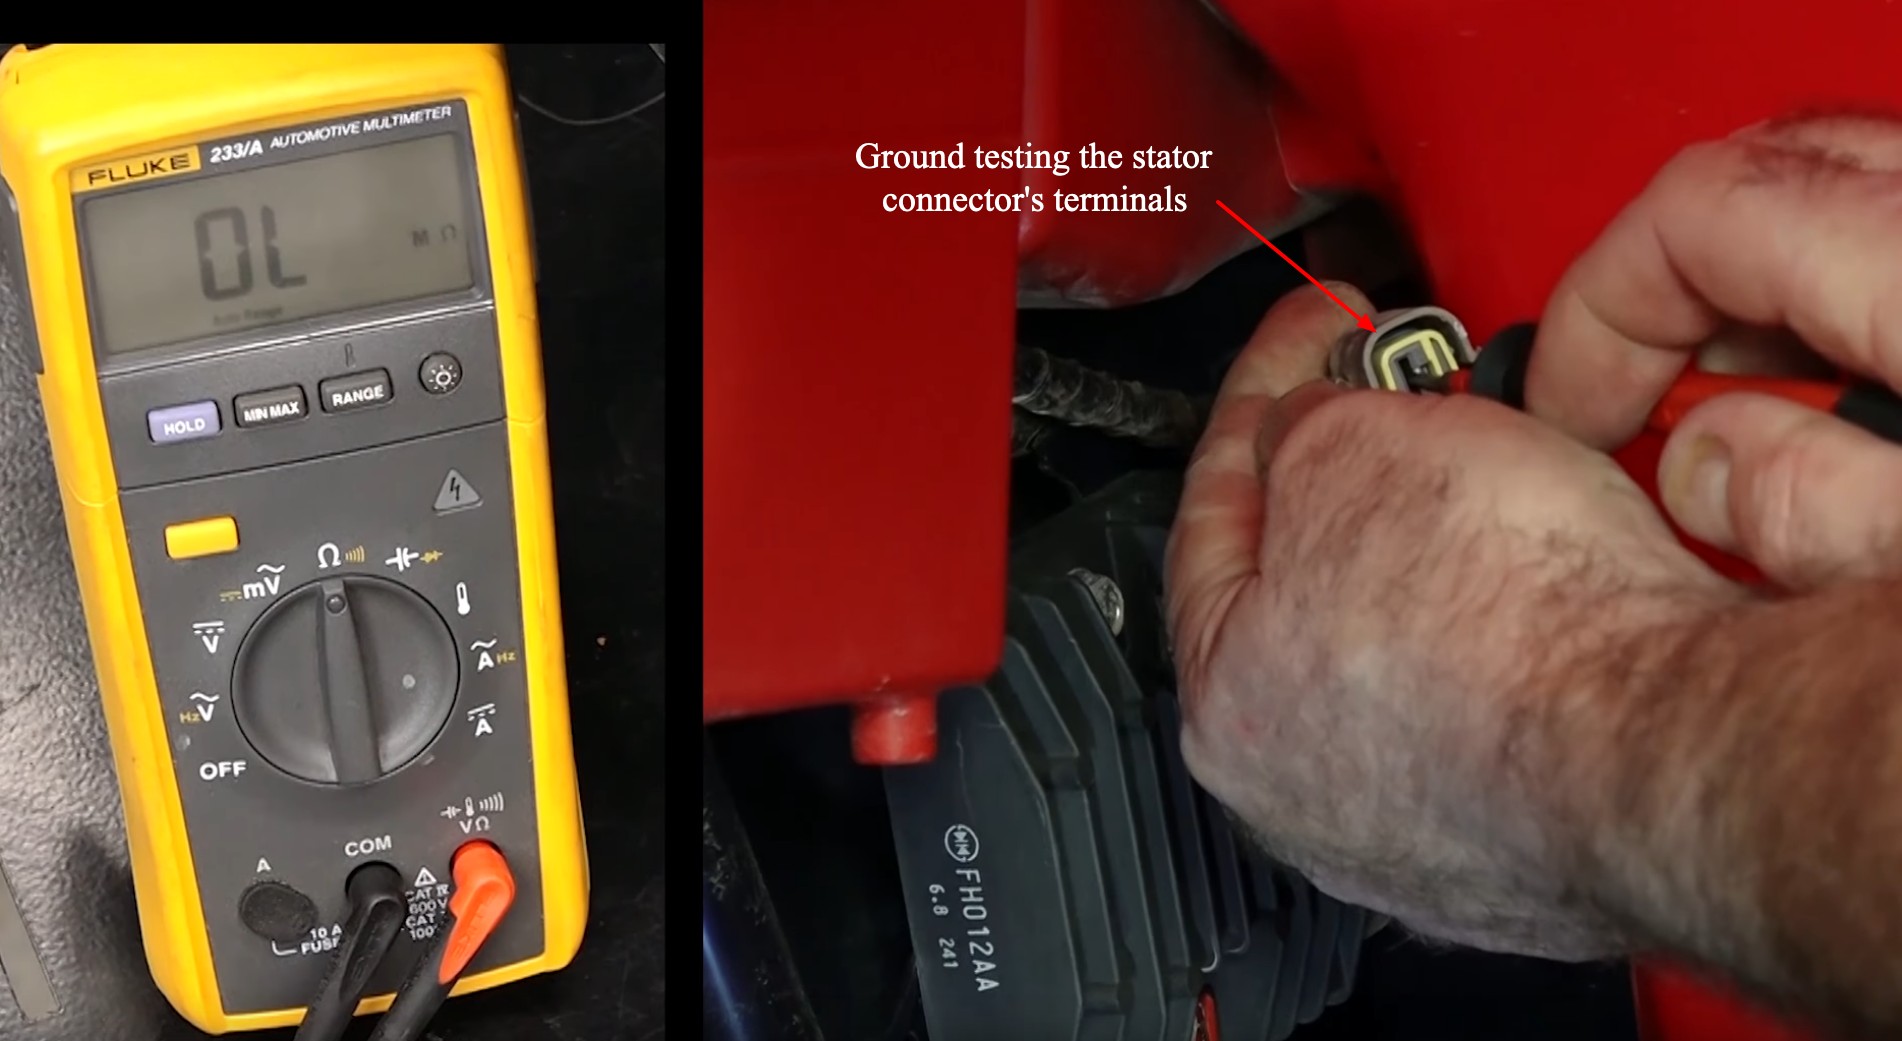
Step 2. Set your multimeter to ohms, and connect its negative lead to a ground source such as an exposed bolt or the negative battery terminal.
Step 3. Put the multimeter's positive lead into each of the three terminals in the stator cable's connector. The multimeter should read OL for open loop, which indicates the circuit is open and hasn't shorted to ground. If the reading shows a short has occurred, the stator has failed and must be replaced.
YFM700 Stator Dynamic Test
Test the AC voltage from each of the stator's windings with the Grizzly's engine running.
Step 1. Fire up the engine and let it idle.
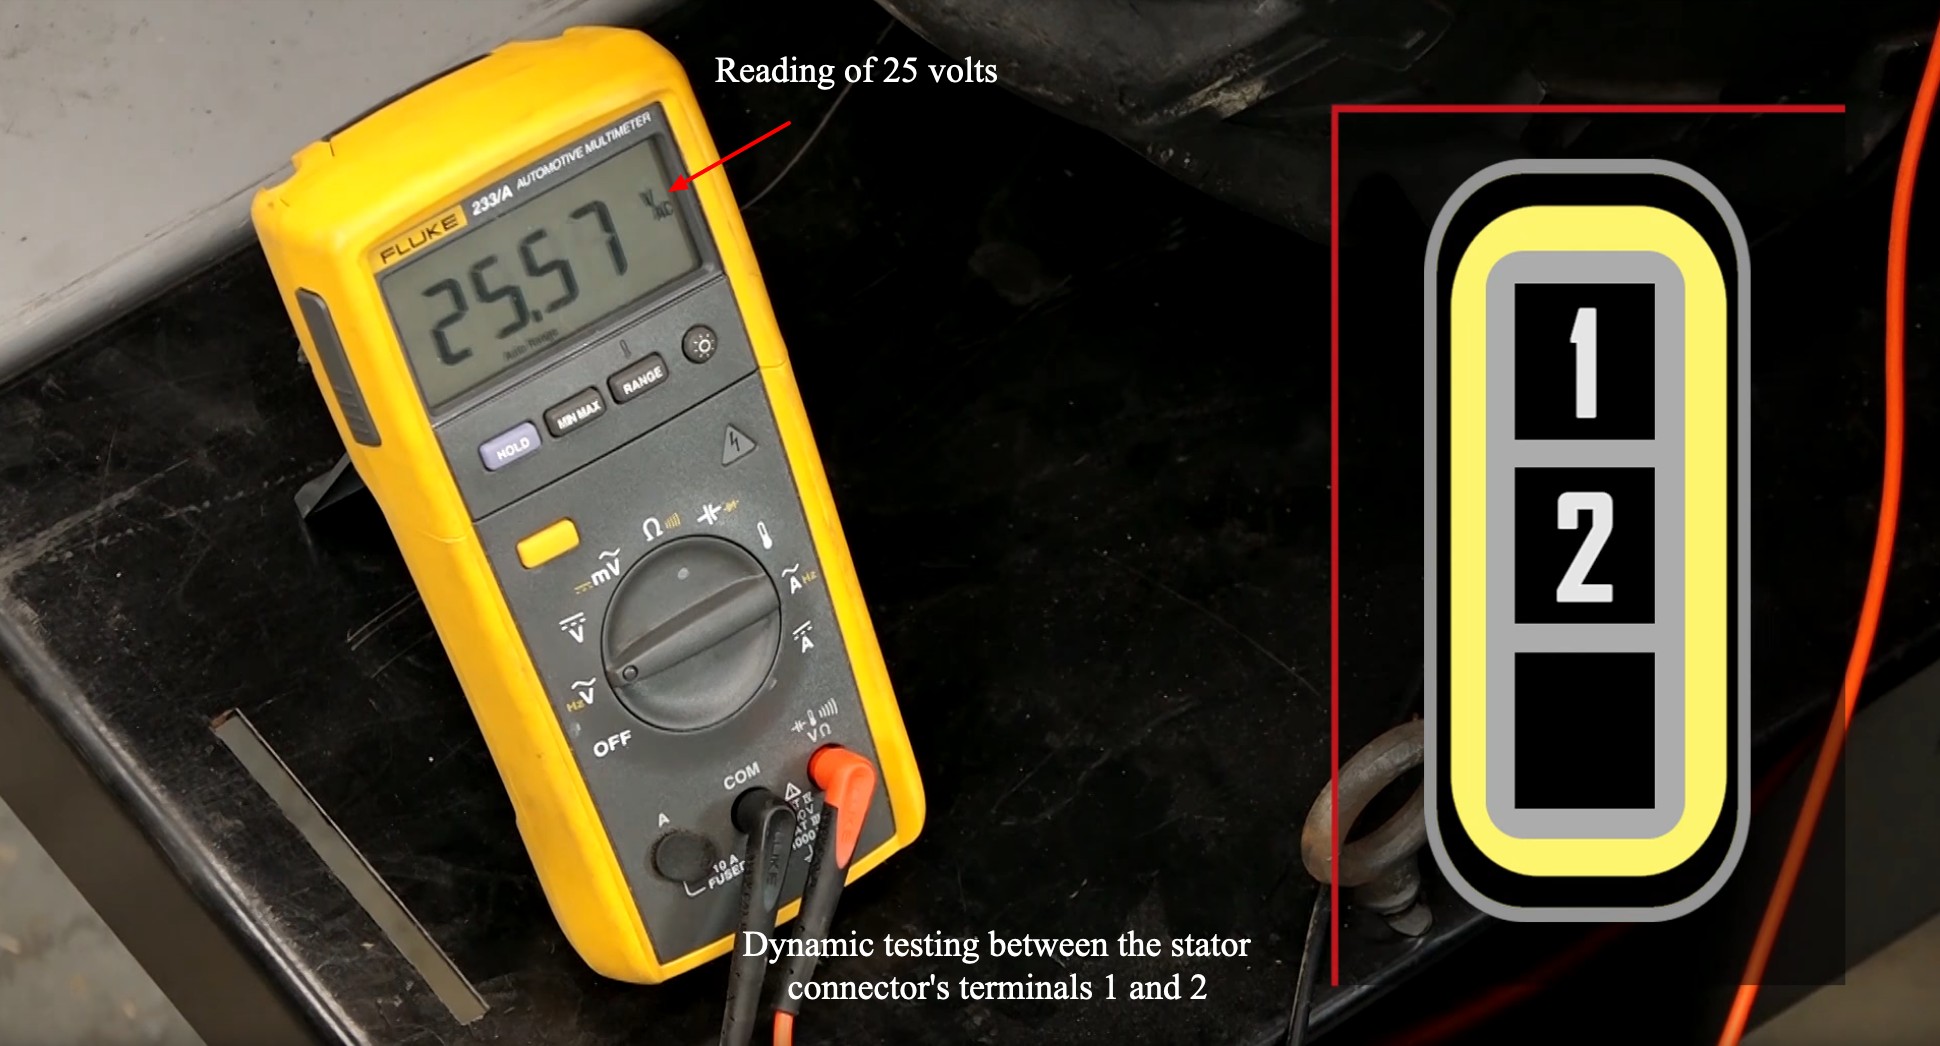
Step 2. Set the multimeter to AC volts, and take a measurement between the windings by connecting the multimeter's leads to the three terminals in the stator's electrical connector.
Measure between terminals 1 and 2; between terminals 2 and 3; and between 1 and 3. The reading should be around 20-25 volts. If the reading is very low, that particular winding is an open circuit and the stator has failed.
Watch the clip below to see this step in action.
Replacing Yamaha Grizzly YFM700 Stator
Once you've established that the stator is faulty, replacing it is a pretty straightforward process. Make sure you have the parts and tools listed at the top of this guide and follow these steps:
Step 1. Drain the engine oil.
Step 2. Remove the left footwell and the left side cover.
Step 3. Remove the front carrier and the front cover beneath it to access the radiator cap, then remove the radiator cap to help the cooling system drain.
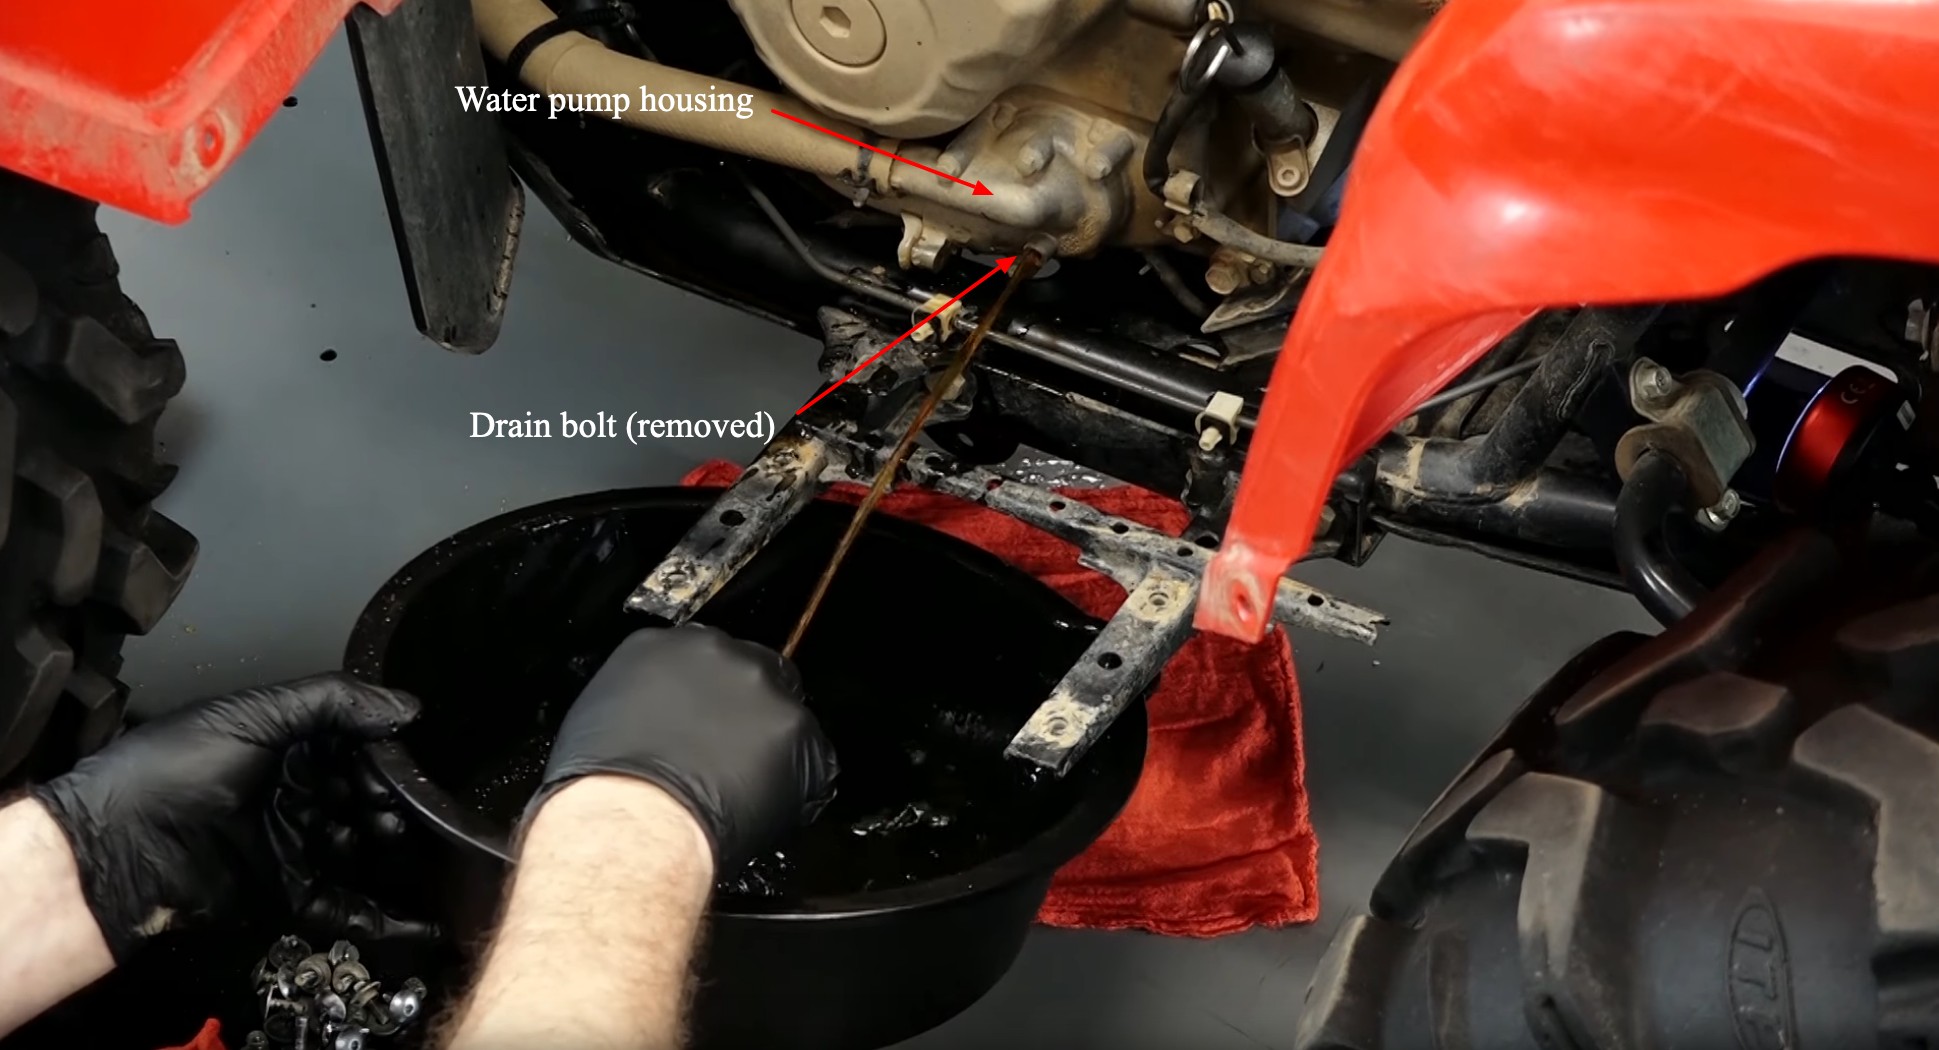
Step 4. Remove the drain bolt at the base of the water pump housing and drain the cooling system.
NOTE: The pressure of the coolant will make it jet out at first, so position the drain pan accordingly.
Step 5. Remove the water pump housing.
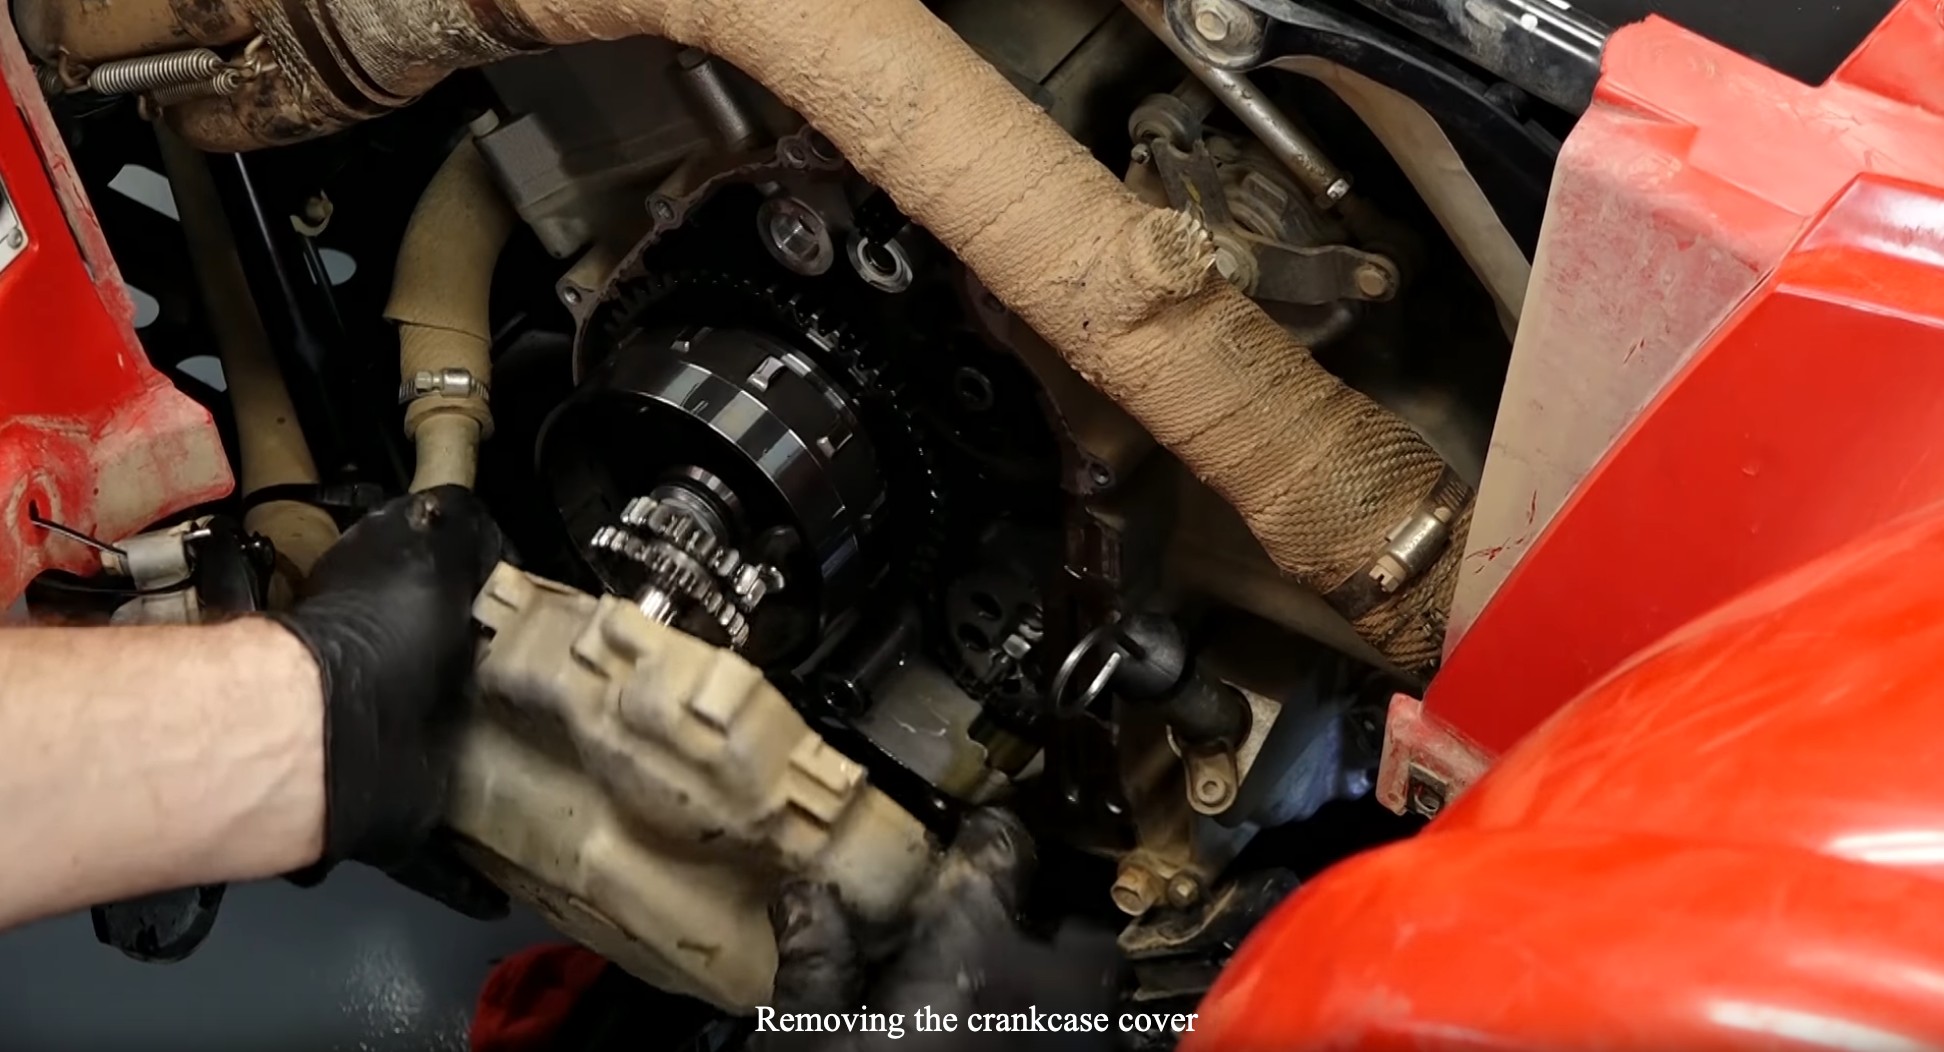
Step 6. Remove the crankcase cover bolts and the small drain pipe at the bottom of the cover, and carefully pry the cover off the engine.
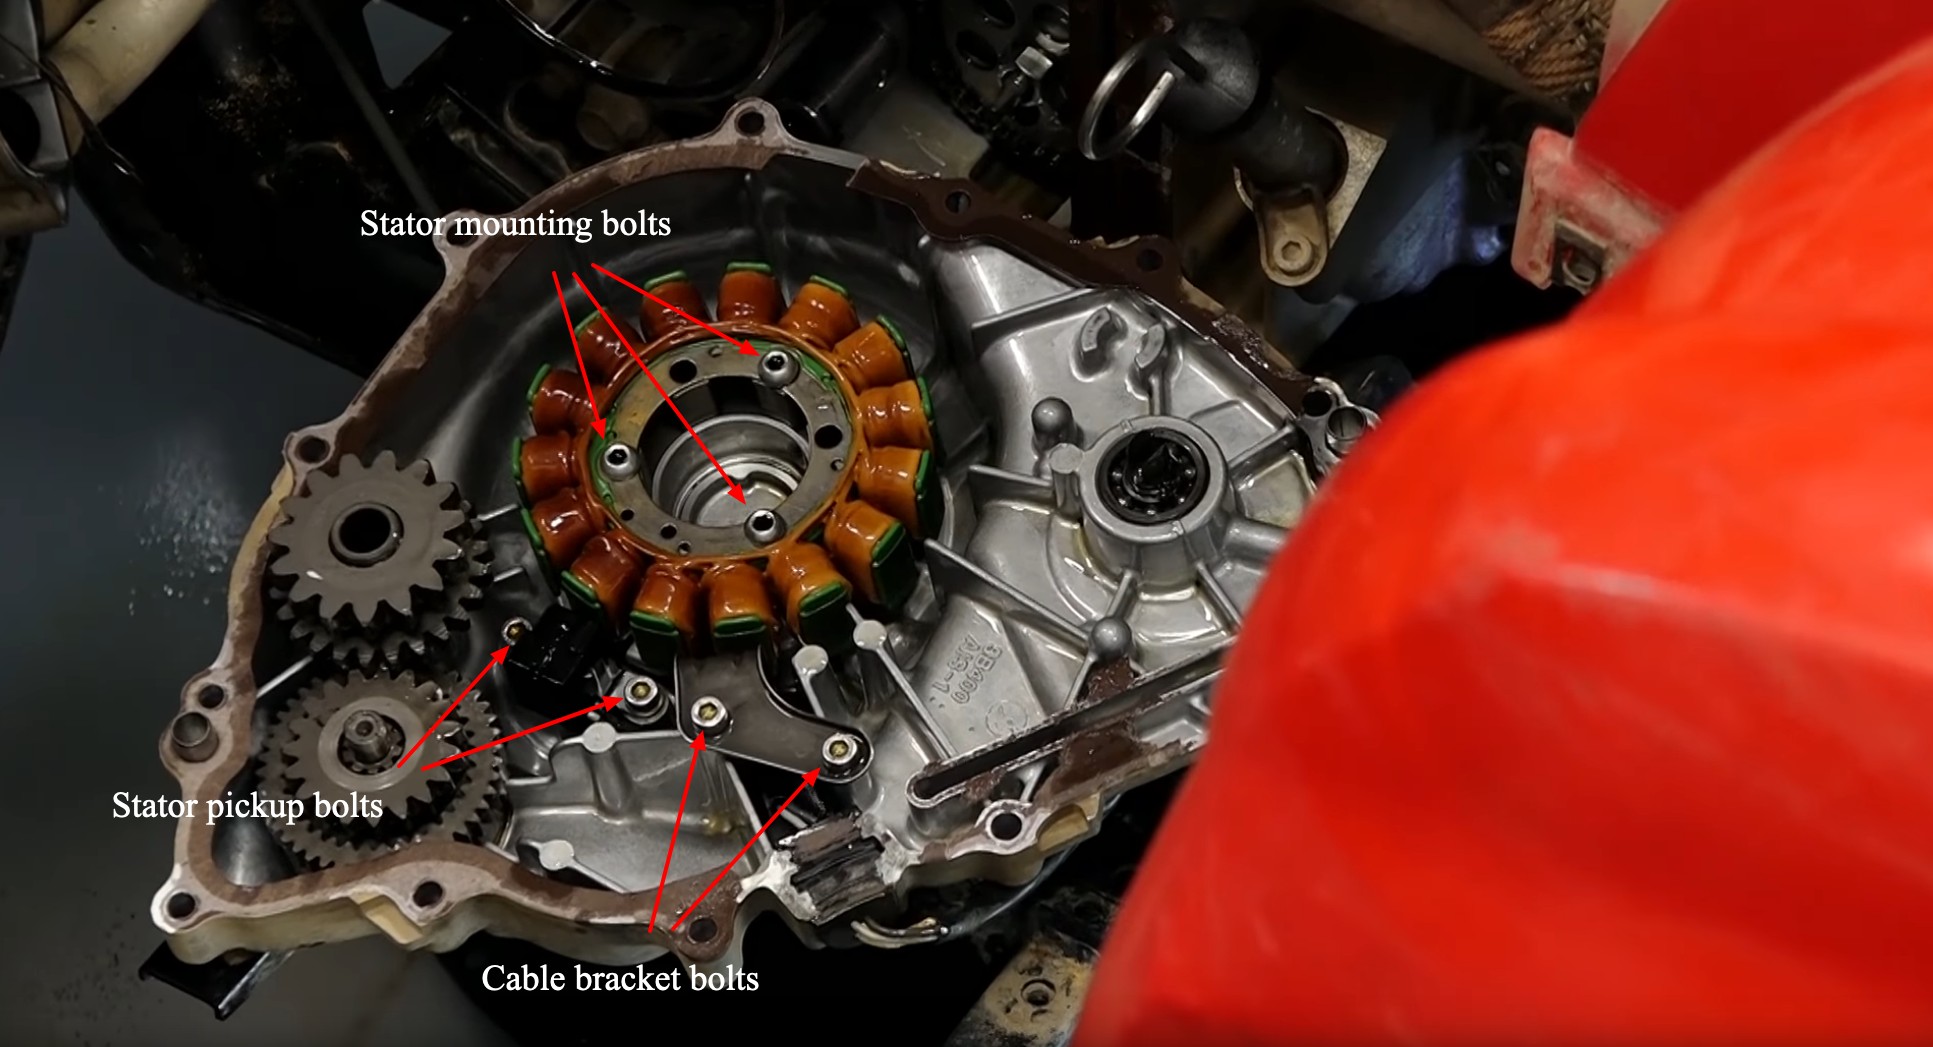
Step 7. Remove the three stator mounting bolts, the two stator pickup mounting bolts, and the two bolts securing the bracket that holds the stator cable.
Step 8. Remove the old gasket material from the crankcase cover and the crankcase.
PRO TIP: The best method to remove old gasket is to scrape away as much as possible with a gasket scraper, then soak any remaining gasket material in contact/brake cleaner, and gently scrape away the last of the gasket material with a razor blade.

Step 9. Install the new stator into the crankcase cover. Apply blue threadlocker on the stator mounting bolts, and torque them to 5.1 foot-pounds.
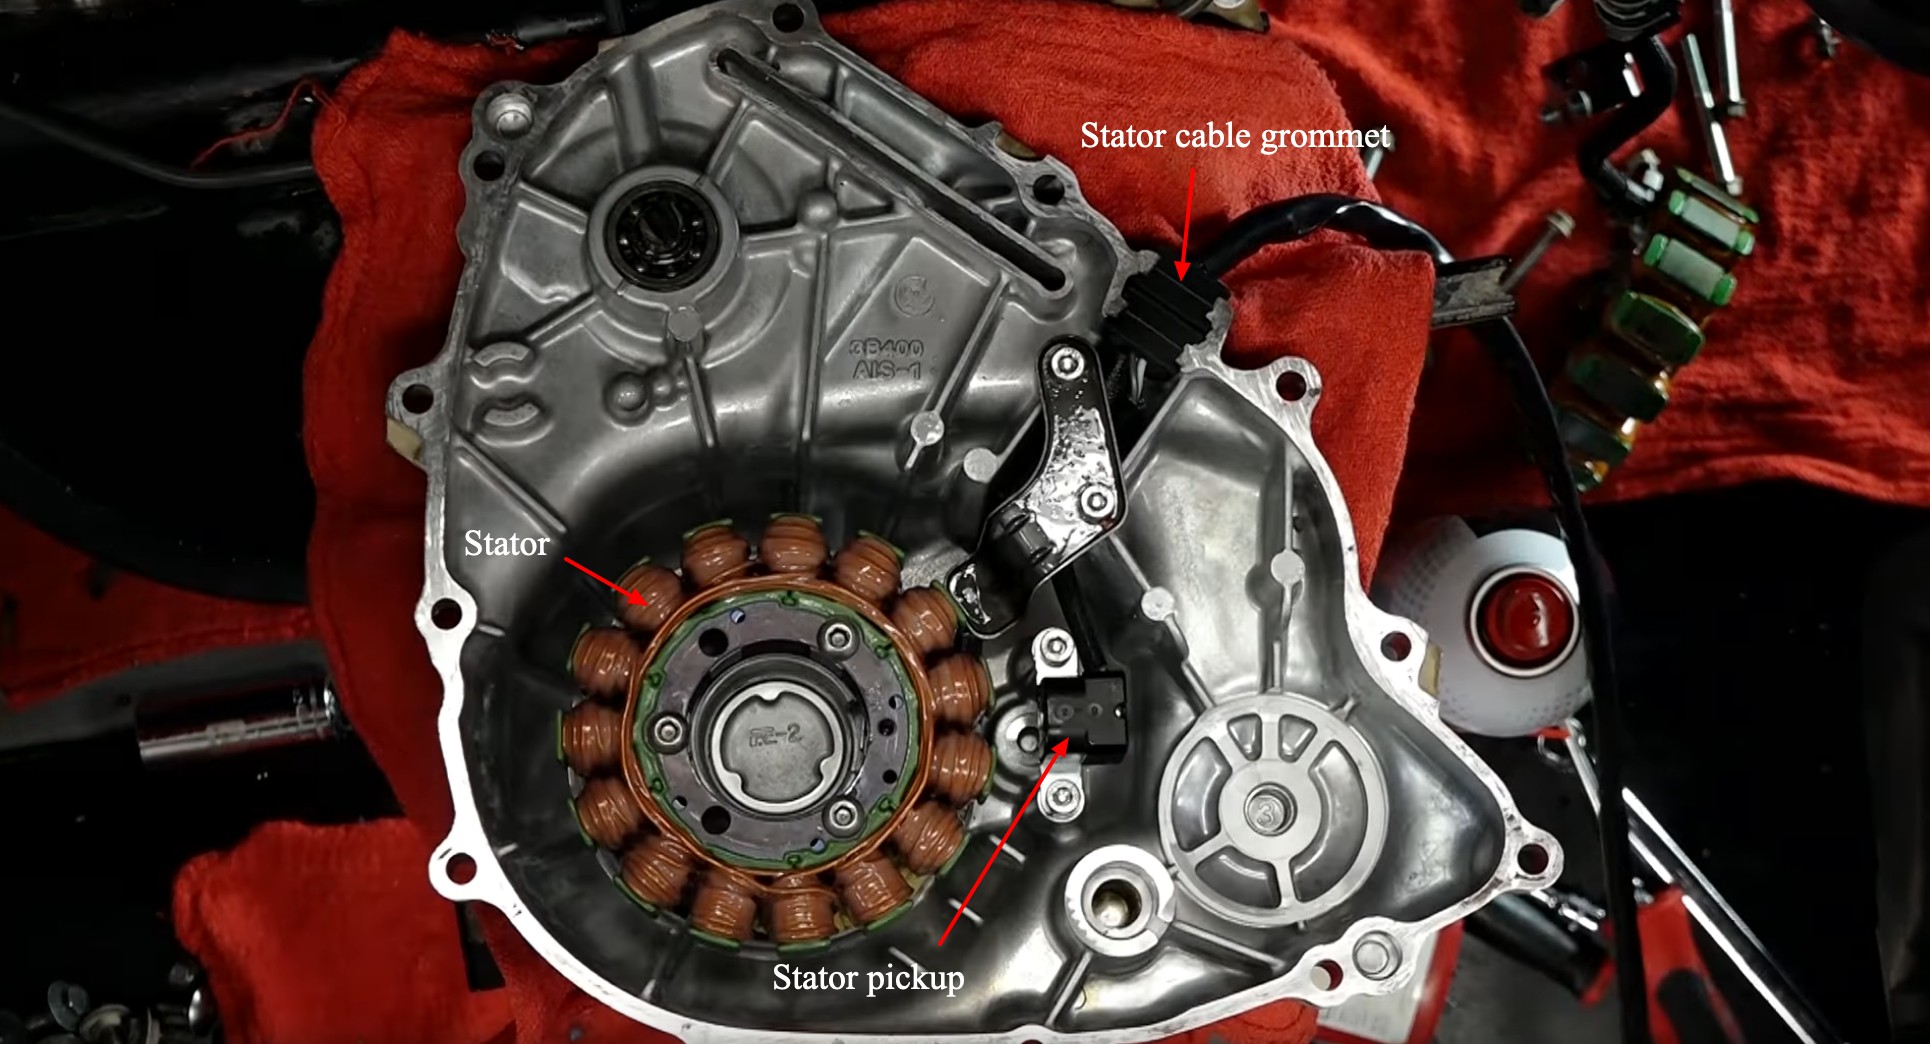
Step 10. Reinstall the stator pickup bolts and the cable bracket bolts, and apply blue threadlocker on them.
Step 11. Put gasket maker into the junction in the crankcase cover that holds the stator cable grommet, and install the cable and grommet.
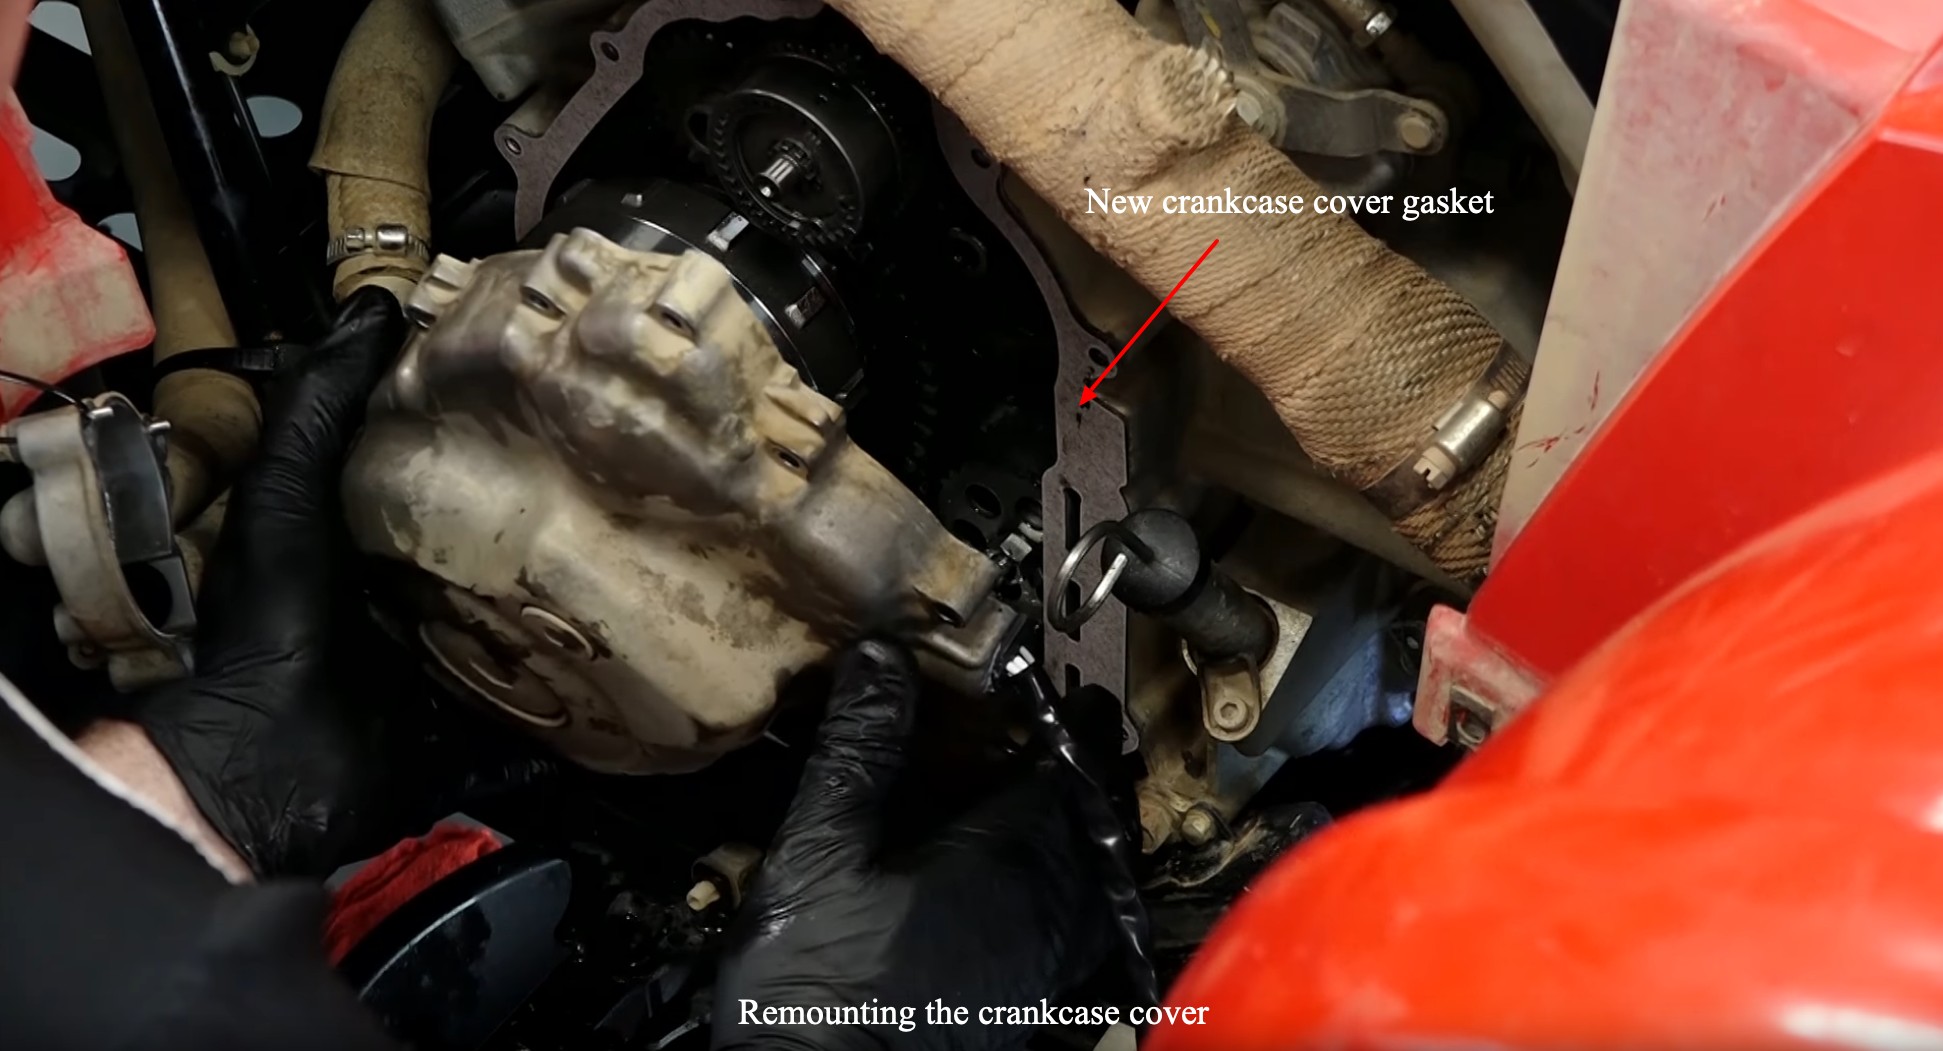
Step 12. Install a new crankcase cover gasket onto the engine. Make sure the dowels and gears are all in place, and remount the crankcase cover onto the engine.
NOTE: The magnet that sits around the stator coils will try and pull the crankcase cover back onto the engine, so be careful not to let your fingers get pinched as the cover jumps back into place.
Step 13. Reinstall the crankcase cover bolts and torque them to 5 foot-pounds, then reconnect the small drain hose at the bottom of the cover.
Step 14. Install a new water pump housing gasket, and remount the housing onto the engine.
Step 15. Remove the old stator cable, and run the new stator cable up to the regulator/rectifier assembly. Connect the new cable's stator coil pickup and regulator/rectifier connectors to their connectors on the wiring harness and regulator/rectifier assembly, respectively.
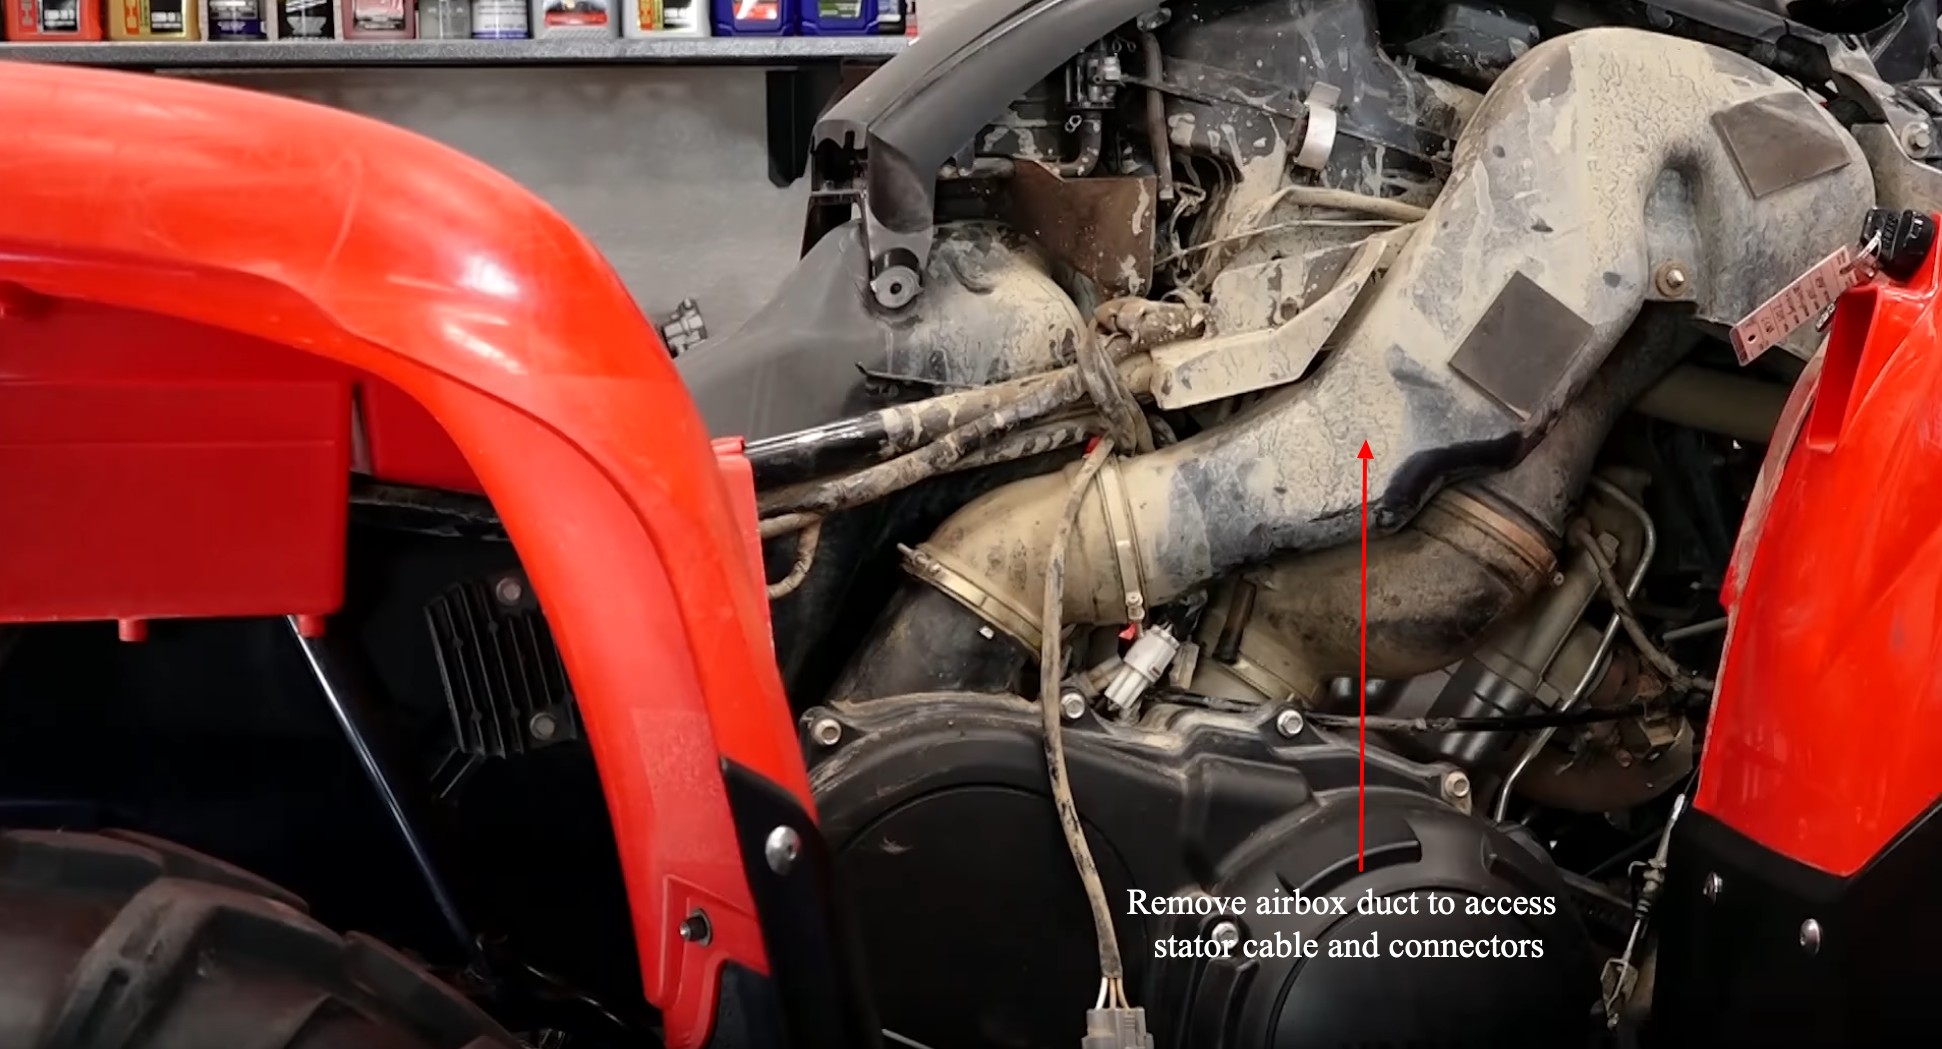
NOTE: You will probably have to remove the air intake ducting to access the cables and connectors.
Step 16. Refill the radiator with coolant, and the engine with oil.
Step 17. Reinstall the front cover and the front carrier.
Step 18. Reinstall the left side cover and the left footwell and you're done.
More Stator Testing
Need to know how to test a stator on more than just a Yamaha Grizzly? Watch the video below to learn how to test a stator for a motorcycle, ATV or UTV.
