How to Test Yamaha 700 Grizzly Regulator Rectifier
When your Yamaha Grizzly ATV isn't charging properly, the first thing to do is test the battery voltage. If the battery checks out, the next step is to test the regulator/rectifier.
The regulator/rectifier takes the AC current from the stator, converts it into DC current and sends that current to charge the battery. When a healthy battery isn't charging, it's often the regulator/rectifier that's at fault.
To test a regulator/rectifier, you'll need a multimeter. If you don't already own a digital multimeter, we highly recommend buying one. A digital multimeter is an invaluable tool you can use on your ATV, as well as on your other vehicles and around your home.
Tools and Parts - Yamaha Grizzly YFM700 Regulator-Rectifier Test
- Ratchet and 10mm socket
- Multimeter
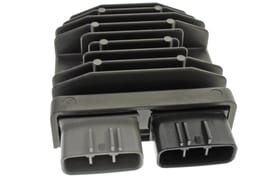
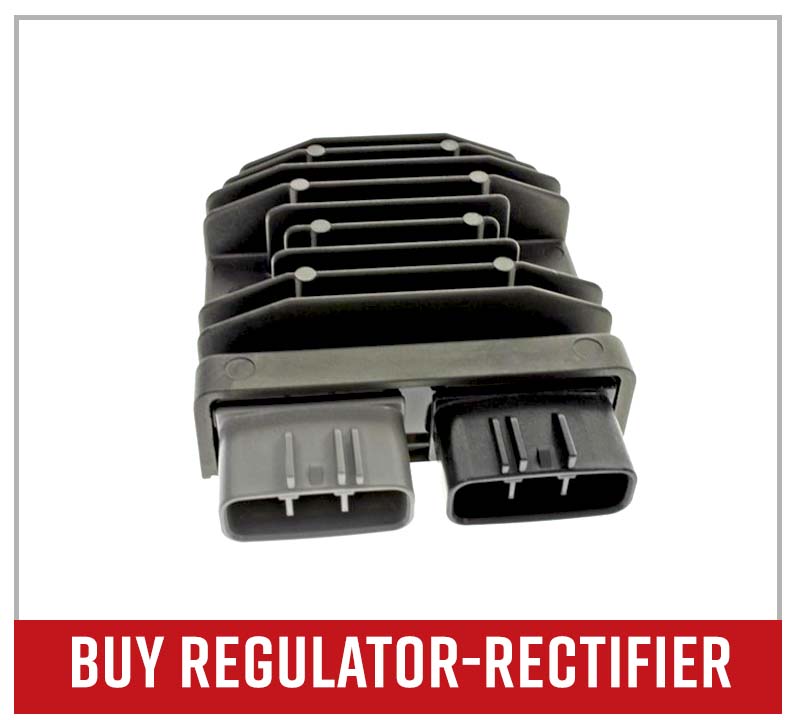
- Regulator/rectifier
- Dielectric grease

NOTE: Before testing your Grizzly's regulator/rectifier, always perform a voltage test on the battery first to check that it's in good condition.
Removing a Yamaha Grizzly YFM700 Regulator/Rectifier
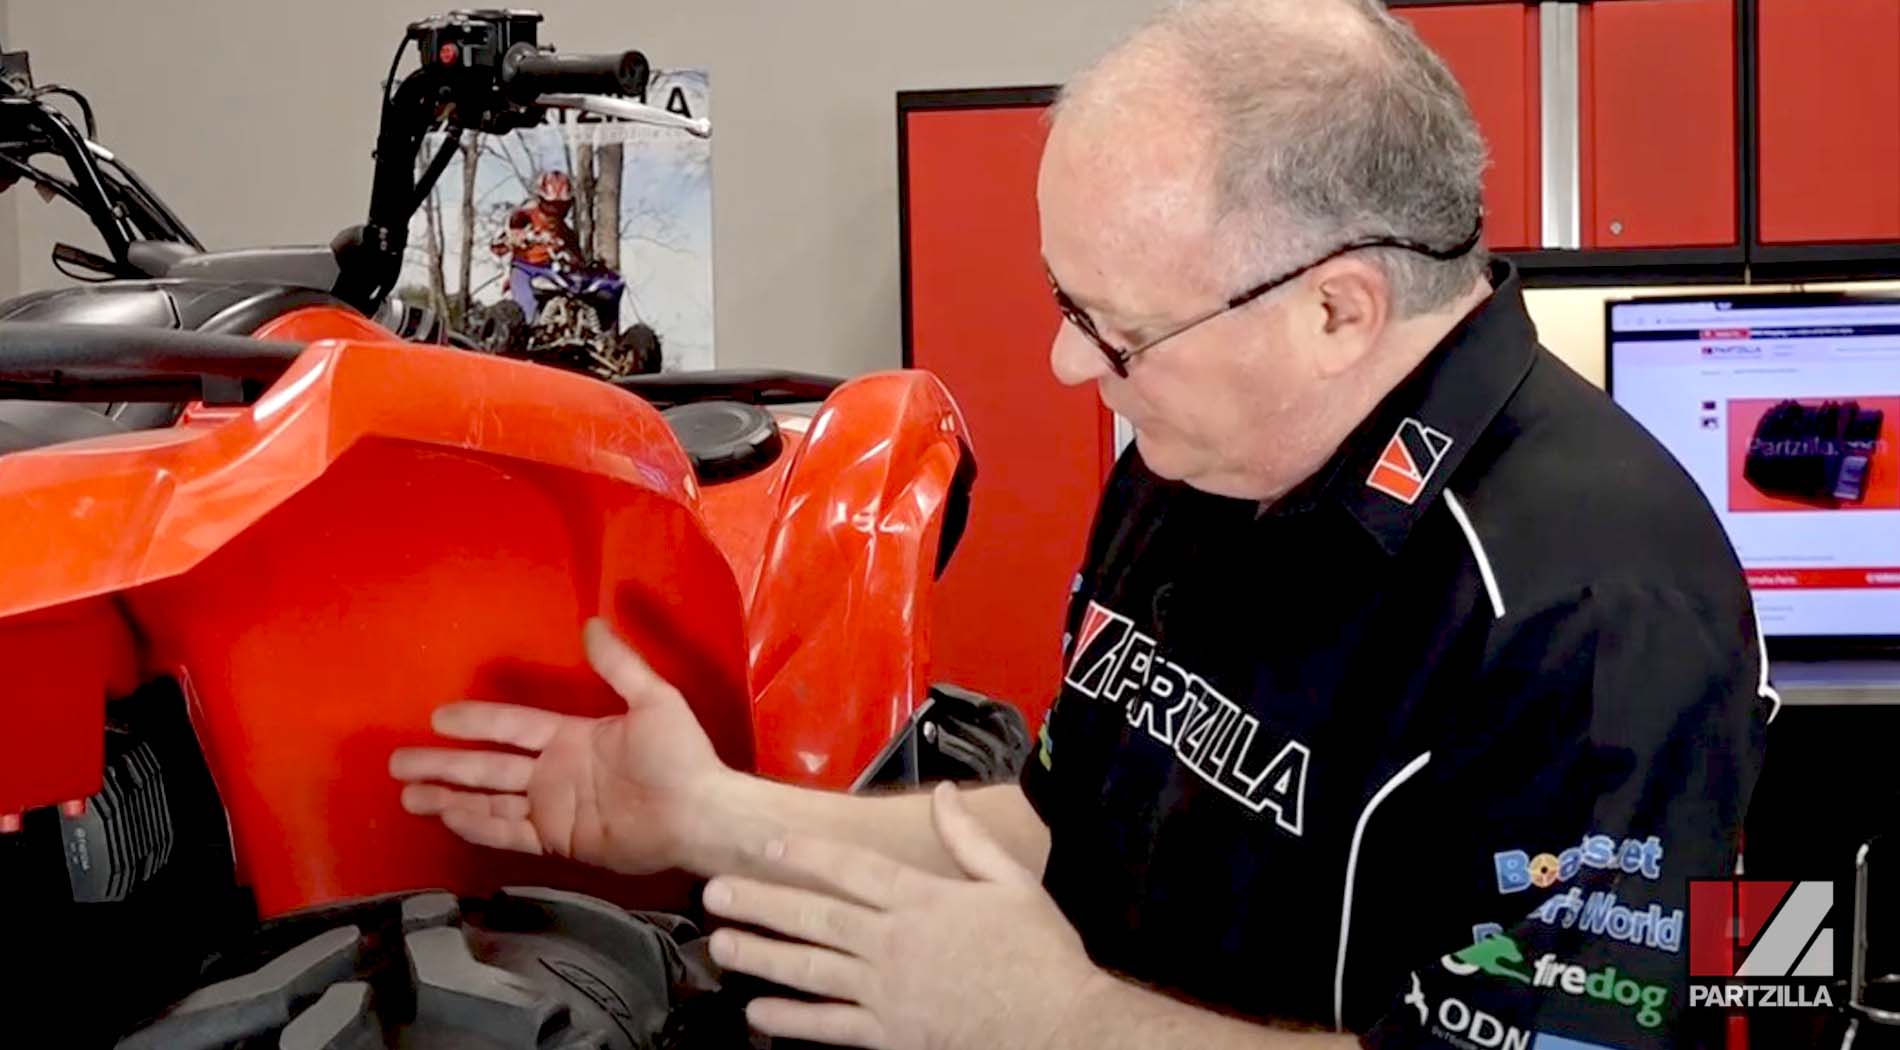
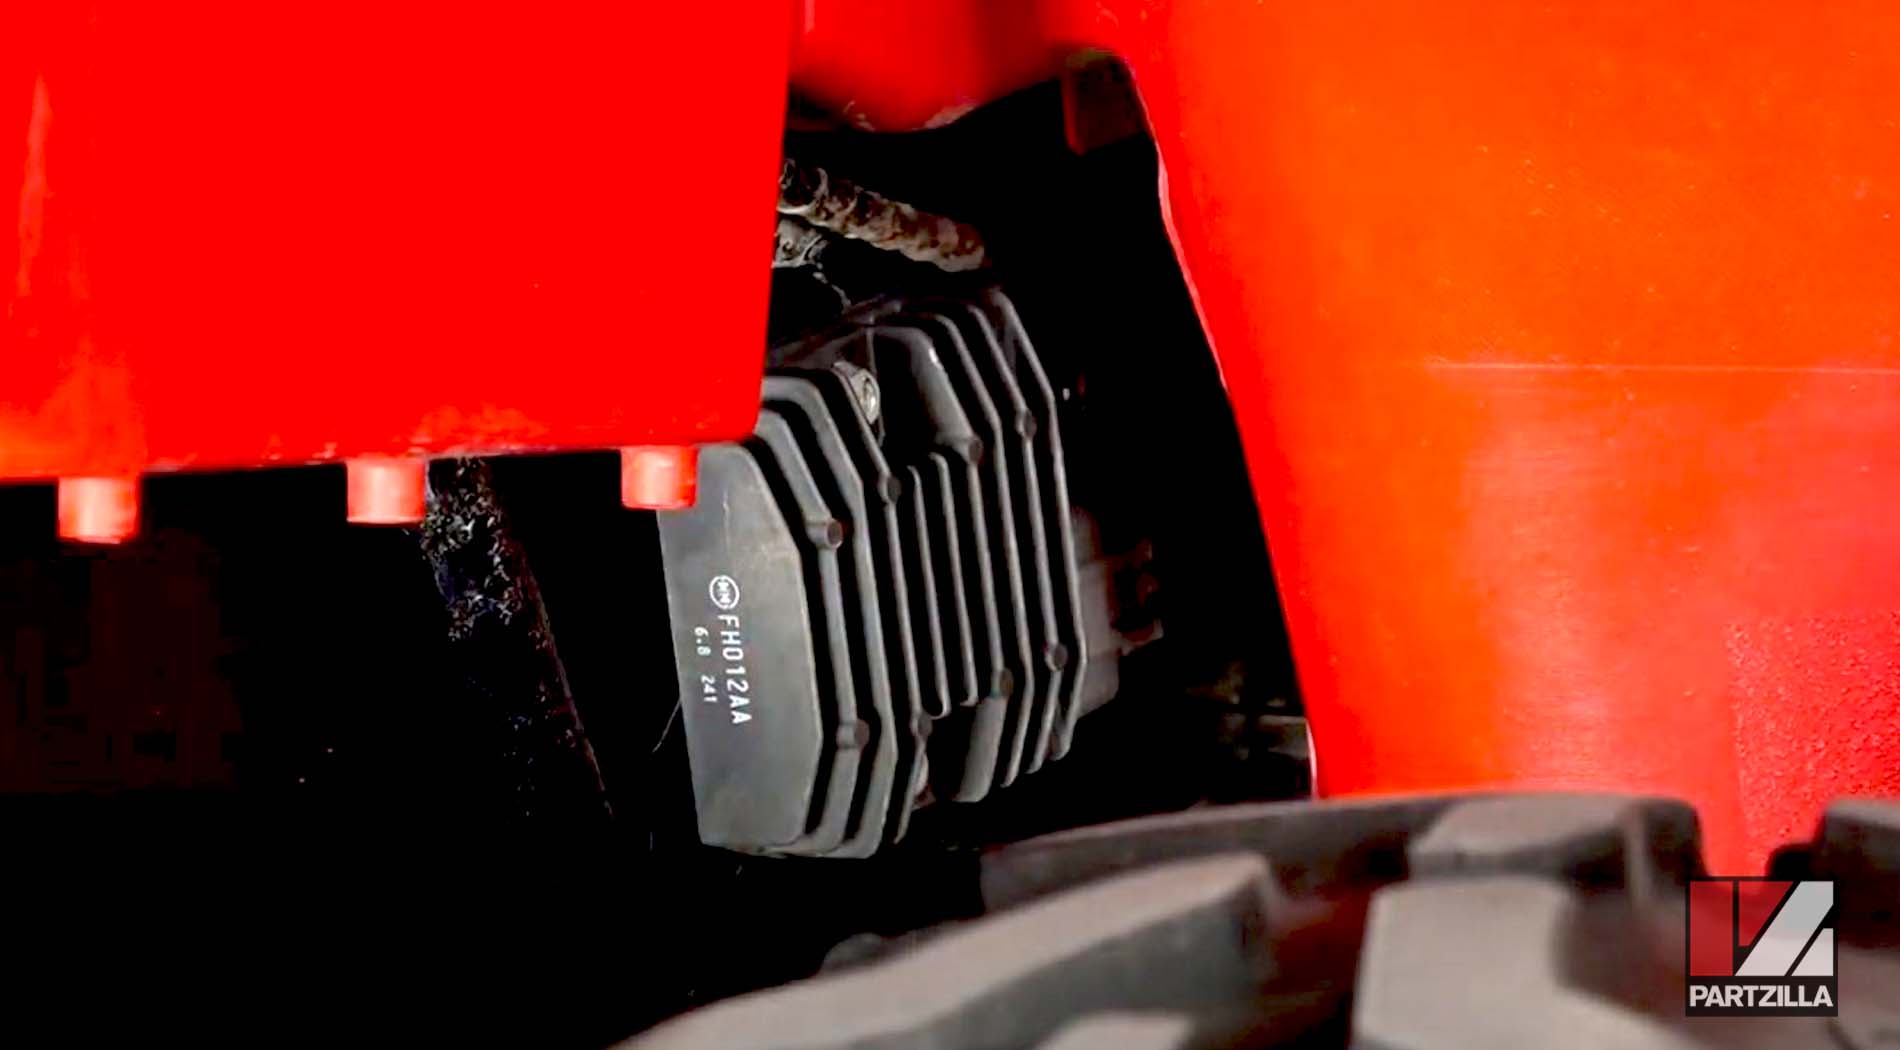
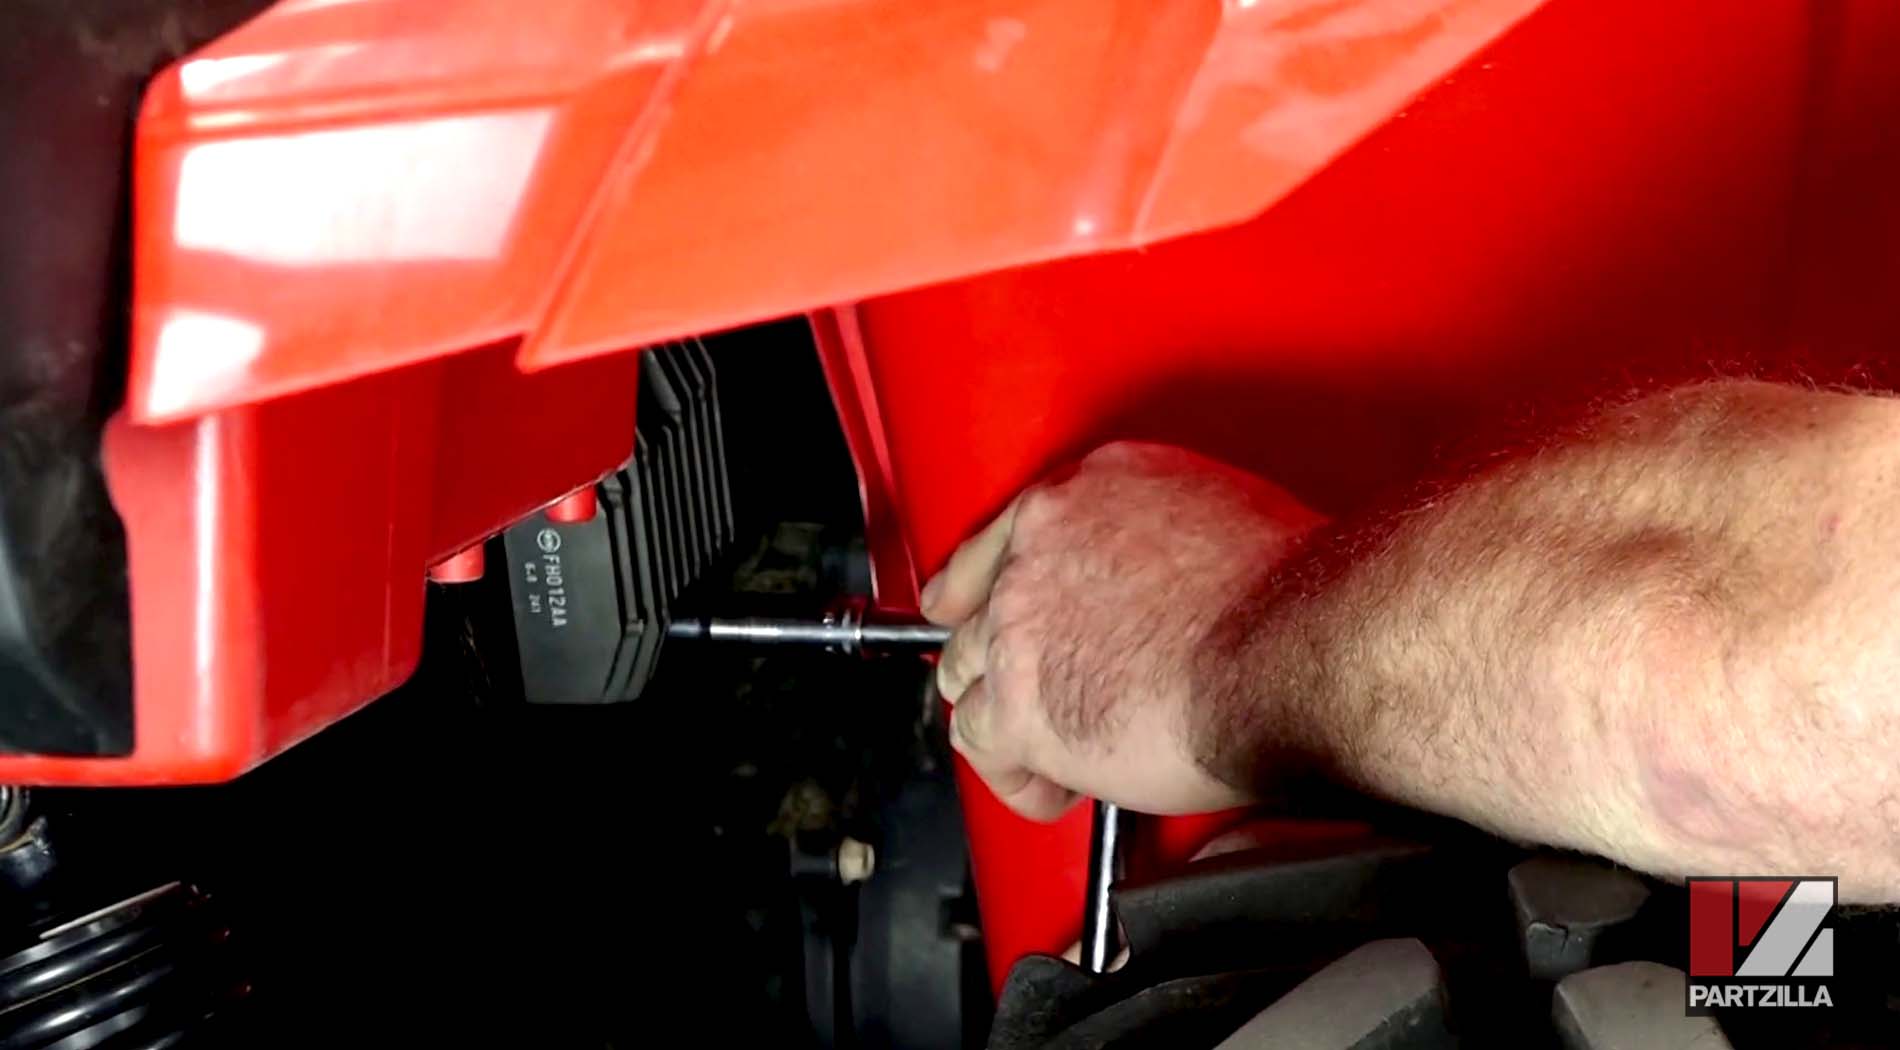
Step 1. Remove the regulator/rectifier assembly. The regulator/rectifier is located under the right rear fender, mounted against the chassis. It's held in place by two 10mm bolts and two electrical connectors.
Testing a Yamaha Grizzly YFM700 Regulator/Rectifier
The regulator/rectifier contains a number of diodes, which are essentially switches that allow current to flow in one direction and prevent it from flowing back in the other direction. The diodes in the regulator/rectifier allow current to flow into it from the stator, and current to flow out of it to the battery. If one or more of the diodes fails, the current will not flow correctly and the battery won't charge. To determine that the regulator/rectifier is working properly, it's necessary to test each of its diodes.
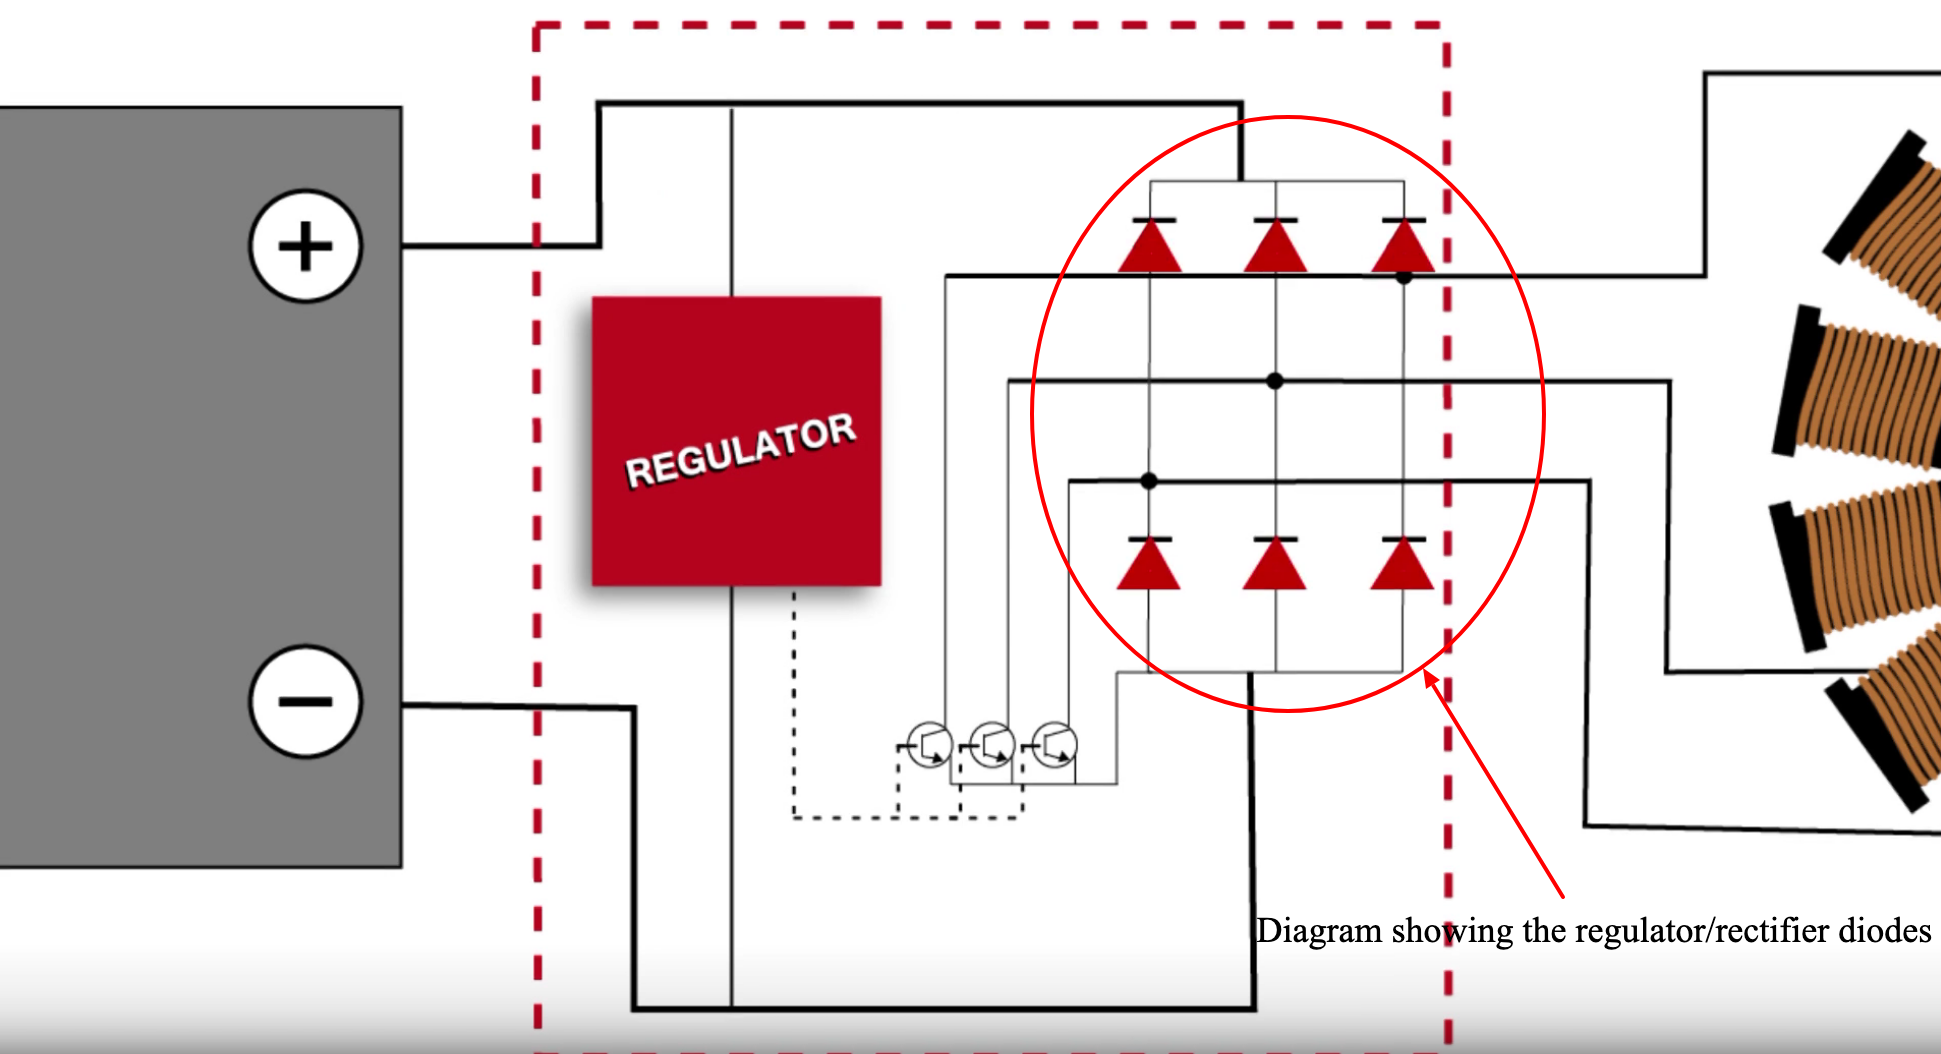
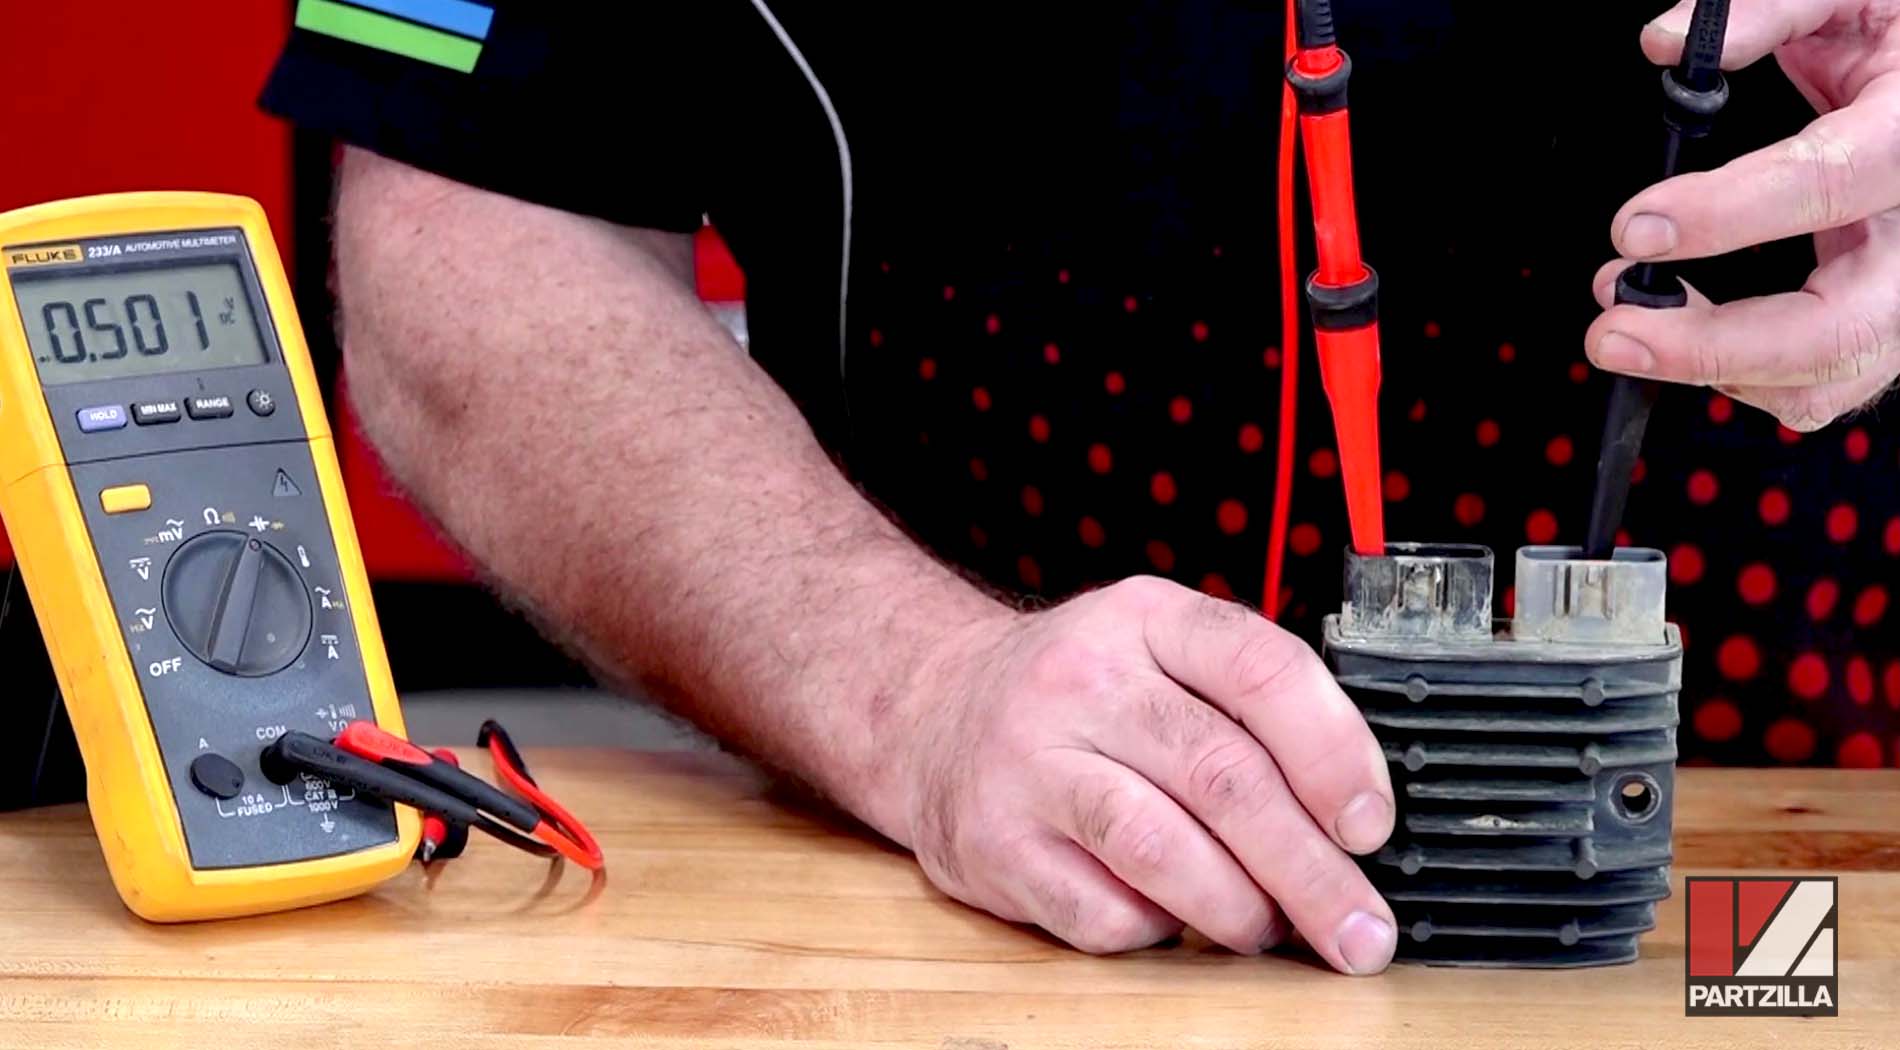
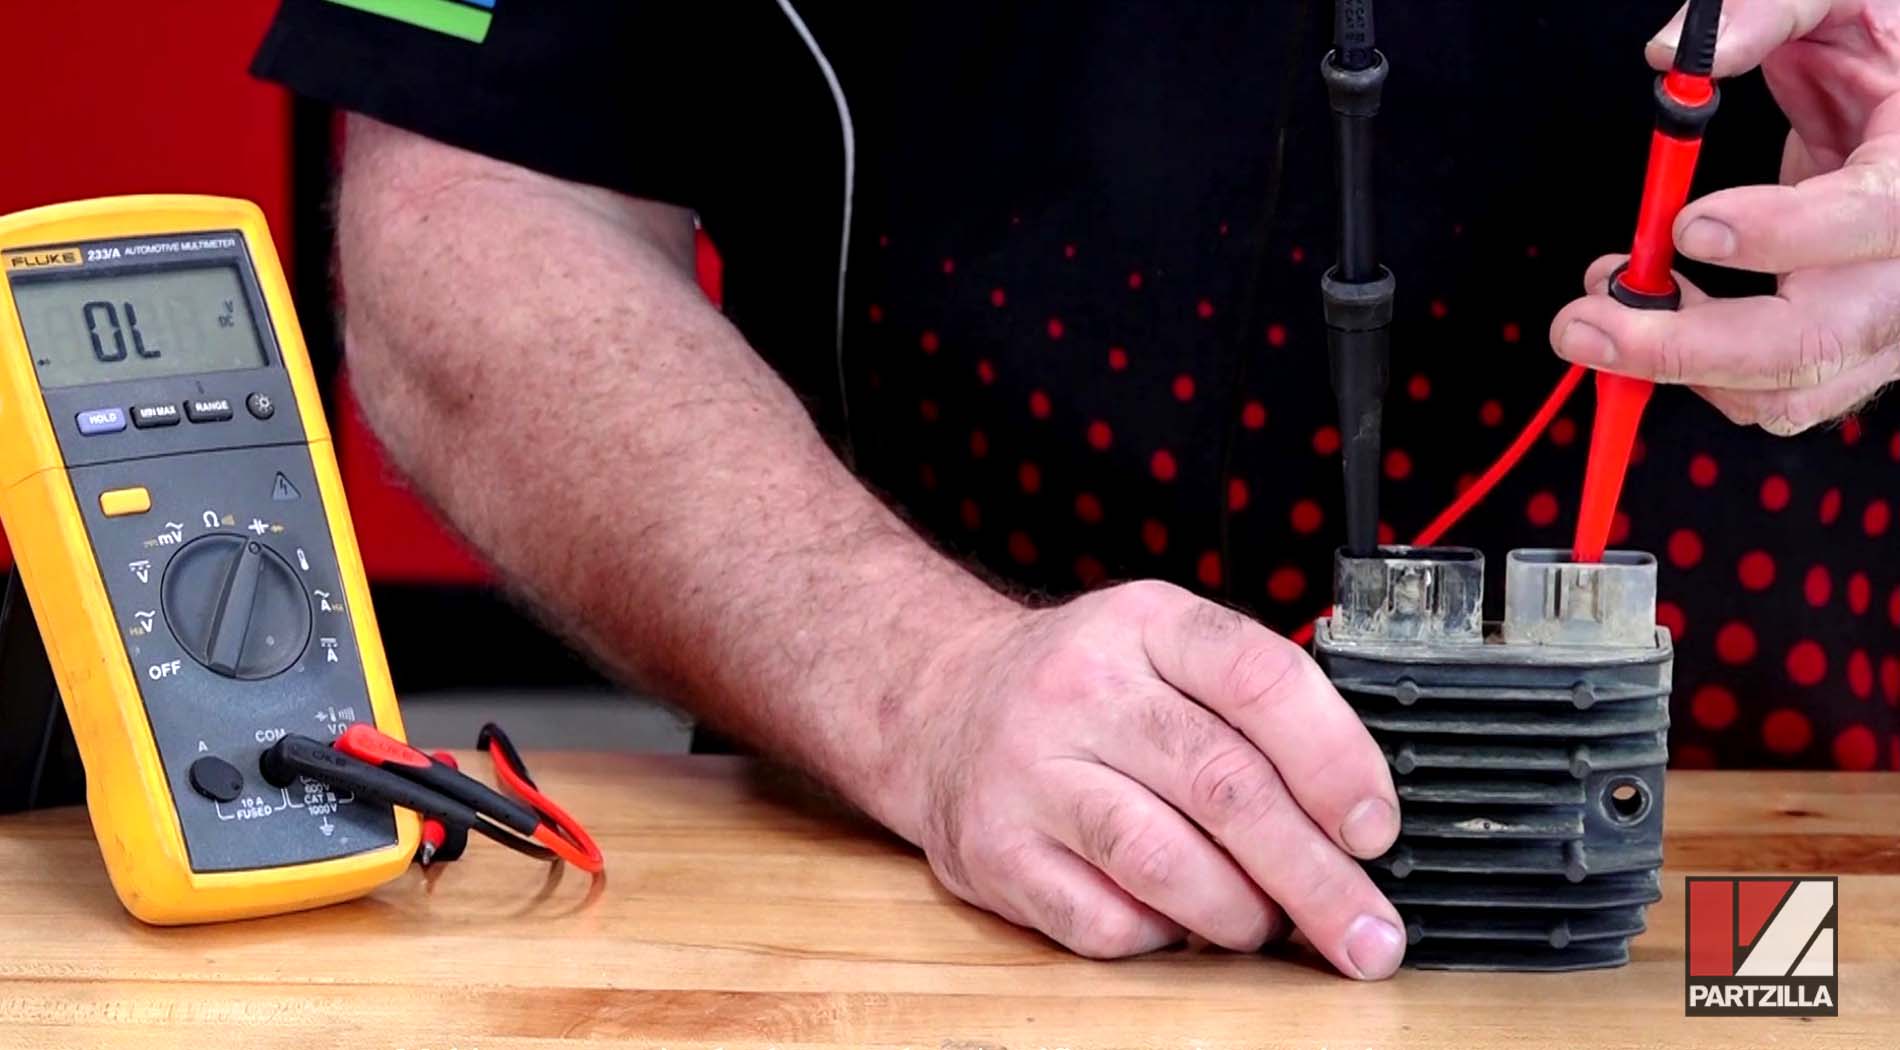
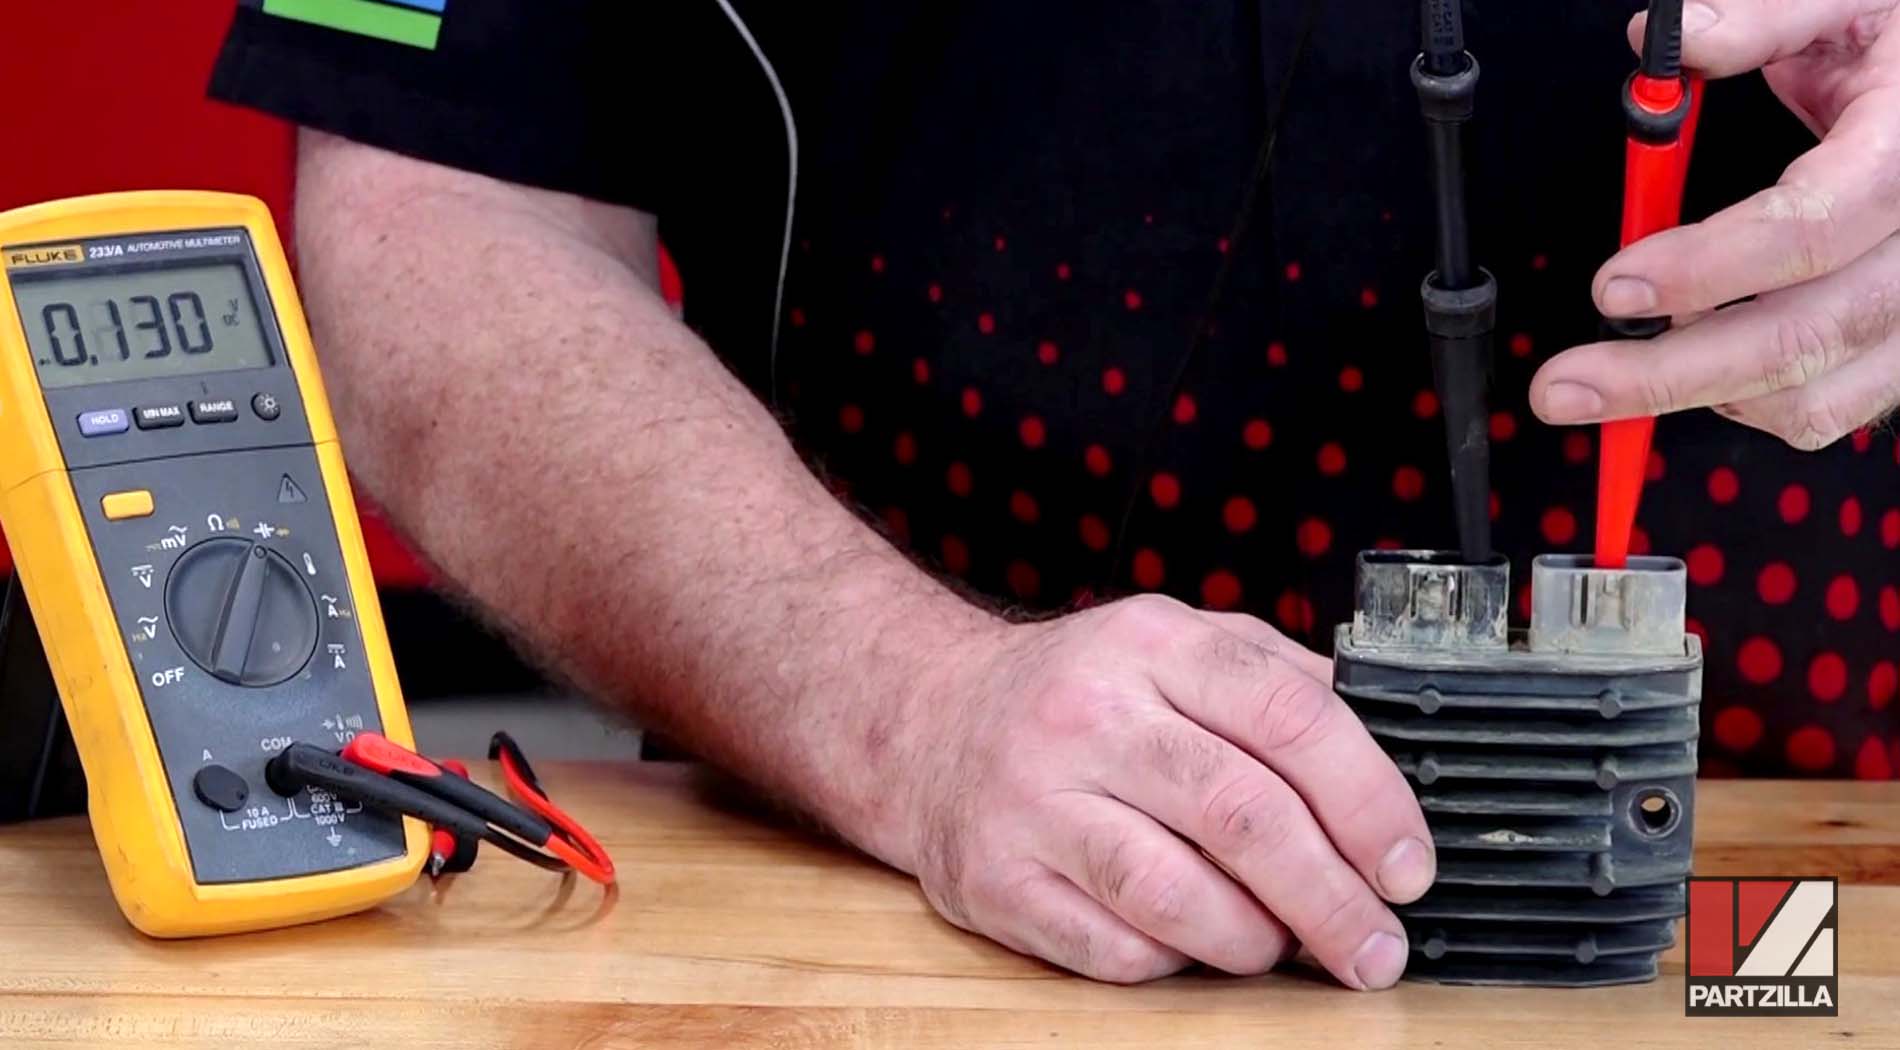
There are two connectors on the regulator/rectifier. The gray three-terminal connector receives power from the stator, and the black two-terminal connector sends power to the battery. The inner terminal on the two-terminal connector is the positive, and the outer terminal is the negative.
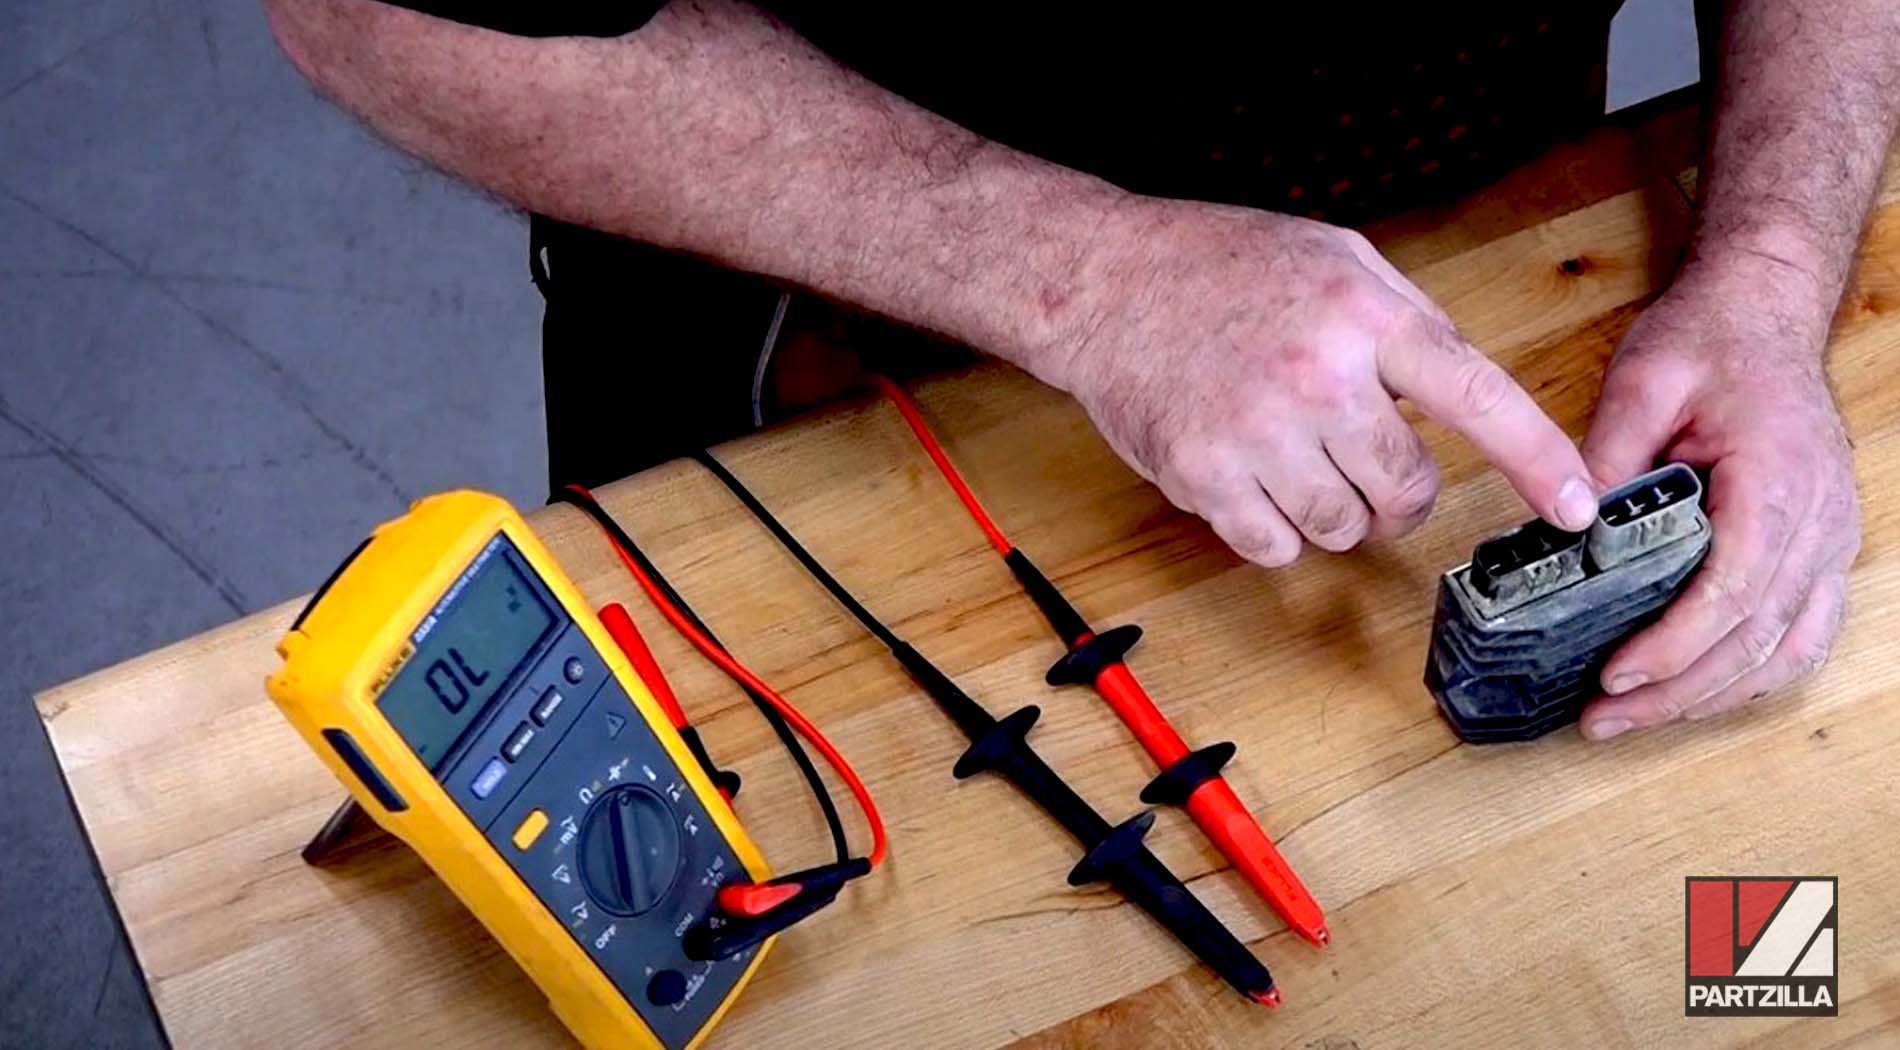
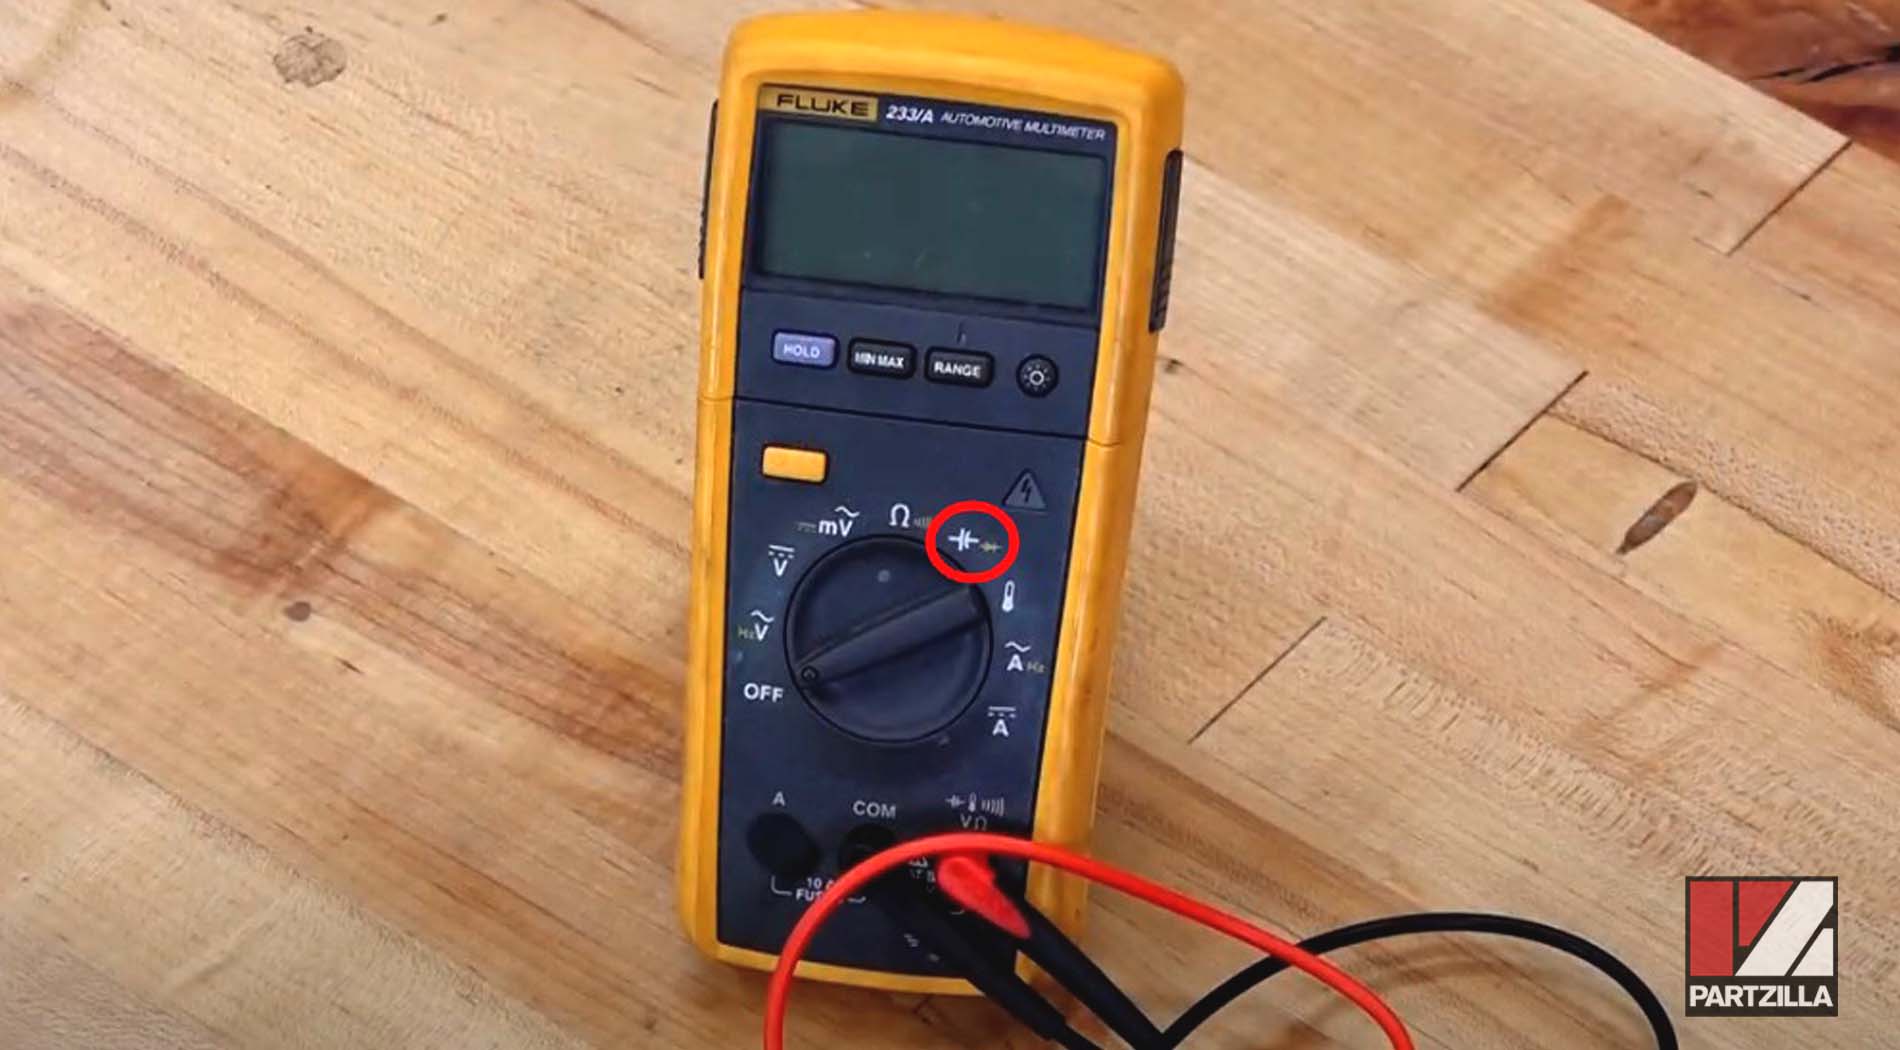
NOTE: Set your multimeter to the diode setting before testing the regulator/rectifier.
Step 1. Put the multimeter's positive lead on the negative terminal of the regulator/rectifier's two-terminal connector. Next, put the multimeter's negative lead on all three terminals of the three-terminal connector individually. The reading on the multimeter should show about 0.5 volts for each of the three terminals. This is known as forward bias, which indicates the regulator/rectifier is sending current correctly.
Step 2. Put the multimeter's negative lead on the negative terminal of the regulator/rectifier's two-terminal connector. Next, put the multimeter's positive lead on all three terminals of the three-terminal connector individually. The reading on the multimeter should show "OL" for each of the three terminals. This means the circuits are an open loop and that they haven't shorted or grounded, which indicates the regulator/rectifier is blocking current correctly.
Step 3. Put the multimeter's negative lead on the positive terminal of the regulator/rectifier's two-terminal connector. Next, put the multimeter's positive lead on all three terminals of the three-terminal connector individually. The reading on the multimeter should show about 0.13 volts for each of the three terminals. This is known as forward bias, which indicates that the regulator/rectifier is sending current correctly. The difference in forward bias reading between the negative terminal test and the positive terminal test (0.5 volts vs. 0.13 volts) is due to the internal circuitry of the regulator/rectifier.
Step 4. Put the multimeter's negative lead on the positive terminal of the regulator/rectifier's two-terminal connector. Next, put the multimeter's positive lead on all three terminals of the three-terminal connector individually. The reading on the multimeter should again show "OL" for each of the three terminals, indicating open loop circuits with no shorts or grounds.
Provided each of the regulator/rectifier diodes show some degree of forward bias and each circuit is open (no shorts or grounds), then the regulator/rectifier is working correctly and can be reinstalled onto the Grizzly. If you detect a short, or any of the diodes fail to show forward bias, the regulator/rectifier is faulty and must be replaced with a new Yamaha regulator/rectifier.
Replacing a Yamaha Grizzly YFM700 Regulator/Rectifier
Step 1. Apply dielectric grease to both the two-terminal and three-terminal connectors on the regulator/rectifier. Dielectric grease improves the electrical connectivity at the terminals, and will also help protect against water and dirt.

Step 2. Remount the regulator/rectifier to the chassis with the two 10mm bolts, and reconnect the two electrical connectors.
If you've tested or replaced the regulator/rectifier on your Grizzly and checked that the battery is healthy but the system still isn't charging, the problem could be the stator. Watch the video below to see how to test an ATV/UTV/motorcycle stator.