Suzuki GSX-R1000 Fuel Pump Repair
A problem with the fuel pump on a Suzuki GSX-R1000 doesn't mean changing out the entire unit. Save some money by repairing the fuel pump yourself with some basic tools and a few replacement parts.
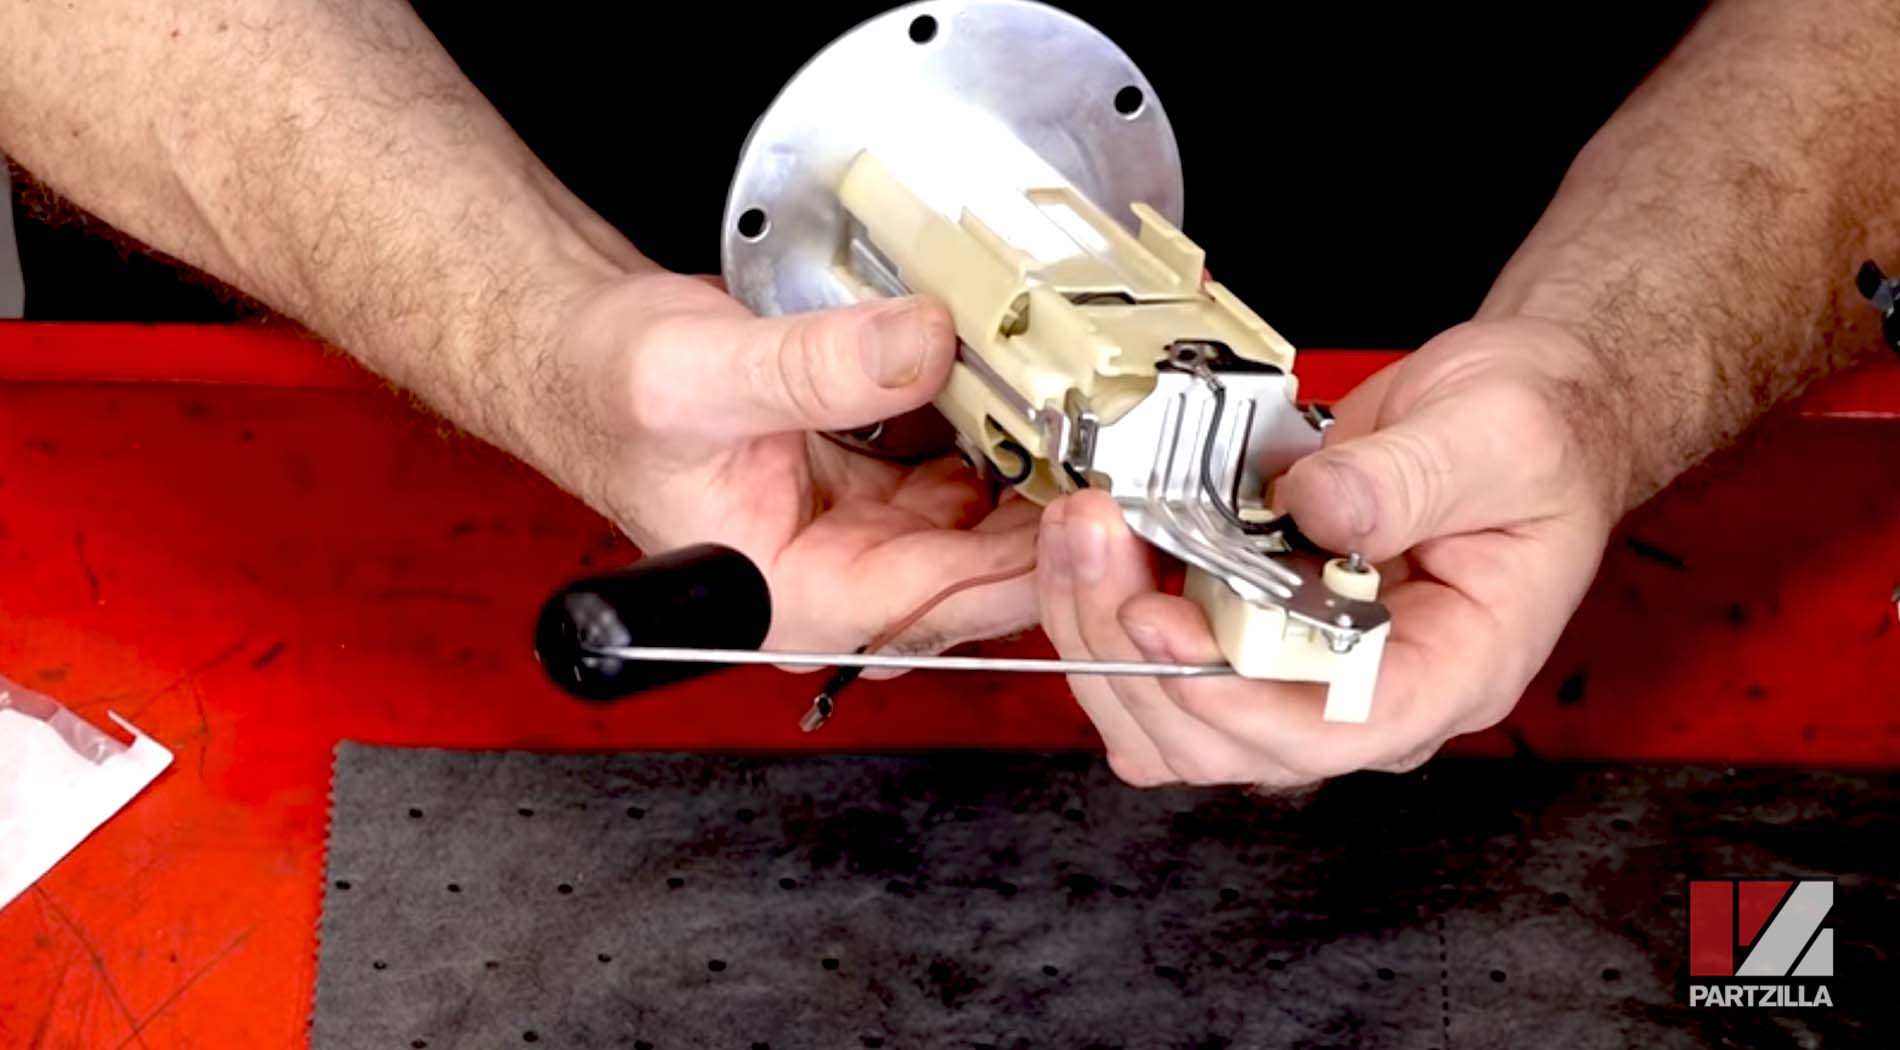
Watch the video above and follow the steps below to learn how to repair a Suzuki GSX-R1000 fuel pump.
Tools and Parts - Suzuki GSX-R1000 Fuel Pump Repair
- Philips screwdriver
- Flathead screwdriver
- Pick tool
- 3/8th ratchet and extension bar
- 5mm Allen
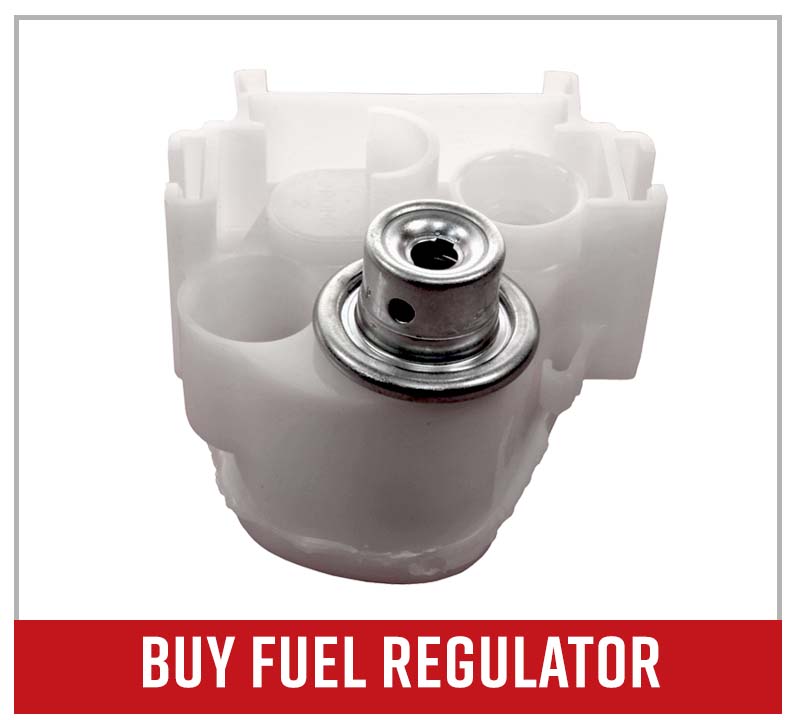
- Fuel regulator
- Fuel strainer
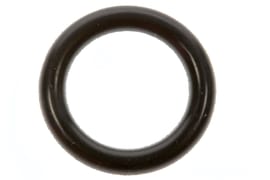
- O-ring
Repairing a Suzuki GSX-R1000 Fuel Pump
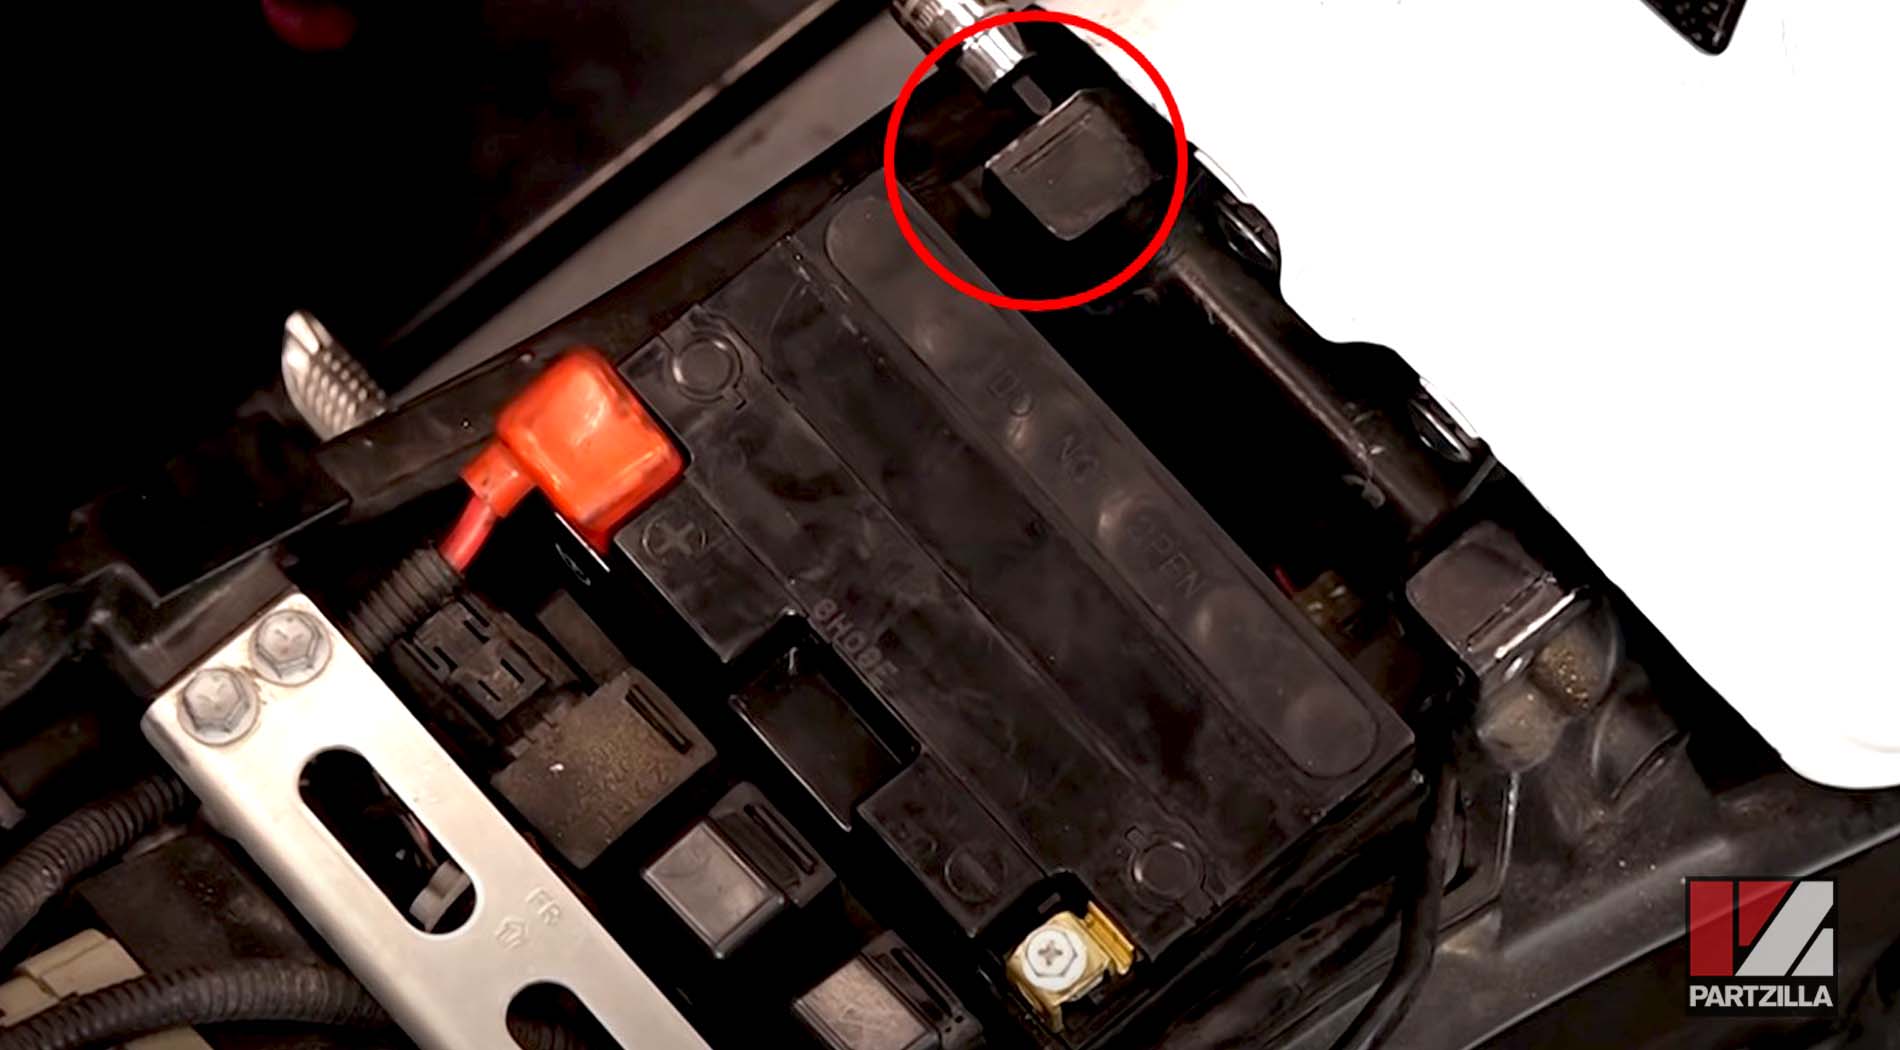
Step 1. Remove the seat, and disconnect the negative cable from the negative terminal of the battery.
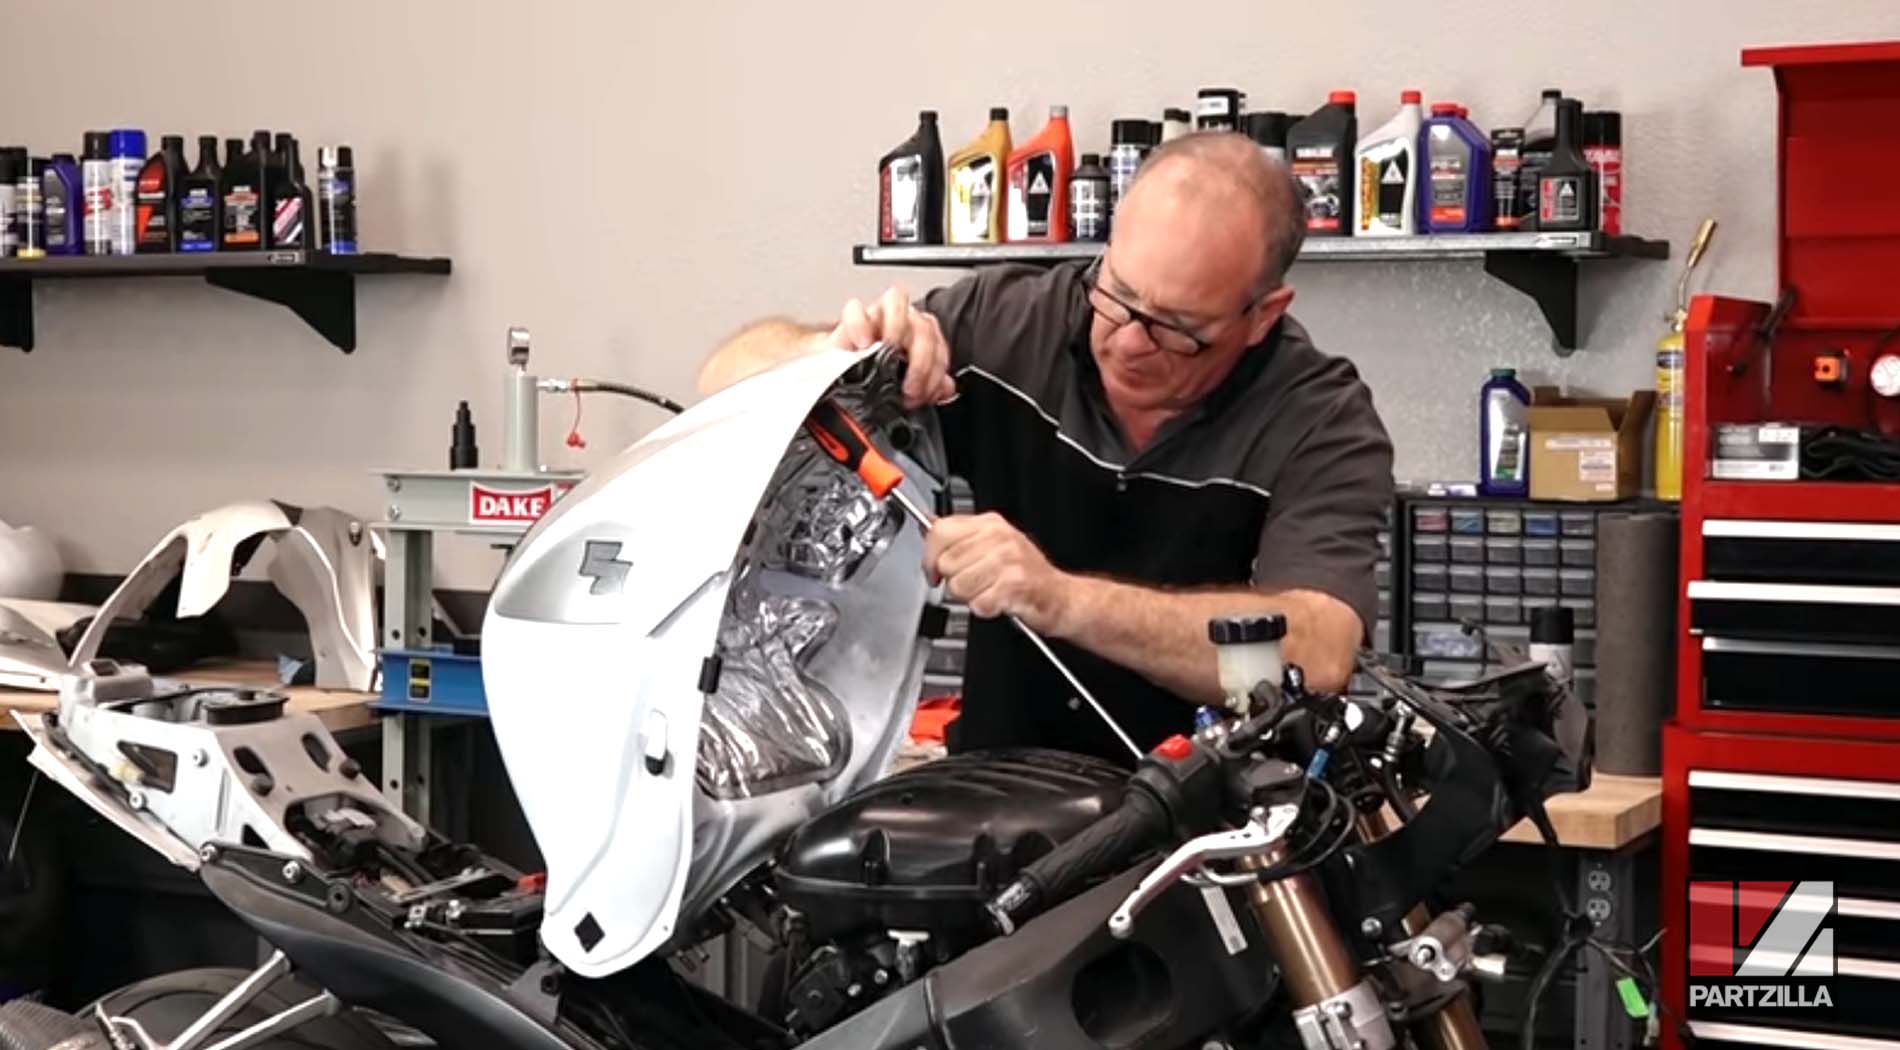
Step 2. Remove the gas tank mounting bolt at the front of the tank, then pivot the tank upward and prop it in place with a screwdriver (or something similar).
Step 3. Unclip the electrical connector, fuel line and twin breather pipes from the underside of the tank.

Step 4. Remove the retaining bolt located at the rear of the tank and the aluminum spacer housed within the pivot tube. Then, remove the gas tank.
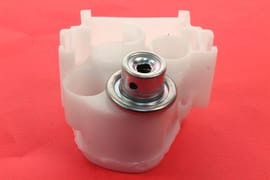
Step 5. Remove the 5mm Allen bolts, and lift out the fuel pump assembly.

Step 6. Remove the fuel gauge/level assembly from the top of the fuel pump assembly.
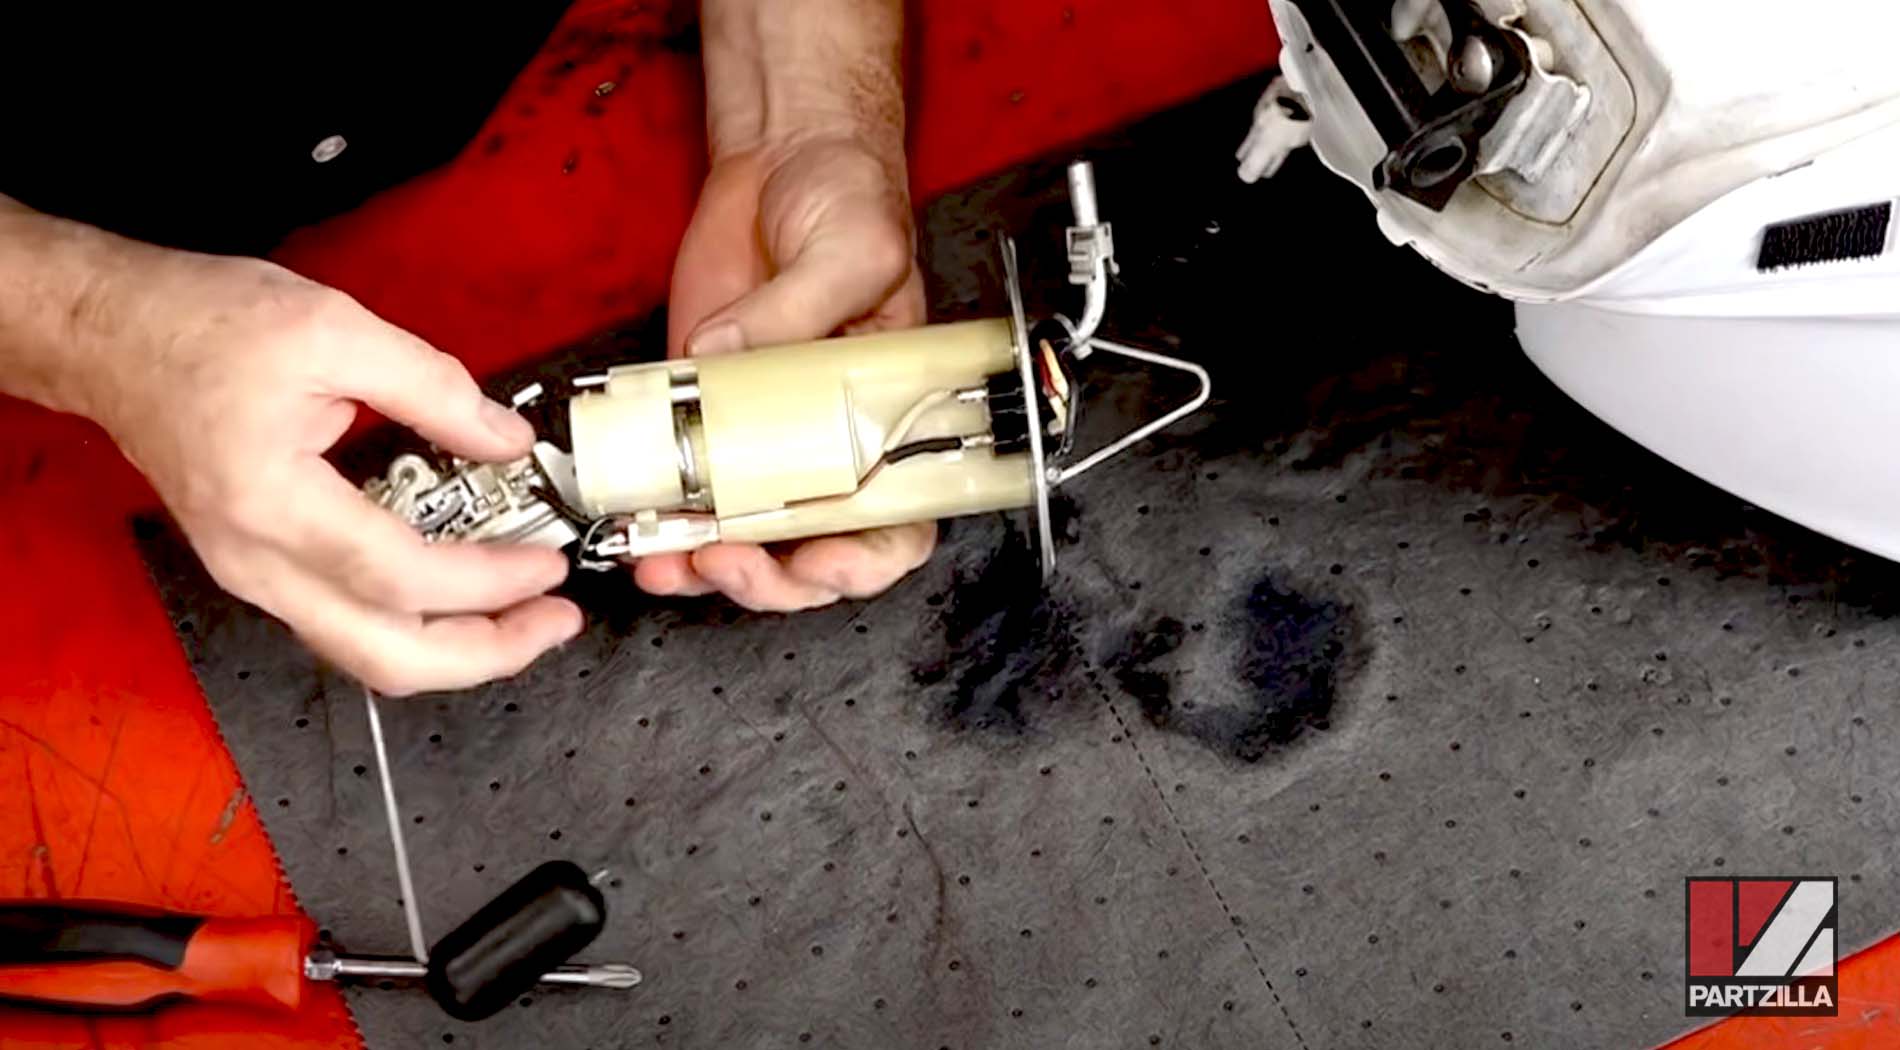
Step 7. Push the fuel pump assembly away from the mounting plate, and slide the assembly up and off the plate.
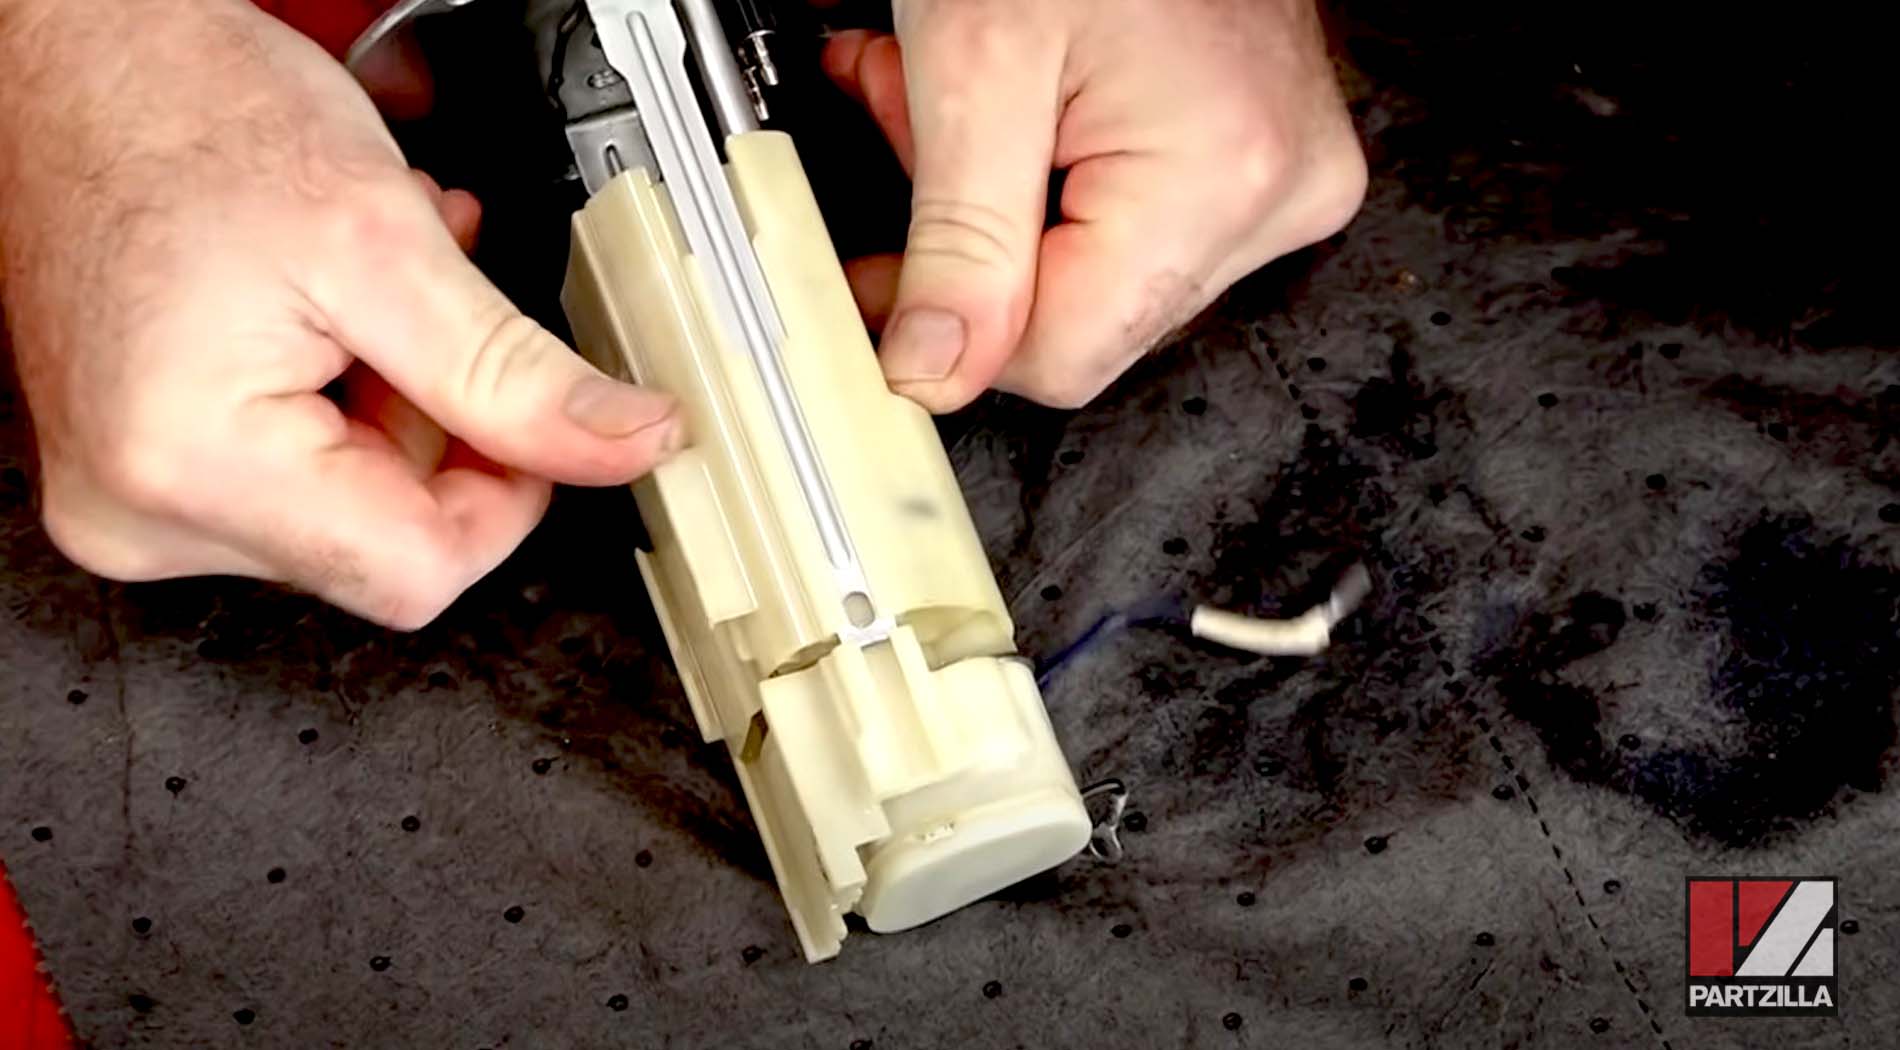
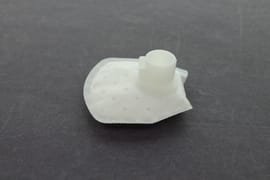
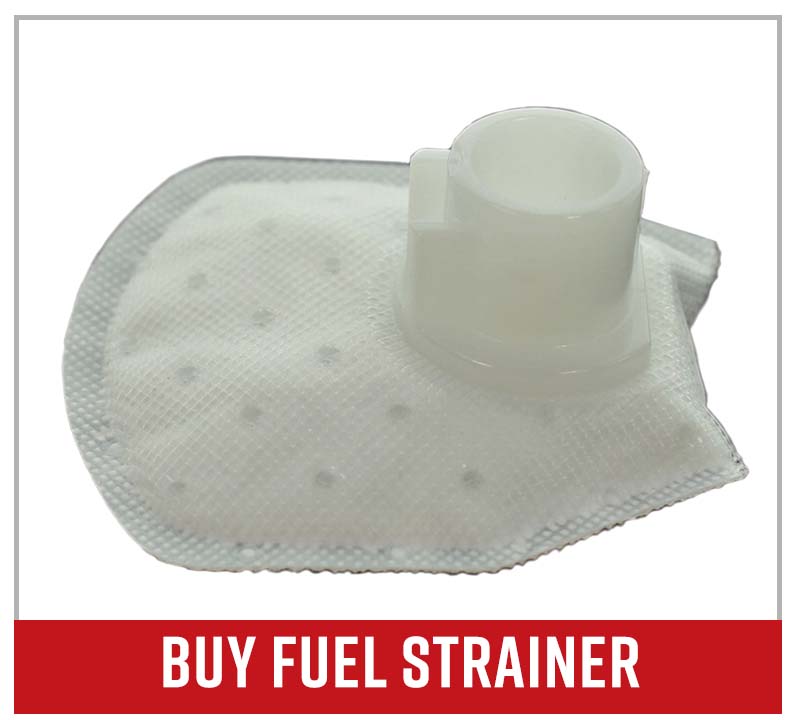
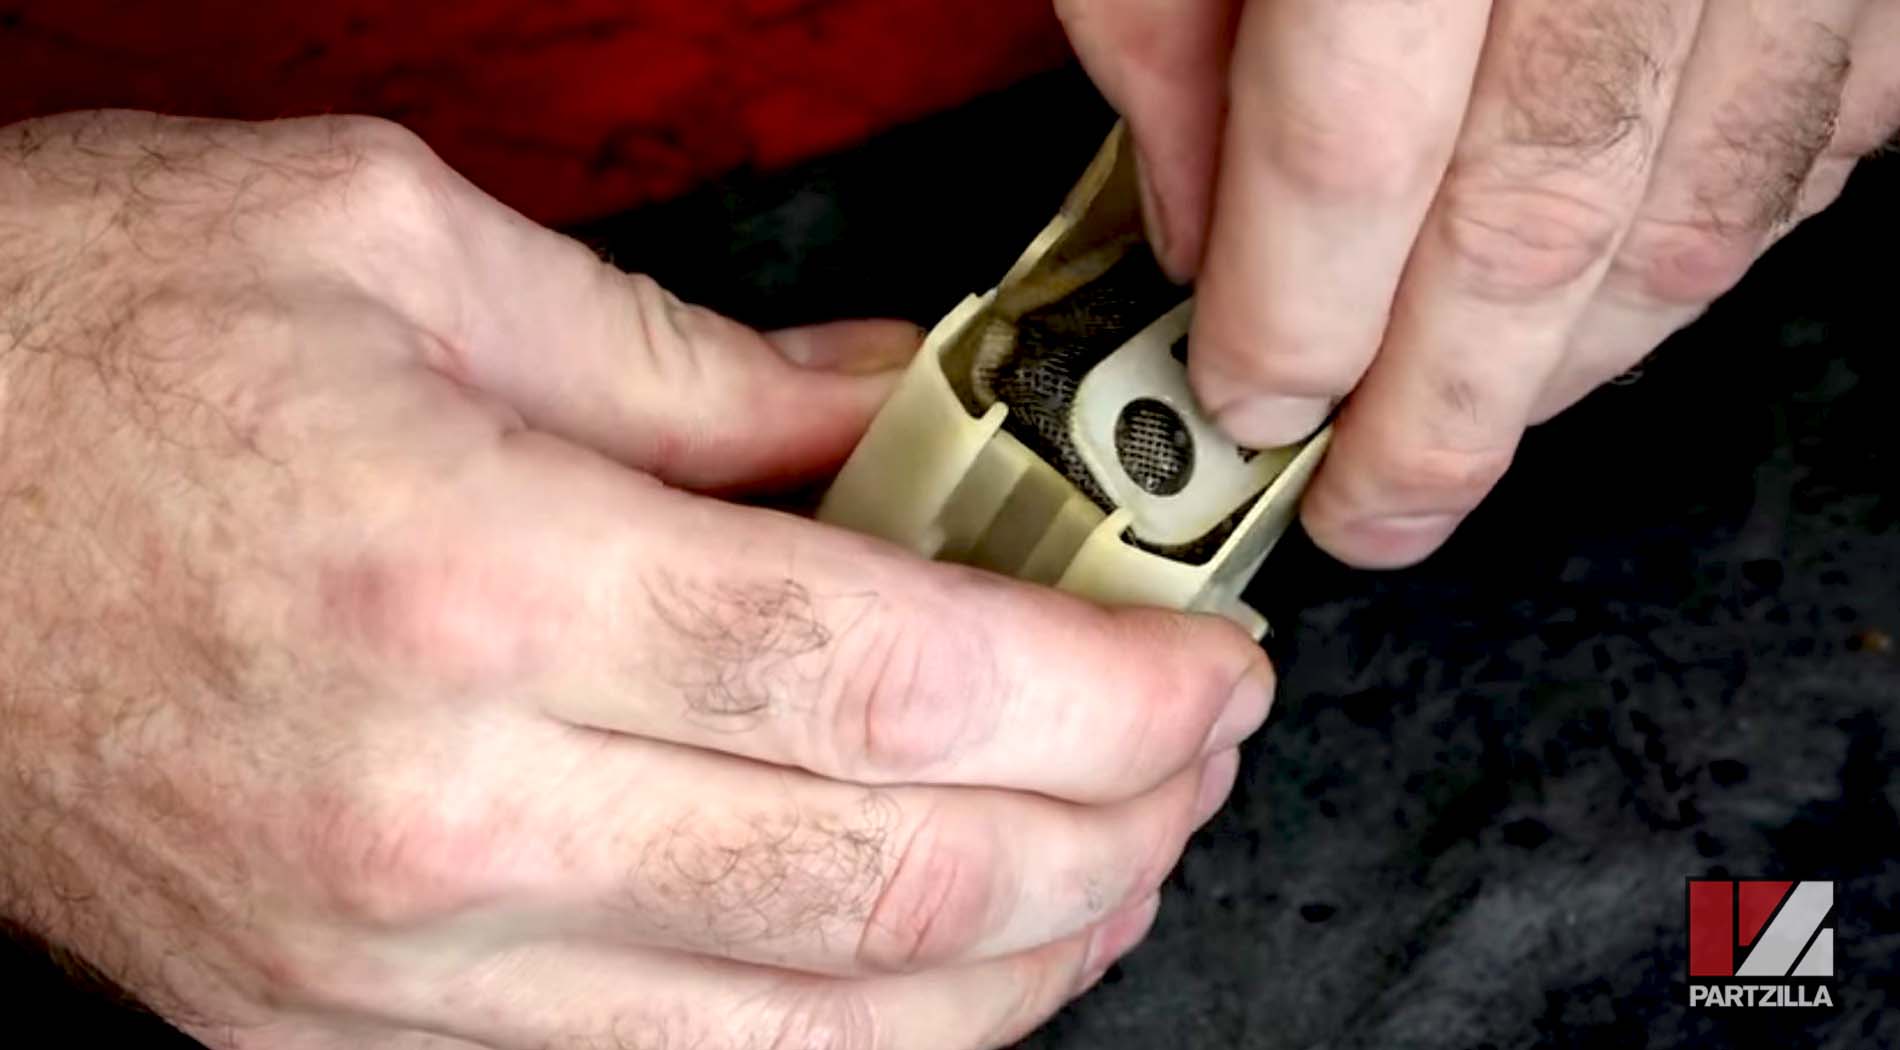
Step 8. Slide the fuel strainer/filter out from the bottom of the fuel pump assembly housing, and pull the regulator and fuel pump from the top of the housing.
Step 9. Pull the regulator from the fuel pump and replace it with a new one.
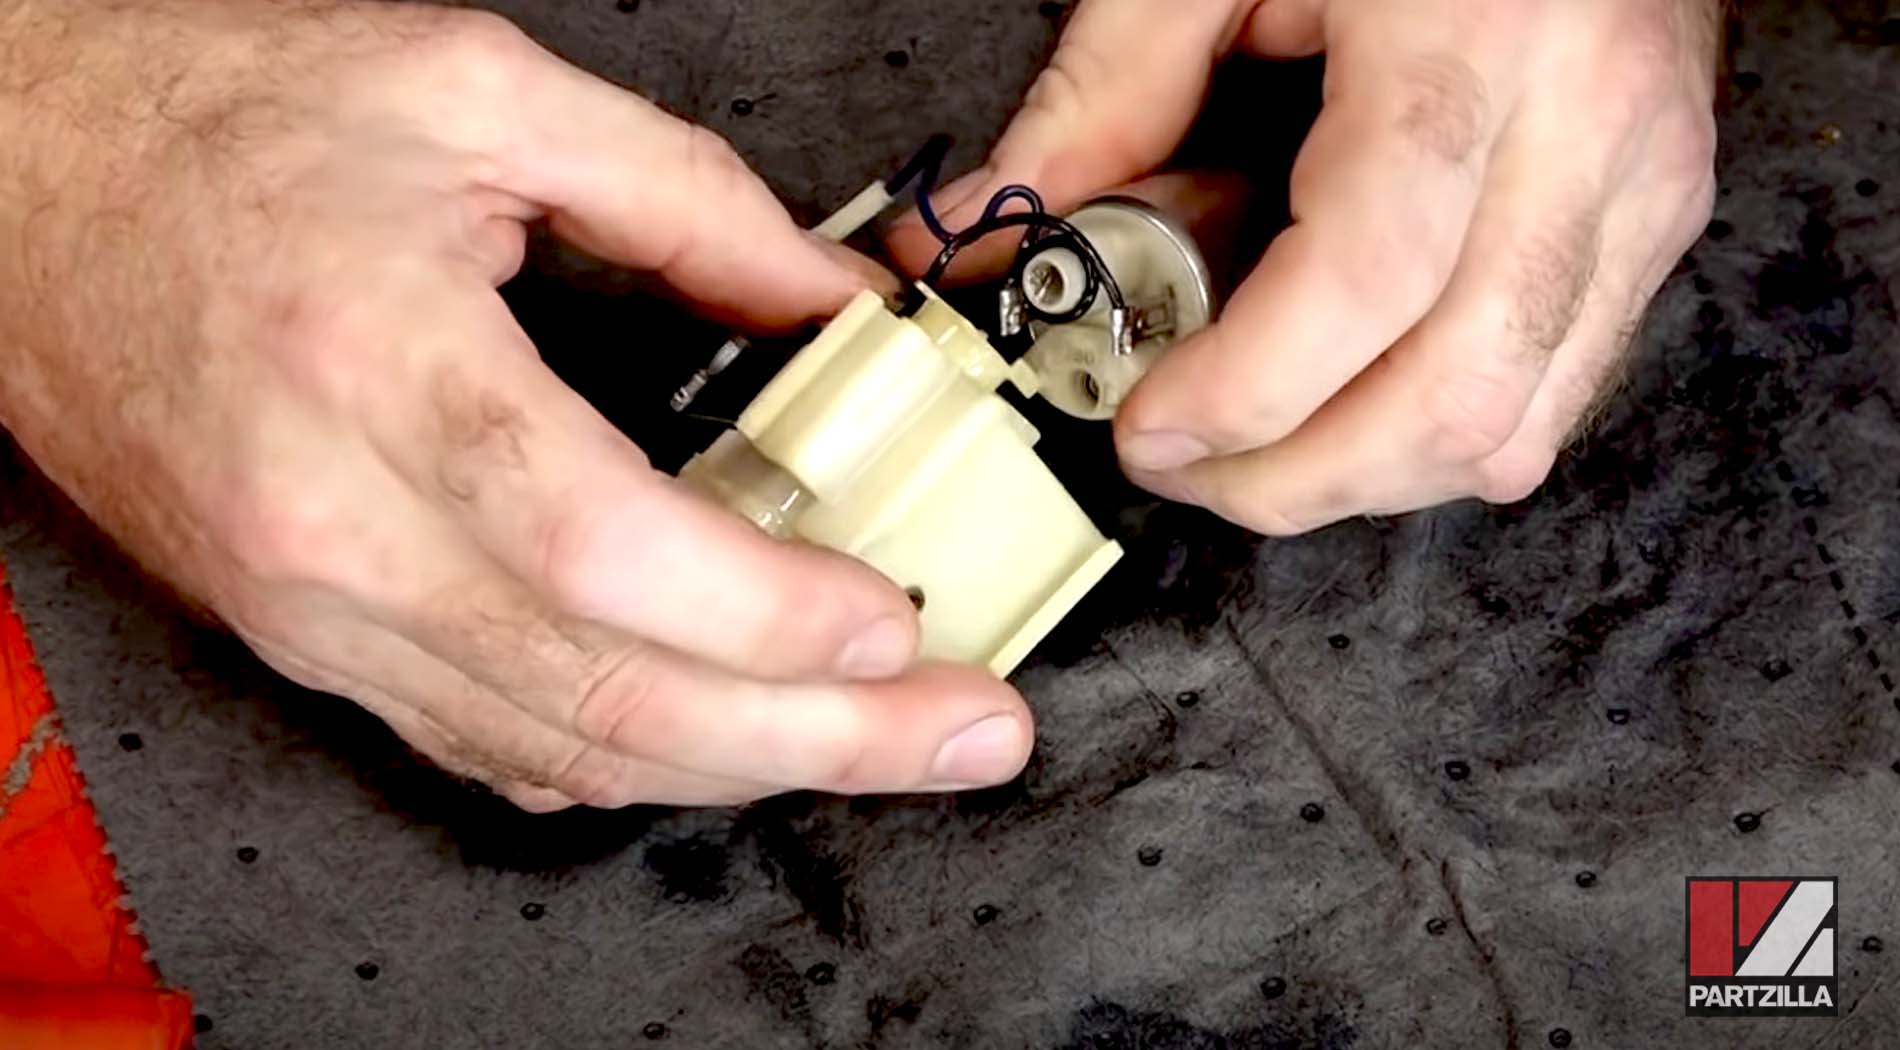
NOTE: Don't forget to also replace the O-ring that sits between the regulator and fuel pump.
Step 10. Replace the regulator and pump into the top of the housing, and install a new fuel filter/strainer into the bottom of the housing.
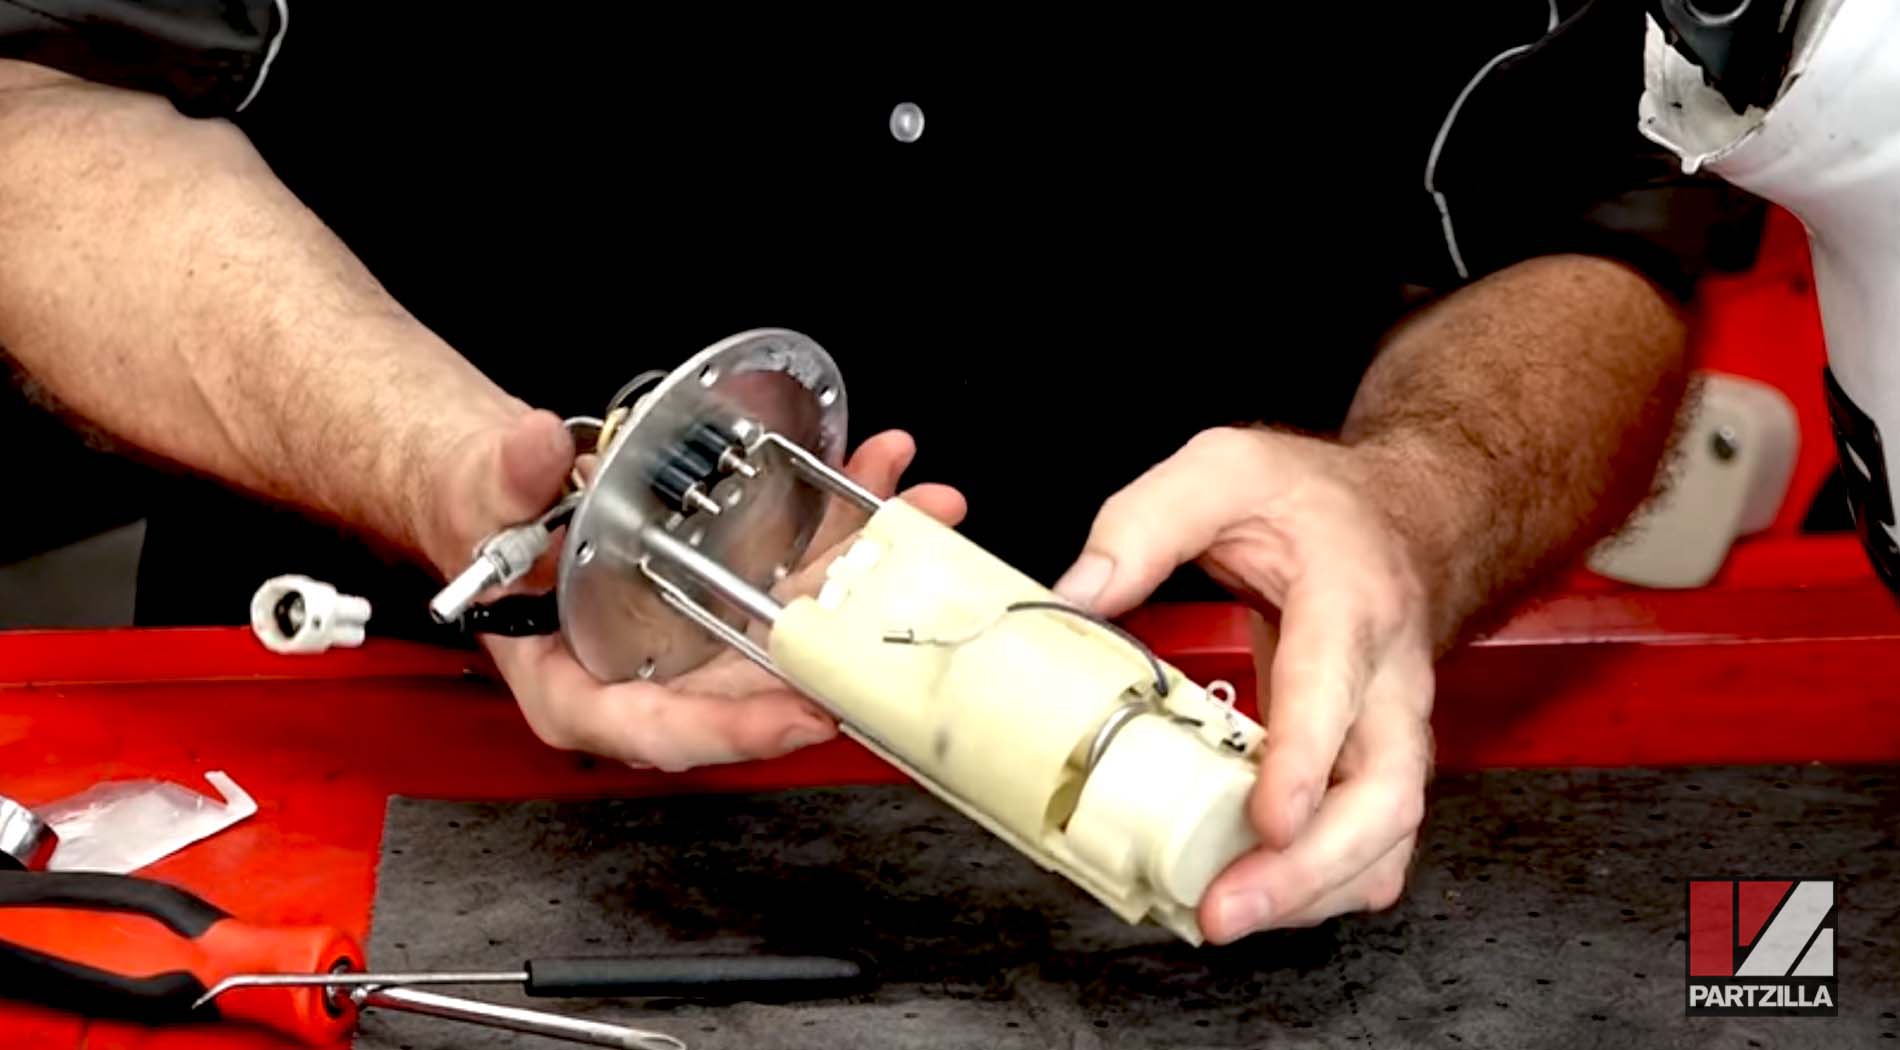
Step 11. Slide the reassembled fuel pump assembly back onto the mounting plate until it is fully re-seated on the mounting plate.
Step 12. Reinstall the fuel gauge/level assembly, and then reinstall the complete fuel pump assembly back into the tank.
Step 13. Reinstall the aluminum spacer in the pivot tube, followed by the pivot bolt. Reconnect the electrical connector, fuel line and twin breather pipes to the tank, and reinstall the front tank mounting bolt.
Not ready to replace your GSX-R's fuel pump but still want to find out what's wrong with it? Watch the video below to learn how to do a Suzuki GSXR1000 fuel pump pressure test.
If your Suzuki motorcycle's fuel pump isn't priming, watch the video below to troubleshoot GSX-R1000 priming problems.