Polaris RZR 900XP Engine Rebuild Part 4: Engine Teardown
Welcome to the 4th part of our Polaris RZR 900XP engine rebuild series, in which we highlight the important points of the process of tearing down the engine of the Polaris side-by-side.
Watch the video above and follow the steps below to see how to tear down a Polaris RZR’s engine right down to the crankshaft and bearings. Use our Polaris RZR 900 parts diagrams for additional reference.
Tools Needed – Polaris RZR 900 Engine Teardown
- Ratchet and extensions
- Socket set
- Allen set
- Torx set
- Screwdrivers
- Hammers
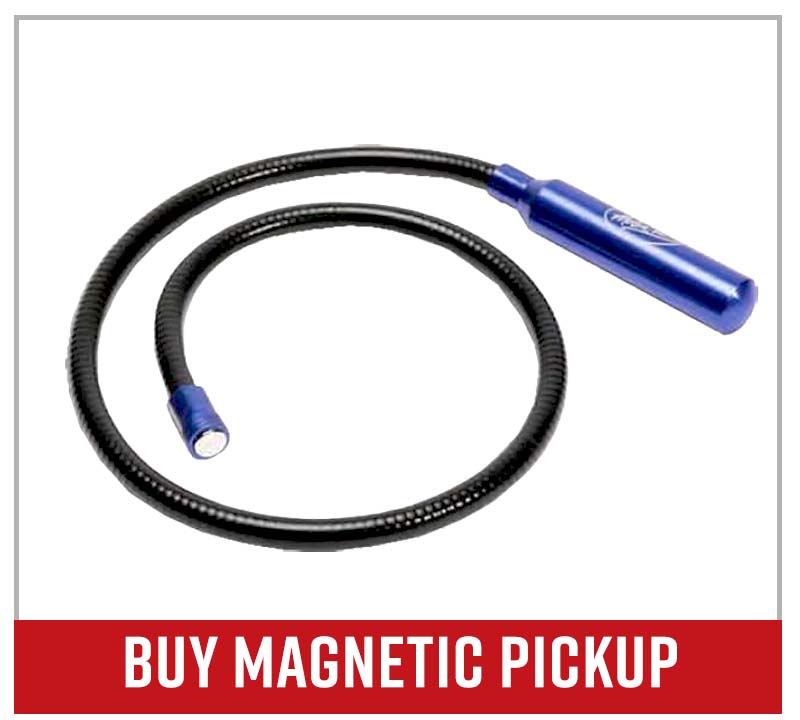
- Magnetic pickup tool
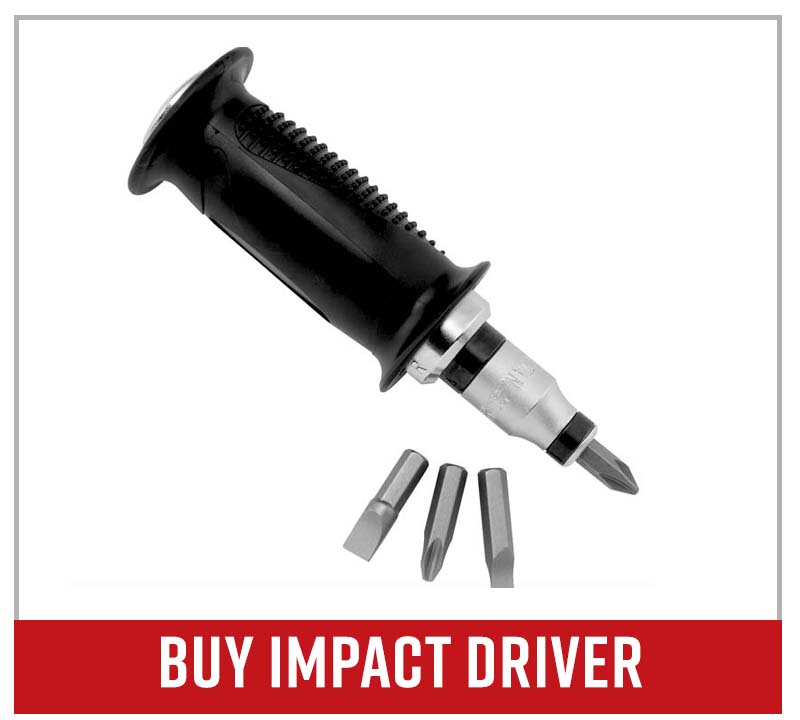
- Impact driver
PRO TIP: Tag every wire and hose as you disconnect them, and ziplock bag every nut and bolt as you remove them. By doing so, you’ll find it much easier to reassemble the RZR’s motor when the time comes. Label each bag so you can easily retrieve parts when you need them again.
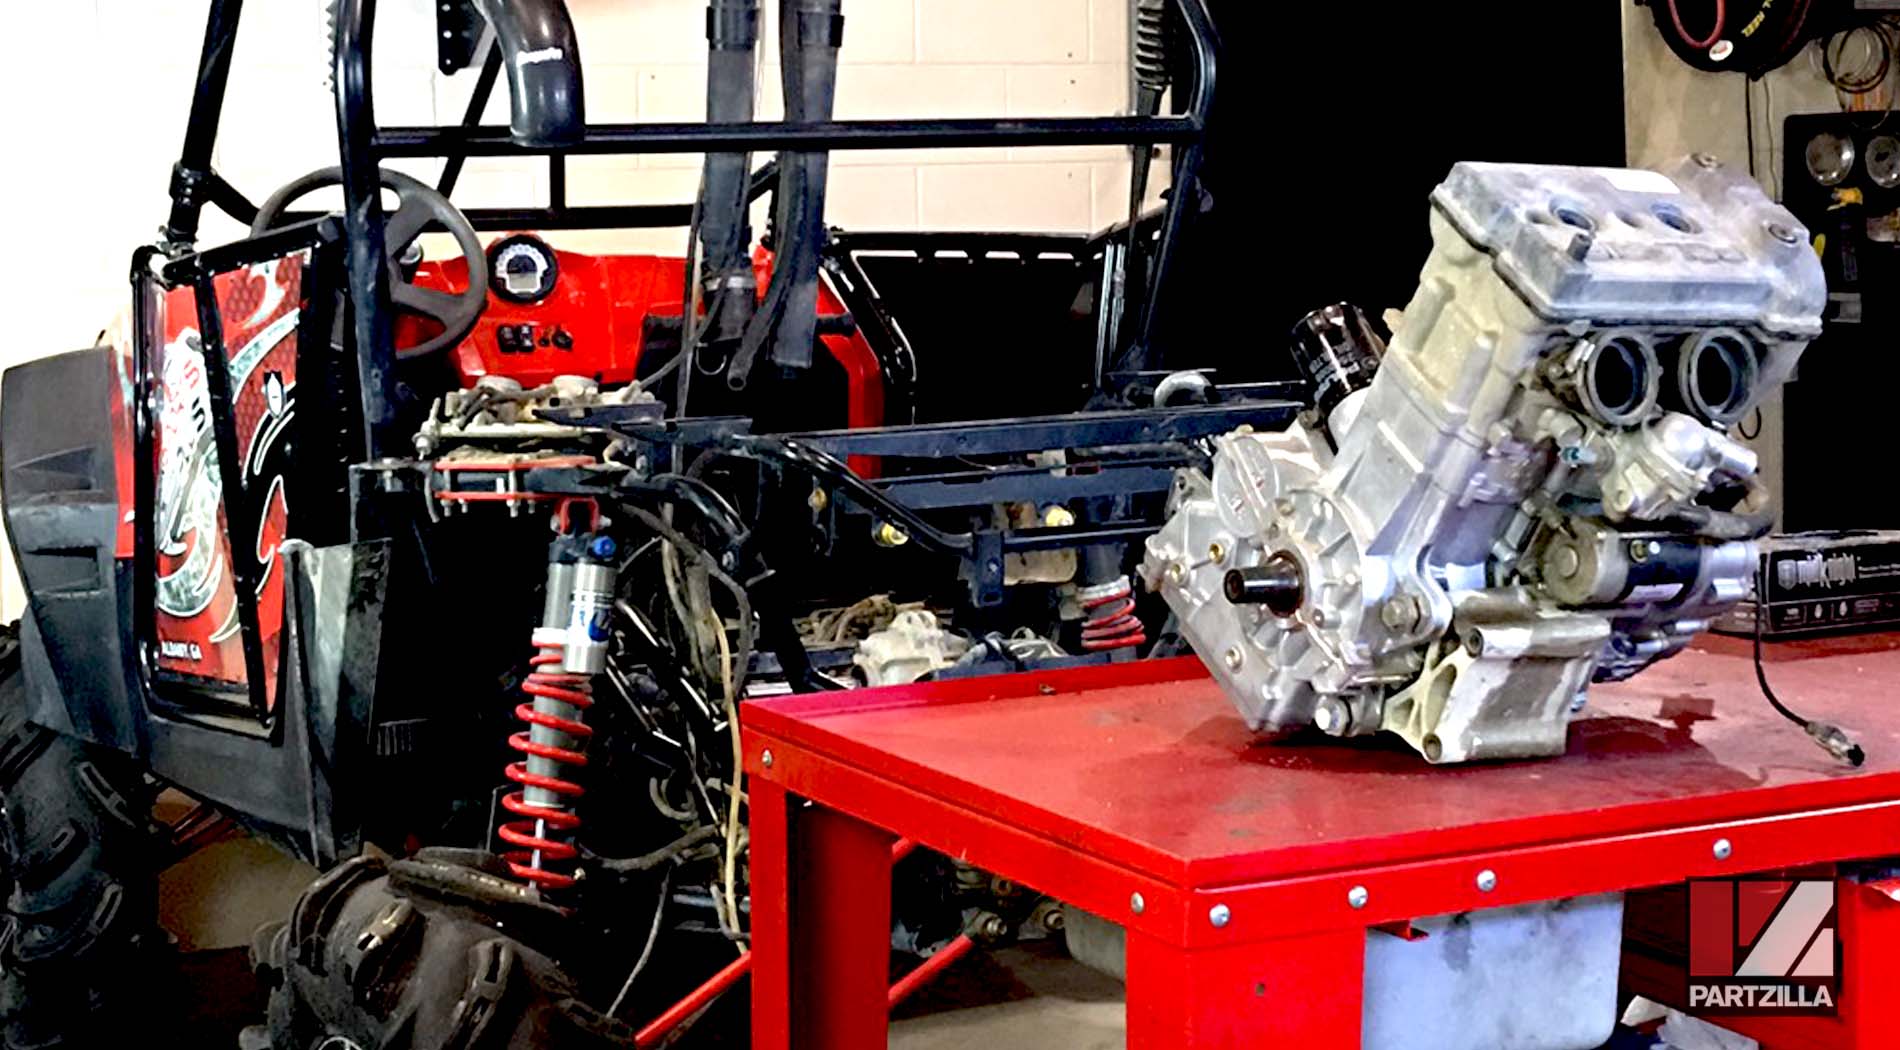
Removing the Engine Ancillaries - Polaris RZR 900XP
Step 1. Remove the various hoses that are still attached to the engine.
Step 2. Remove the starter motor, the thermostat housing, water pump and the oil-to-water cooler.
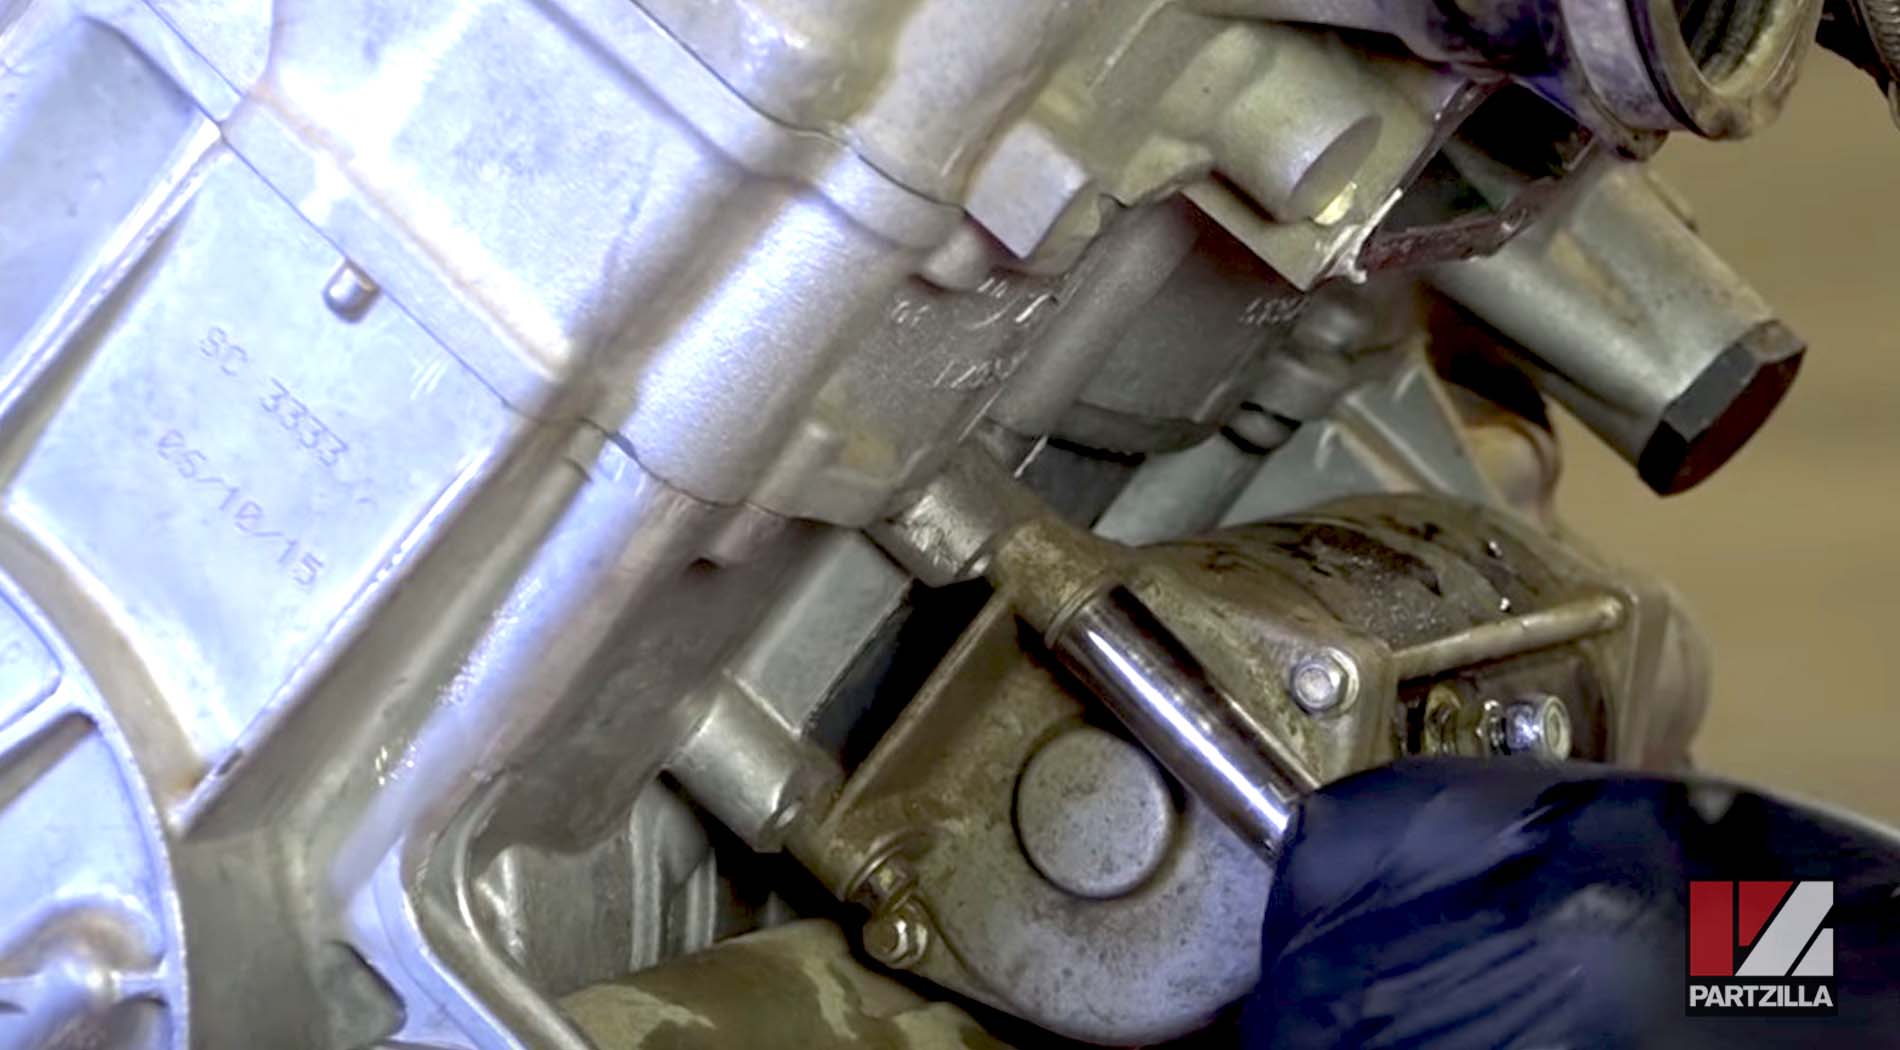
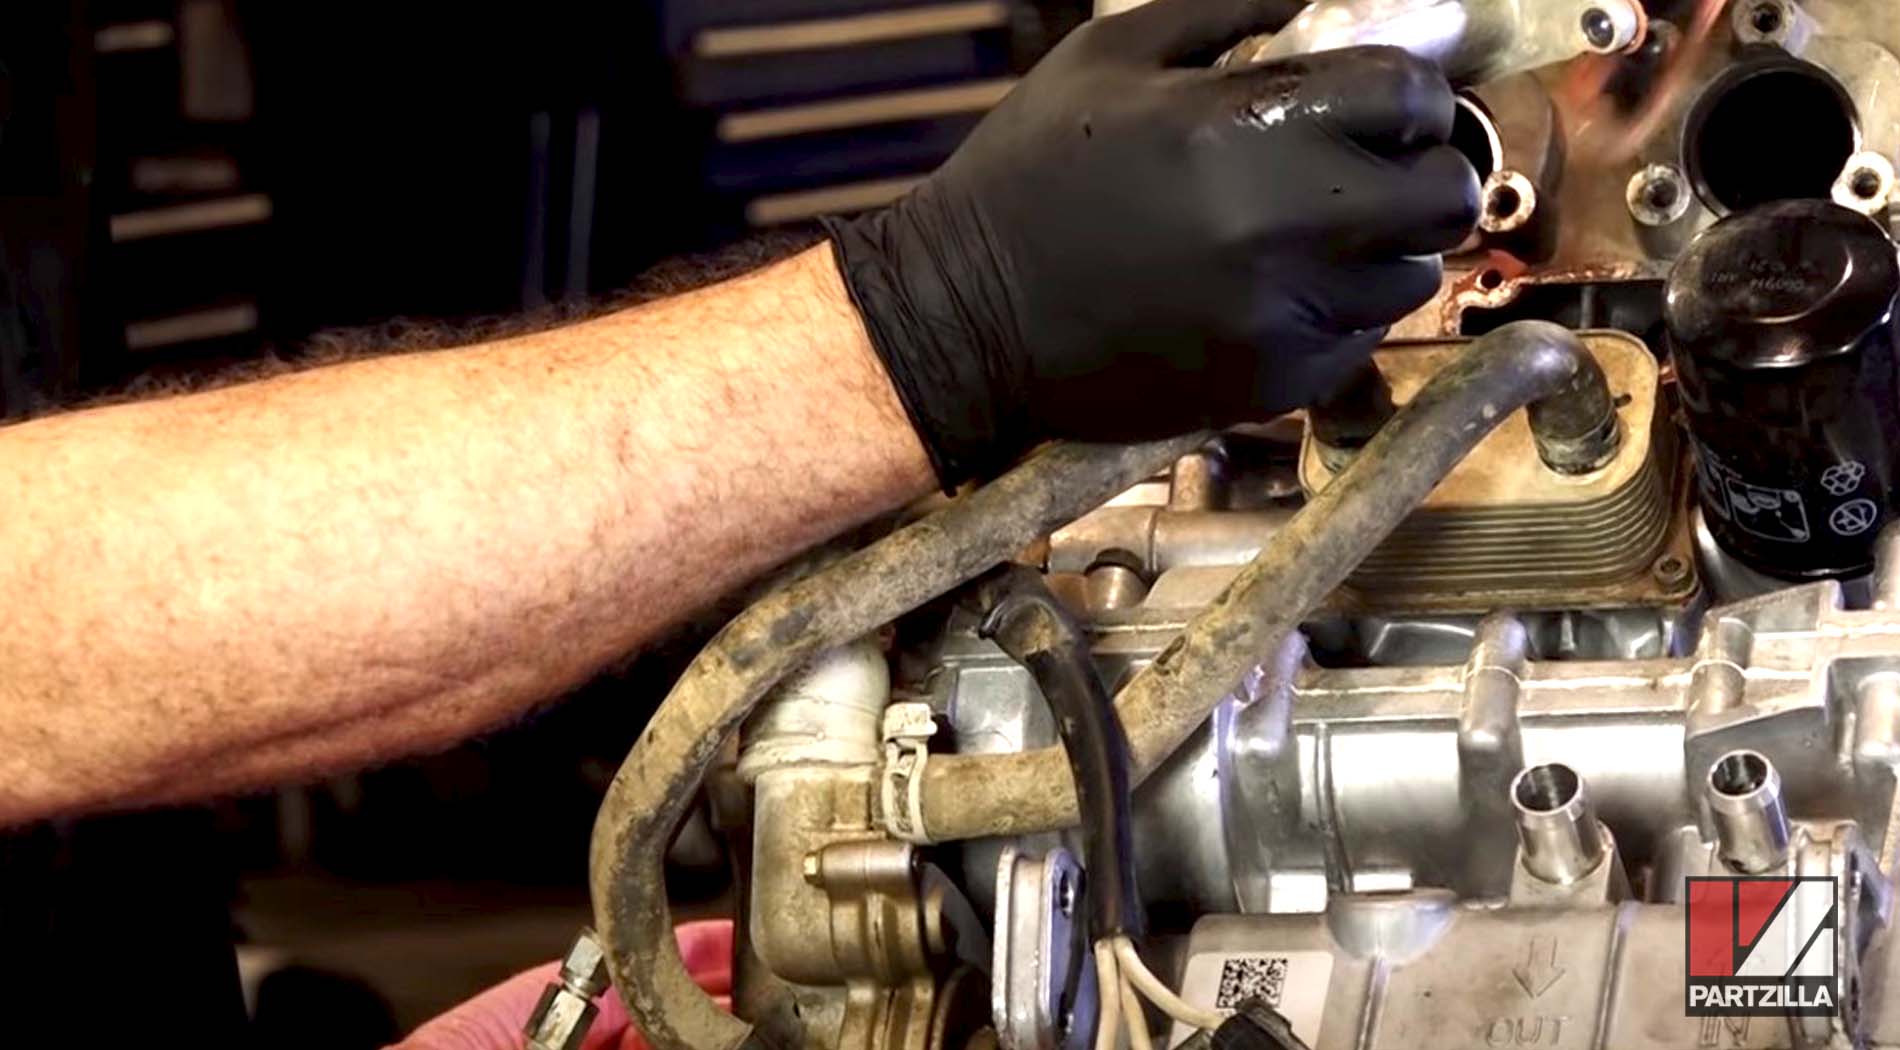
PRO TIP: An impact wrench takes a lot of the heavy work out of disassembling the RZR’s motor, particularly with stubborn bolts. However, never use an impact wrench for reassembling the engine, as it can strip screw threads and shear bolts in their housings. If you accidentally round off an Allen bolt, take an Allen socket the next size up and hammer it into the rounded head so it cuts into the rounded corners/edges, then use an impact driver and hammer to break the bolt loose.
Step 3. Remove the stator cover, and turn the crankshaft to bring the engine to top dead center (TDC) so that the inlet and exhaust valves are in their closed positions. This makes disassembling the valves and camshaft much easier.
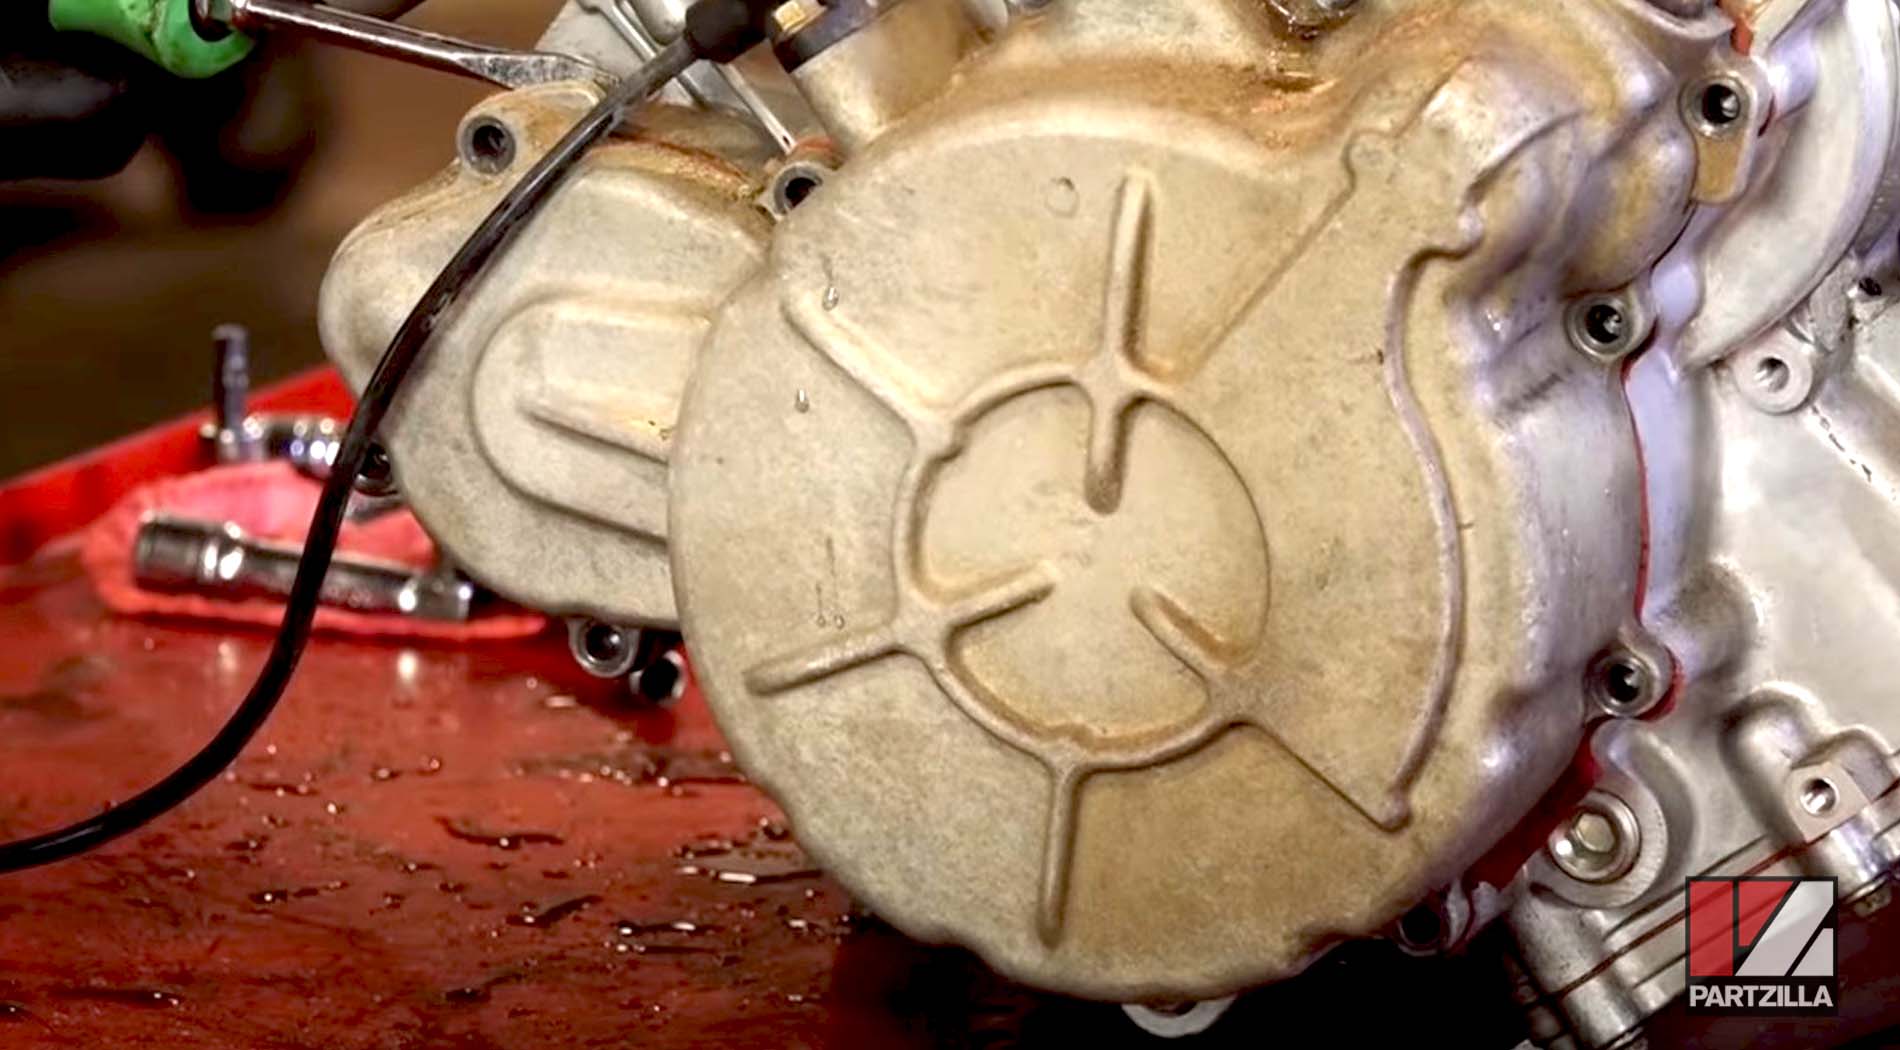
Step 4. Remove the spark plugs and the valve cover.
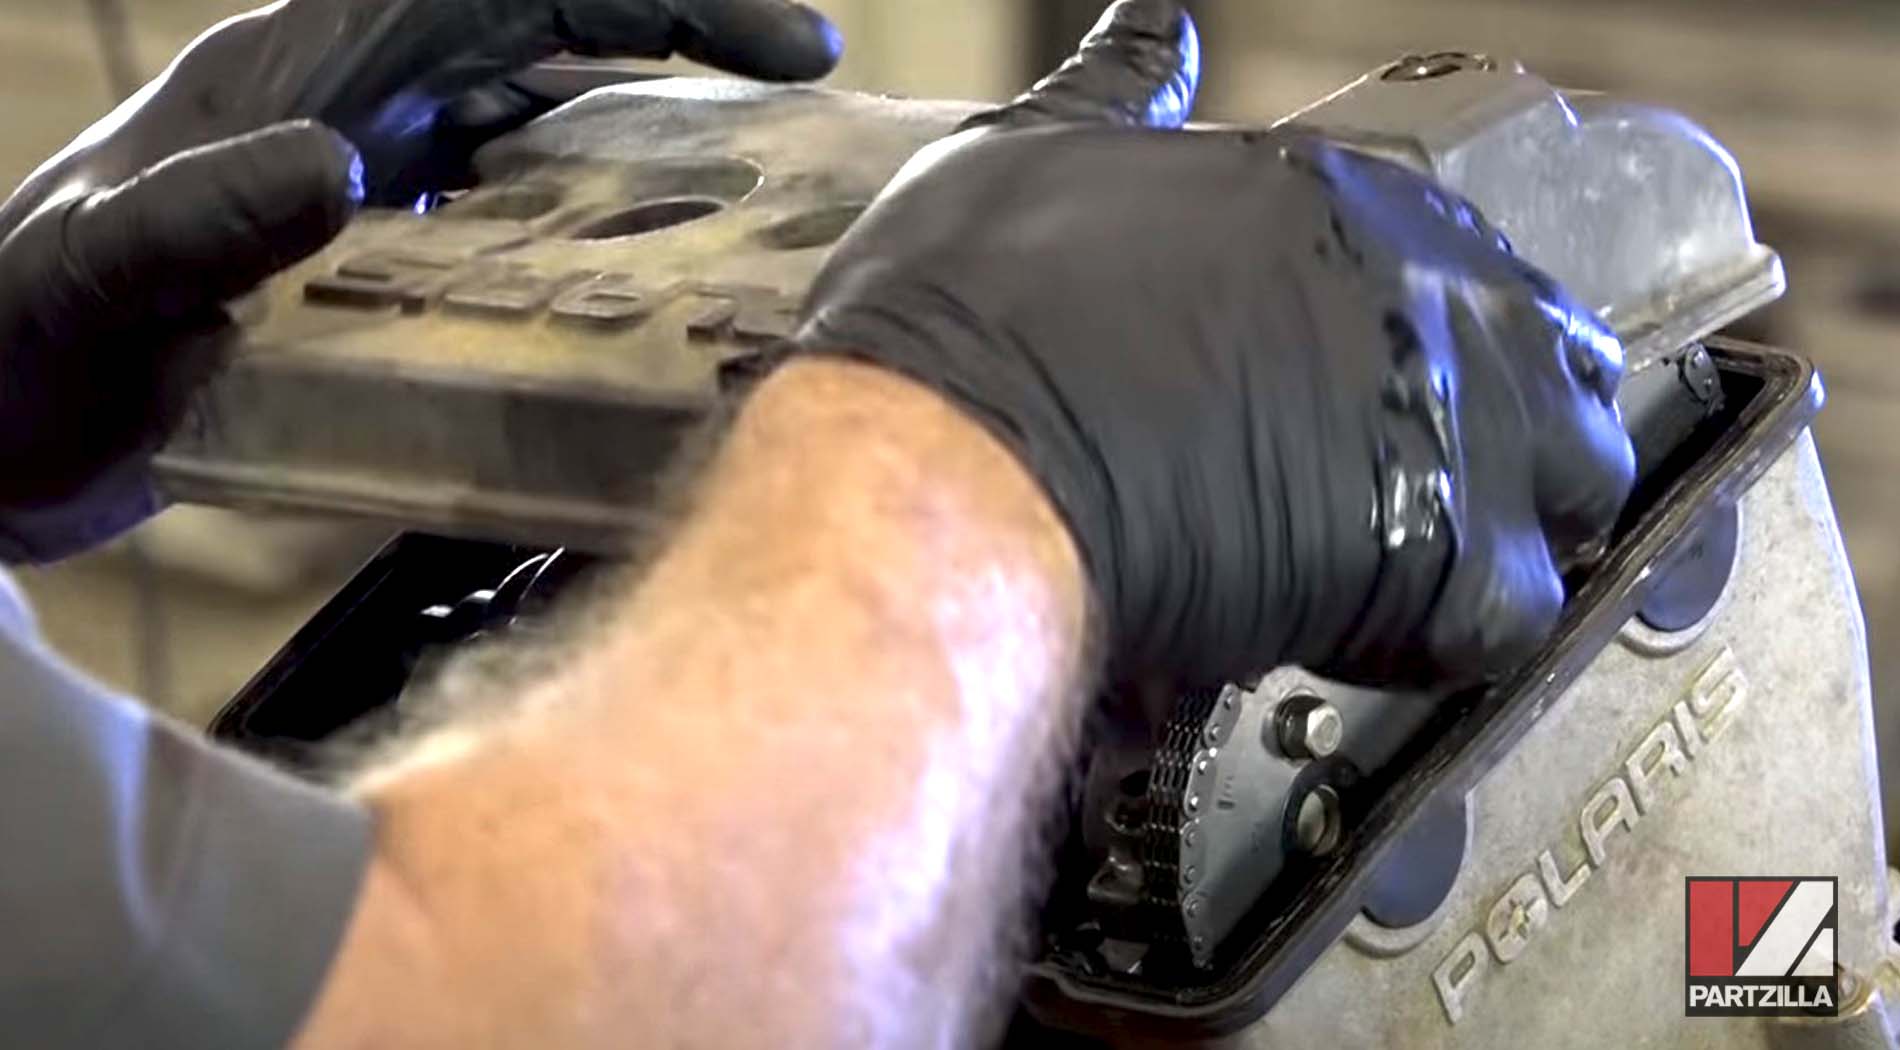
NOTE: The valve cover has Torx bolts, so don’t try loosening them with a regular Allen socket.
Watch the clip below to see the ancillary removal segment of our Polaris RZR 900XP engine rebuild video.
Removing the Camshafts - Polaris RZR 900XP
Step 5. Remove the cam chain tensioner, the cam chain guide and the camshaft mounts.
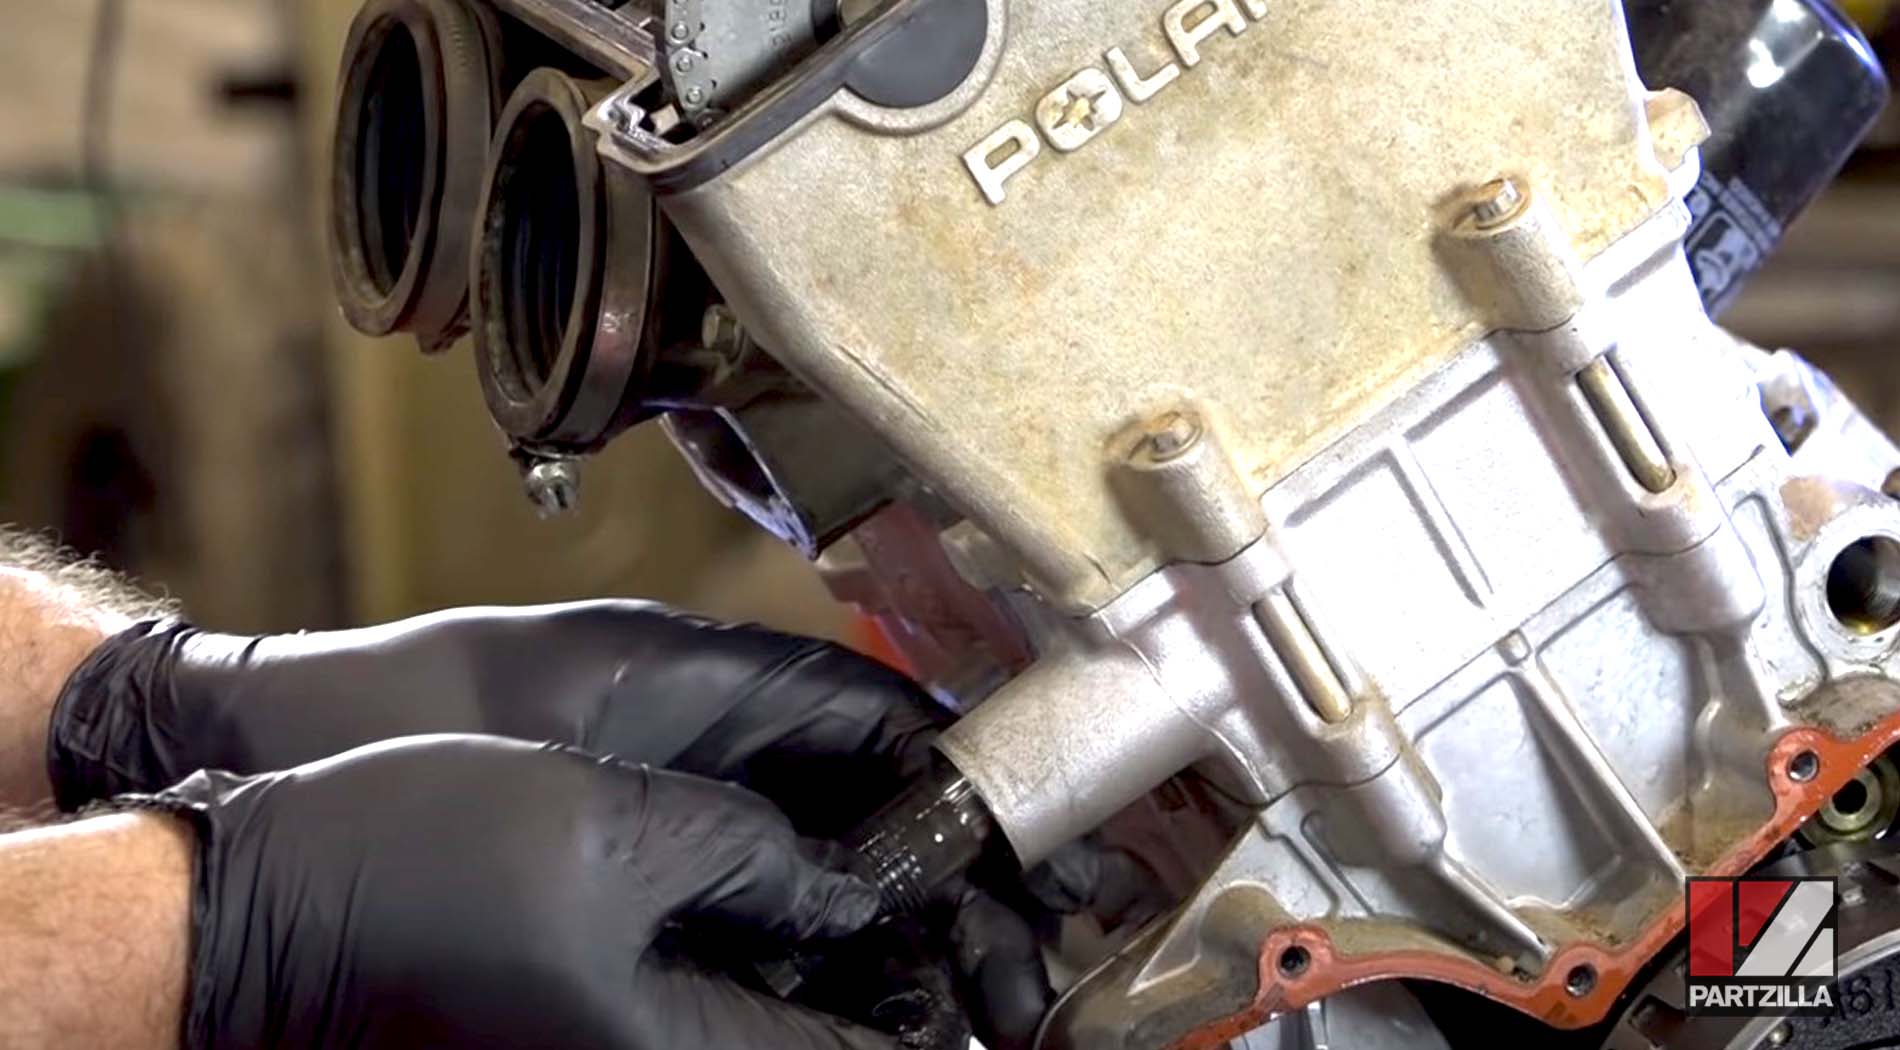
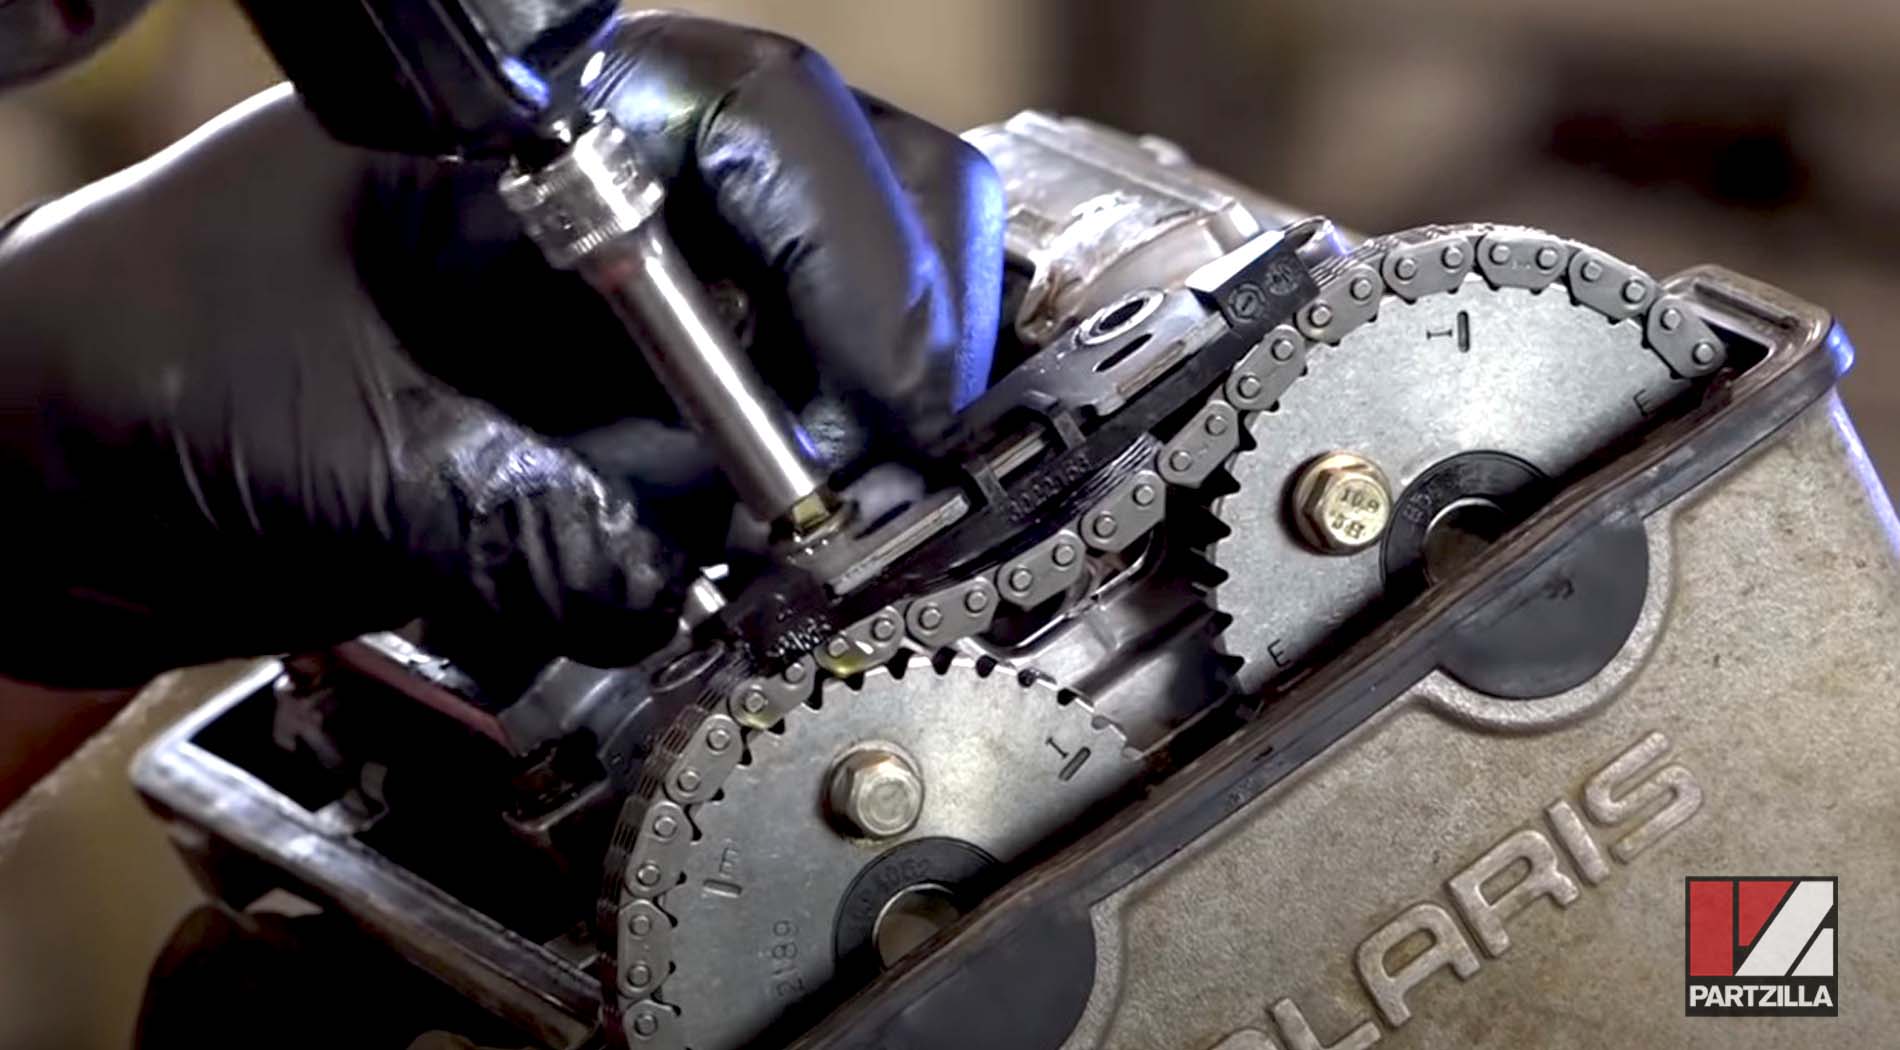
Step 6. Remove the camshafts and the shims beneath them.
Watch the clip below to see the camshafts removal segment of our Polaris RZR 900XP engine rebuild video.
Removing the Cylinder Head - Polaris RZR 900XP
Step 7. Remove the cylinder head by taking off the six main cylinder head bolts and two smaller bolts to the side of the motor.
NOTE: To prevent warping the cylinder head, the six main bolts have to be removed in a pattern. The video below covers that pattern, as well as the entire cylinder head removal.
Watch the video below to see the complete steps for removing the cylinder head from a Polaris RZR 900XP.
Step 8. Remove the flywheel.
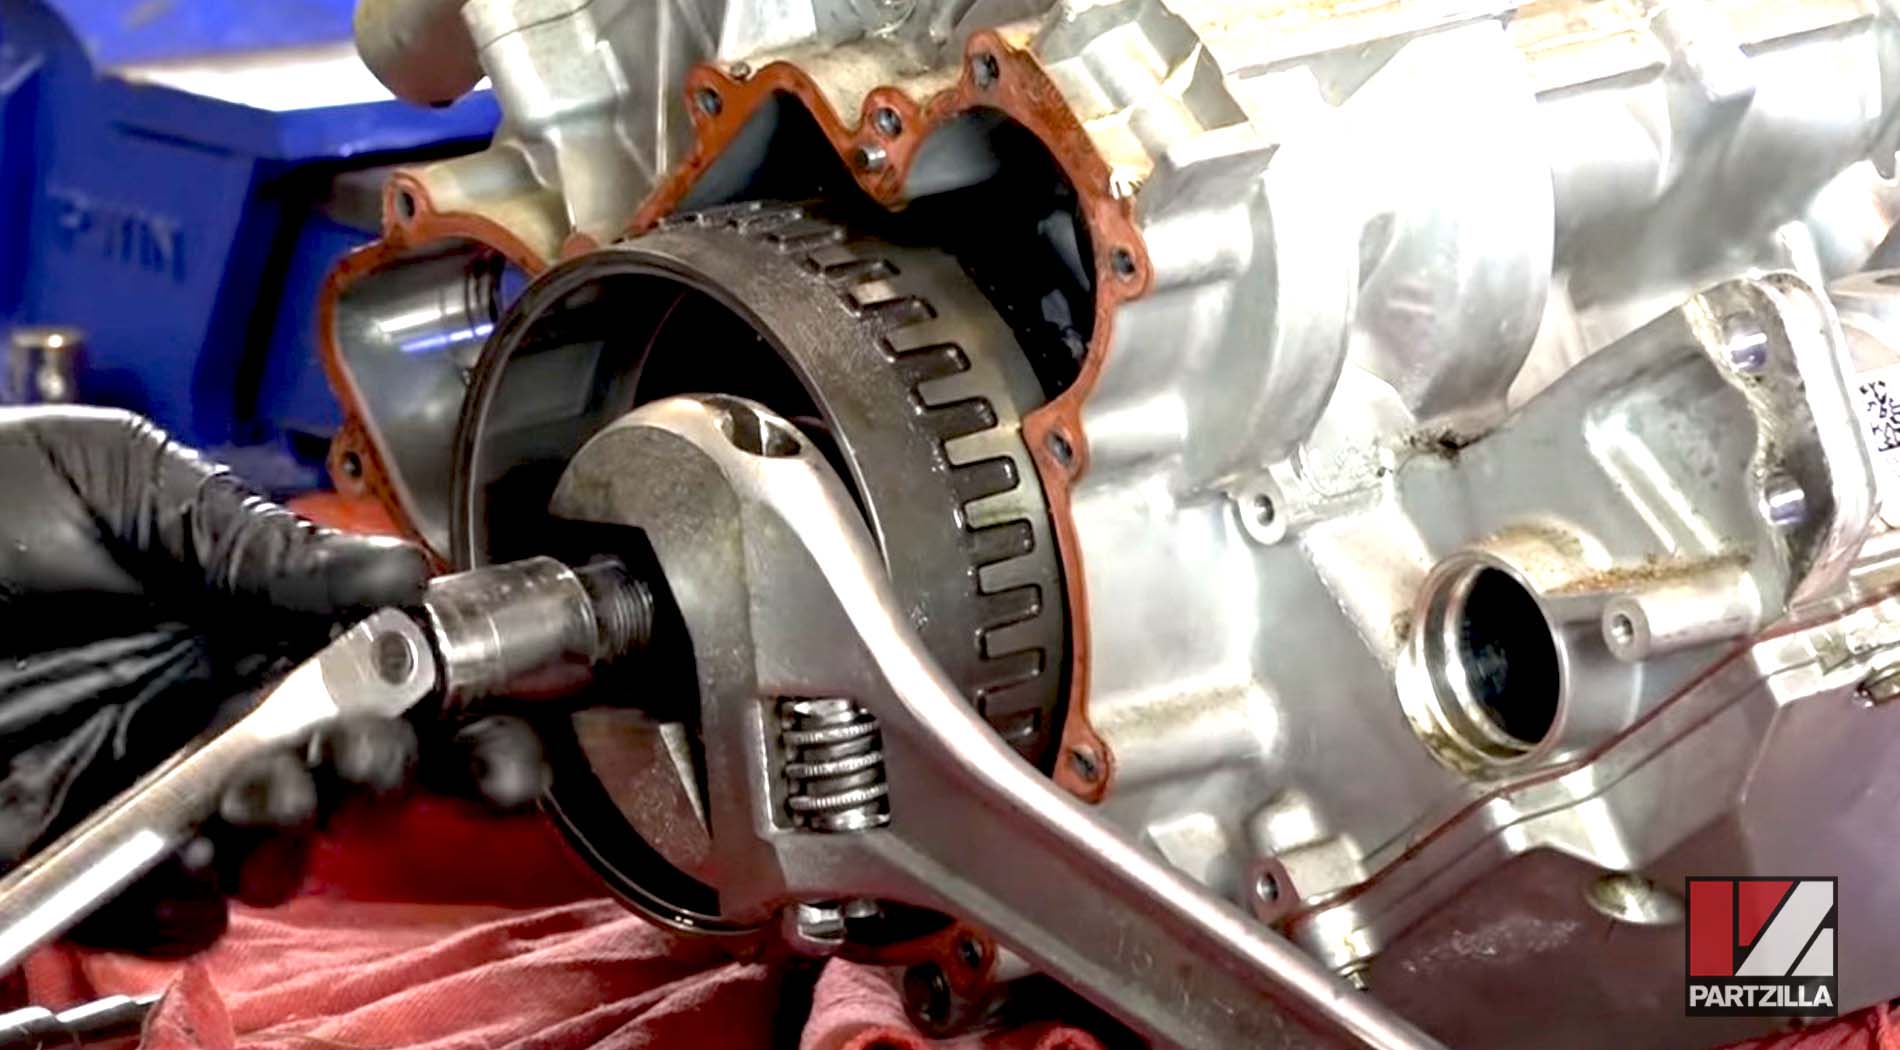
Step 9. Remove timing chain guides, the timing gear and the timing chain.
Step 10. Remove the oil sump cover from the bottom of the motor.

Step 11. Remove the oil pump by taking off the three bolts that hold it in place, followed by the dowels the pump sits upon. Use a magnet tool or needle nose pliers to remove the dowels.
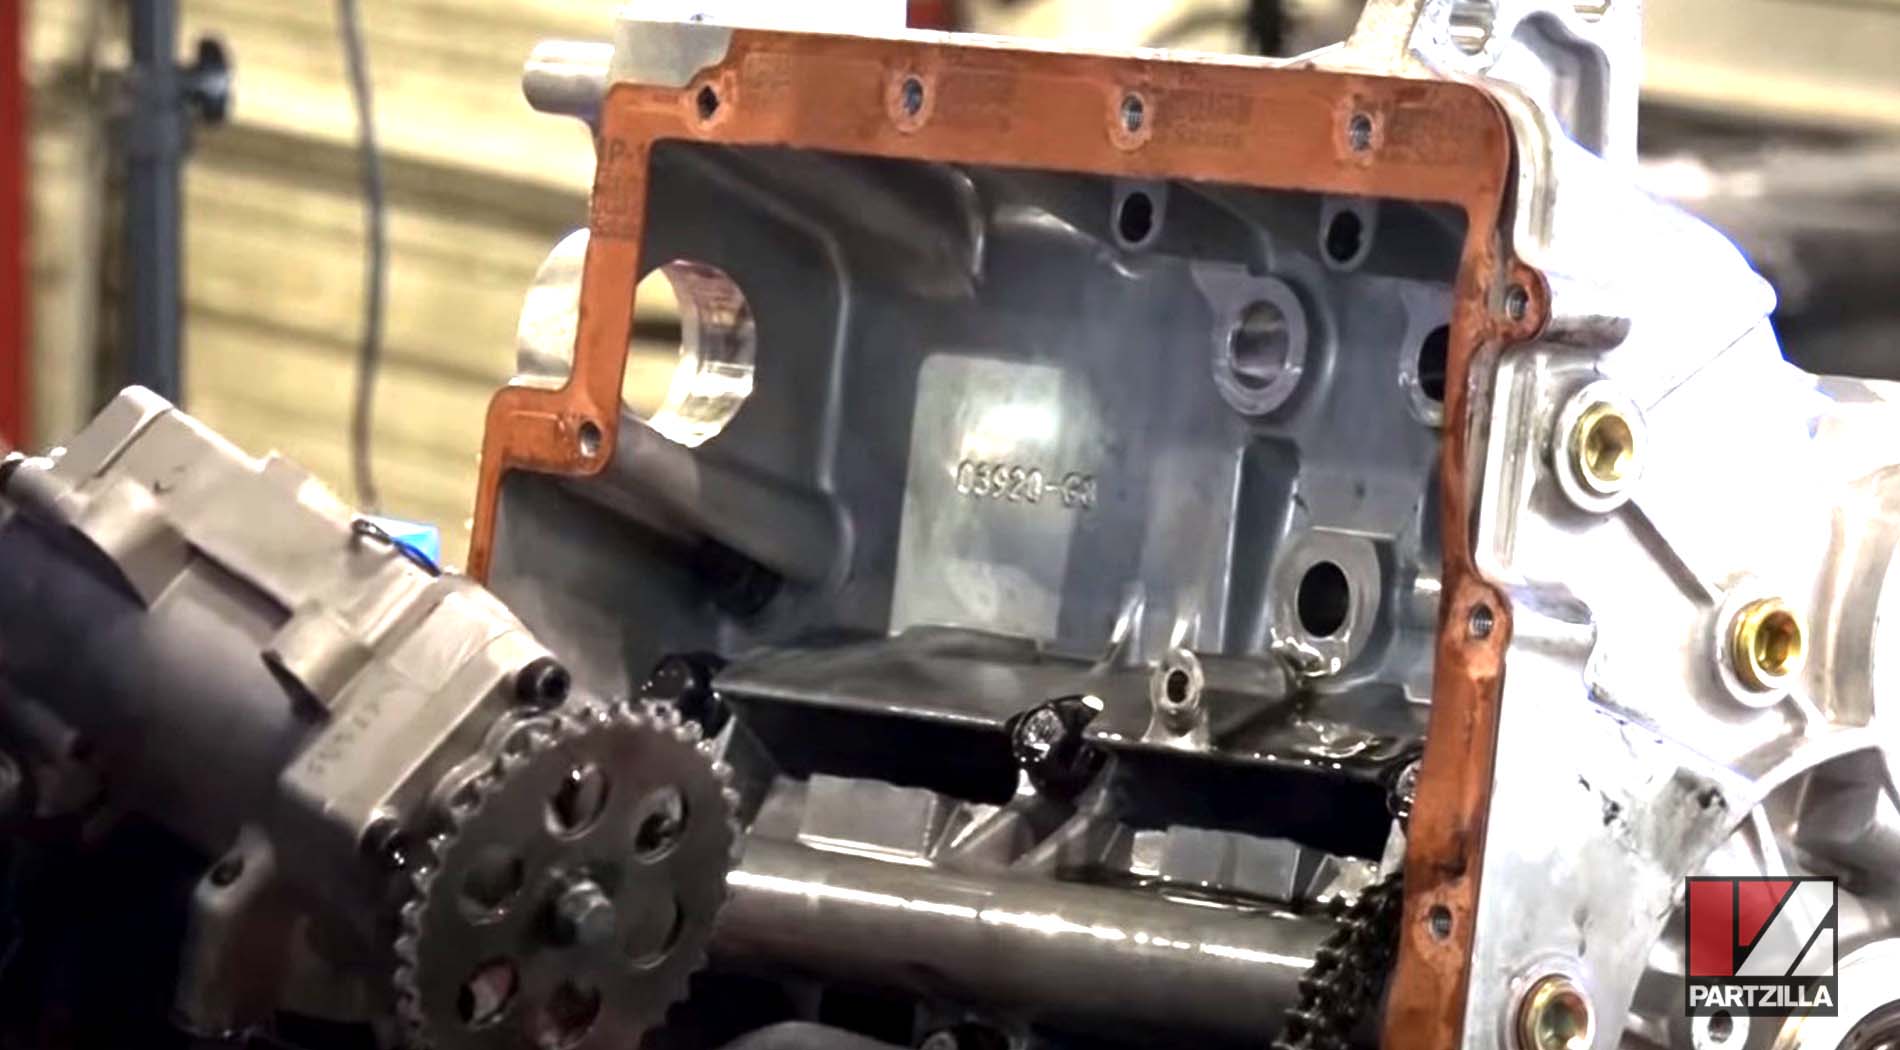
Step 12. Remove the engine mounting bracket.
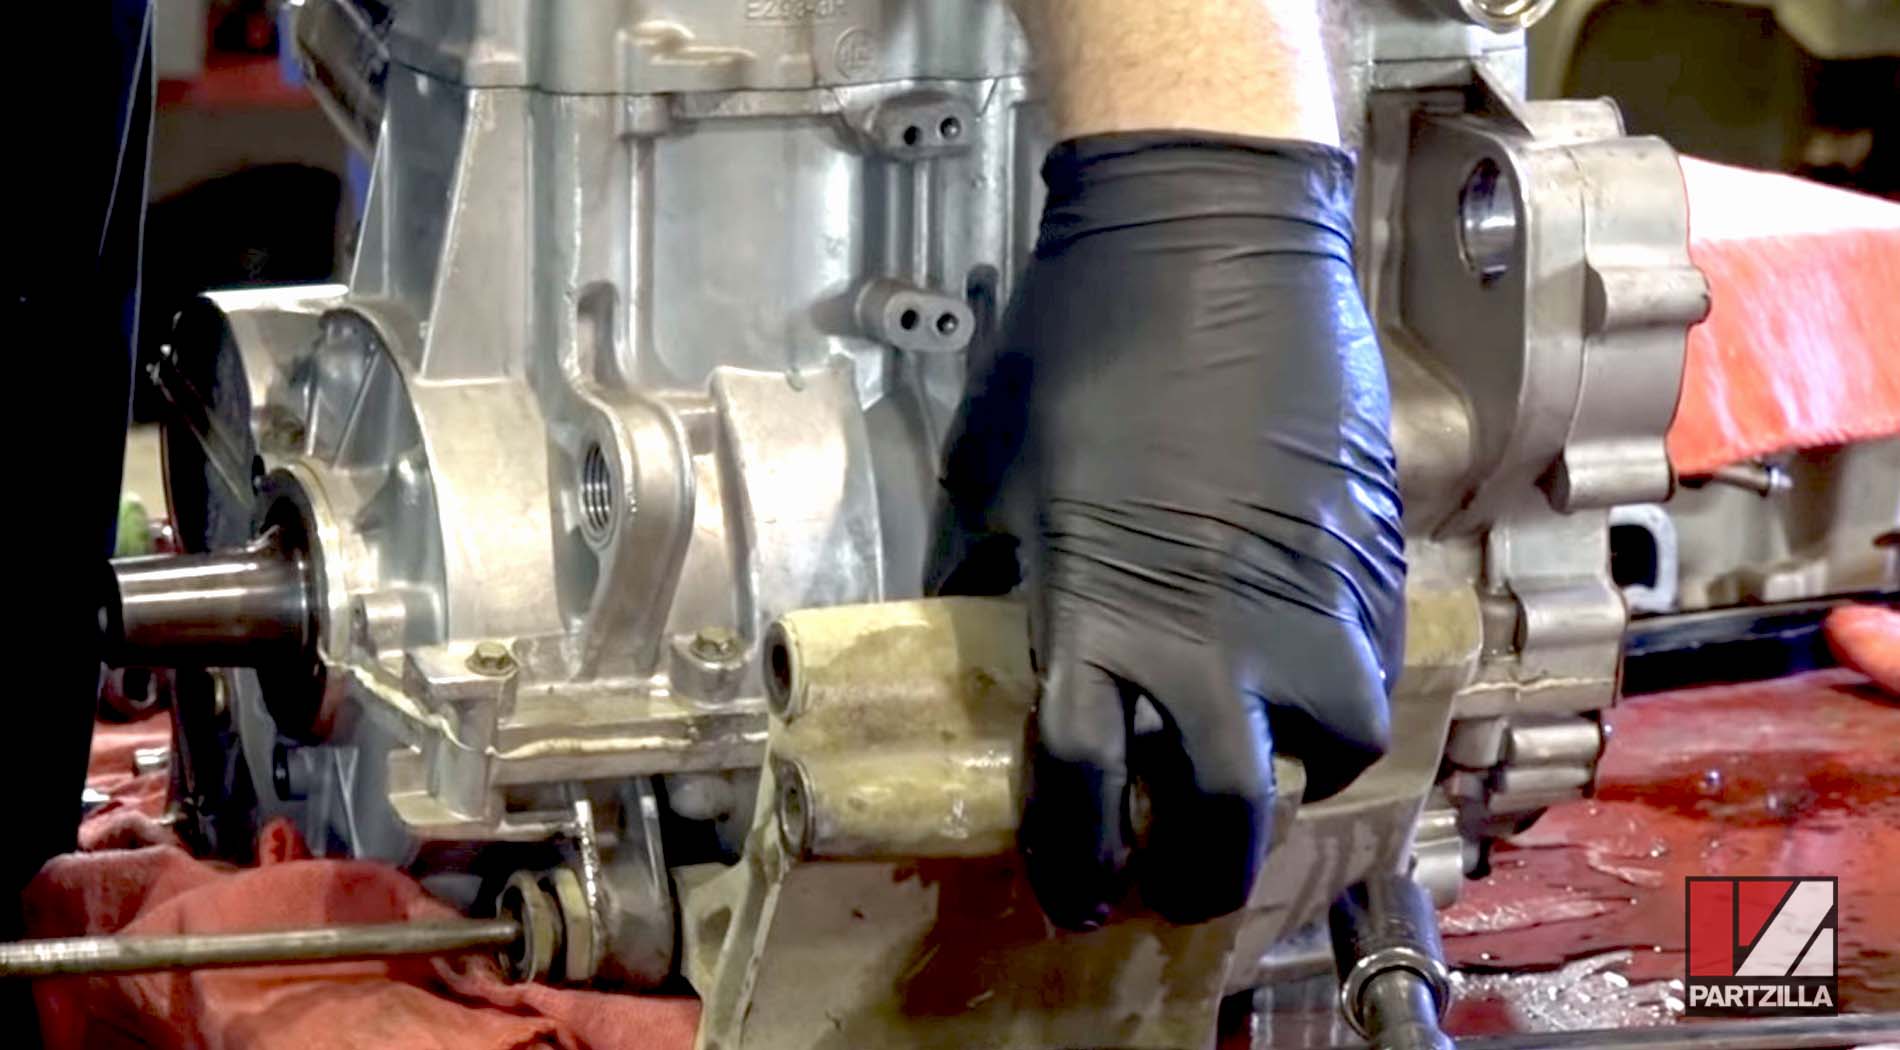
Watch the clip below to see the cylinder head removal segment of our Polaris RZR 900XP engine rebuild video.
Removing the Crankshaft - Polaris RZR 900XP
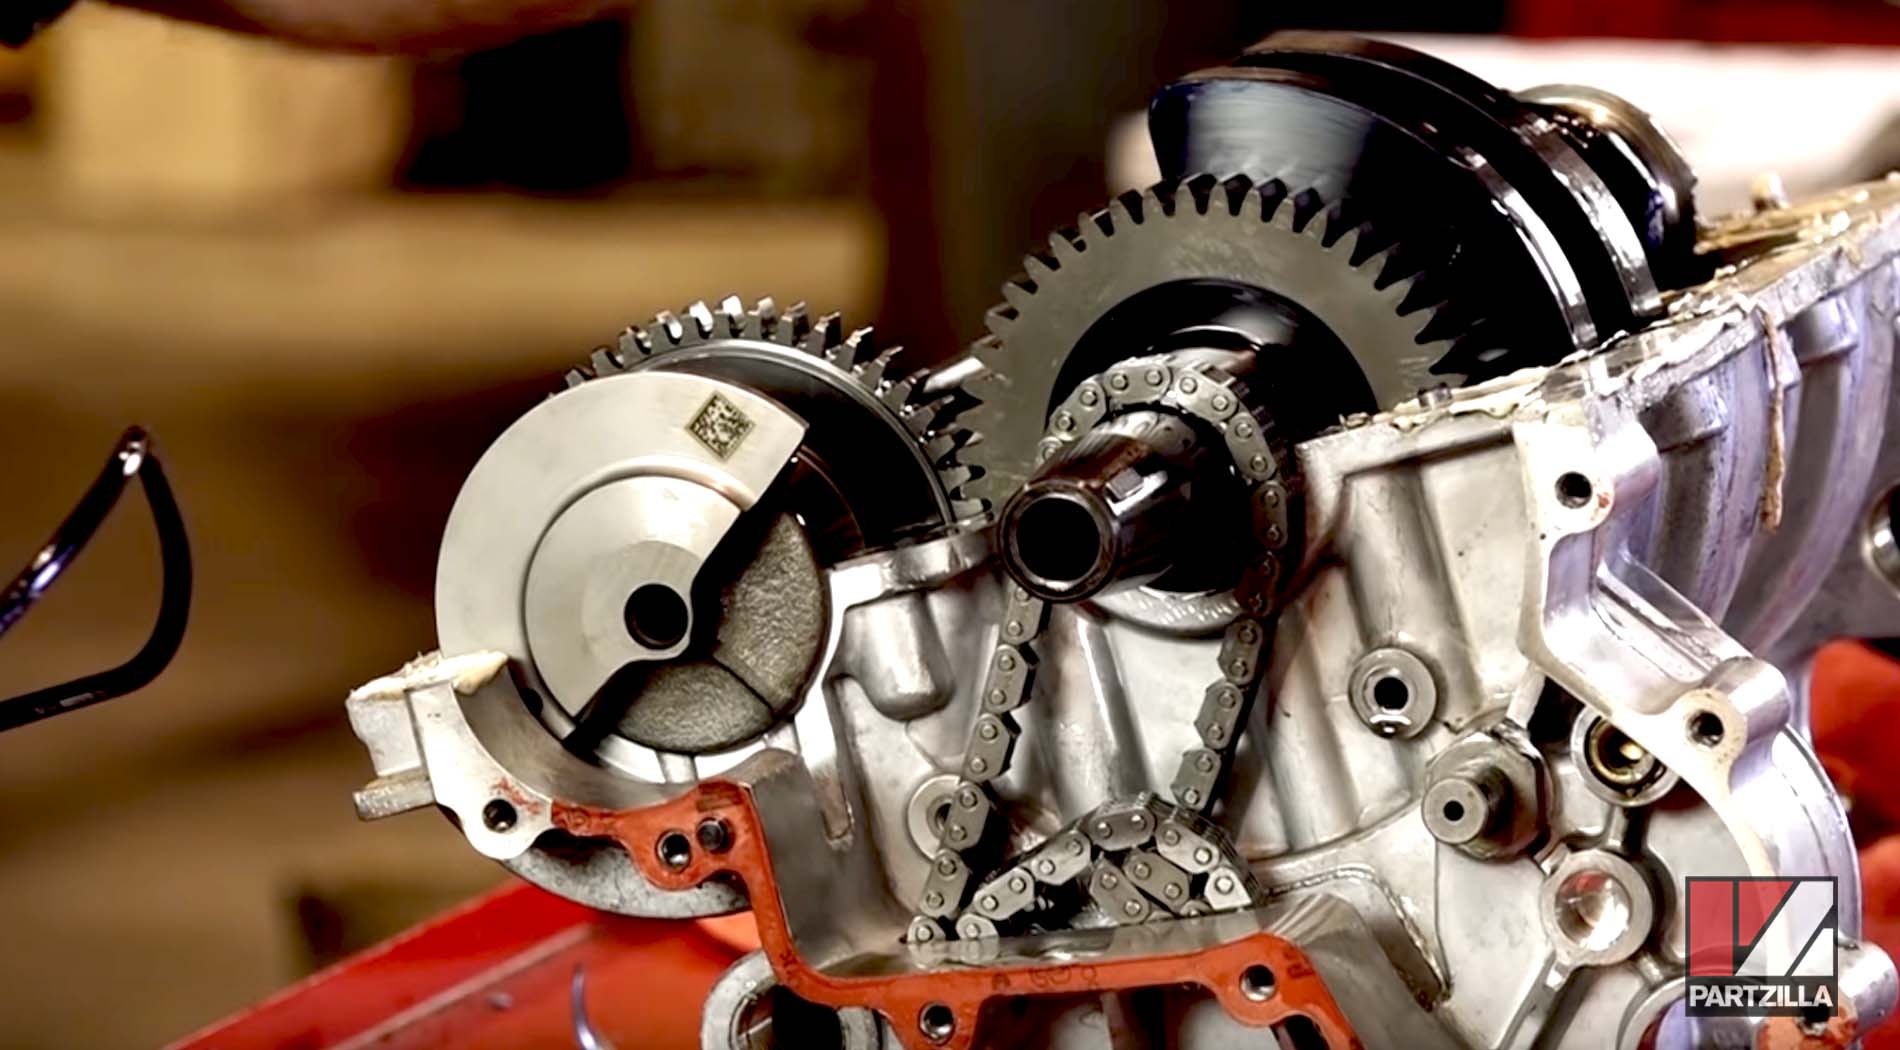
Step 13. Remove the crankcase bolts, and tap the crankcase halves with a dead-blow hammer to break them apart.
Step 14. Remove the crankshaft bracket and the crankshaft.
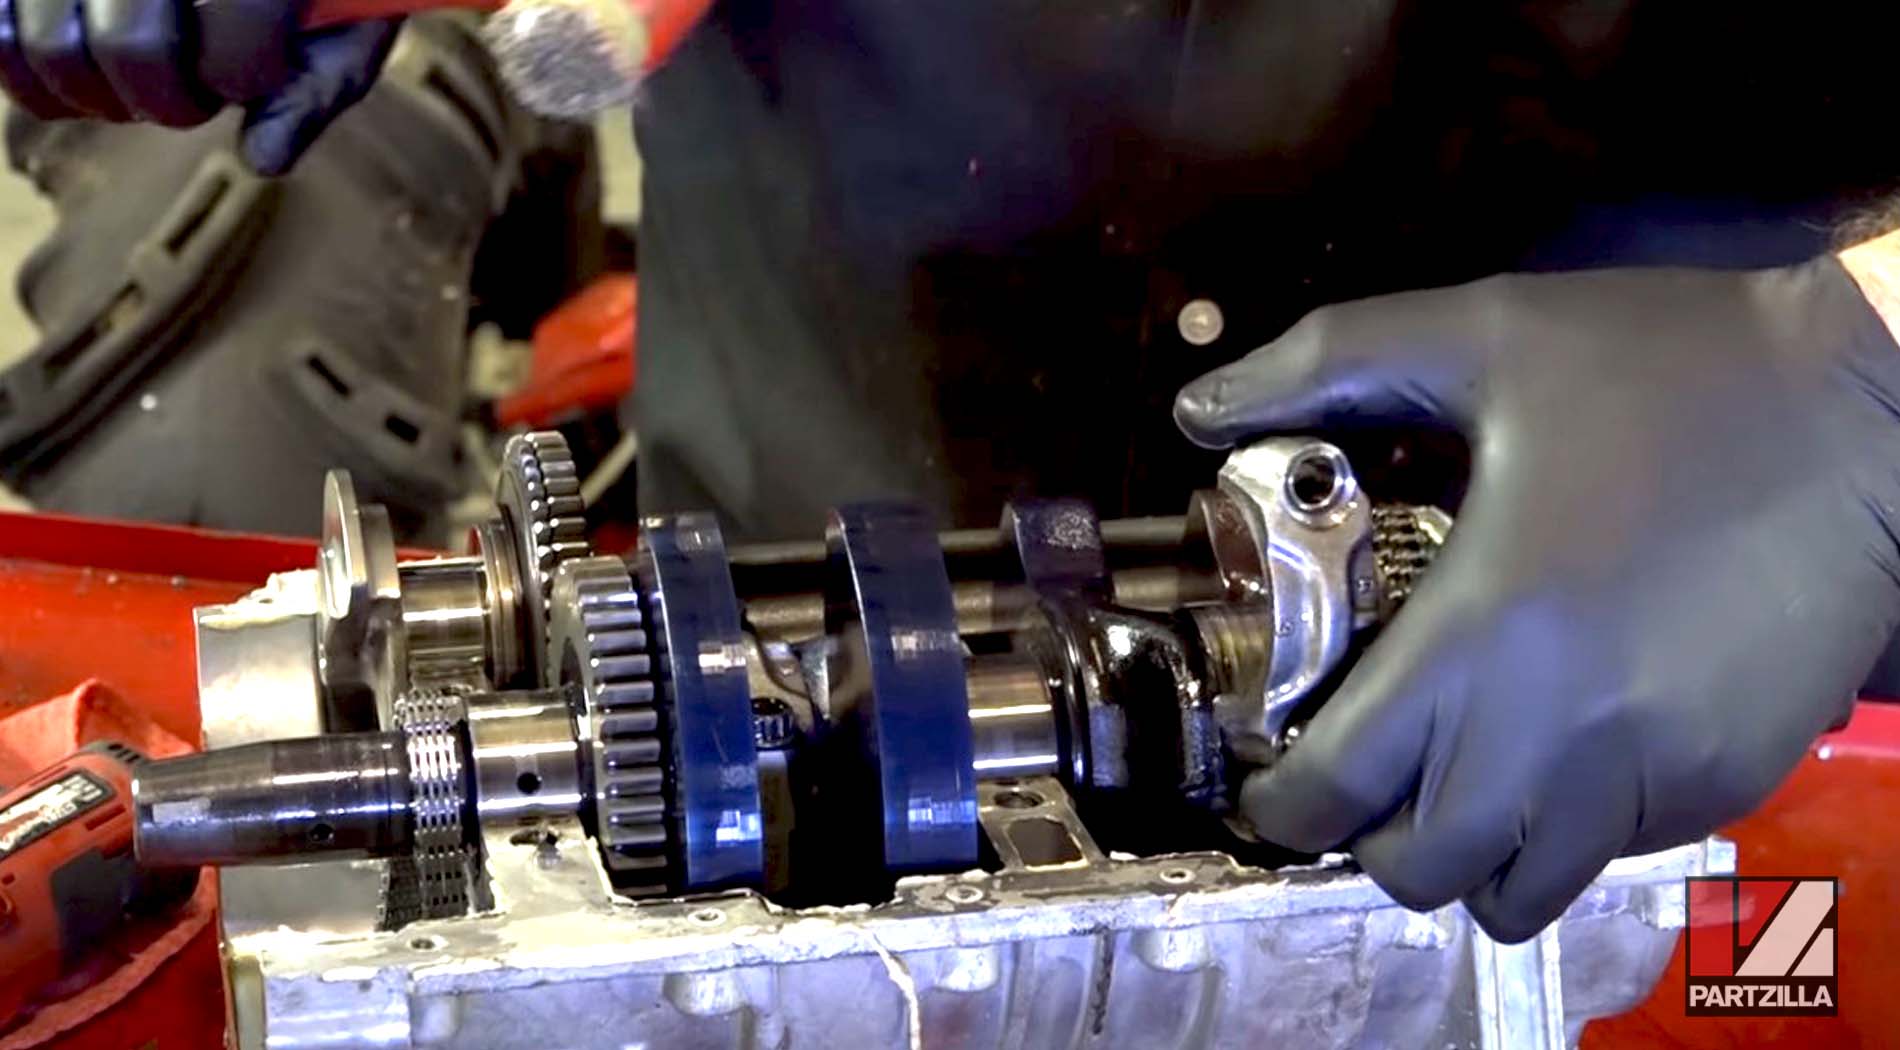
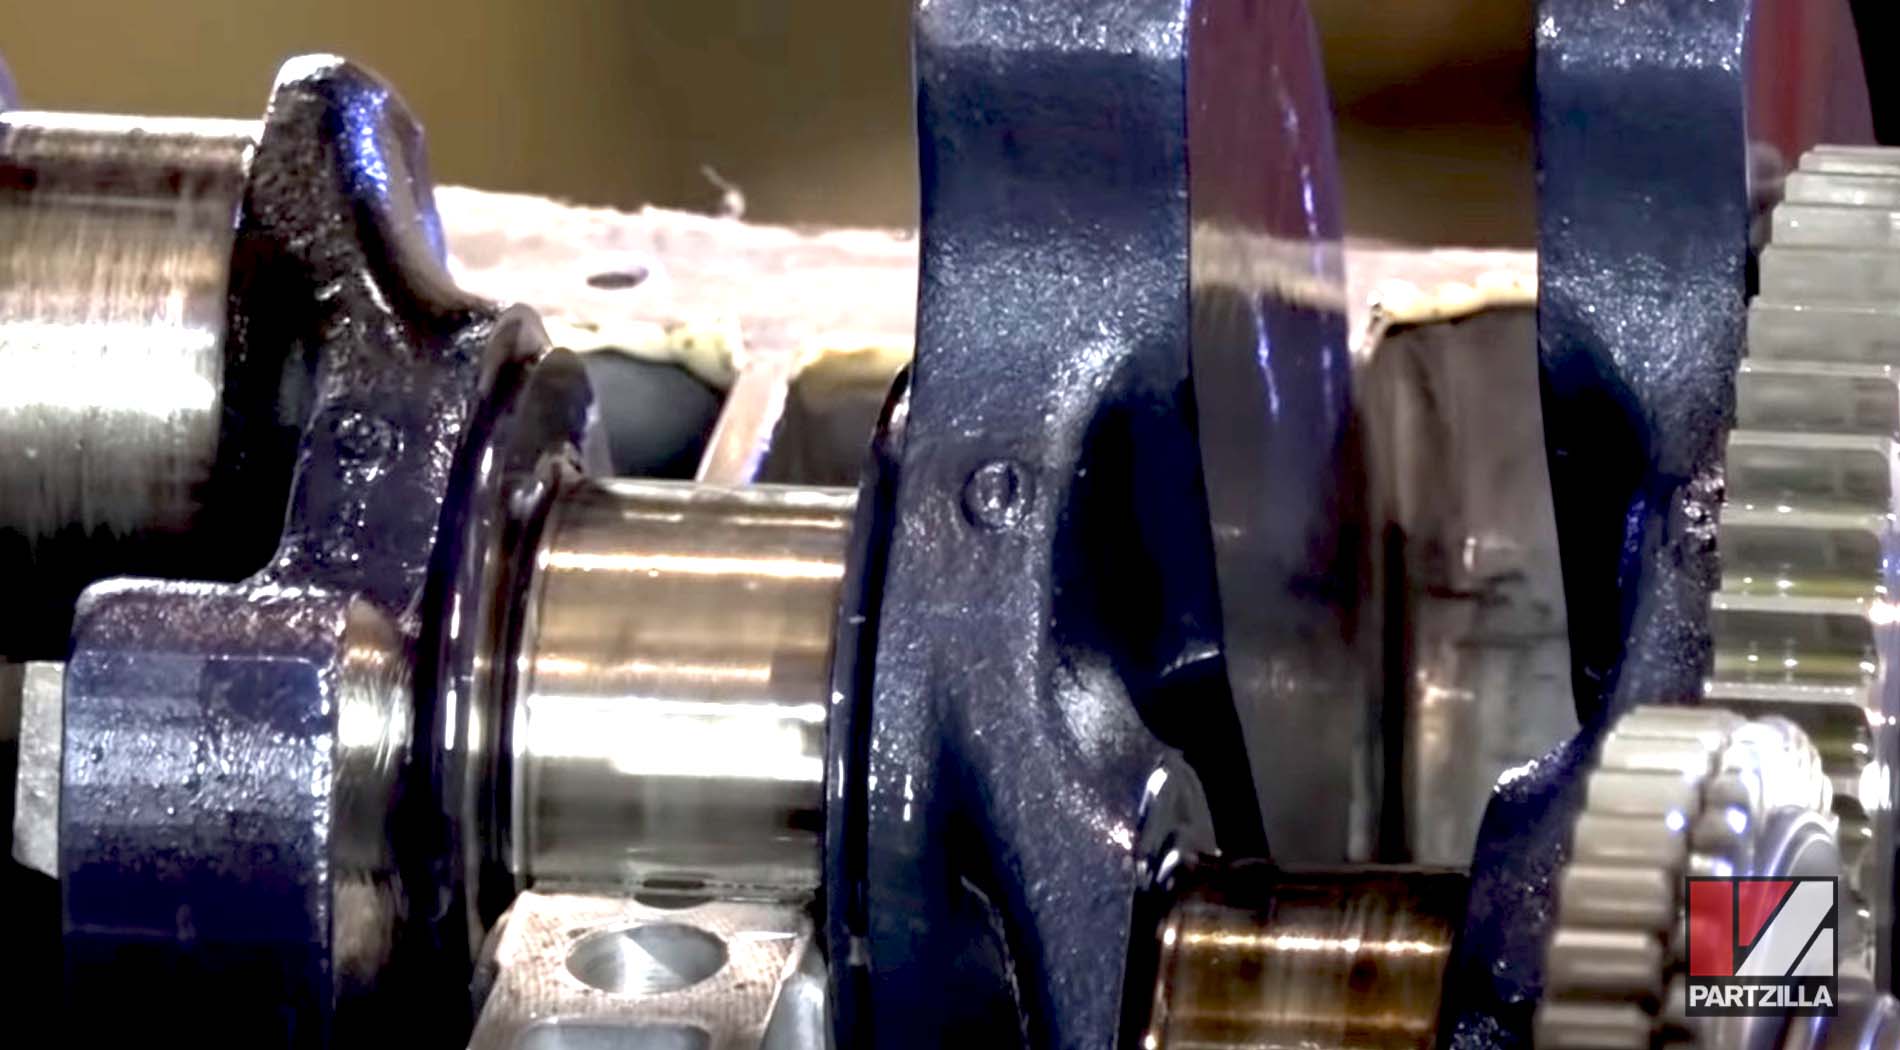
Watch the clip below to see the crankshaft removal segment of our Polaris RZR 900XP engine rebuild video.
With the Polaris RZR’s motor completely disassembled, inspect it for wear or signs of internal damage, order the replacement parts you’ll need to bring it back to peak condition and start the reassembly process.
The next stage in our Polaris RZR 900 engine rebuild project is the bottom end rebuild. Watch our Polaris RZR 900 Engine Rebuild Part 5 video below to see how to get that done.
