Polaris ATV Clutch Rebuild Part Two: Rebuilding the Clutch
If your Polaris ATV suffers from jerky or poor acceleration even after replacing the drive belt, the clutch is likely the issue and replacing its components comes next.
We covered how to remove the clutch in the first part of our Polaris Sportsman 850 clutch rebuild. In part two of our three-part series, we cover how to rebuild the clutch in a Polaris ATV. Watch the video above and follow the steps below to rebuild the clutch for a Polaris 850 Sportsman.
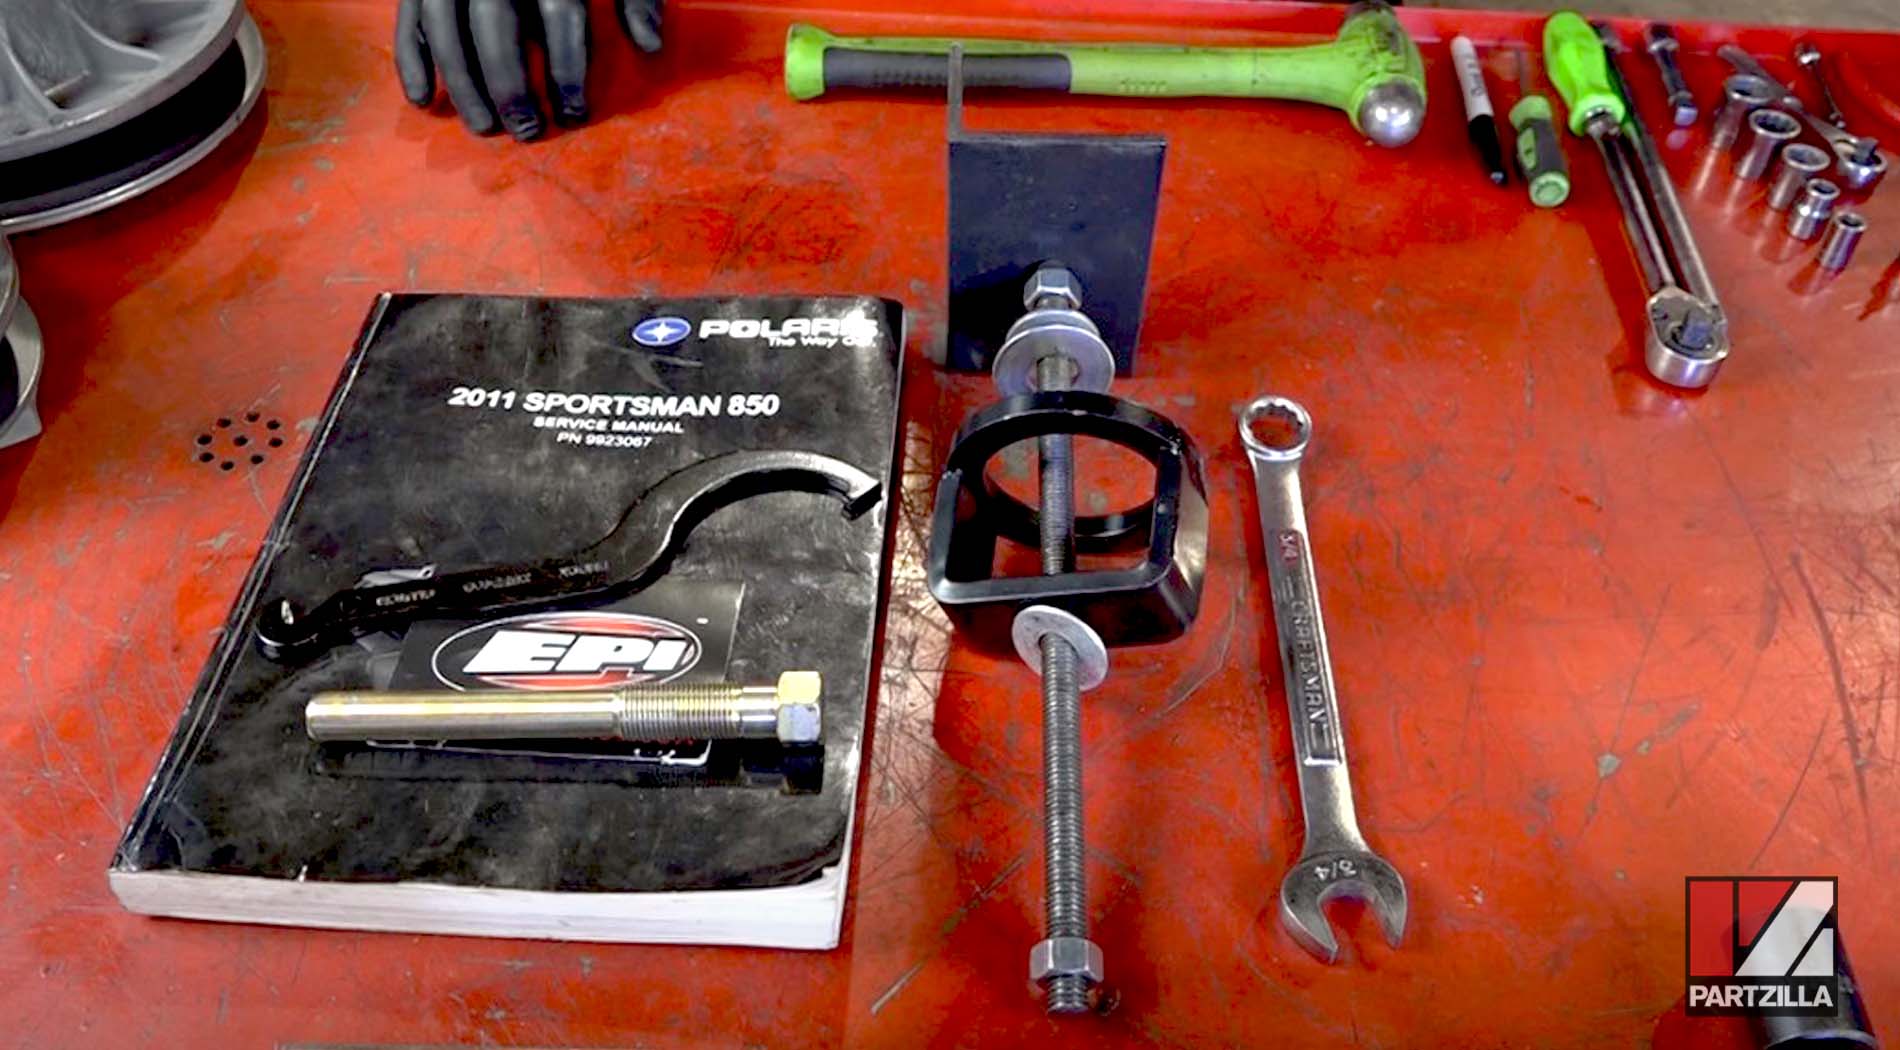
Tools – Polaris Sportsman ATV Clutch Rebuild
- 15mm, 17mm, 18mm, 22mm sockets
- 3/4th box wrench
- Two 10mm sockets— one for a 3/8 drive, one for a 1/4th drive
- 1/4th, 3/8th ratchet drives
- 2mm Allen
- Drive extensions
- Pliers
- Small pick tool
- Medium hammer
- Clutch puller
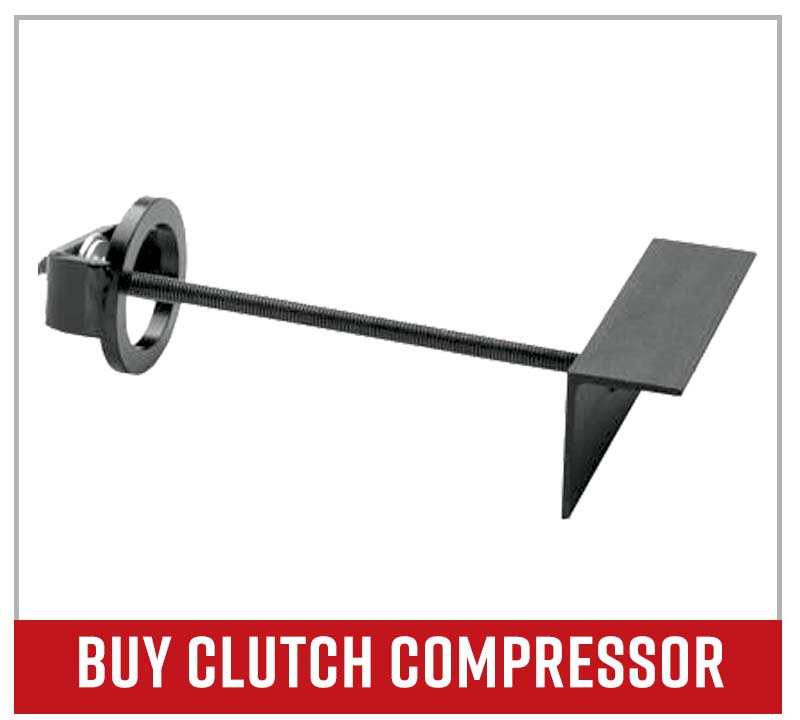
- Clutch compression tool
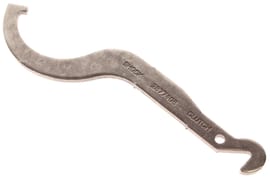
- Span/spreader wrench
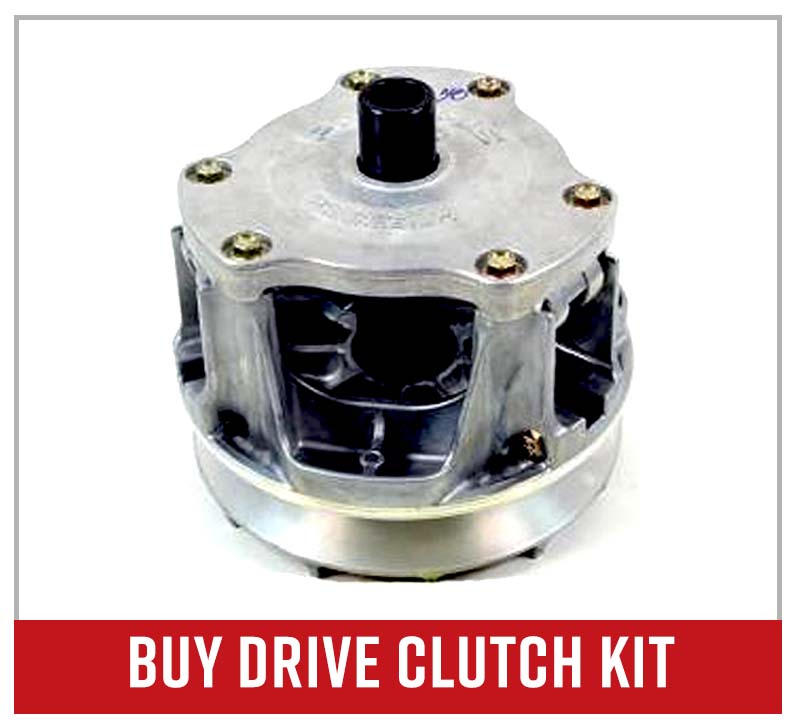
- Clutch rebuild kit
NOTE: The primary clutch is also referred to as the drive clutch and the secondary clutch as the driven clutch.
How to Rebuild Polaris ATV Primary Clutch
Step 1. Secure the clutch compression tool to a bench vise or somewhere that will prevent its movement.
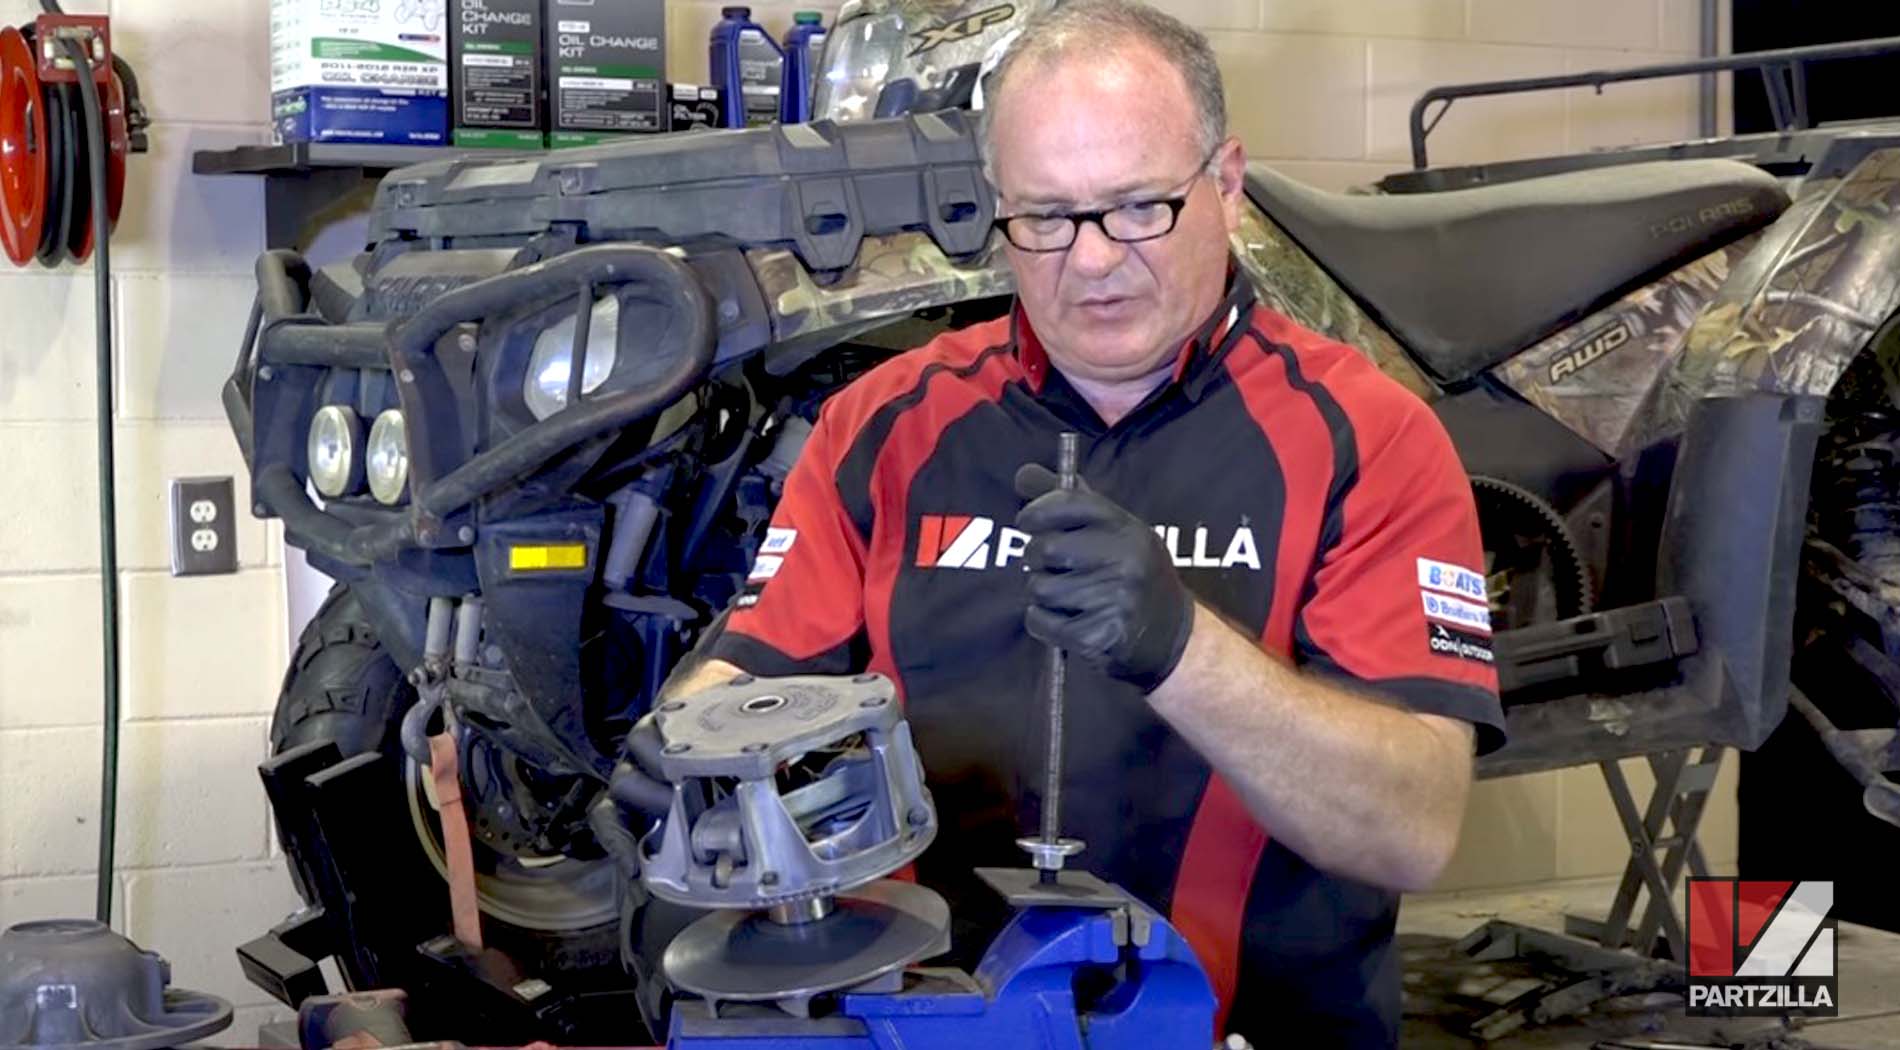
Step 2. Slide the drive clutch down onto the bolt on the clutch compression tool with the bolt running through the center opening in the clutch.
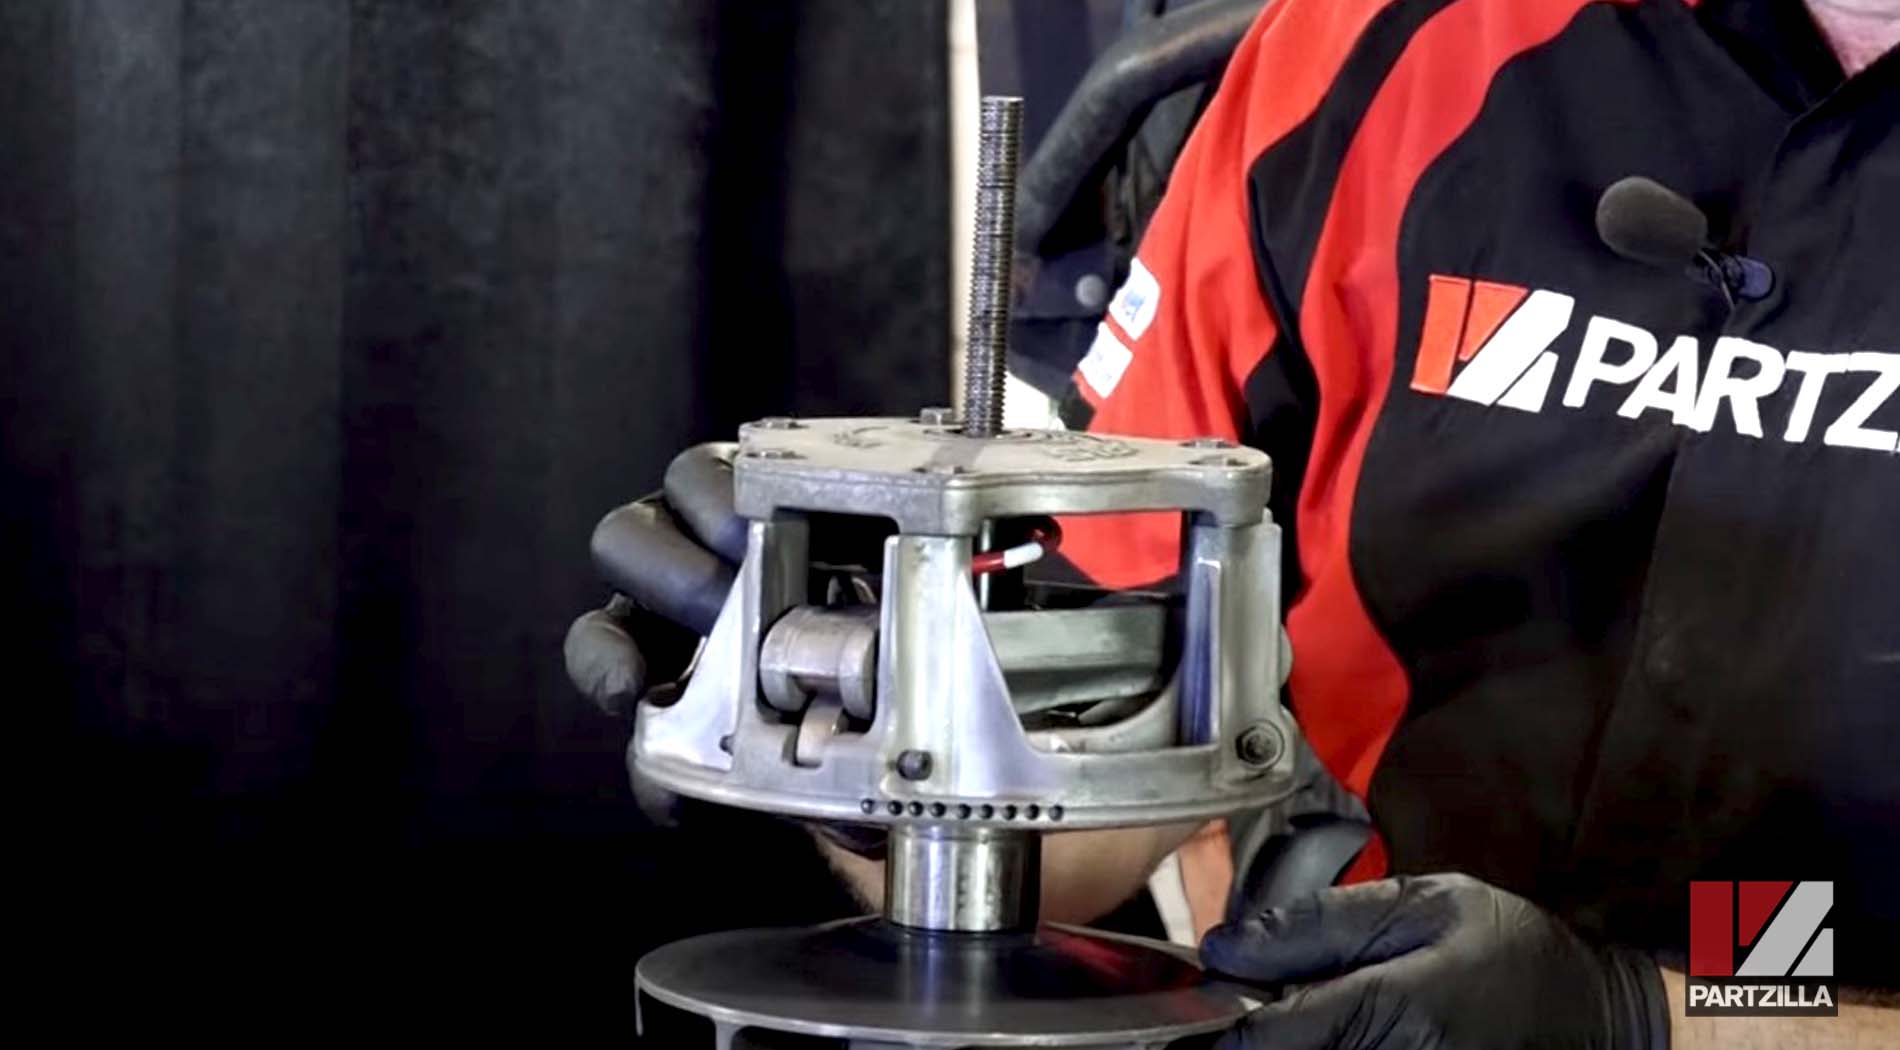
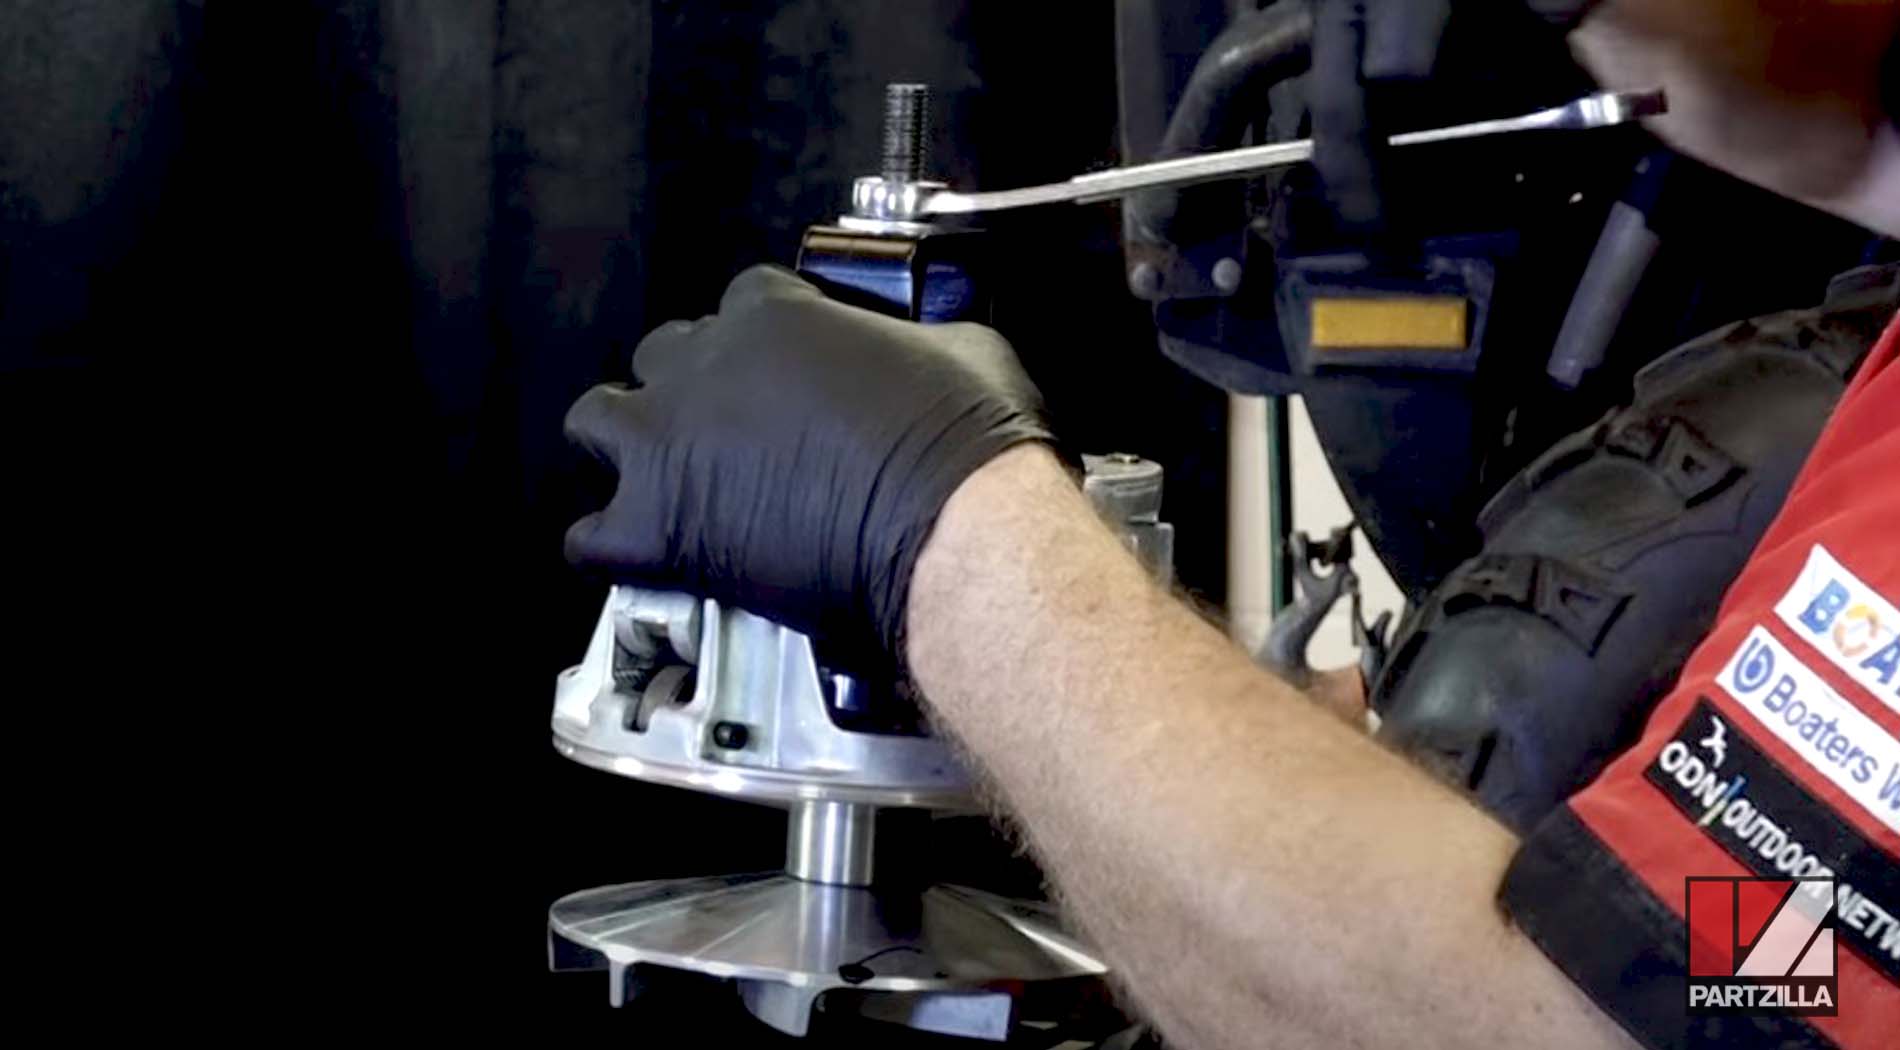
Step 3. Thread the compression piece of the compression tool over the bolt, then use the 3/4th-inch box wrench to tighten down the nut at the top of the compression piece.
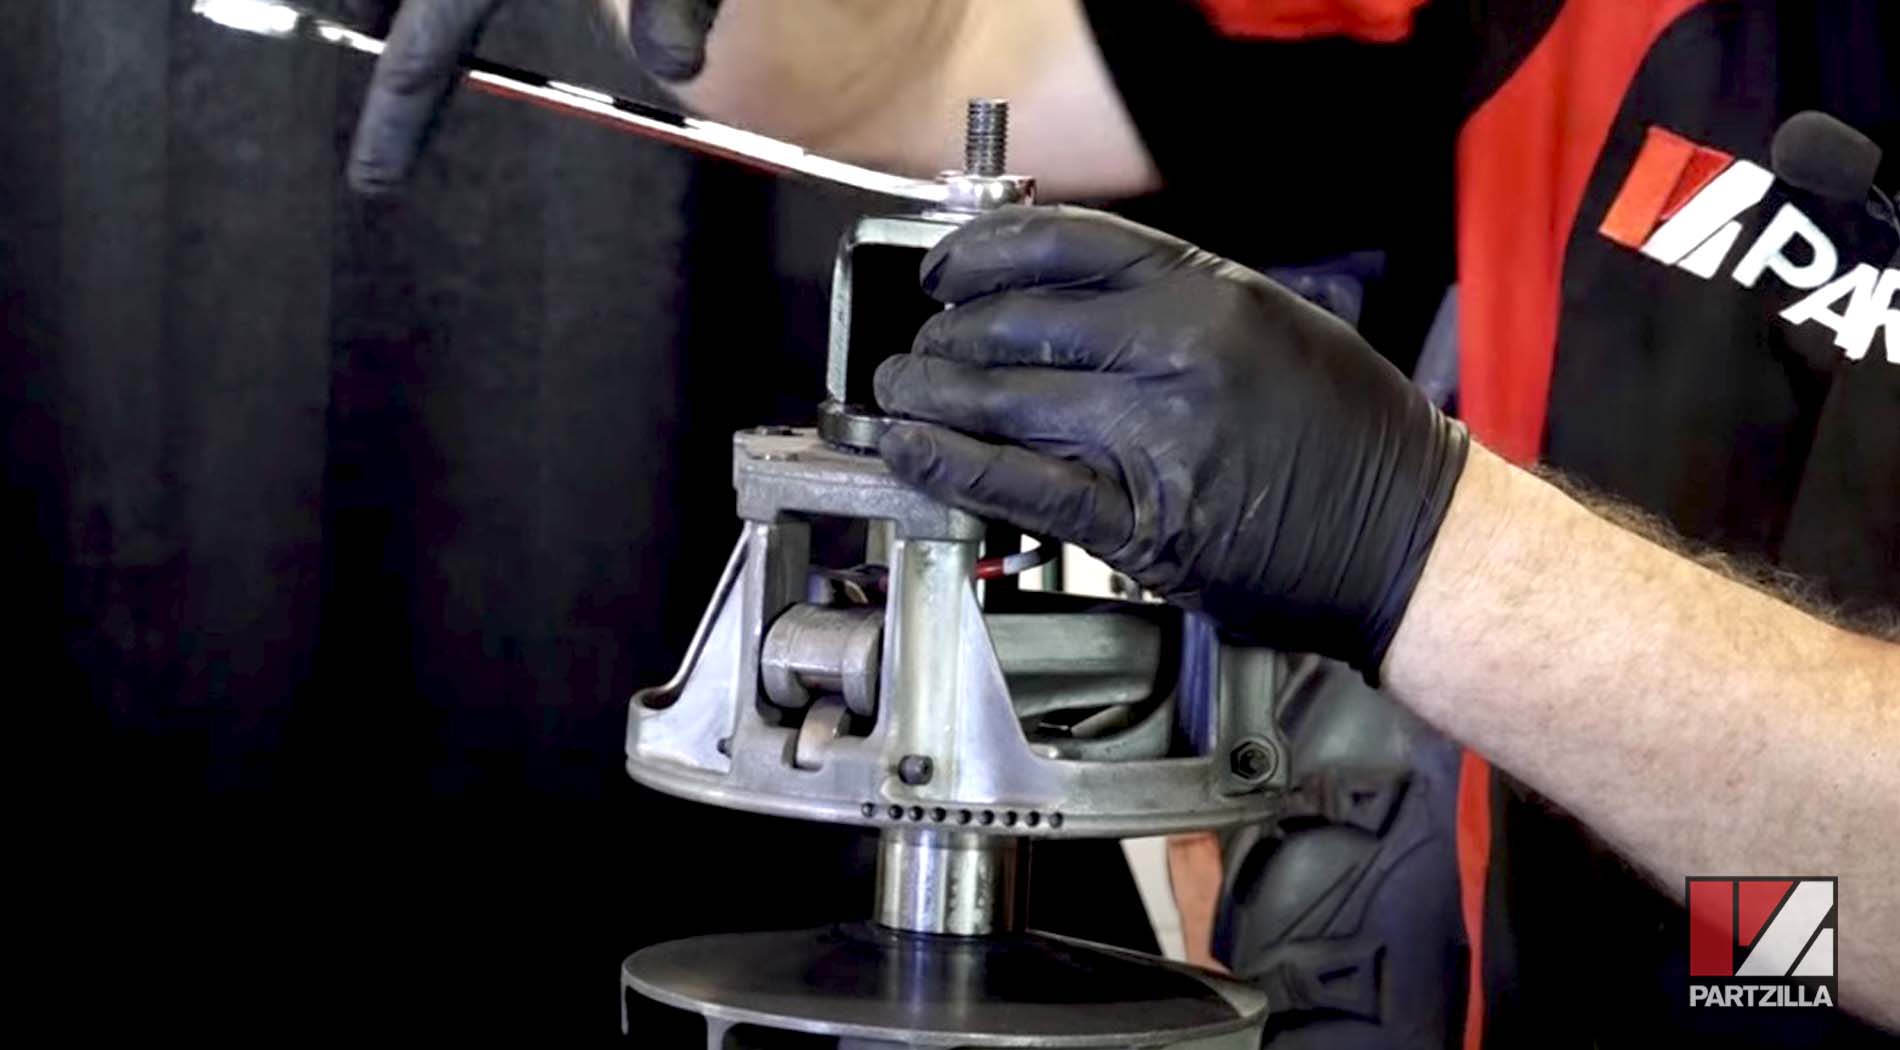
Step 4. Mark the outer plate and the clutch itself with a marker so that the parts can be realigned in the same position during reassembly, if you’re using these same parts.
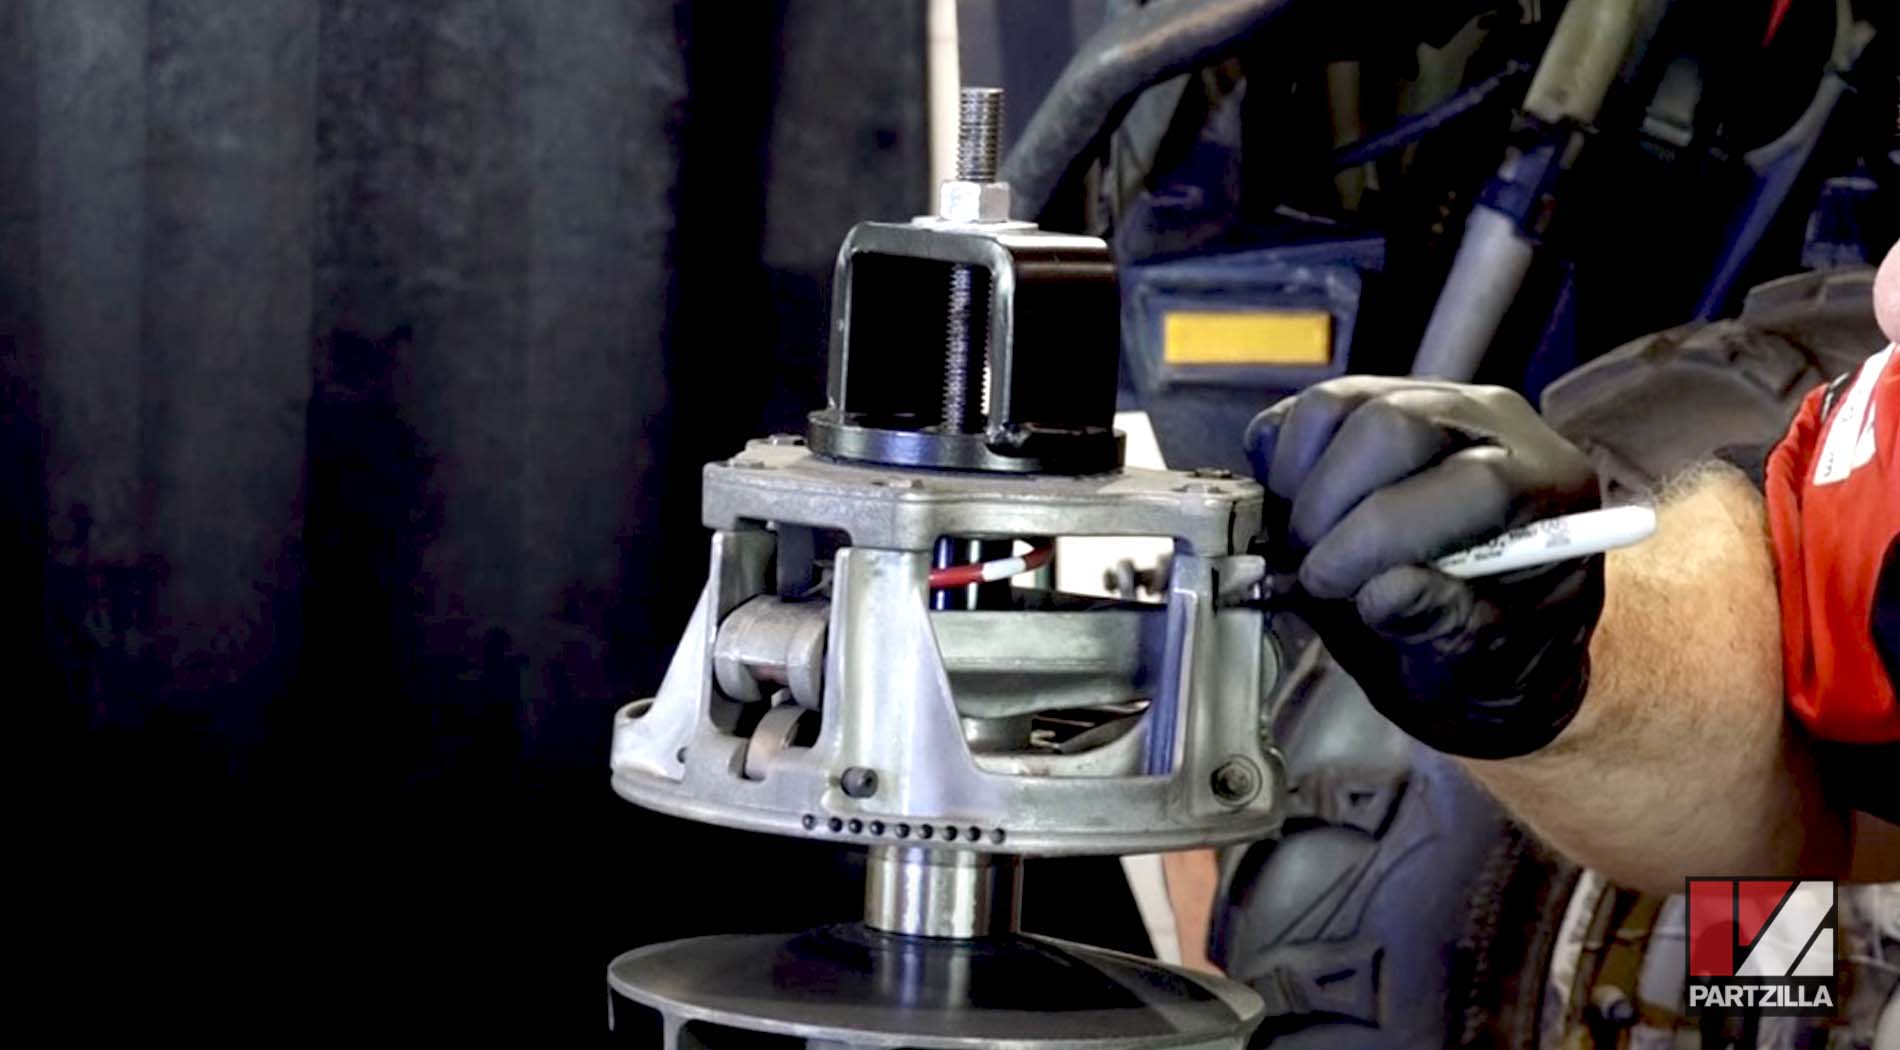
Step 5. Remove the six 10mm bolts holding the outer plate on the clutch.
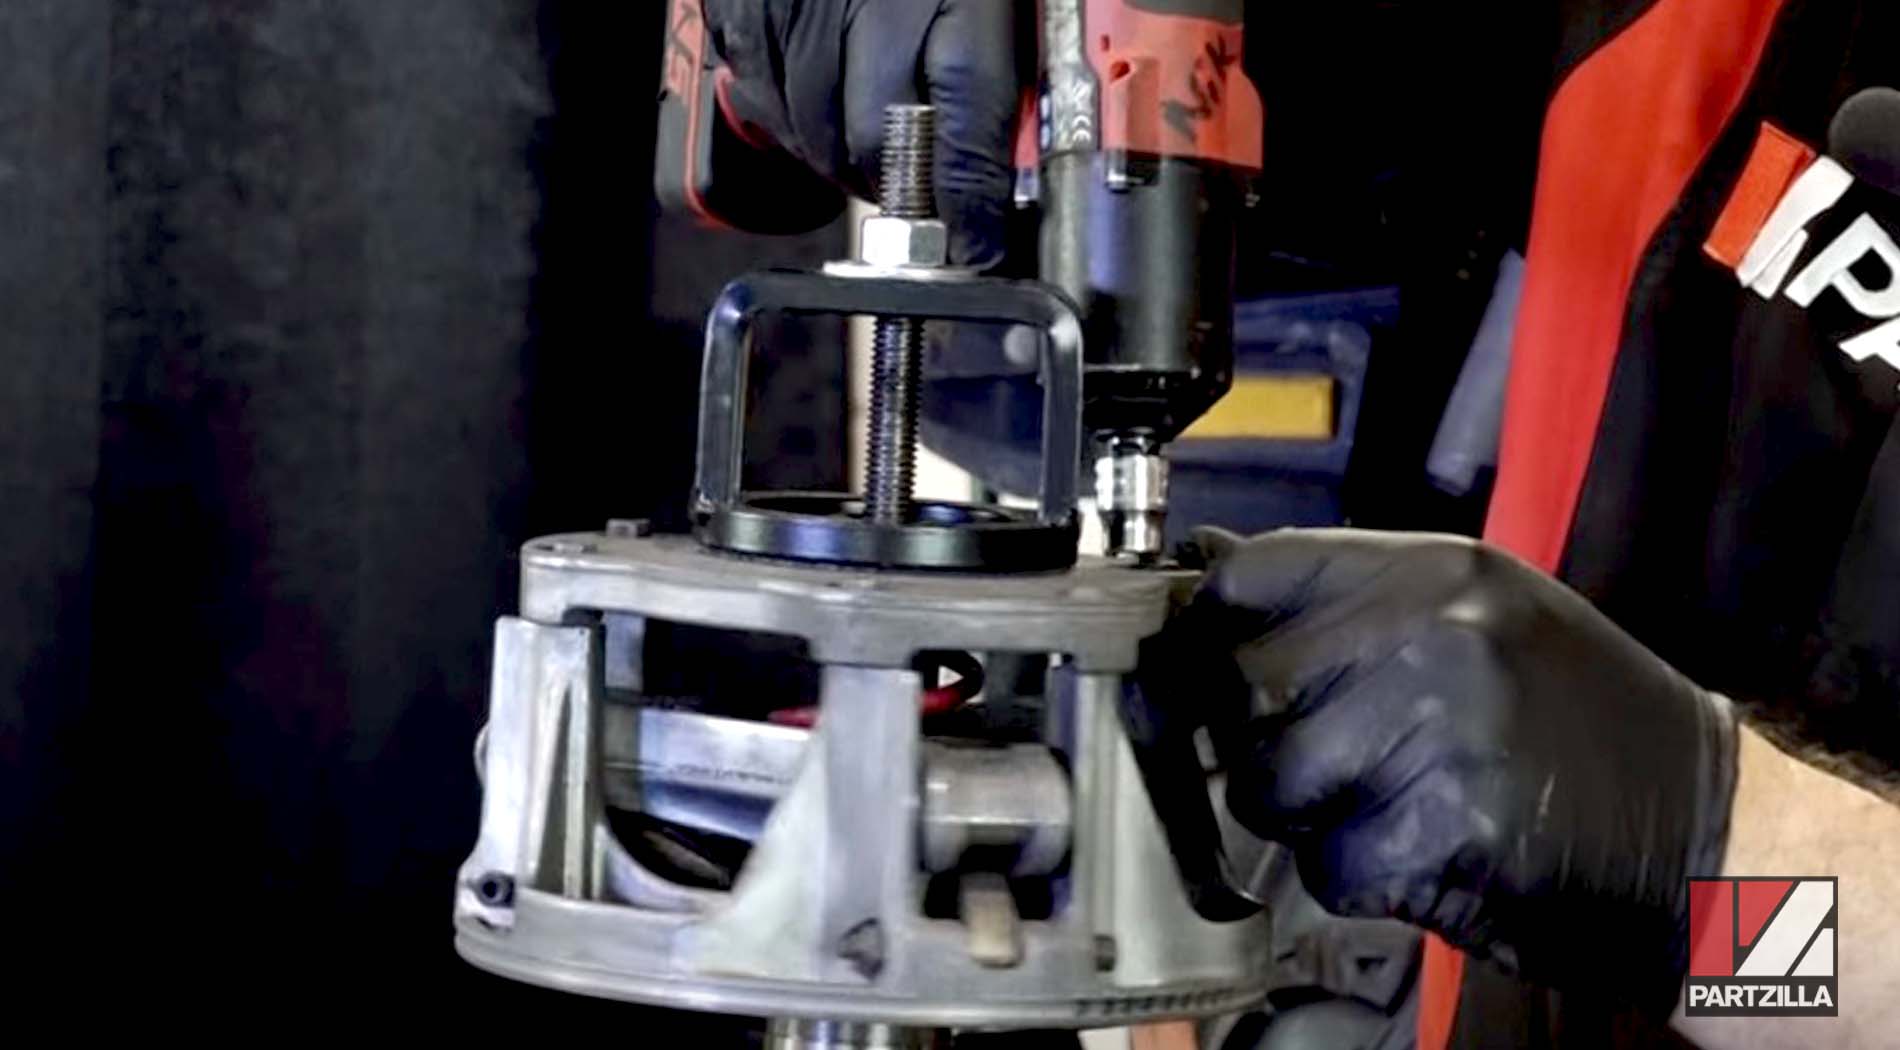
Step 6. Loosen the 3/4-inch nut at the top of the compression tool to release tension on the spring. This allows you to lift the outer plate up and away from the clutch.
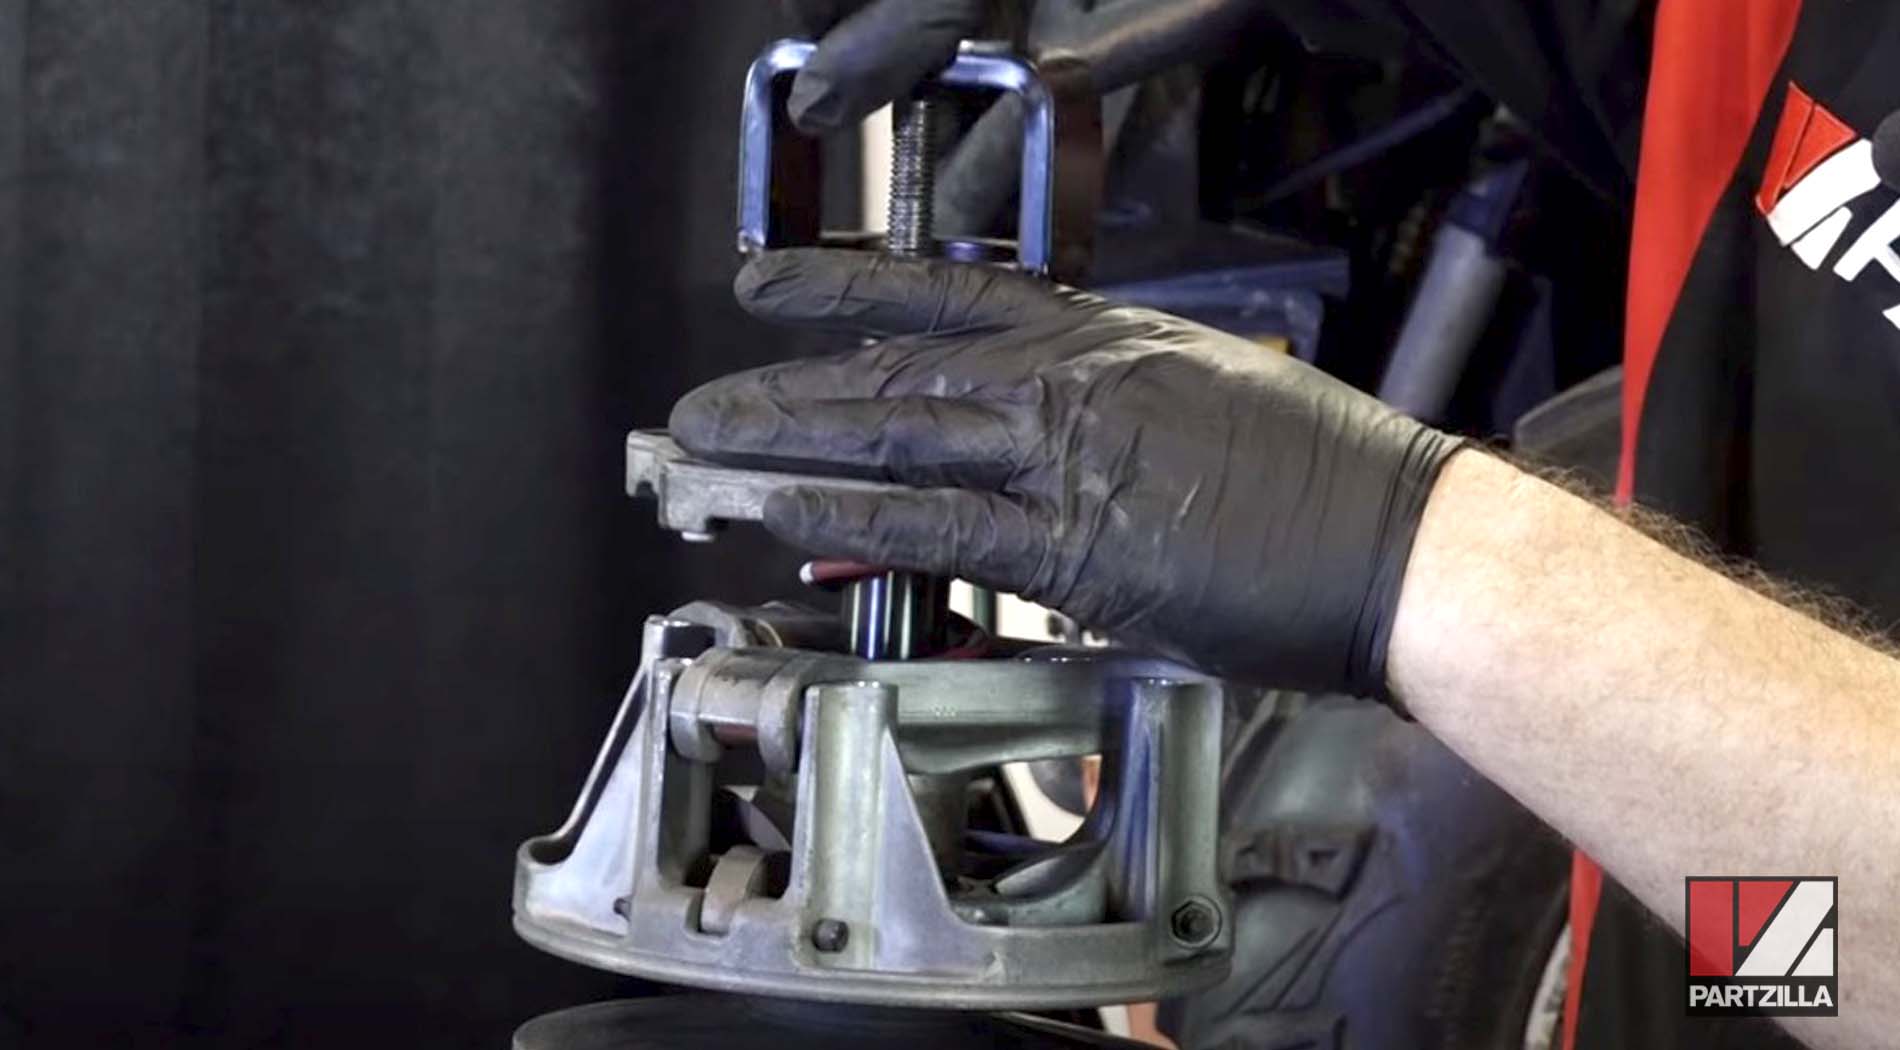
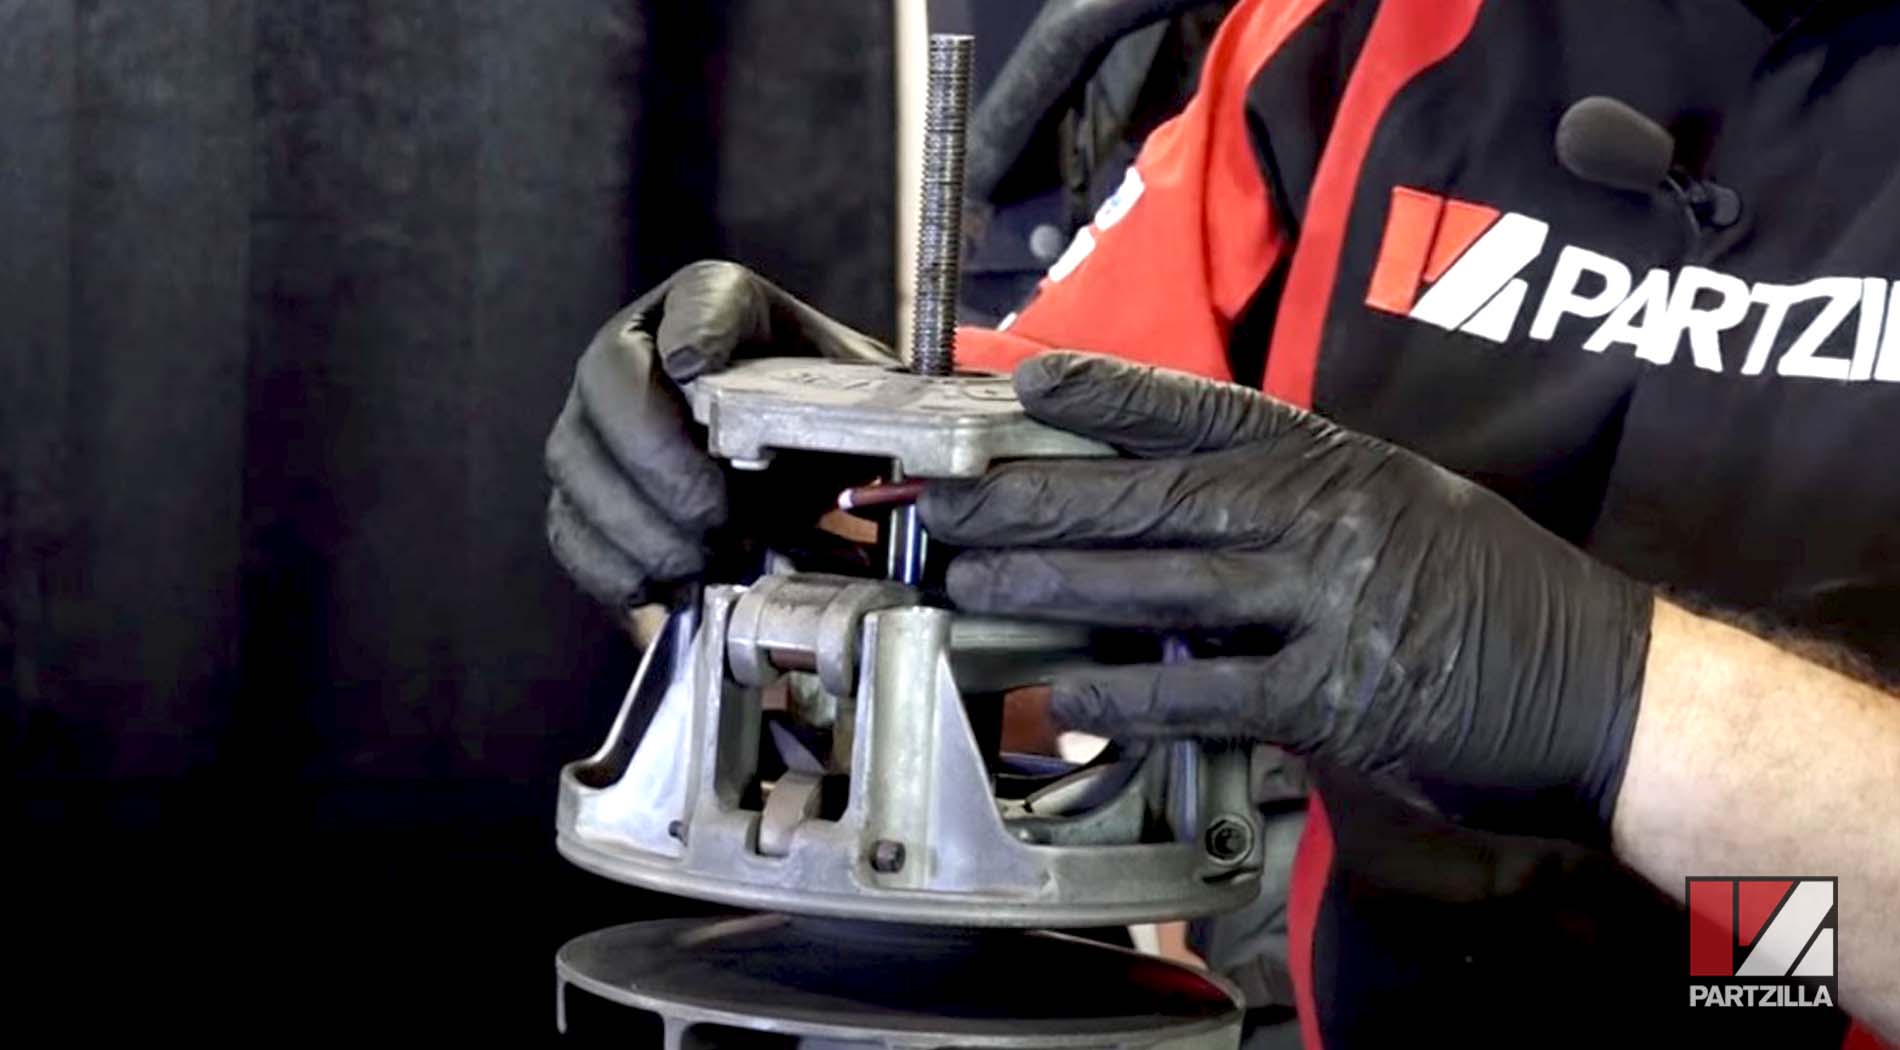
Step 7. Pull the spring from the outer plate, which should come loose by hand.
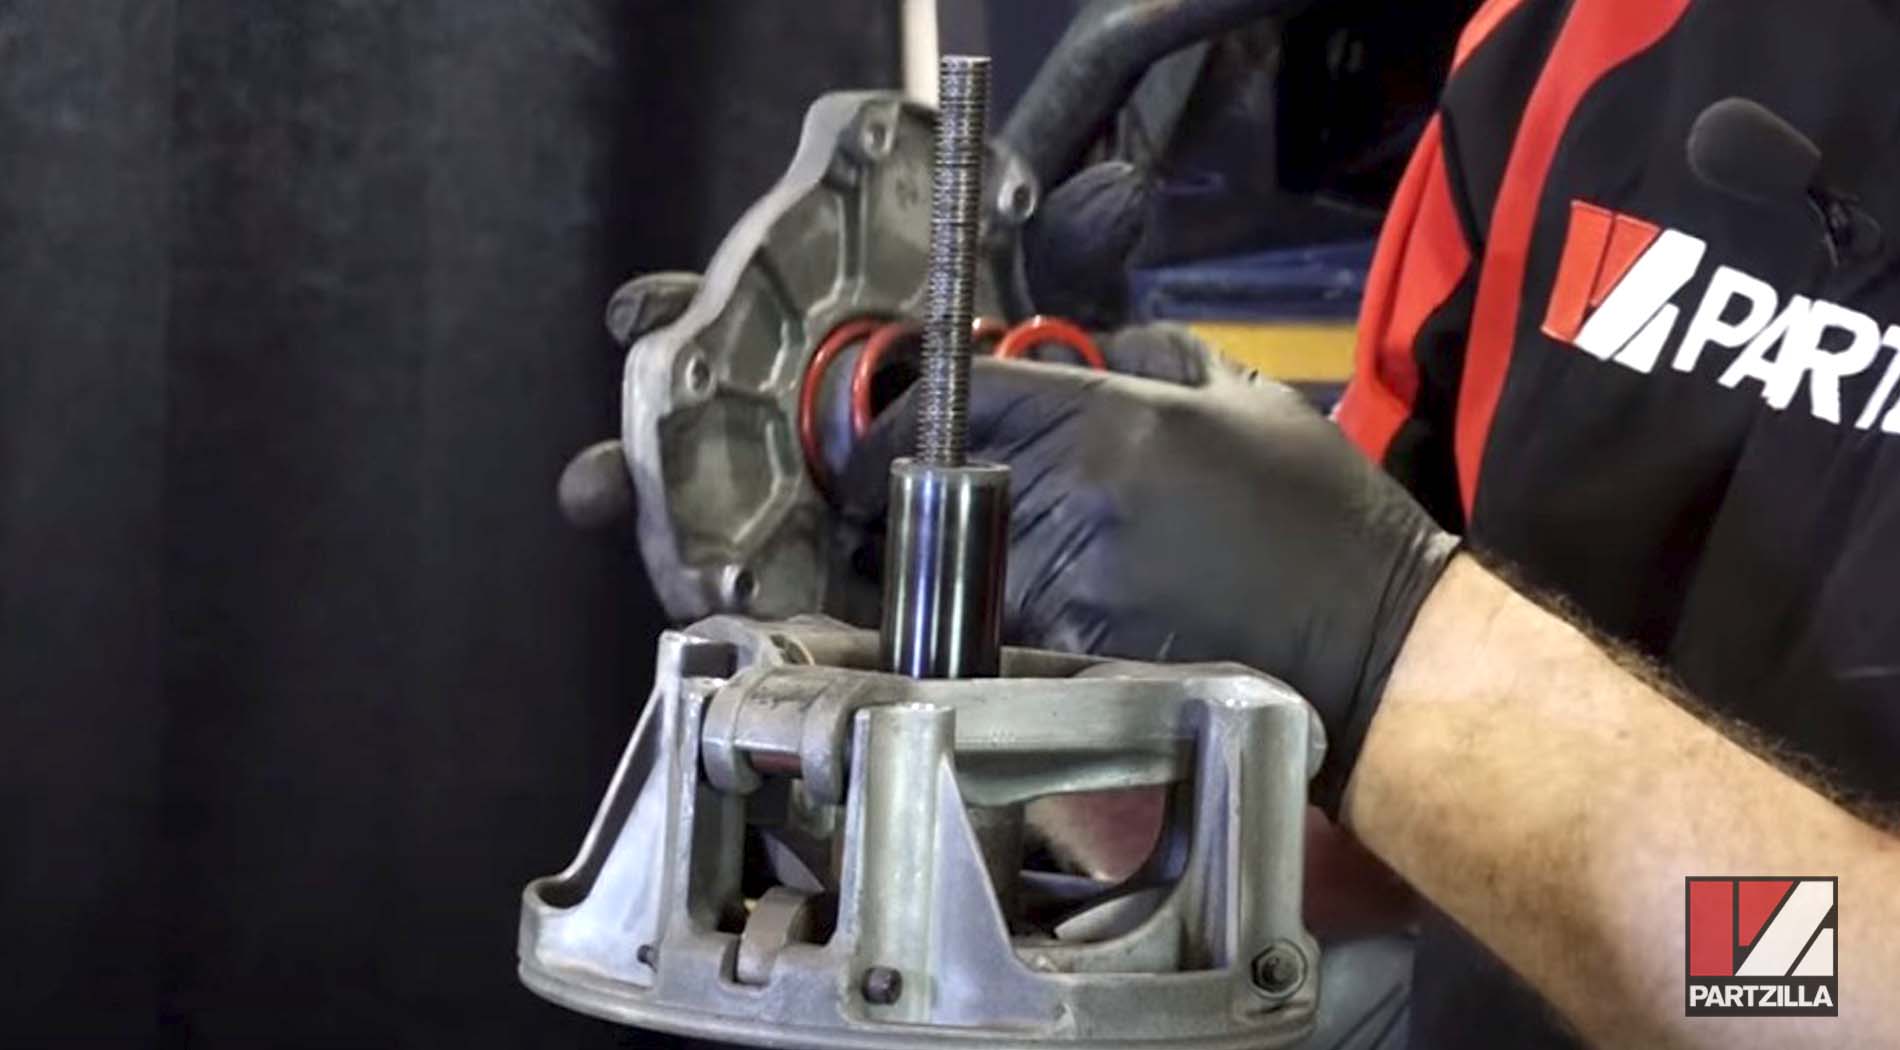
NOTE: Keep the spring, because the clutch rebuild kit doesn’t include the spring or the clutch weights. The spring and the weights are specific to your machine, so they’ll be reused.
Step 8. Remove the three weights that push the clutch sheaves apart during clutch operation. The weights are held in place by a pivot pin. Remove the pin by loosening the 2mm Allen on one side and the 10mm locking bolt on the other side of the pin.
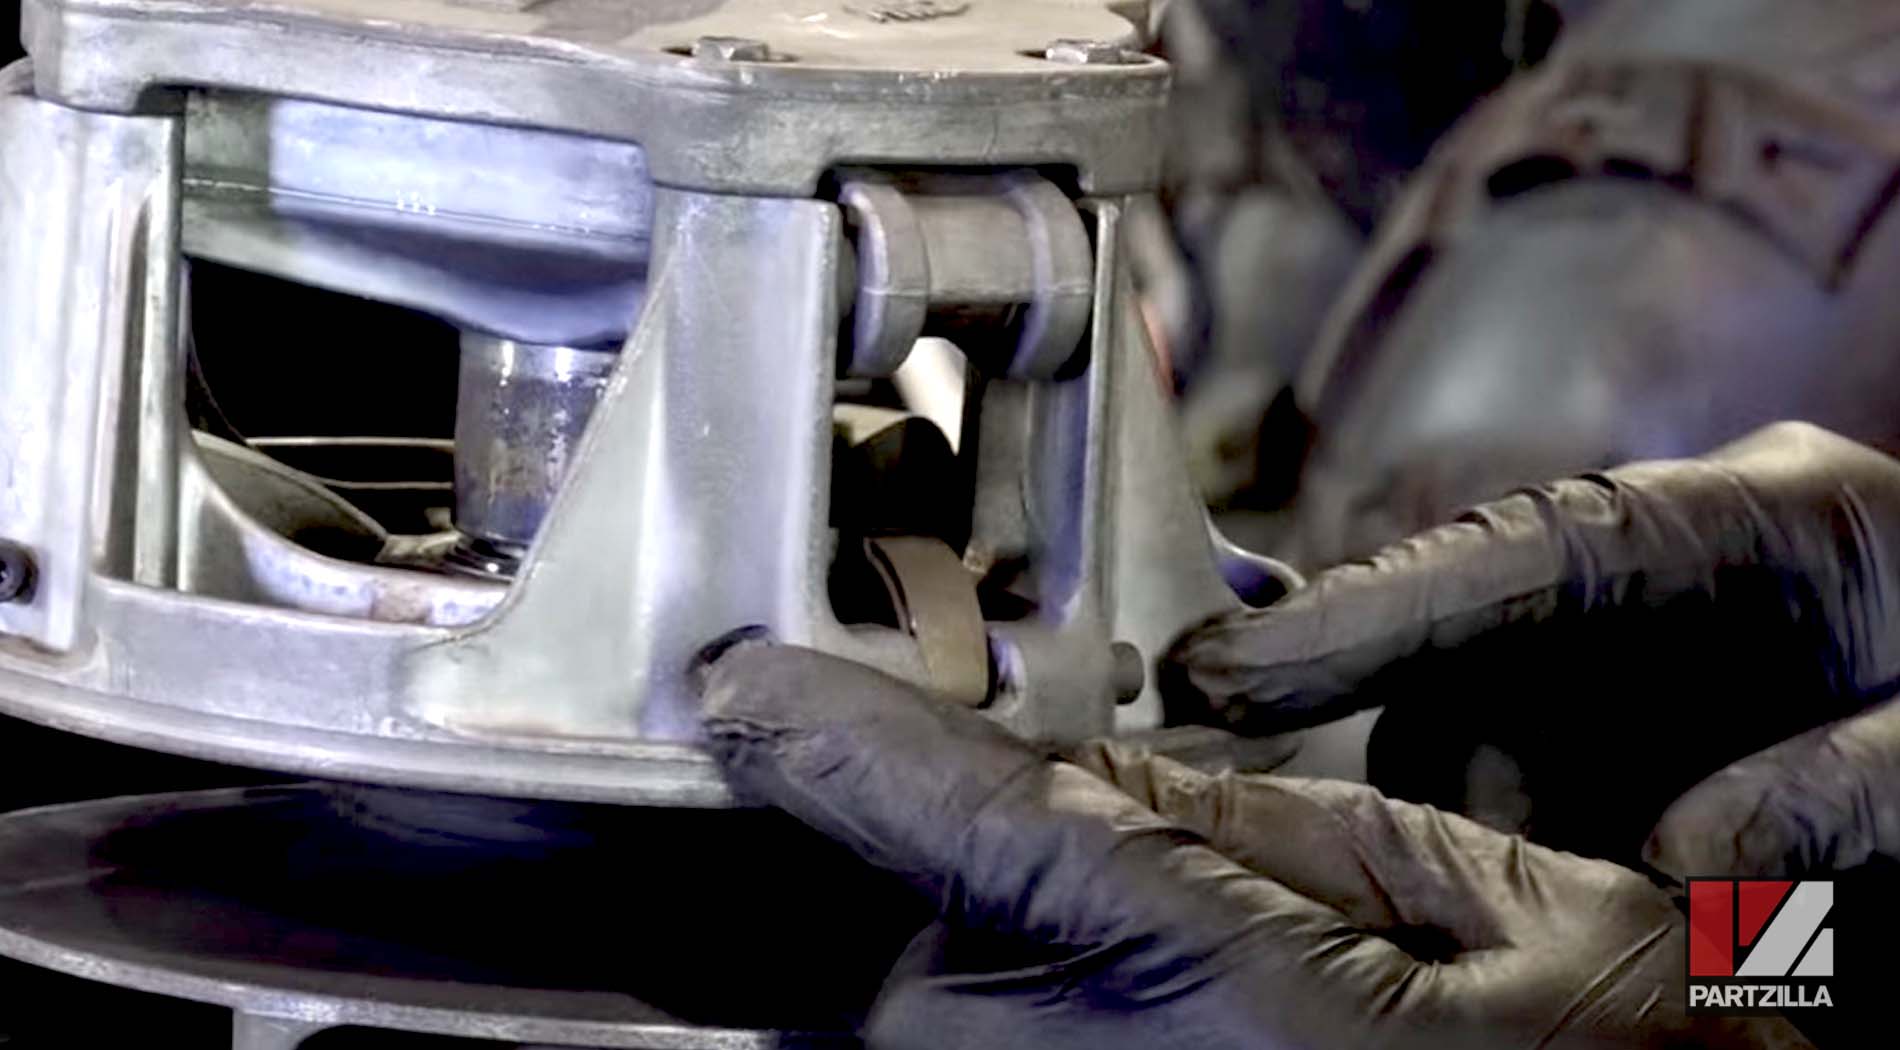
PRO TIP: The pins are sometimes difficult to remove. Applying pressure with a pick tool to one end of the pin can help the pin slide out. Remember to keep the weights for use in the rebuilt clutch.
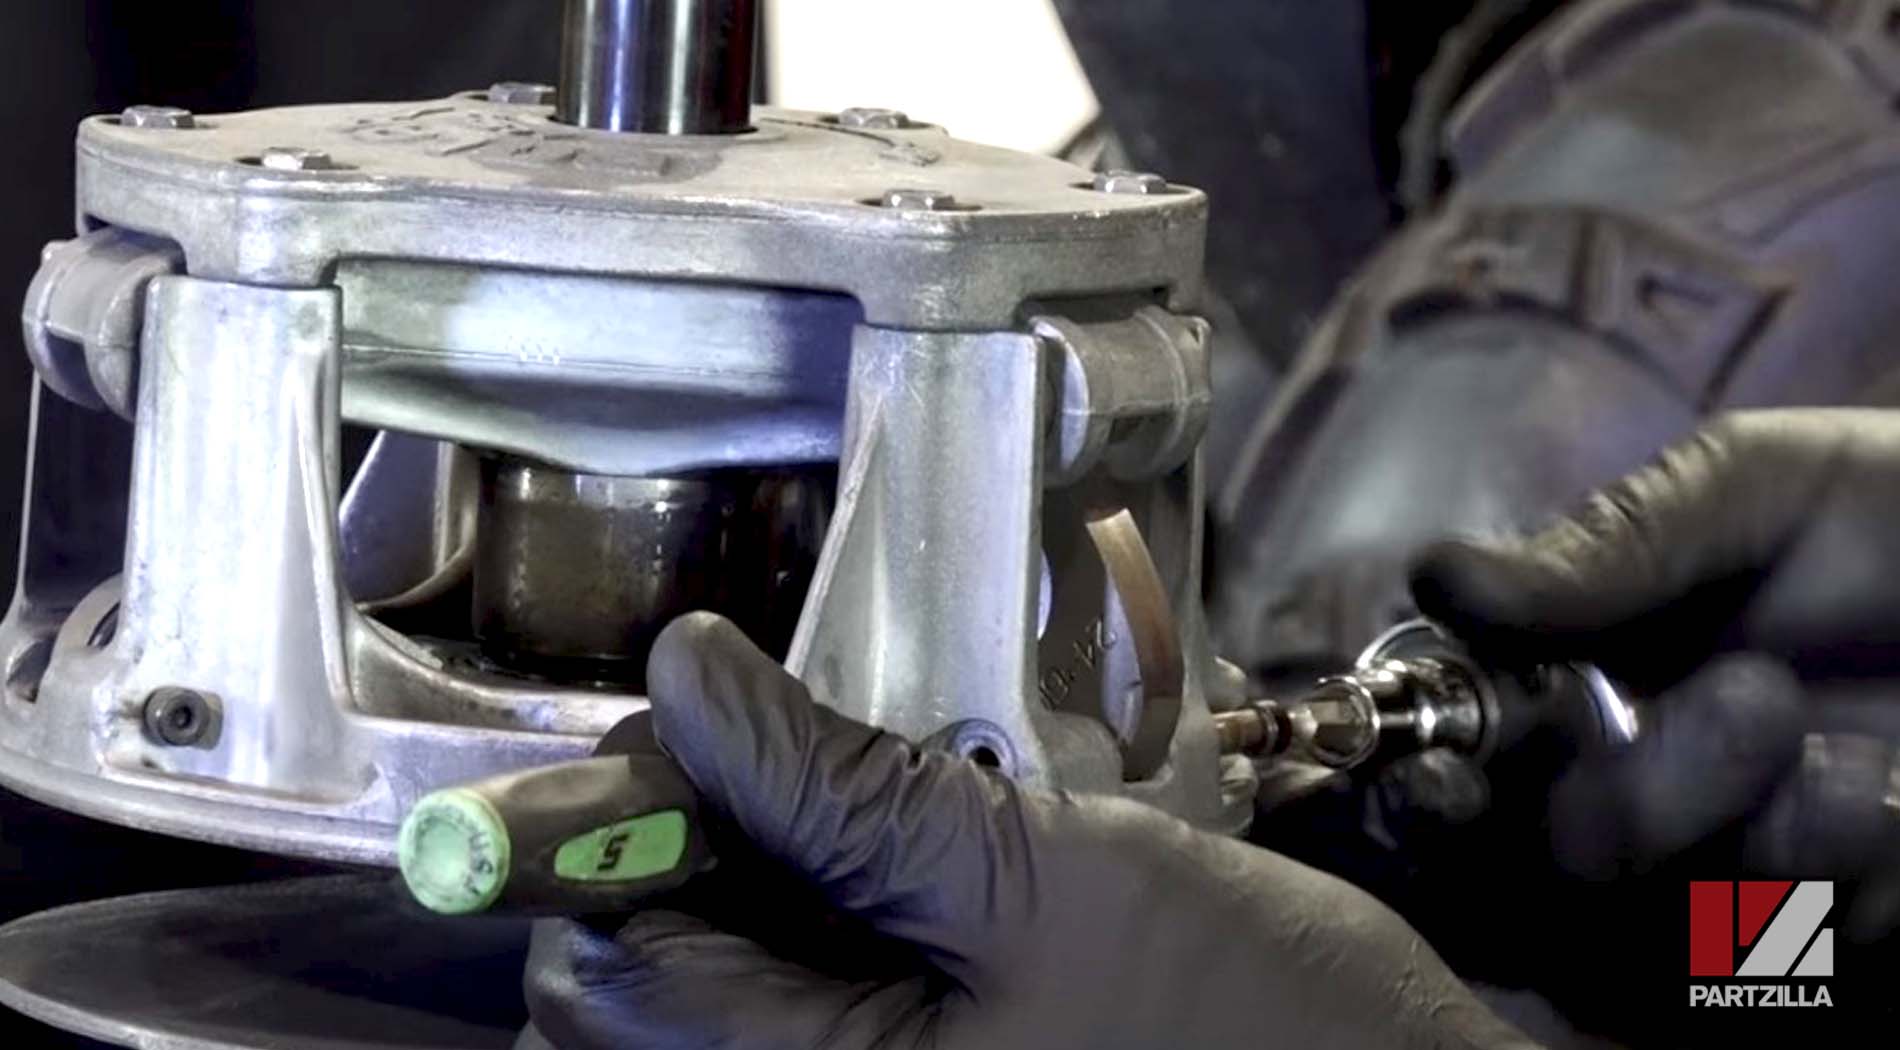
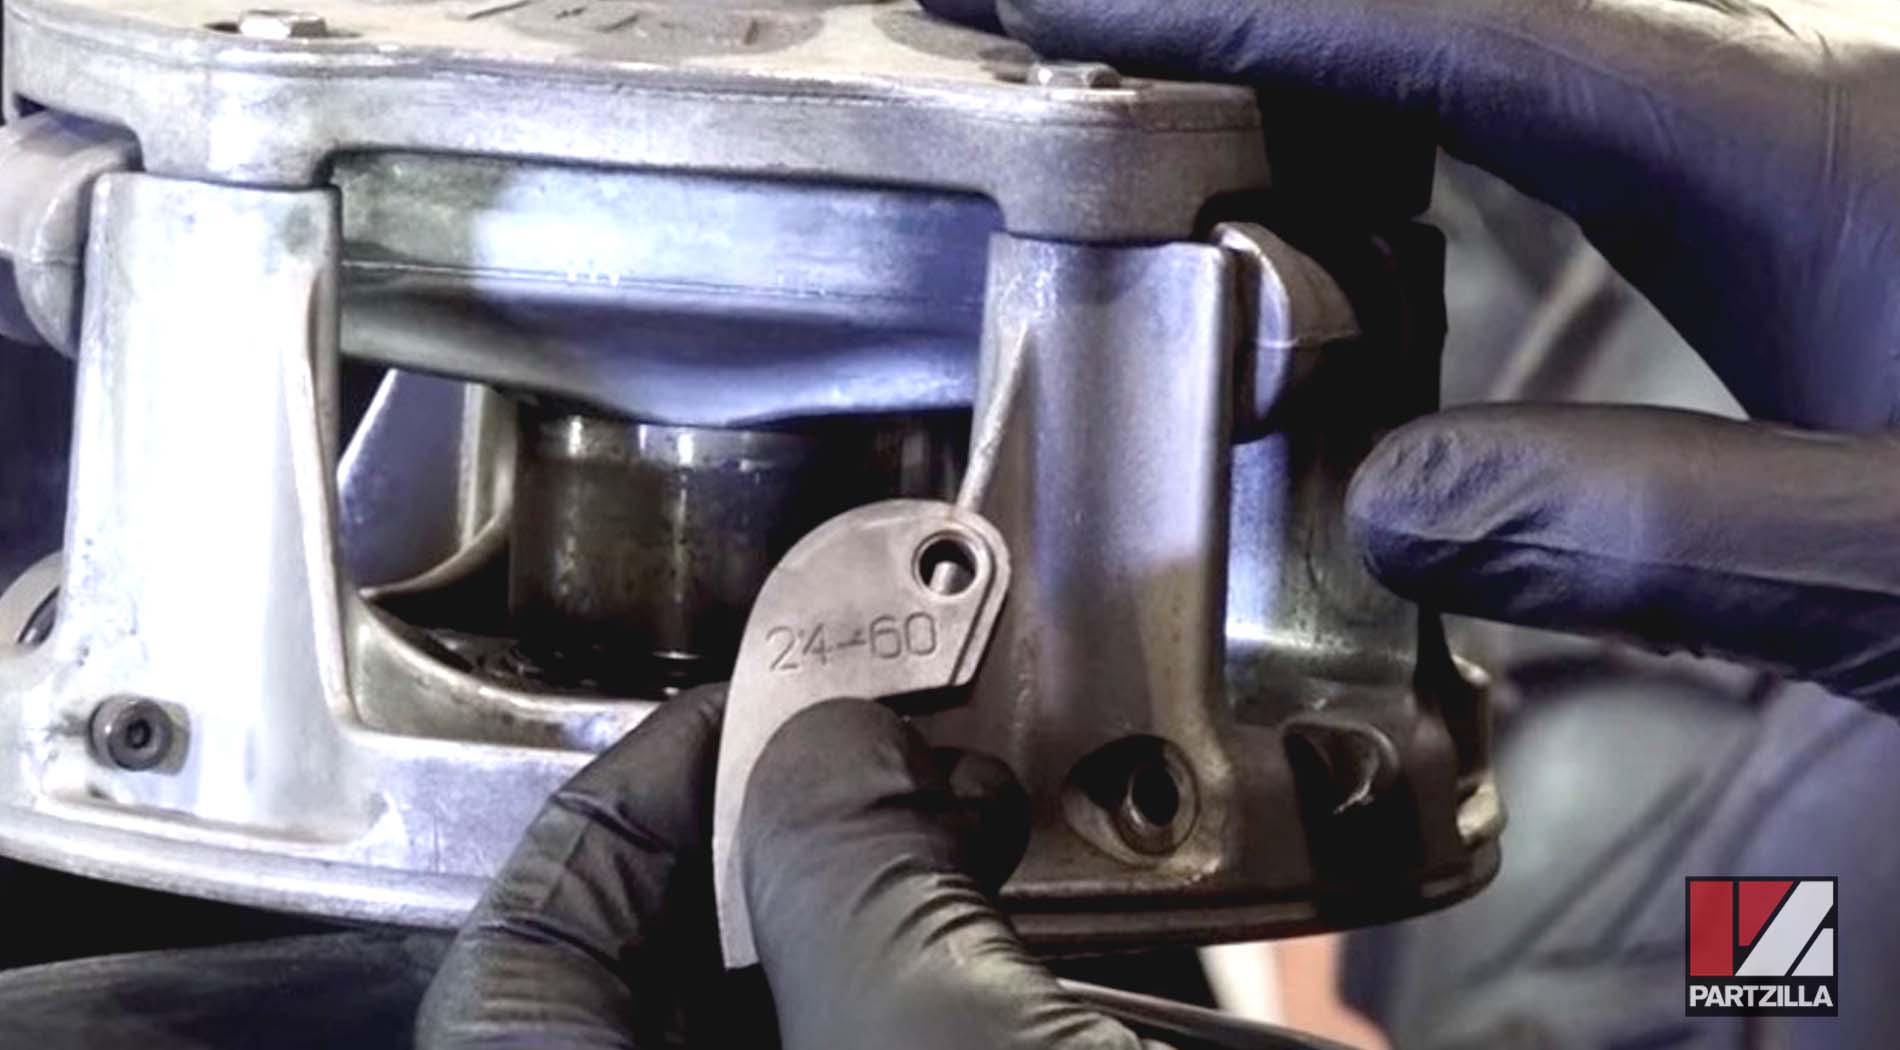
Step 9. Remove the old clutch assembly from the clutch compression tool, then place the new clutch on the tool. The new Polaris clutch assembly comes with pivot pins with the 2mm Allen and 10mm locking bolt. Loosen them in order to replace the weights in the new clutch.
Step 10. Place the weight in the new unit just as they were positioned in the old clutch. Then, slide the pivot pin through the holes into the clutch itself, the weight, and the clutch on the other side. Tighten the 2mm Allen and 10mm locking bolts. Repeat on the other two weights.
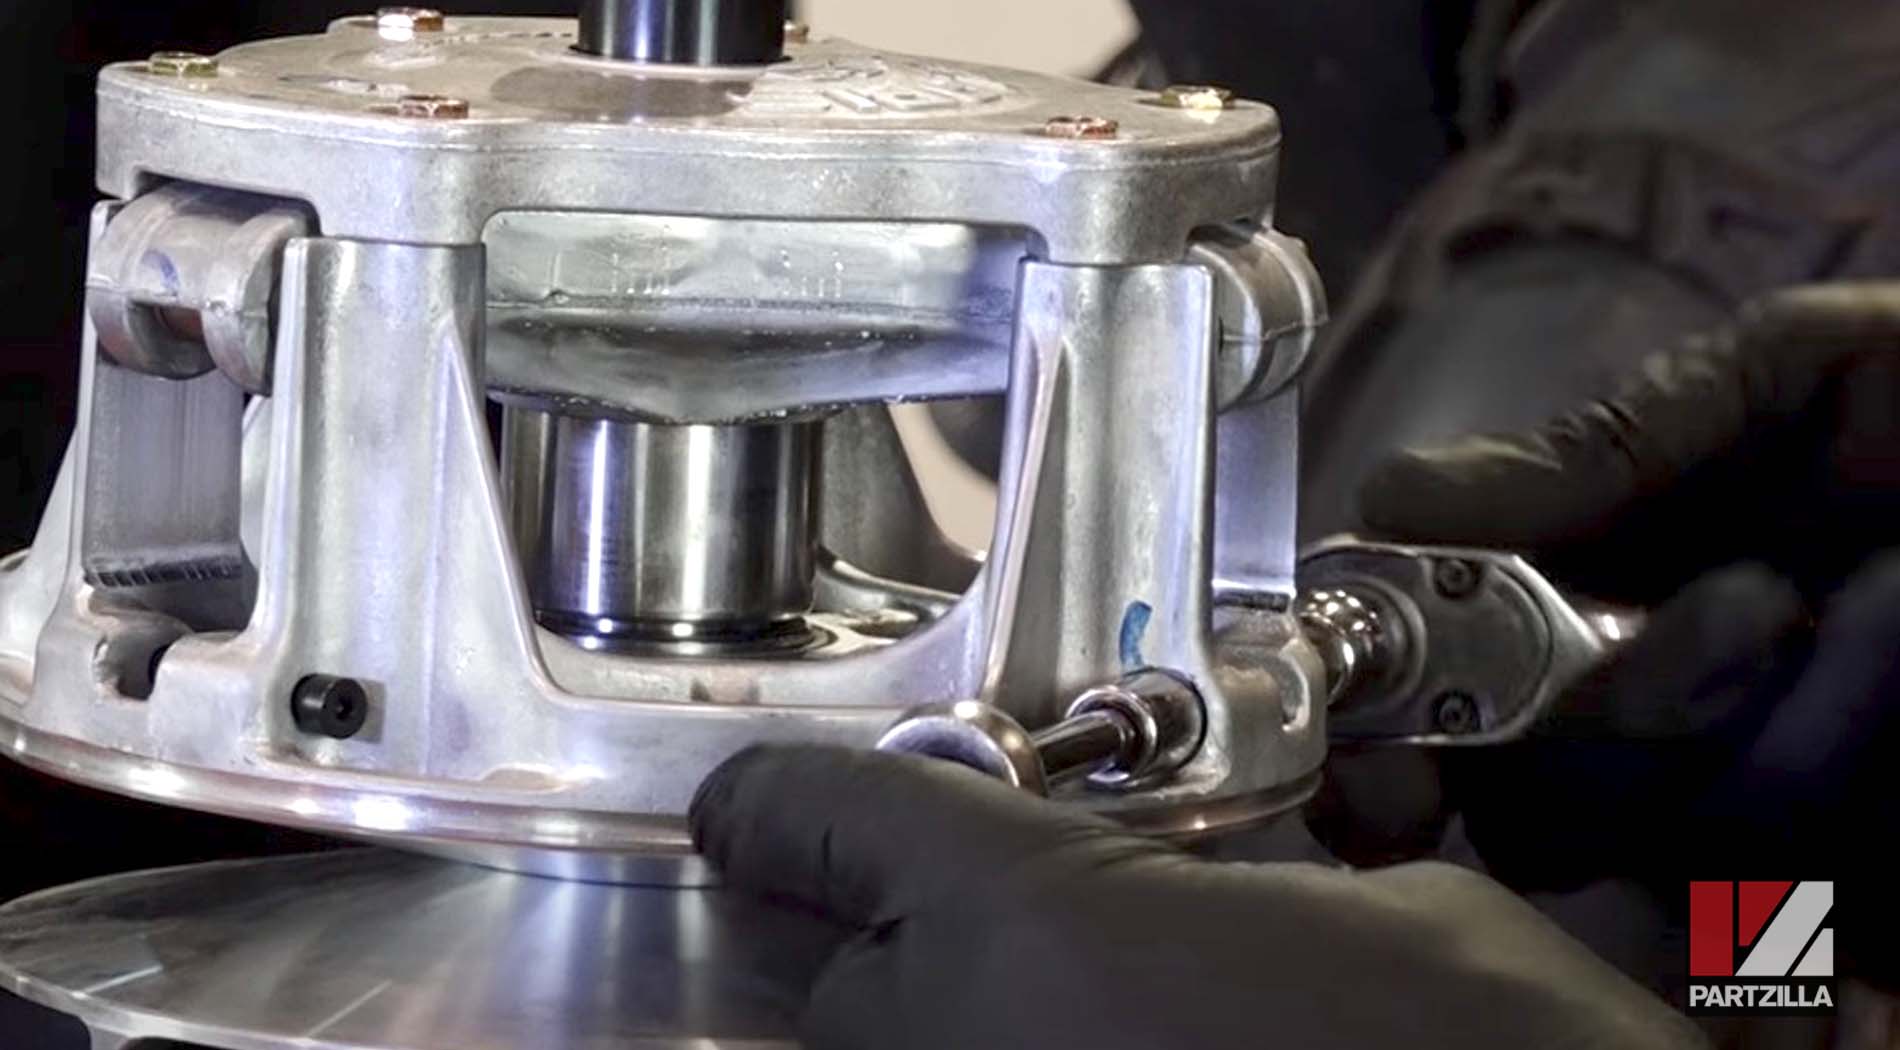
Step 11. Mark the new outer plate and the new clutch itself so that you can realign them correctly when installing the spring (step 13).
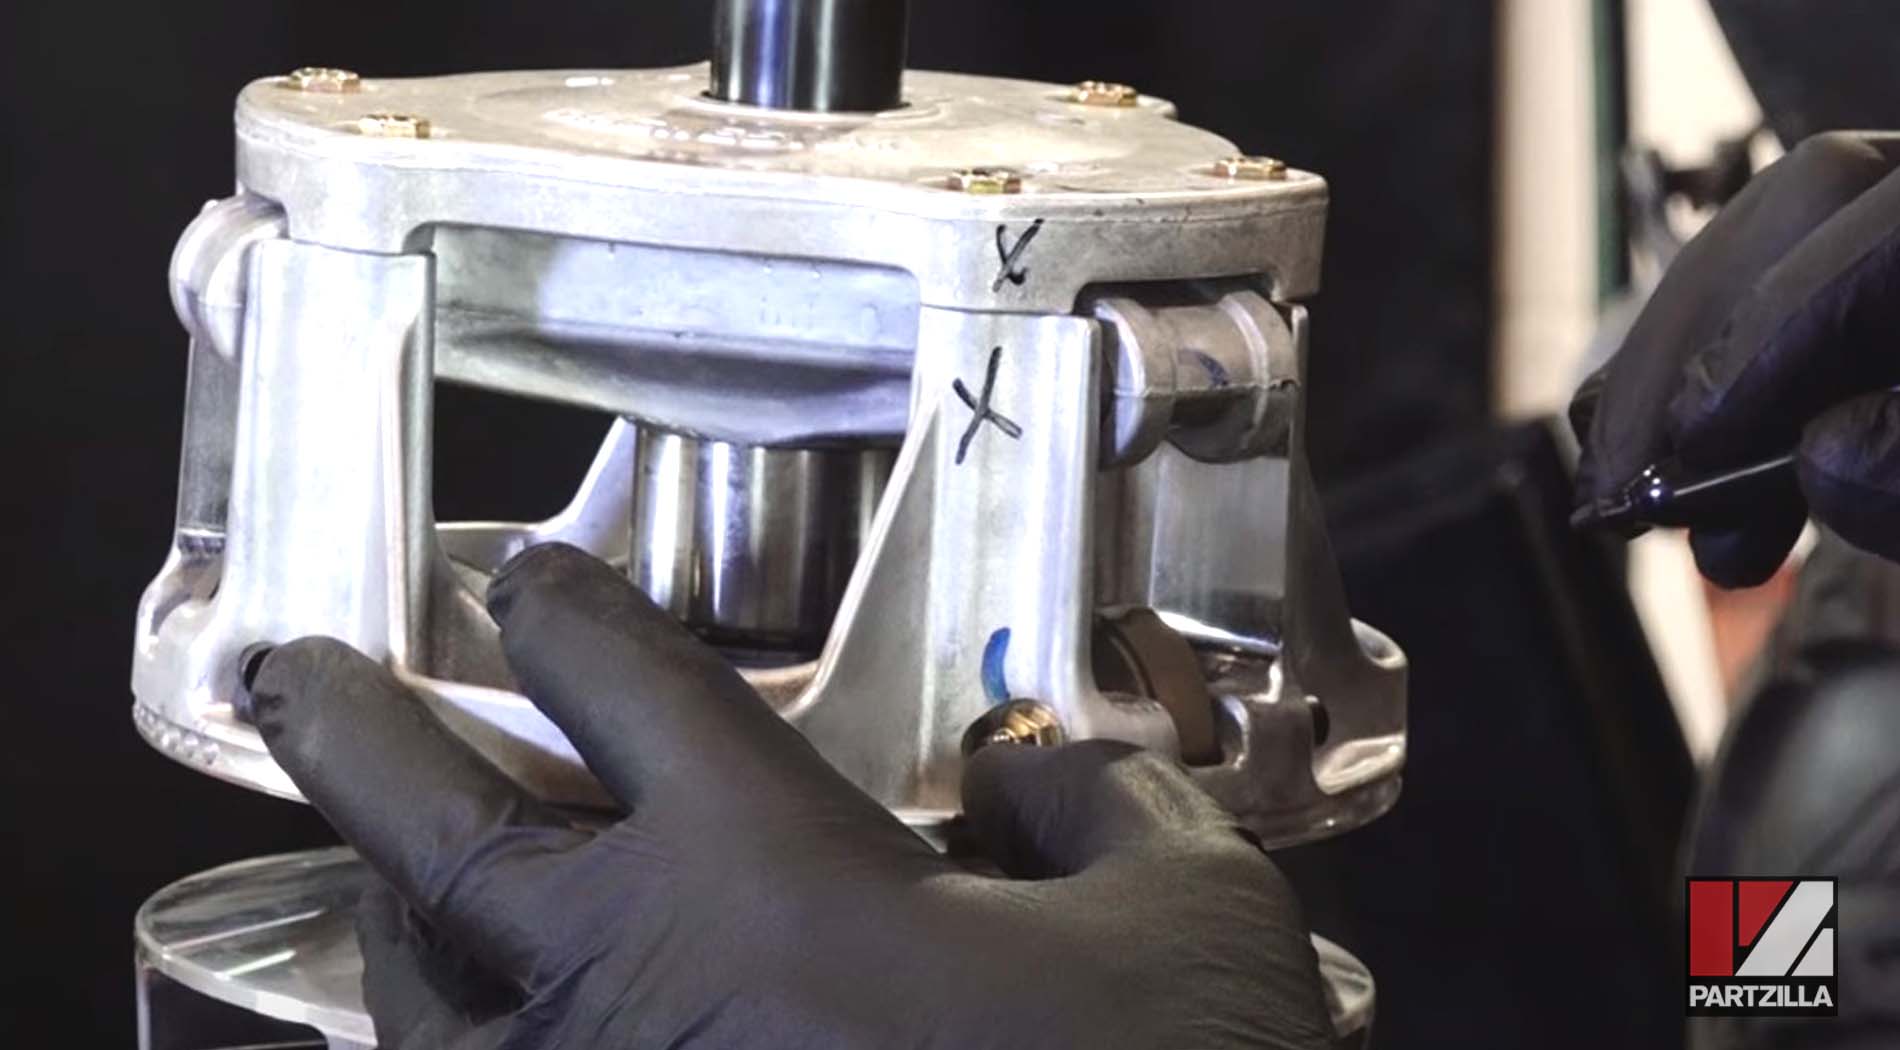
NOTE: The pieces are balanced, so it’s important to reassemble them with that same alignment.
Step 12. Remove the six 10mm bolts holding the outer plate to the clutch so that the outer plate can be lifted off the clutch.
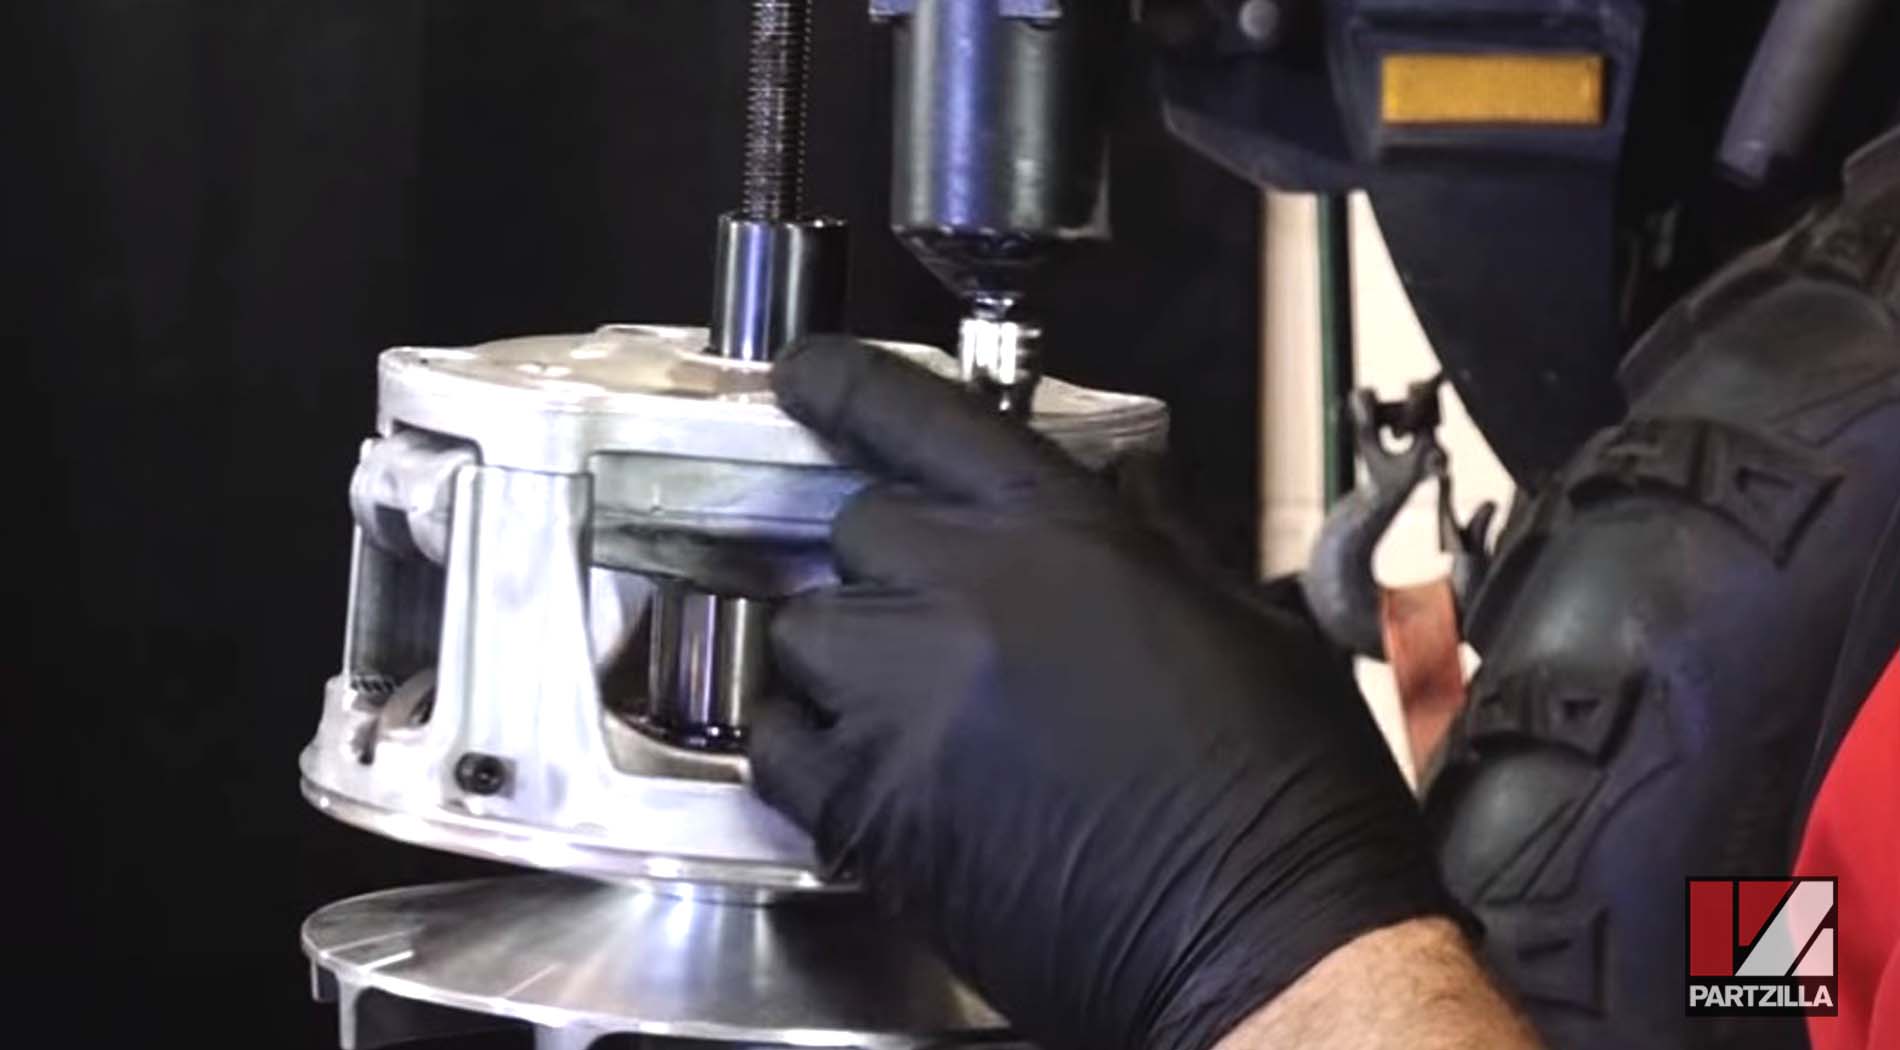
Step 13. Slide the spring over the bolt in the clutch compression tool and down into the clutch. Make sure that it’s properly seated and sitting straight up in the clutch.
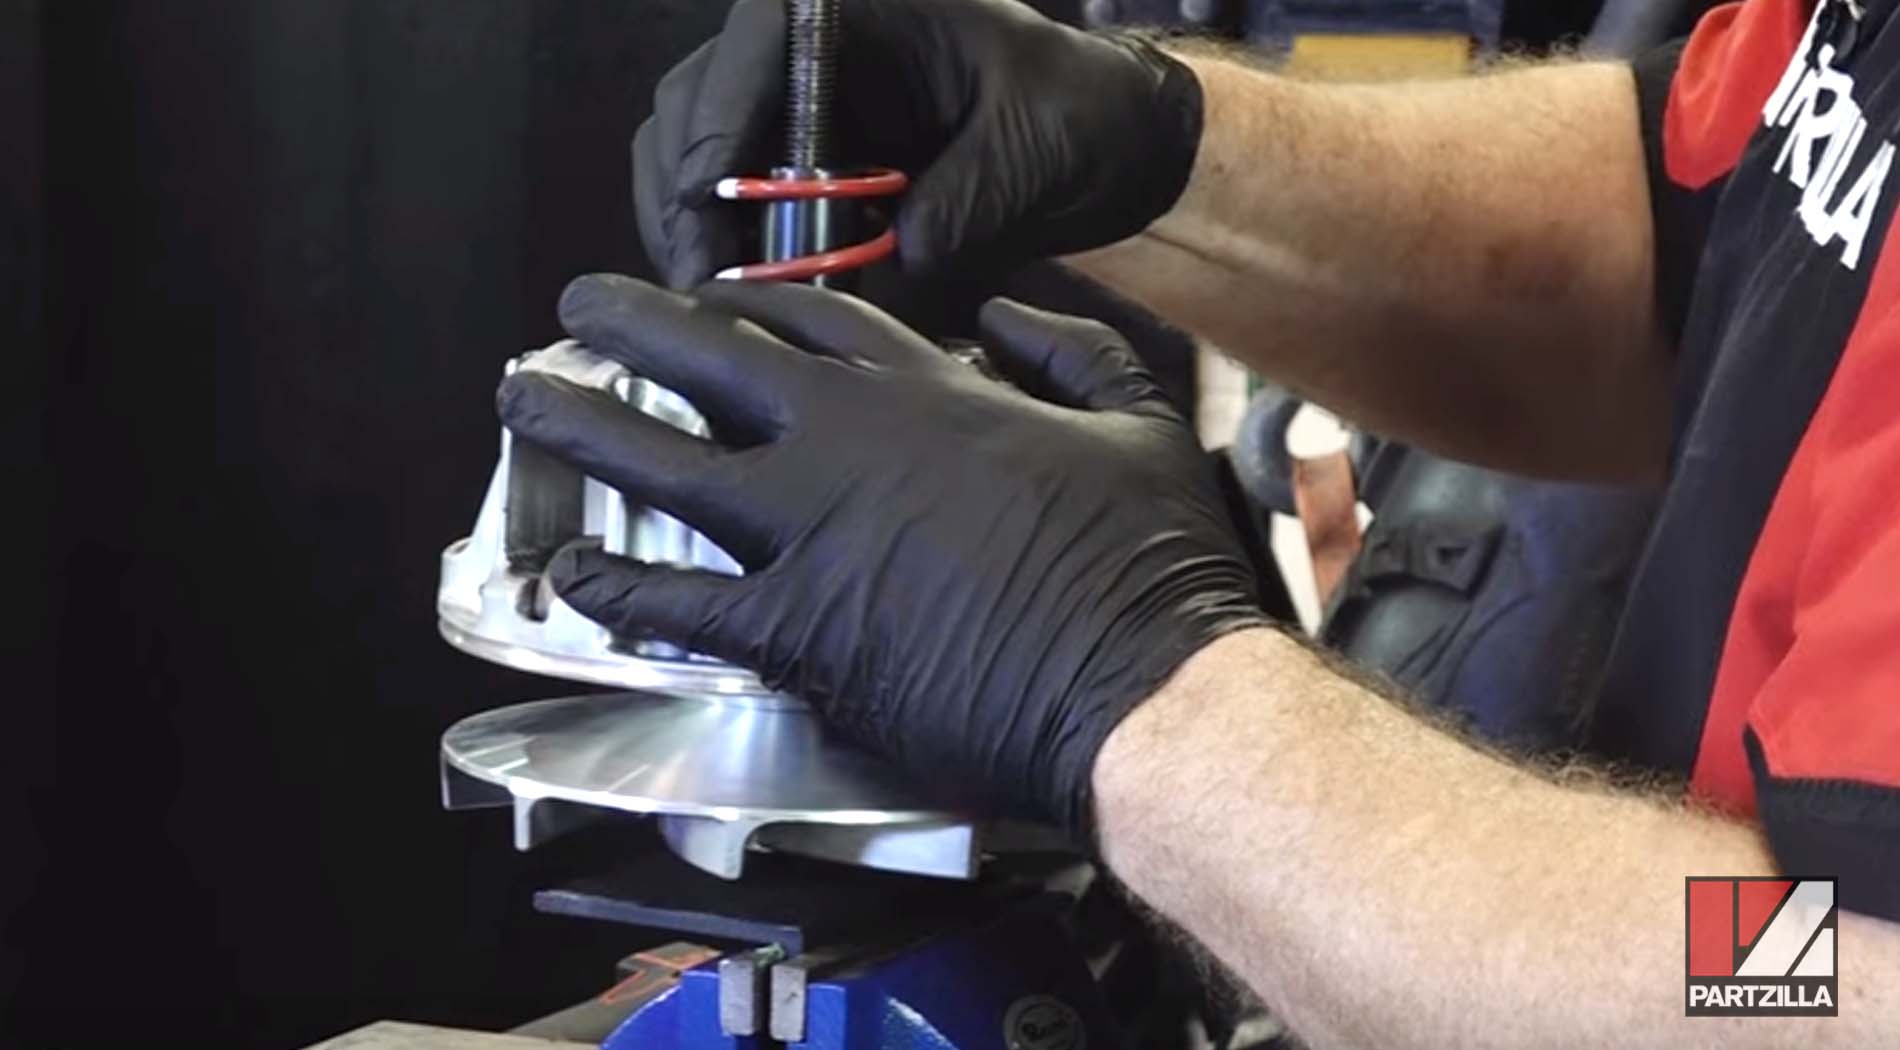
Step 14. Slide the outer plate over the bolt in the clutch compression tool and down onto the clutch spring, making sure to align the marks on the outer plate and clutch.
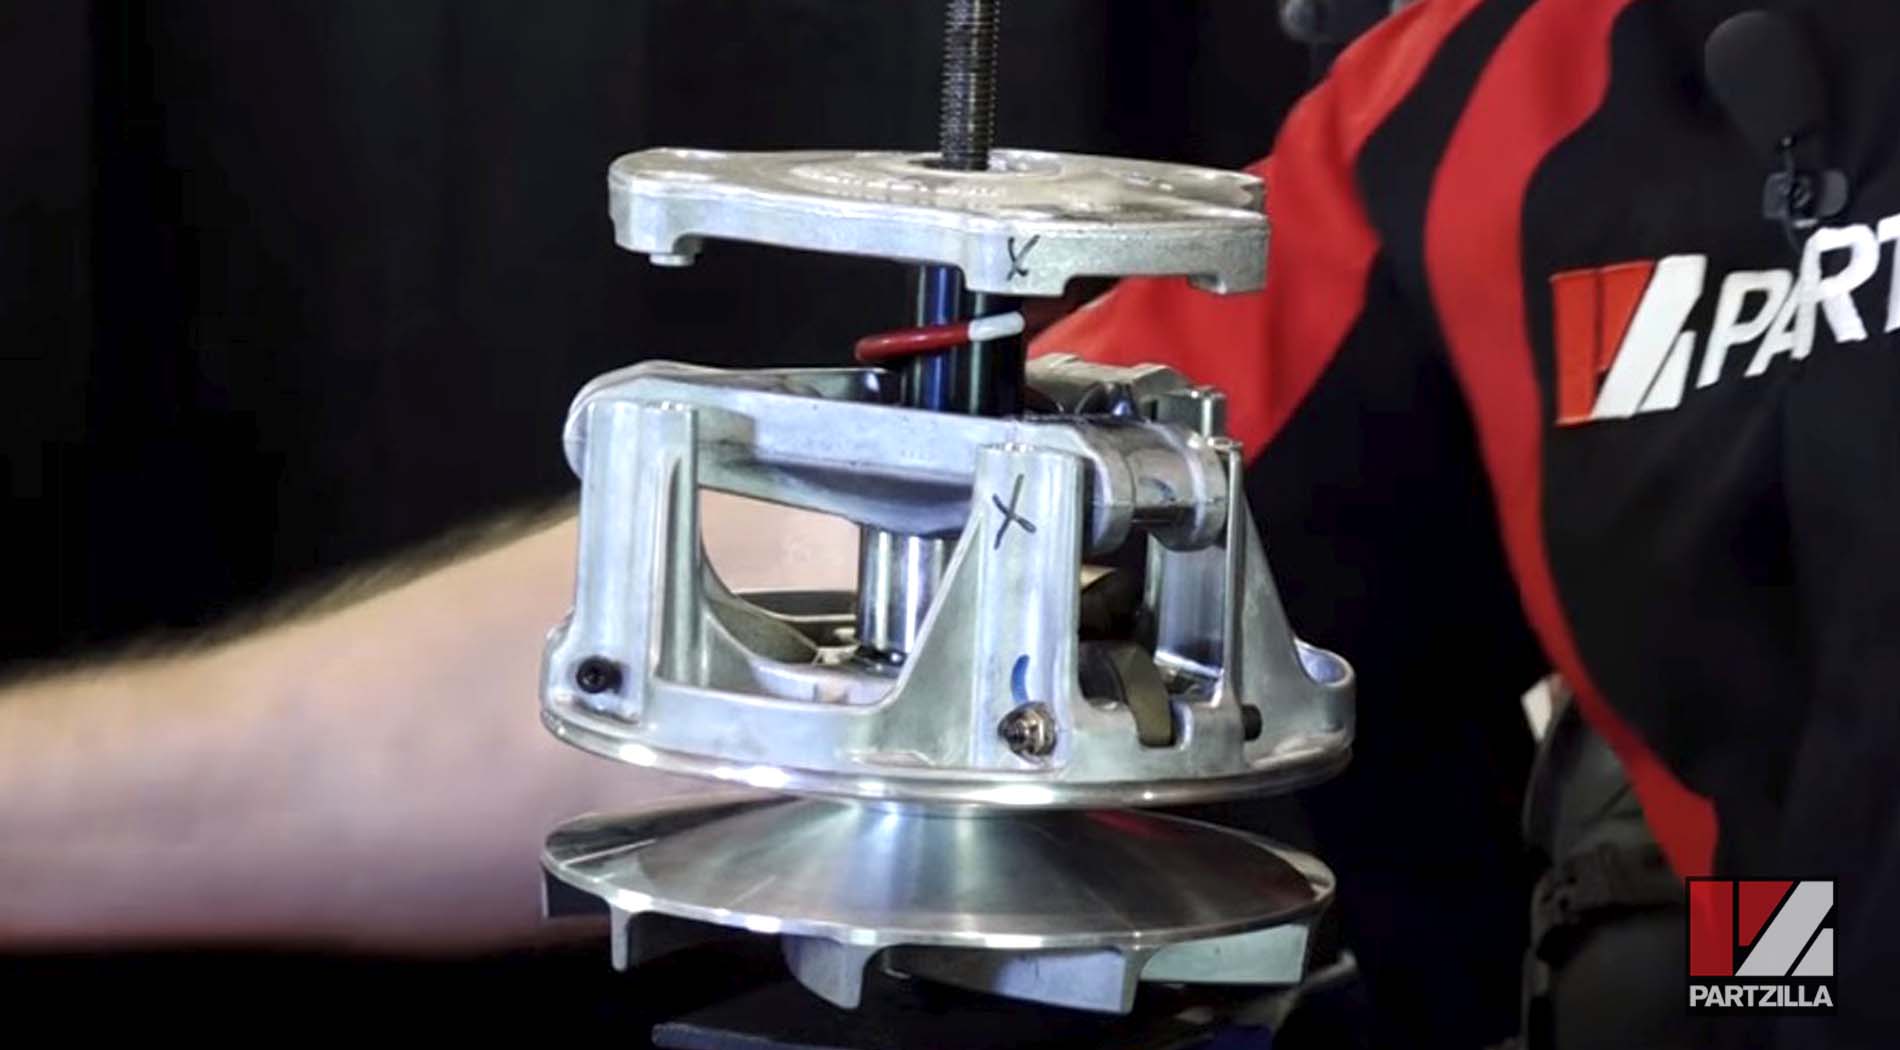
Step 15. Thread the compression piece of the clutch compression tool over the bolt and thread, then thread the nut down to the upper plate. Make sure to keep your marks lined up, then use a 3/4th inch box wrench to tighten down the outer plate into position over the clutch. This process compresses the spring.
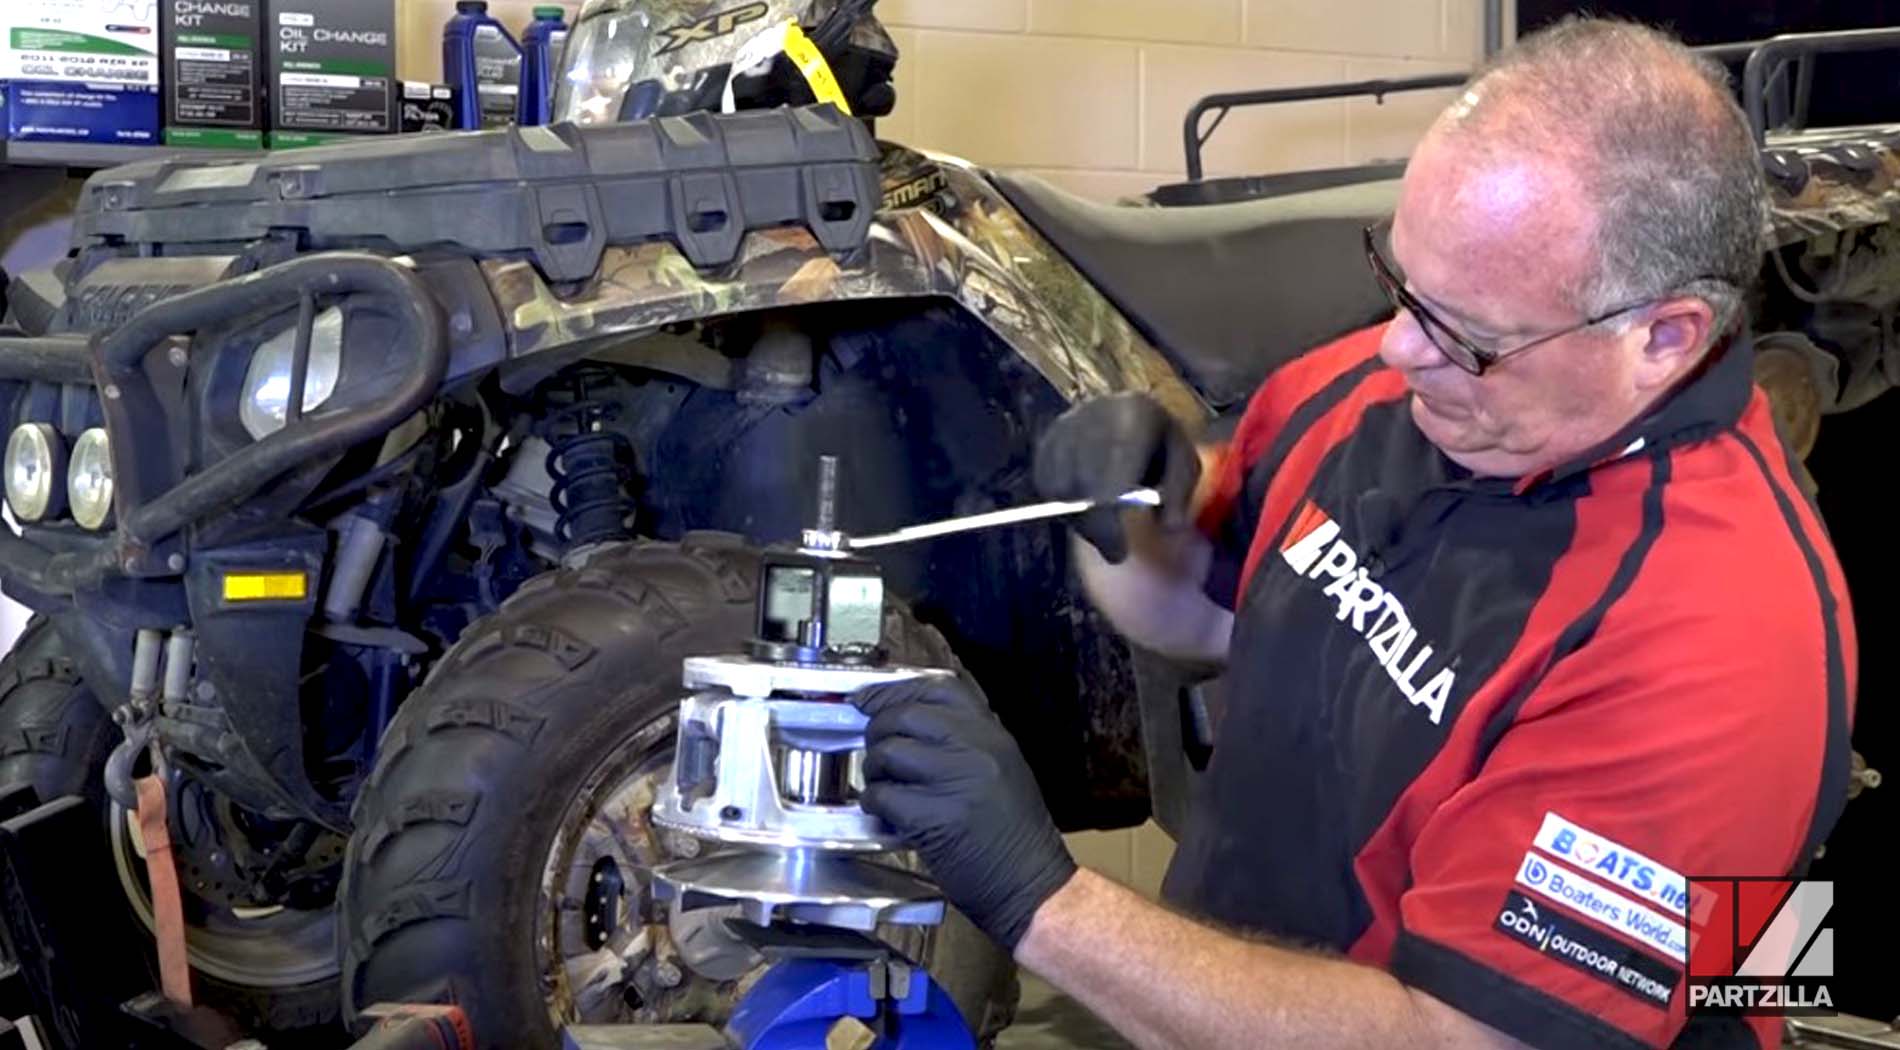
Step 16. Replace and tighten the six 10mm bolts that hold the outer plate to the clutch.
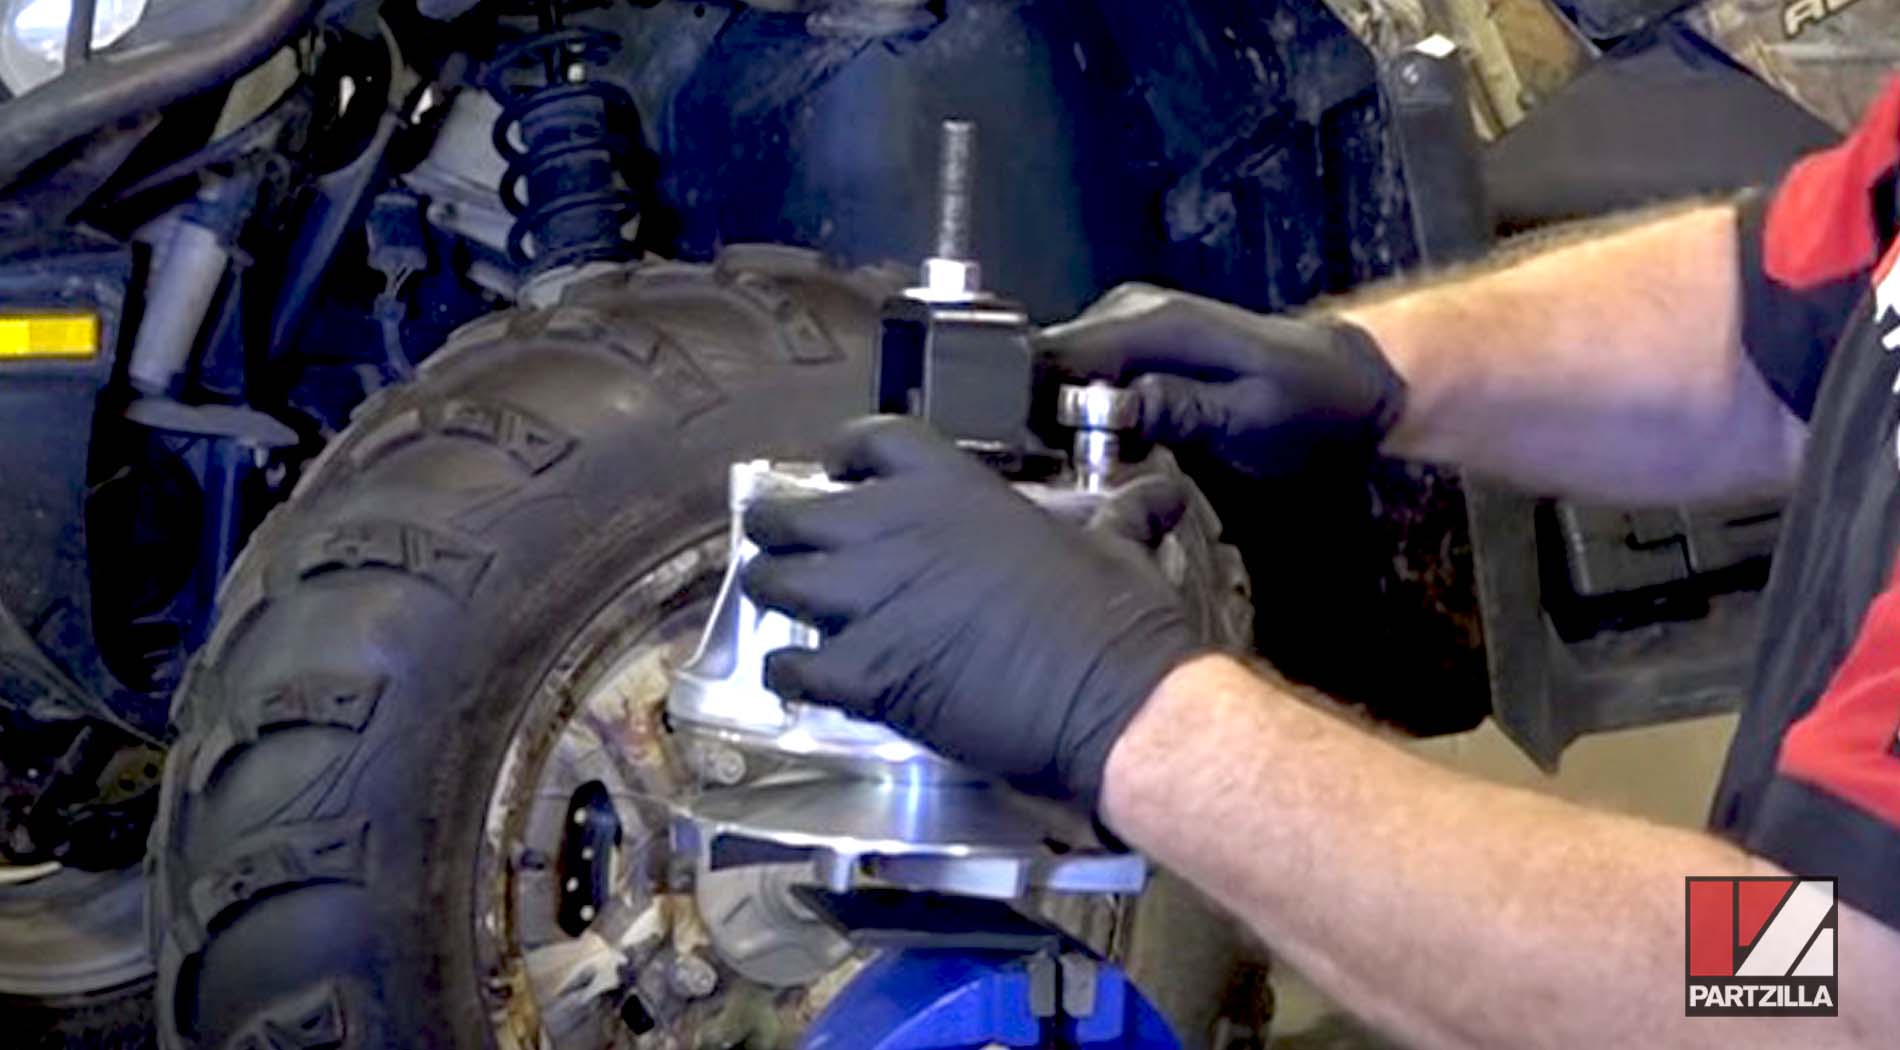
Step 17. Use the 3/4th box wrench to loosen the bolt and release the tension at the top of the clutch compression tool. This allows you to remove the compression piece and slide the assembled clutch off the clutch compression tool.
With the clutch rebuilt, you’re ready to begin the process of reinstalling it. Continue watching our Polaris Sportsman 850 clutch rebuild video below to move to the next and final phase: installing the clutch on a Polaris Sportsman ATV.
