Polaris ATV Clutch Rebuild Part One: Removing the Clutch
If you’ve already replaced the clutch drive belt on your Polaris ATV but you’re still experiencing performance issues, you may have a bigger problem inside the clutch.
Clutch problems might create the need to rebuild the entire clutch system. Watch the video above and follow the steps below for part one of this three-part Polaris Sportsman 850 clutch rebuild series to learn how to remove the primary clutch and secondary clutch.
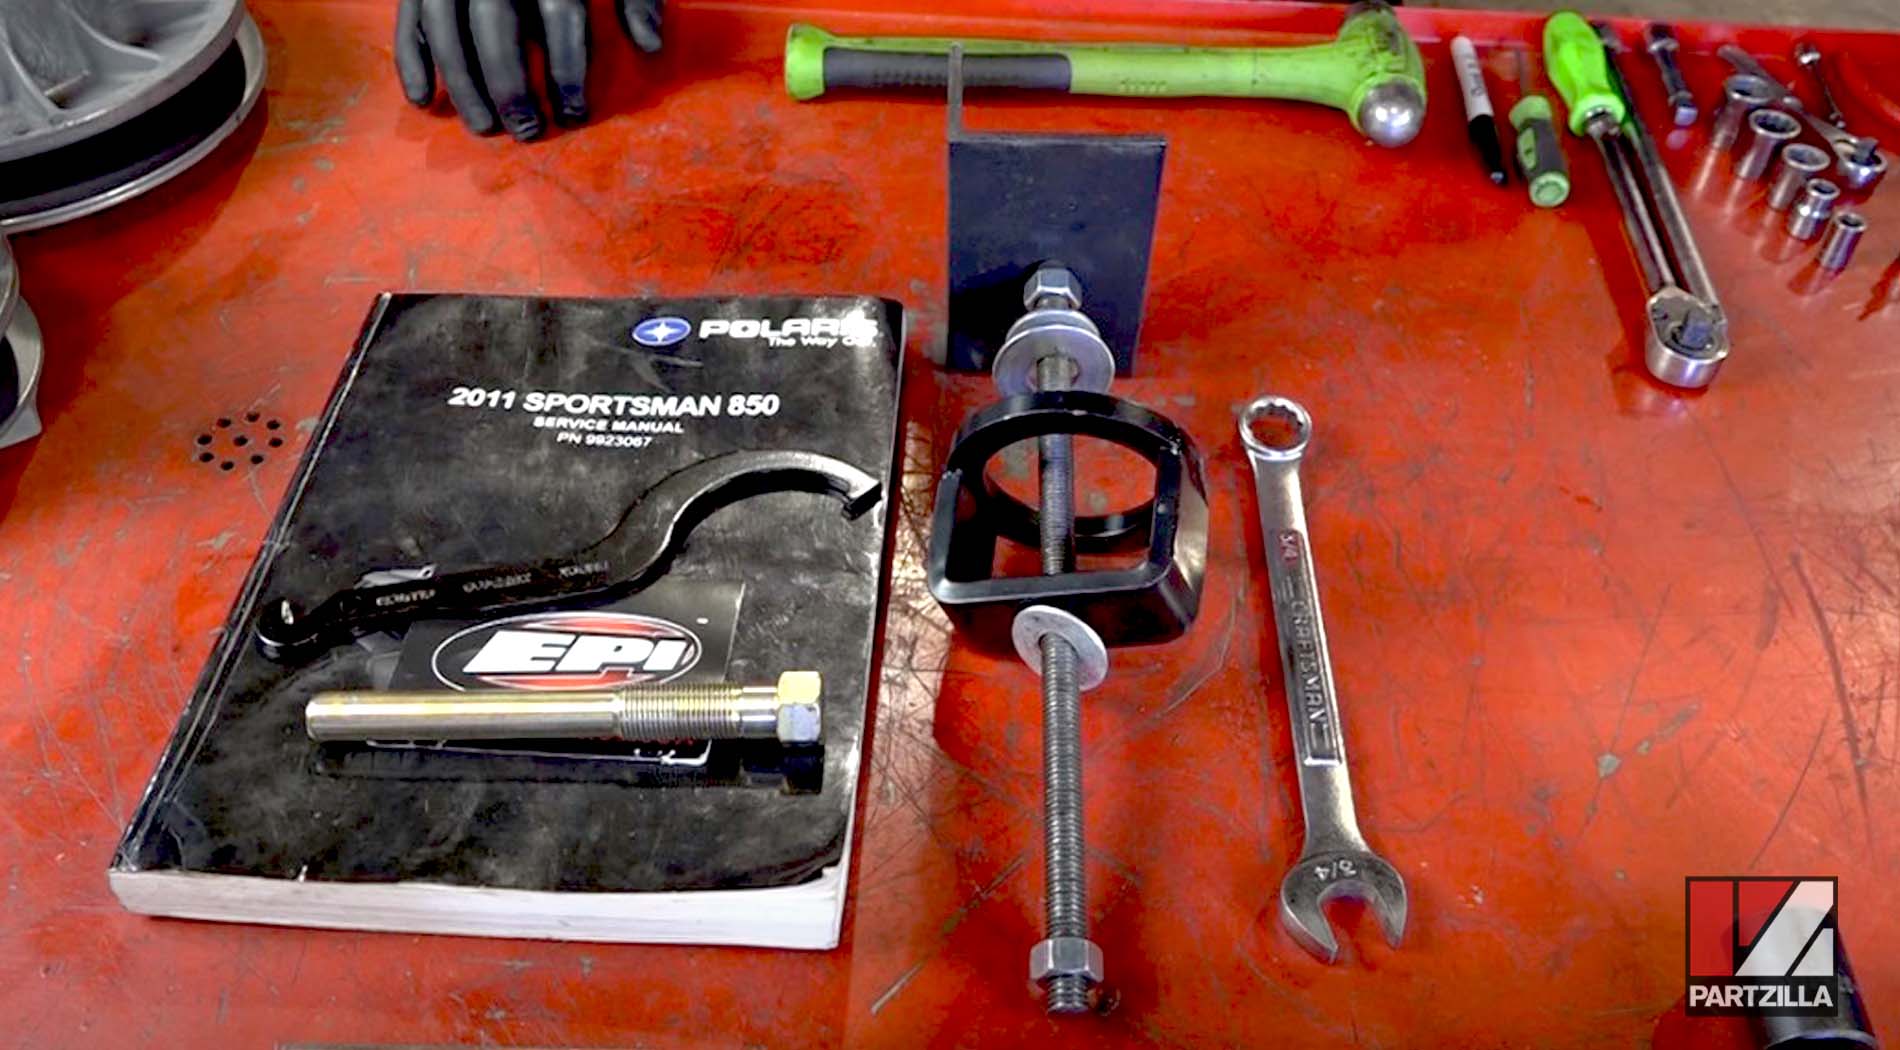
Tools - Polaris Sportsman ATV Clutch Rebuild
- 15mm, 17mm, 18mm and 22mm sockets
- Two 10mm sockets— one for a 3/8th drive, one for a 1/4th drive
- 3/4th box wrench
- 1/4th, 3/8th ratchet drives
- 2mm Allen
- Drive extensions
- Pliers
- Small pick tool
- Medium hammer
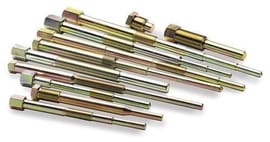
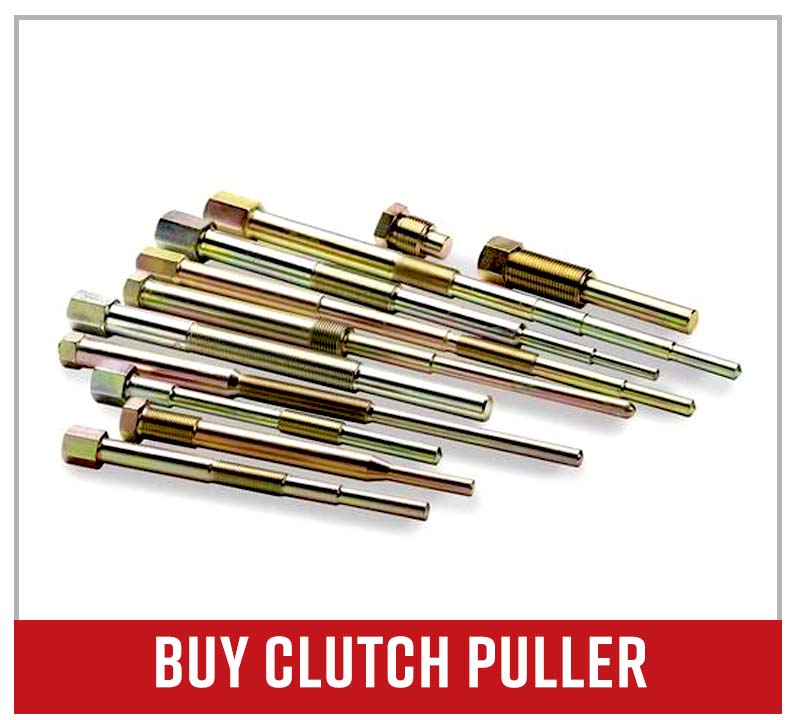
- Clutch puller
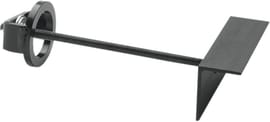
- Clutch compression tool
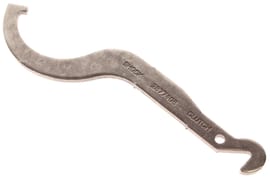
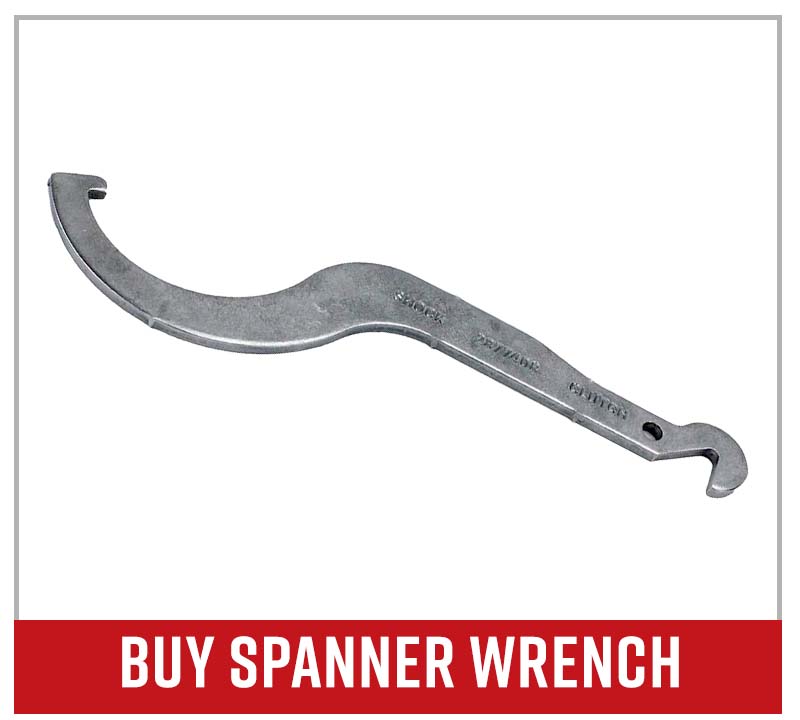
- Span/spreader wrench
NOTE: The primary clutch is also referred to as the drive clutch and the secondary clutch as the driven clutch.
How to Remove Polaris ATV Clutch
Step 1. Put the ATV on jacks, and remove both rear wheels to make reaching all of the bolts easier.
Step 2. Remove the 15mm bolts holding the frame brace in place, followed by the frame brace itself.
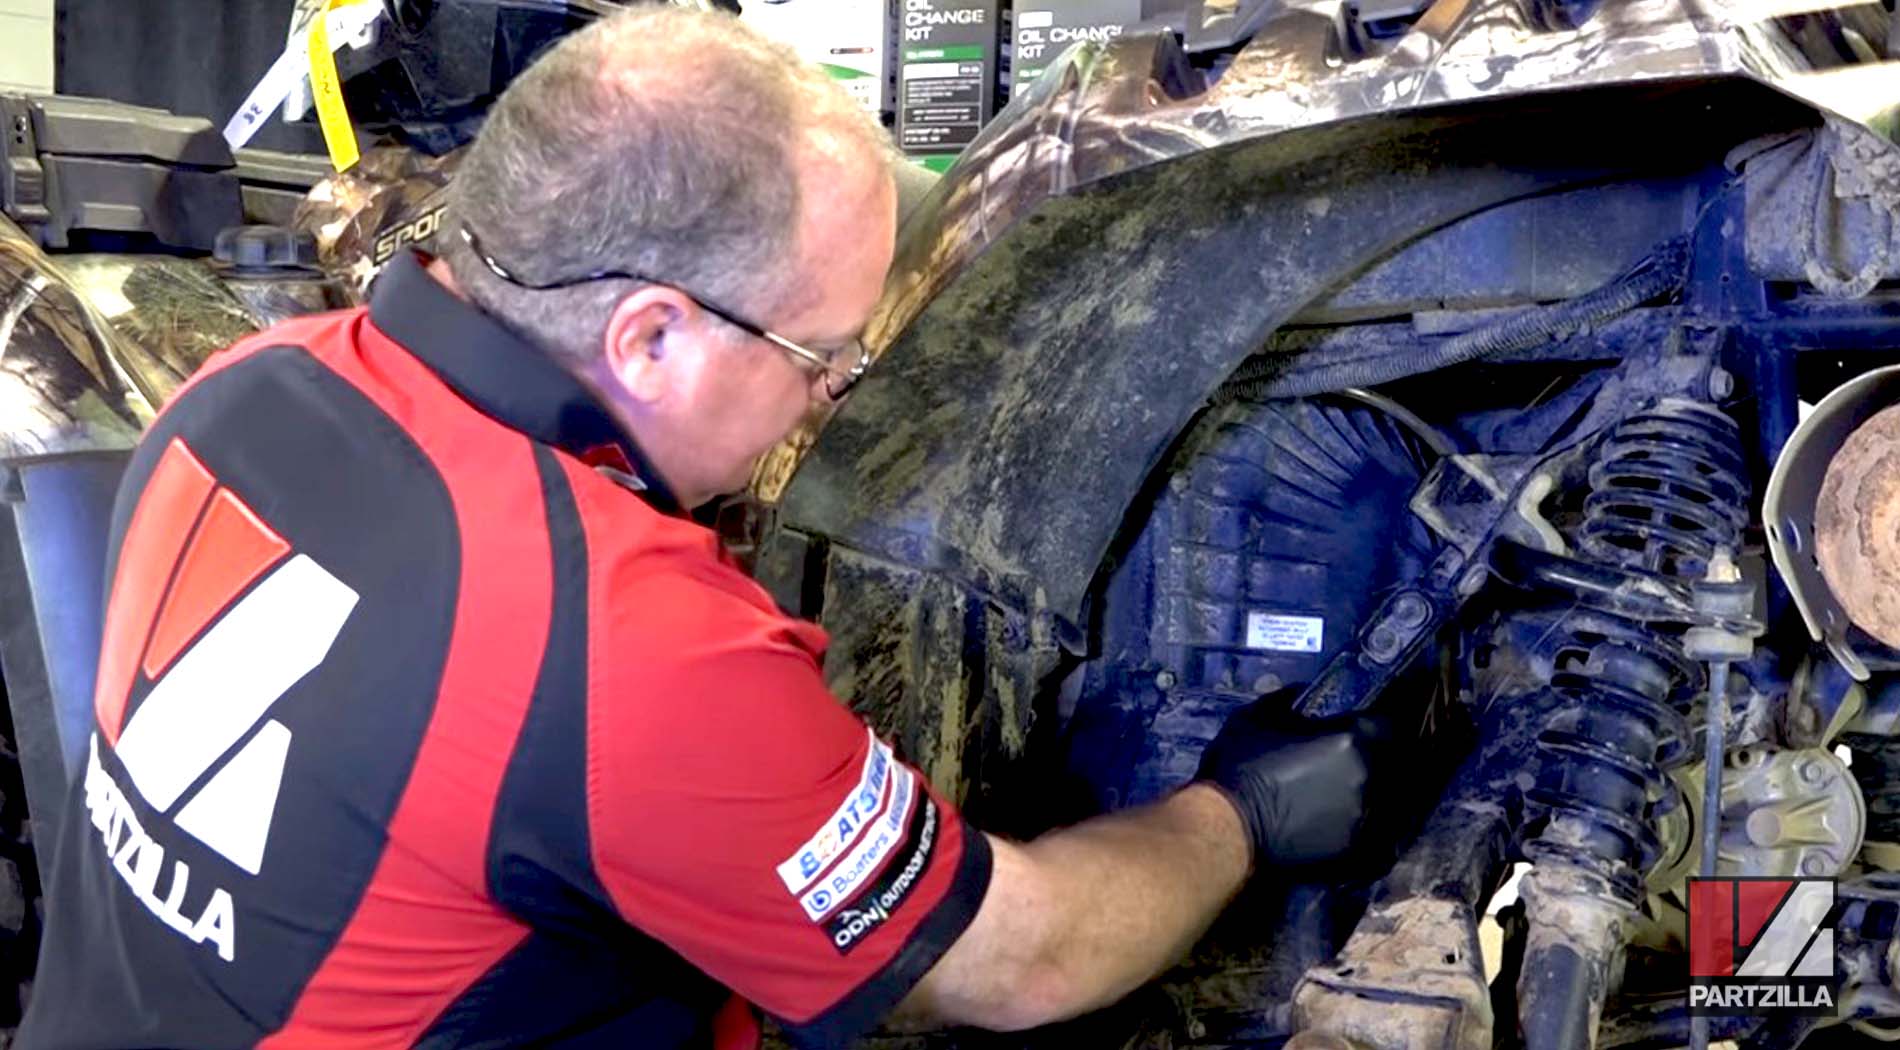
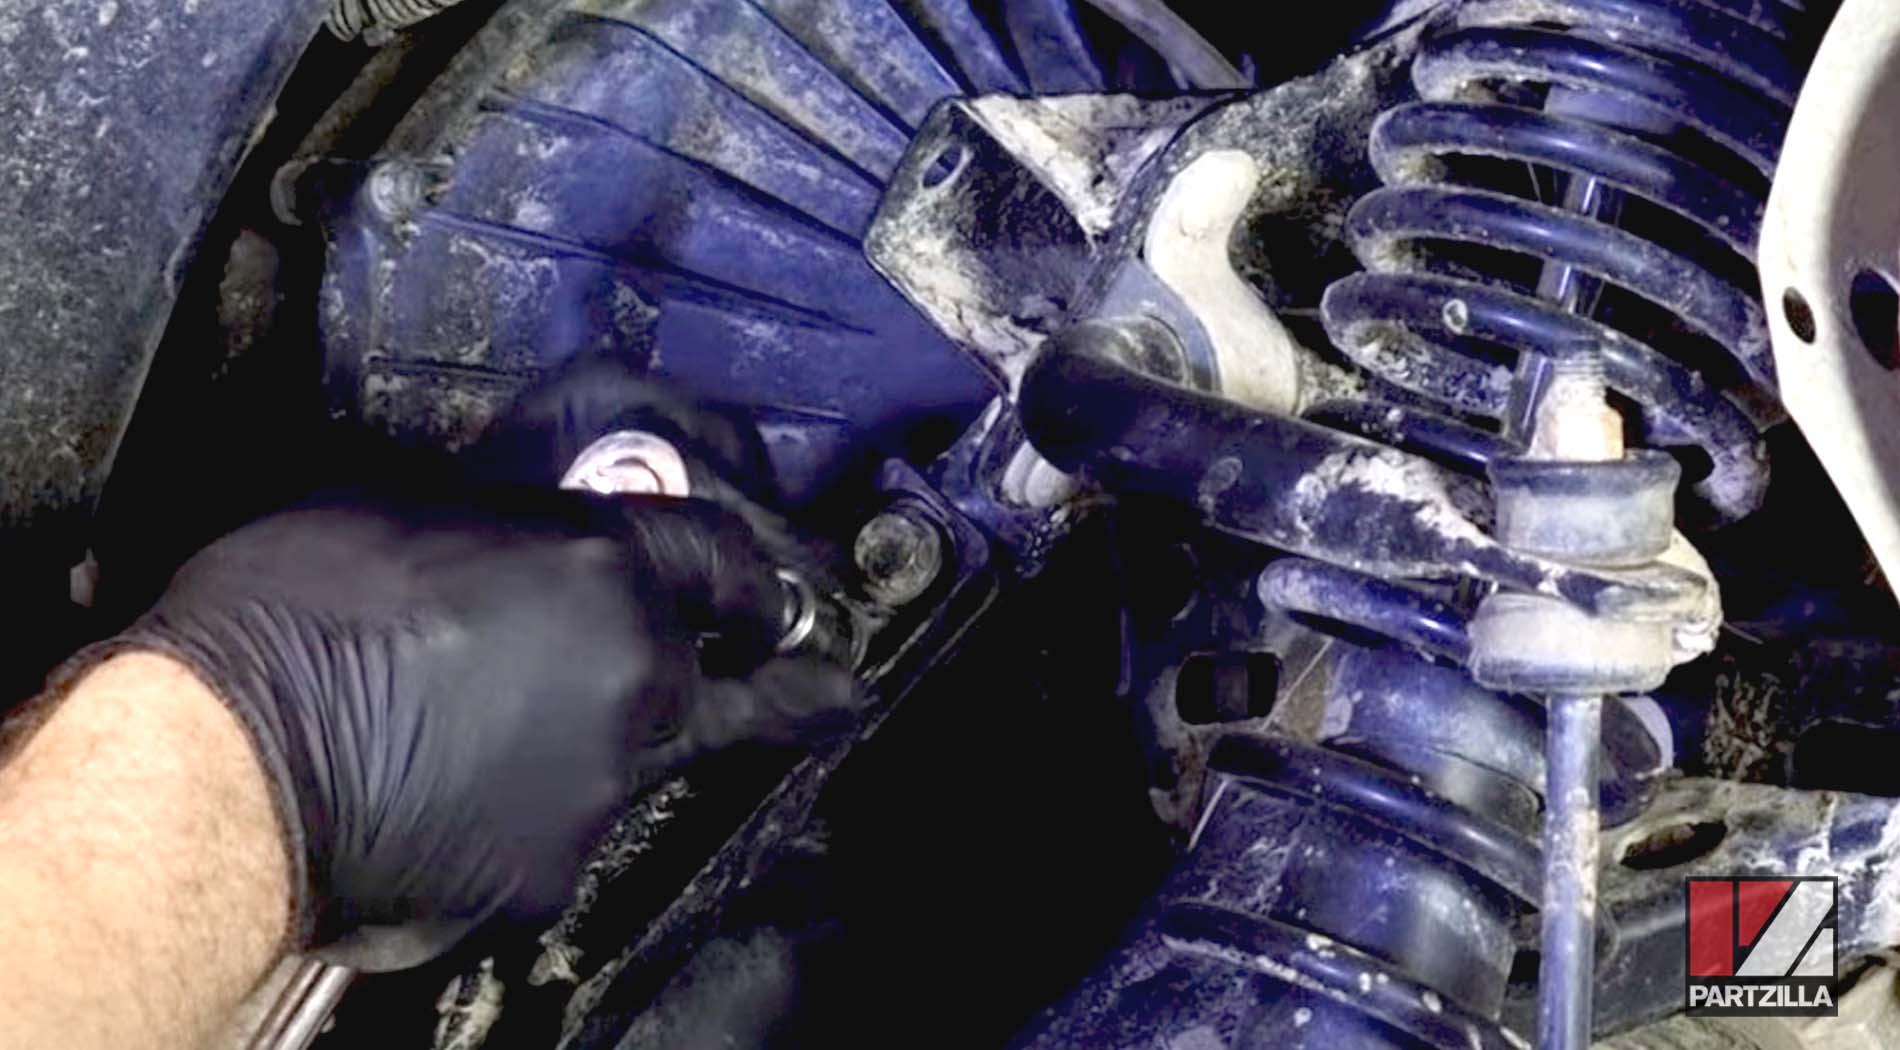
Step 3. Remove the eleven 10mm bolts holding the clutch cover in place, then pull off the cover itself.
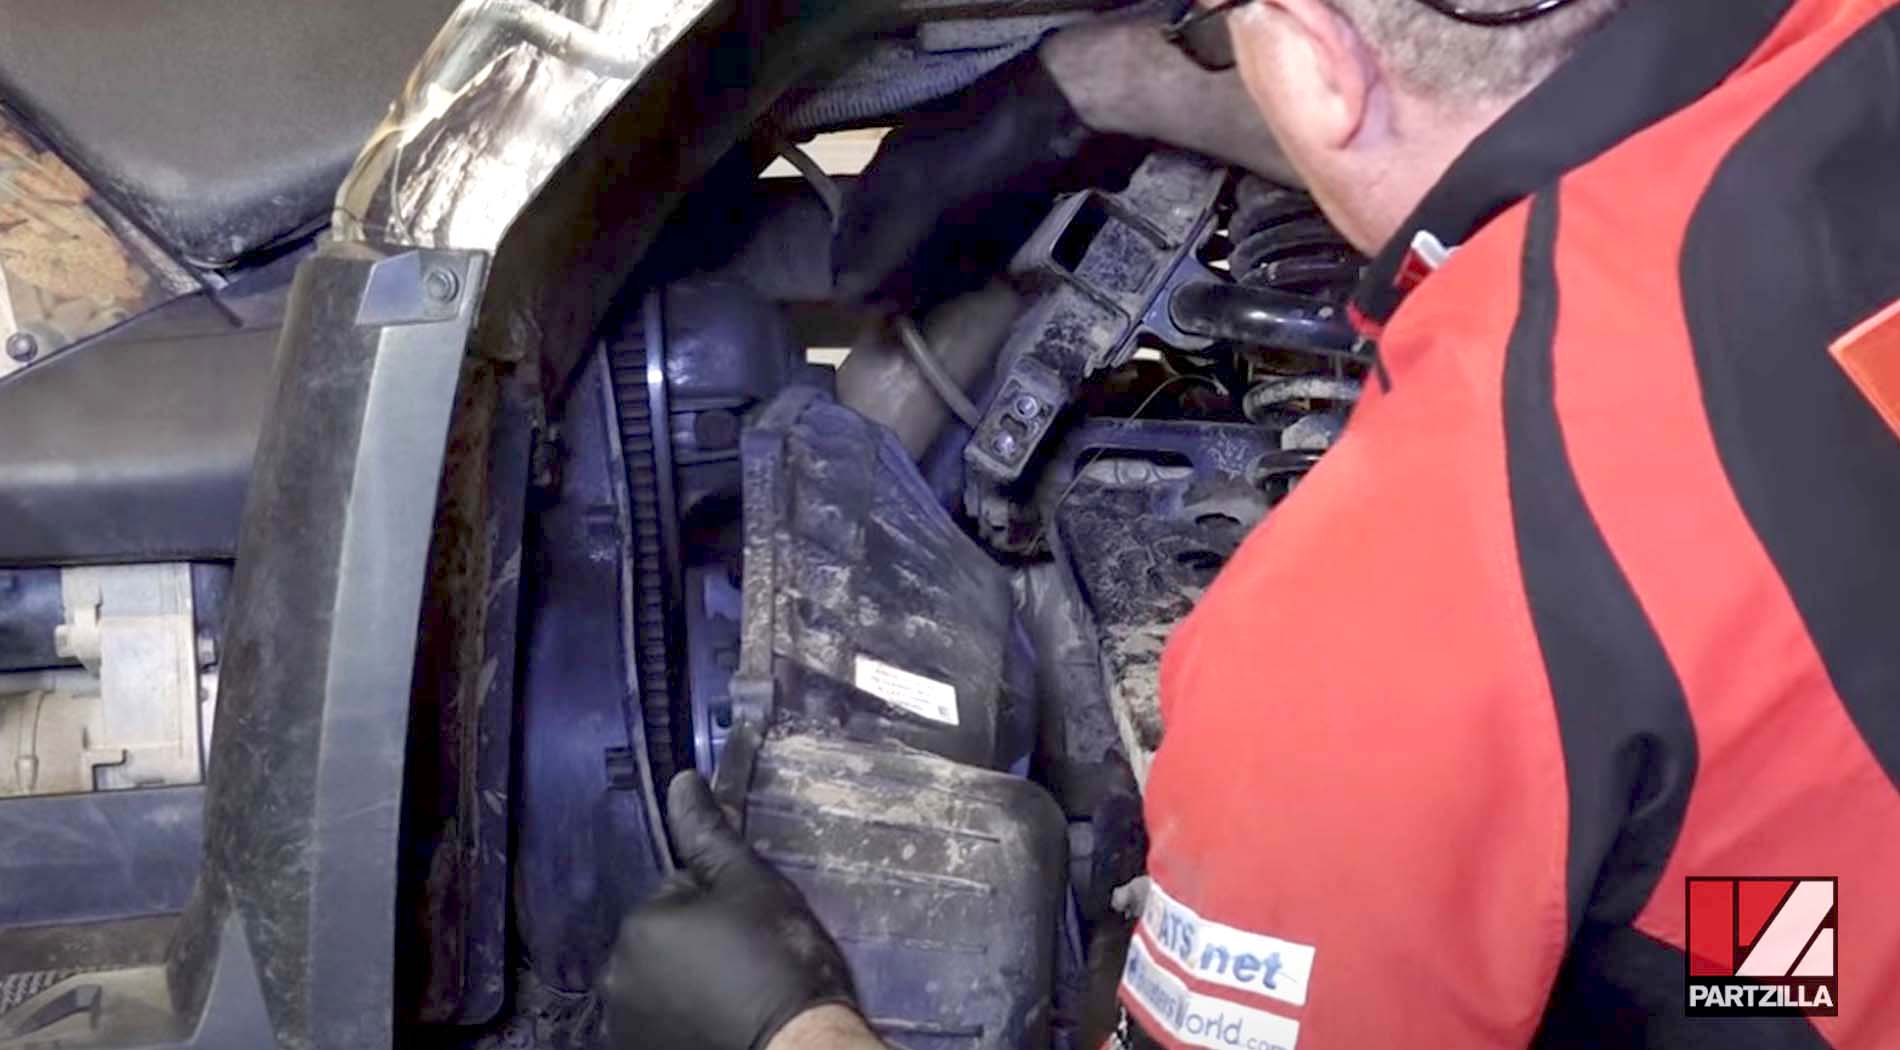
Step 4. Remove the clutch drive belt.
There are two methods for removing the clutch drive belt on your Polaris ATV:
Method 1:
- Locate the opening on the driven clutch sheave by rotating the sheave around.
- Insert small end of span/spreader wrench into opening, with the hook facing toward the rear of the ATV.
- Push the wrench forward toward the front of the ATV to release the tension on the sheave, and remove the belt while keeping tension on the wrench.
Watch the clip below to see the first method of removing the clutch drive belt on a Polaris Sportsman 850 ATV.
Method 2:
- Locate the opening on the driven clutch sheave by rotating the sheave around.
- Insert the small end of the span/spreader wrench into the opening with the hook facing up, leveraging the large end against the lower drive clutch.
- Loosen the 15mm bolt at the center of the driven sheave in order to release tension on the belt, then remove the belt.
Watch the clip below to see the second method of removing the clutch drive belt on a Polaris Sportsman 850 ATV.
How to Remove the Driven (Secondary) Clutch on a Polaris ATV
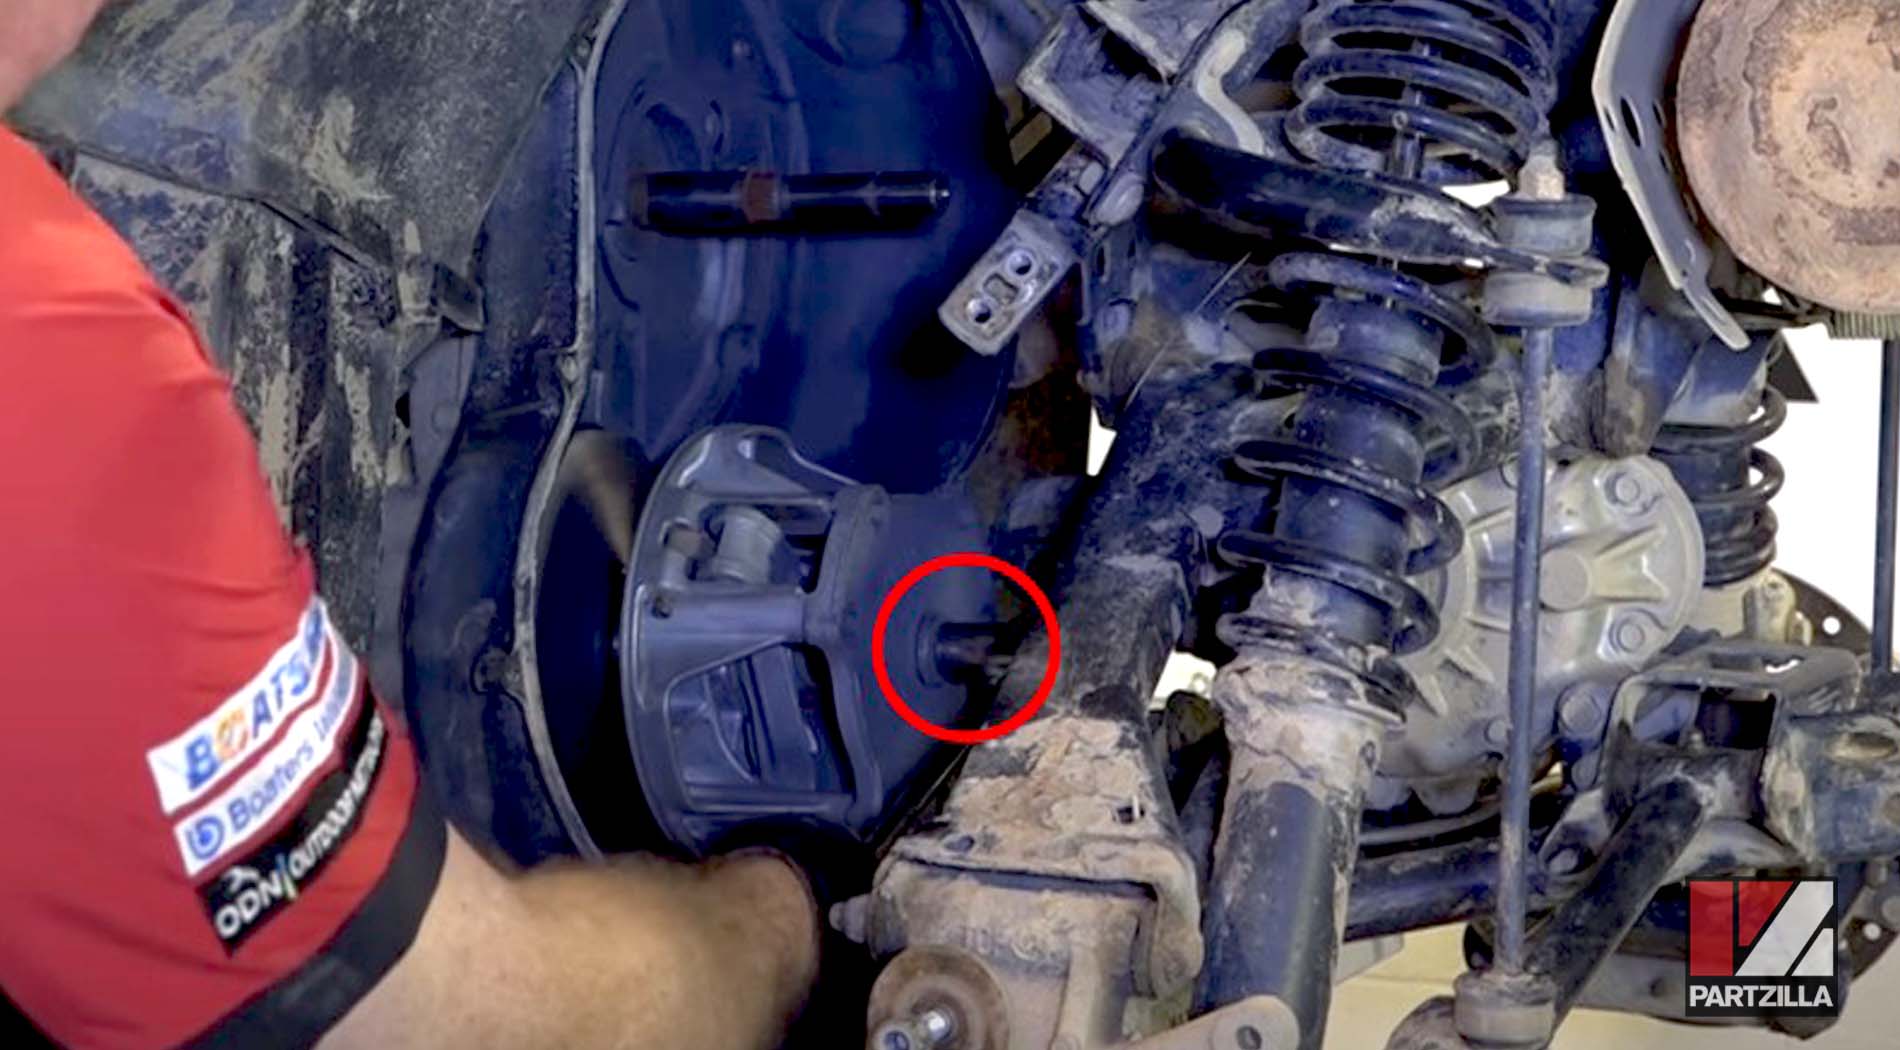
Step 1. Remove the 15mm bolt at the center of the driven clutch.
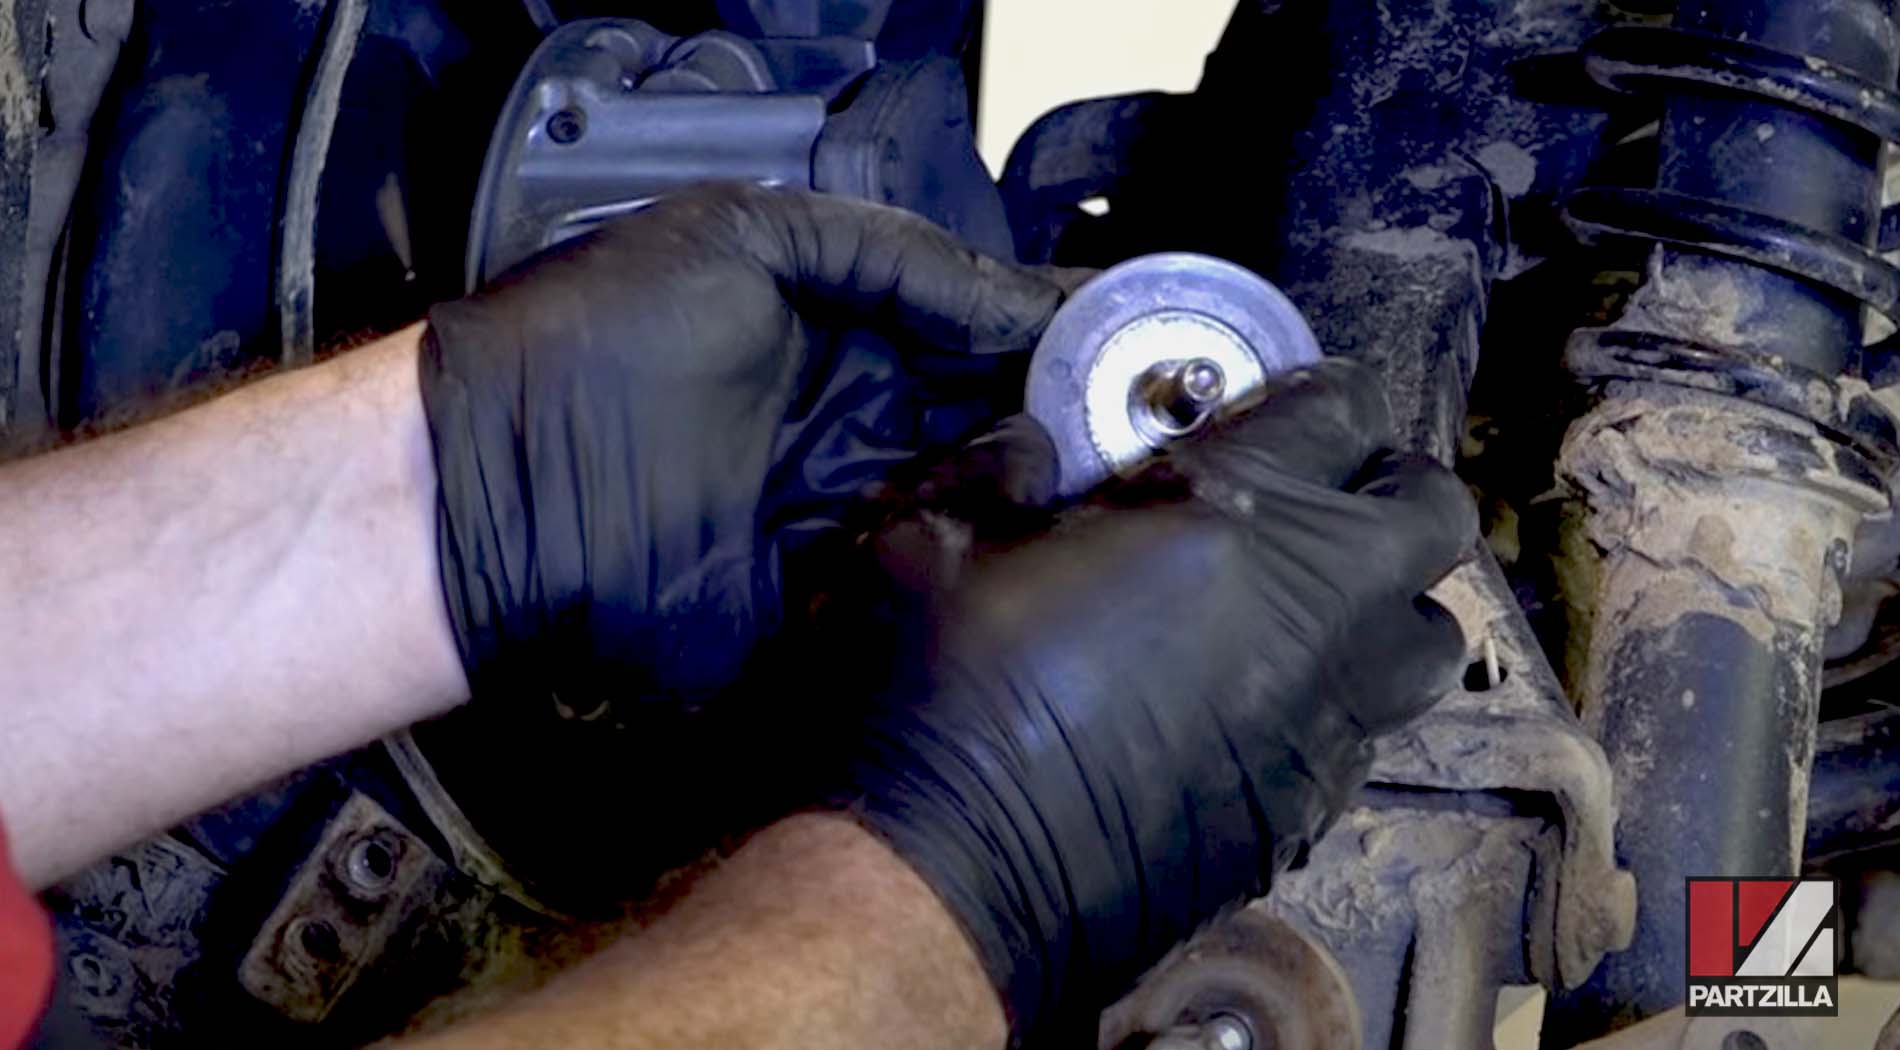
NOTE: There are two washers on the bolt: one on the inside and one on the outside. Don’t lose these washers.
Step 2. Slide the driven clutch off the shaft.
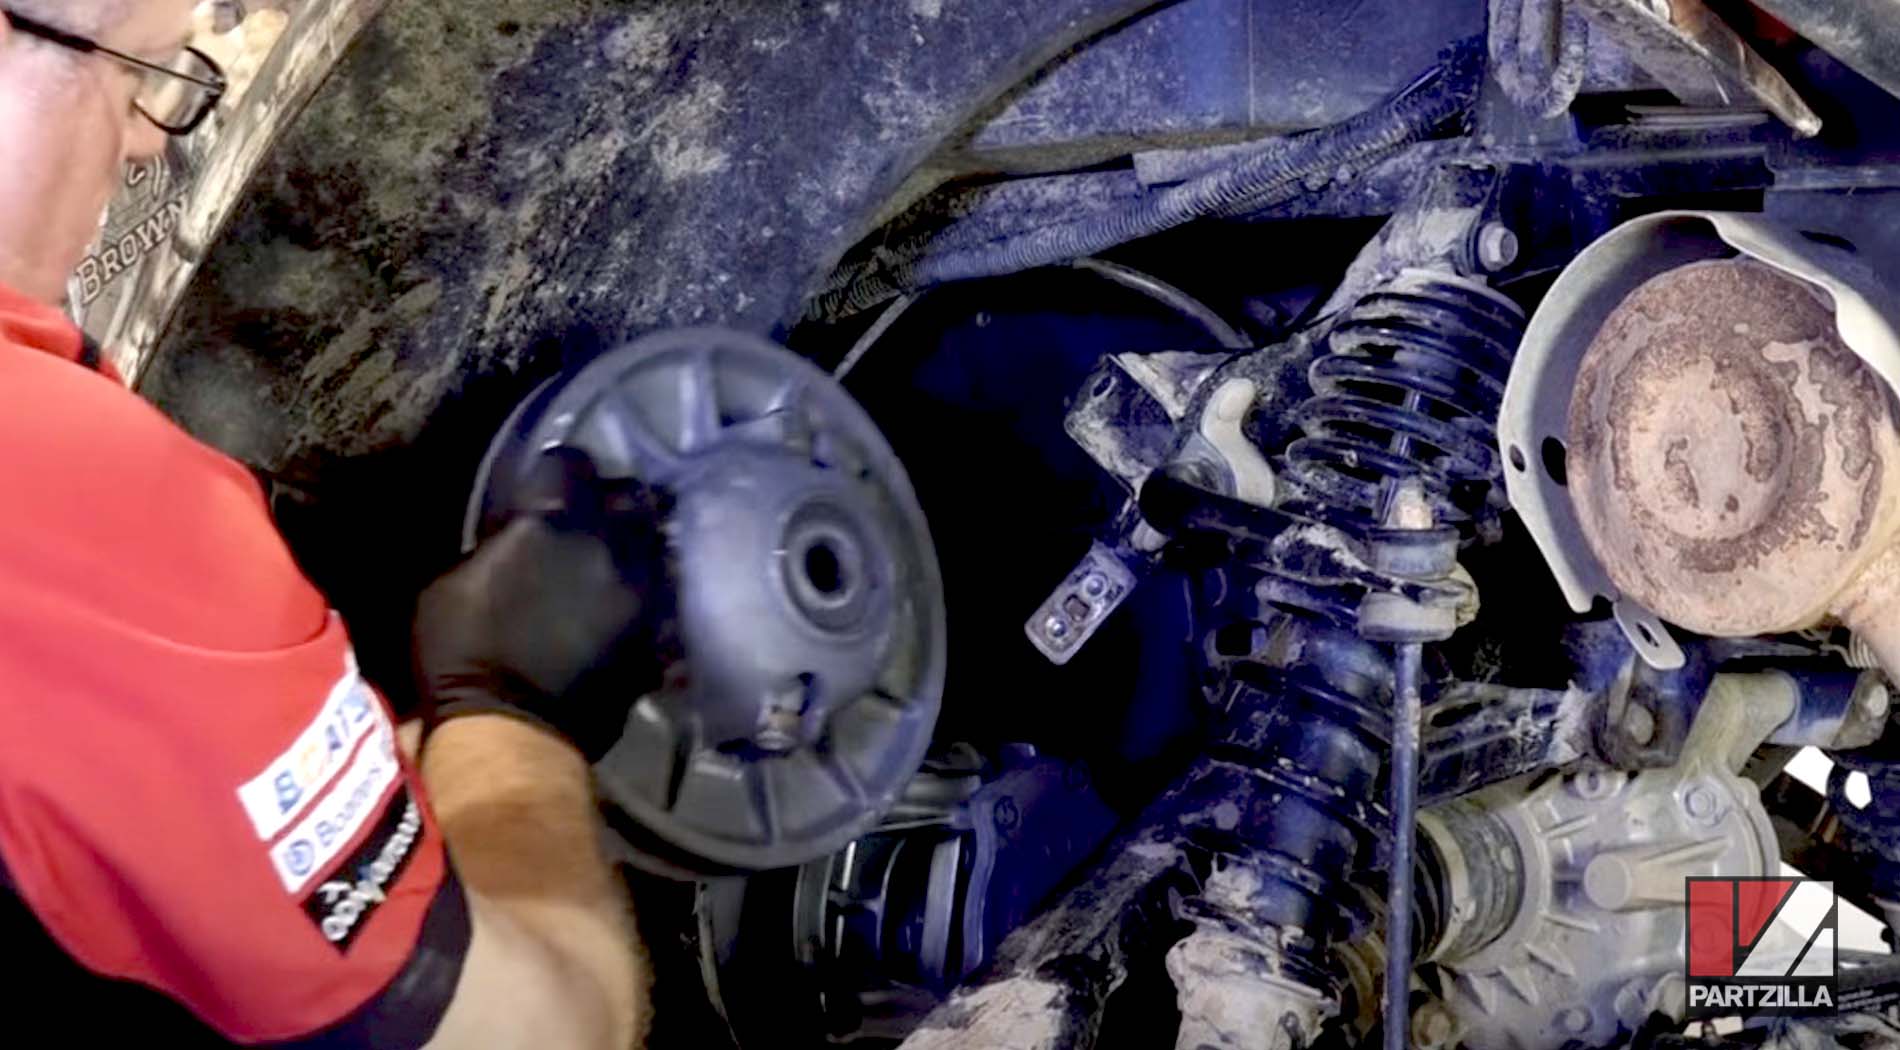
How to Remove the Drive (Primary) Clutch on a Polaris ATV
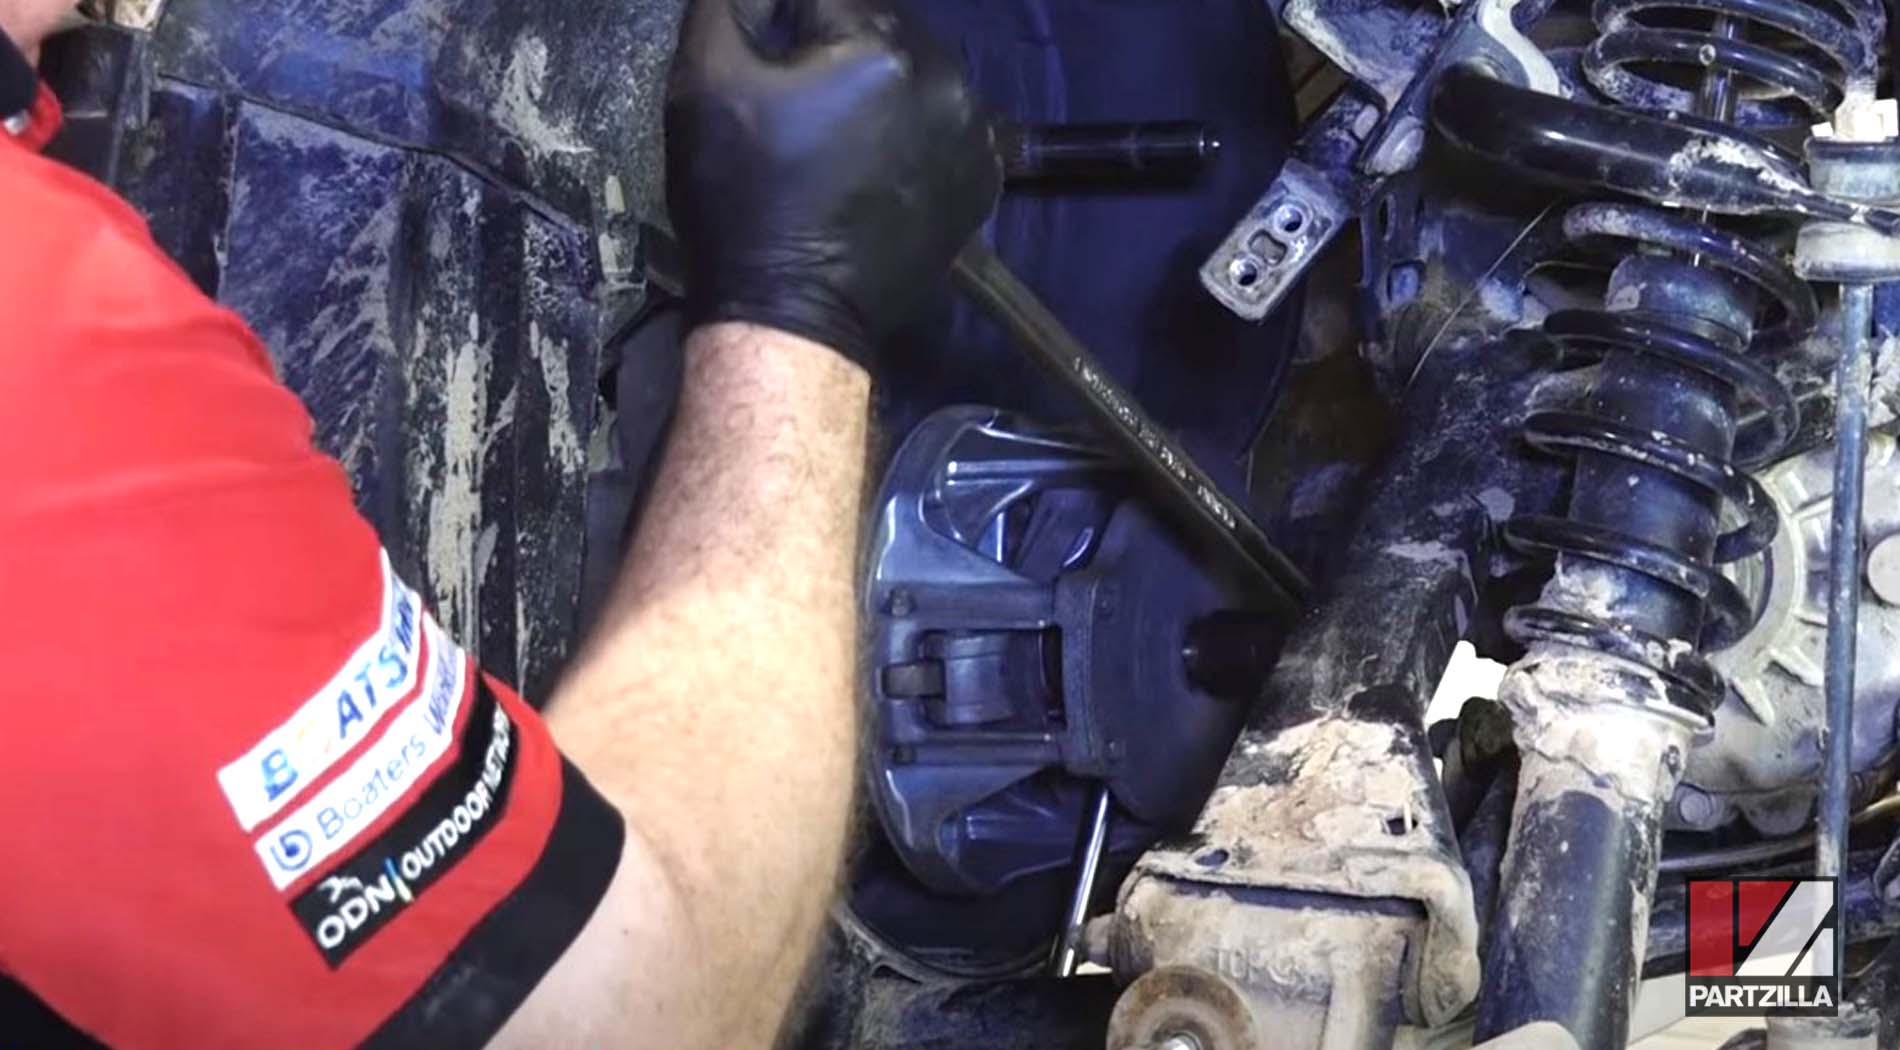
Step 1. Use an 18mm socket to loosen the bolt in the center of the clutch, turning it clockwise. Wedge a drive extension in to hold the clutch in place while you loosen and remove the bolt.
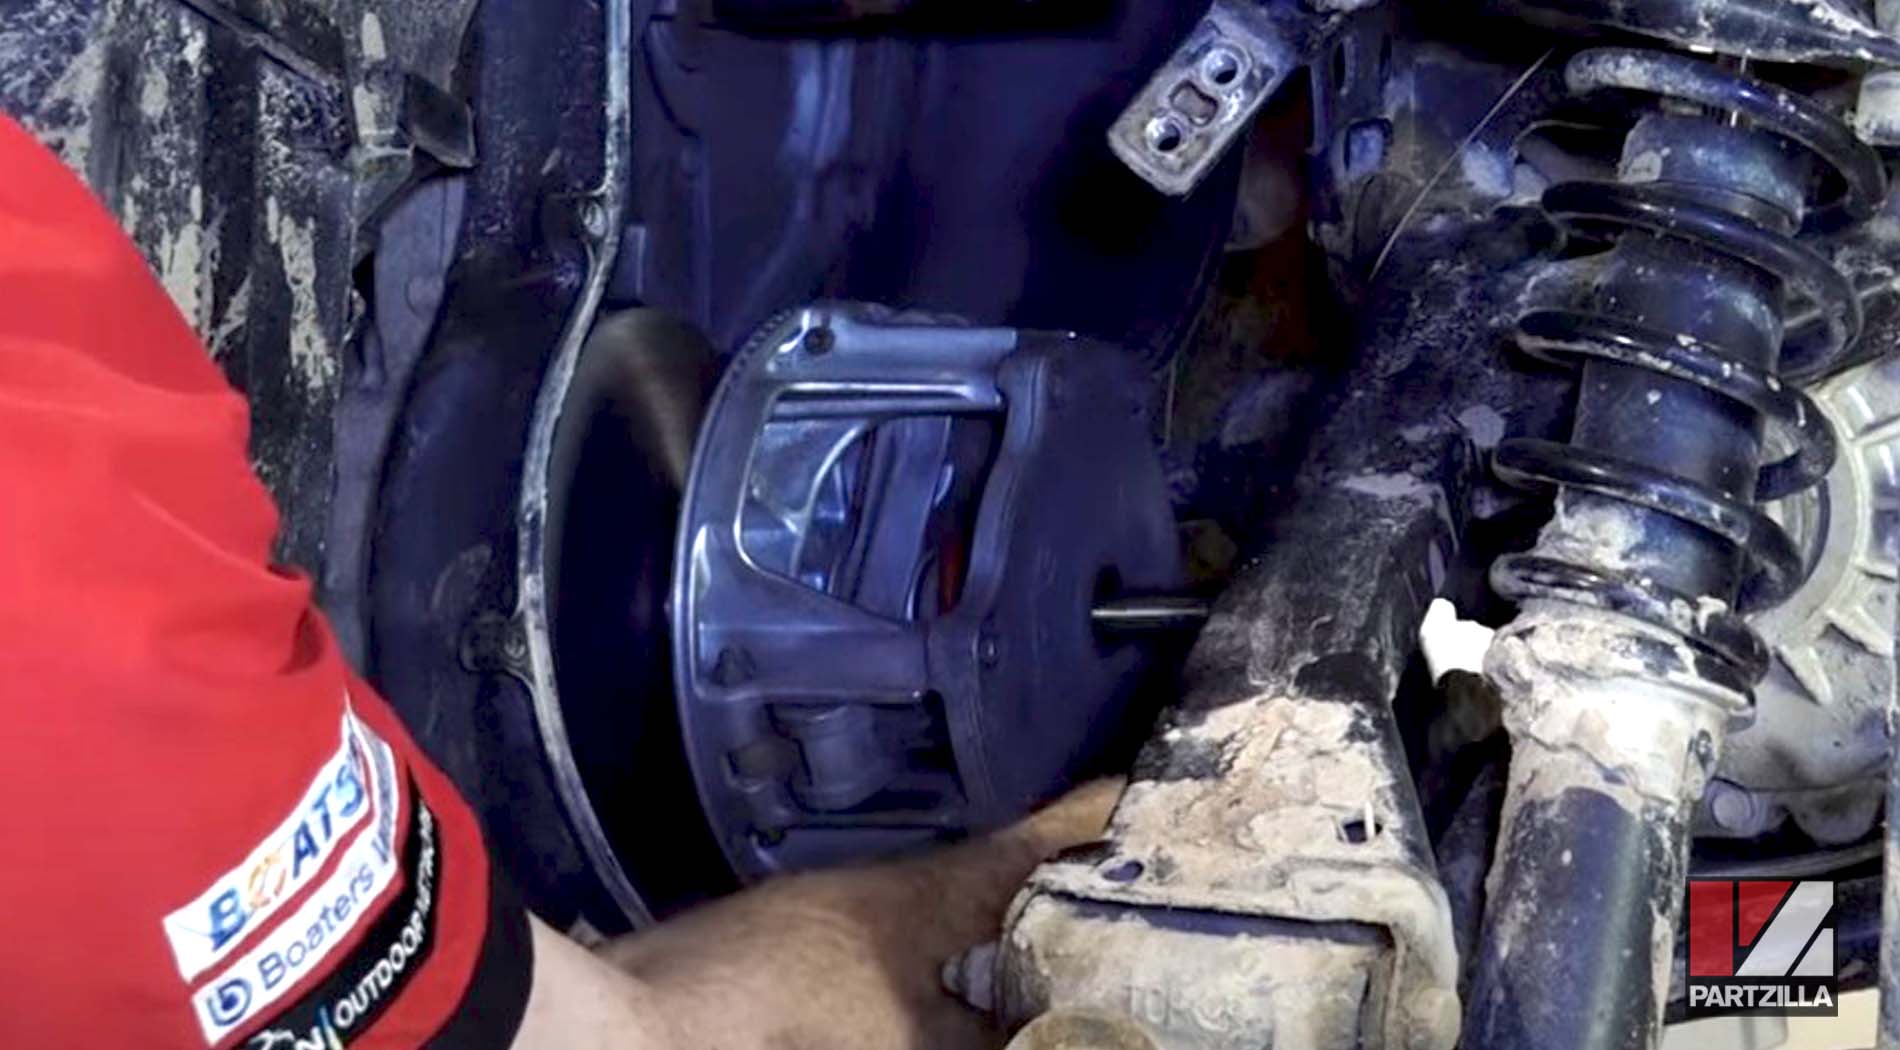
Step 2. Insert a primary clutch drive puller into the opening for the 18mm bolt that was just removed, then bottom it out. Use a 22mm socket and drive to turn it clockwise to break the clutch loose from the shaft.

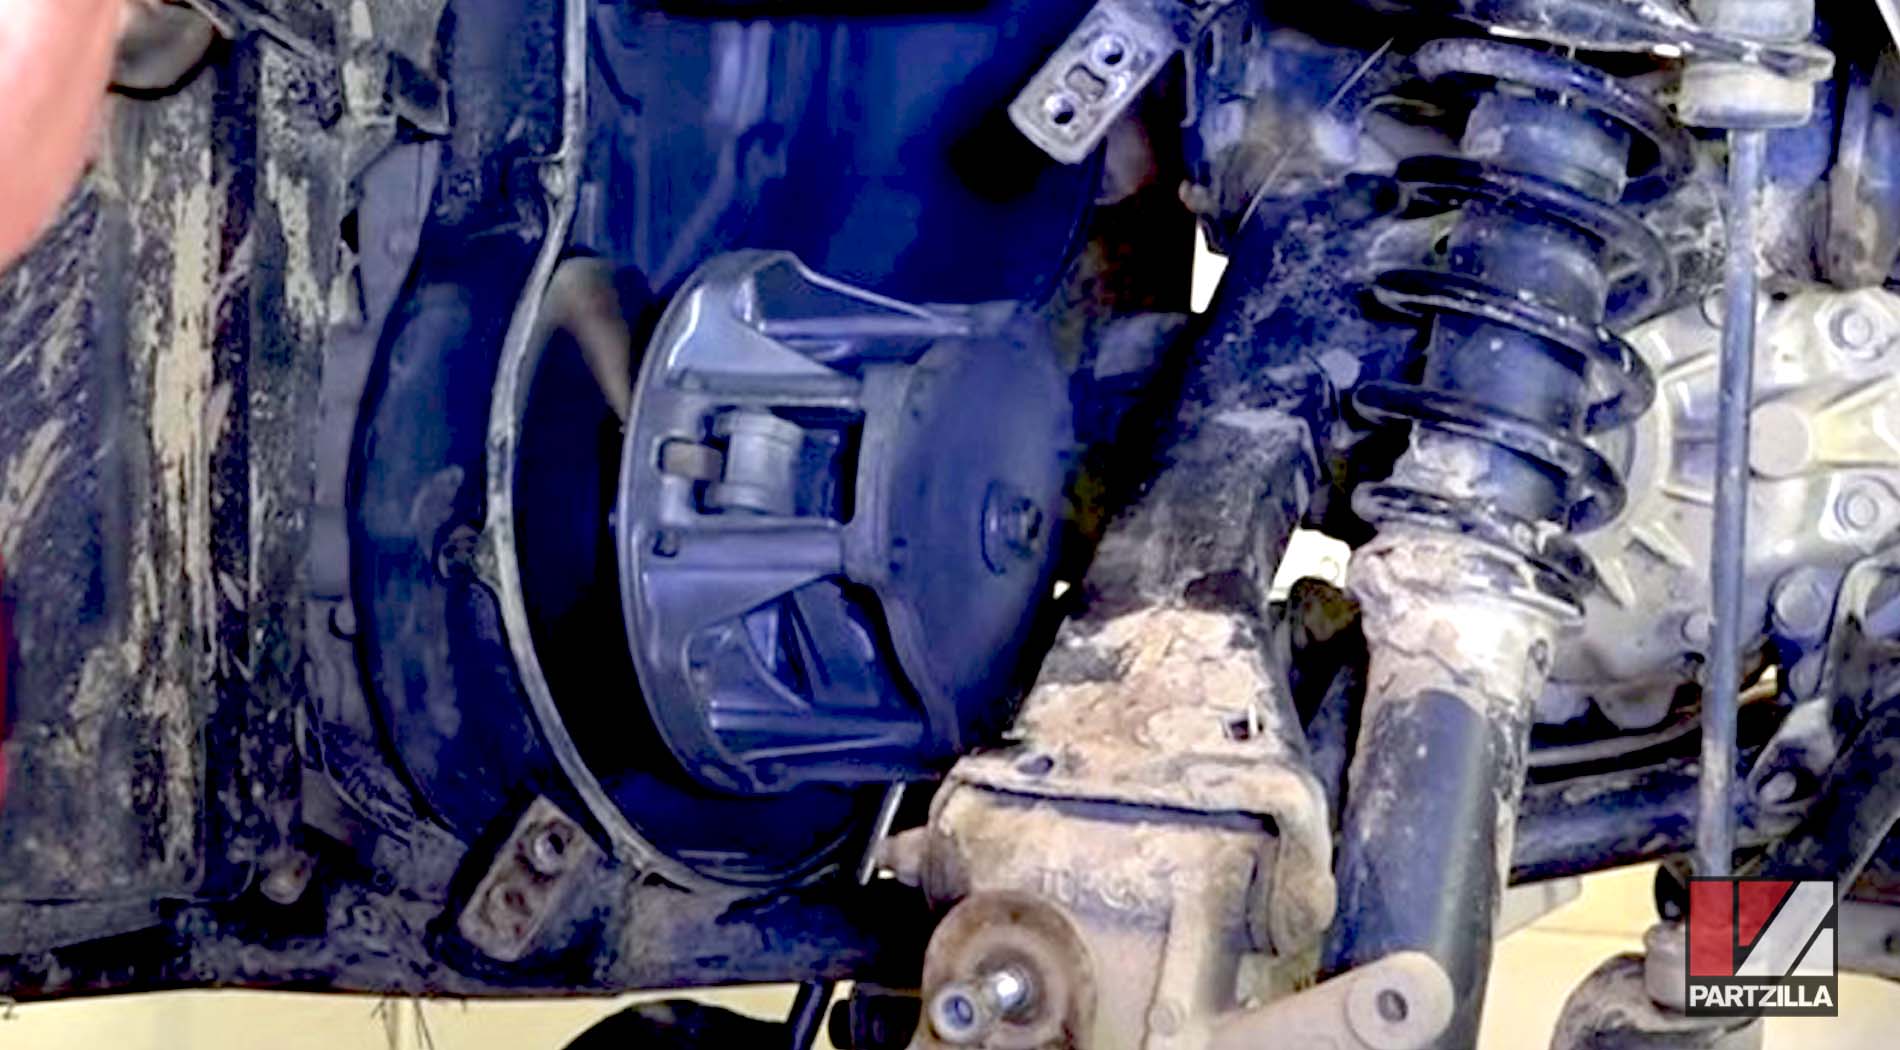
Step 3. Remove the drive puller so the clutch can slide right off.

With the drive and driven clutch removed, you’re ready to begin the process of rebuilding the clutch. Continue watching our Polaris Sportsman 850 clutch rebuild video below to move forward to the next phase: disassembling the clutch and replacing it with new components.