Honda Rancher 350 Rear Diff Oil Change
Like every other fluid in your Honda ATV, the rear differential in your Rancher TRX 350 needs to be changed every now and then.
Watch the video above and follow the steps below to change the rear differential oil on a Honda Rancher TRX 350 in minutes.
Tools and Supplies - Honda Rancher 350 Rear Diff Oil Change
- 10mm socket
- 12mm socket
- Ratchet
- 17mm box-end wrench
Honda TRX 350 Rear Differential Fluid Change
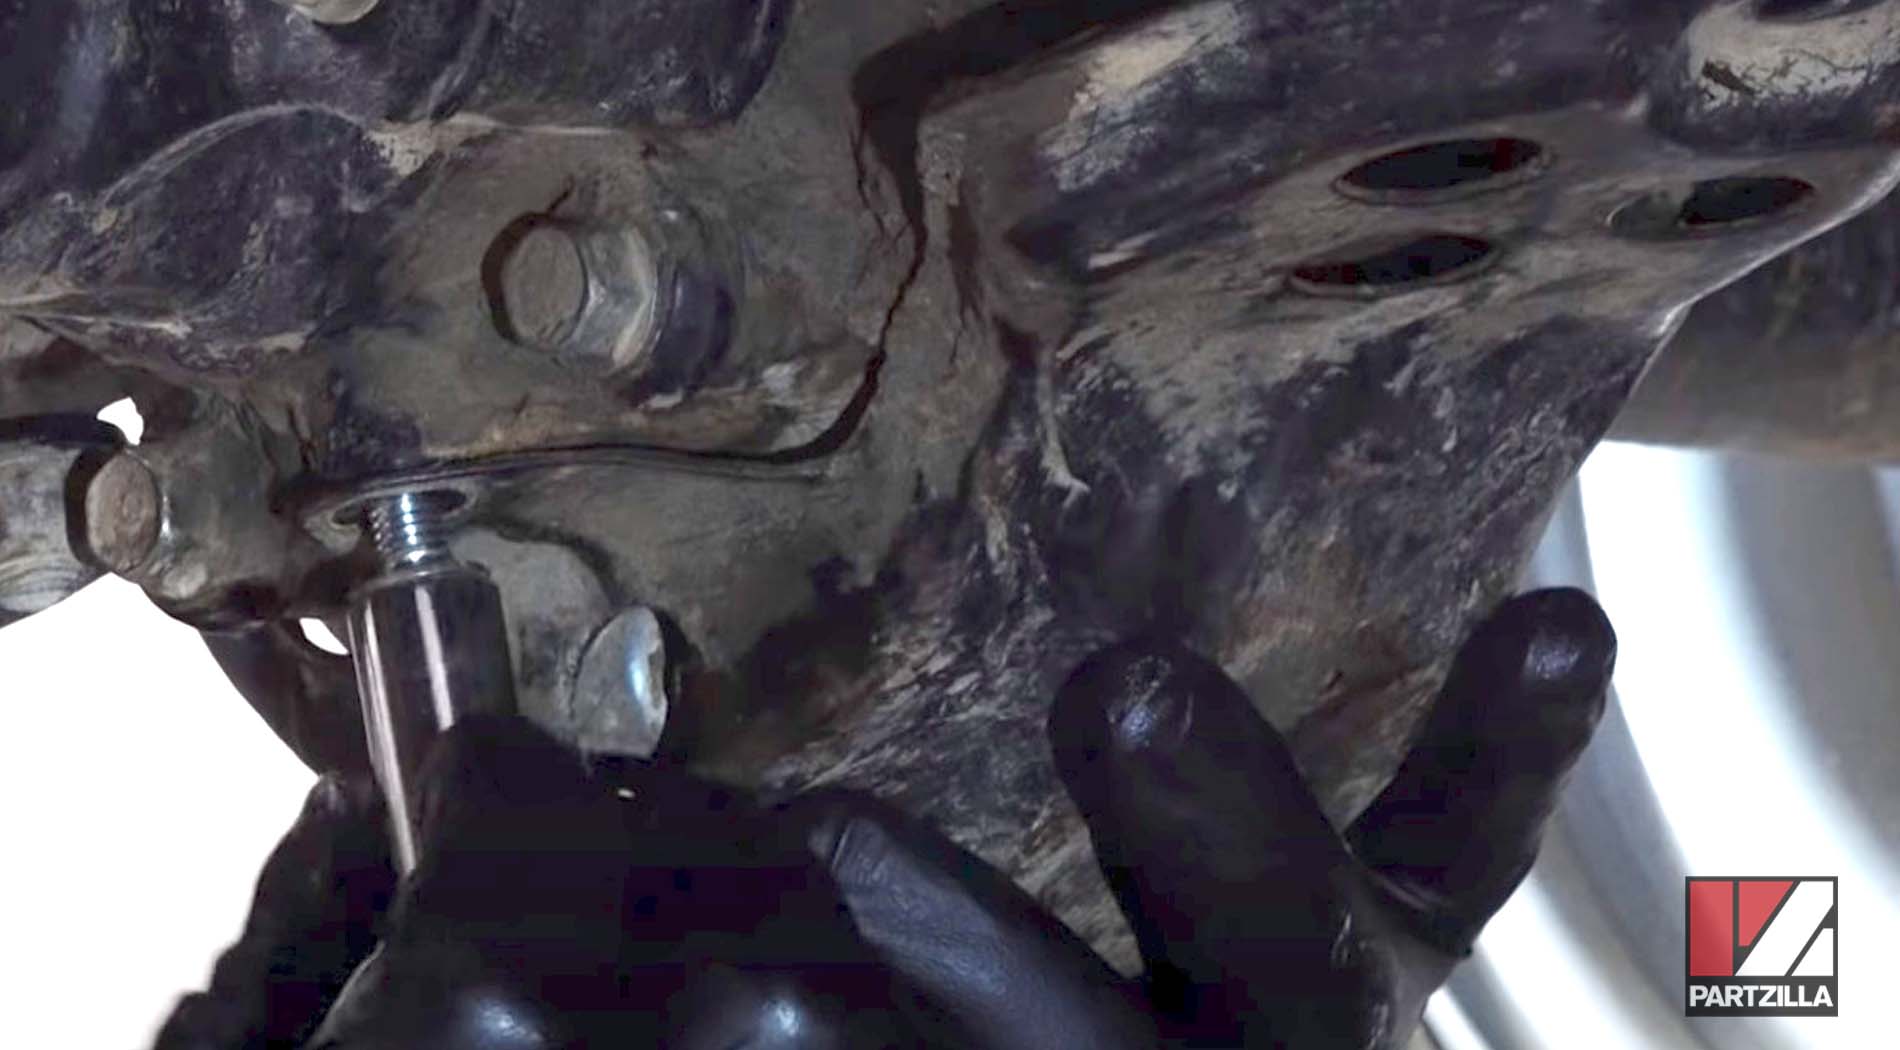
Step 1. Remove the three 10mm bolts that hold the plate underneath the machine that protects the rear differential, followed by the plate itself.
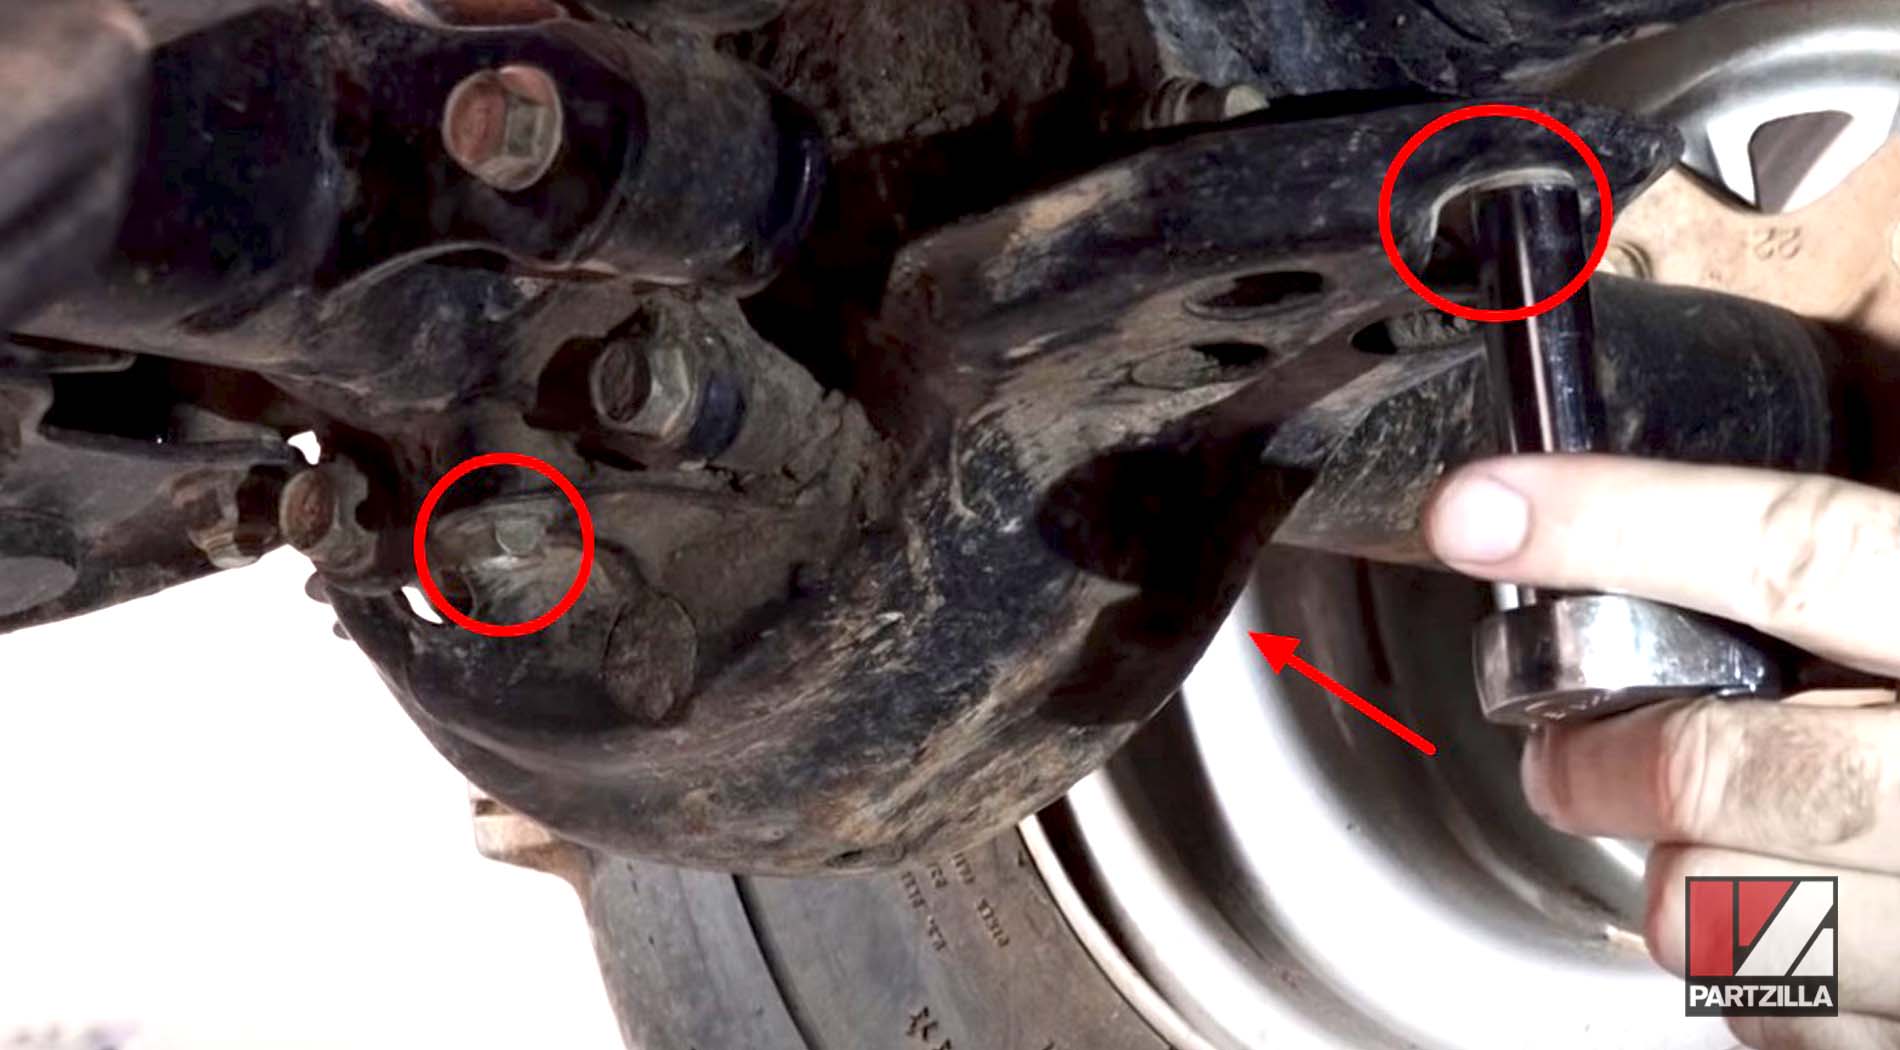
NOTE: If there’s a lot of mud caked between the differential and the plate, it may take some extra effort to remove it even after you get the bolts out.
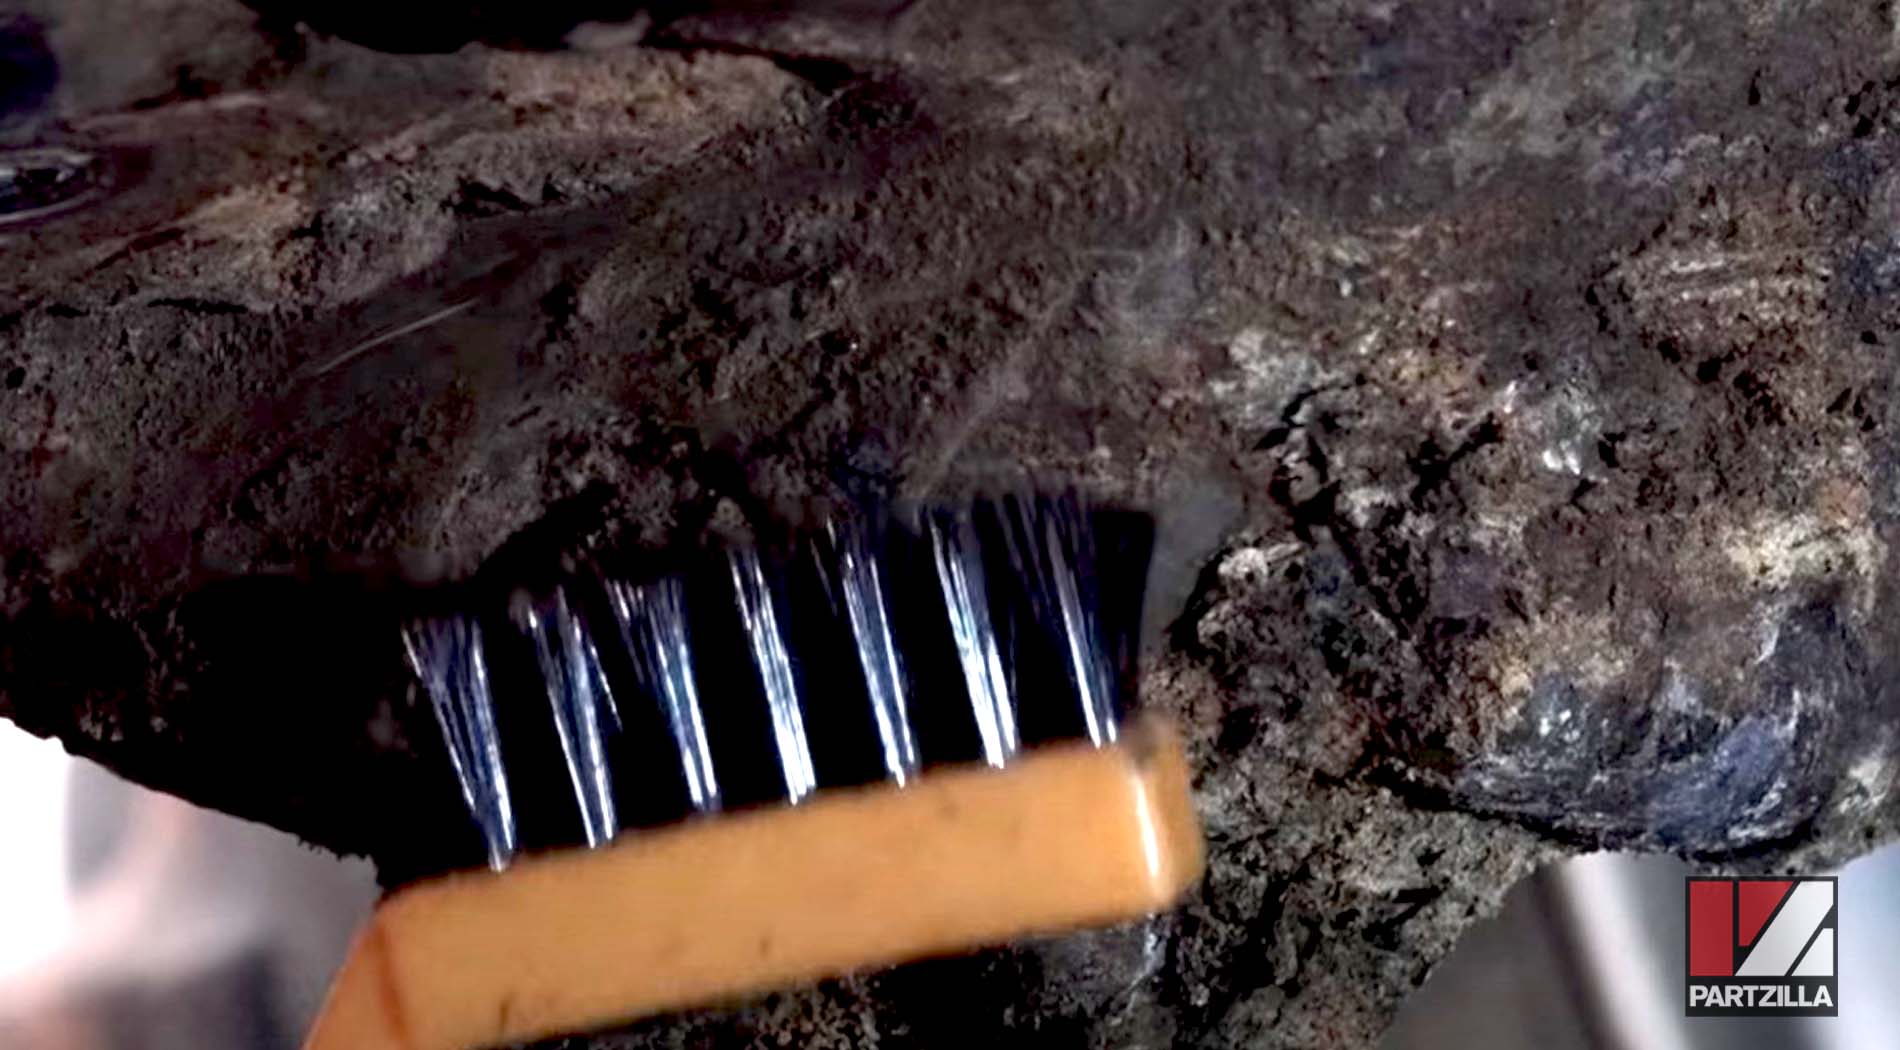
Step 2. Clean the differential with a brush if it's dirty to make it easier to get to the drain bolt and check bolt.
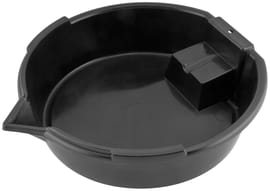
Step 3. Get a drain pan under the differential, then remove the oil check bolt and drain bolt to evacuate the old diff fluid. Sitting at the rear of the machine looking at the differential, the check bolt will be on the left side. Remove it with a 10mm socket. The drain bolt is on the right. Remove it with a 12mm socket.
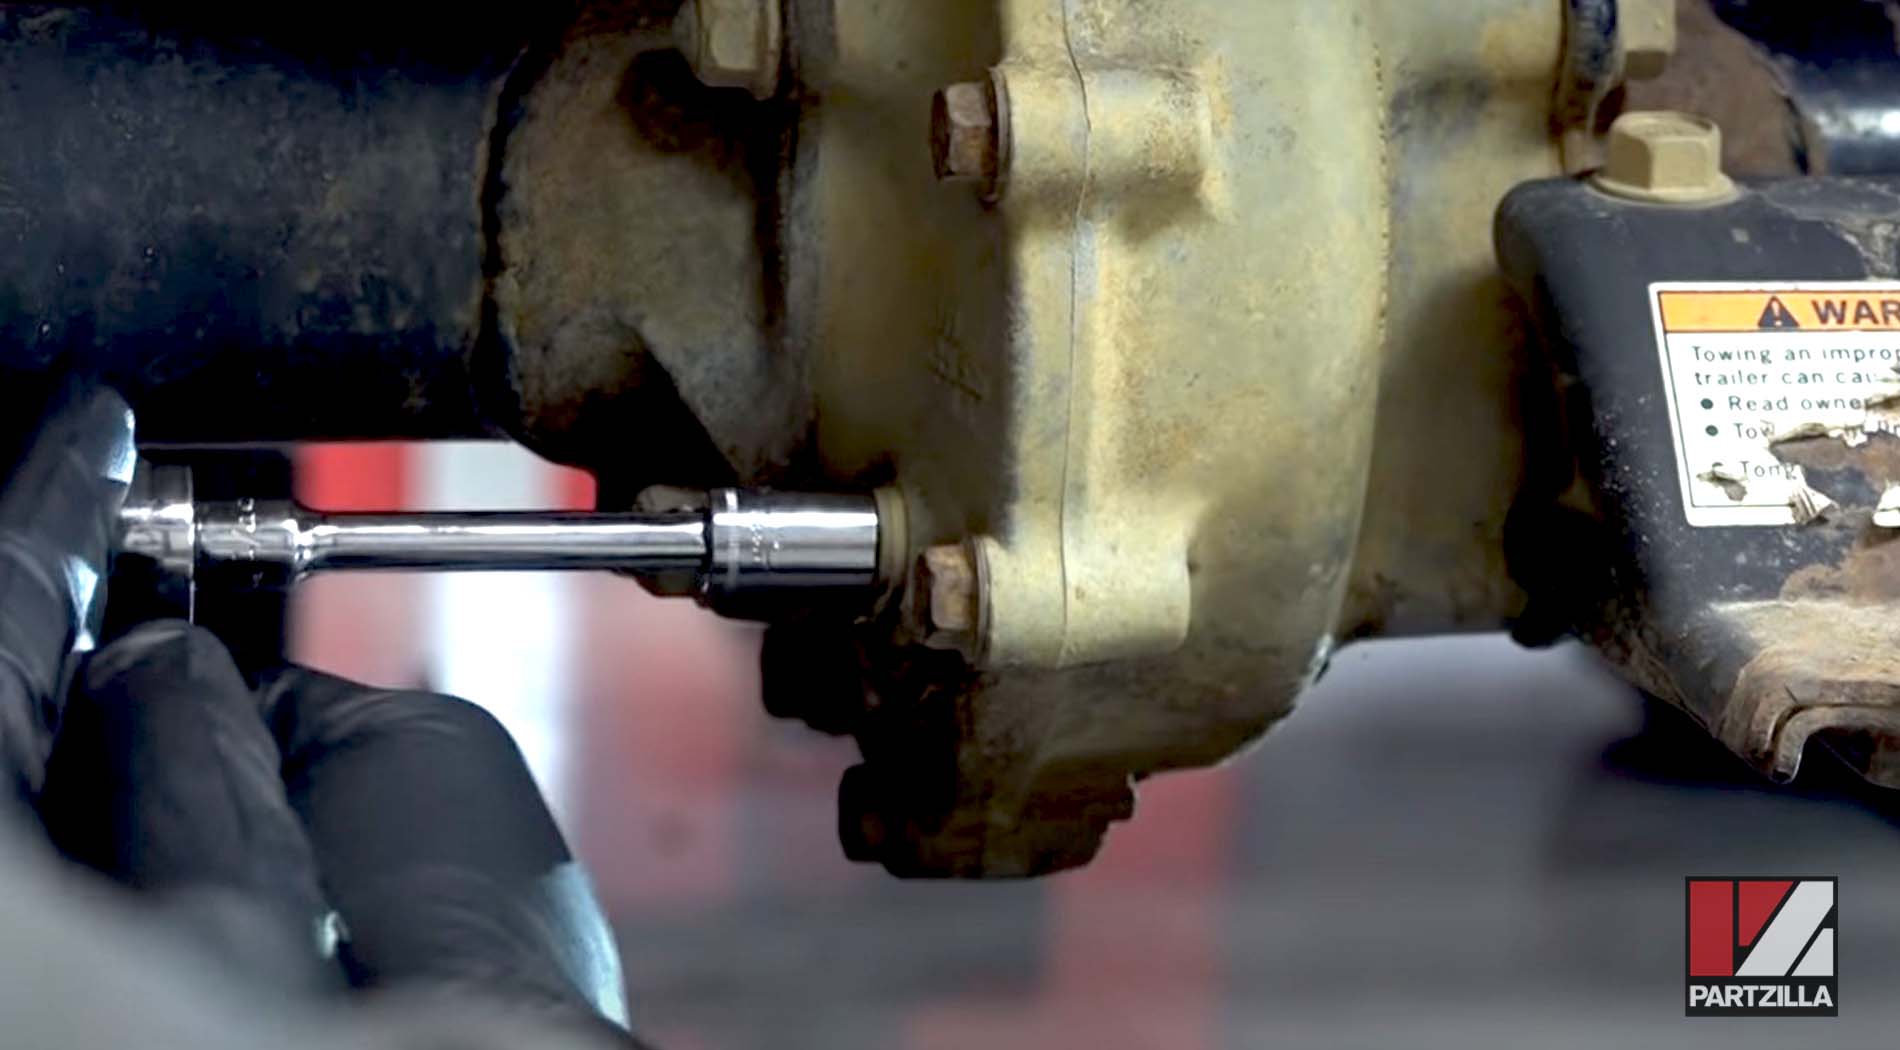
NOTE: Don't lose the crush washers that come with both bolts.
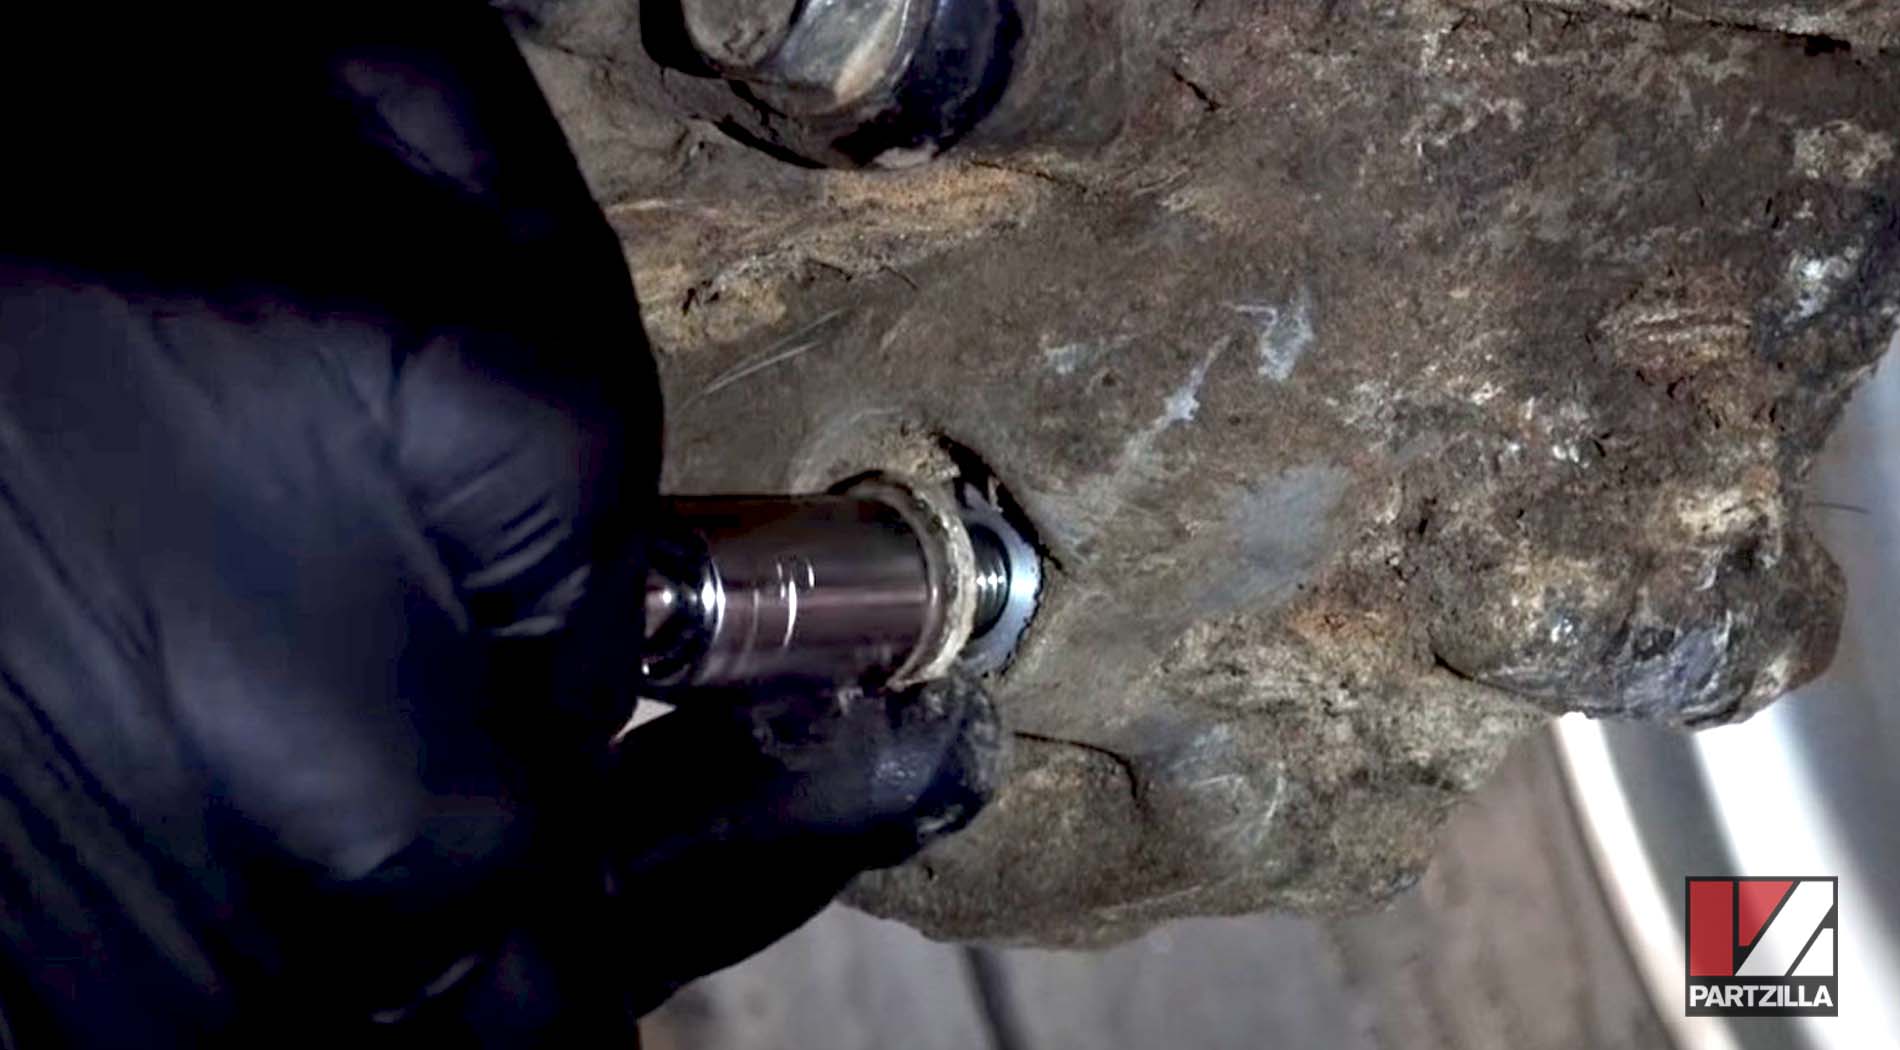
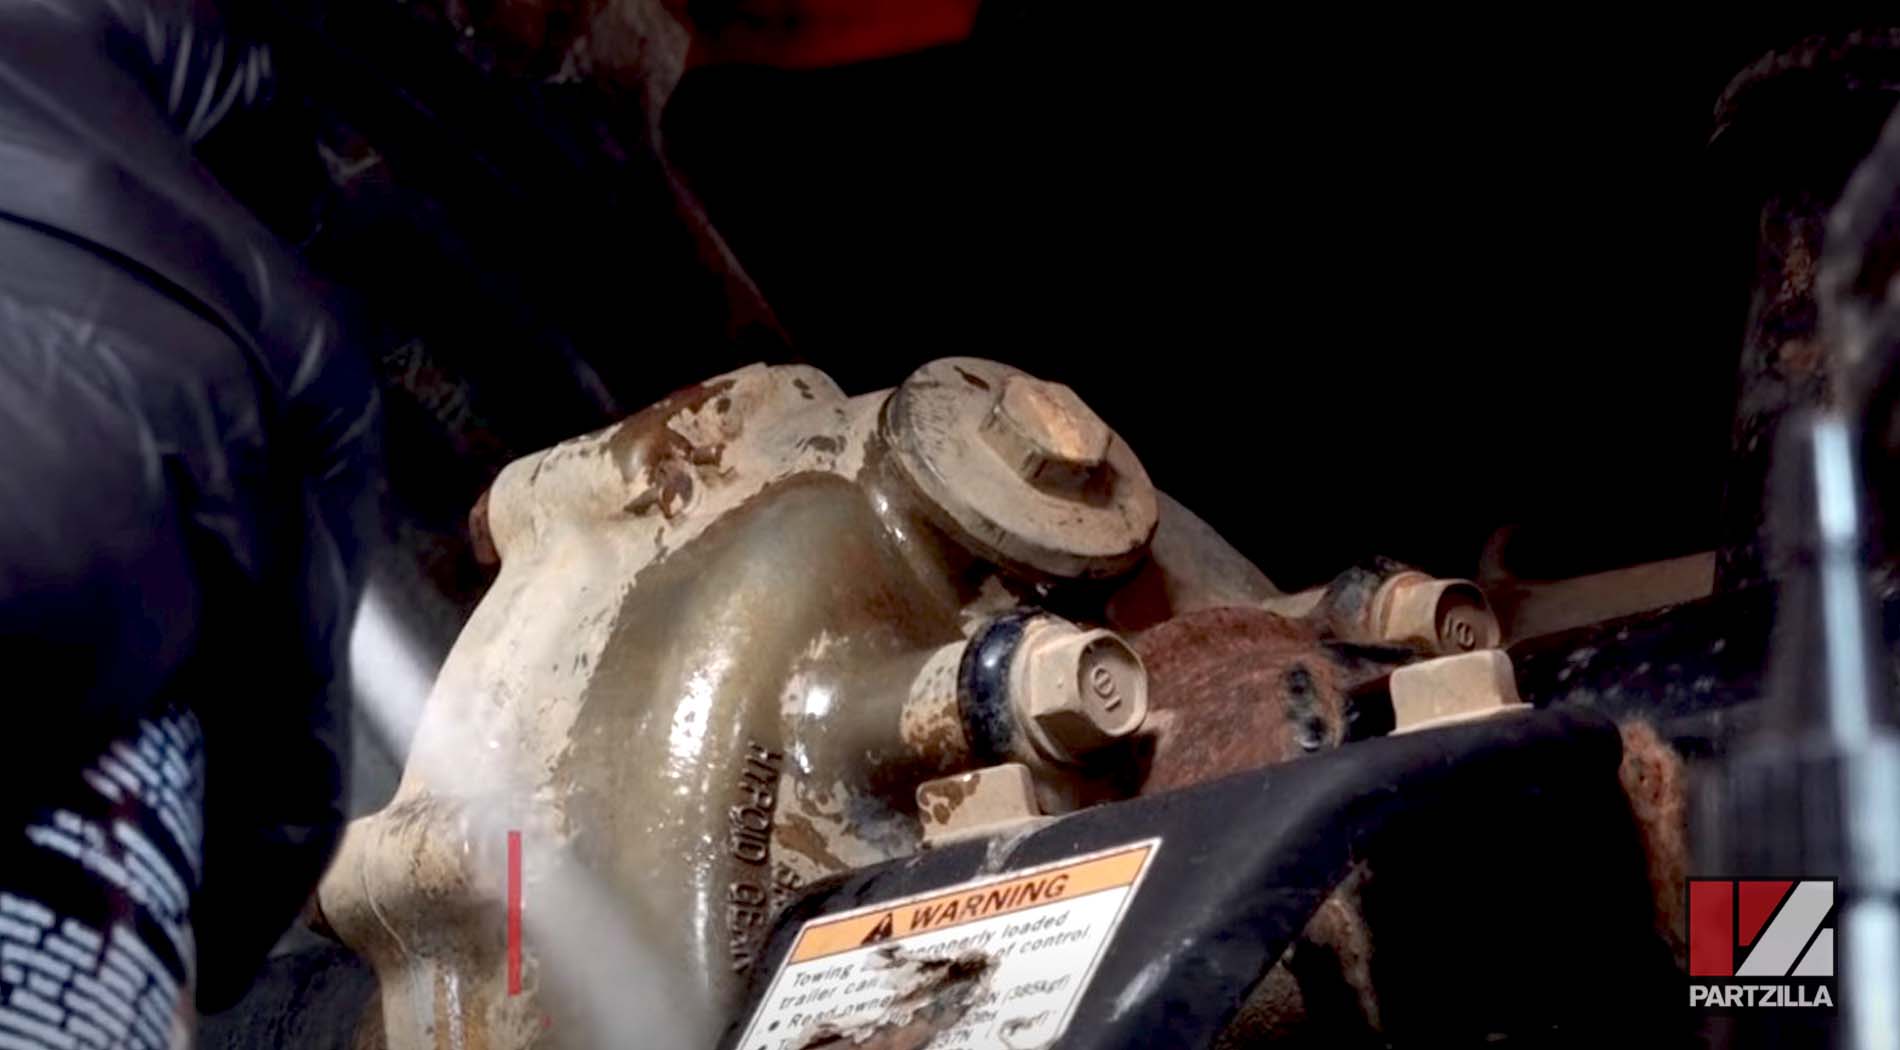
Step 4. Use a 17mm box-end wrench to remove the fill bolt, which is located on the right-hand side of the differential up near the top.
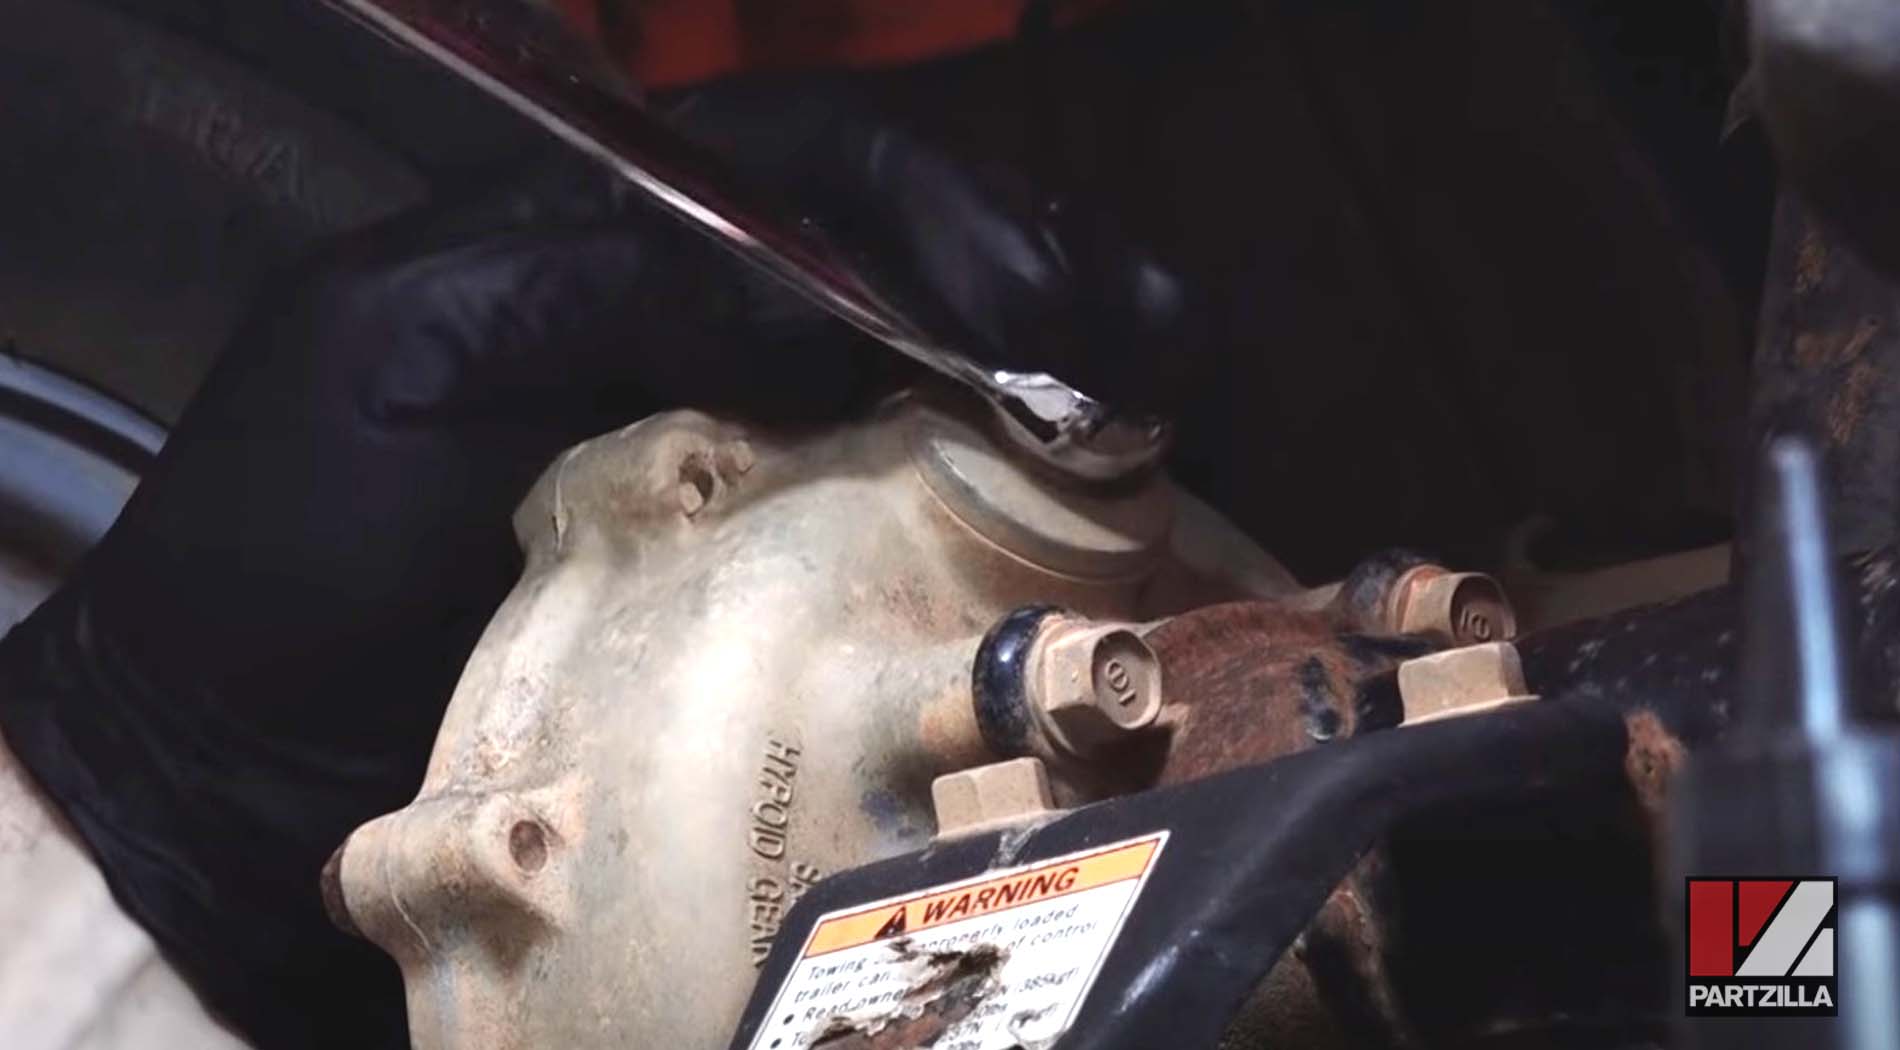
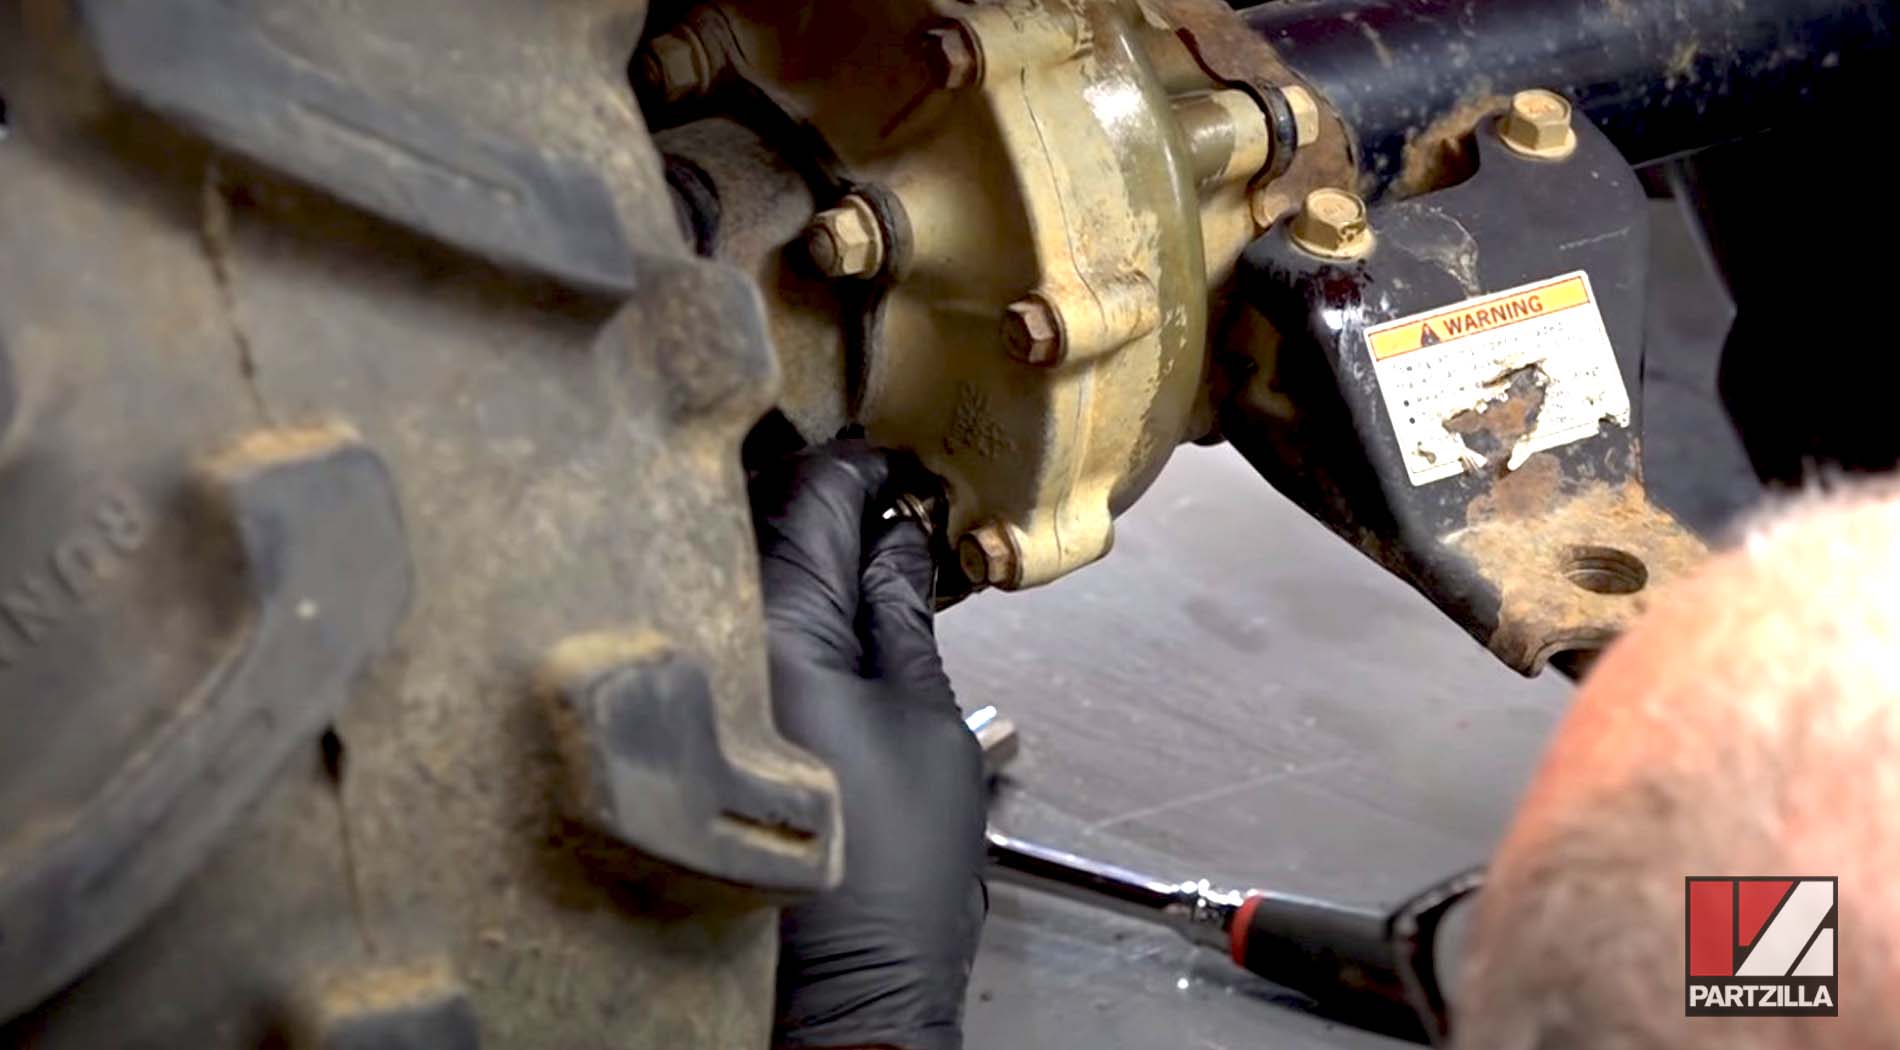
Step 5. Replace the drain bolt, making sure the crush washer is on the bolt. Leave the check bolt and fill bolt out.
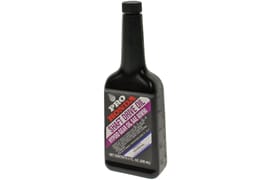
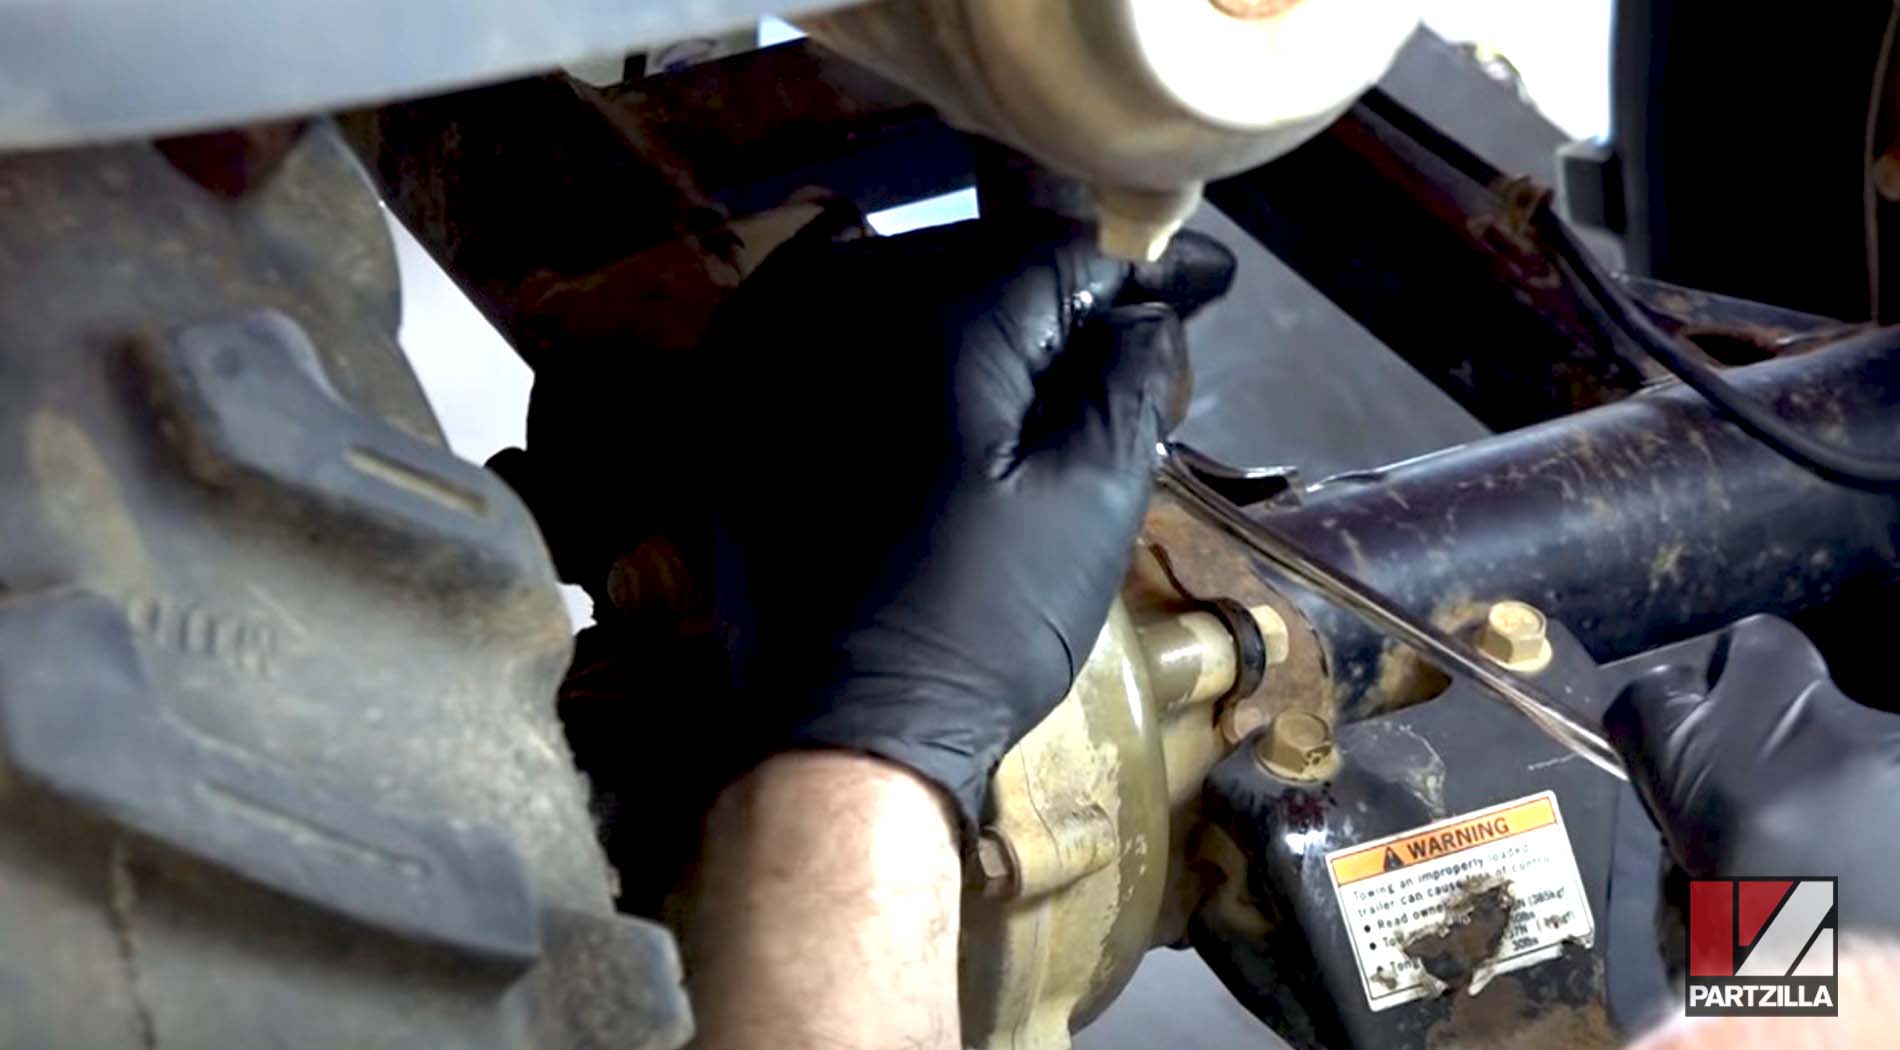
Step 6. Pour new rear differential oil into the fill opening until you see overflow come from the opening for the check bolt.
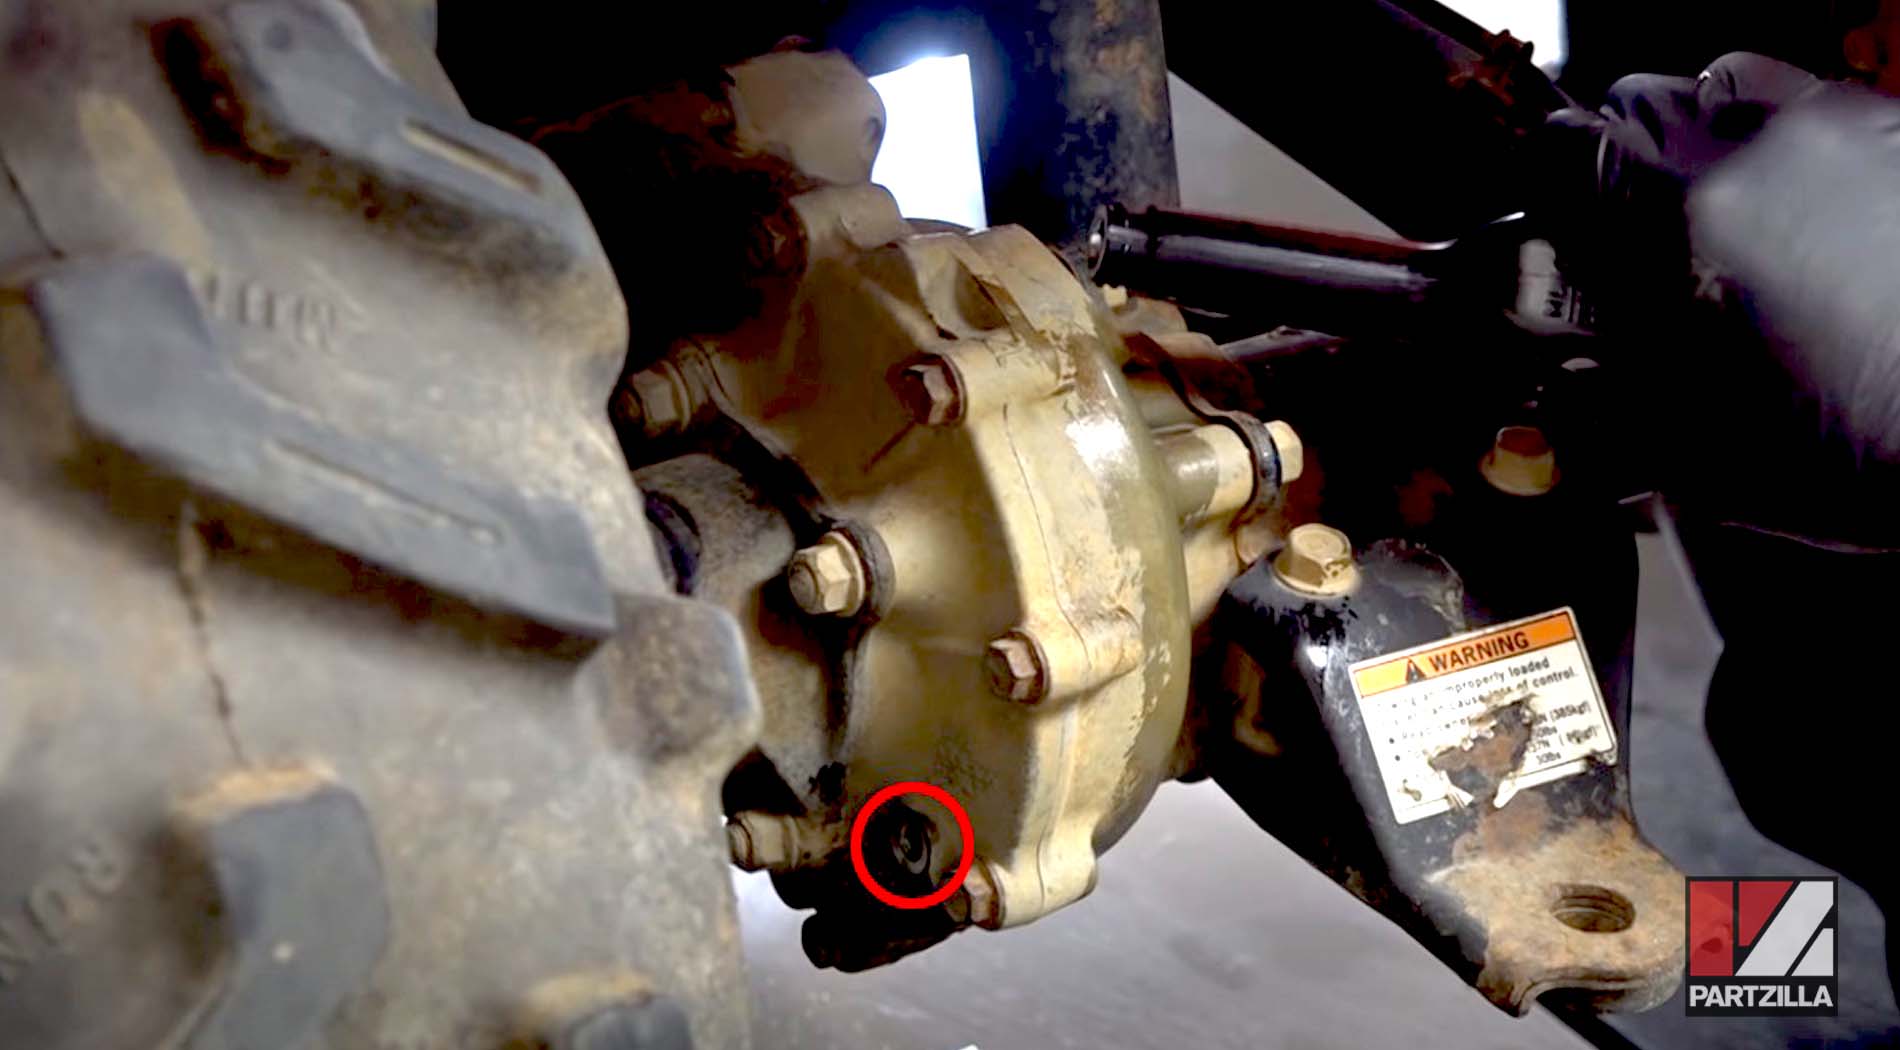
Step 7. Replace the check bolt and its crush washer once the overflow stops.
Step 8. Replace the fill bolt on the top of the differential.
Step 9. Use contact cleaner to clean excess fluid off the differential, which makes it easier to spot any future leaks.
Step 10. Replace the protective plate over the differential, then tighten its 10mm bolts and you're done.
After changing the rear differential oil on your Honda TRX 350, why not change the motor oil next? It's recommended you change both at the same time anyway. Watch the video below to see how to change the oil on a Honda Rancher 350.
