How to Change Honda Rancher 350 Oil
An oil change is a simple maintenance job that’s essential to the health of the engine in your Honda ATV. Performing regular oil changes will keep your machine running great for years to come.
Watch the video above and follow the steps below to do an oil change on a Honda TRX350.
Tools and Supplies – Honda Rancher TRX 350 Oil Change
- 8mm, 17mm sockets
- Ratchet
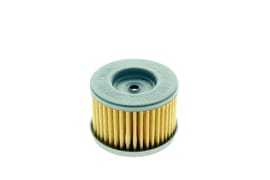
- Honda oil filter
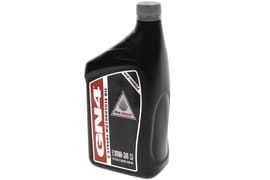
- Honda GN4 10W-30 oil

Honda Rancher 350 Oil Change
Step 1. Run the engine for a few minutes to heat up the oil, which makes it drain out faster.
Step 2. Loosen up the dipstick so that air can get into the engine, which also helps the oil drain out easier.
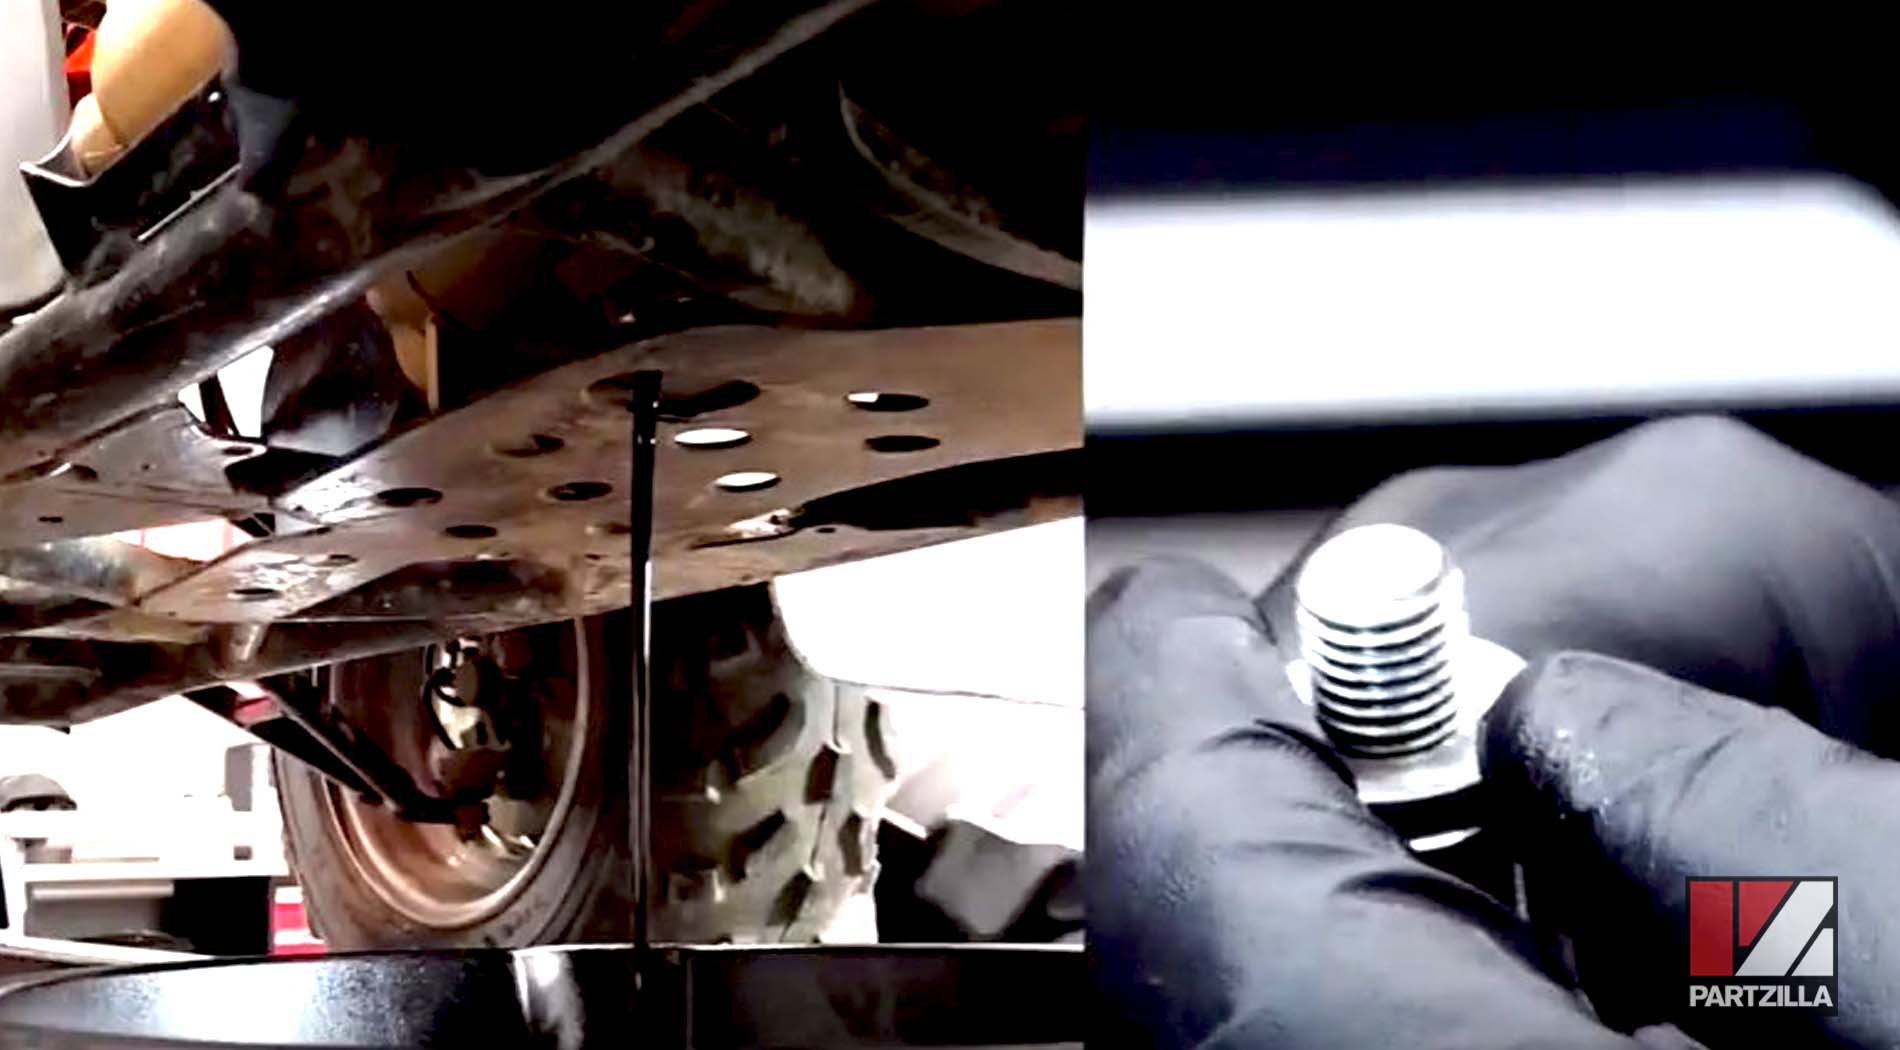
Step 3. Get a drain pan under your machine, then find the 17mm drain bolt on the centerline of the engine, toward the gearshift. Remove the bolt, and drain the oil into the pan.

Step 4. Inspect the crush washer on the drain bolt while the oil drains. Replace the crush washer if it’s worn or damaged.
Step 5. Replace the drain bolt once the engine oil has drained completely.
NOTE: Don’t overtighten the drain bolt, just get it snug. Overtightening it will make it very hard to remove next time.
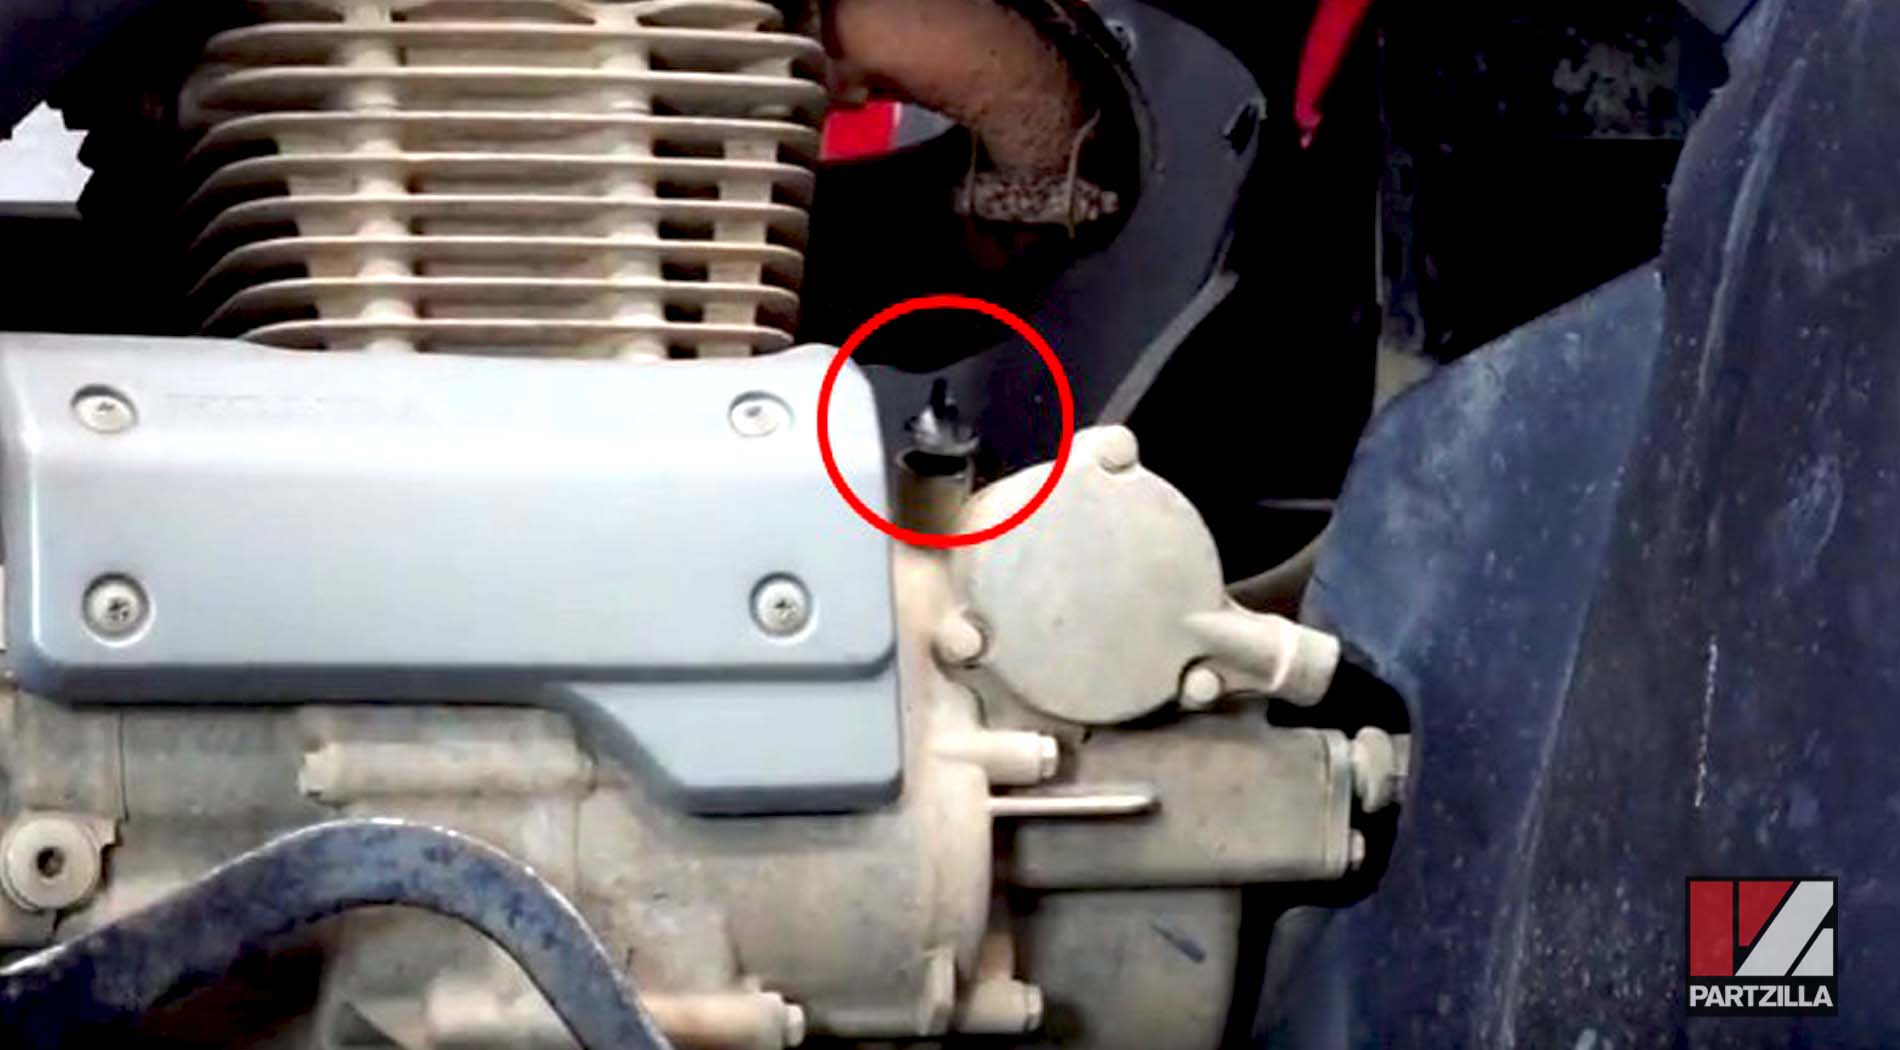
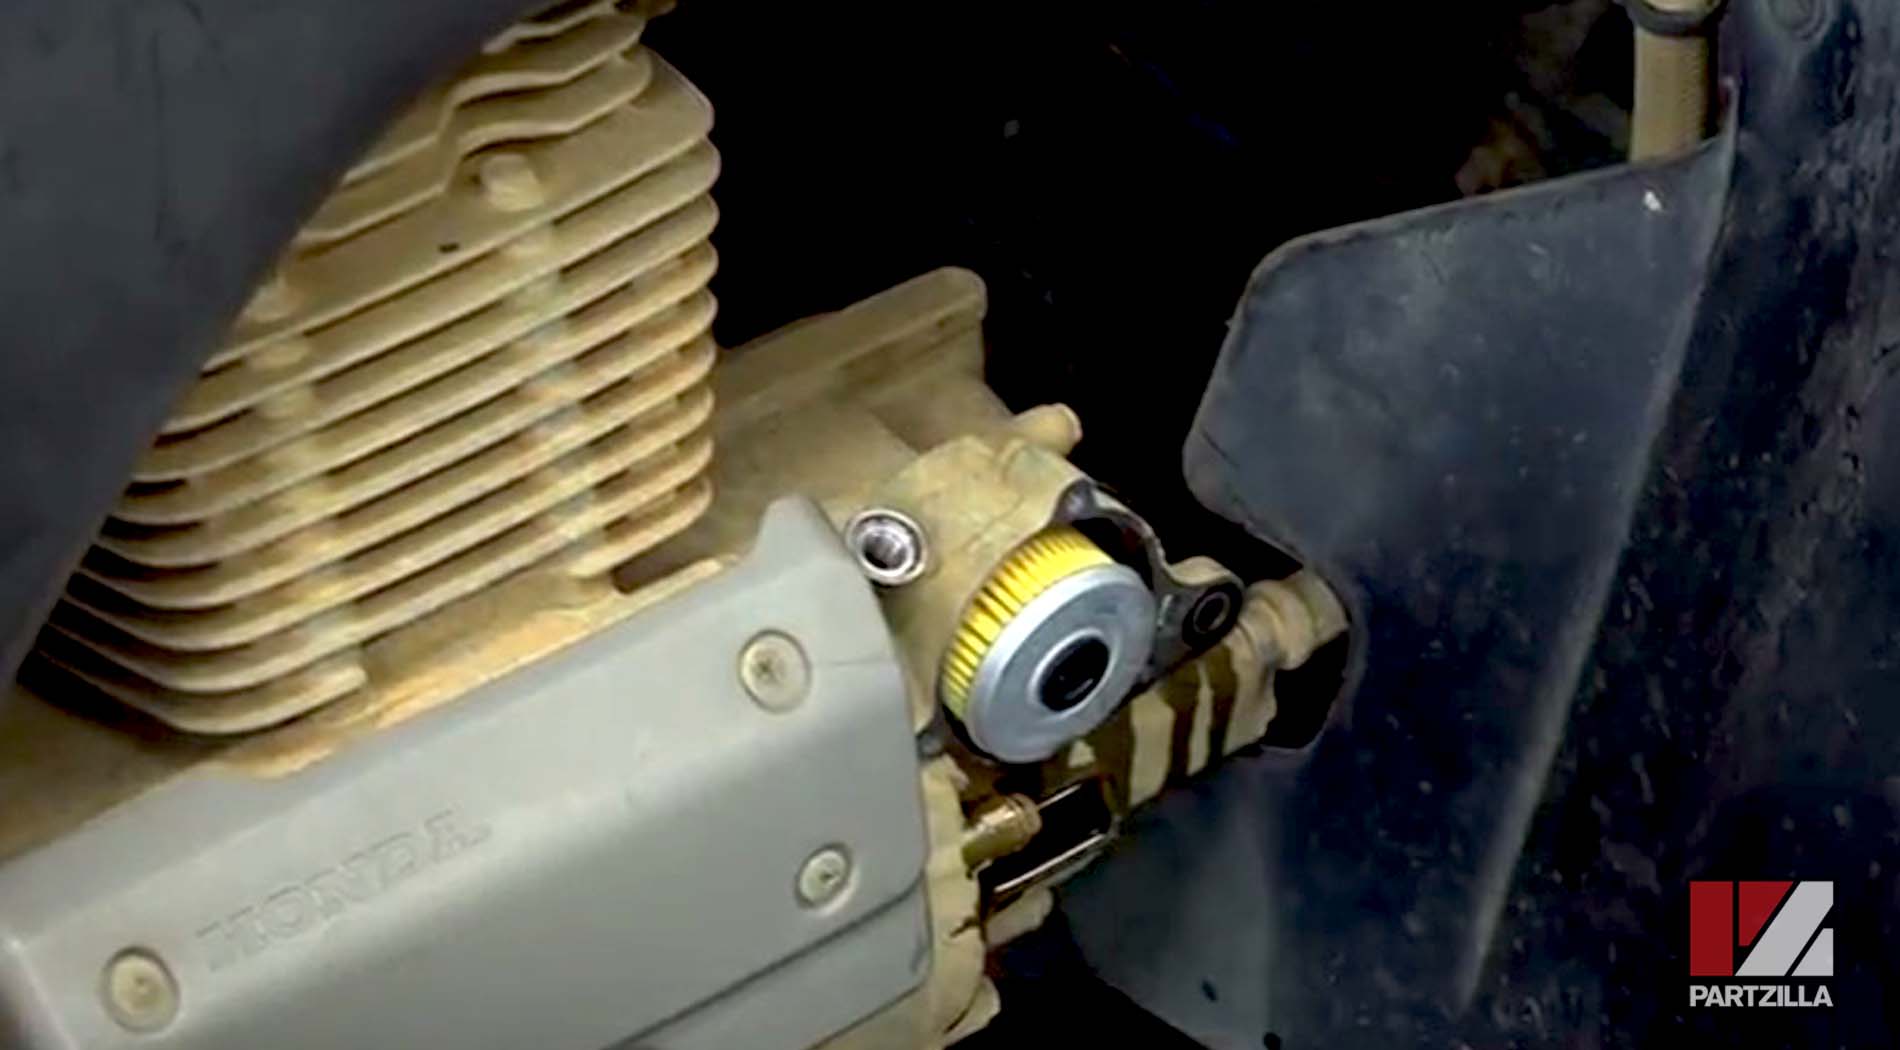
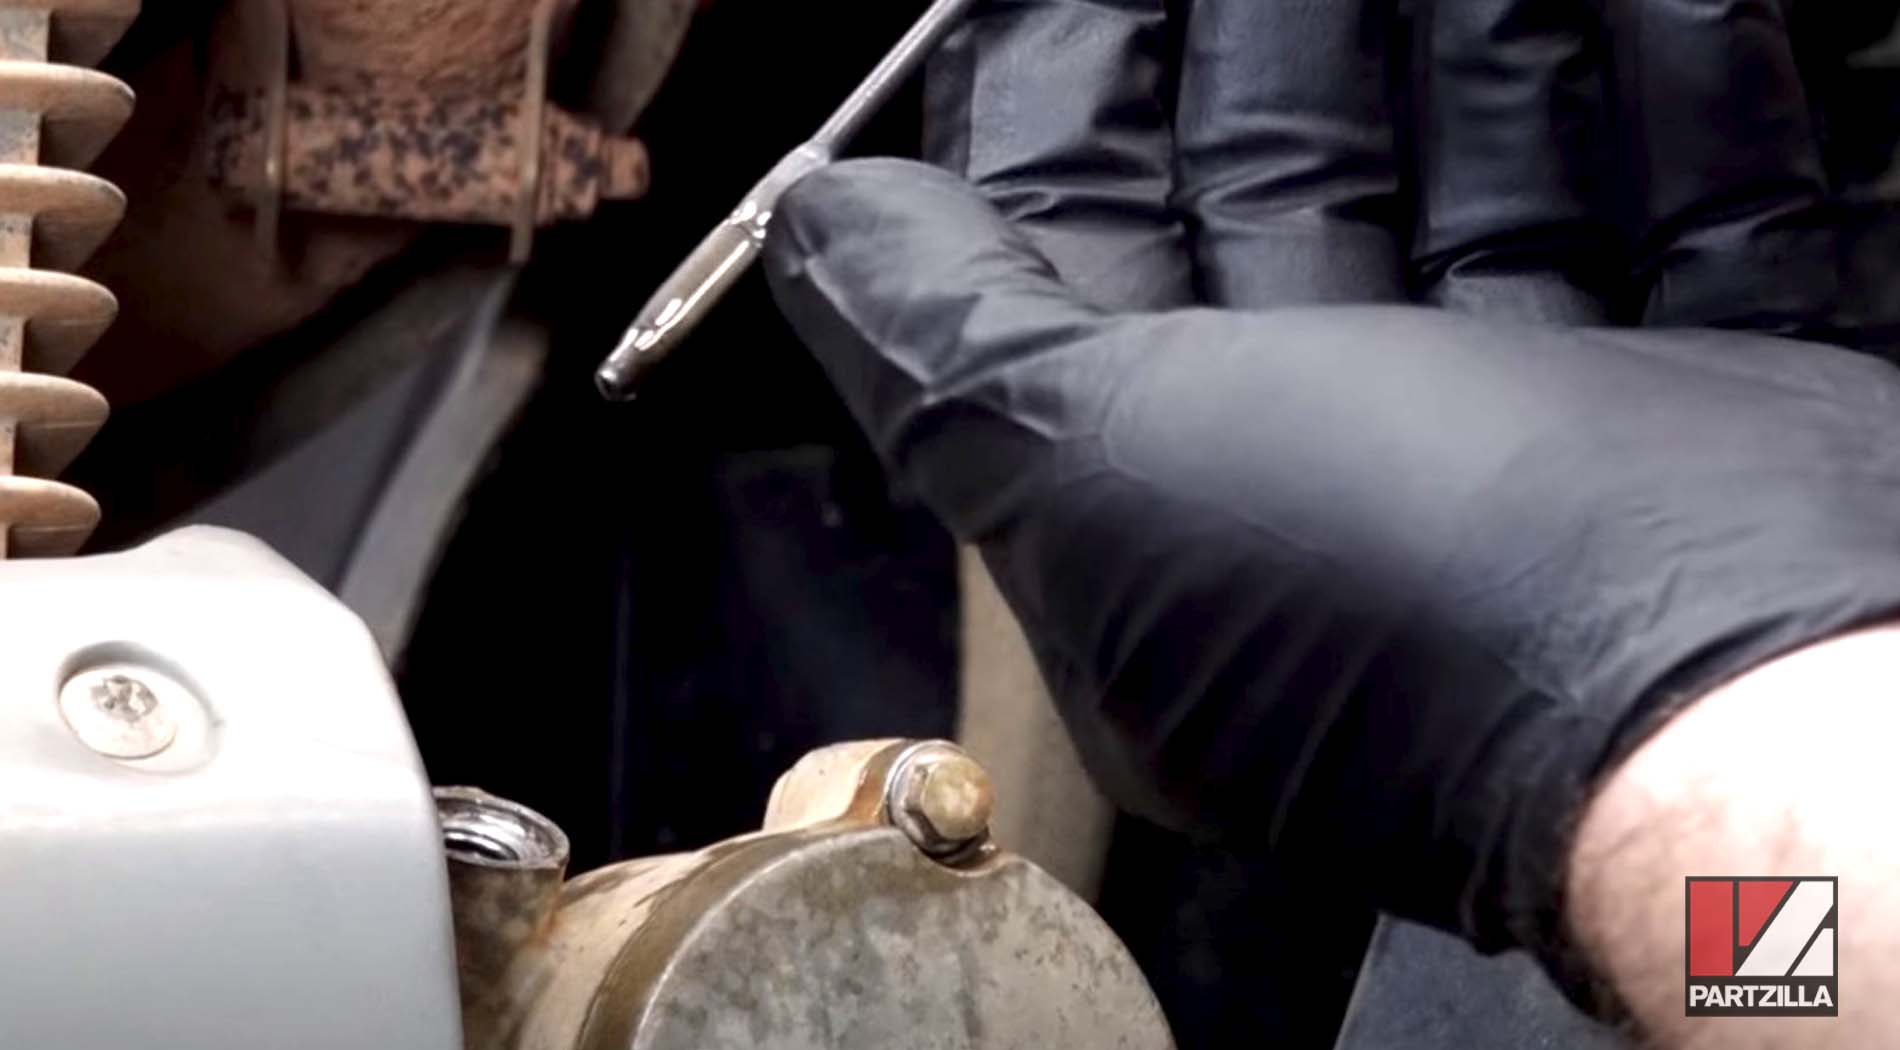
Step 6. Remove the three 8mm bolts holding the oil filter cover in place, followed by the oil filter cover itself. The oil filter cover is next to the dipstick.
PRO TIP: Get a drain pan underneath before you open the oil filter cover, since you’ll probably get some oil leaking out as you loosen the bolts.
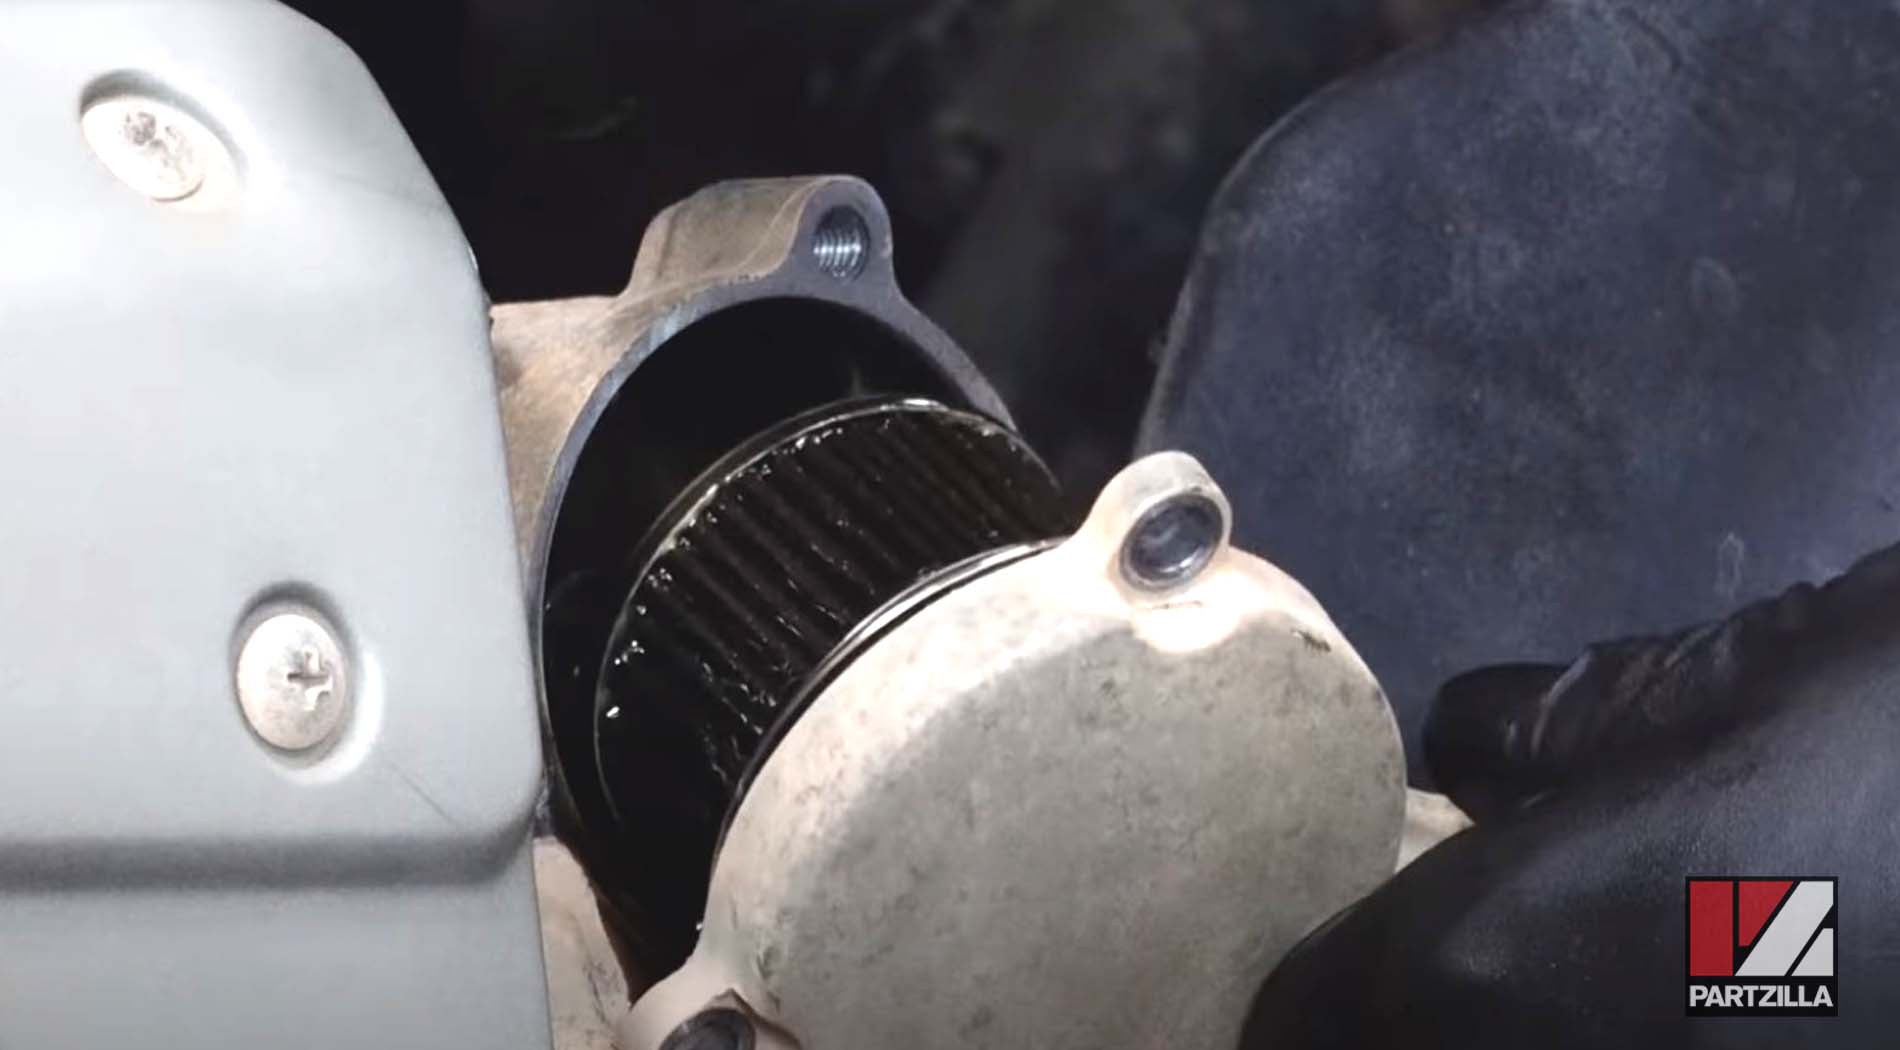
Step 7. Remove the old oil filter, then install the new oil filter.
NOTE: Make sure the spring behind the filter stays in place in the filter cover and doesn’t pop out with the old filter. Honda labels which side of the oil filter faces out, so you’ll know which way to install the new filter.
Step 8. Replace the oil filter cover, then hand-tighten the 8mm bolts before using your socket and ratchet to tighten each bolt evenly across to avoid leaks.

NOTE: Because of the spring behind the oil filter, you may need to apply some pressure to the cover to thread the 8mm bolts.
Step 9. Fill up the engine with Honda 10W-30 motor oil through the fill opening on the left side of the engine, opposite the dipstick opening on the right.
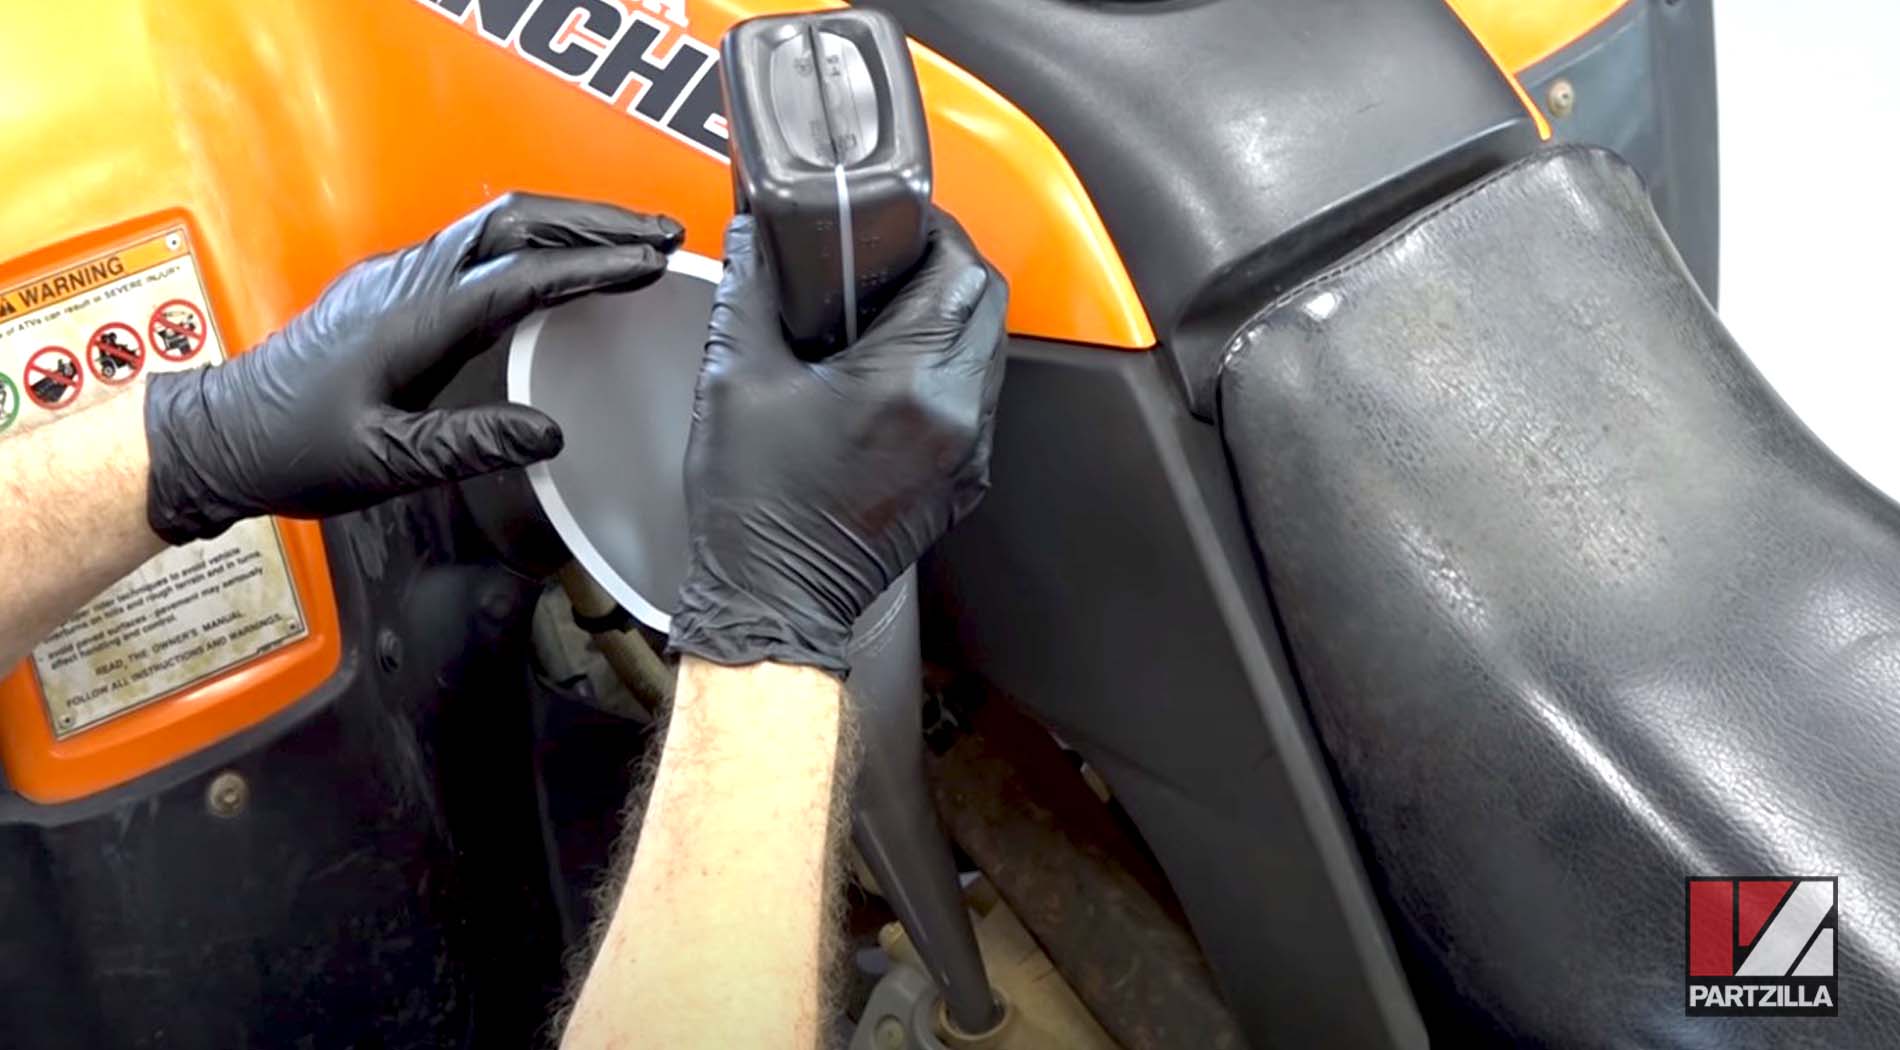
NOTE: The Honda Rancher 350 takes a little over 2 quarts of oil, so start off by pouring in just 2 quarts.
Step 10. Run the engine for a few minutes, then check the dipstick to see exactly where the oil level is. Top off the oil if necessary to get the oil level correct.
Step 11. Close the filler opening, tighten the dipstick and you’re done.