Honda TRX 400EX Top End Rebuild Part 1: Top End Teardown
Welcome to the first part of our project to rebuild a TRX 400 Honda ATV engine, in which we remove the TRX’s cylinder head and cylinder from the machine.
Watch the video above and follow the steps below to learn how to disassemble the top end of a Honda TRX 400 engine. Use our TRX 400 exploded parts diagrams for additional reference.
Tools and Supplies – Honda TRX400 Top End Disassembly
- Ratchet and extensions
- Metric socket set
- Metric Allen set
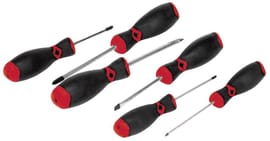
- Screwdrivers
- Pliers
- Magnet
- Compression tester
- Shop towels


PRO TIP: Have plenty of zip lock bags and a marker pen ready. As you remove each component, put its group of parts in a separate bag and label it. This helps keep related parts grouped together and makes reassembly much easier.
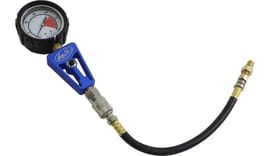
Honda TRX 400EX Cylinder Compression Test
Attach a compression tester to the spark plug hole in the cylinder. Hold the throttle wide open and crank the engine over 7-8 times to get a high point reading on the tester. The tester should register between 100psi and 128psi. Anything below that indicates there’s a problem with the piston, cylinder or both.
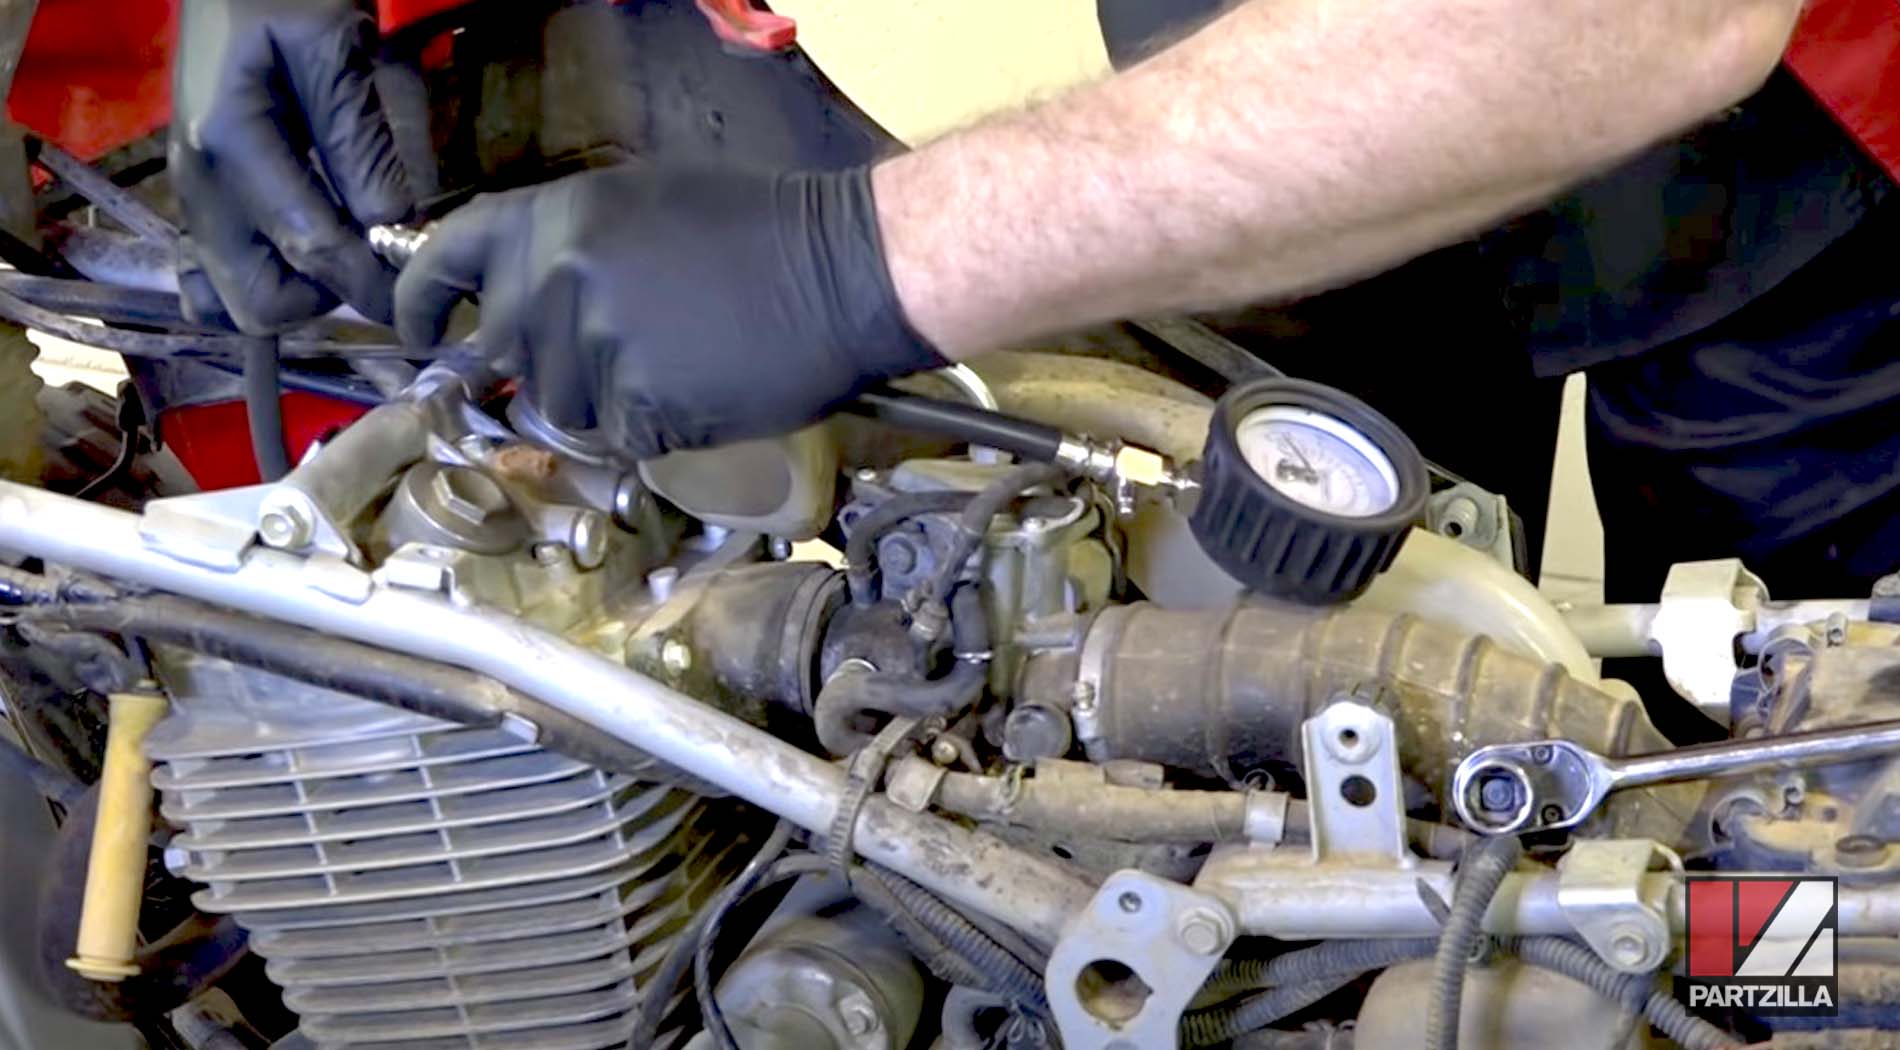
PRO TIP: Always perform a compression test with the engine at normal operating temperature to ensure all the engine’s parts are heated and expanded to their operating dimensions and tolerances.
Watch the clip below to see the compression test segment of our Honda TRX 400EX top end teardown video.
Honda TRX 400EX Cylinder Removal
Step 1: Remove the seat, fuel tank and plastics, then disconnect the battery, and remove the top motor mounting bar and spacer from the frame.
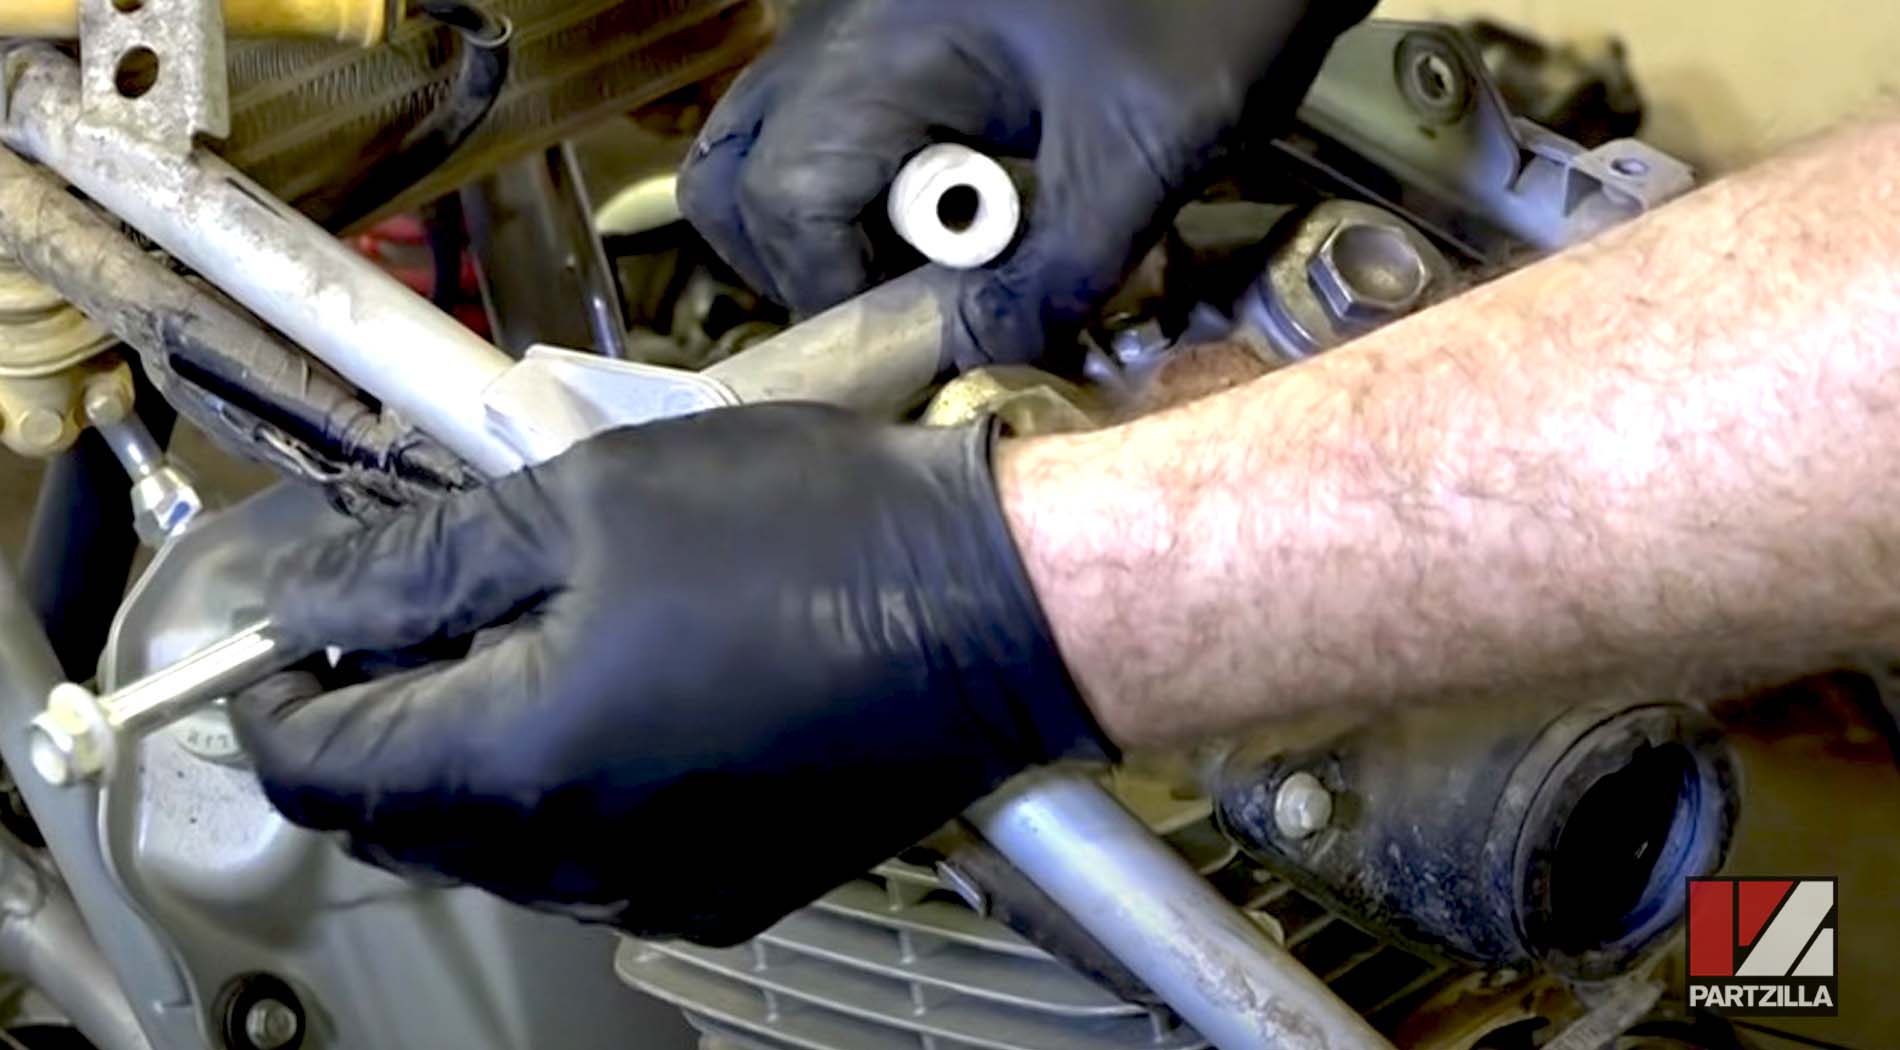
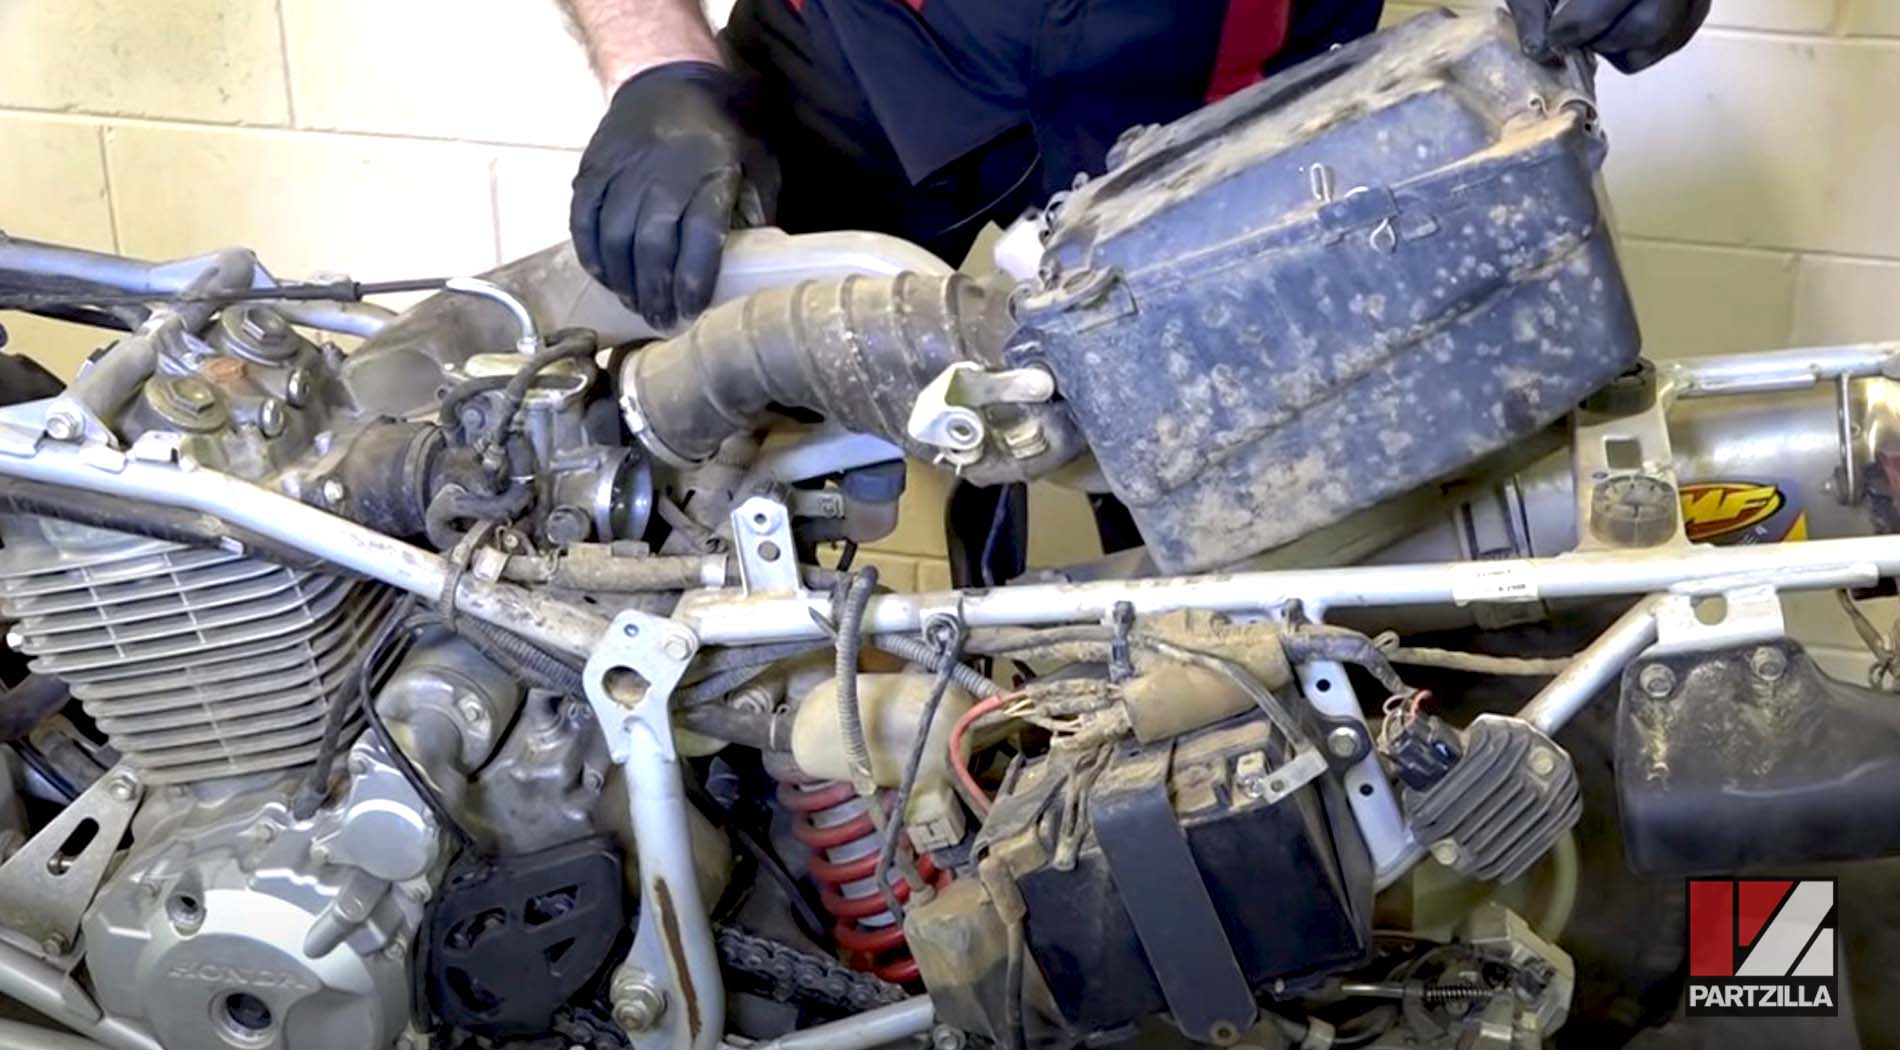
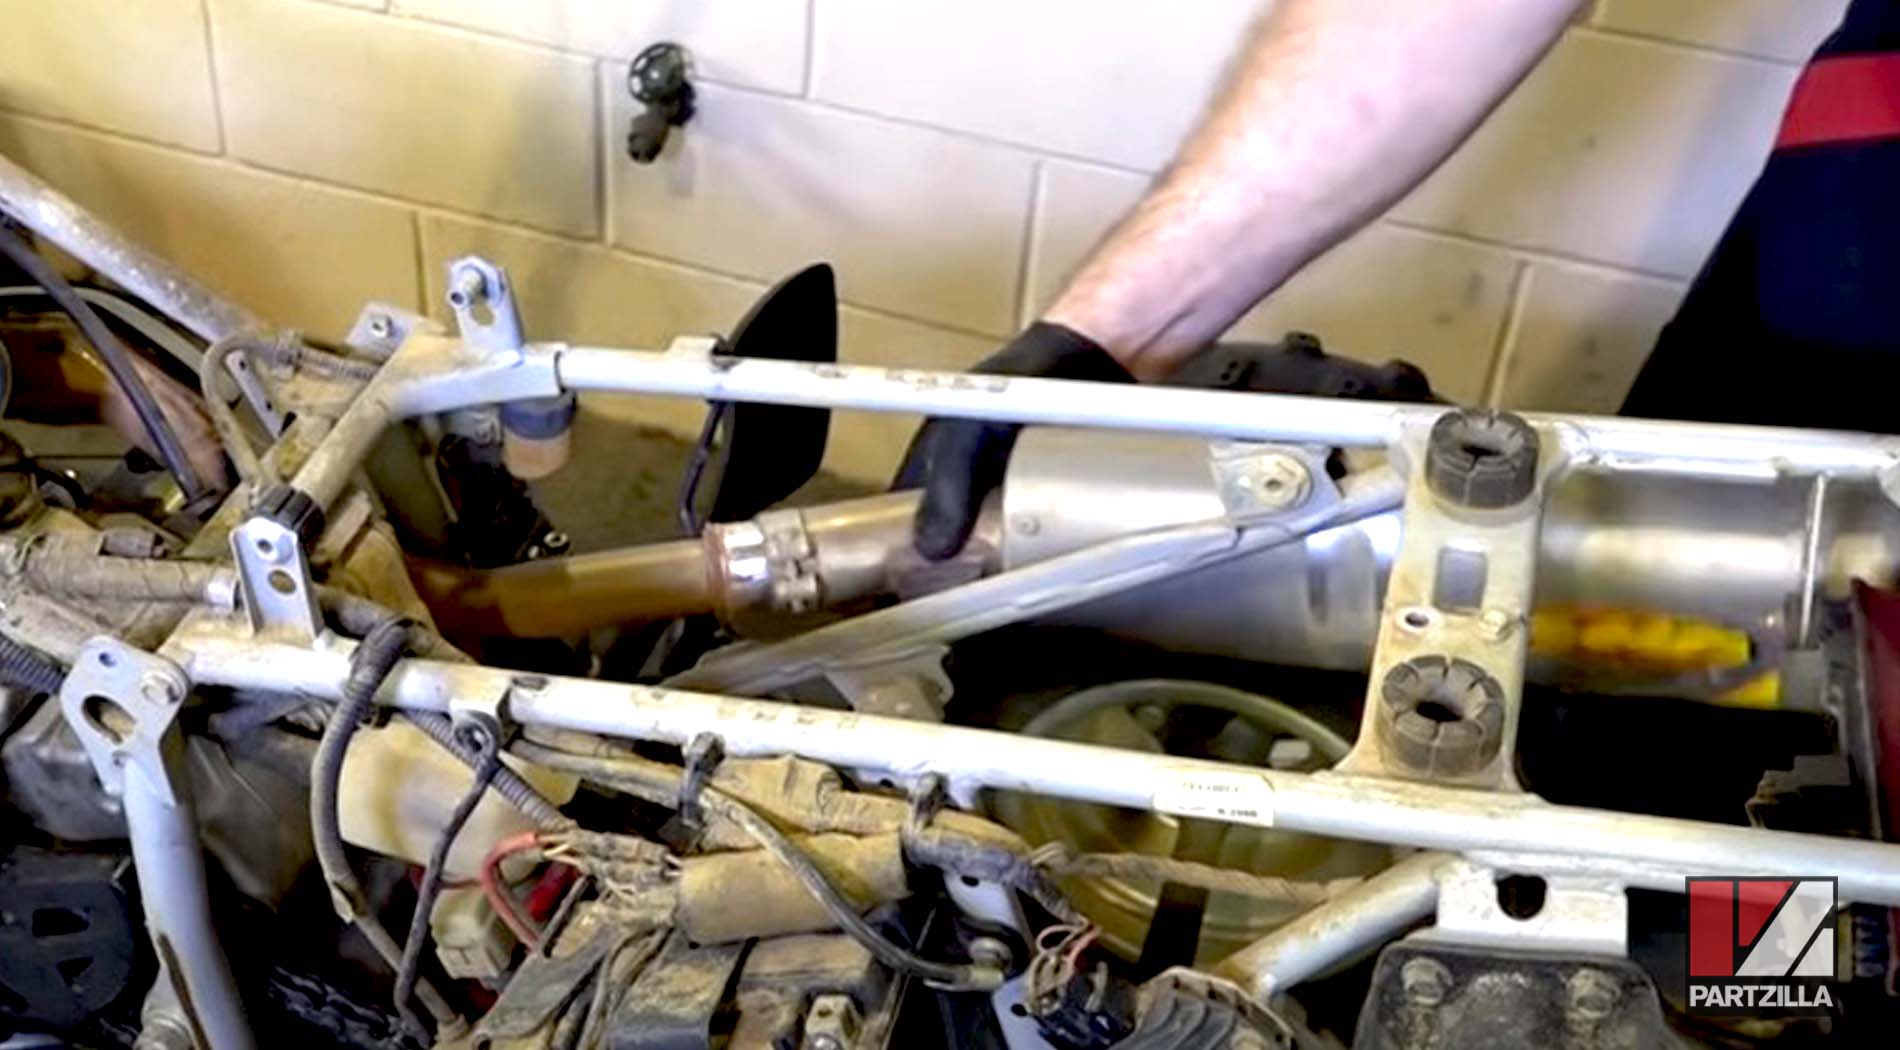
Step 2: Remove the intake system, including the air filter housing and the carburetor, plus the exhaust system, including the header pipe and the muffler.
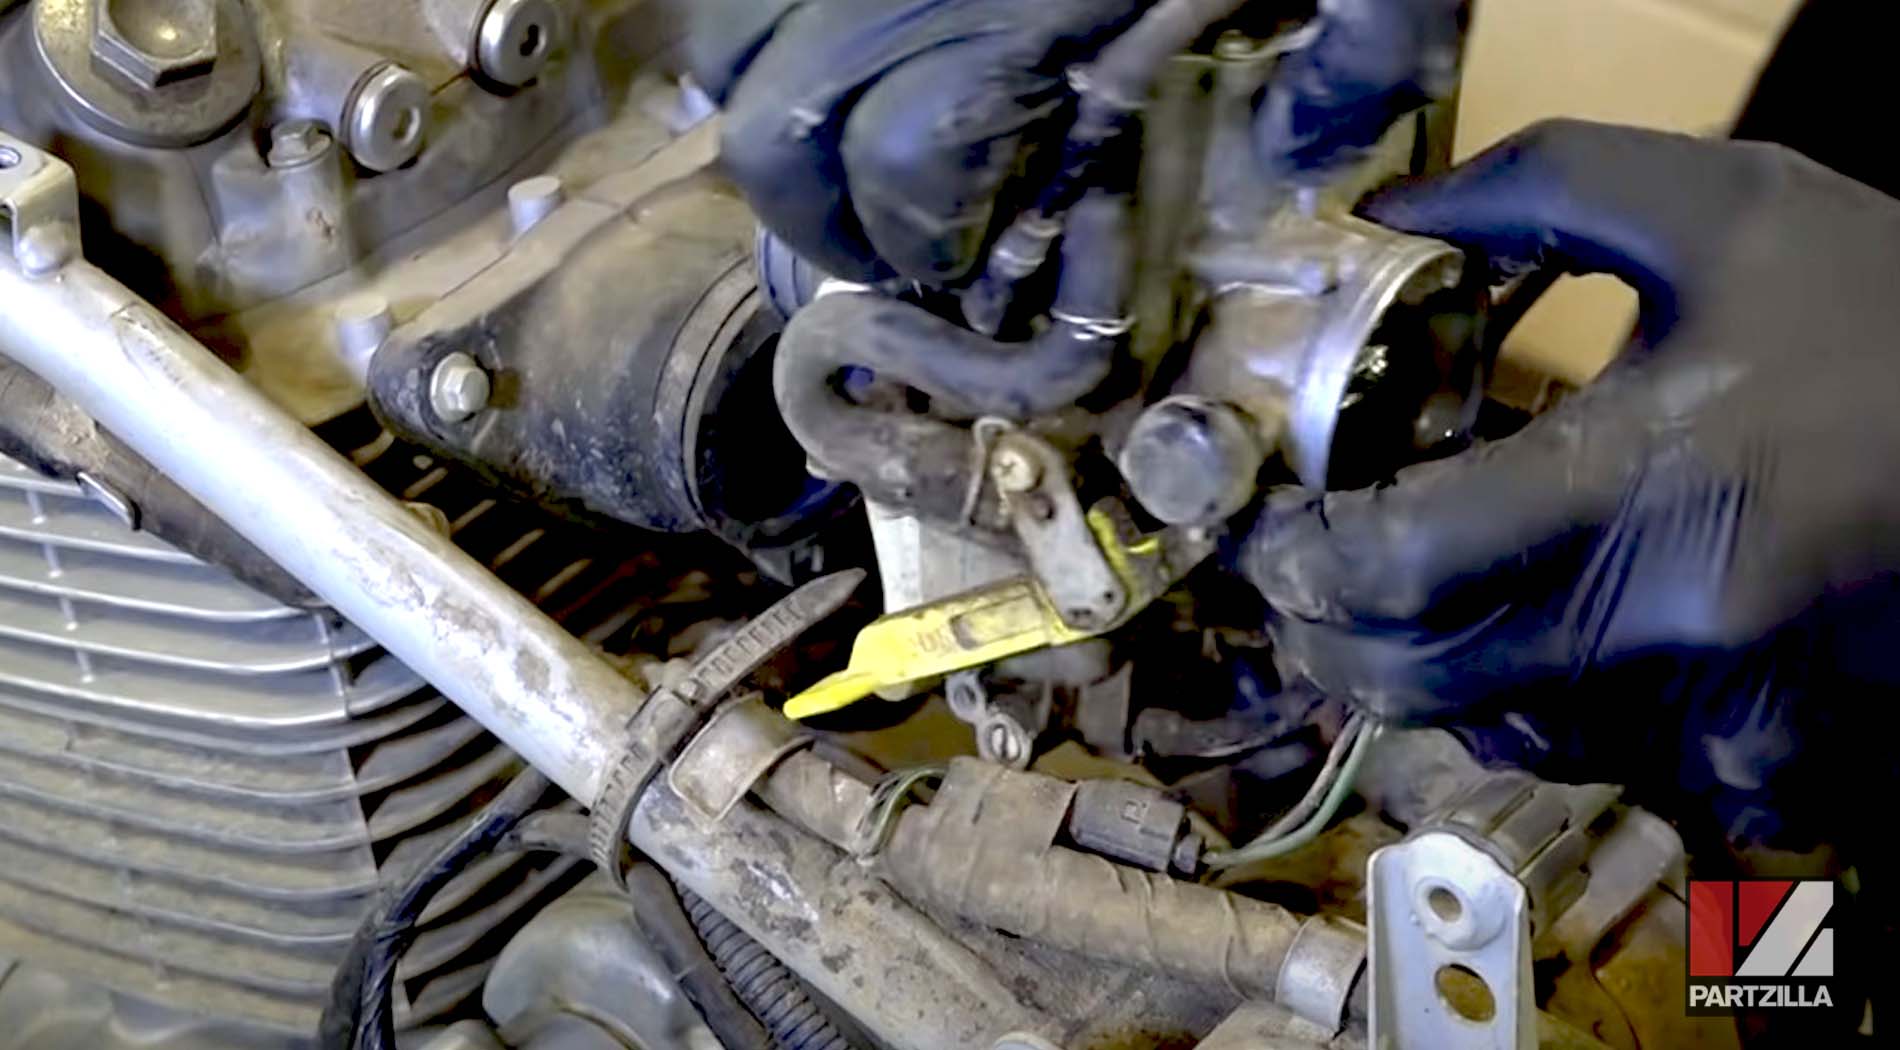
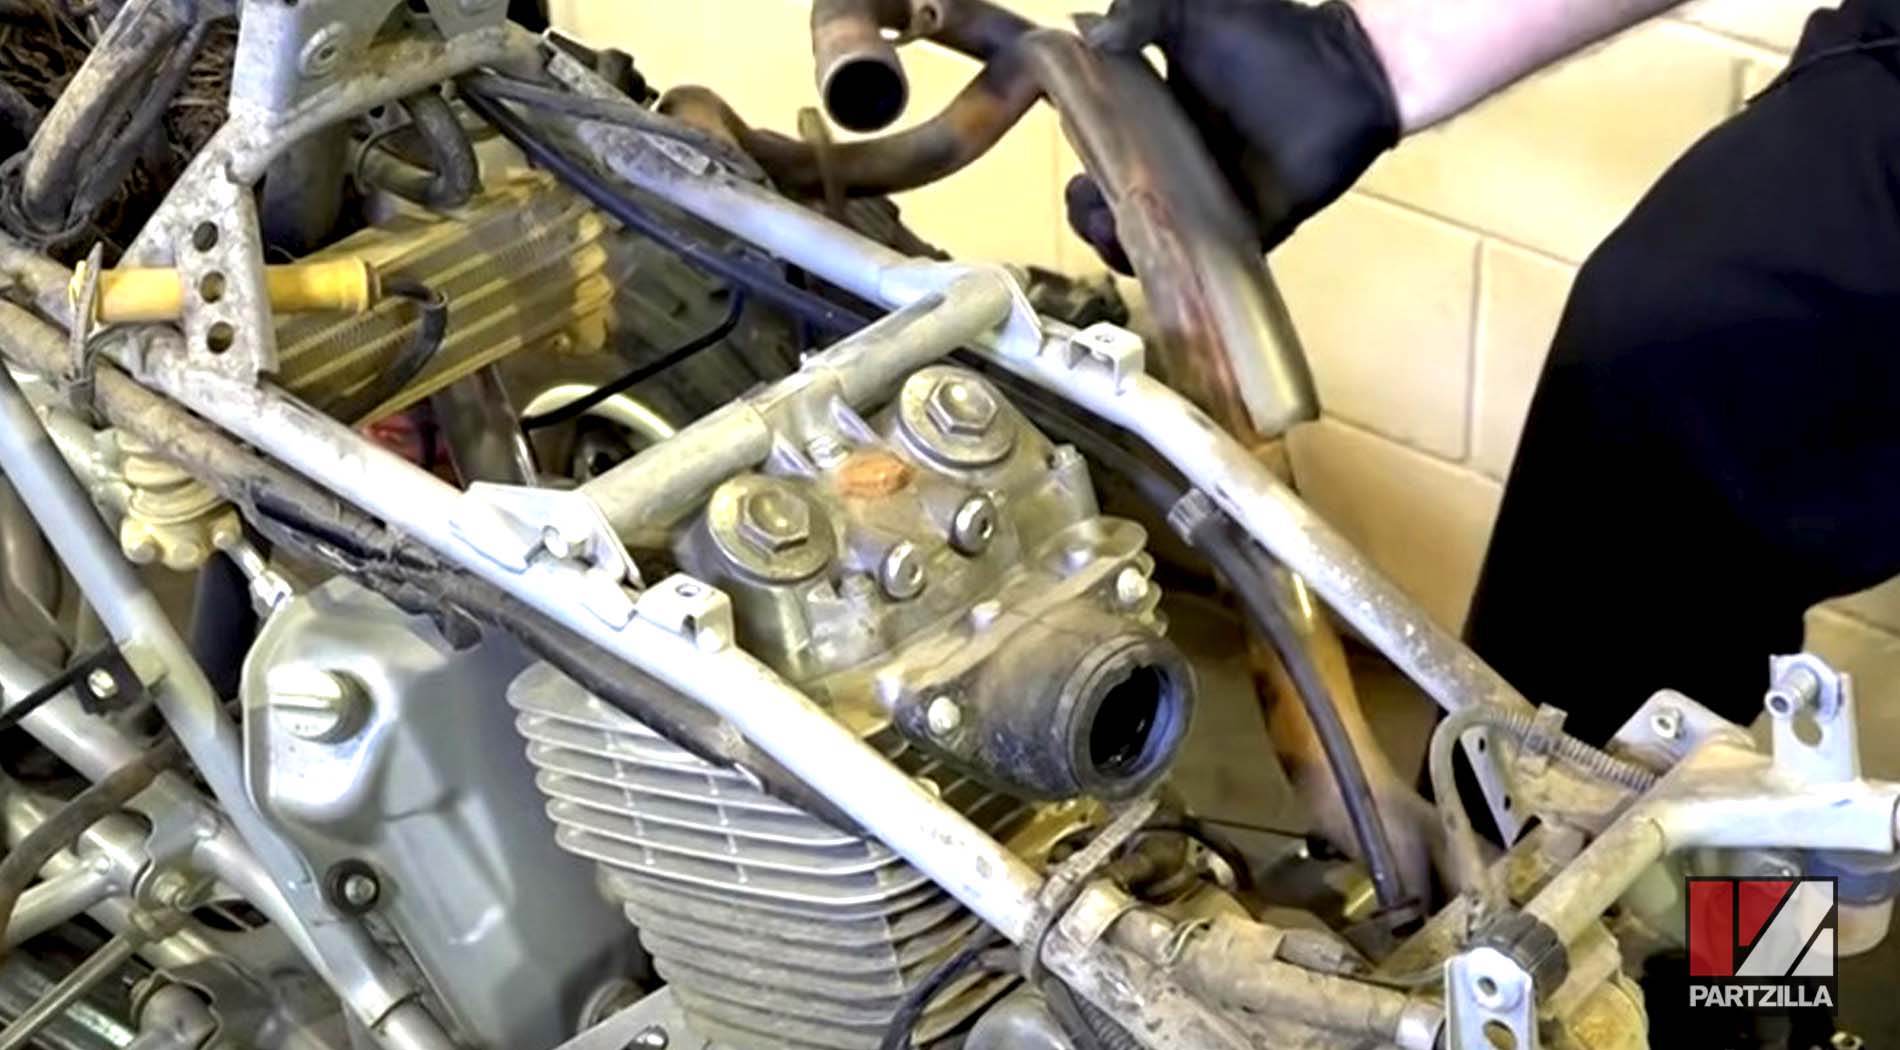
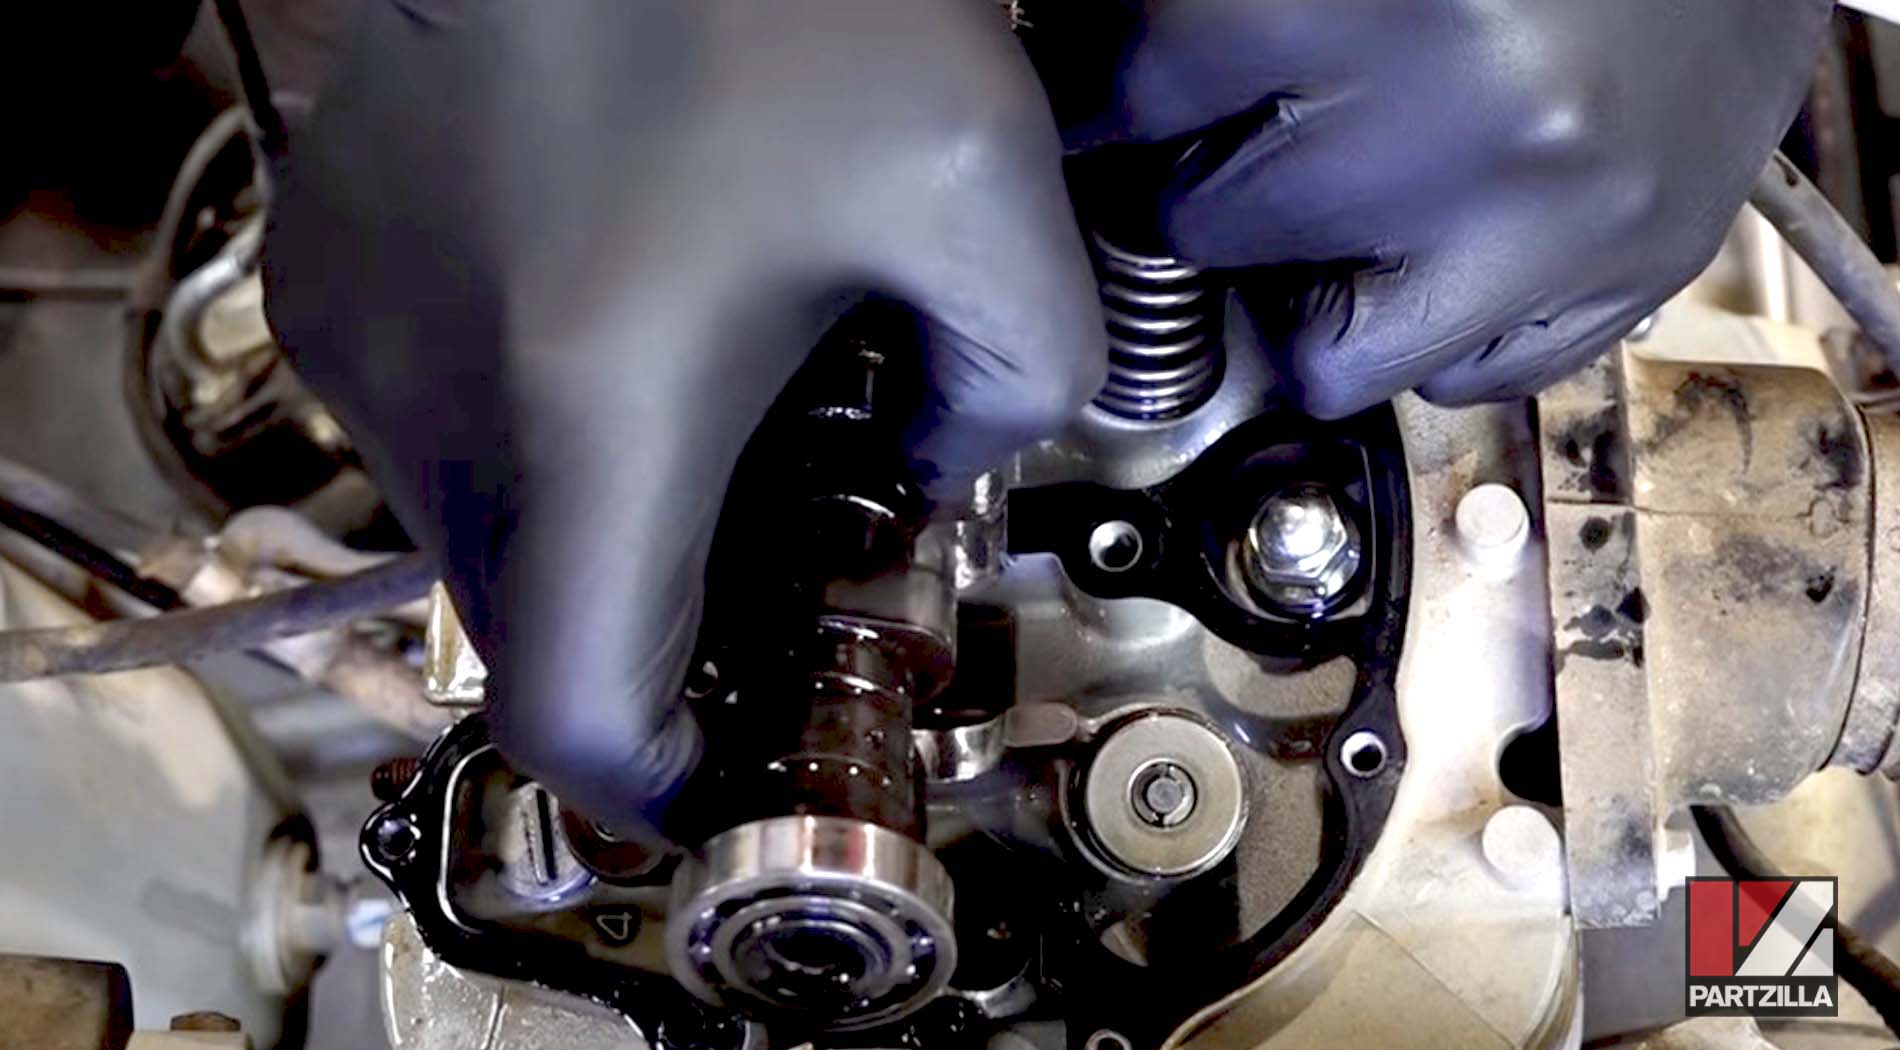
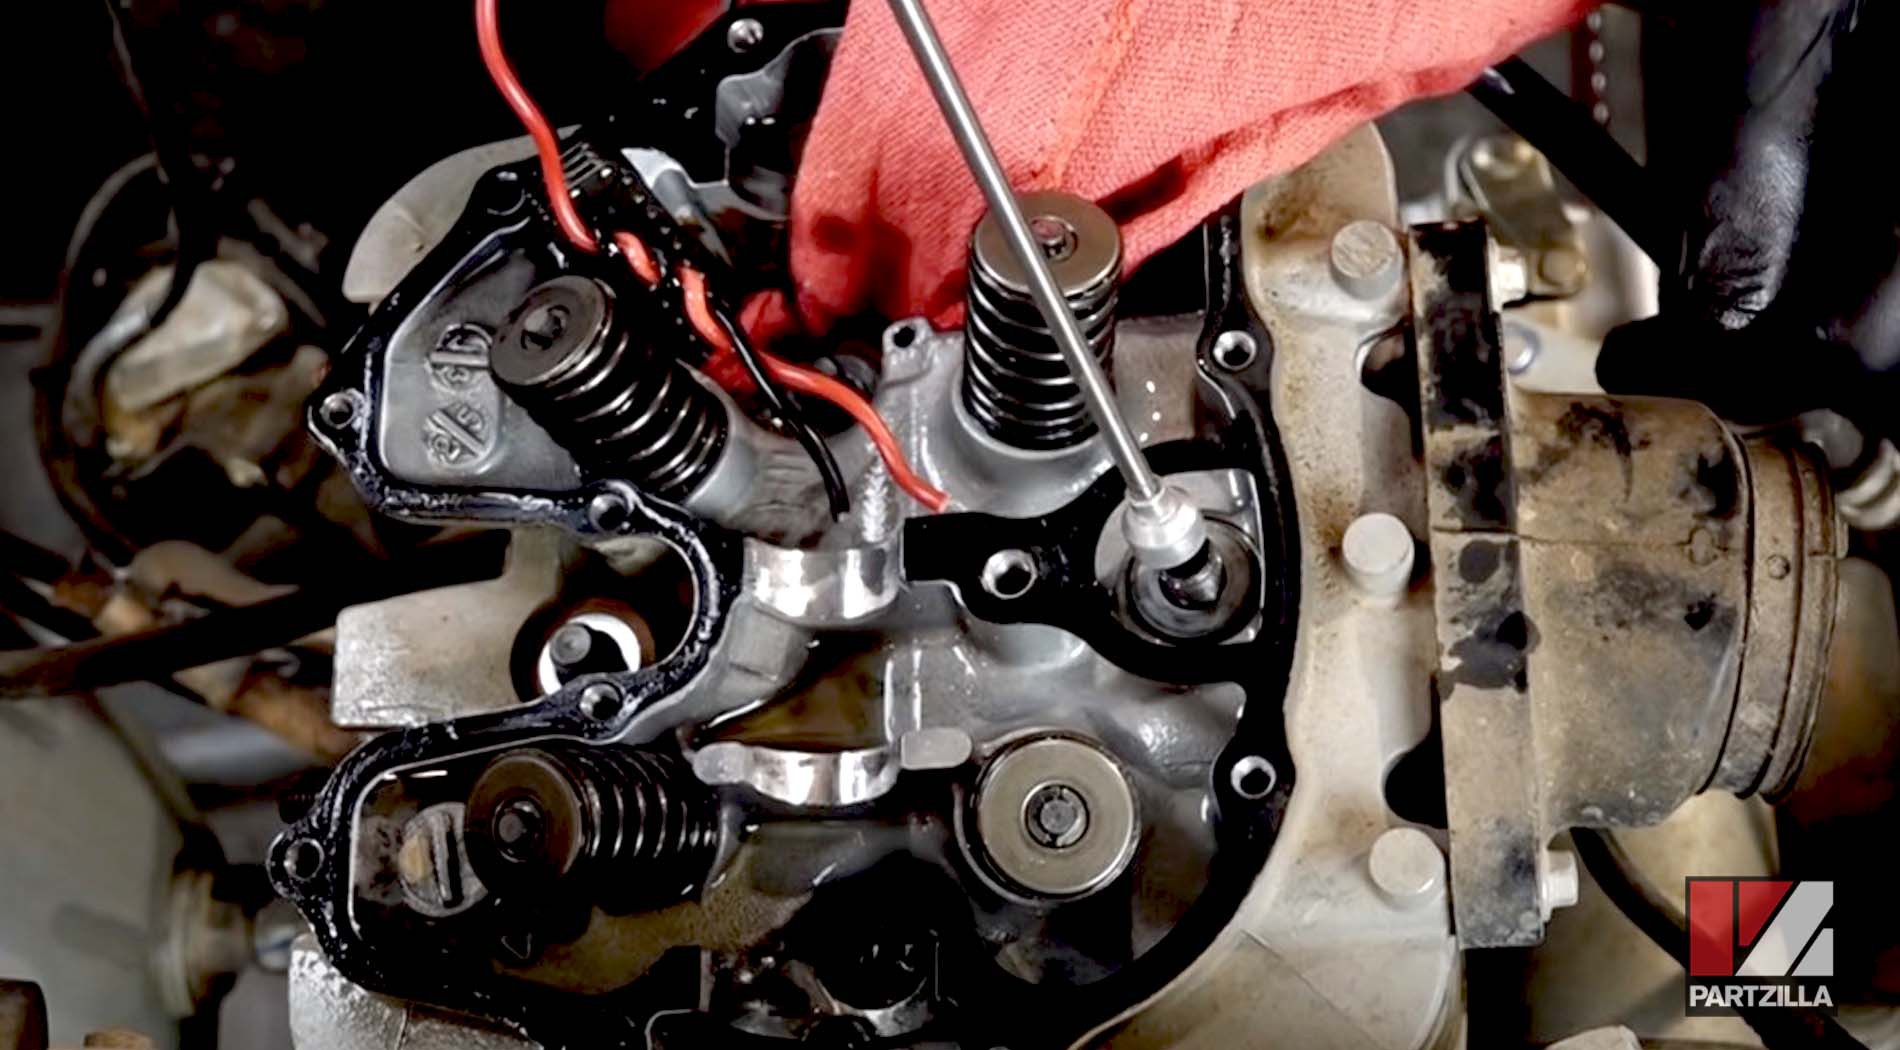
Step 3: Remove the cylinder head and the cam chain tensioner.
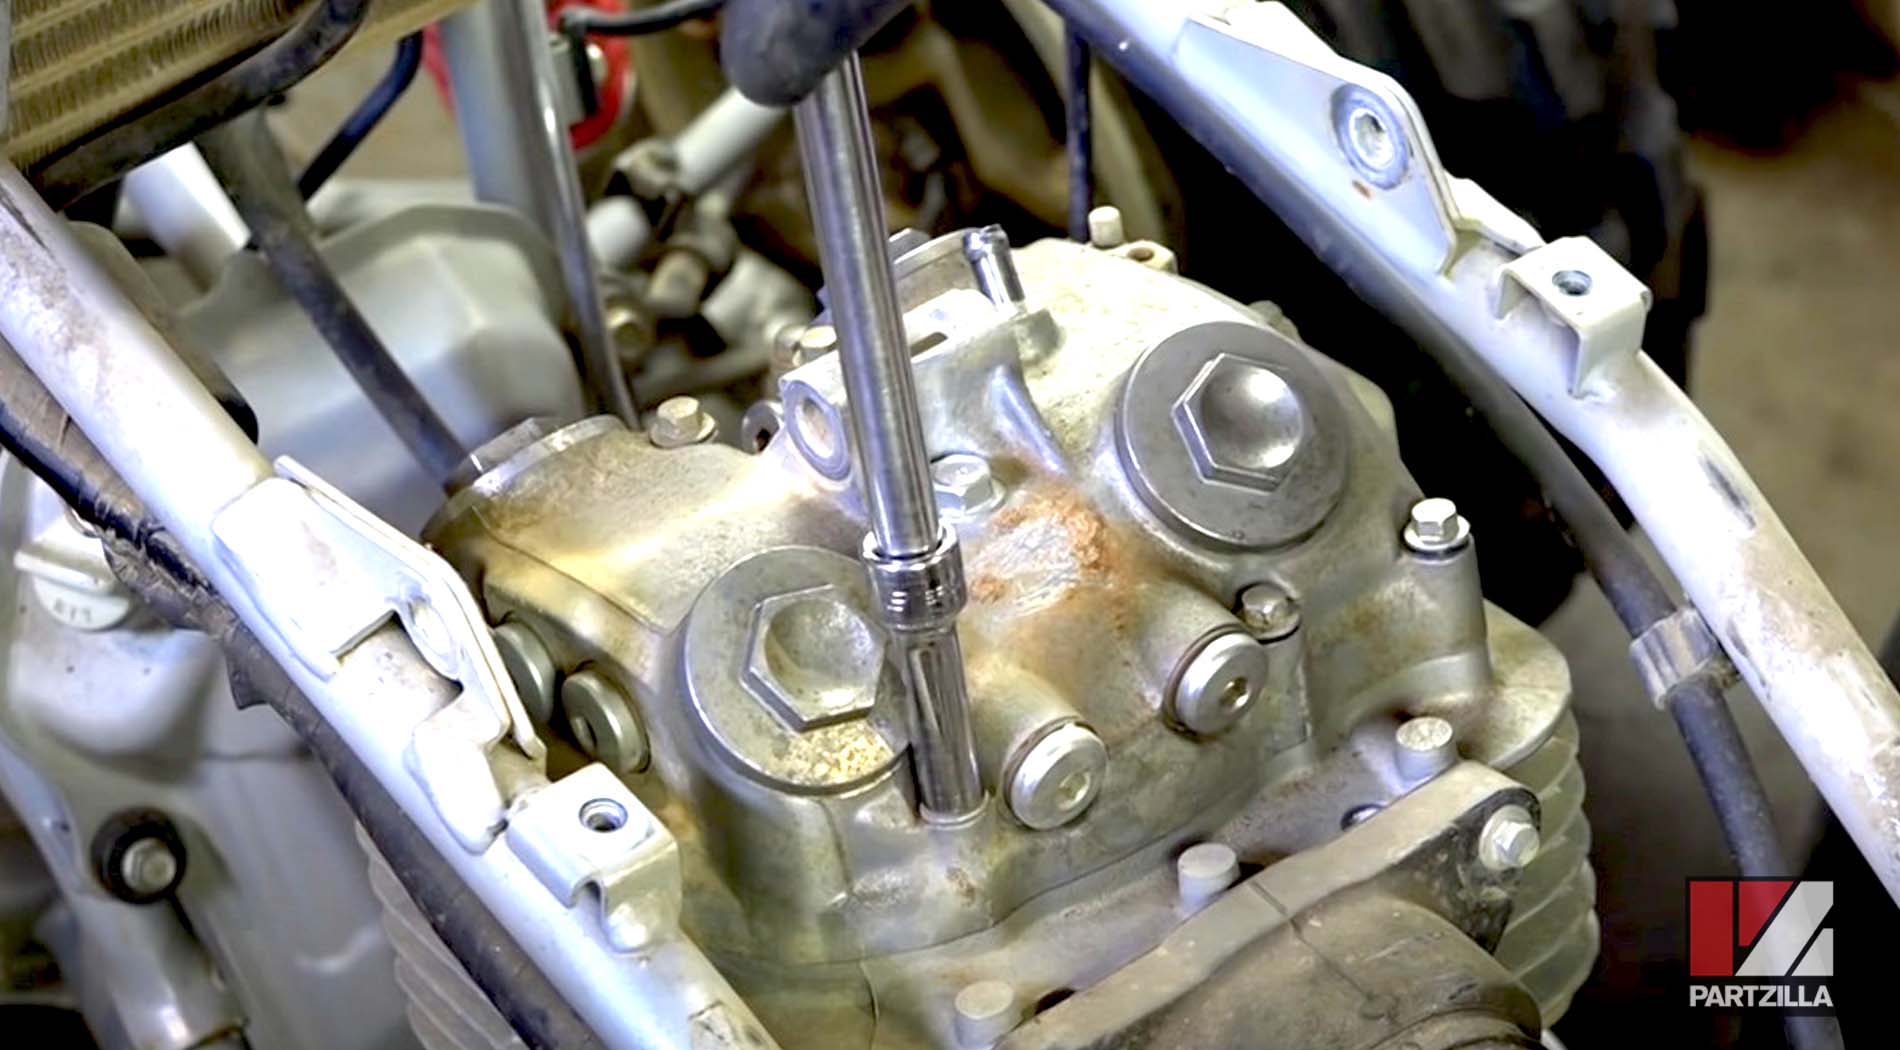
PRO TIP: To access the chain tensioner bolts, remove the small bracket and the bolt holding the negative wire to the starter motor.
Watch the clip below to see the cylinder head and chain tensioner removal segment of our Honda TRX 400EX top end disassembly video.
Step 4: Remove the camshaft by taking off the two Allen bolts from the cam chain sprocket, and sliding the camshaft out.
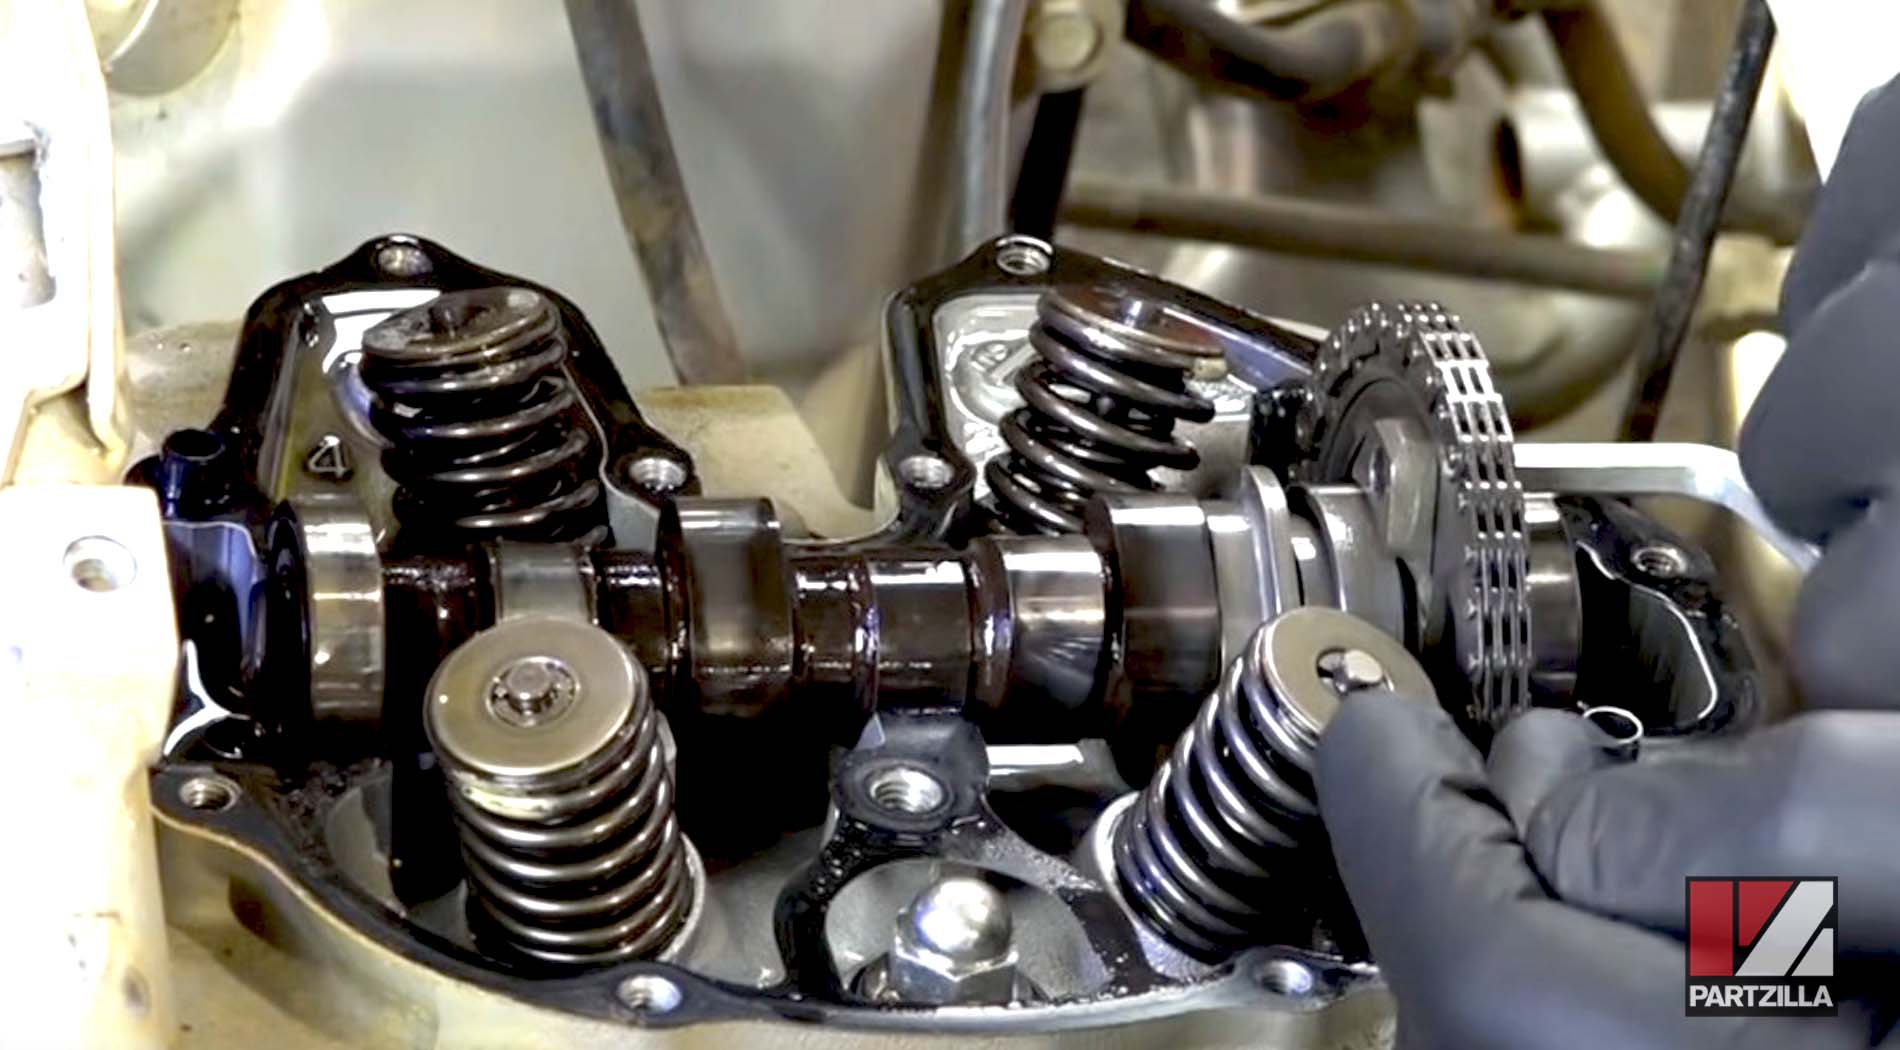
PRO TIP: Twist a piece of wire through the cam chain to create “arms” that’ll prevent the cam chain from falling down into the crankcase.
Watch the clip below to see the camshaft removal segment of our Honda TRX 400EX top end teardown video.
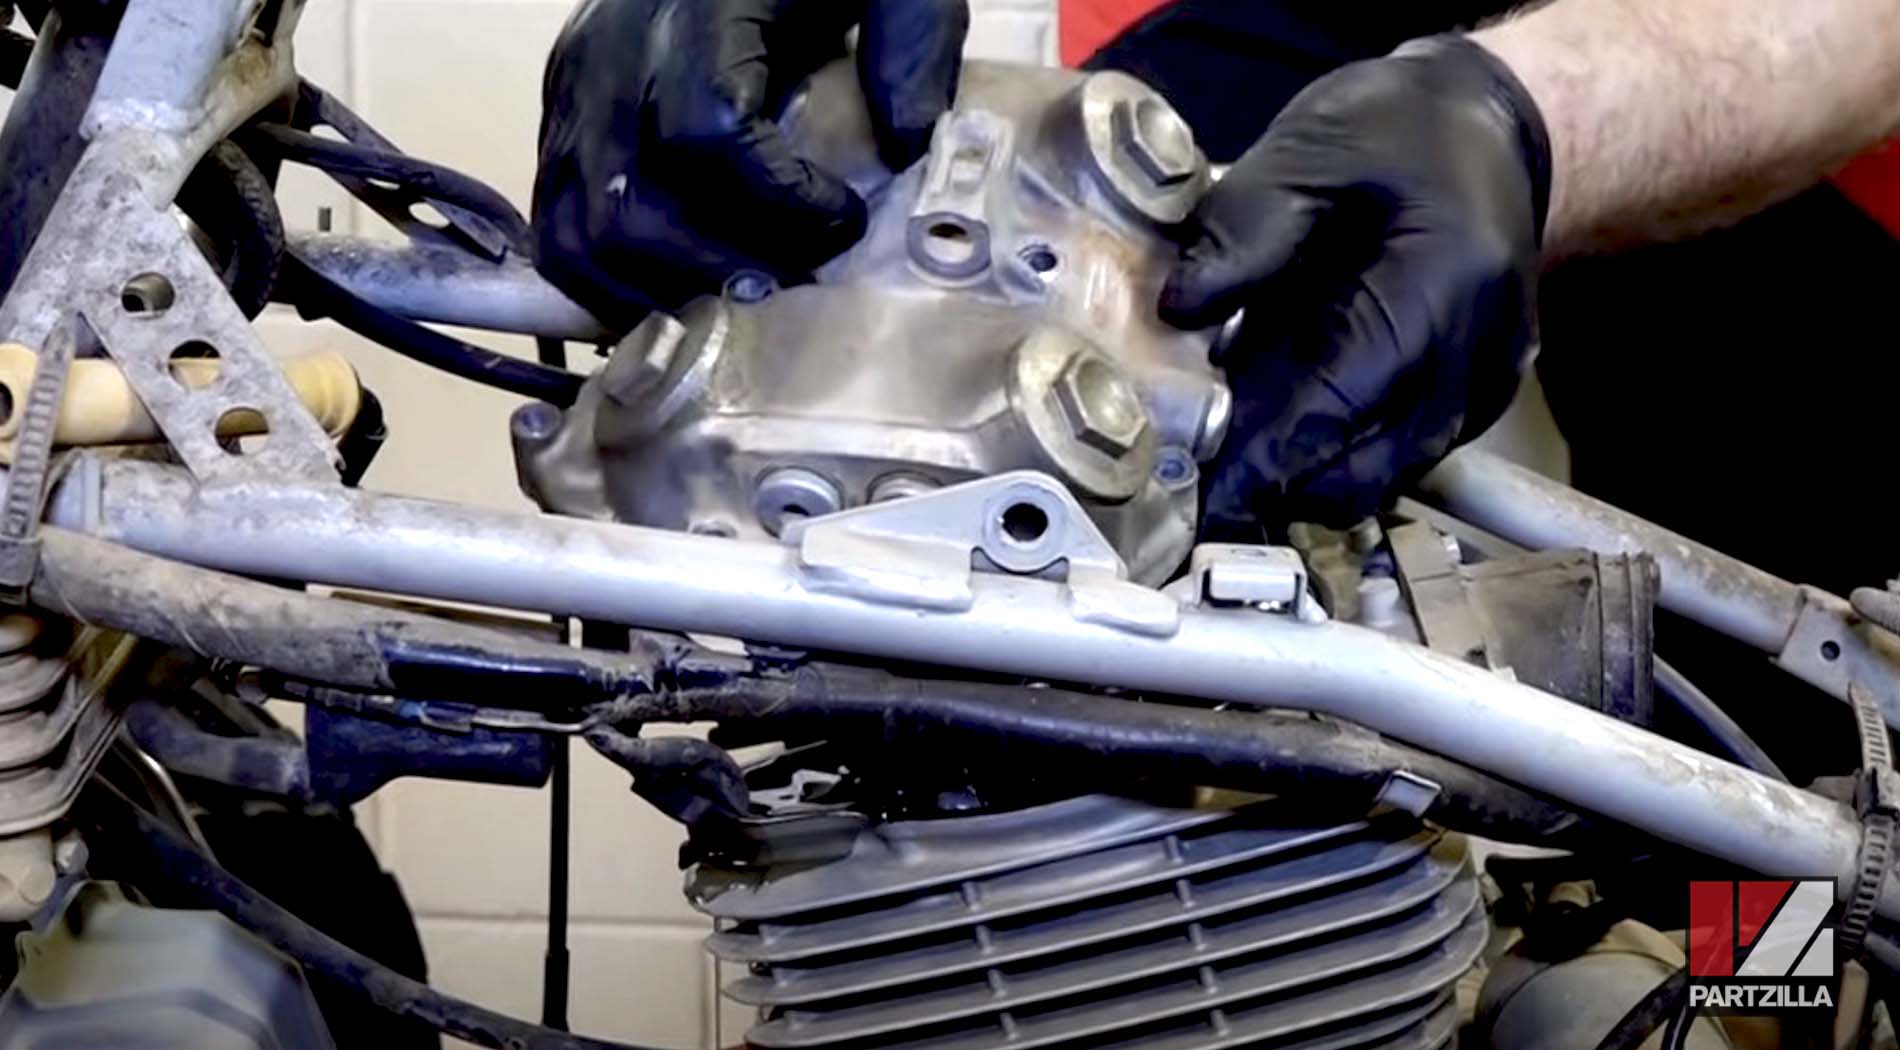
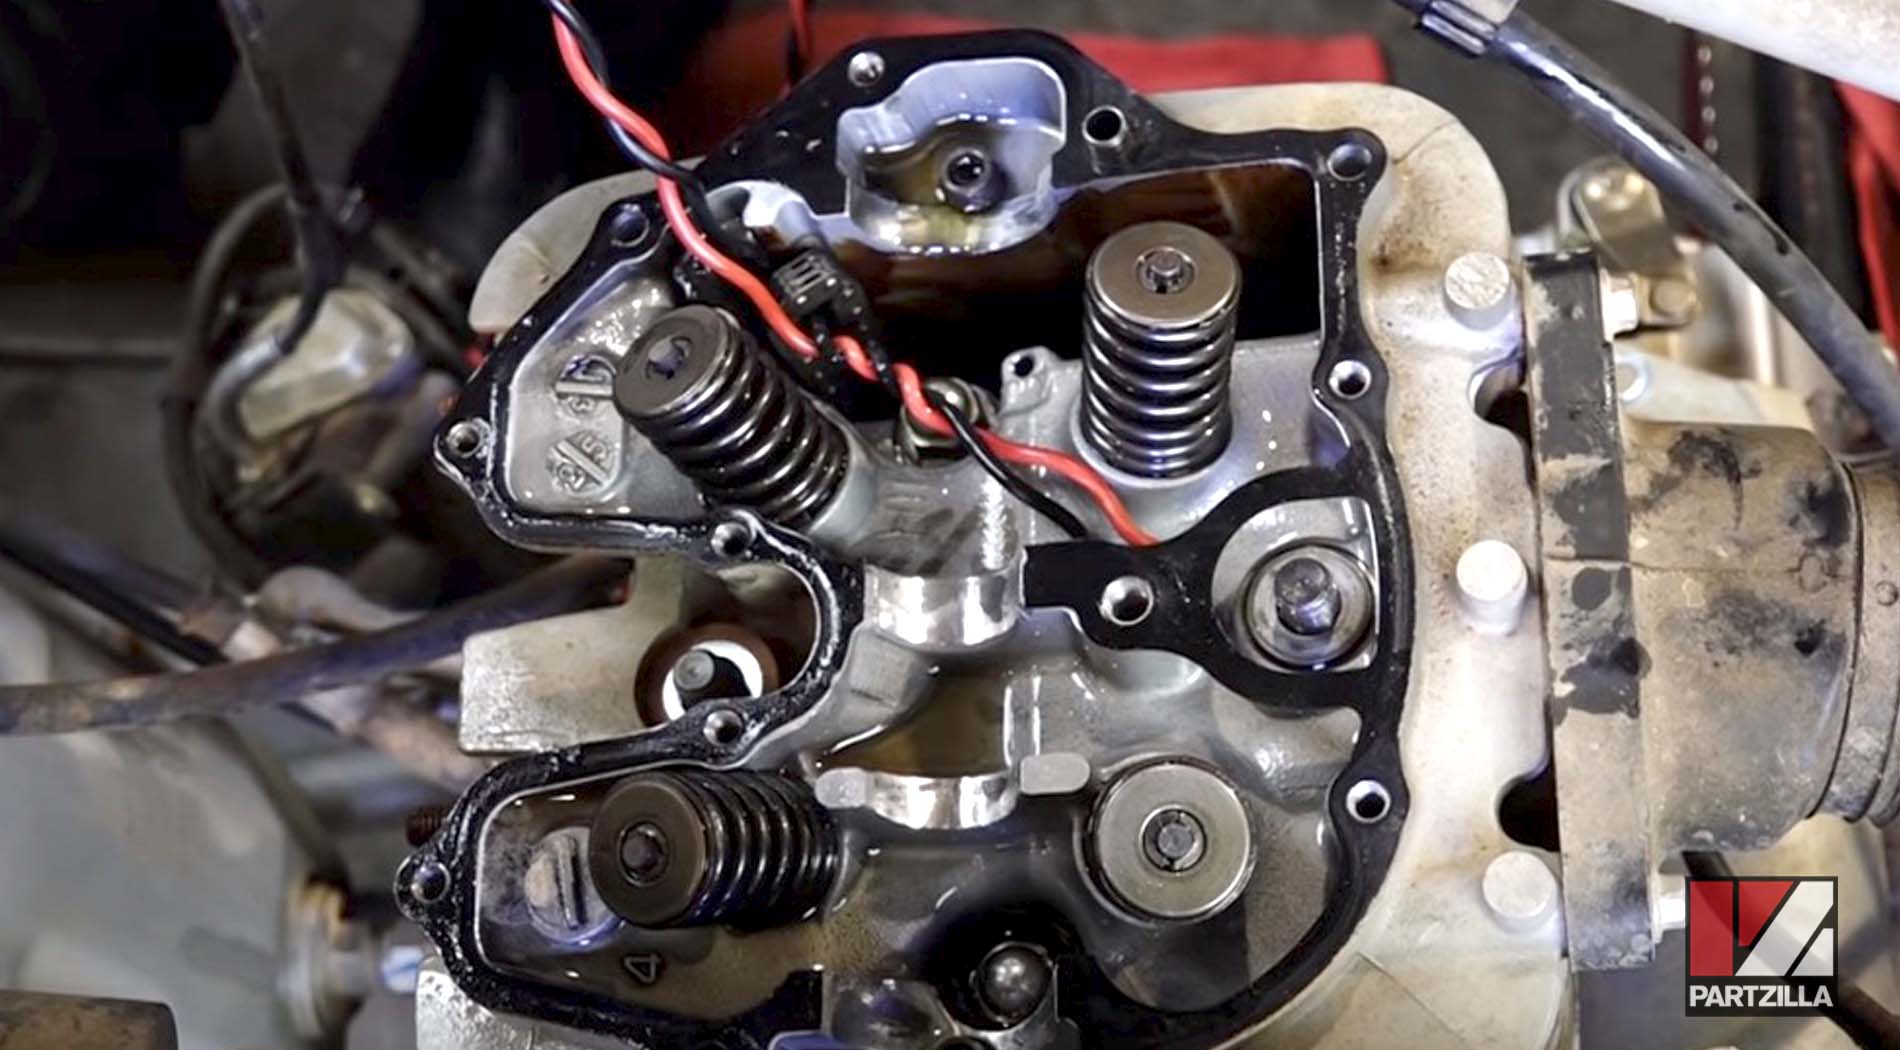
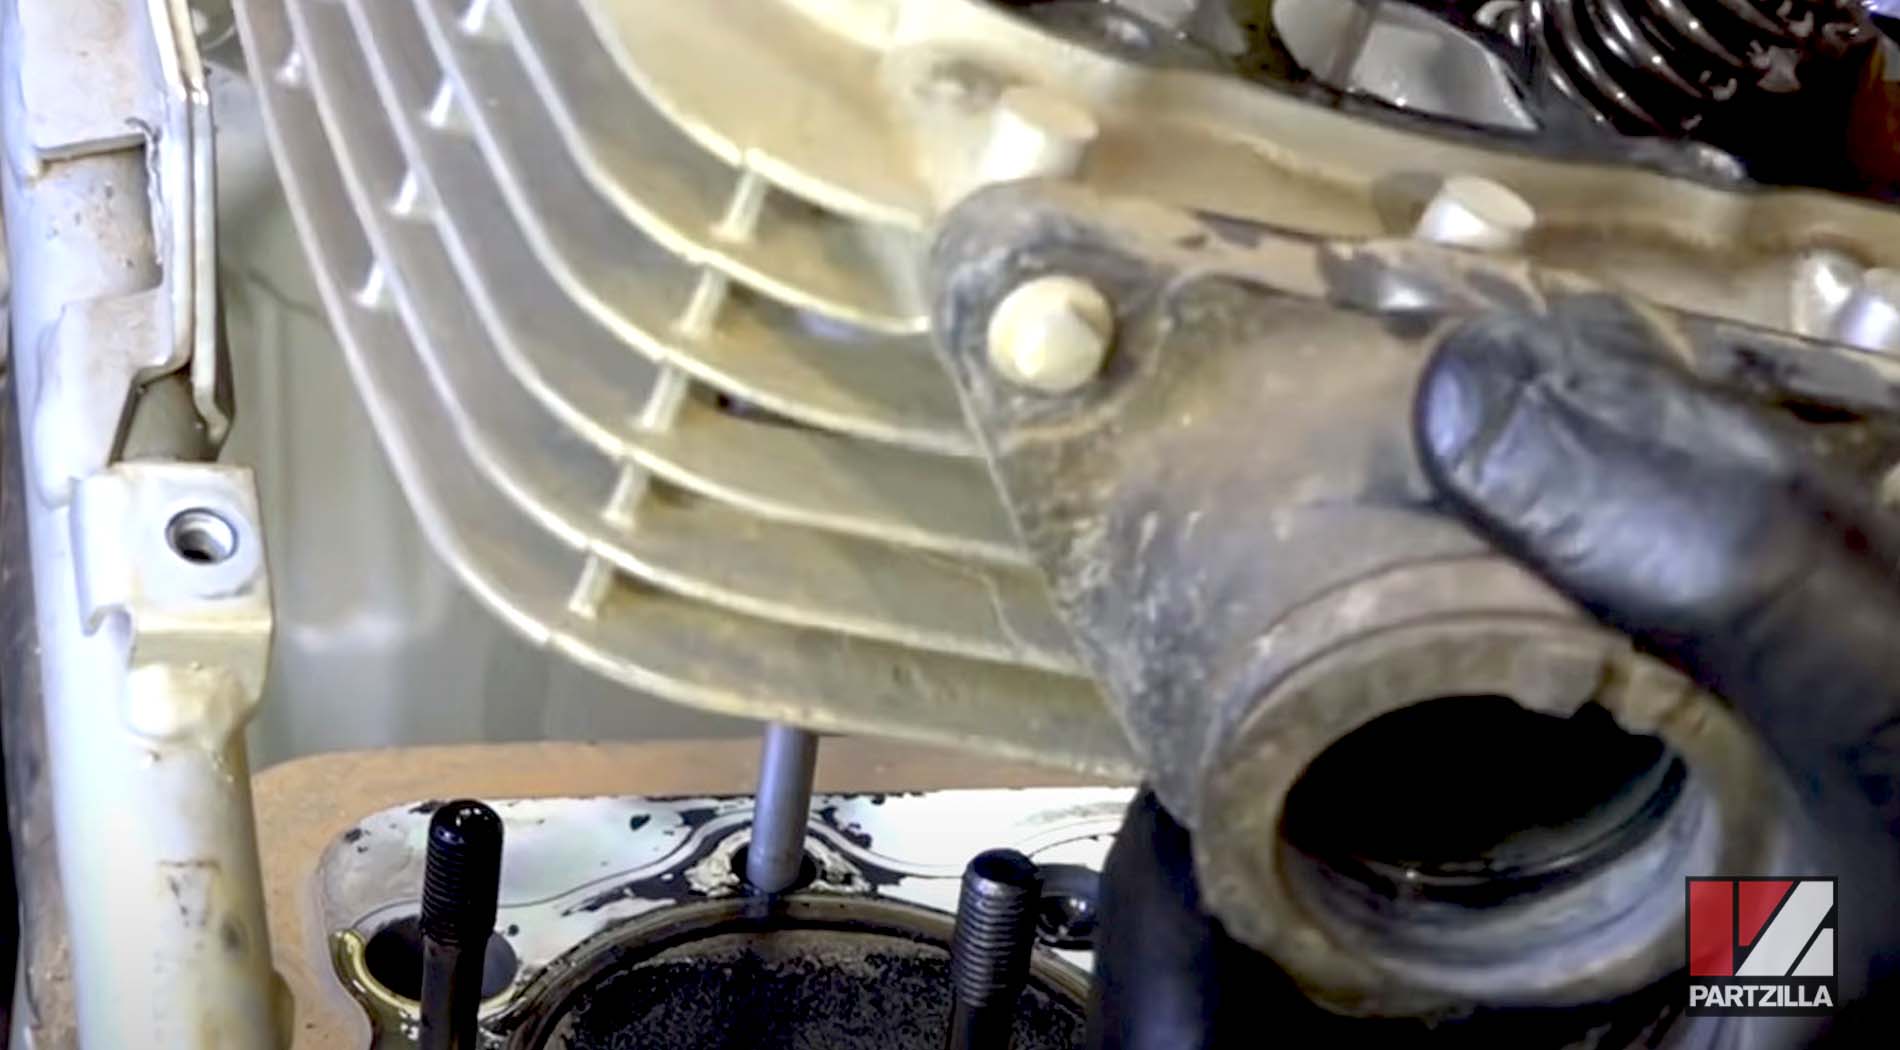
Step 5: Remove the cylinder head bolts, being careful not to let the washers fall down into the crankcase, then remove the cylinder head.
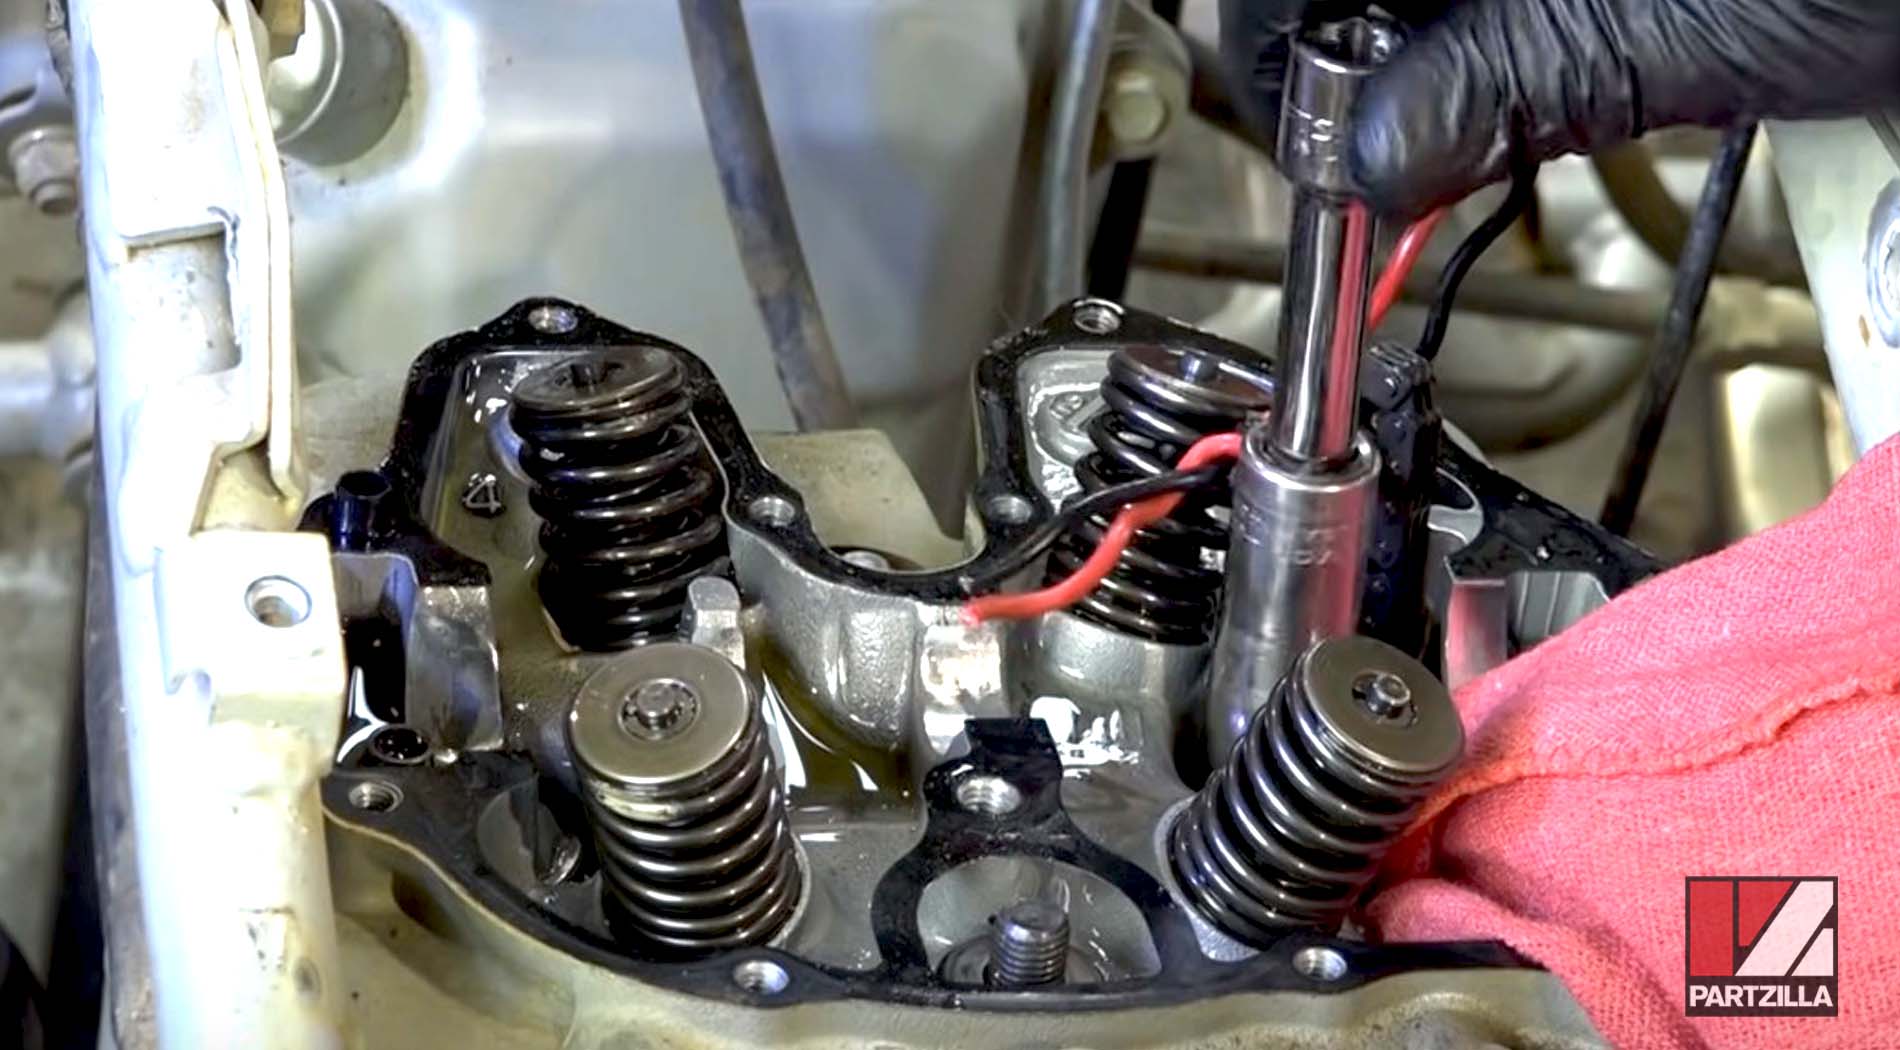
PRO TIP: Plug the void the cam chain runs through leading down to the crankcase with a clean shop towel to prevent washers or anything else from falling into the crankcase.
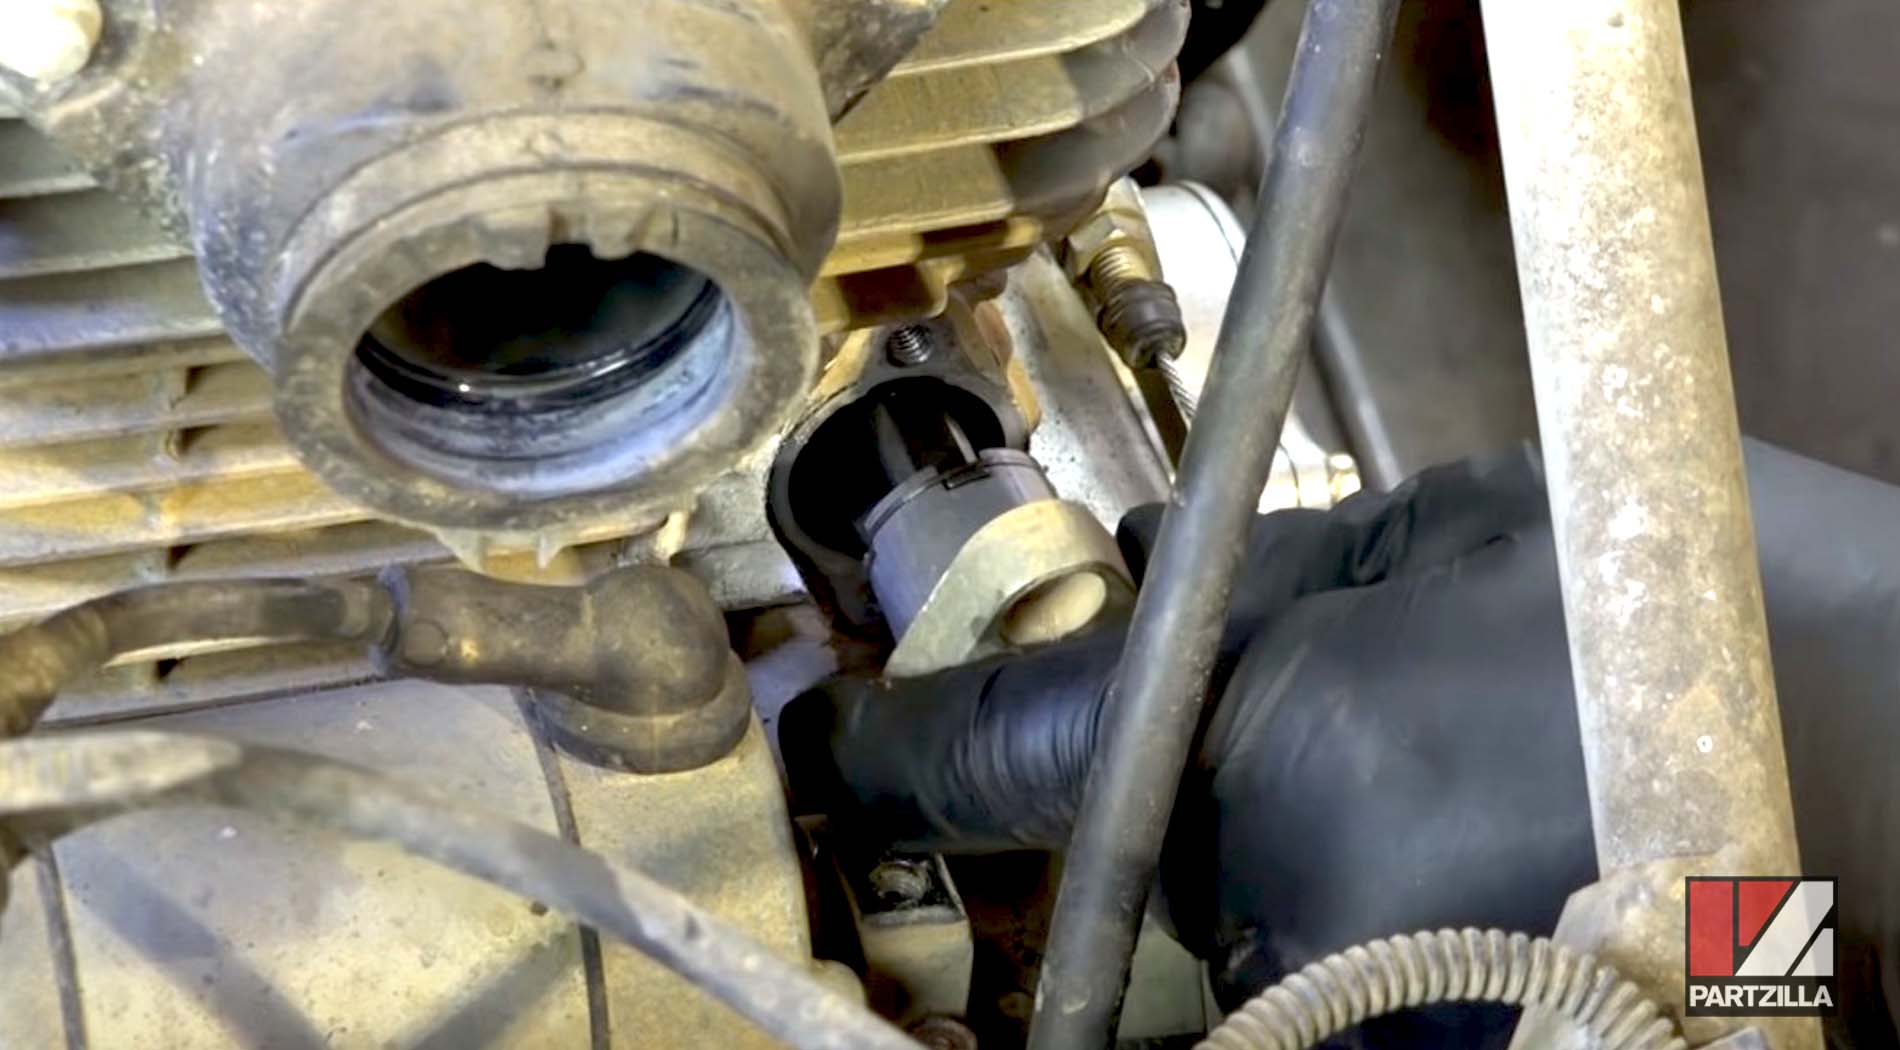
Step 6: Remove the cylinder.
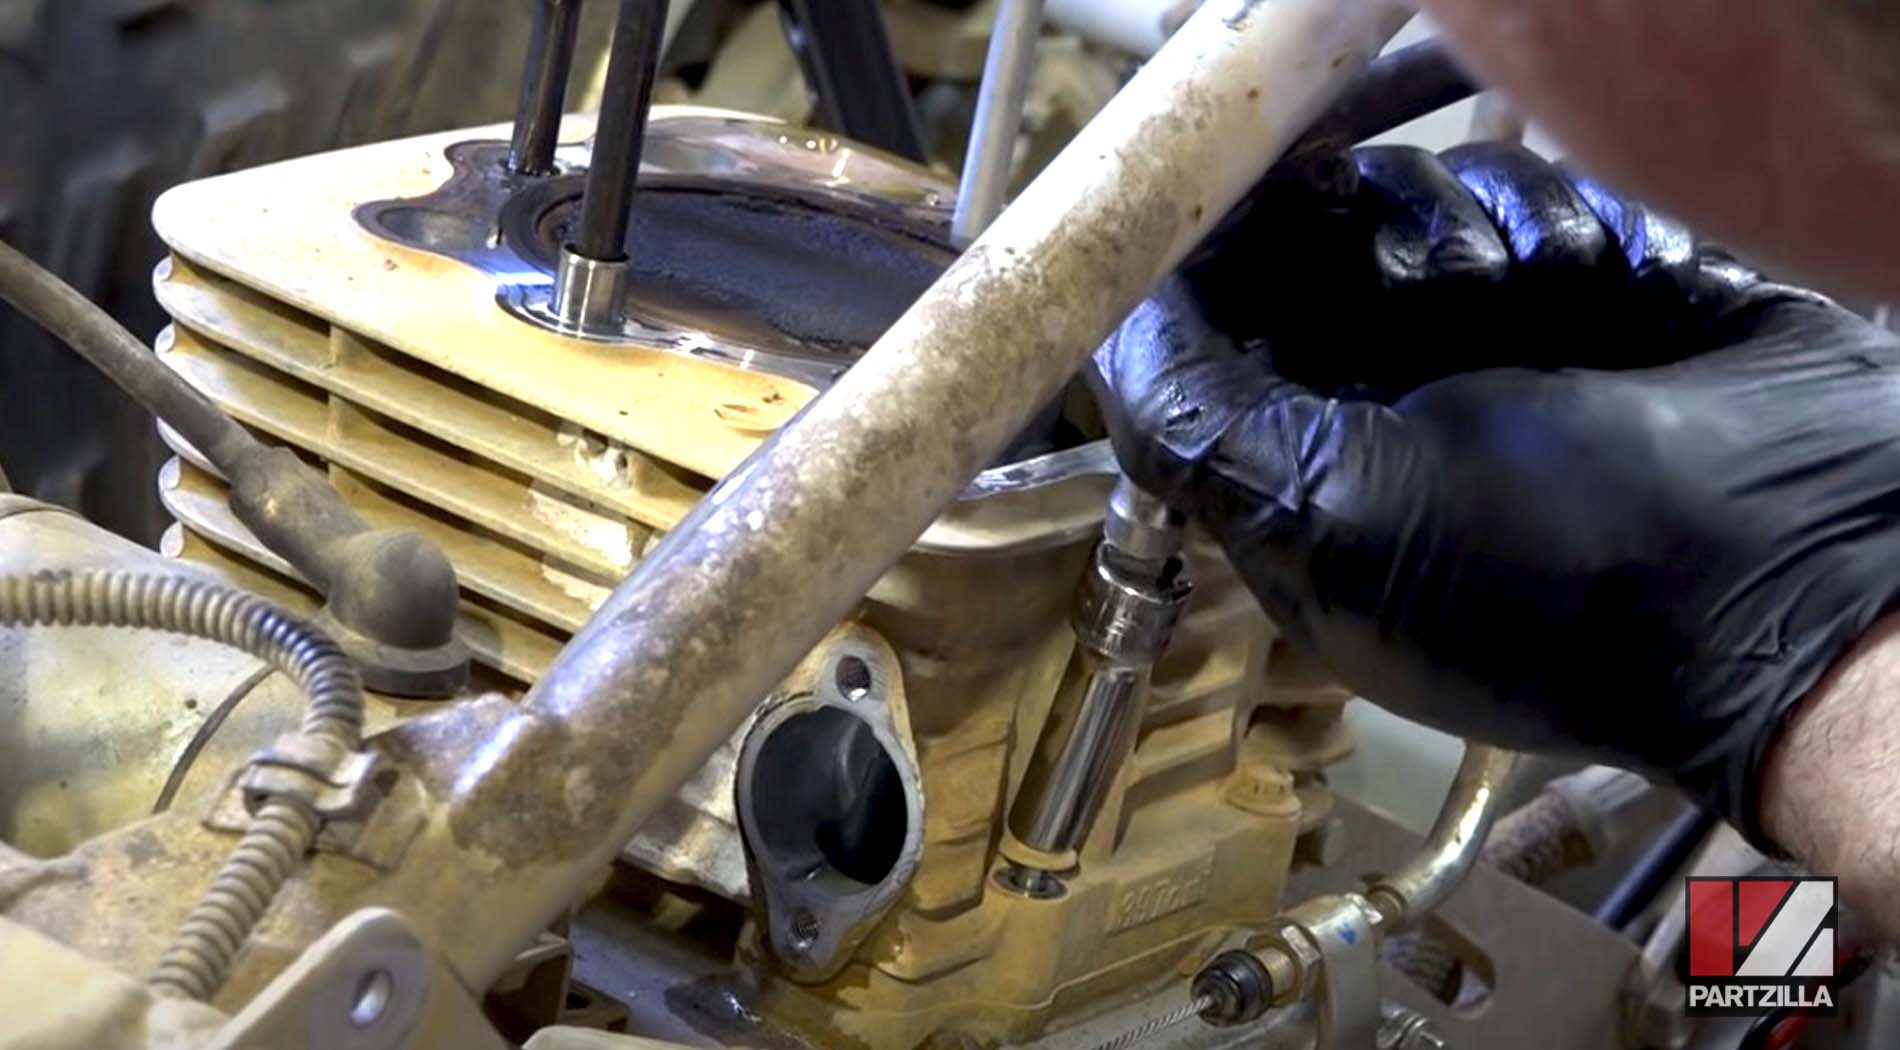
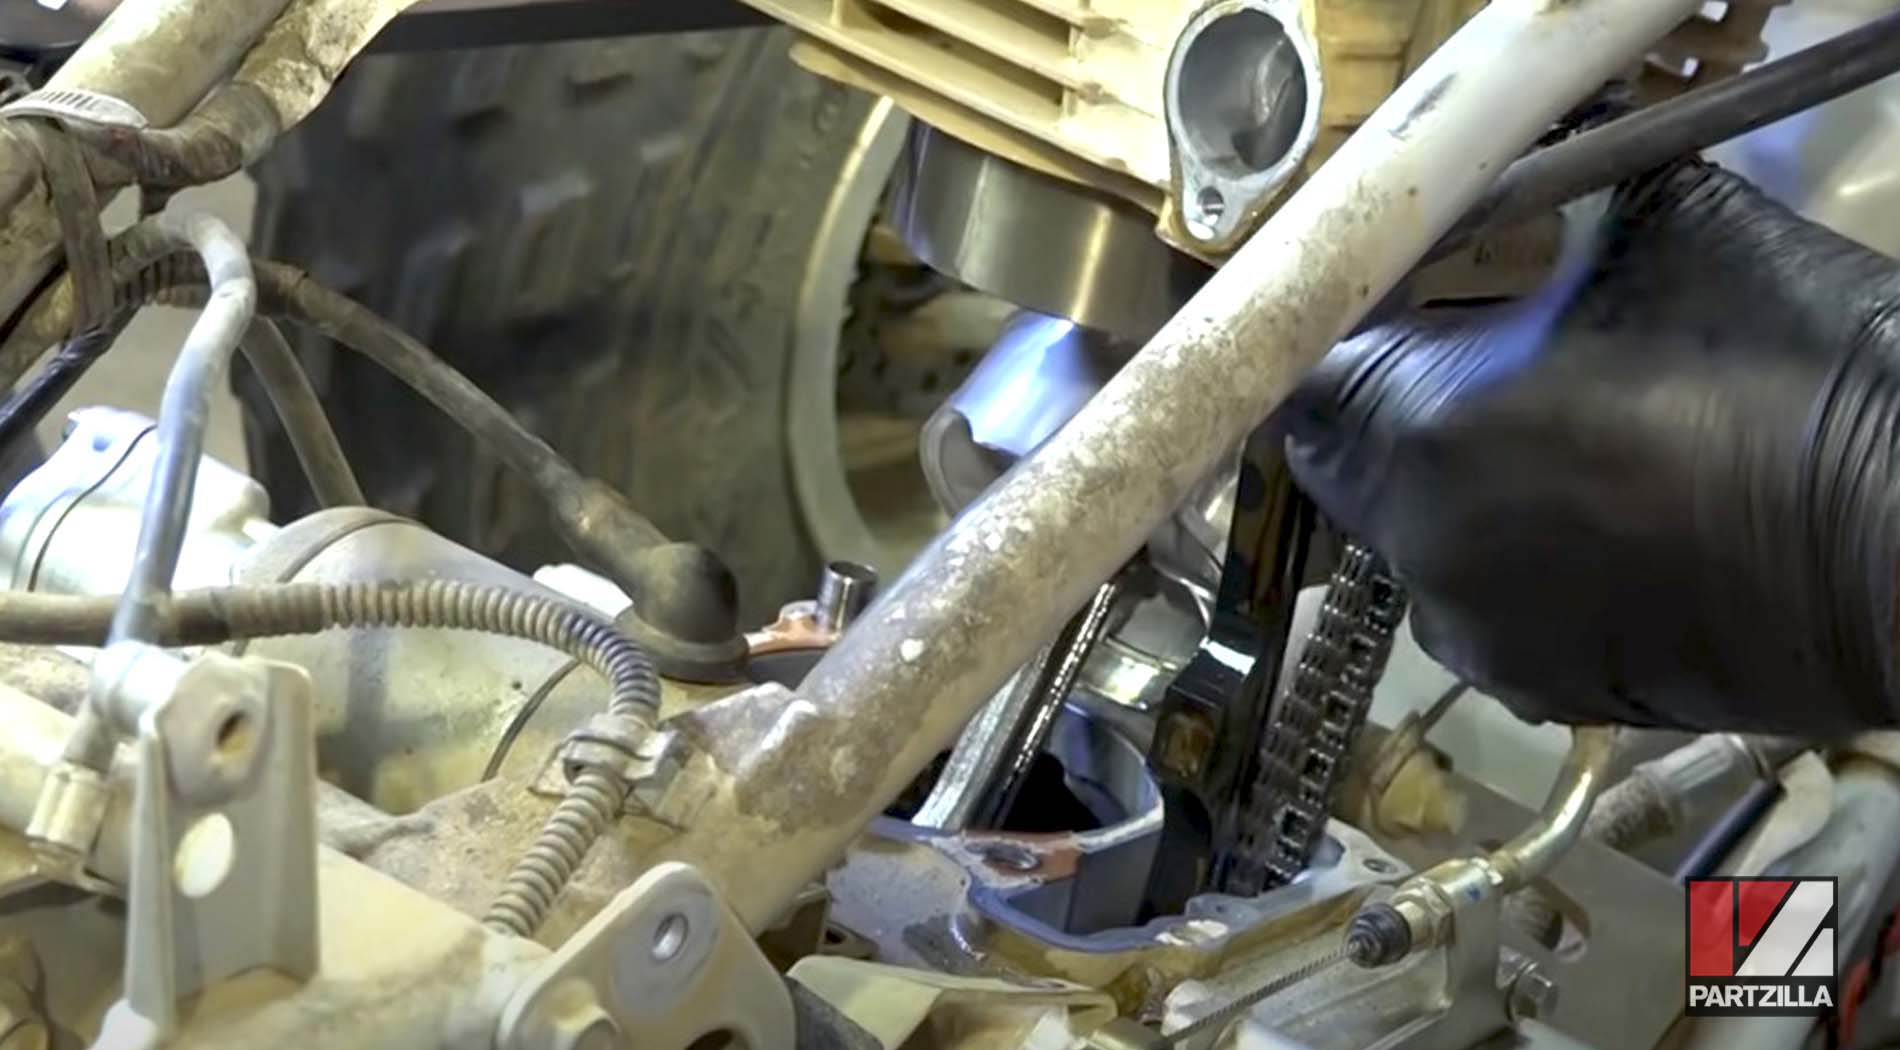
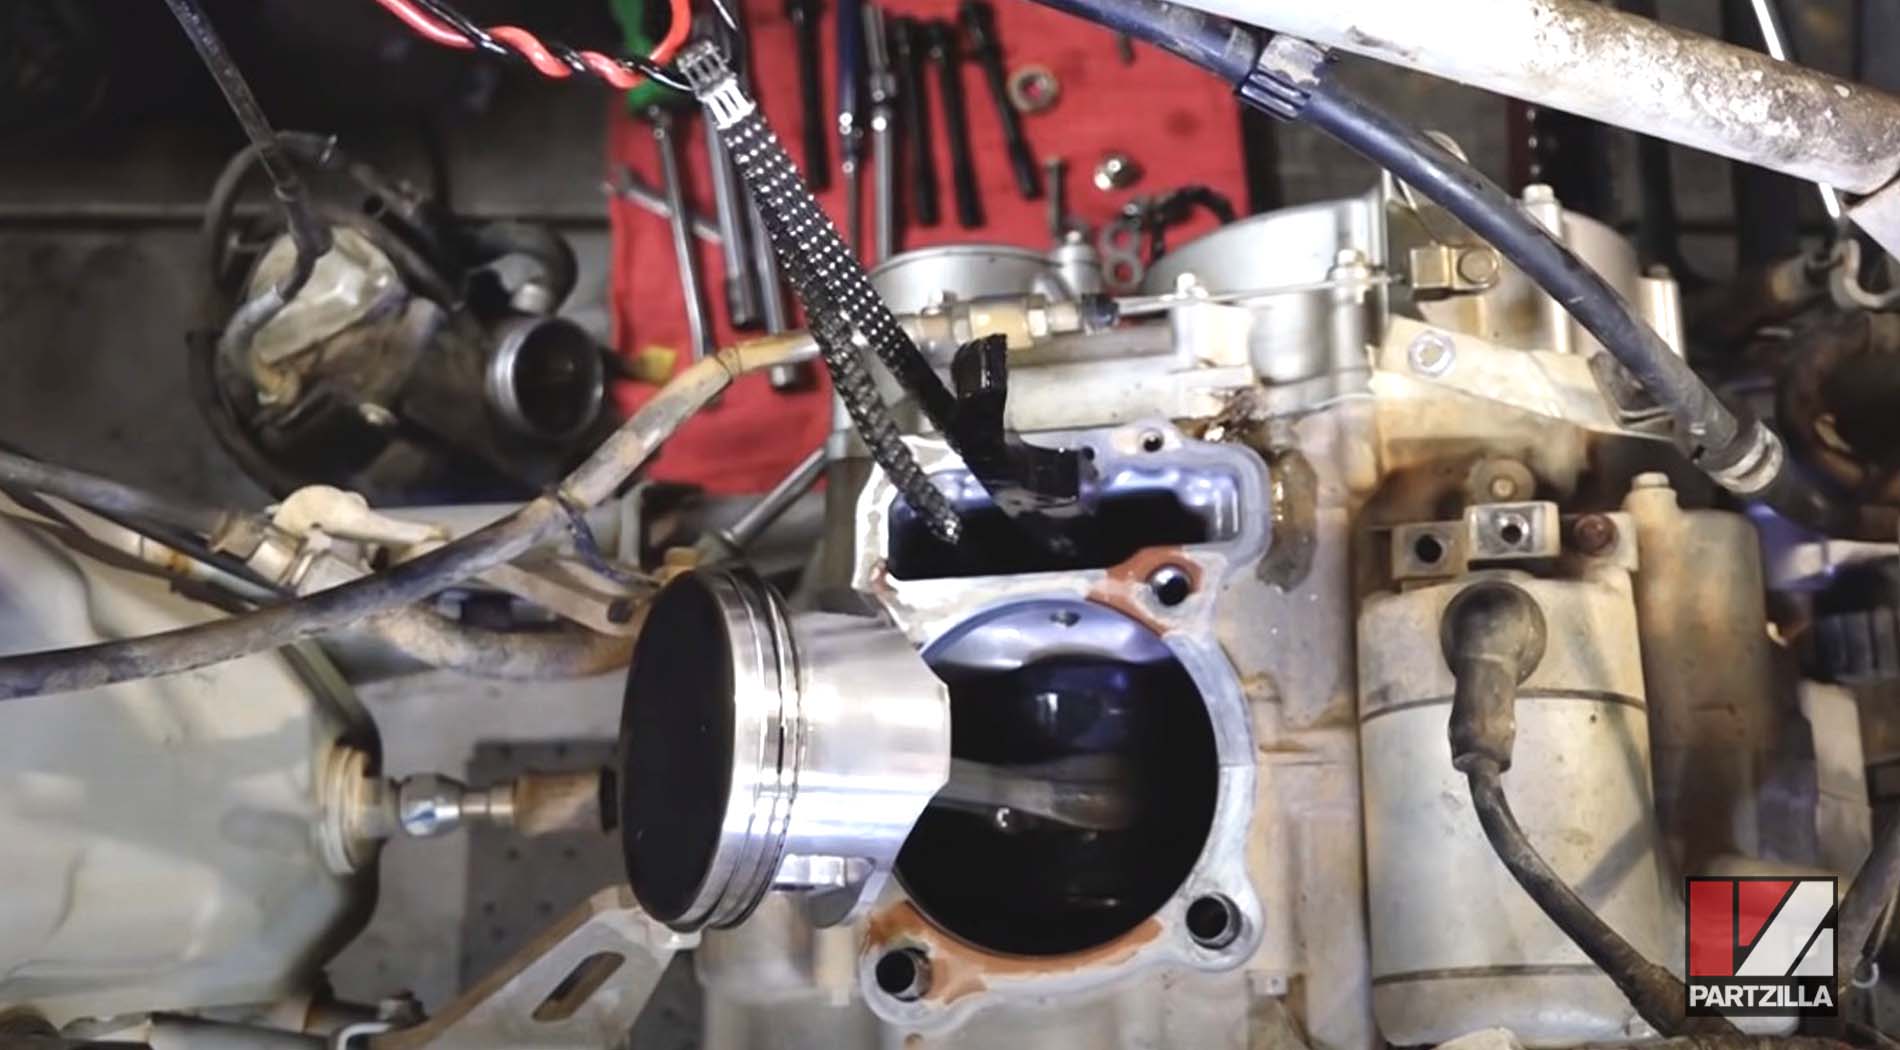
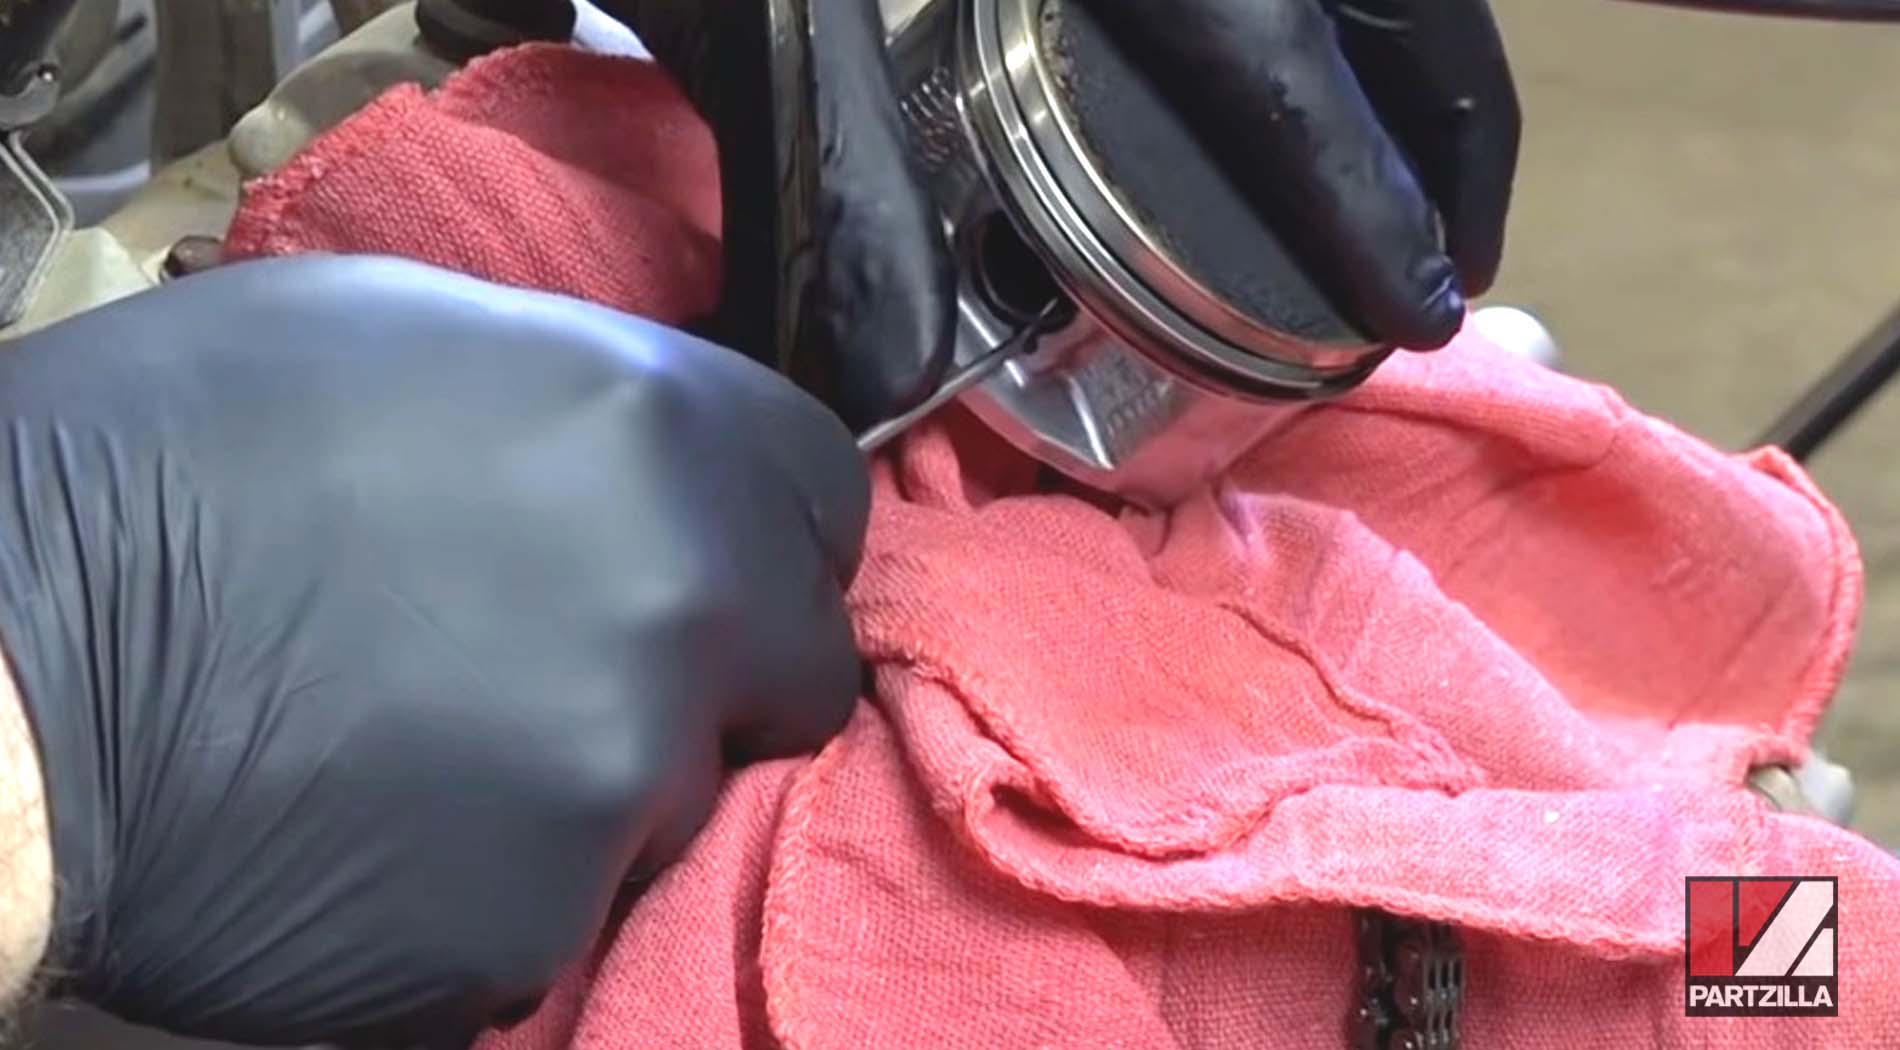
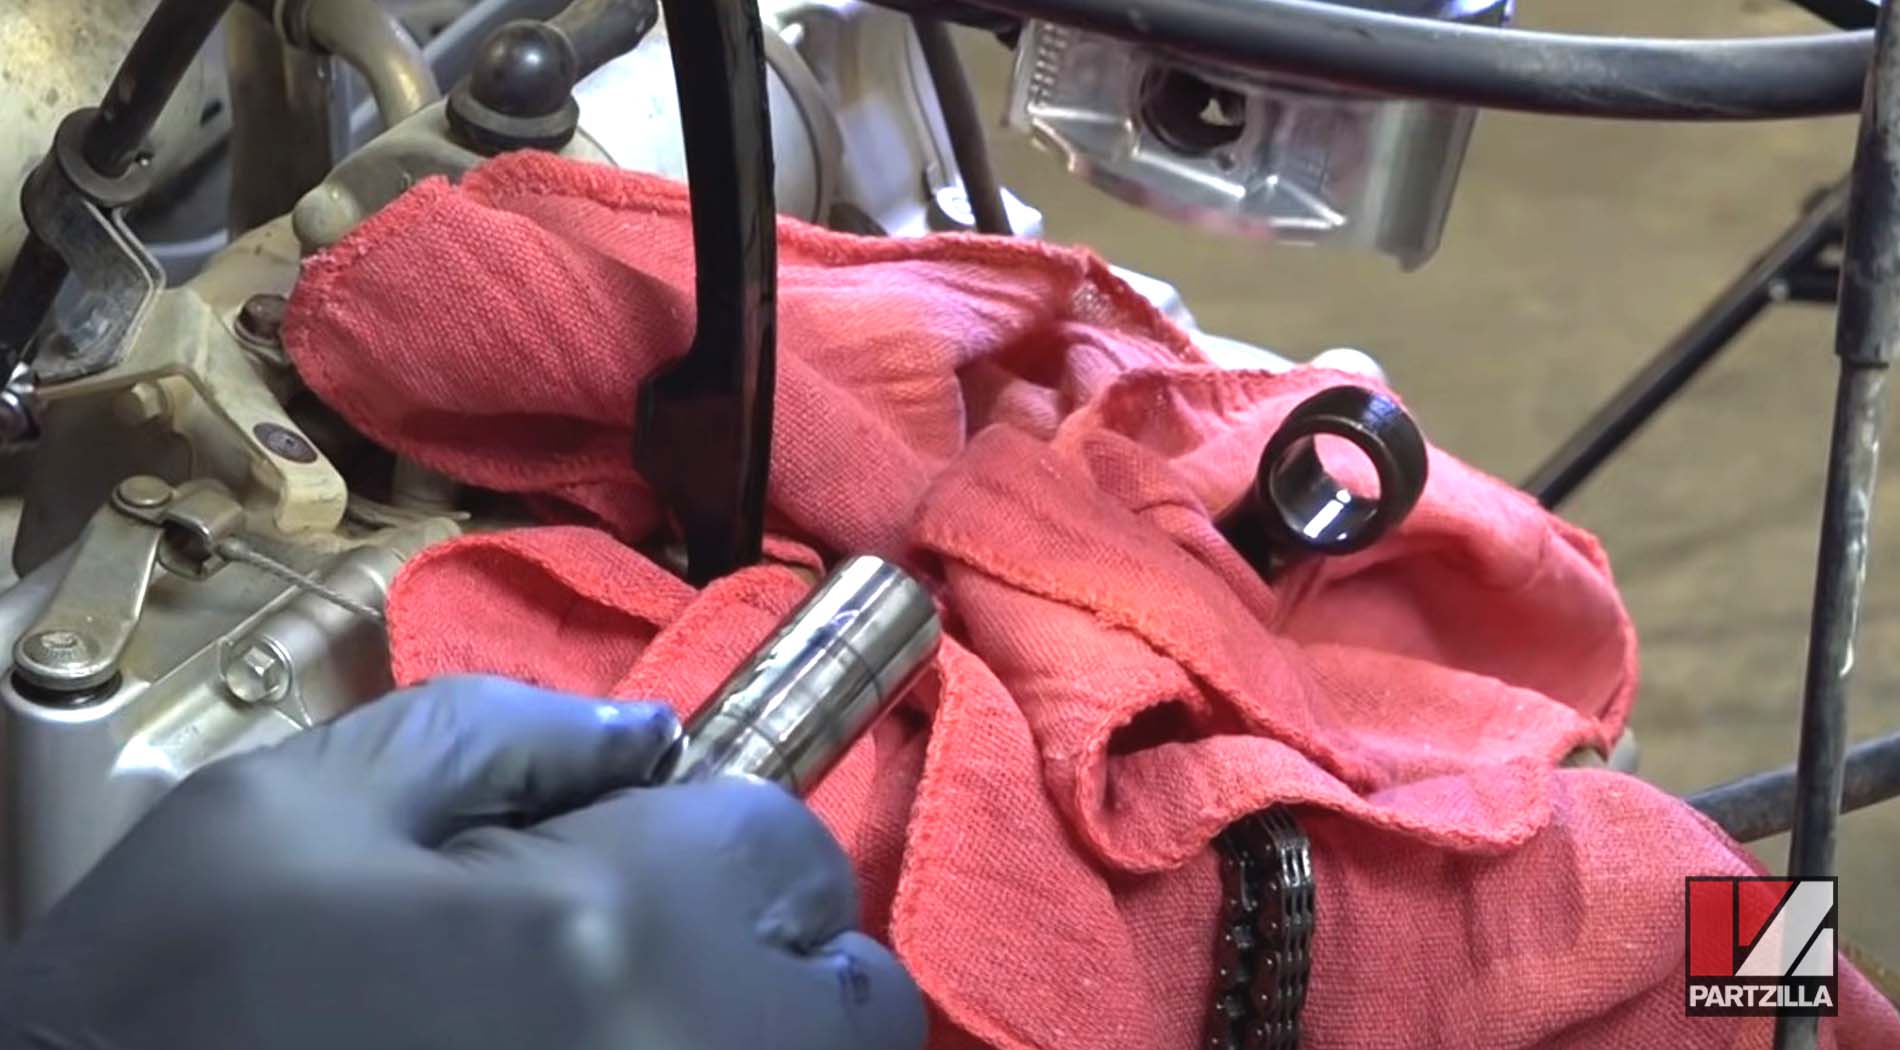
PRO TIP: Plug the void the cam chain runs through and the void around the connecting rod leading down to the crankcase with clean shop towels to prevent anything from falling into the crankcase.
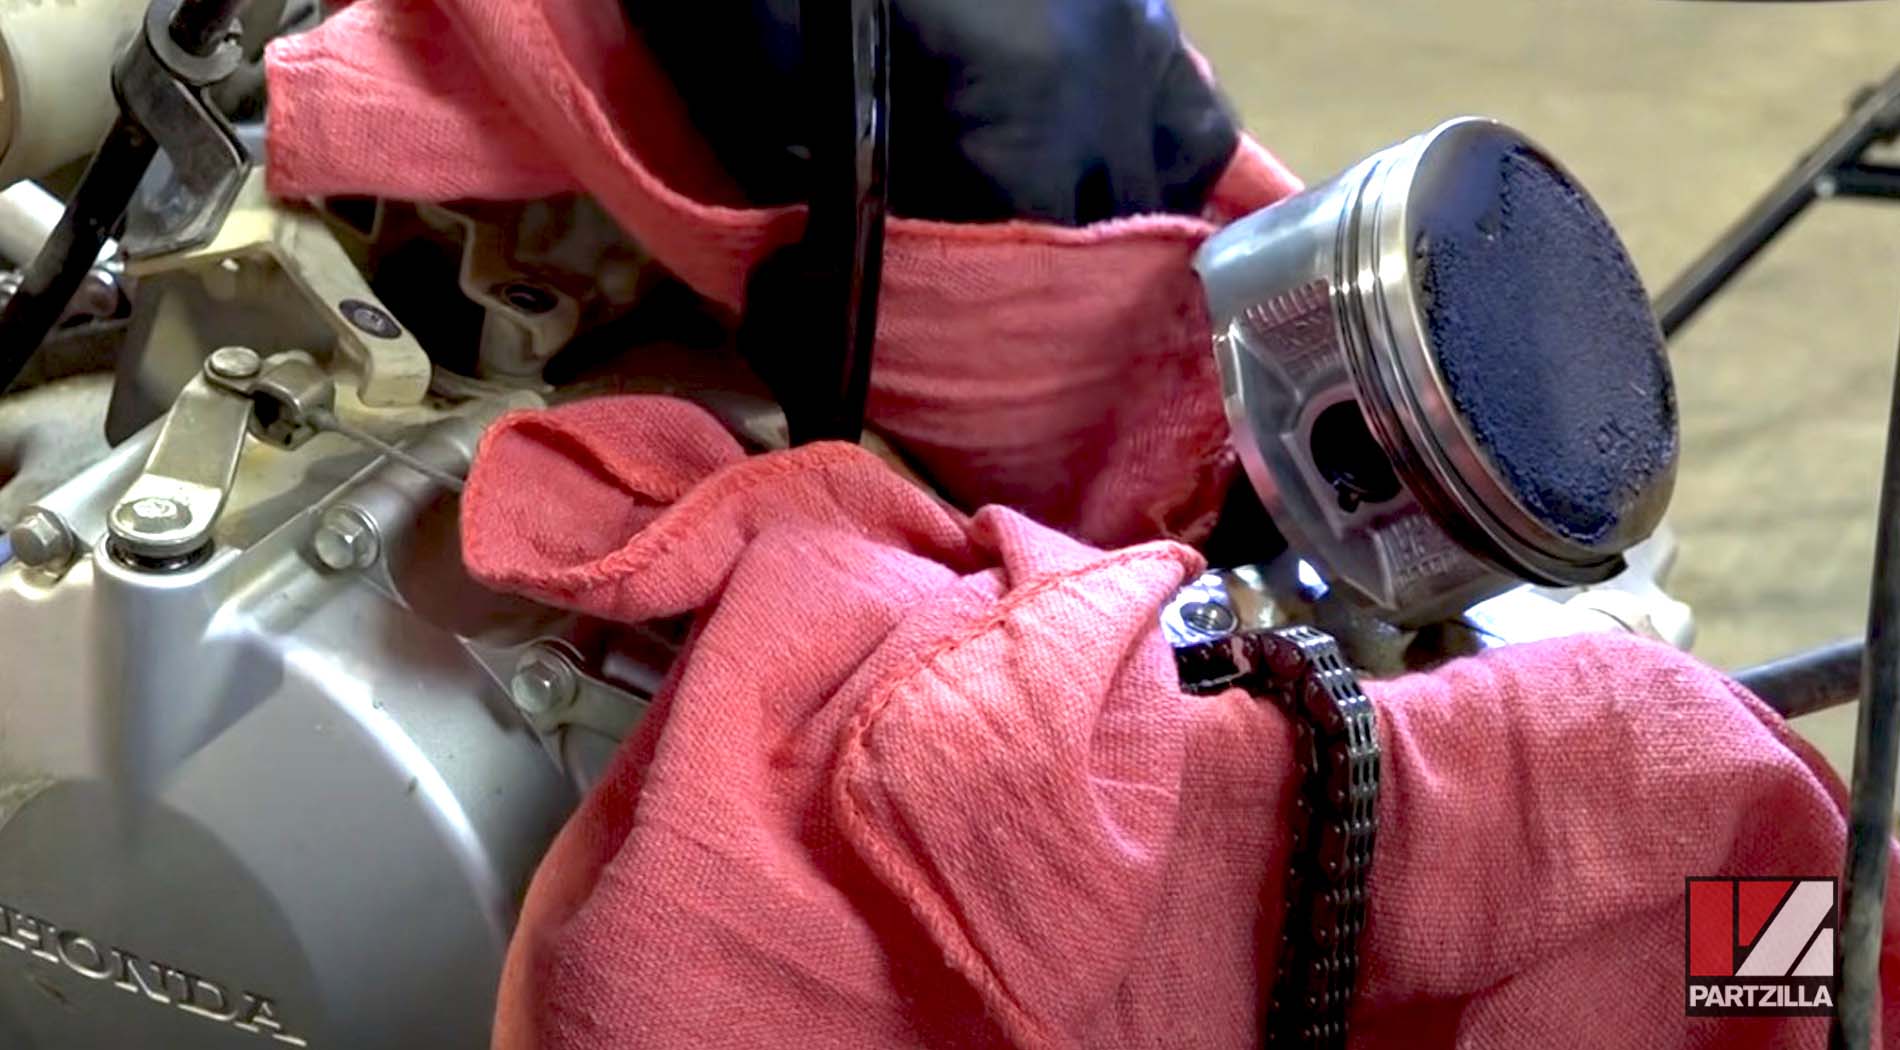
Step 7: Remove the piston from the connecting rod.

Watch the clip below to see the cylinder head and cylinder removal segment of our Honda TRX 400EX top end disassembly video.
After the top end is disassembled, the next process in our Honda ATV engine rebuild is to inspect the cylinder and piston. Watch the video below to see the second part of our Honda TRX 400EX top end rebuild project.