How to Remove a Honda TRX 400 Seat
Removing the seat from a Honda TRX 400 isn't something you need to know how to do for the sake of doing it, but rather because to access components and parts underneath it for maintenance and repair.
For example, you won't be able to clean or change the air filter unless you get the seat off first. Watch the video above and follow the steps below to learn how to remove the seat from a TRX 400 Honda ATV.


Honda TRX400 EX Seat Removal
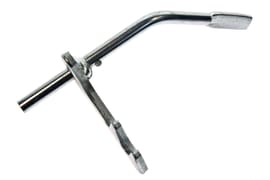
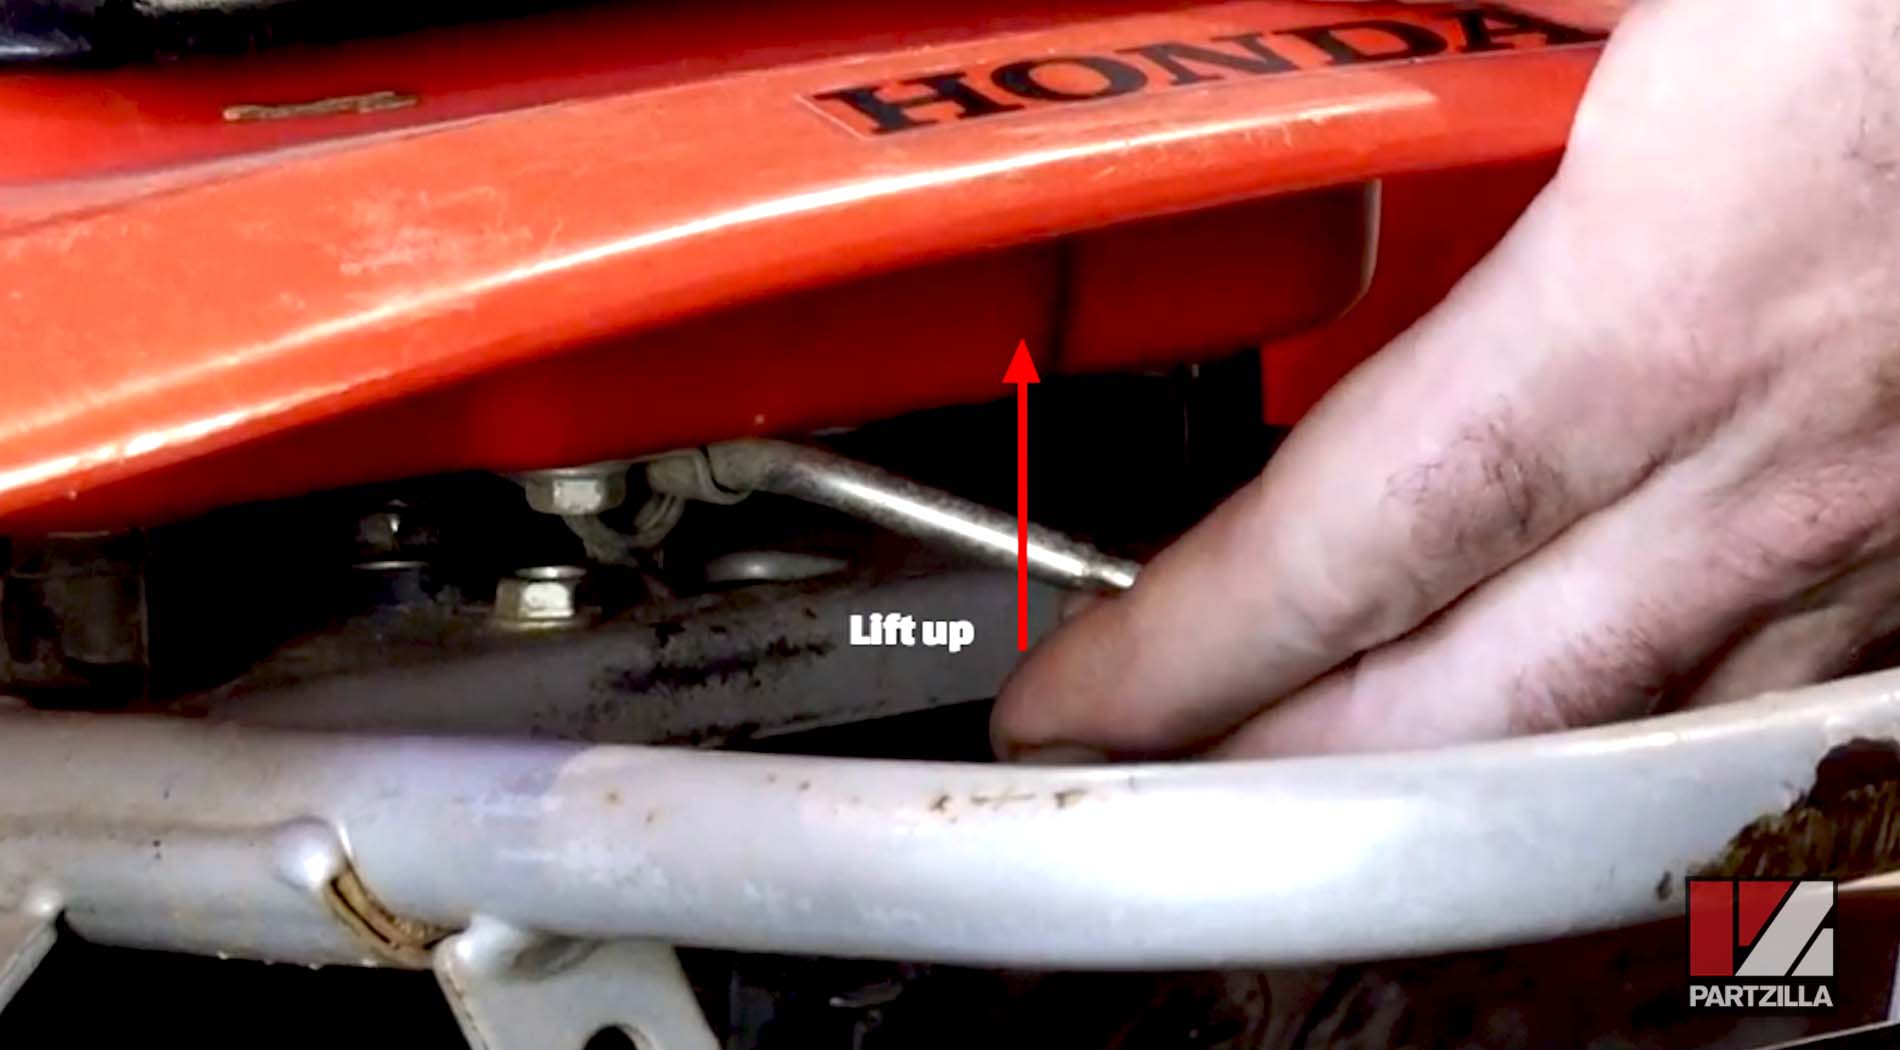
Step 1. Lift up on the lever that unlocks the seat. The lever is found on the back of the ATV underneath the seat.
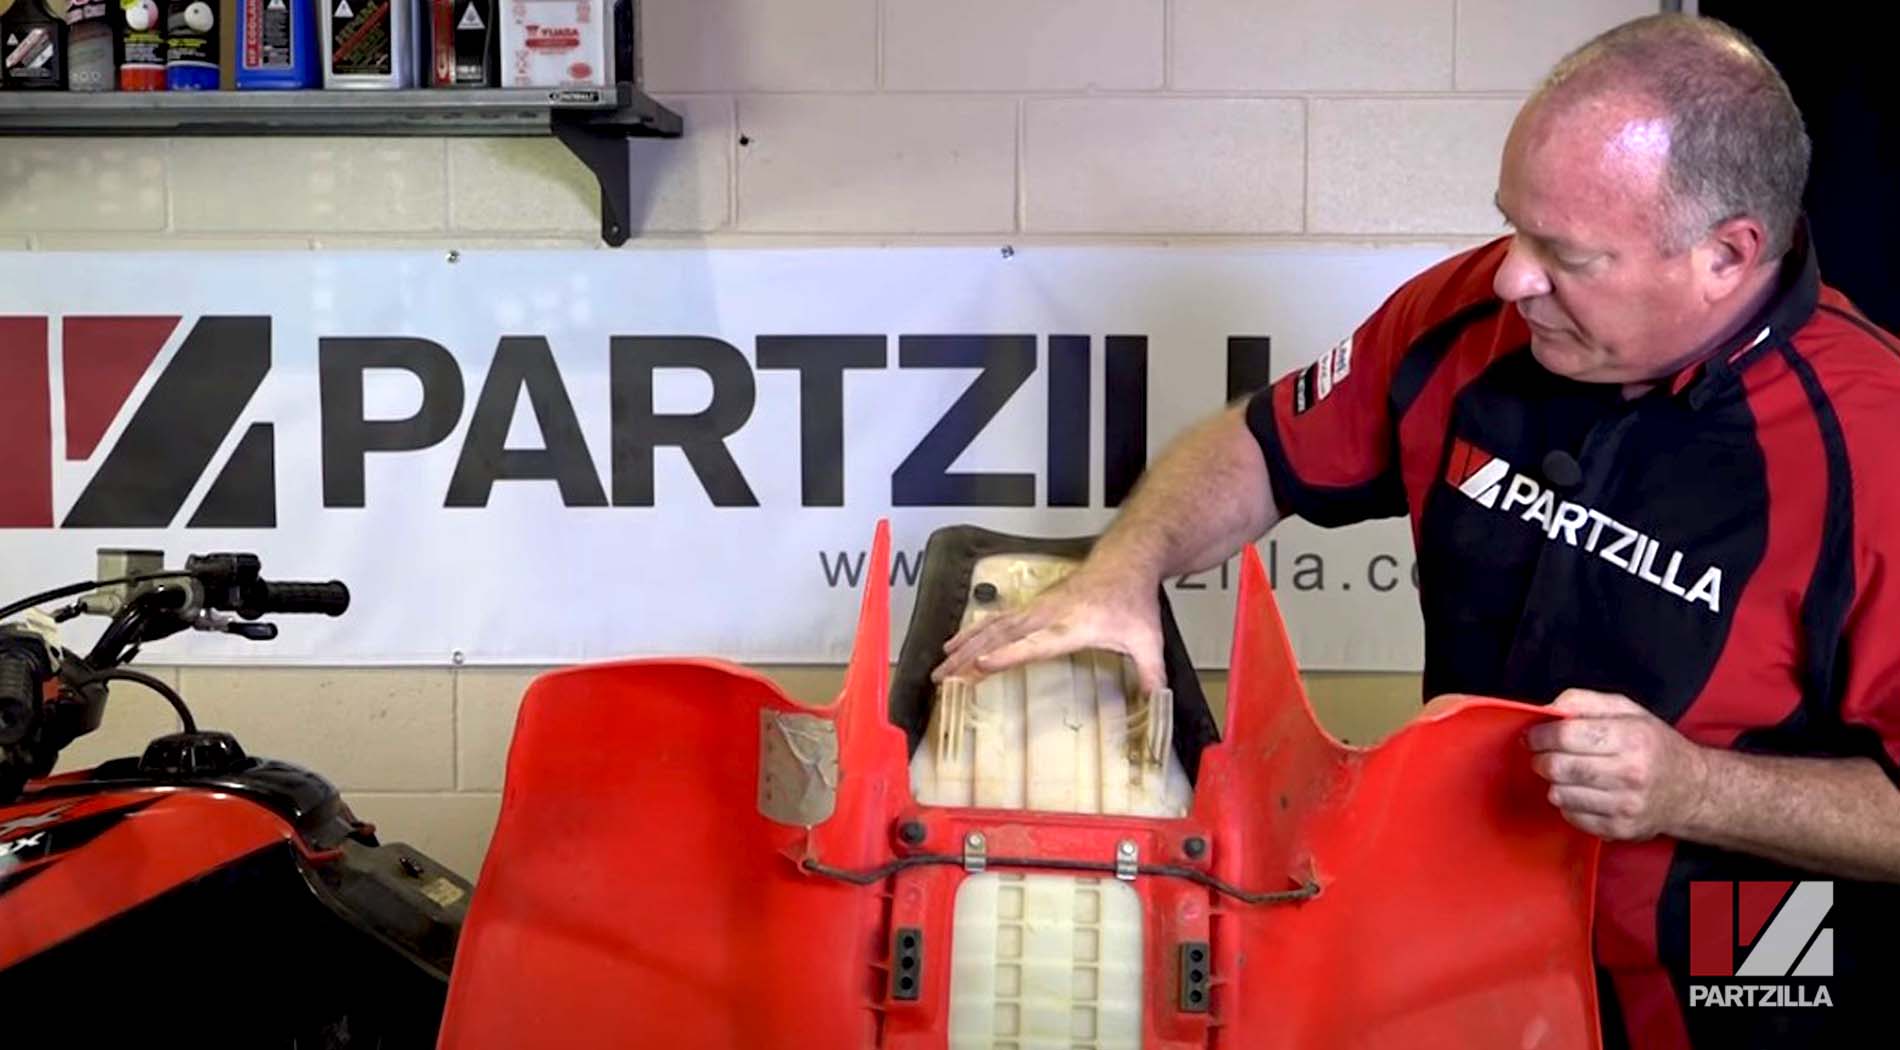
Step 2. Pull the seat toward you as you lift it out to unhook it at the front.

NOTE: You may have to pull on the plastics that wrap around the side of the ATV to get the seat loose.

Step 3. Lift the seat off the machine.

How to Replace the Seat on a Honda TRX400
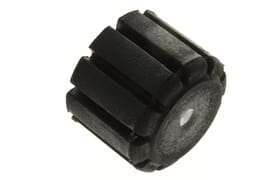
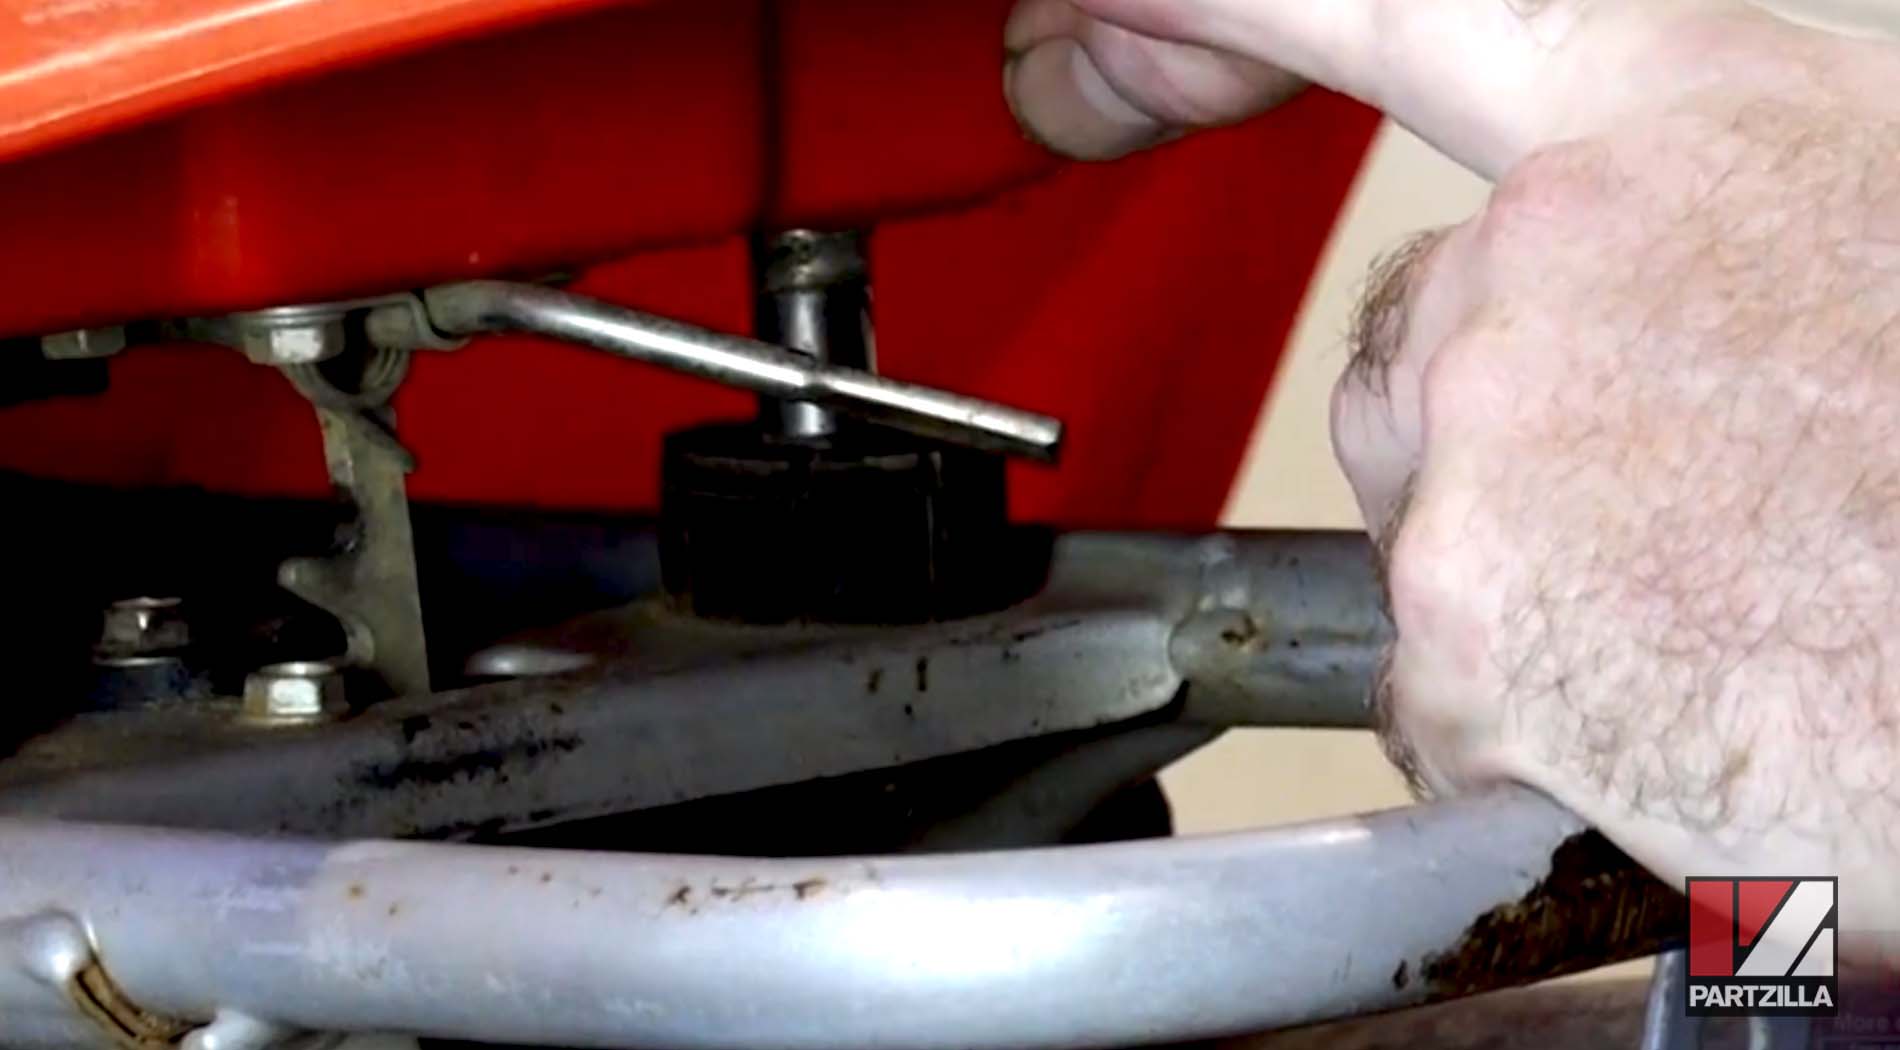
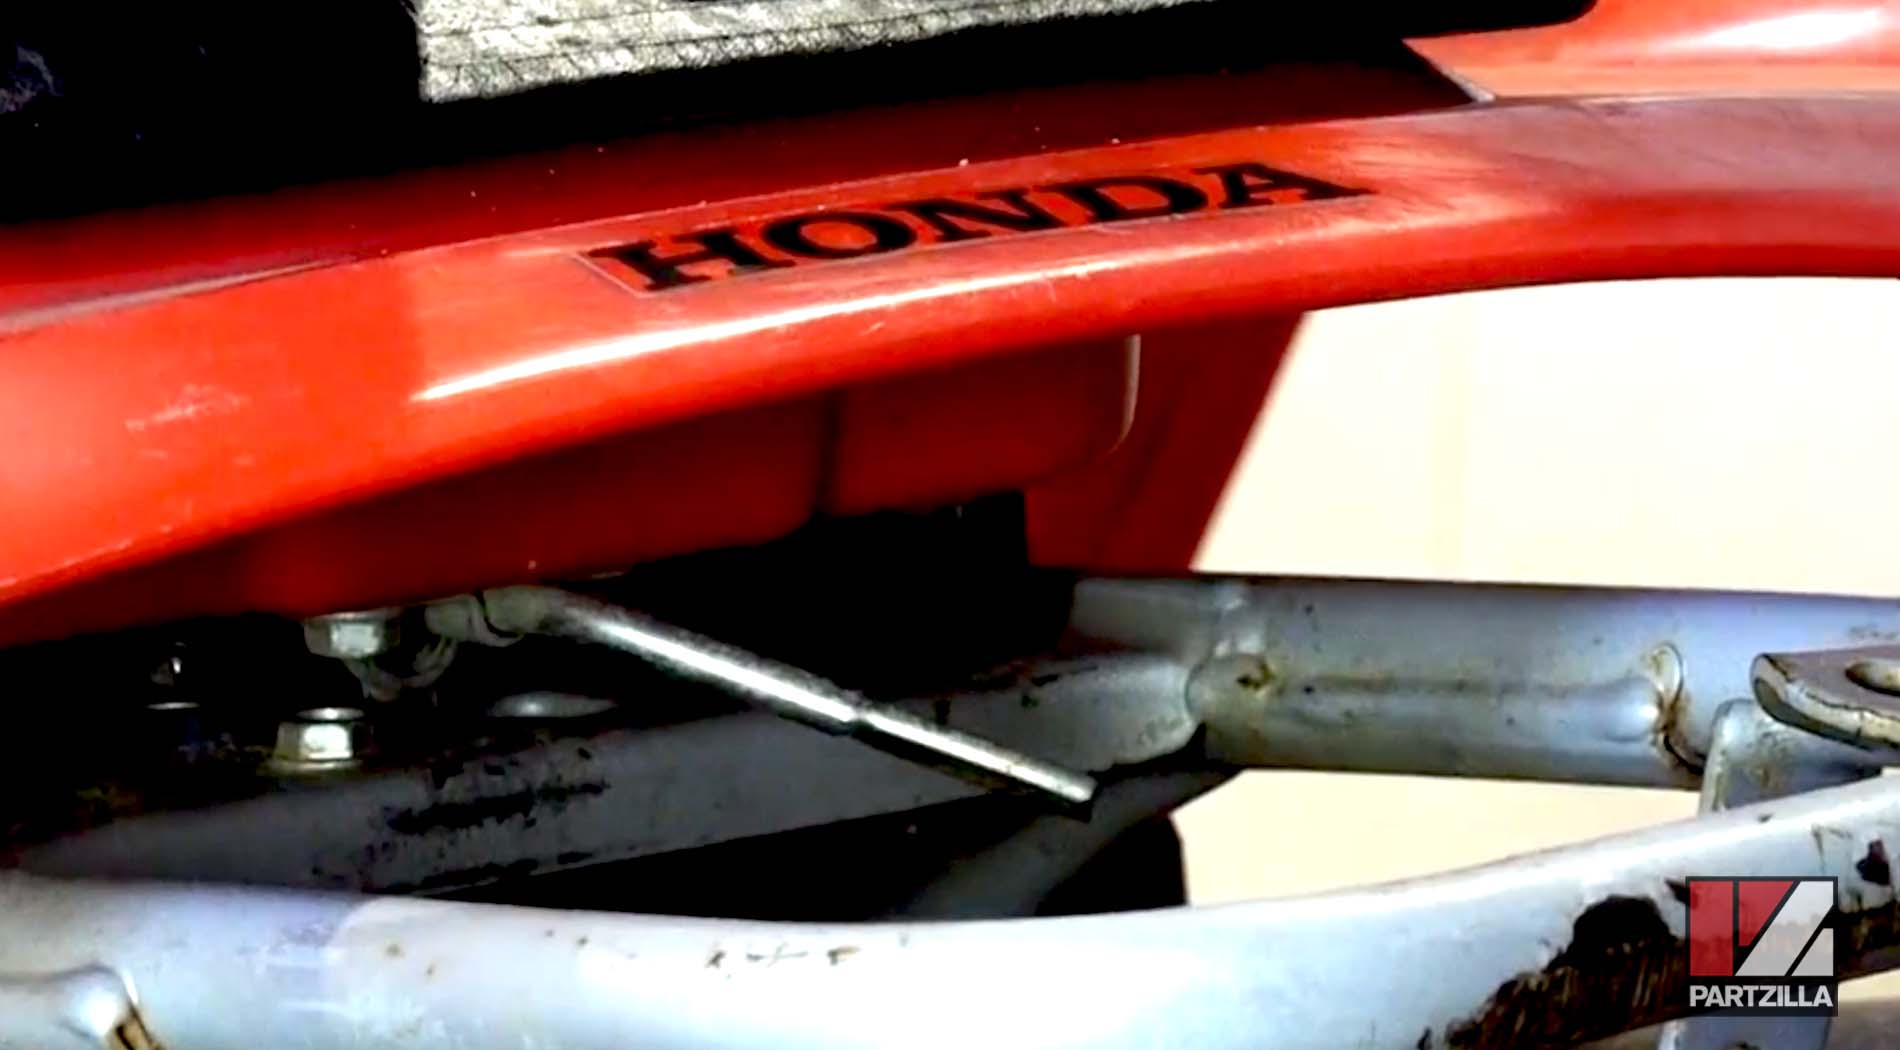
Step 1. To engage the front of the seat, you'll need to line up three contact points. First, there are two hooks that engage with two rubber stoppers, and then there is also a U-shaped slot that must fit over a knob on the ATV.
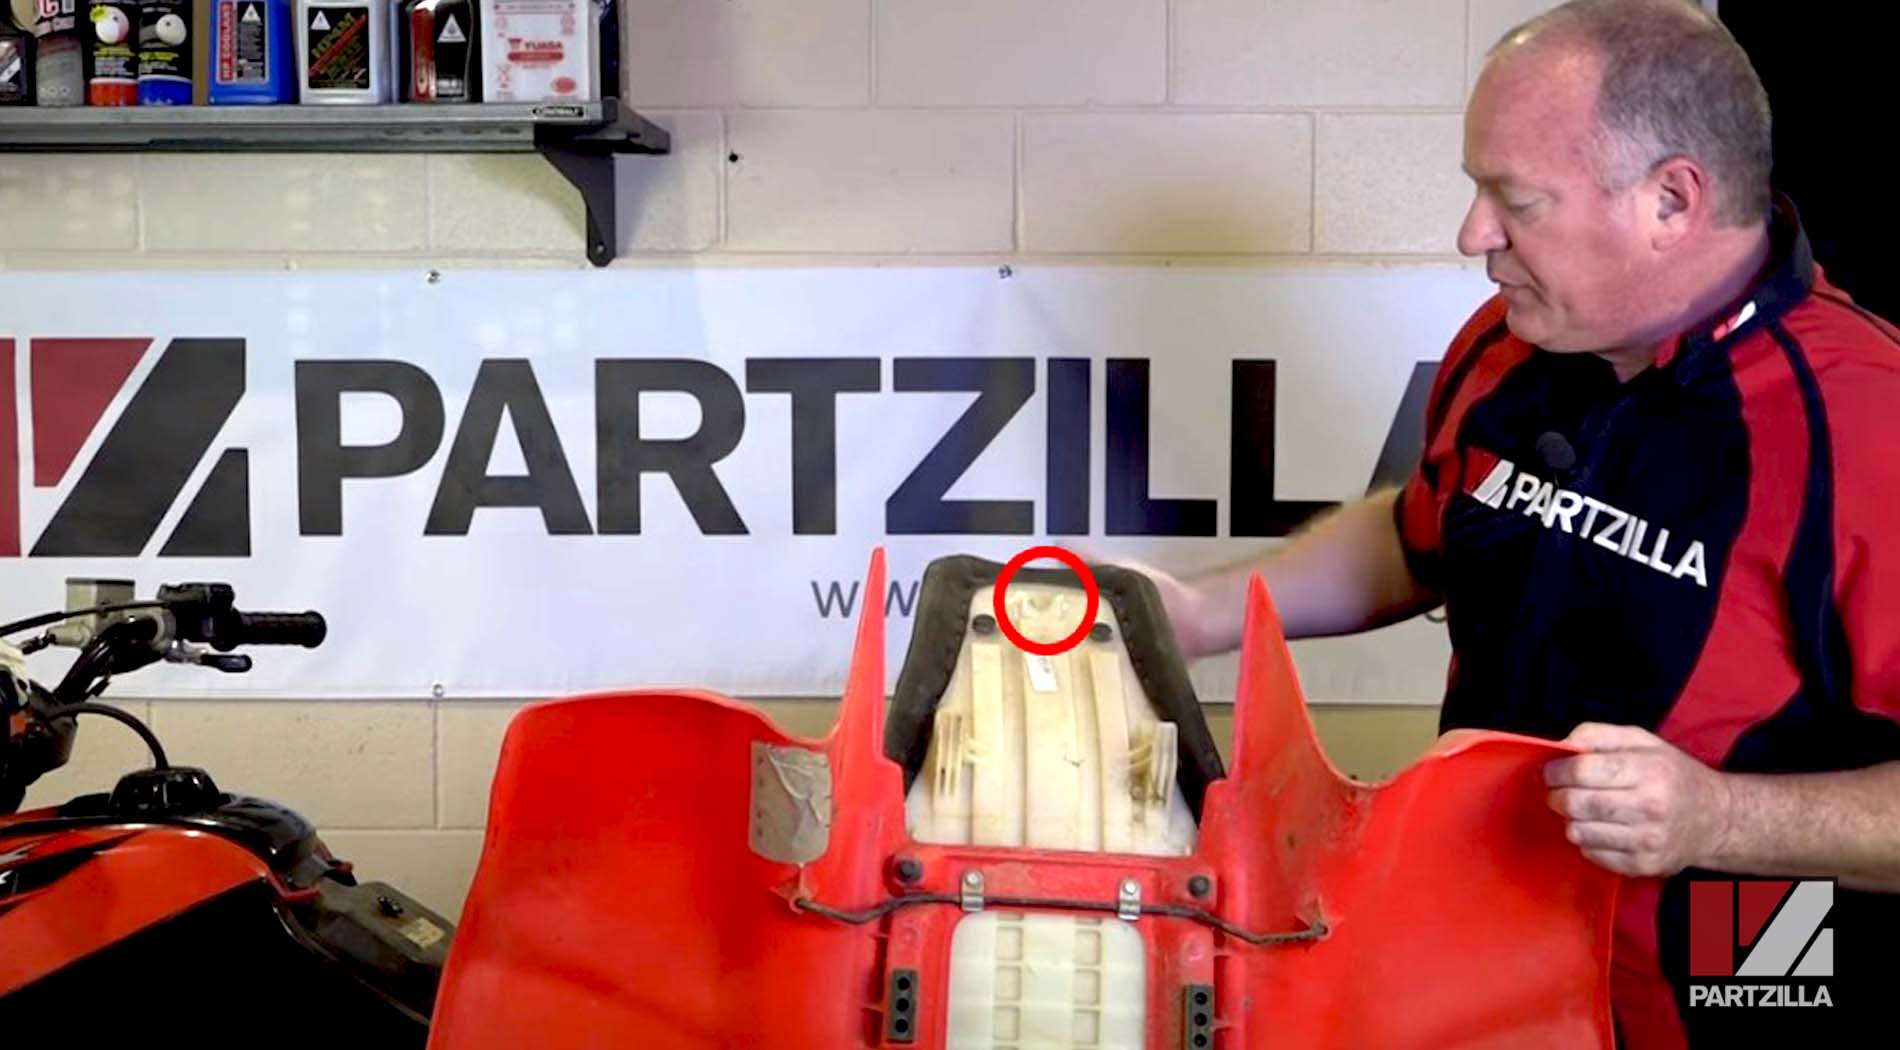
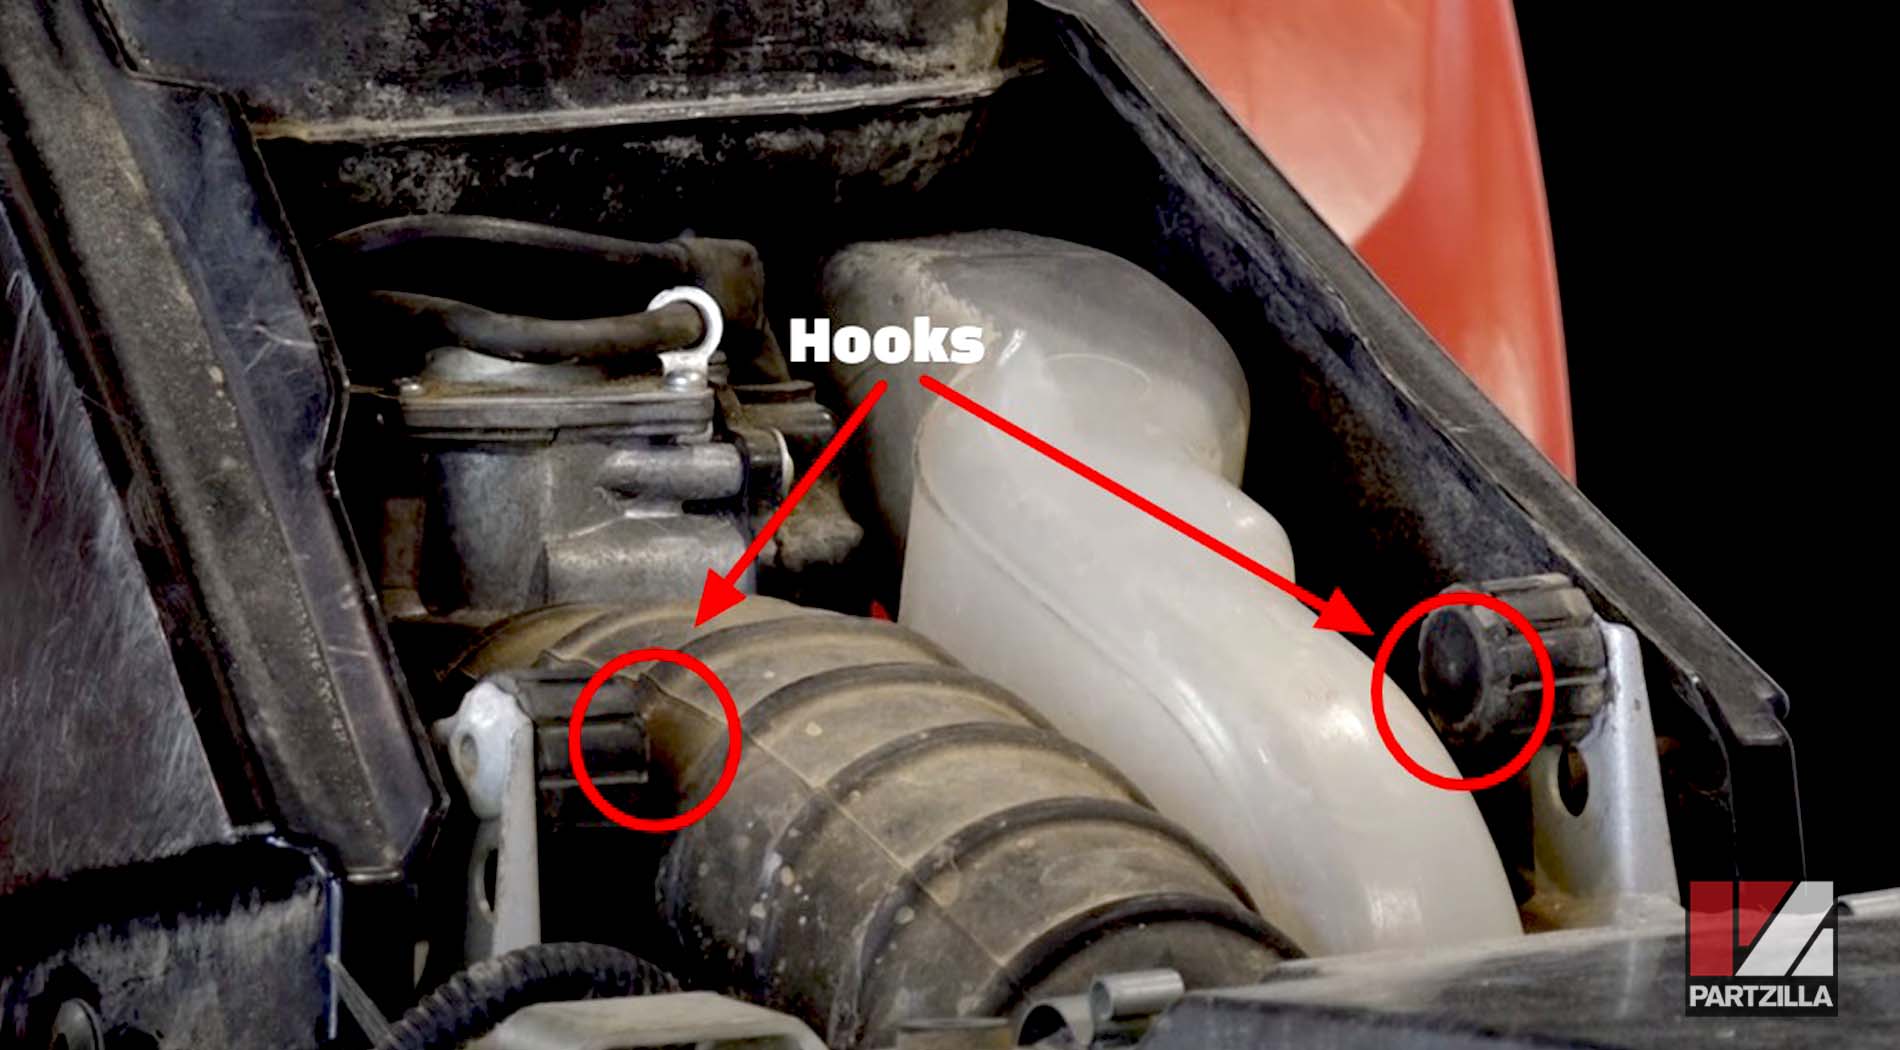
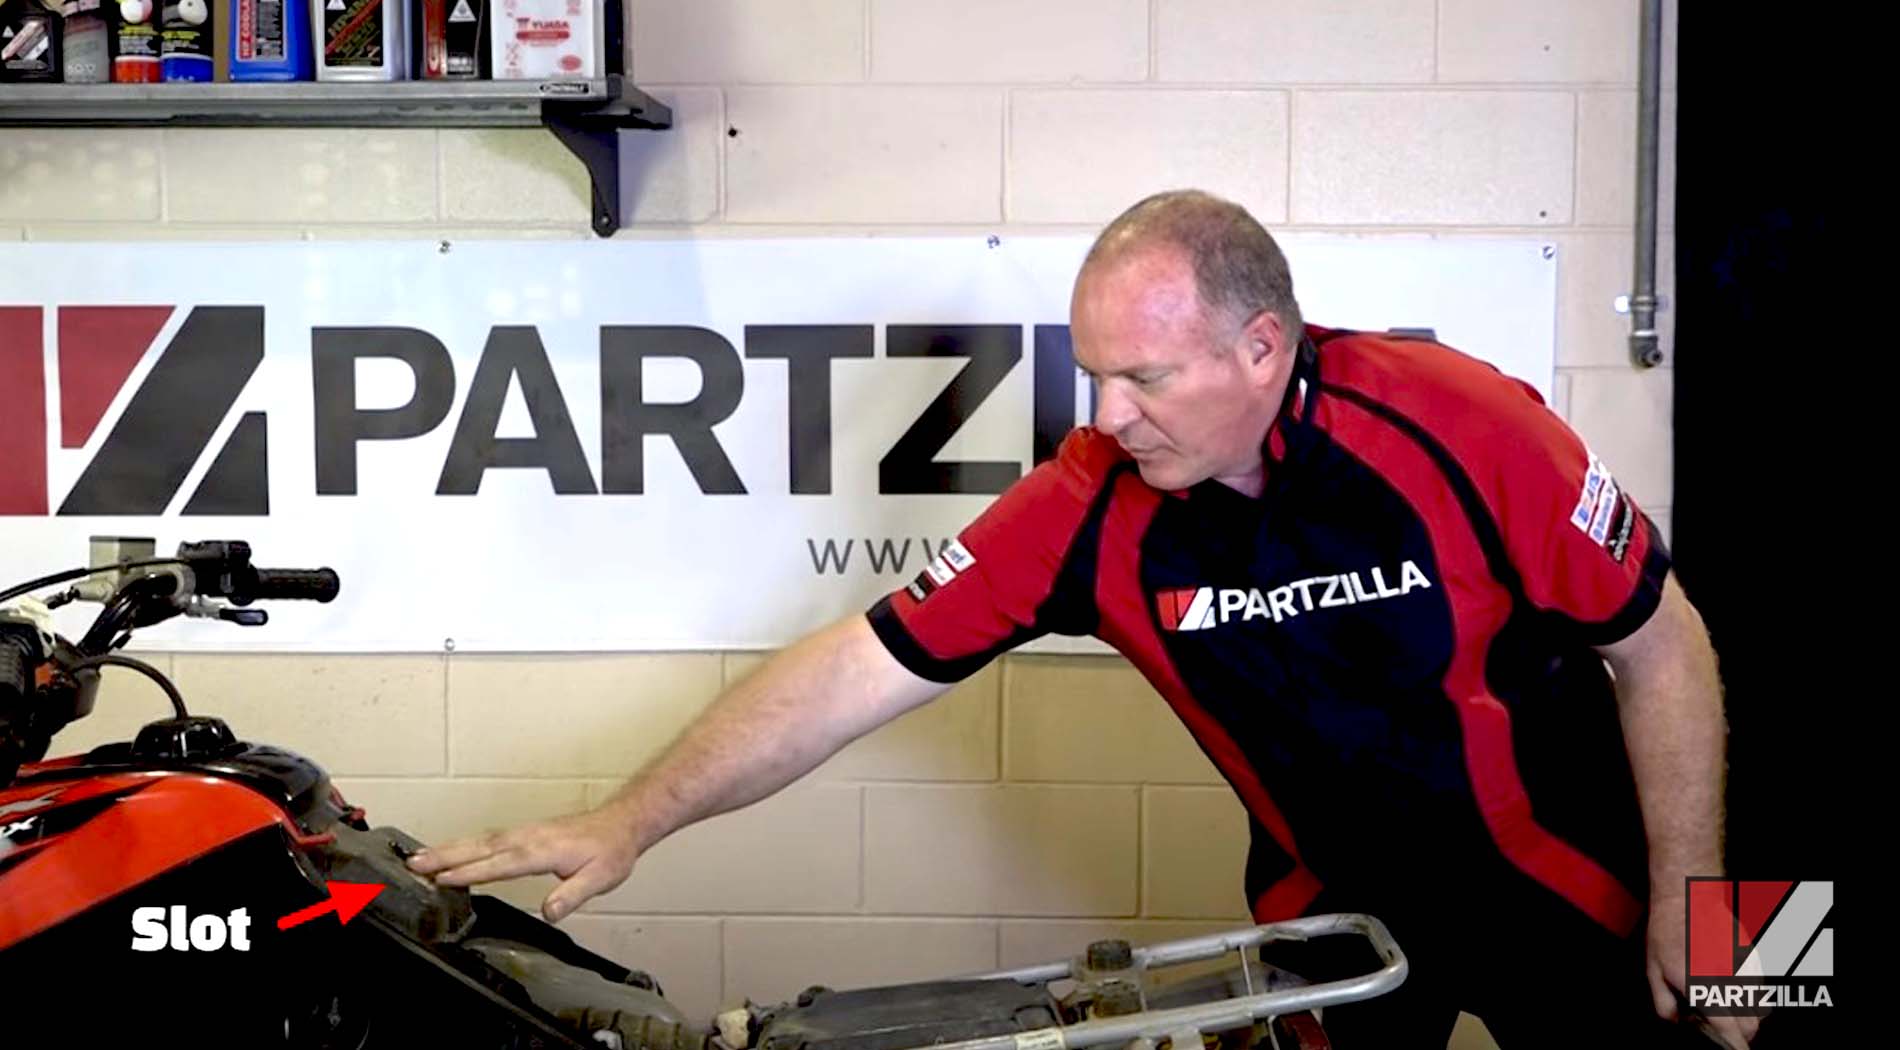
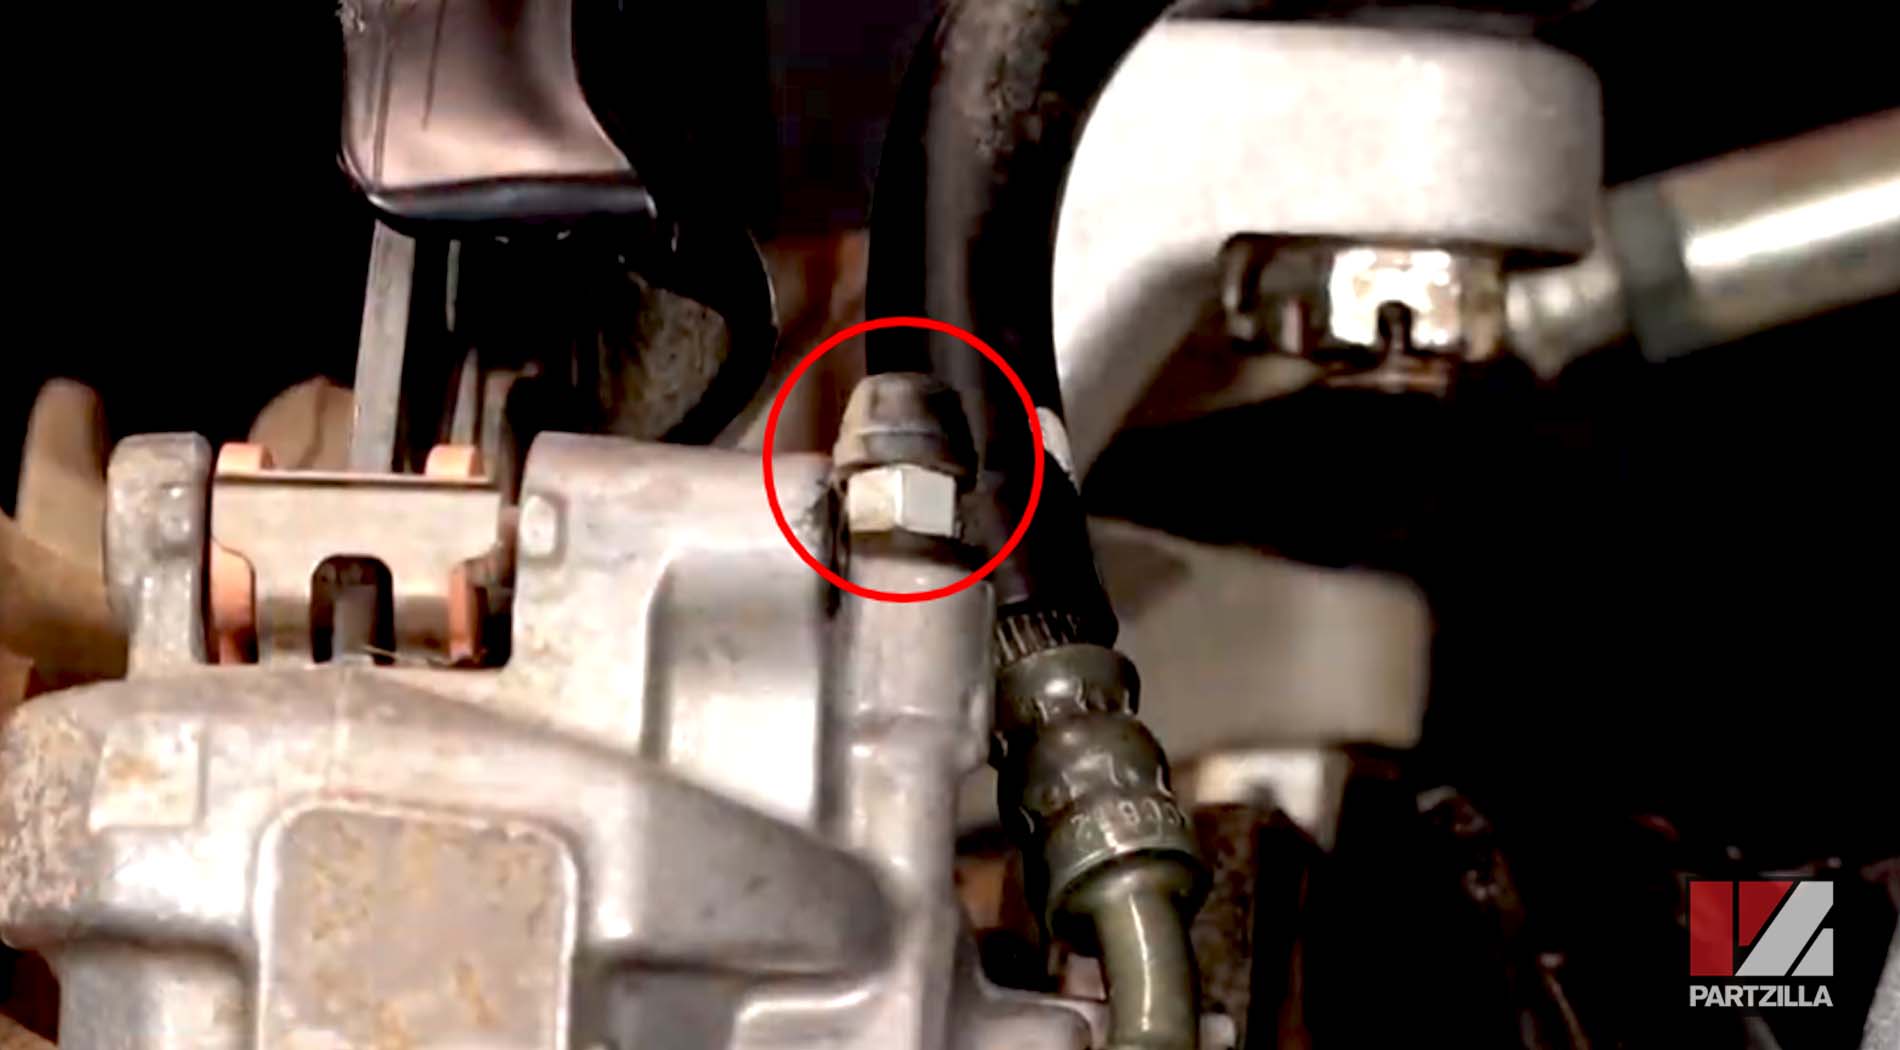
Step 2. Get the seat back into position on the ATV. Check underneath the front of the seat to see if the hooks and the slot roughly line up with the stoppers and the knob. Next, push the front of the seat down onto the ATV, and then push forward from the rear. This should engage the slot and the hooks.

Step 3. Line up the latch on the back of the ATV, and then push the seat down to lock it into place.
Removing the seat allows you to maintenance jobs like cleaning and oiling the air filter on your 400 EX. Watch the video below to see how to clean and oil a Honda TRX400 air filter.