Honda Rancher 420 Charging System Testing
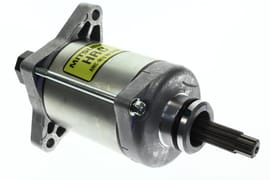
When your Honda ATV is having charging system problems, troubleshooting the issue only requires a few simple tests. An ATV’s charging system is made up of three basic components that work together to get your machine running: a battery, a stator and a regulator-rectifier.
Watch the video above and read on below to learn how to troubleshoot charging system problems on a Honda Rancher TRX420.
Tools – Troubleshooting Honda Rancher 420 Charging System Problems
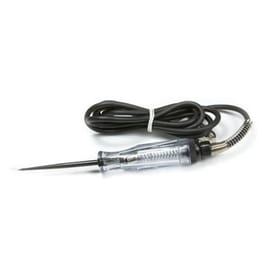
- Multimeter
- Screwdriver
- 10mm wrench

To get to the charging system on a Honda Rancher 420, simply pop off the seat by lifting the tab behind it and pulling it out, then sliding off the panel below it. No tools needed.
Watch the clip below to see how to access the charging system on a Rancher 420.
Start with the simplest thing first: testing the battery. The most common electrical and charging system problems usually stem from a weak or dead battery.
Troubleshooting Honda Rancher 420 Charging System: Battery Testing
Set a multimeter to DC volts and with the ignition off, connect the probes on the multimeter to the respective positive and negative battery terminals.
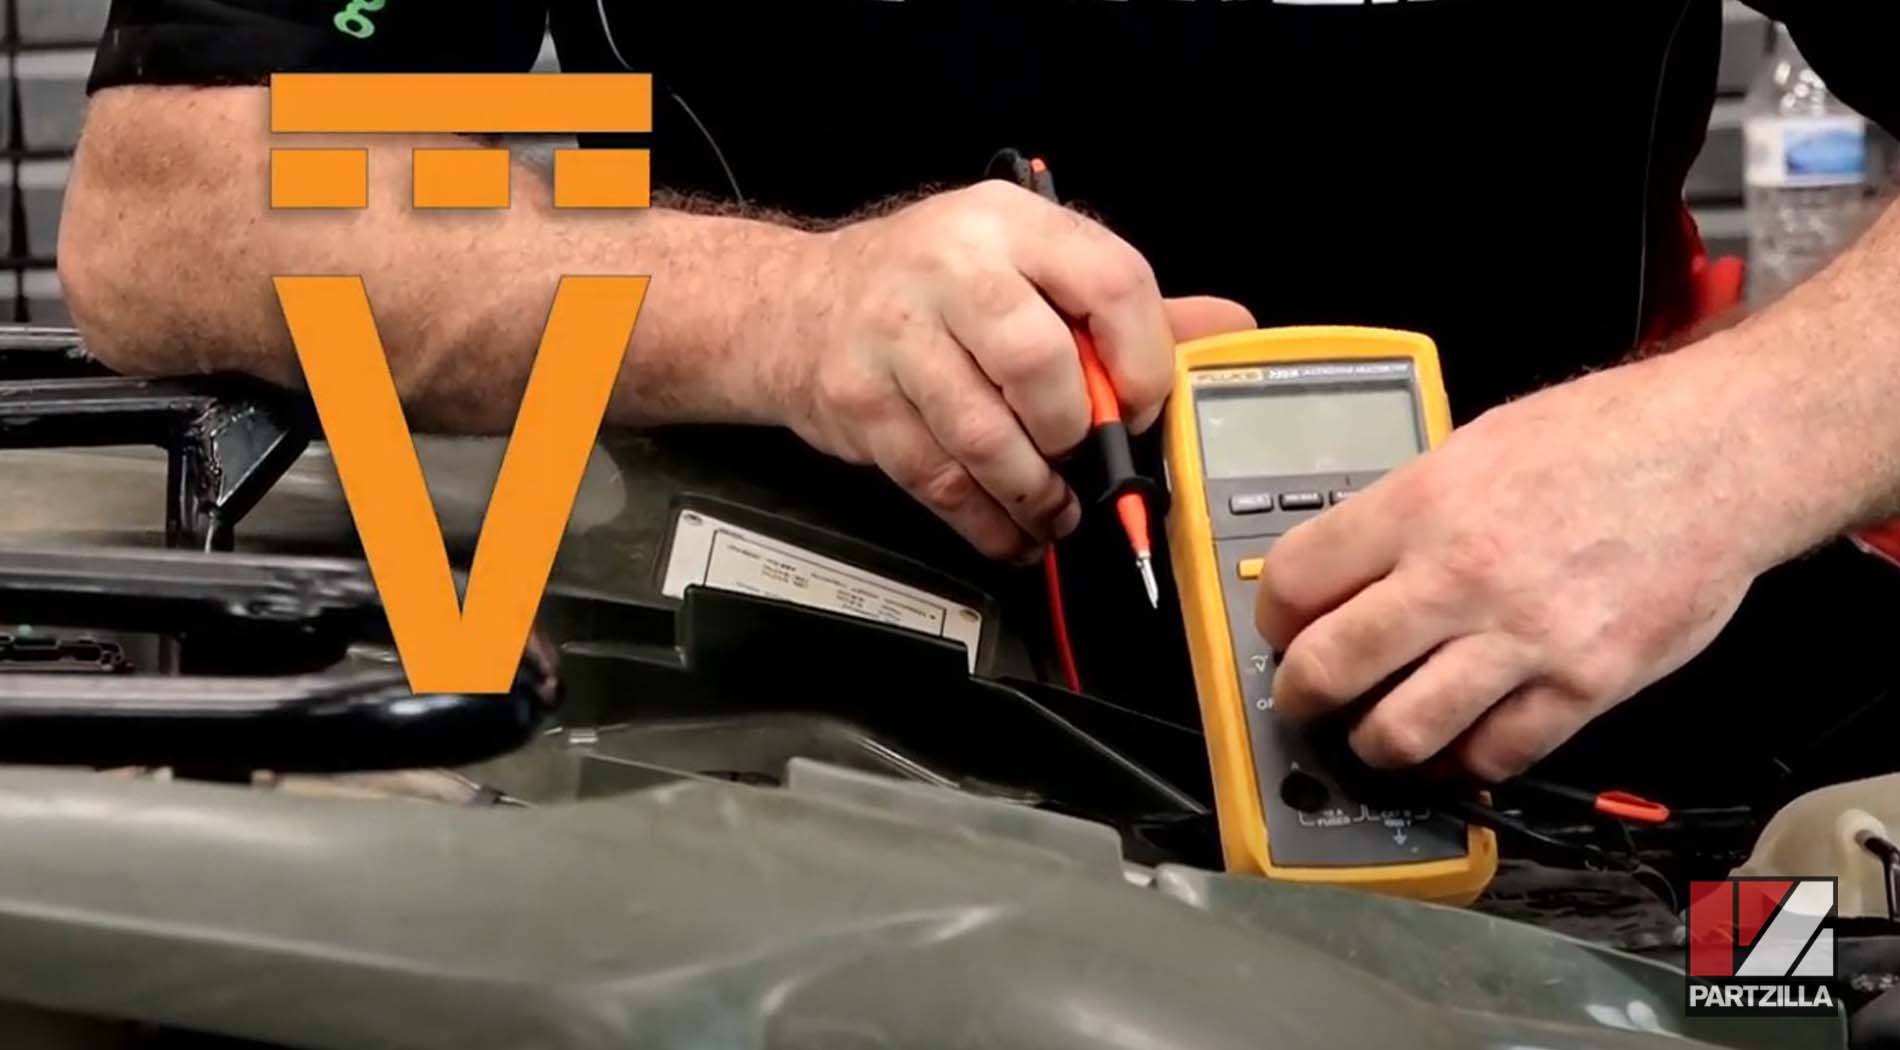
A healthy reading should be above 12.3 volts. If the reading is below that, set the multimeter to AC volts, start the engine and let it idle. The AC voltage reading should also be at least 12.3 volts.
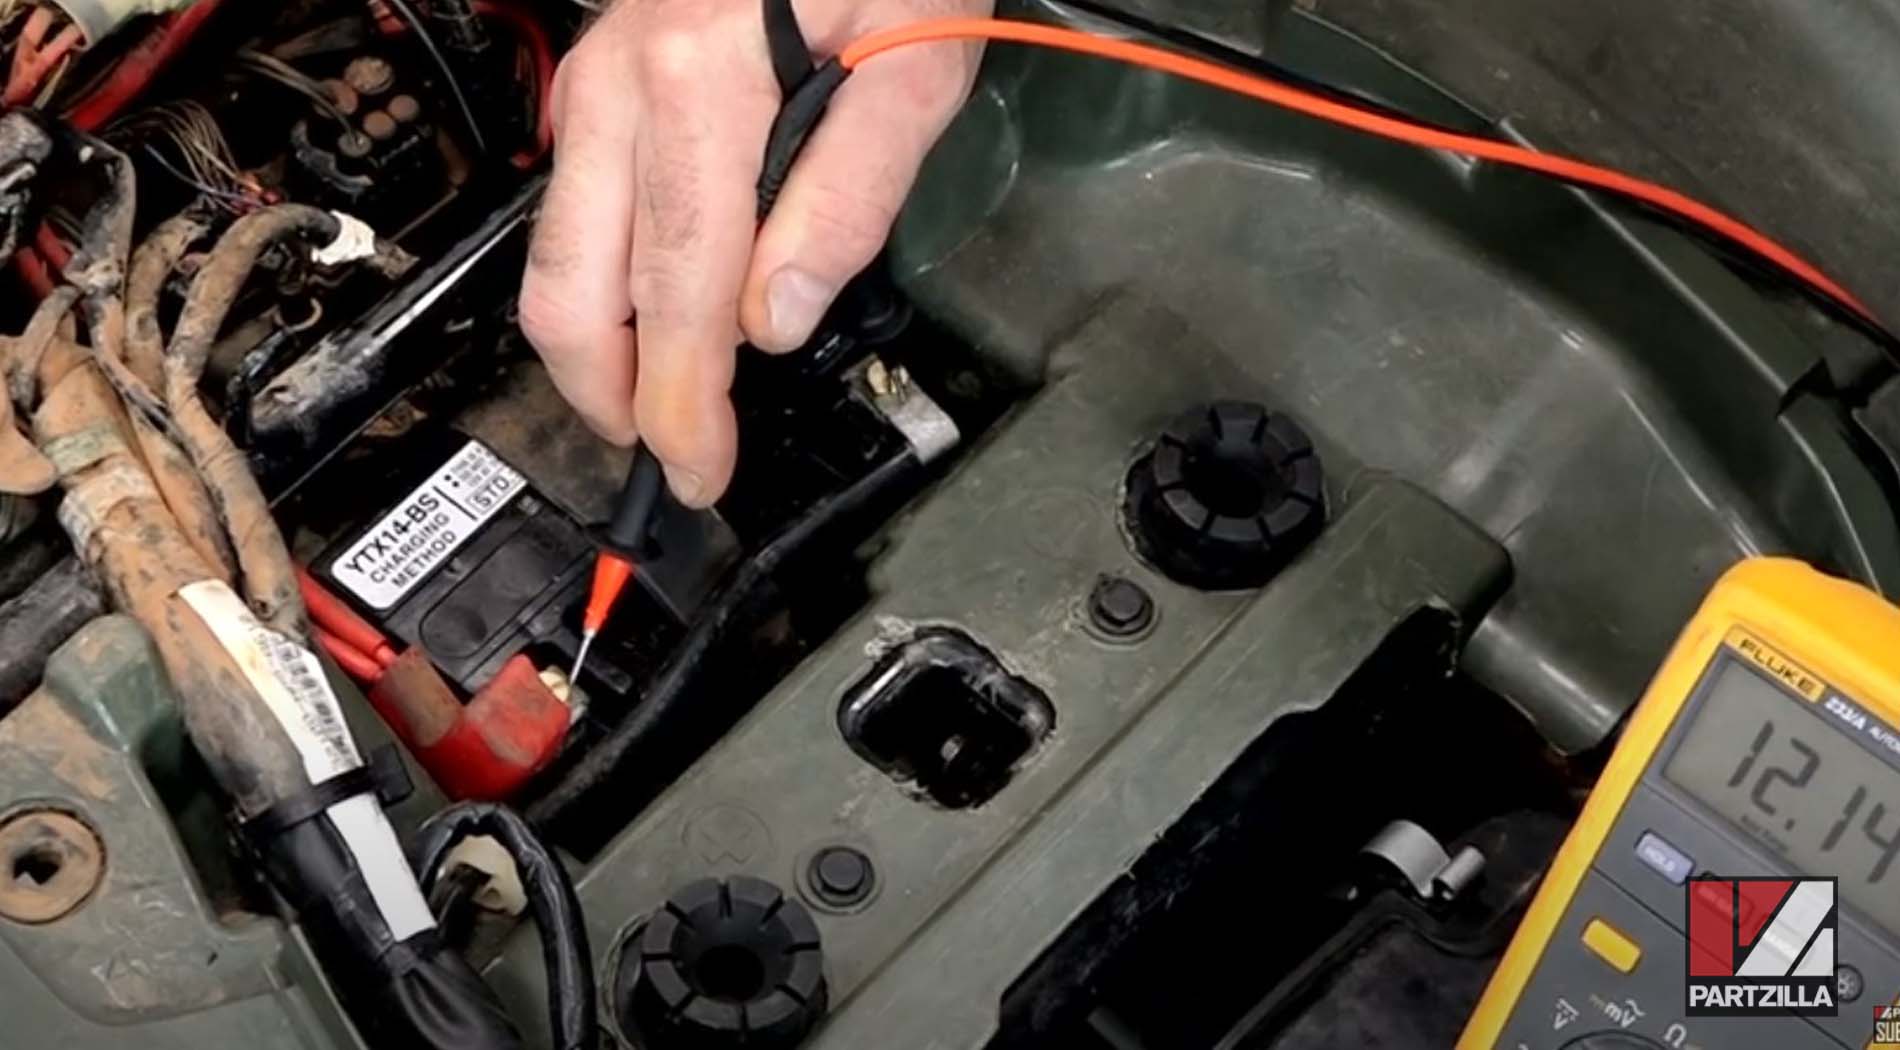
If the reading is below that, the battery might still run but it’s not getting enough charge, which will end up killing the battery. The next step is to test the stator.
Watch the clip below to see the battery testing segment of our Honda Rancher 420 charging system video.
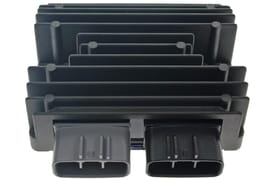
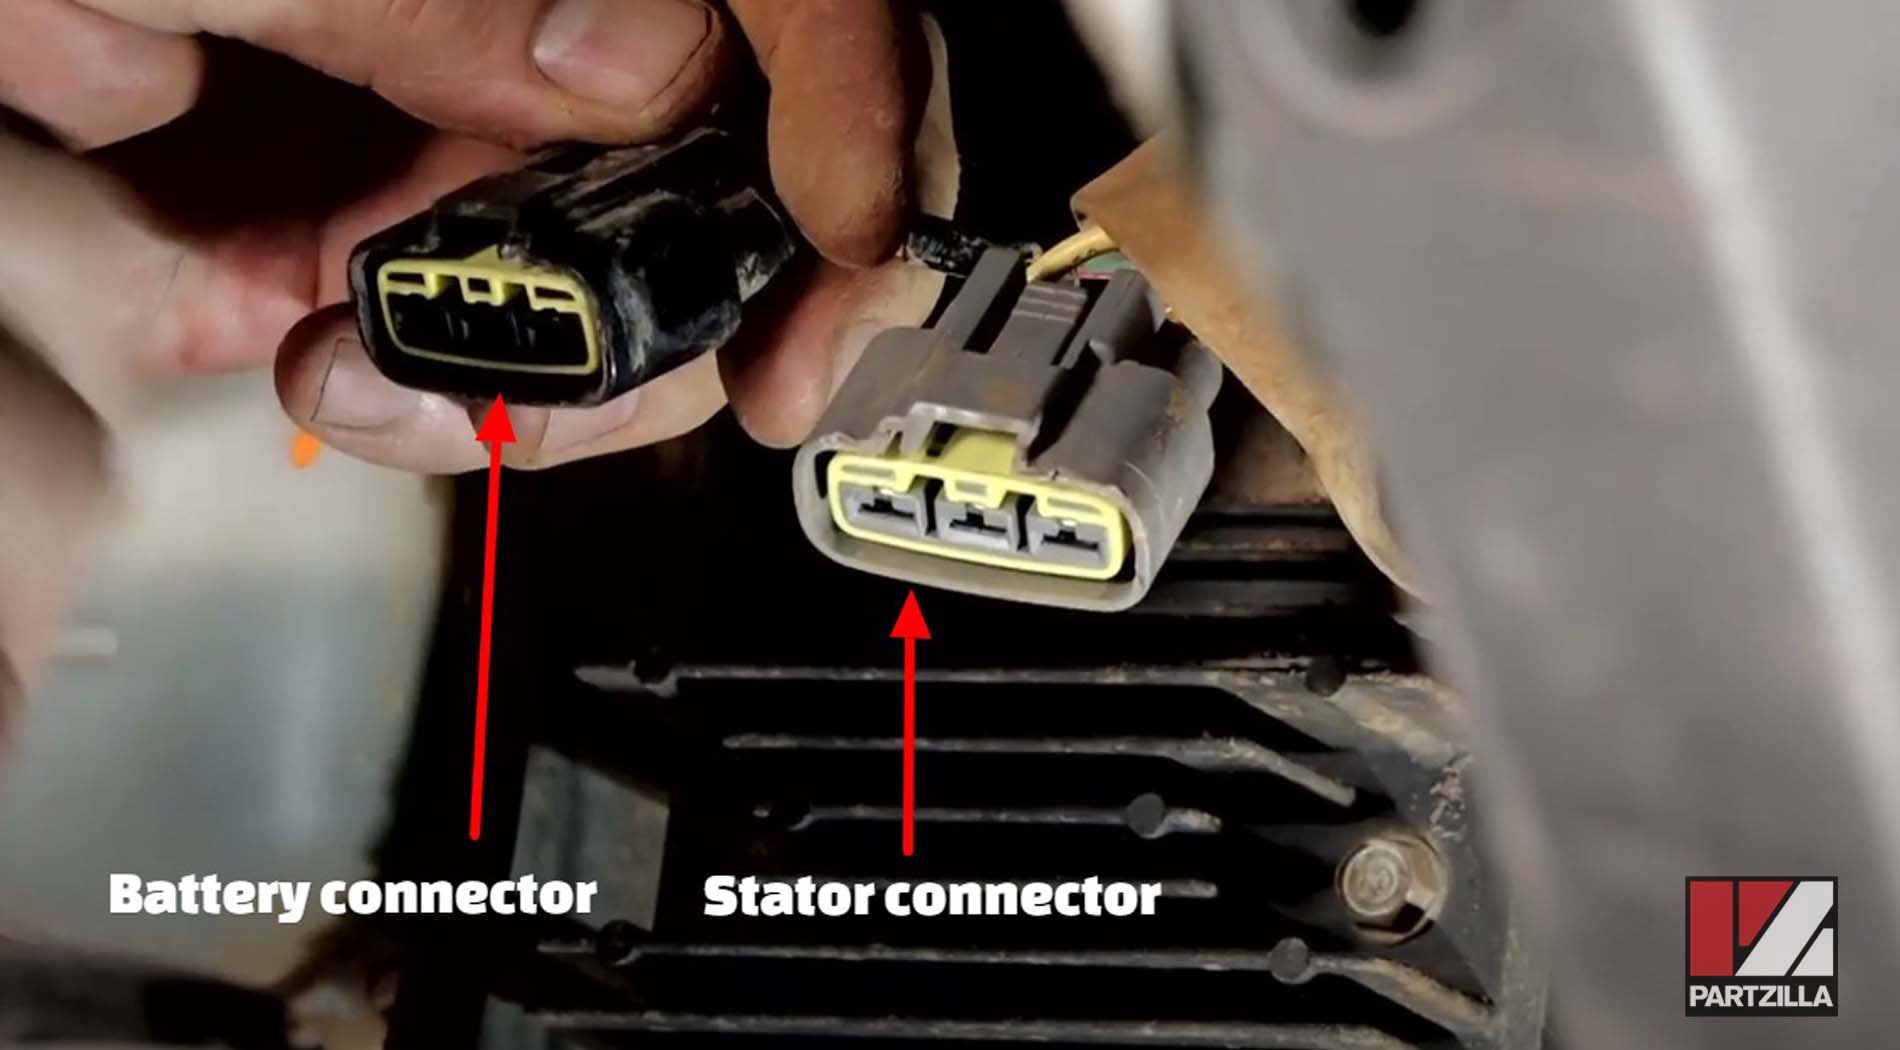
To test the stator, push the button or lever on top of each plug connected to the regulator-rectifier, and use a screwdriver to gently pry off the two plugs that connect the battery (the one with two wires) and the stator (the one with three wires) to the regulator-rectifier.
Troubleshooting Honda Rancher 420 Charging Problems: Stator Testing
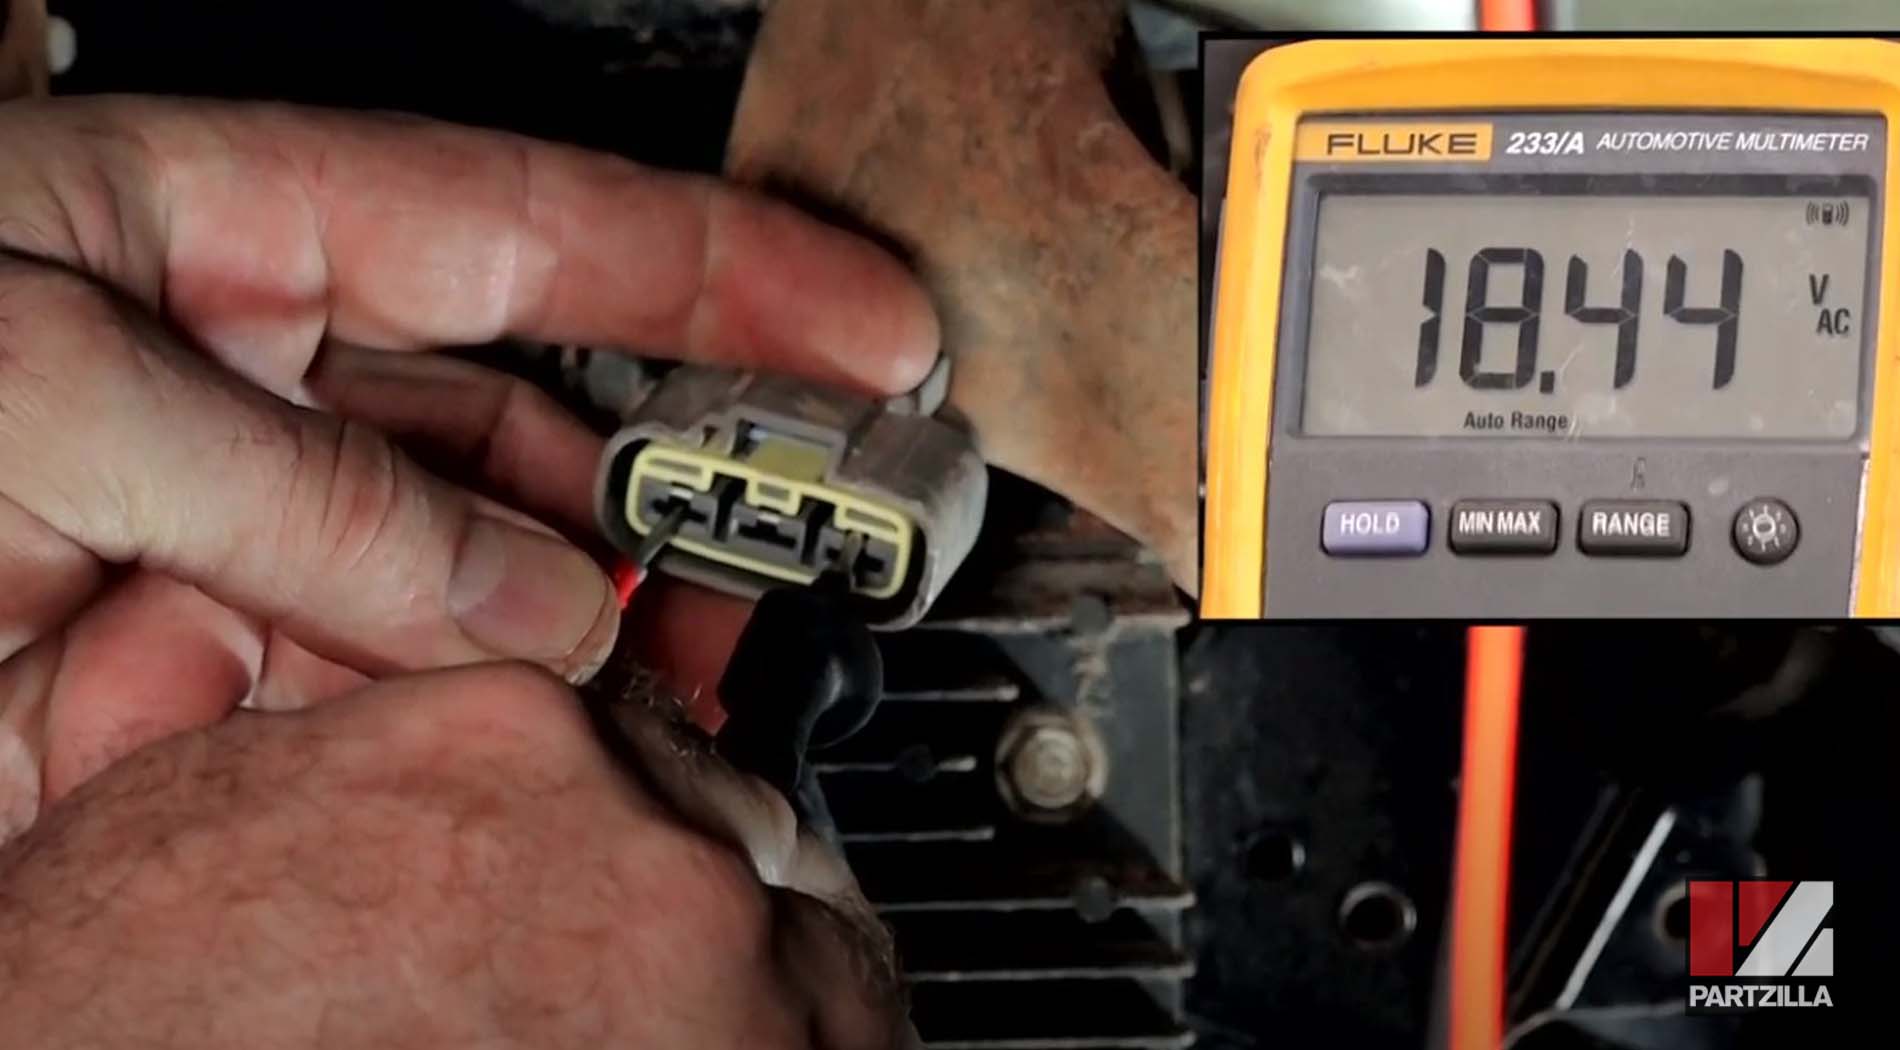
Set the multimeter to AC volts, then start the engine and let it idle to get an AC voltage reading. A healthy AC voltage reading will be between 18 and 22 volts.

Connect the probes of the multimeter to each phase of the stator plug in the following sequence to get a voltage reading:
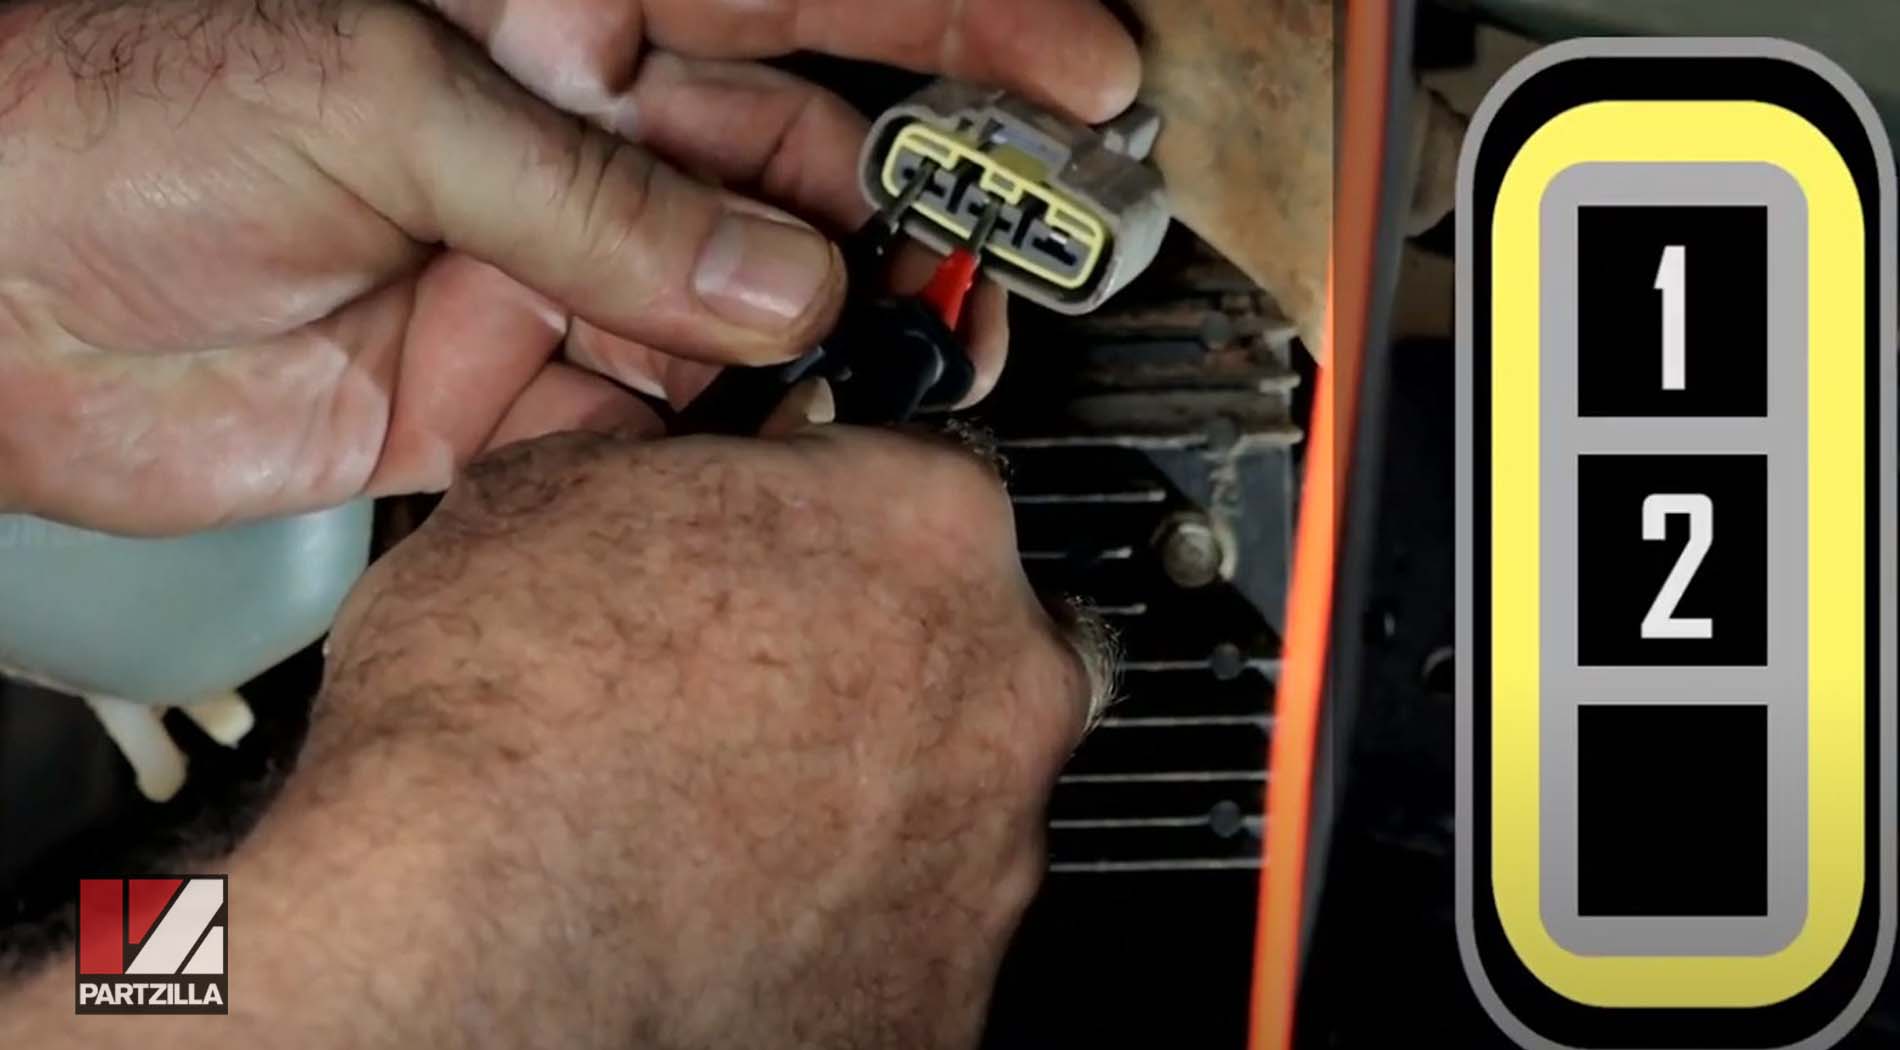
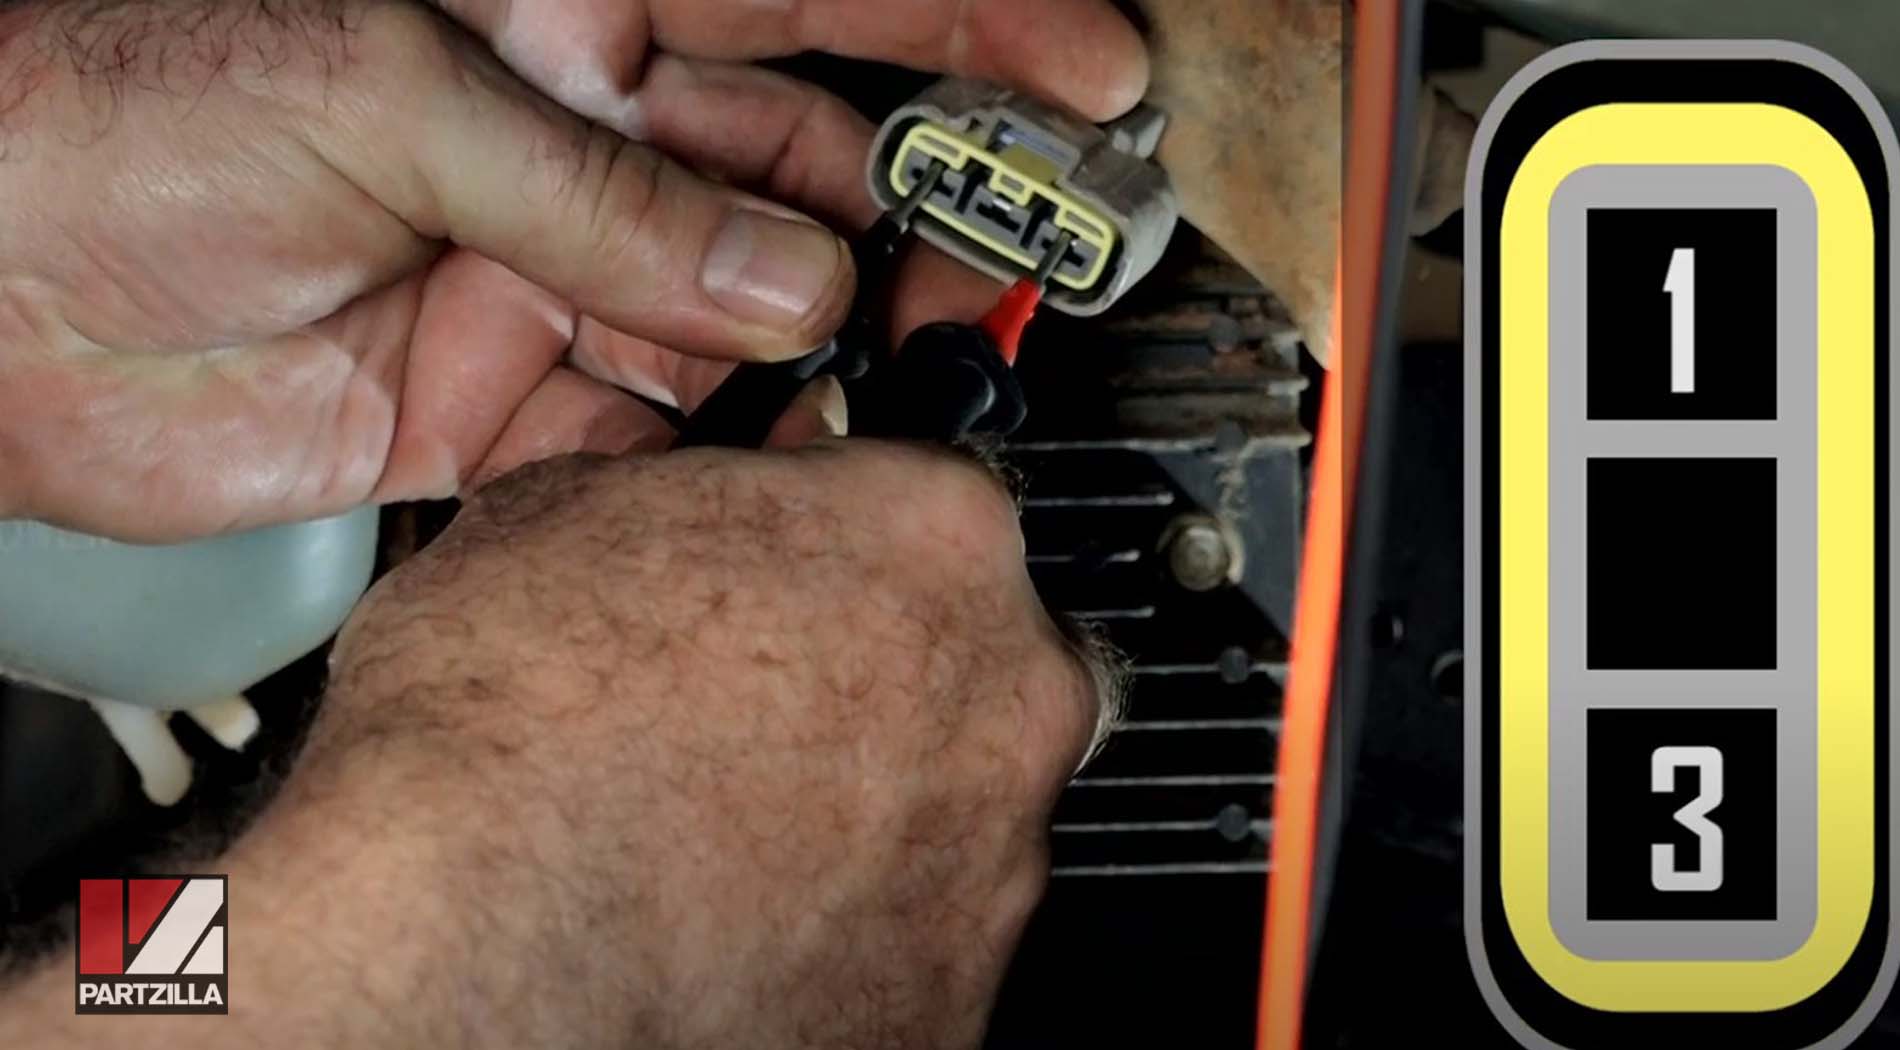
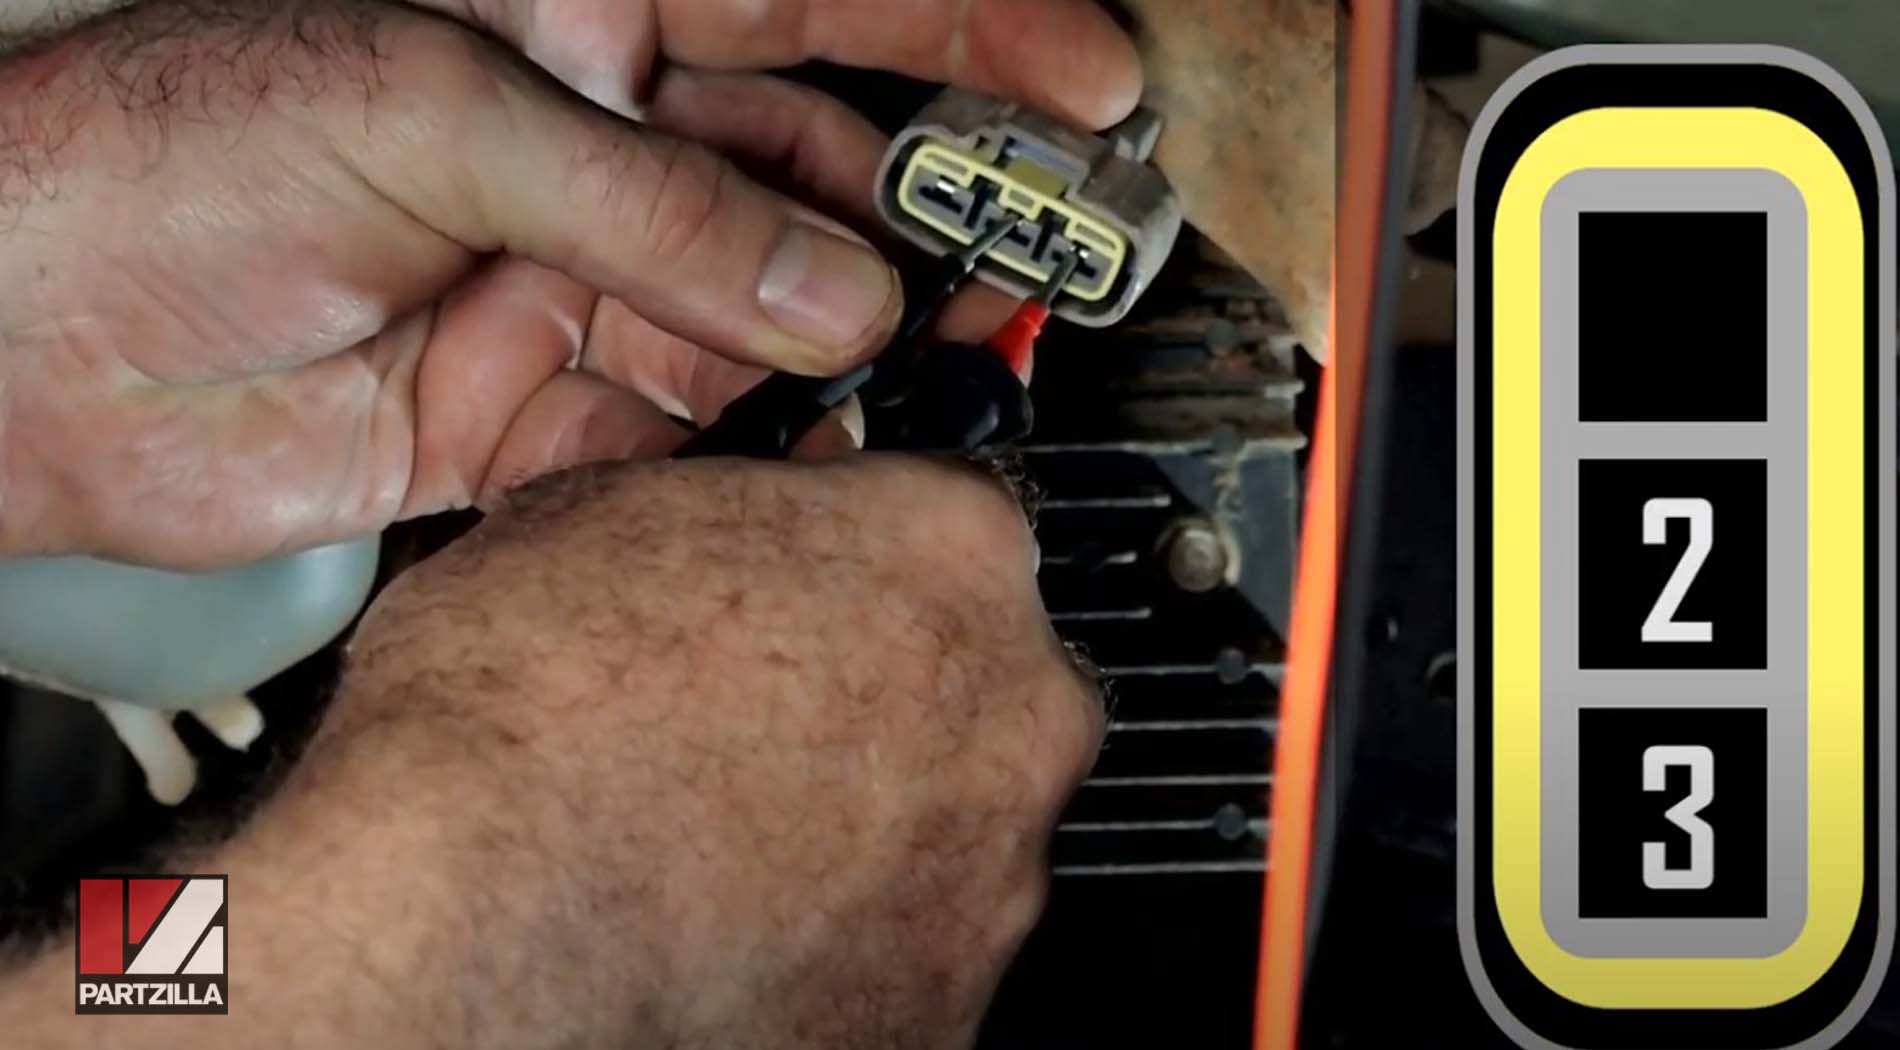
Each phase or winding should produce a voltage reading of 18 or above. Any reading below that from any of the three phases means the stator needs to be replaced. Otherwise, the stator is working as it should.
If the stator is healthy, the culprit for your ATV’s charging system problems is going to be the regulator-rectifier, which should be tested next.
Watch the clip below to see the stator testing segment of our Honda TRX 400EX charging system video.
Troubleshooting Honda Rancher 420 Charging Problems: Regulator/Rectifier Testing
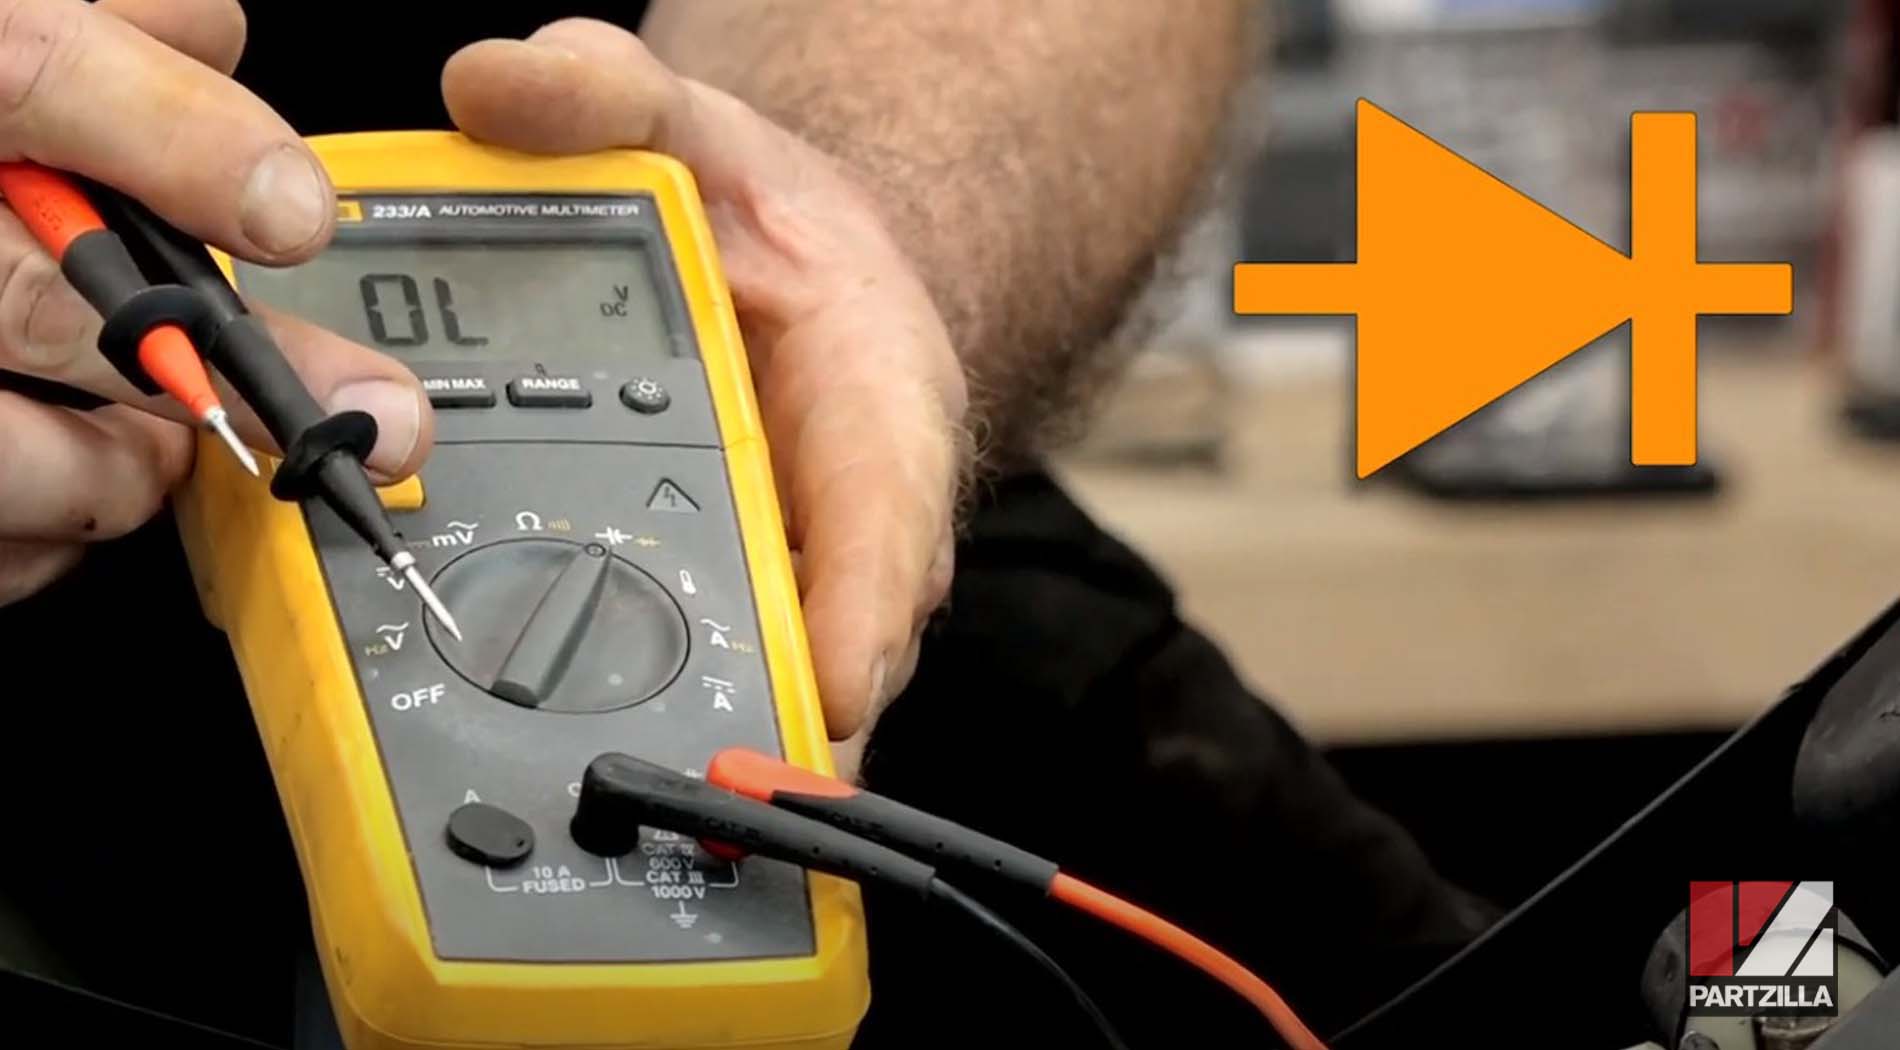
Remove the regulator-rectifier from the unit by taking off the 10mm bolts that hold it in place, then set the multimeter to diode.
NOTE: This test is only meant for this particular ATV’s regulator-rectifier. Testing procedures for regulator-rectifiers vary between manufacturers.
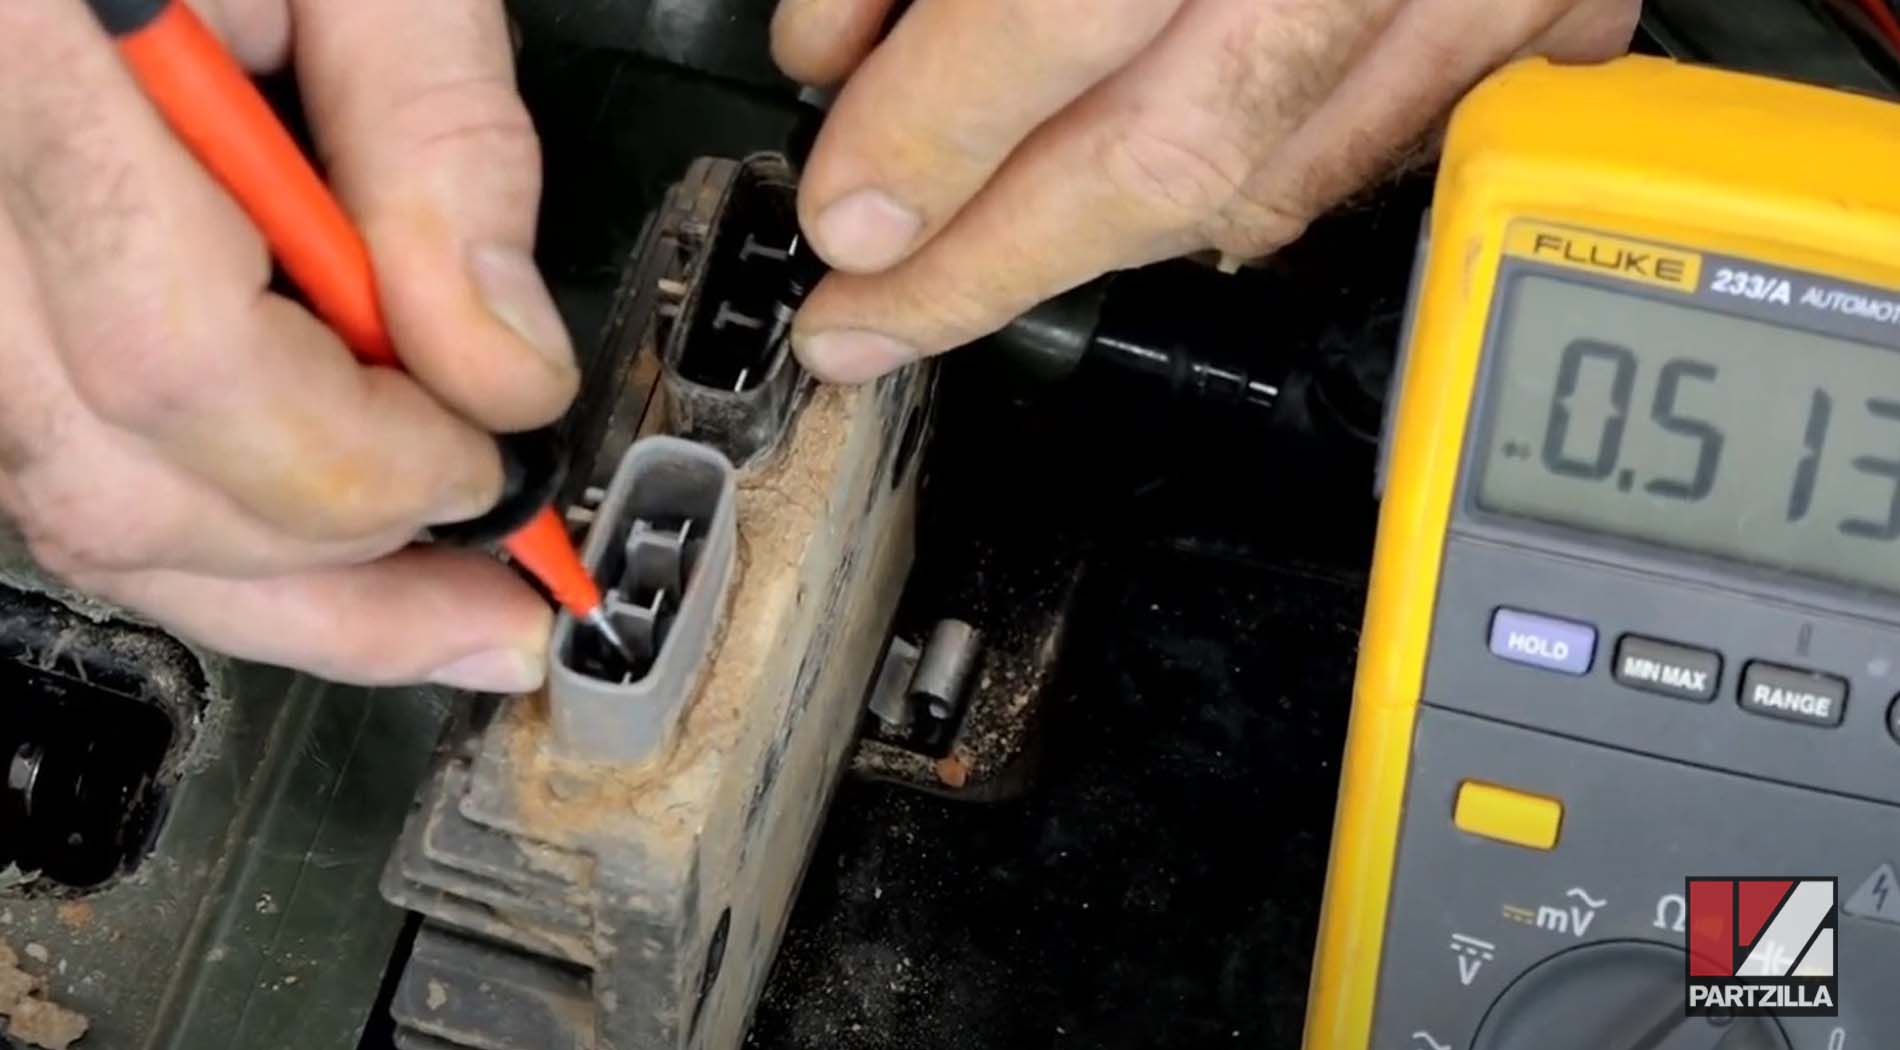
For the forward bias diode test, ground the negative probe of the multimeter into the battery connection port of the regulator-rectifier and using the positive probe of the multimeter, touch each one of the three diodes inside the stator connection port. Each diode reading should produce about 0.5 volts.
For the reverse bias test, ground the positive probe into the battery connection port and check each diode in the stator connection port again with the negative probe.
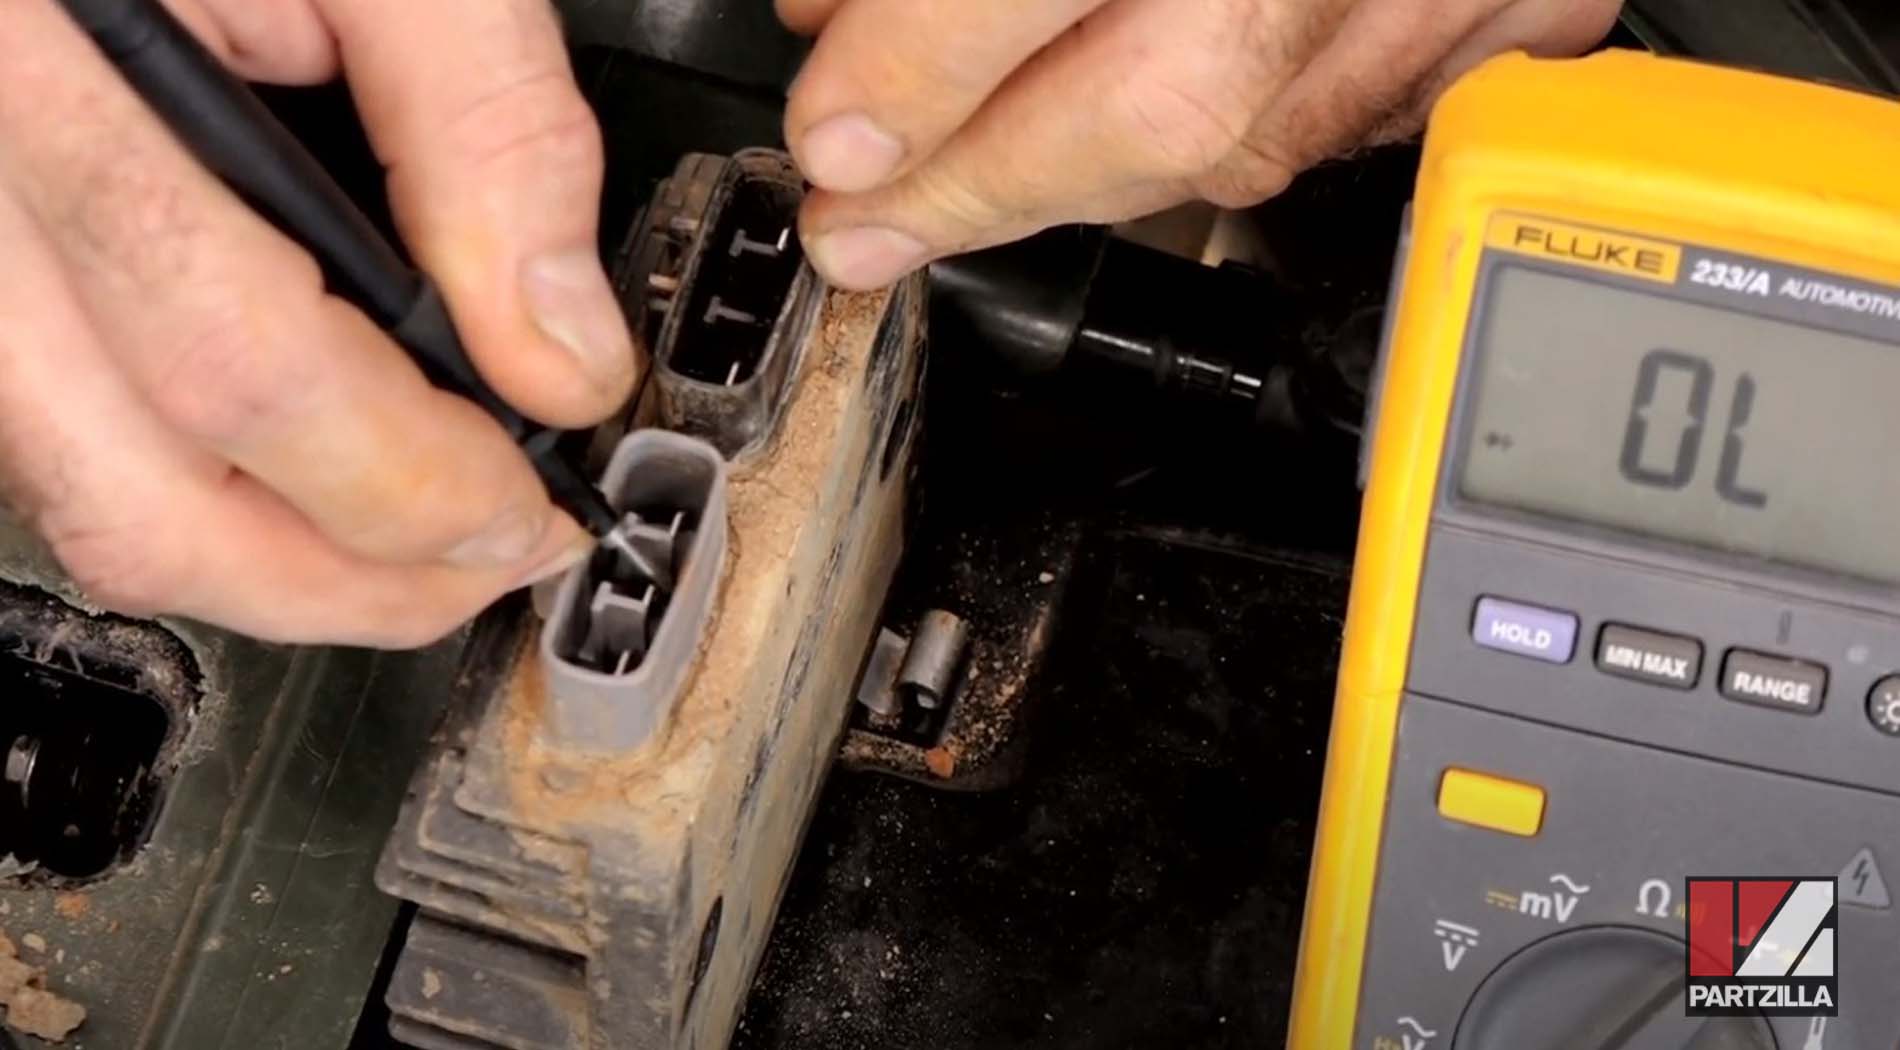
If any of the diodes reads anything other than 0.5 on either test, such as an OL (open loop/open circuit), the regulator/rectifier unit is faulty and needs to be replaced.
Installing and Testing New Regulator/Rectifier
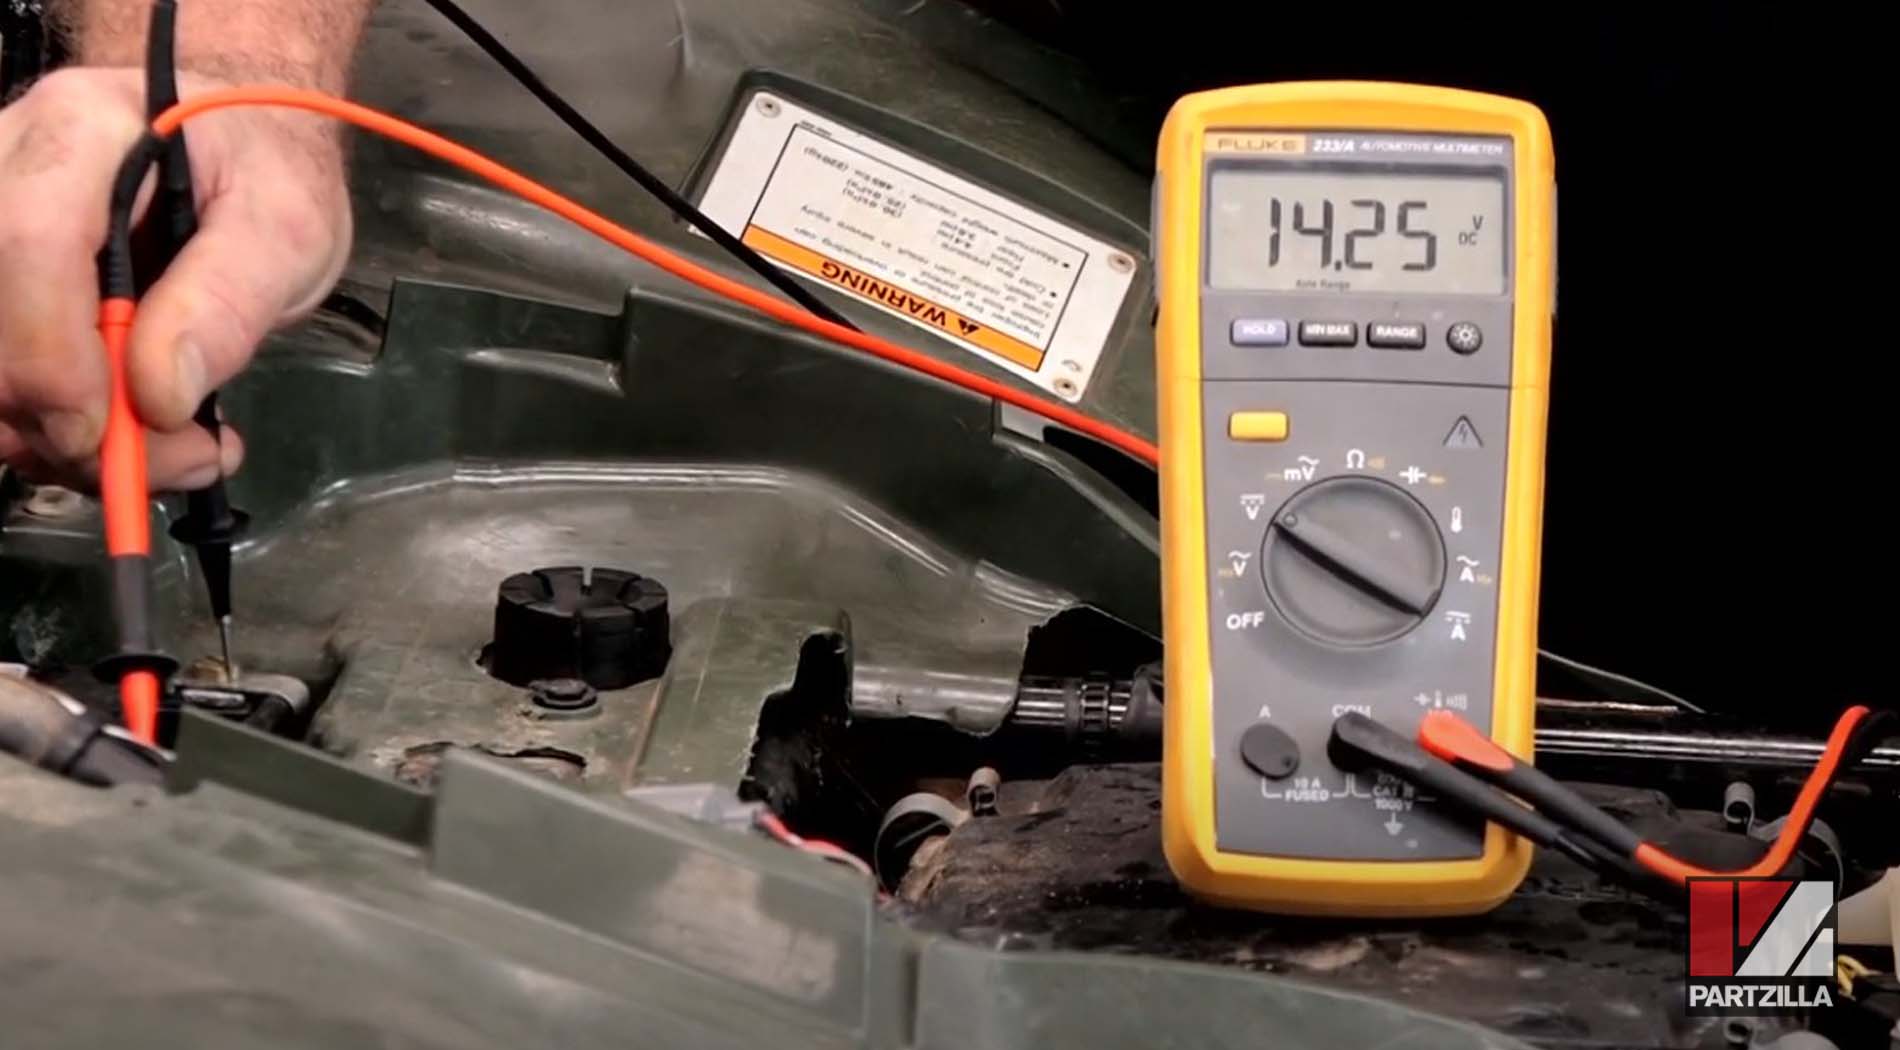
Install a new regulator-rectifier, then crank up the engine, set the digital multimeter to DC volts and connect it to the battery just to make sure the new regulator-rectifier unit is charging.

The new regulator-rectifier should produce a reading of 14 volts or above. Anything less than 14 of course means the unit is faulty, but otherwise the new regulator-rectifier is working properly.
Watch the clip below to see the regulator/rectifier testing and installation segment of our Honda Rancher 420 charging system video.
Got a starting system problem with your Honda ATV? Watch the video below to see how to troubleshoot a no-start problem on a Honda Rancher 420.