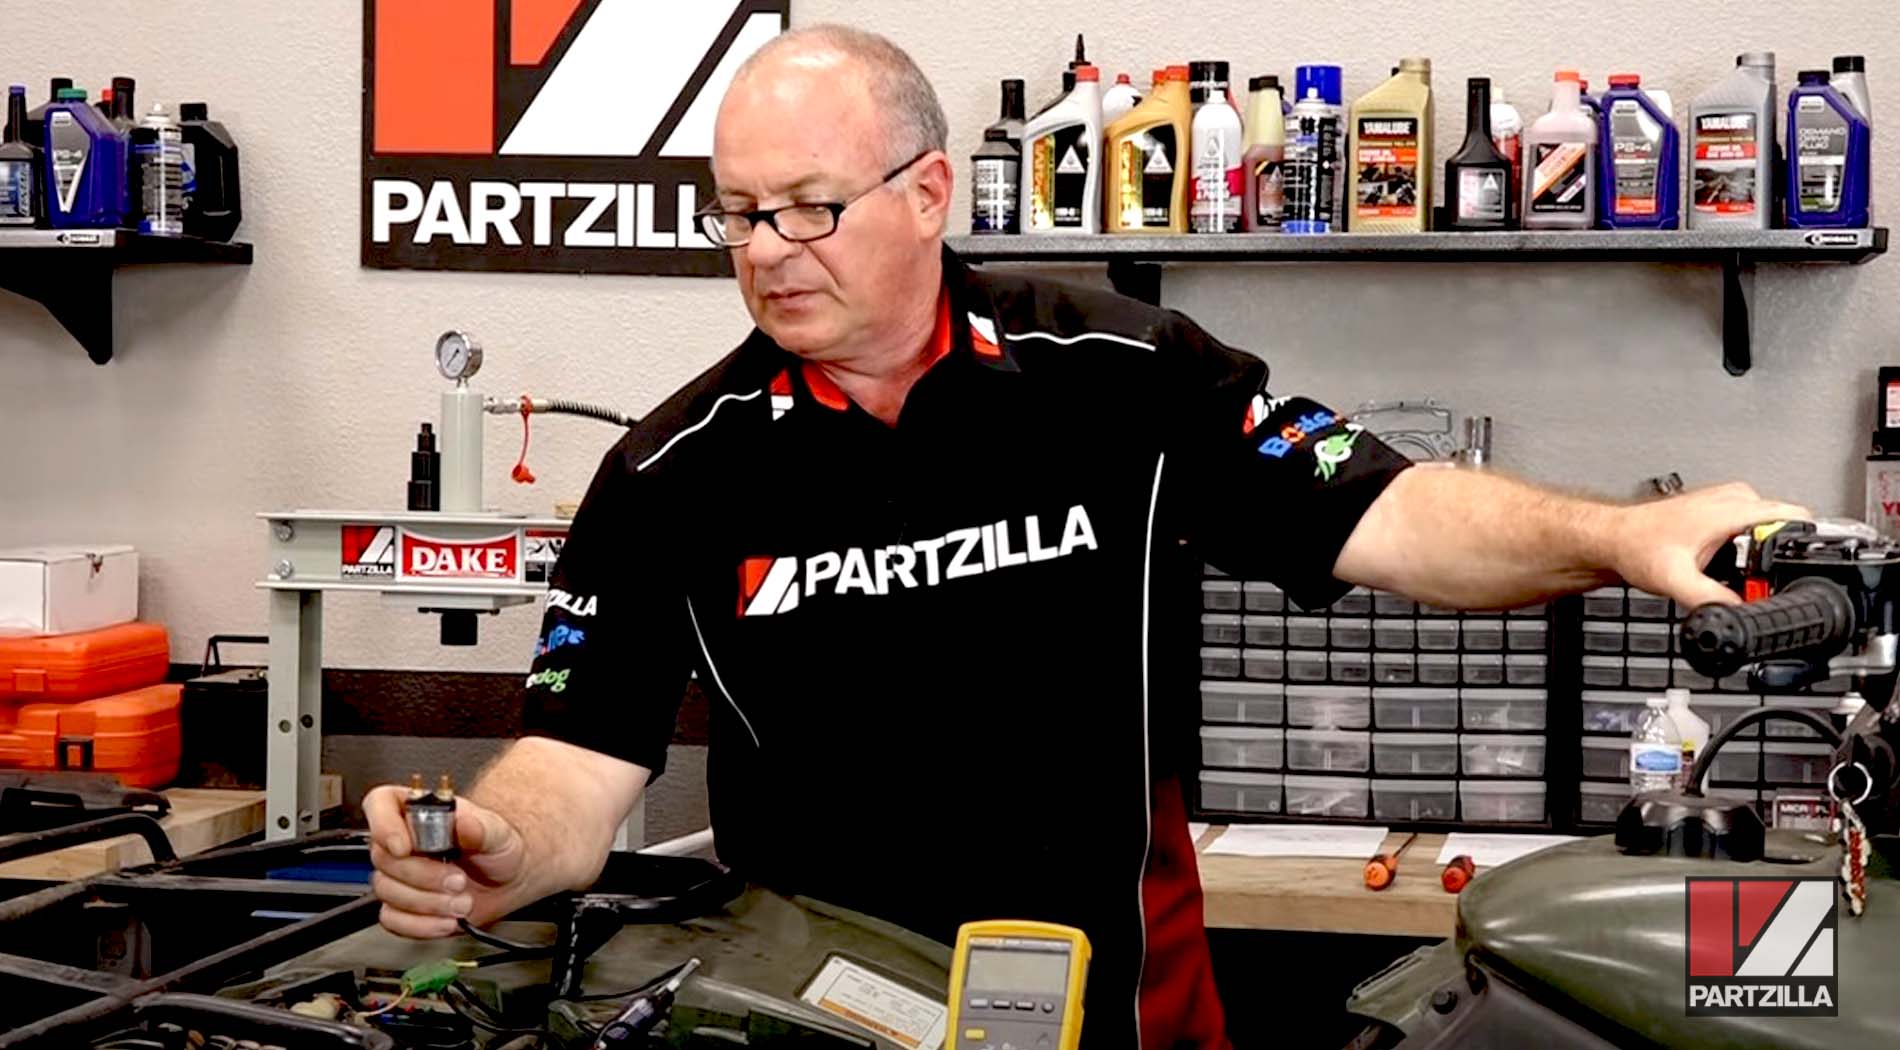
Honda Rancher 420 No Start Troubleshooting
An ATV that won’t fire up is obviously not how you want your riding day to begin, but it’s bound to happen eventually. Diagnosing electrical problems on a Honda ATV doesn’t take a great deal of mechanical prowess.
Watch the video above or read on below to learn how to troubleshoot starting problems on a Honda Rancher TRX420.
Tools – Honda Rancher 420 No-Start Troubleshooting
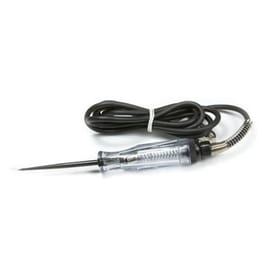
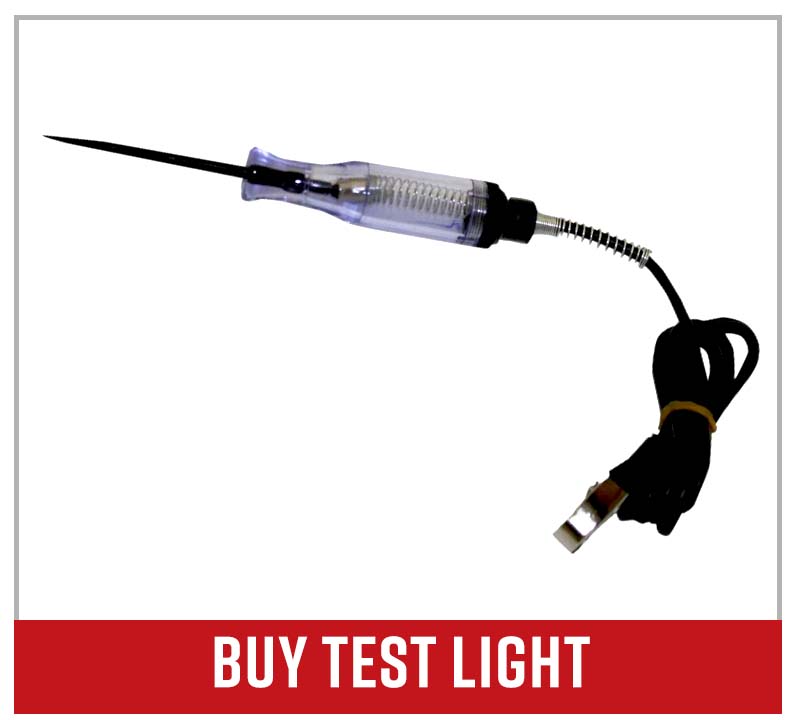
- Circuit tester test light
- Multimeter

Troubleshooting a Honda TRX420 Rancher That Won’t Start
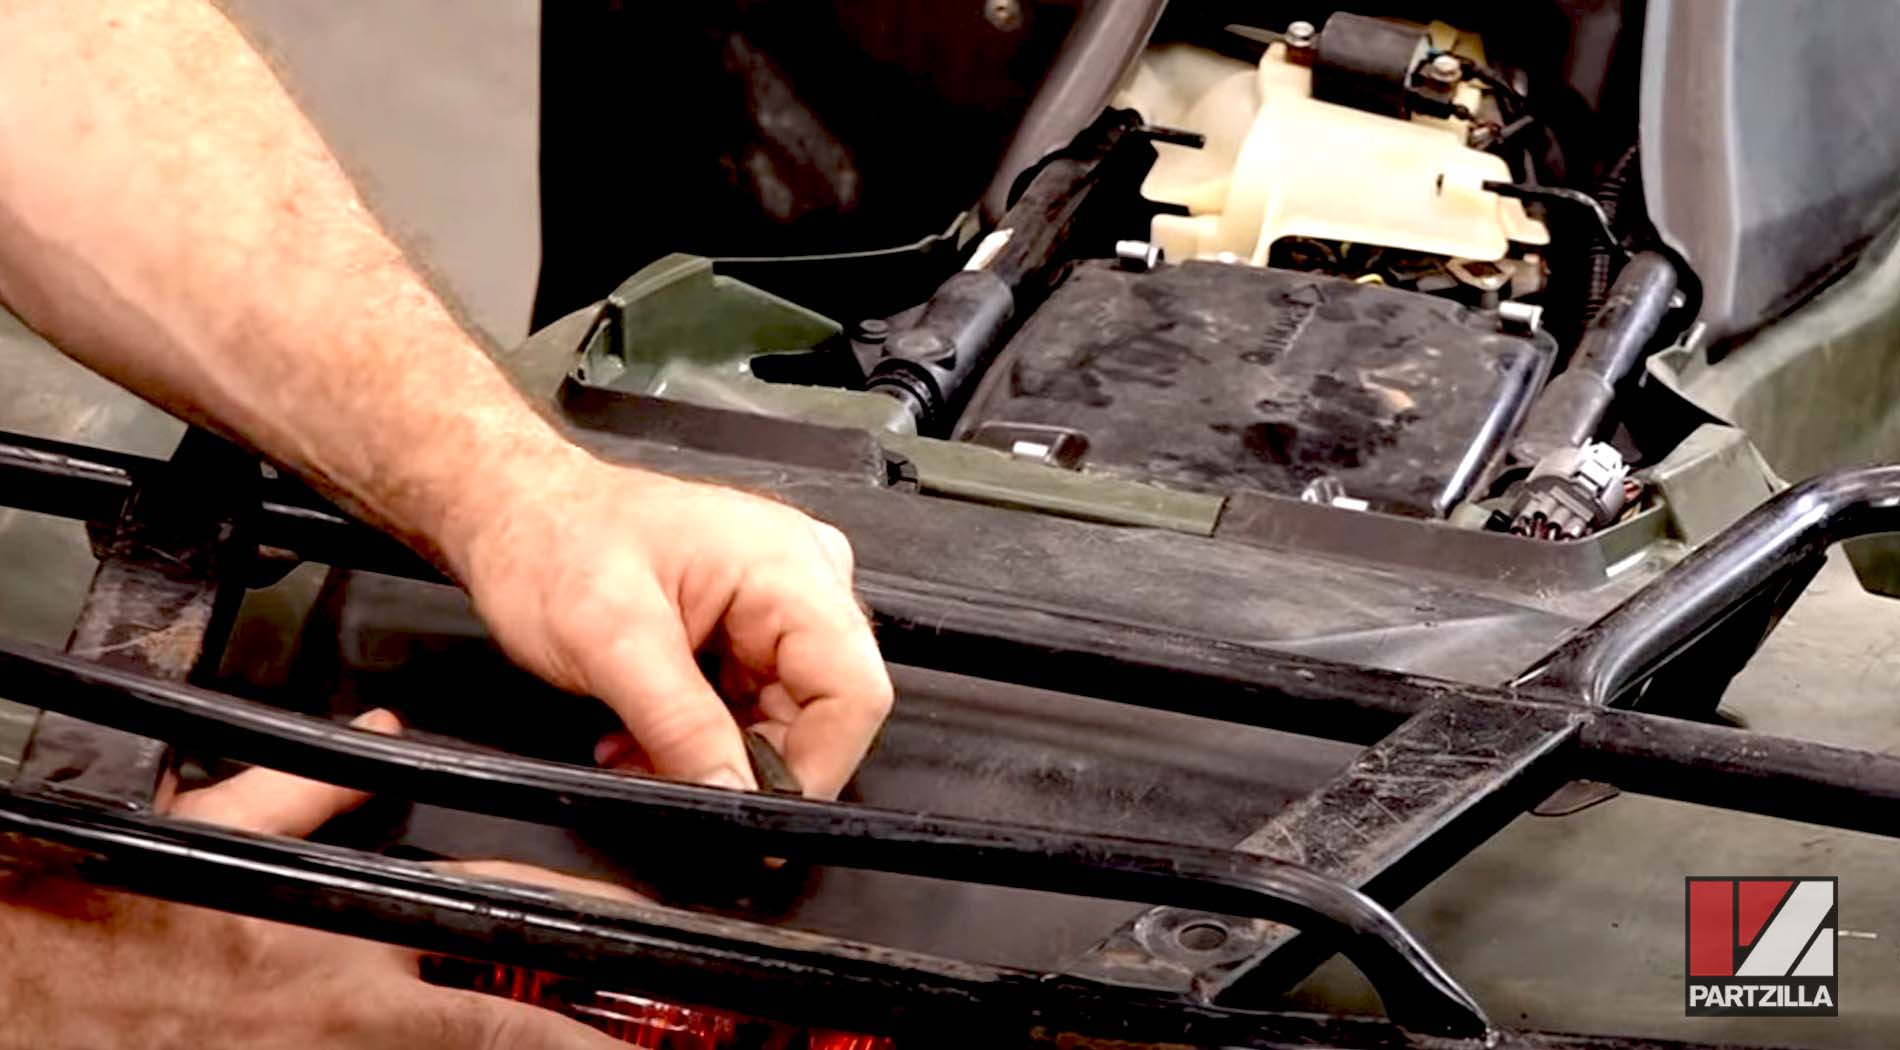
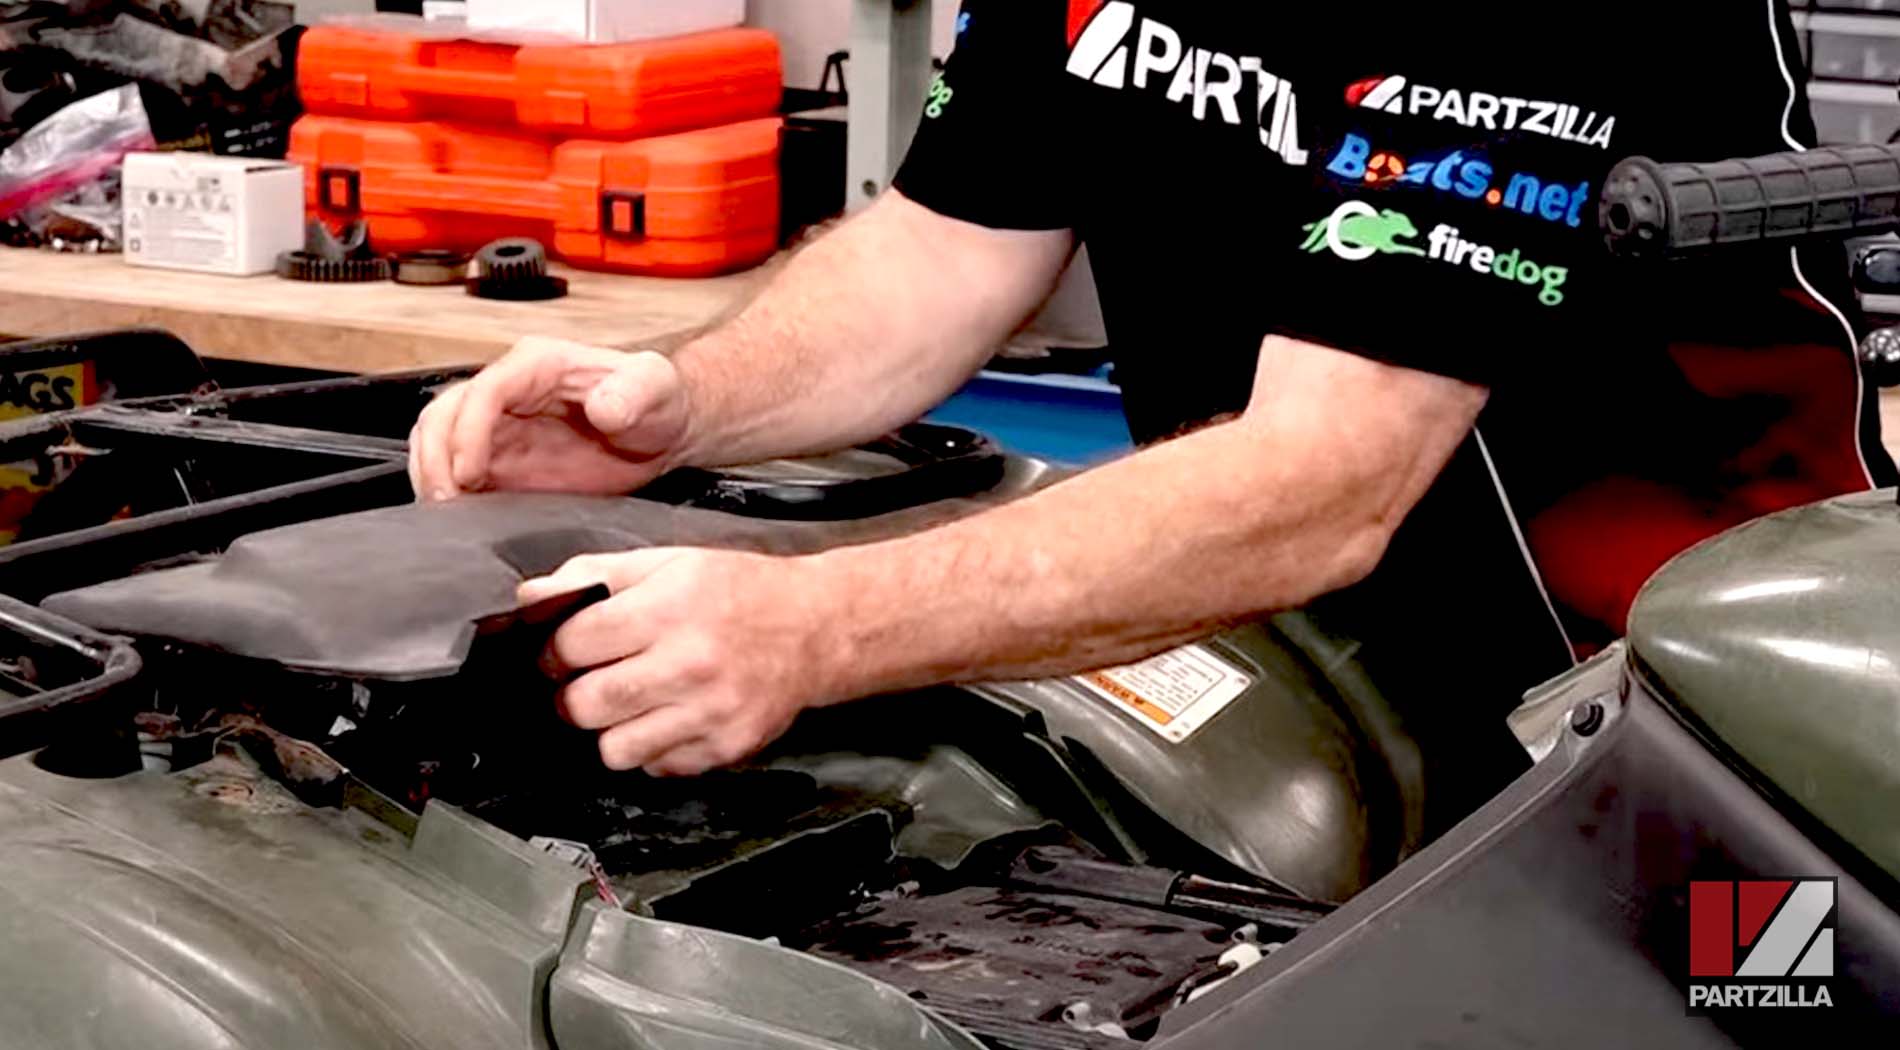
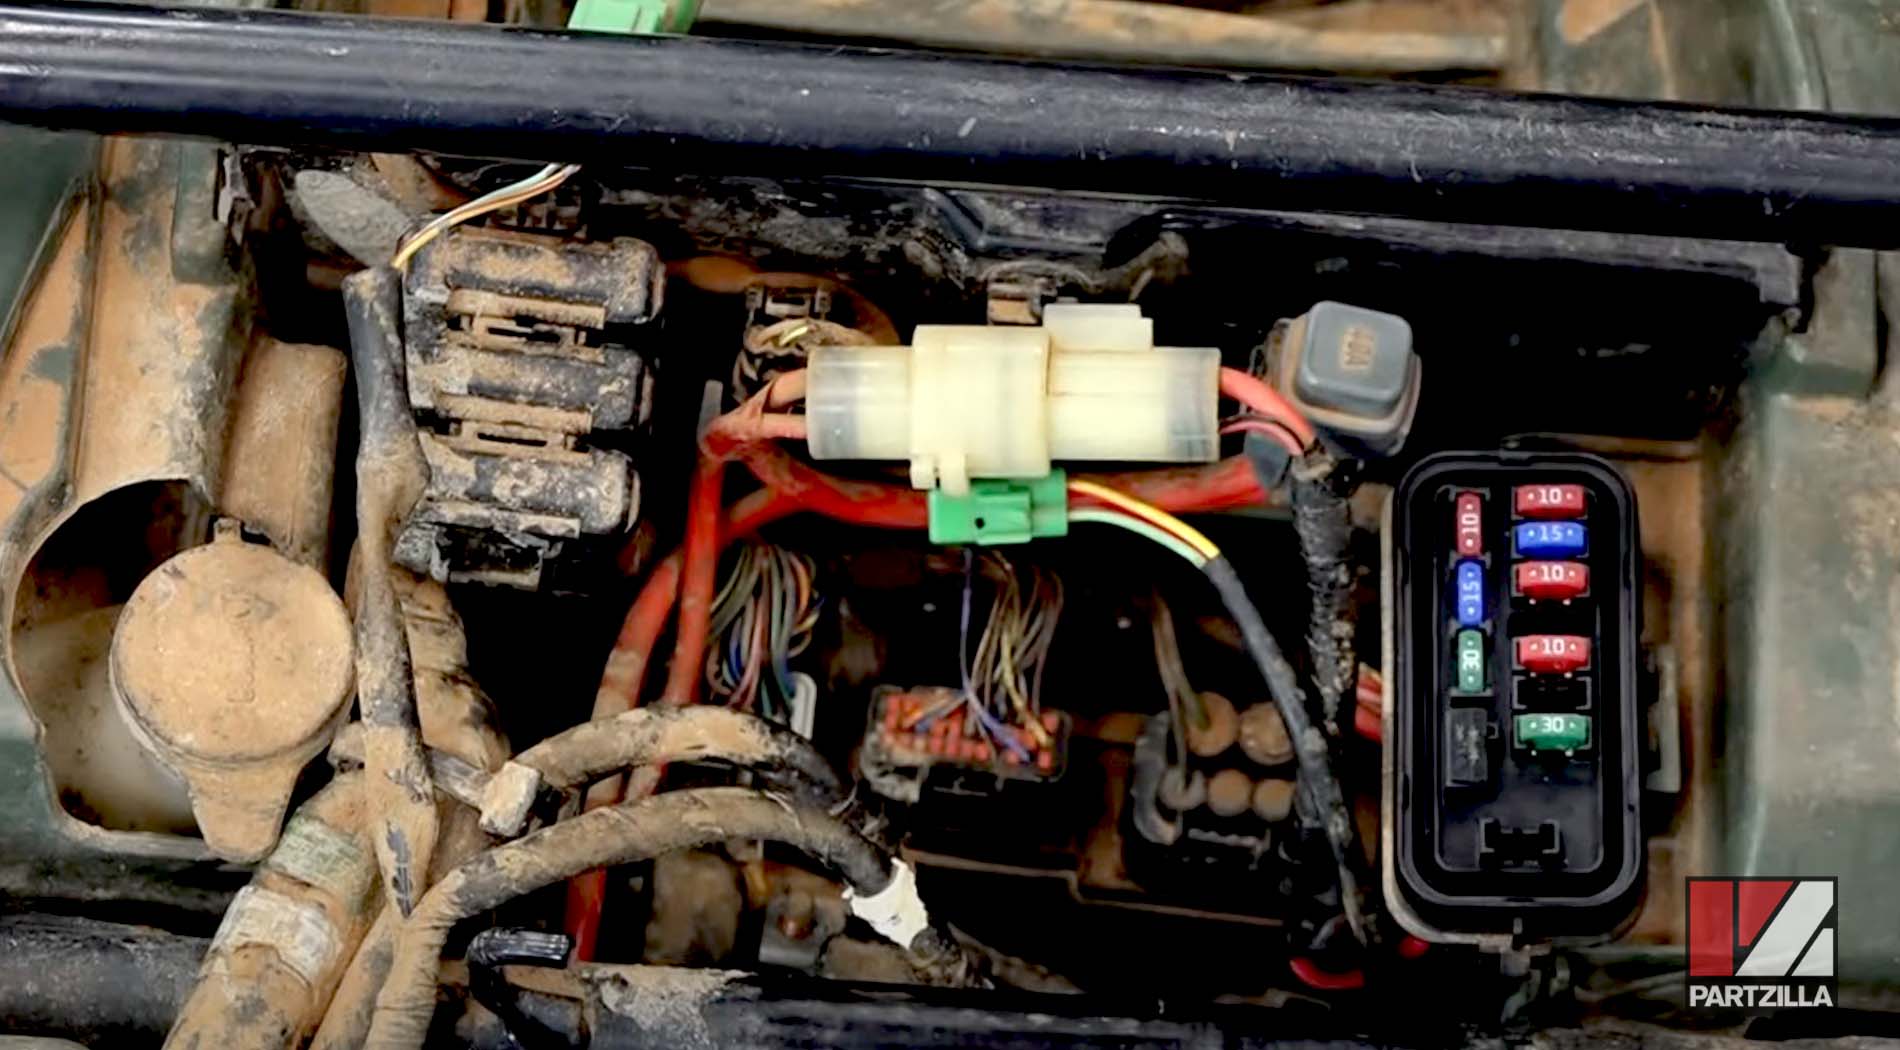
Remove the seat by releasing the small lever at the rear and lifting the seat out. Next, unclip the rear tail section, then unclip and remove the battery/fuse box cover by simply lifting it out. No tools required.

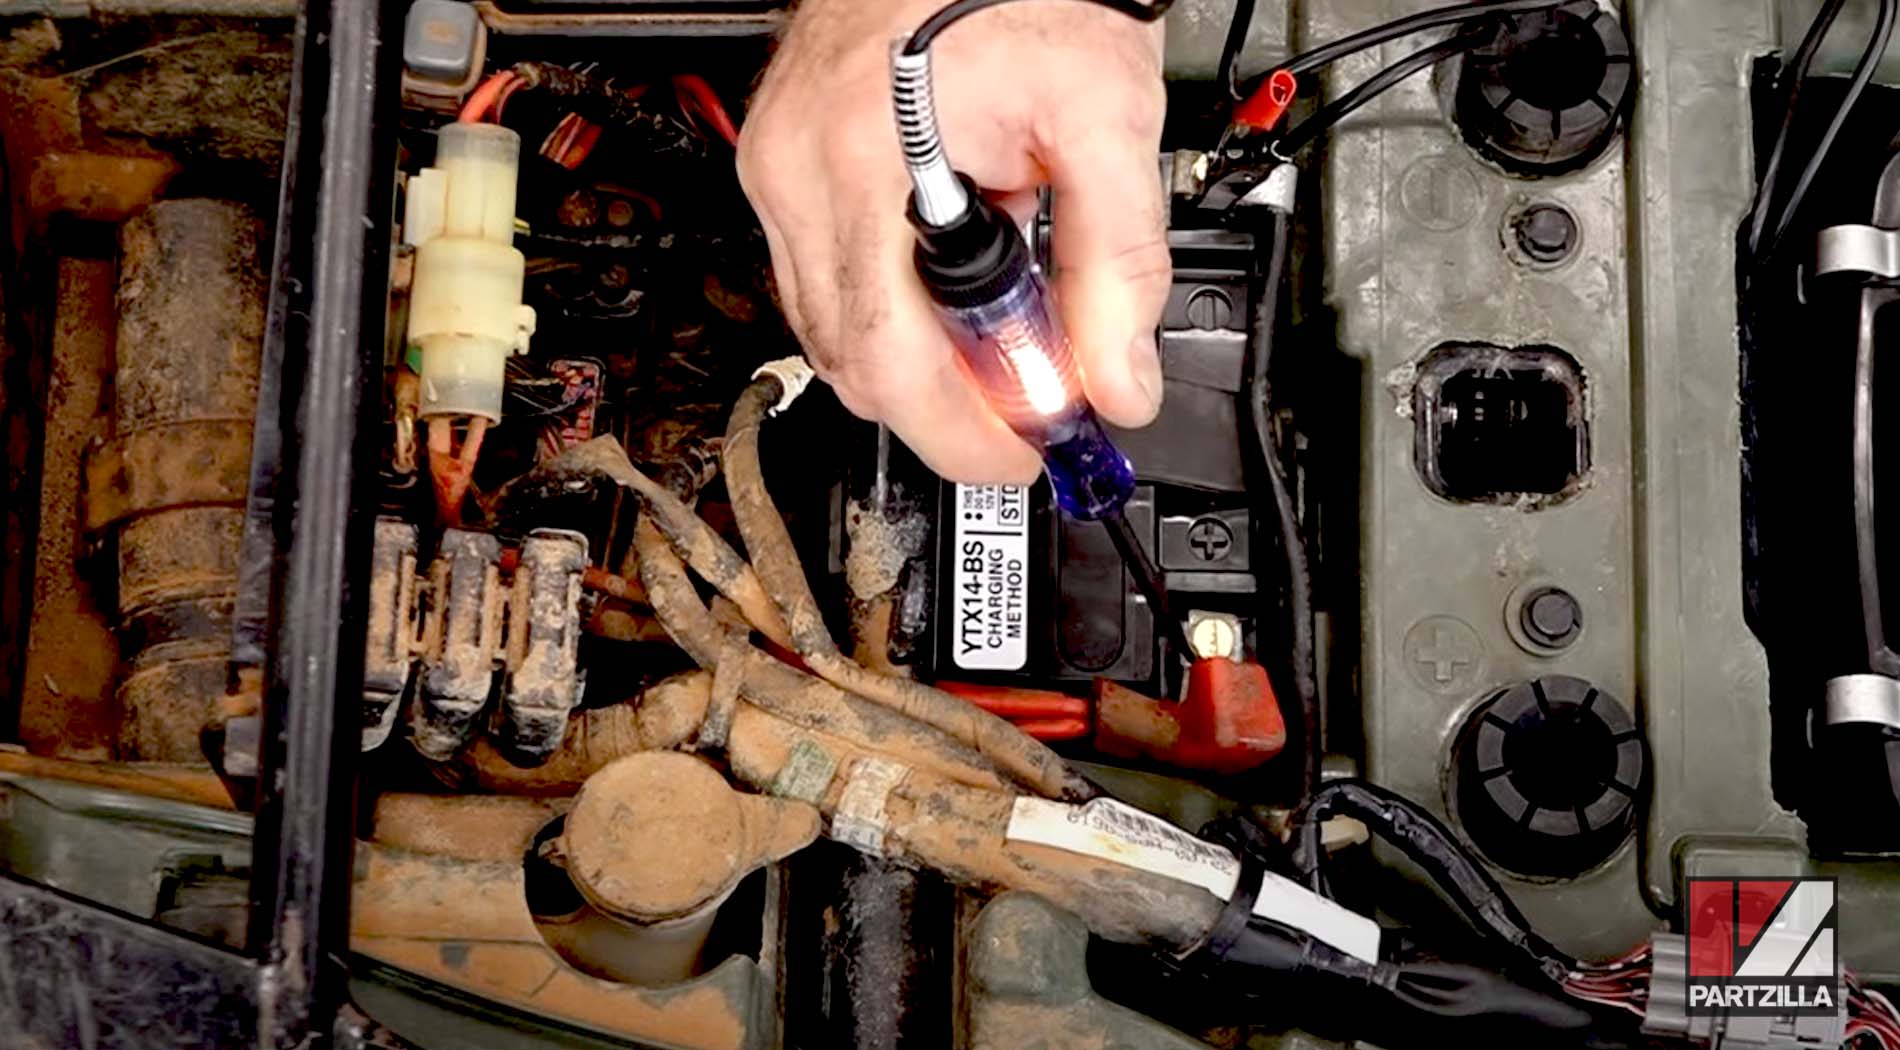
Test for Power in the Battery
Connect a circuit tester (test light) to the battery’s positive and negative terminals to check whether the battery has power. If the test light doesn’t illuminate, the battery is dead and must be charged. Replace the battery if it fails to hold the charge. If the test light illuminates, you know the battery has power and the next step is to determine whether it actually has enough power.
Test the Battery Voltage
Set a multimeter to Volts, and connect it to the battery’s positive and negative terminals to check how much power it’s holding. A healthy, fully charged battery should read between 12.5 and 13 volts. If the reading is below 12.5 volts, charge the battery first and then if it doesn't hold a charge higher than 12.5 volts, replace it. However, if the battery holds over 12.5 volts but the ATV still won’t start, move on to the fuse box.


Watch the clip below to see the battery voltage testing segment of our Honda TRX 420 No Start video.
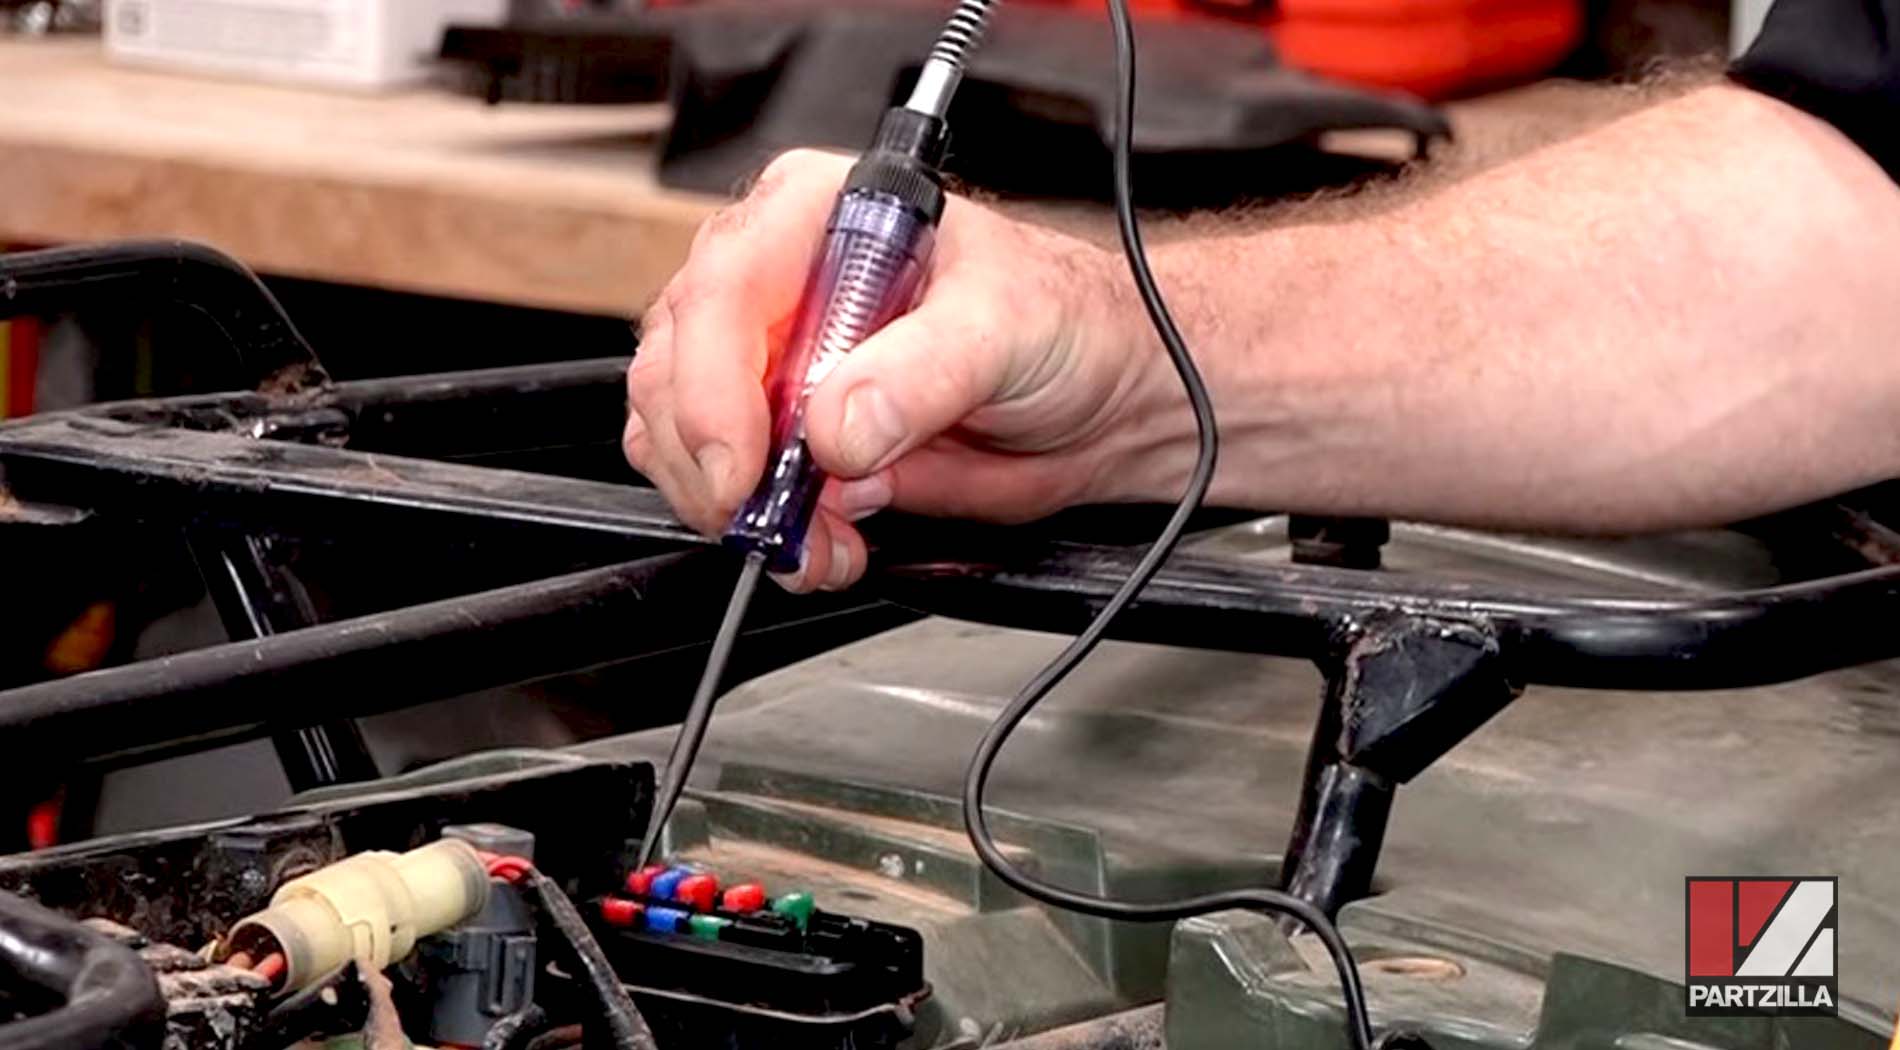
Check the Fuses
Remove the top of the fuse box, then take out each fuse and inspect that it’s fully intact. Replace any fuses that are blown. Next, connect a circuit tester to each fuse and if the test light illuminates, the circuit is receiving power. If the fuse box checks out, the next component to check within the starting circuit is the STOP switch.

Watch the clip below to see the fuses segment of our Honda TRX 420 No Start video.
Test the STOP Switch
The STOP switch on the Honda TRX 420 controls both the starting circuit and the ignition circuit, and the simplest way to test it is to turn the ignition on, then flip the STOP switch to the engine run position. When the STOP switch is working, the ignition circuit isn’t live and you should hear the fuel pump activate. If the fuel pump doesn’t start up, the STOP switch has failed and should be replaced. However, if the STOP switch is working properly, move onto the START switch.
Watch the clip below to see the stop switch segment of our Honda TRX 420 No Start video.
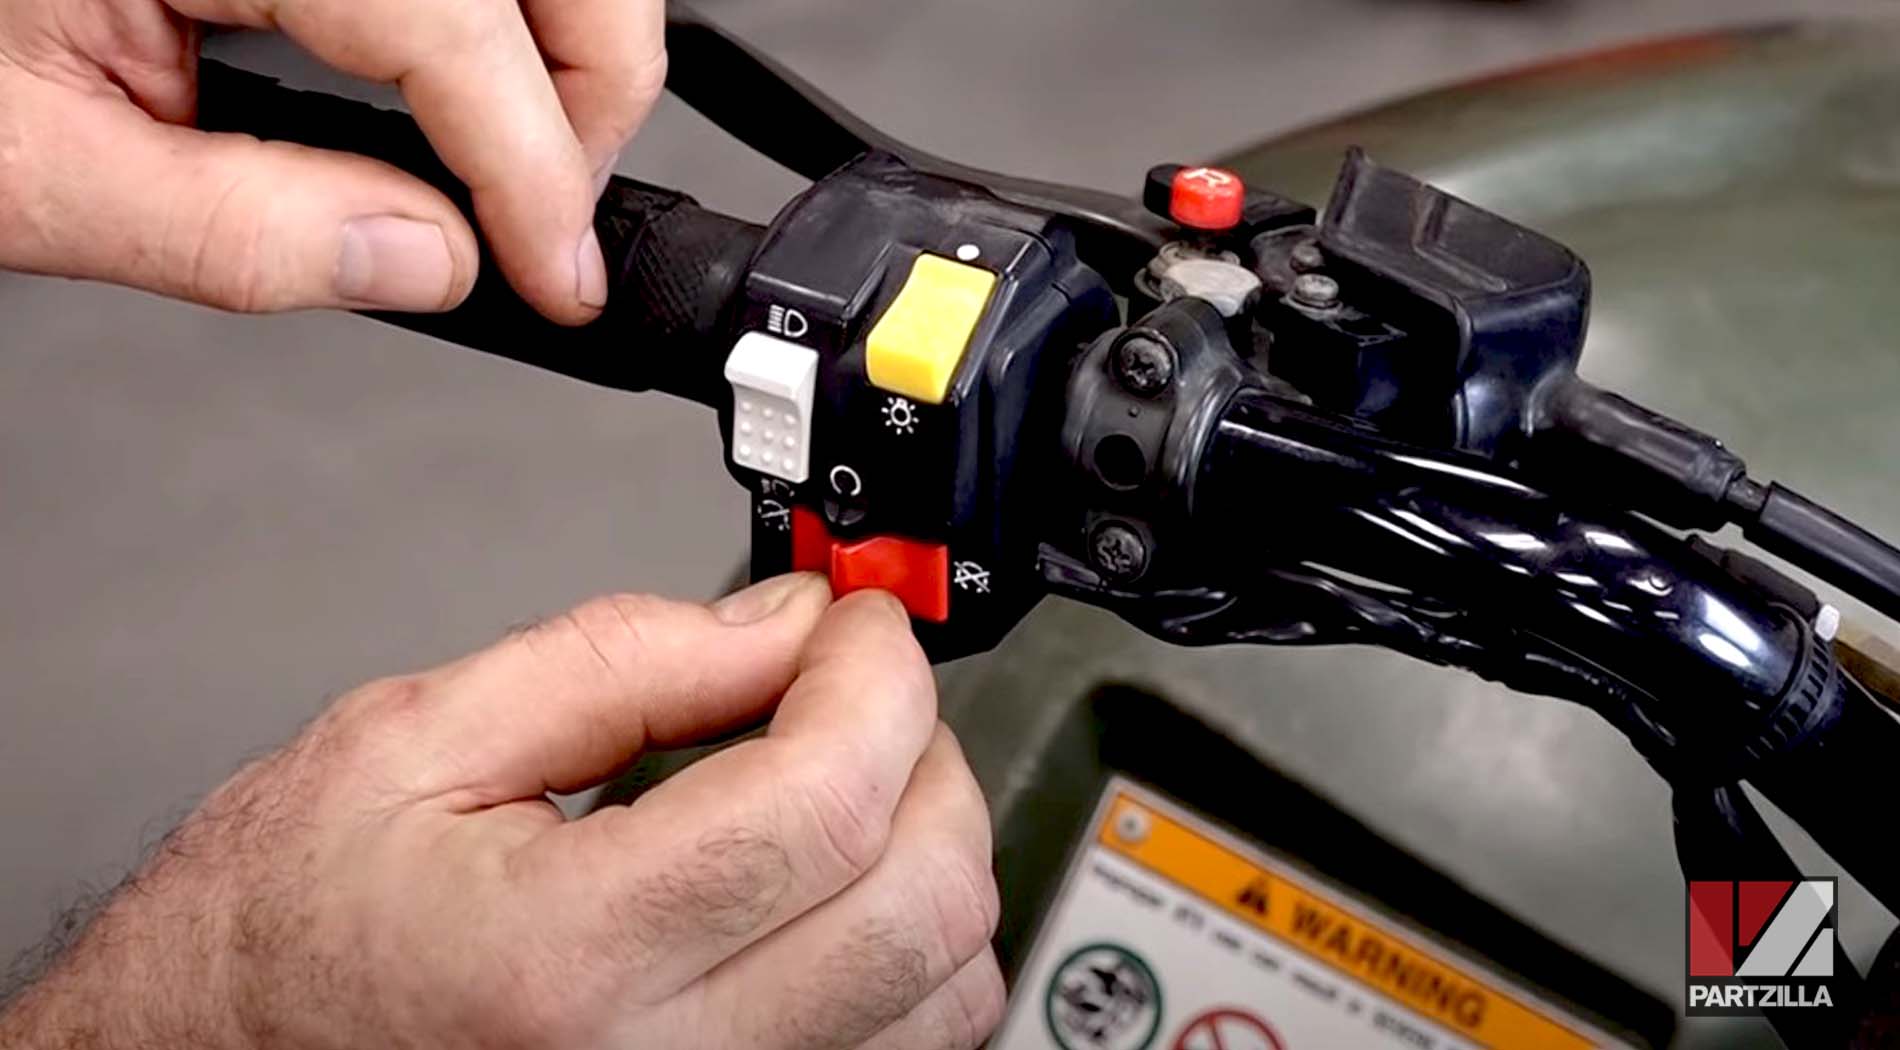
Test the START Switch
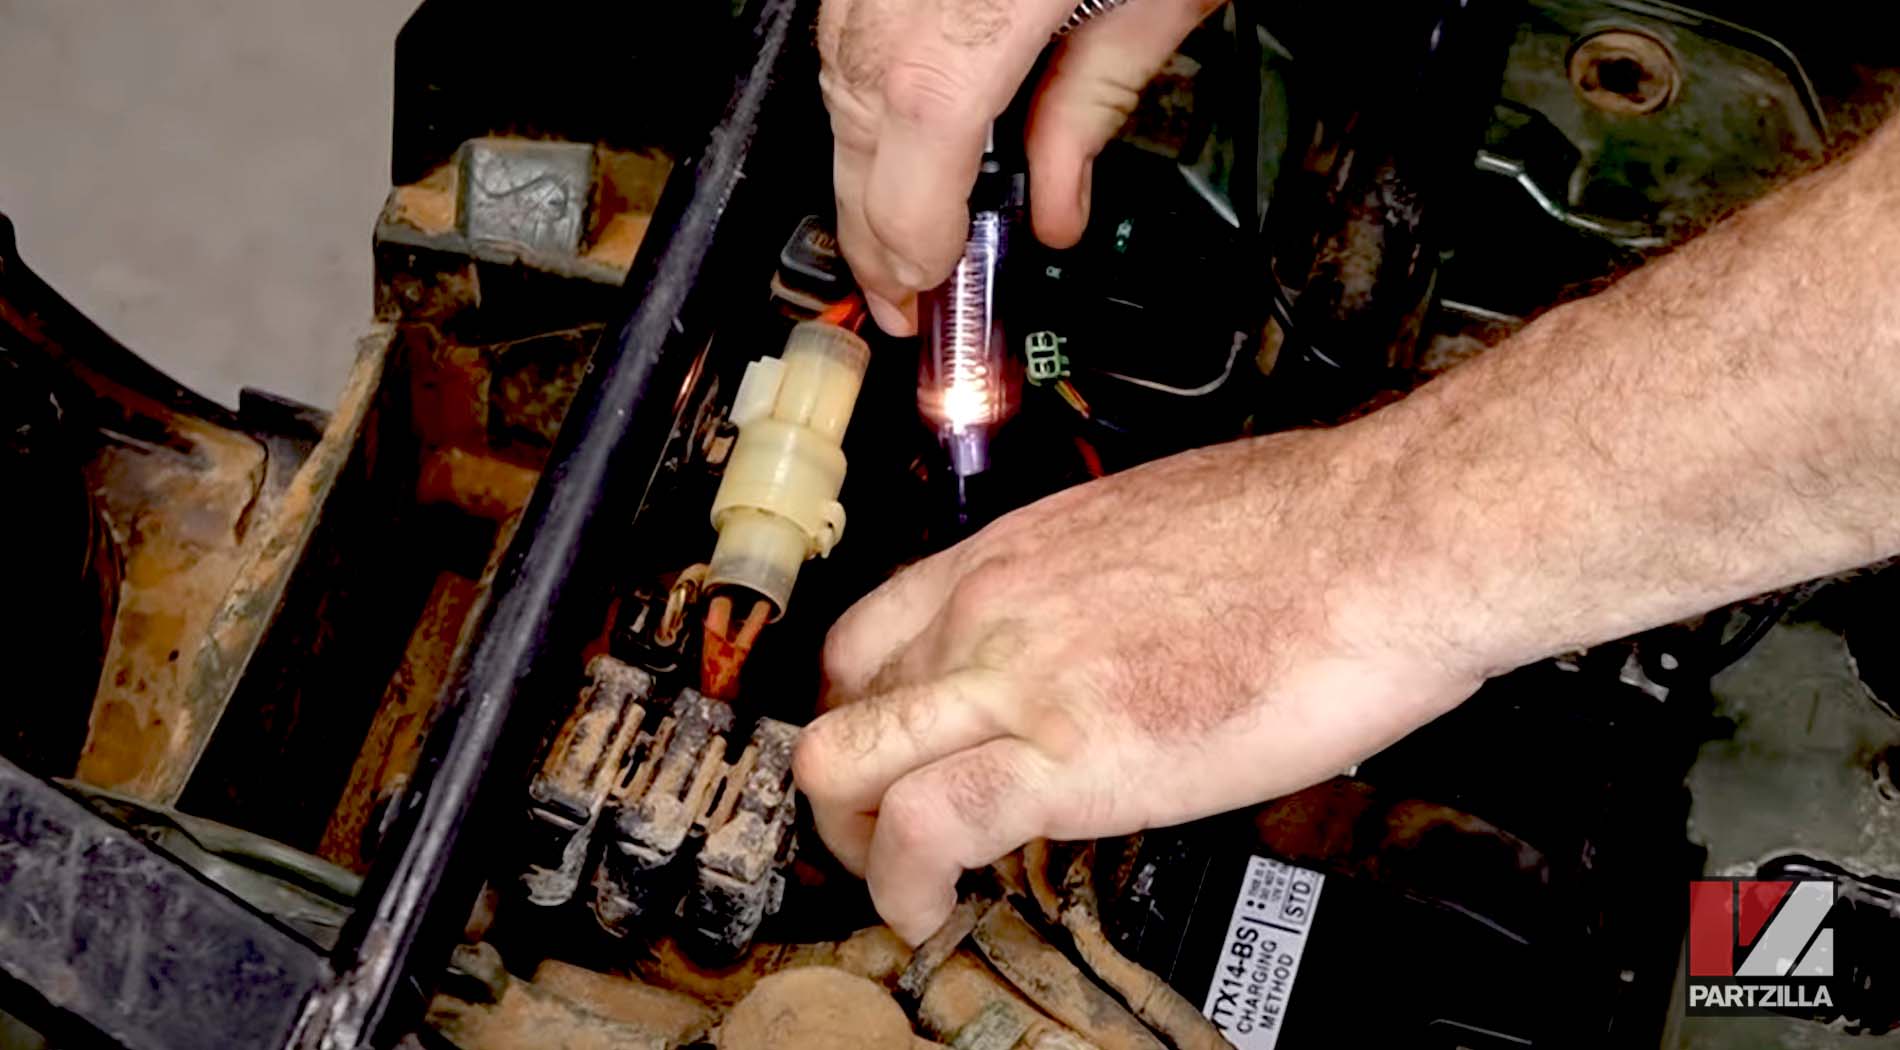
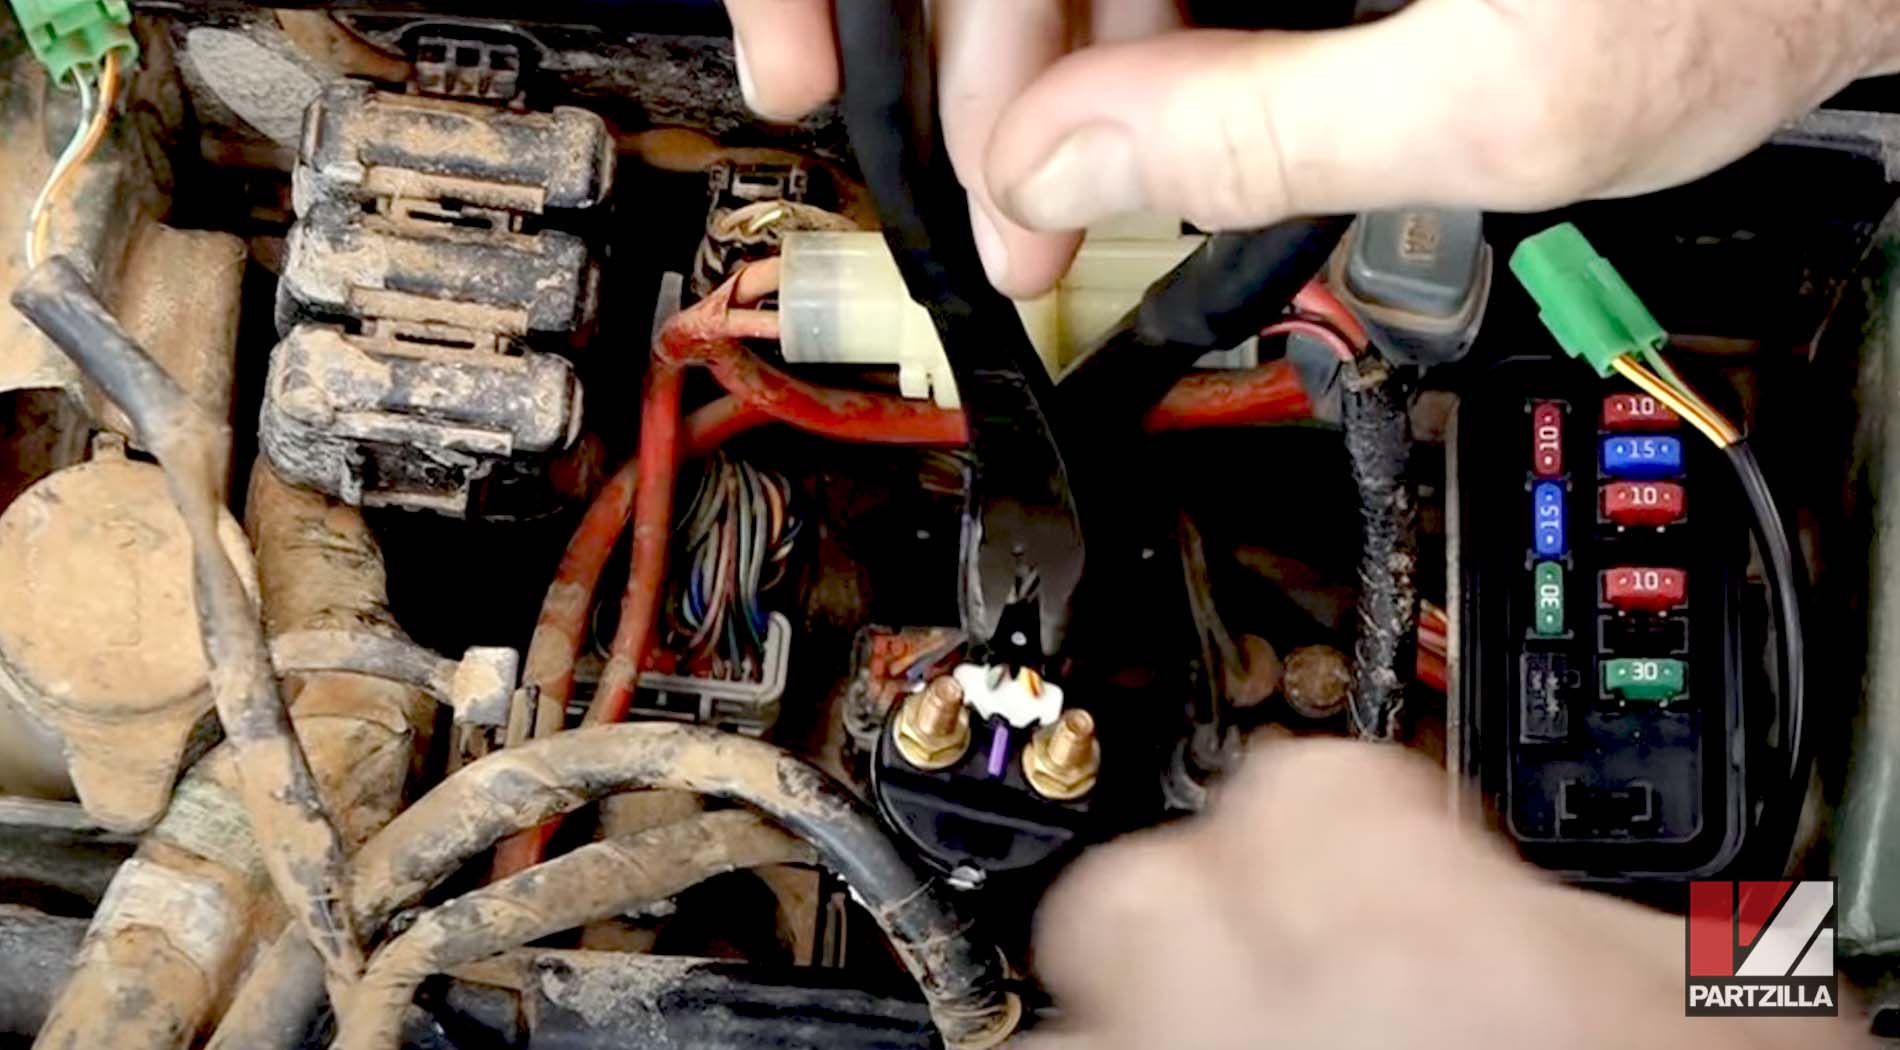
Disconnect the trigger wire leading from the START switch by disconnecting the electrical connector from the starter solenoid (found behind the battery). Connect a circuit tester to the negative battery terminal and the probe of the circuit tester into the electrical connector at the terminal of the yellow and red wire.
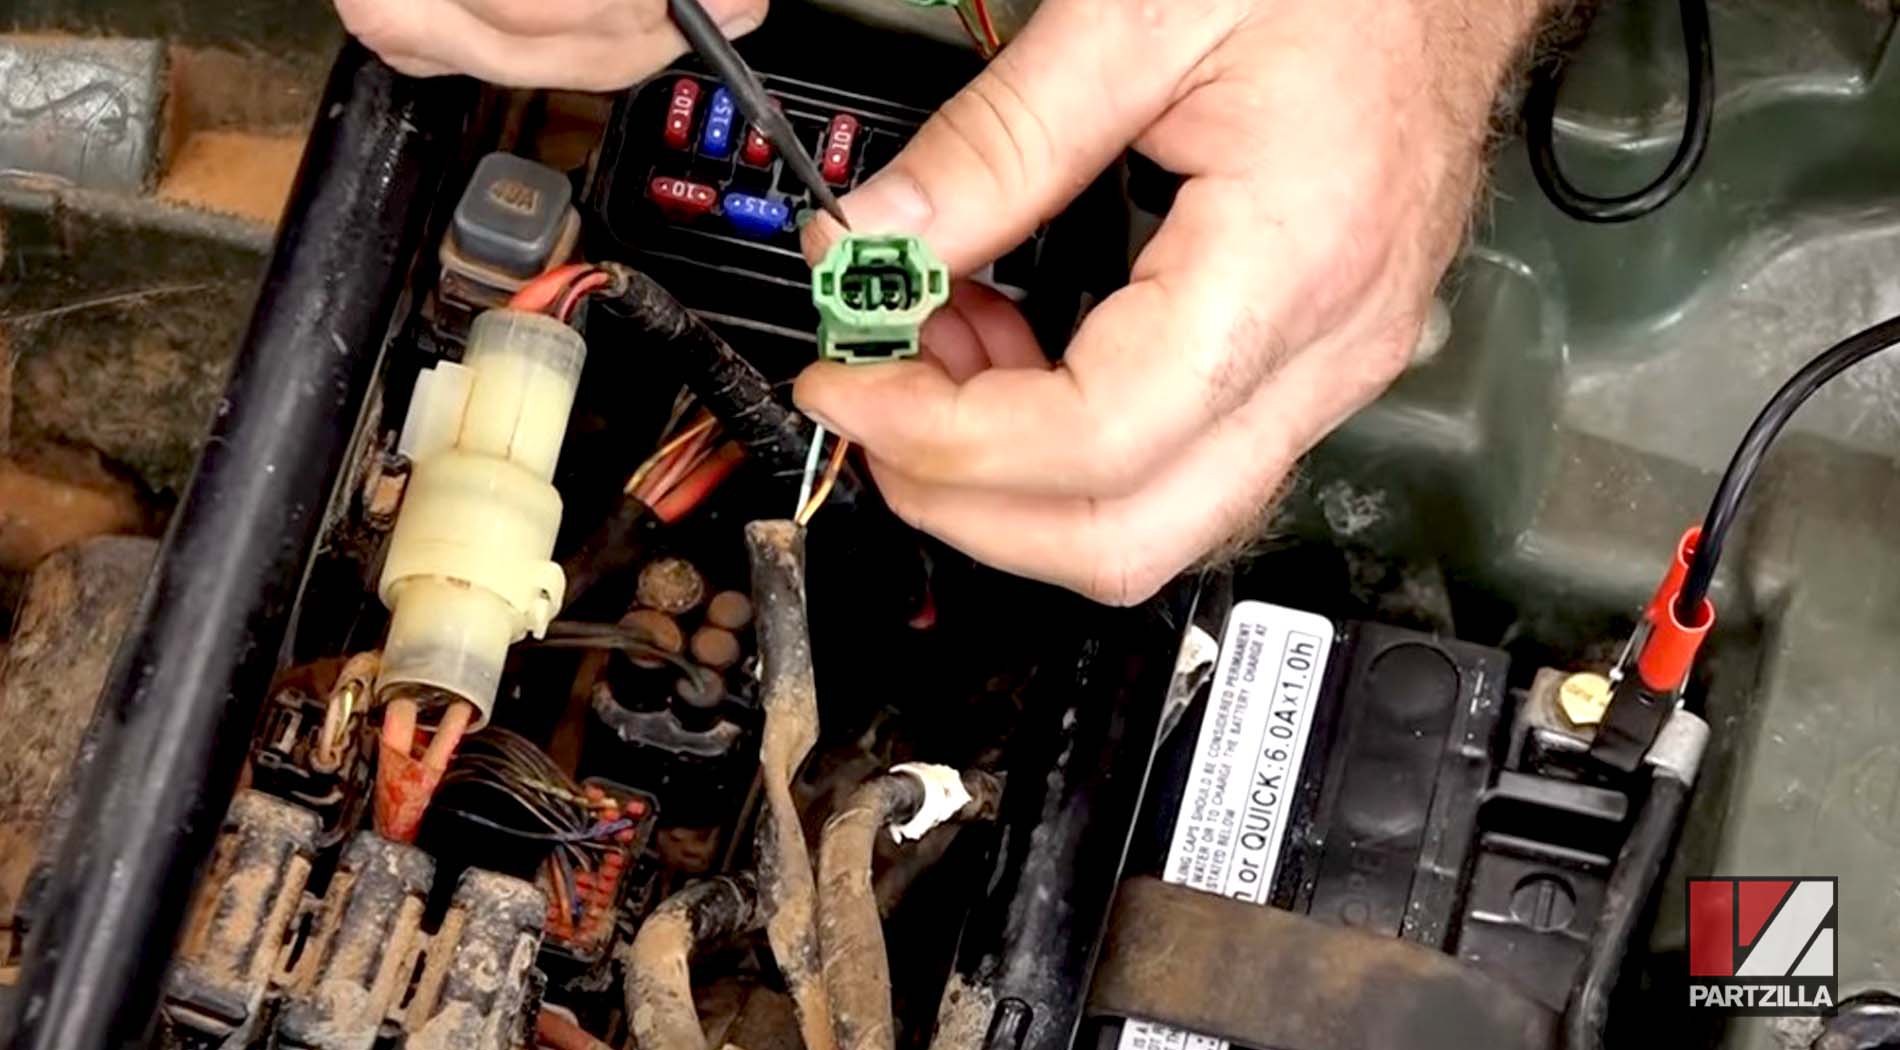
If the START switch is working, the circuit tester will illuminate when the switch is pressed. Next, check that the switch is properly grounded by connecting the circuit tester to the positive battery terminal and the probe of the circuit tester into the electrical connector at the terminal of the white wire. The circuit tester will illuminate if the START switch is grounded. If the START switch checks out, the next component to test is the starter solenoid (or starter relay).
Watch the clip below to see the start switch segment of our Honda TRX 420 No Start video.
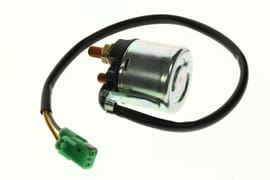
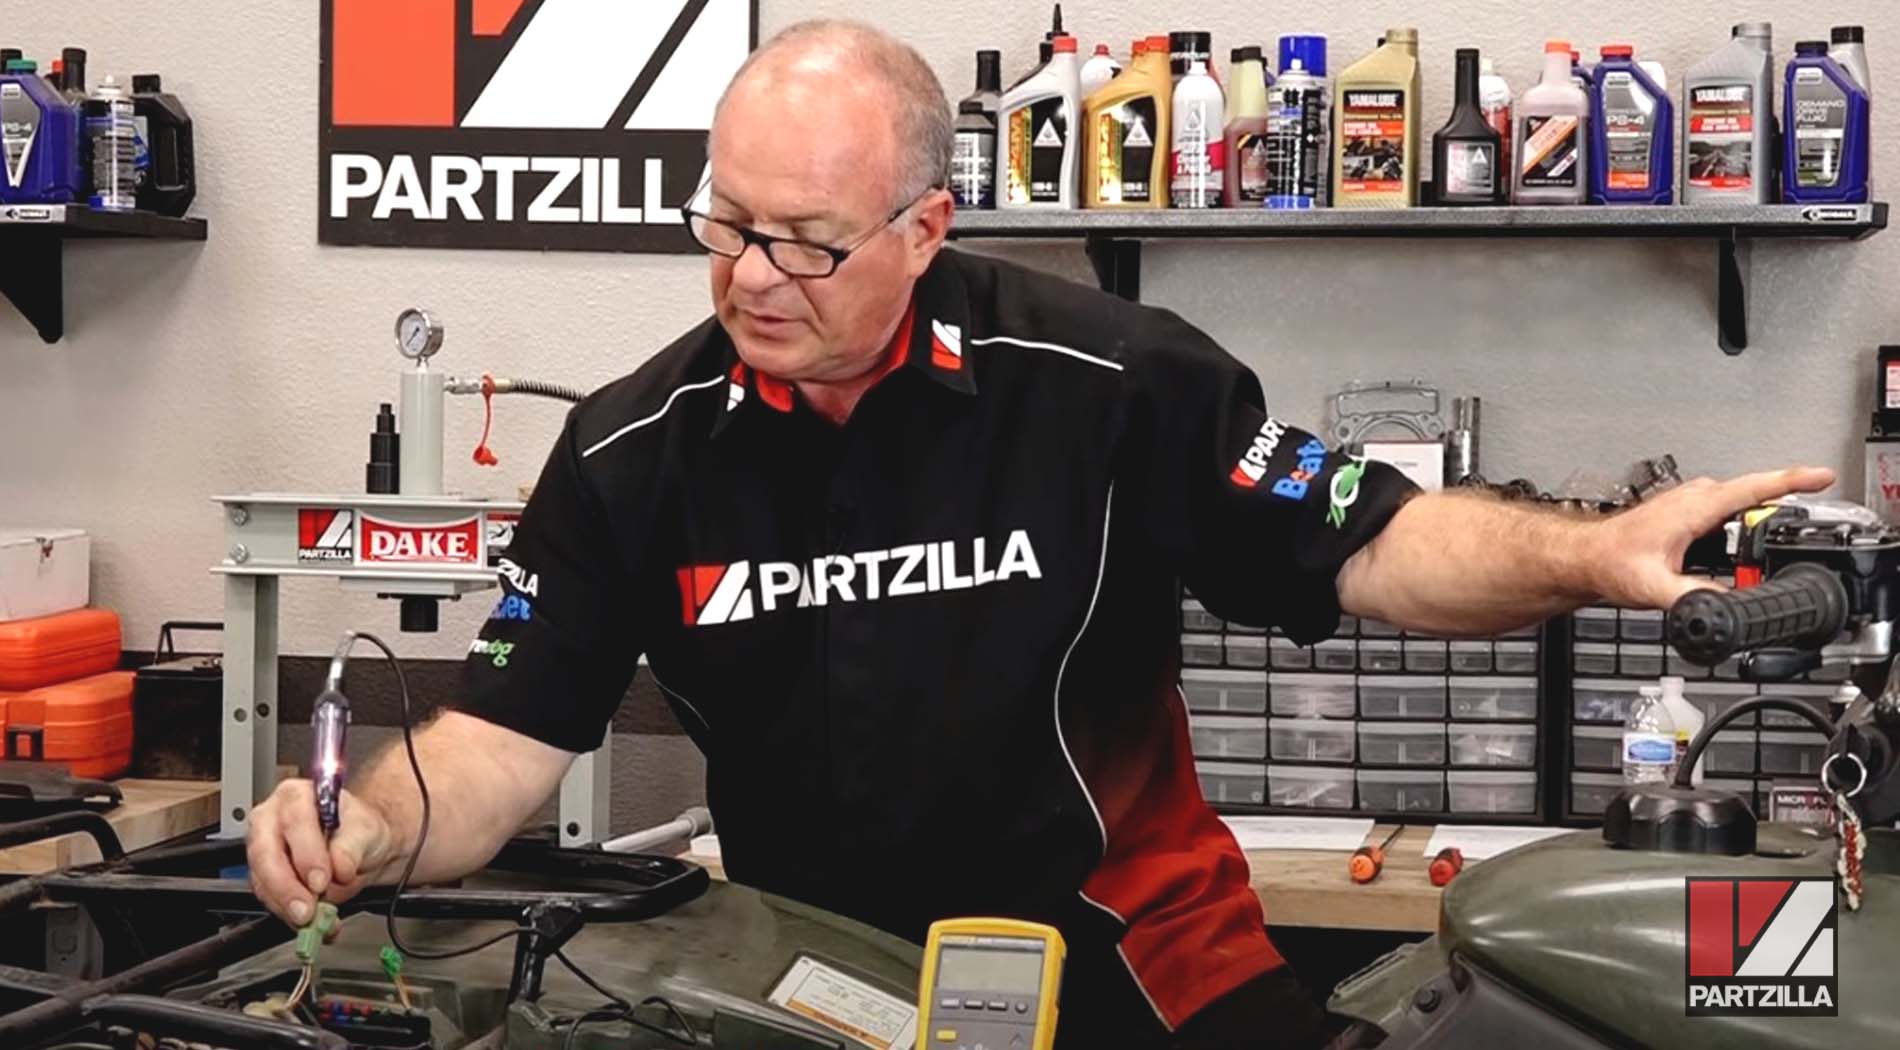
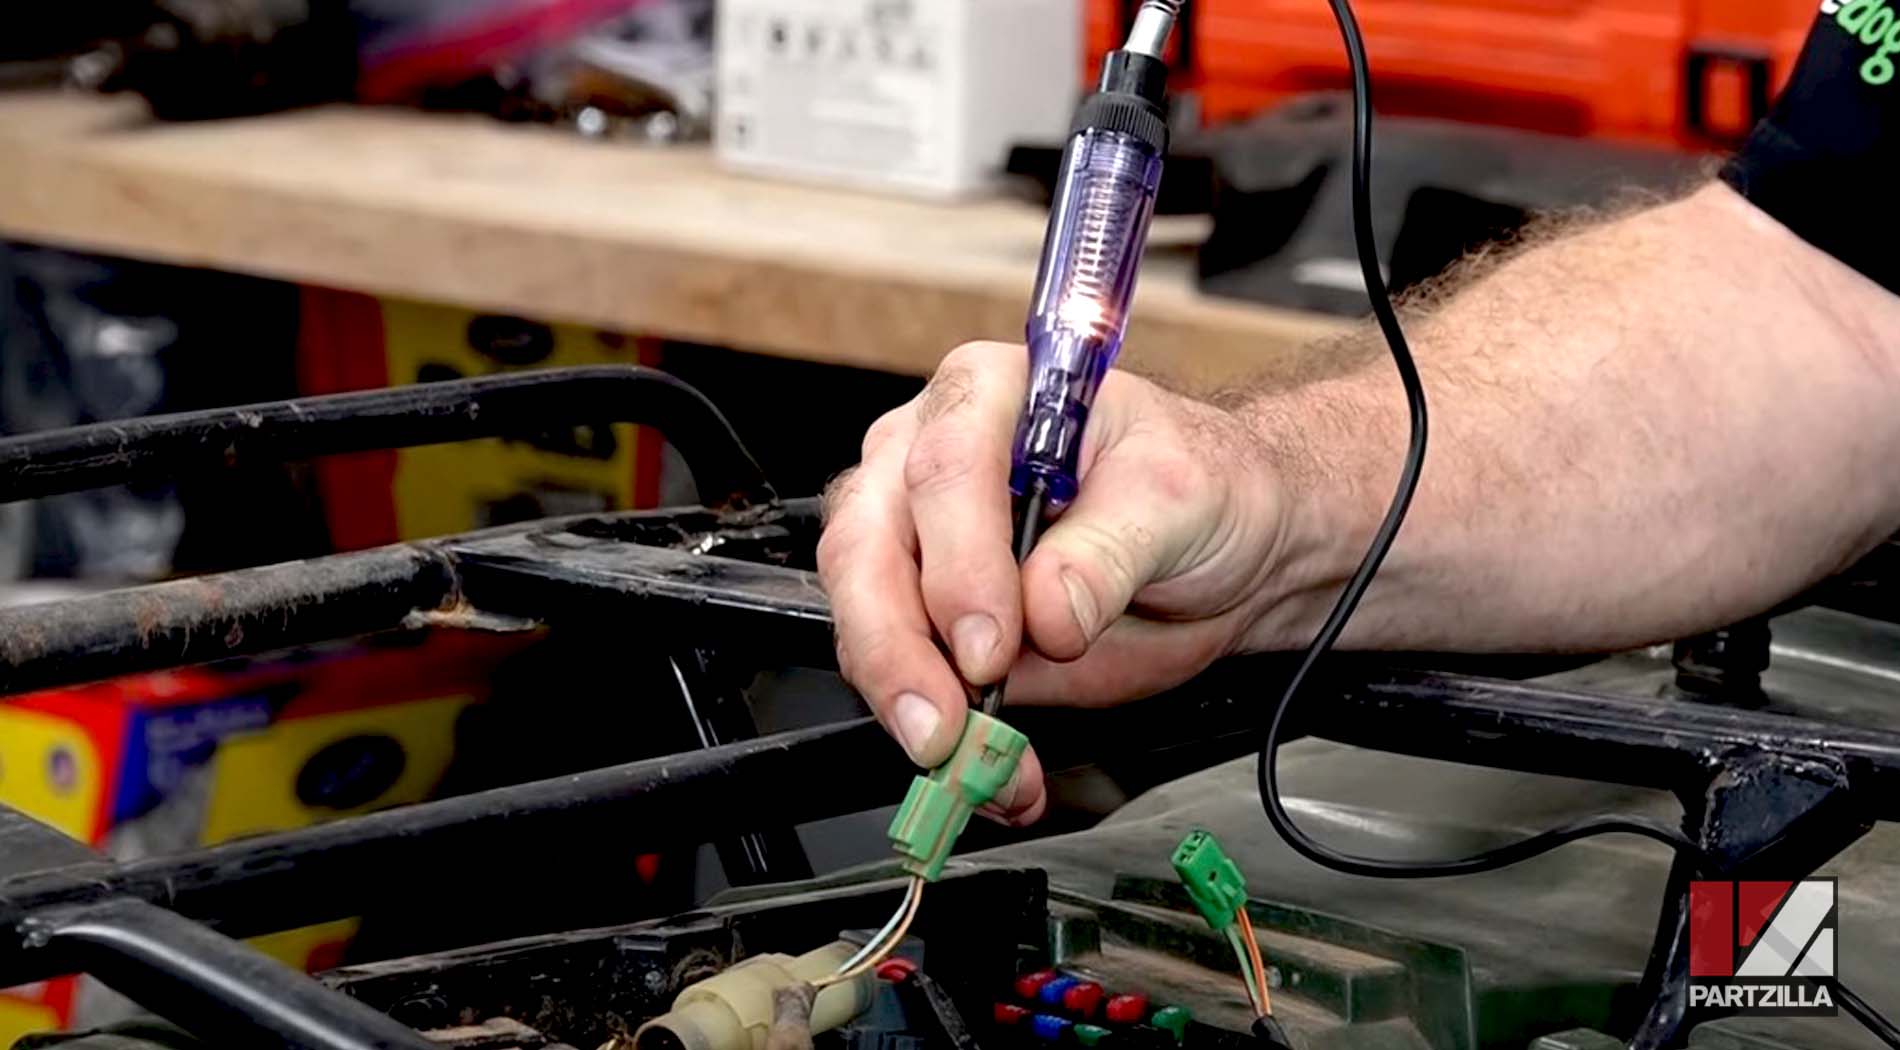
Test the Solenoid
Connect a circuit tester to the solenoid terminal that’s connected to the power cable from the battery, and check for battery voltage reaching the solenoid.
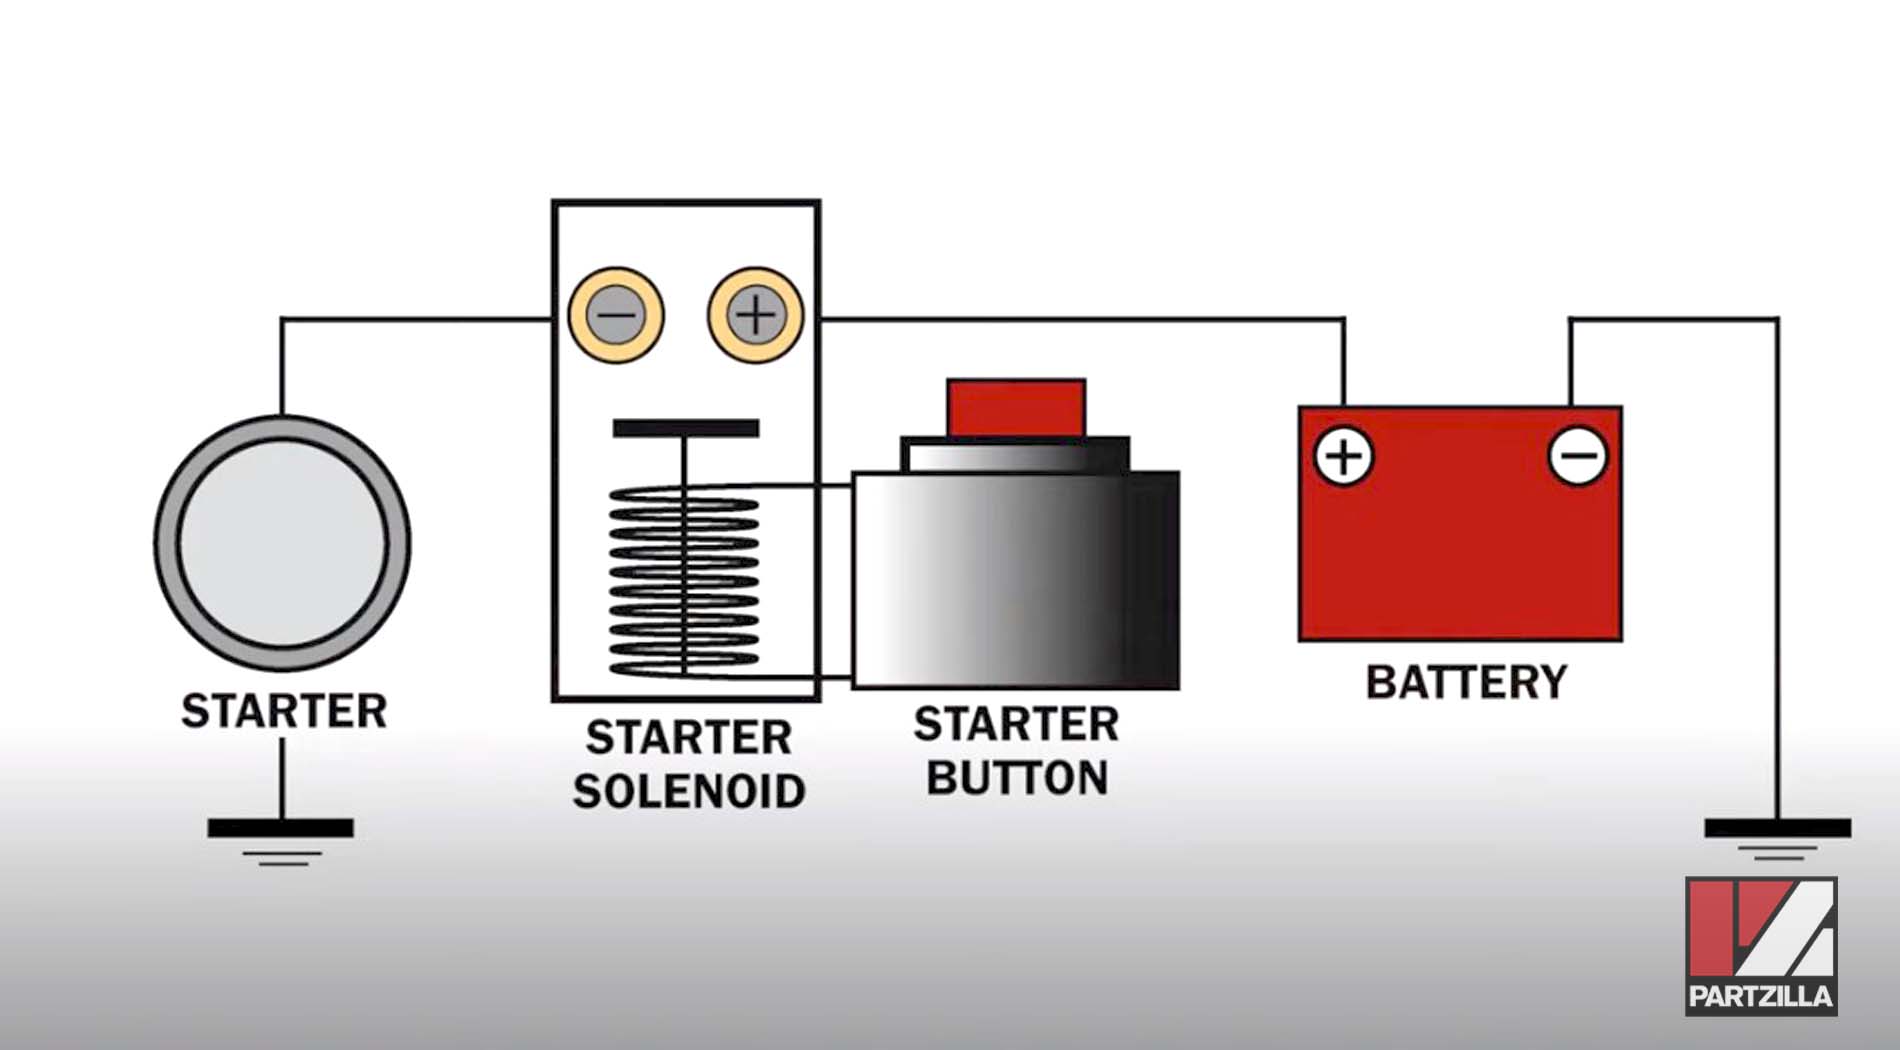
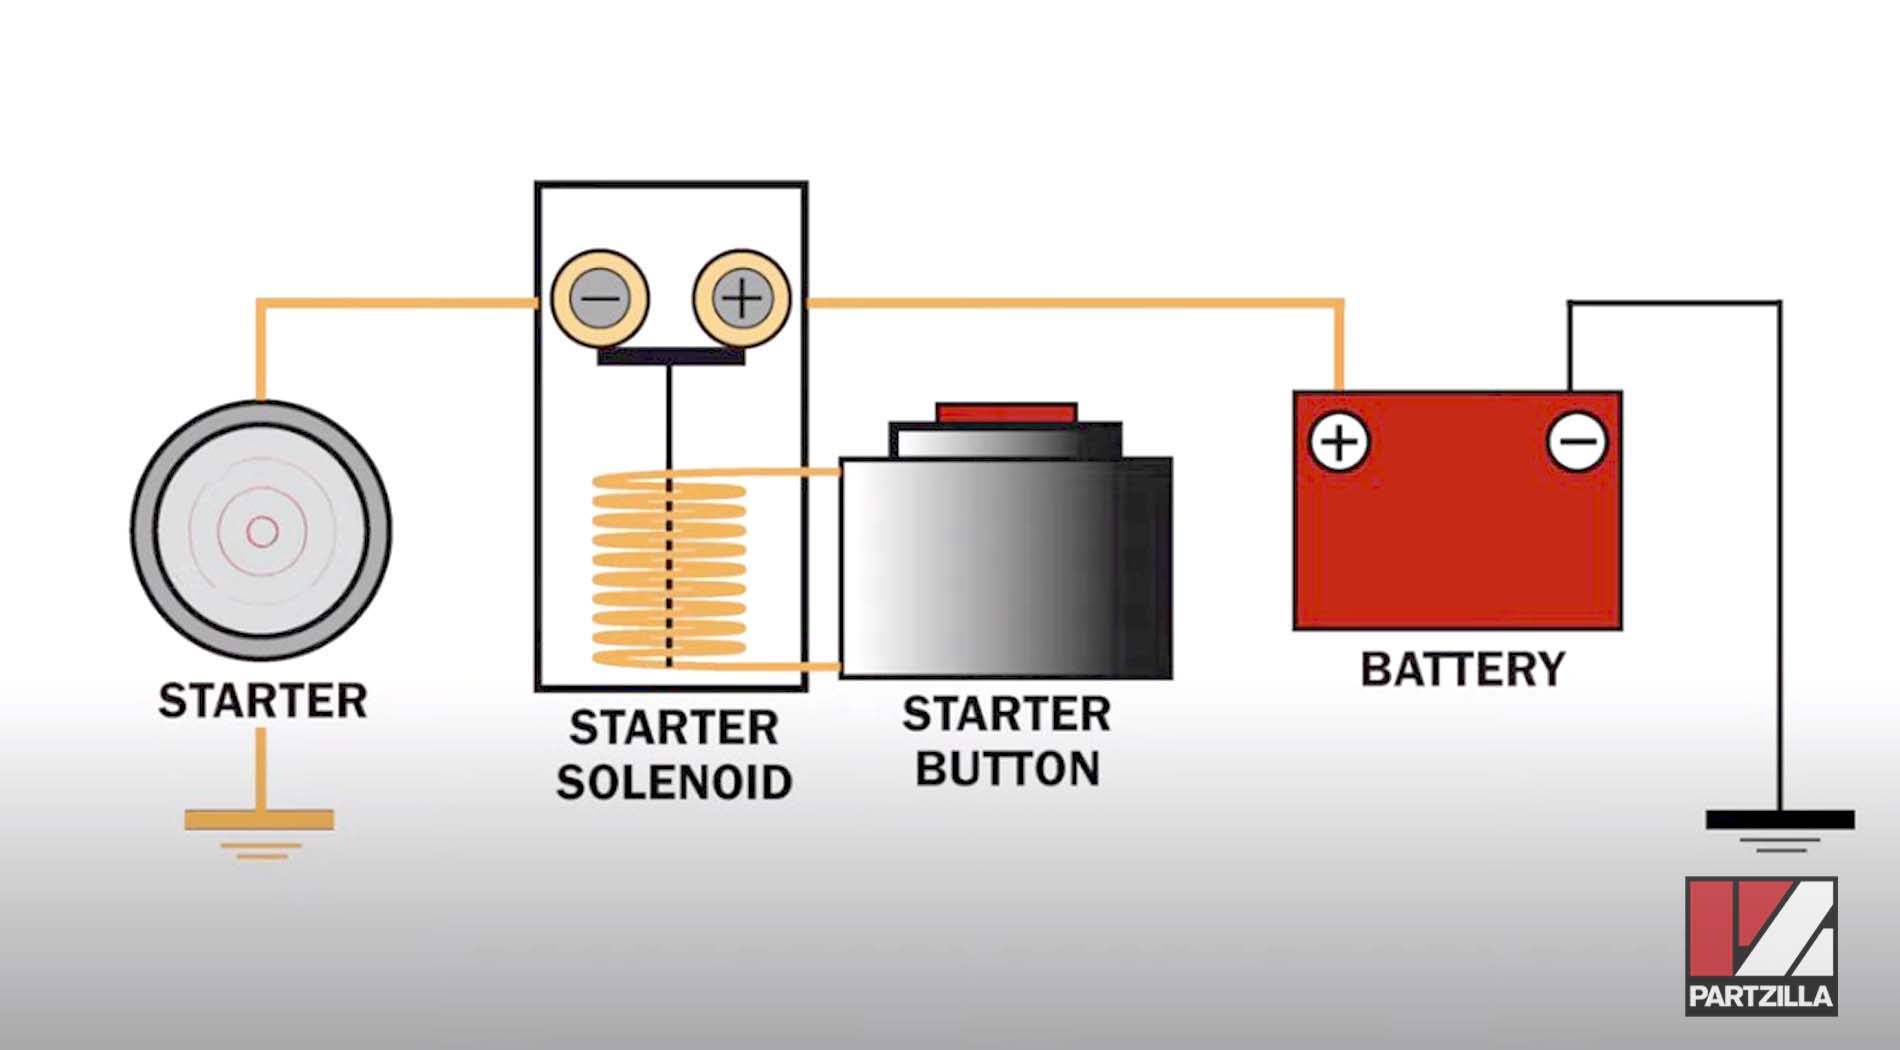
Reconnect the electrical connector (disconnected in the previous section) to the starter solenoid, and connect a circuit tester to the solenoid terminal that’s attached to the electrical connector. Press the START button. If the solenoid is working, the circuit tester will illuminate when the button is pressed. However, if the circuit tester doesn’t illuminate, the solenoid should be replaced.
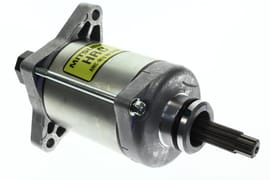
Another sign that the solenoid is or isn’t working is an audible “click” when the START button is pressed, and the solenoid has failed if you don’t hear it. If the solenoid is working and everything else in the starting/ignition circuit has checked out, the starter motor is the culprit.
Watch the clip below to see the solenoid test segment of our Honda TRX 420 No Start video.
Replacing a Honda TRX420 Solenoid
Disconnect the positive or negative wire from the battery to prevent anything from shorting during the removal or installation of the solenoid. Next, disconnect the electrical connector leading to the START switch from the solenoid. Move the two rubber boots out of the way to access the two 10mm retaining nuts holding the battery and starter wires to the solenoid terminals. Next, remove the two nuts and the wires from the solenoid.
Remove the old solenoid and install the new solenoid. Reattach the battery and starter wires to the solenoid terminals. Next, reinstall and tighten the retaining nuts and put the rubber boots back over the terminals to protect them. Reconnect the electrical connector leading to the START switch, then reconnect whichever wire you disconnected from the battery and you’re done.
Watch the clip below to see the solenoid replacement segment of our Honda TRX 420 No Start video.