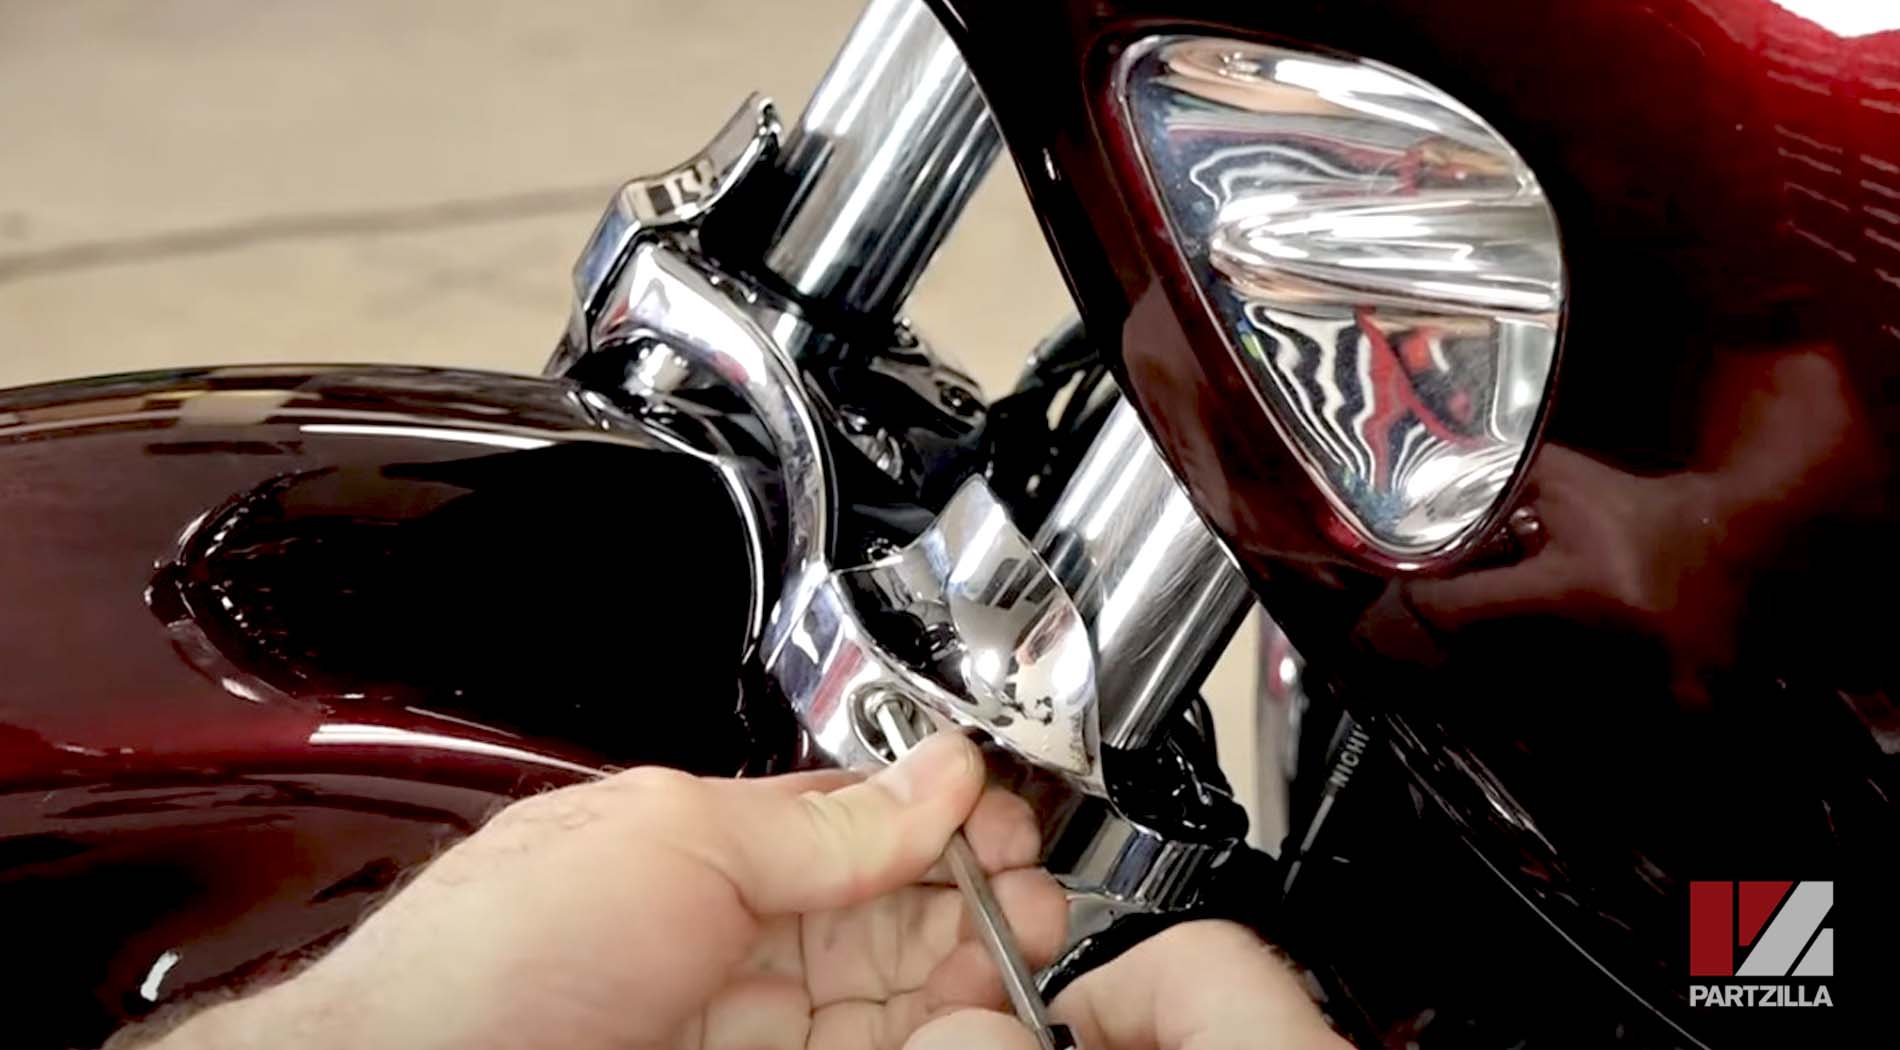
How to Replace Honda Goldwing Steering Stem Bearings Part 2: Replacement and Reassembly
Welcome to the second part of our Honda Goldwing steering stem bearing replacement project, in which we reassemble and replace the components disassembled in part 1.
Watch the video above and follow the steps below to complete a Honda Goldwing steering stem bearing replacement.
Tools and Supplies – Honda Goldwing GL1800 Steering Stem Bearings Change
- Ratchet and extensions
- 8mm-30mm sockets
- 8mm-24mm wrenches
- 3mm-6mm Allens
- T40 Torx
- Pliers
- Chisel
- Hammer
- Torque wrench
- Length of 1 1/2" metal pipe
- Cutoff wheel
- Race grease
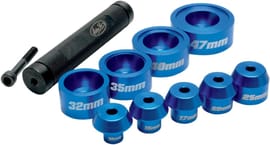
- Bearing driver set for tapered bearings
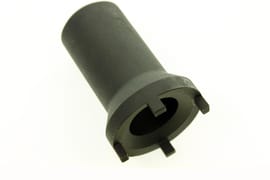
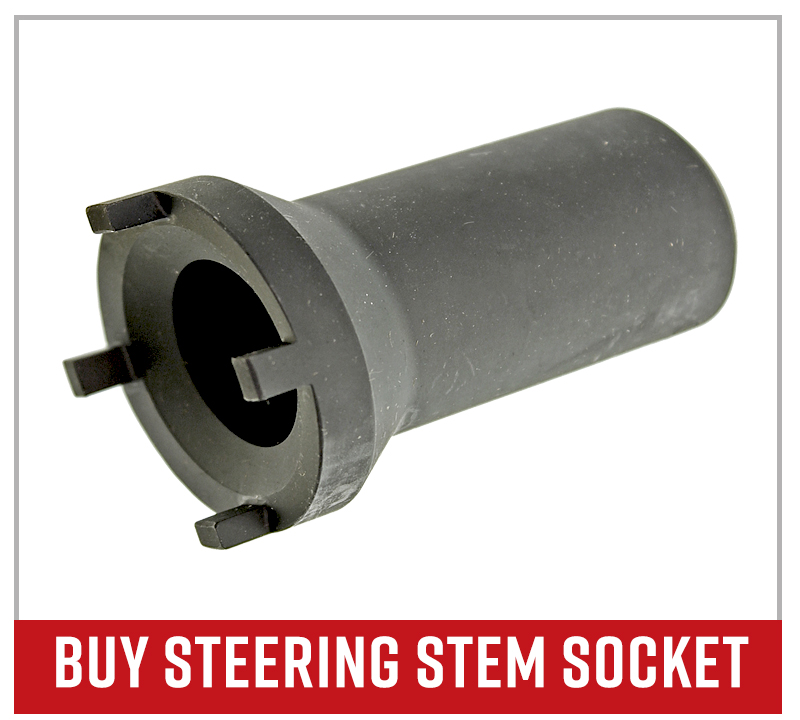
- Steering stem socket wrench
- Steering stem bearing race puller
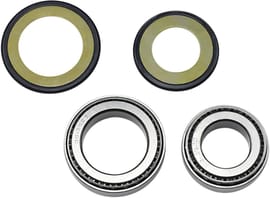
- Steering stem bearing kit
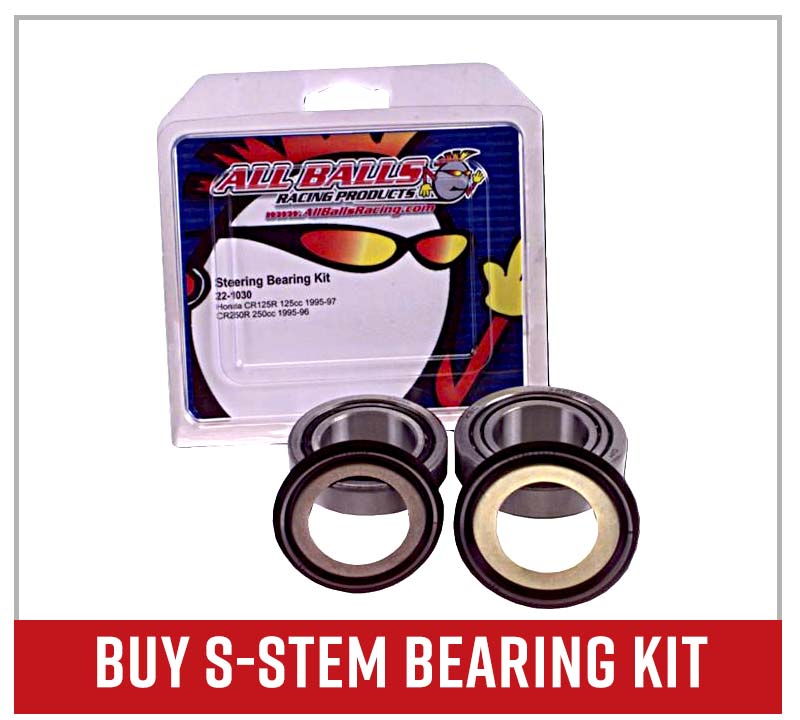
NOTE: You can buy all the various bearings and seals individually, but the steering stem bearing kit includes all the bearings, races and dust shields you’ll need, and it’s cheaper than buying the parts separately.
Replace Honda GL1800 Steering Stem Bearings: Installing New Steering Stem Bearings
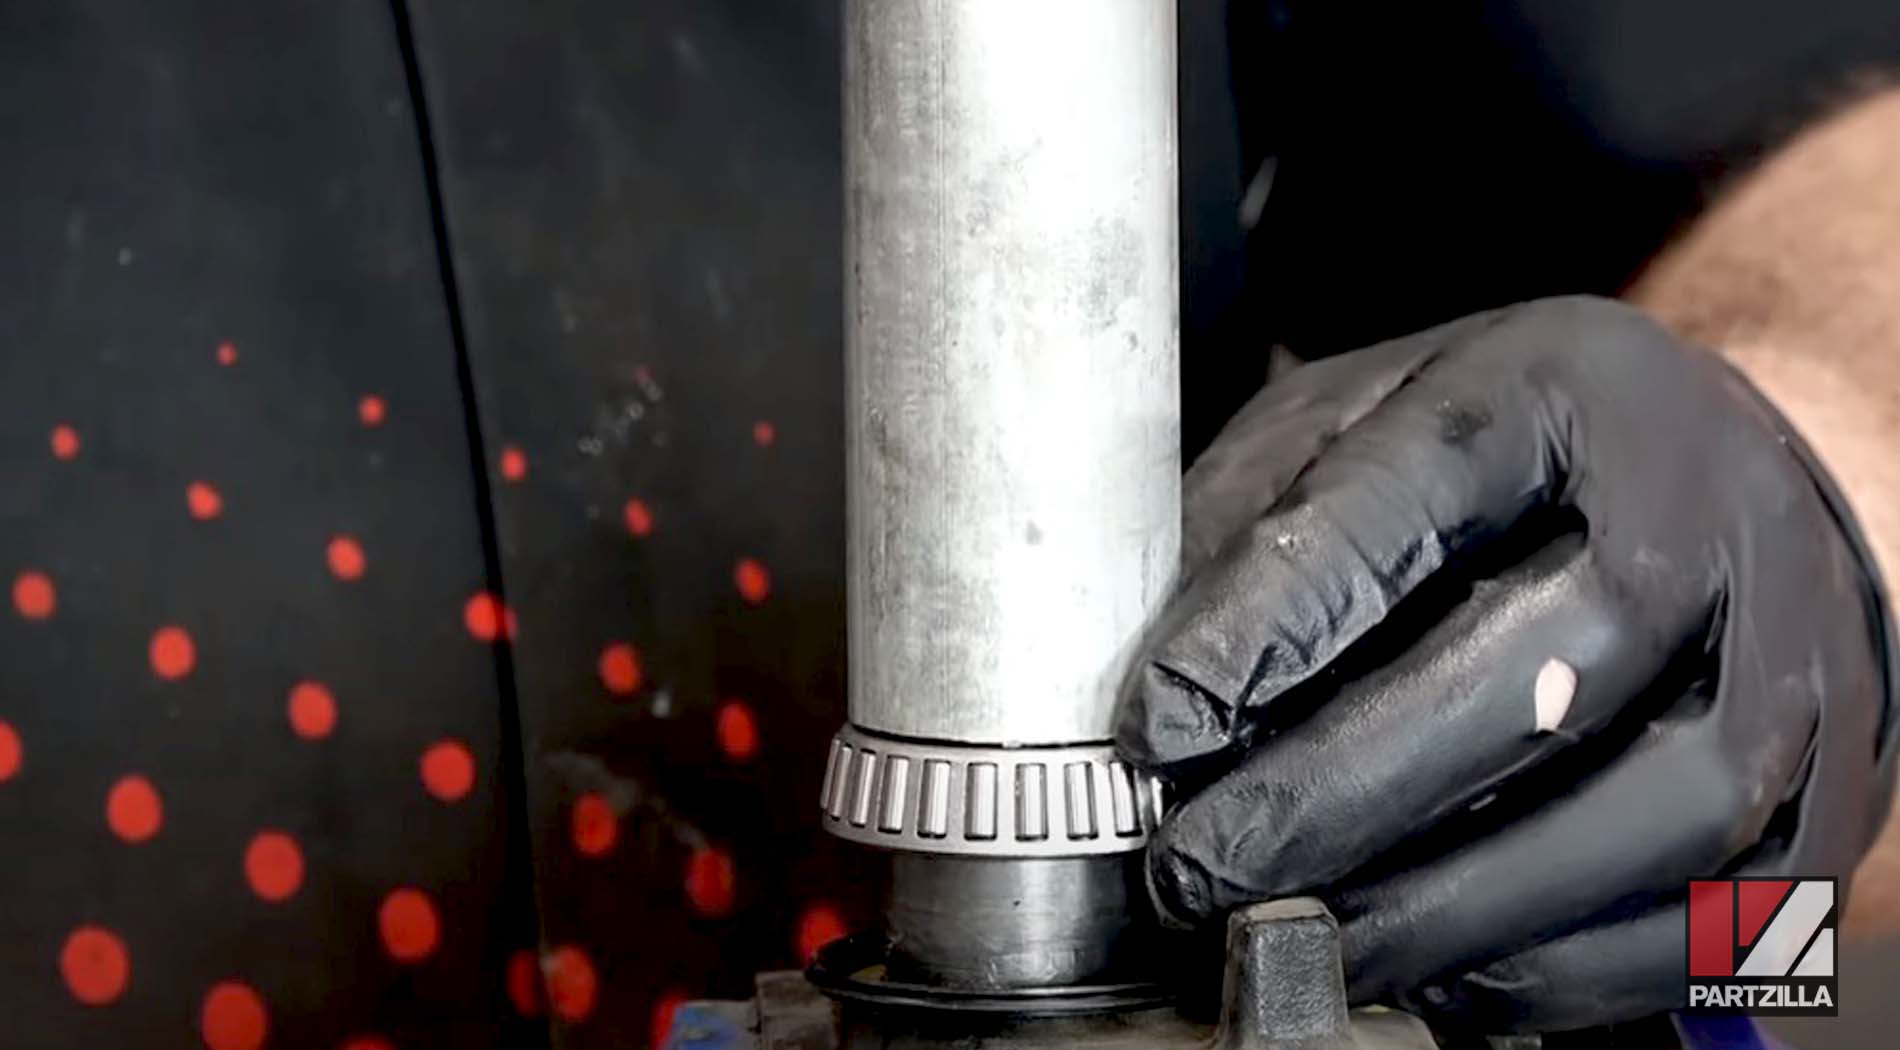
Step 1. Install the new dust shield (included in the steering stem bearing kit) onto the steering stem.
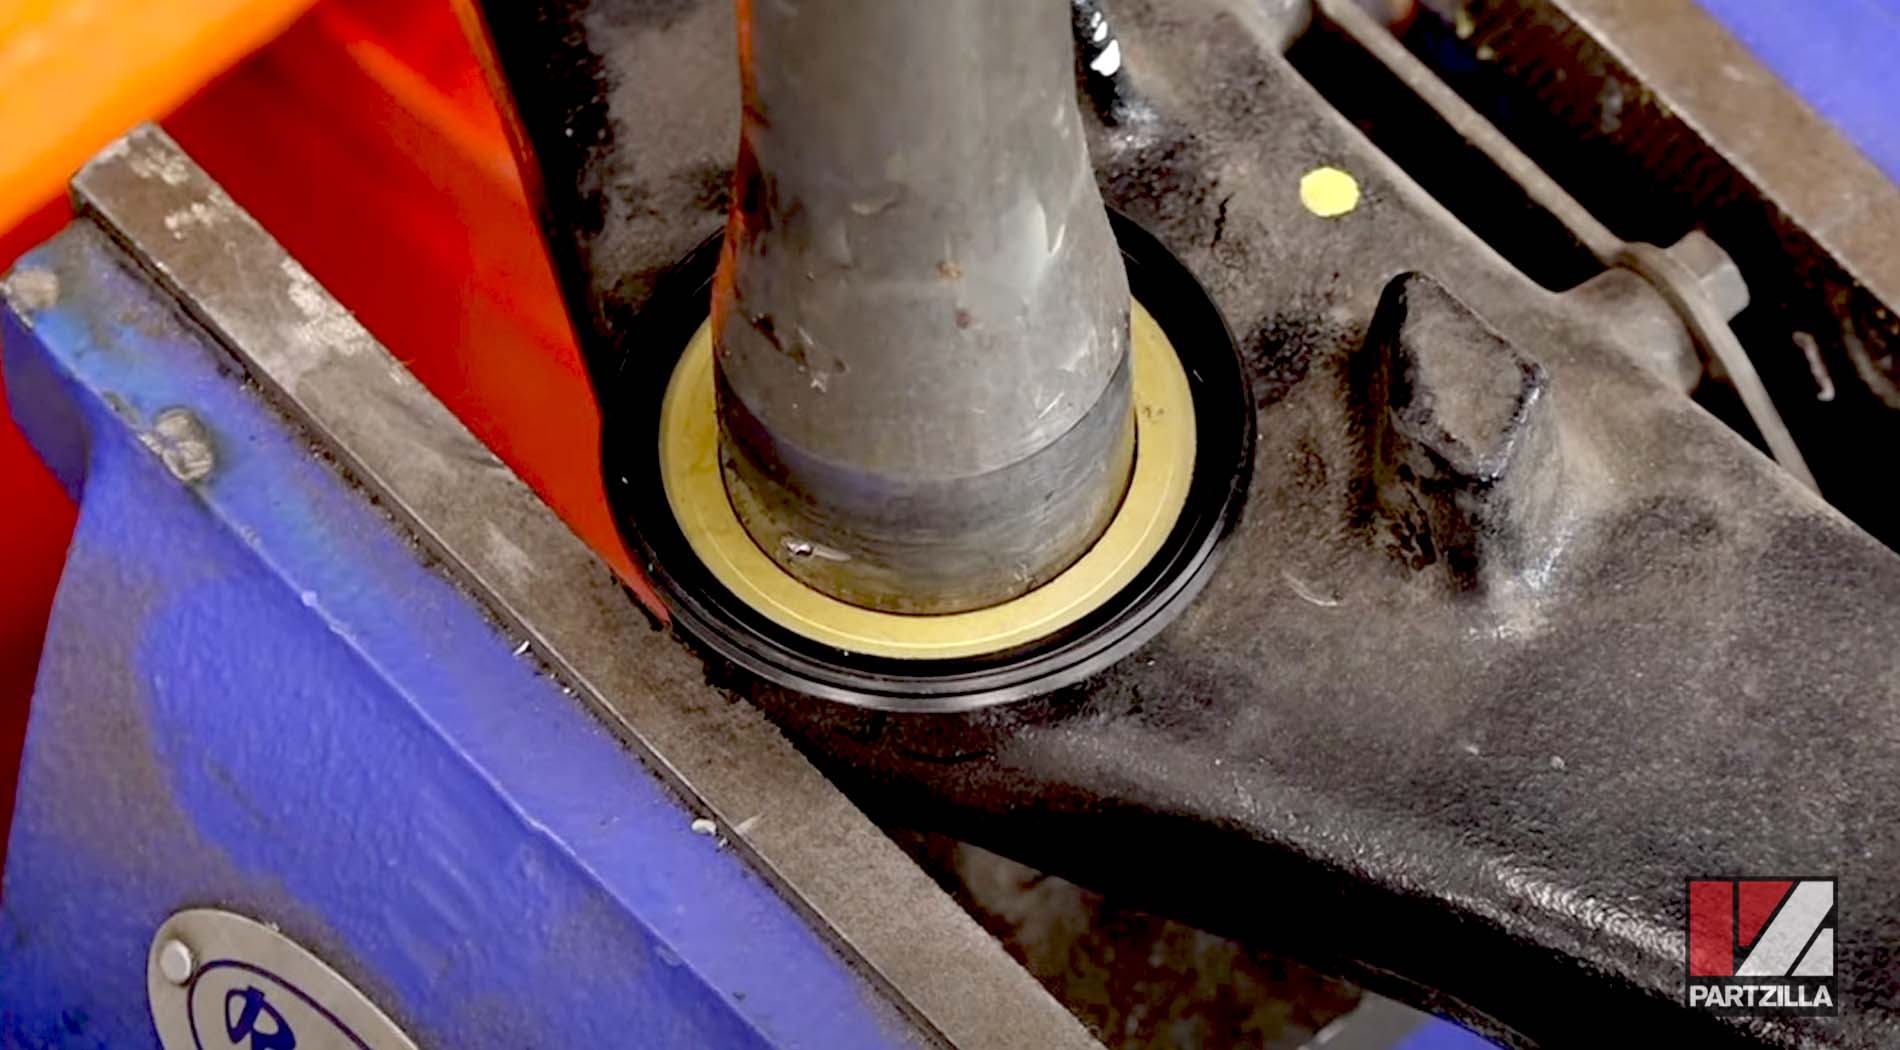
Step 2. Install one of the new steering stem bearings (included in the steering stem bearing kit) onto the steering stem with its tapered end facing upward.
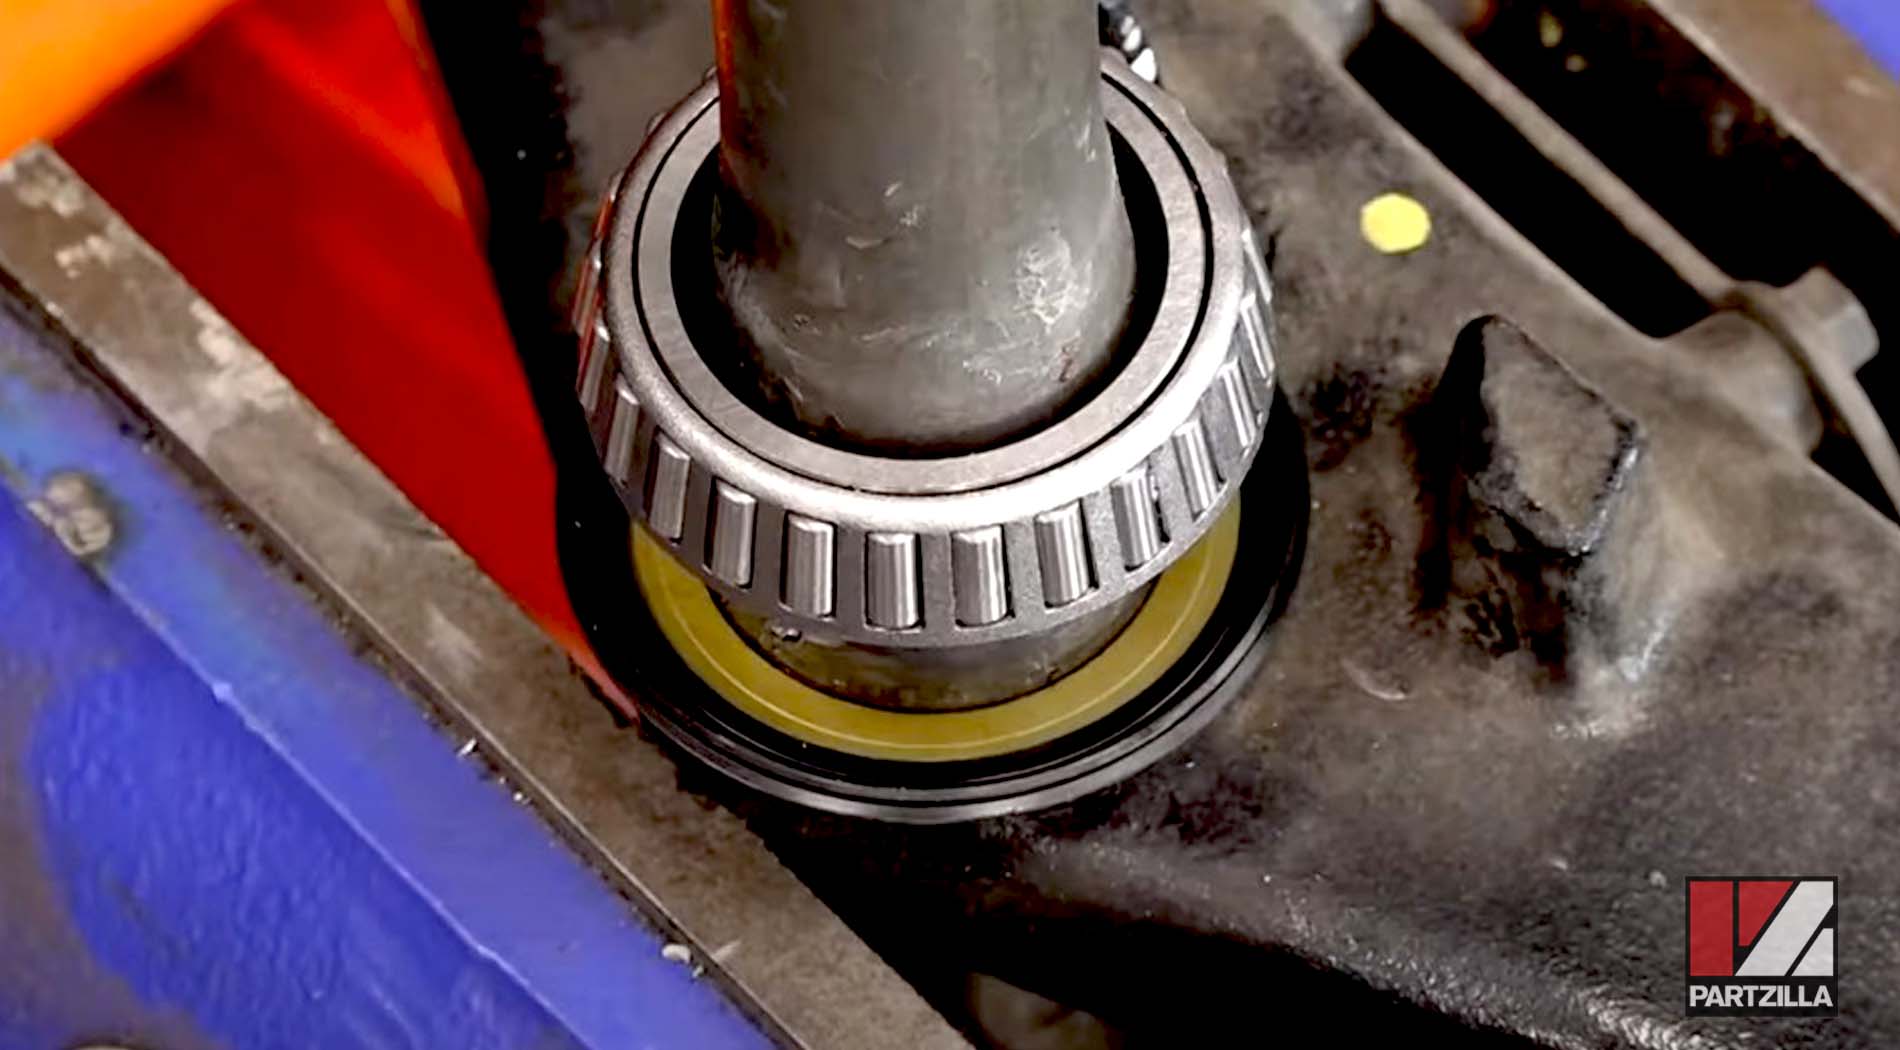
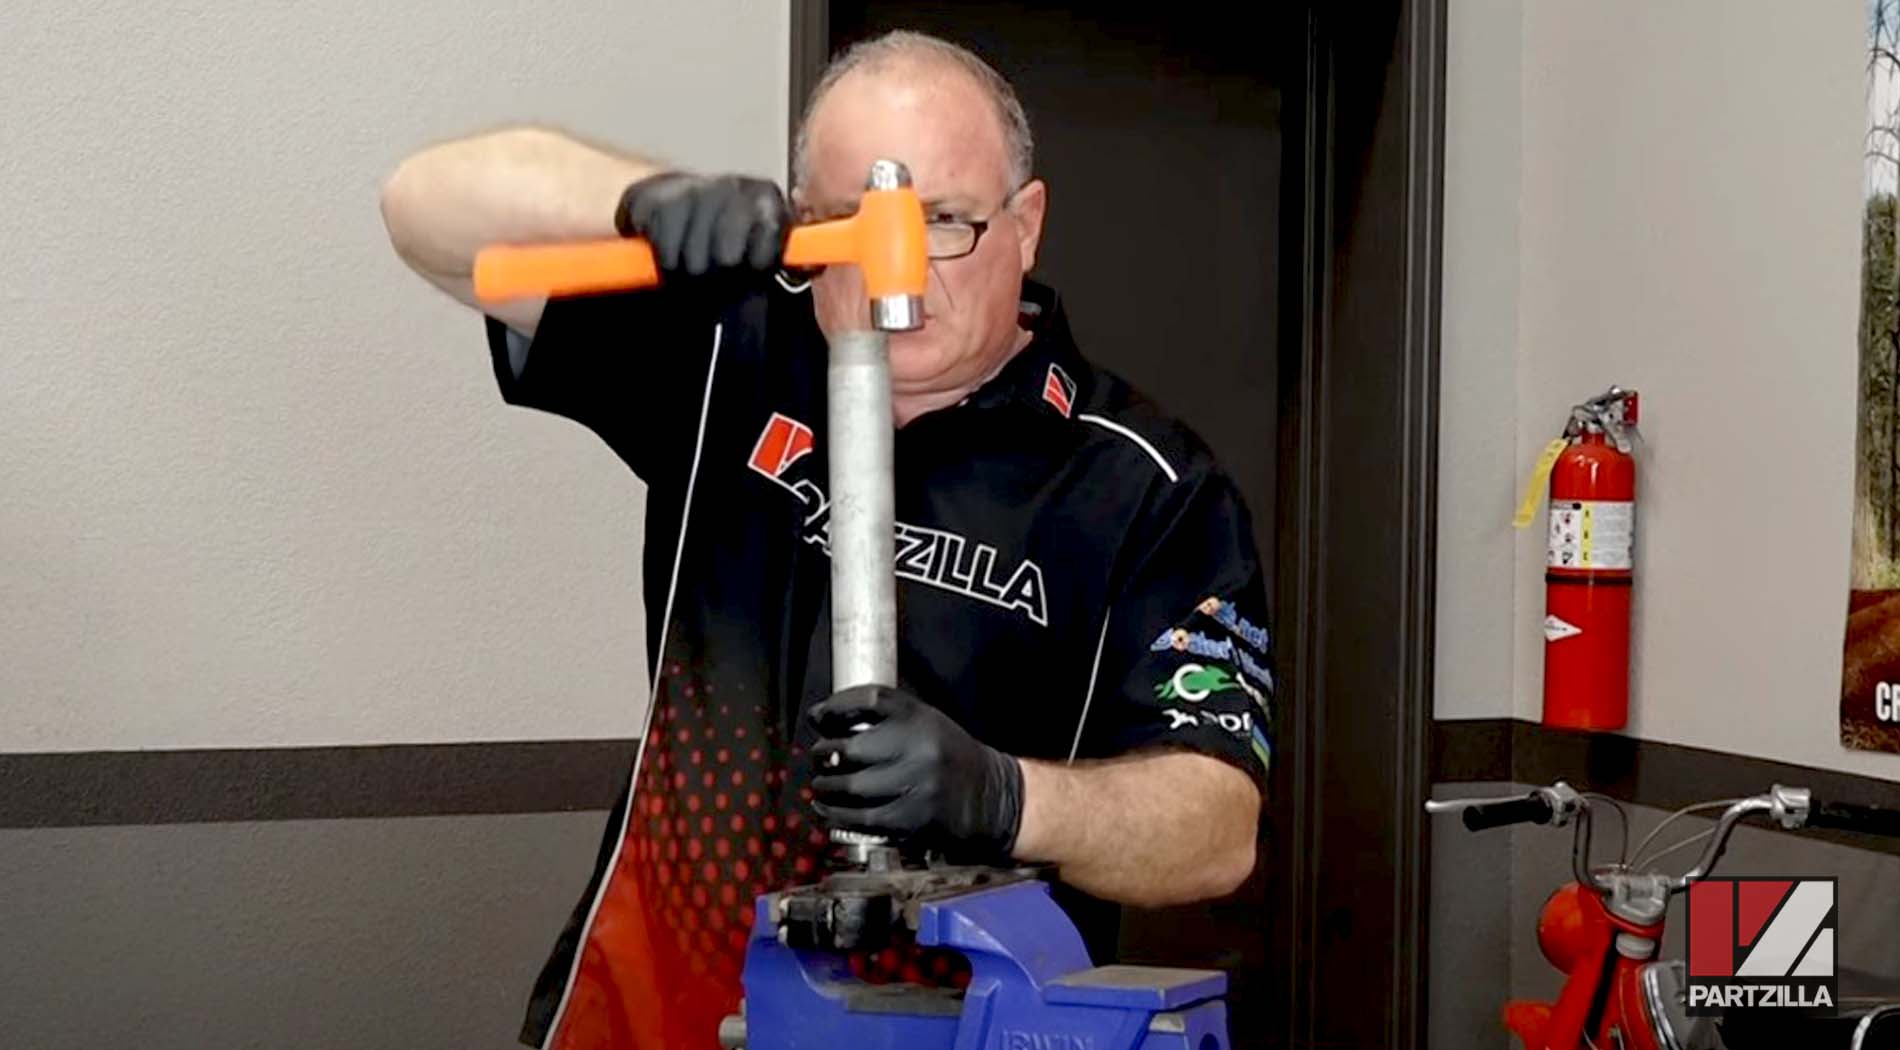
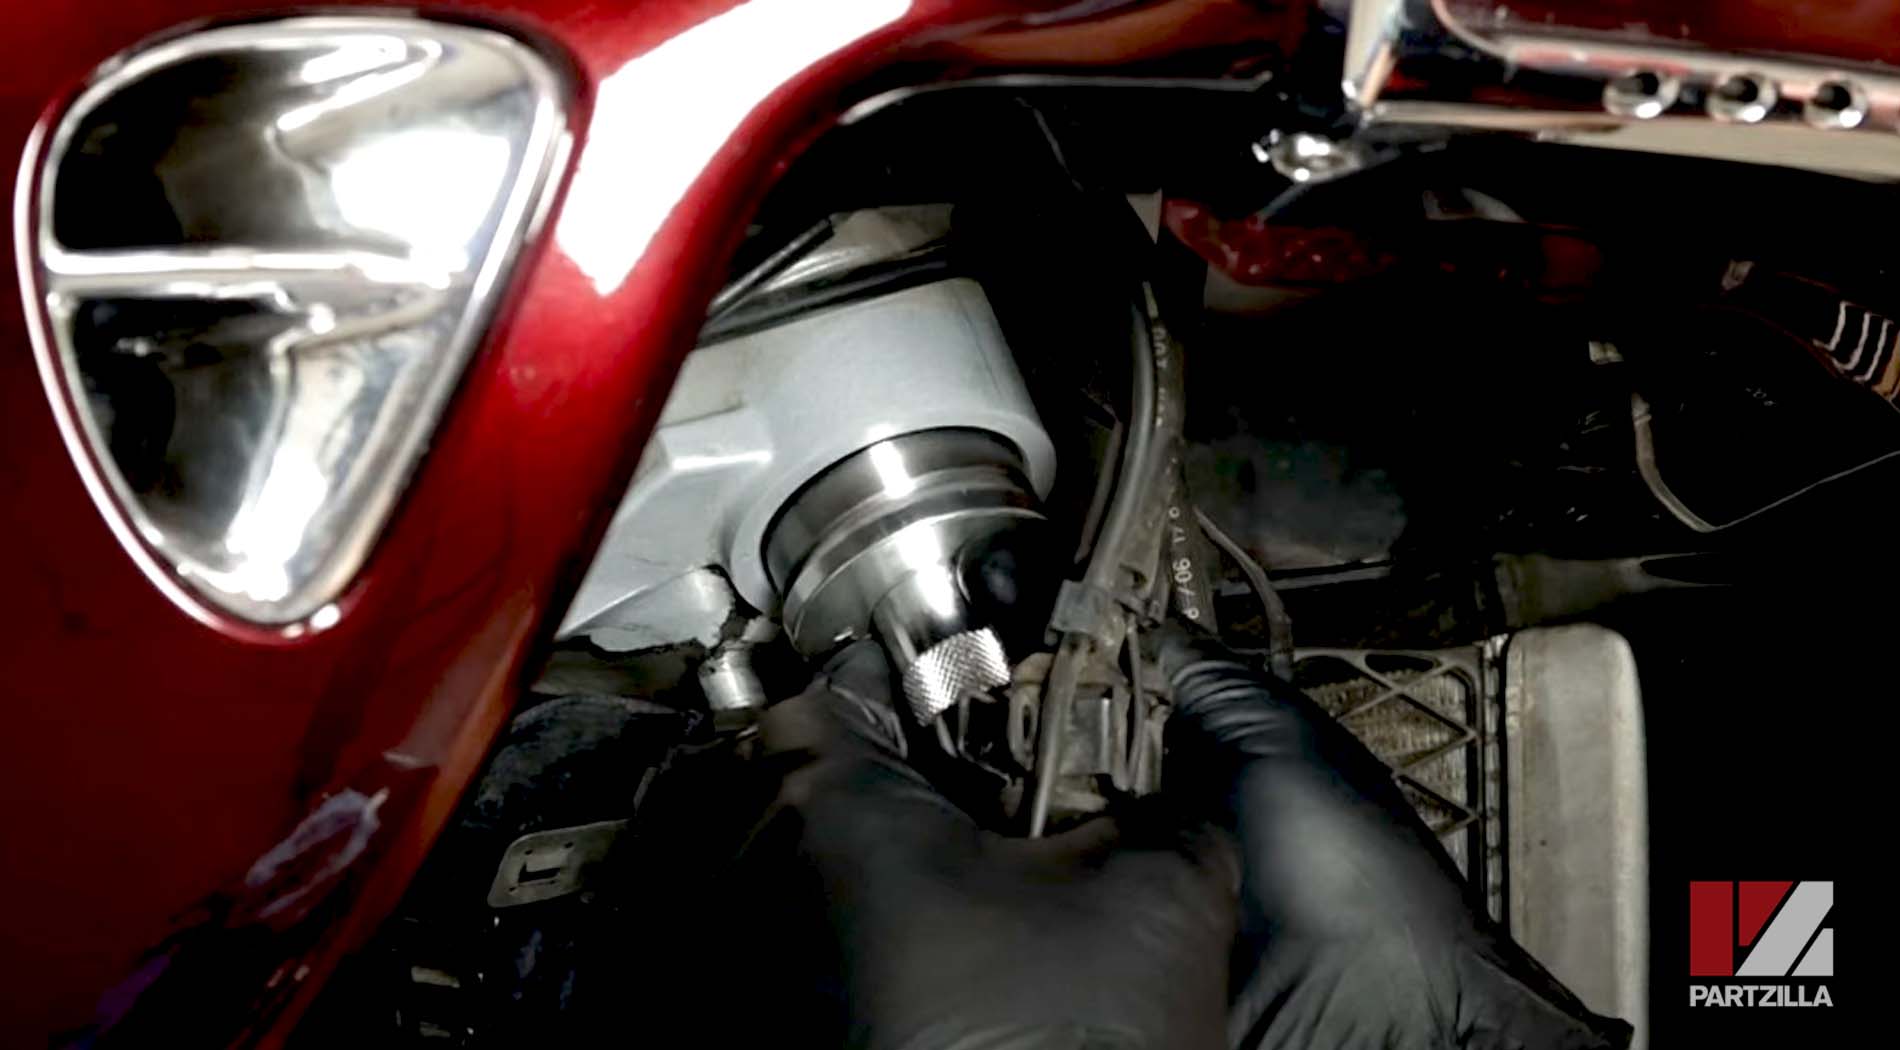
Step 3. Press the steering stem bearing into place by sliding a length of 1 1/2" metal pipe over the steering stem and onto the bearing, then tapping the bearing down onto the steering stem.
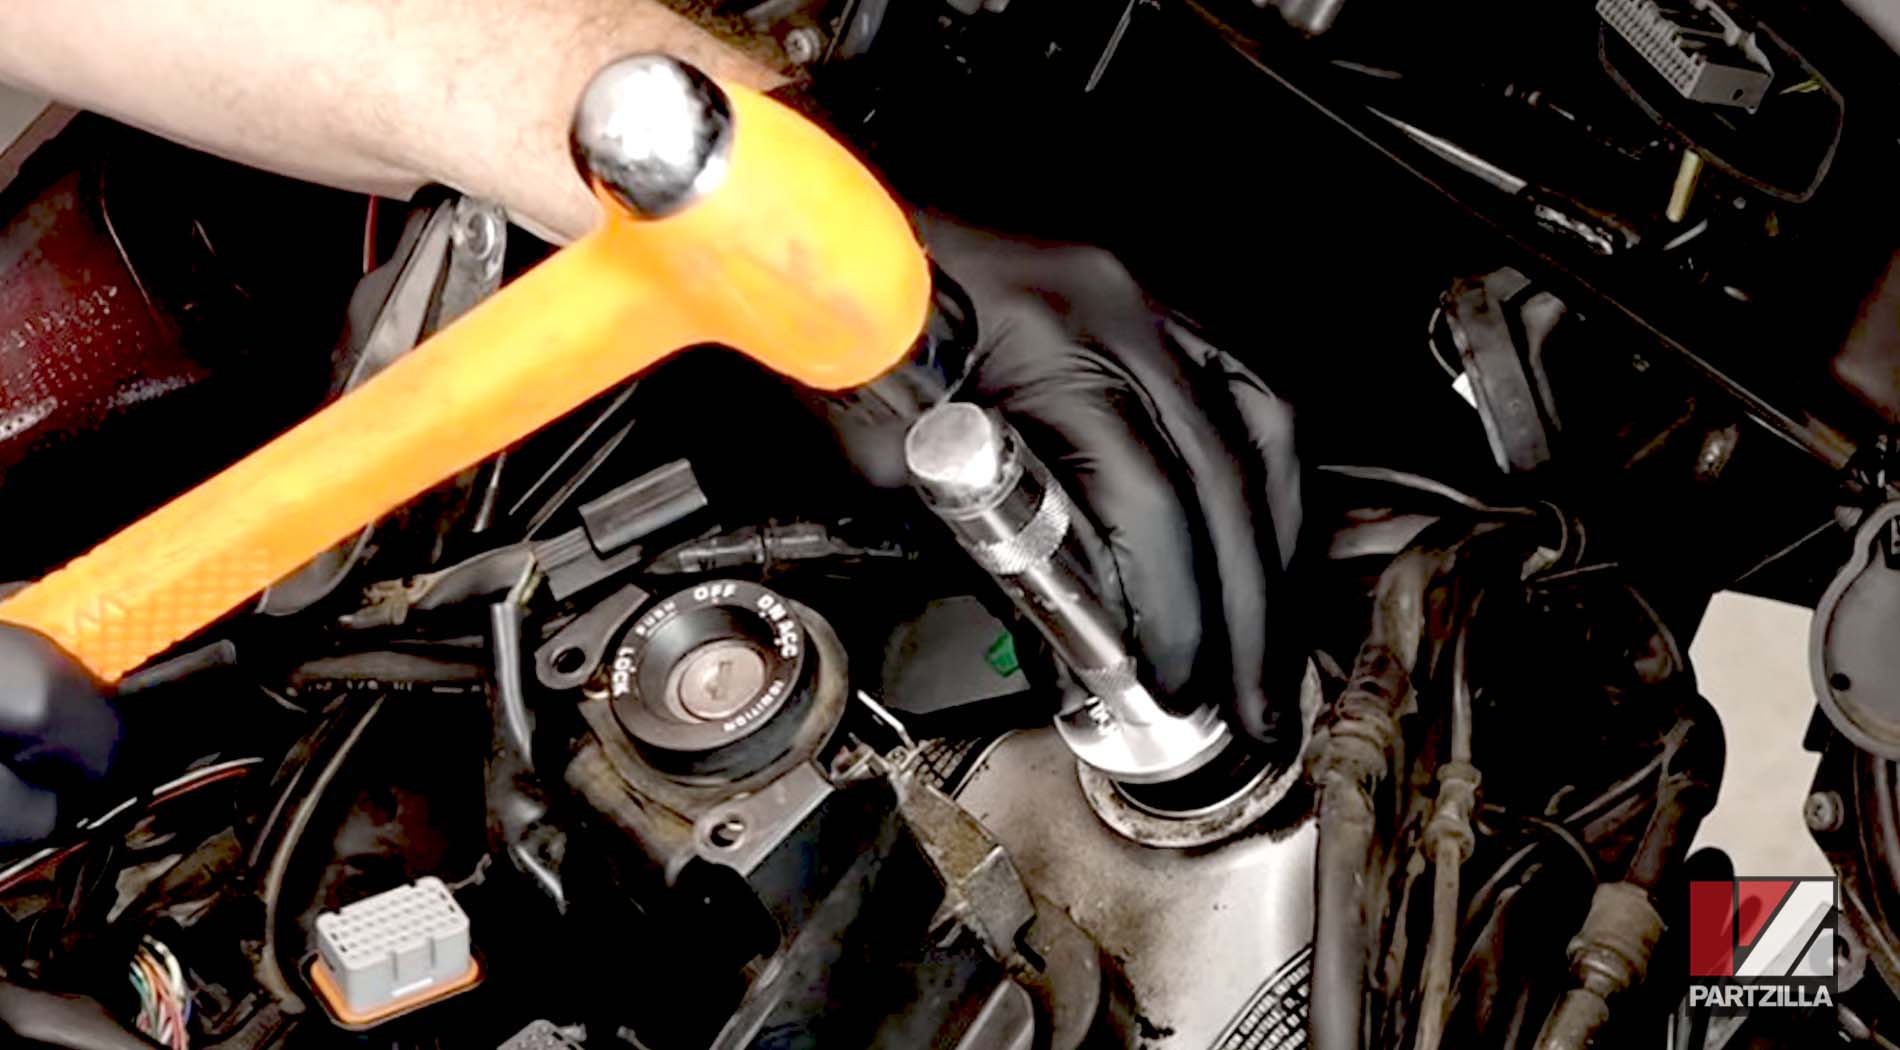
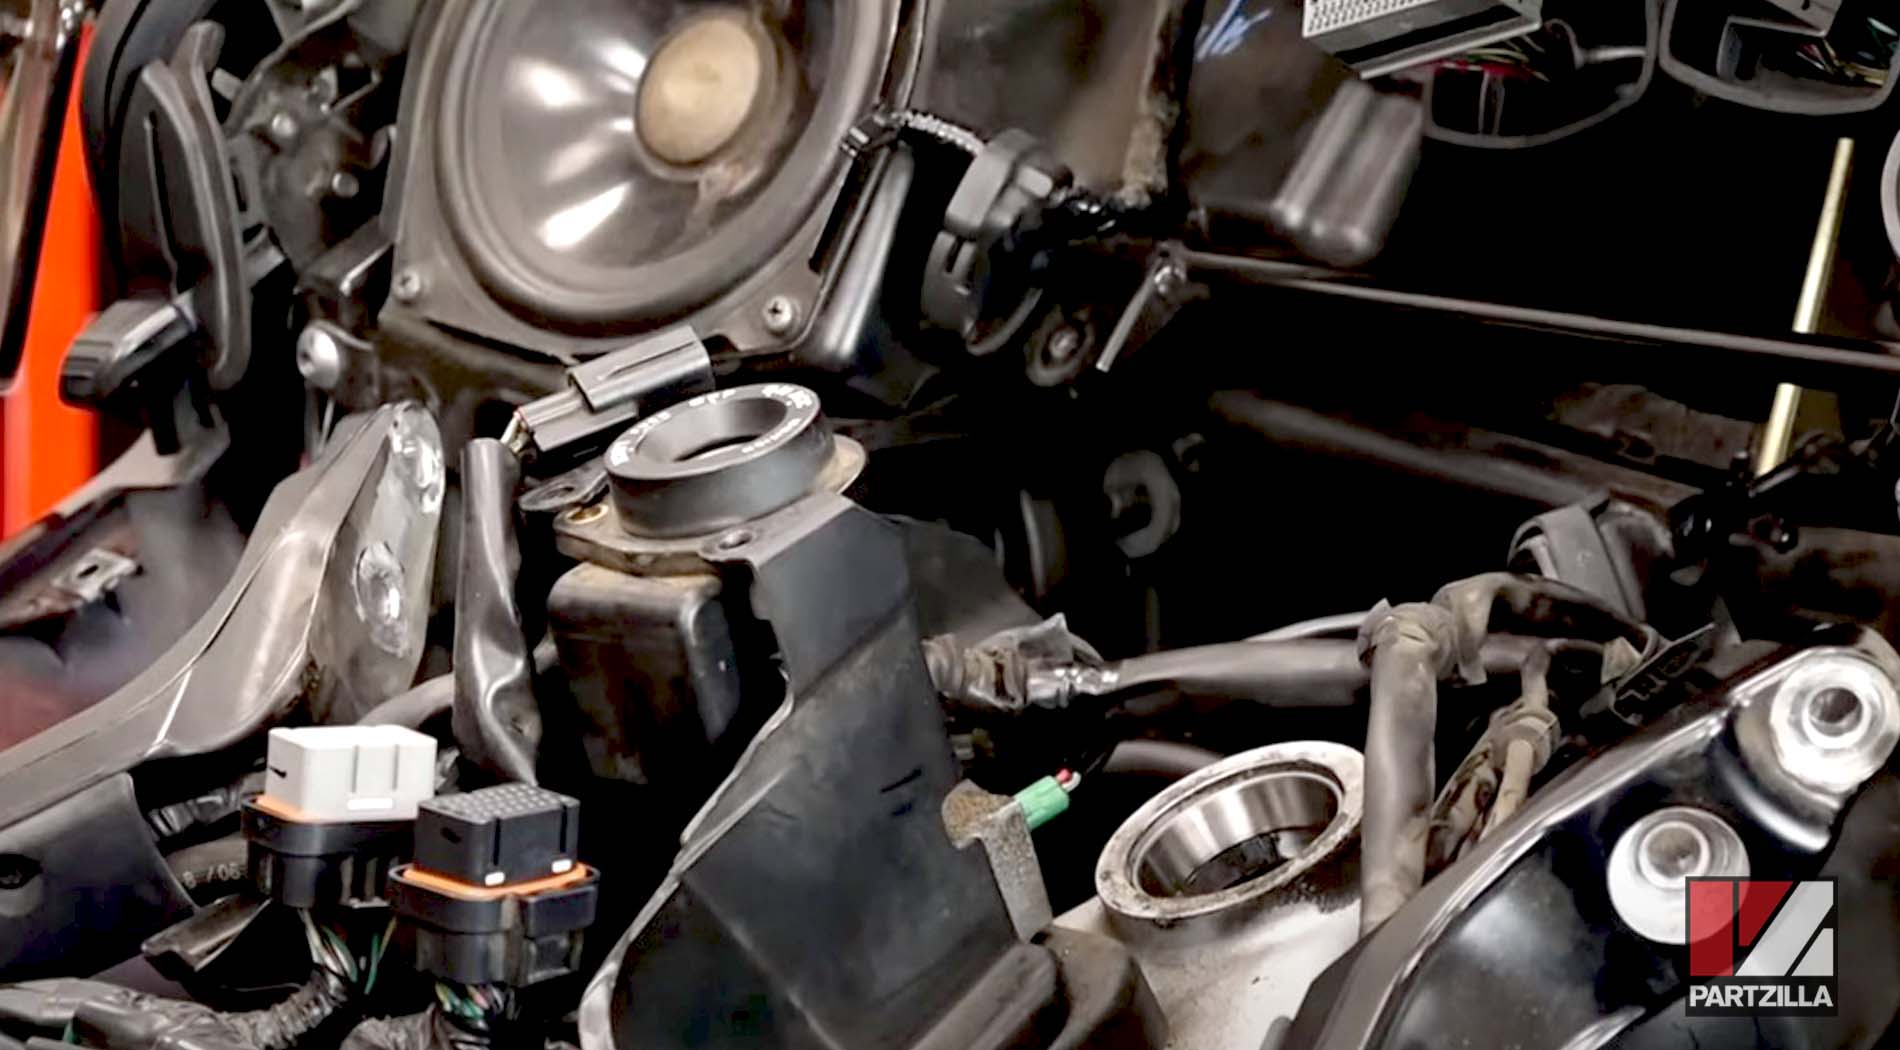
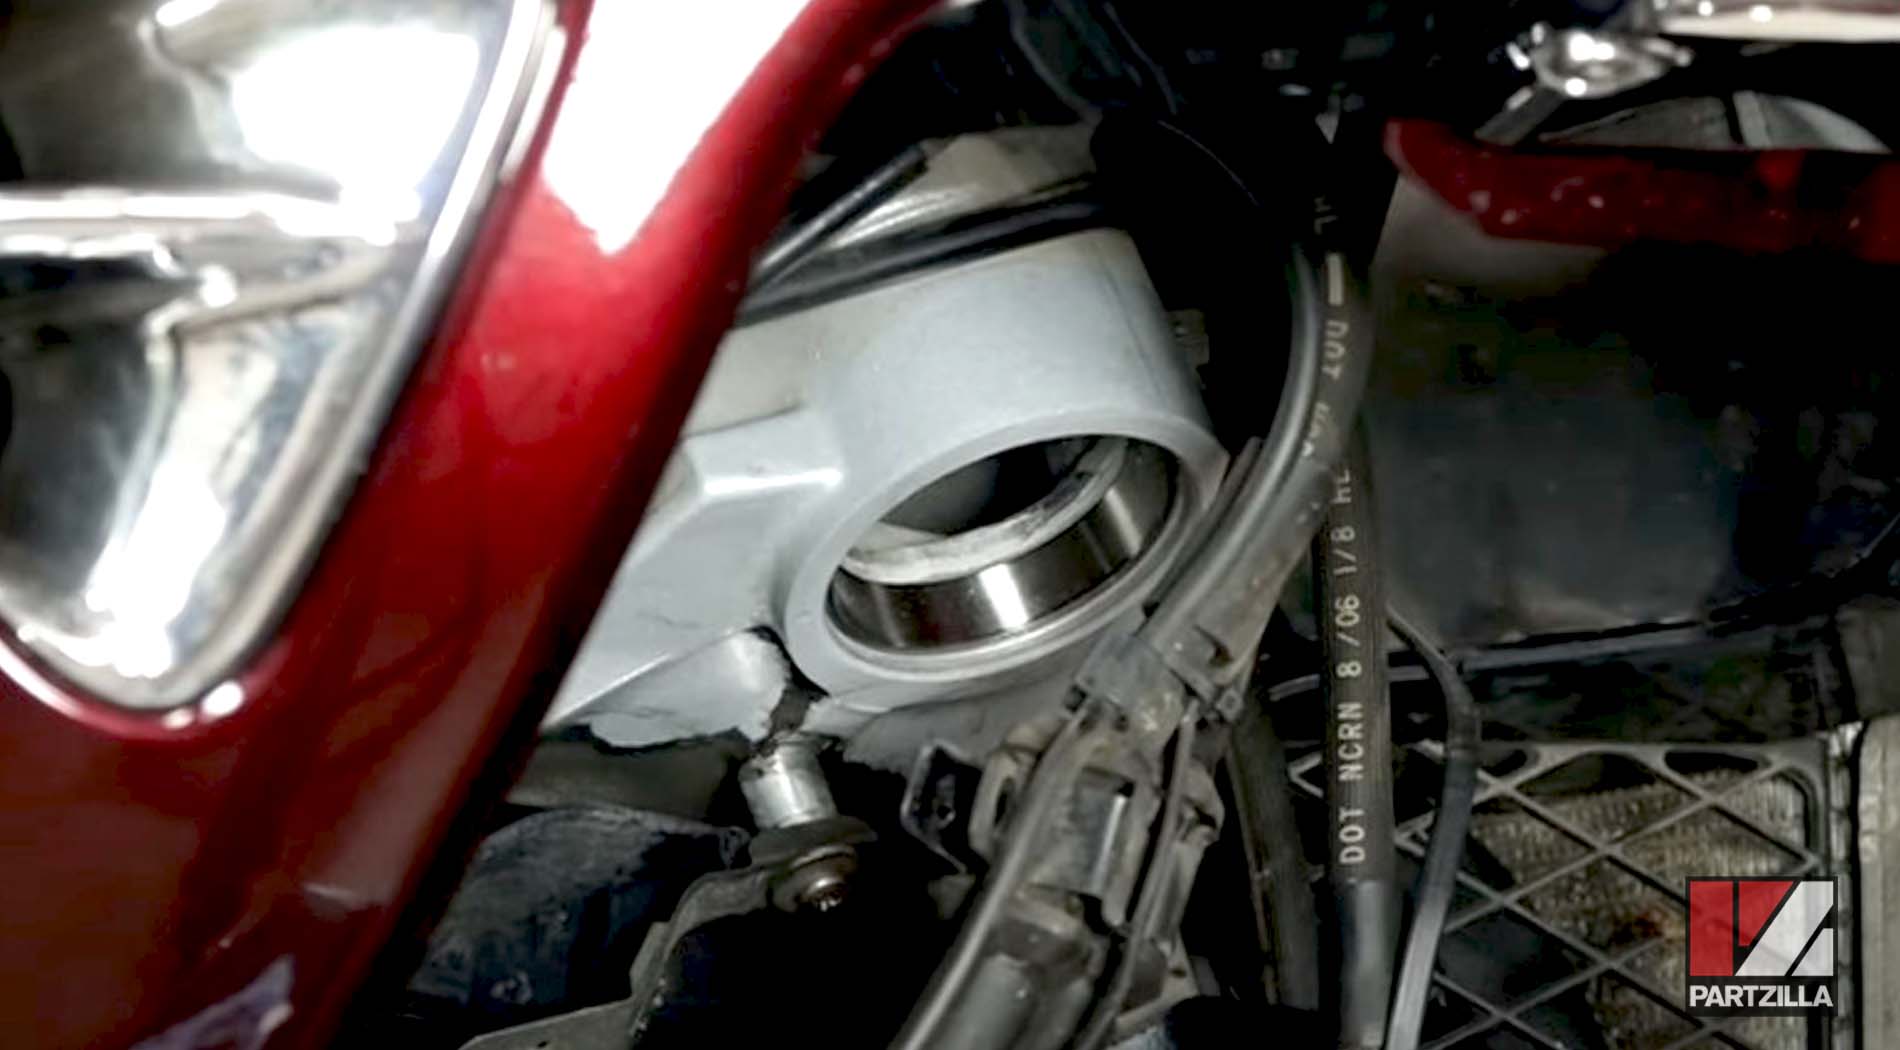
Step 4. Install the new outer races (included in the steering stem bearing kit) into the frame head using a bearing driver set for tapered bearings by gently tapping them in until they’re fully seated.
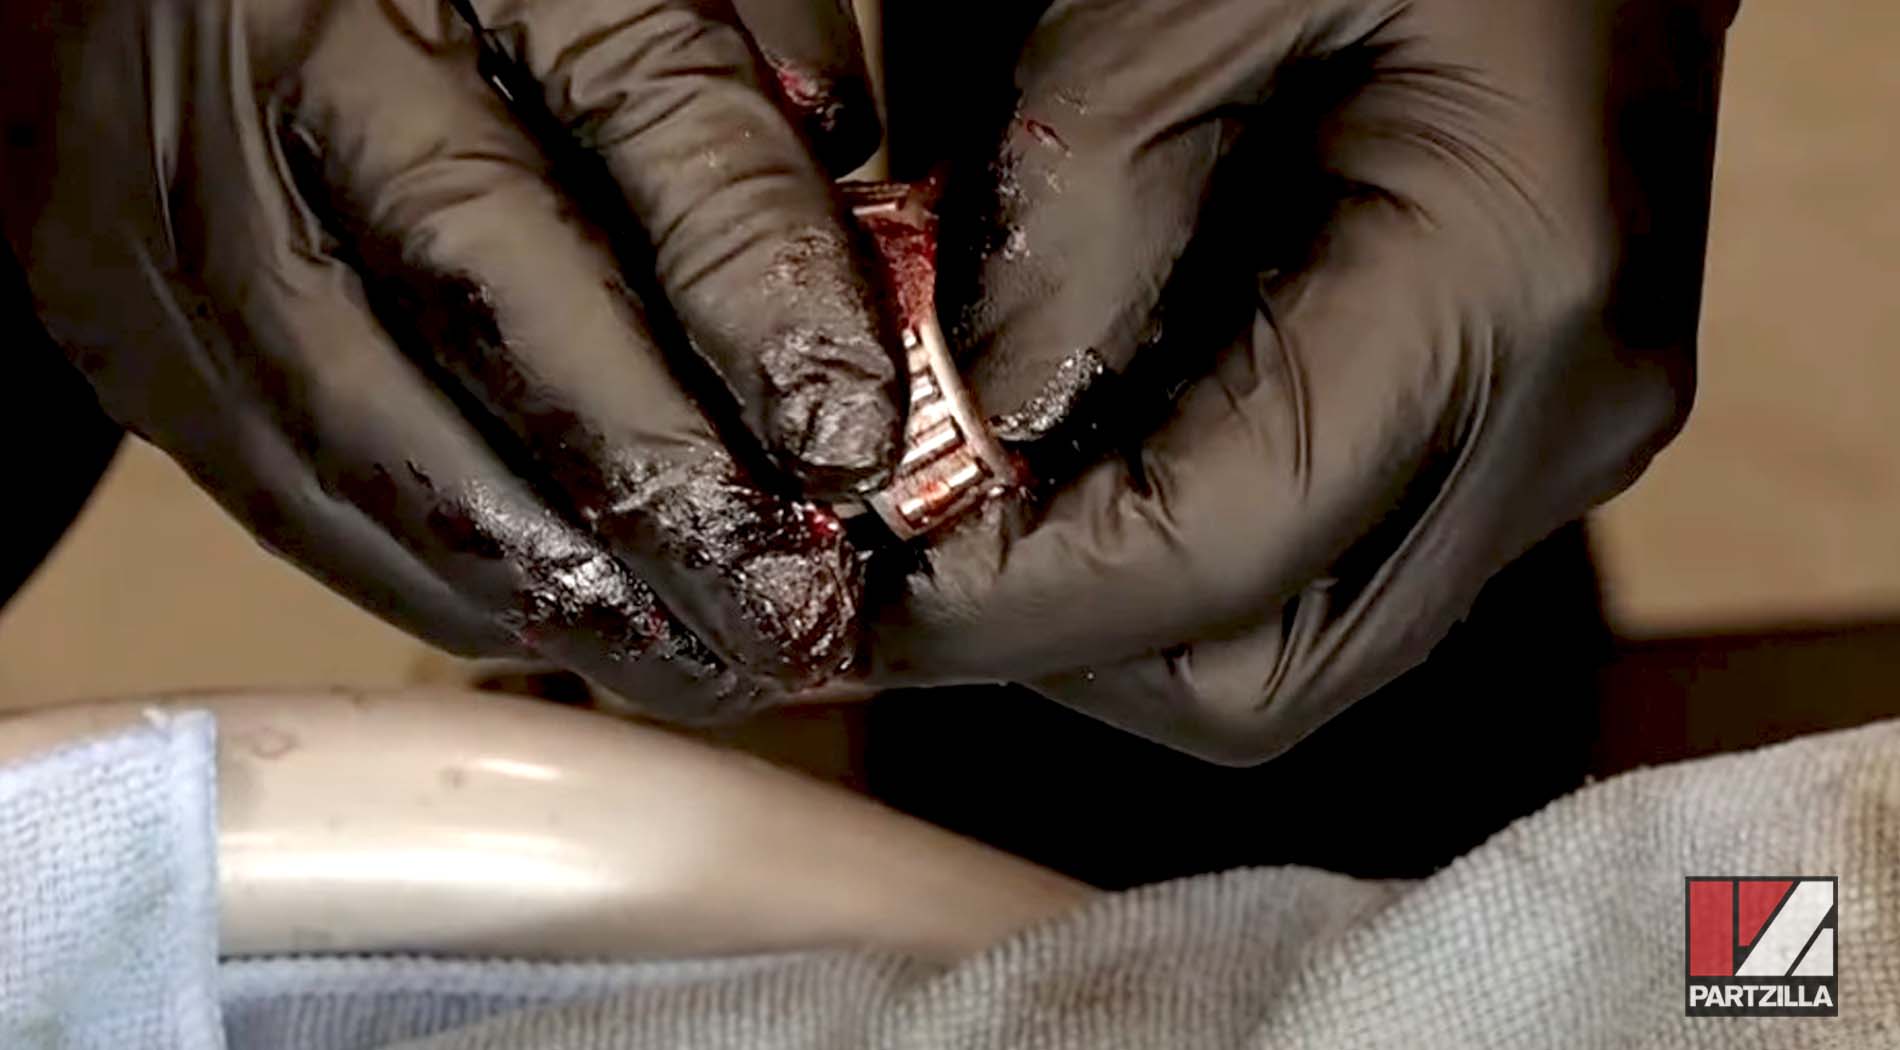
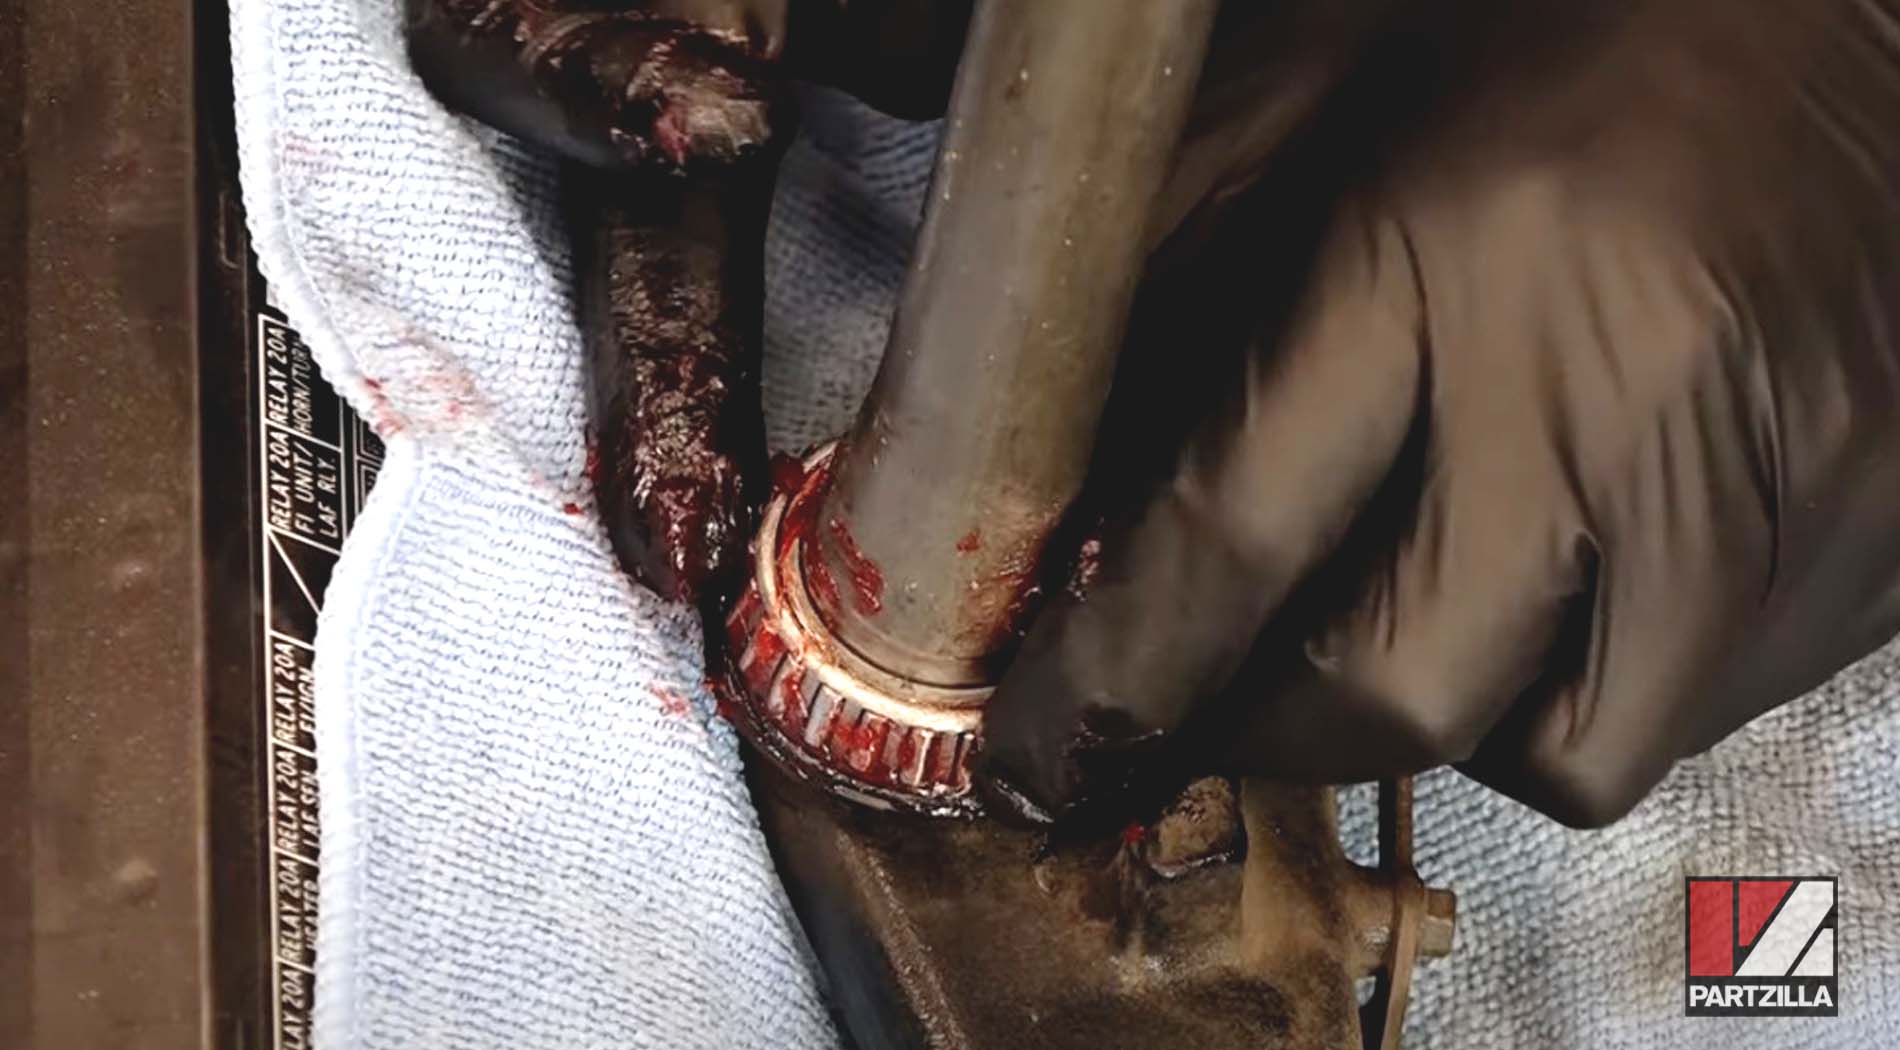
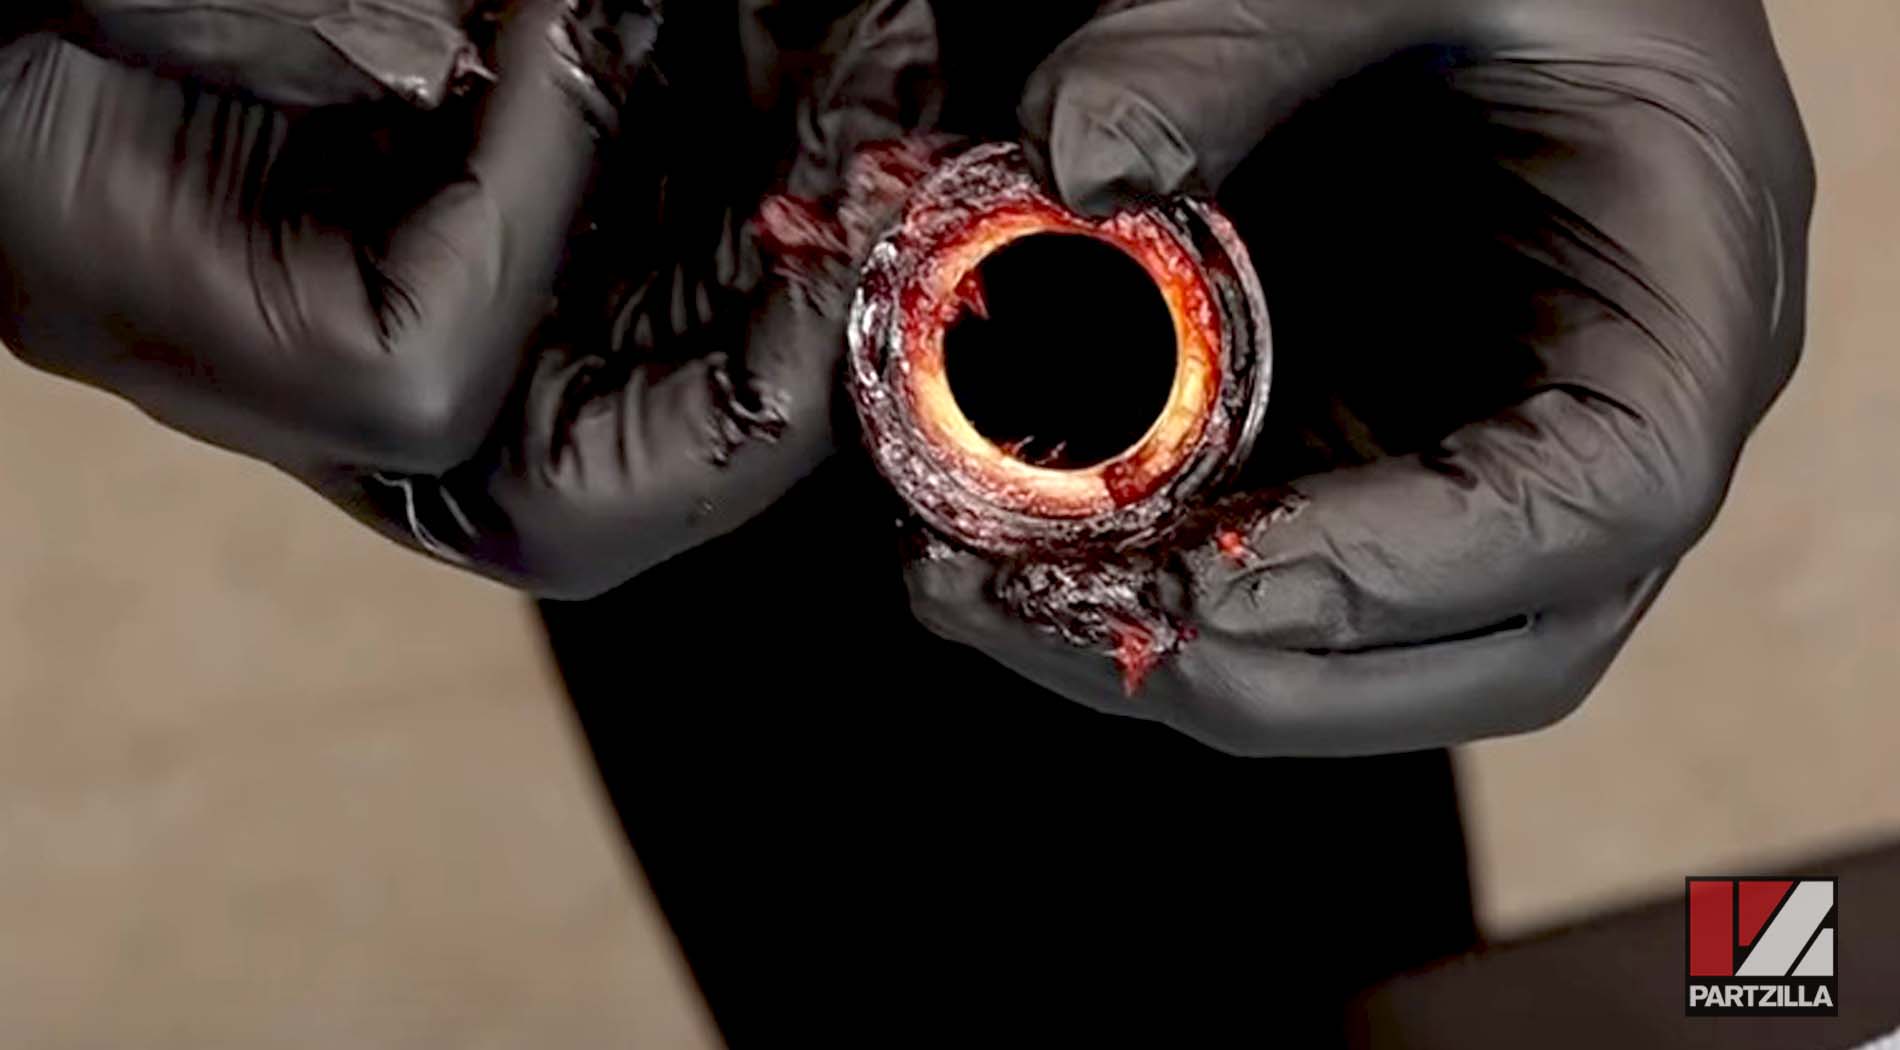
Step 5. Grease both the new steering stem bearings. Push as much grease as you can into the bearings, and also grease the inside of the new bearing races.
Replace Honda GL1800 Steering Stem Bearings: Reinstalling the Steering Stem and Top Bridge
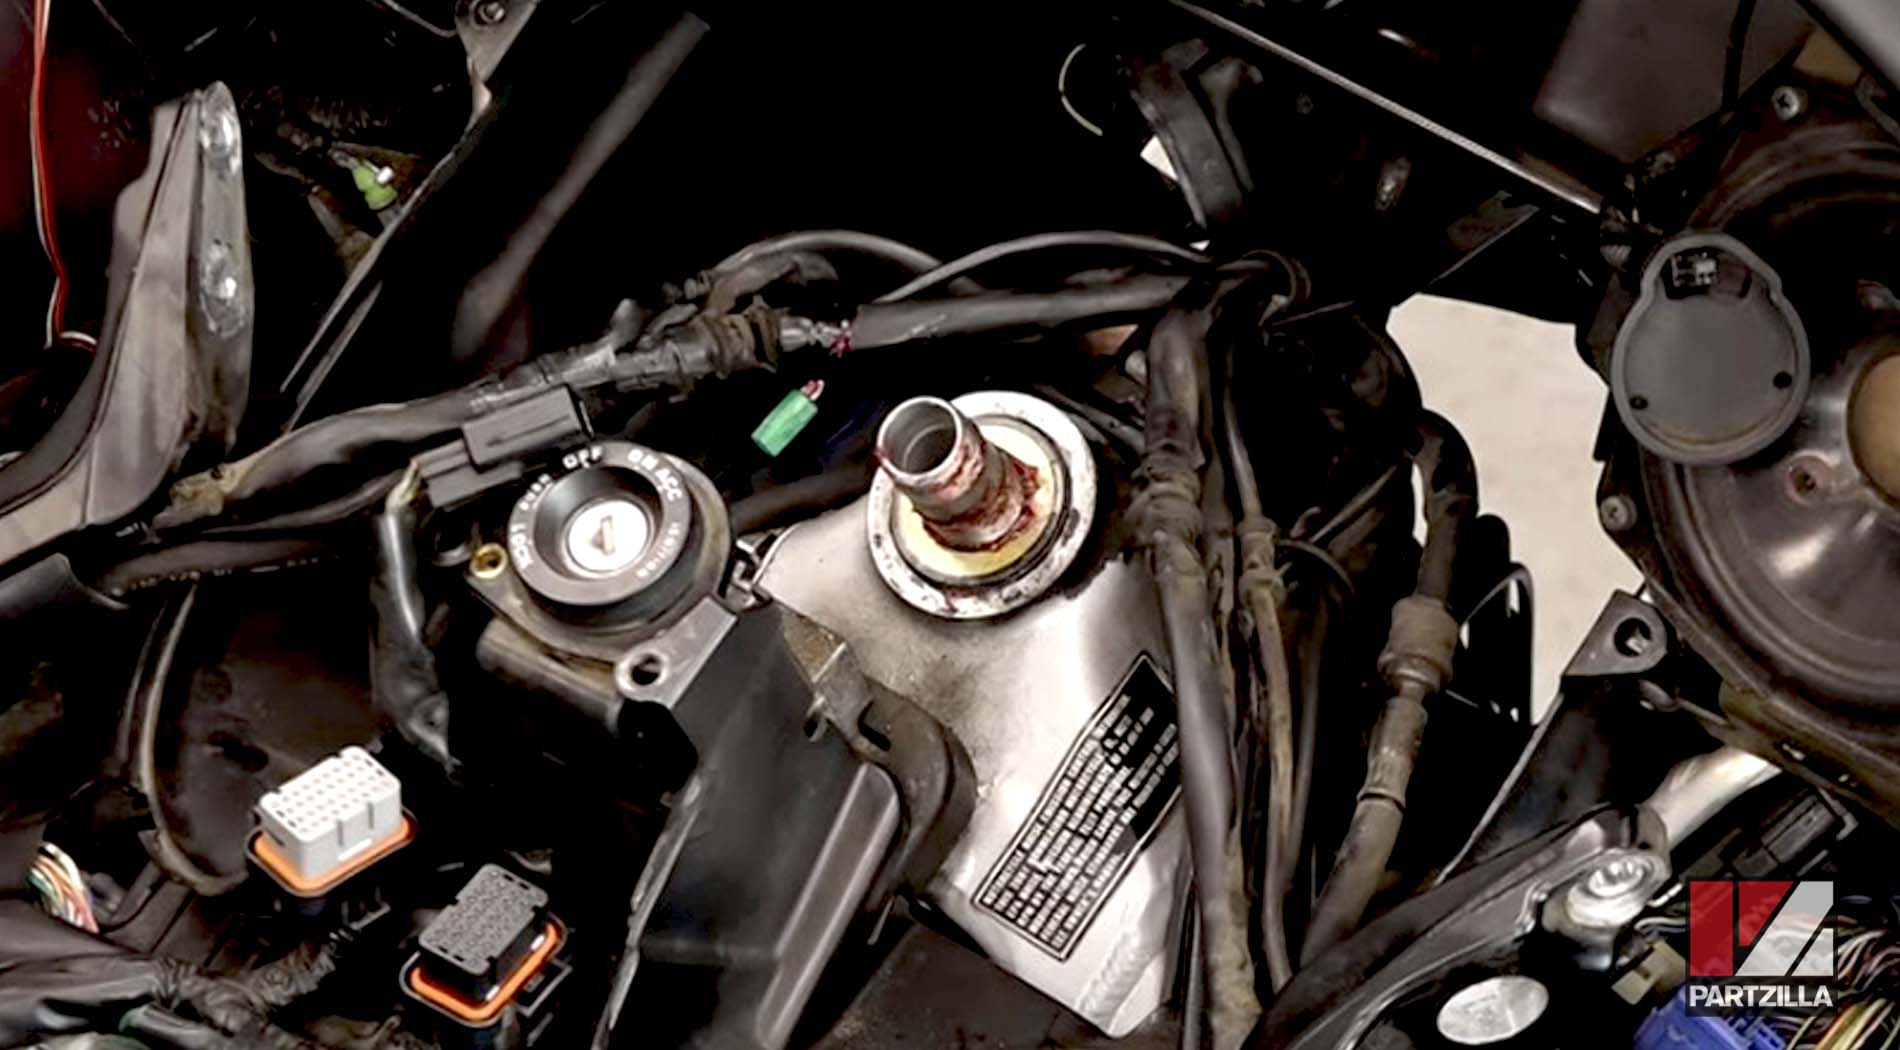
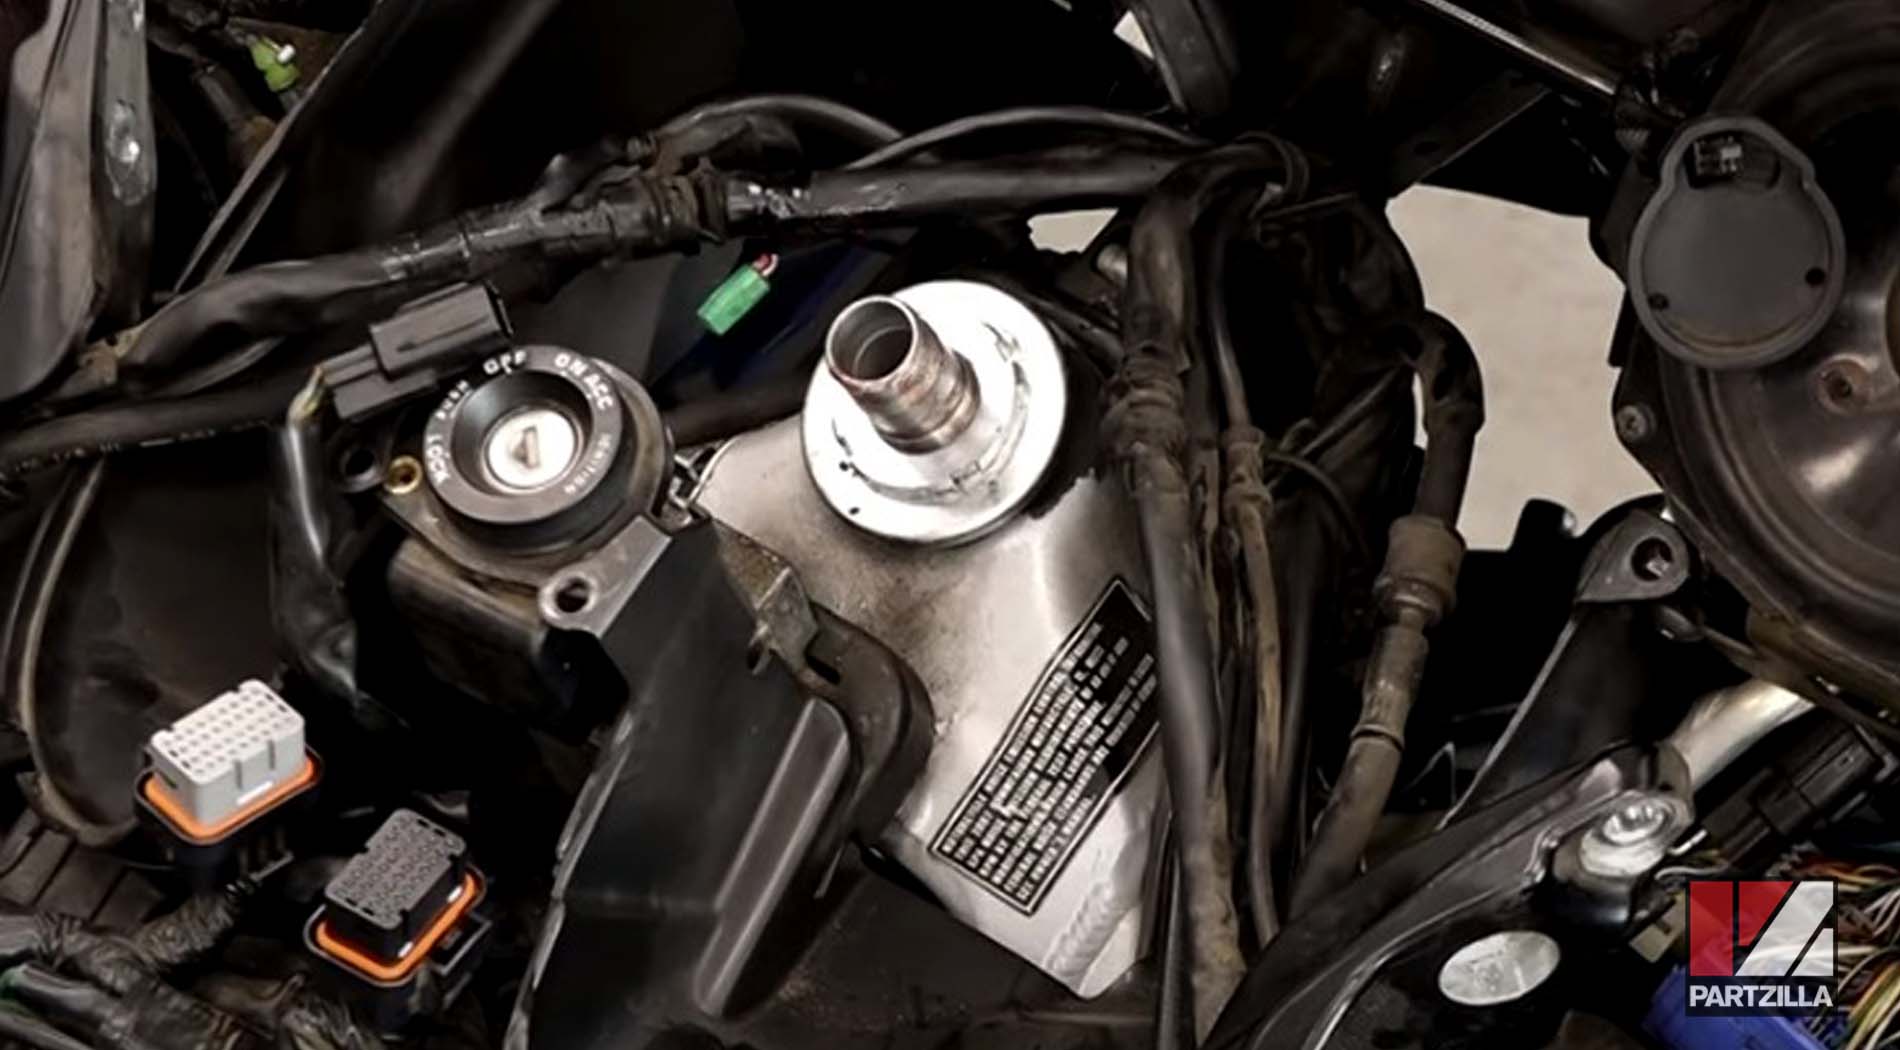
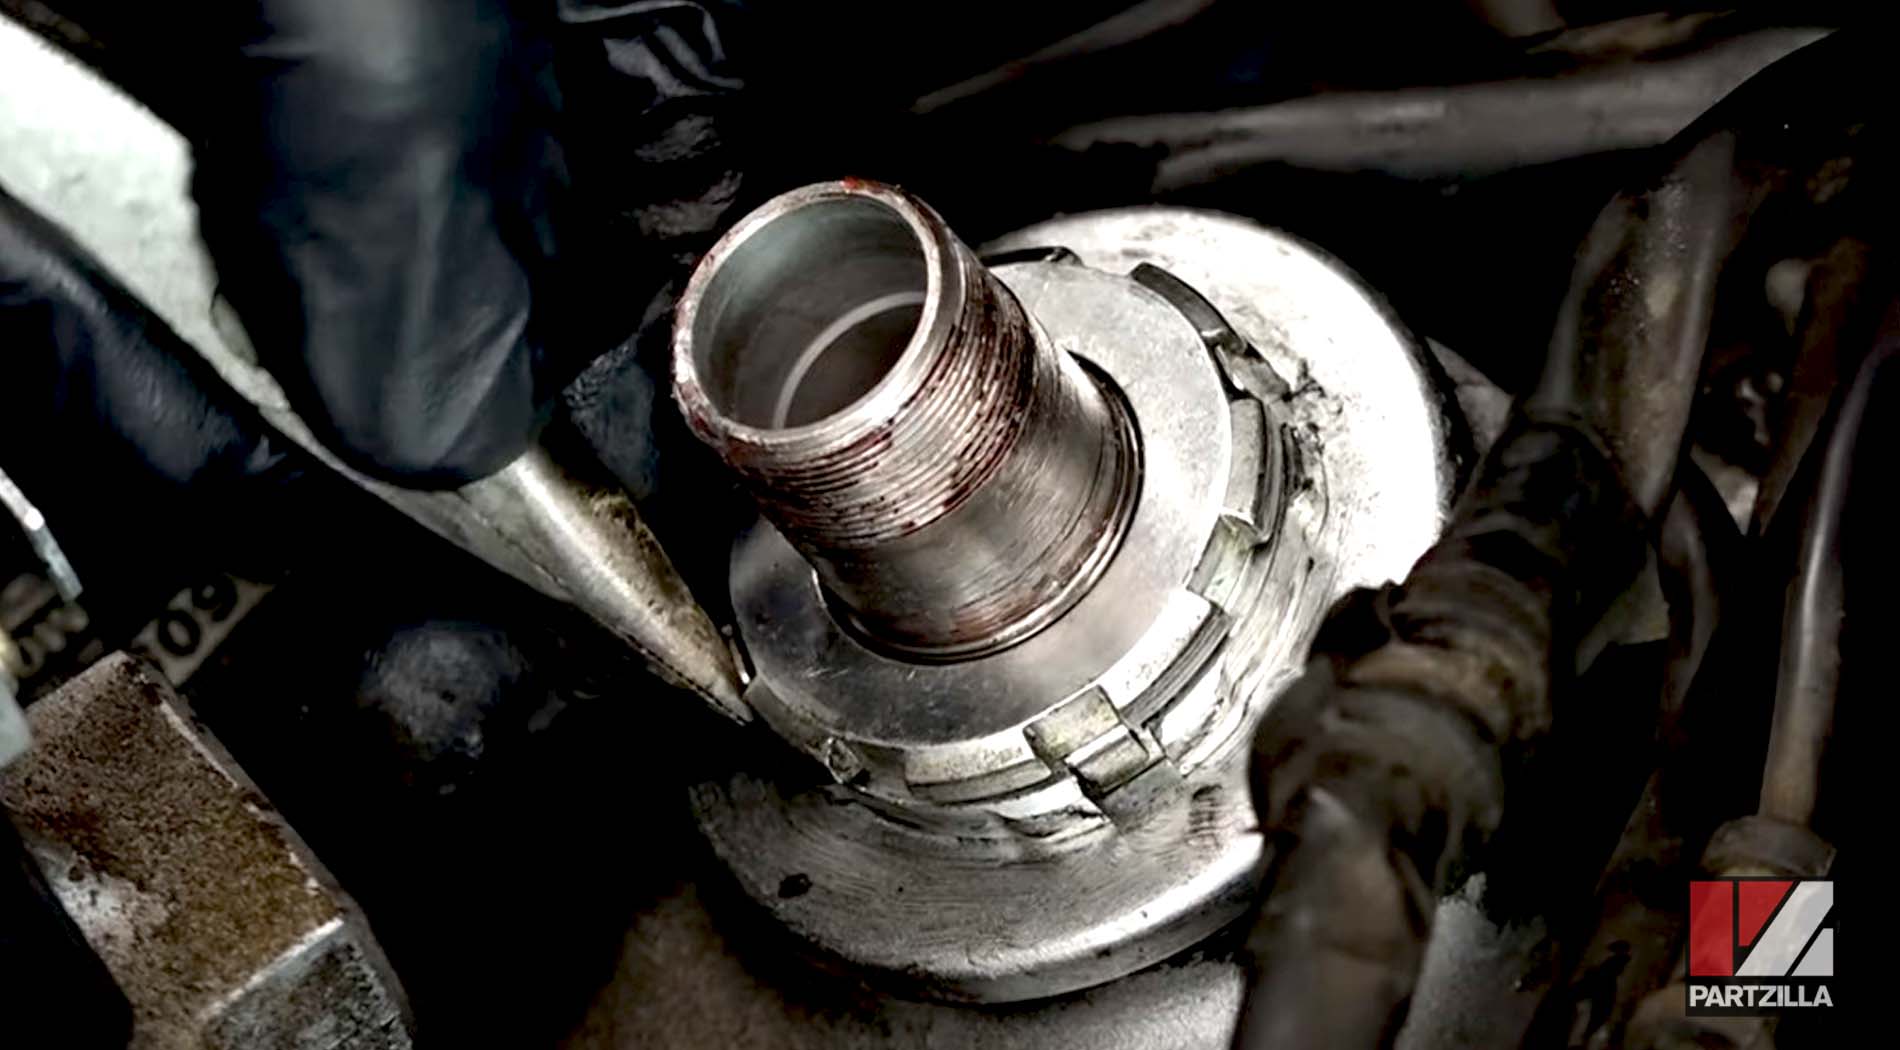
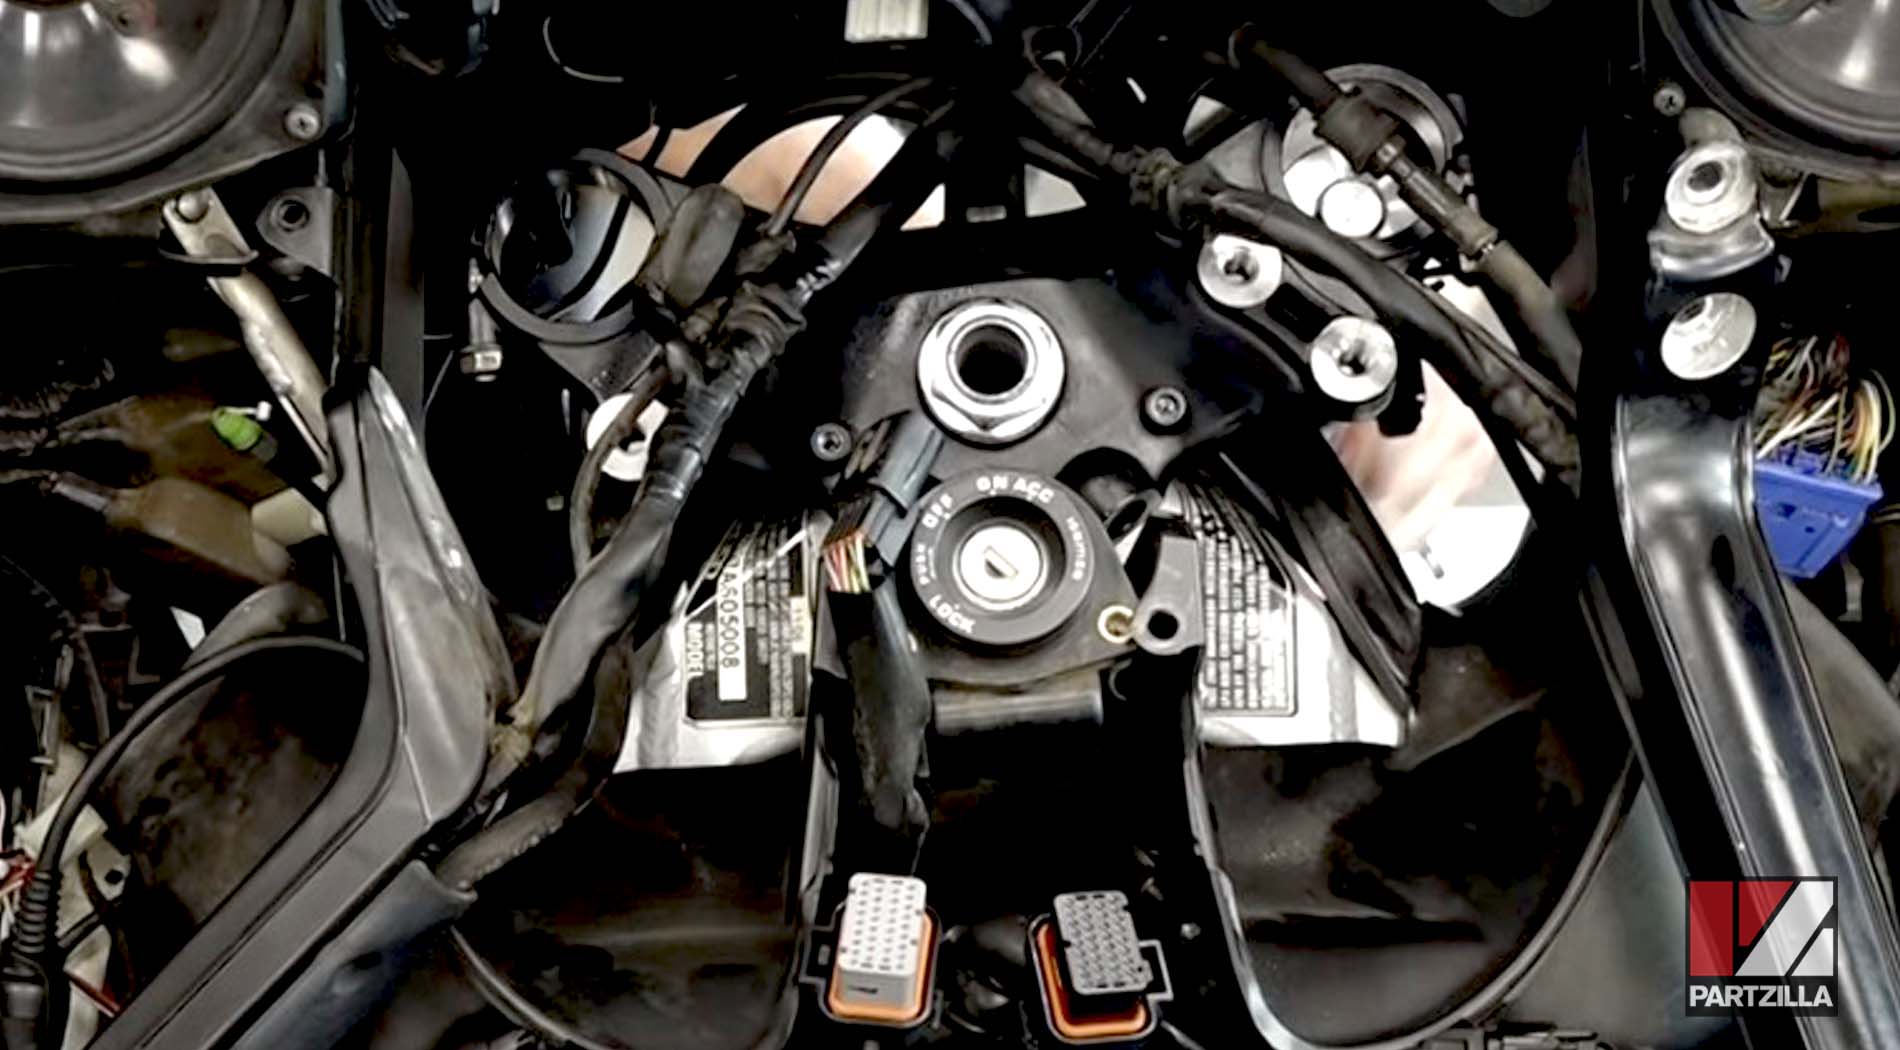
Step 1. Reinstall the steering stem back up into the frame head.
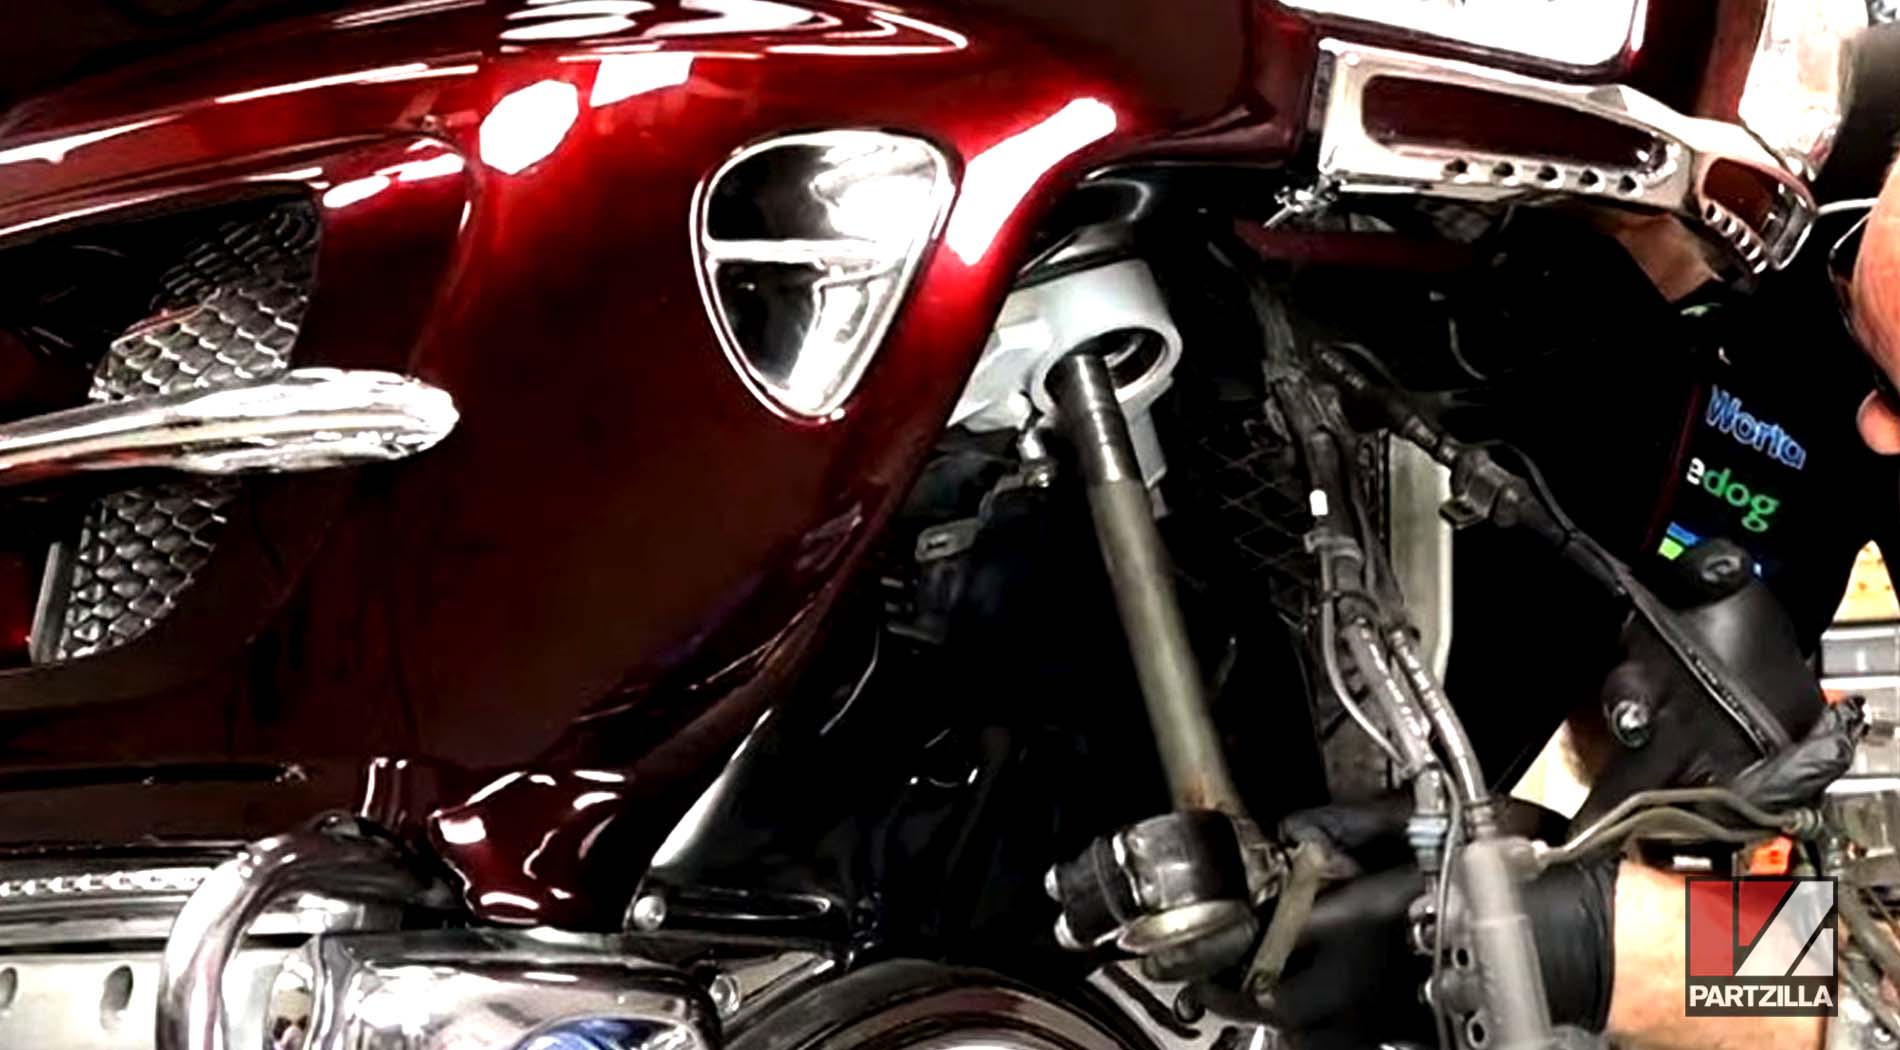
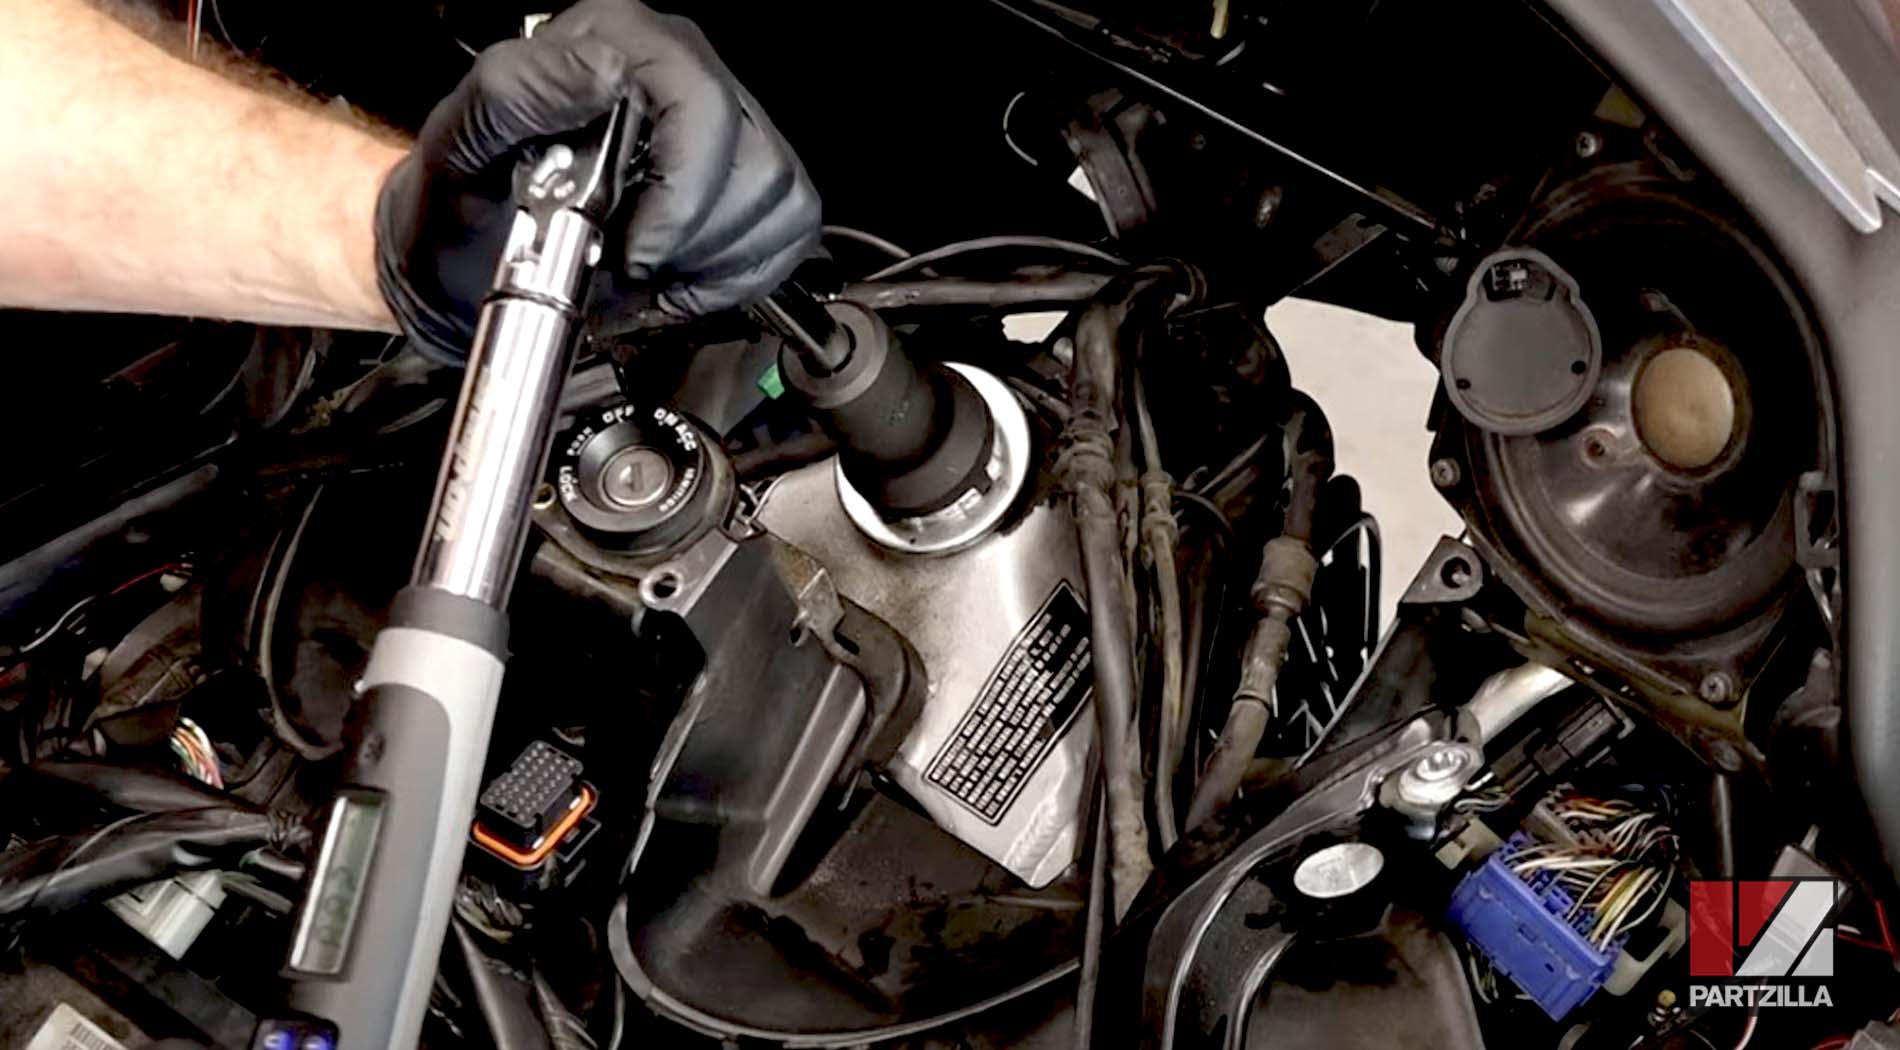
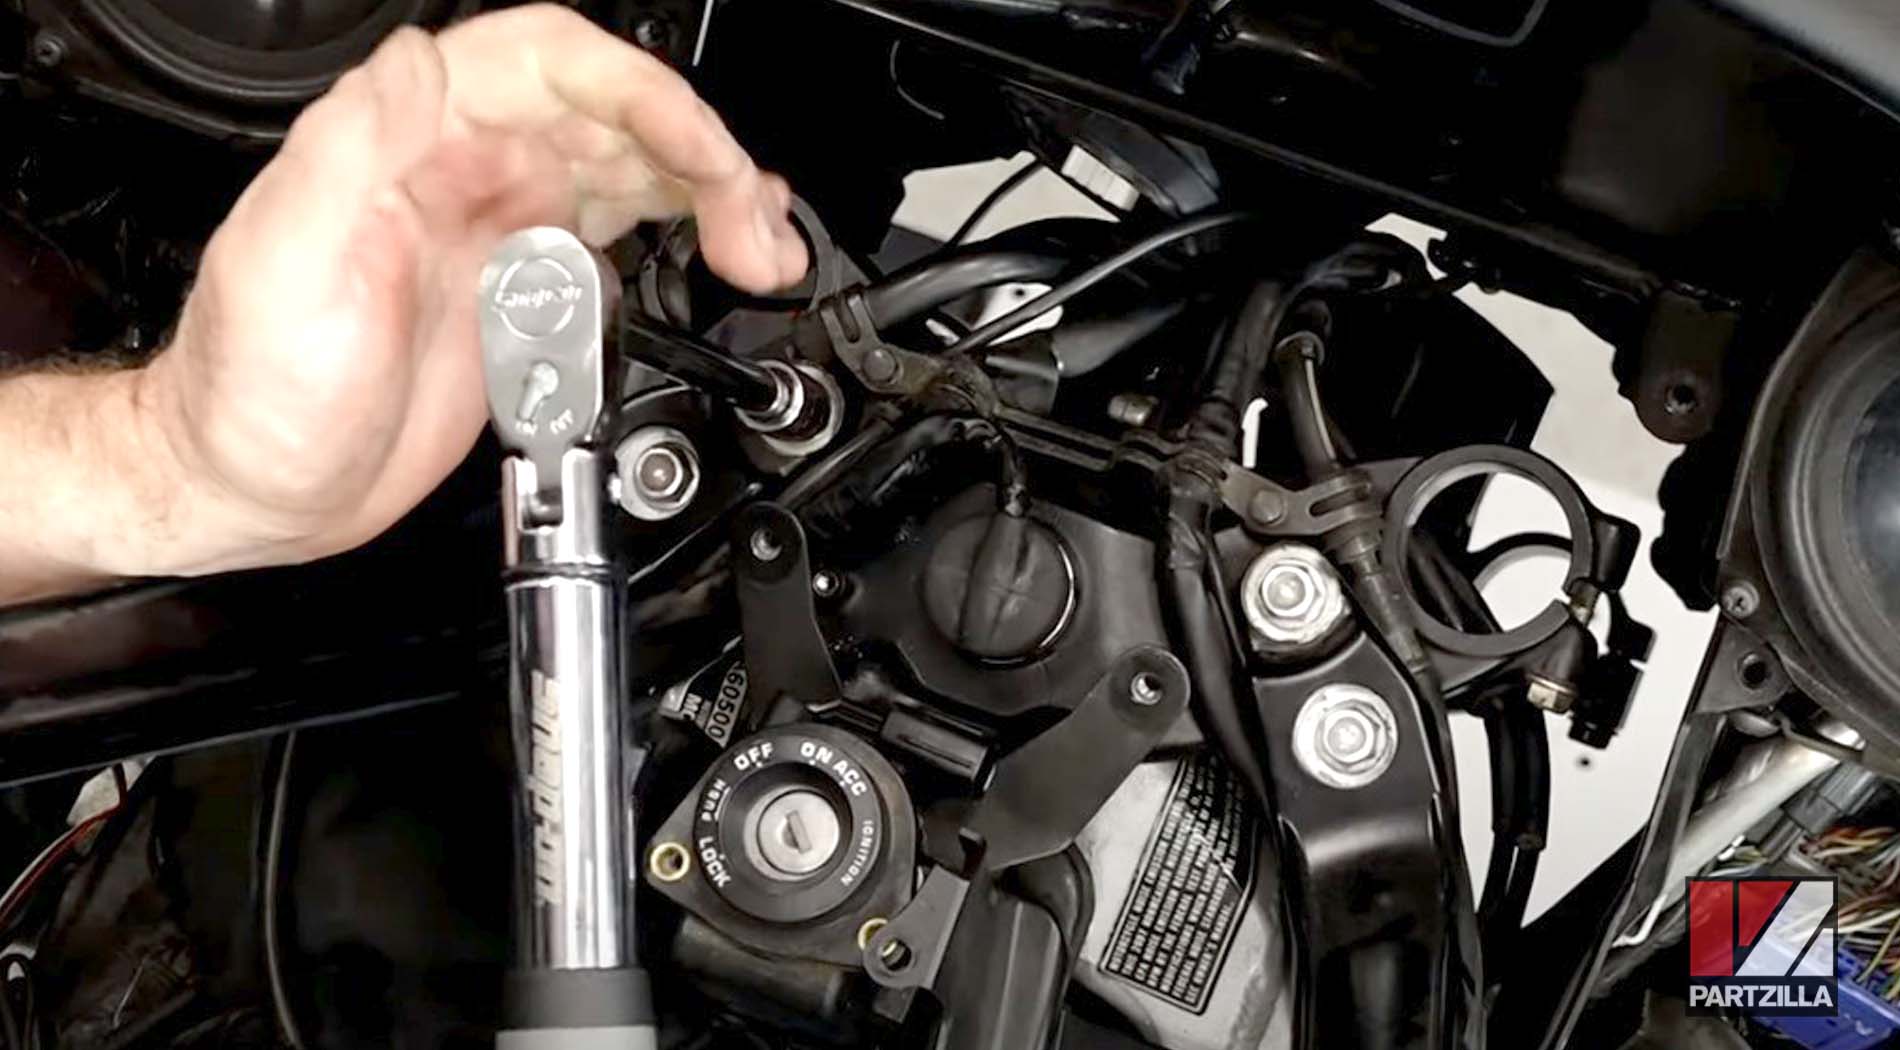
Step 2. Reinstall the steering stem dust seal and the steering stem top nut, and torque the top nut to between 28 and 30 foot-pounds.
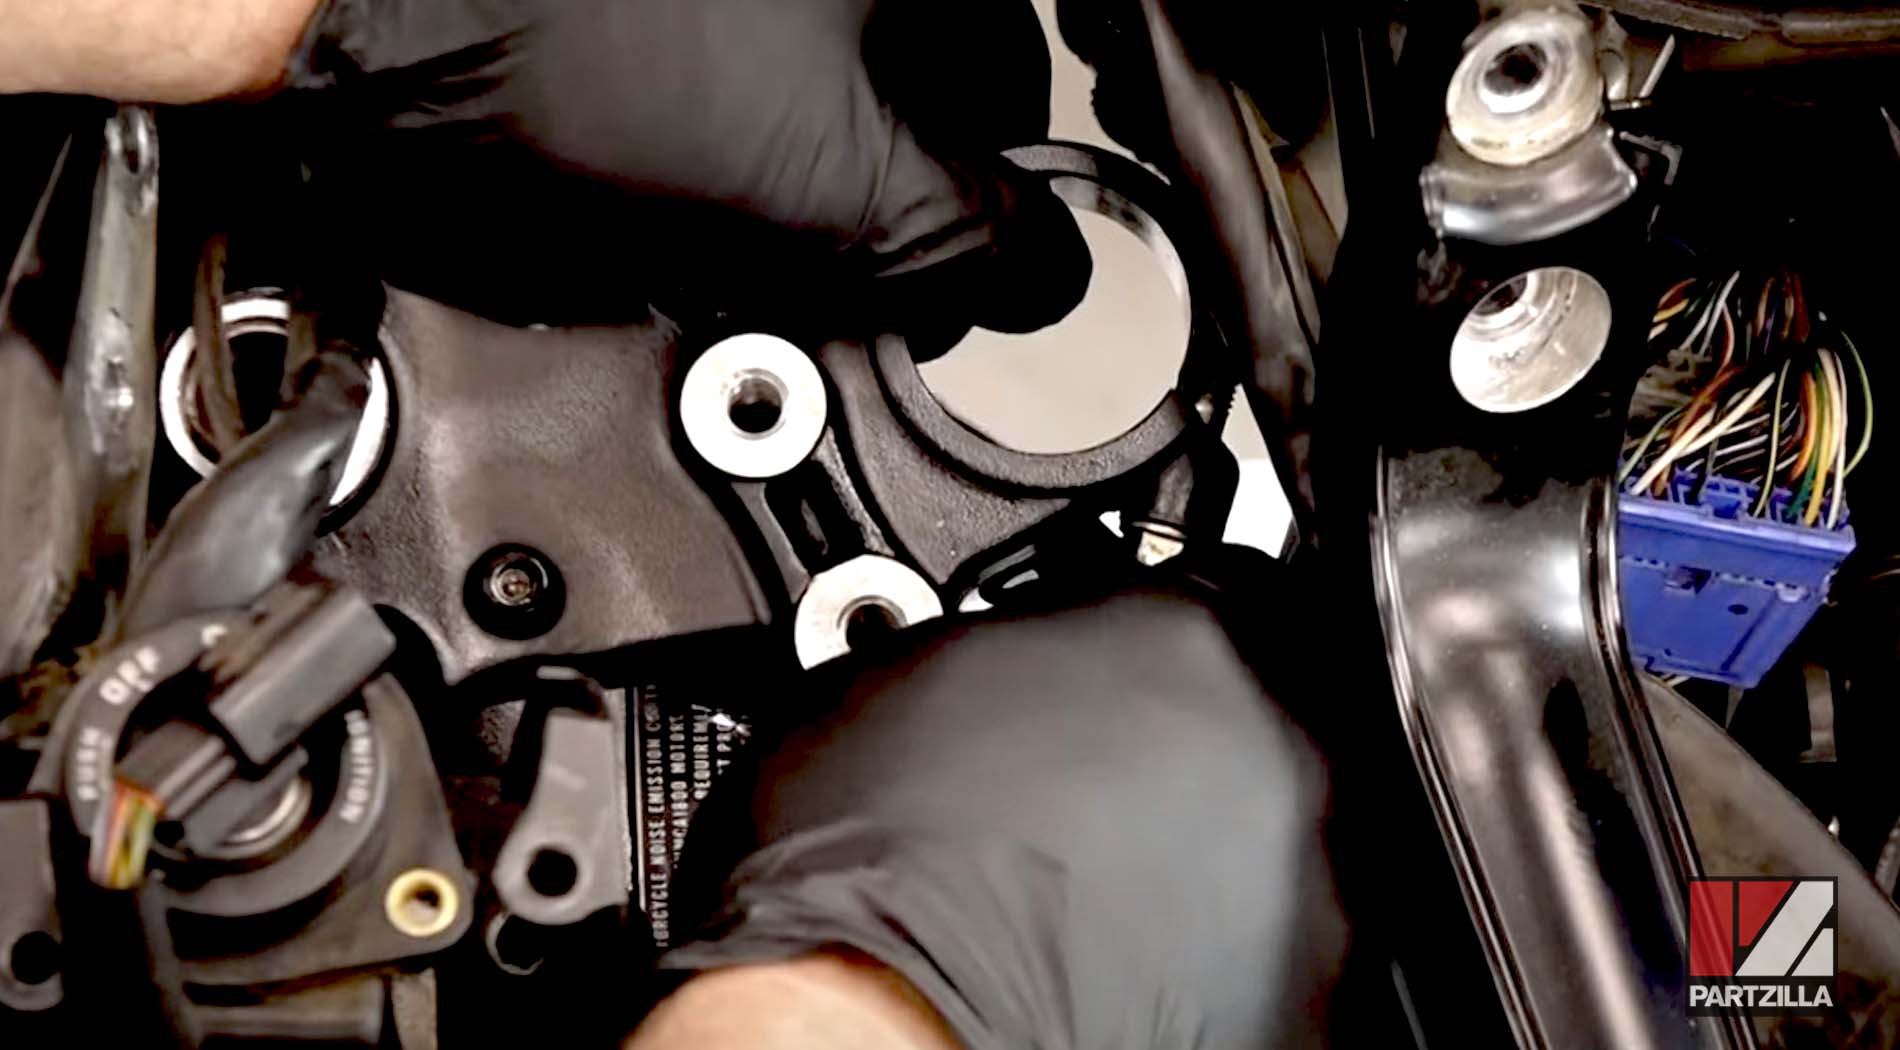
Step 3. Reinstall the steering stem lock washer and lock nut. Hand-tighten the lock nut, then tighten it again by an additional 90-degree turn or until its notches are aligned with the two tabs in the lock washer. Bend up the lock washer tabs to secure the lock nut.
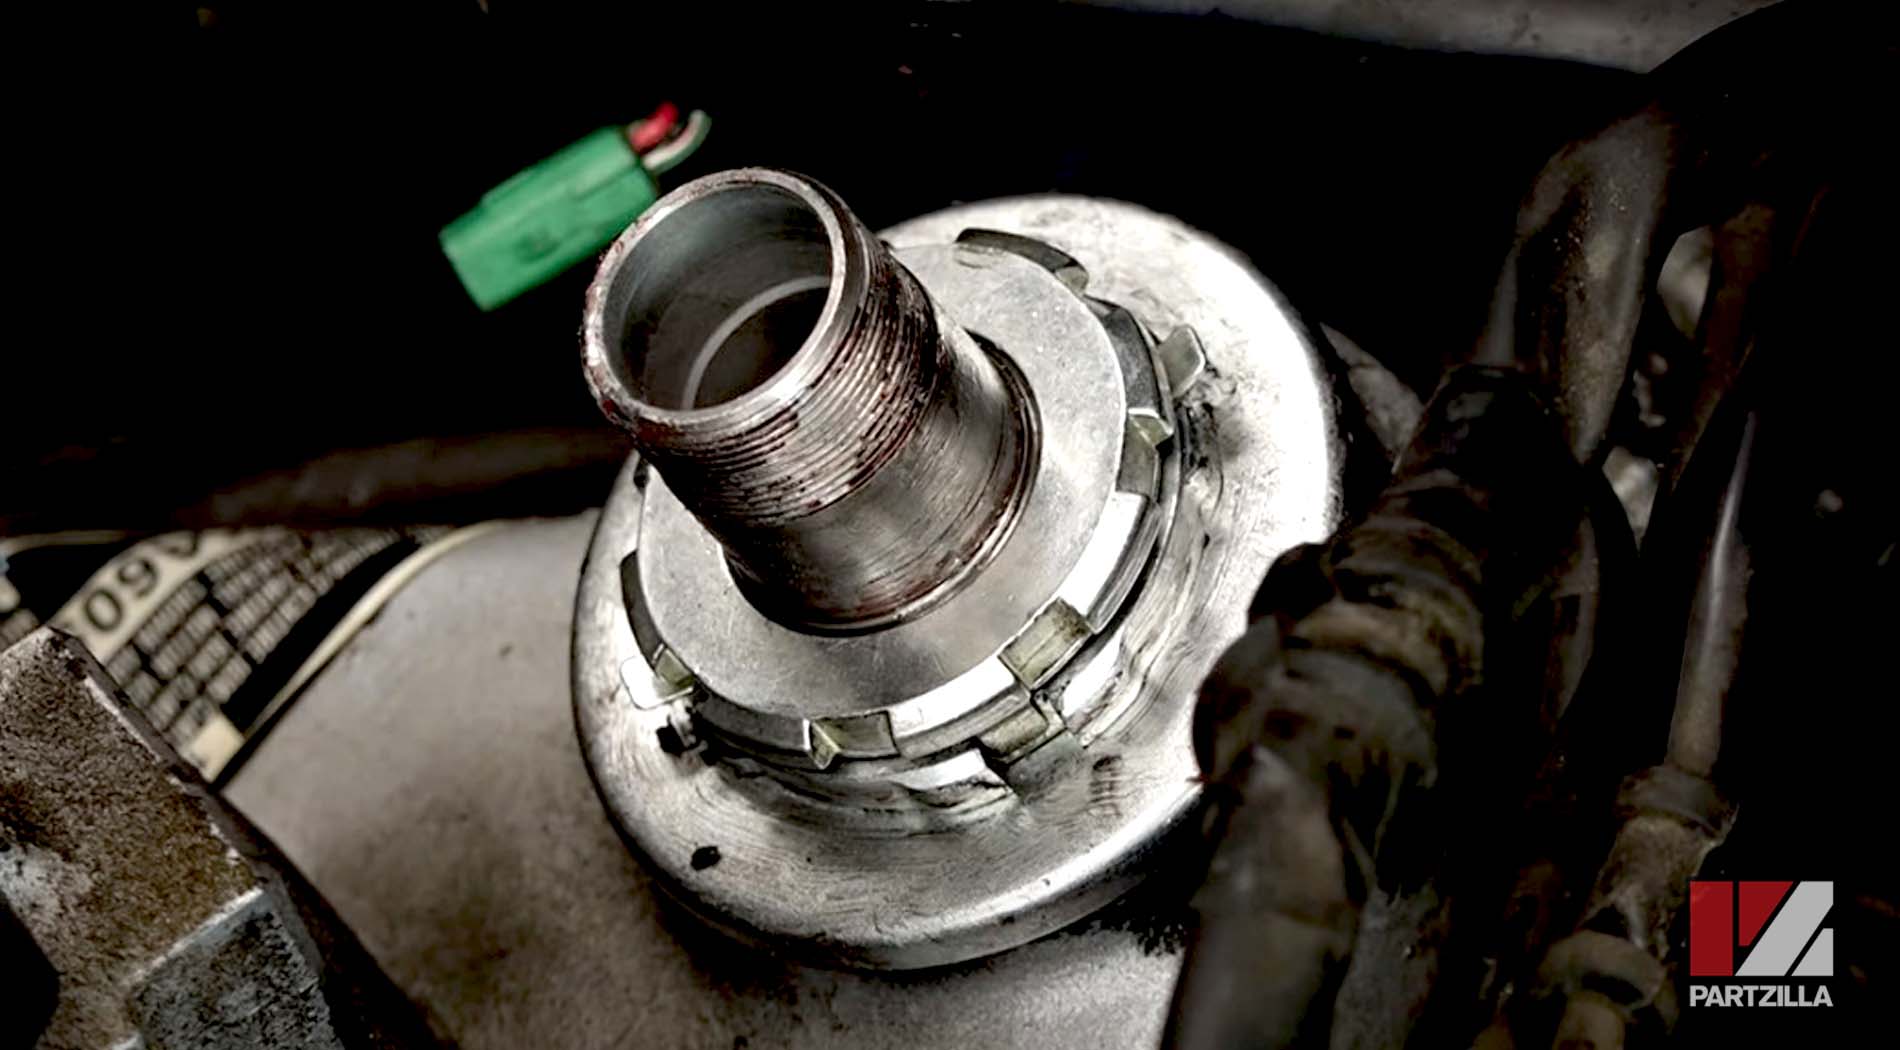
Watch the clip below to see how to reinstall the steering stem lock washer and lock nut on a Honda Goldwing GL1800.
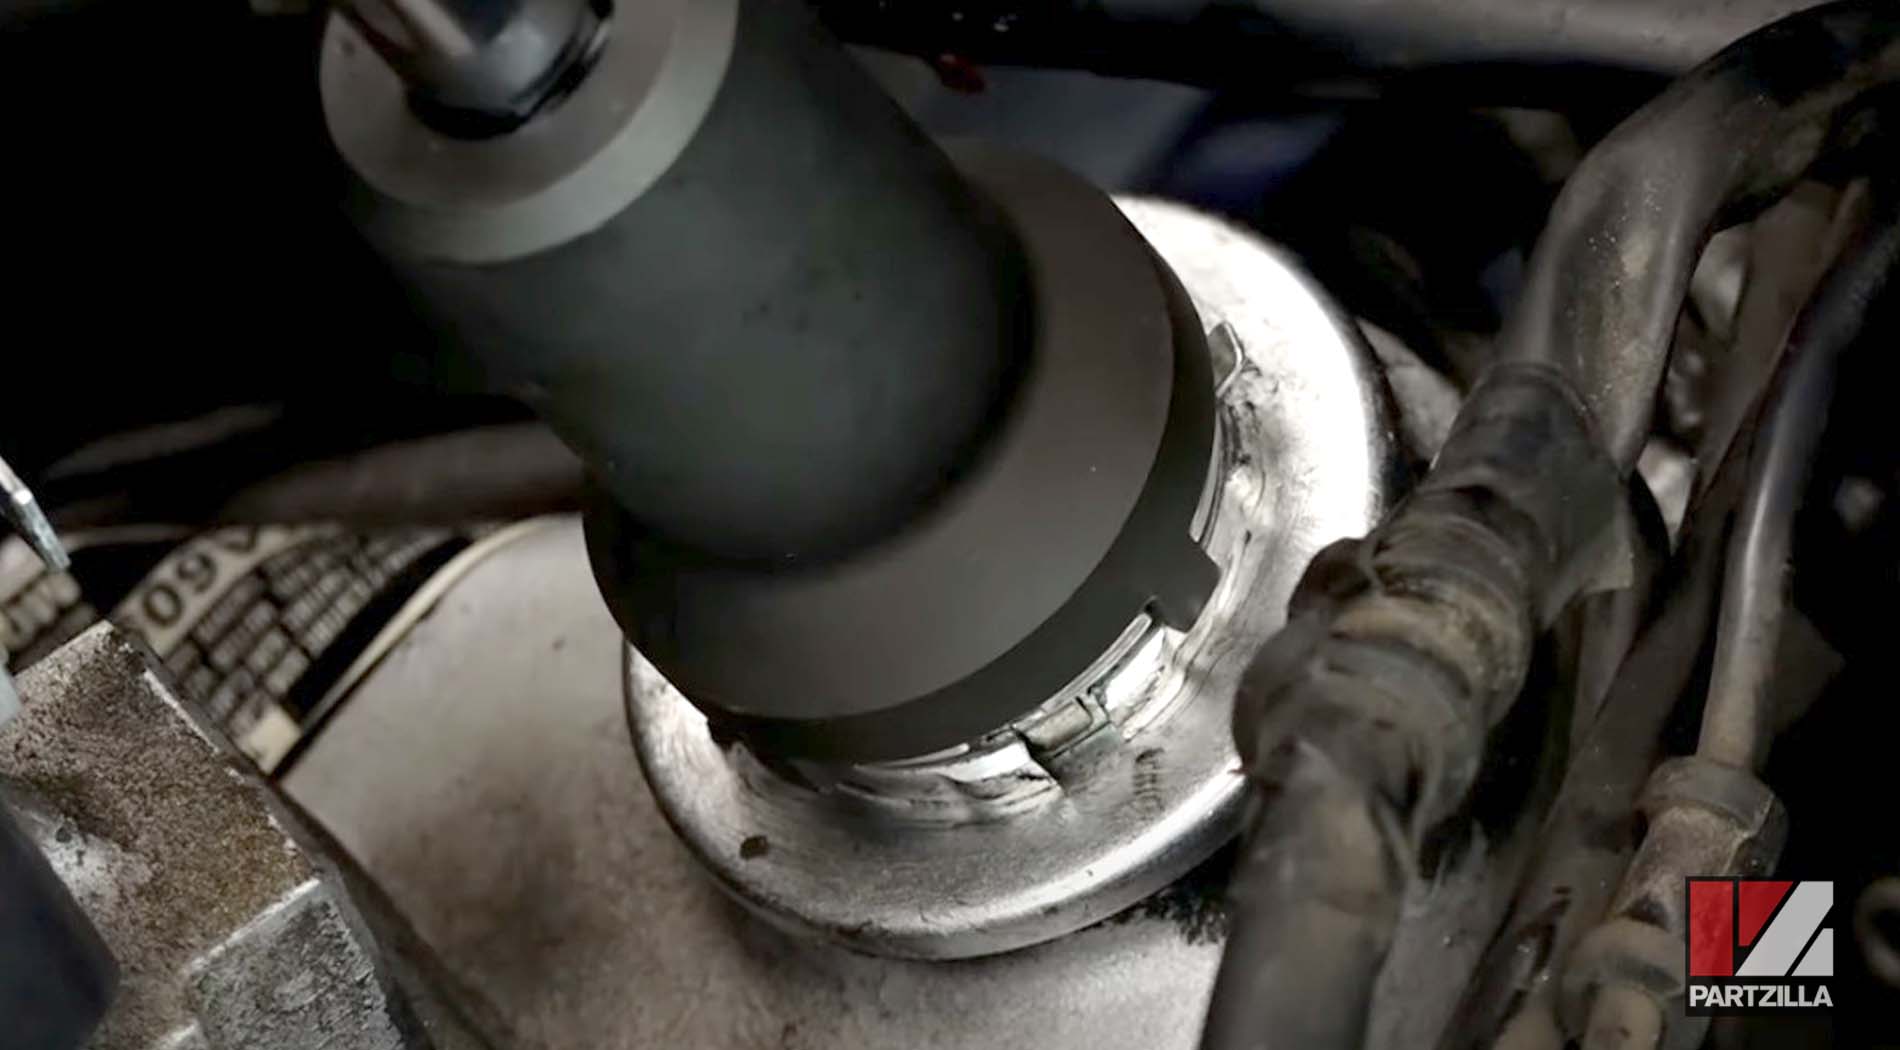
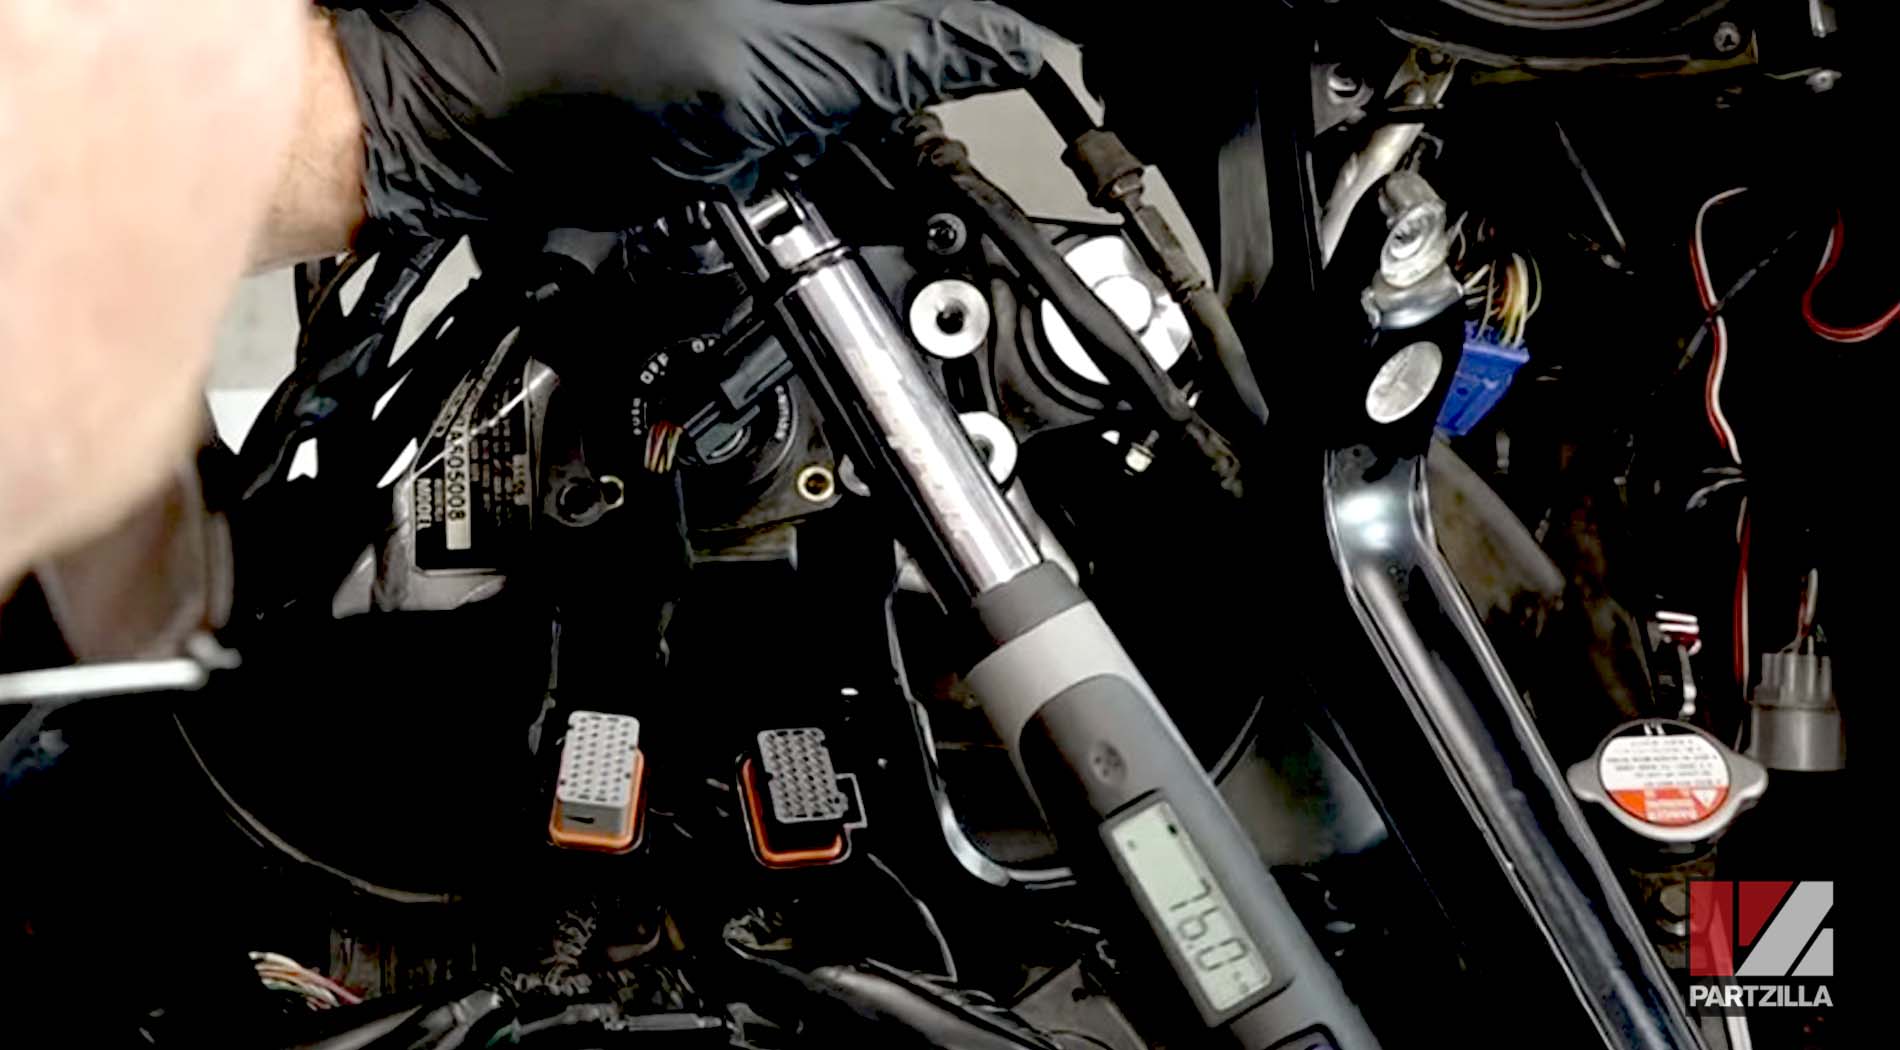
Step 4. Reinstall the top bridge, align it as best as you can with the steering stem and reinstall the 30mm upper steering stem nut, but only tighten it hand tight at this point.
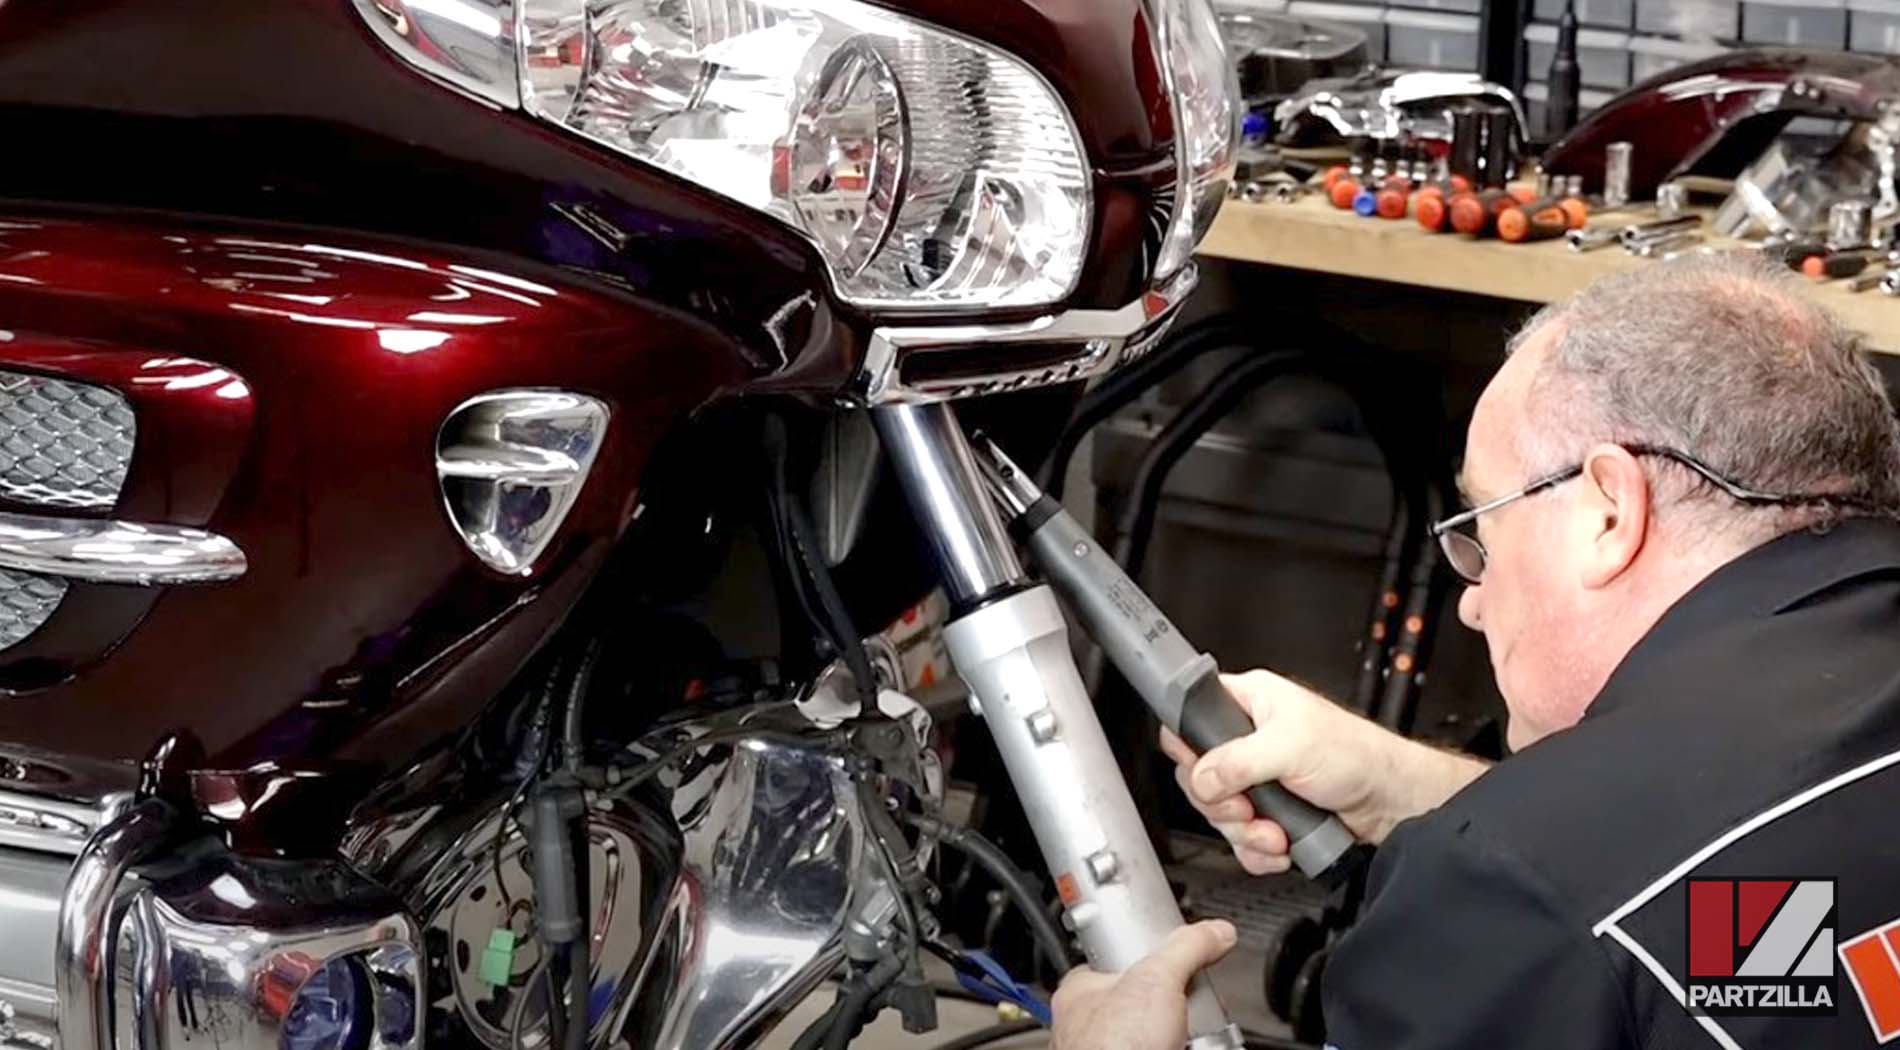
Step 5. Slide the front forks back up into the steering stem and top bridge, and tighten one of the pinch bolts on each fork to prevent them from falling down. Torque the 30mm upper steering stem nut in the top bridge to 76 foot-pounds.
Step 6. Loosen the pinch bolts and remove the forks again.
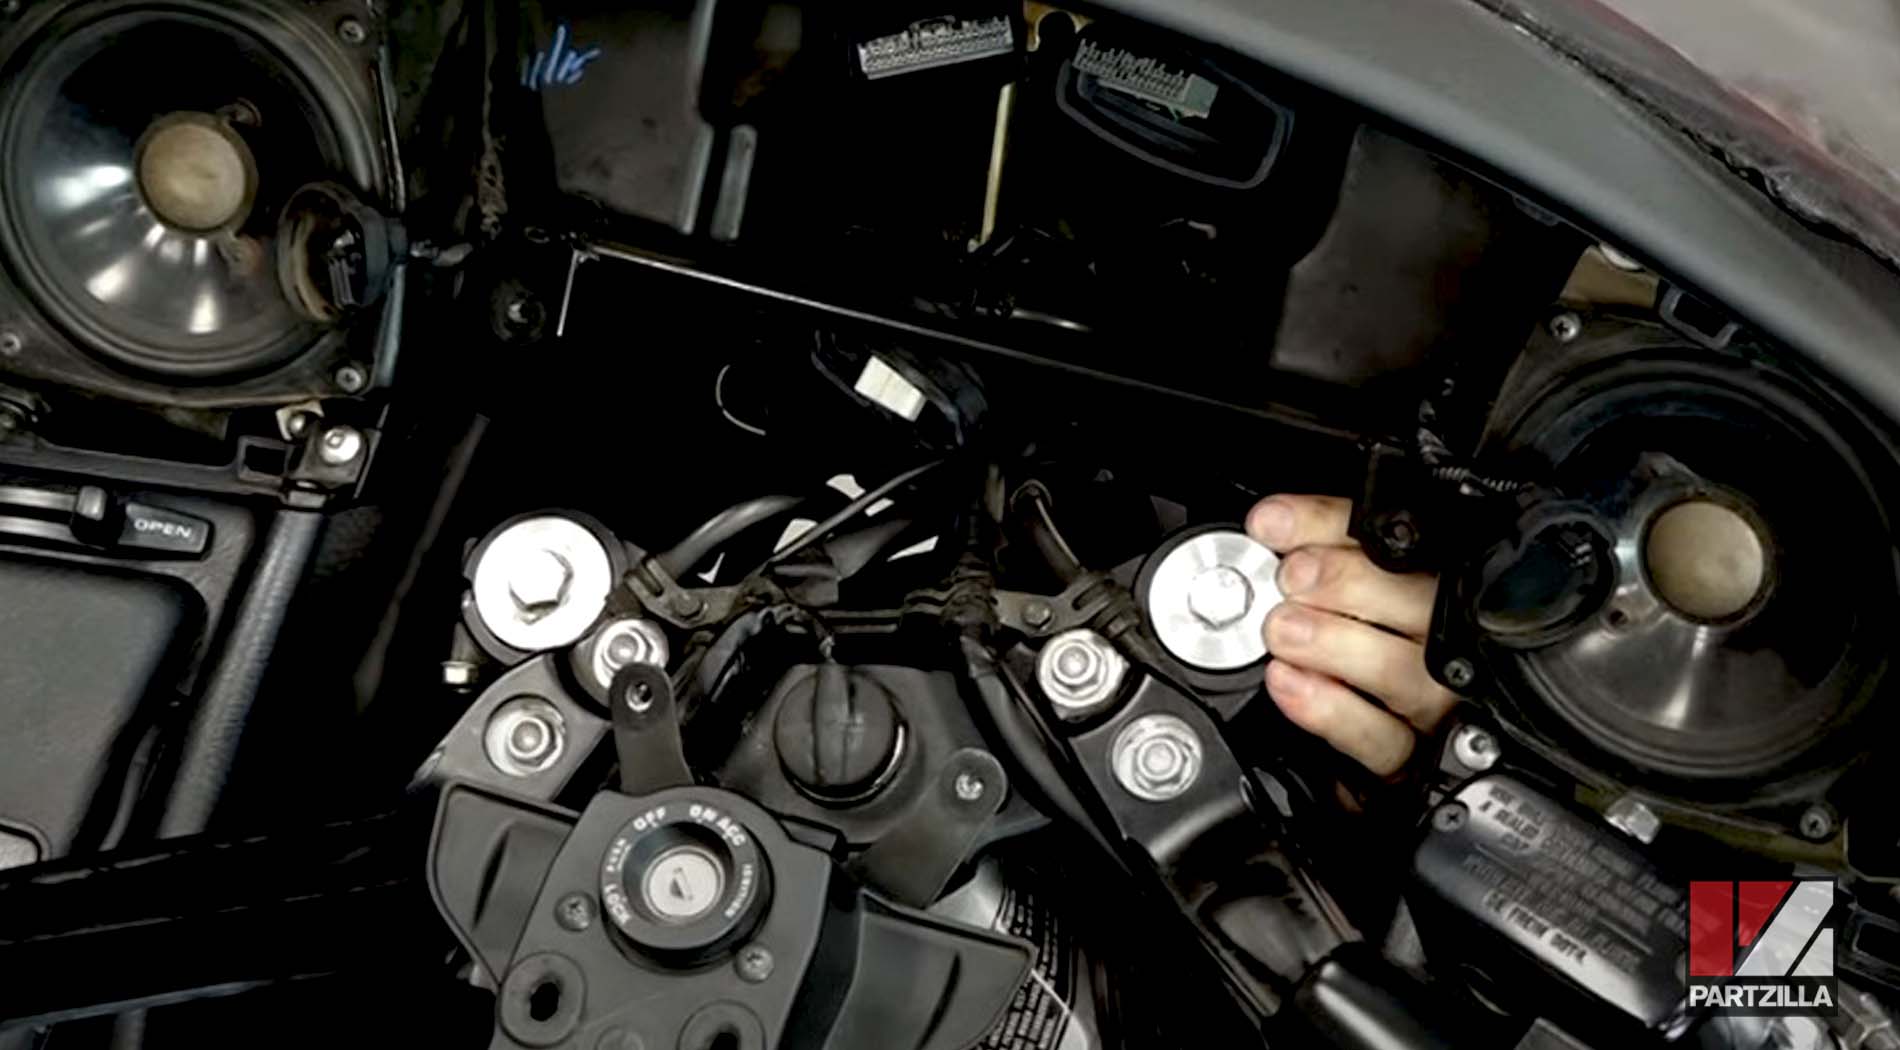
Step 7. Reattach the handlebars to the top bridge using the four 14mm mounting bolts.
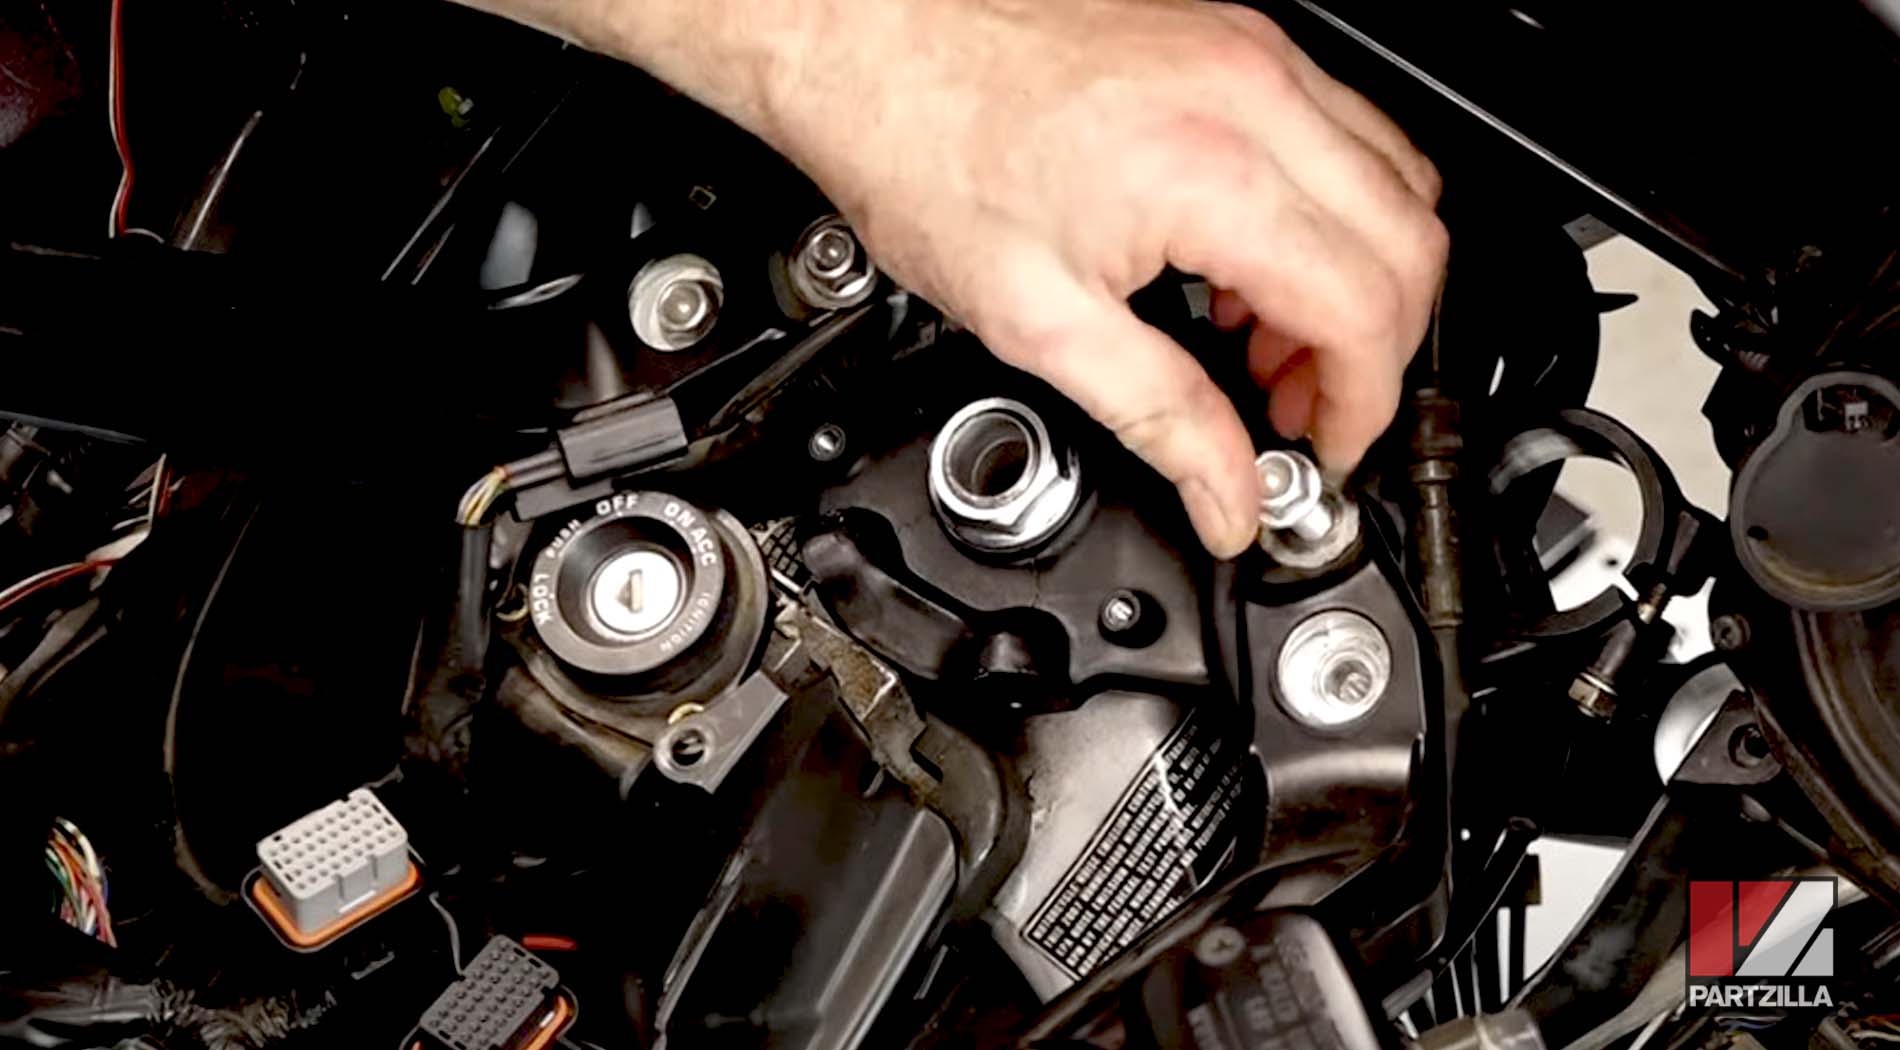
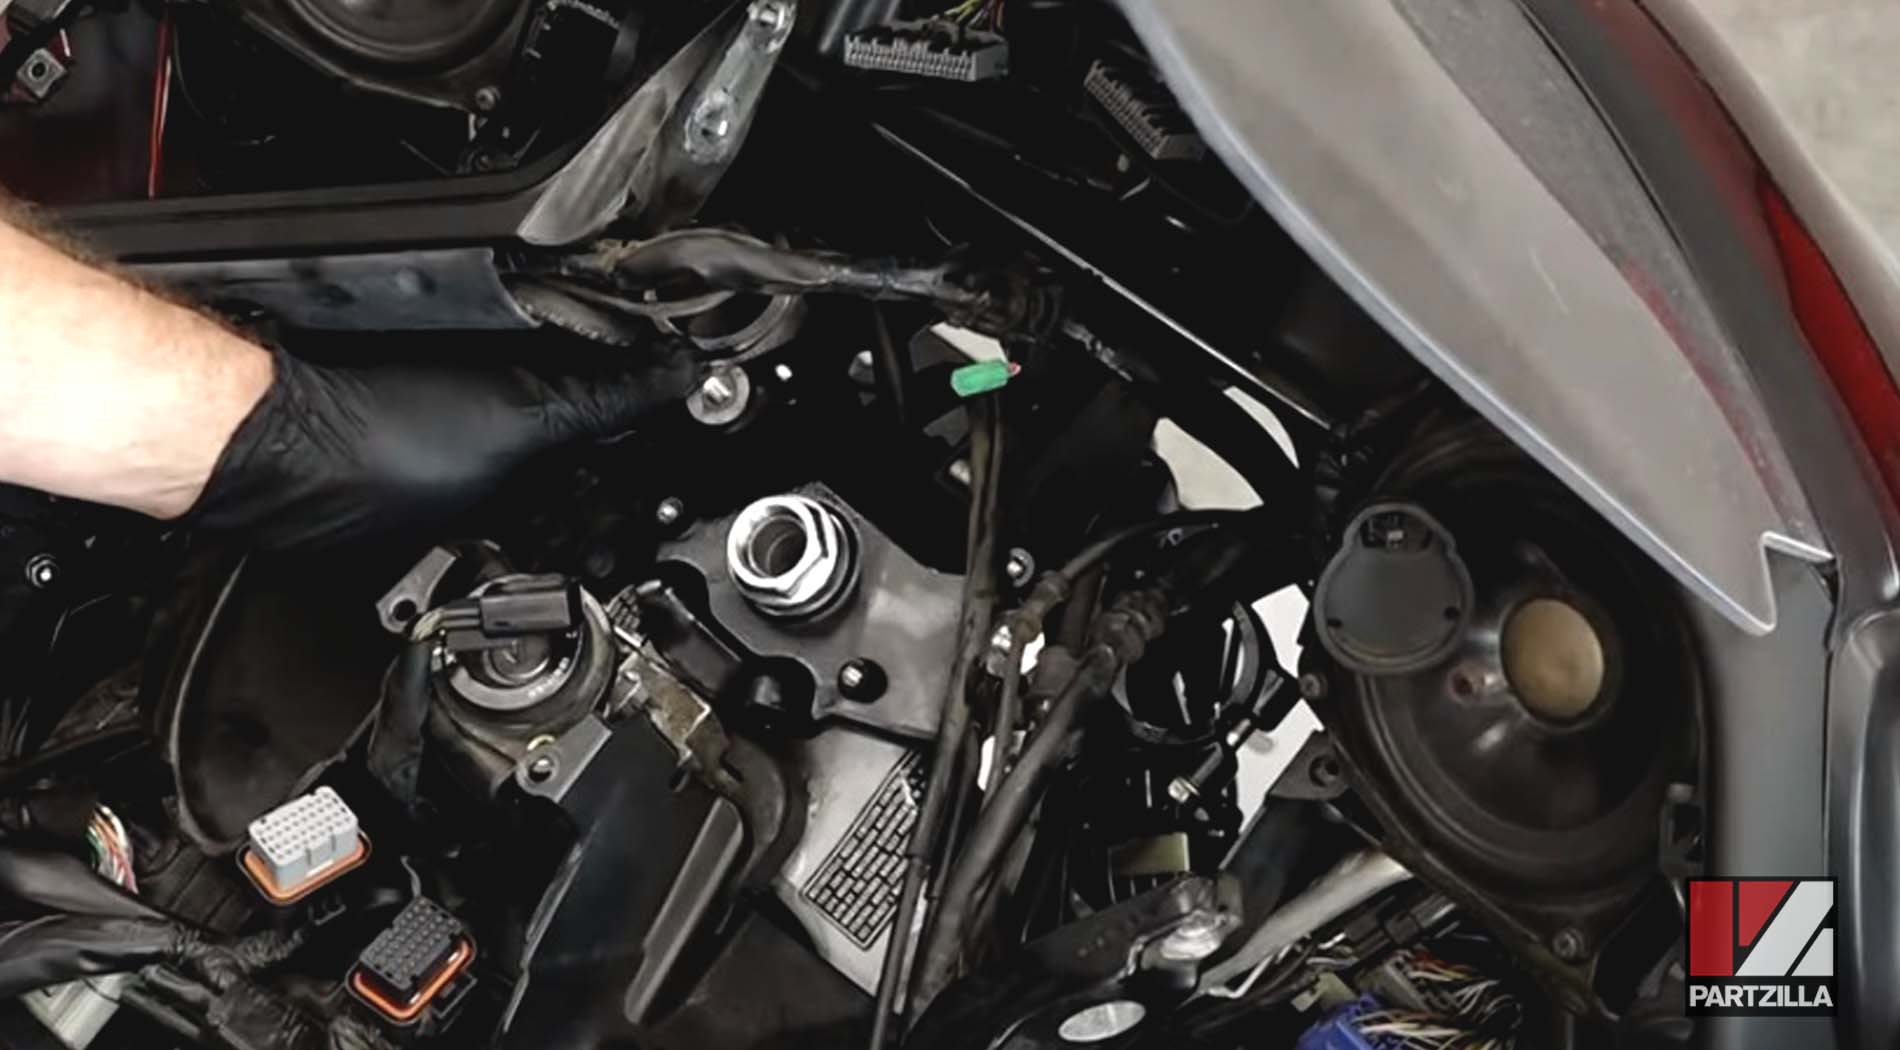
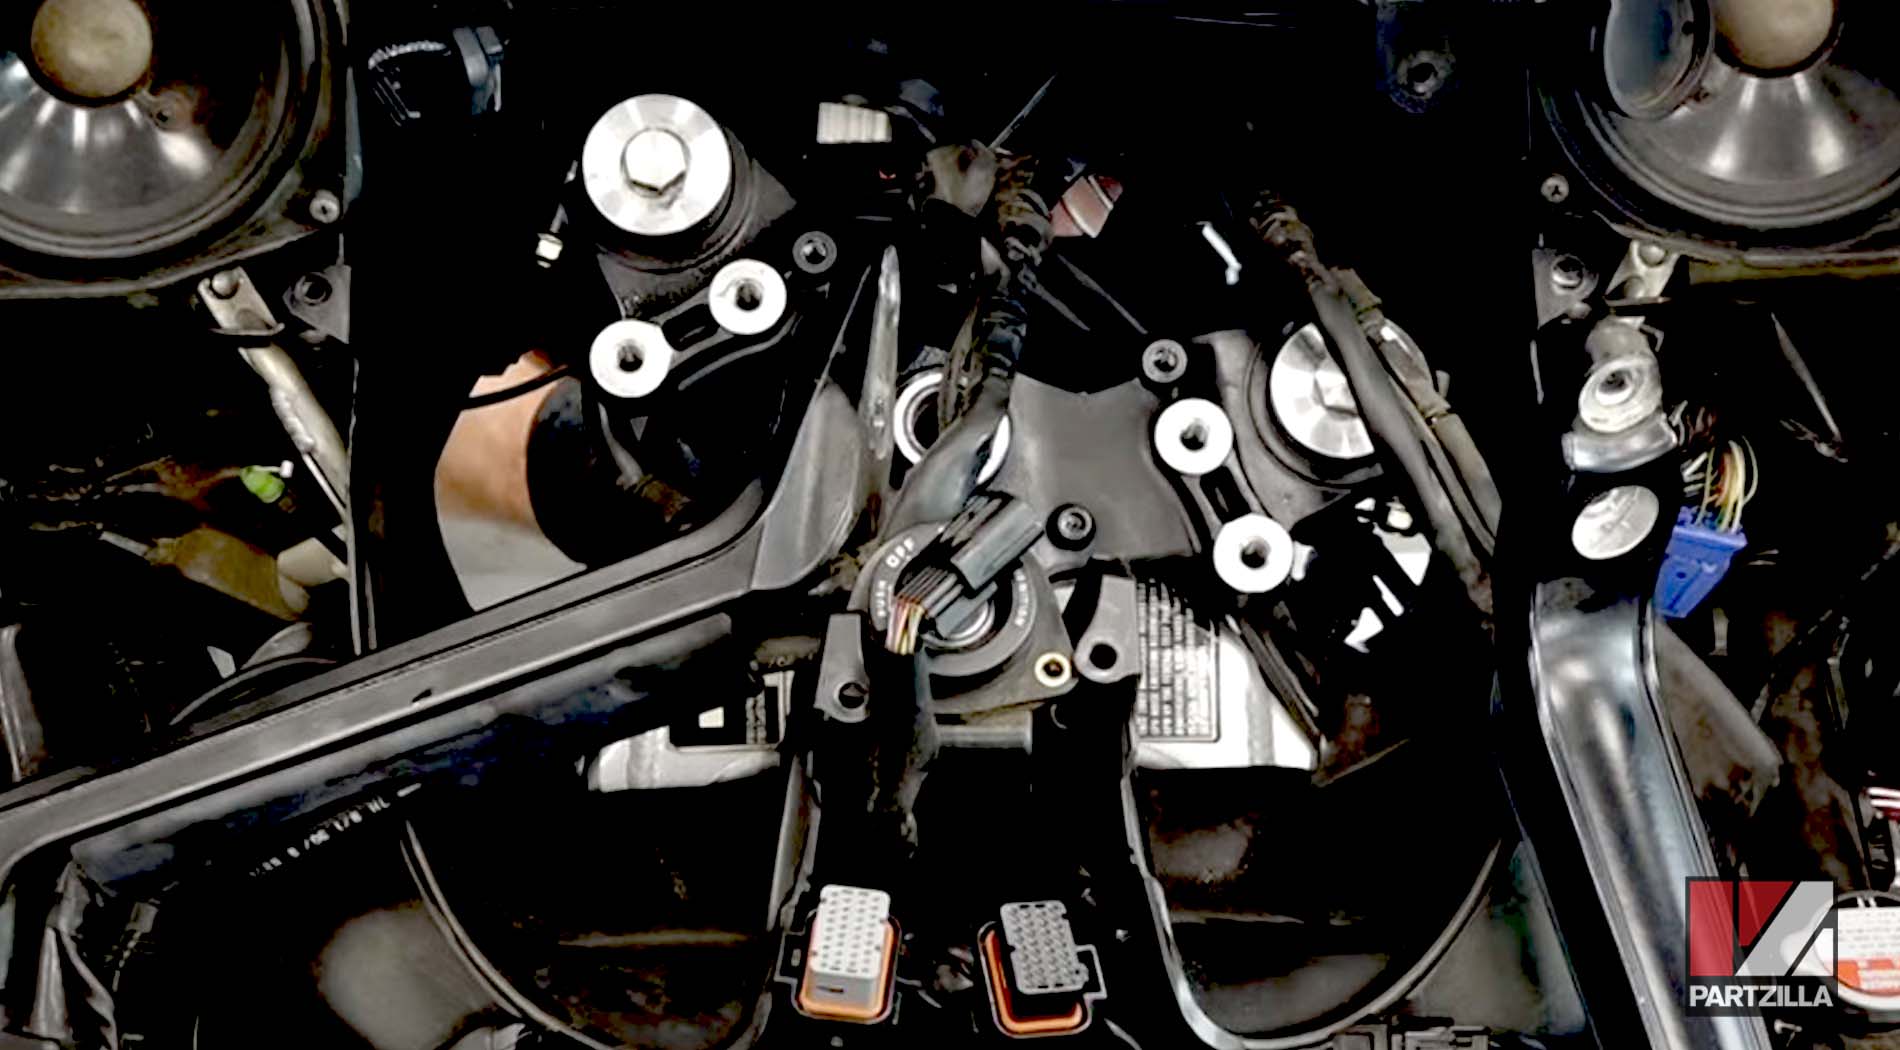
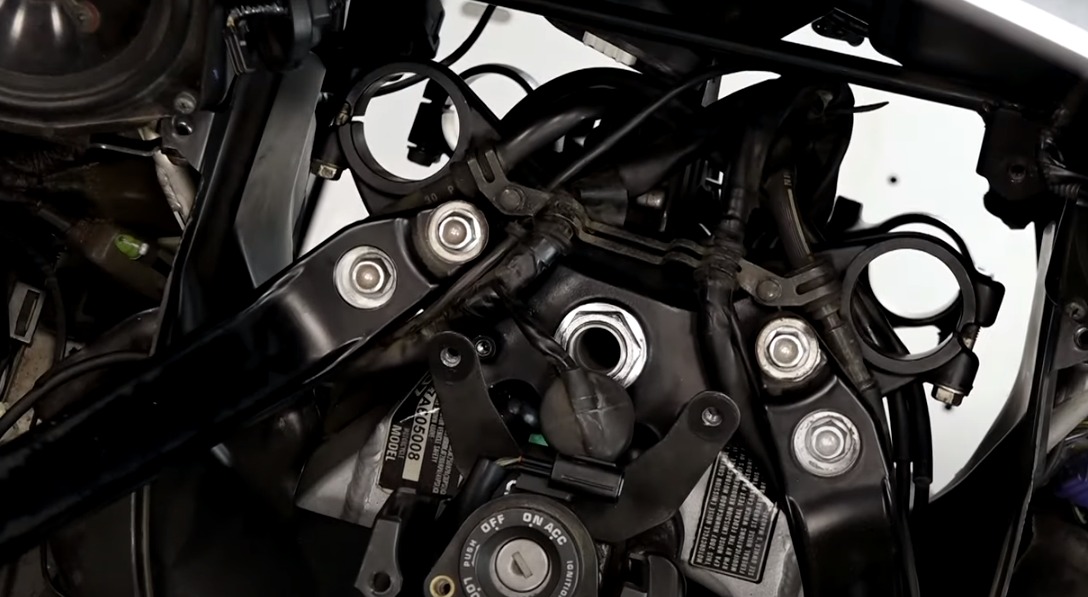
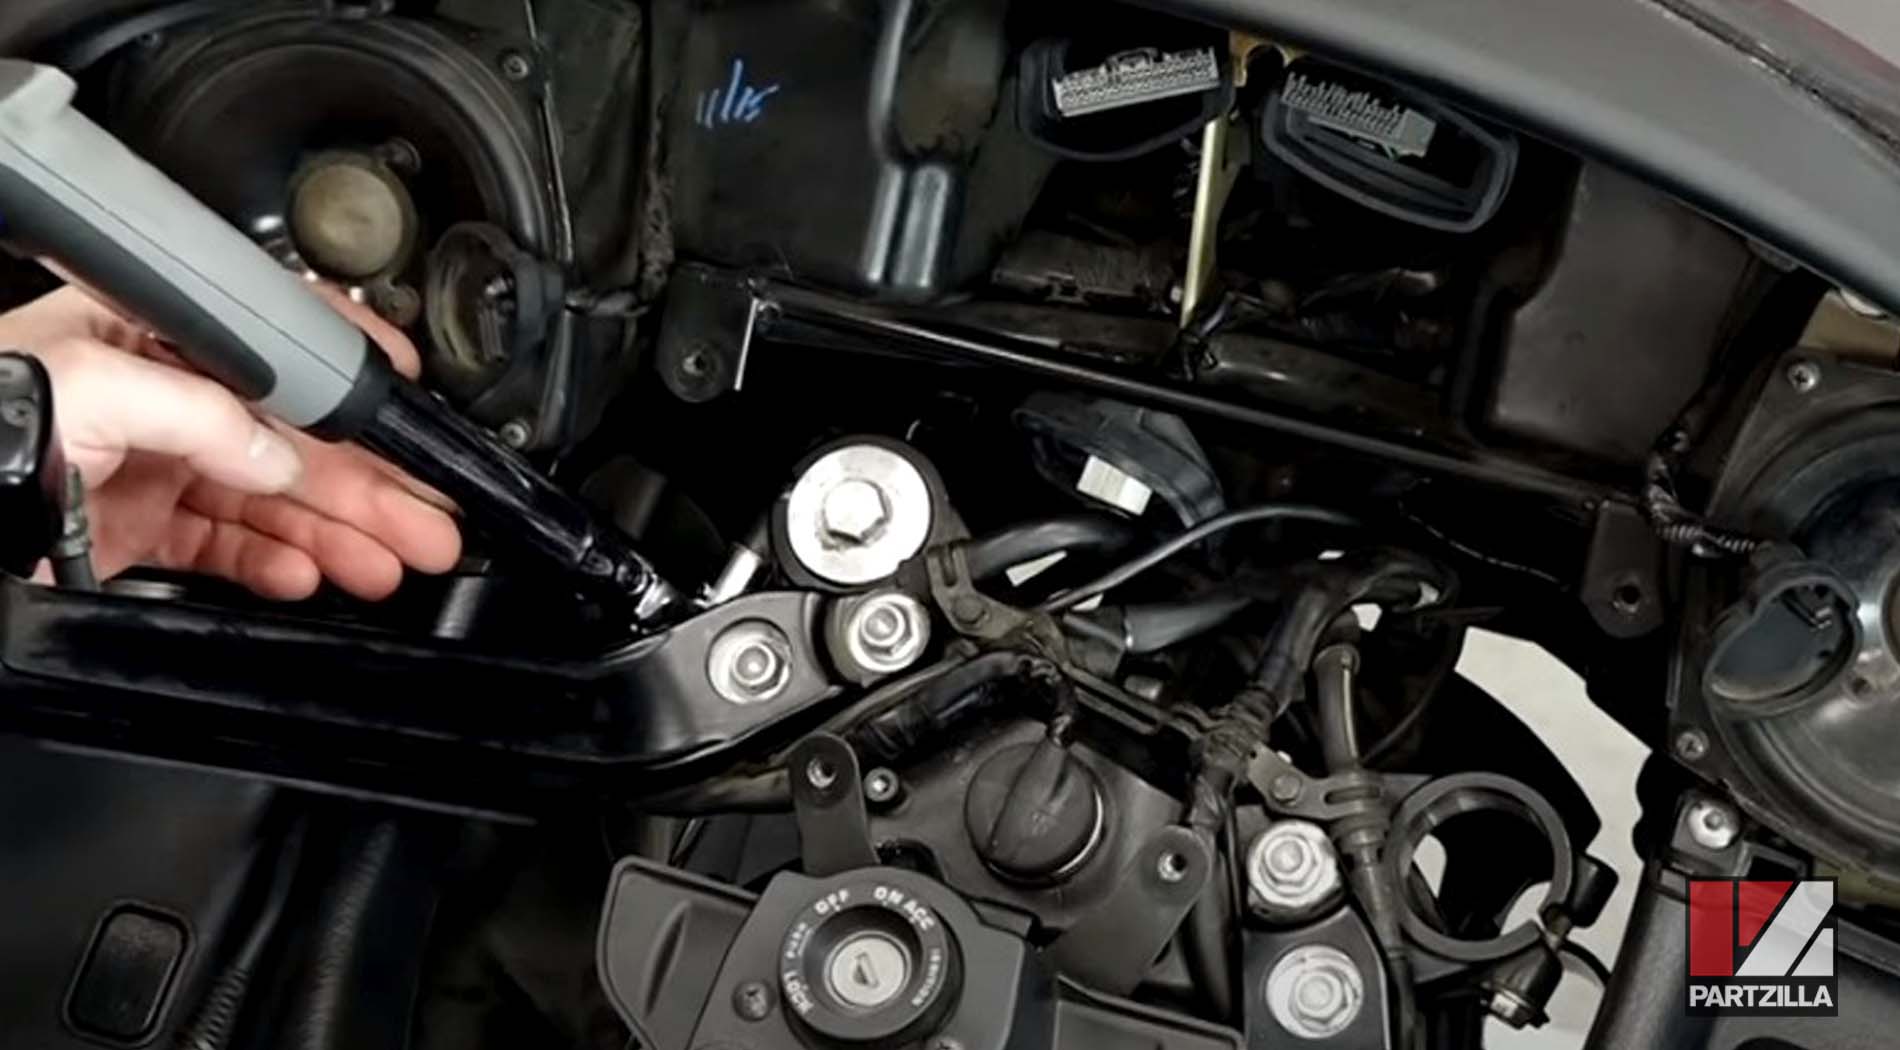
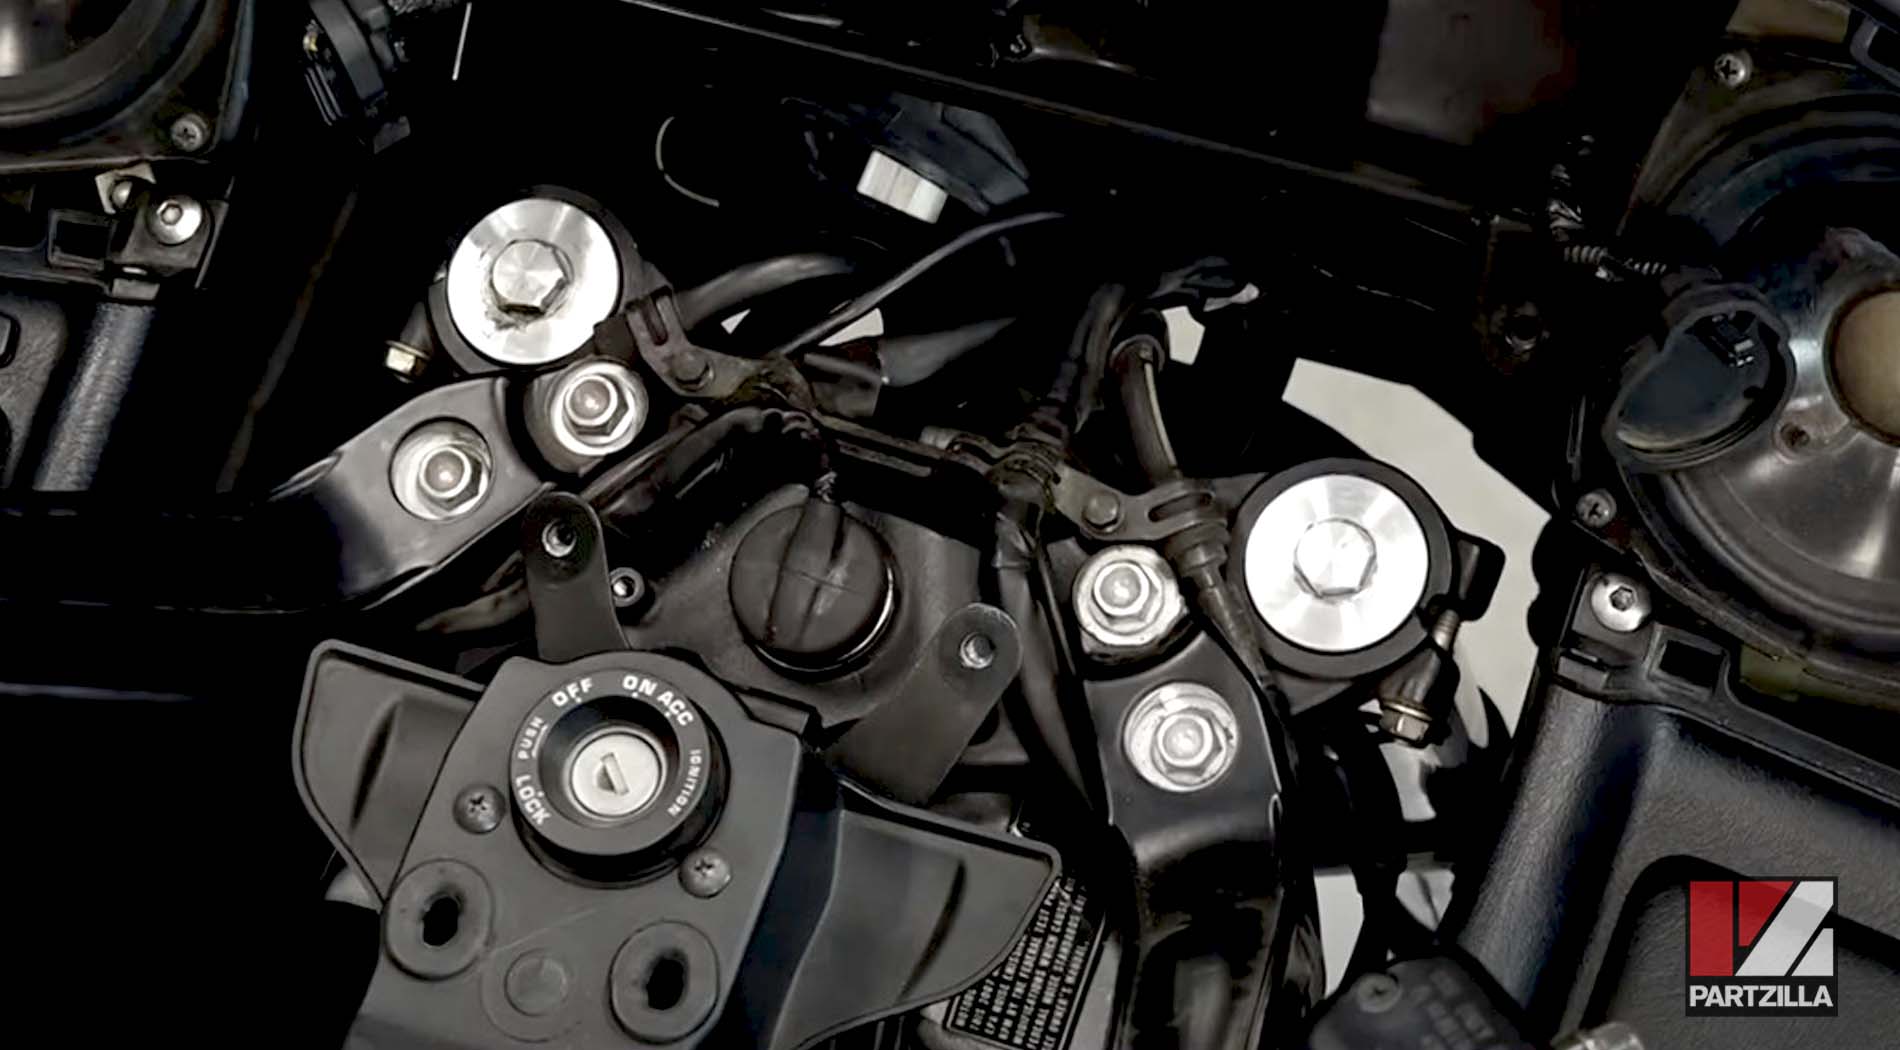
Step 8. Reinstall the bracket that sits above the steering stem and the small bracket on the underside of the steering stem.
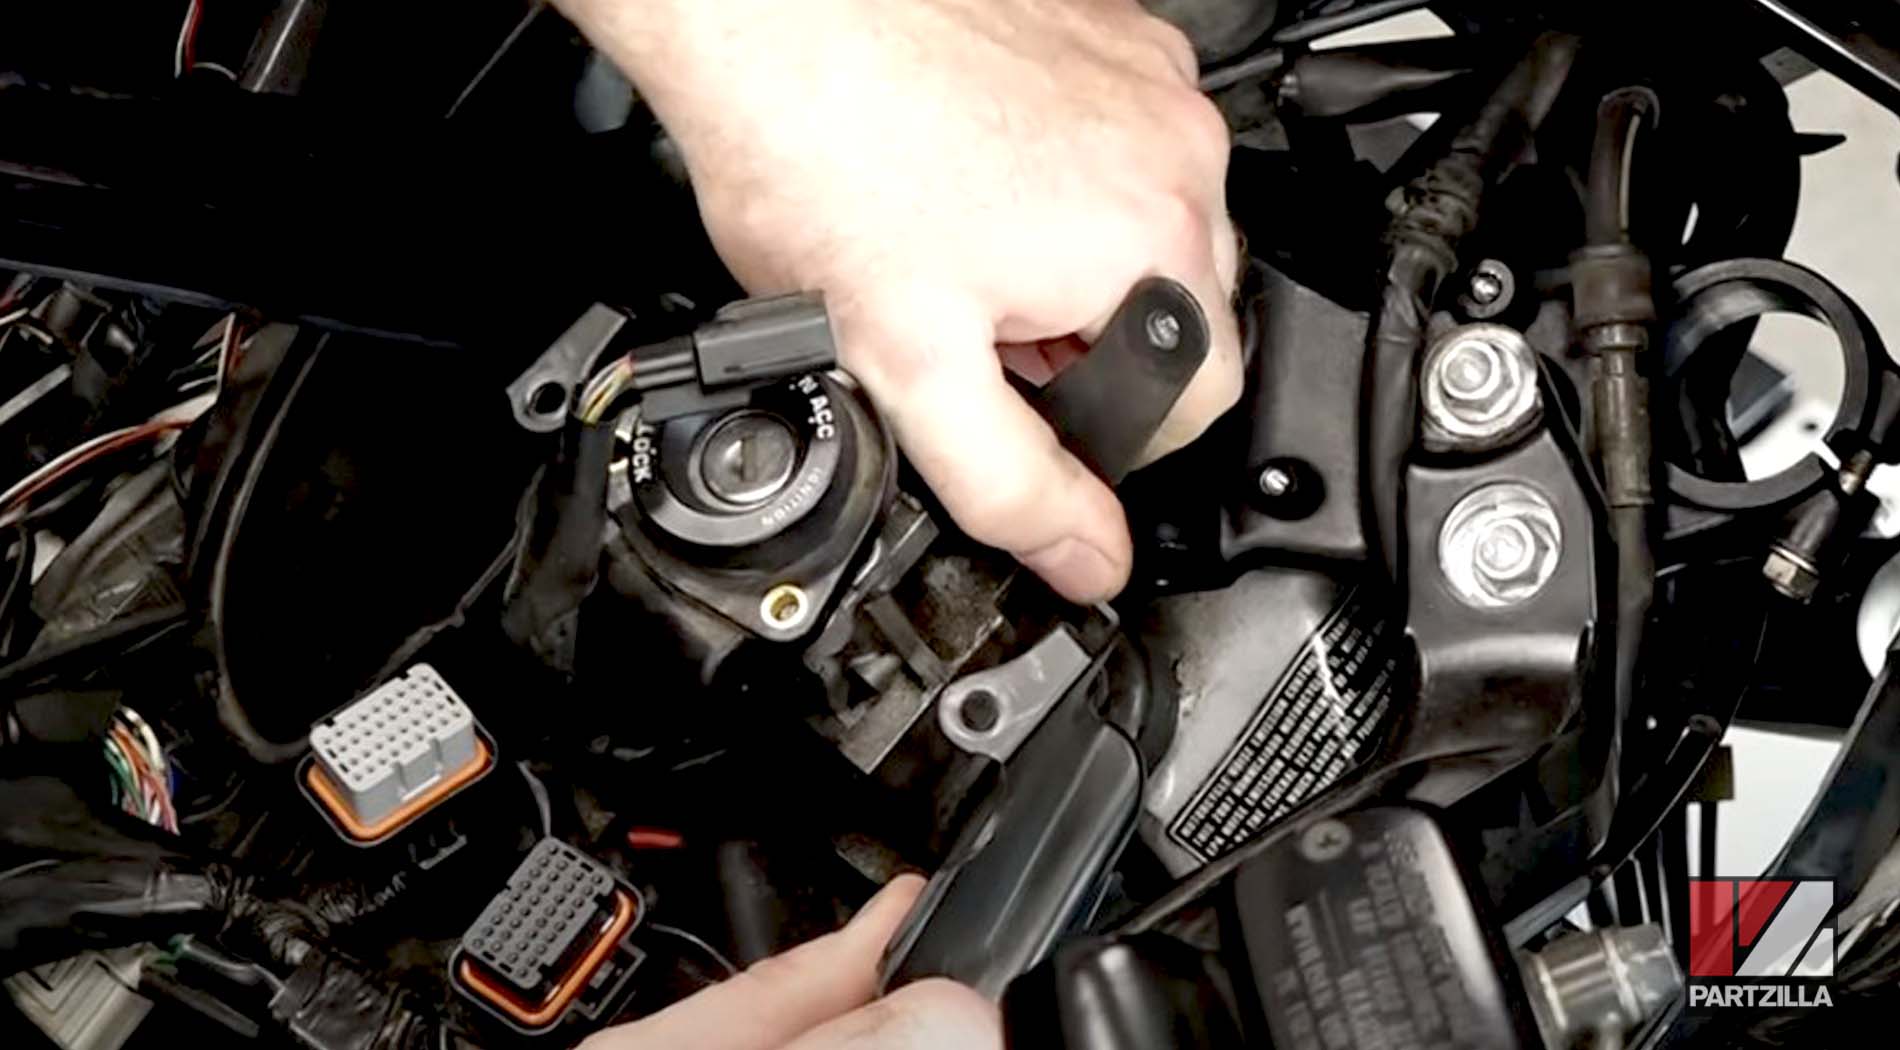
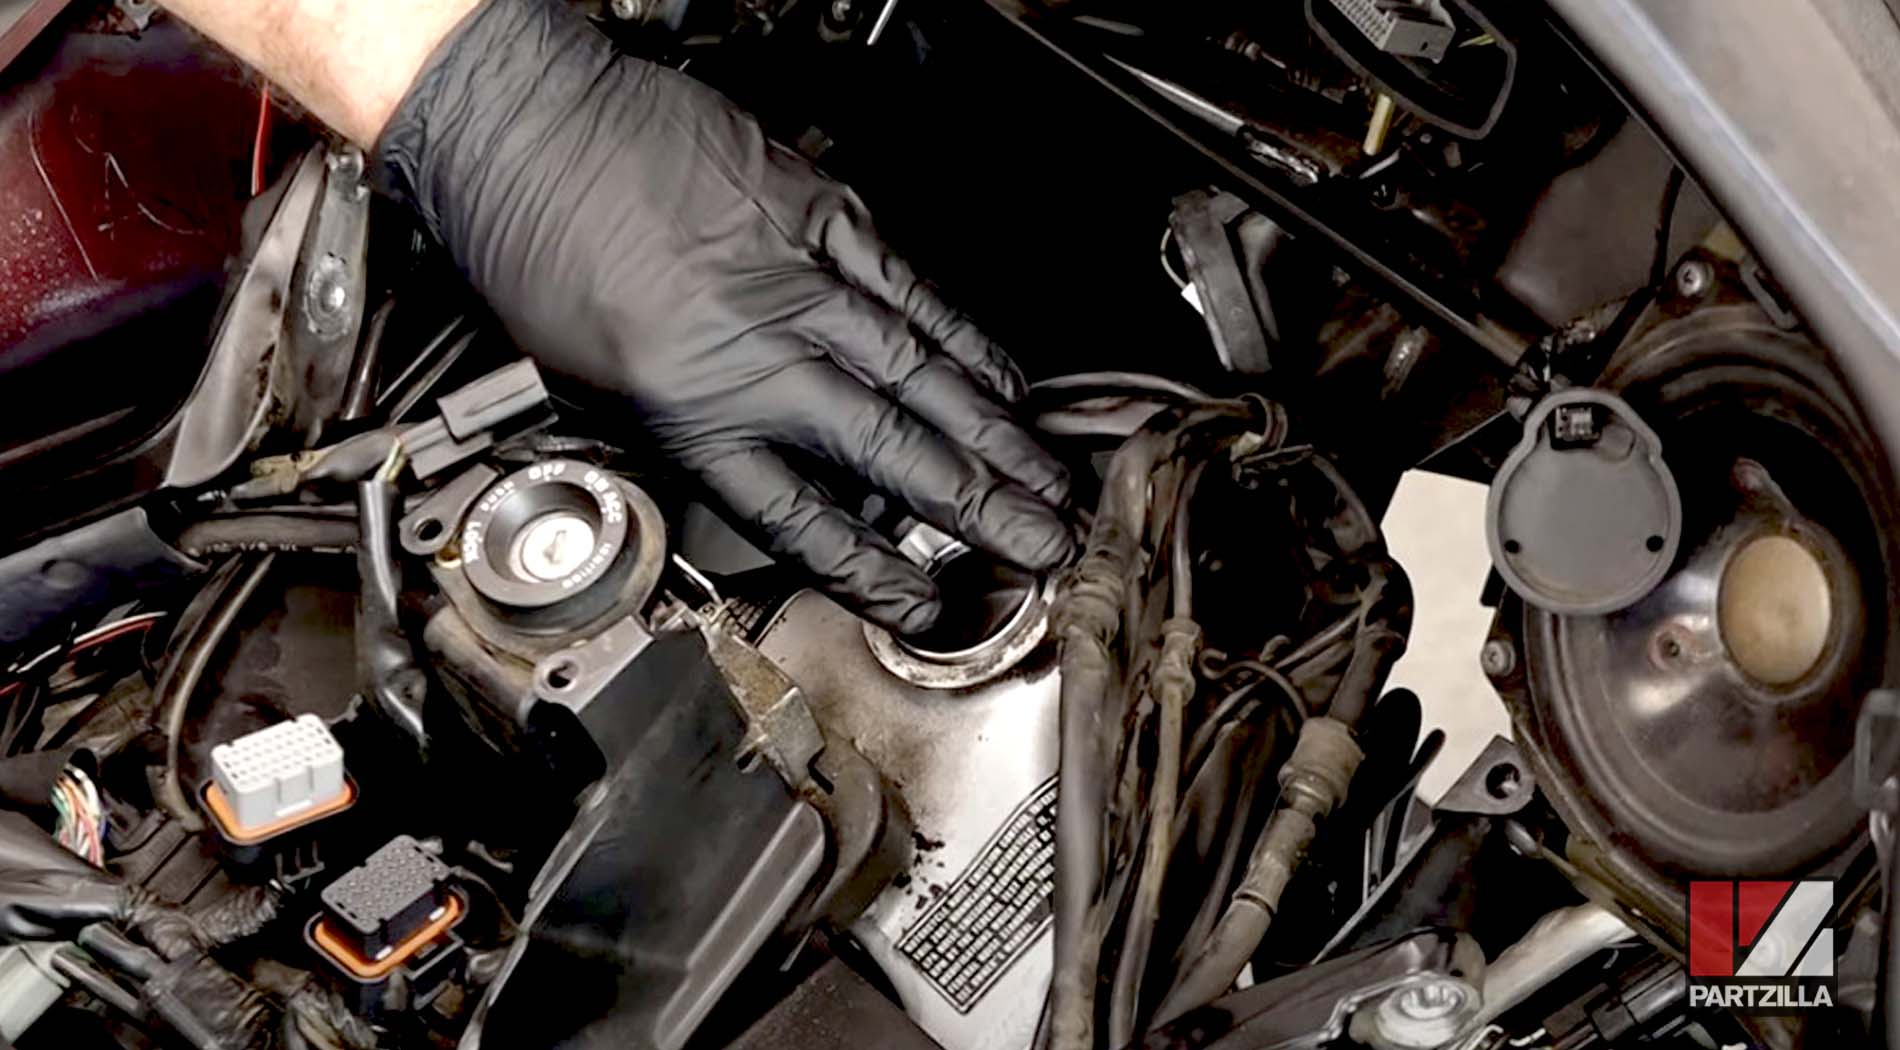
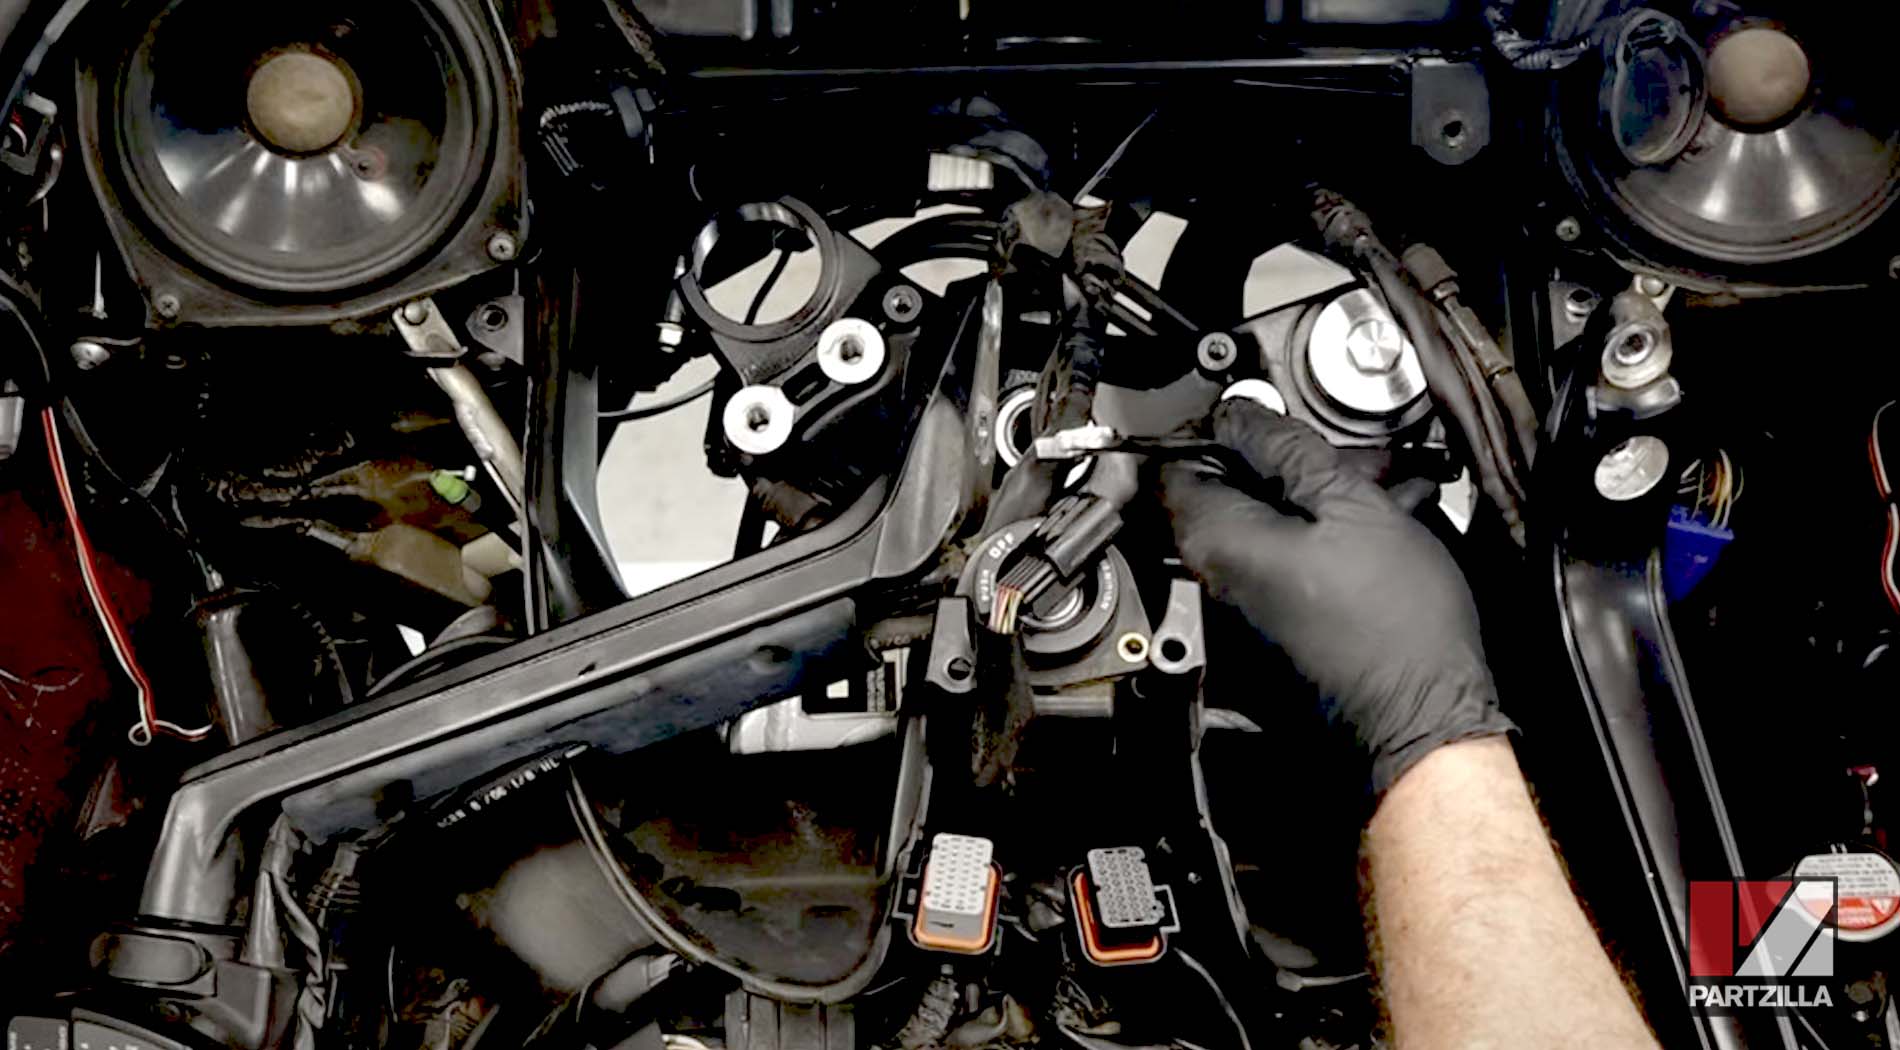
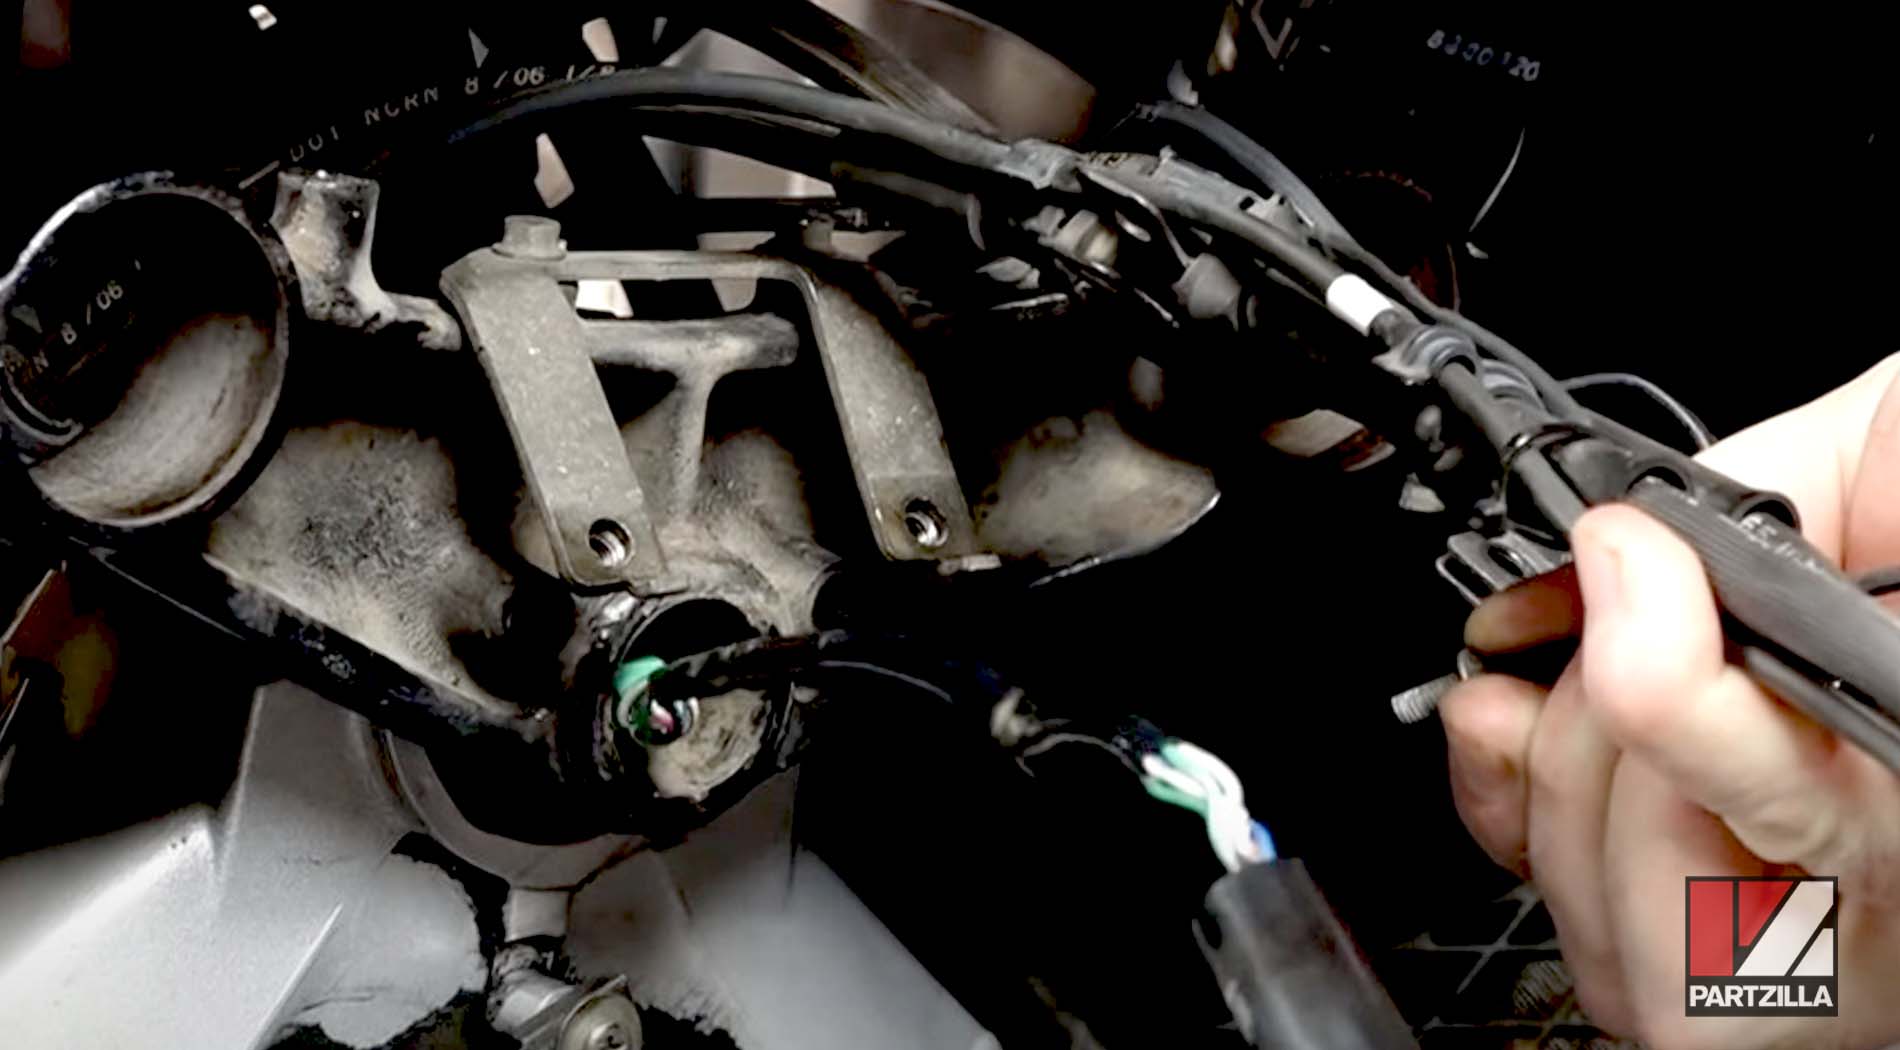
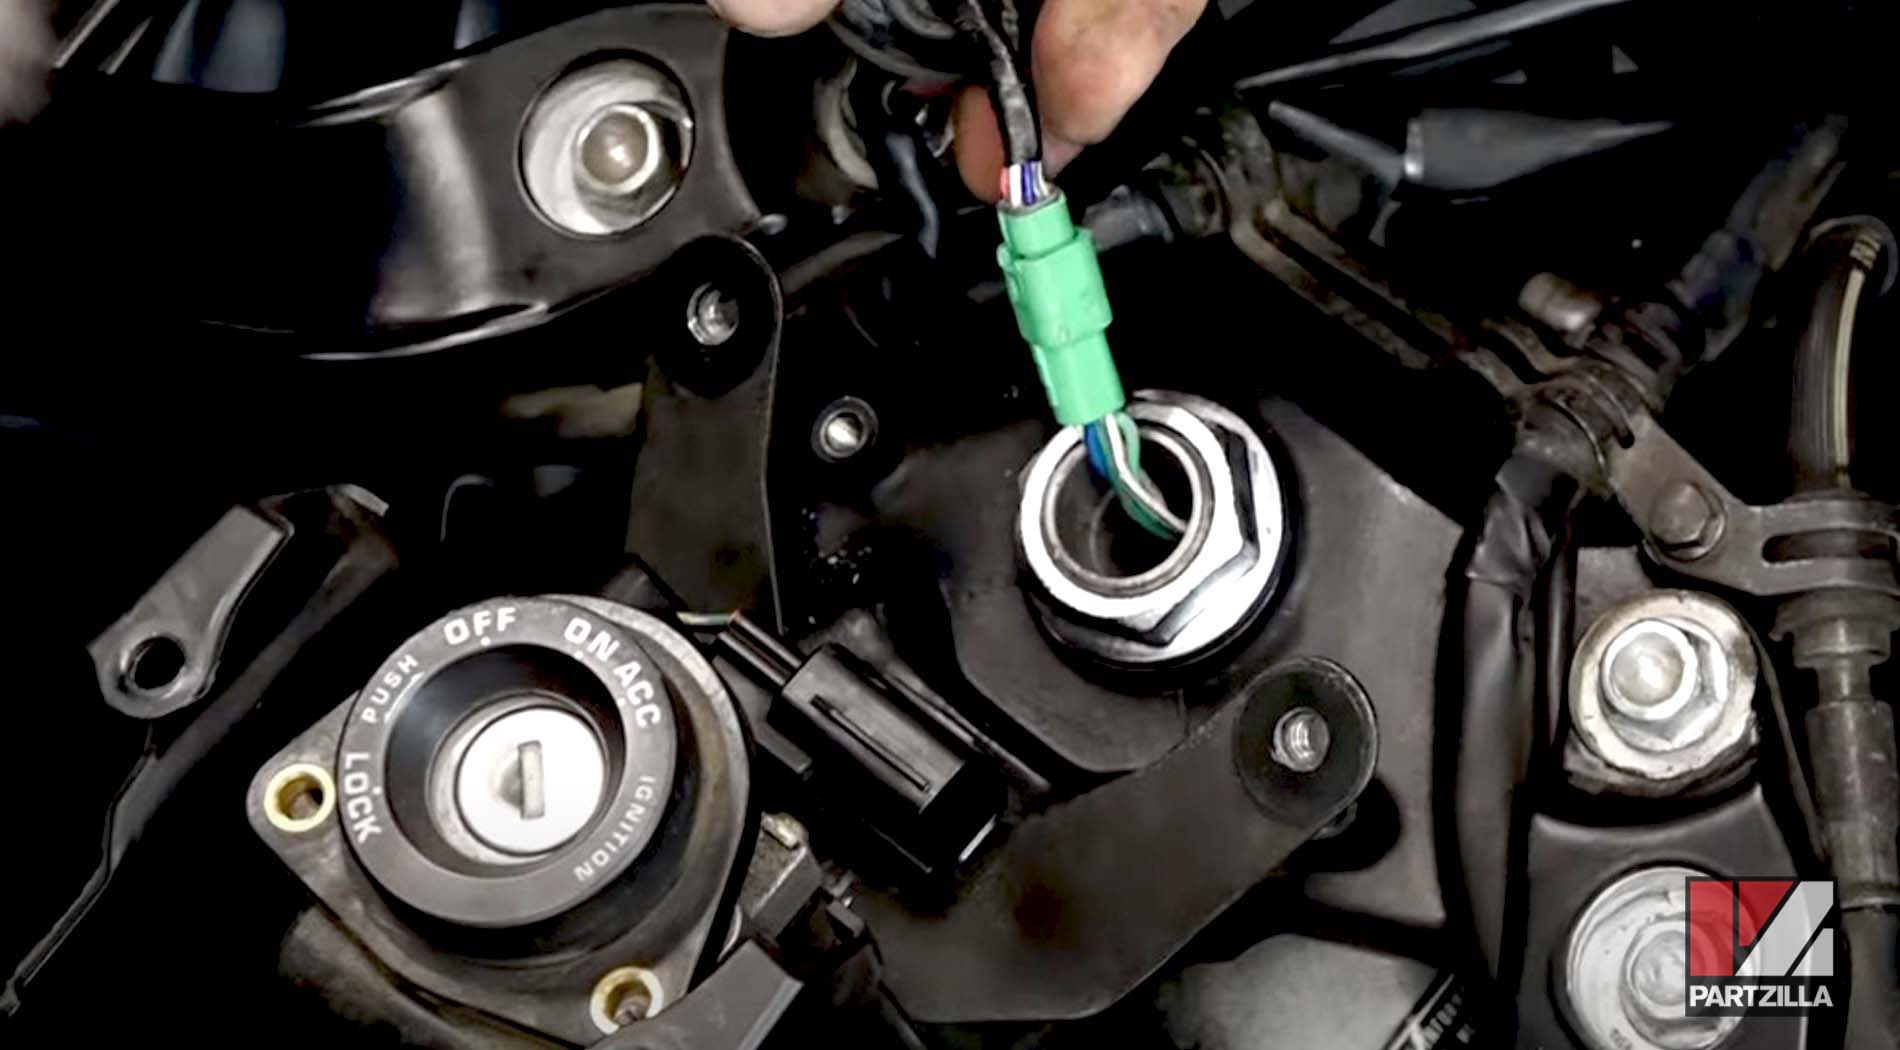
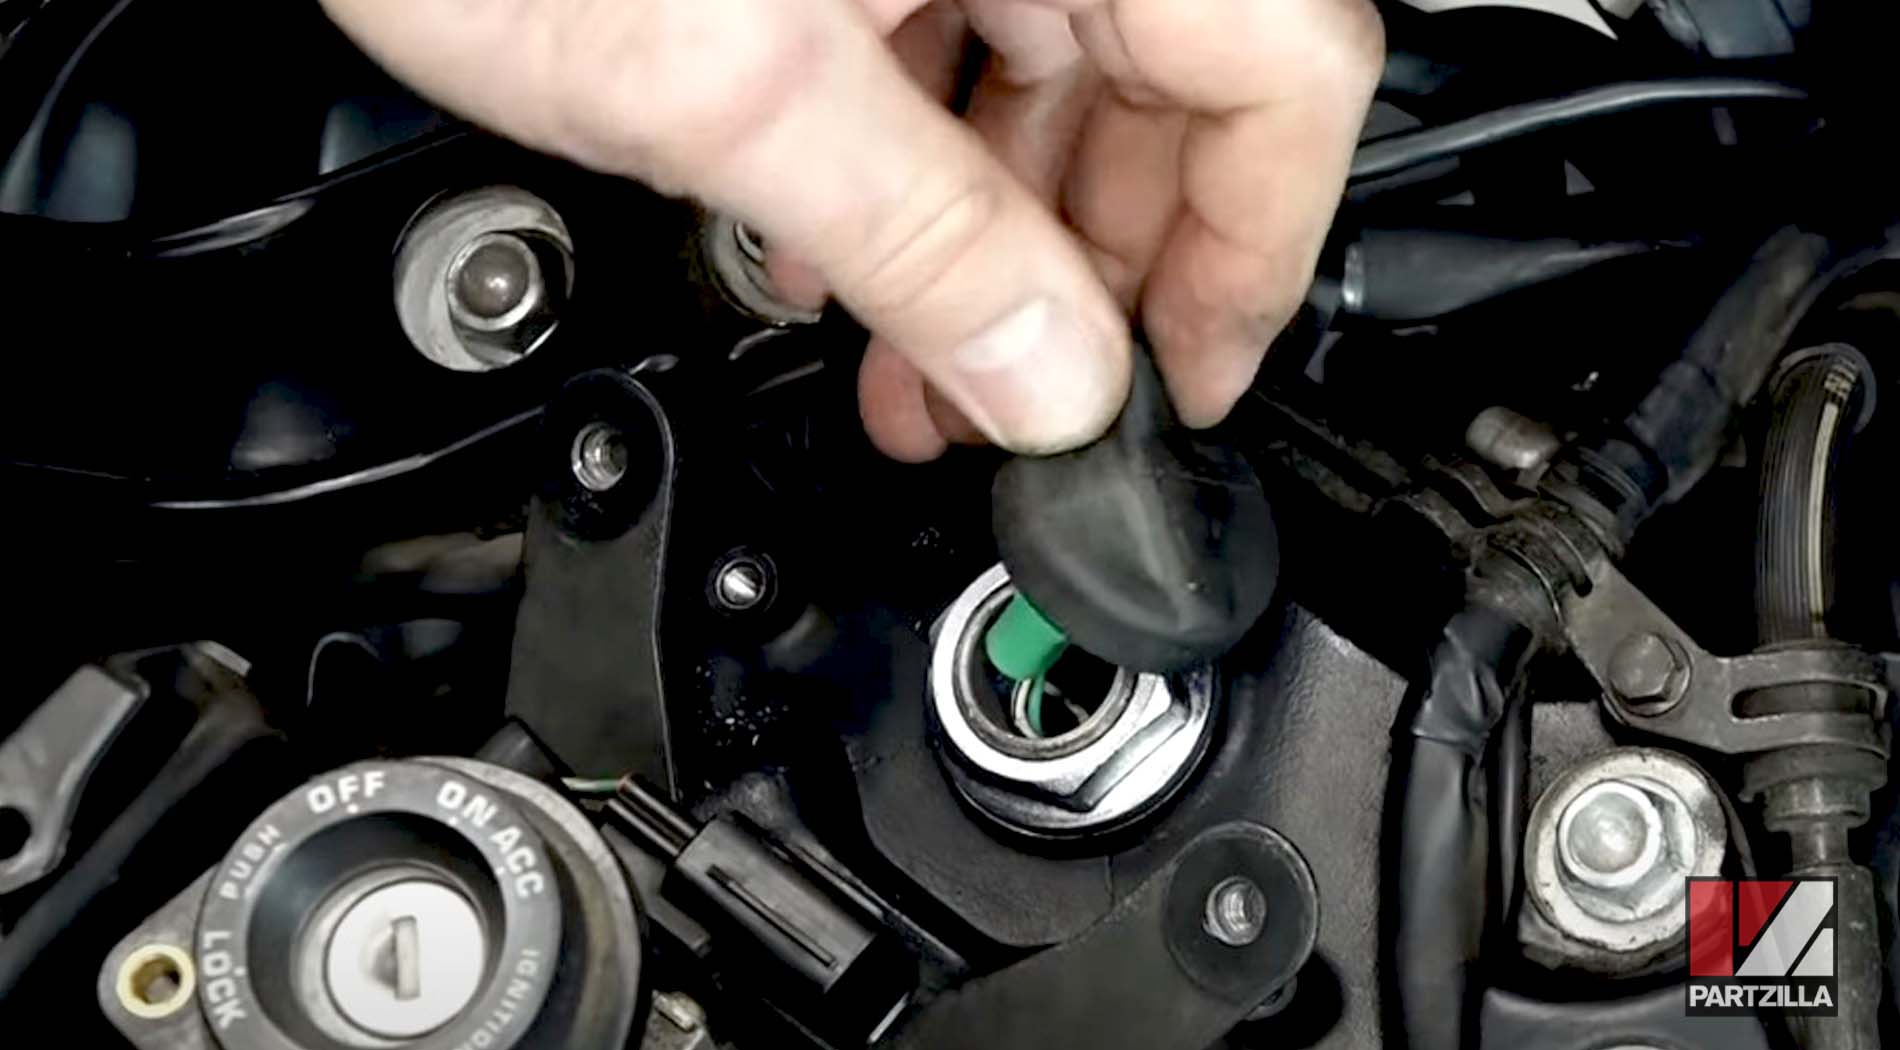
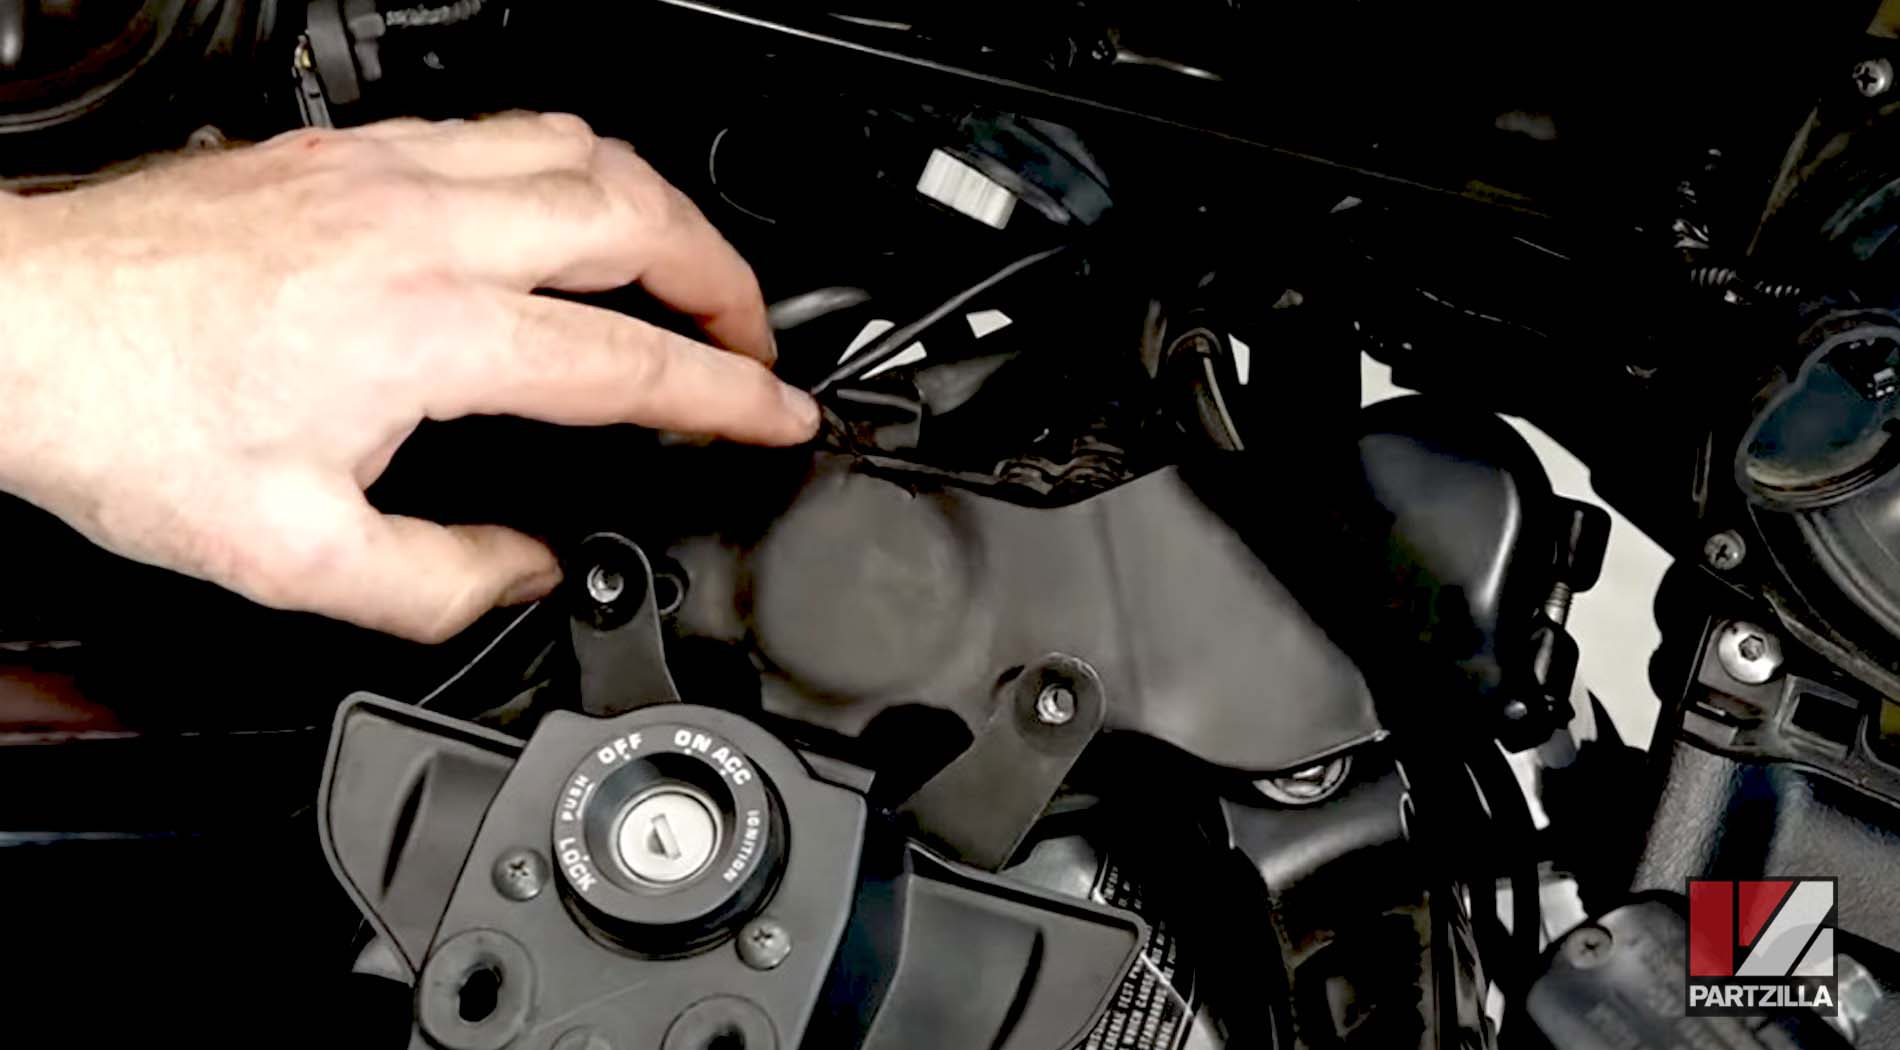
Step 9. Thread the turn signal canceling unit’s wiring back up through the steering stem, then reconnect the connector and reinstall the rubber cap over the steering stem.
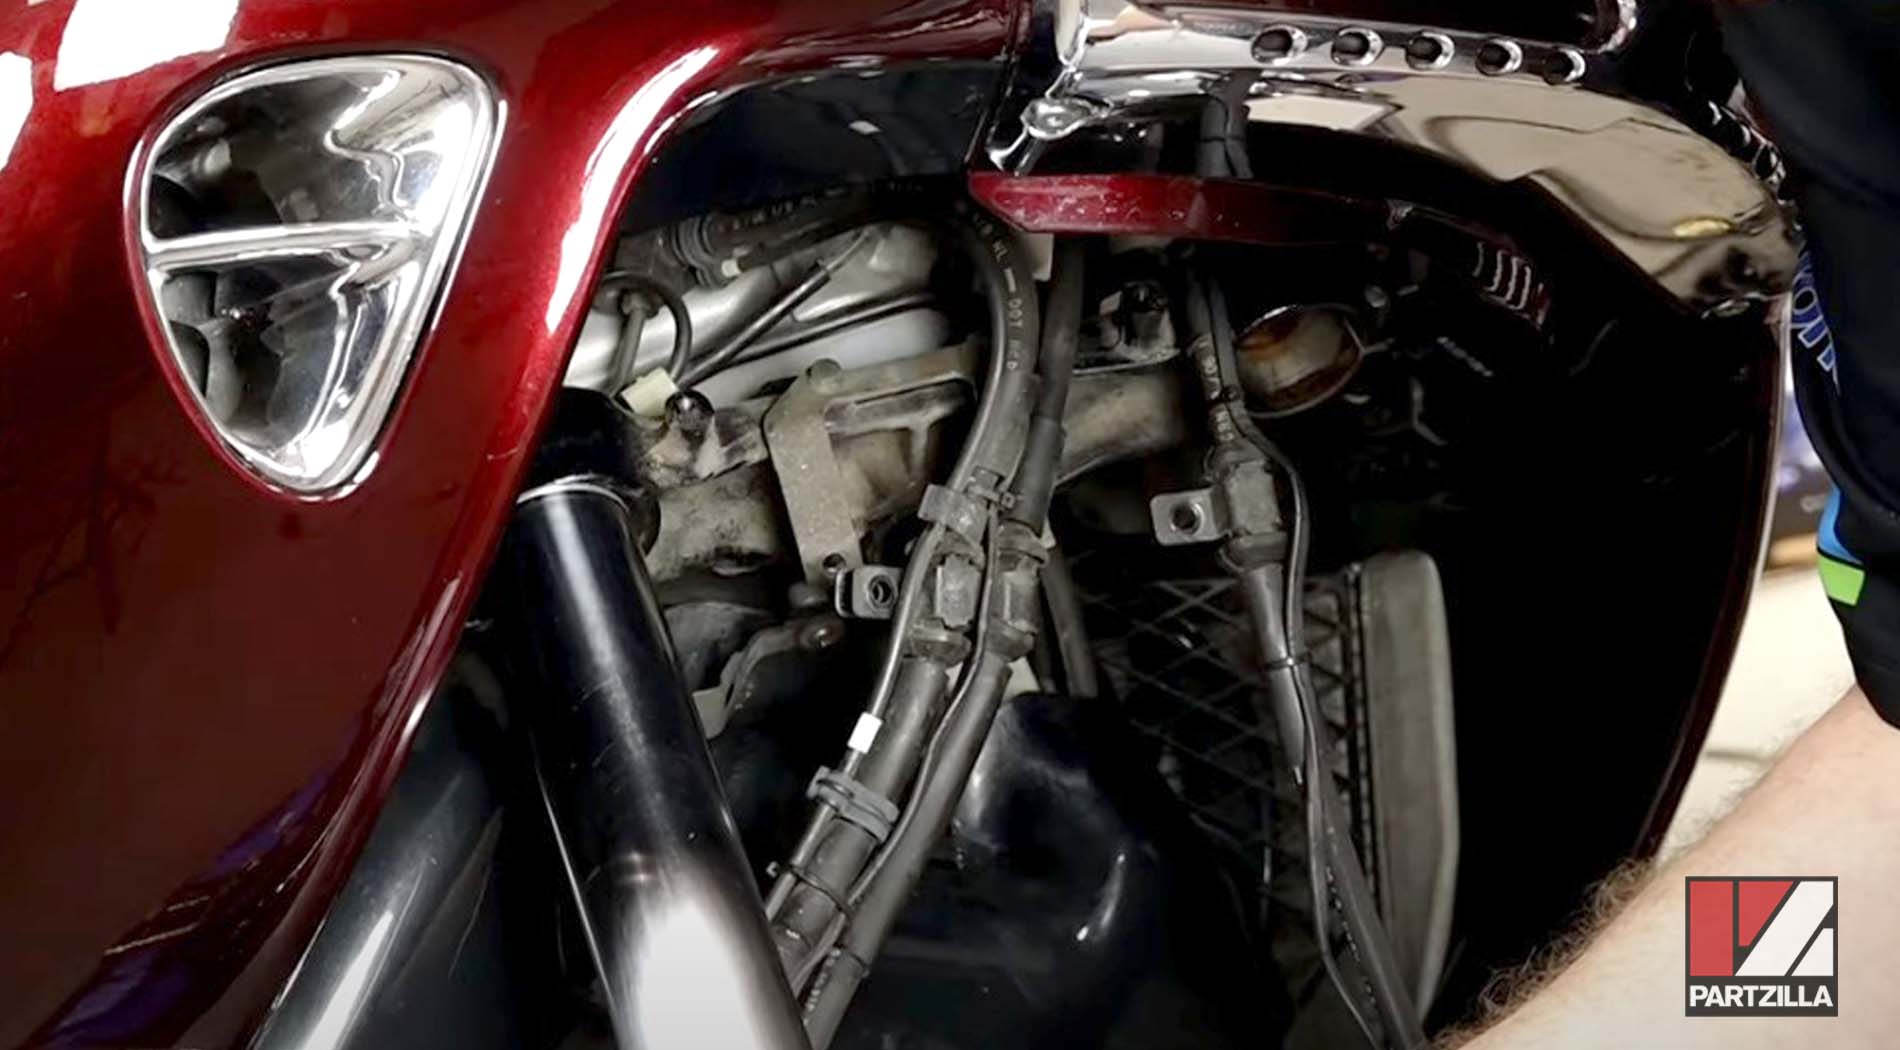
Step 10. Reconnect the cables and hoses to the brackets on the steering stem, and reinstall the plastic wind protector to the underside of the steering stem.
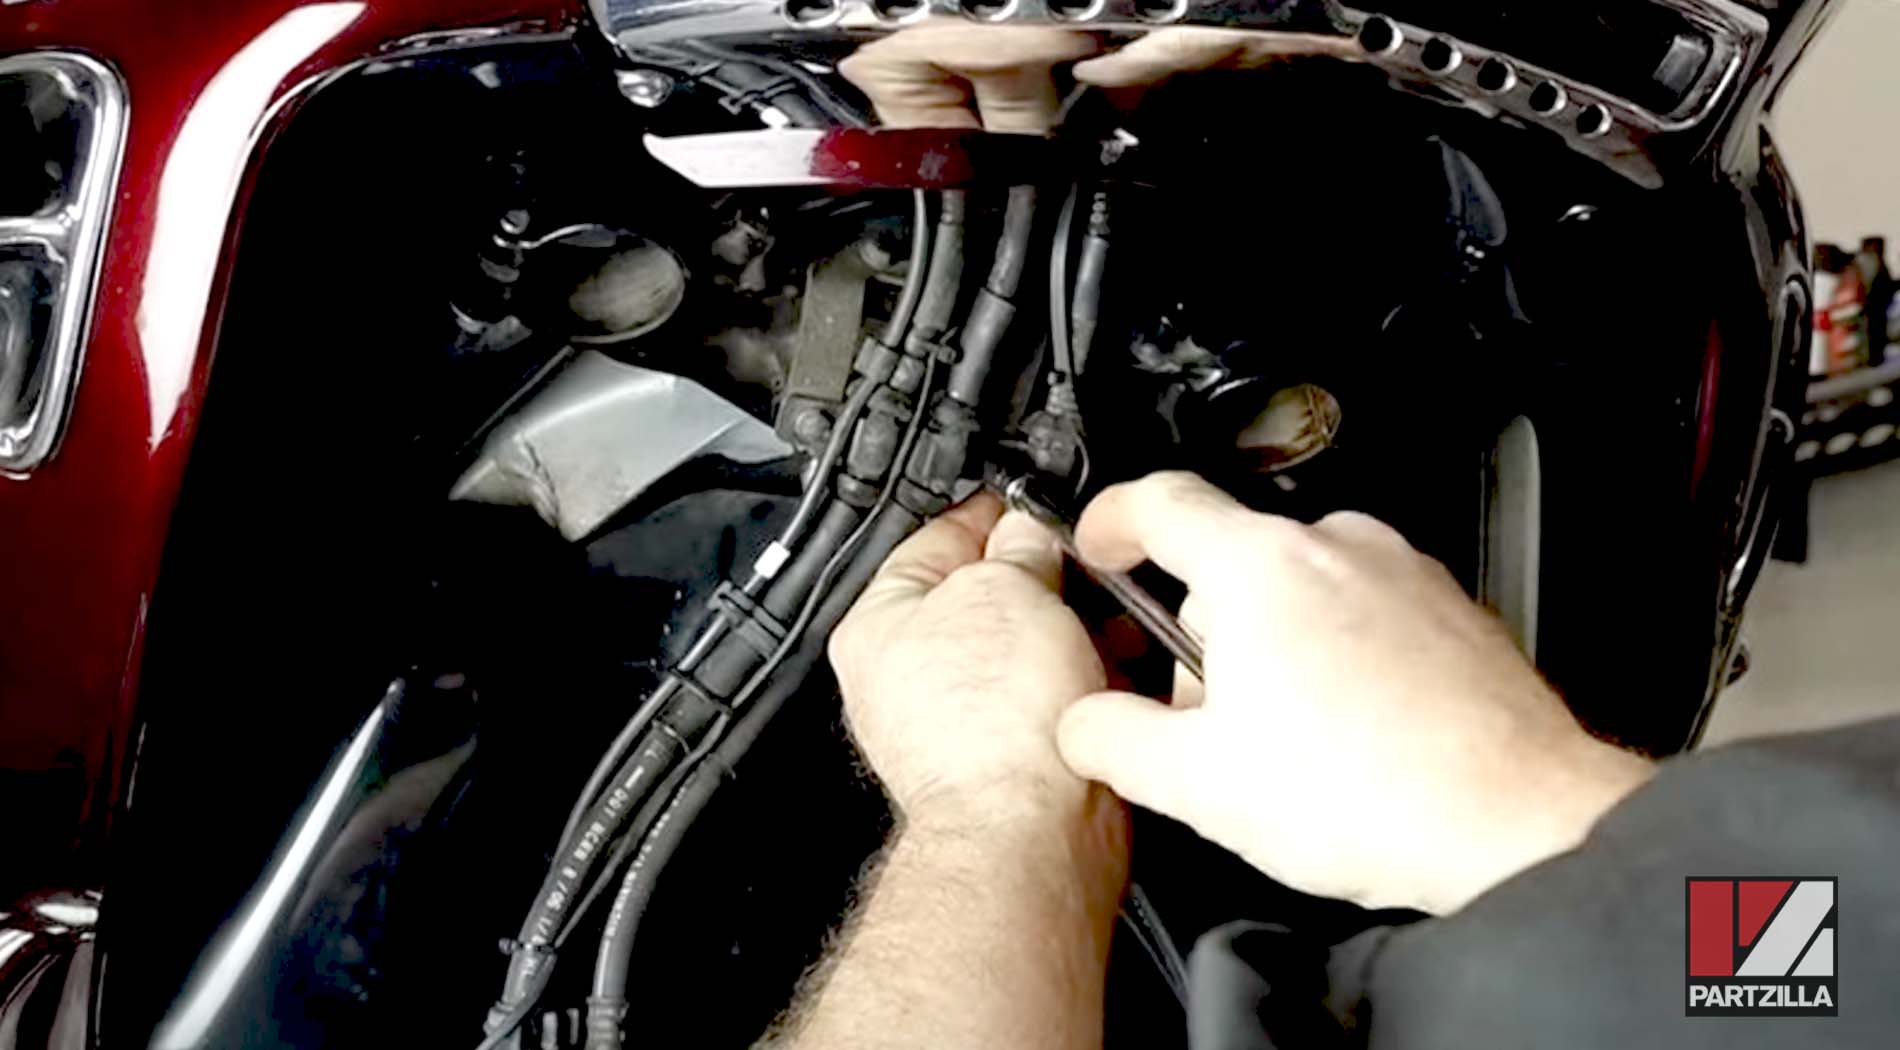
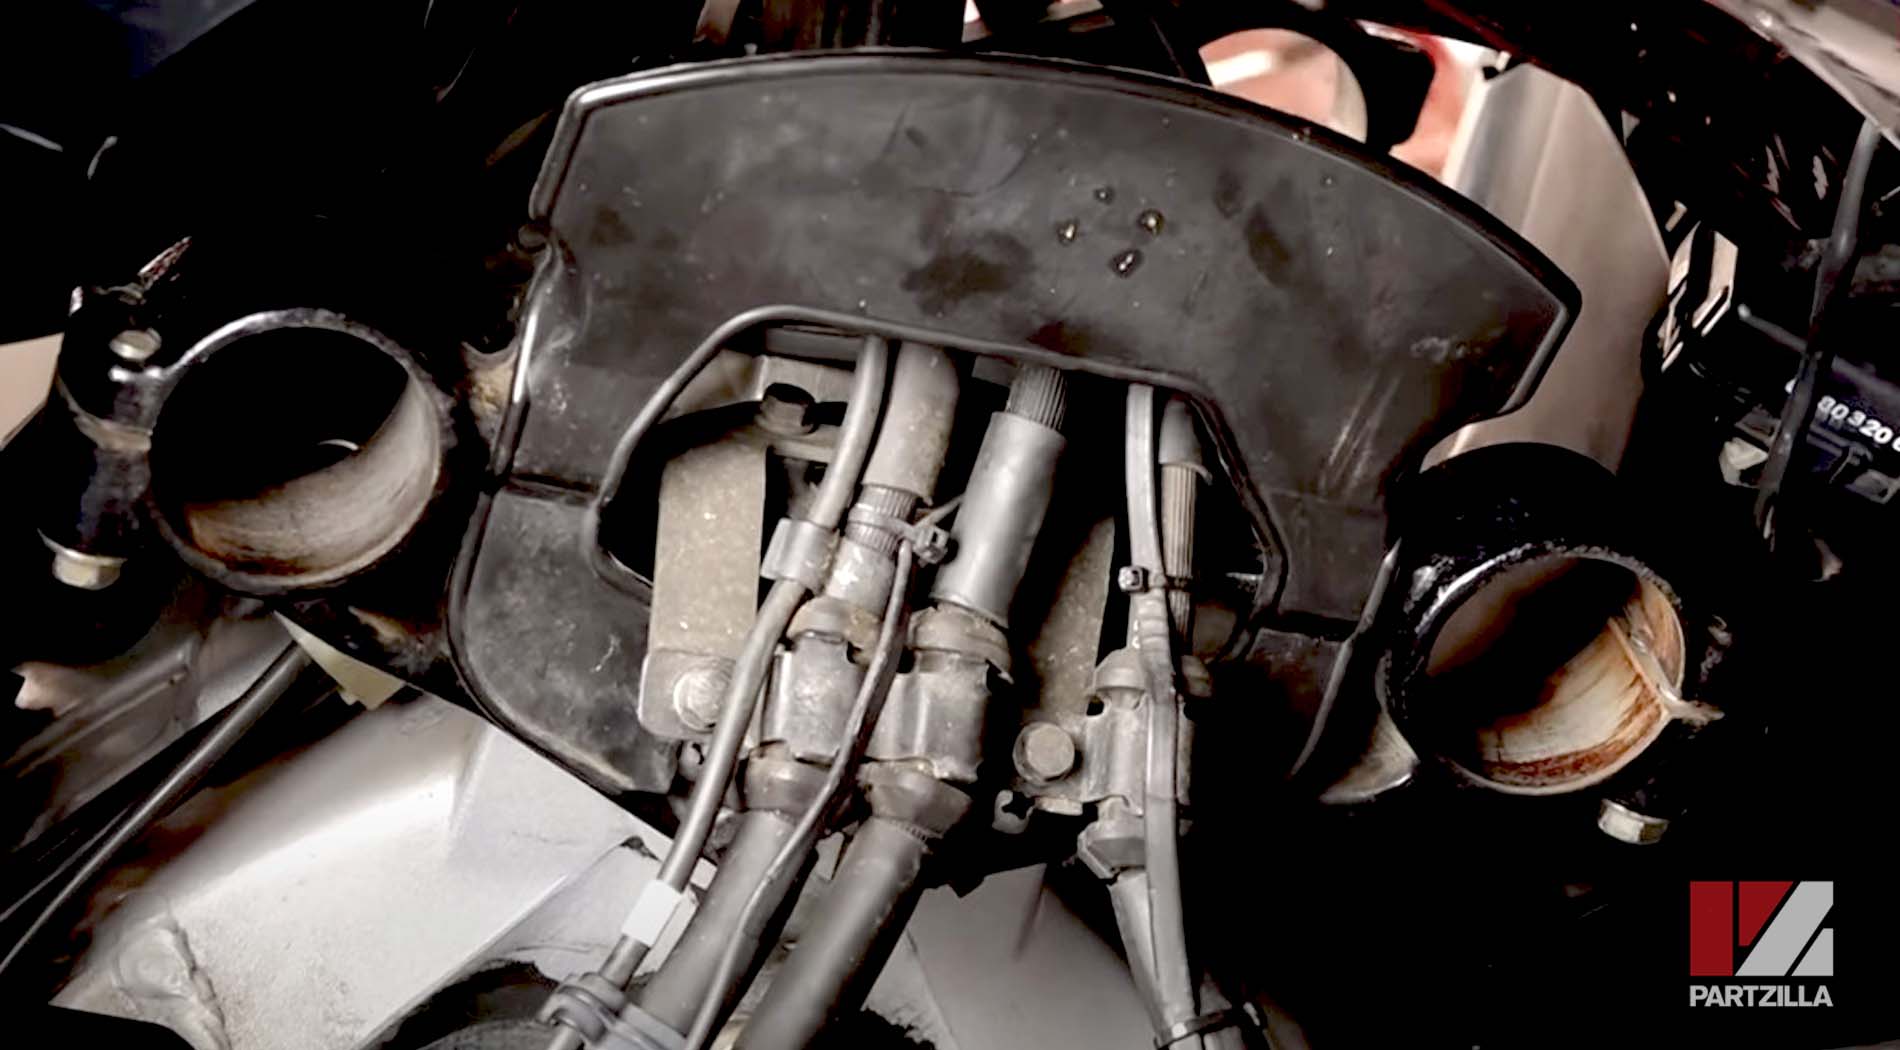
Watch the clip below to see how to reinstall the brackets, cables and hoses on a Honda Goldwing GL1800.
Step 11. Torque the four handlebar bolts to 19 foot-pounds.
Replace Honda GL1800 Steering Stem Bearings: Reinstalling the Shelter
Watch our Honda Goldwing air filter replacement video below to see how to reinstall the shelter on a GL1800 Honda Goldwing.
Replace Honda GL1800 Steering Stem Bearings: Reinstalling the Forks
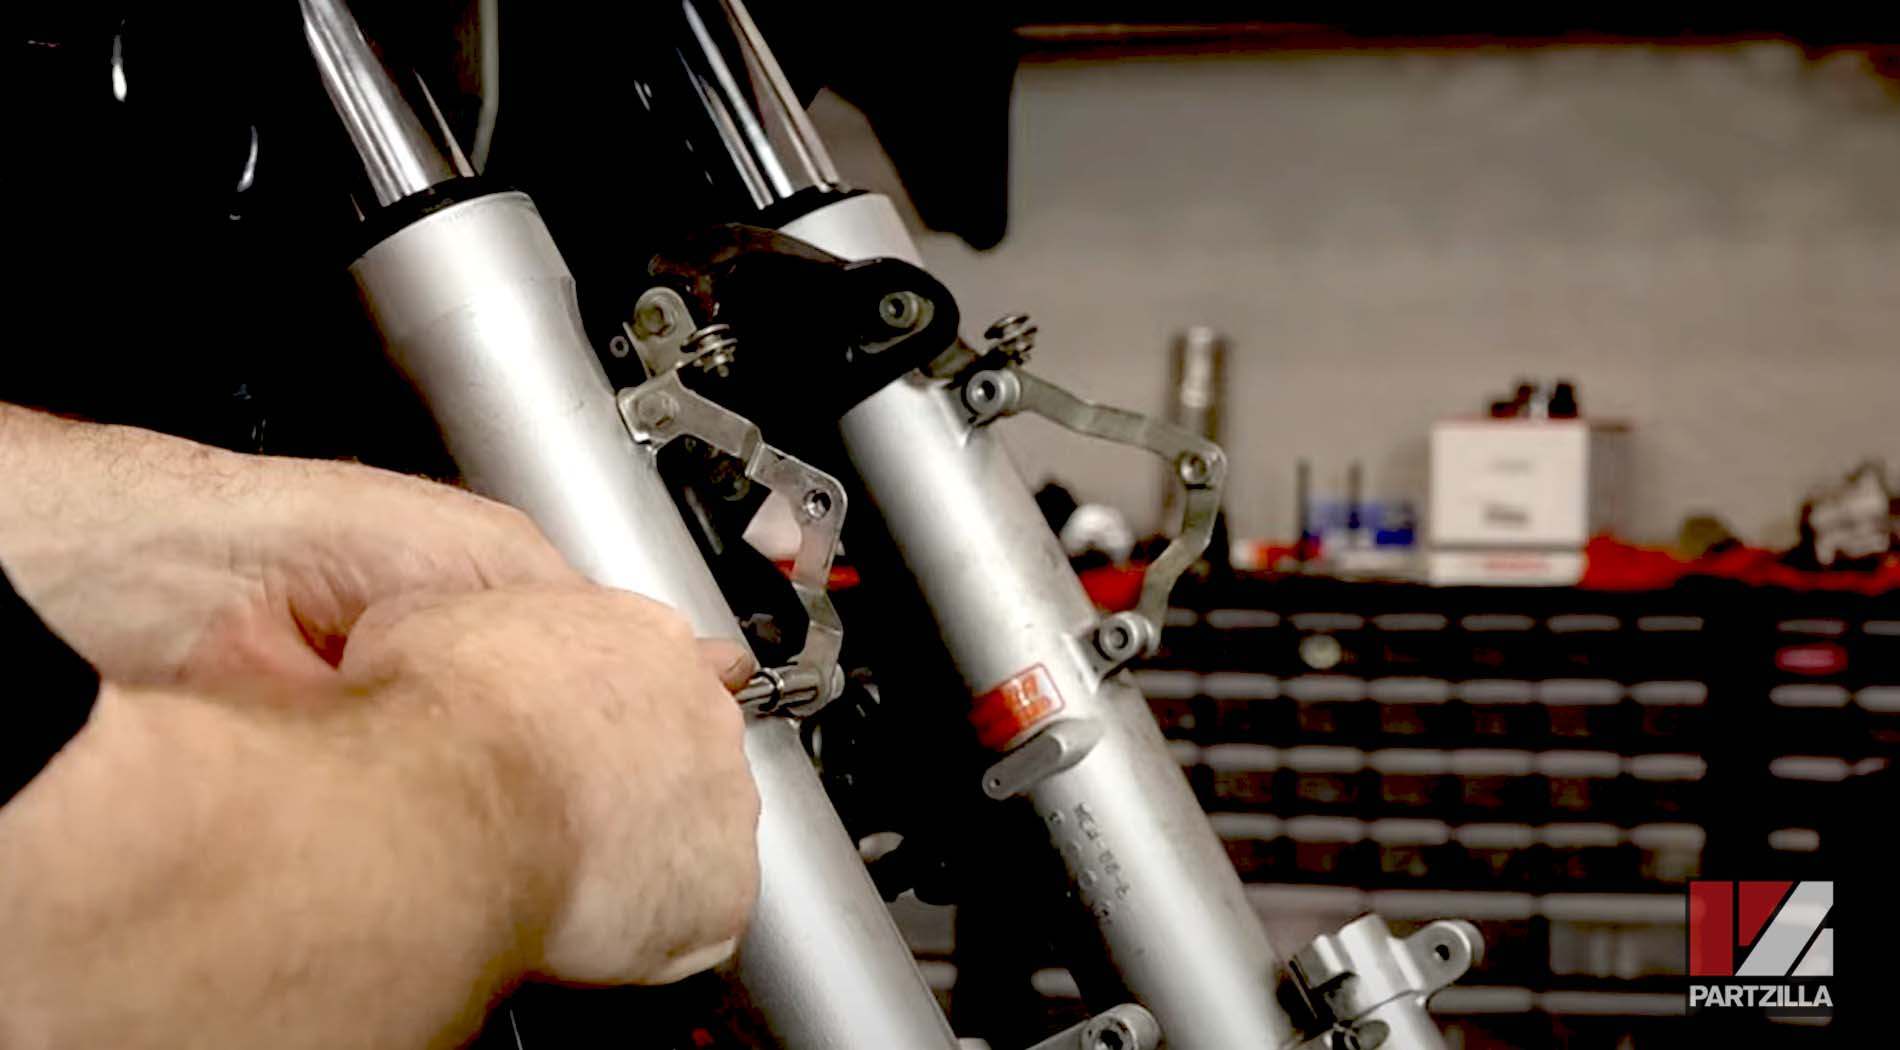
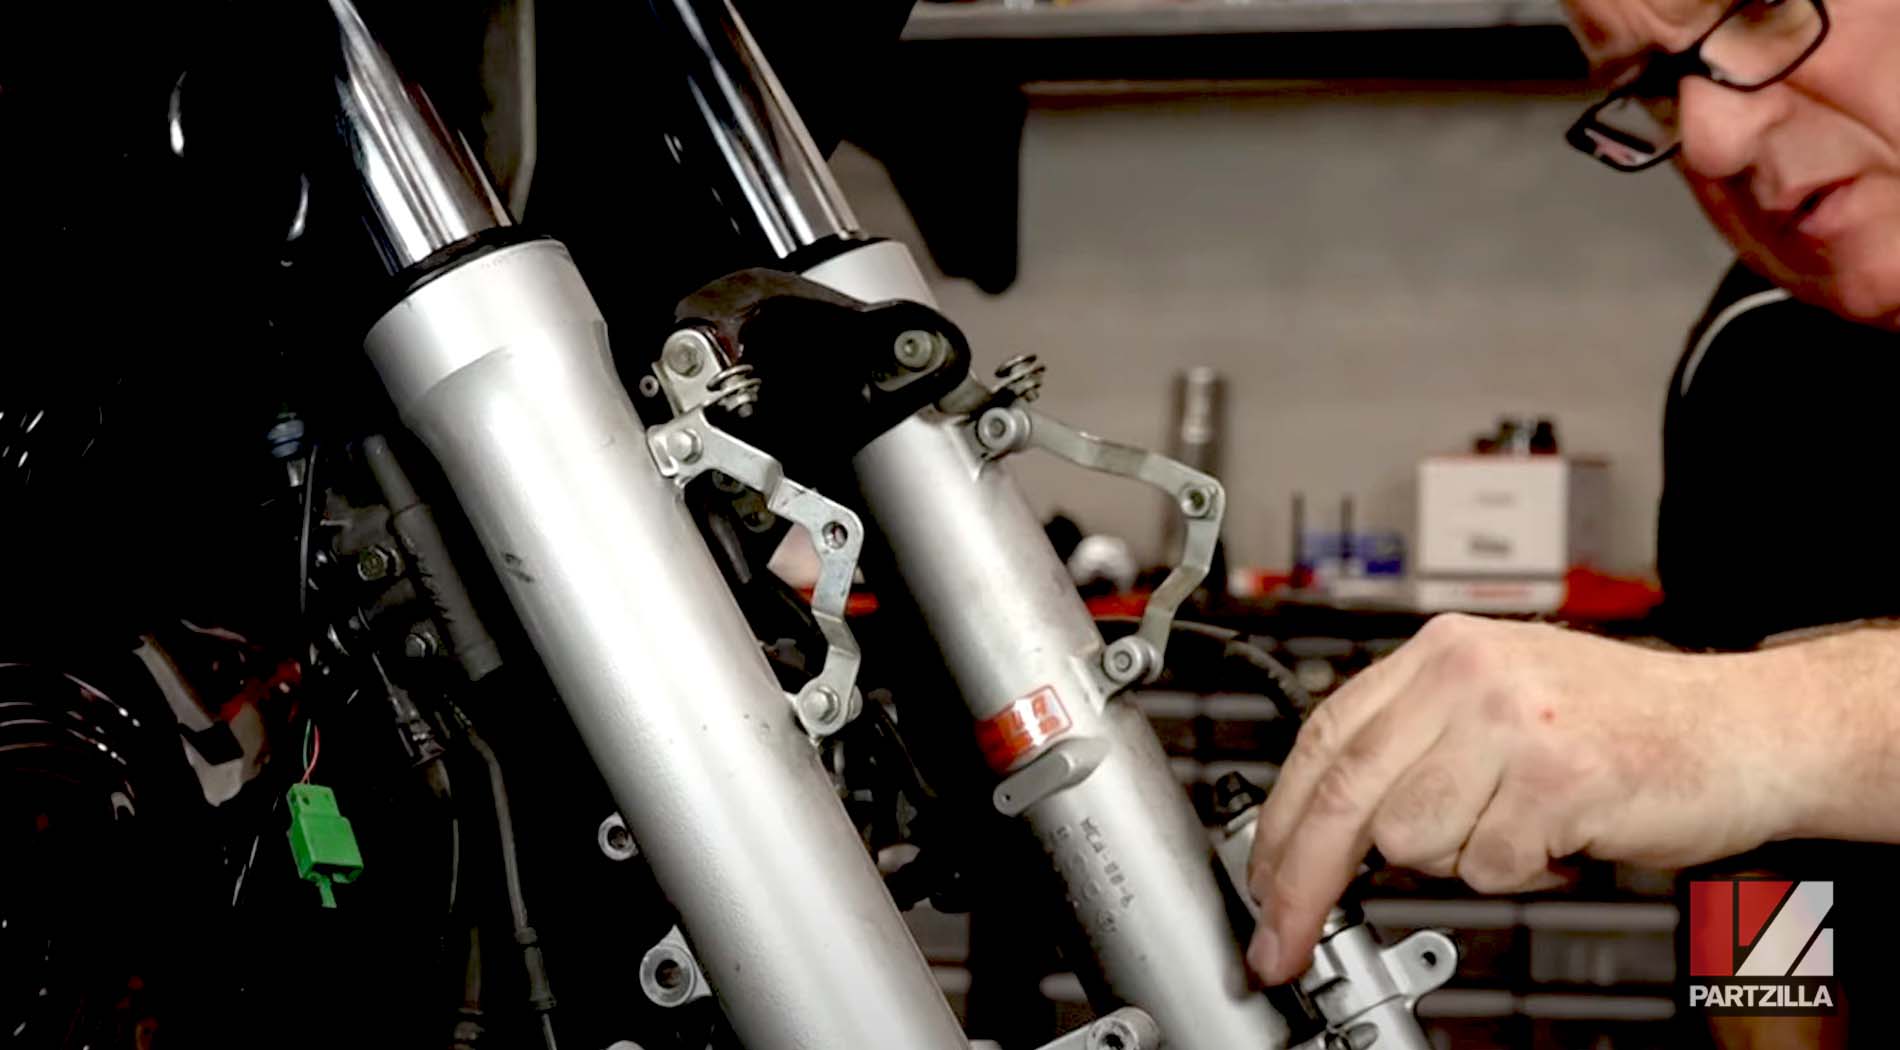
Step 1. Reinstall the forks, and tighten one of the fork pinch bolts on each one just enough to stop them from falling out. Next, Loosen the pinch bolt, and adjust the height of each fork until the top of the upper tree is the same height as the cap itself. Torque the fork pinch bolts on the top bridge to 19 foot-pounds, and the fork pinch bolts on the steering stem to 21 foot-pounds.
Step 2. Reinstall the top cover over the top bridge.
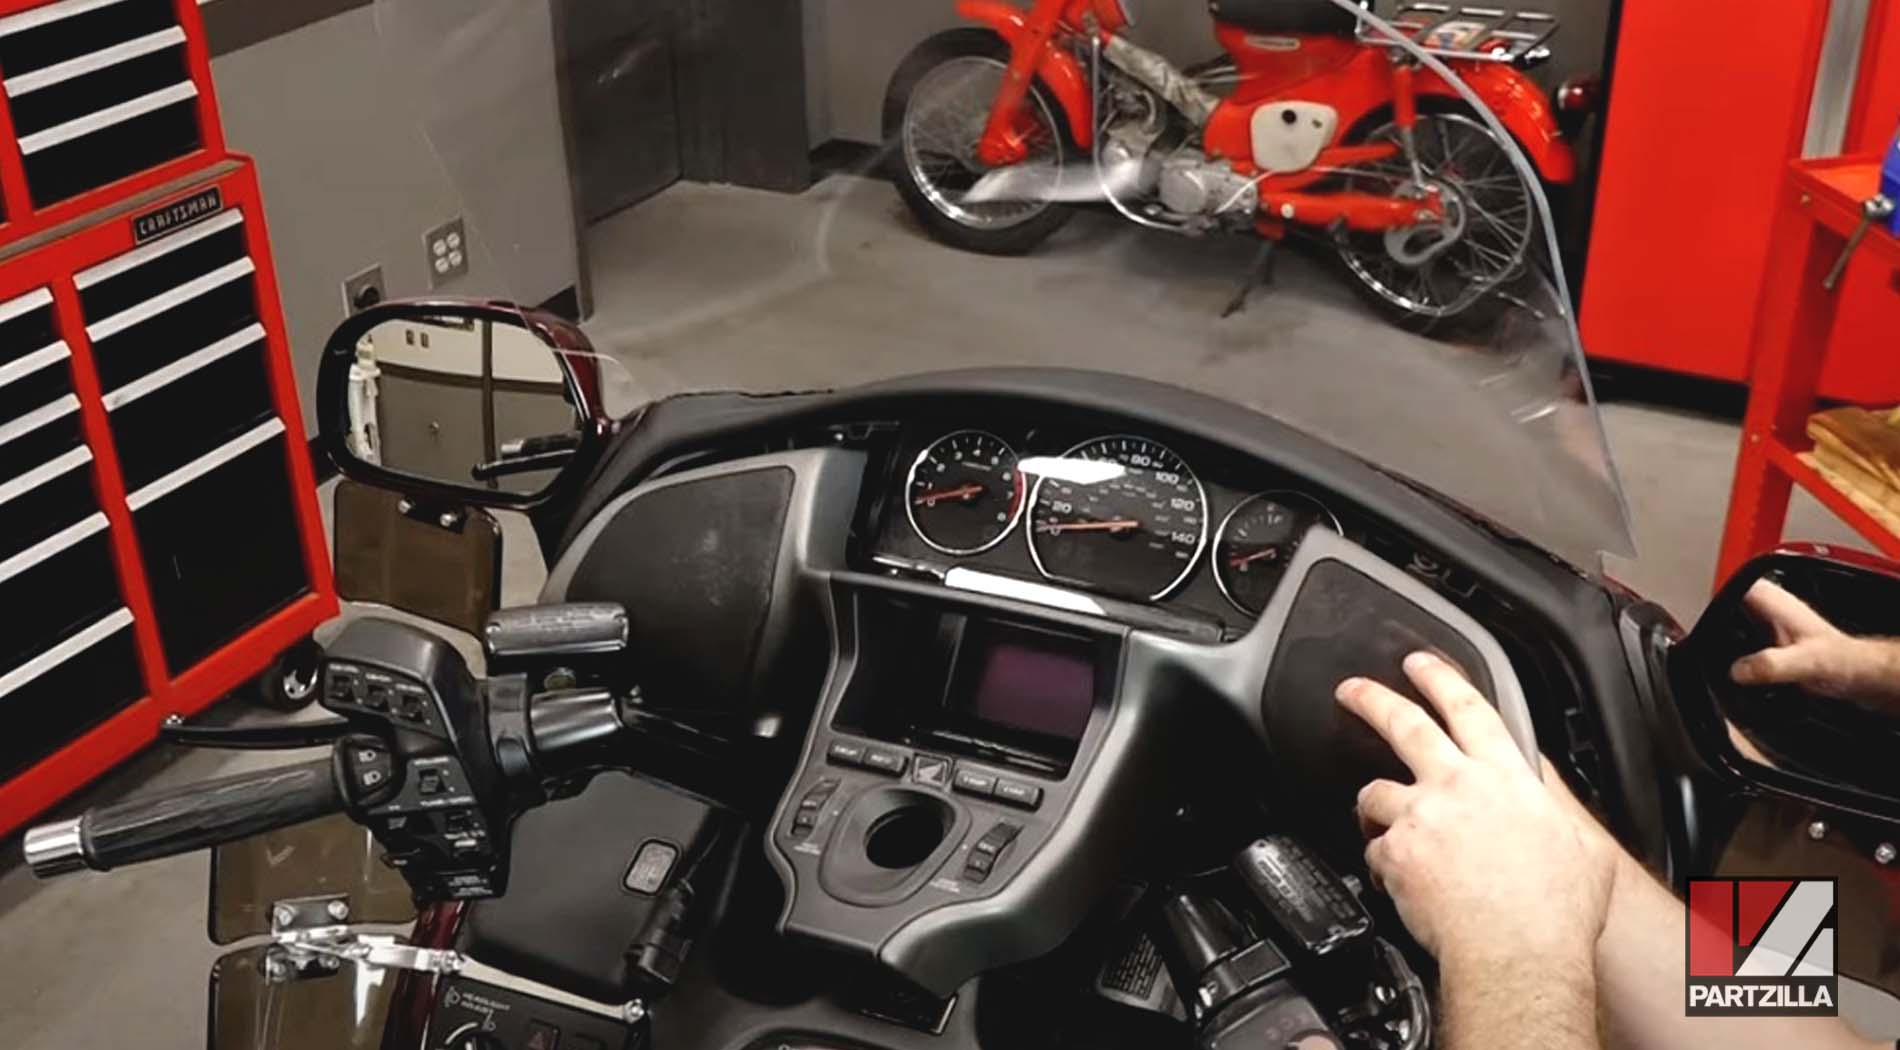
Step 3. Reinstall the meter assembly and reconnect its three wiring connectors. Turn on the ignition to be sure the meter assembly’s wiring is connected properly, and all the dials and the display screen light up.
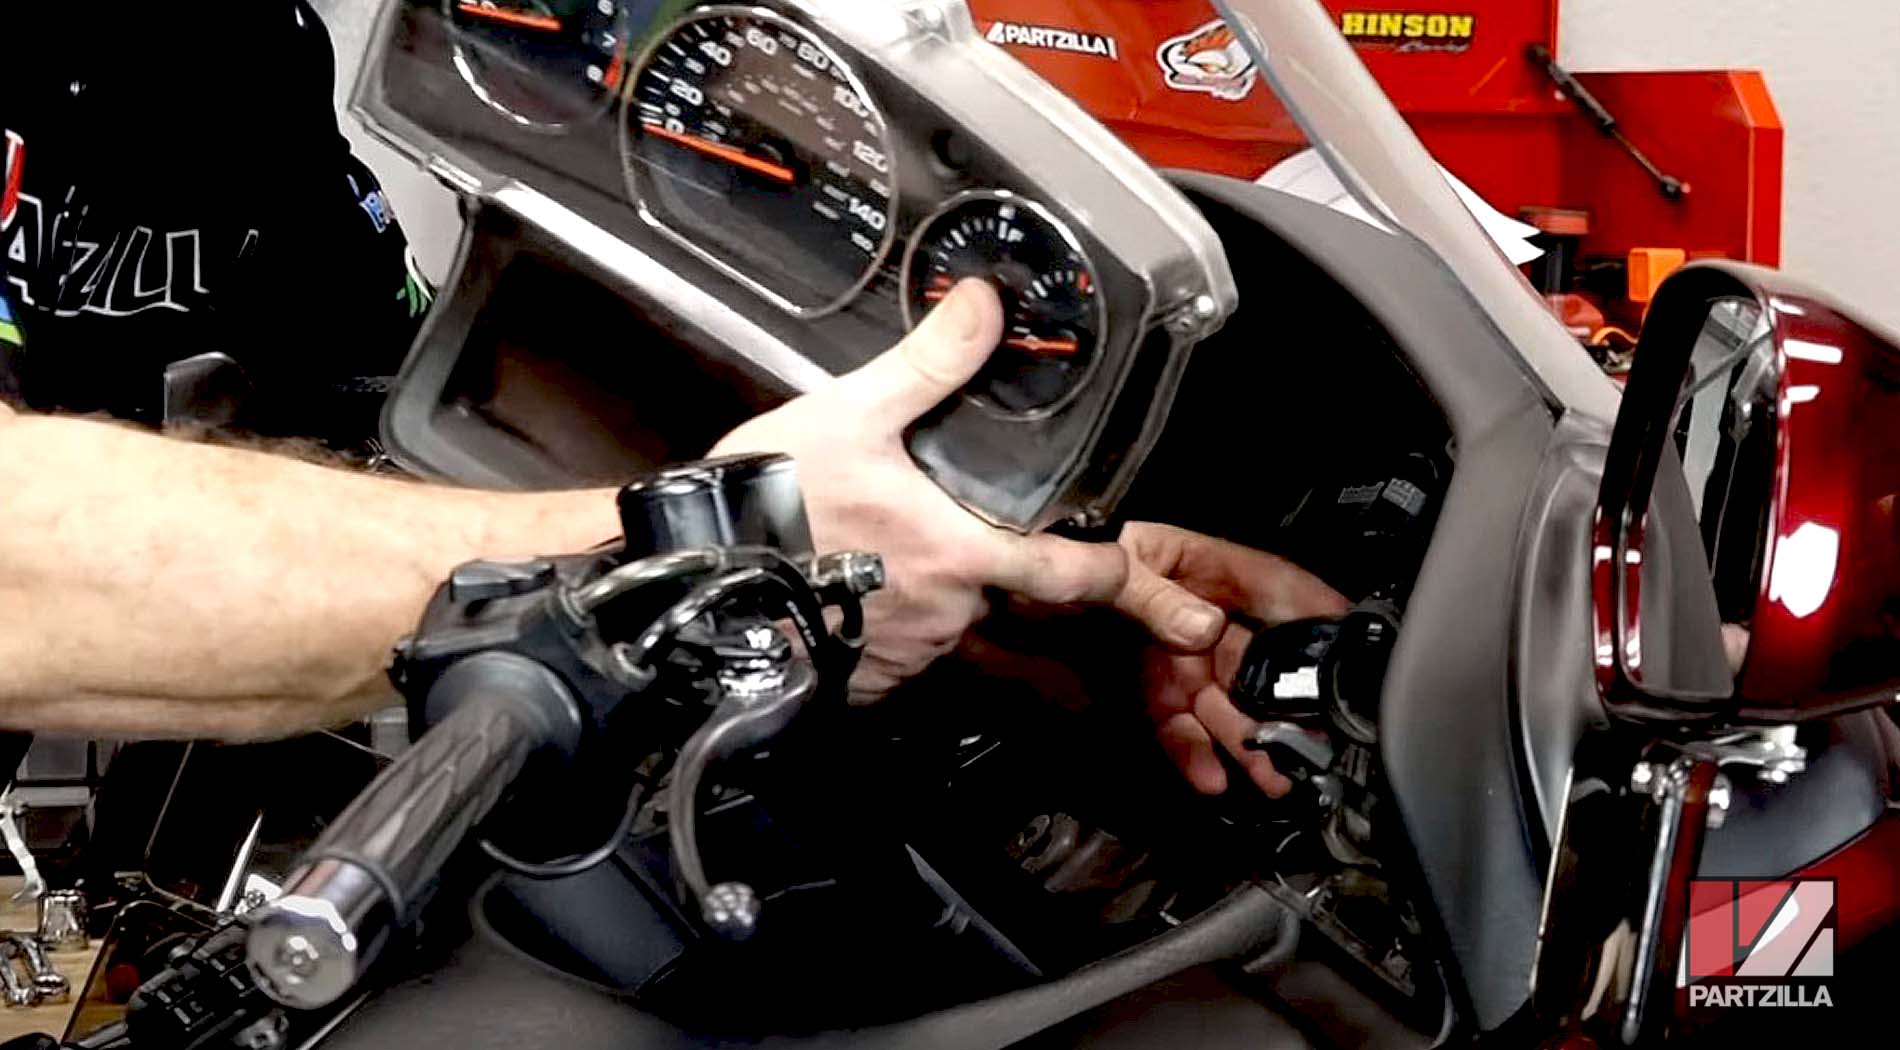
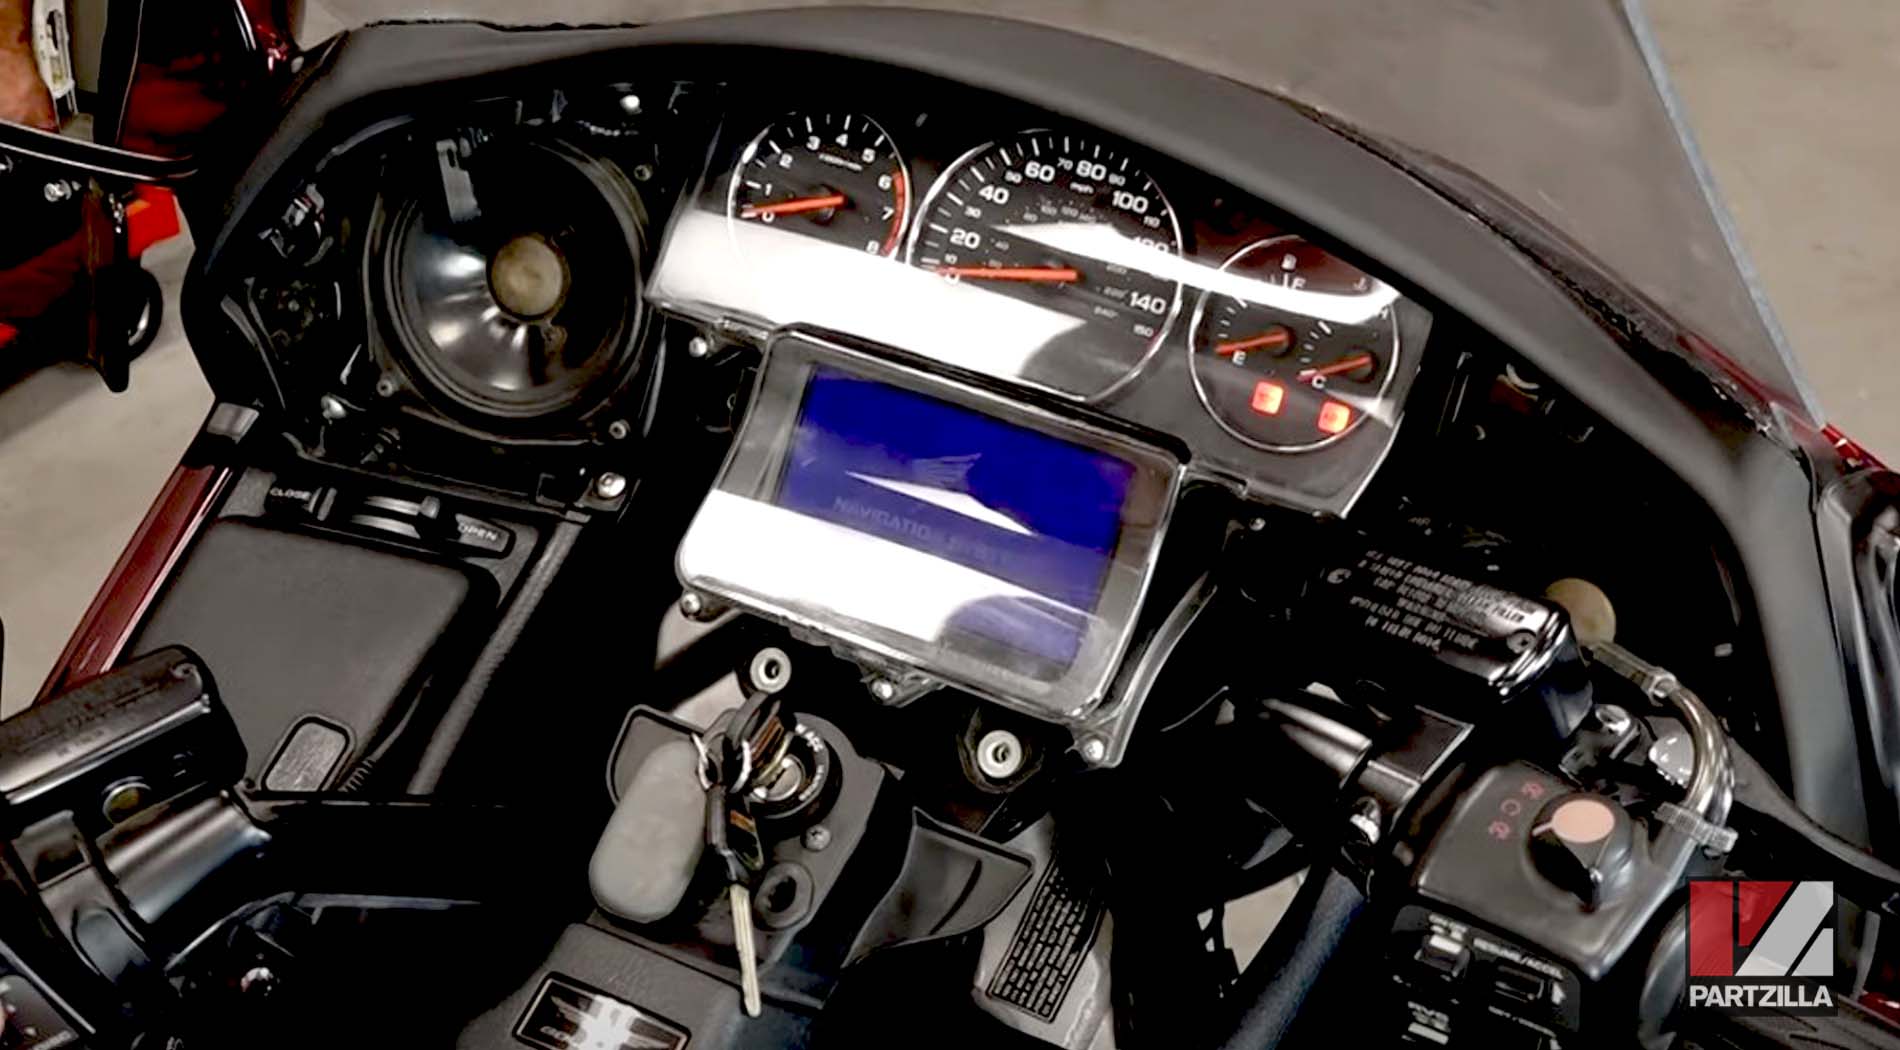
Step 4. Reinstall the meter panel and reconnect the speaker cables behind the panel.
Watch the clip below to see how to set the fork and reinstall the meter assembly on a Honda Goldwing GL1800.
Replace Honda GL1800 Steering Stem Bearings: Reinstalling the Brakes and the Front Wheel
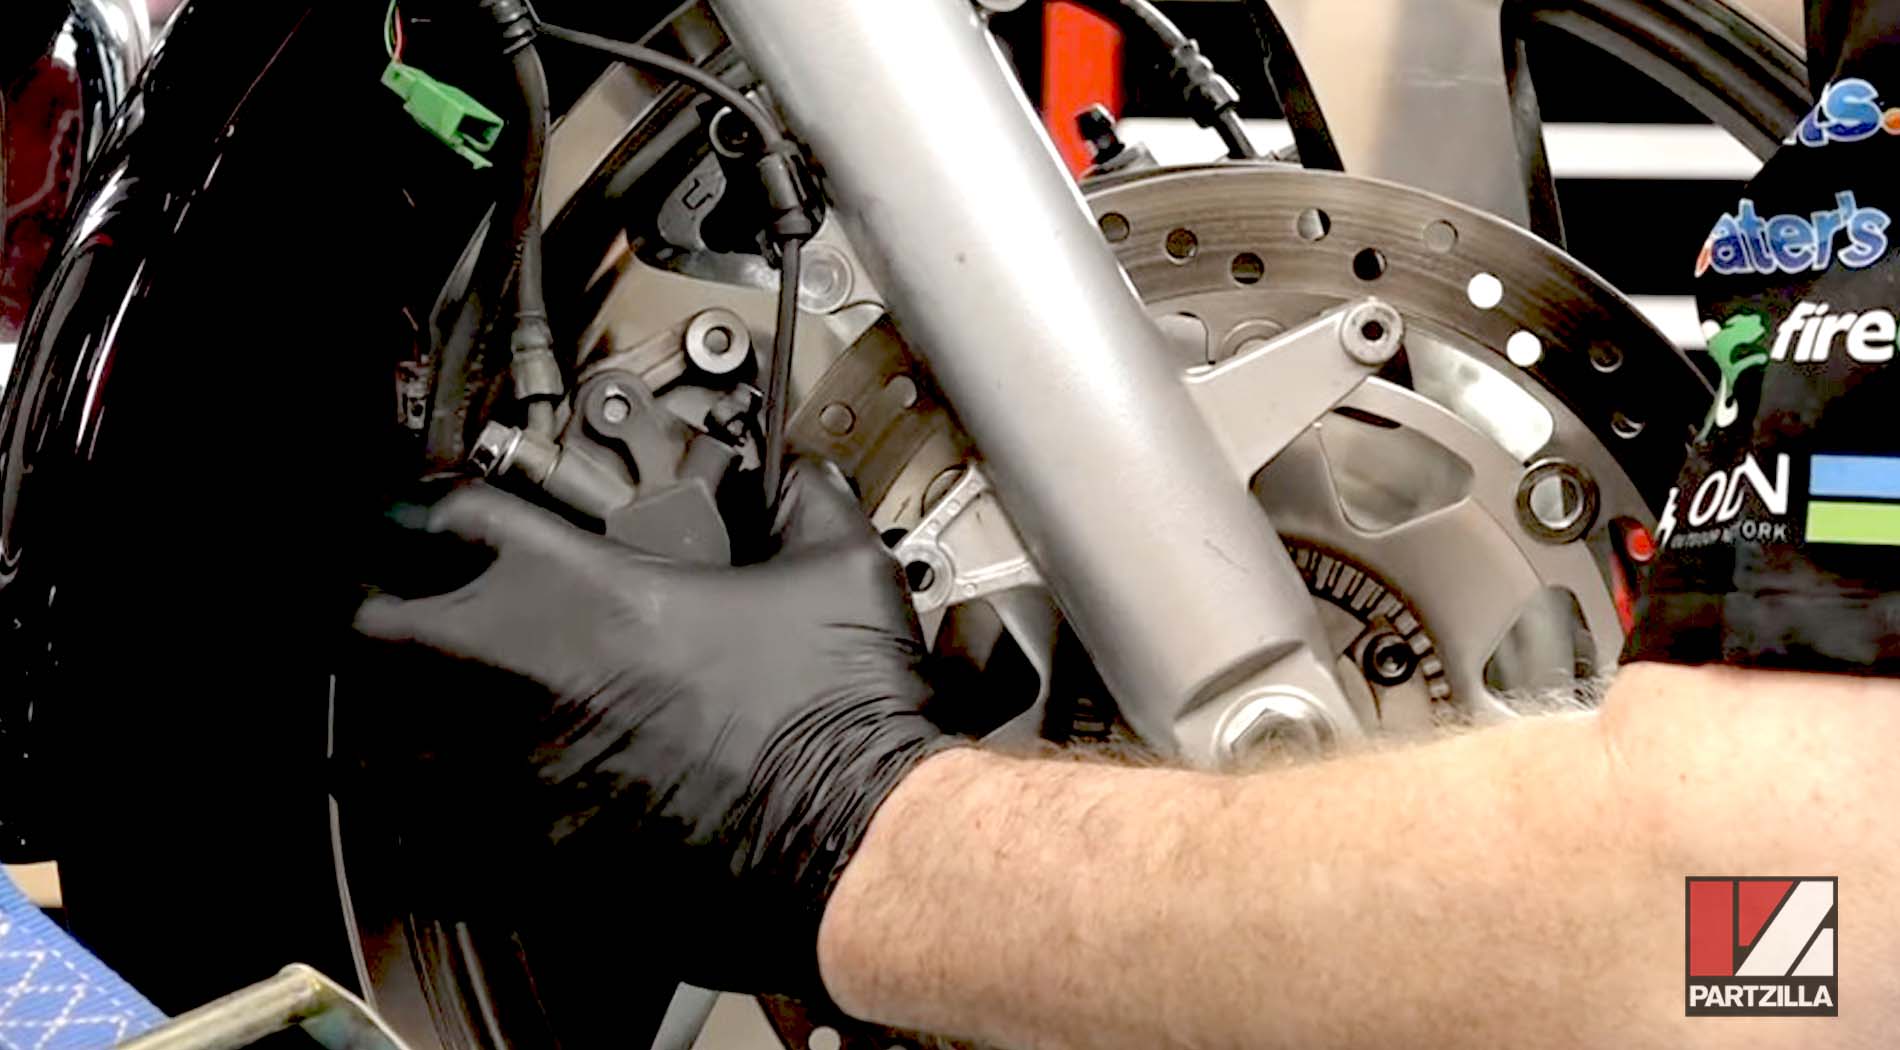
Step 1. Reinstall the rear part of the front fender and the top of the anti-dive assembly on the left fork.

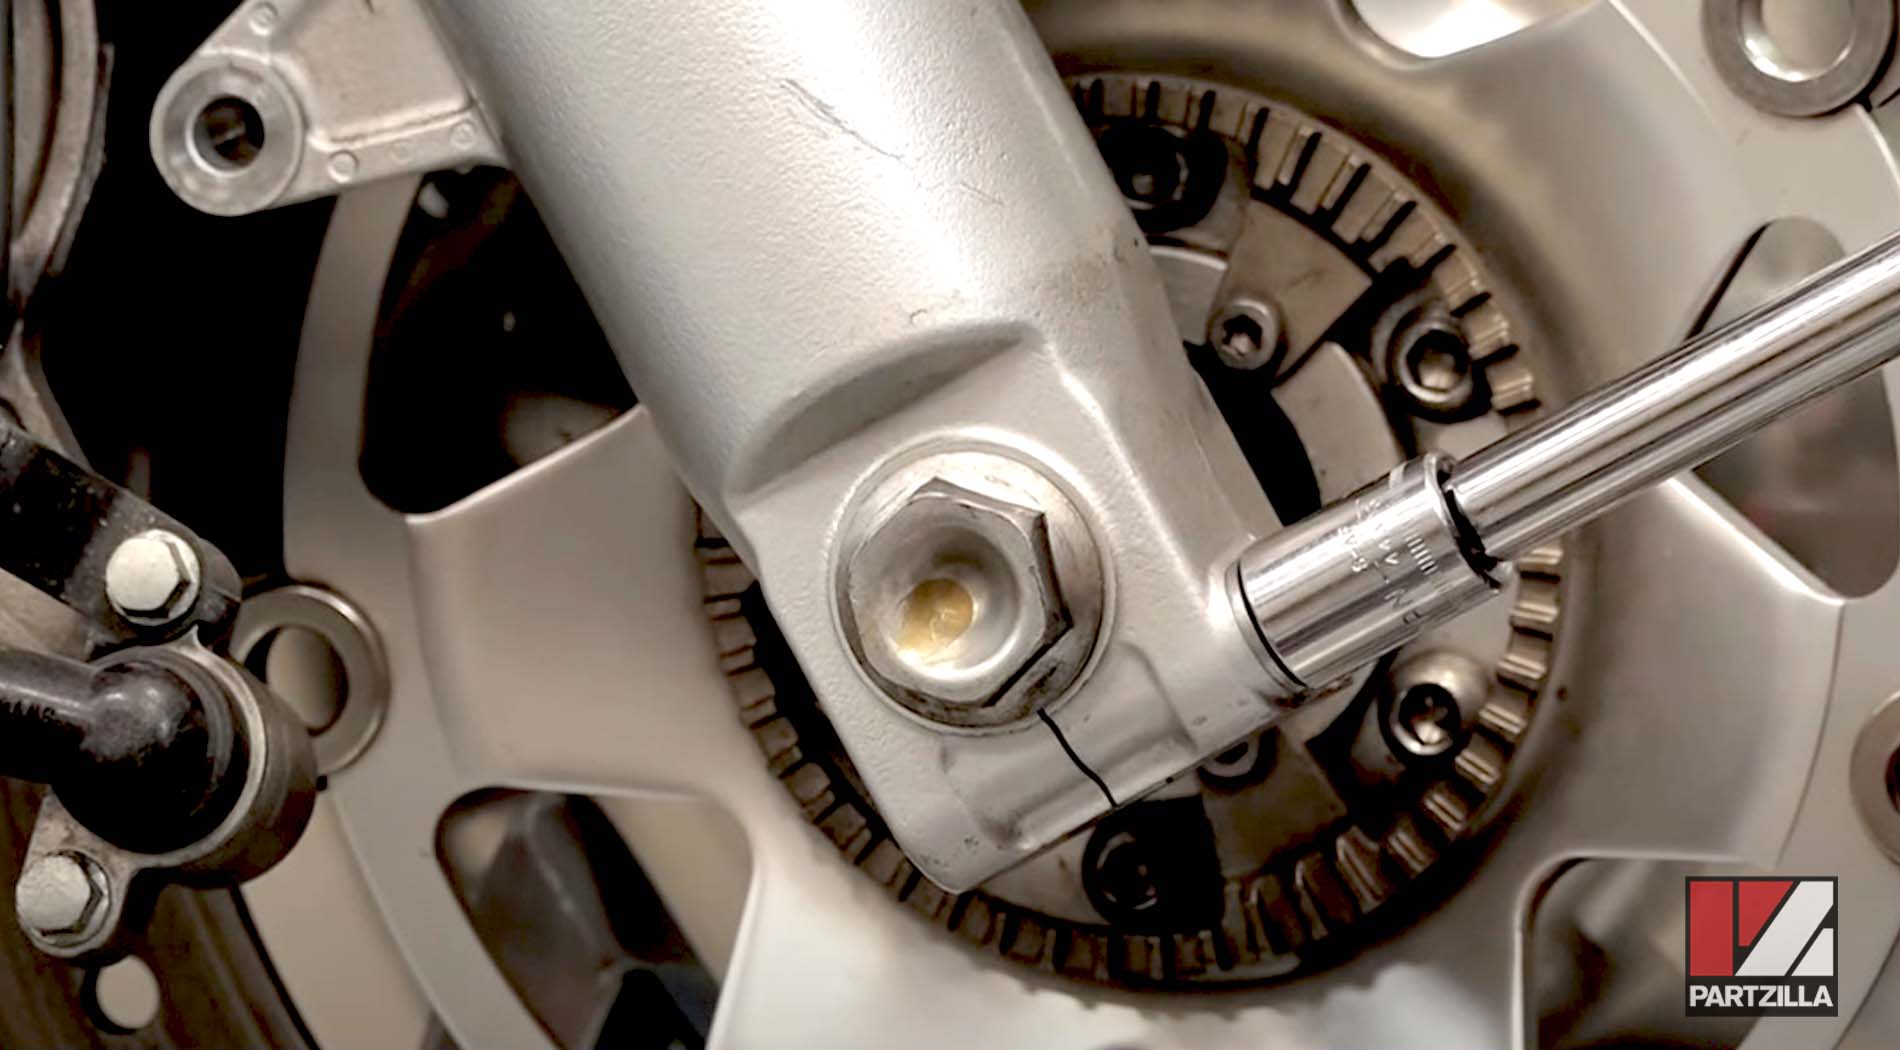
Step 2. Reinstall the wheel spacers/collars into the front wheel, then position the wheel between the forks and reinstall the axle. Tap the axle in until it bottoms out on the left fork, and tighten the two axle pinch bolts on the left fork.
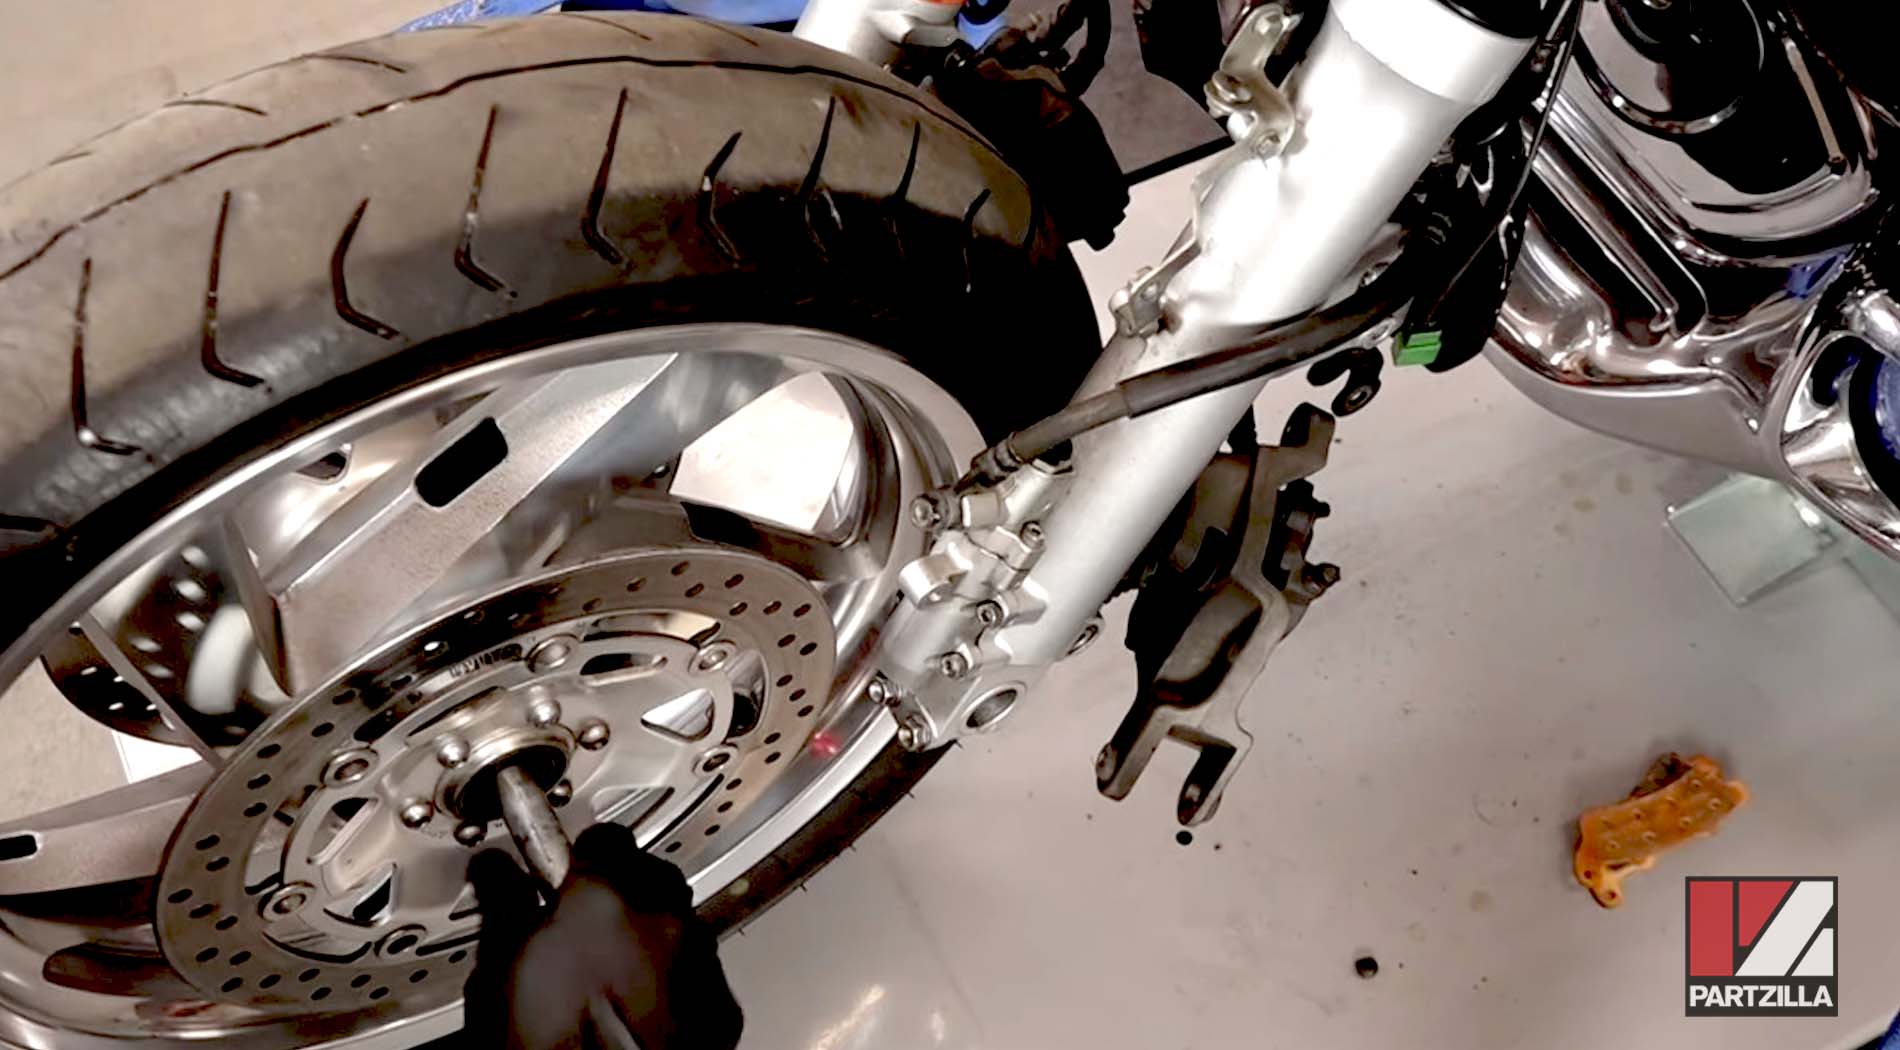
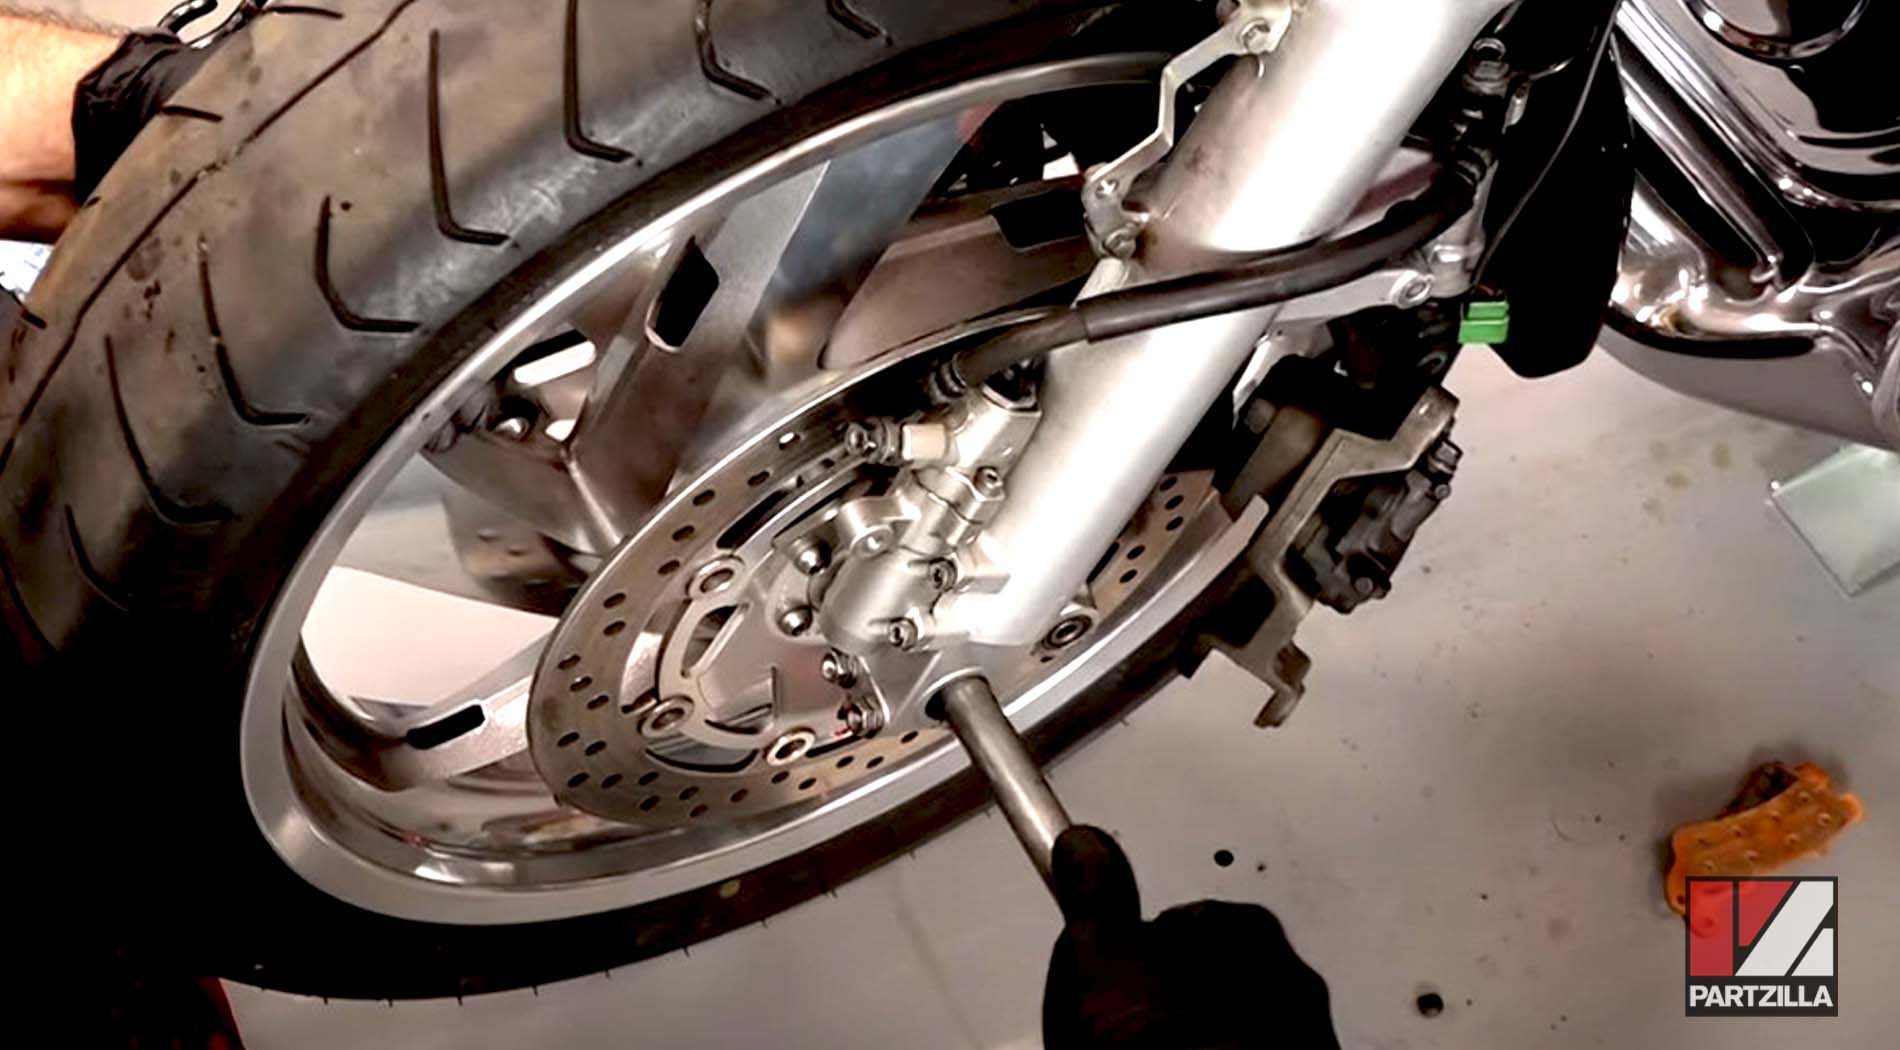
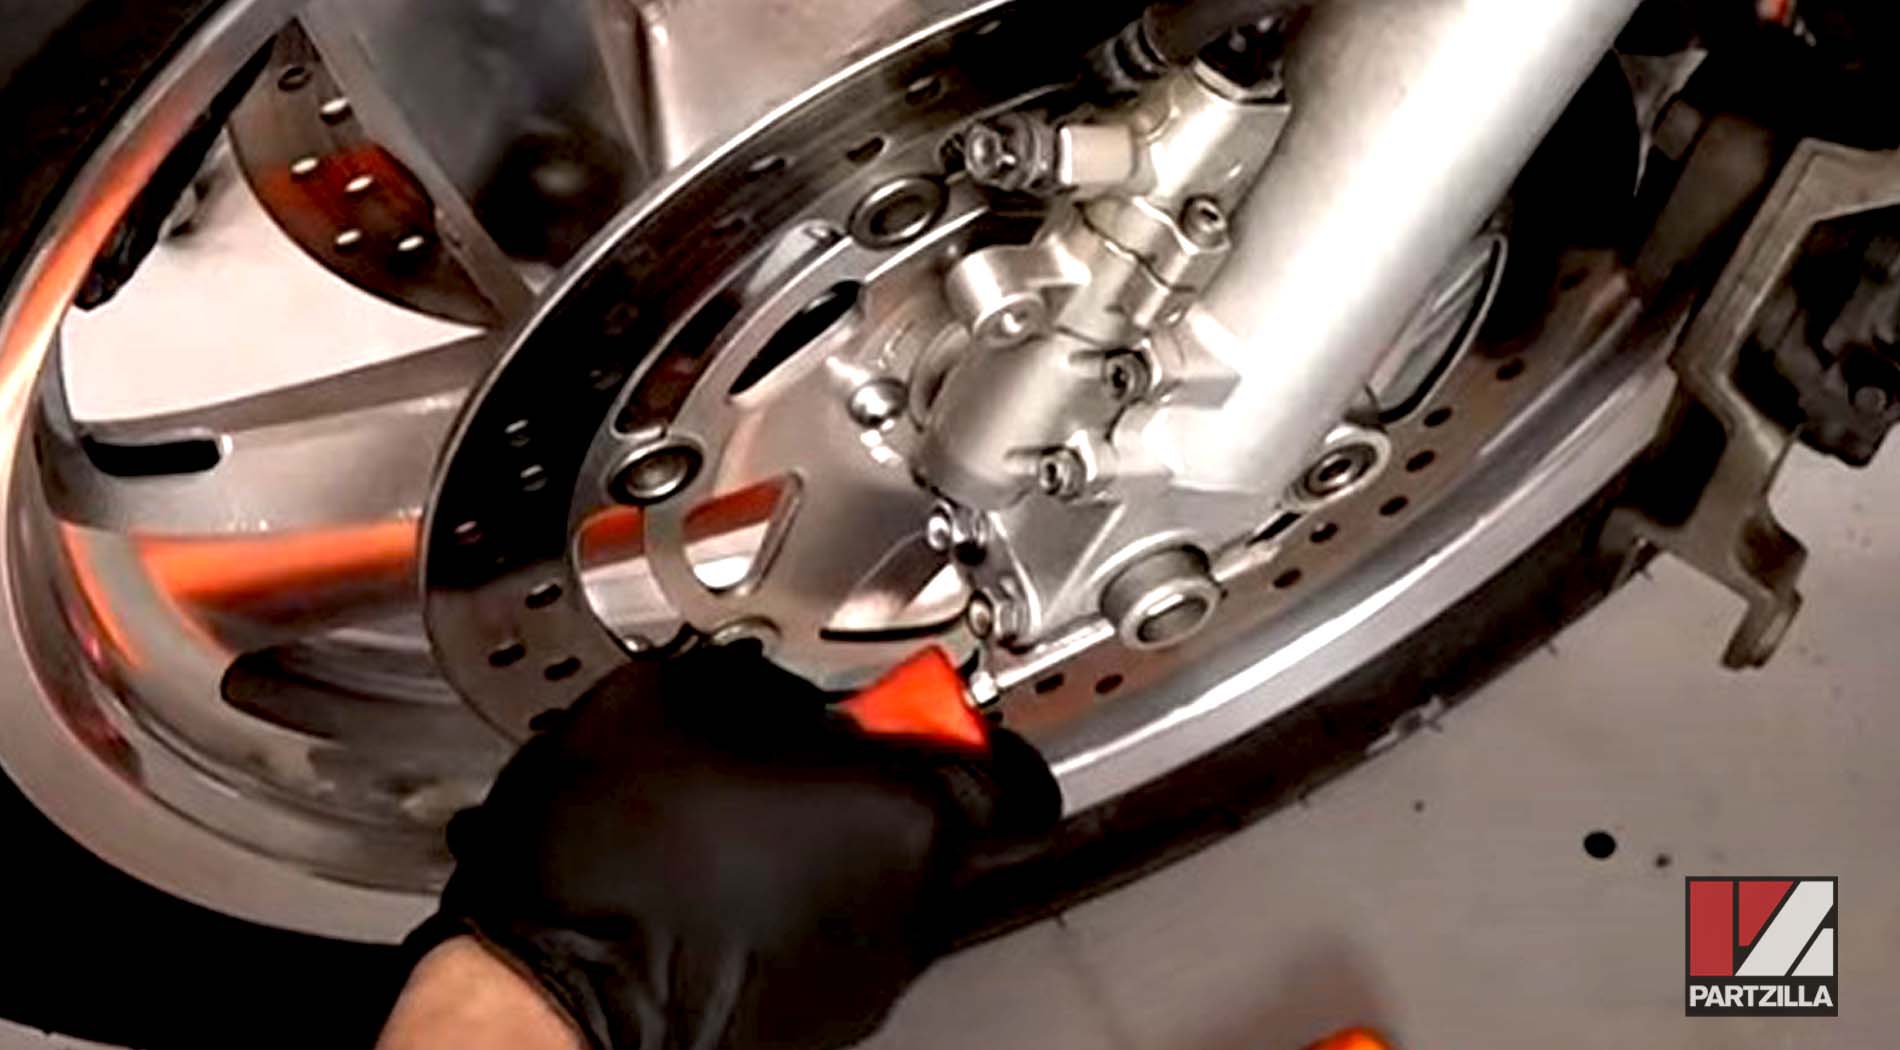
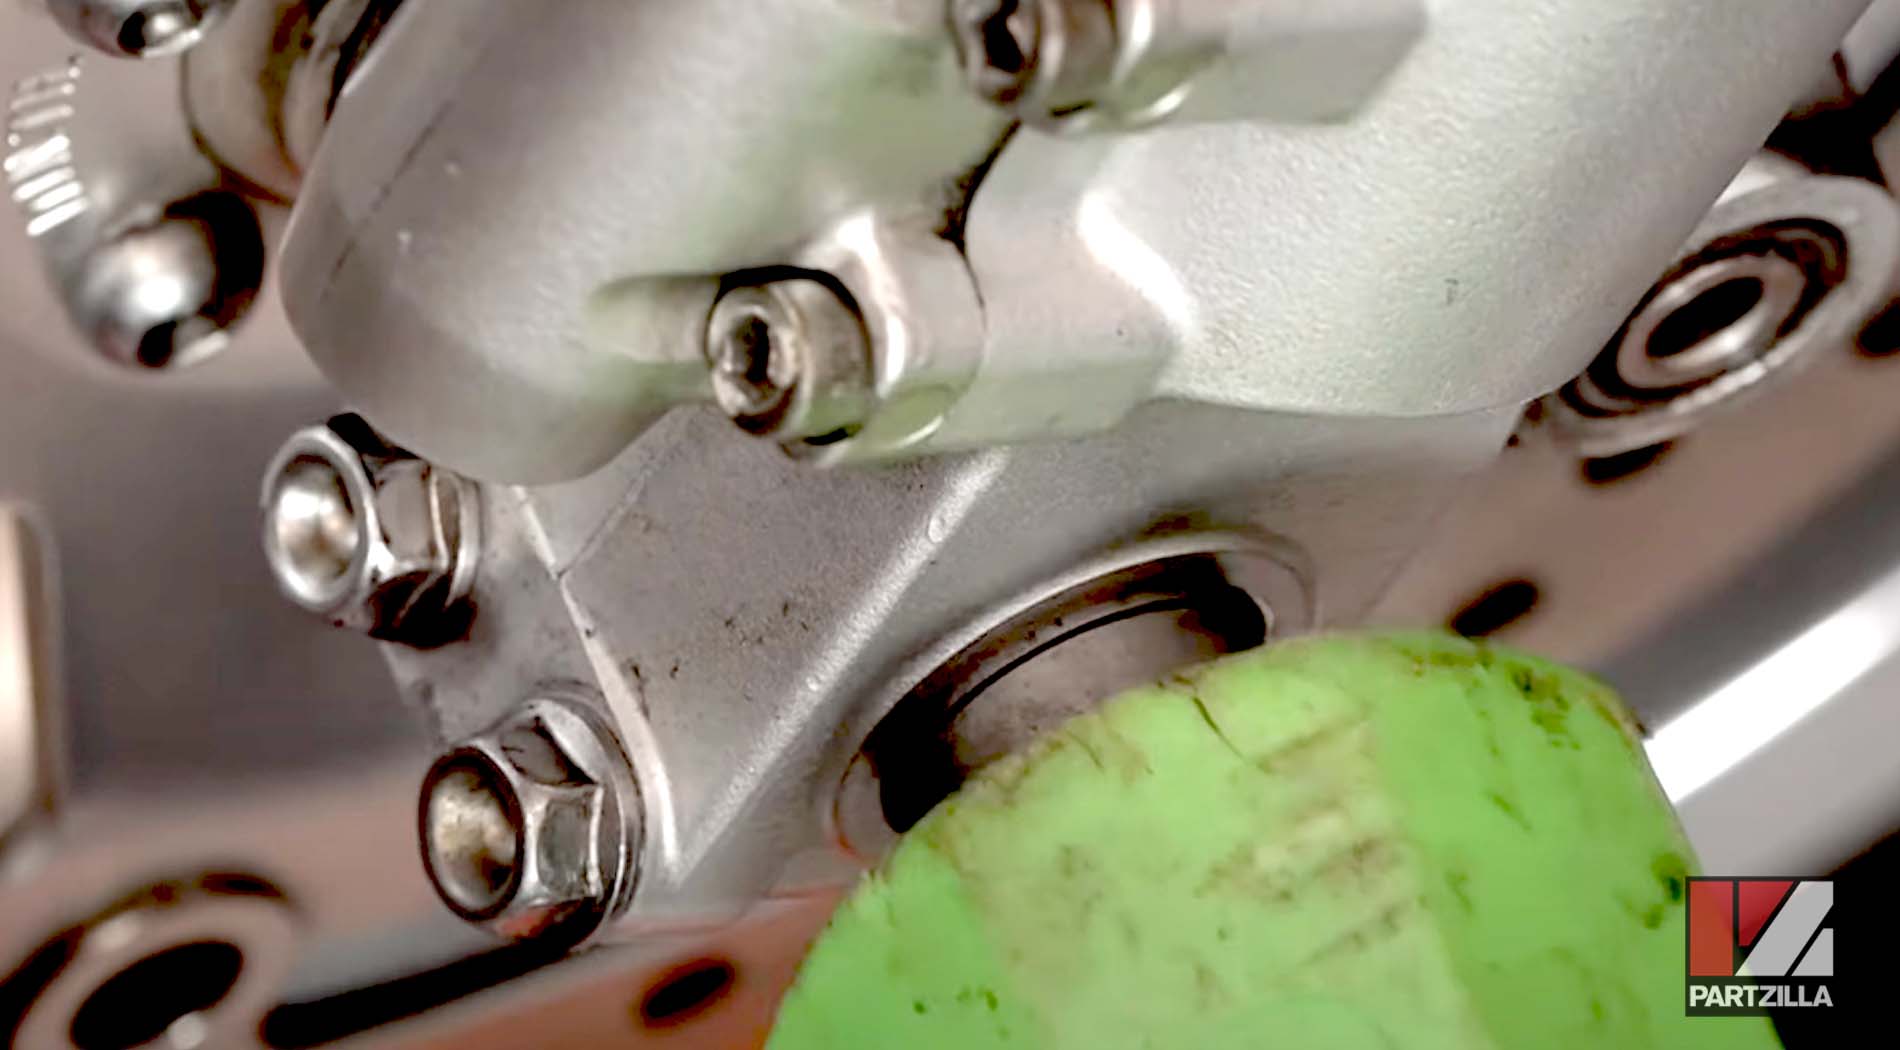
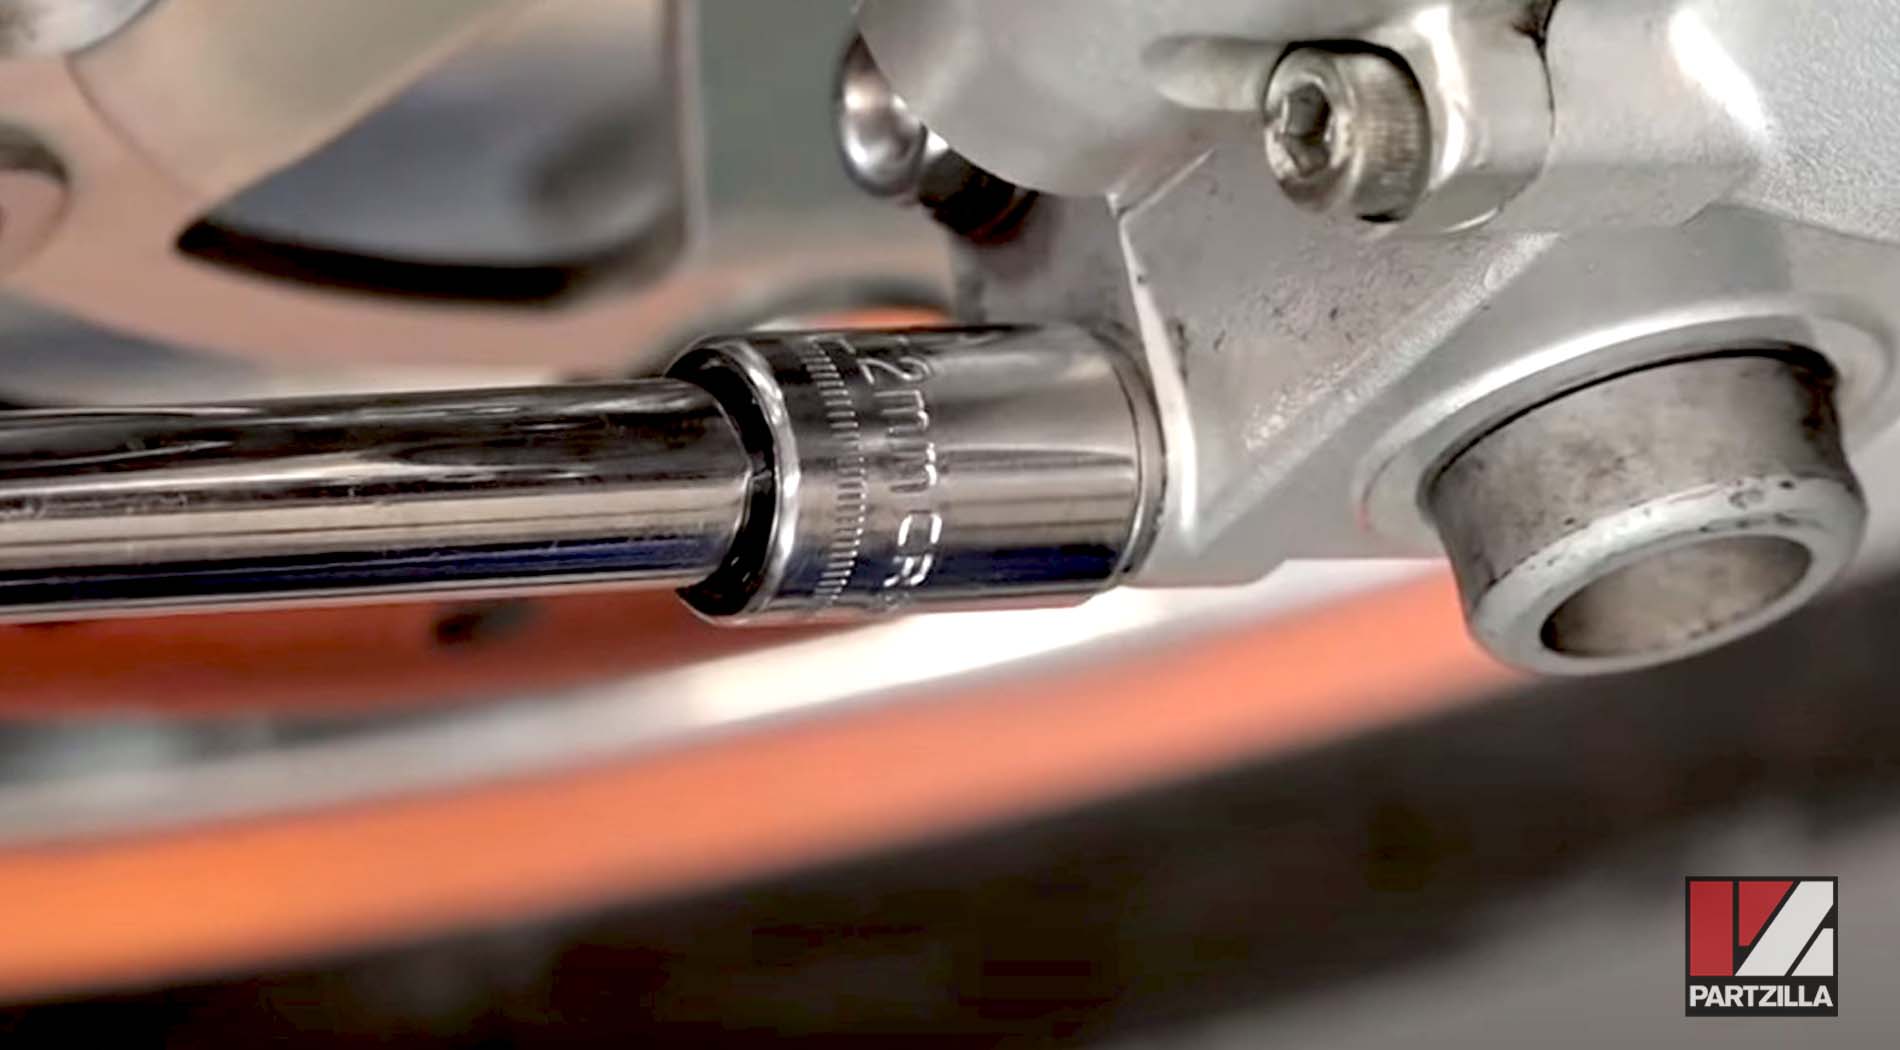
Step 3. Reinstall the axle bolt and torque it to 44 foot-pounds, then torque the two axle pinch bolts on the right fork to 16 foot-pounds. Next, release the two left-fork axle pinch bolts, and align the left fork with the right fork by pushing the fork inward and pulling it outward to determine its position in relation to the line on the axle. Set the line so it’s at the mid-point of the fork’s total lateral movement, then torque the two axle pinch bolts on the left fork to 16 foot-pounds.
Watch the clip below to see how to align the forks on a Honda Goldwing GL1800.
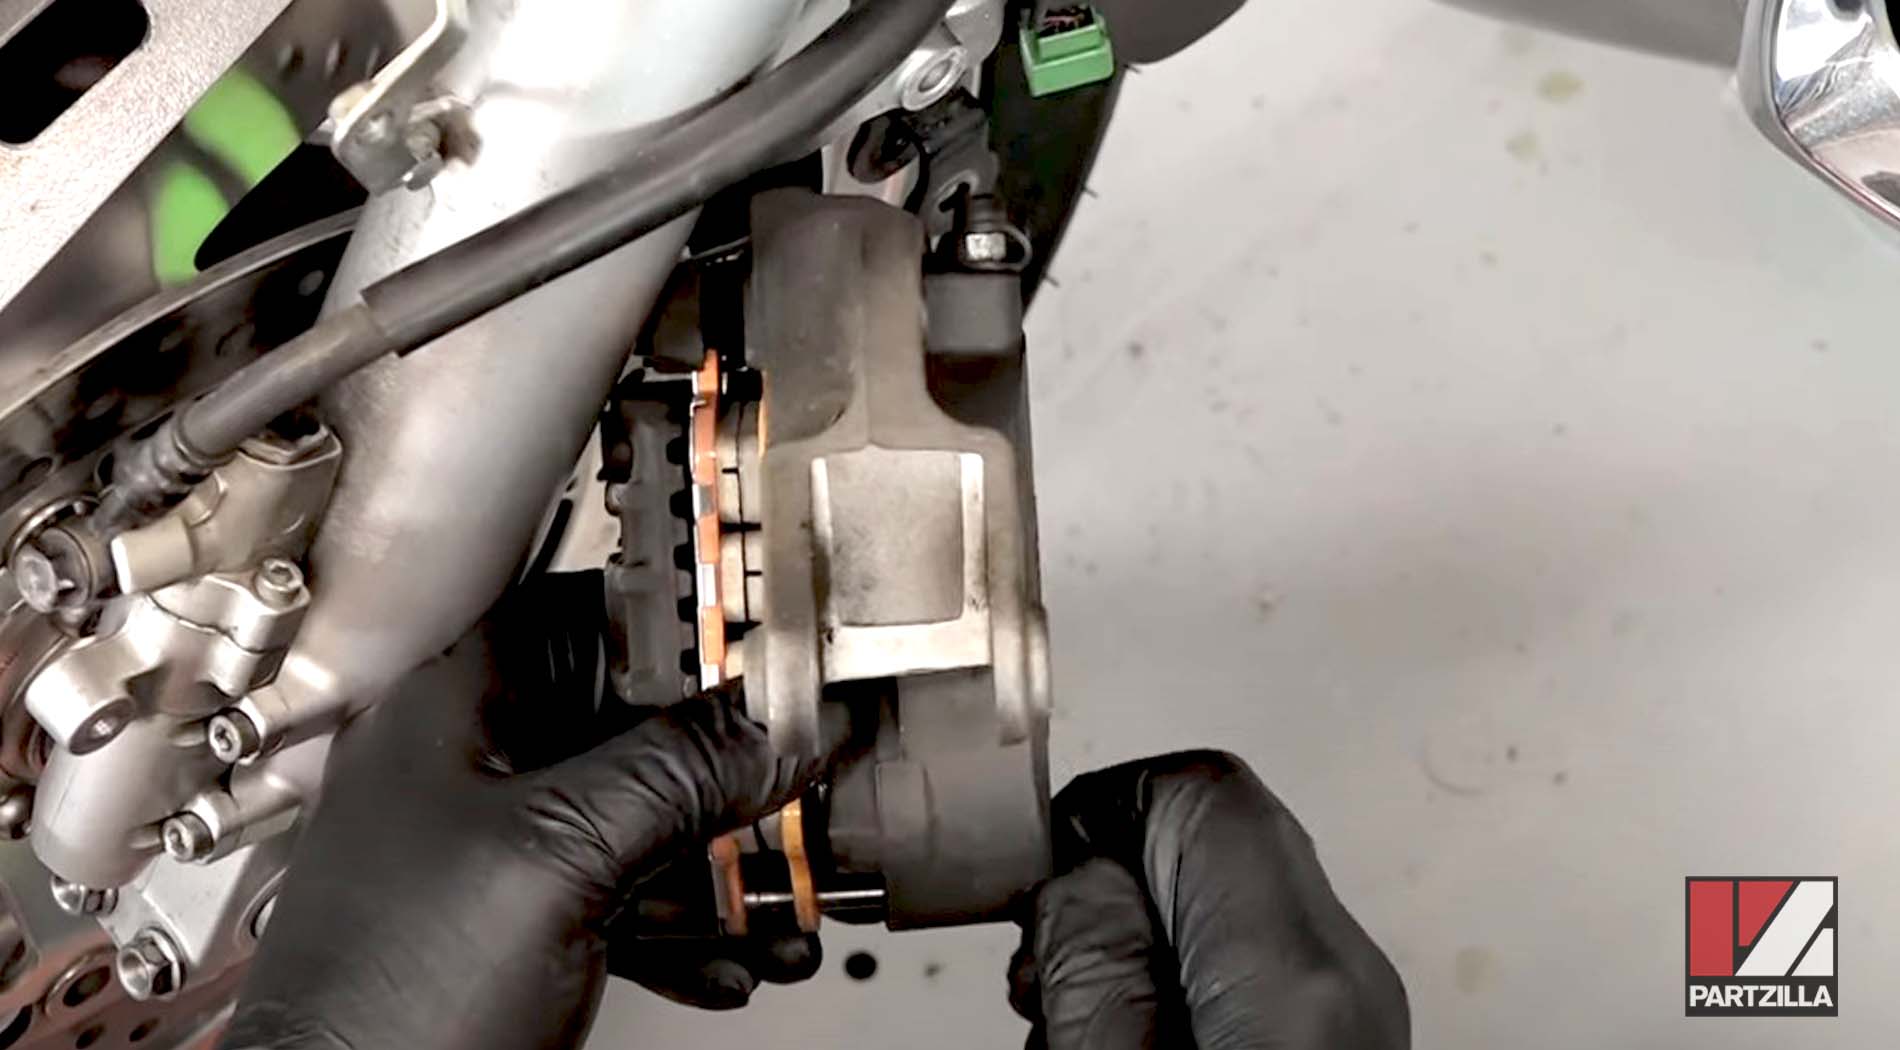
Step 4. Reinstall the brake calipers and caliper pins into the left-side brake caliper and the caliper onto the wheel. Next, reinstall the right-side brake caliper onto the wheel.
Step 5. Reinstall the front part of the front fender and the side panels. If your Goldwing had a crossmember or fork brace installed on the forks, reinstall it now and you’re done.
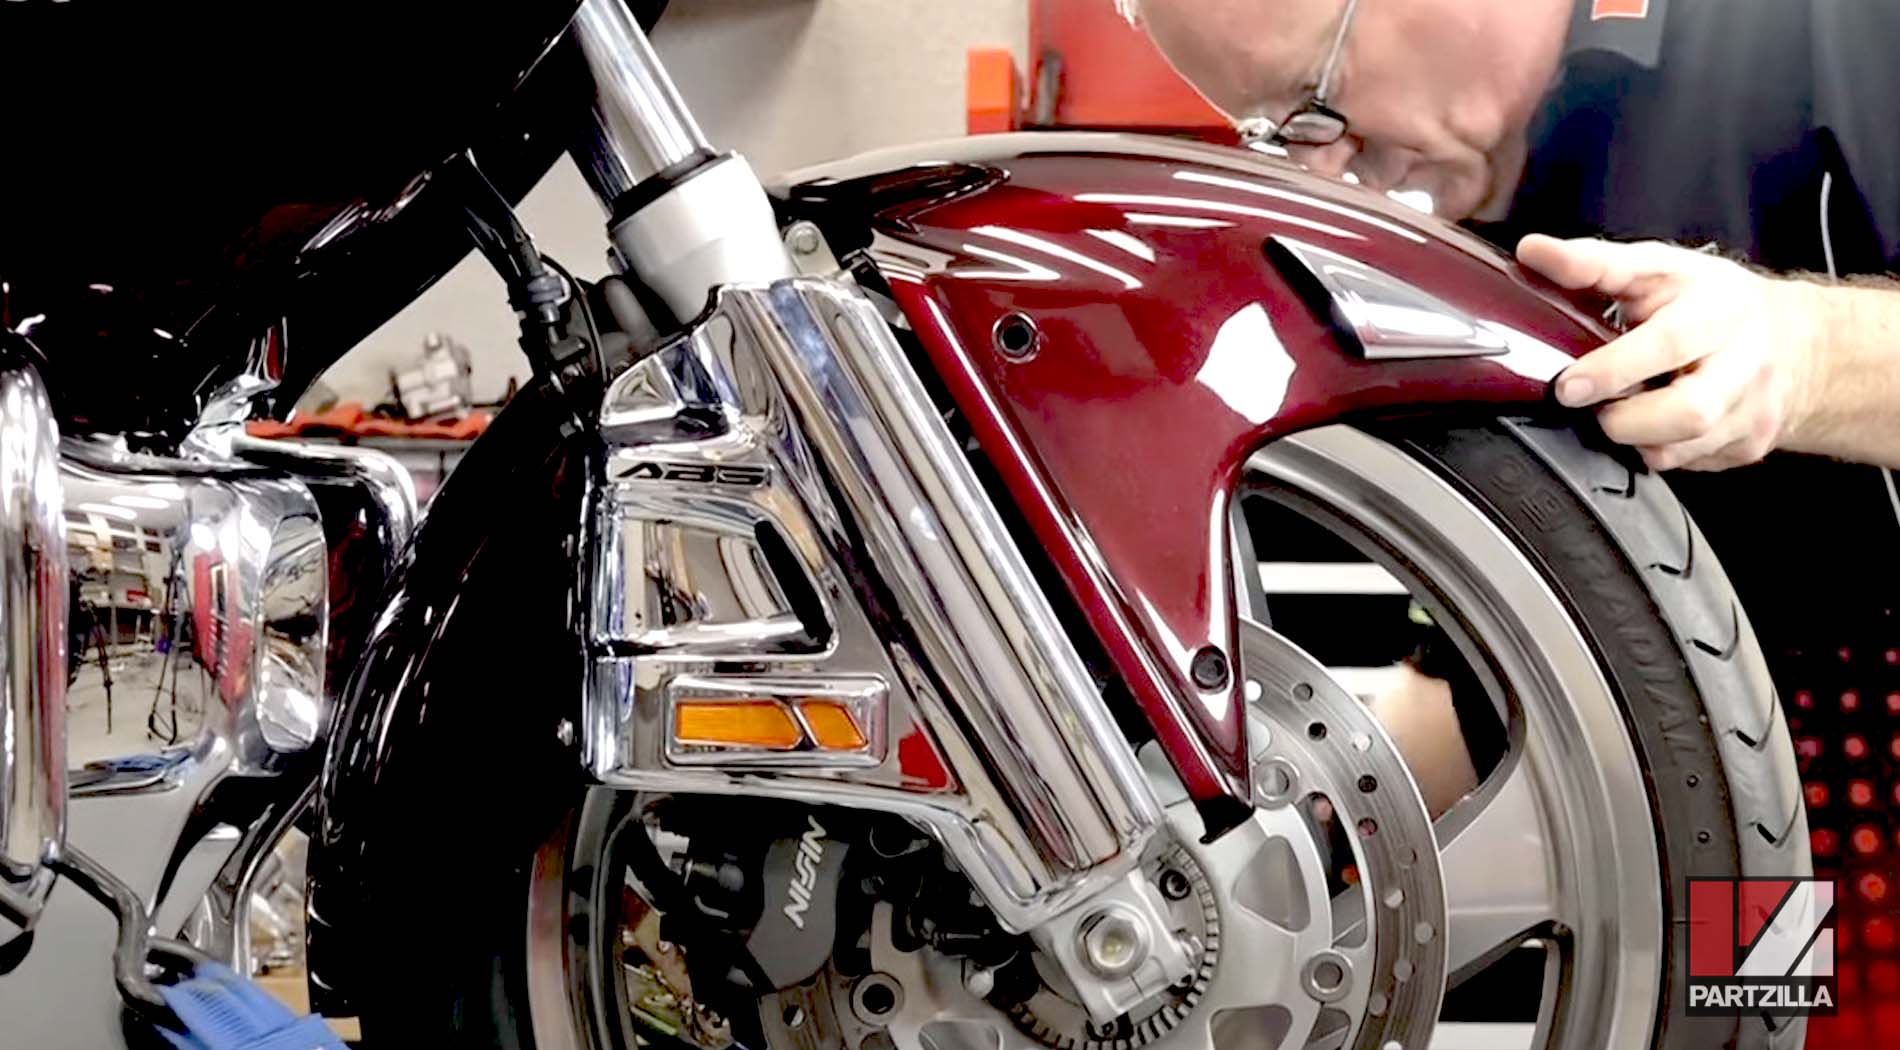
PRO TIP: If your Goldwing doesn’t have a crossmember, consider adding one because it reduces fork-flex and greatly improves handling.