Honda Goldwing GL1800 Air Filter Replacement
Changing a Honda Goldwing air filter isn’t your typical air filter replacement. The filter is buried deep within this particular Honda motorcycle, which means there are lots of components that need to be removed first.
However, replacing a Goldwing’s air filter yourself is worth the time and effort, because mechanics charge a hefty amount to do it for you. So break out your toolbox, follow the steps below and watch the video above to replace a Honda Goldwing GL 1800 air filter.
Tools and Parts – Honda Goldwing Air Filter Change
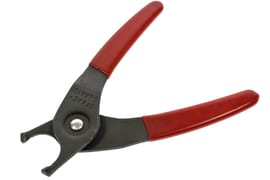
- Needle nose pliers
- Phillips screwdriver
- Ratchets and extensions
- 10mm socket
- 5mm, 6mm Allens
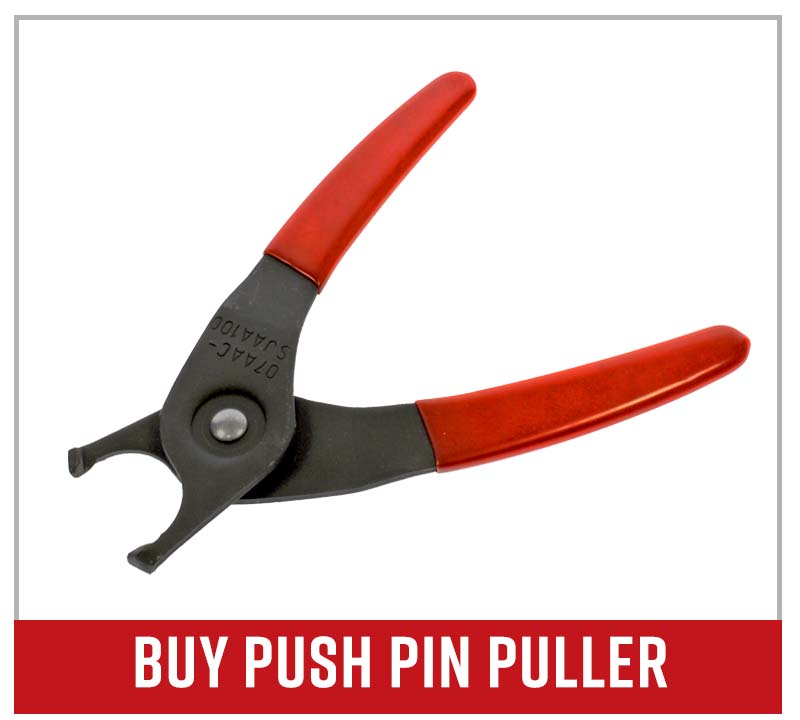
- Push-pin puller
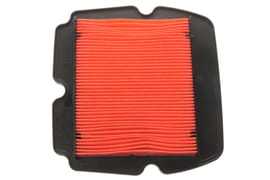
- Honda air filter

PRO TIP: The key to replacing a Honda Goldwing GL1800 air filter is laying everything out in order as you take things apart. Keep nuts, bolts, washers, etc. grouped together with their respective parts and components. Use our GL1800 exploded parts diagrams for additional reference.
How to Replace Honda Goldwing GL1800 Air Filter
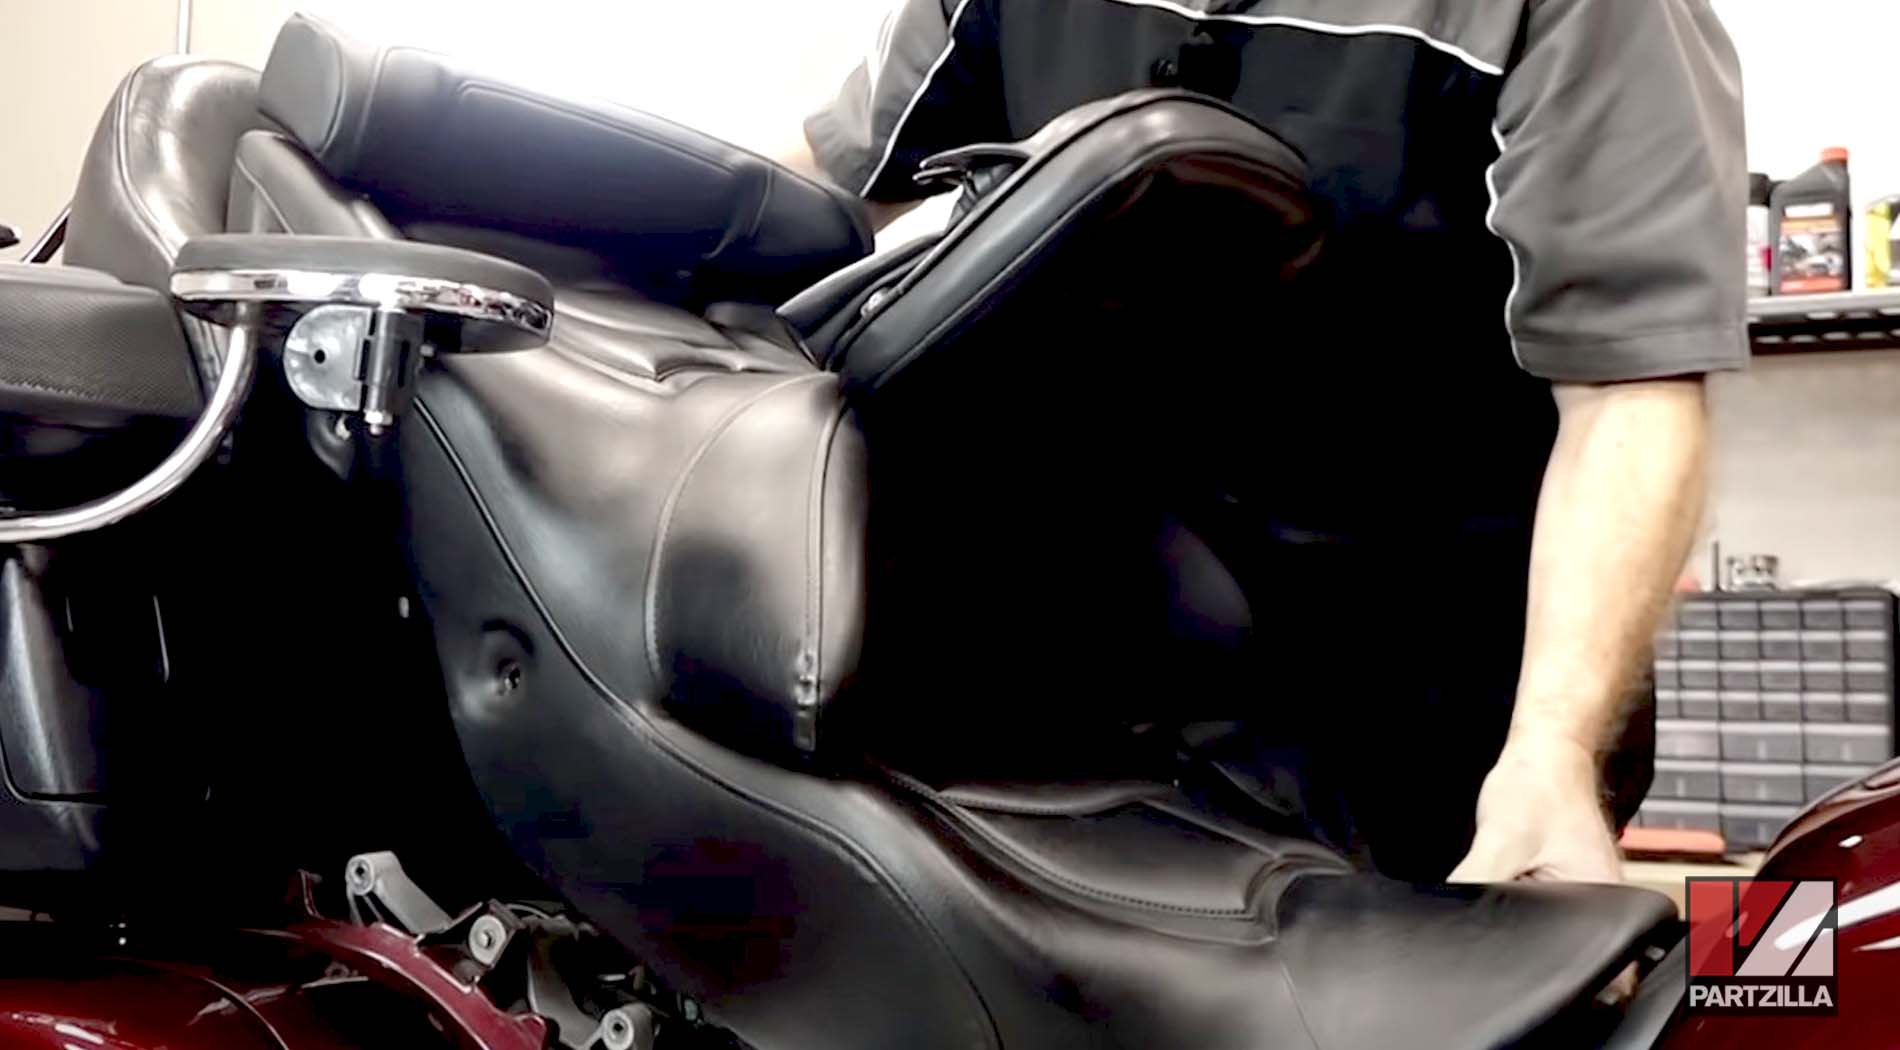
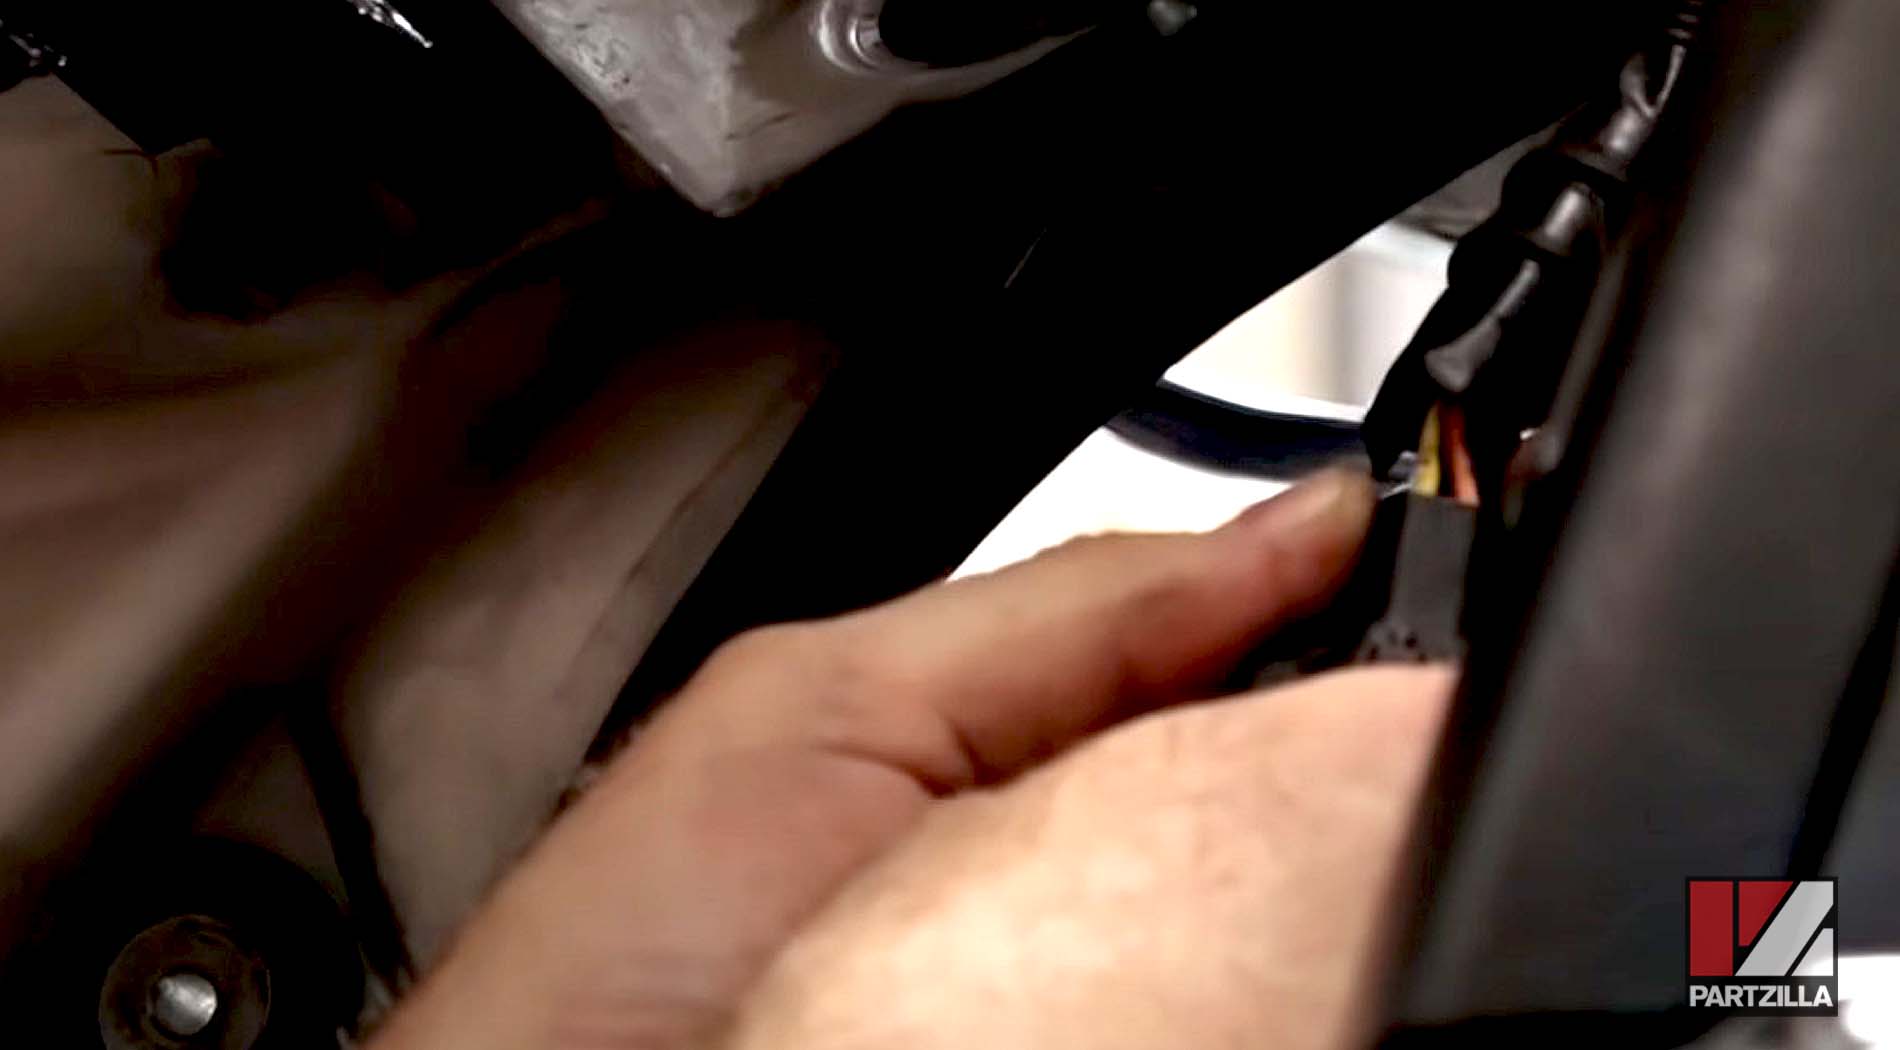
Step 1. Remove the seat by taking off the four bolts securing the side grips, then lifting the seat upward and backward, and disconnecting the electrical connector under the seat.
Step 2. Remove the side covers by pulling them outward from the back ends first.
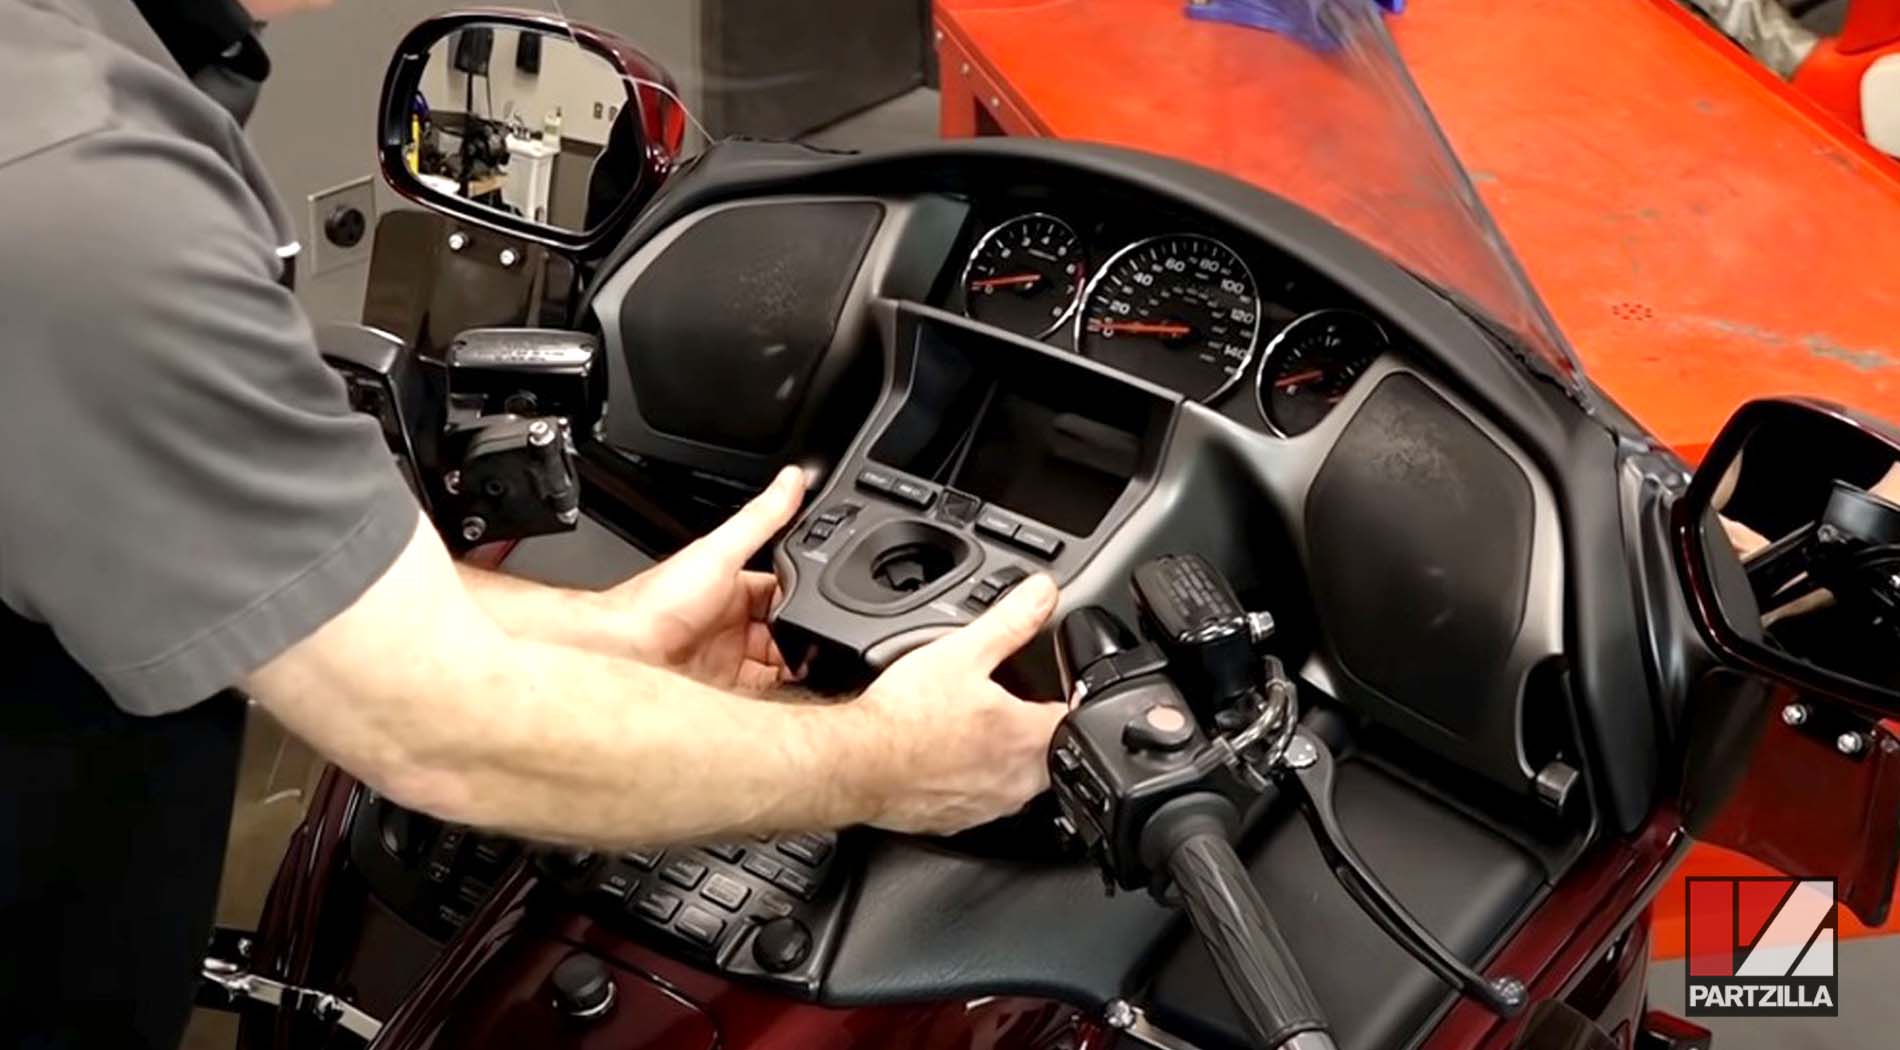
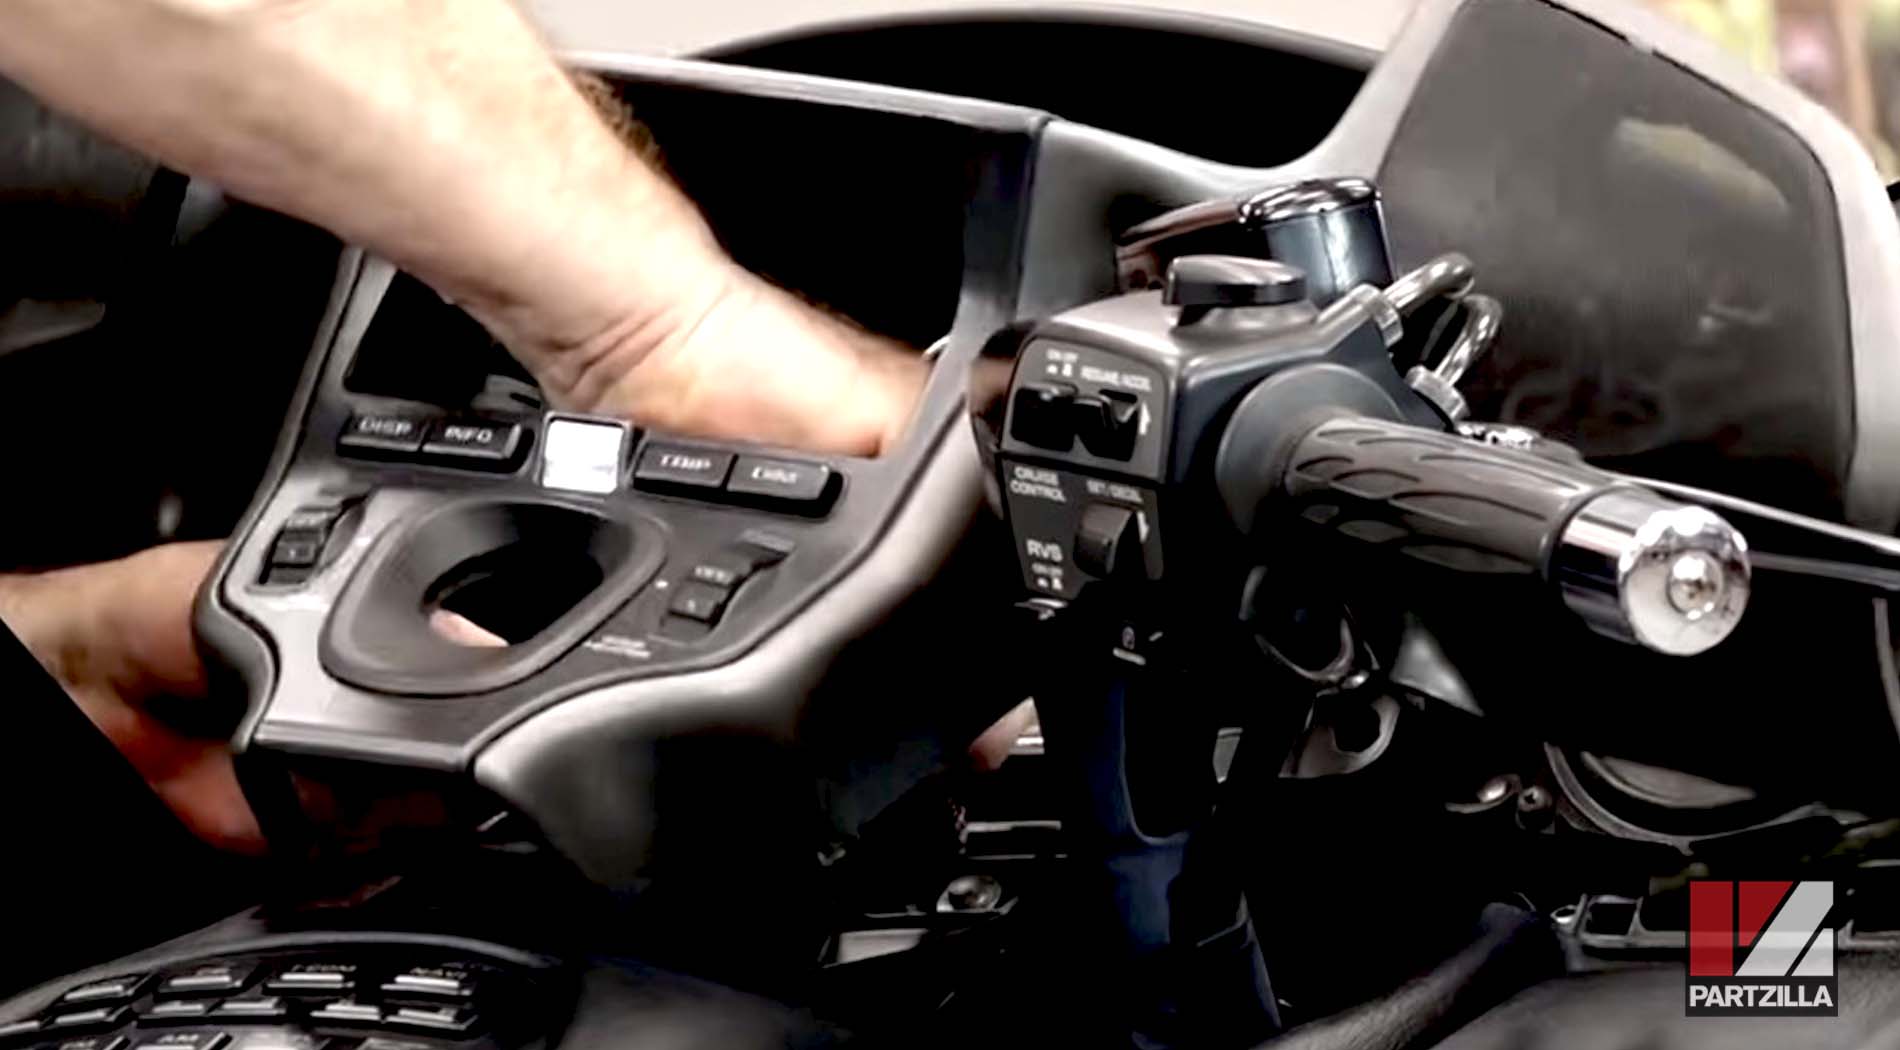
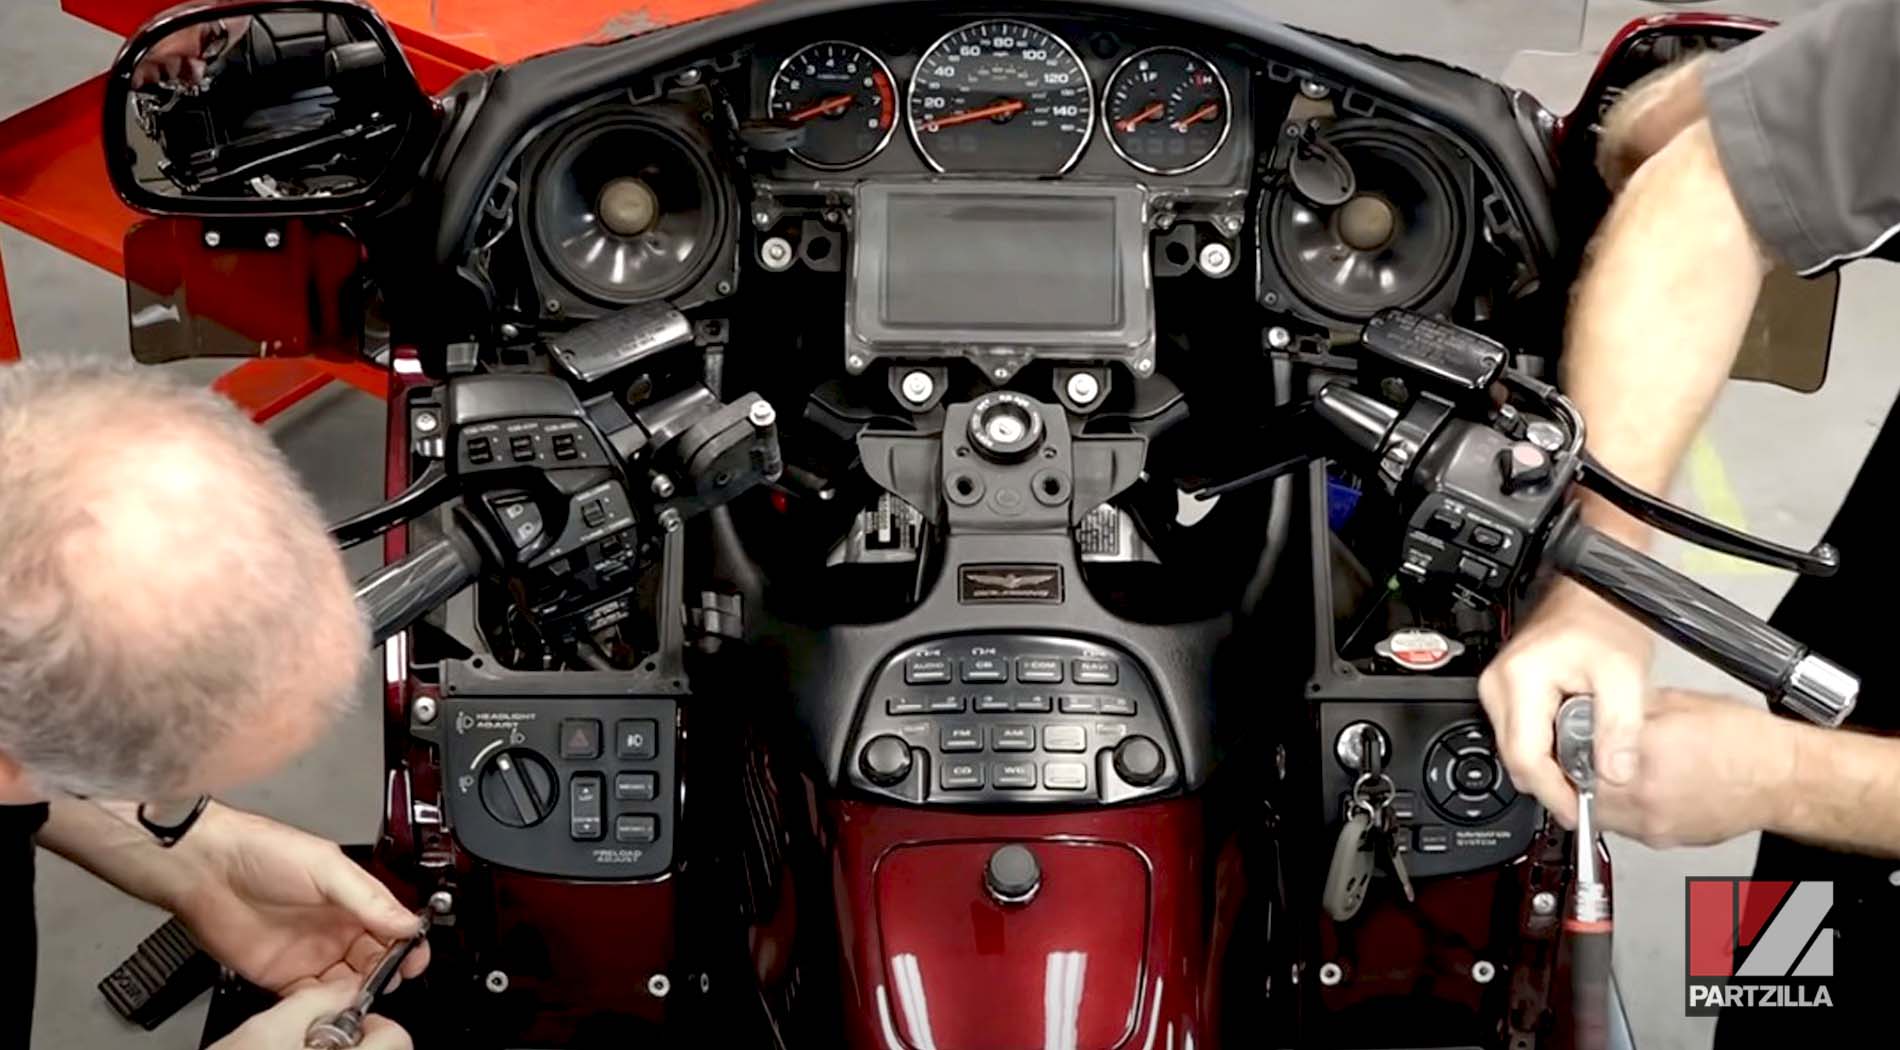
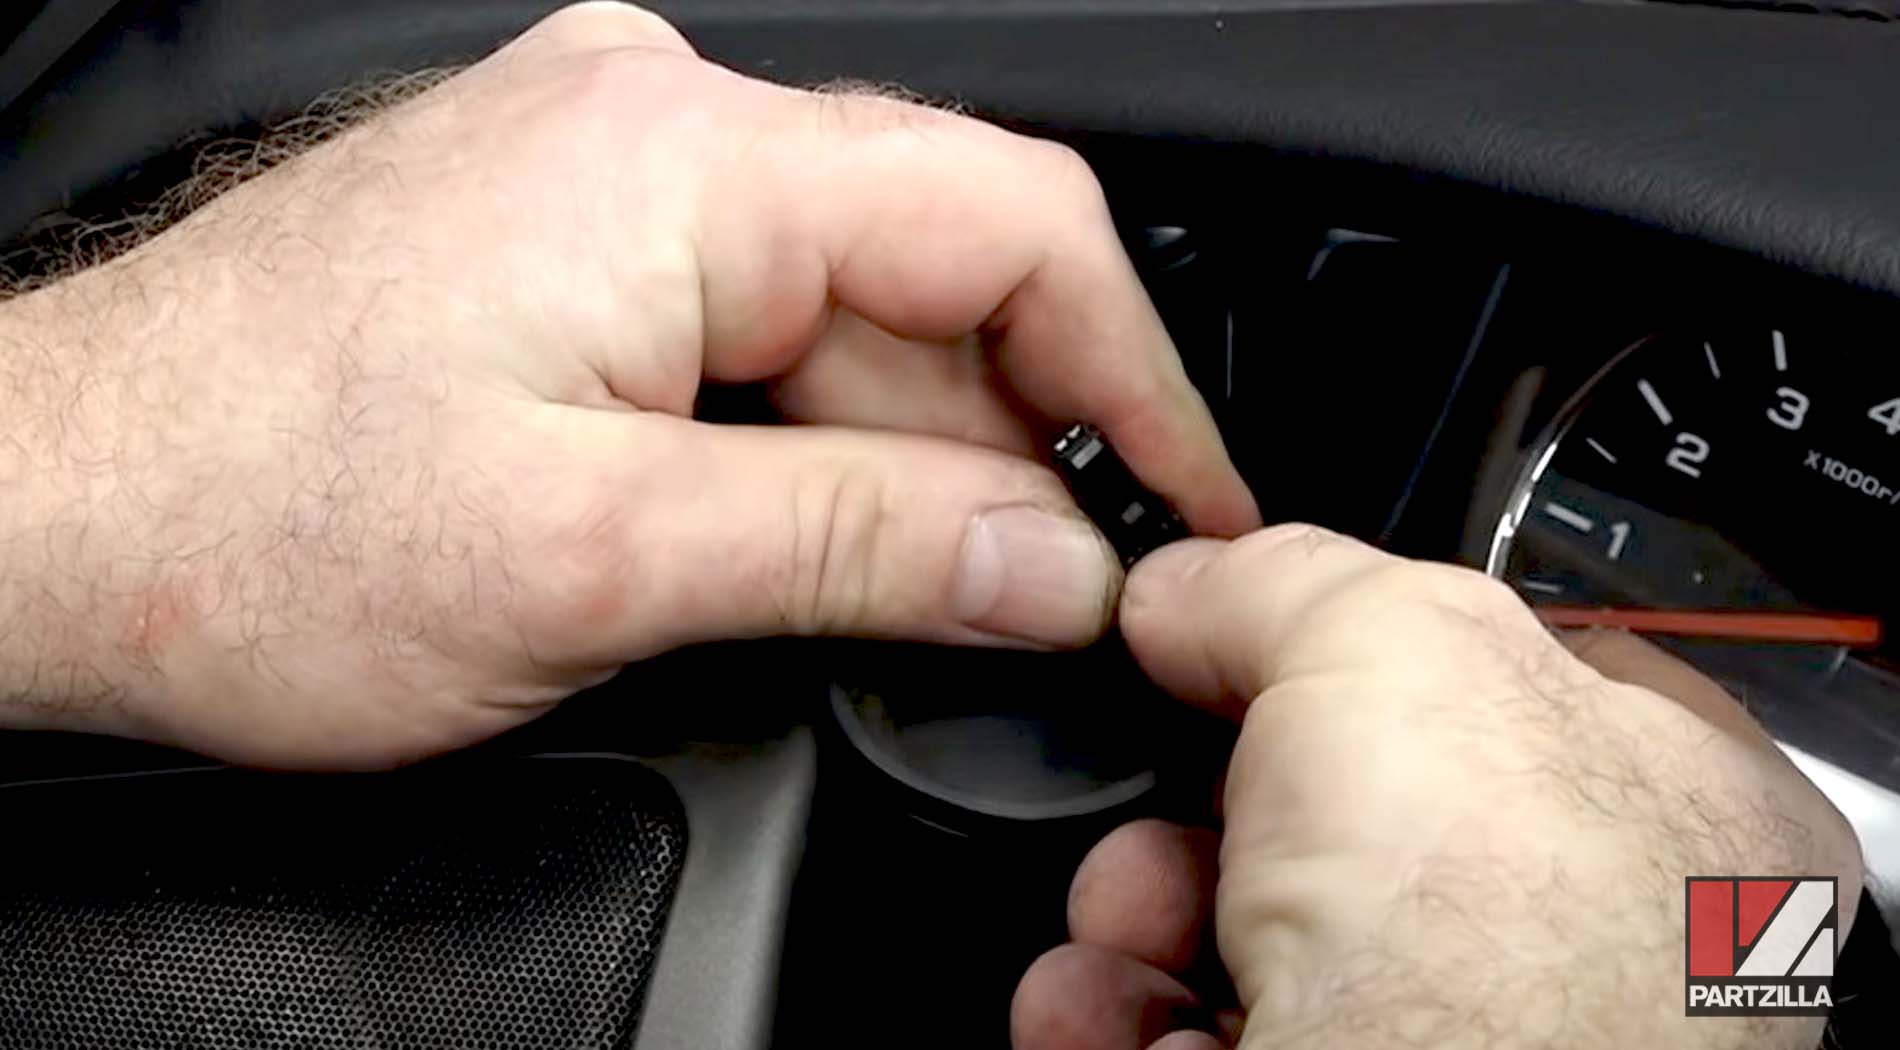
Step 3. Remove the meter panel by releasing the two tabs at the base of the panel, then pulling the rear of the panel upwards until it’s free. Next, pull the front of the panel until it’s also free. Ease back the front of the meter panel and disconnect the wires to the speakers. Then, disconnect the connector for the seat heater controls located just in front of the ignition switch, and lift the meter panel off.

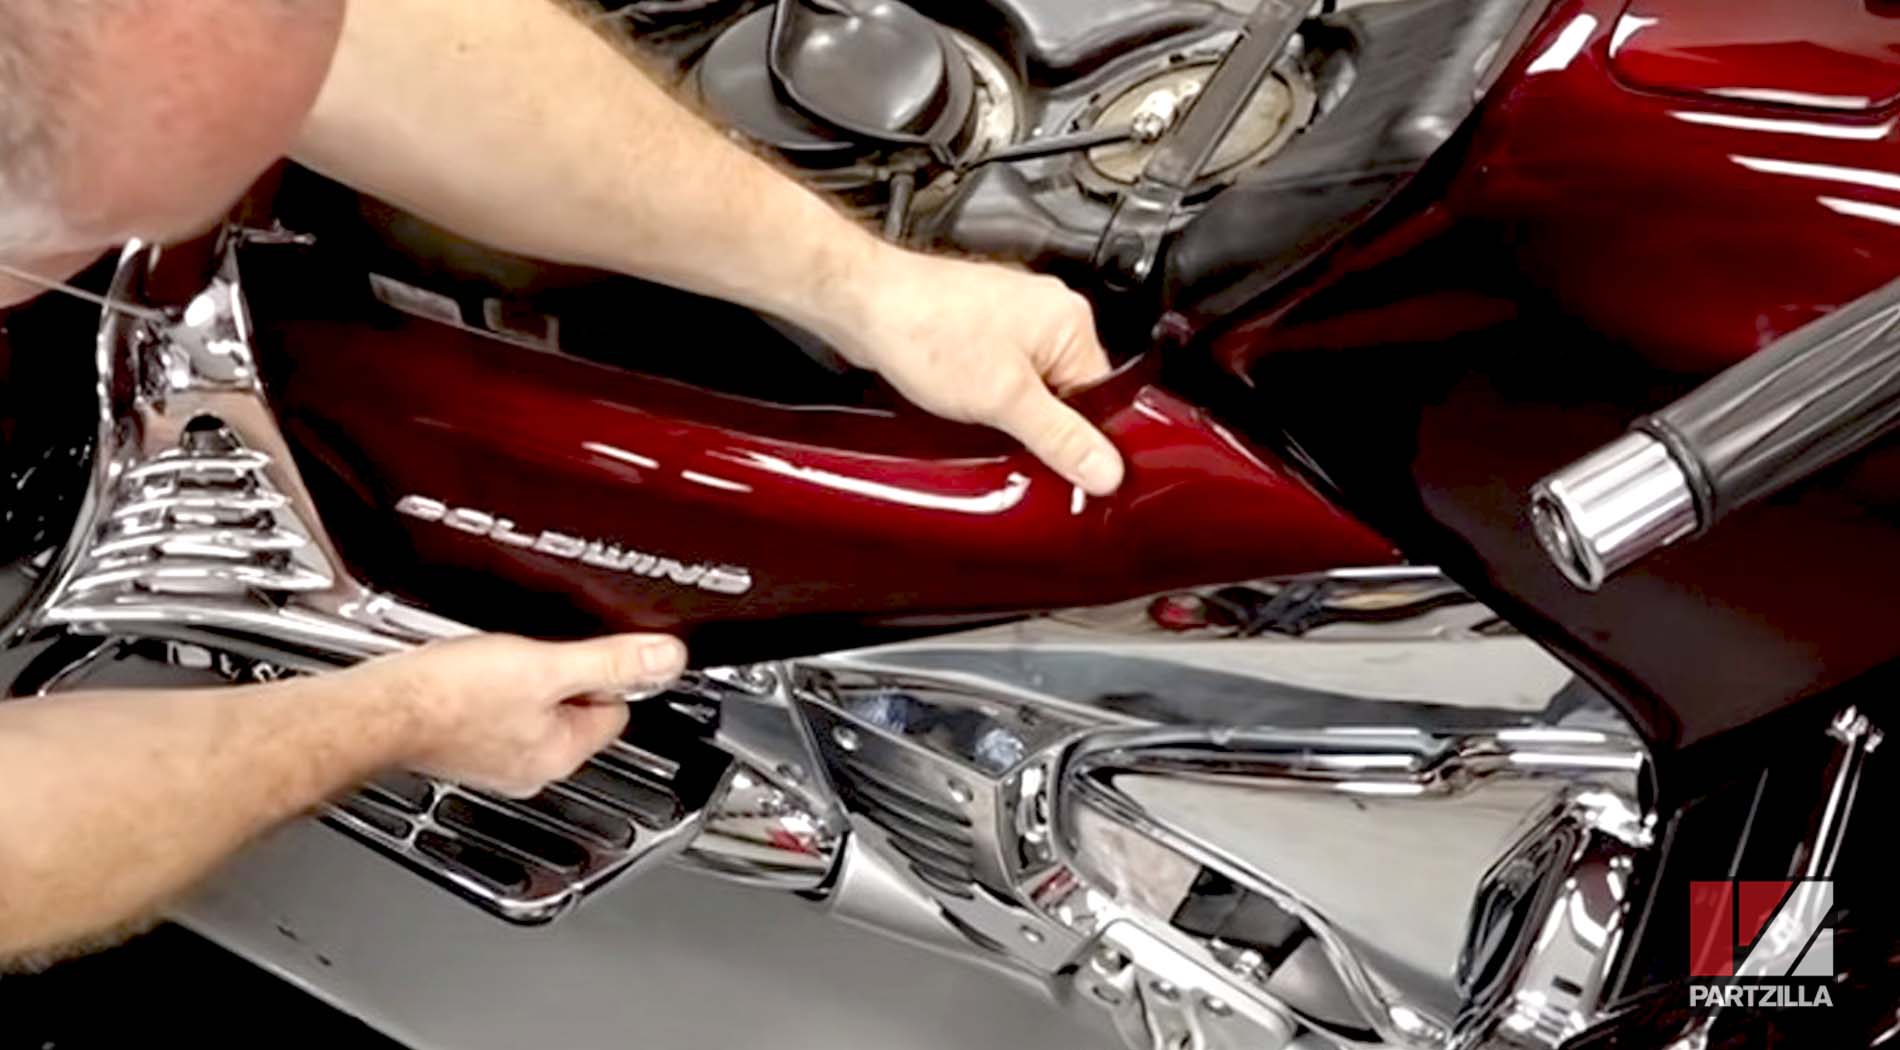
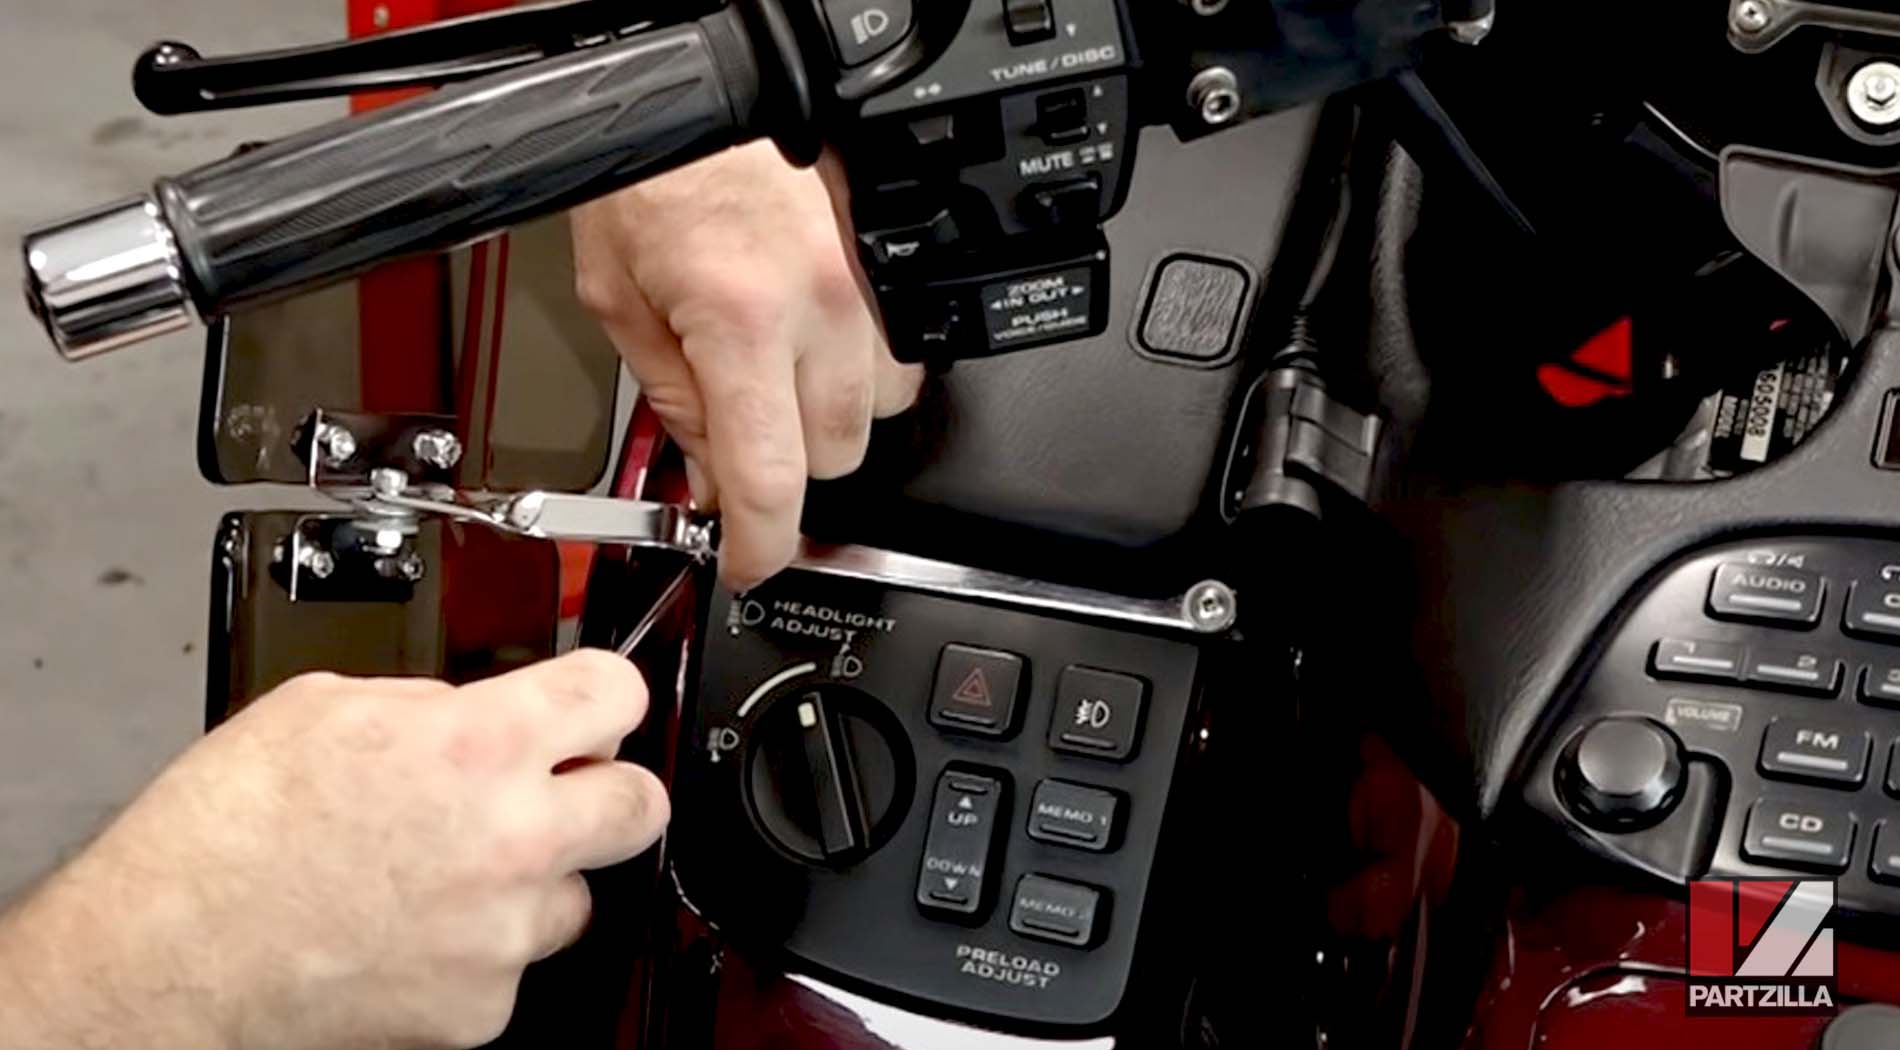
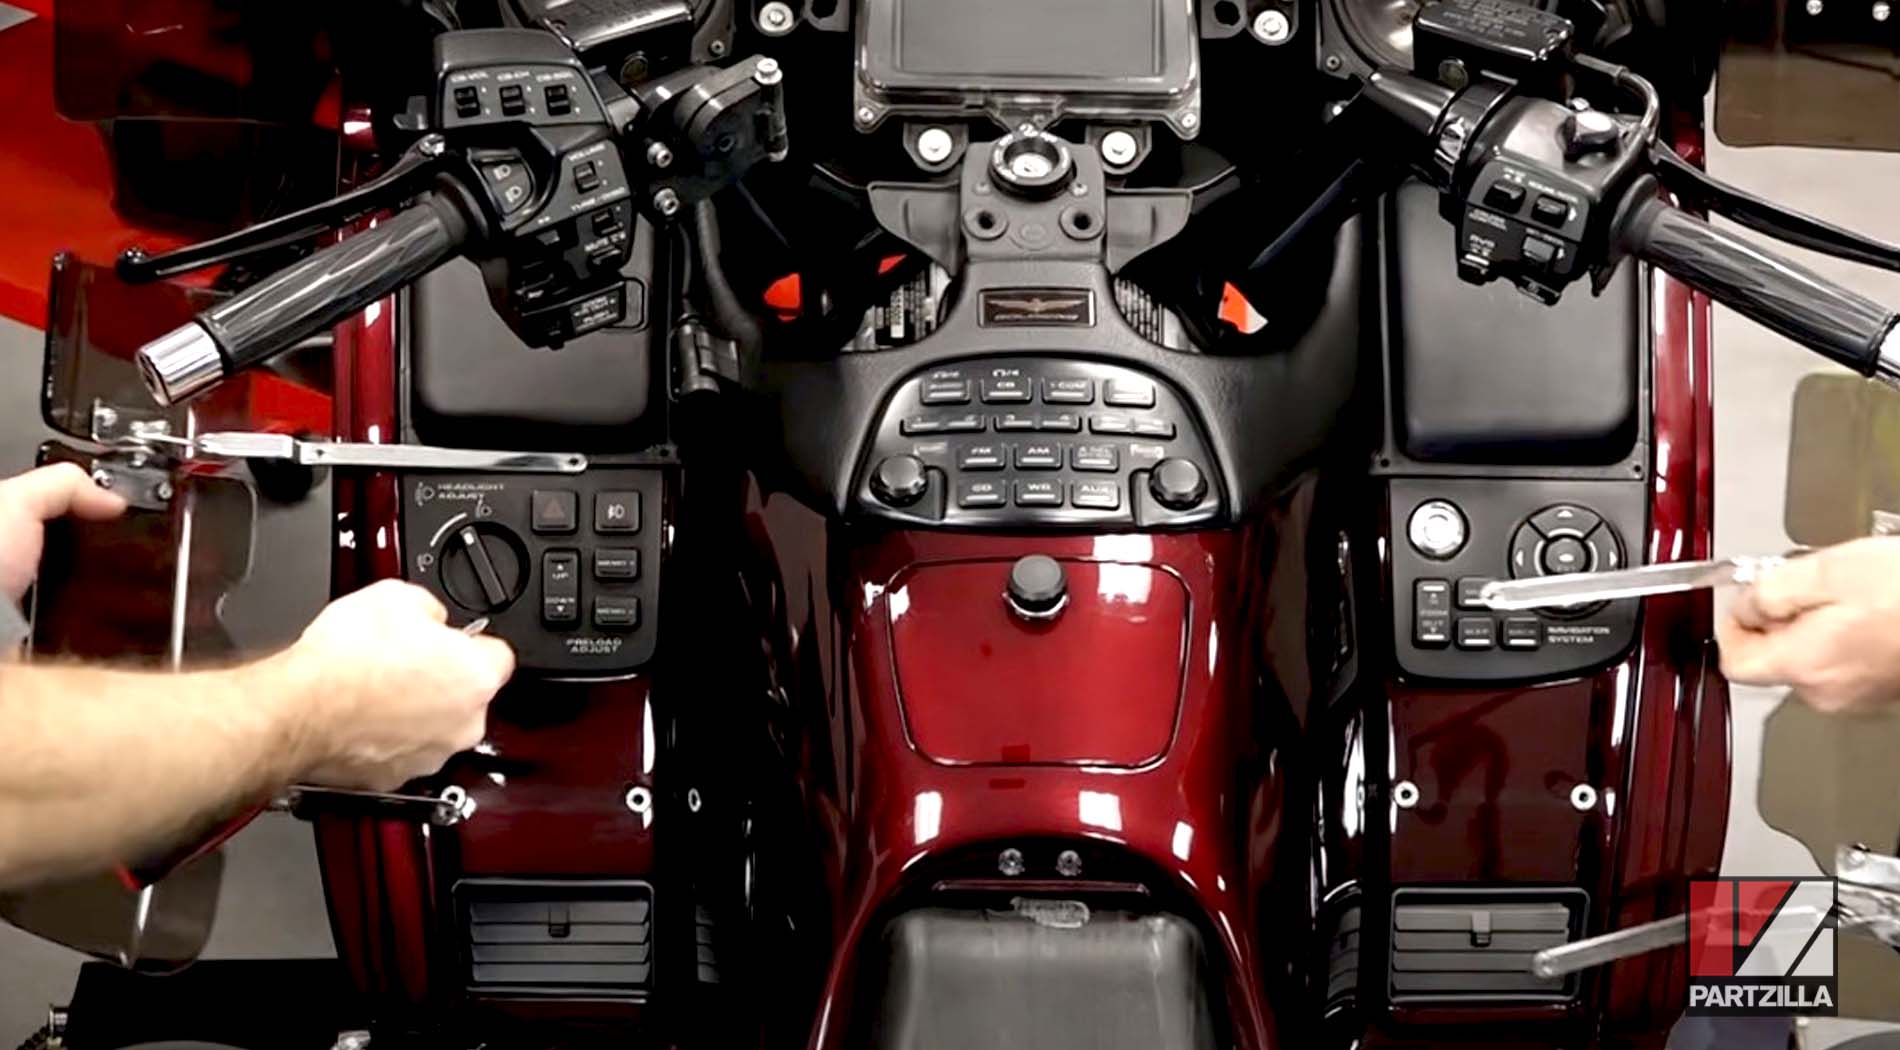
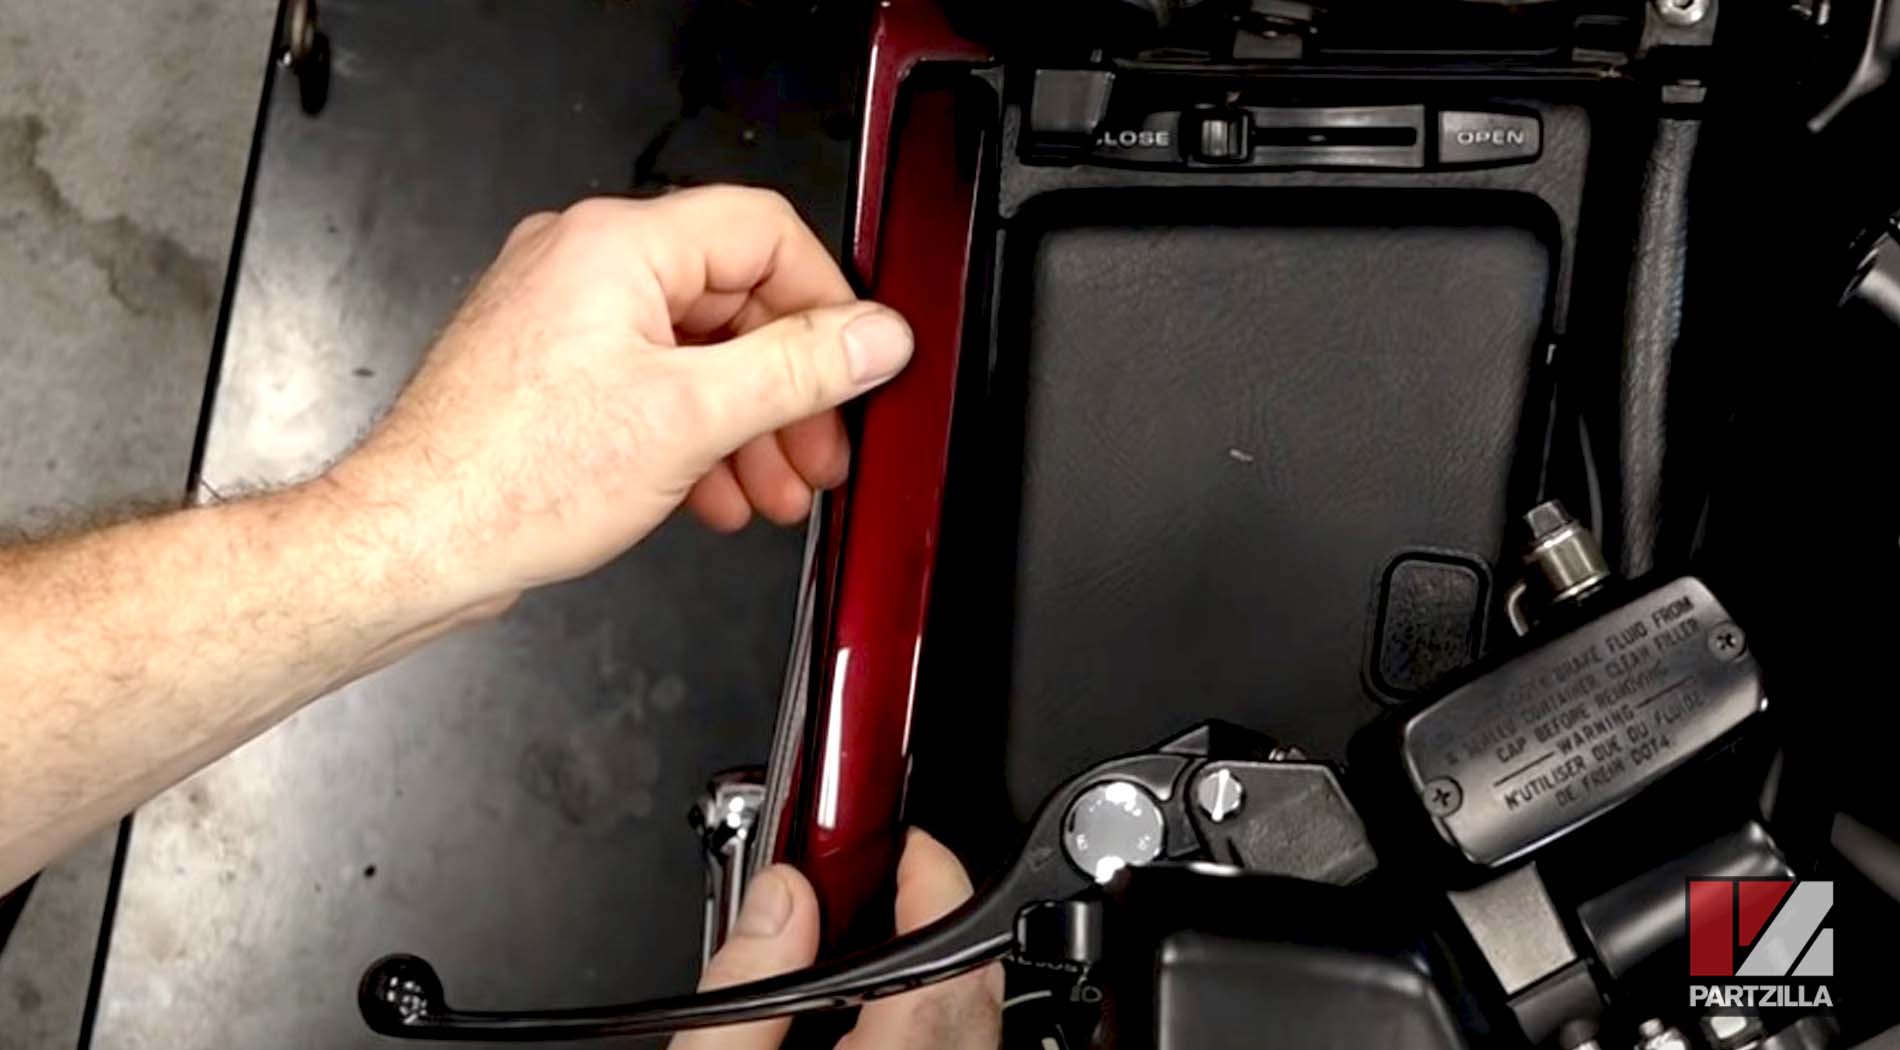
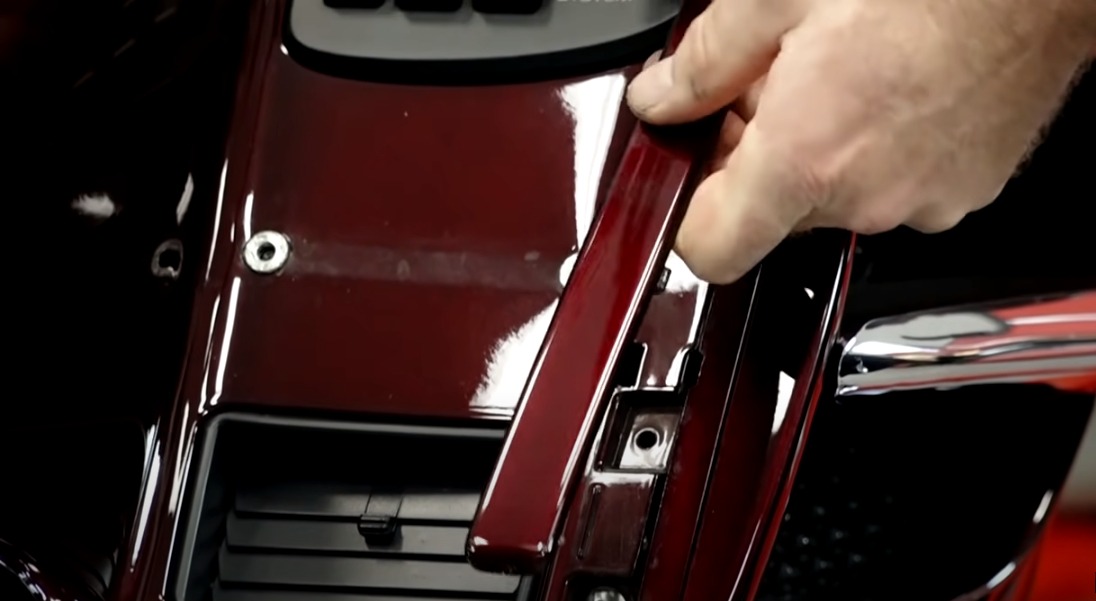
Step 4. Remove the upper cowl covers and cover strips by starting at the bottom end of the strips, popping them out and working them forward and upward.
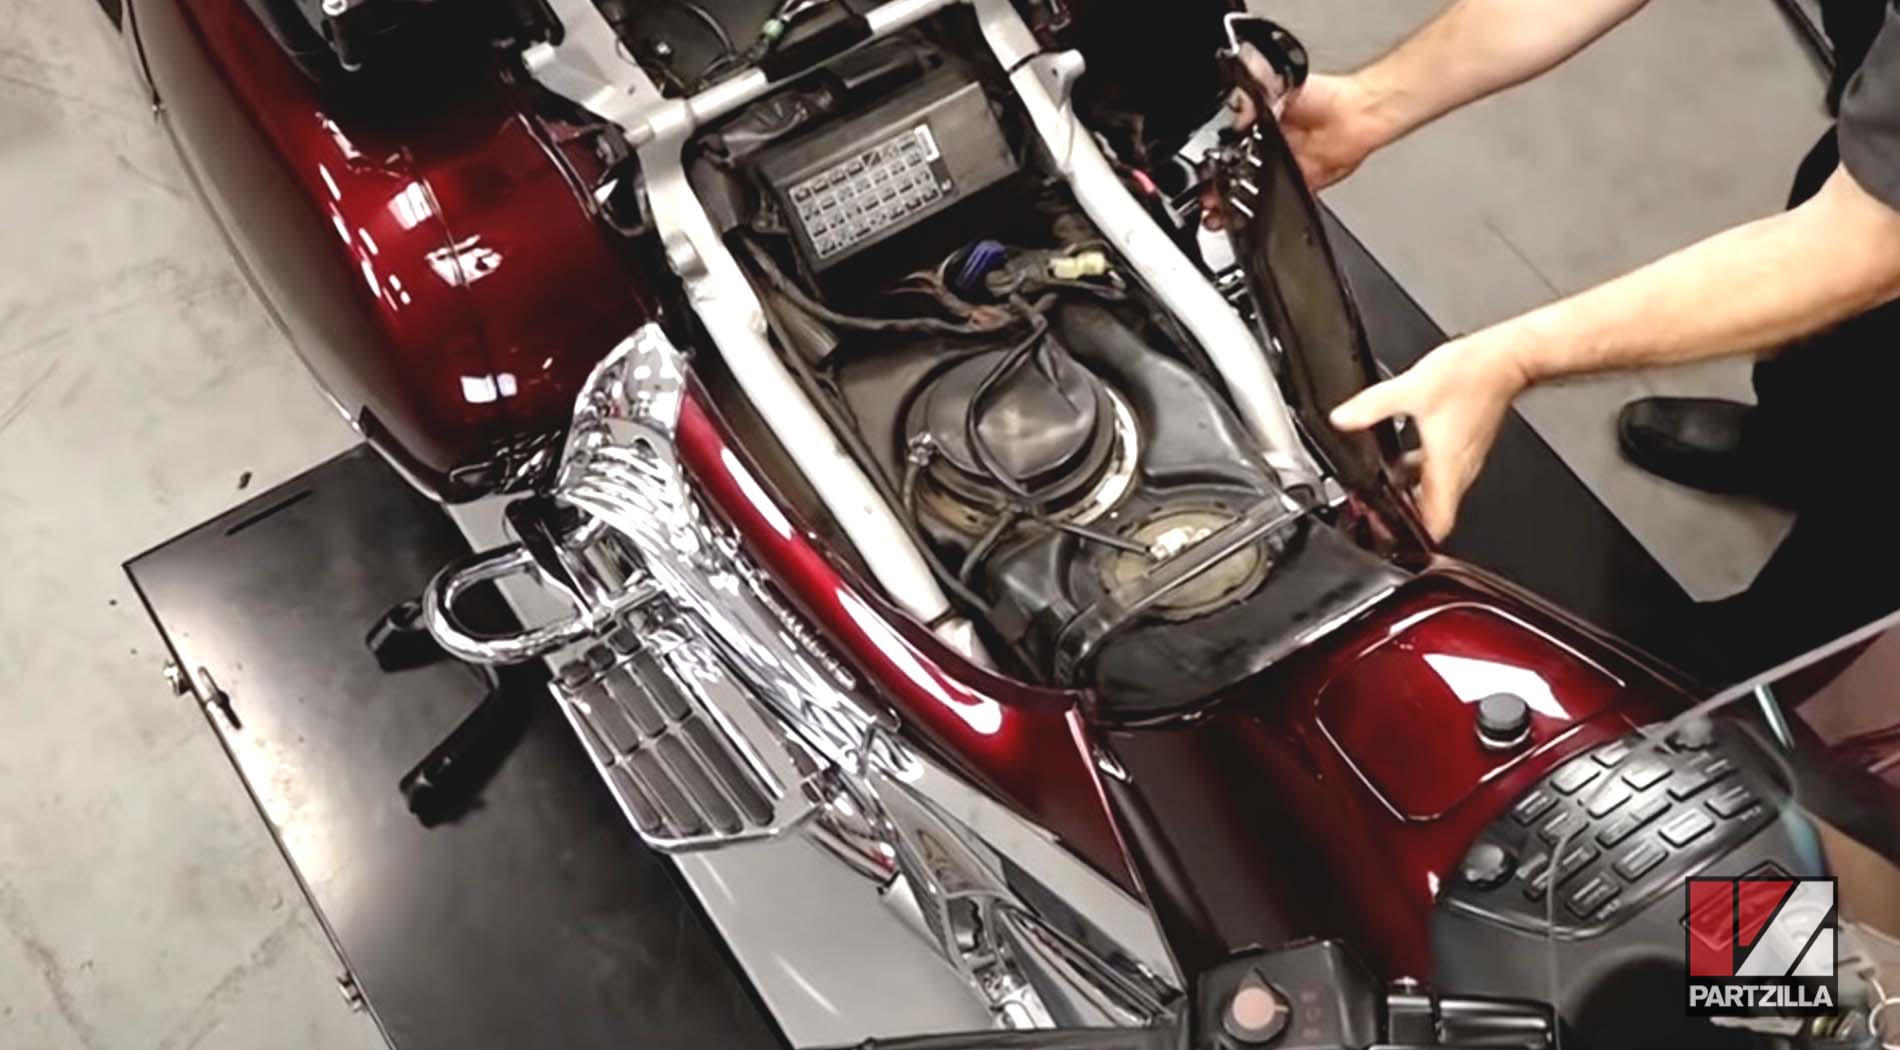
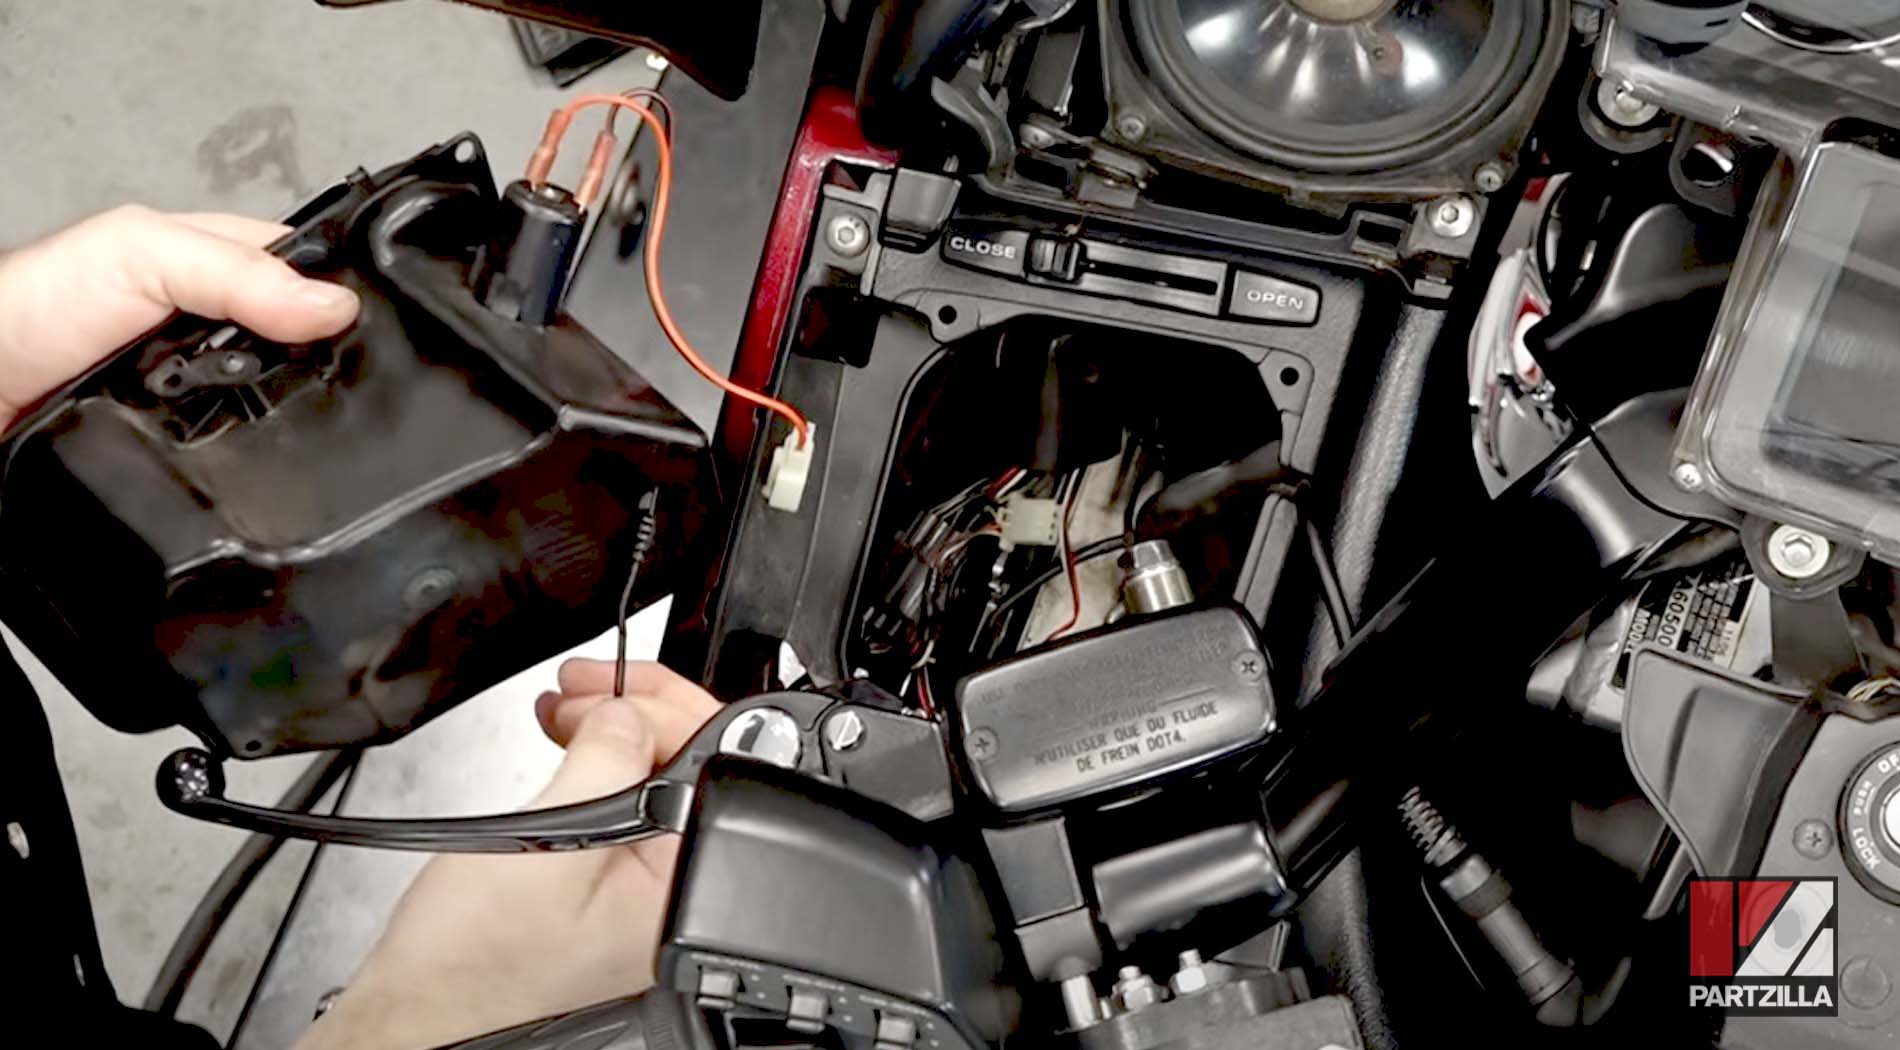
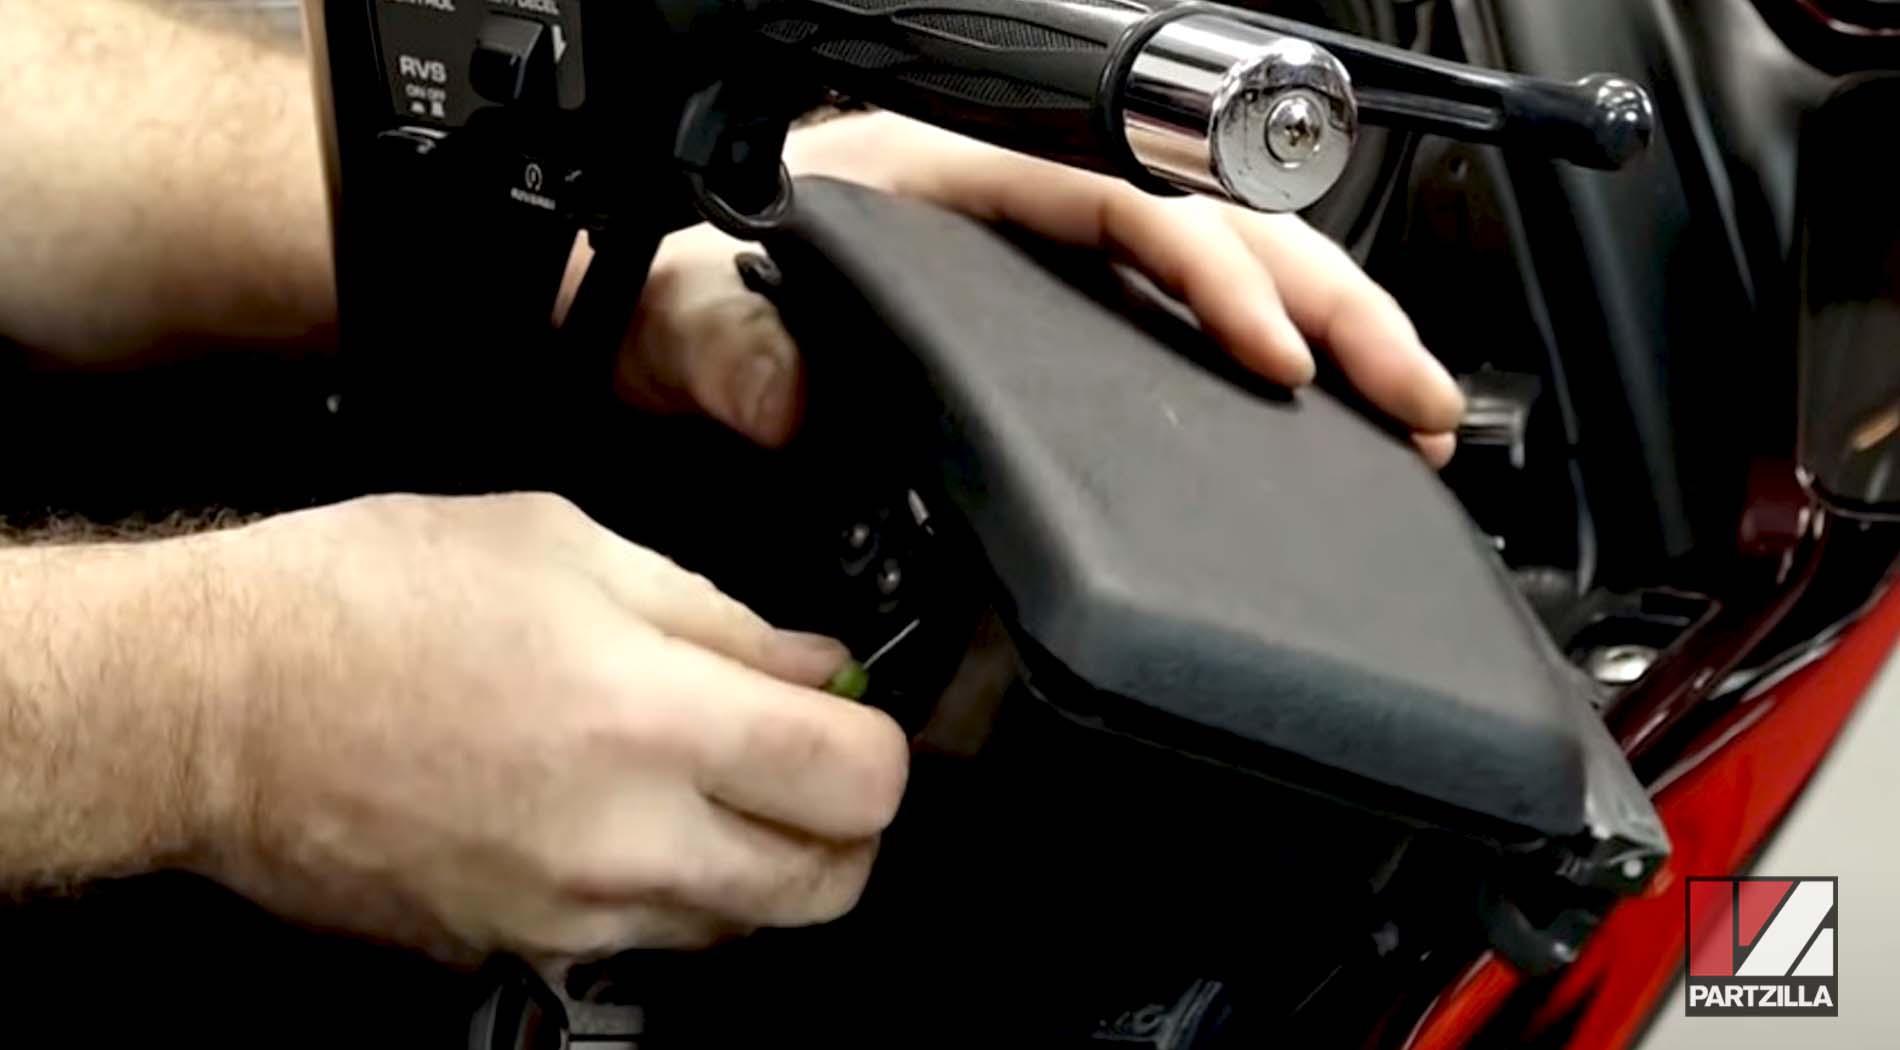
Step 5. Remove the left side storage pocket, which is held in place with plastic rivets. Next, remove the right side pocket, which is also held in place with plastic rivets and Philips screws. Disconnect the wires running to the pockets.
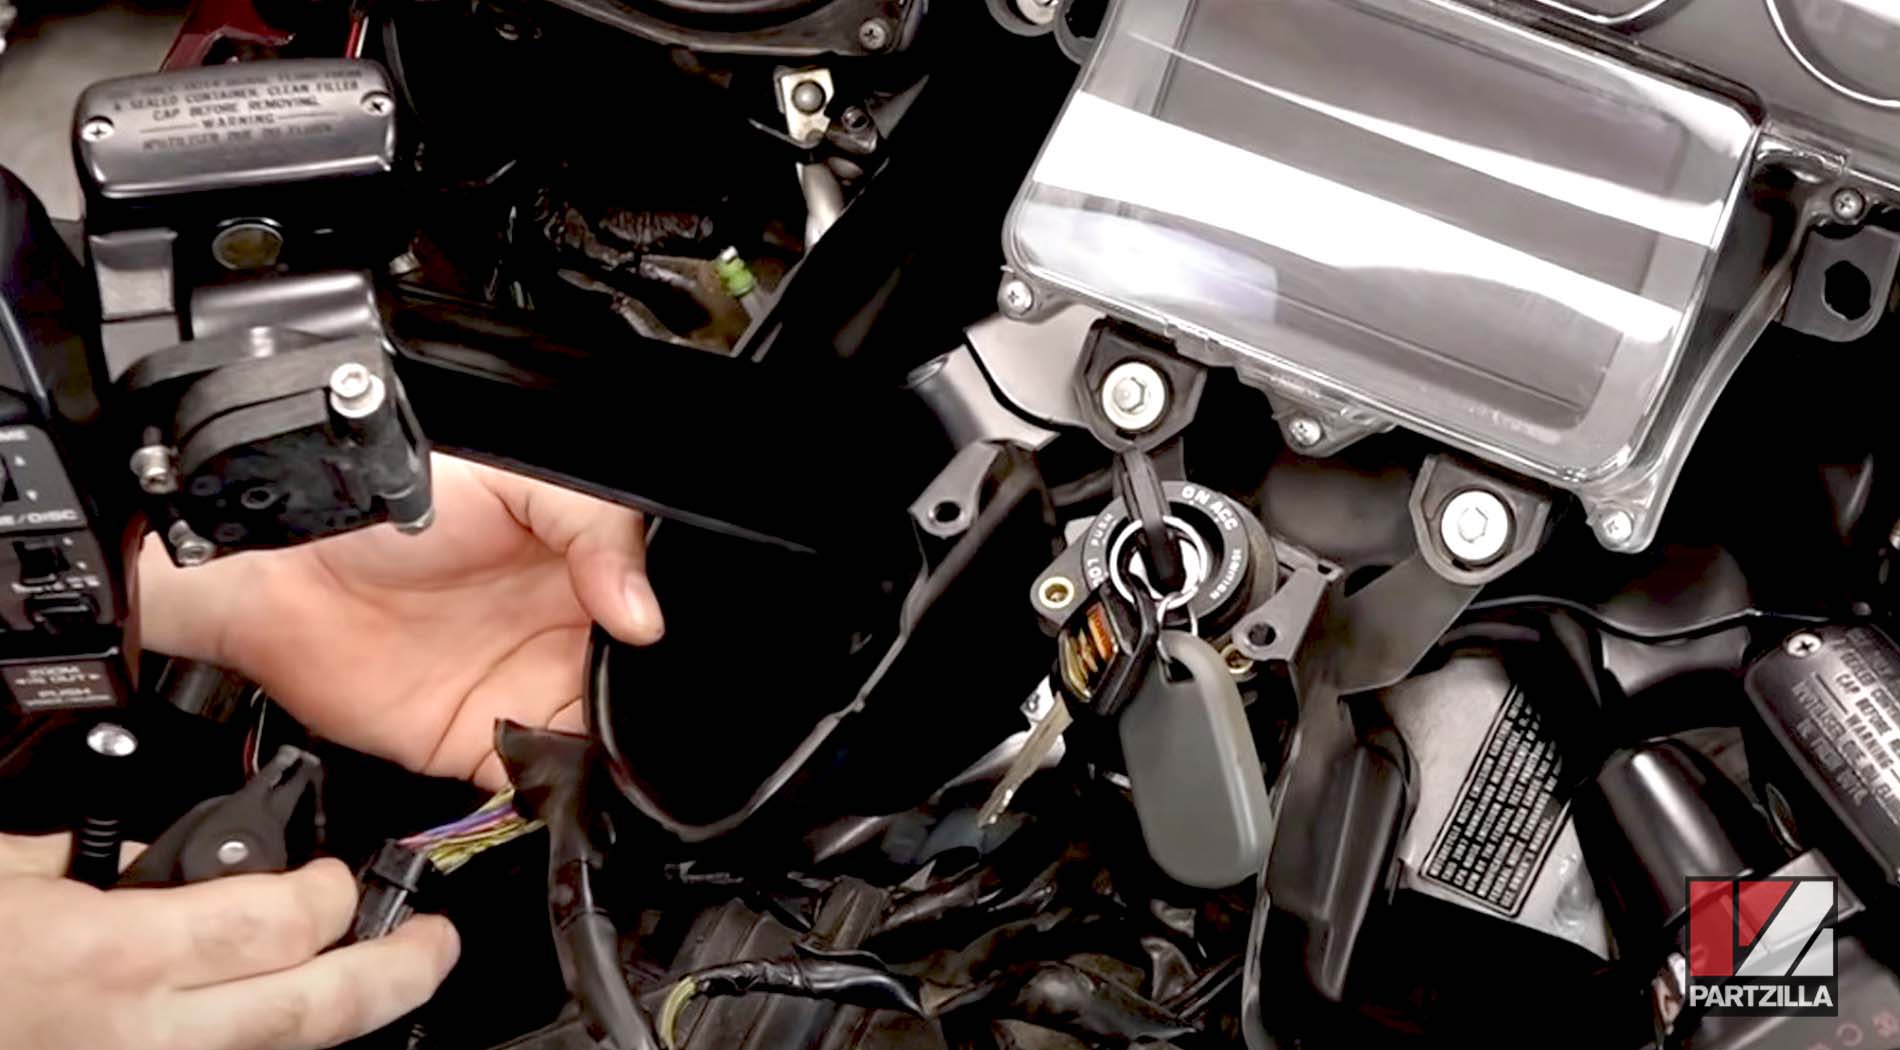
Step 6. Remove the shelter fairing by taking off the two bolts at the ignition switch; all the bolts around the perimeter of the shelter fairing; and the two nuts at the rear of the shelter fairing. Disconnect all the electrical connectors in the spaces where the storage pockets were. Next, carefully lift the shelter fairing at the back and raise it enough to reach under the audio control panel, then disconnect the connectors and the antenna. Lift away the shelter fairing completely.
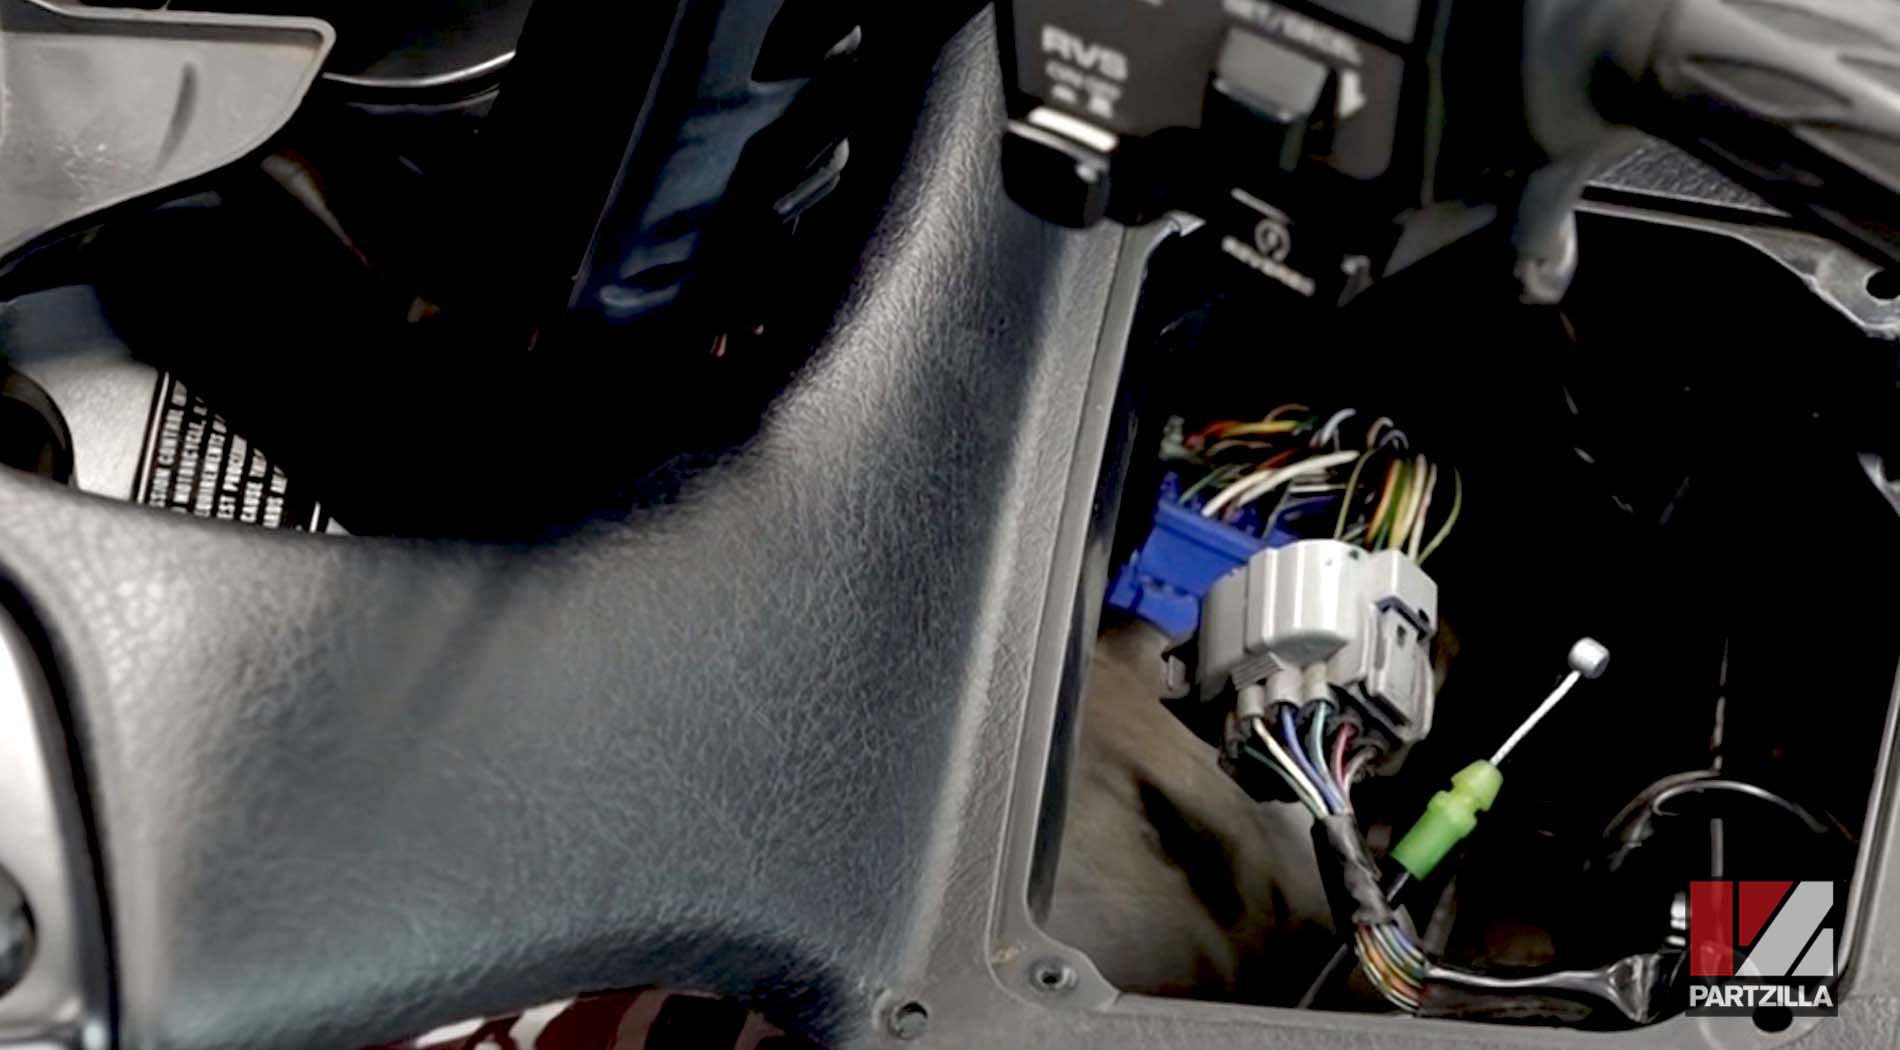
NOTE: The bolts are different sizes, so lay them out in the sequence you removed them.
Step 7. Remove the air ducts by taking off the screw from each of the air ducts and lifting them out.
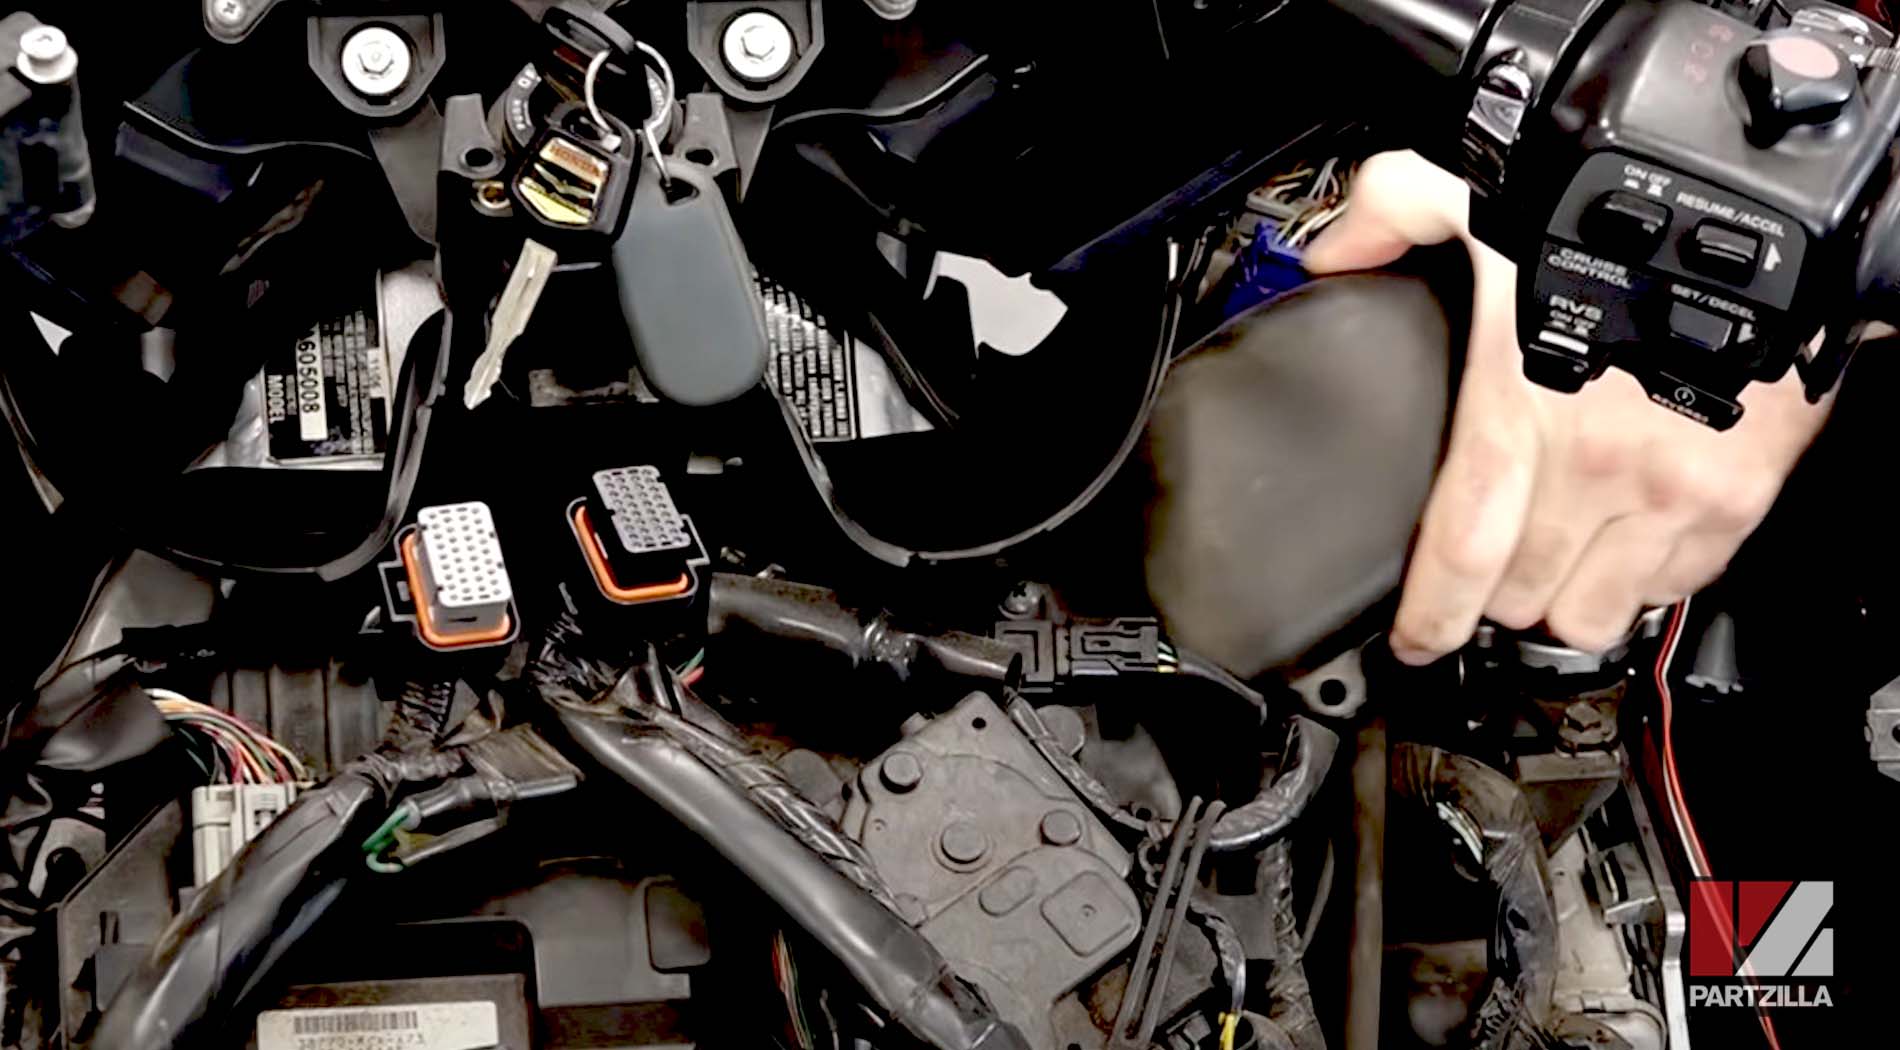
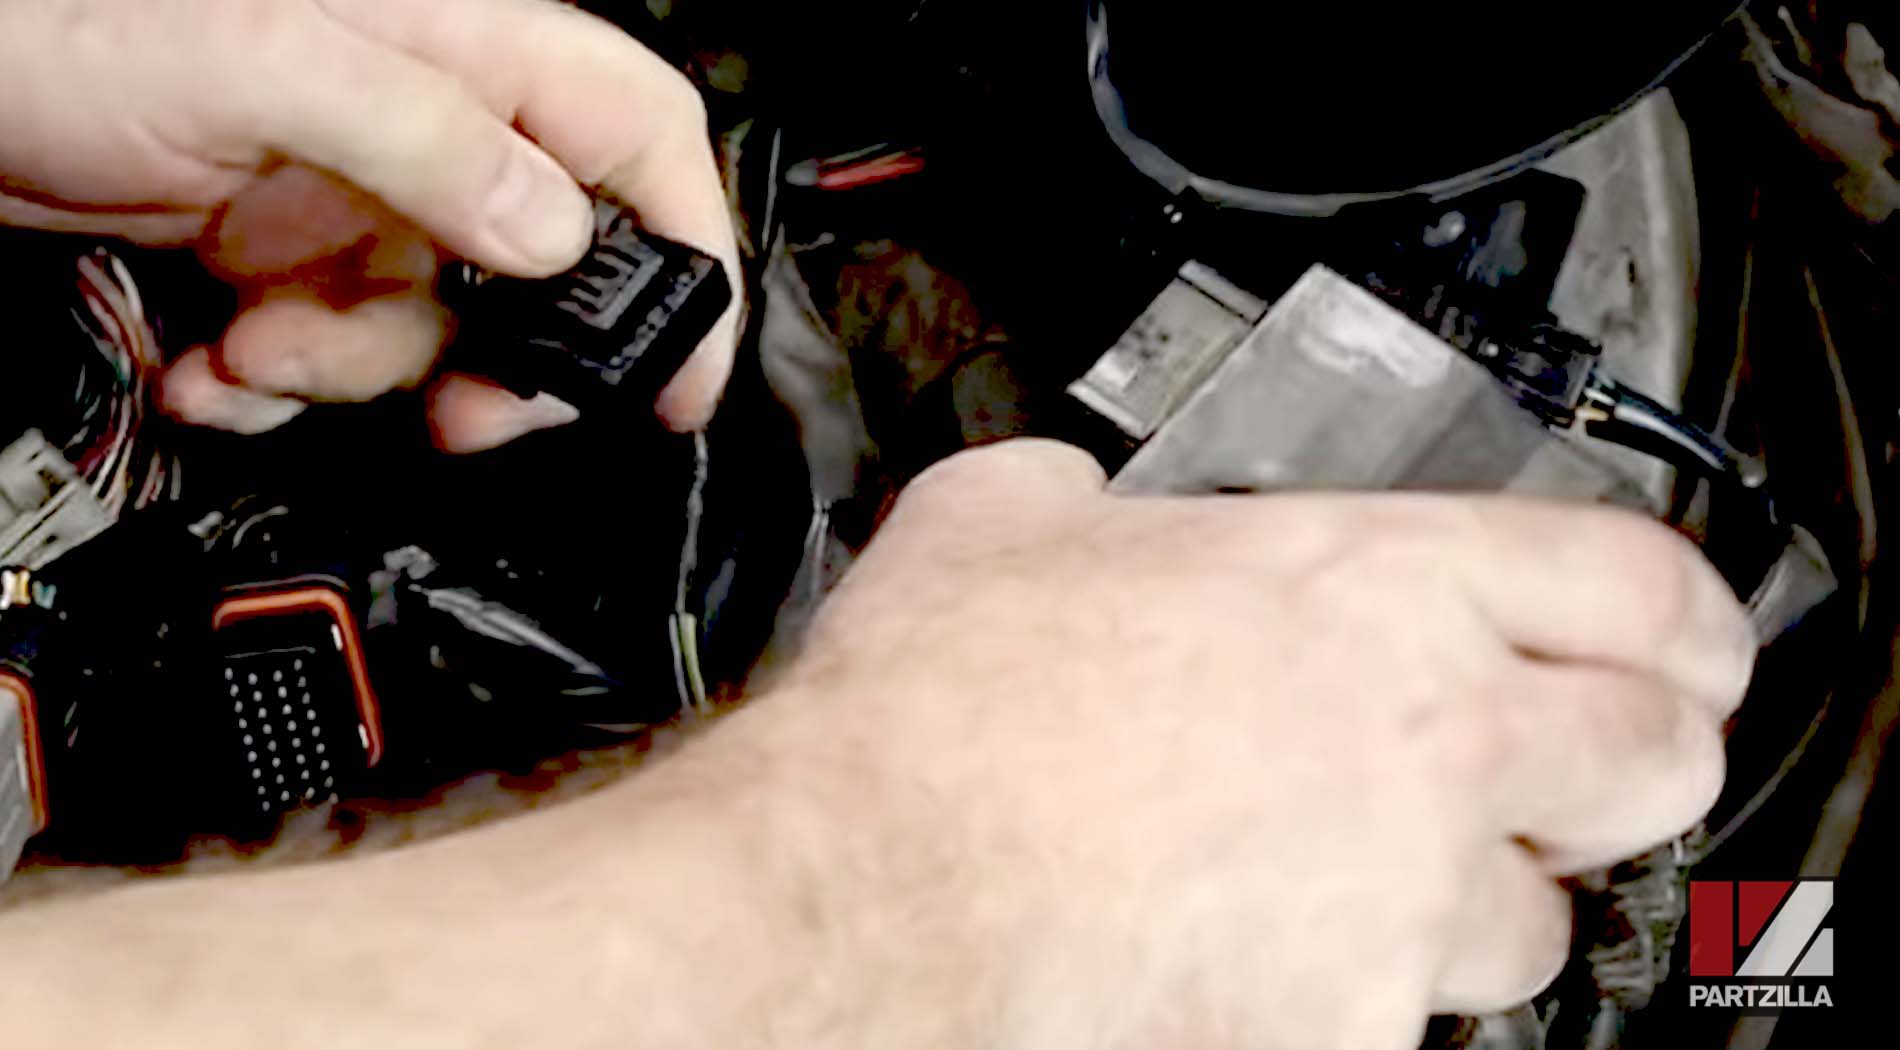
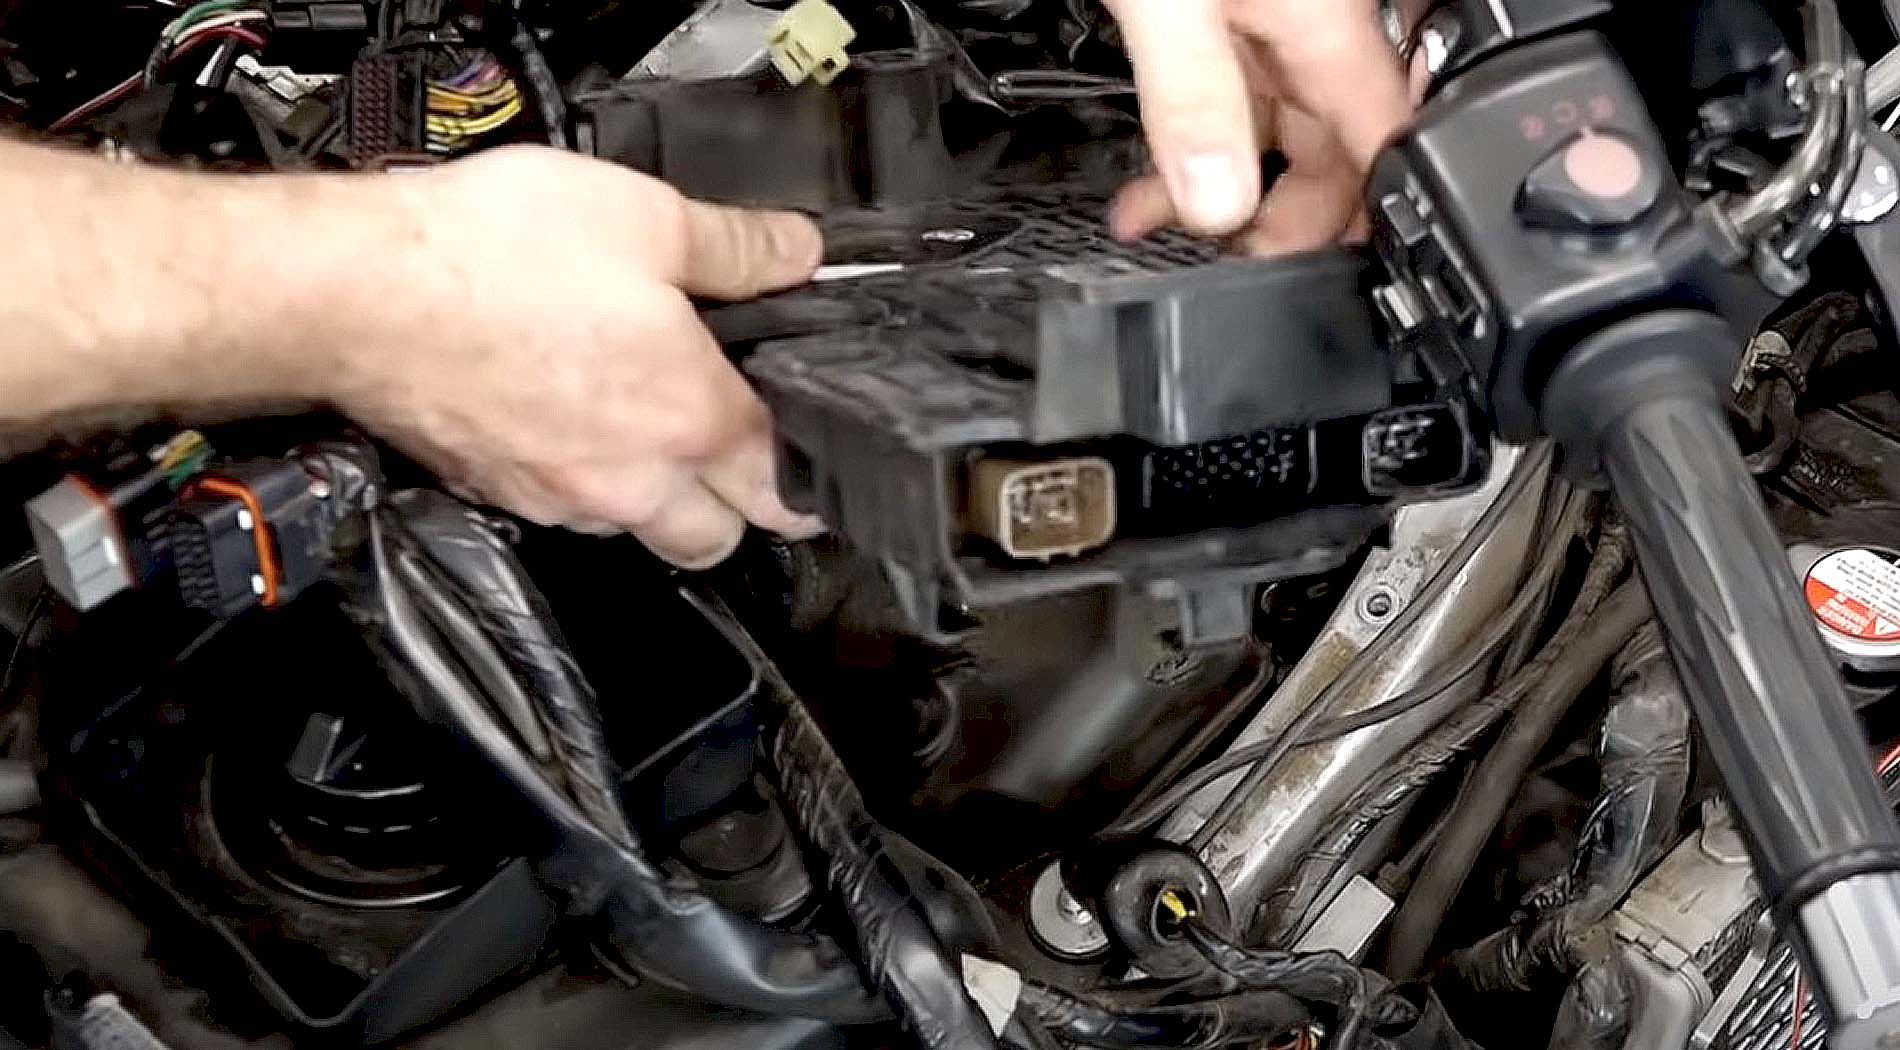
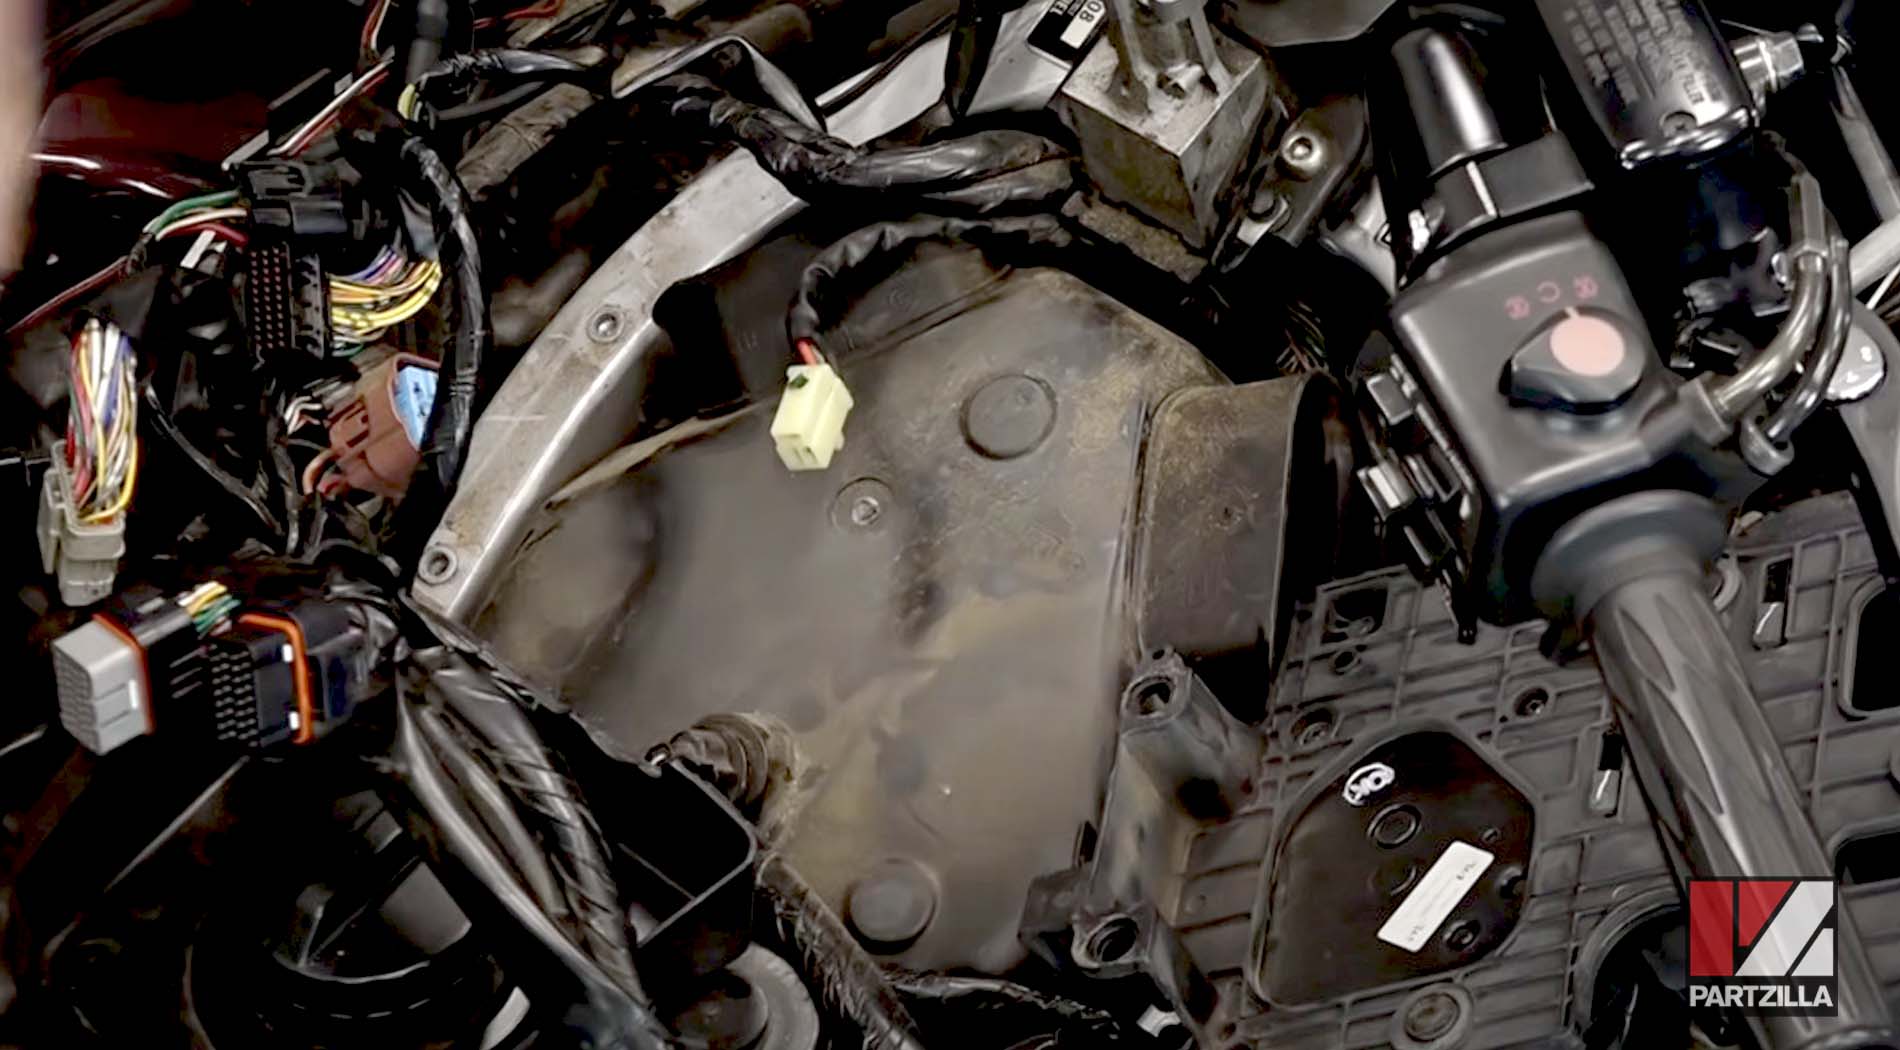
Step 8. Remove the two wire connectors attached to the ECU, followed by the ECU itself.
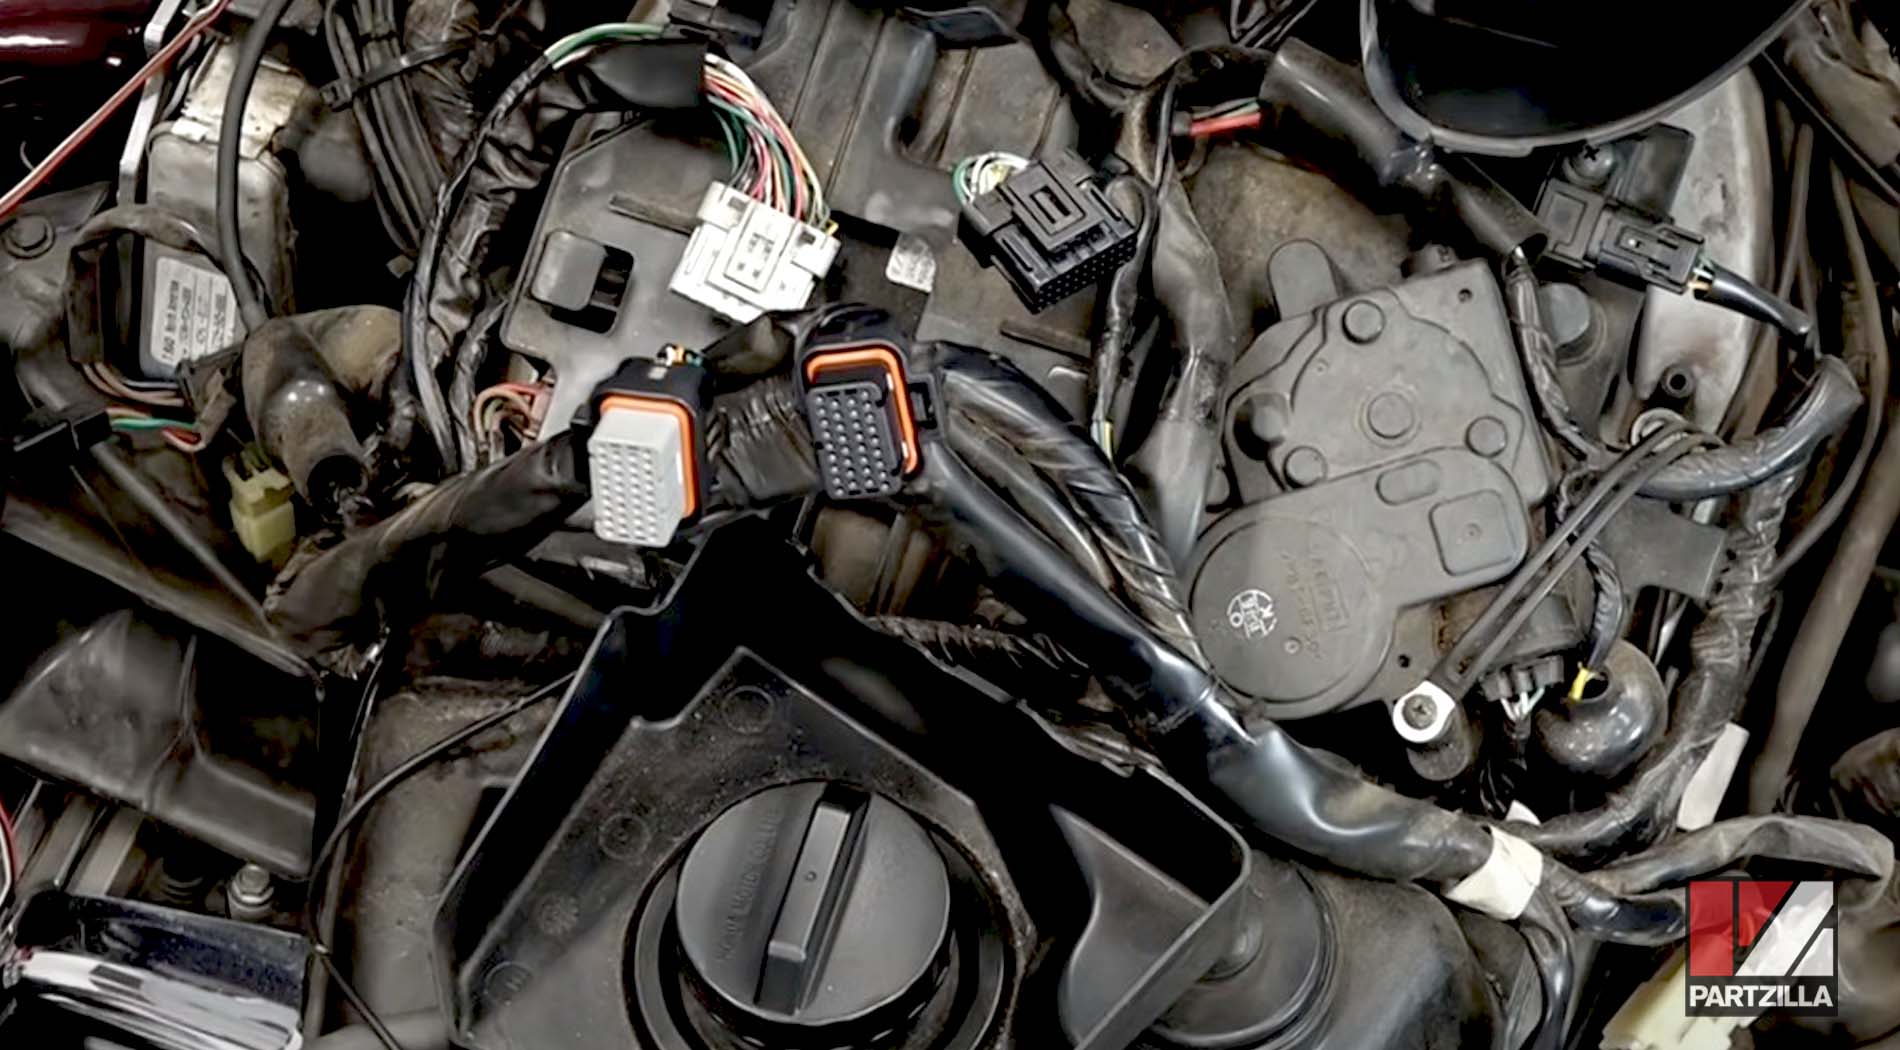
Step 9. Remove the cruise control and ABS module by taking off its four bolts and disconnecting the wire connectors. Then, remove the air channels on either side of the ignition switch, and lift the module up and out of the way.
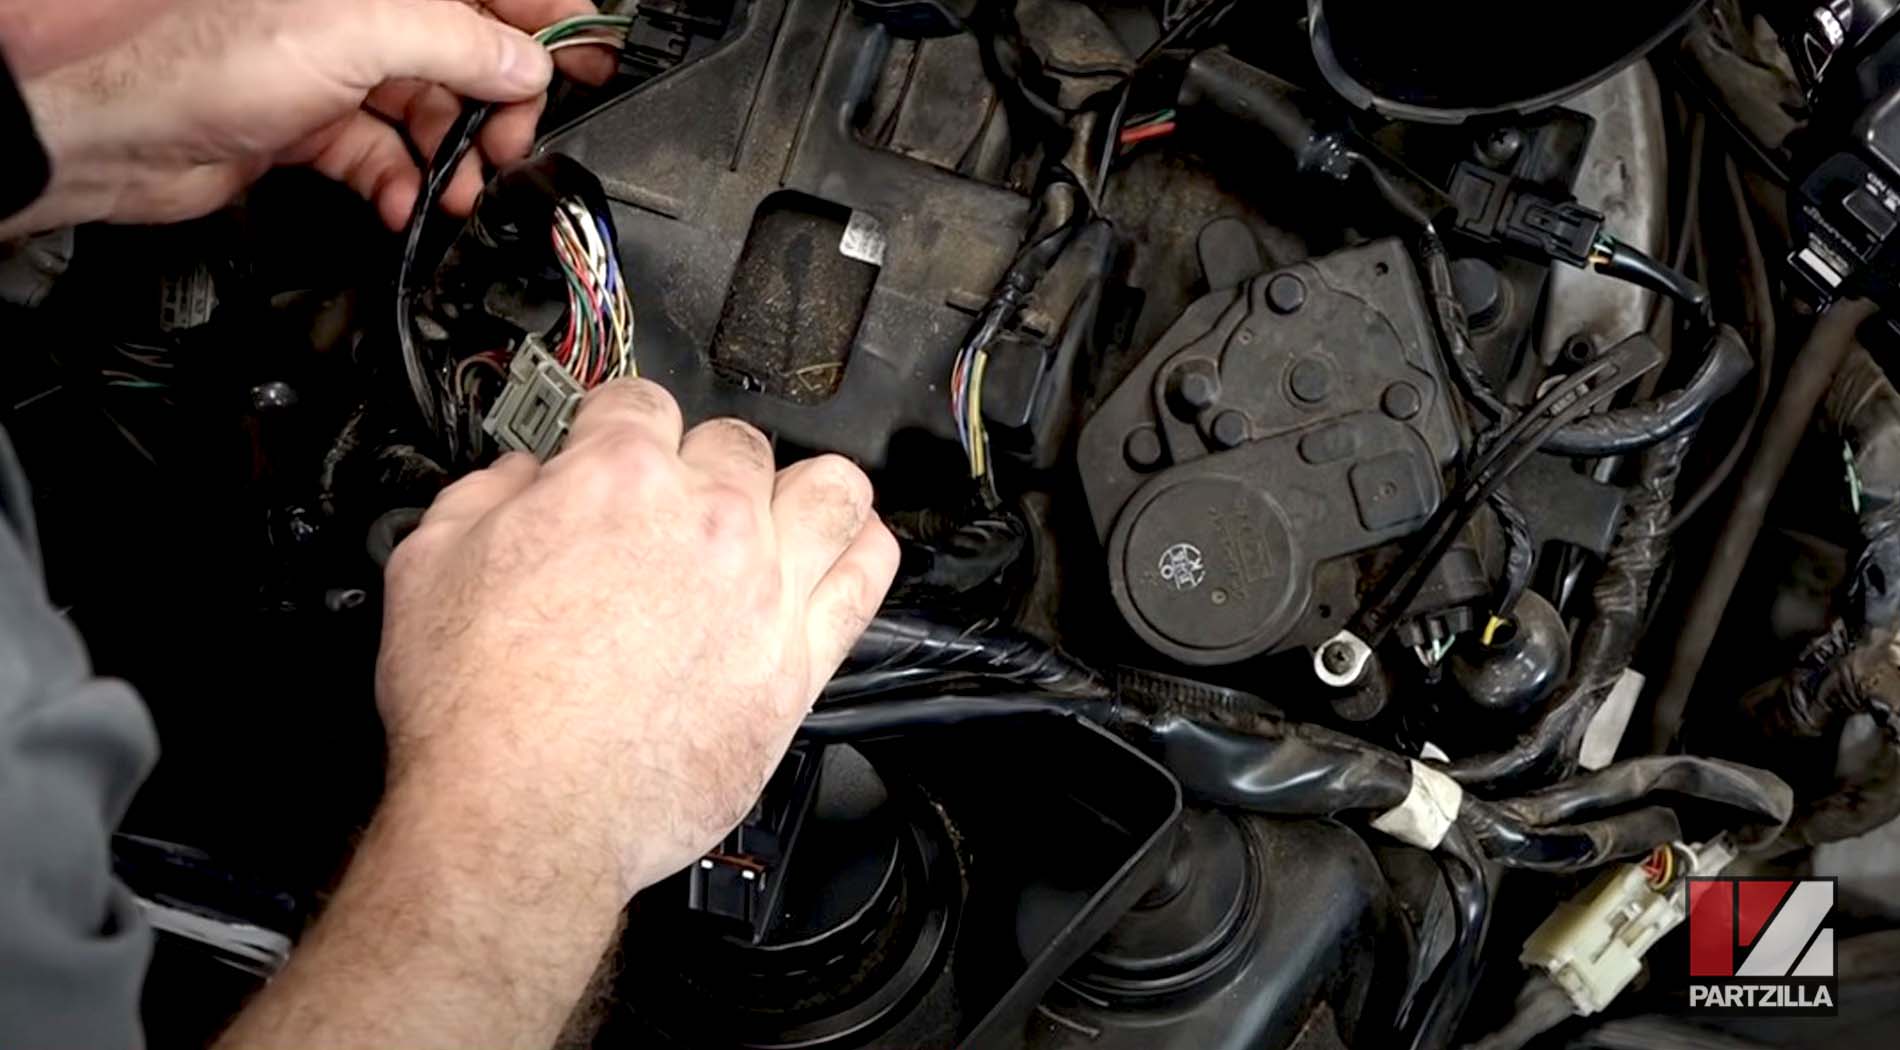
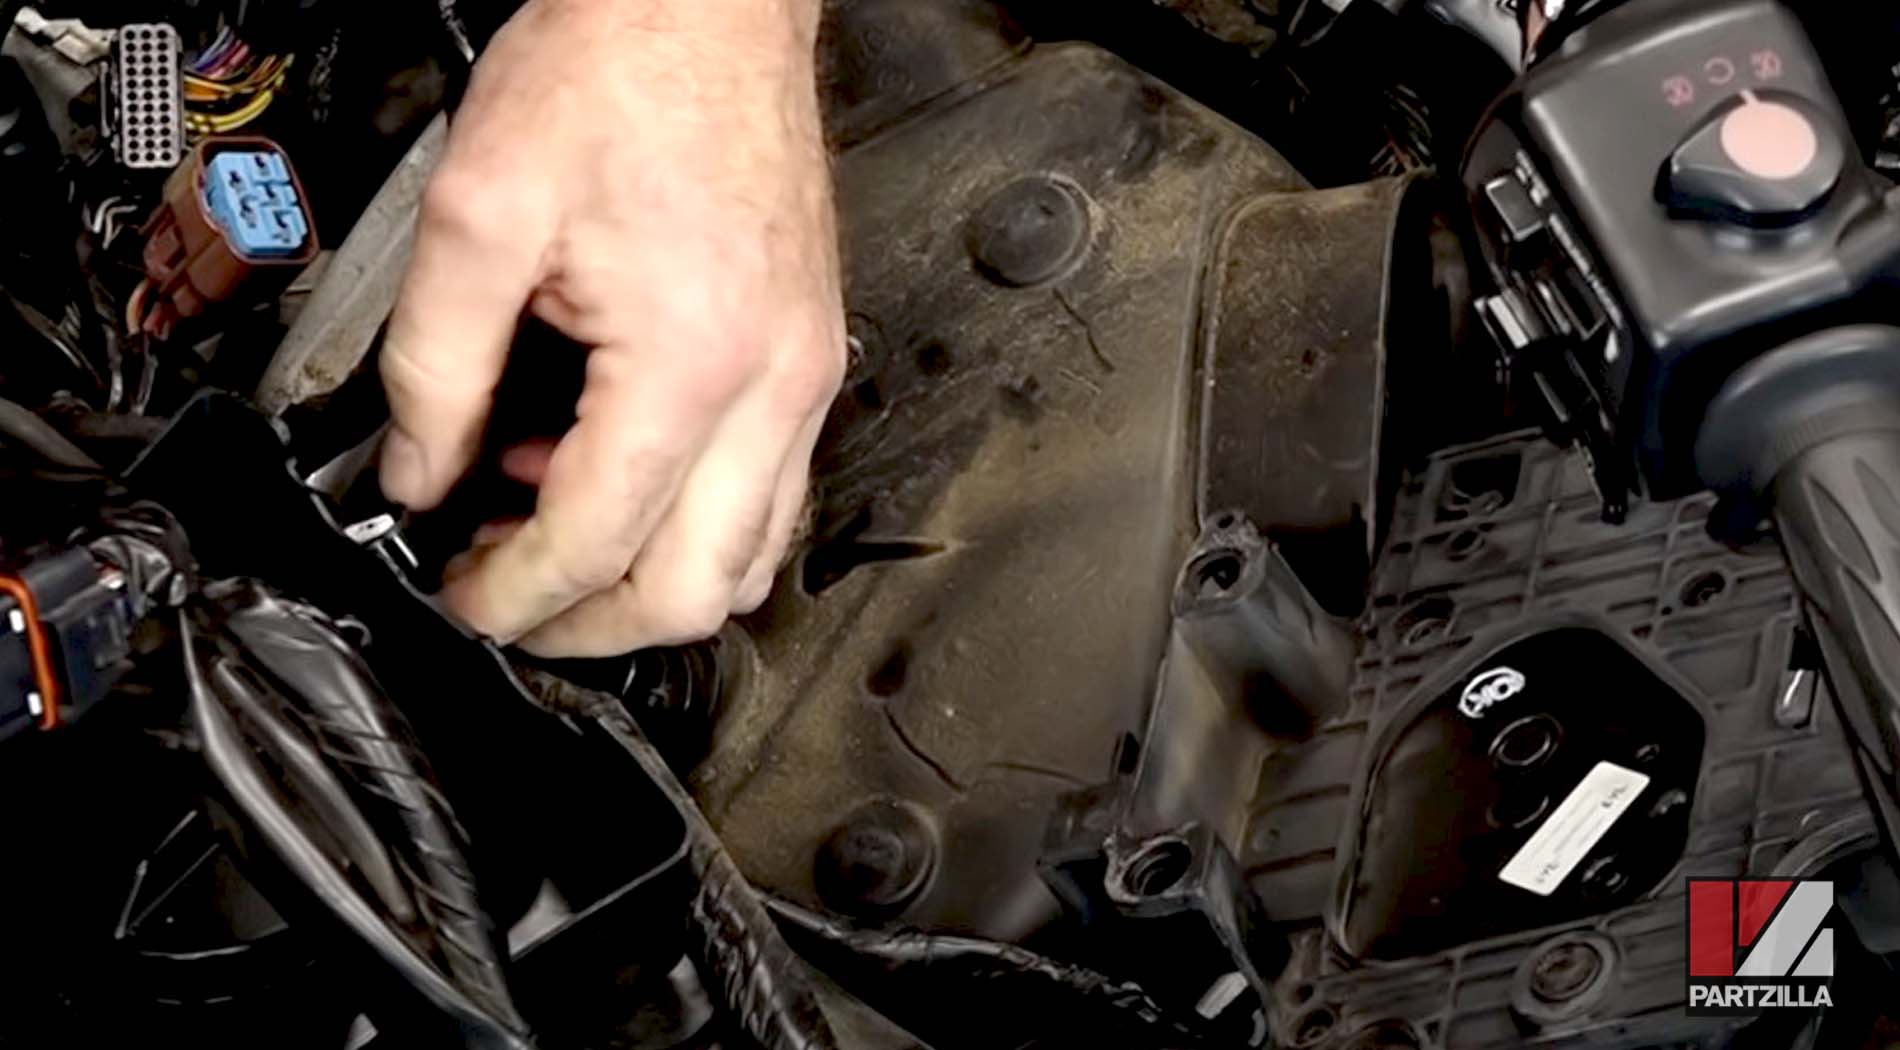
Step 10. Remove the airbox cover by taking off the barometric sensor cable and its seven bolts, then lifting off the airbox cover.
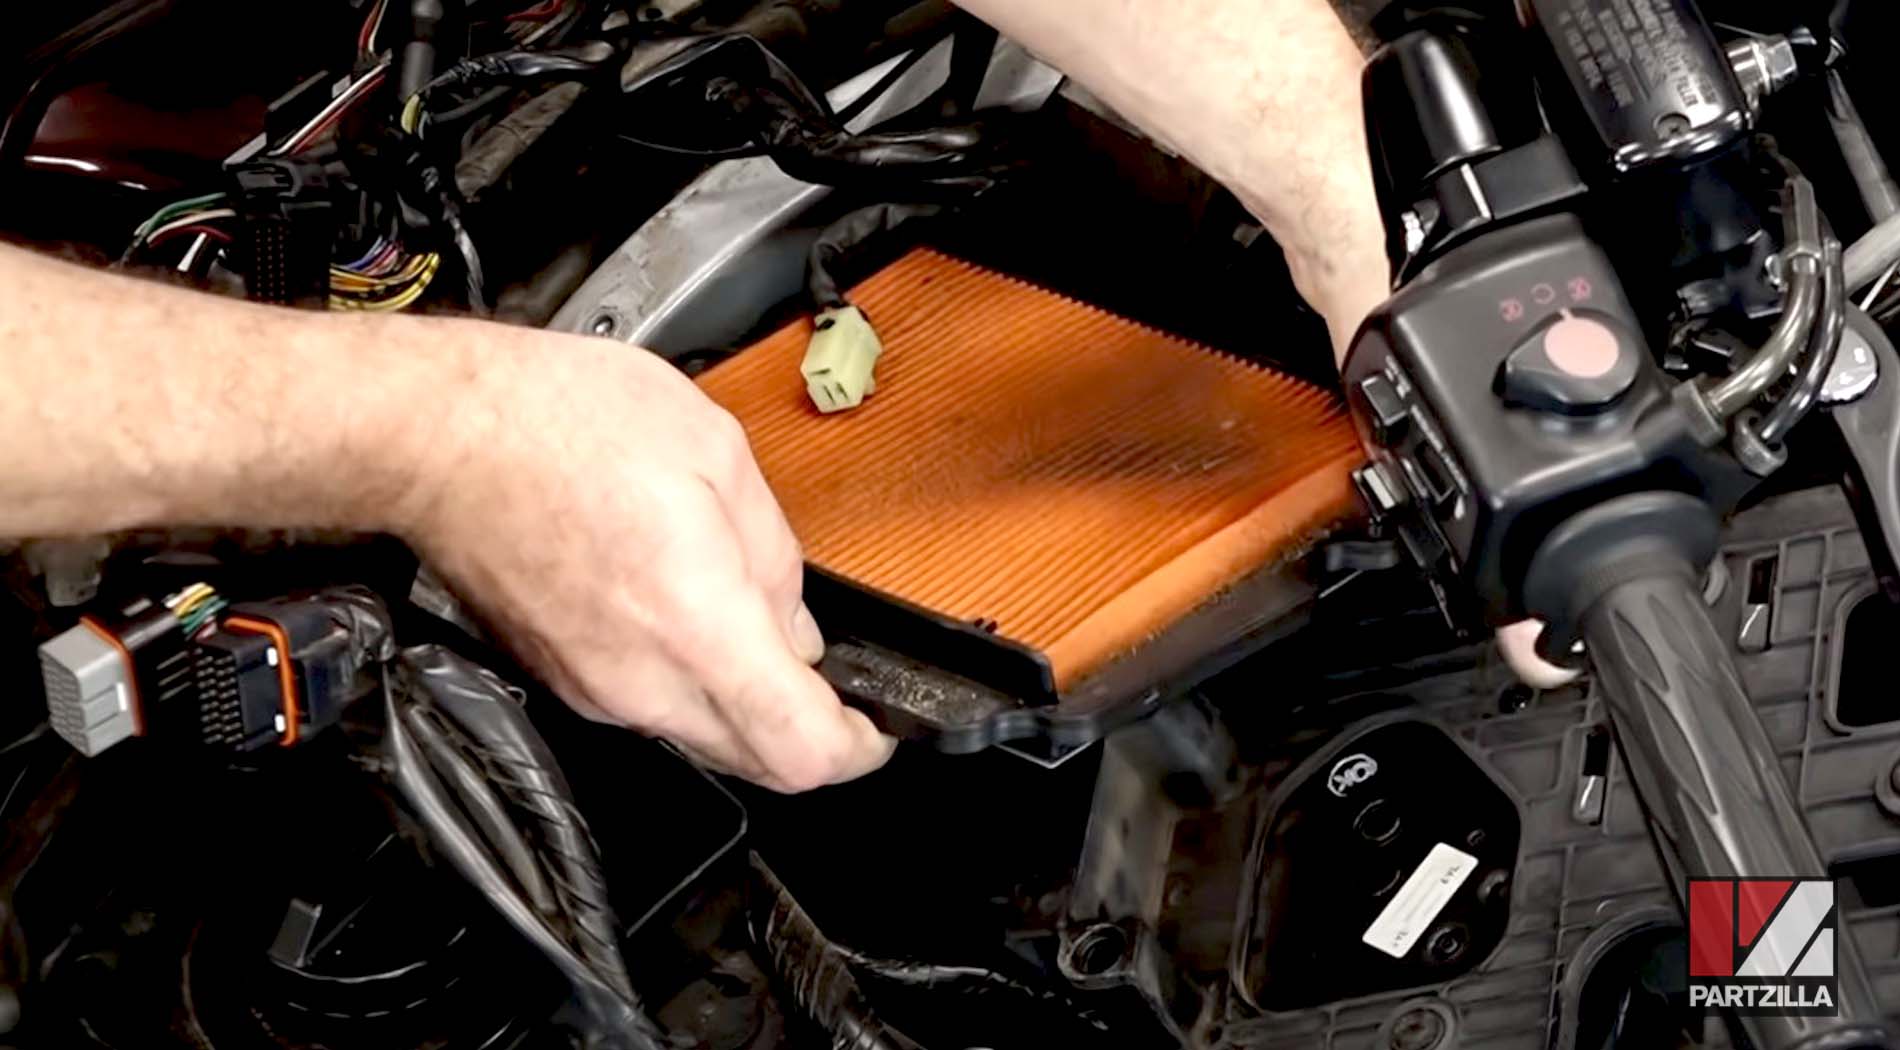
Step 11. Remove the old air filter and install the new air filter.

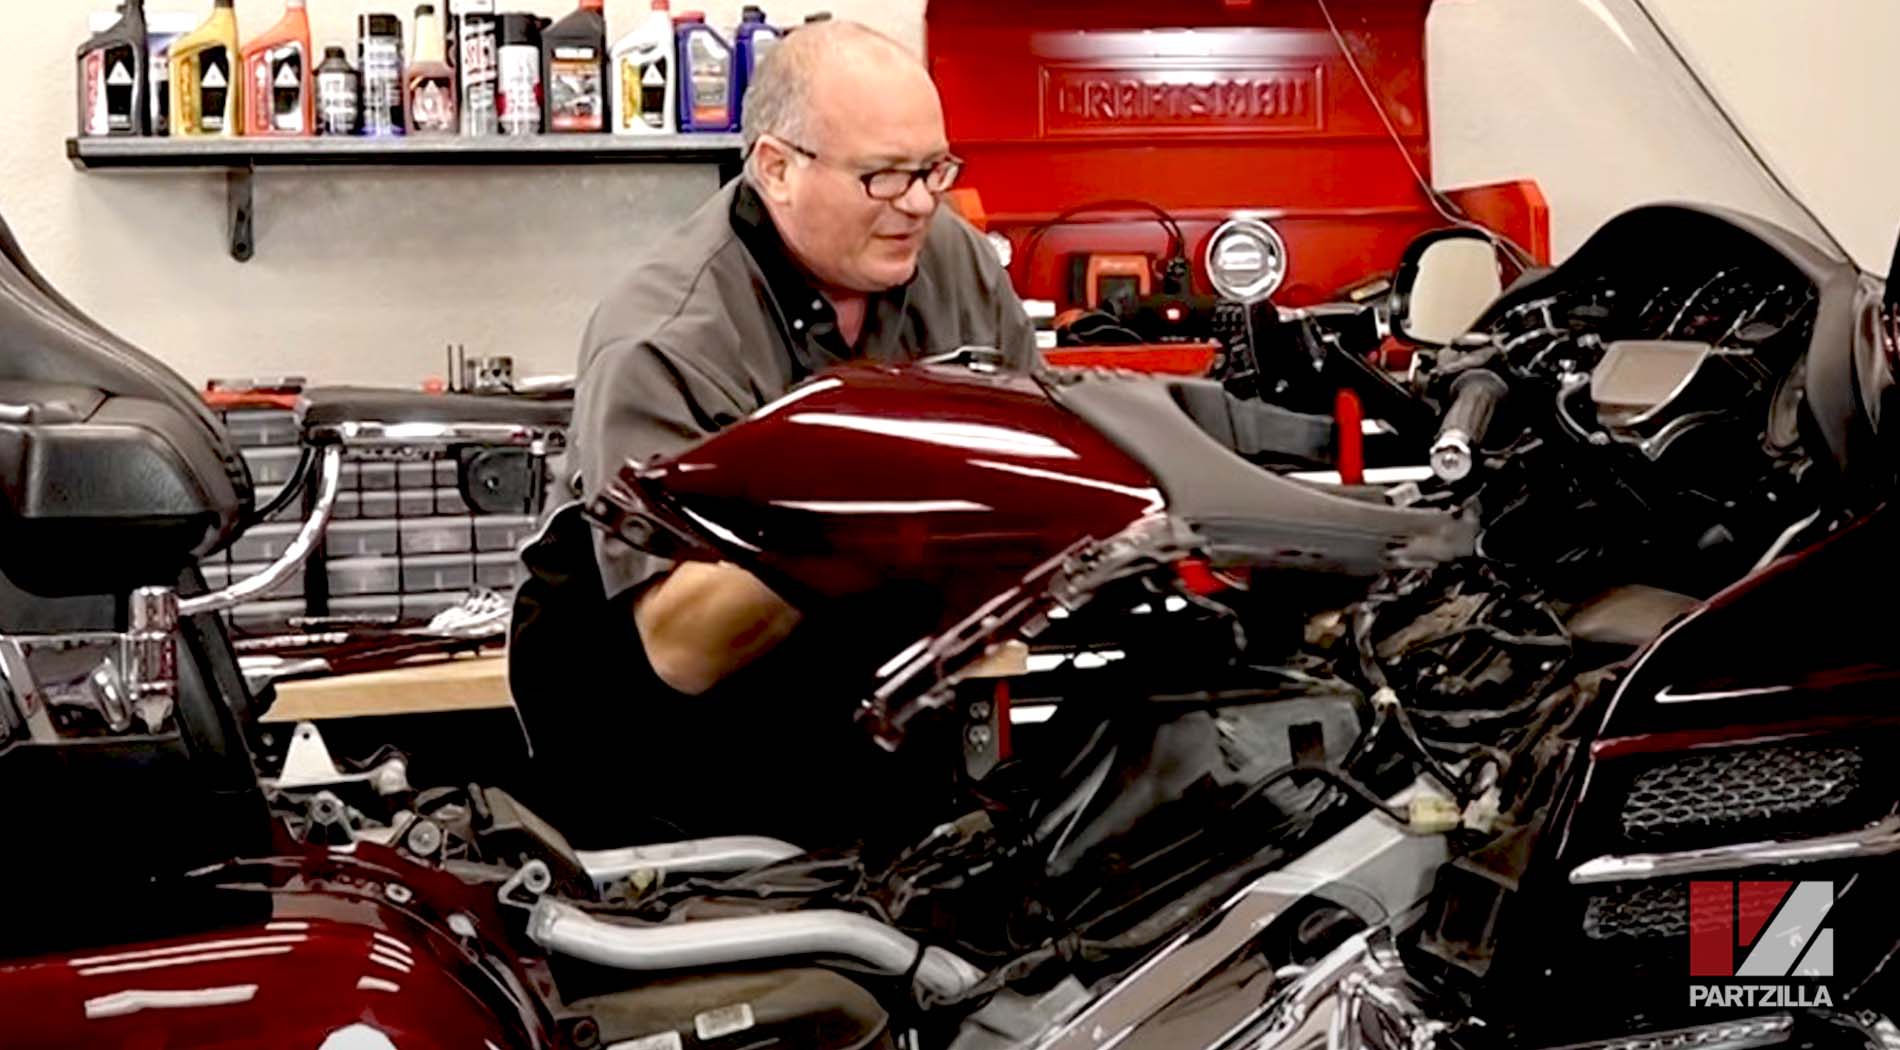
Step 12. Reassemble the GL1800 in reverse order from how you took it apart, and you’re done.
Watch the clip below to see the reassembly segment of our Honda Goldwing GL1800 air filter replacement video.