Honda Goldwing GL1800 Rear Brake Pads Change
The Honda Goldwing is a large motorcycle that carries a lot of weight, which puts extra demands on many of its parts. All that extra weight takes a toll on the brakes, and the brake pads should be changed frequently.
Watch the video above and follow the steps below to learn how to do a rear brake pad change on a Honda Goldwing GL1800.
See the parts diagram: Honda Goldwing rear brake caliper parts diagram.
Tools and Parts - Honda Goldwing GL1800 Rear Brake Pad Change
- 3/8th ratchet
- 5mm Allen
- Flat-blade screwdriver
- Torque wrench
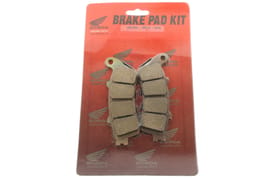
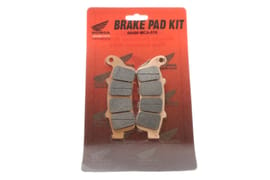
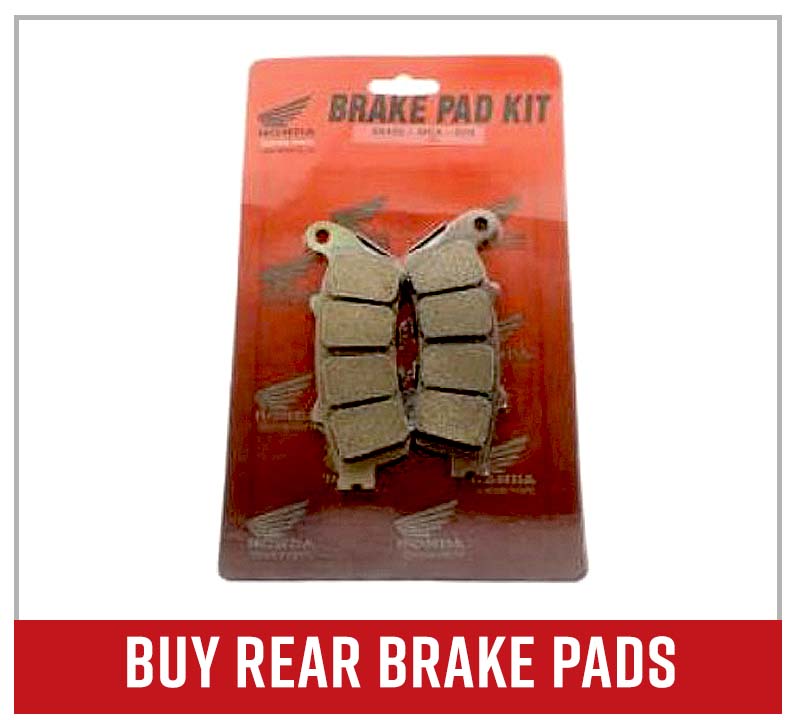
- Honda Goldwing rear brake pads

How to Replace Honda Goldwing Rear Brake Pads
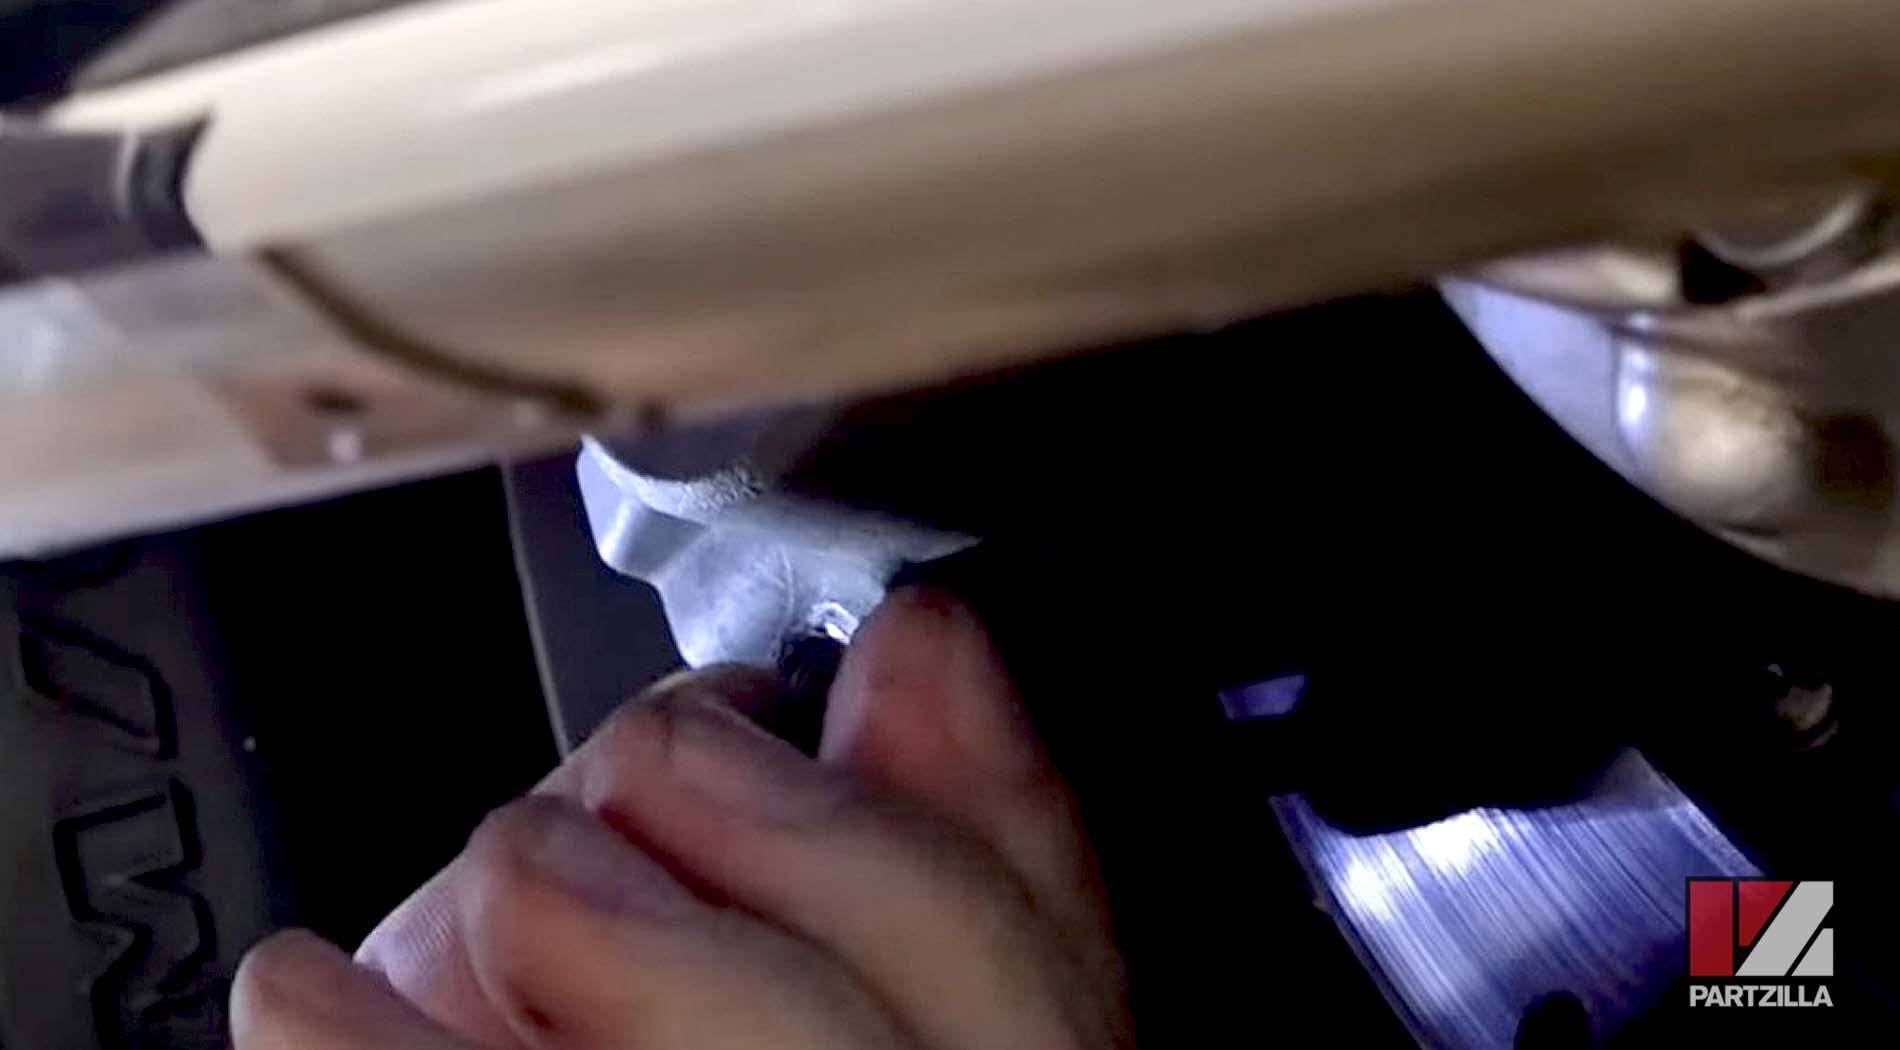
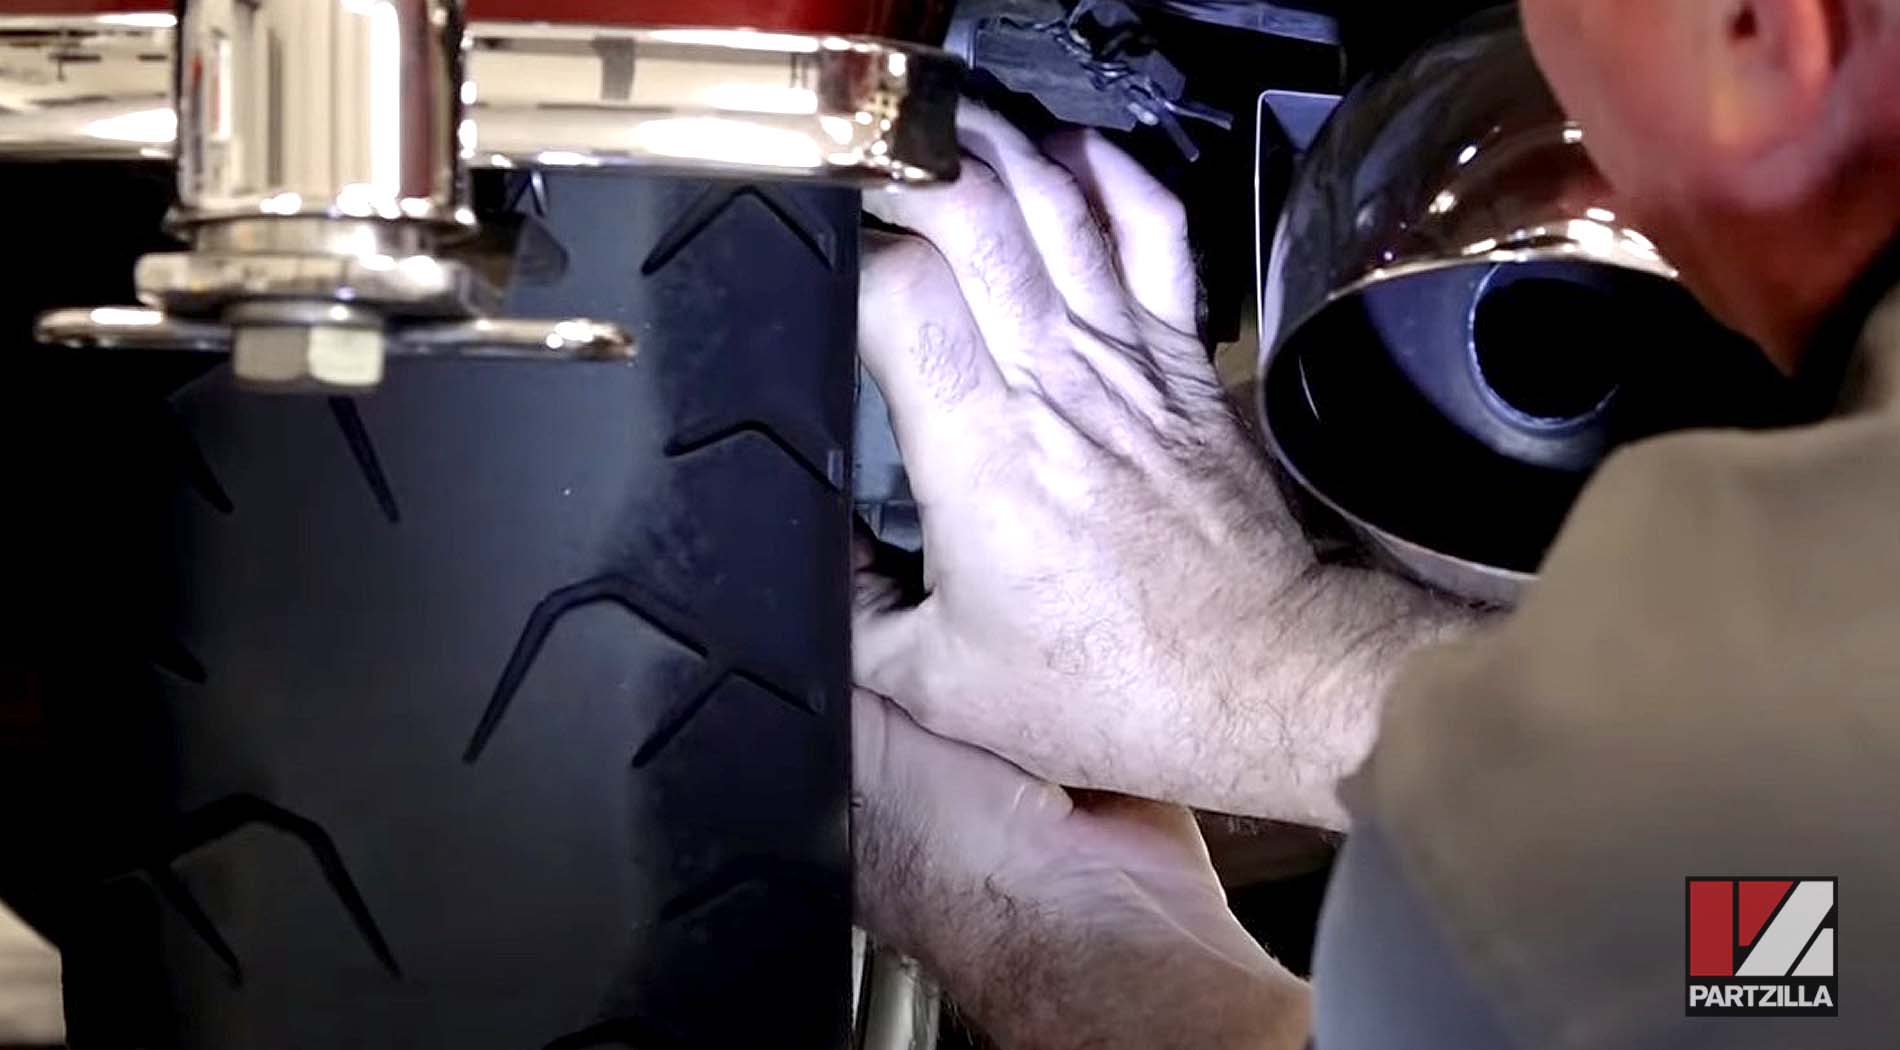
Step 1. Push the brake pads back away from the rotor to make room for the extra material on the new brake pads. Use a flat-blade screwdriver to pry the old pads apart. When the pads are pushed back and they bottom out, hold it there for a few seconds.
NOTE: Be careful not to gouge the rotor during this step.
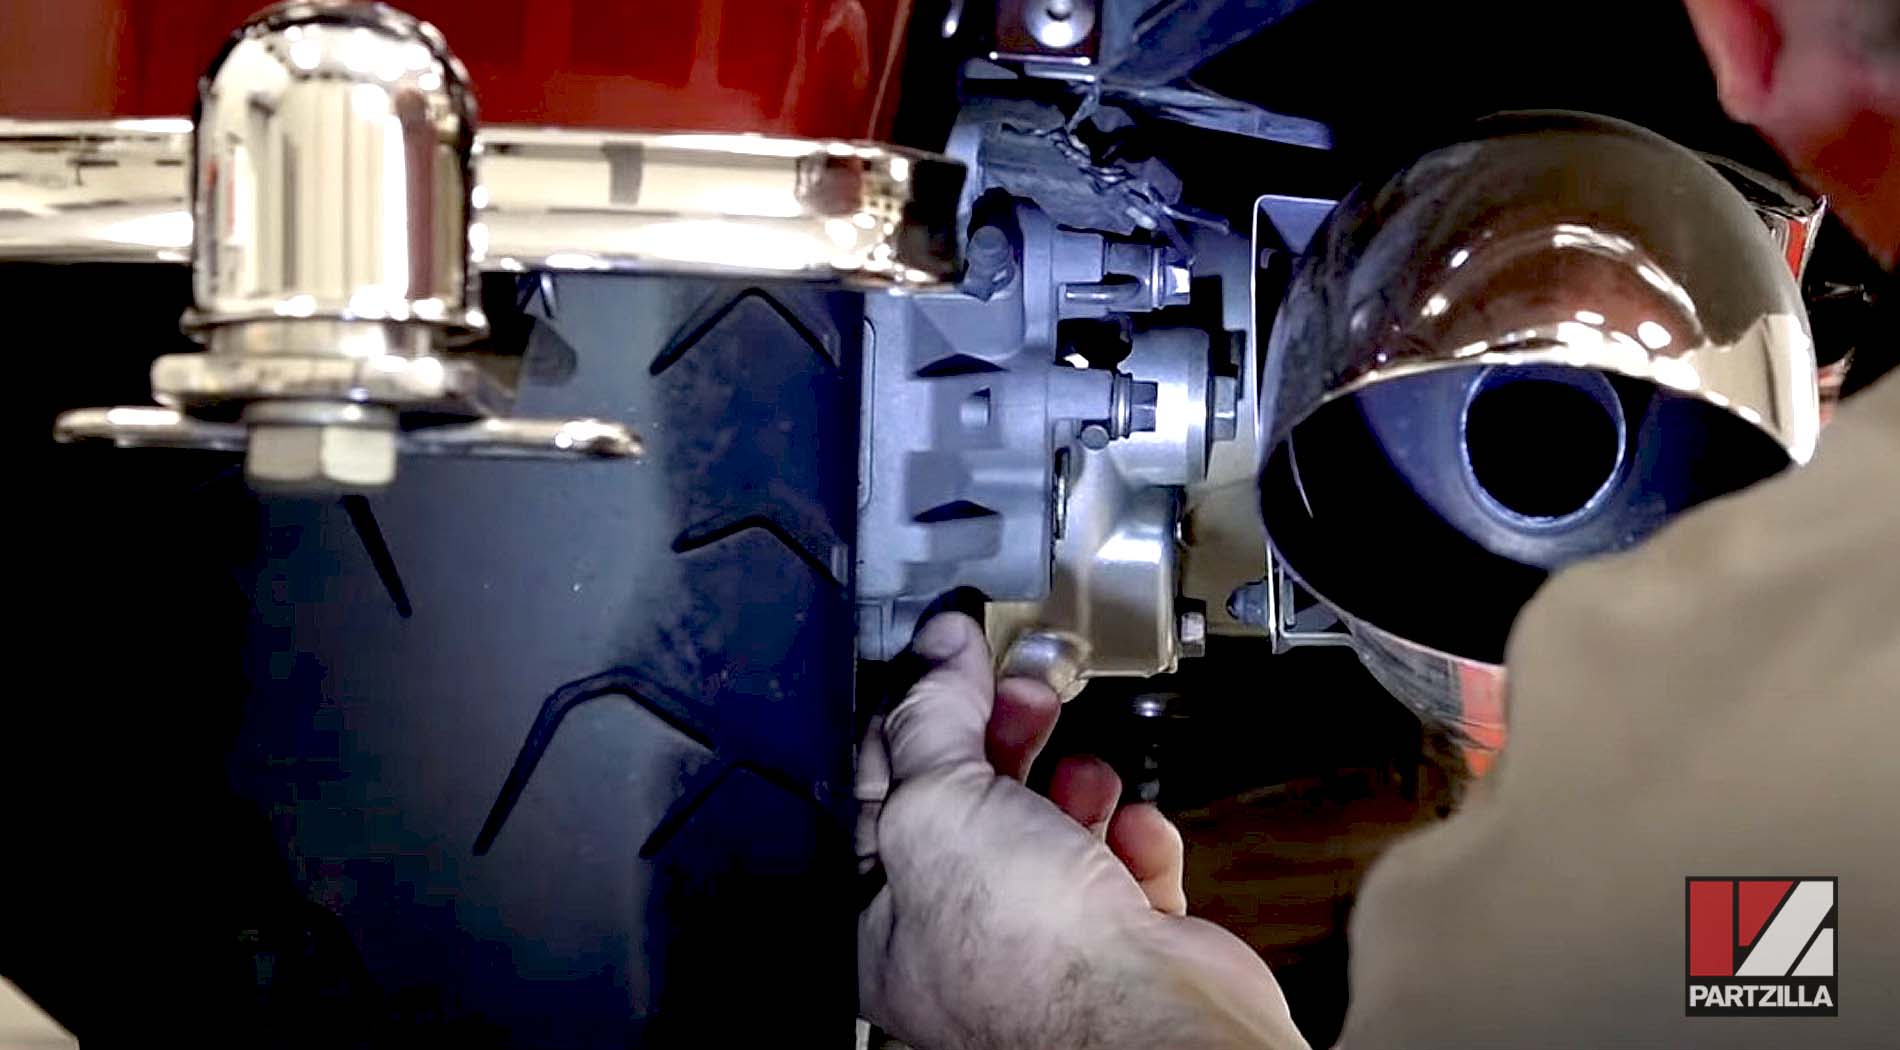
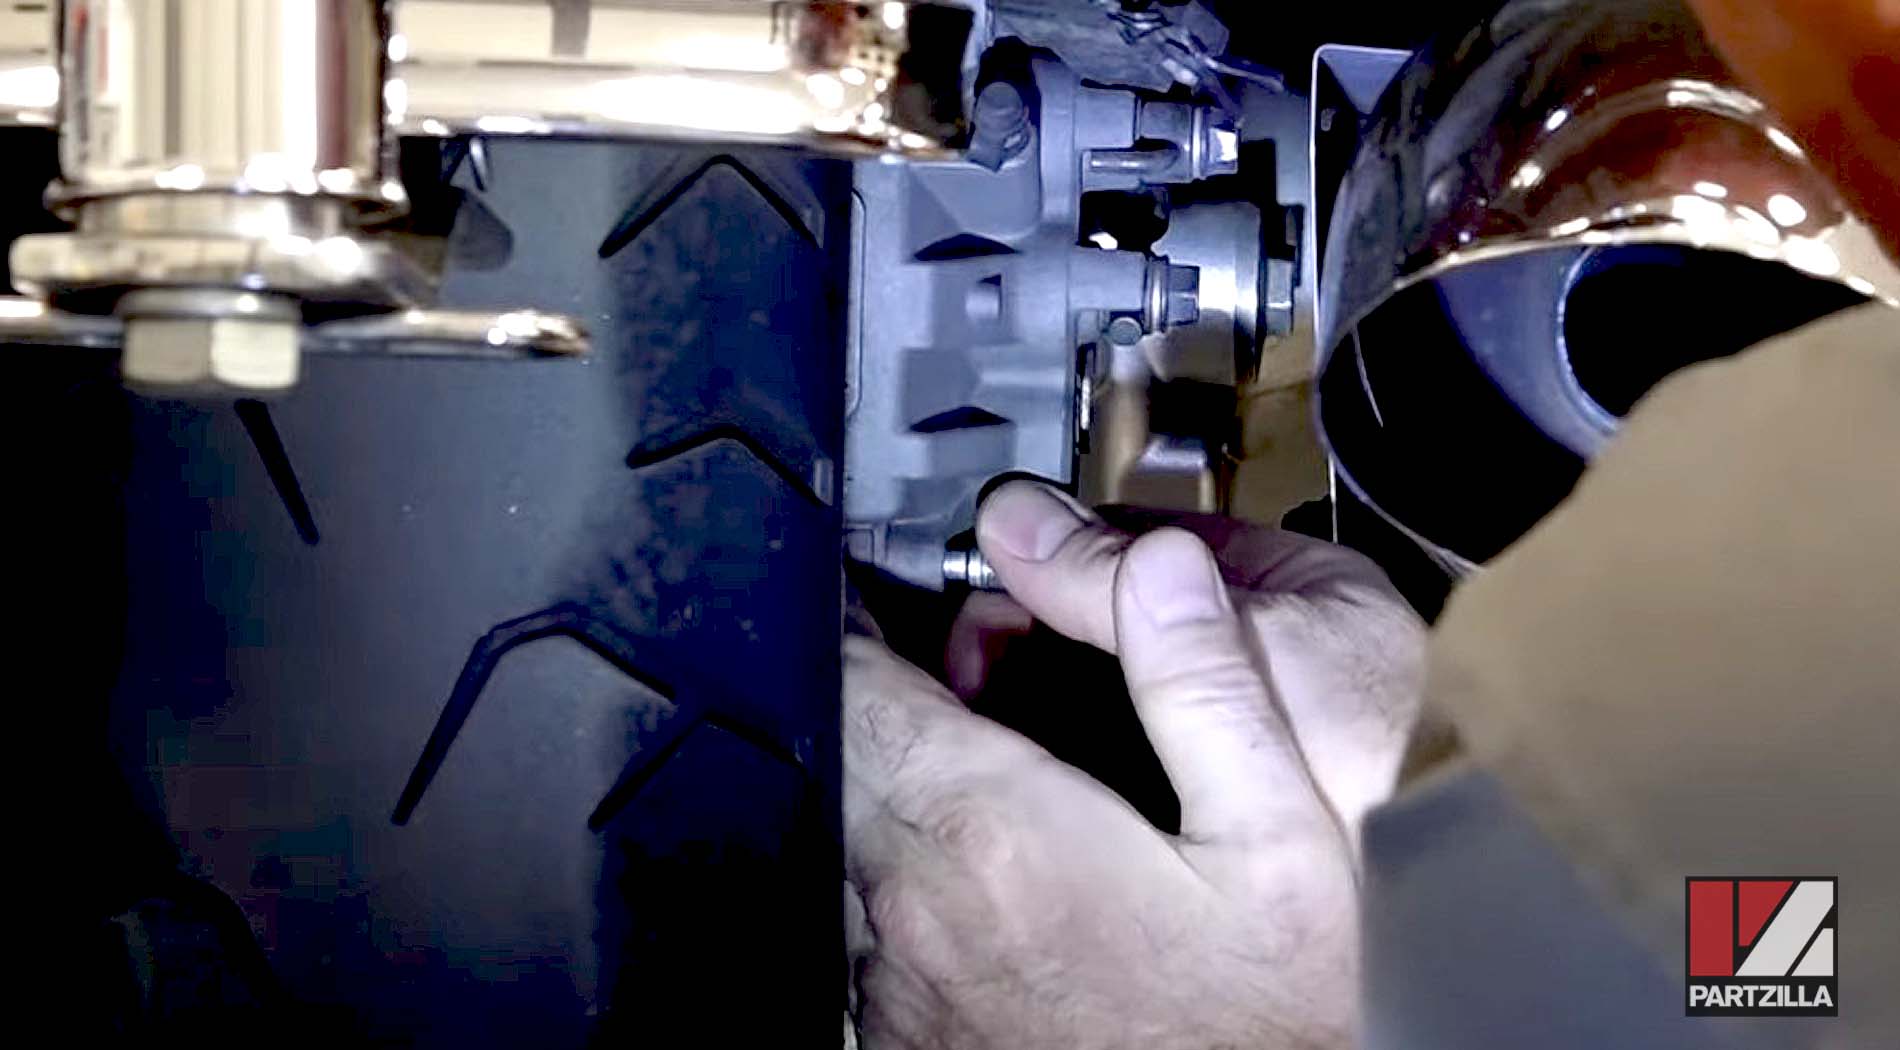
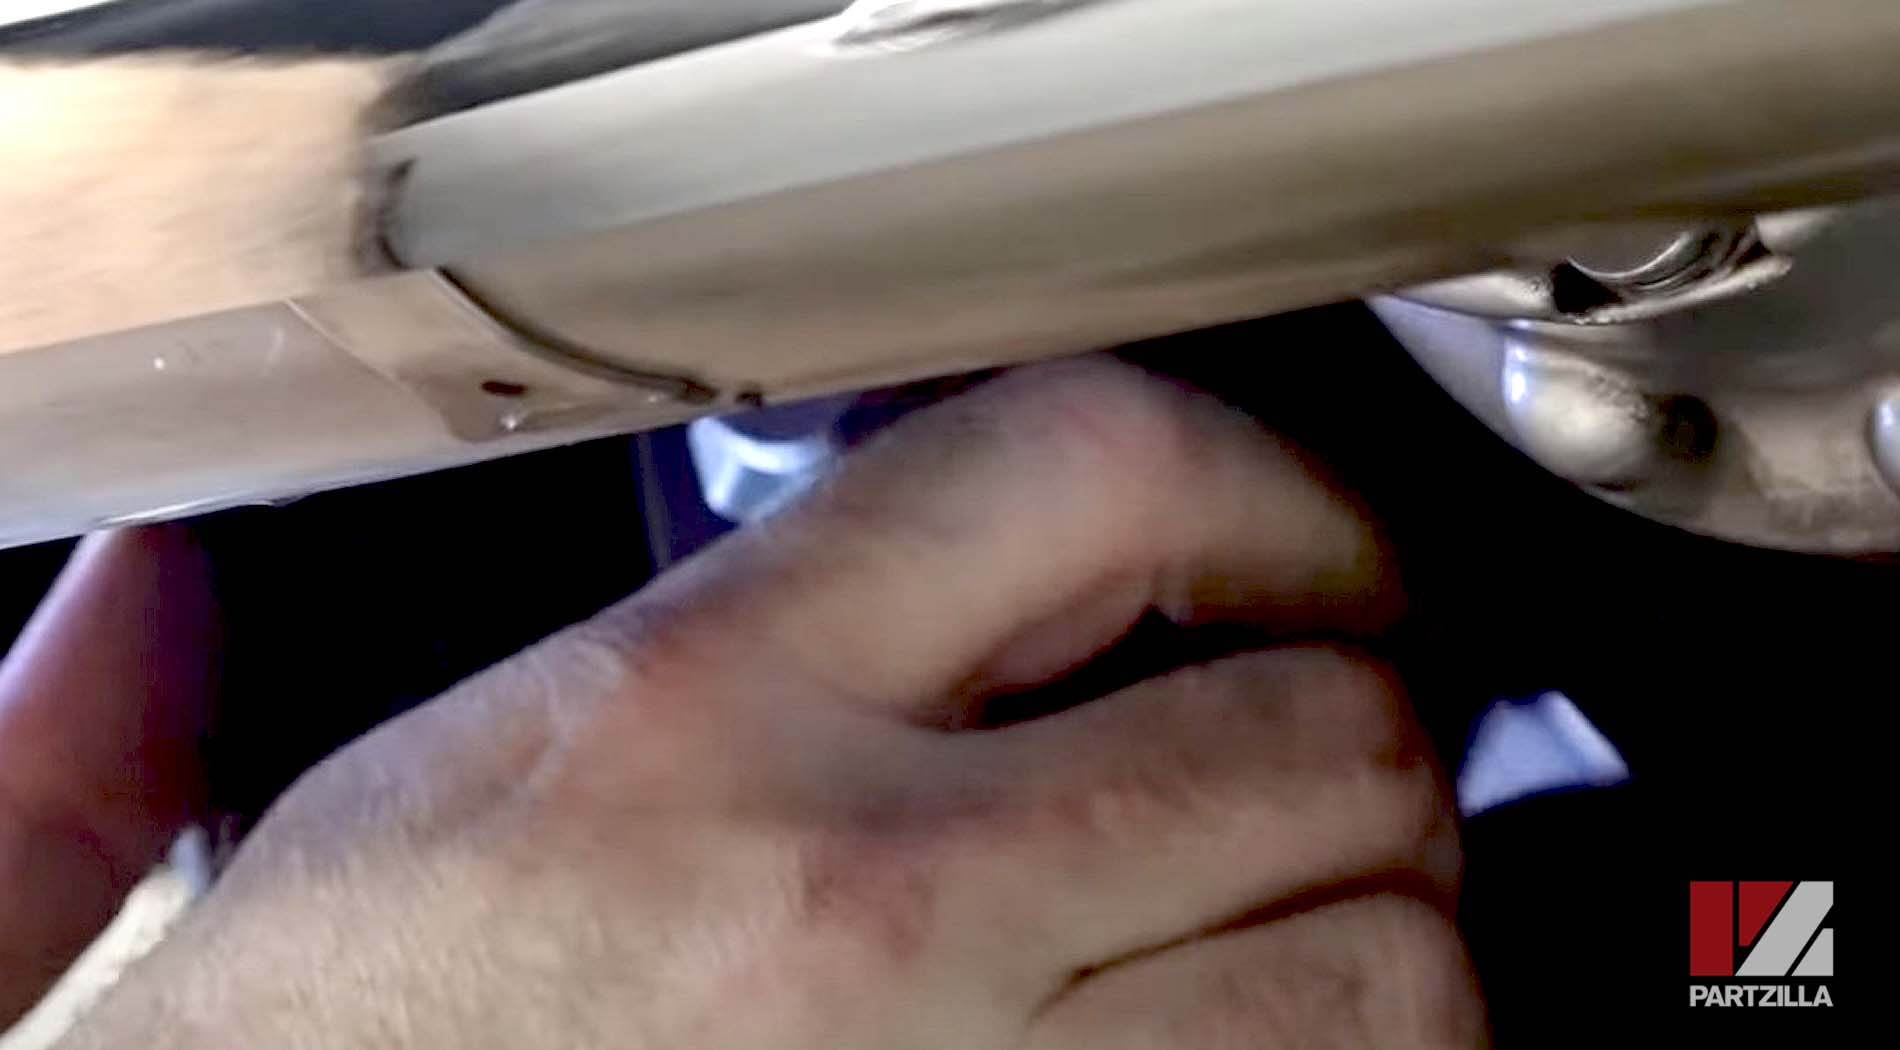
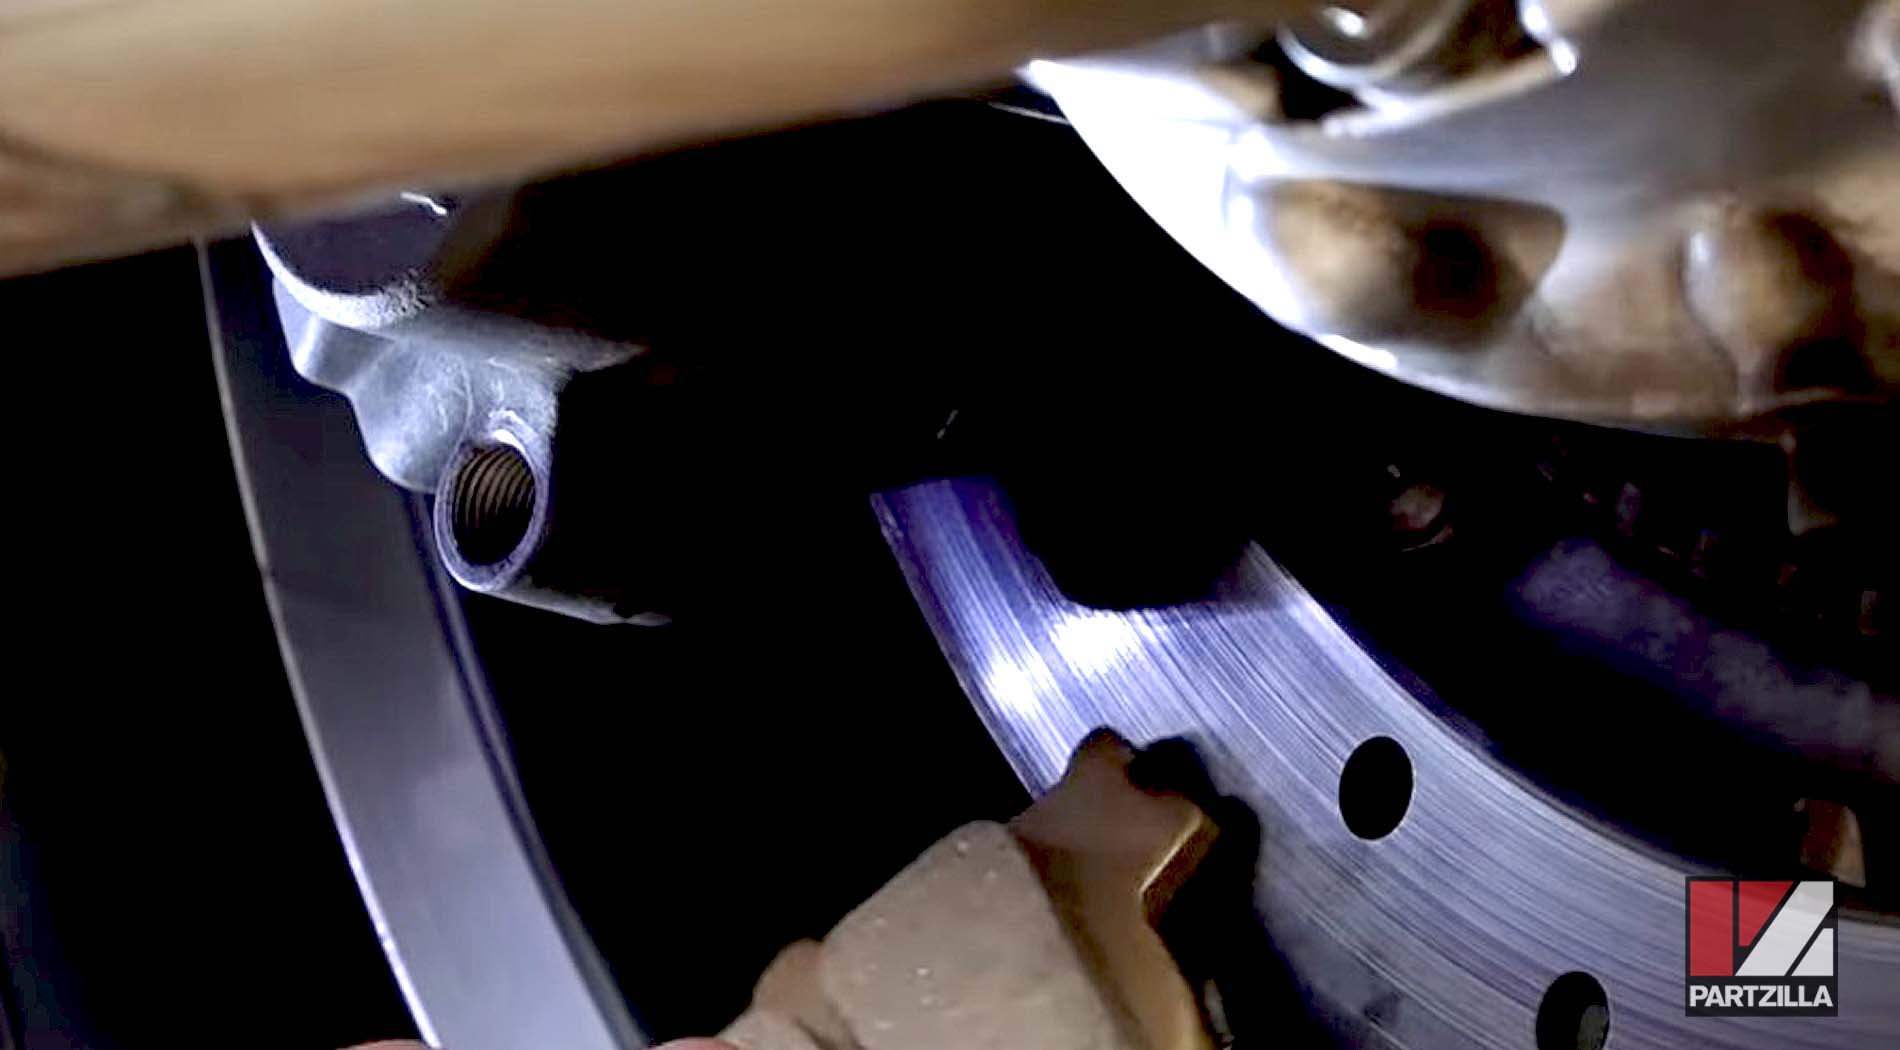
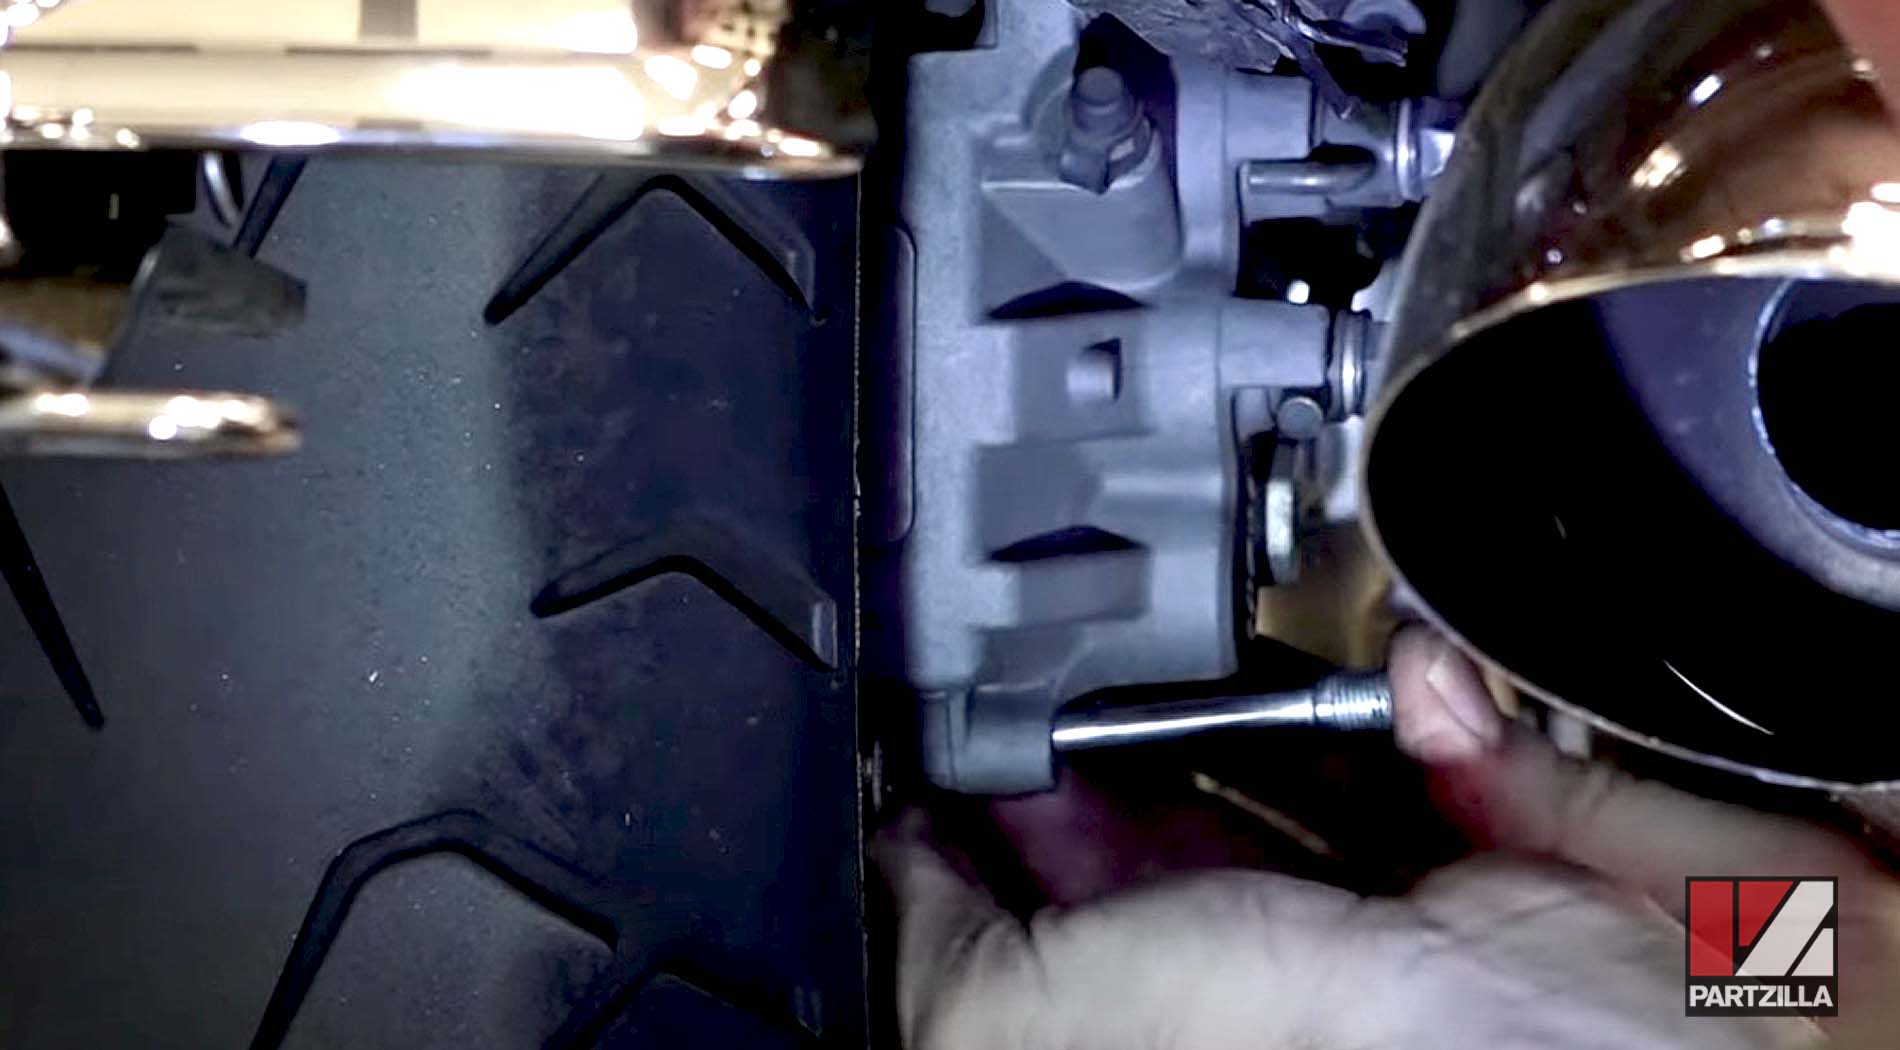
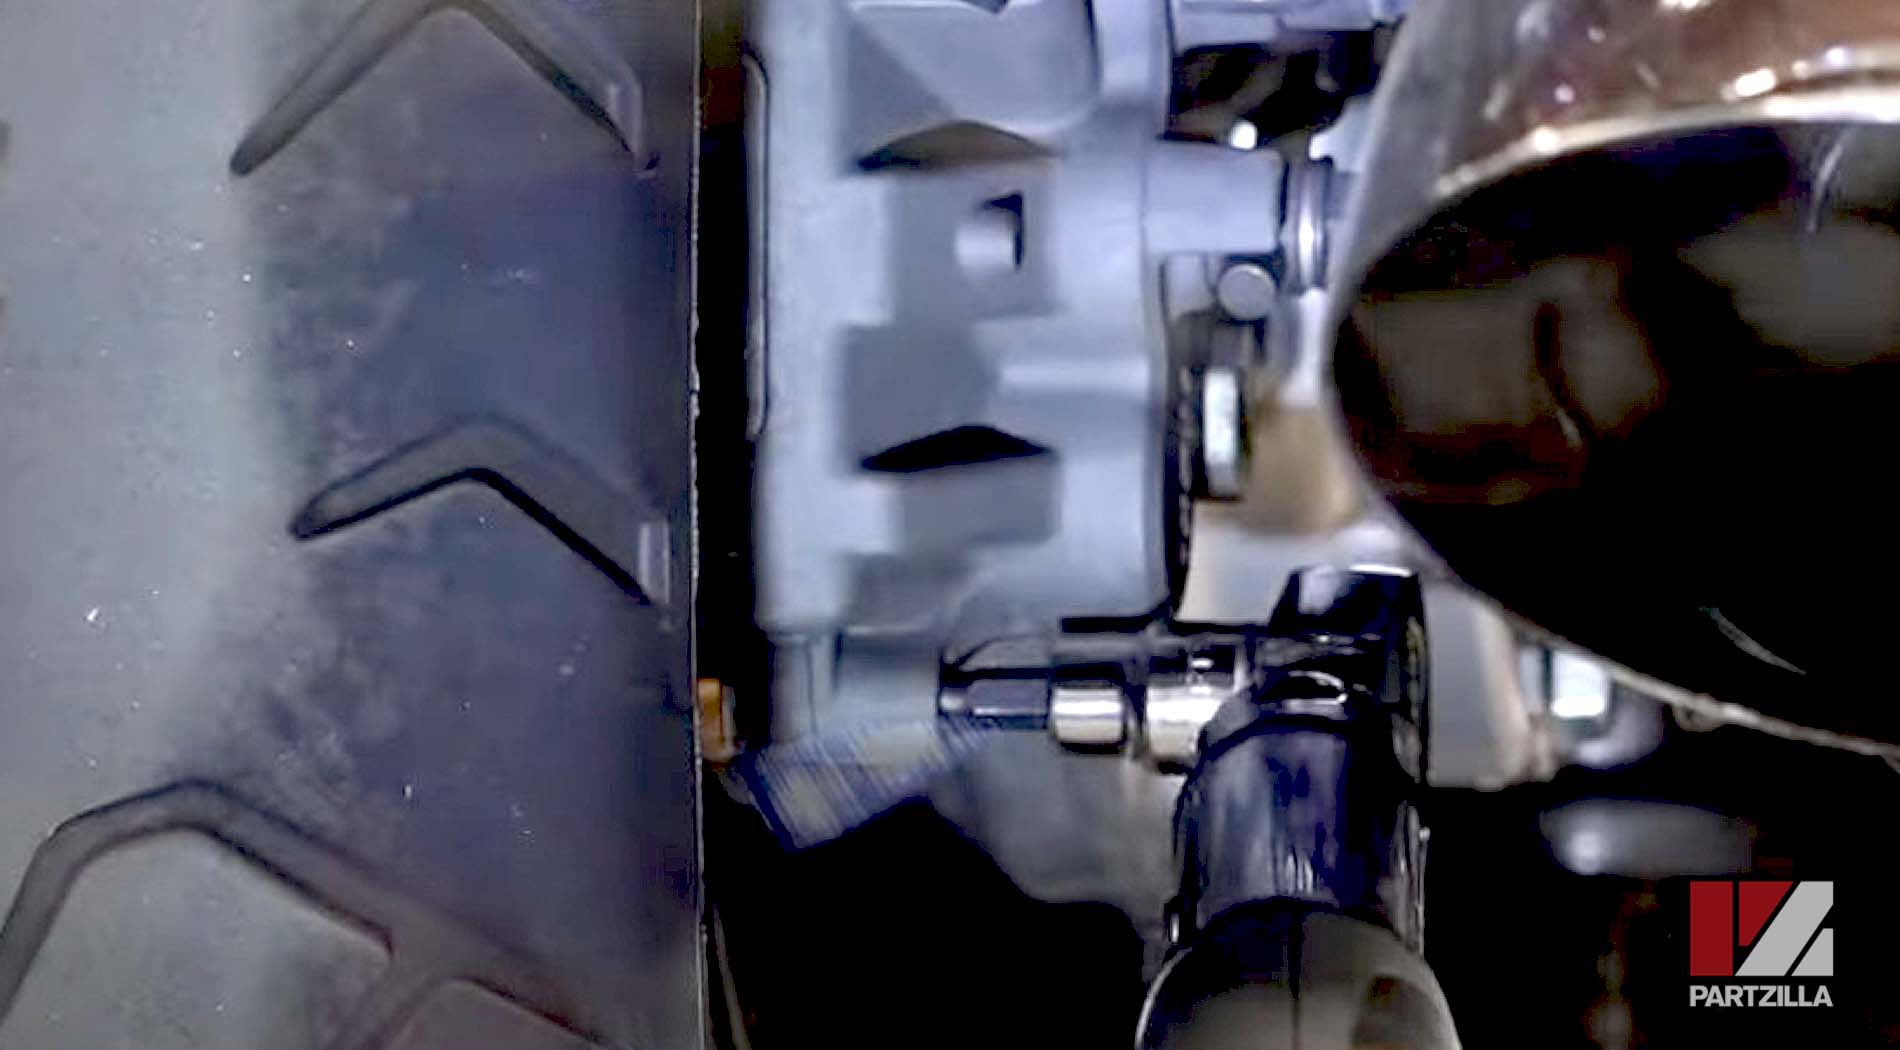
Step 2. Remove the small plug that covers the head of the hanger pin at the bottom of the caliper.
PRO TIP: If you're having trouble finding it, check our Honda Goldwing rear brake caliper parts diagram. It's listed as #18.
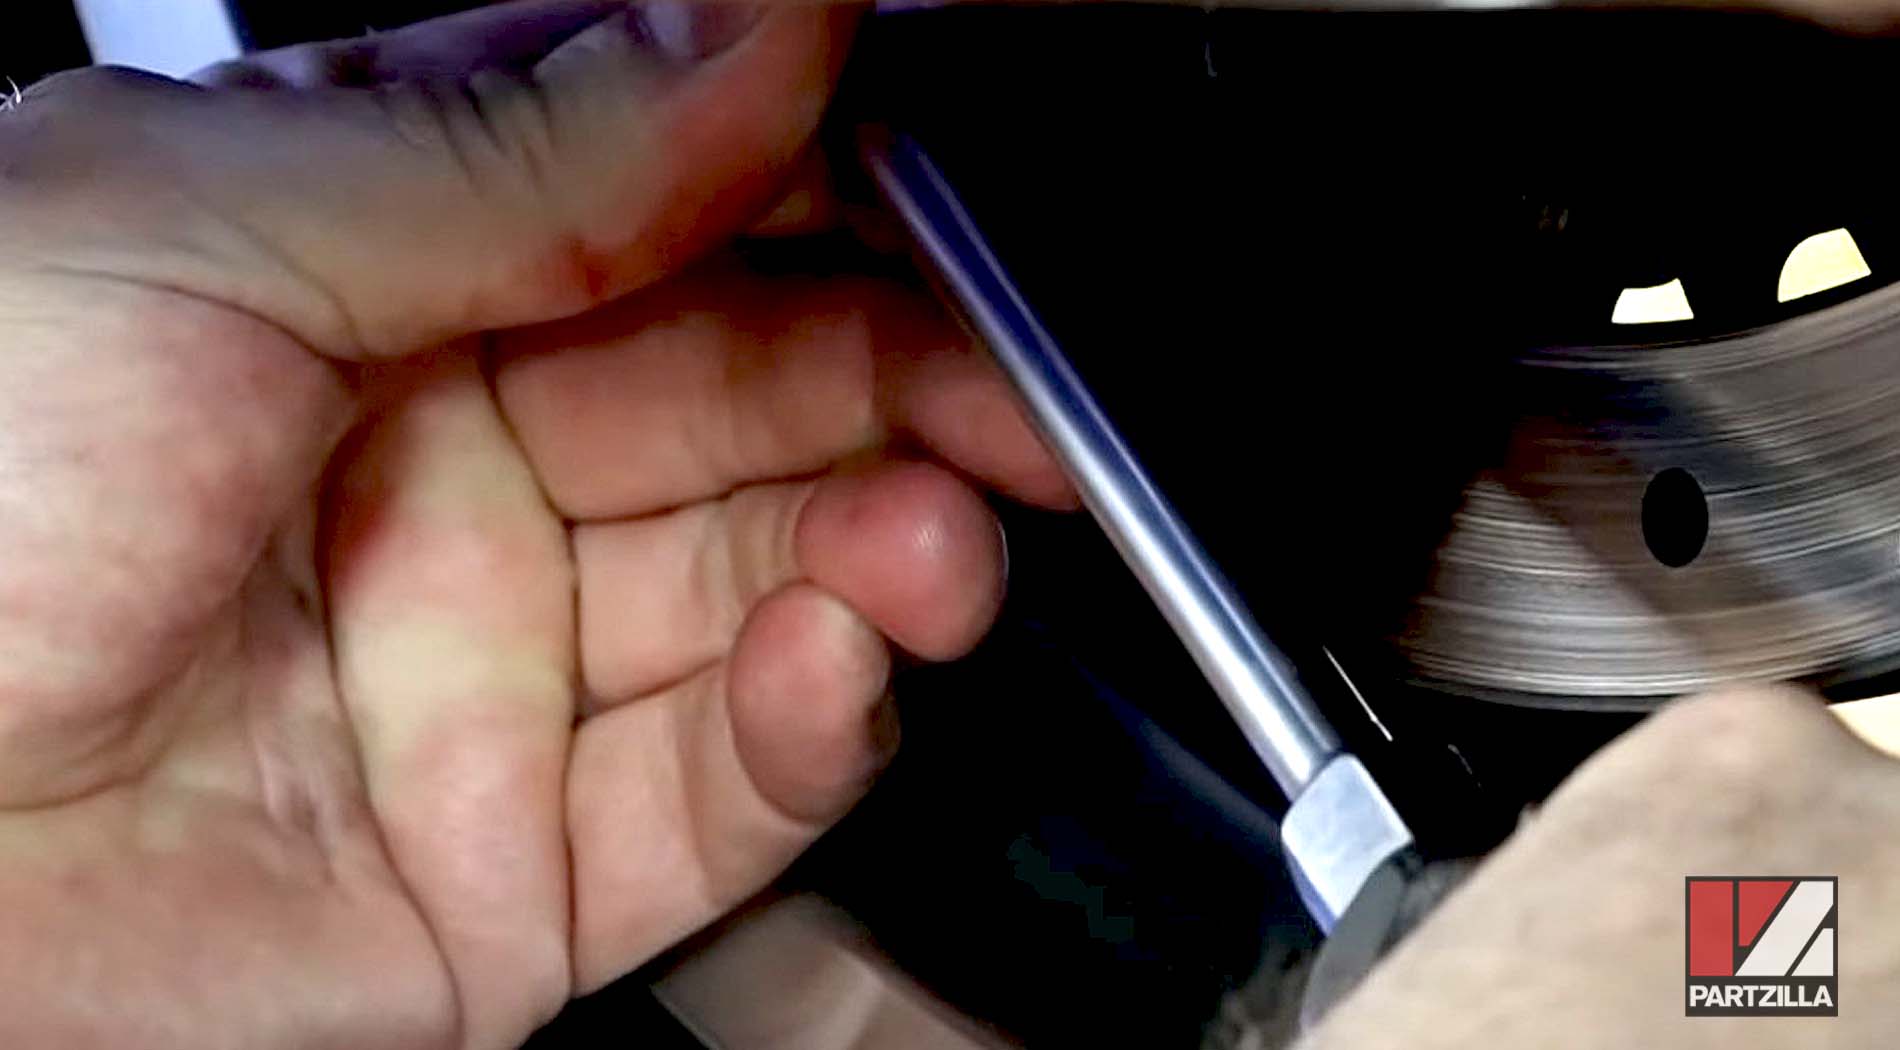
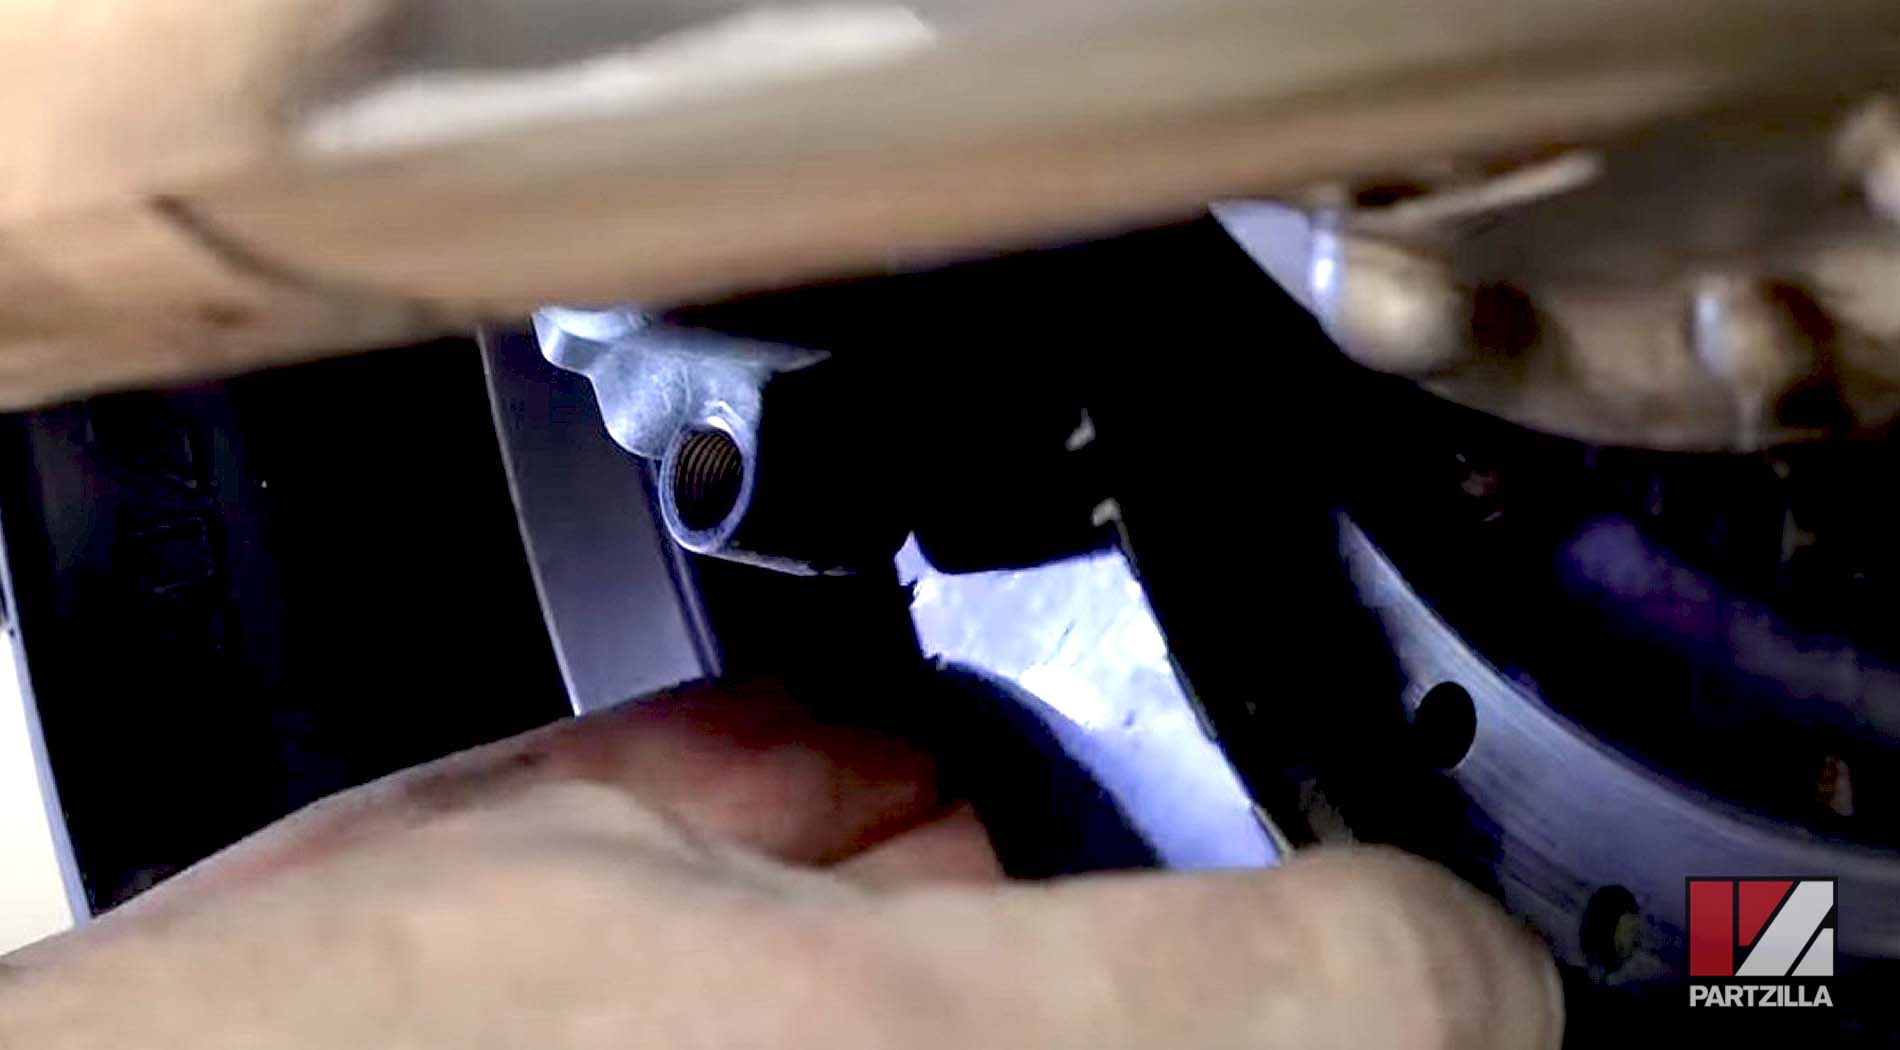
Step 3. Loosen and remove the hanger pin that holds the brake pads in place with a 5mm Allen.
NOTE: The pin is long, so once you get it loose you may want to use your hands to unthread it. Once unthreaded, it slides out pretty easily, though you may need to push up on the brake pads to alleviate pressure on the pin to pull it out.
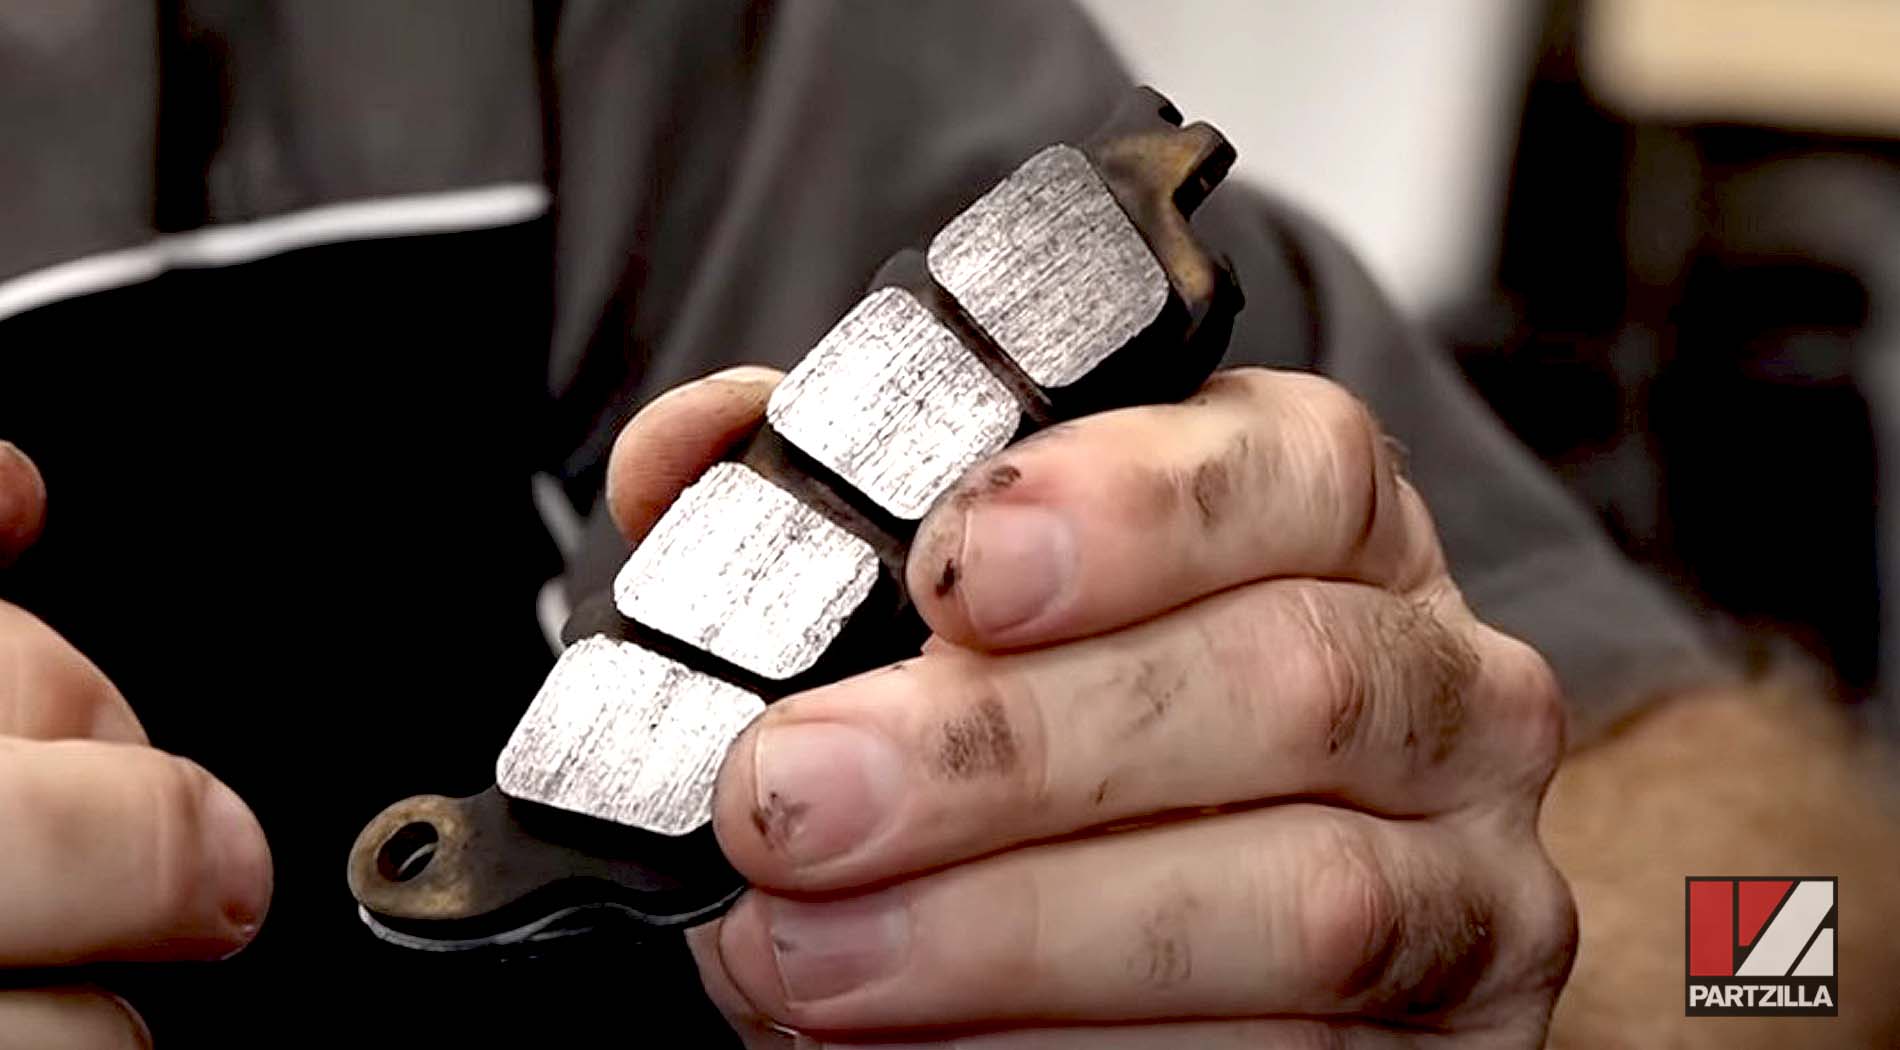
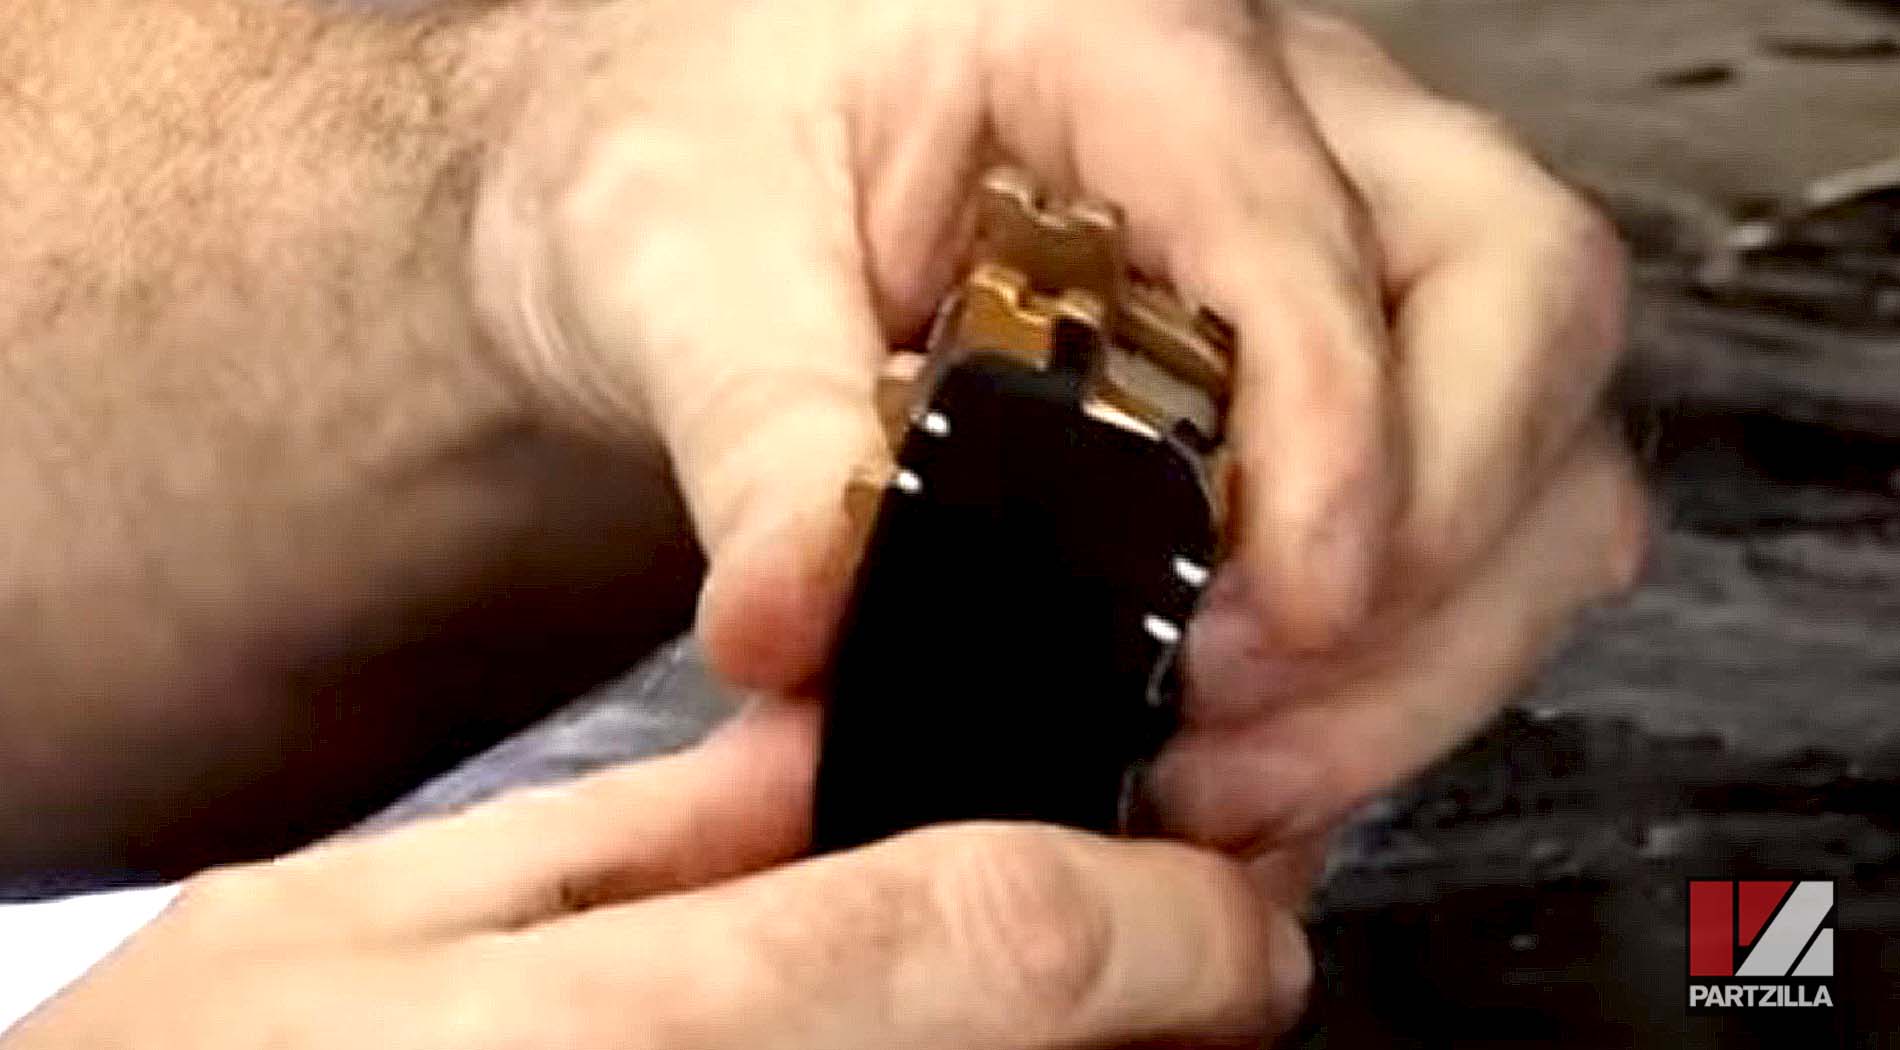
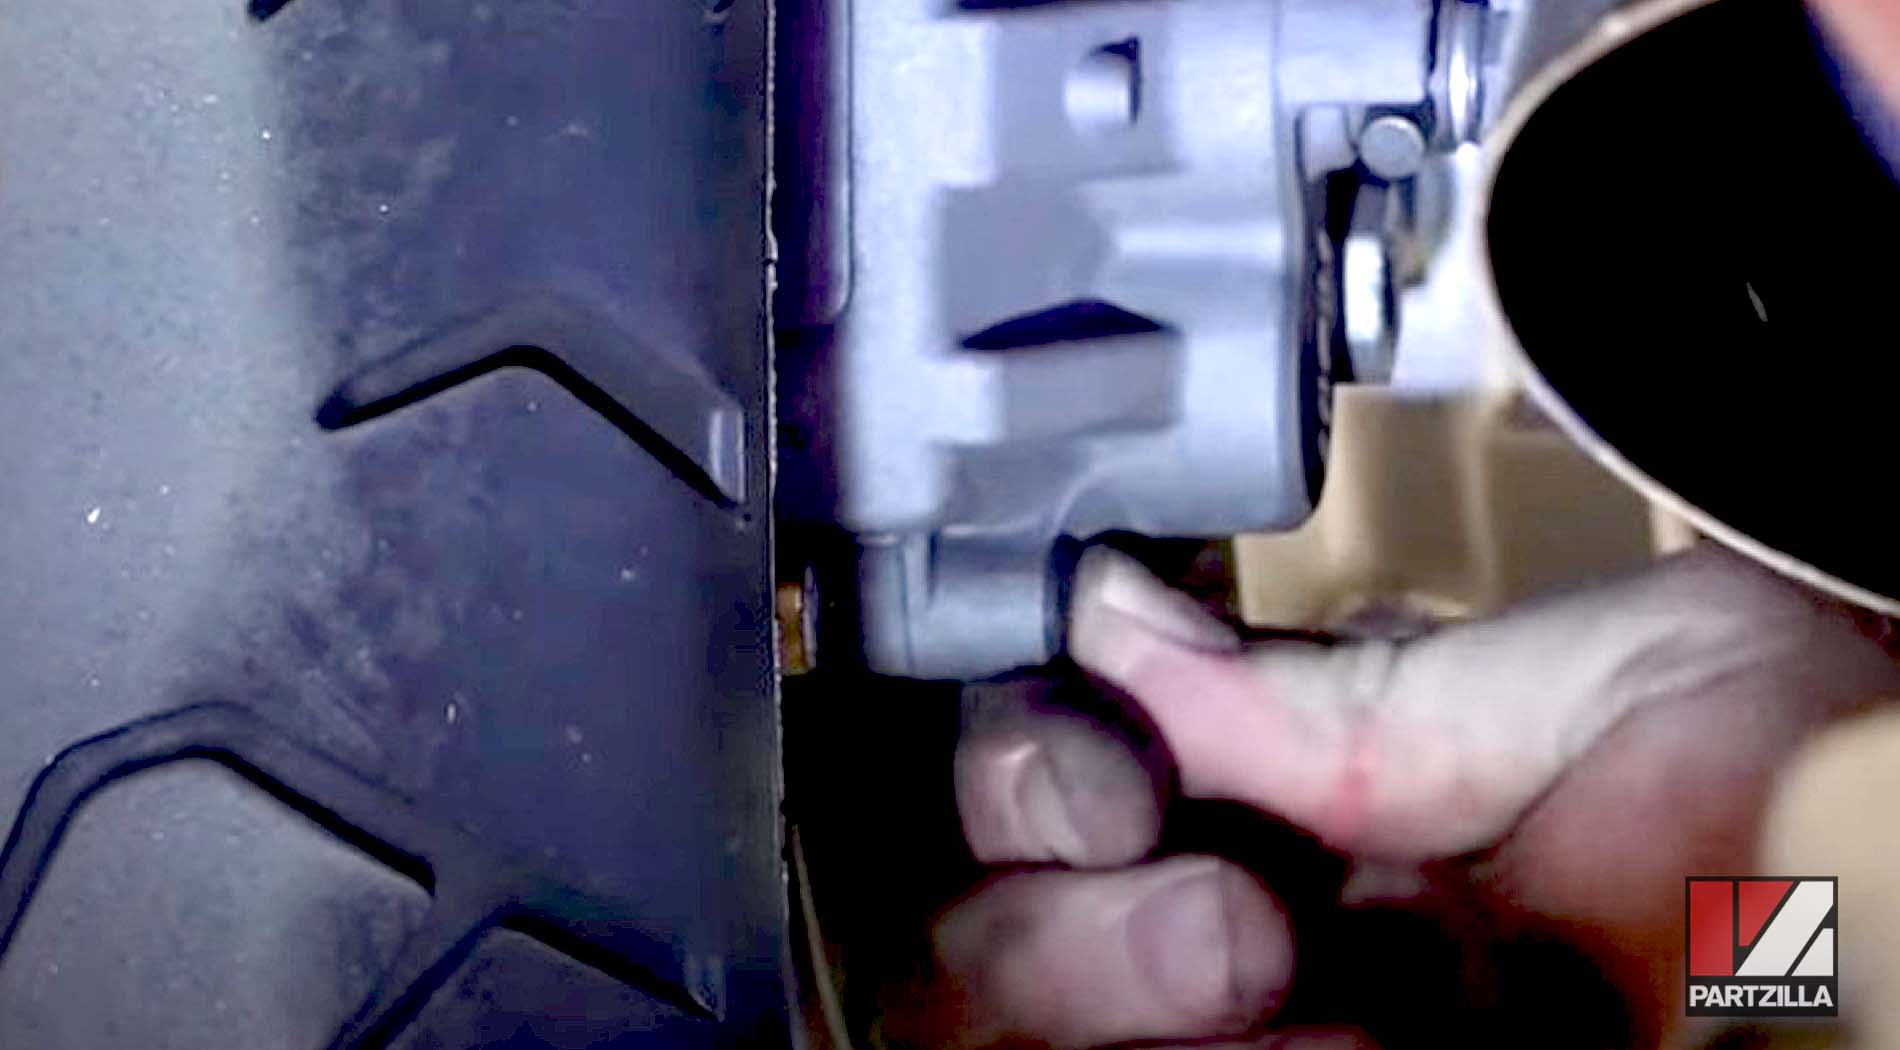
Step 4. Pull the pads out from the bottom of the caliper.
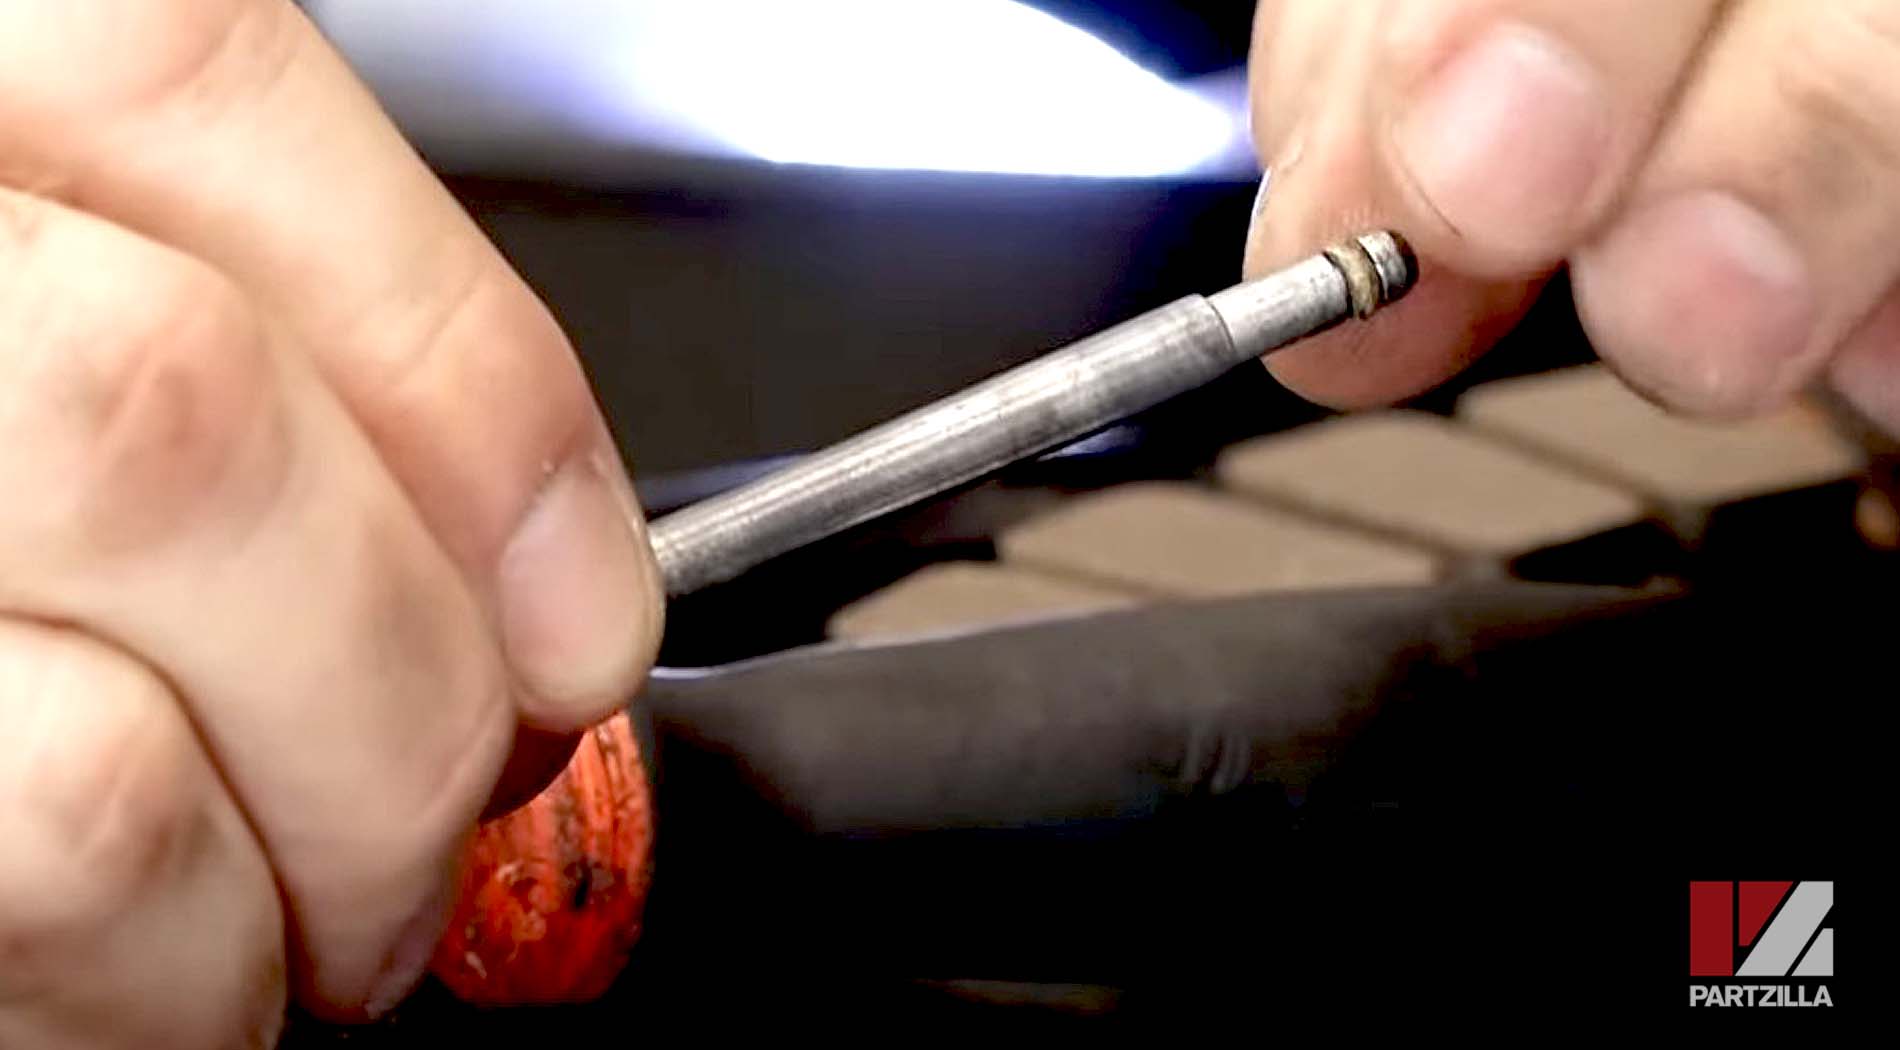
Step 5. Clean the hanger pin, and put some grease on the threads at the end of the pin.
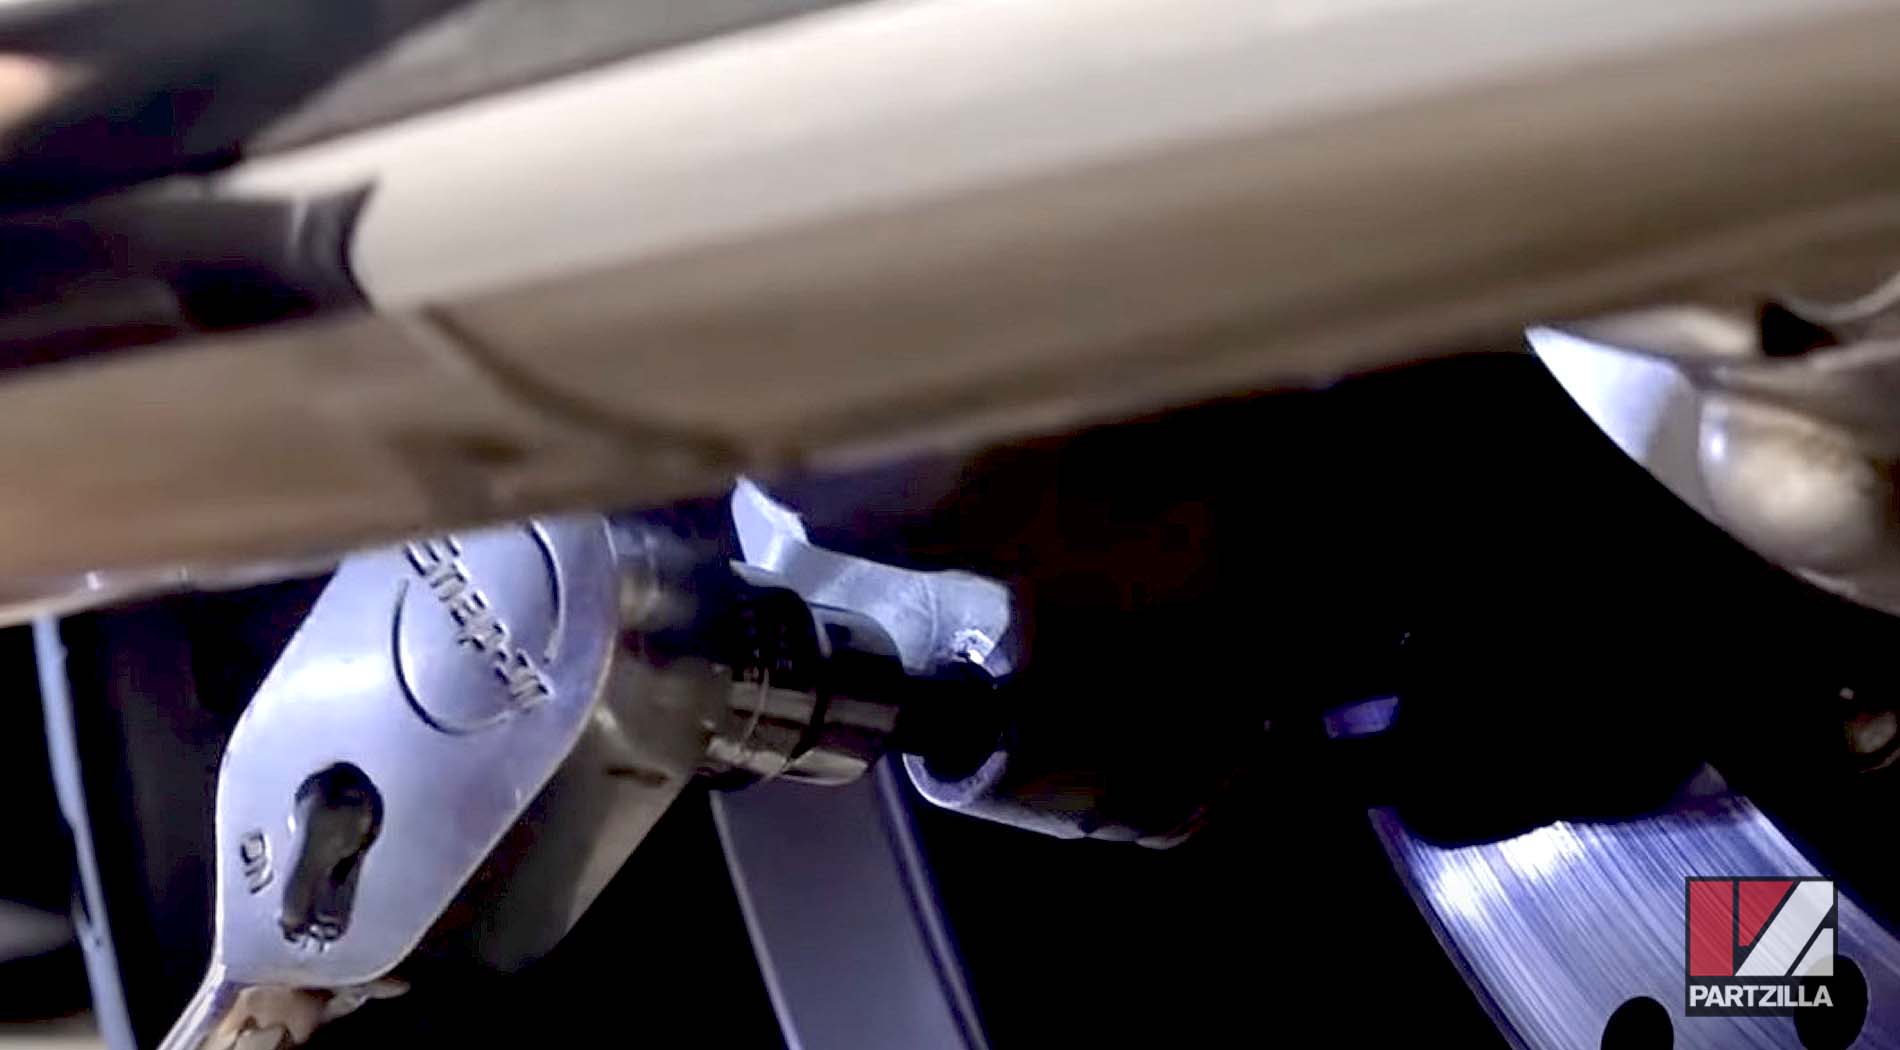
Step 6. Install the new rear brake pads one at a time.
PRO TIP: It's easier to start with the inside pad, so you can pull out on the caliper a little to make room to get the outside pad inserted. The loop at the bottom of the pads is where the hanger pin passes through once the pads are installed.
Step 7. Replace the hanger pin by hand-tightening the pin first, then using a torque wrench to tighten it to 13 foot-pounds.
NOTE: You may need to push up on the brake pads to get the loops on the pads to align, allowing you to push the pads all the way through.
Step 8. Replace the dust cap and you're done.
After changing the rear brake pads replaced on your Honda motorcycle, why not go ahead and do the front brake pads as well? Watch the video below to see how to change the front brake pads on a Honda Goldwing GL1800.