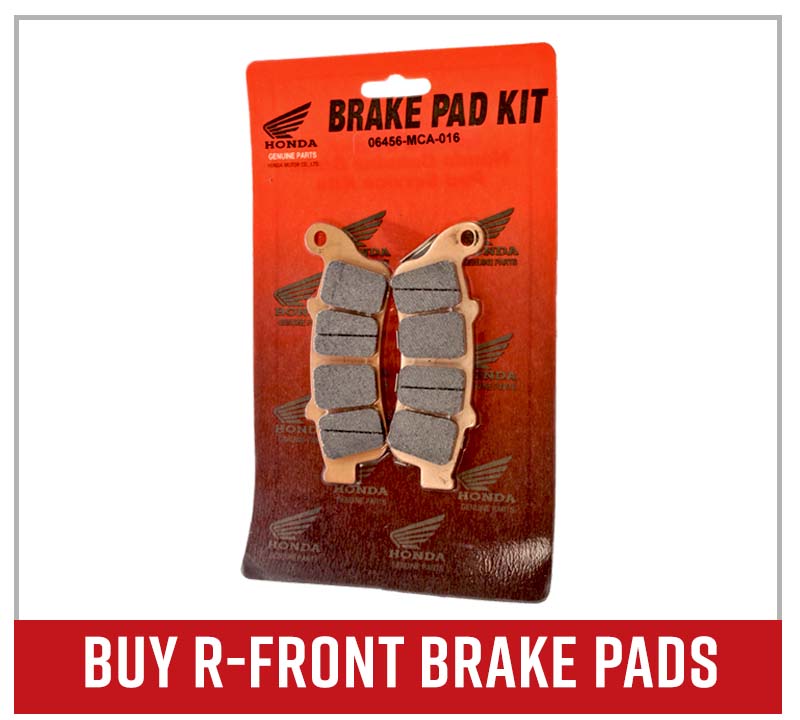
How to Change the Front Brake Pads on a Honda Goldwing
Getting your Honda motorcycle to stop is just as important as keeping it running. A Honda Goldwing is a heavy machine, so you need strong brakes to keep it under control.
Watch the video above and follow the steps below to change the front brake pads on a Honda Goldwing GL1800.
Tools and Parts – Honda Goldwing Front Brake Pads Change
- 3/8th ratchet
- 5mm Allen
- Flat-blade screwdriver
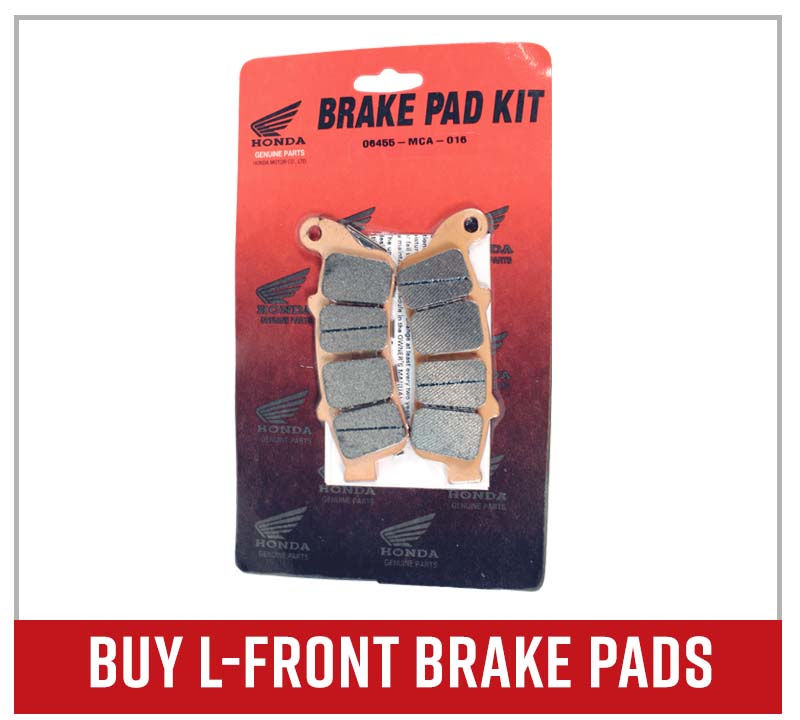
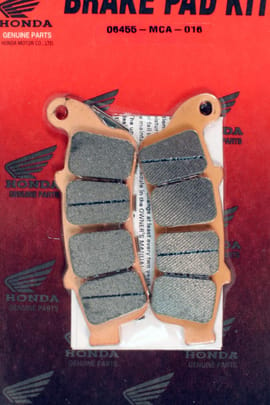
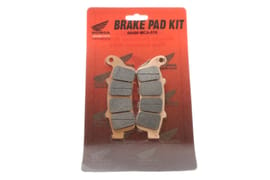
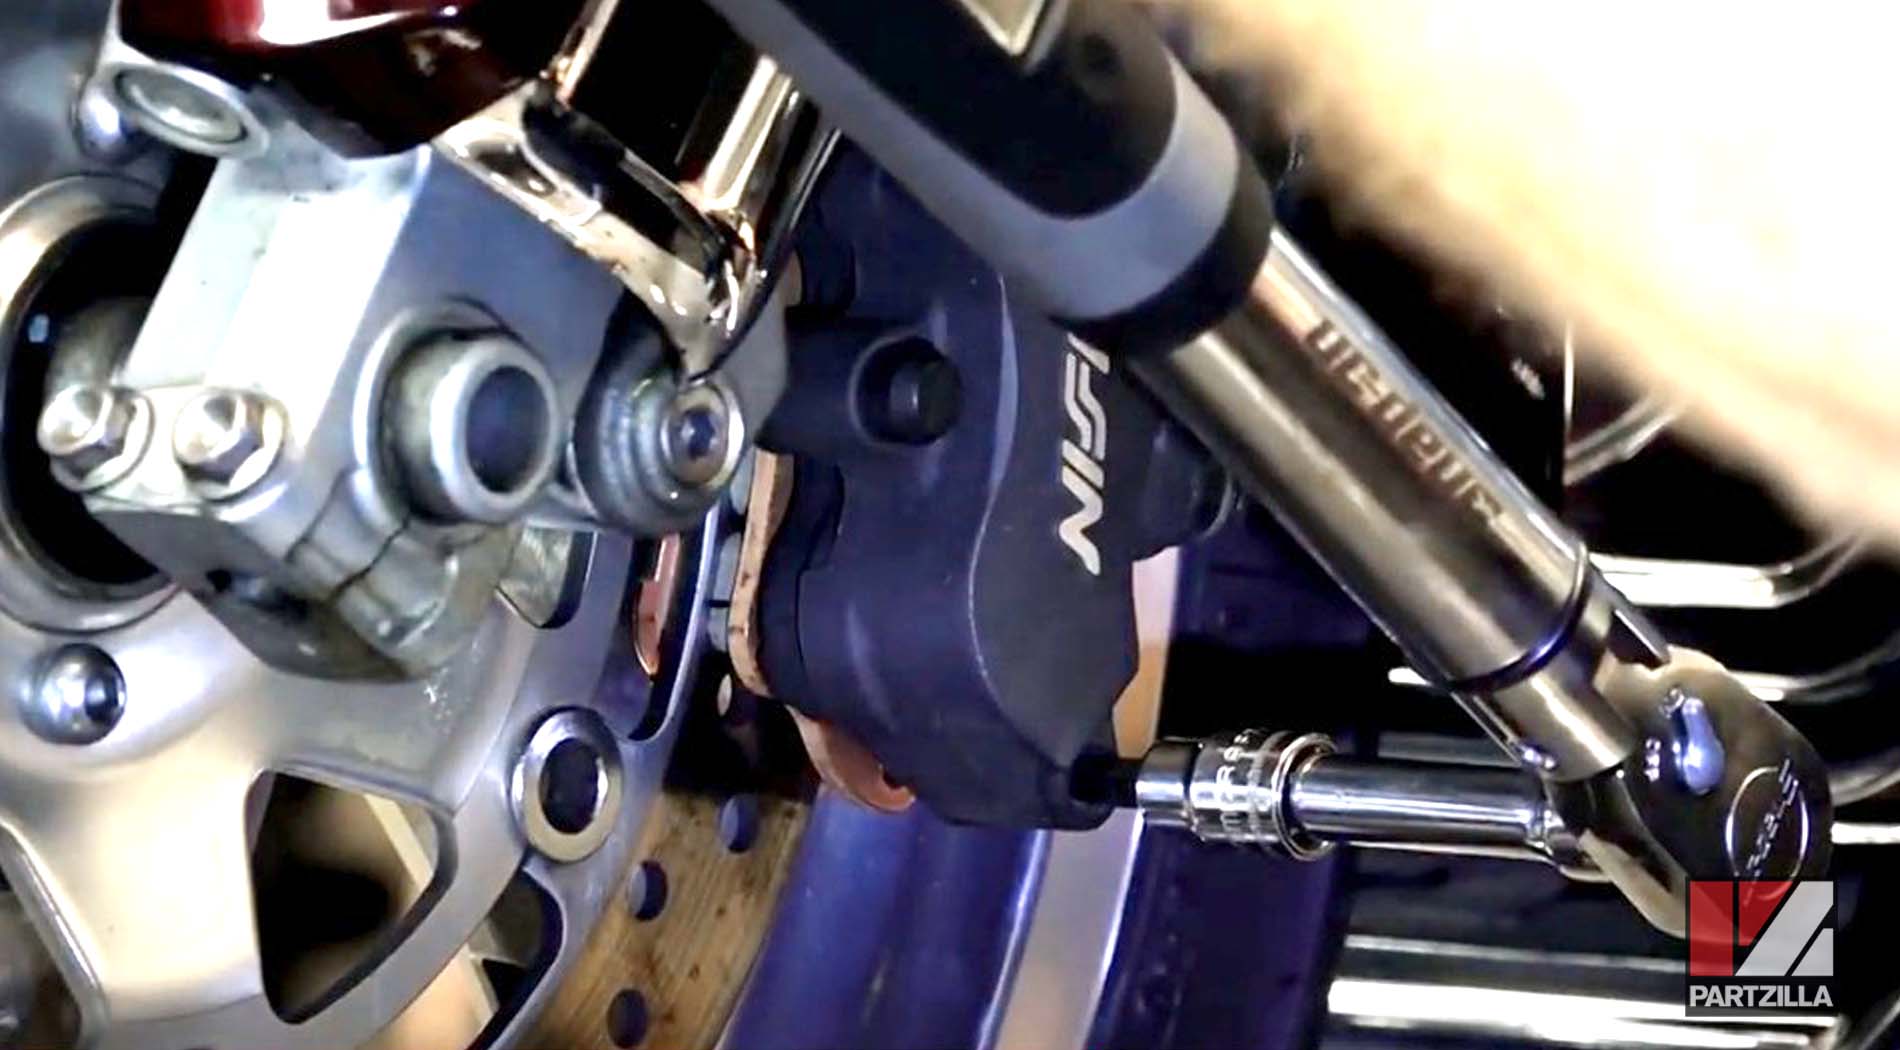
NOTE: The steps to replace the brake pads on a Honda Goldwing are the same for the right front and the left front. Keep in mind that there are different part numbers for the pads on each side. If you want a closer look at either caliper, check out our left front brake caliper diagram and our right front brake caliper diagram.
Replacing the Front Brake Pads on a Honda Goldwing
Step 1. Push the brake pads back away from the rotor to make room for the extra material on the new brake pads. Use a flat-blade screwdriver to pry the pads apart.
PRO TIP: When the pads are pushed back and bottom out, hold it there for a few seconds. Be careful not to gouge the rotor during this step.
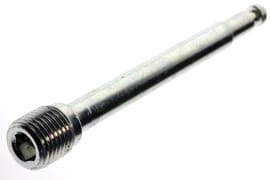
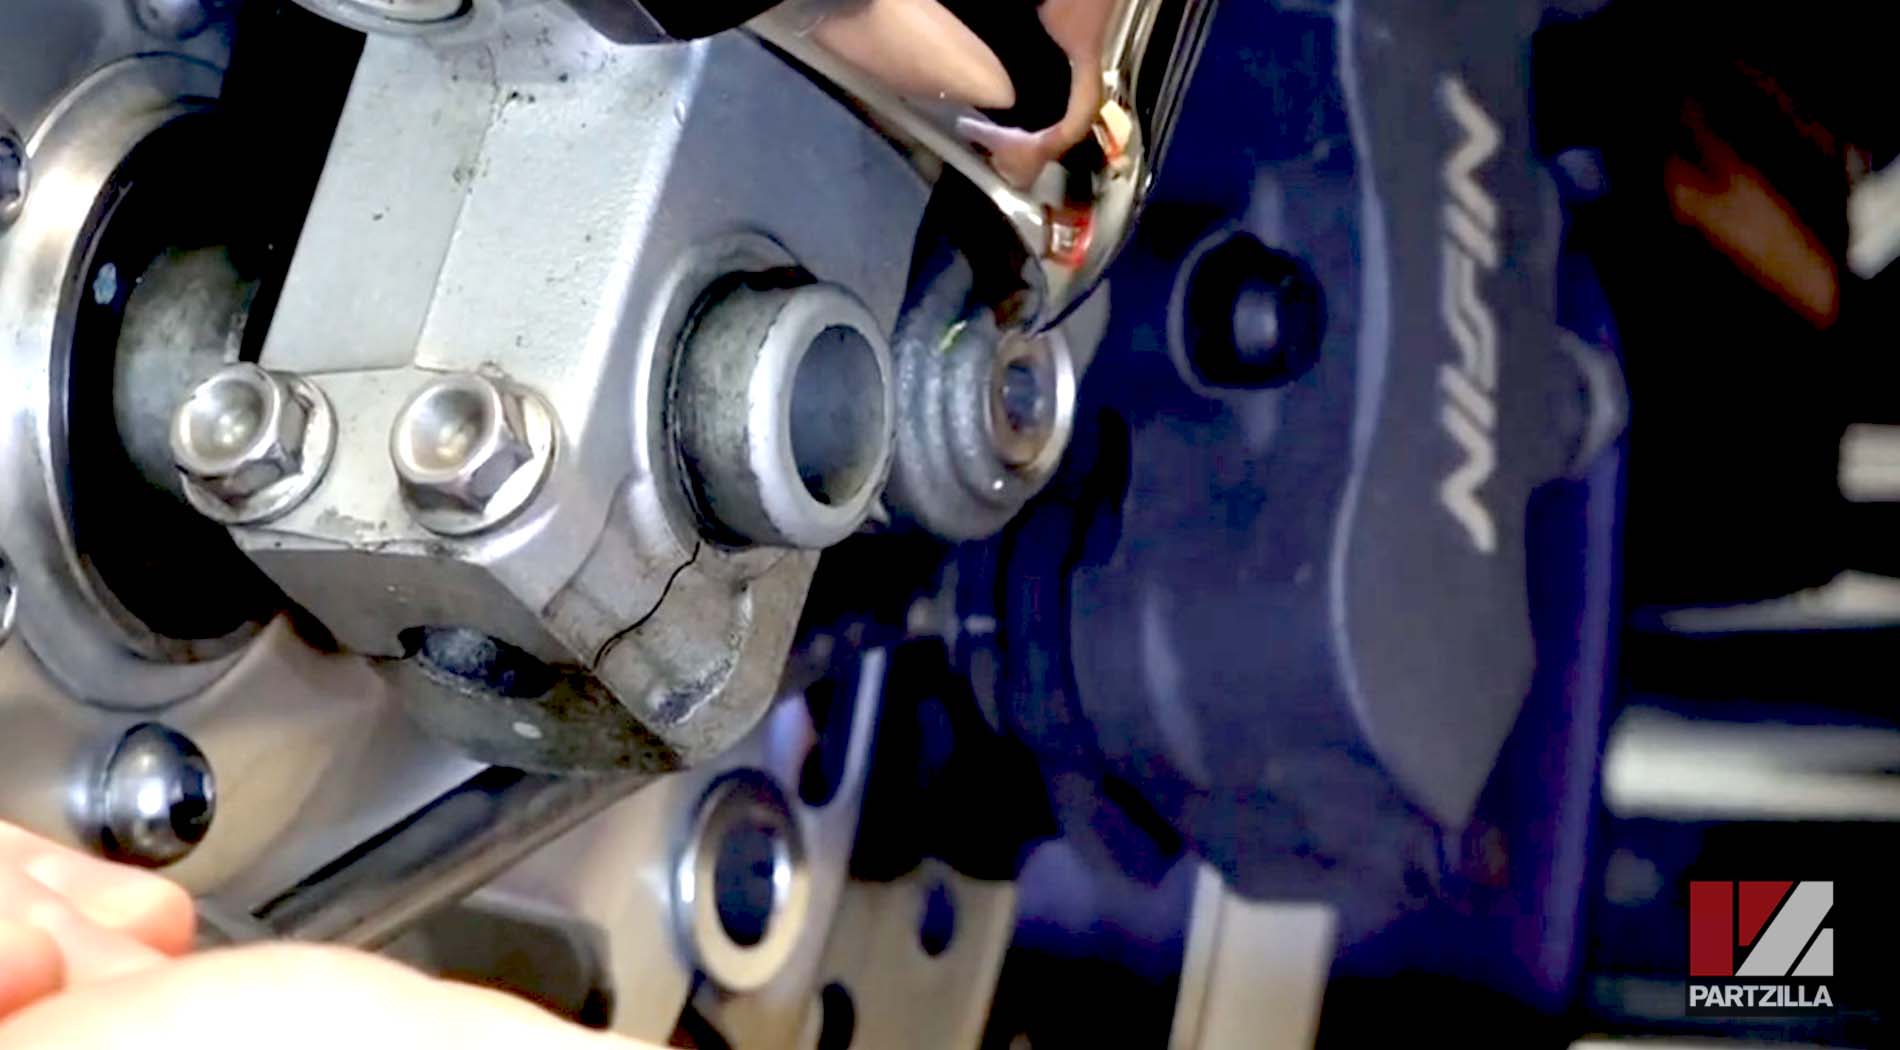
Step 2. Remove the dust cap near the bottom of the caliper to access the hanger pin.
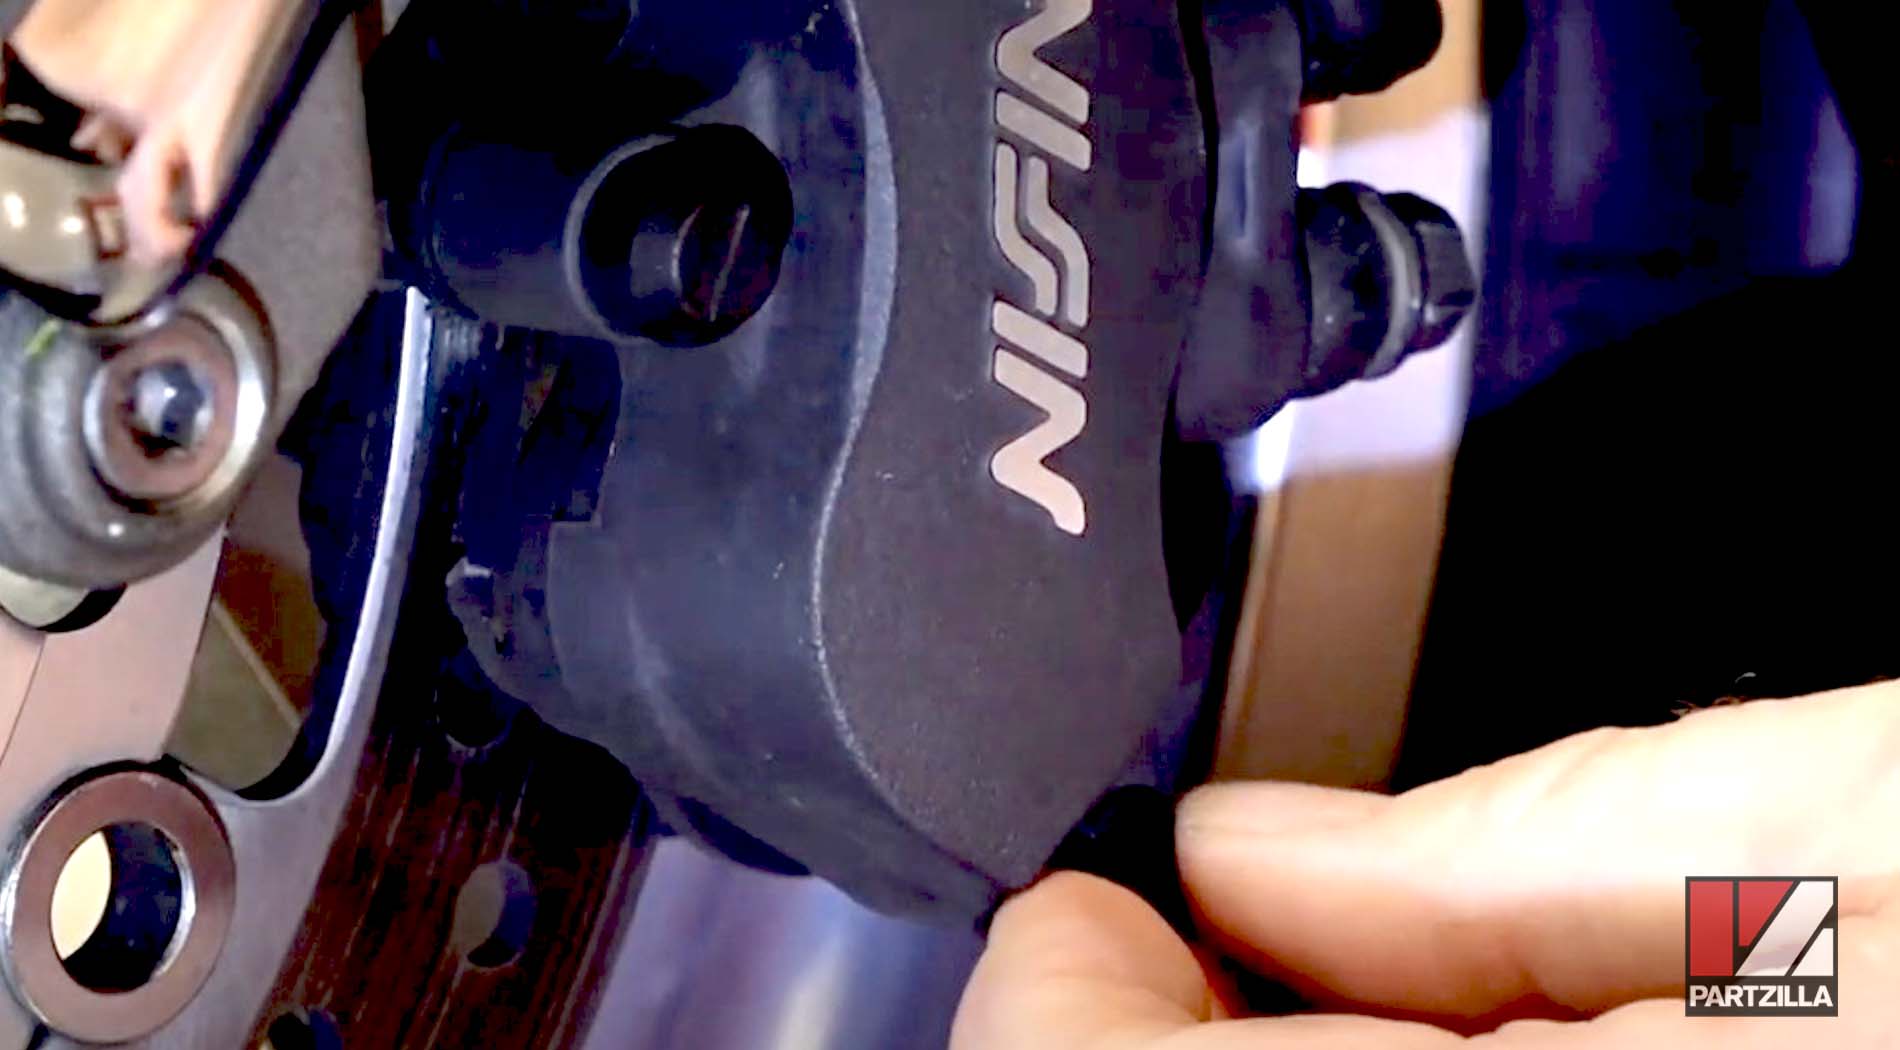
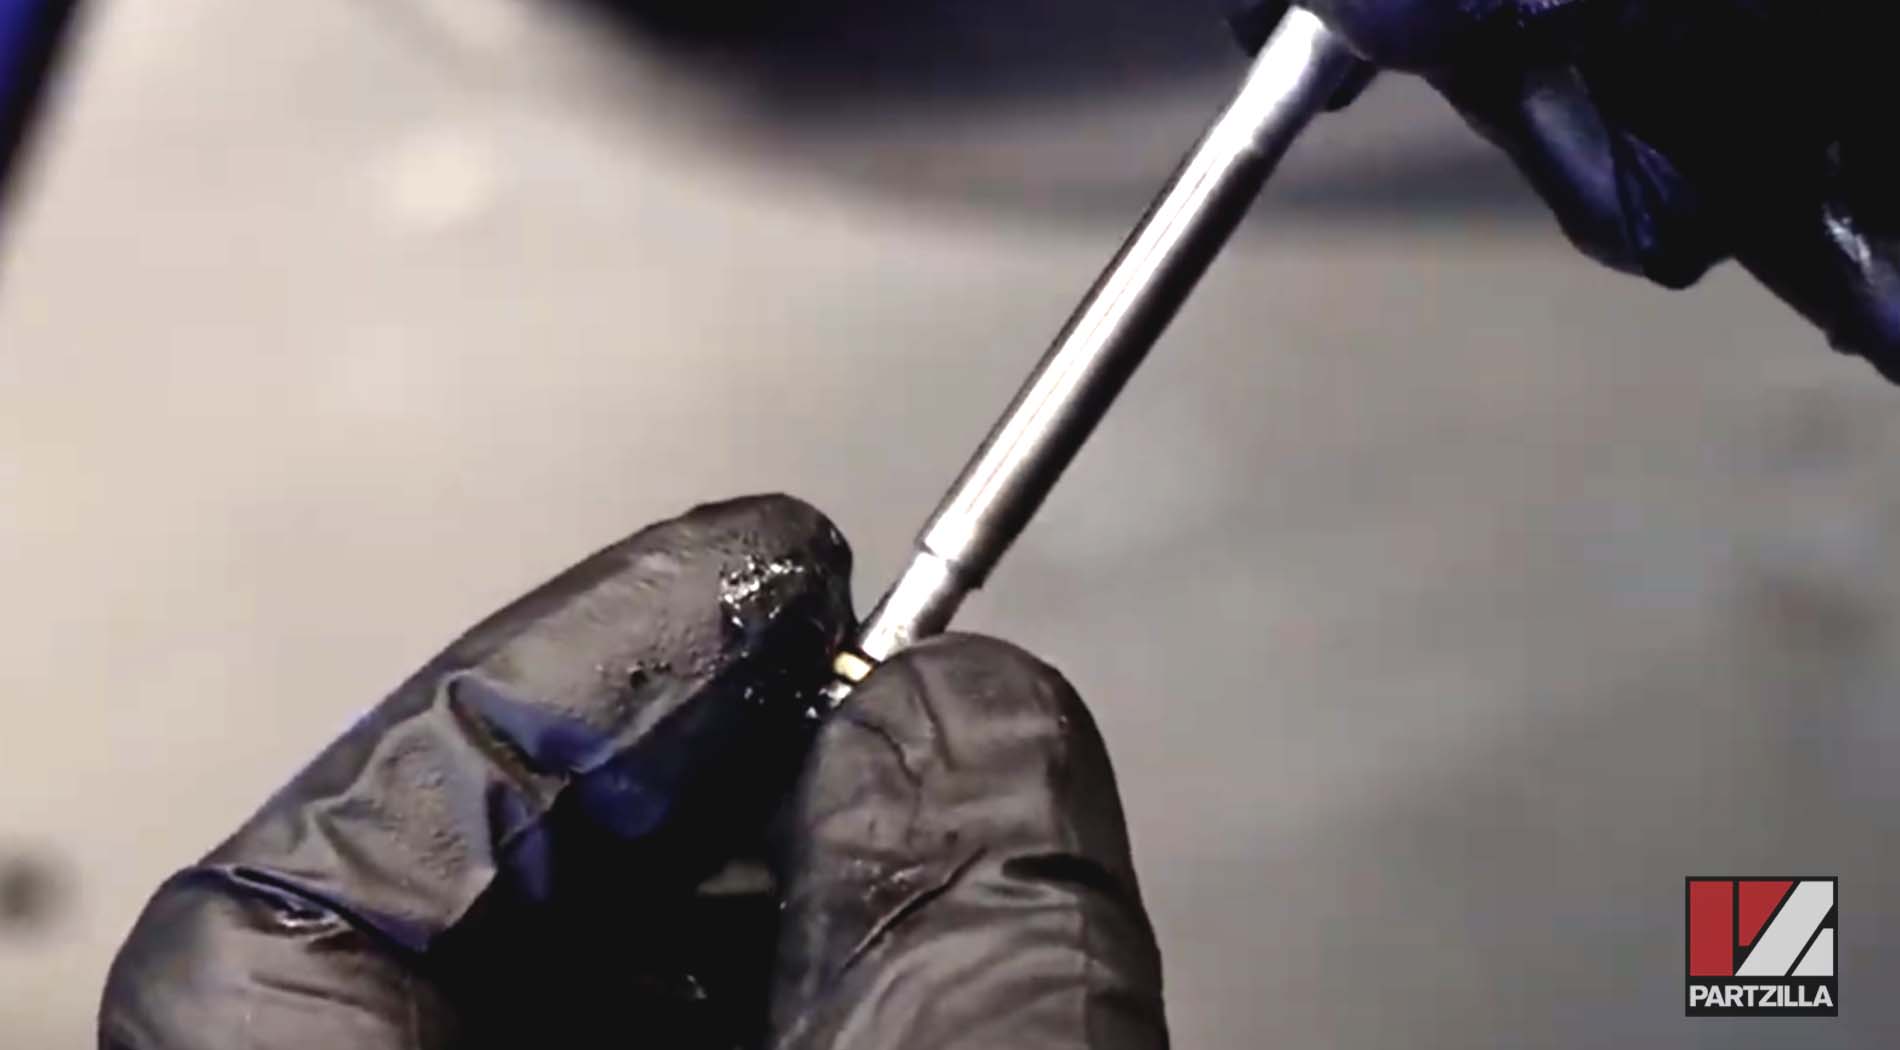
Step 3. Remove the hanger pin with a 5mm Allen.
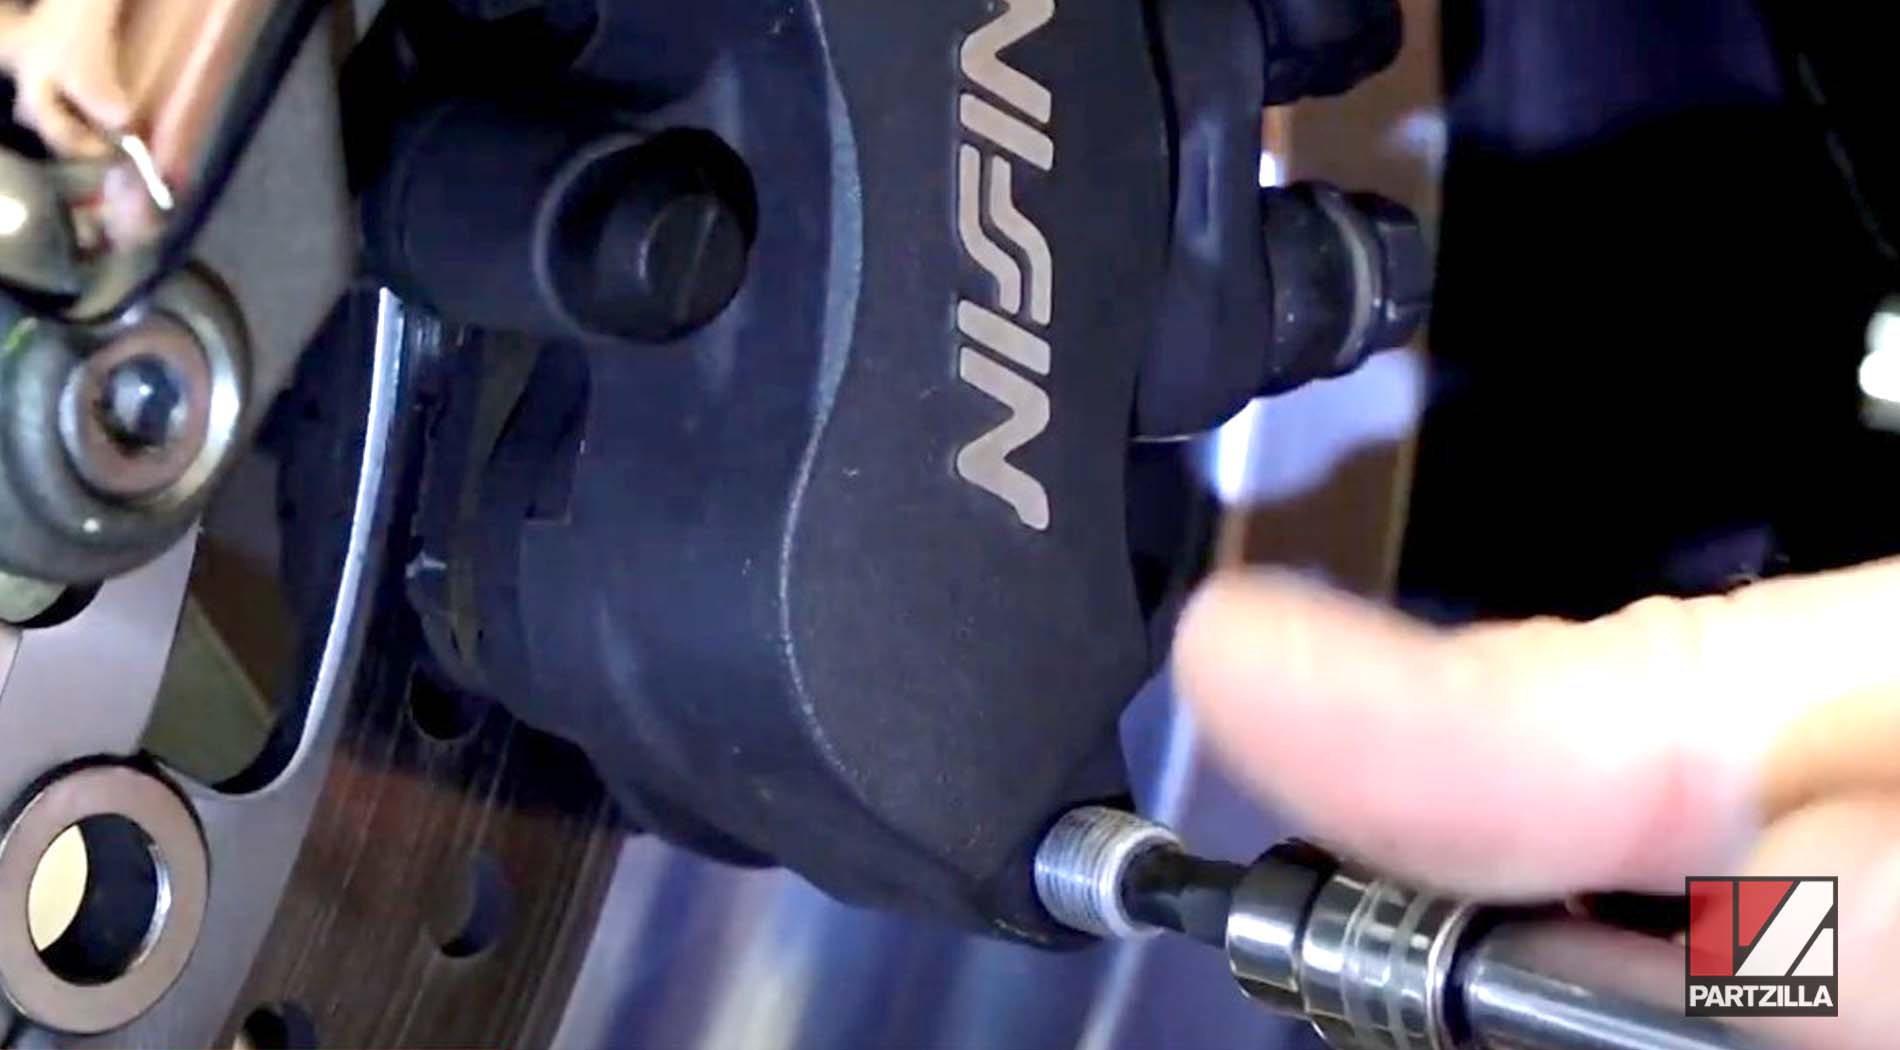
NOTE: You may need to push up on the brake pads from the bottom to alleviate the pressure and allow you to slide the hanger pin out of the caliper.
Step 4. Slide the brake pads out from the bottom of the caliper.

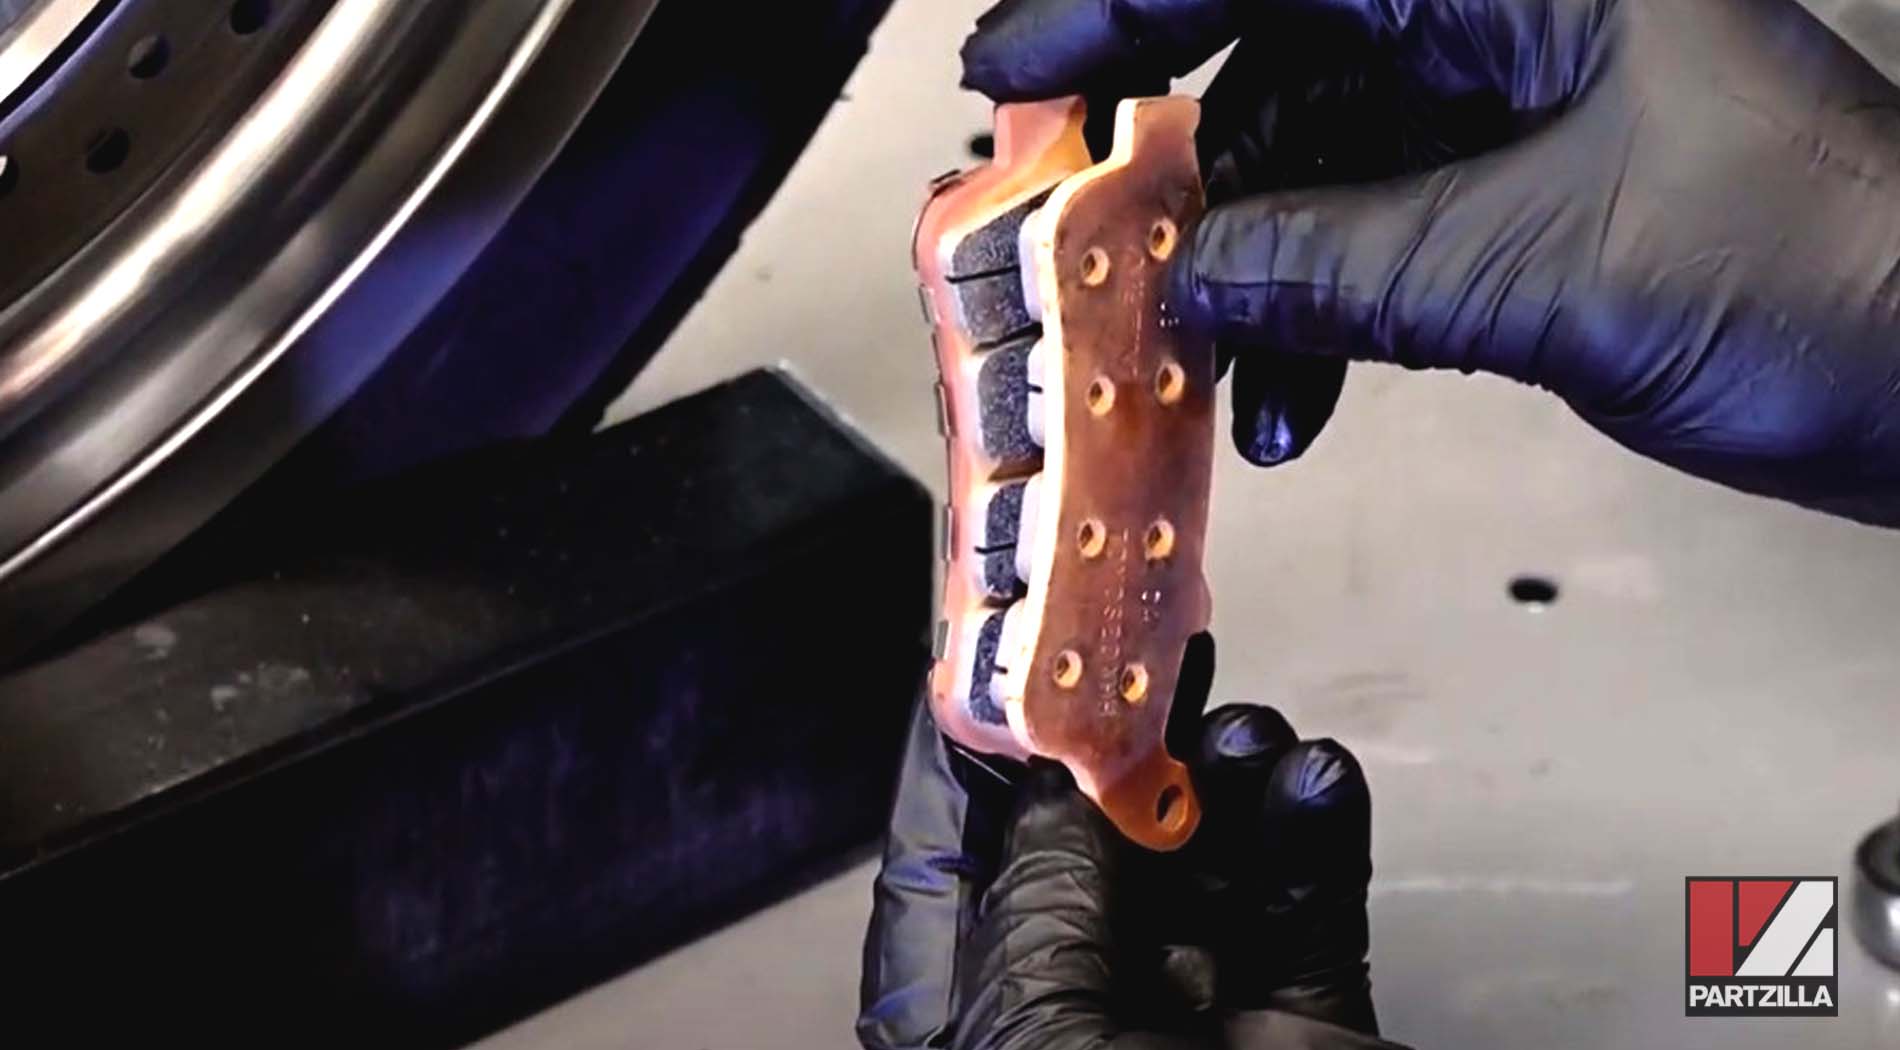
Step 5. Clean the hanger pin, then apply a little silicone grease to the O-ring on the end.
NOTE: Don’t grease the rest of the pin.
Step 6. Replace the brake pads. One of the pads has a shim, and that pad goes on the inside of the caliper, closest to the wheel. Slide the pads into place on either side of the brake rotor with the loop at the bottom.
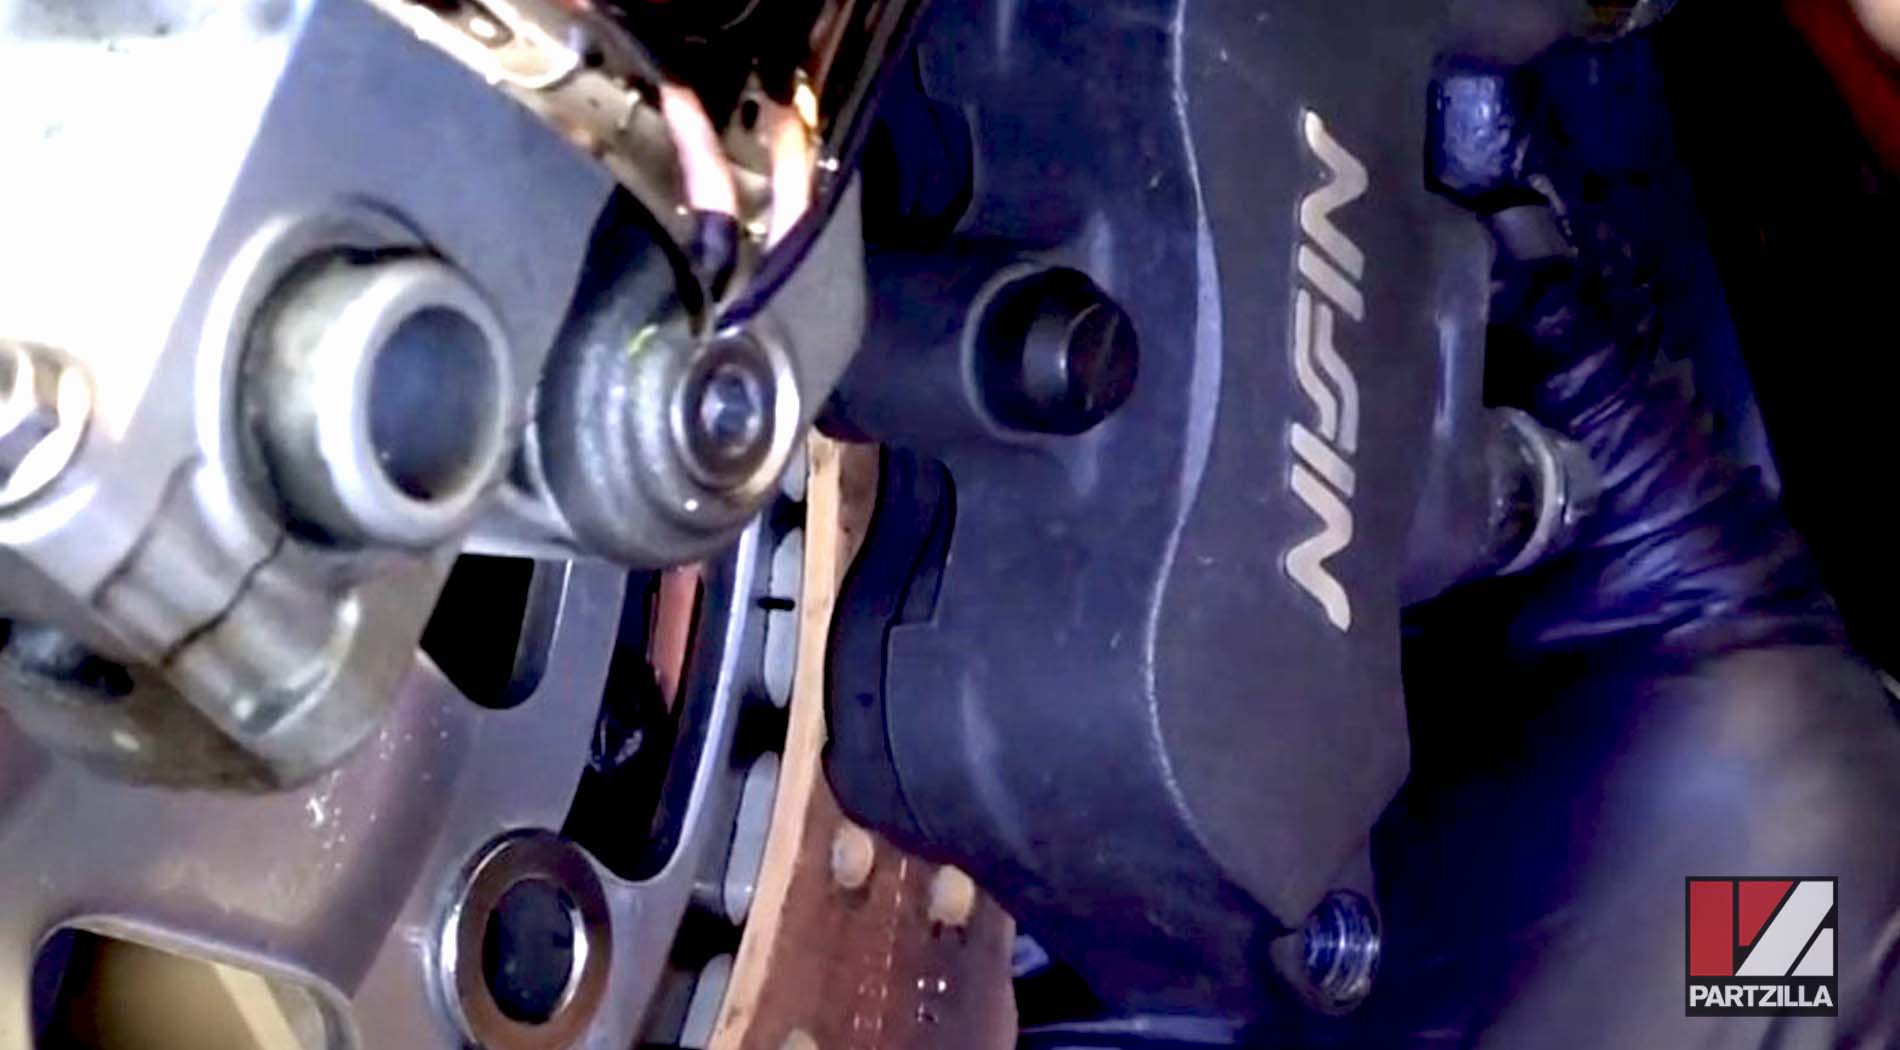
Step 7. Replace the hanger pin by running it through the loops at the bottom of the brake pads. The pads are spring loaded from the top, so push up on them while you insert the pin and get it threaded. Use a torque wrench to tighten the pin to 13 foot-pounds.
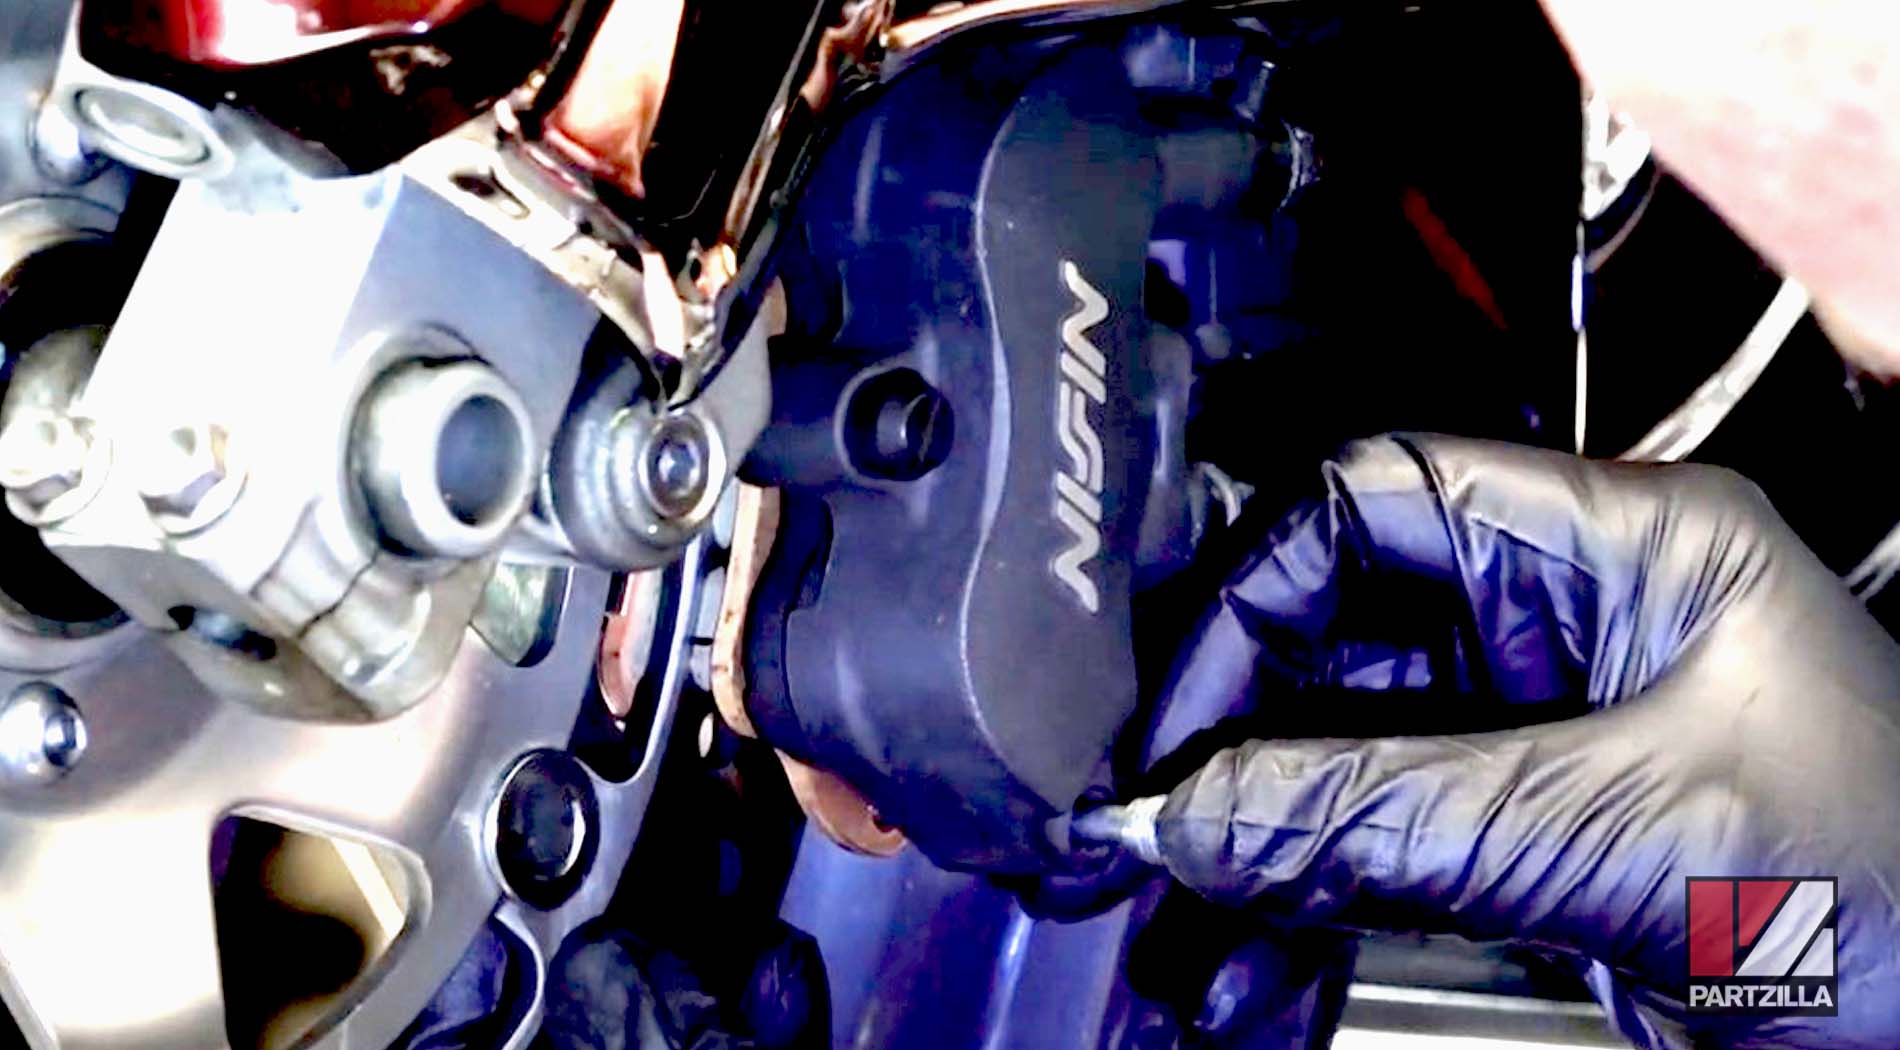
Step 8. Replace the dust cap and you’re done with one side. All that’s left now is to repeat the entire process on the other side and the front brake pads are taken care of.
Ready to change out the rear brake pads next? Watch the video above to see how to change the rear brake pads on a Honda Goldwing GL1800.