Troubleshooting Honda Motorcycle No-Start
Isn’t it great when you’re ready for a ride, then you turn the key and hit the switch and your Honda motorcycle won’t start? Didn’t think so. Sounds like it’s time for a little motorcycle “no-start” troubleshooting.
We had a starting problem with a Honda CBR 600RR, so of course we made a video out of it. Watch the video above or read on below to diagnose starting problems on a Honda motorcycle.
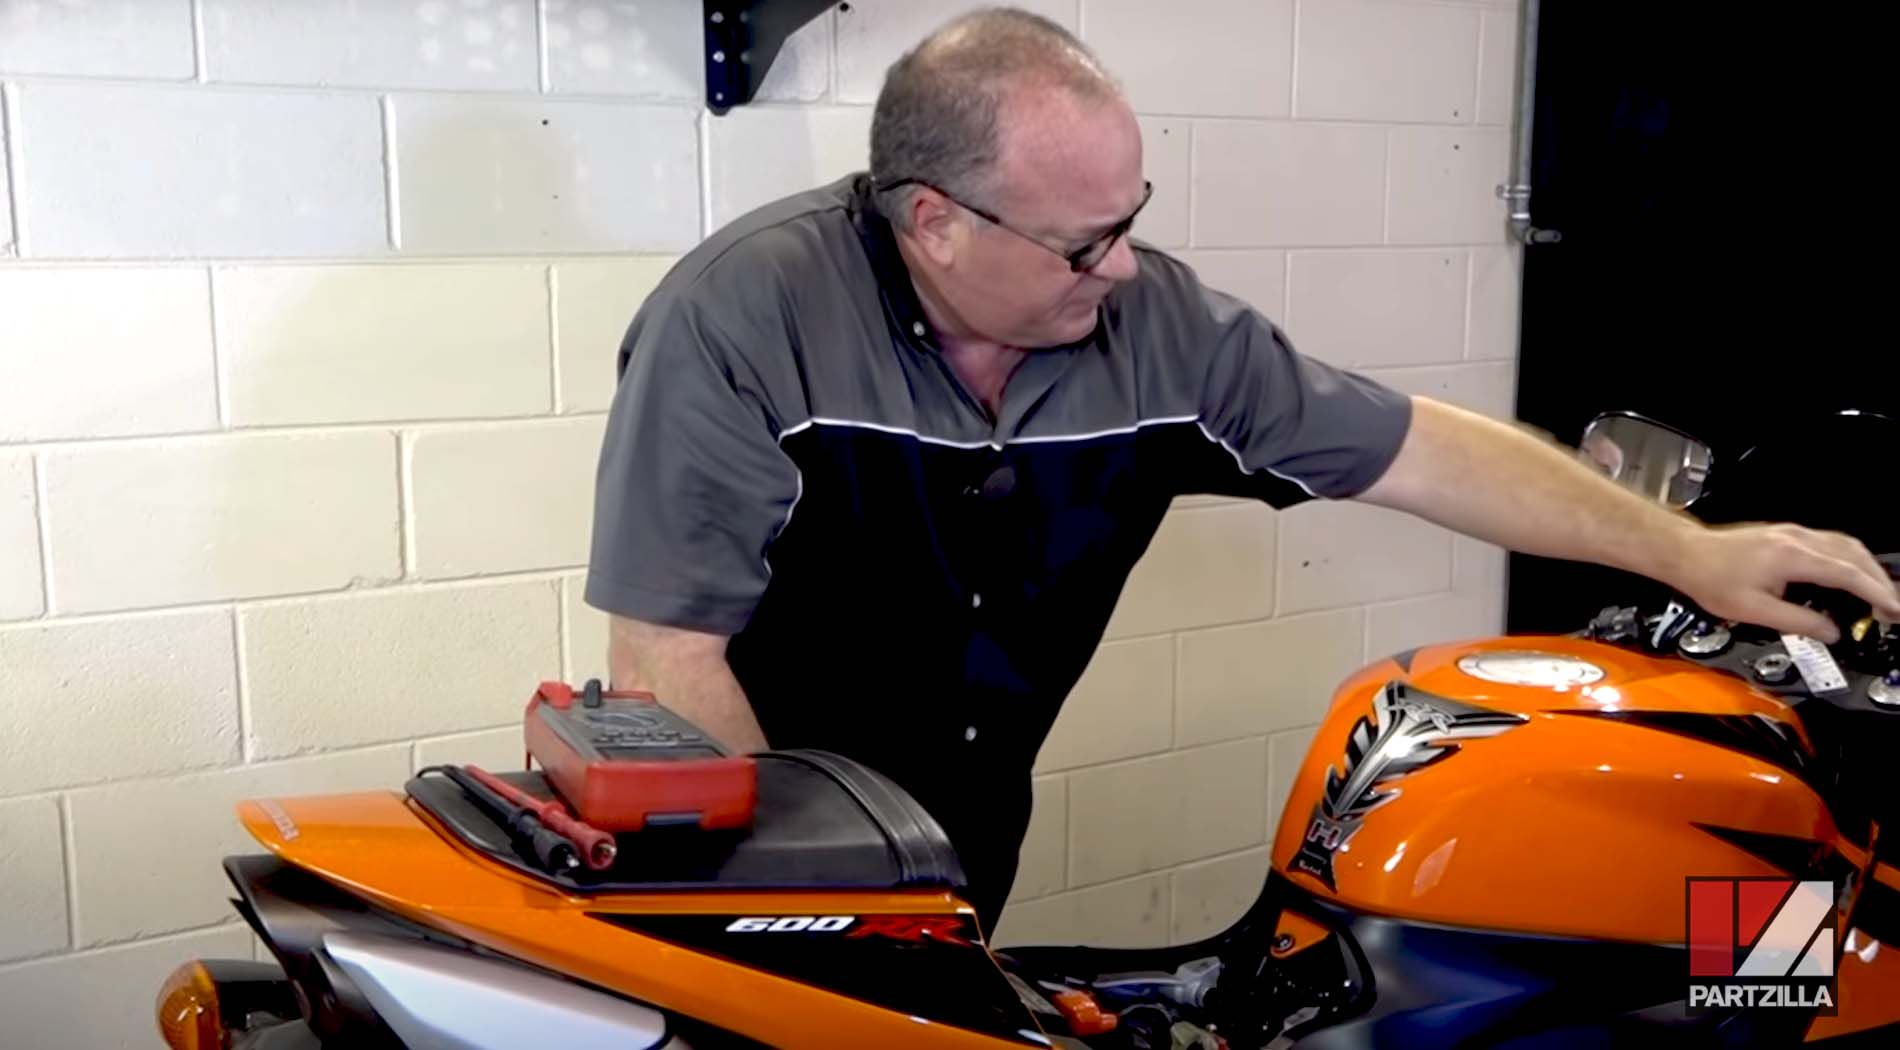
Tools - Honda Motorcycle No-Start Troubleshooting
- 5mm Allen wrench
- Multimeter
- Wrench
NOTE: We tested the starting system on a Honda CBR 600, but you can apply these troubleshooting methods to similar motorcycles. The tools and meter readings may vary, but the process is the same.
Check the Honda Motorcycle's Battery
Always start with the obvious. A motorcycle starting problem could be something as simple as a weak or dead battery, so start by testing that first. Loosen and remove the 5mm Allen bolts holding the seat in place and lift it off.
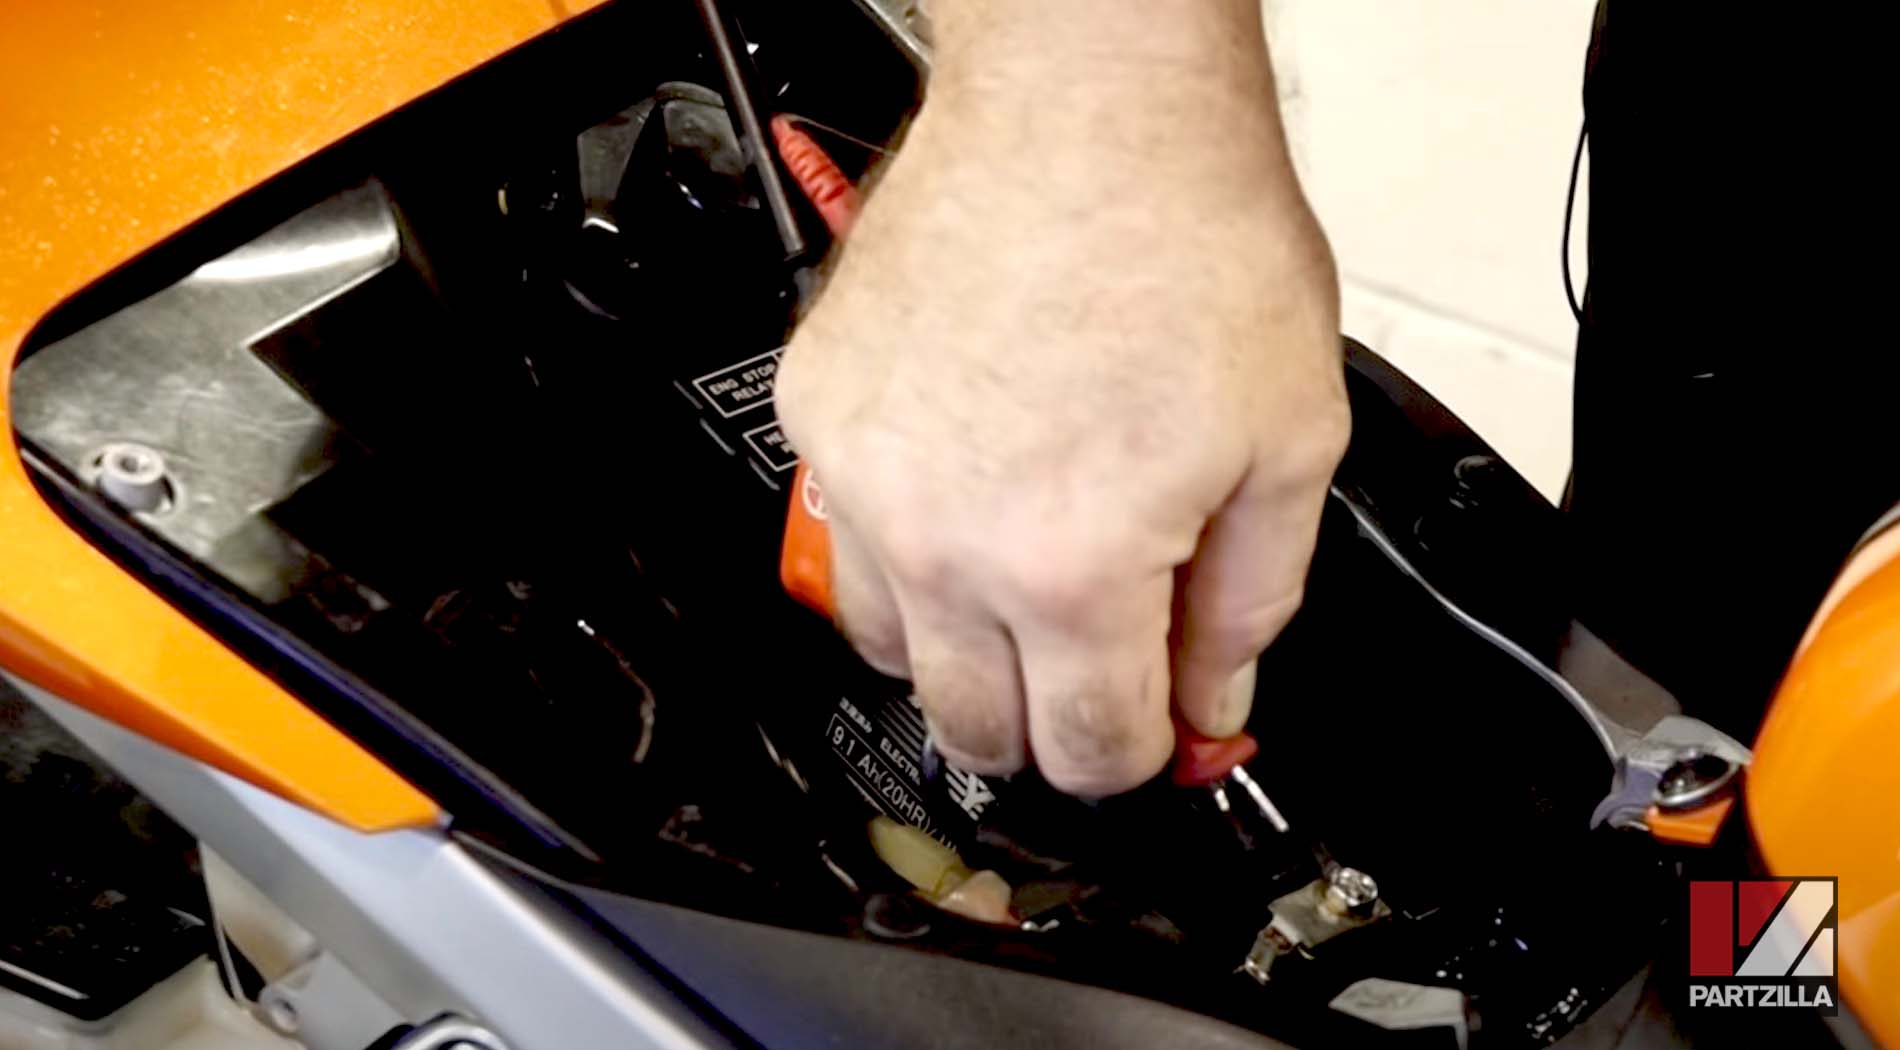
Attach a multimeter to the battery, then follow the instructions on your multimeter to check the voltage. If the battery reads 12 volts or less, it’s almost used up and not far from dying.
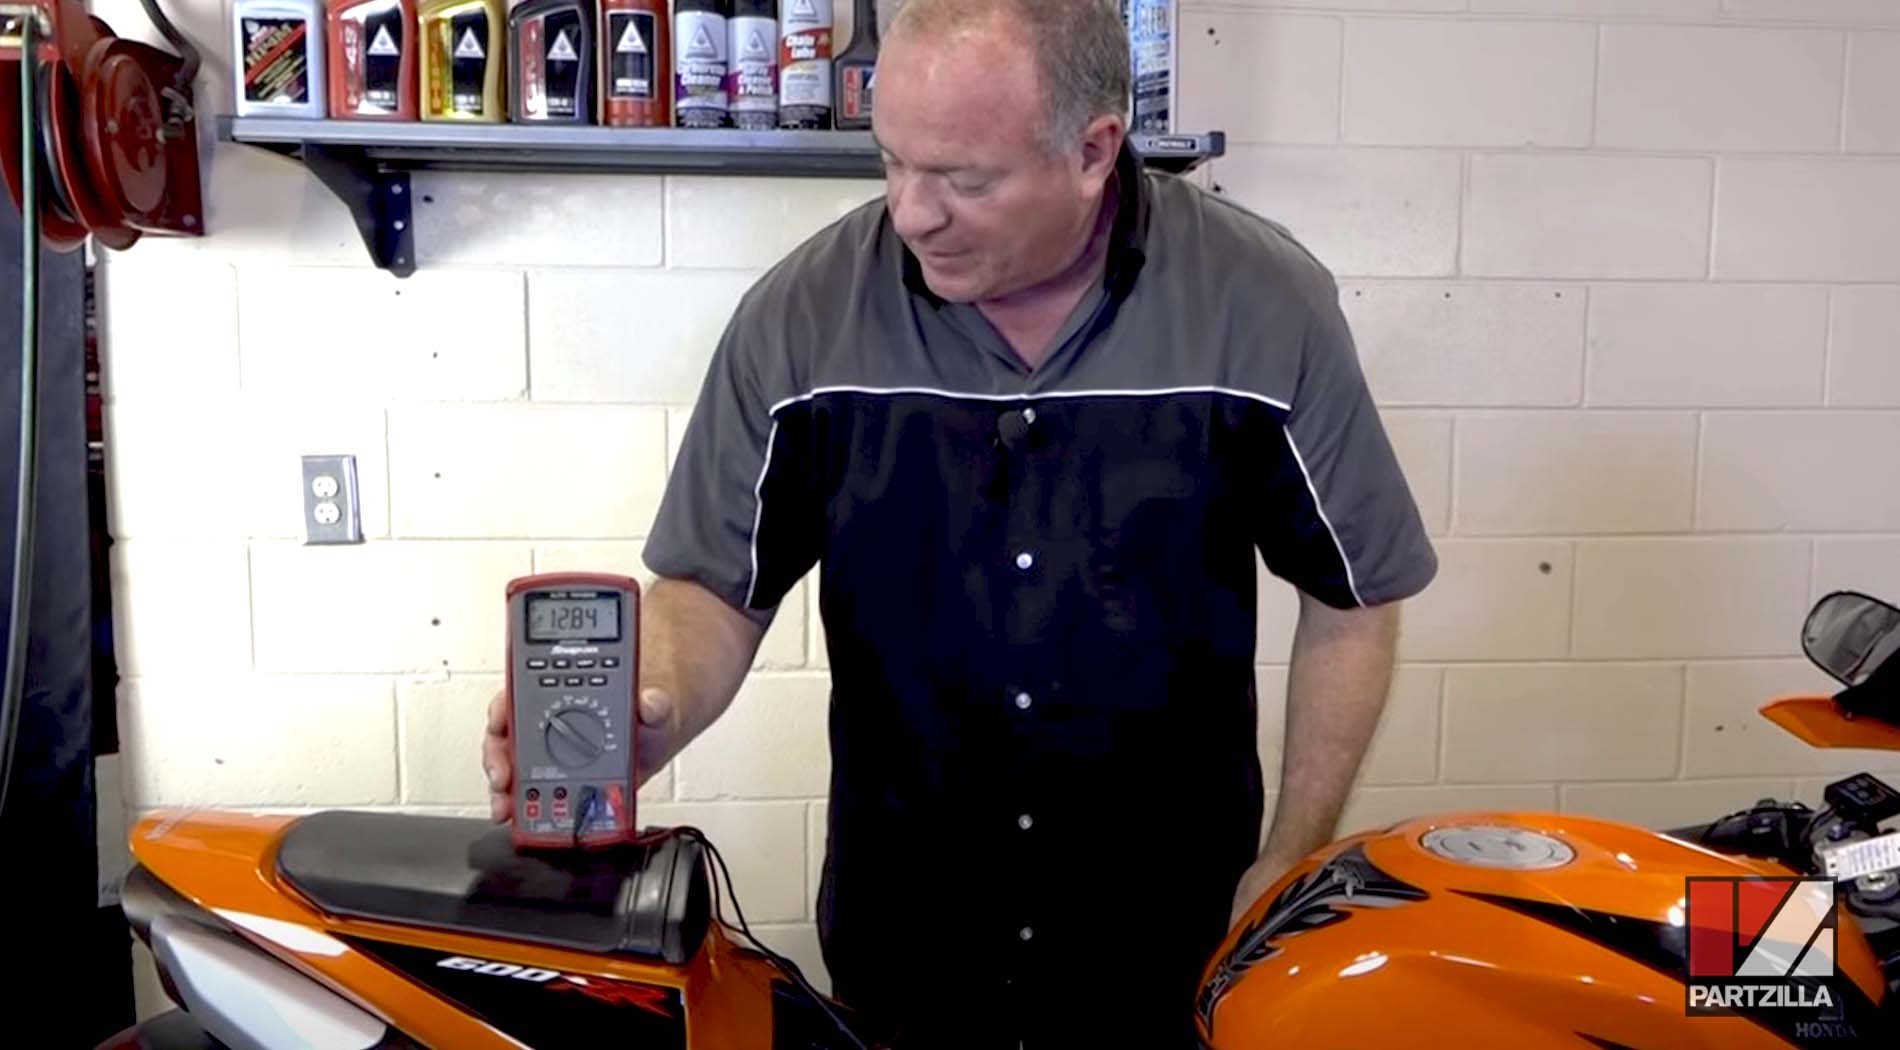
NOTE: After resting for a while with nothing pulling power from it, a fully charged 12-volt motorcycle battery should read approximately 12.6 volts.
Check the Honda Motorcycle's Fuse
If the battery checks out after testing it for voltage, the next simple and logical step is to check out the fuse(s). Locate the junction between the starter cable and the starter relay. Above it, you’ll see a rubber cover. Disconnect them to reveal a fuse.
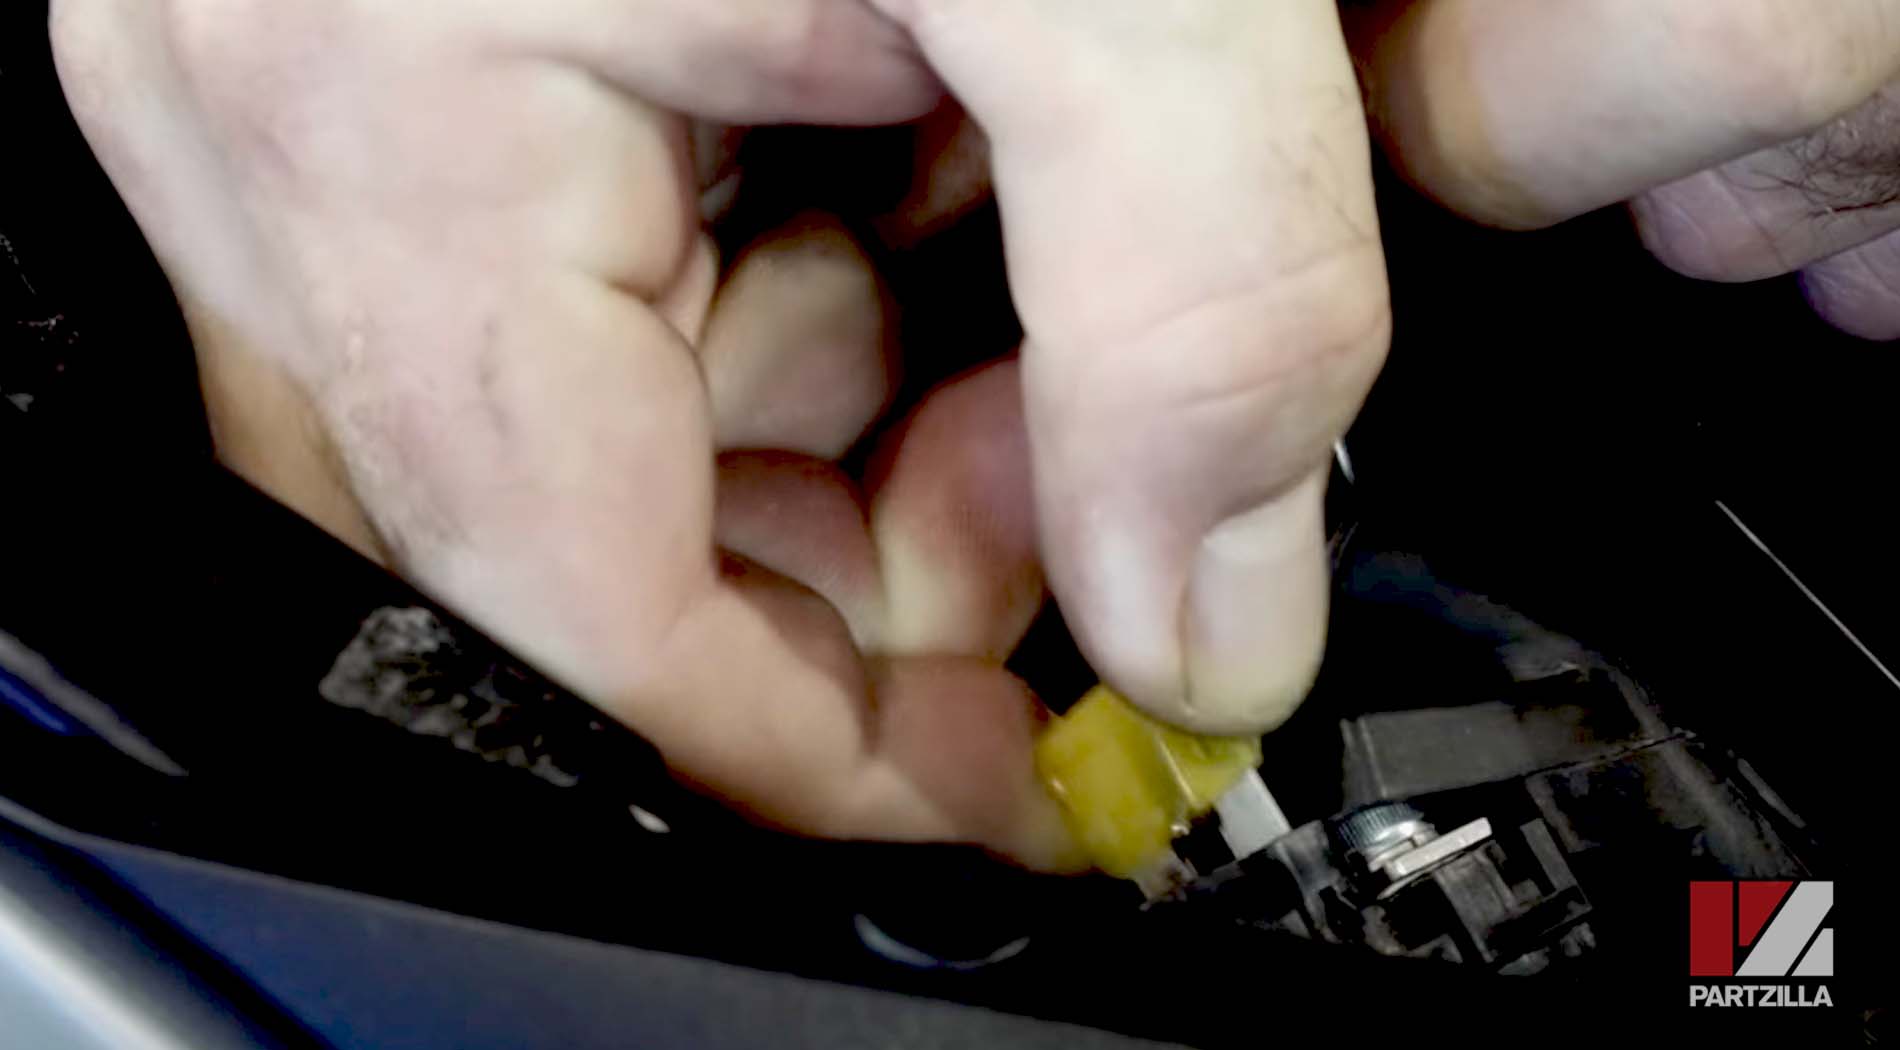
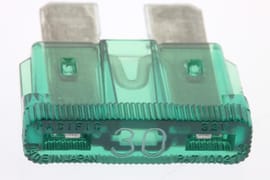
Remove the fuse and inspect it to see if it’s blown. A break in the wire inside or a blackening of the plastic on the fuse that makes it look burnt or singed means it’s time to replace it with the correct amp fuse.
NOTE: On a 2008 Honda CBR 600, it’s a 30A fuse.
Check the Honda Motorcycle's Starter Switch
If the battery and the fuse are both fine, you’re going to have to dig a little deeper and find out if the starter switch is the problem.
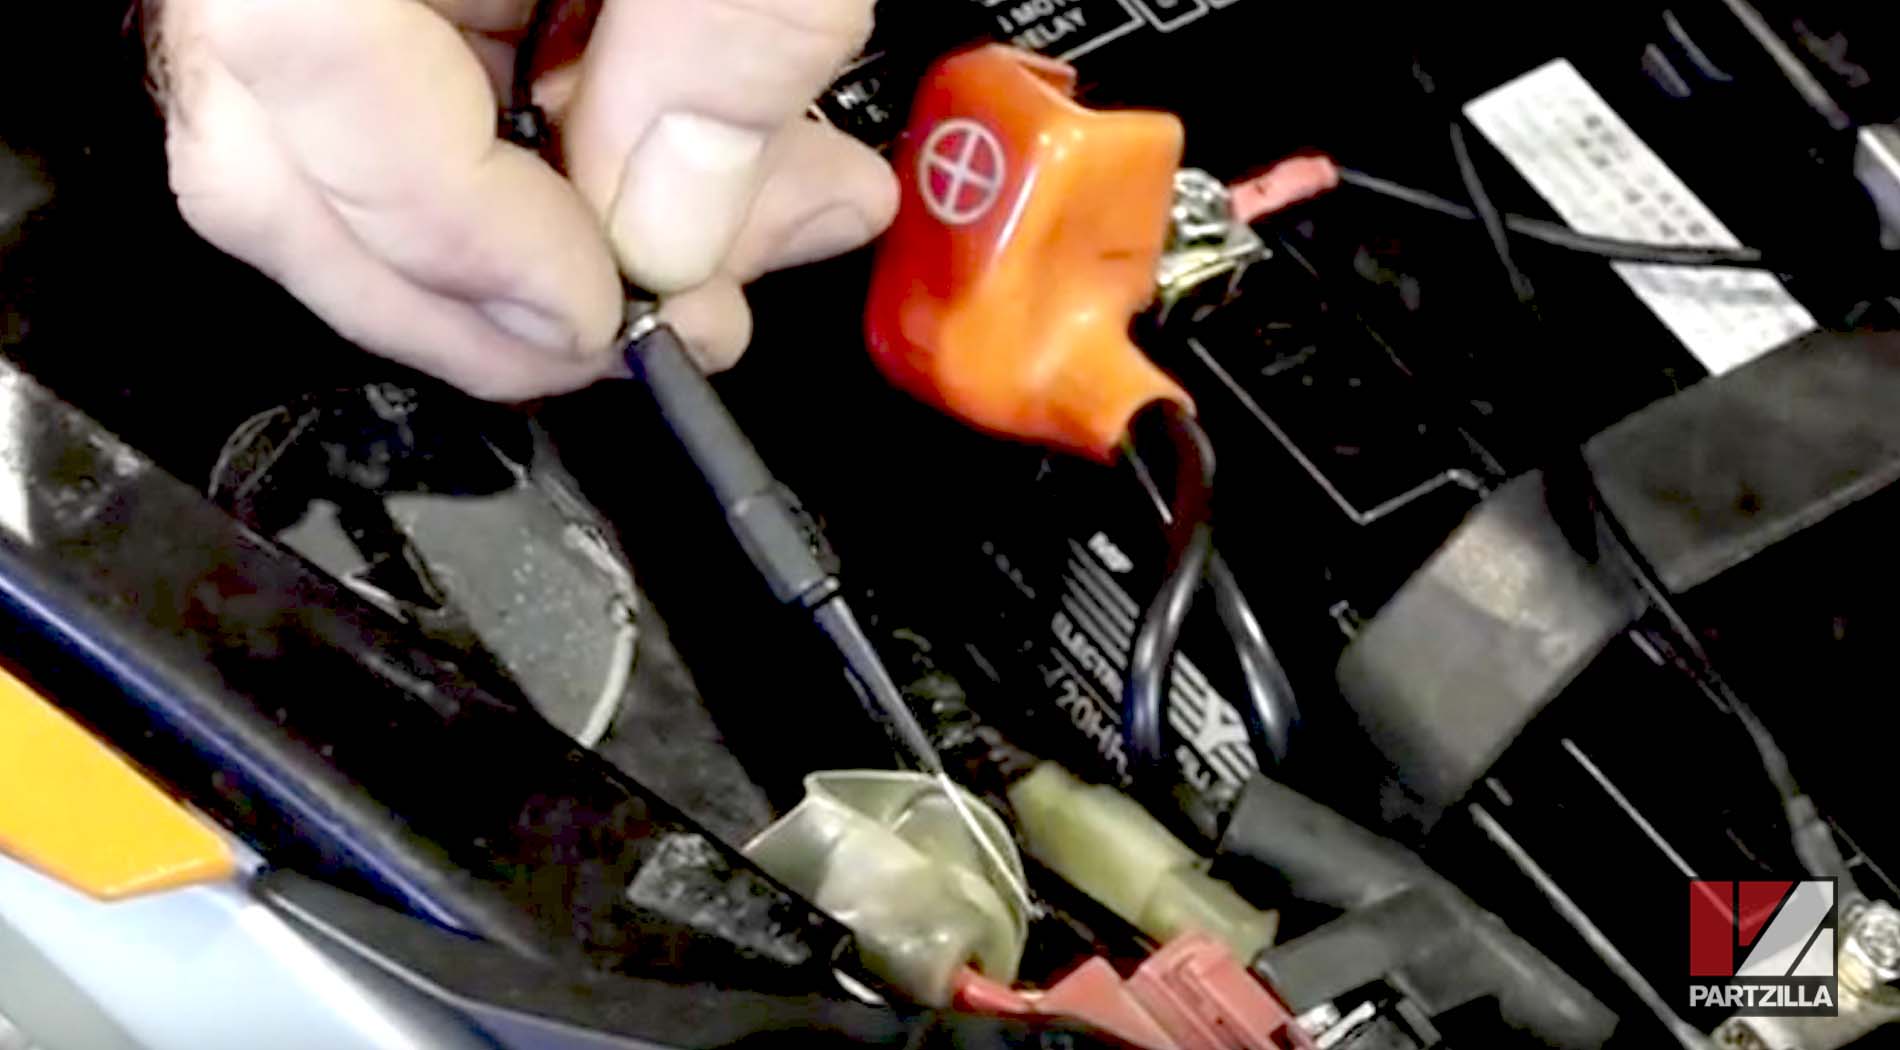
Use a wire with a probe on either end to bypass the switch and start the motor. With one end connected to the positive terminal of the battery, make contact with the connector on the yellow wire with the red stripe that leads into the maroon main plug. If the engine doesn’t start, you found the problem.
Check the Starter Relay
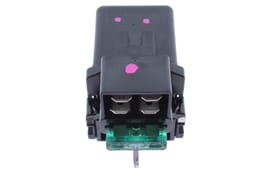
If that last troubleshooting step does start the engine, the issue may lie with the starter relay. Disconnect the starter cable from the relay so that you can actually hear the contacts.
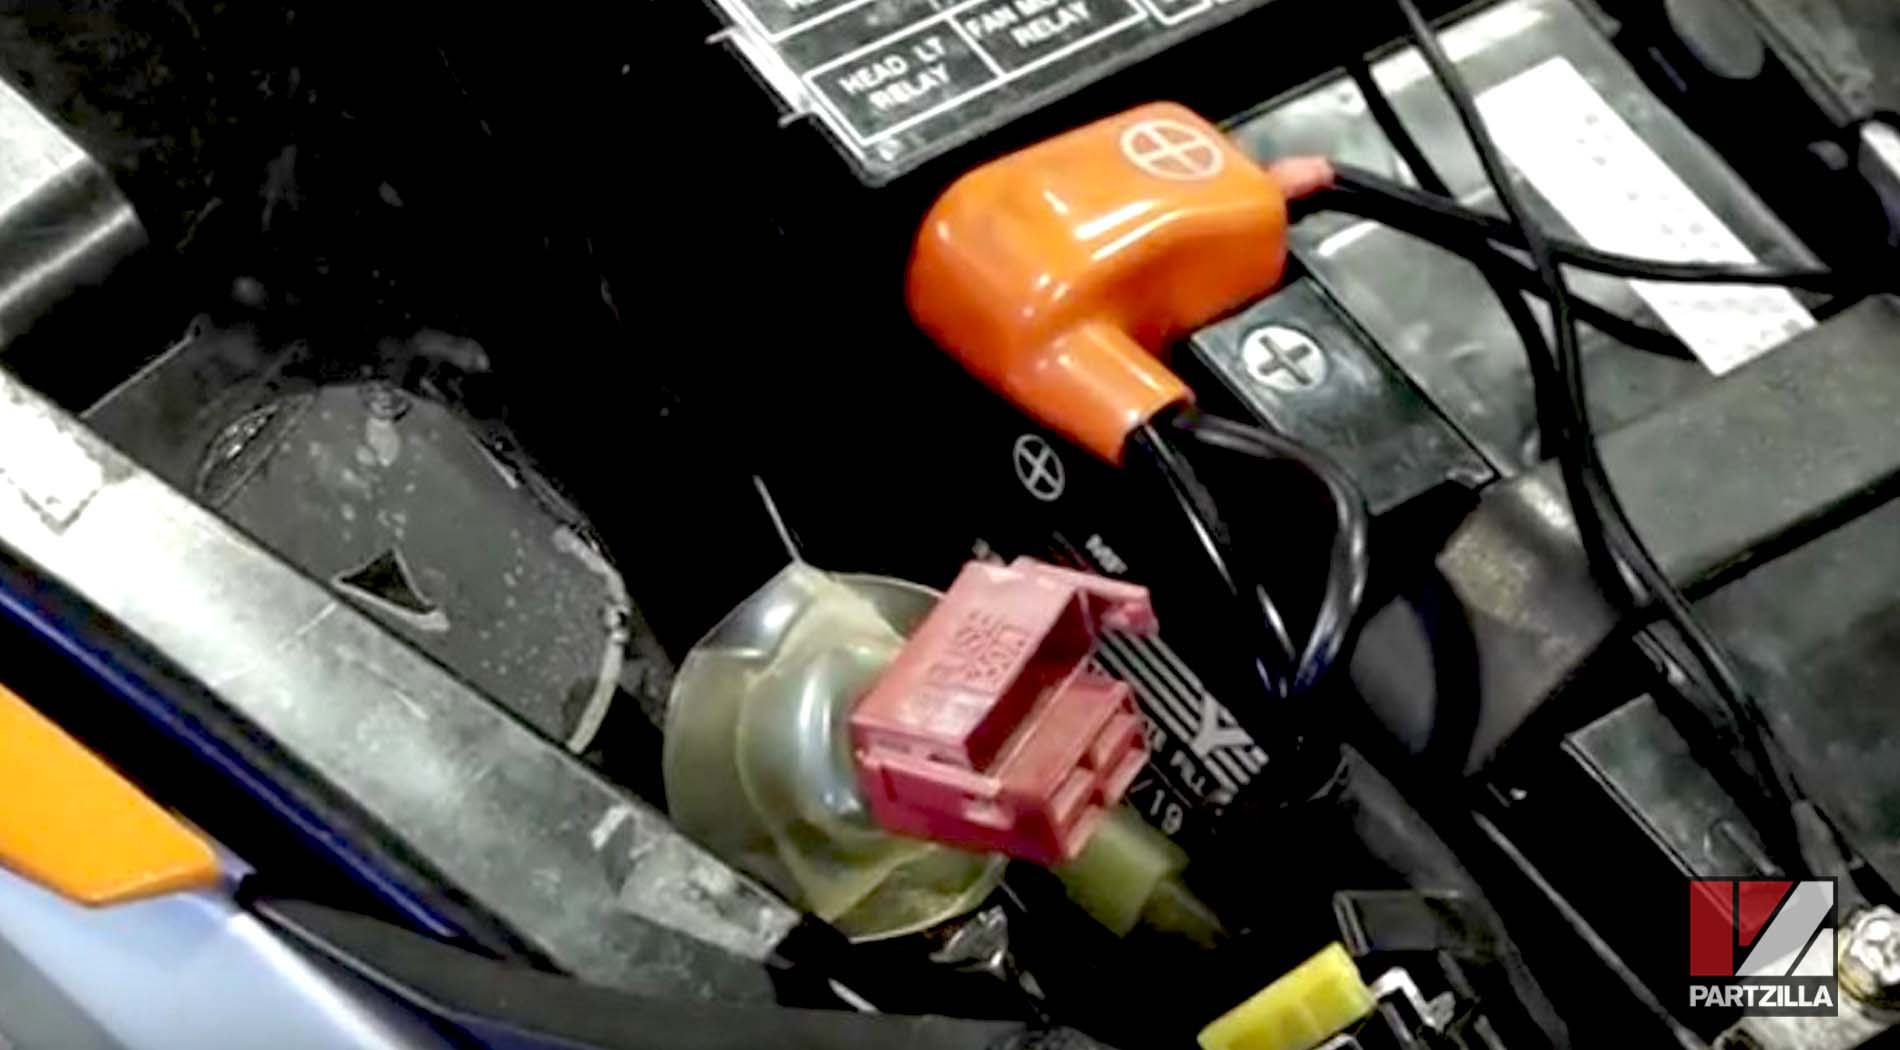
Engage the starter button on the handlebar, and you should hear it click as the contacts connect. If you don’t hear anything, the starter relay is the problem and needs to be replaced.
Any of these parts of your Honda motorcycle’s electrical system can be a roadblock from the ultimate goal: getting electricity from the battery to the starter motor. Once you’ve verified that all of these parts of the electrical system are working, it’s time to test the starter motor.
Watch the video above learn how to run starter motor tests, and replace the starter if it fails these tests.

