How to Test a Starter Relay on a Motorcycle, ATV or UTV
Whether it's a motorcycle, an ATV, or a UTV, it probably has some kind of starter relay or solenoid. The solenoid might differ from others and have more connections, but there are two basic ways to test it.
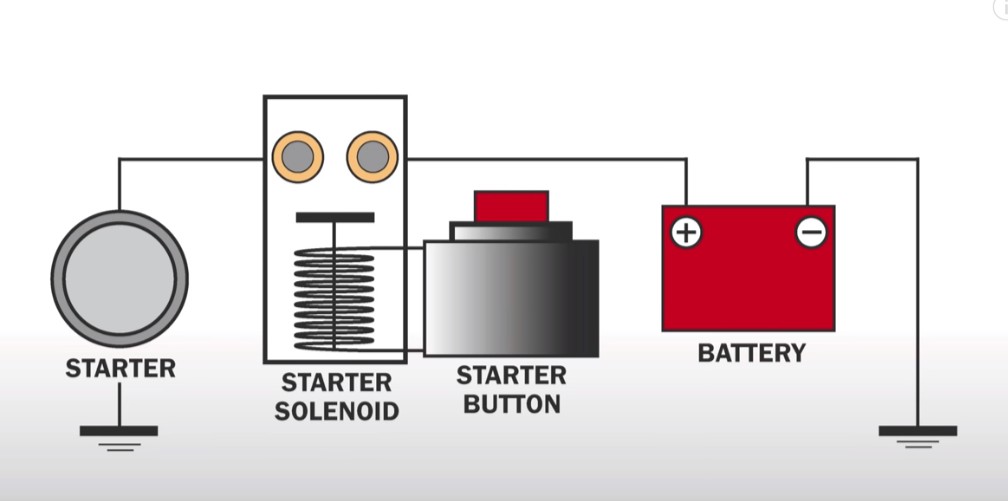
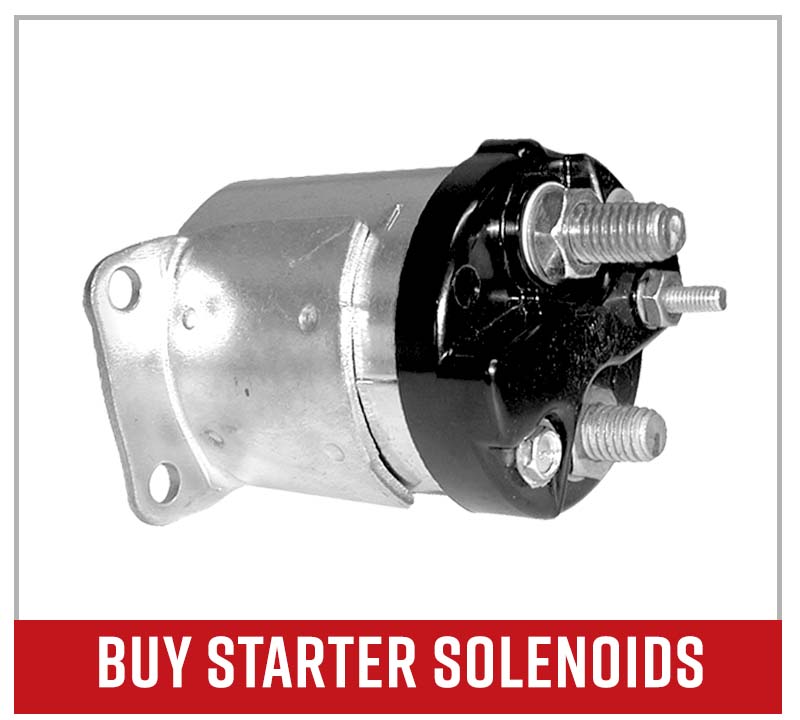
What Does a Starter Solenoid Do?
A starter solenoid is basically a switch that creates a contact point between the battery and the starter. When the starter button is pressed, it energizes the coil, which pushes a contactor to complete the circuit. This transfers DC current from the battery to the starter.
In the diagram below, the starter button hasn't been pressed yet, so the circuit isn't complete.
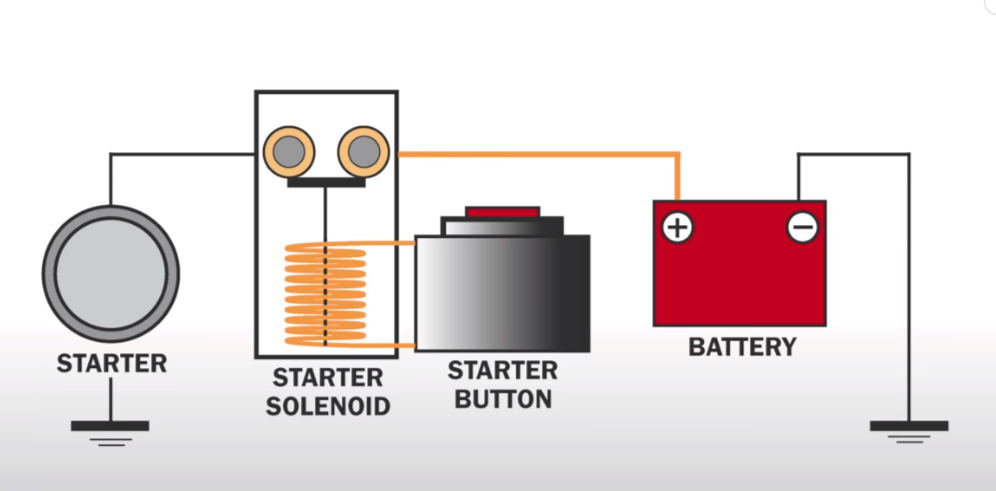
In the next diagram, the starter button has been pressed, and the coil in the solenoid has been energized. This pushes the contactor up and completes the connection from the battery to the starter motor.
Knowing how to test the solenoid on your offroad vehicle is an important step to troubleshooting starting problems on your machine. Here are some tests you can do to check the health of your motorcycle's starter relay.
Tools - Motorcycle Starter Relay Test
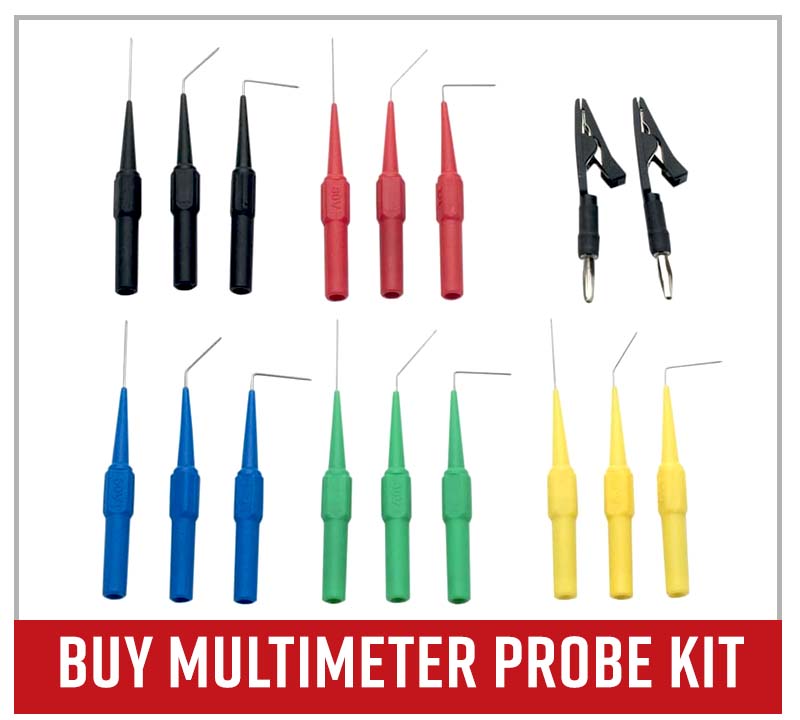
Depending on your unit, the tools you'll need to access the starter solenoid may vary. But these tools will help you regardless of what kind of unit you're working with.
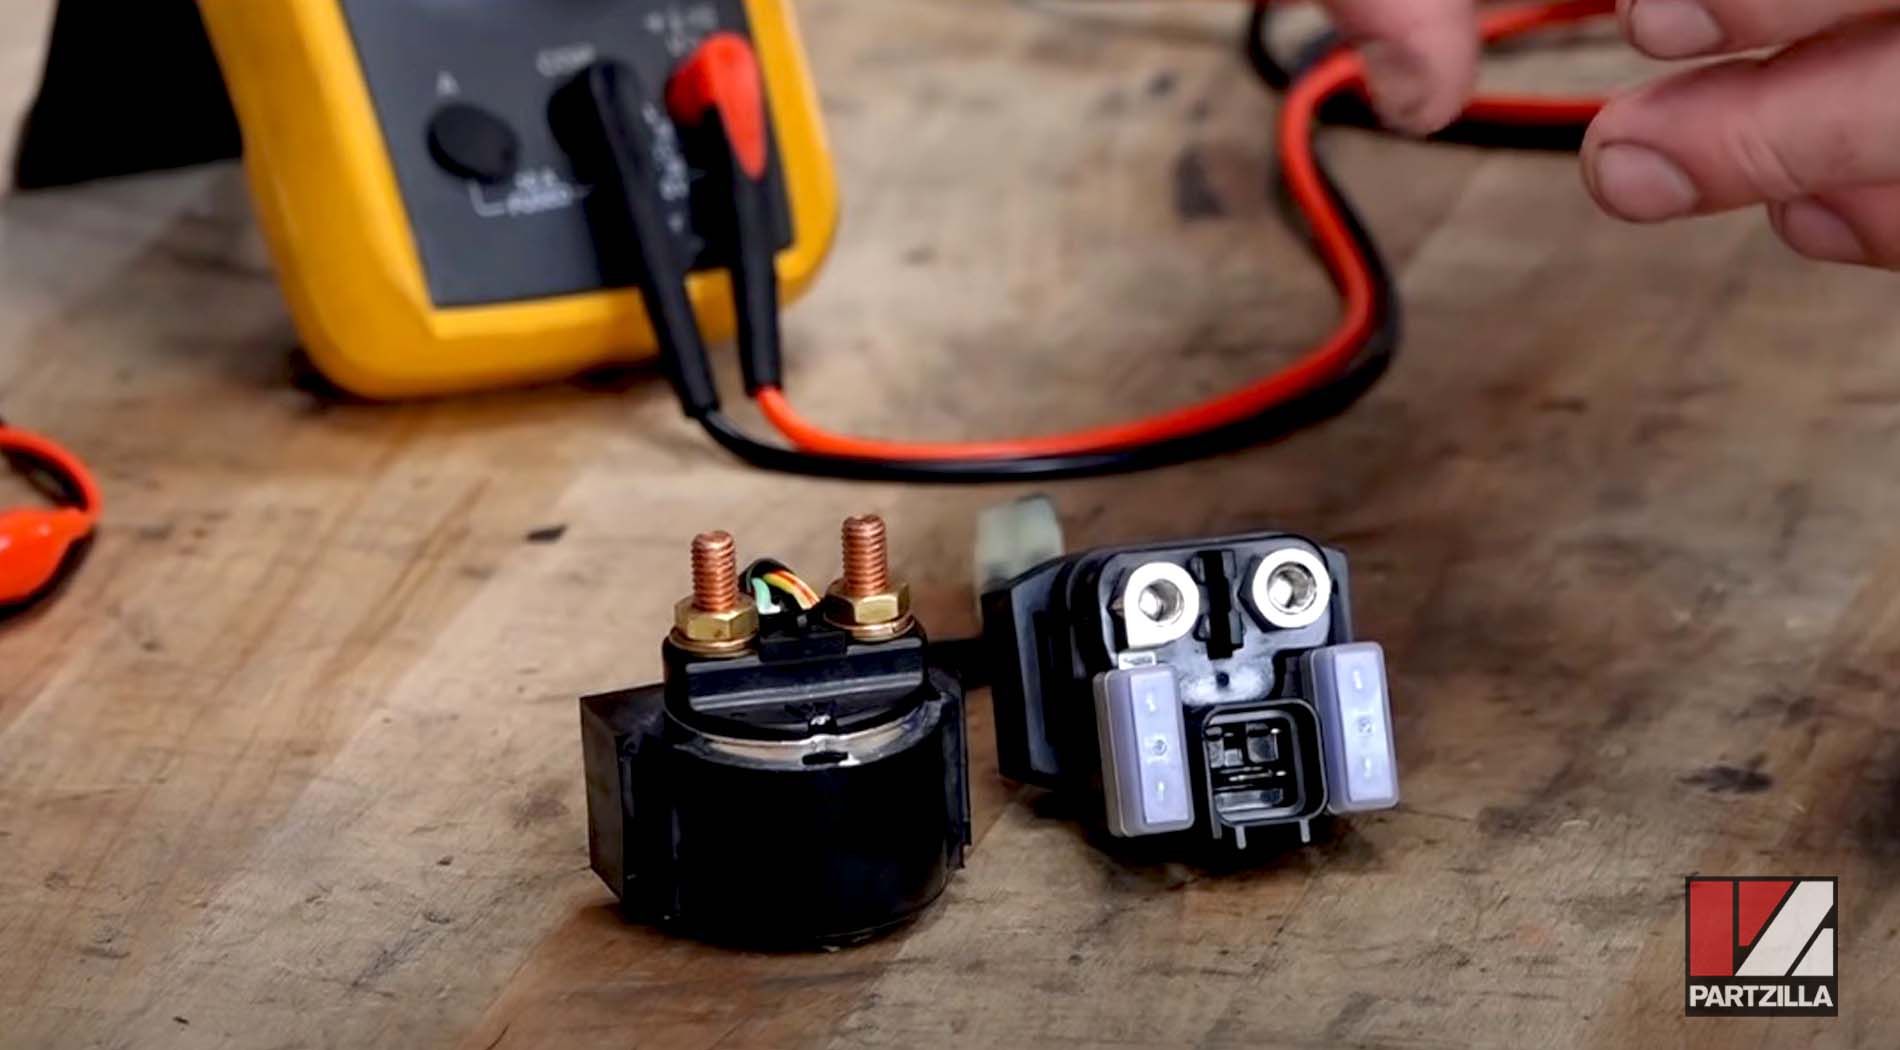
- Digital multimeter
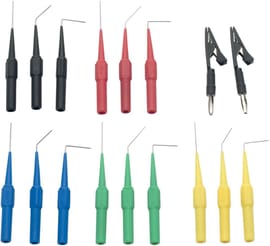
- Back probe kit
Starter Relay Test 1
This first test is designed just to see if the contactor is pushing up and completing the connection in the solenoid.
Step 1. The solenoid has two wires that normally connect to the starter button. There is no polarity on the solenoid, so it doesn't matter which side is which. You're just running current through it. Using back probes, connect directly from the battery to one of these wires. Complete the connection to the negative side of the battery first.
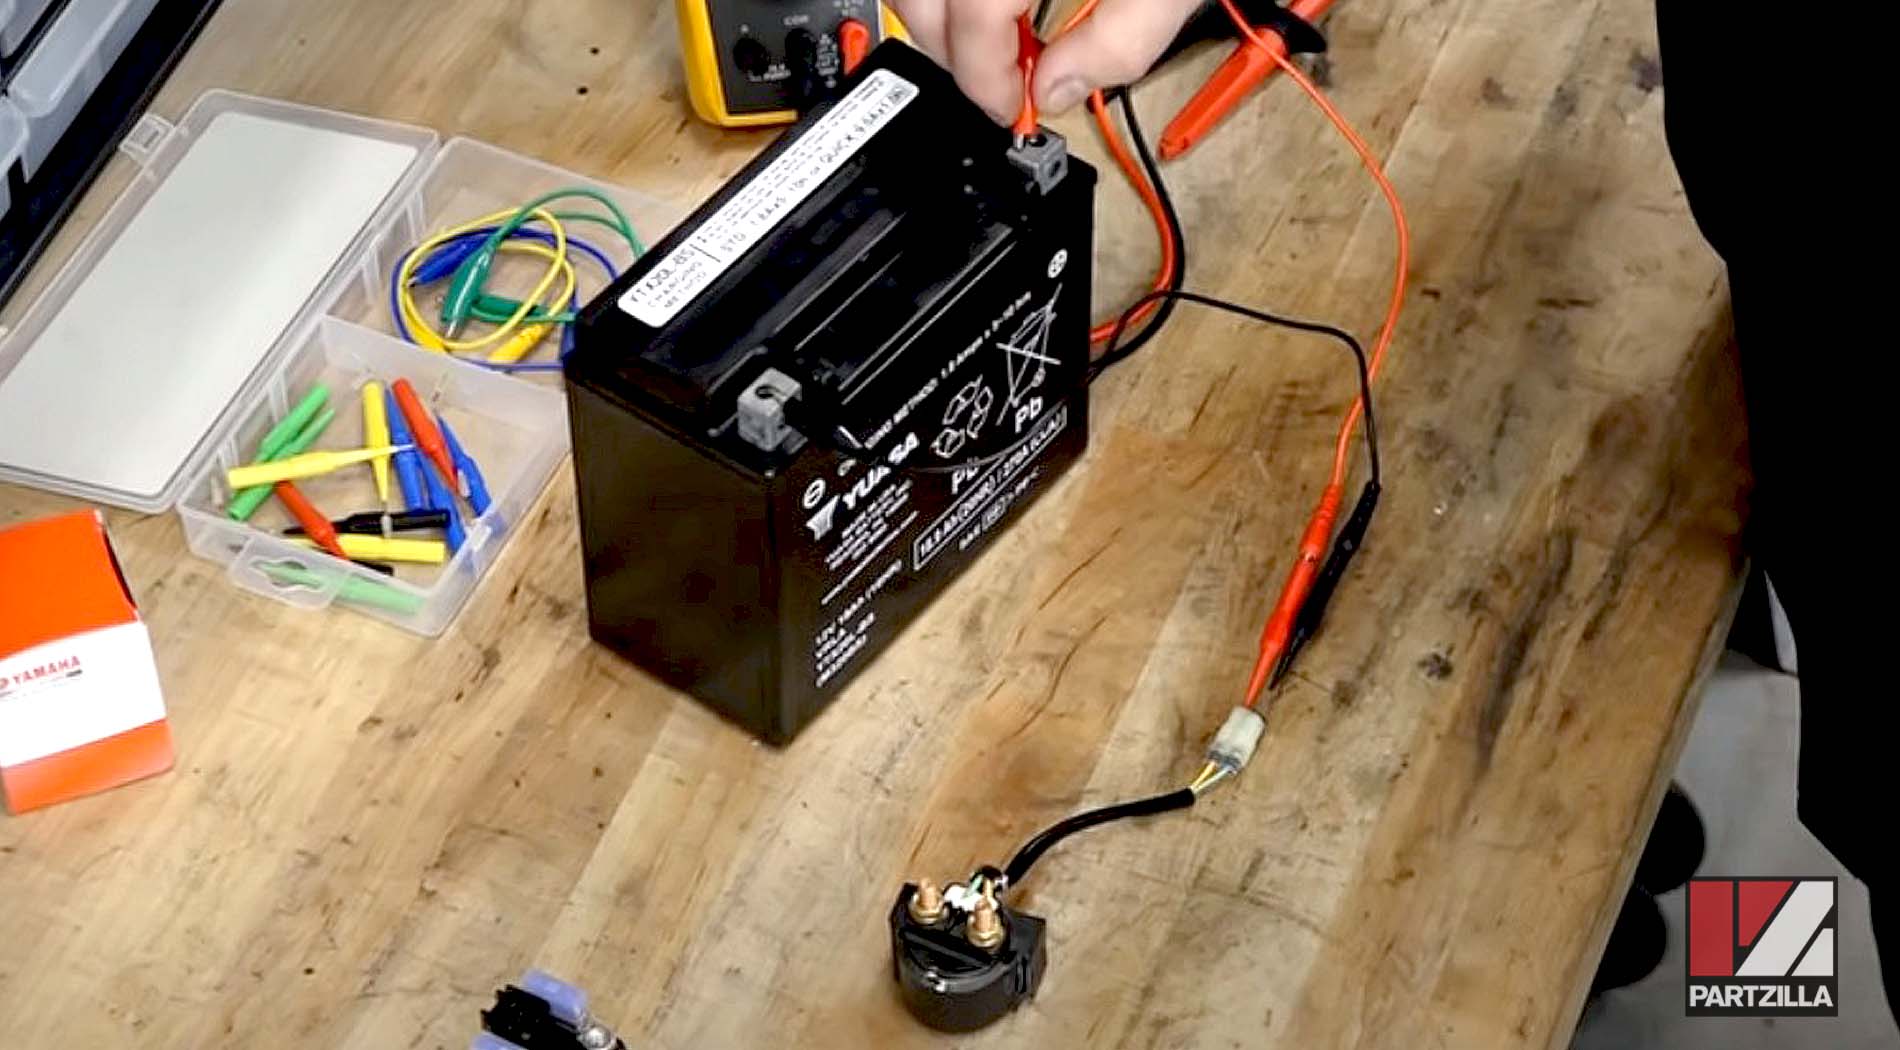
Step 2. Connect a second back probe to the solenoid. Then, connect it to the positive side of the battery. You should hear an audible "click" as the connector is pushed up to complete the circuit. If you don't hear it, the solenoid has gone bad. And if you do, move on to the next test.
In some cases, even when the connector engages, the unit still won't start. That can happen when there's corrosion on the connectors inside the solenoid. This next test can help you diagnose this problem.

Starter Relay Test 2
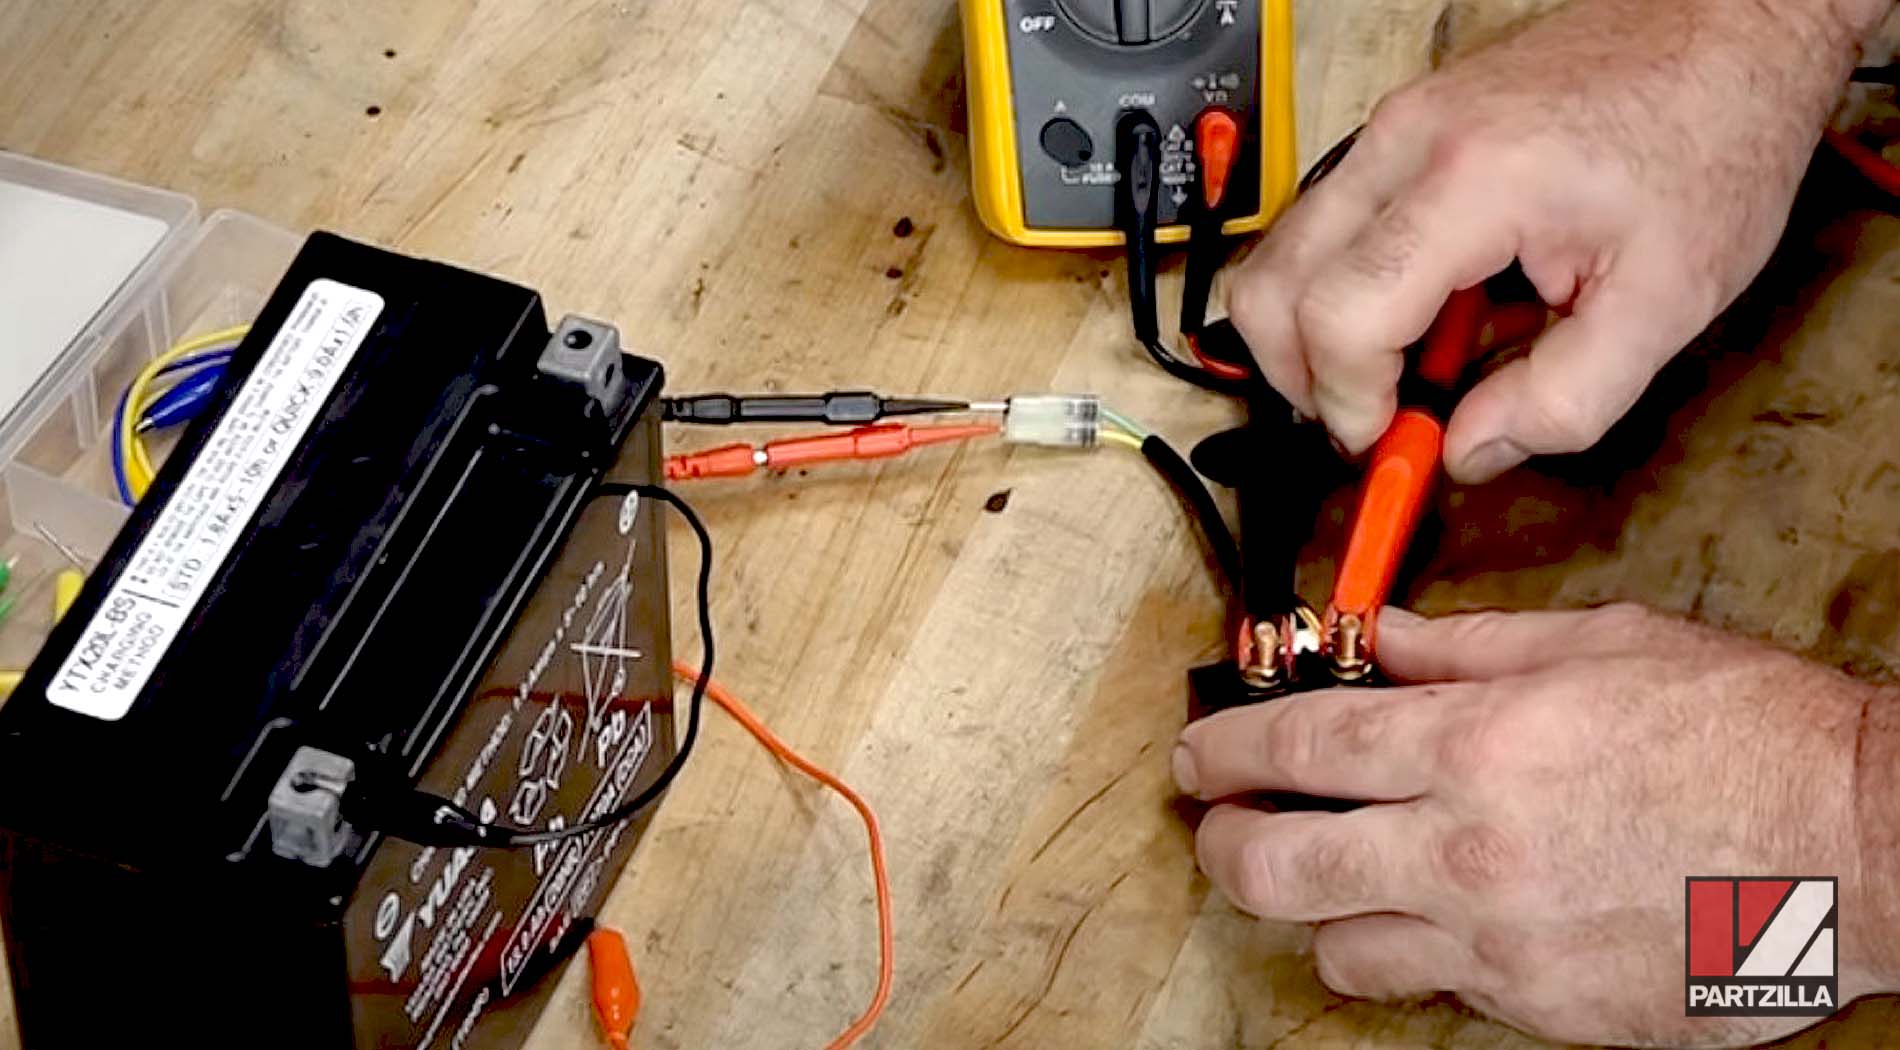
Step 1. Keep the connections in place from the first test, and simply disconnect the back probe from the positive terminal on the battery.
Step 2. Connect a multimeter to the main connectors on the solenoid and set the multimeter to a resistance test. Again, polarity isn't important. Just connect one clip of the multimeter to each side of the solenoid.
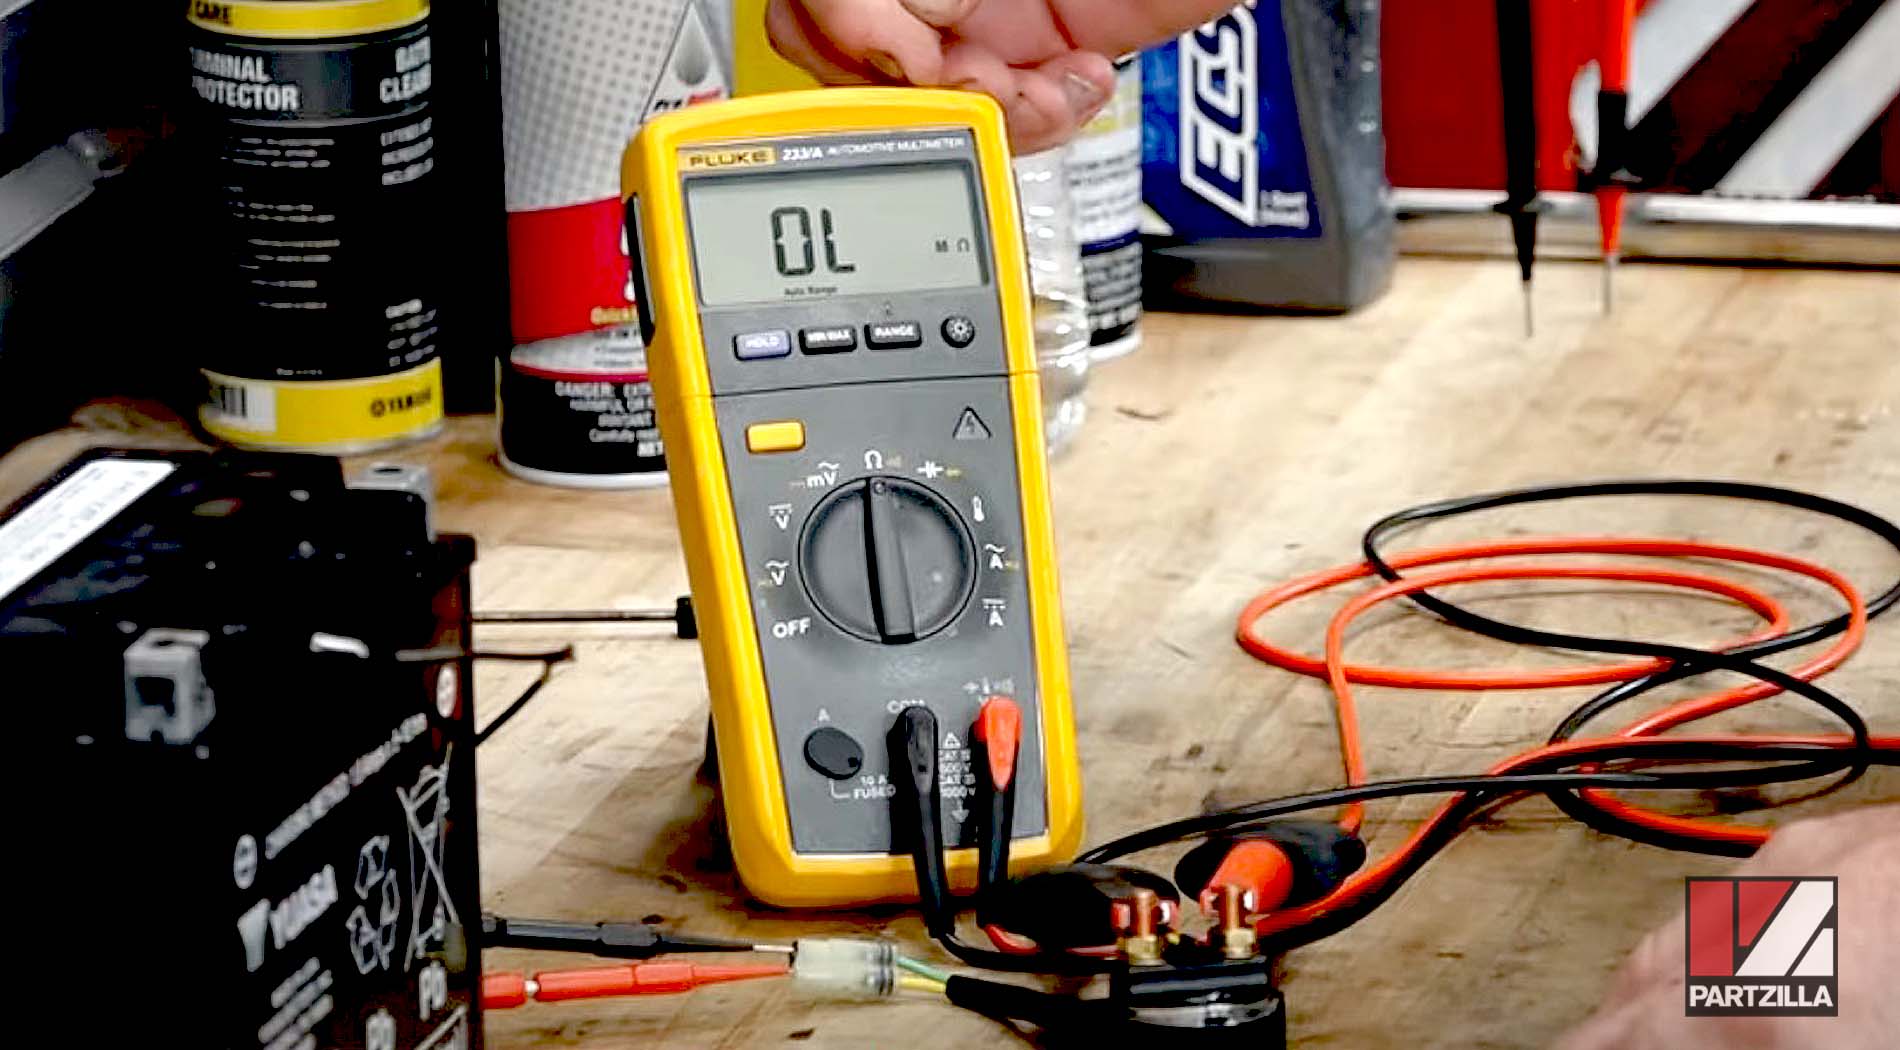
Step 3. Once connected, you should see "OL," indicating an open circuit.
Step 4. Connect the positive side of the battery using the back probe connection from Step 1. This will energize the solenoid and push the connector into position, completing the circuit.

These two simple solenoid tests show you the basics of how to diagnose issues with the relay. First, check to make sure the connector is engaging and completing the circuit to the starter. Then, make sure the circuit to the starter is connected when the connector is engaged.
What if the problem isn't the starter solenoid, but the starter motor itself? Watch the video below to see how to test powersports vehicle starters.