Honda CRF450 Shock Pivot Bearing Replacement
The shock pivot bearings on any motorcycle wear out with time, and that’s particularly true on a high-performance dirt bike like the Honda CRF450.
Watch the video above and follow the steps below to replace the upper shock bearing on a Honda CRF450R.
Tools and Parts - Honda CRF450 Shock Pivot Bearing Change
- Pick tool
- Grease
- Wrench for shock bearing puller
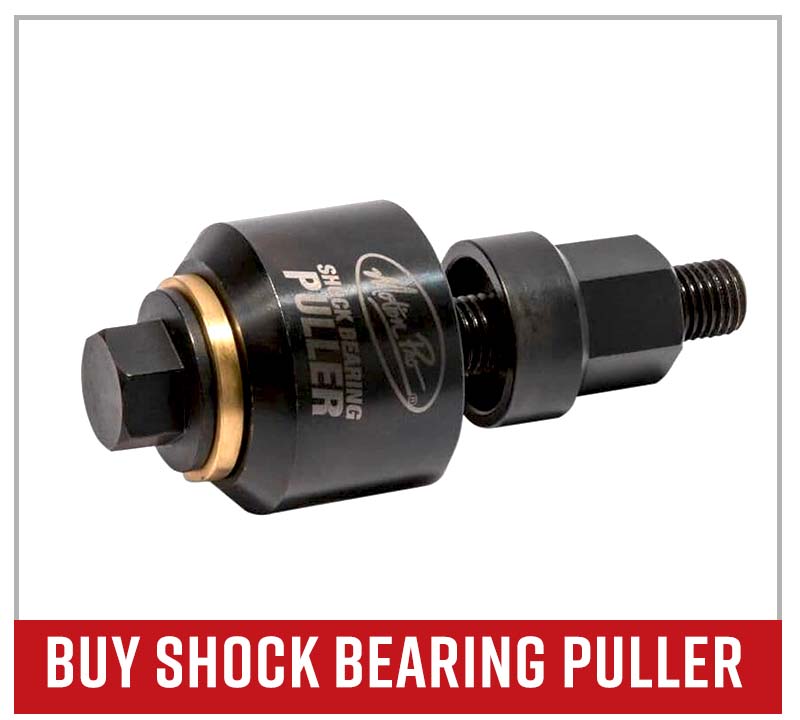
- Shock bearing puller
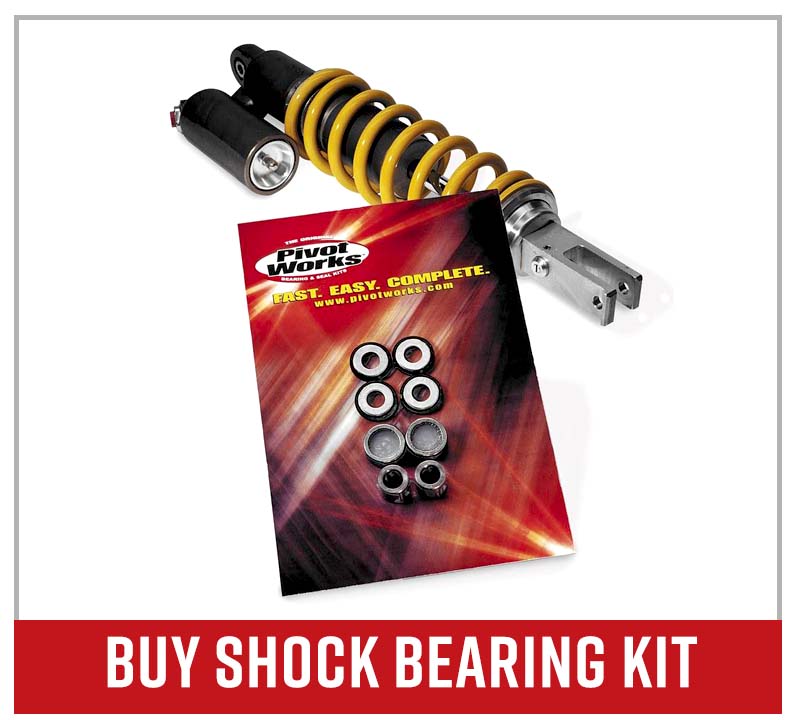
- Shock bearing kit
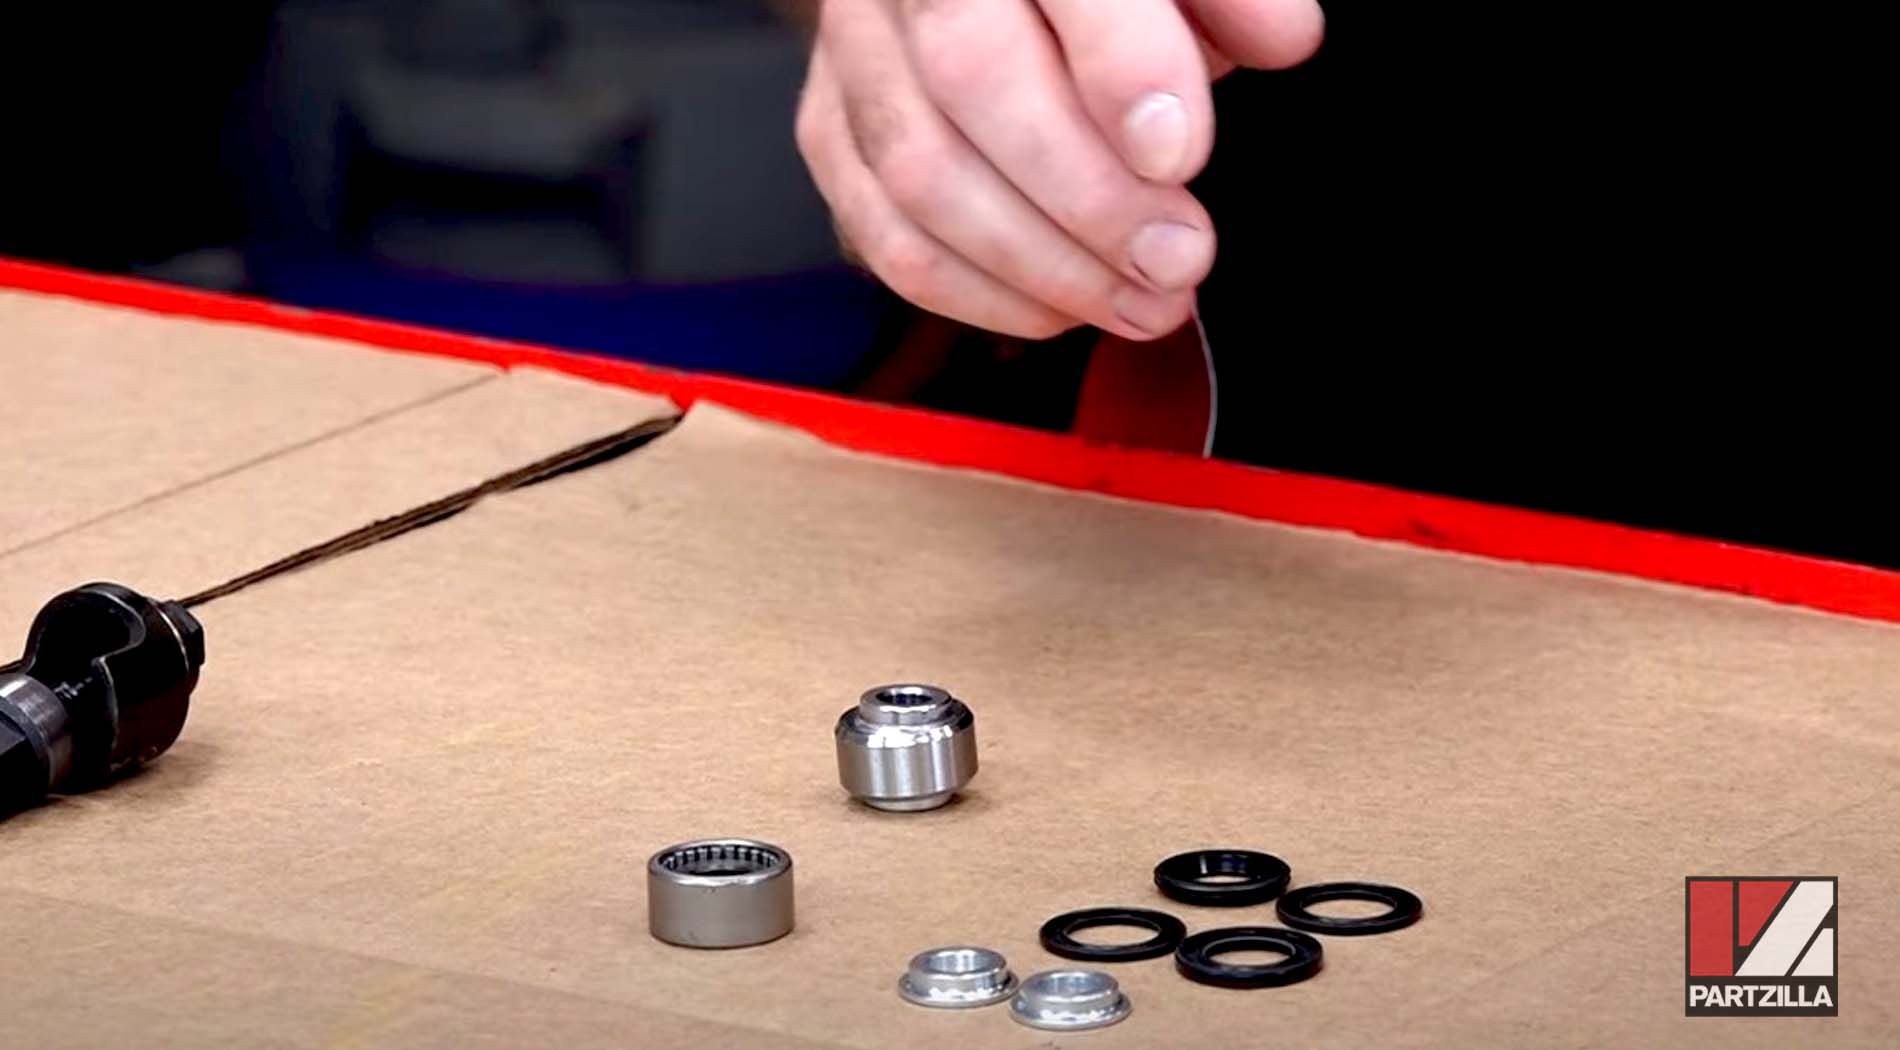
NOTE: We only replaced the upper shock bearing here, using a Motion Pro shock bearing tool and a shock bearing kit from Pivot Works. The lower bearing is part of the cushion arm assembly, which we replaced as part of our CRF450 linkage bearings replacement.
How to Replace CRF450R Shock Bearing
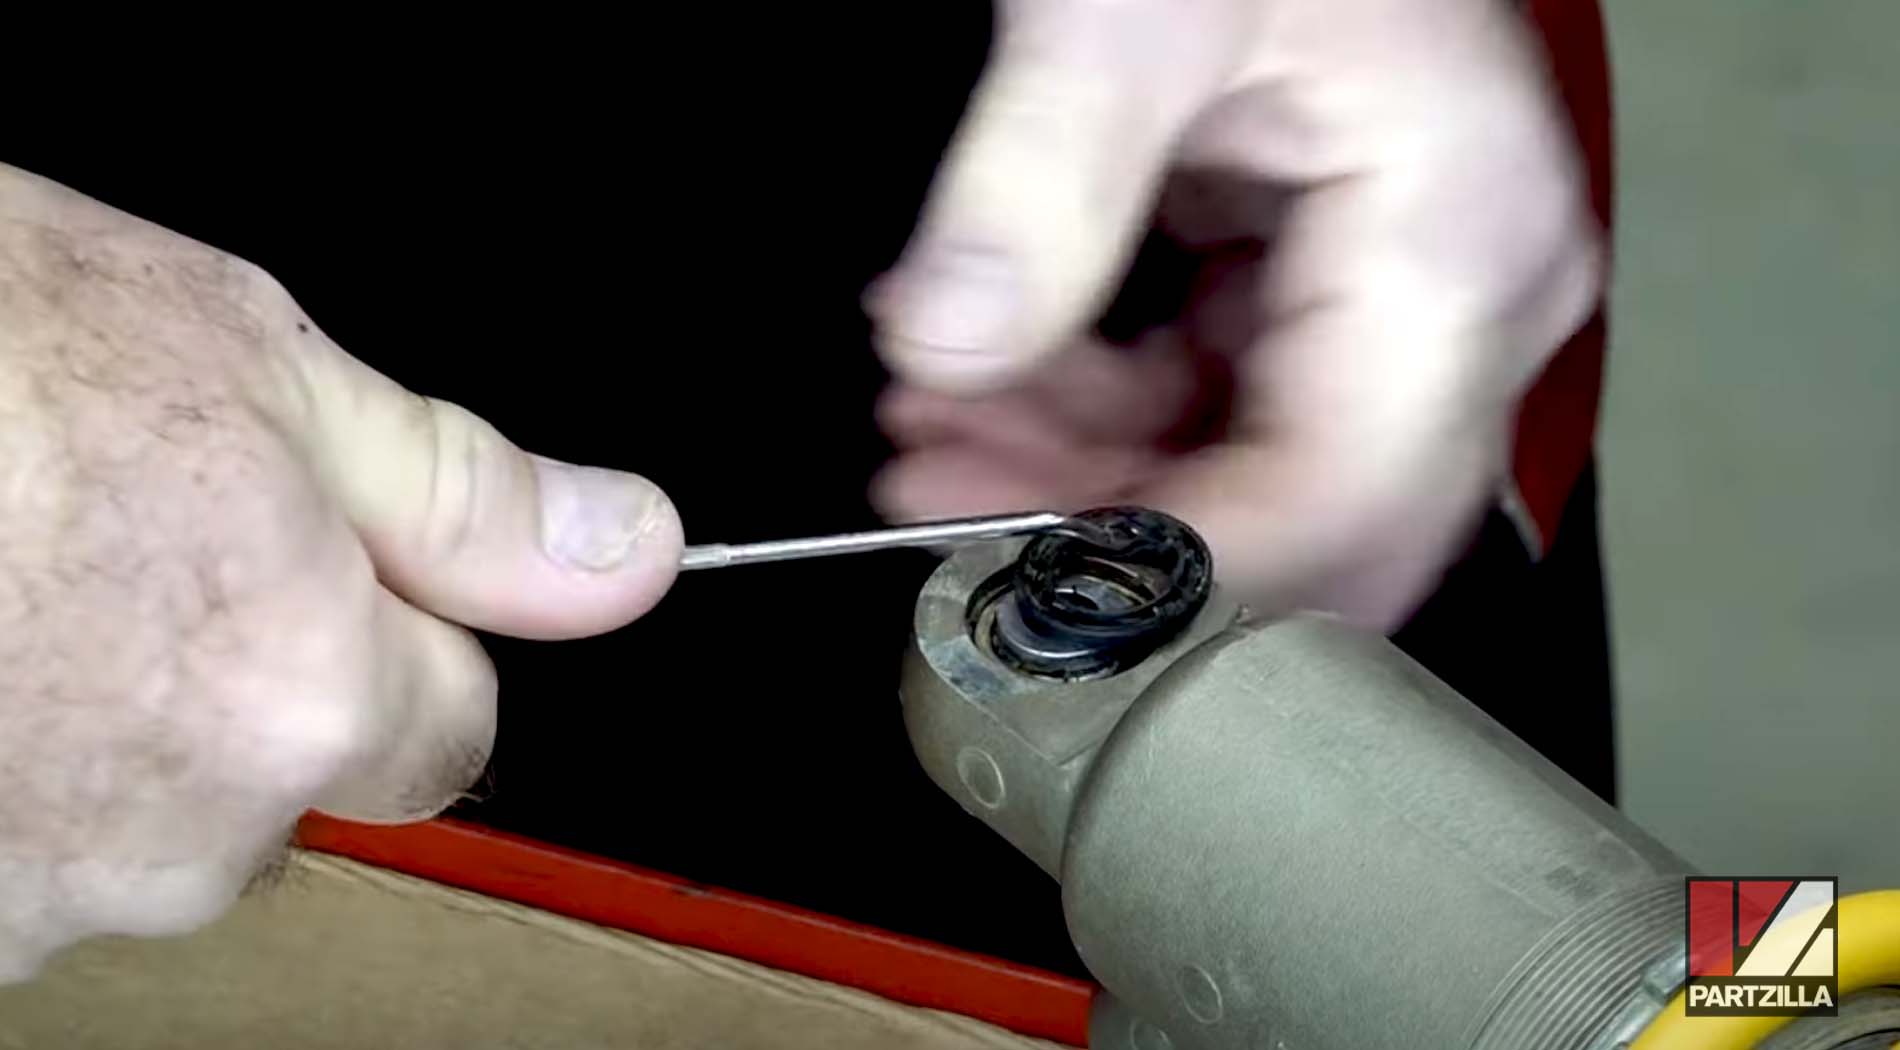
Step 1. Remove the shock first, then use a pick tool to remove the two seals on each side of the shock bearing.
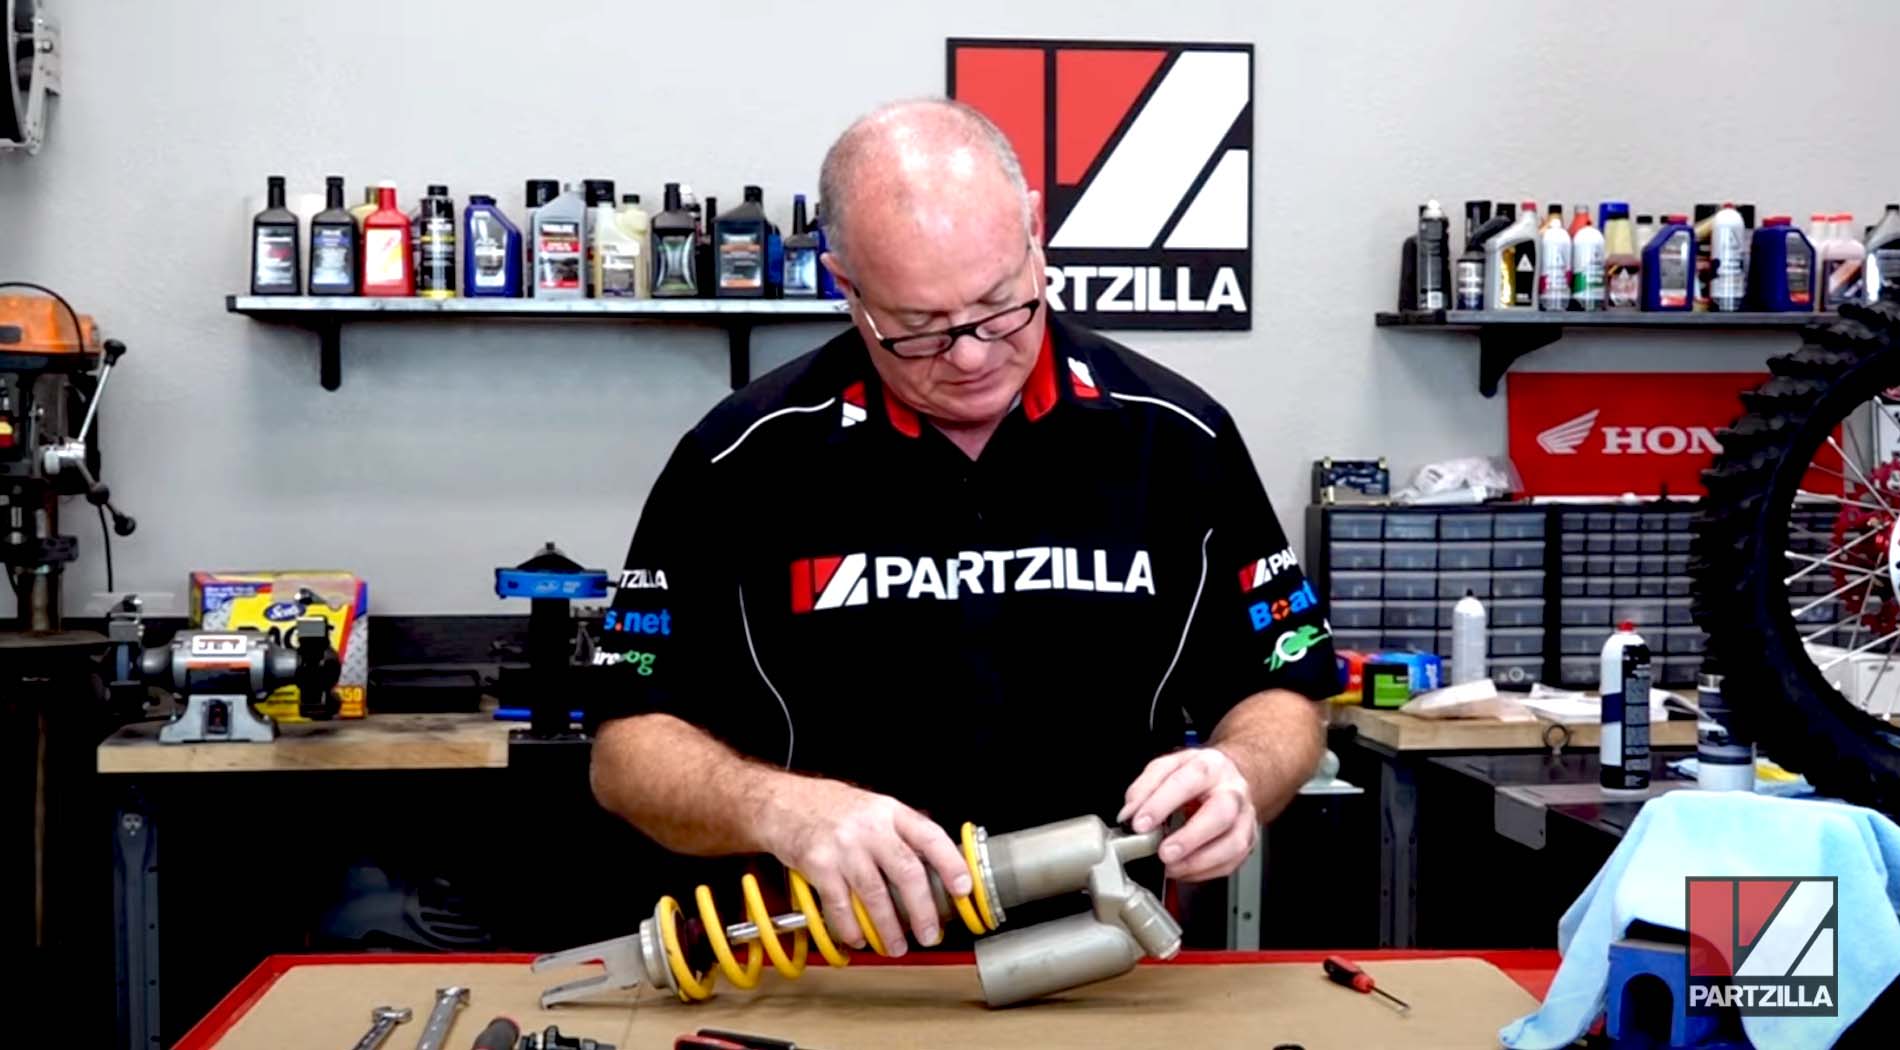
NOTE: Use the nitrogen gas cylinder as a reference for orientation. With the gas cylinder underneath the shock, the side facing up takes the larger seal. Flip it over, and with the shock on the table and the nitrogen cylinder above it, notice where the smaller seal goes.
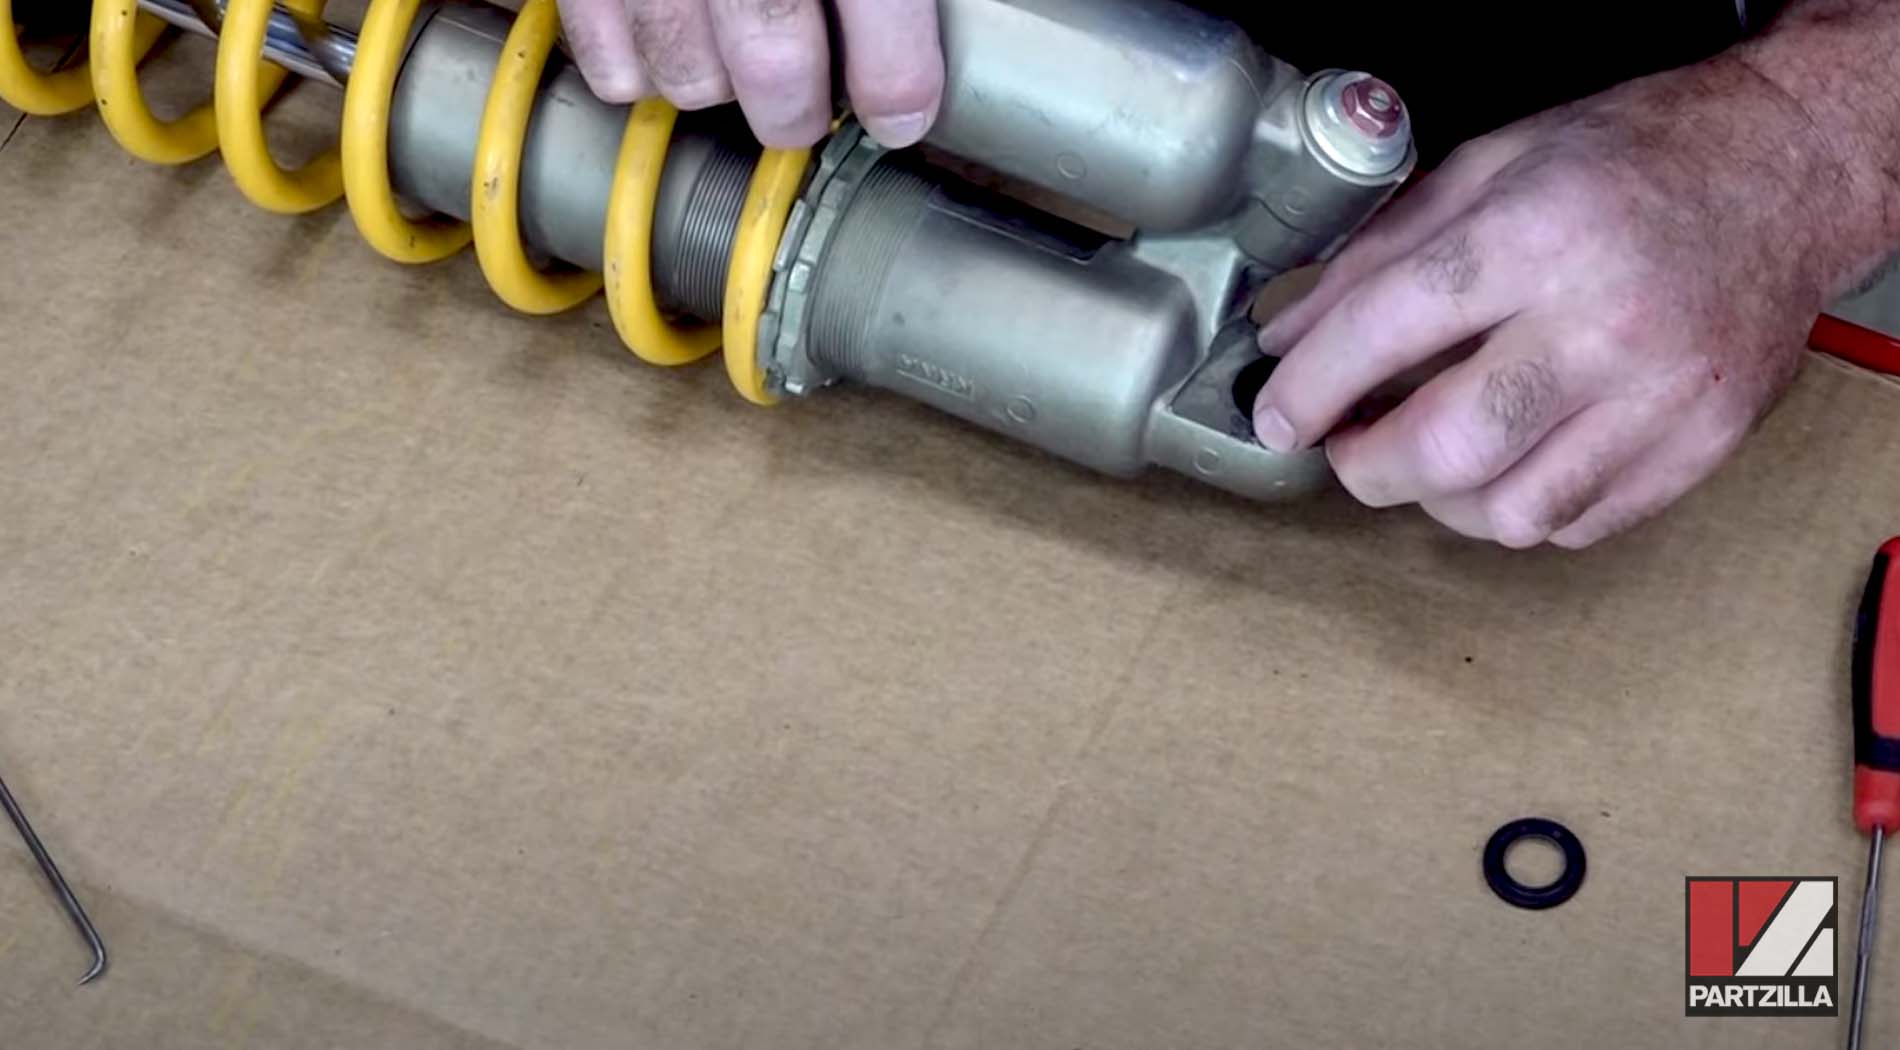
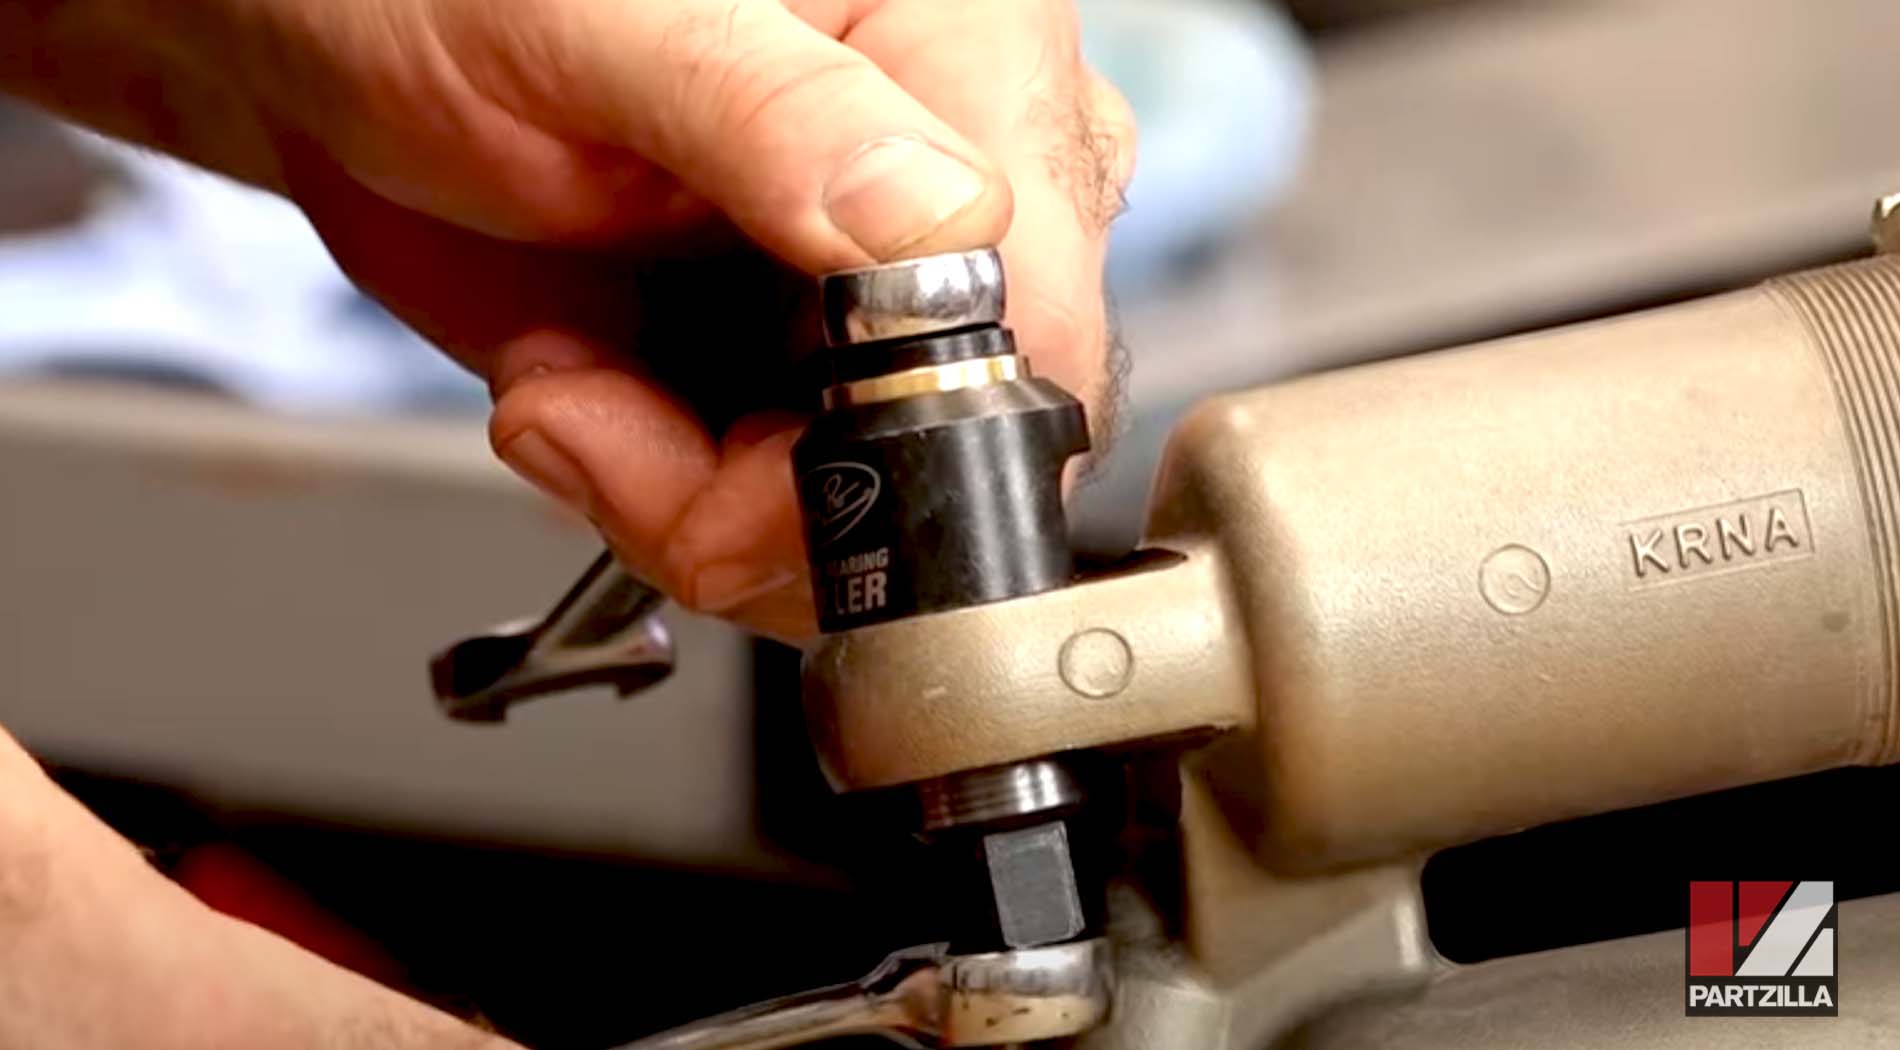
Step 2. Remove the stopper ring that holds the bearing in place (on the side where the larger seal was located) to get the bearing out. Use a shock bearing tool to push the bearing away from the ring to get the clearance you need to remove the stopper ring. Do this by running the bolt on the tool in from the bottom, and the thread on and tighten the nut on the top.
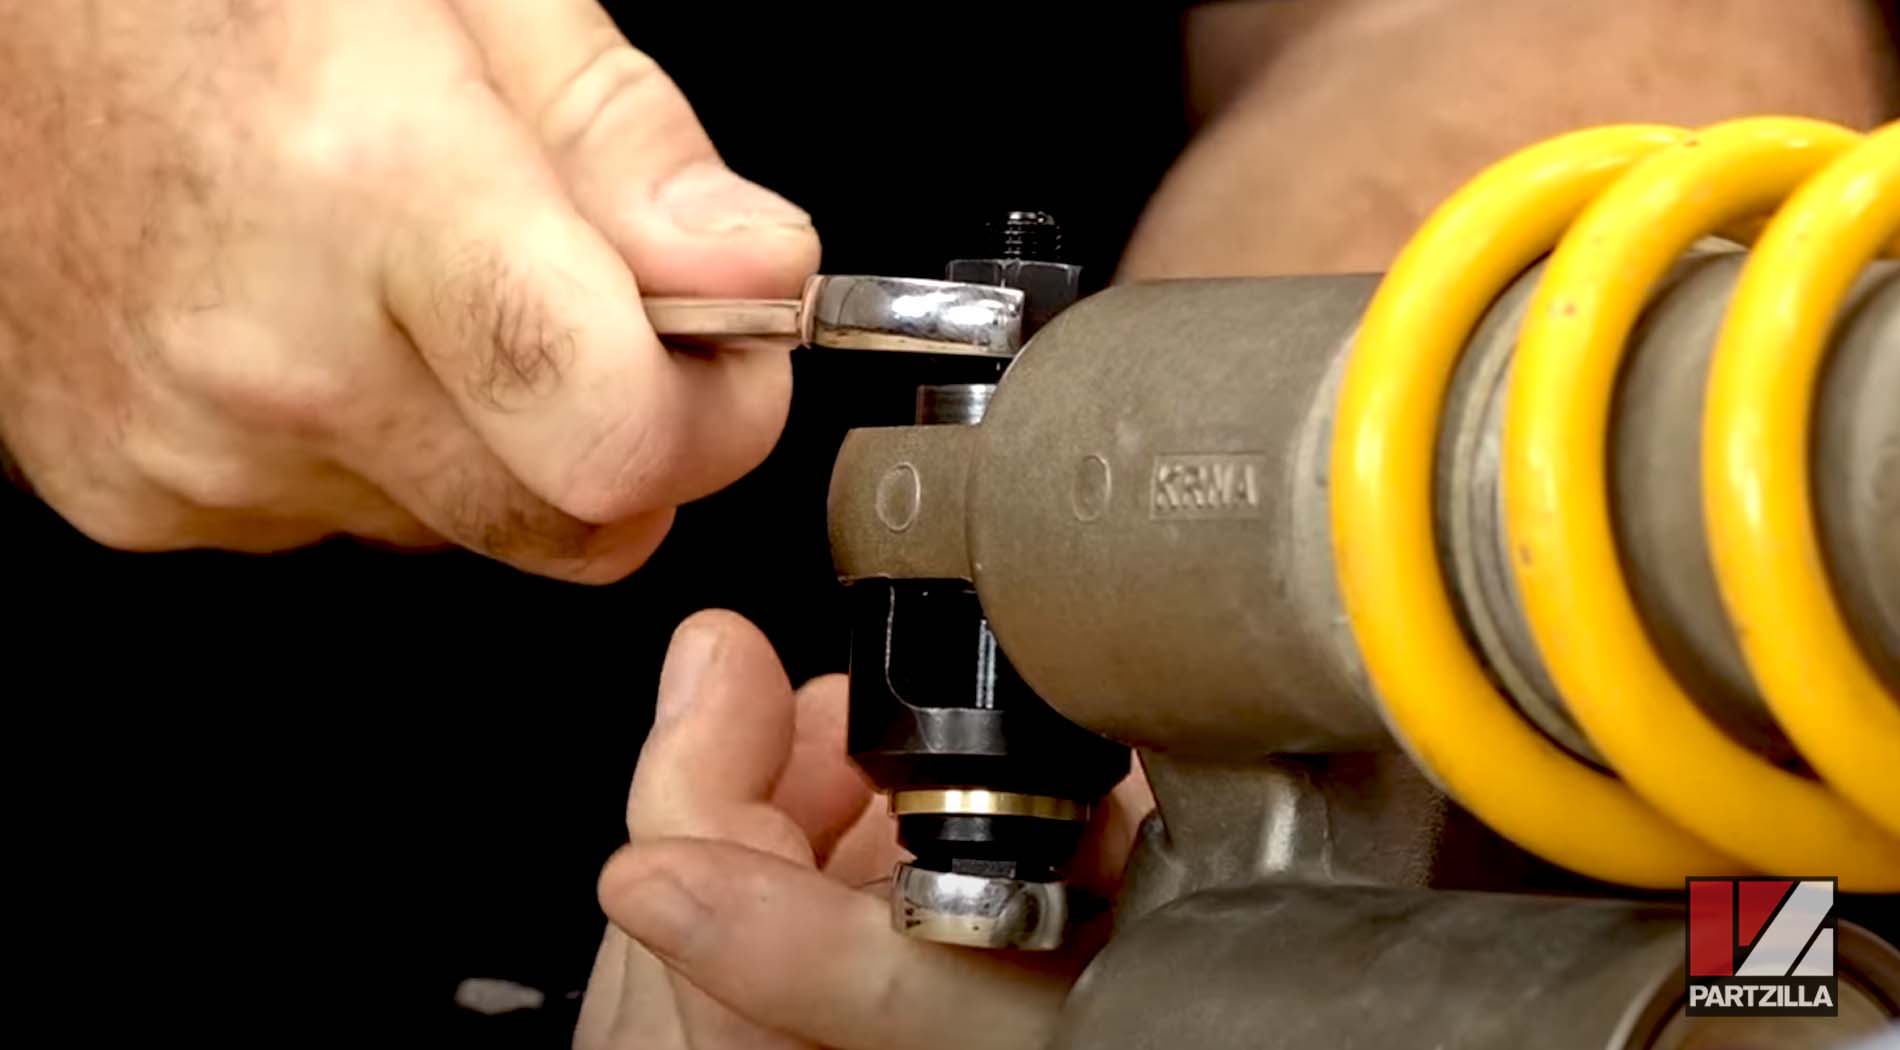
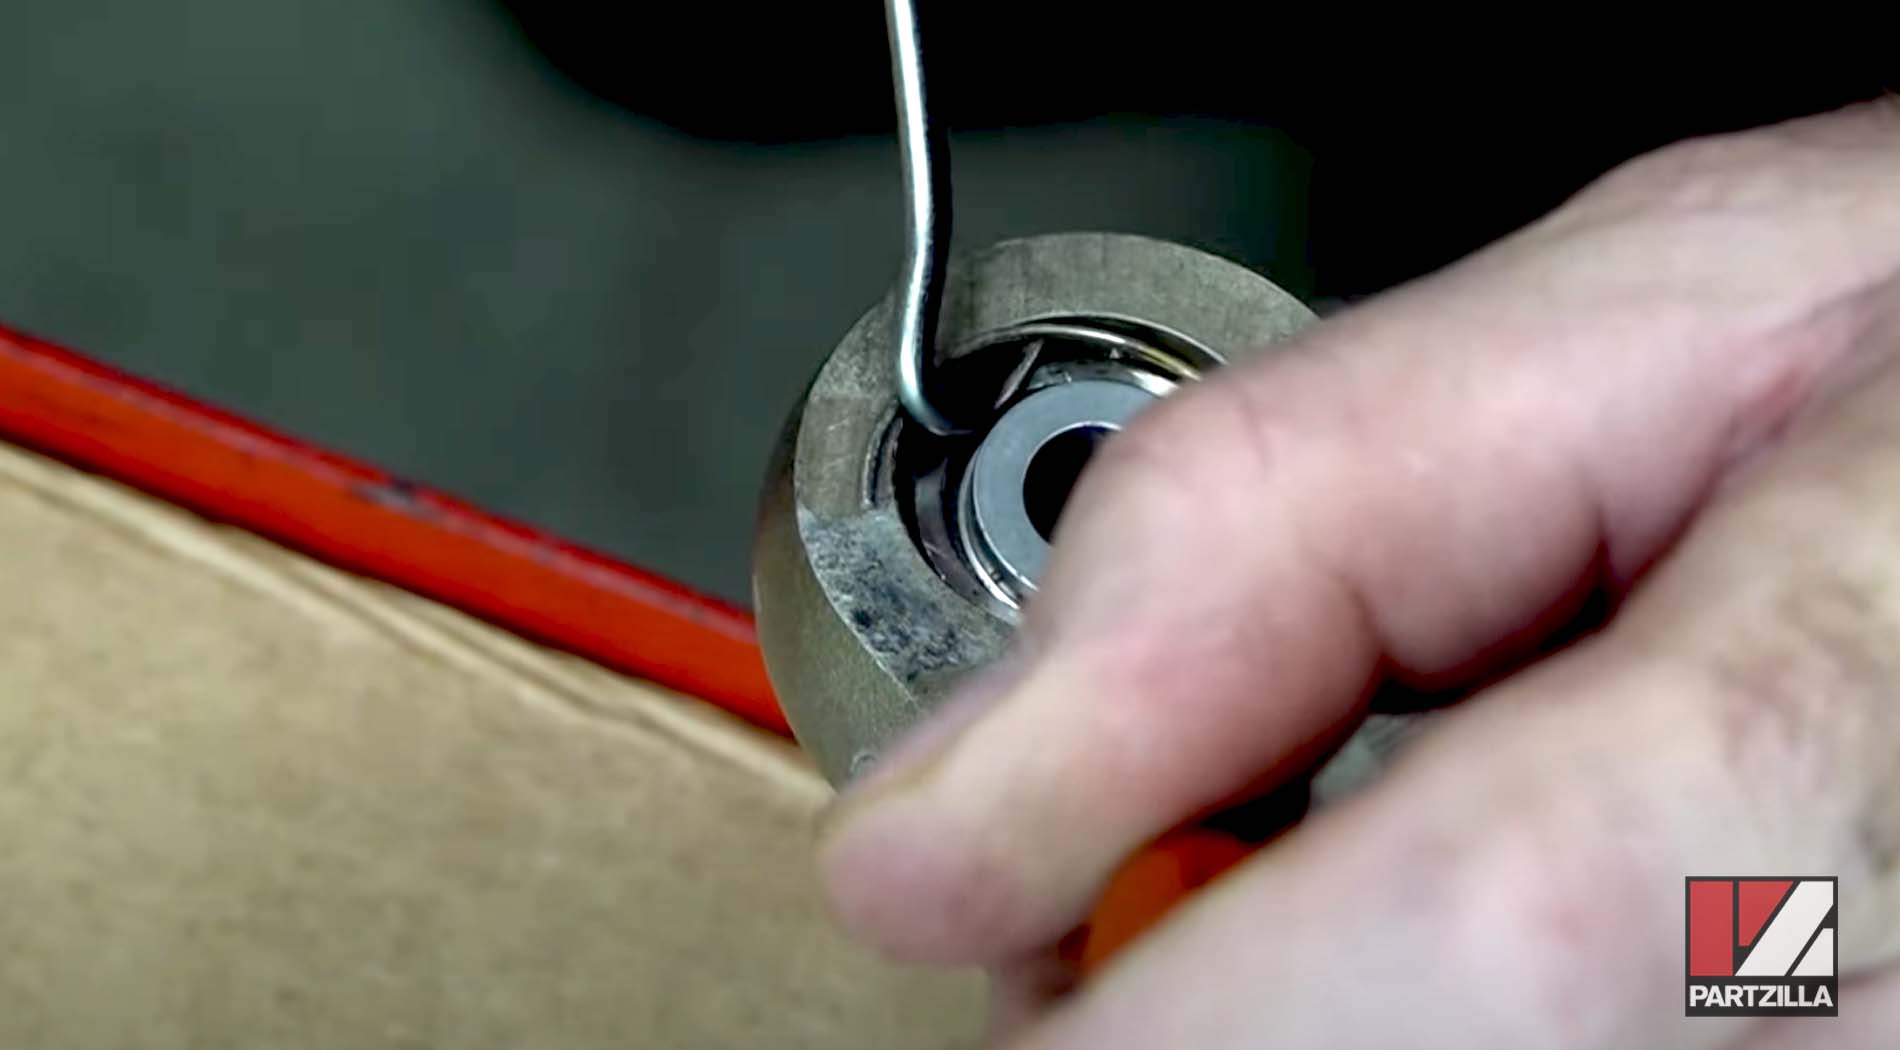
Step 3. Remove the shock bearing tool with the bearing pushed away just a little, then get a pick tool underneath the stopper ring and work it out.
Step 4. Use the shock bearing tool to remove the bearing.
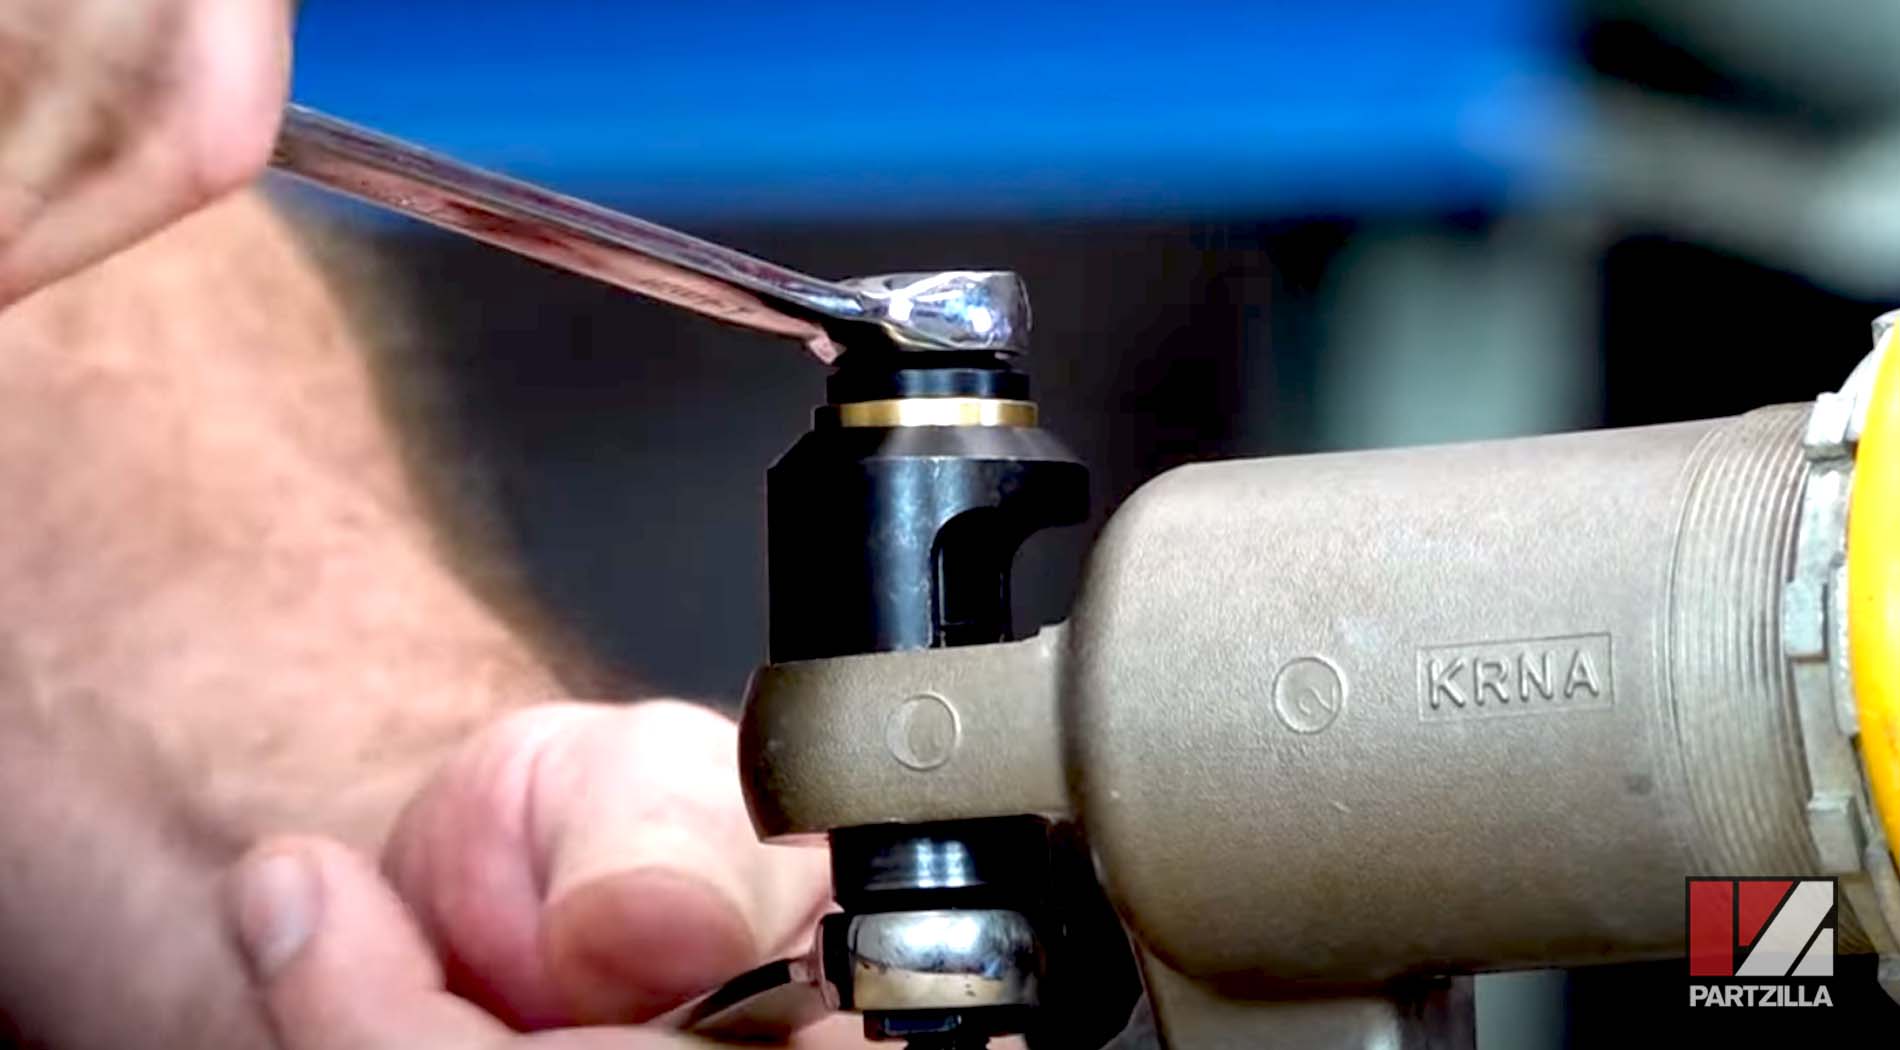
NOTE: We tried to push the bearing down and away a little to get the ring out. Then we flipped it over. We tightened at the top using the Motion Pro shock bearing tool to pull the bearing up and into the black domed cavity at the top of the tool.
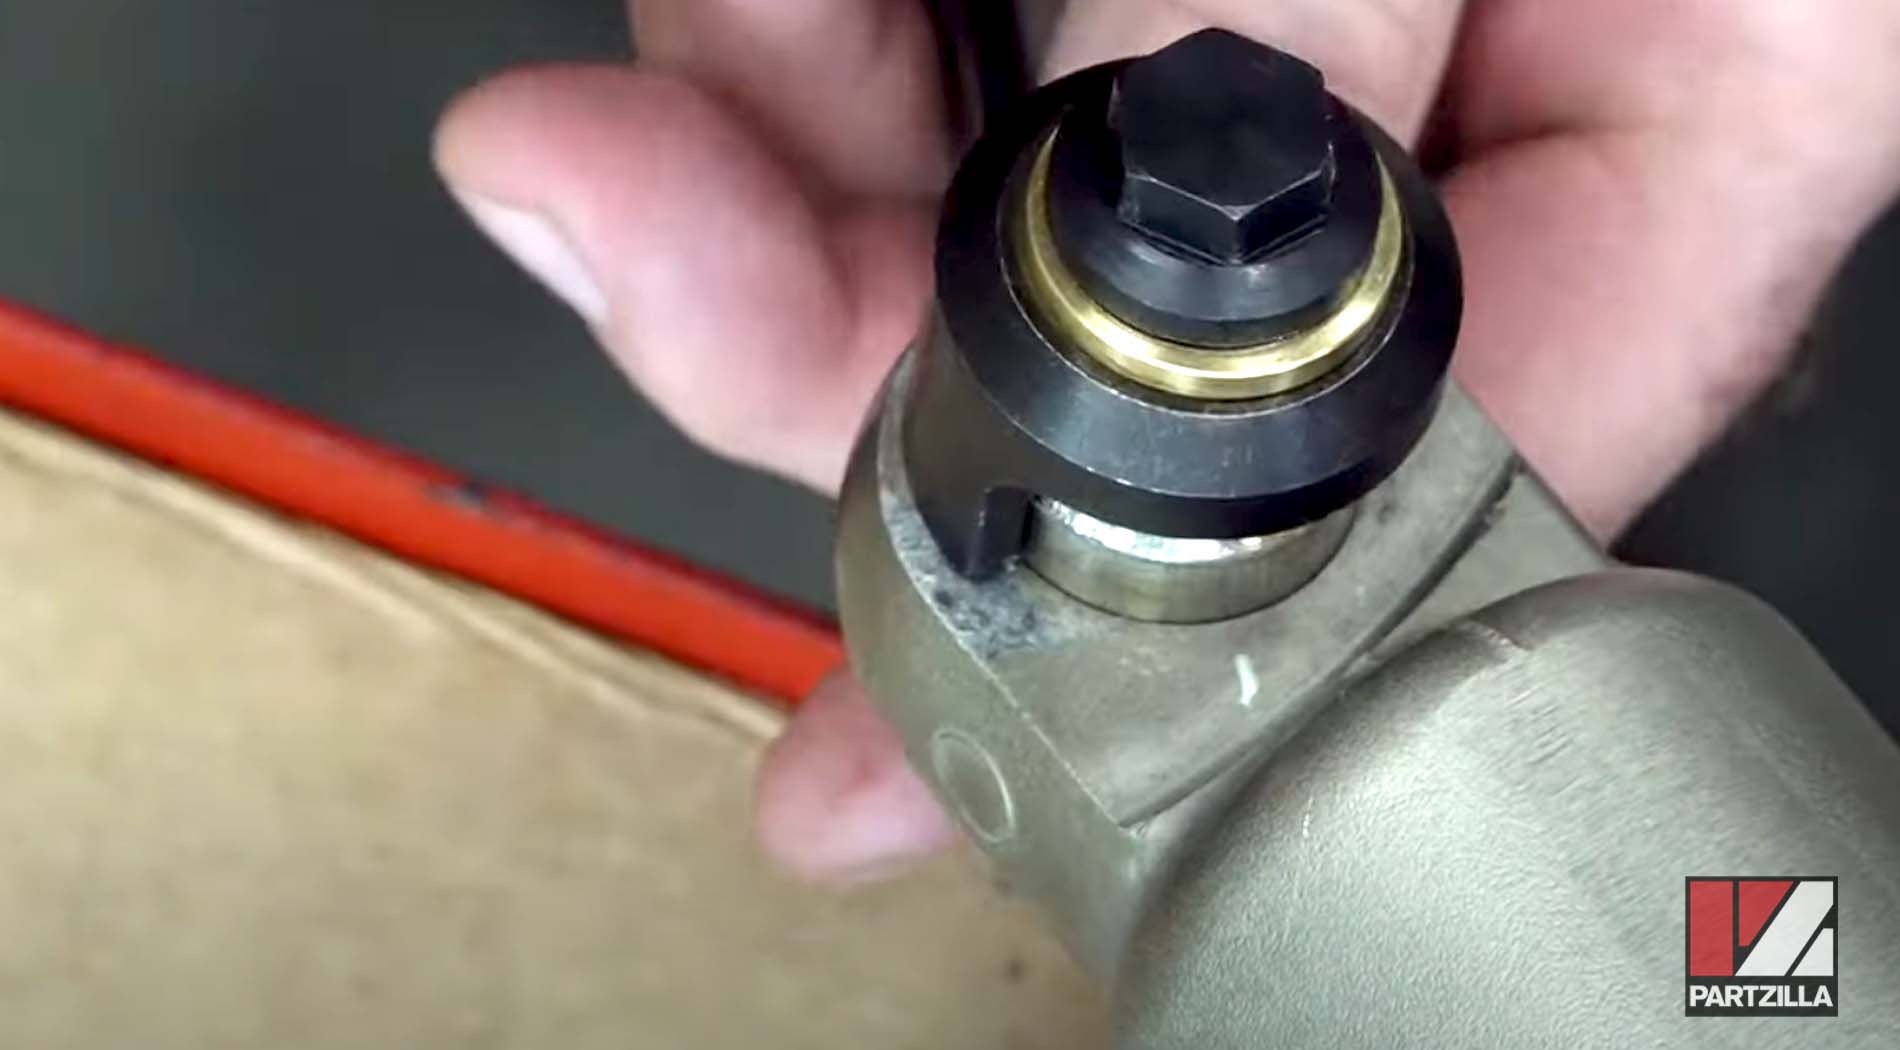
Step 5. Clean out the top of the shock, then apply a light coating of grease to help make it easier to press in the new bearing.
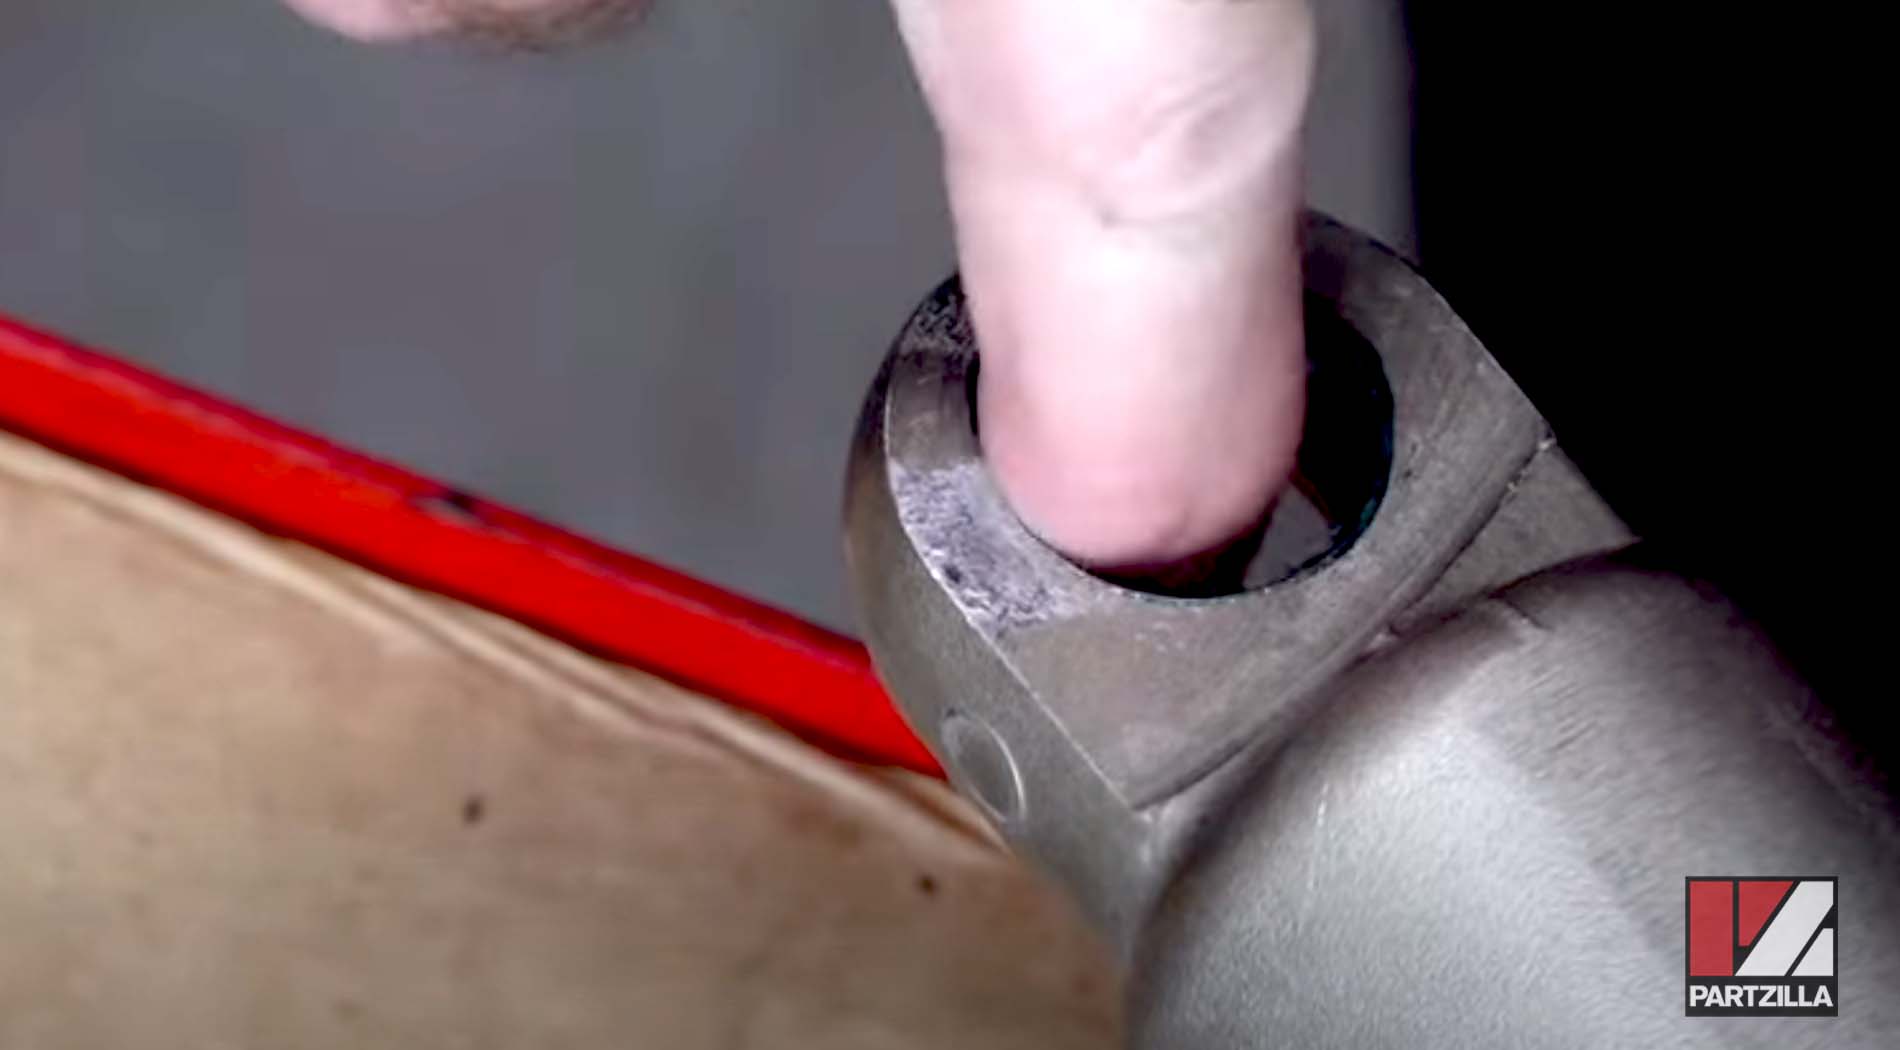
Step 6. Get the new bearing into the opening at the top of the shock. Make sure it’s centered and level.
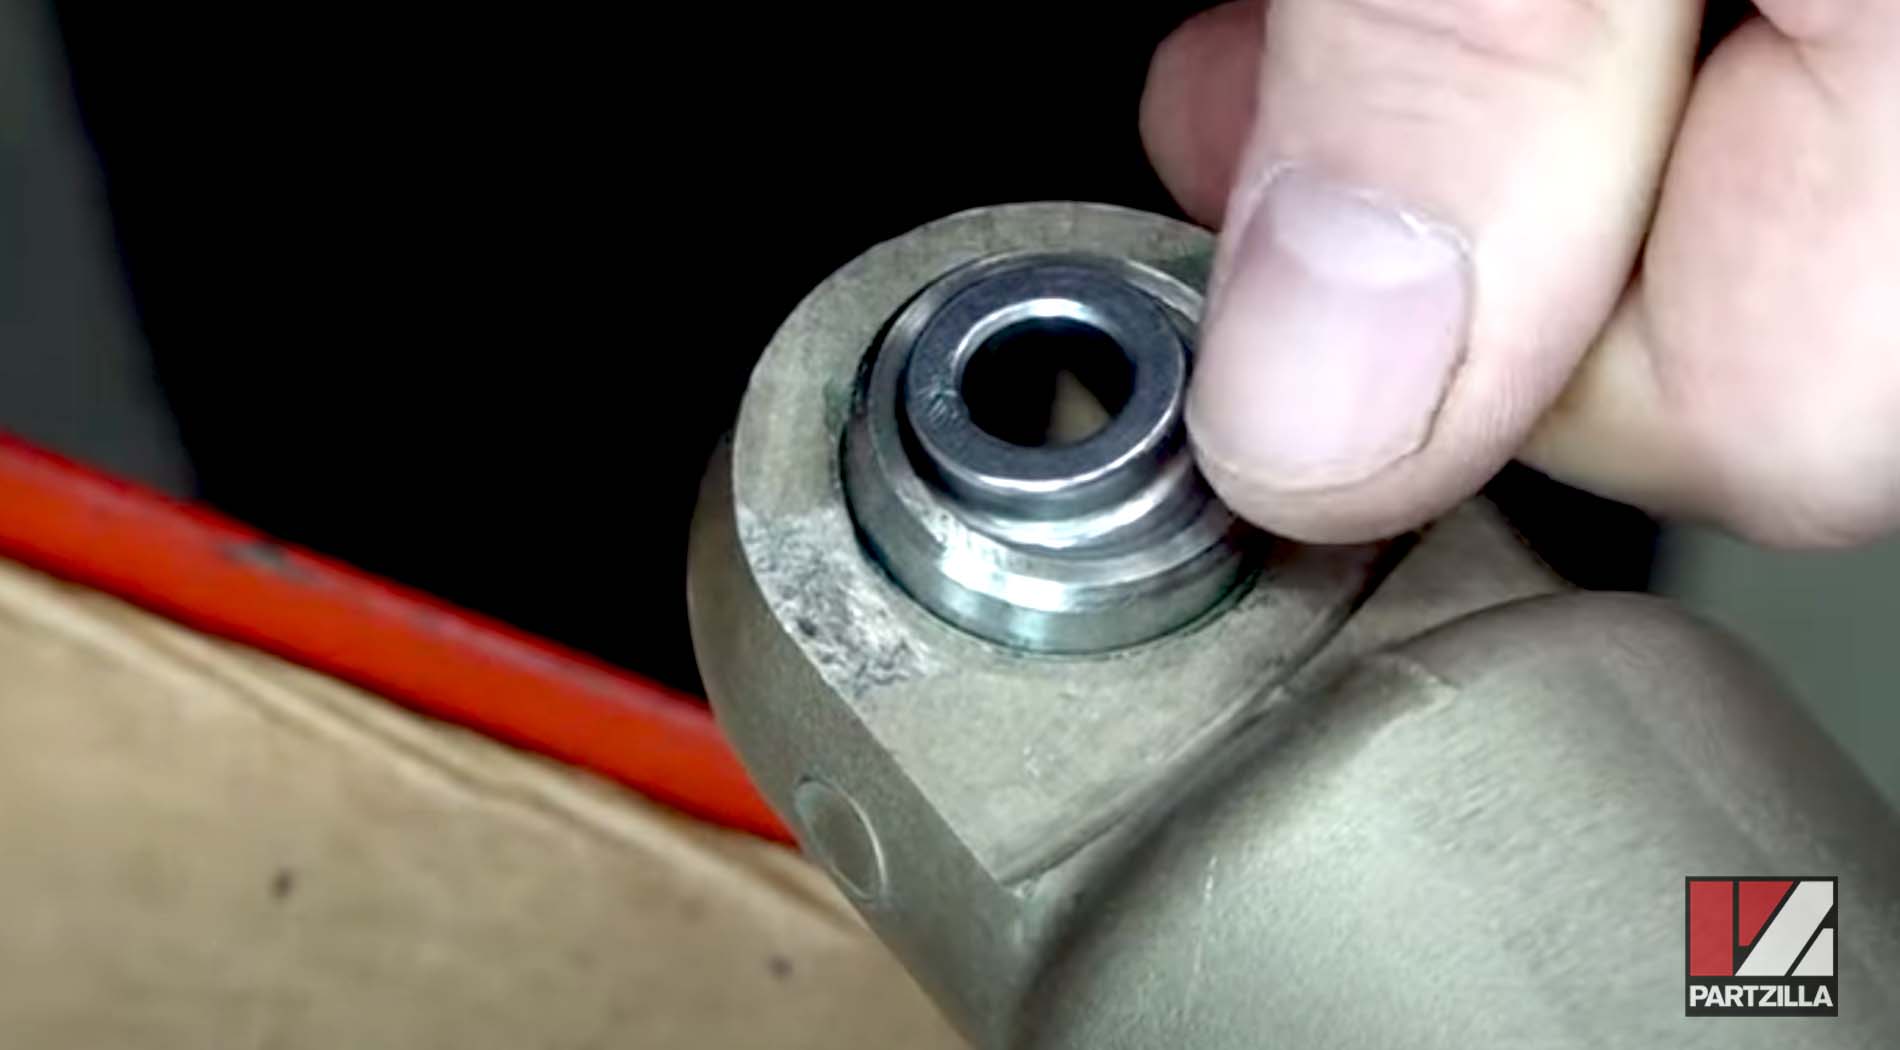
Step 7. Use the shock bearing tool to push the bearing in until you feel it bottom out.
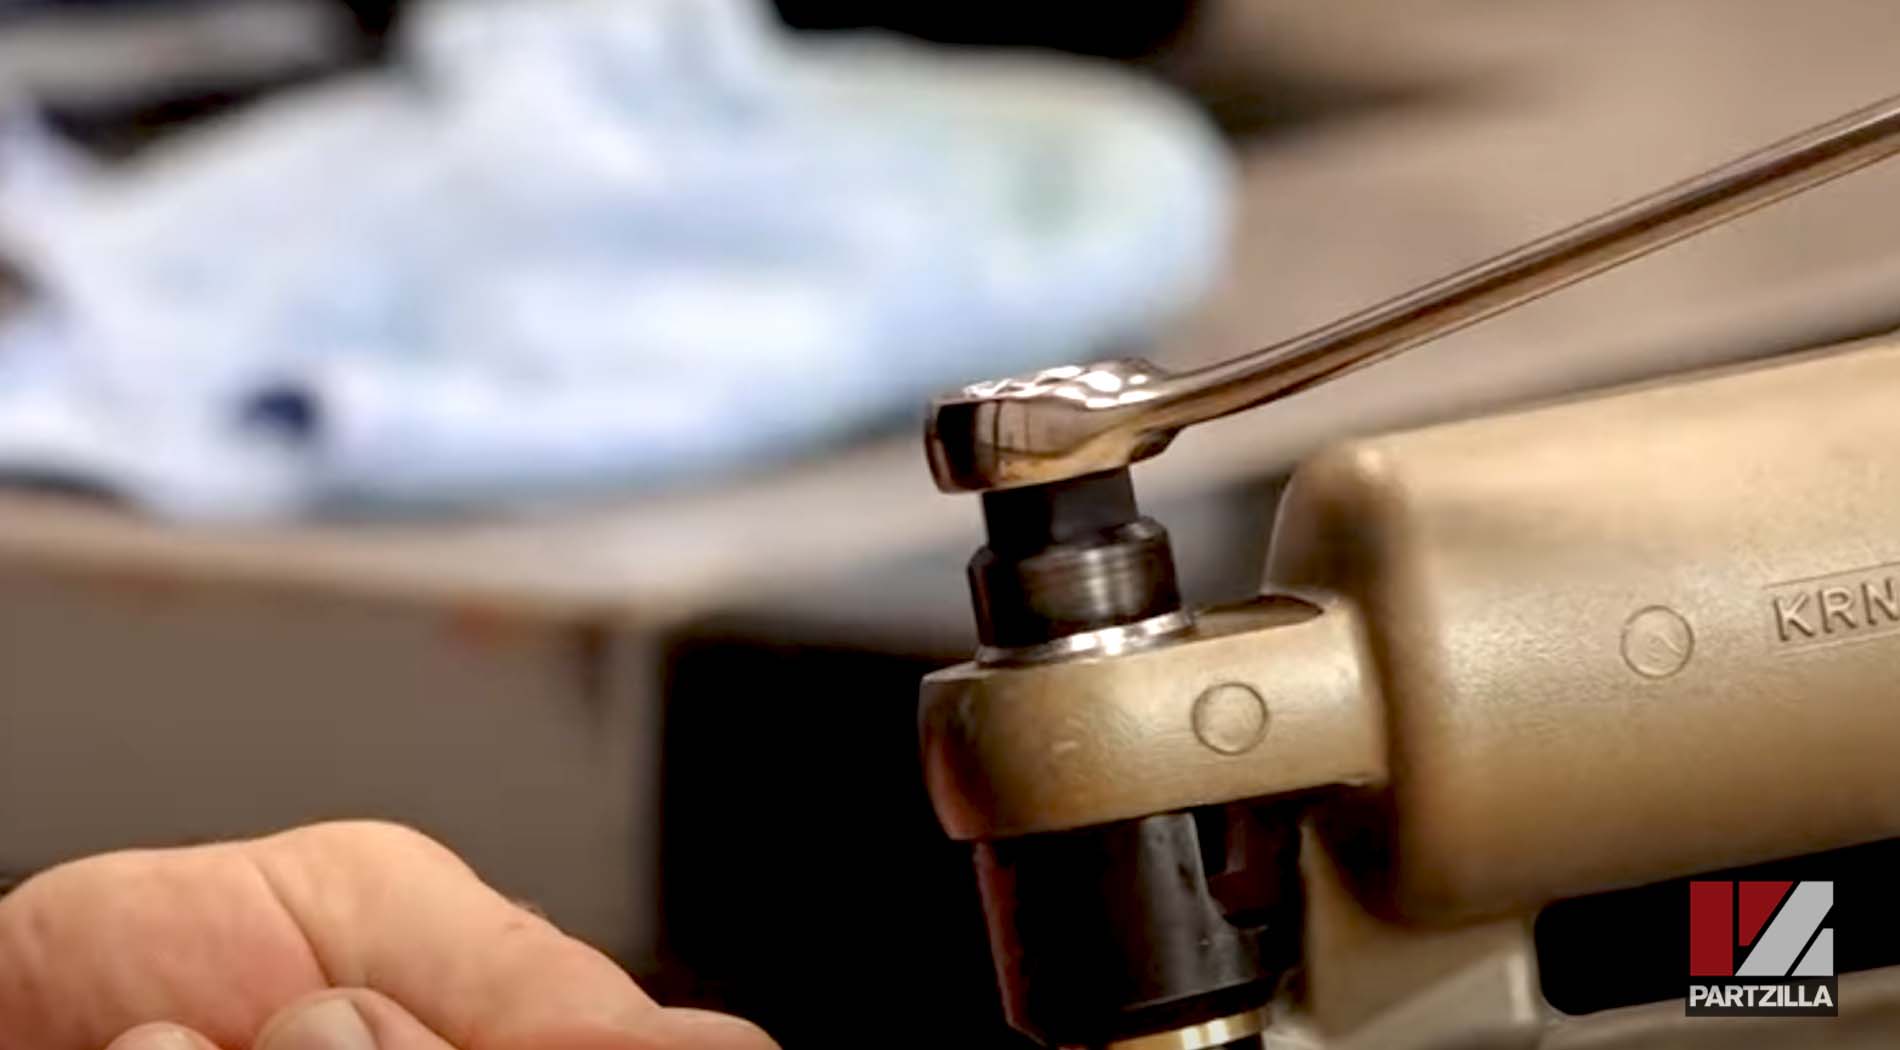
NOTE: When we removed the bearing, the domed area was on top since we were pulling up. Now, the dome is on the bottom, and we tightened the nut on top to push the bearing into the shock.
Step 8. Install the stopper ring, then work it around to get it to seat into place.
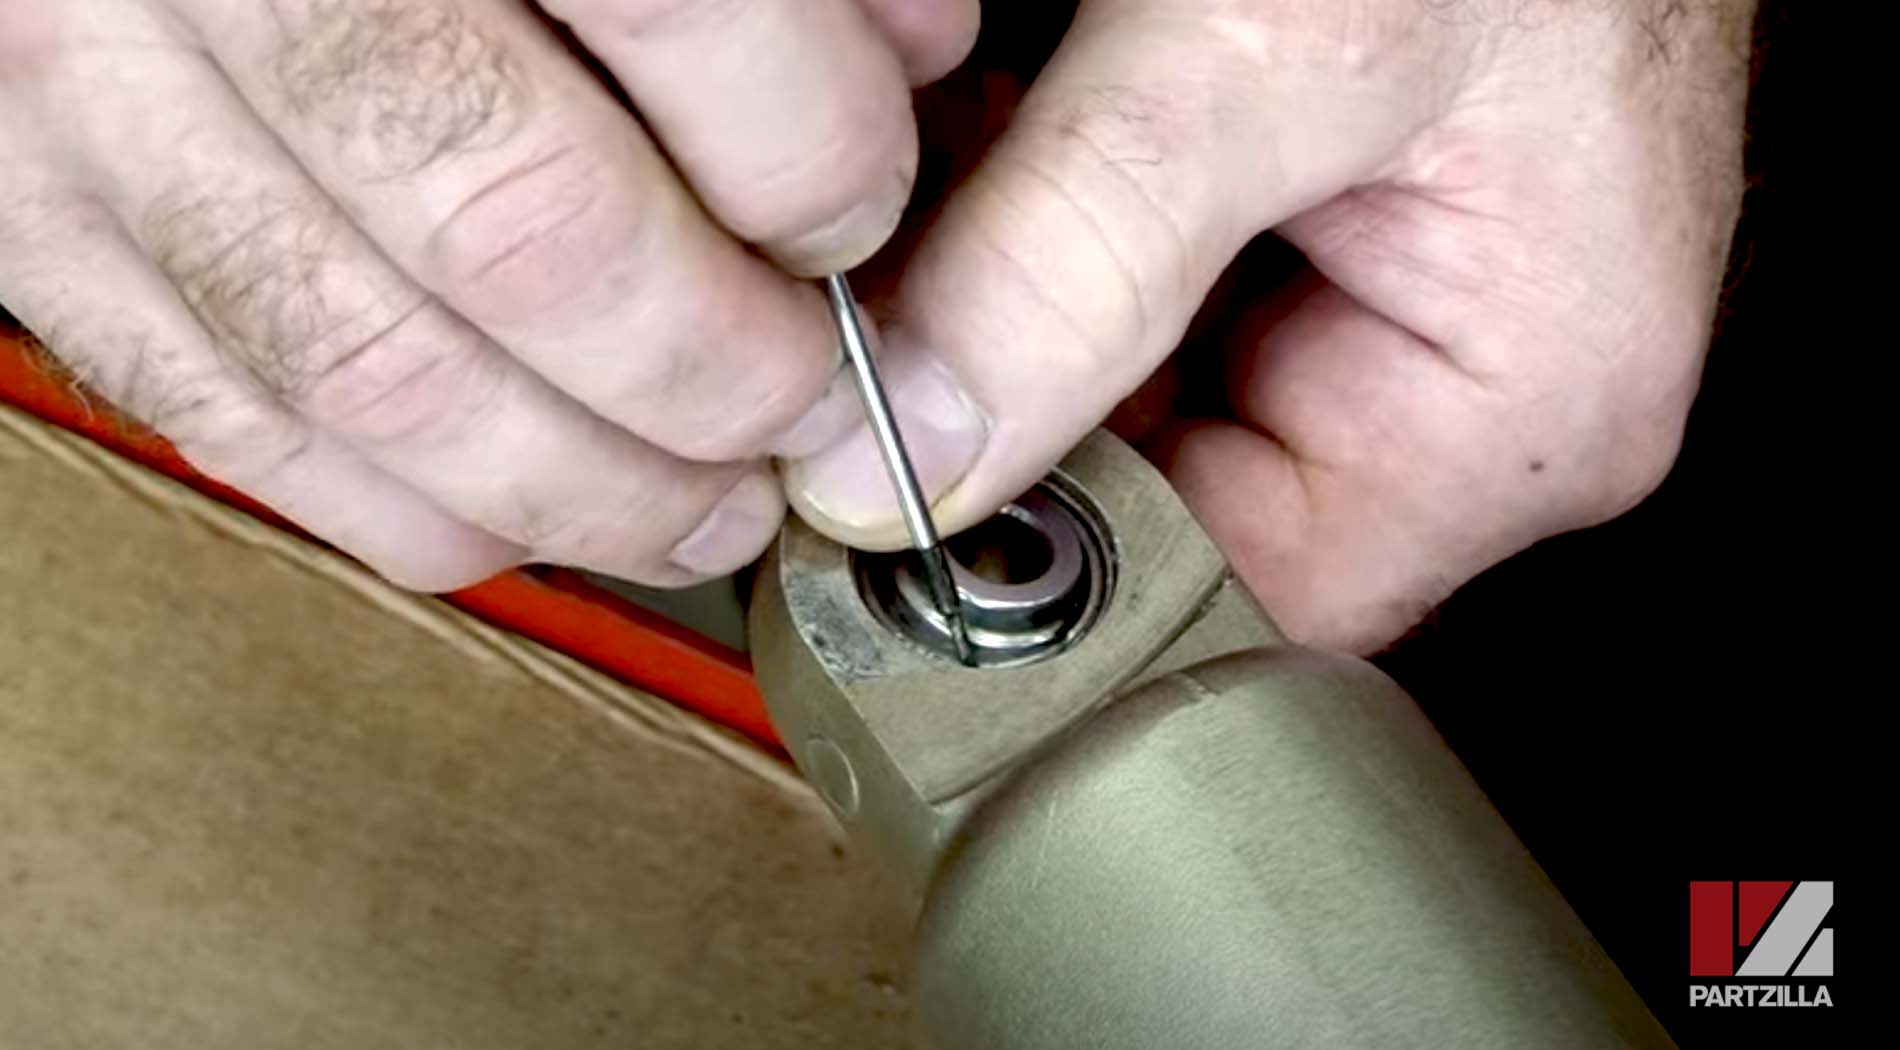
Step 9. Pull the bearing back toward the stopper ring, then turn the bolt on the bottom counterclockwise to push the bearing up toward the ring until it seats.
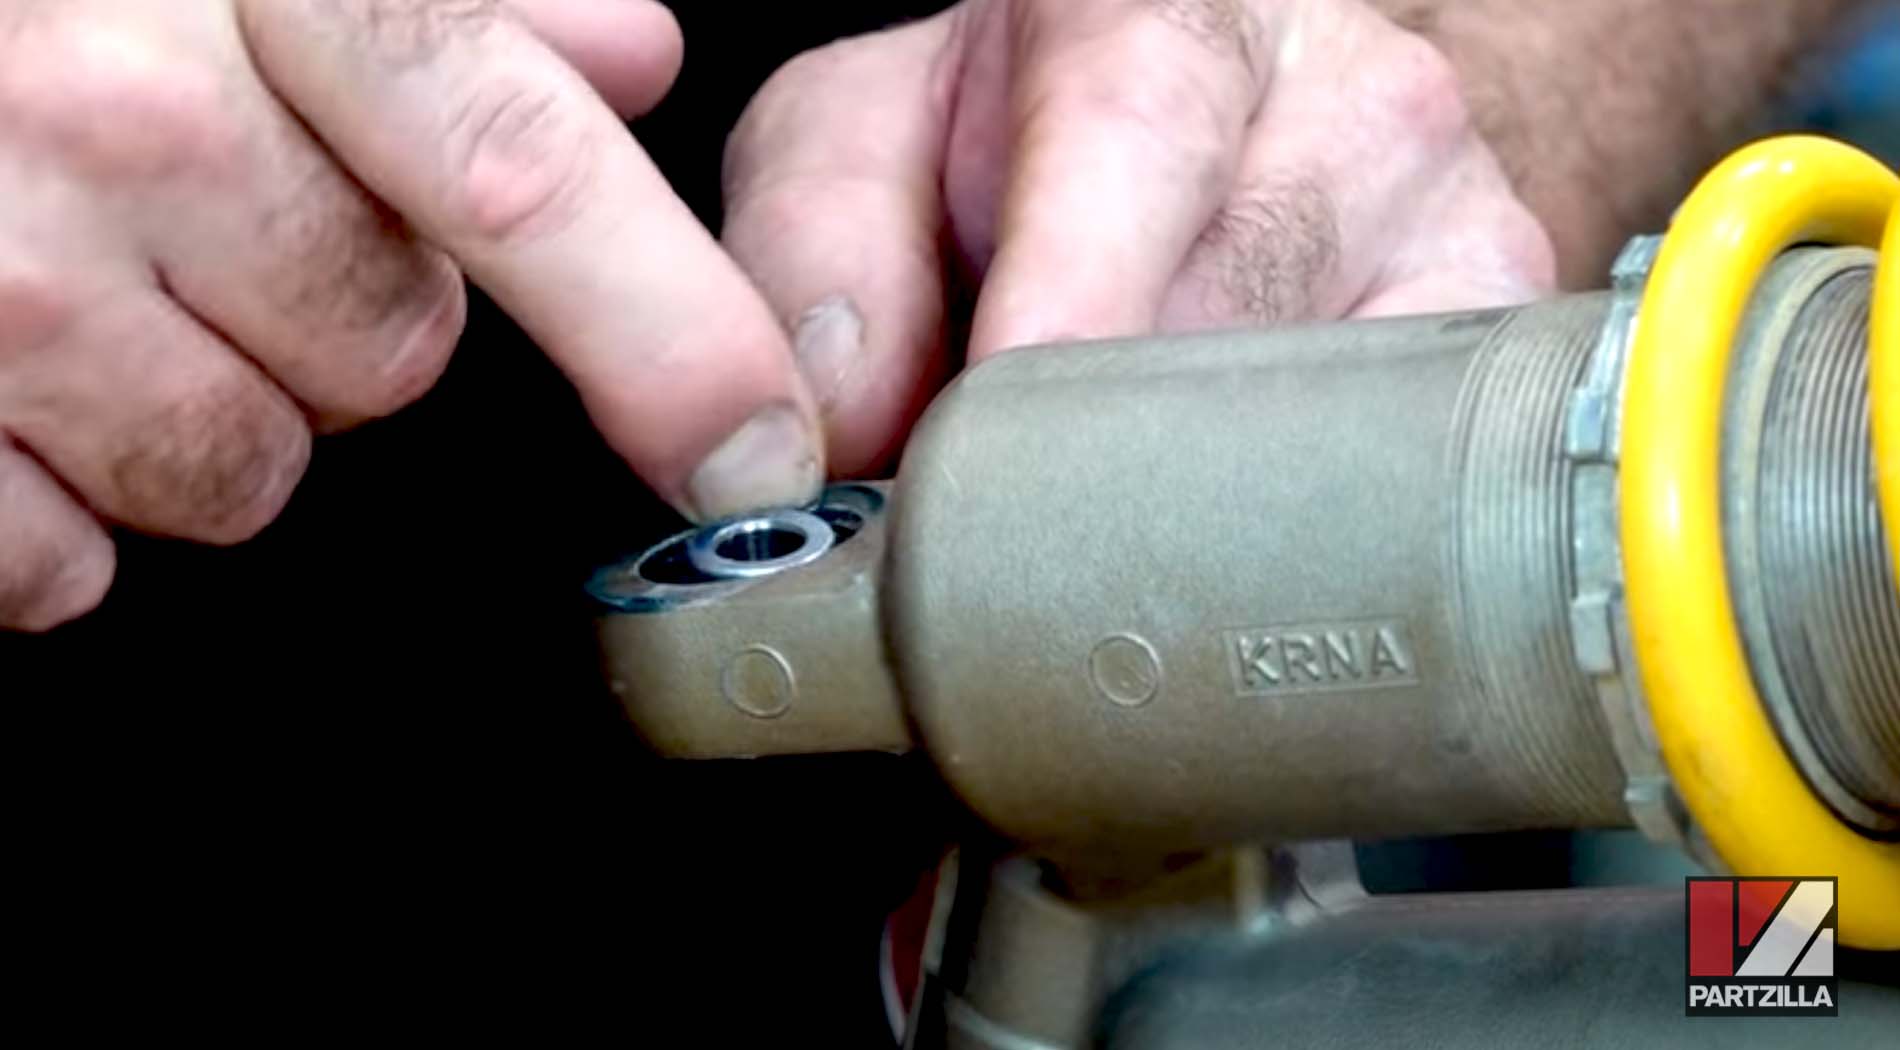
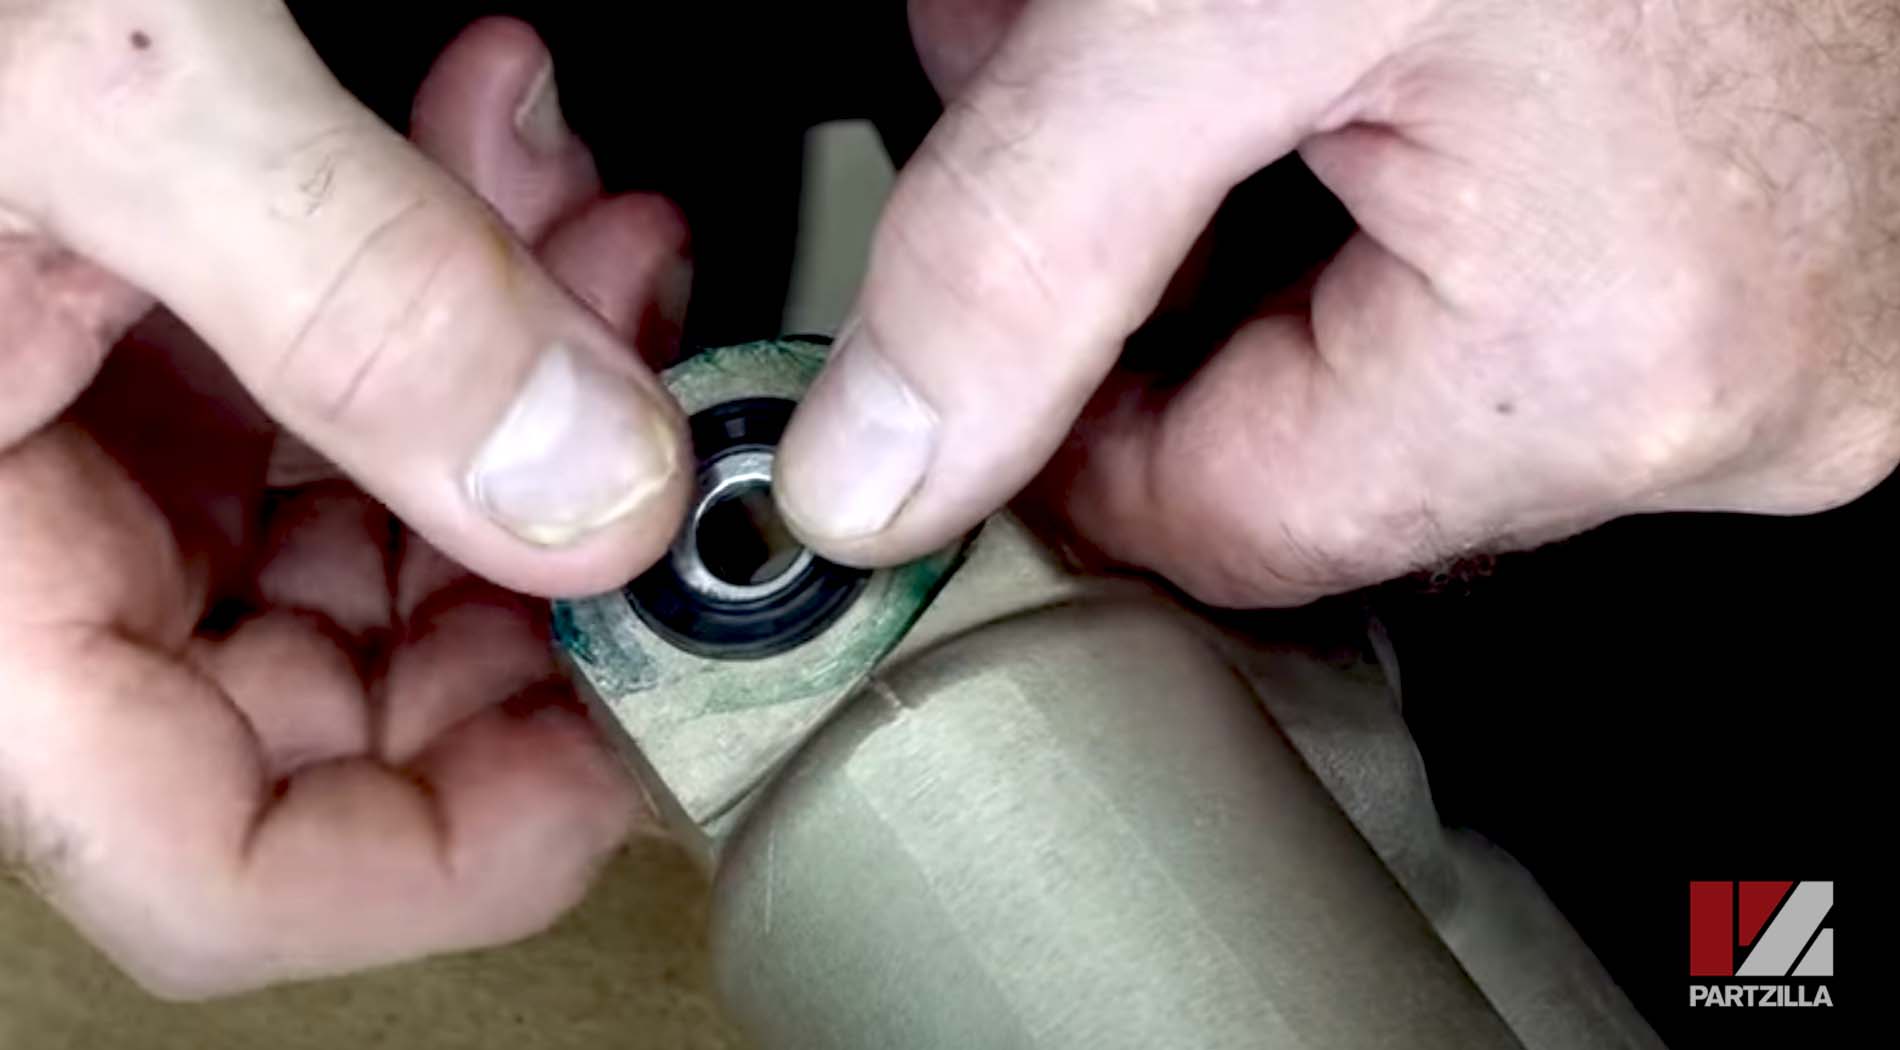
Step 10. Grease the top and bottom of the bearing and replace the seals. The flat side of the seals face inward toward the bearing.
Step 11. Reinstall the shock onto the motorcycle and you’re done.
