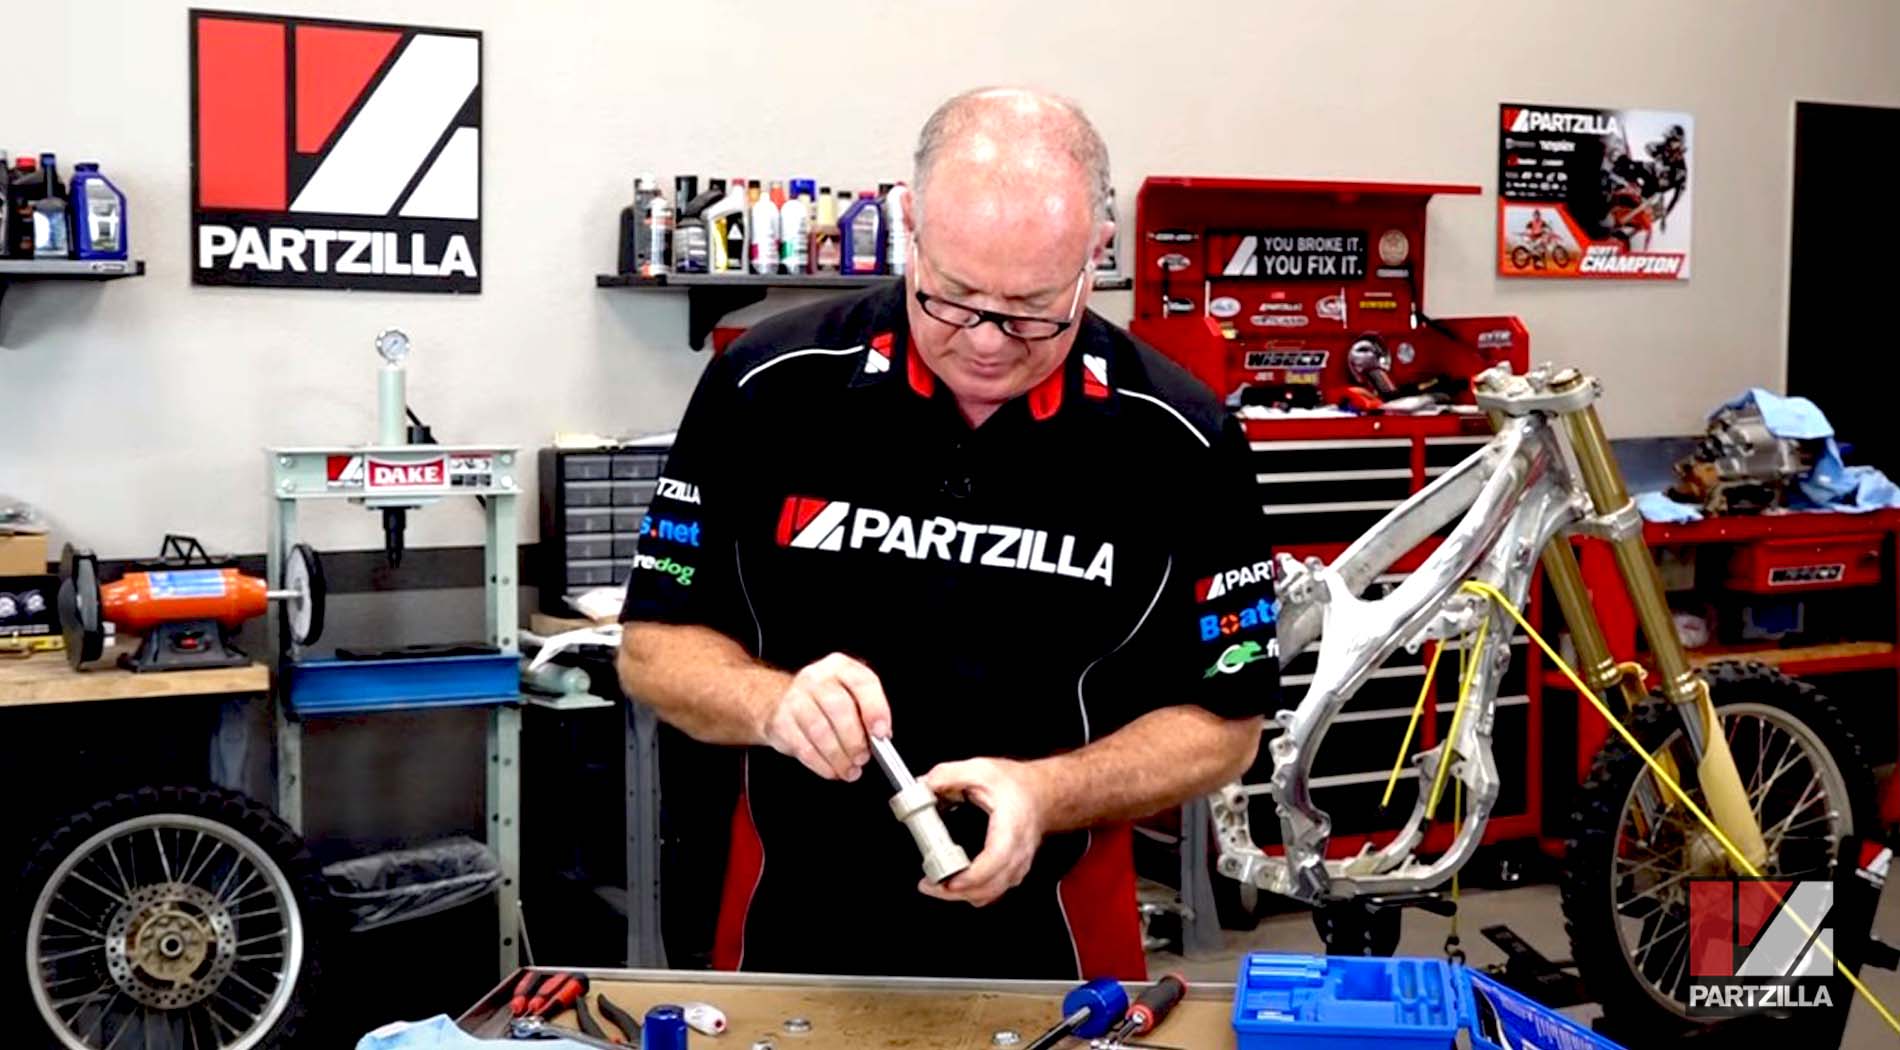
How to Replace Honda CRF450R Linkage Bearings
As part of our complete 2005 Honda CRF450R rebuild, we replaced the bearings for the linkage that attaches to the bottom of the shock.
Watch the video above and follow the steps below to do a linkage bearing replacement on a Honda CRF450R.
Tools and Parts - Honda CRF450 Linkage Bearings Replacement
- Linkage bearing kit
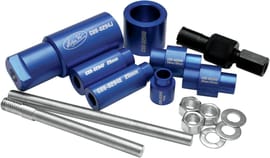
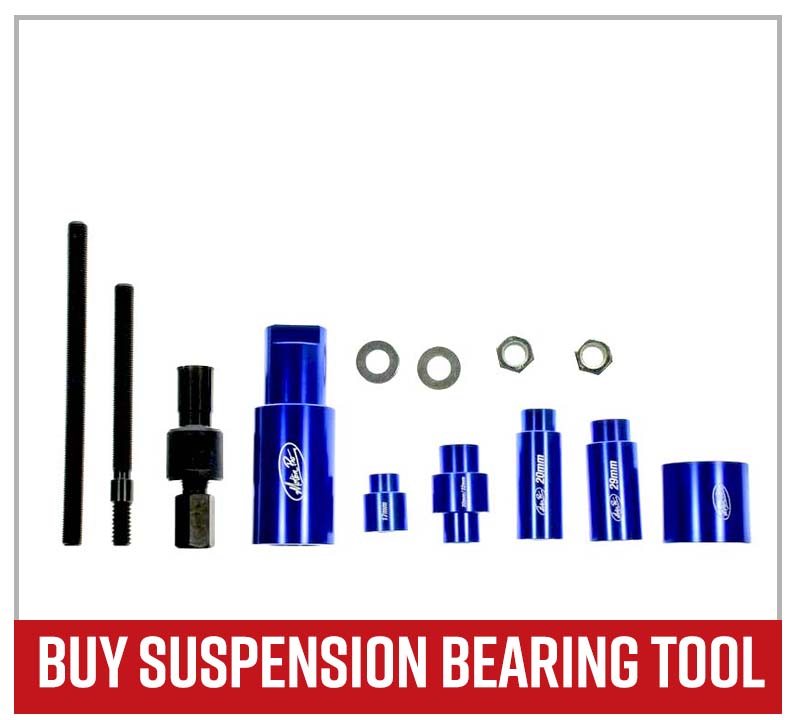
- Suspension bearing service tool kit
- Flat-blade screwdriver
- Impact wrench
- Assorted sockets and wrenches
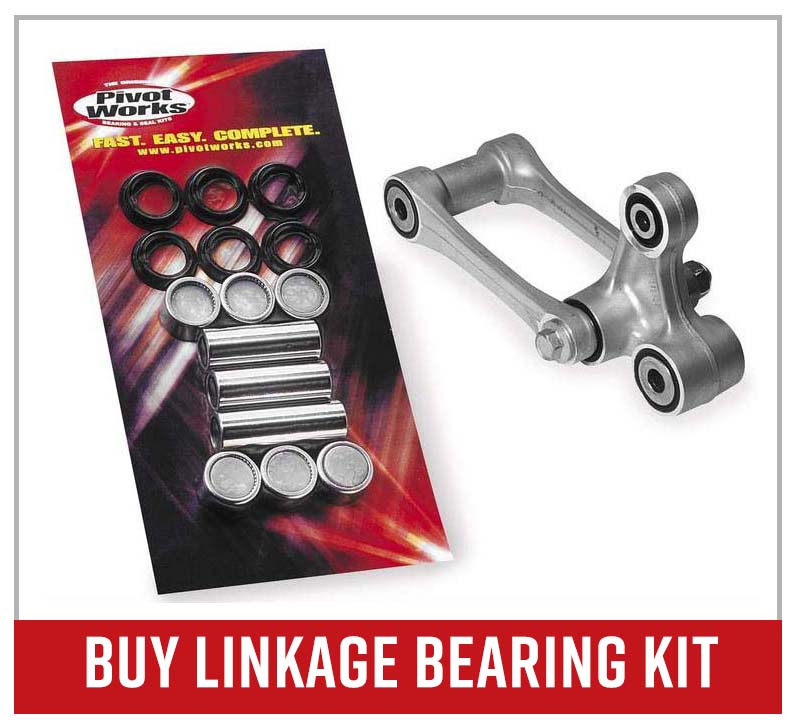
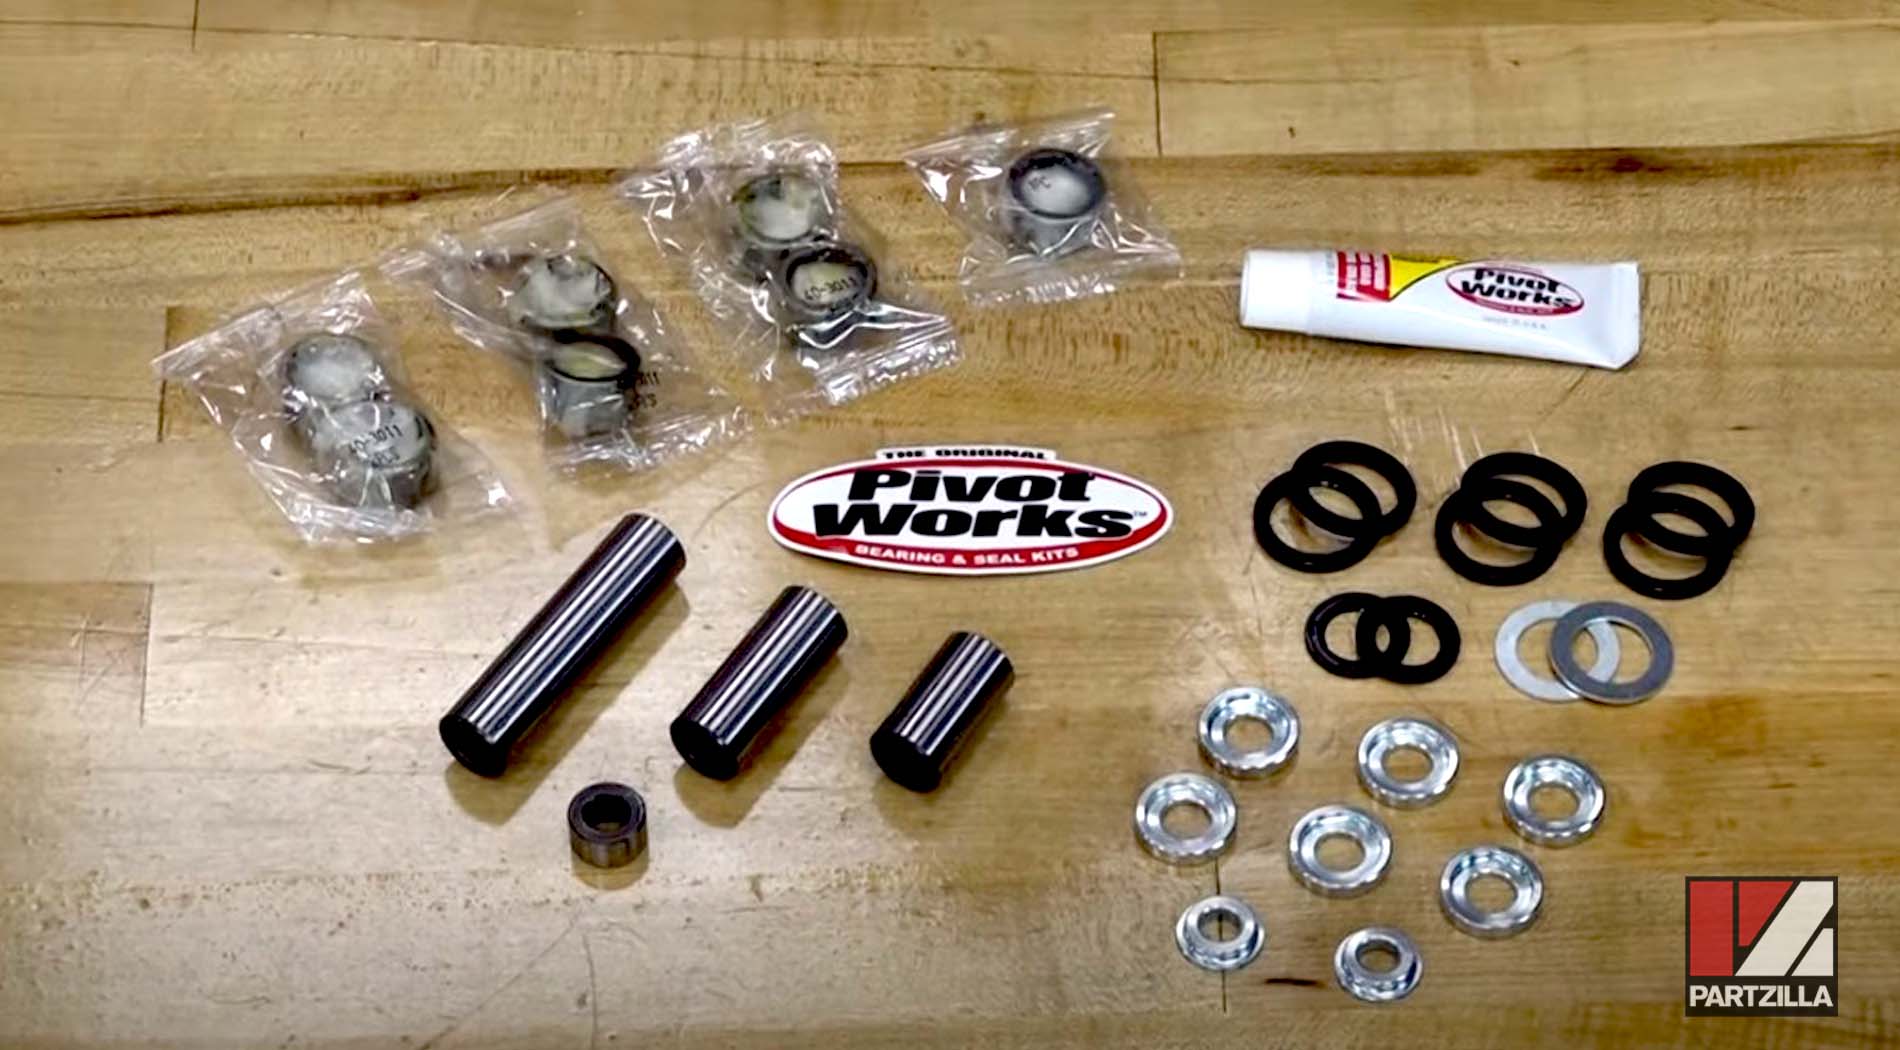
NOTE: We used an aftermarket kit from Pivot Works that has all the seals, bearings, spacers, grease and everything needed to completely rebuild the lower pivoting section. You can use OEM Honda motorcycle parts to do this build if you prefer.
Honda CRF450 Linkage Bearing Replacement Steps
Step 1. Use a 17mm wrench to remove the nuts and bolts that hold the shock in place.
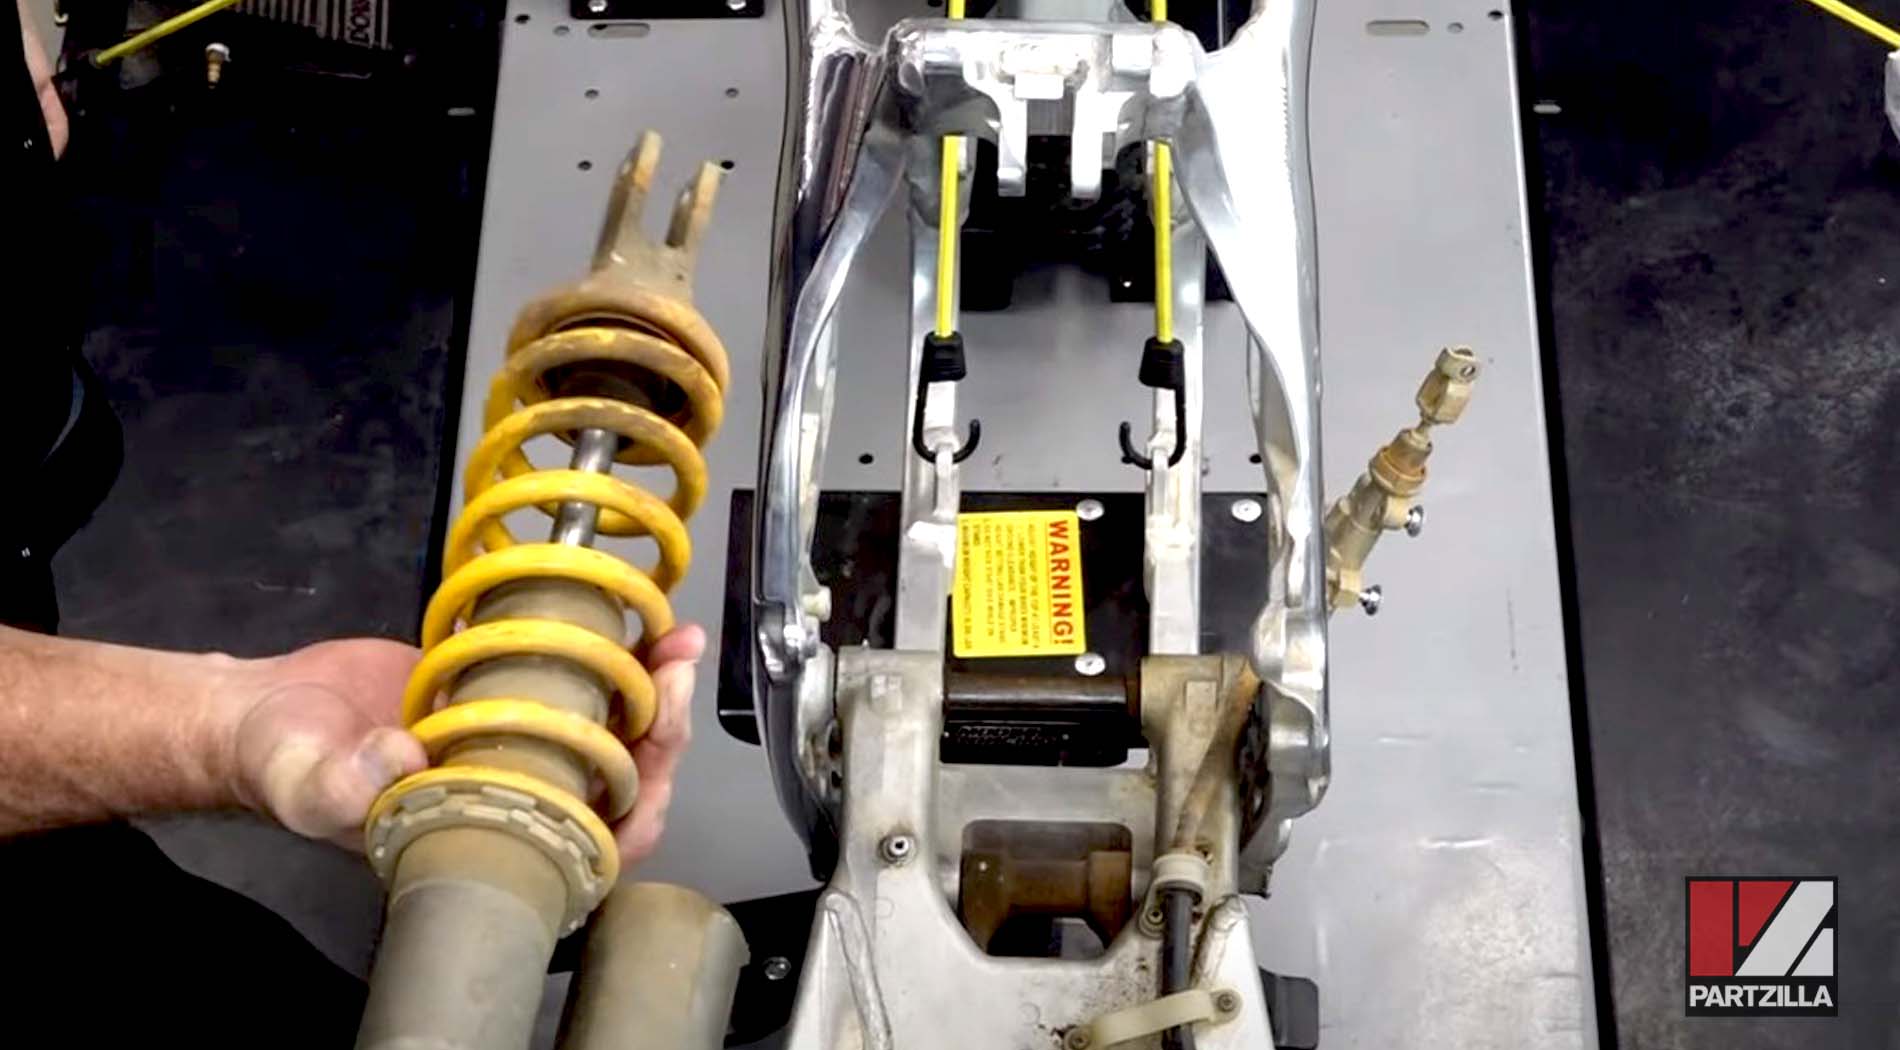
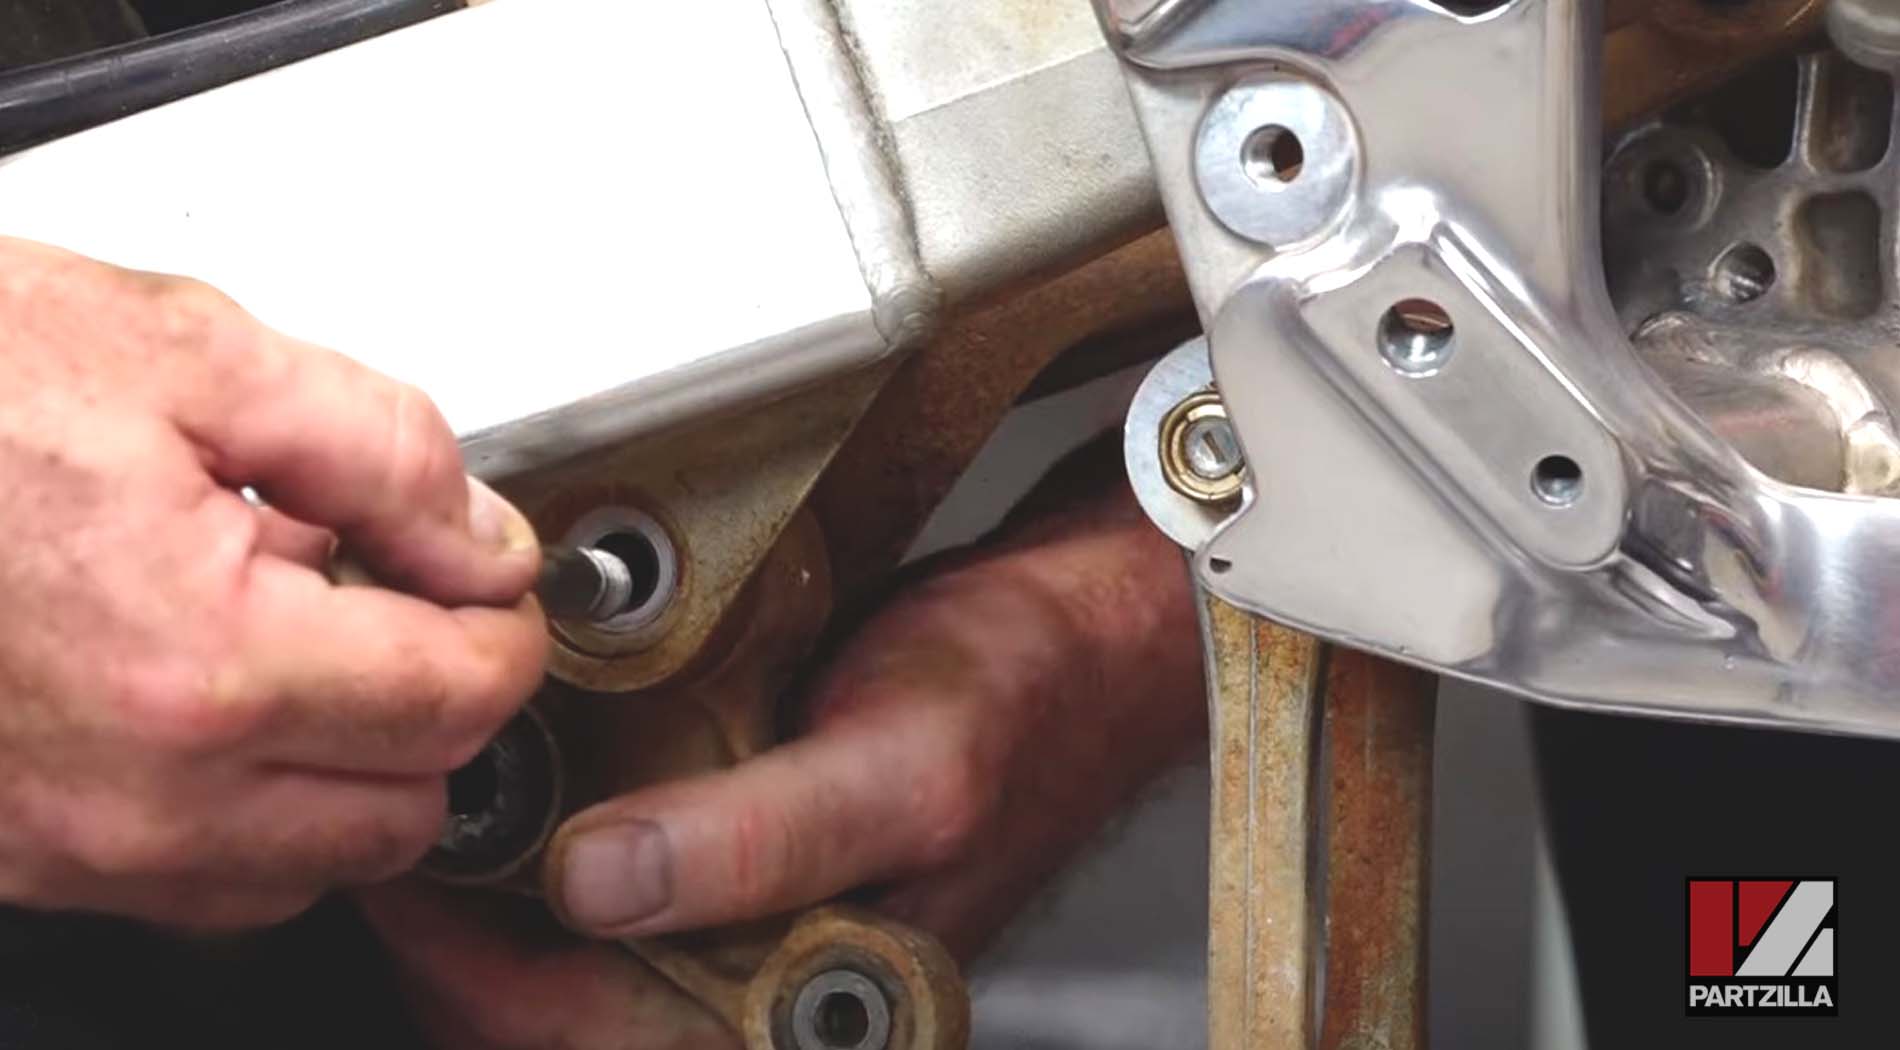
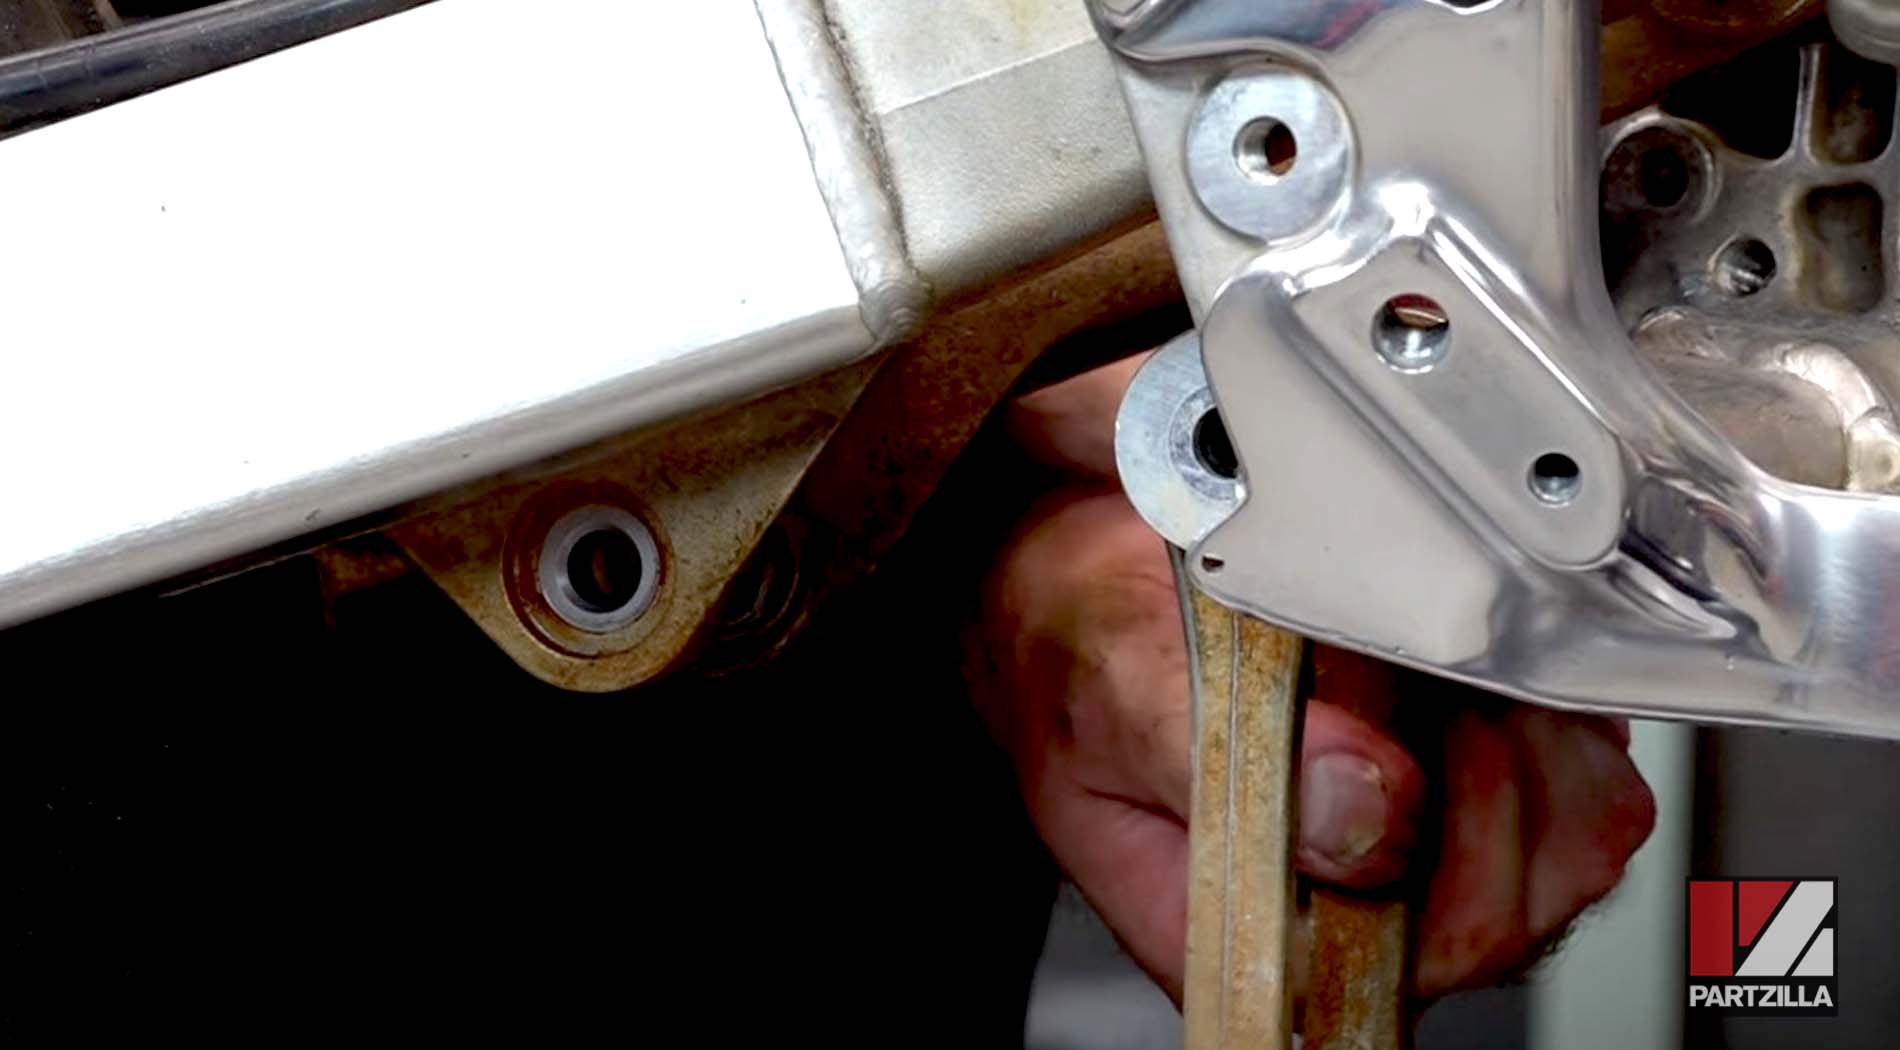
Step 2. Break loose the linkage arm connection to the pivot, then remove the two bolts holding the frame in the swing arm. They both have a 14mm on one side and a 19mm on the other.
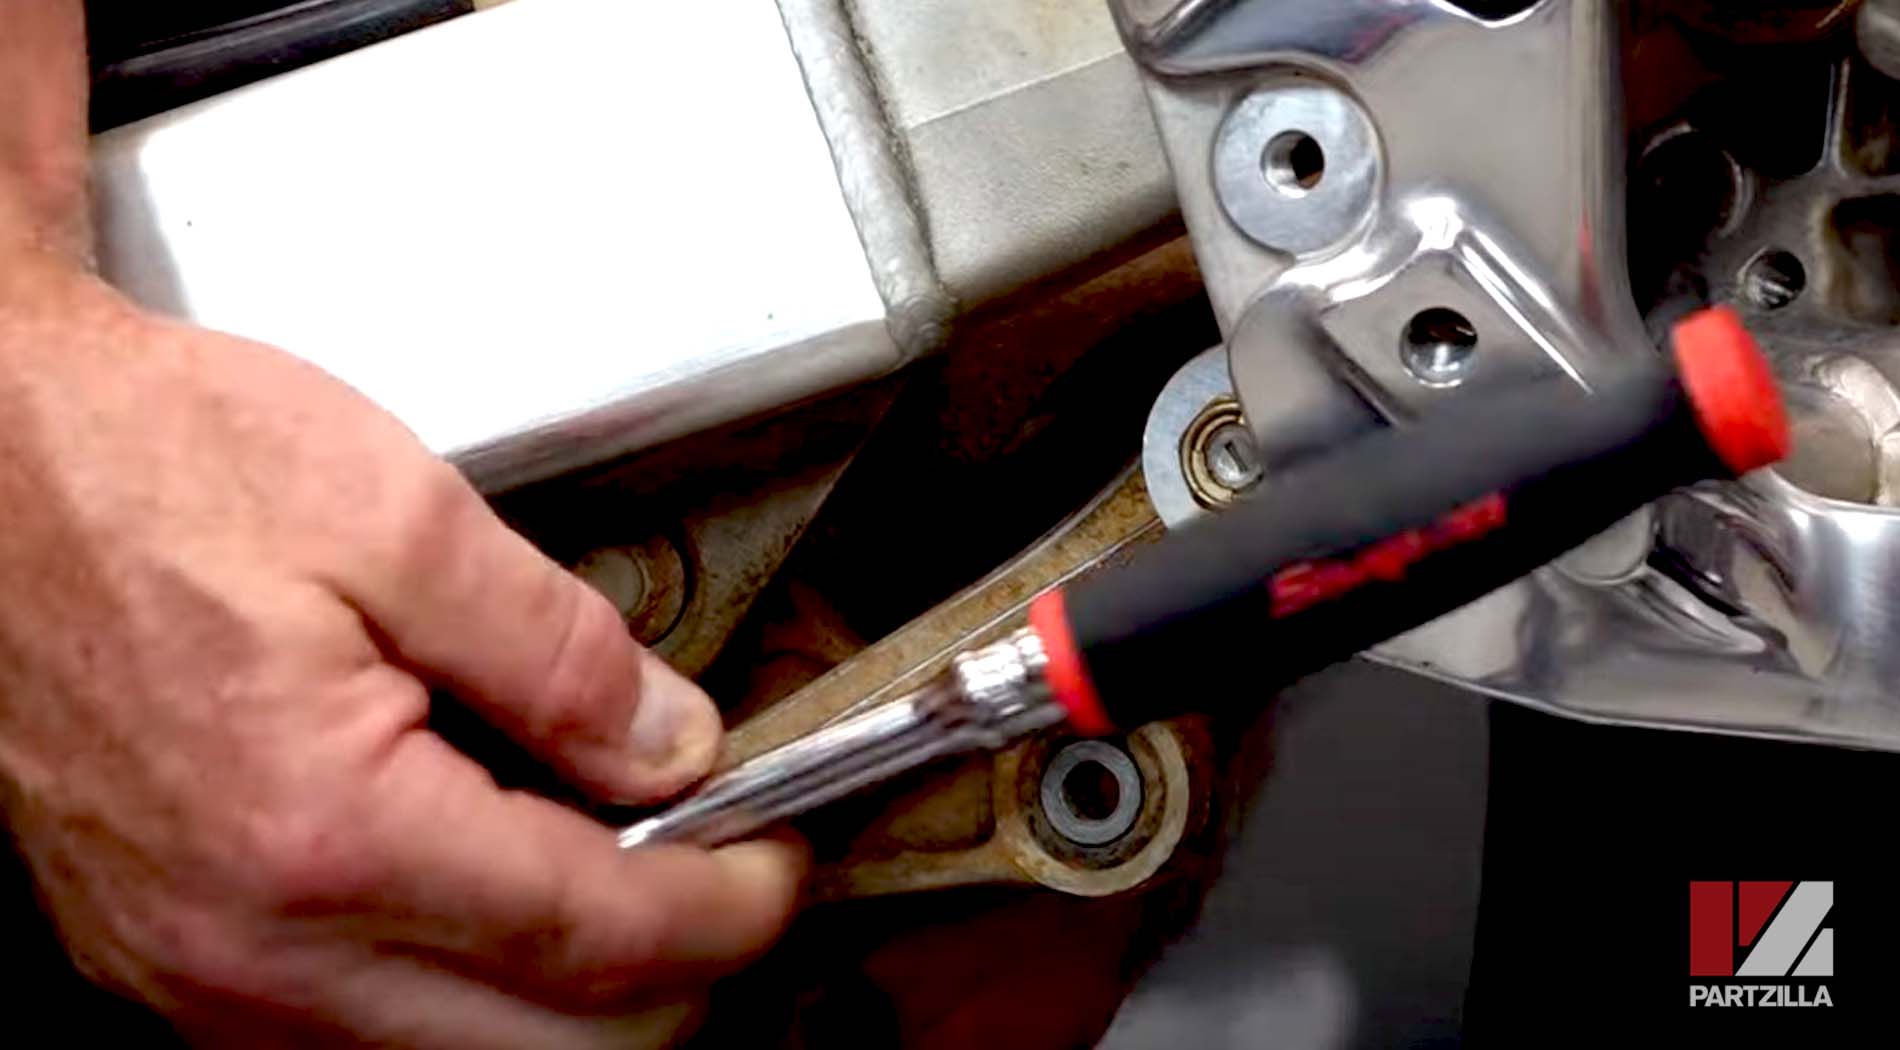

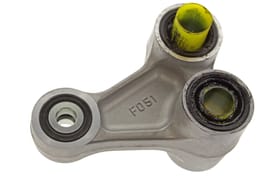
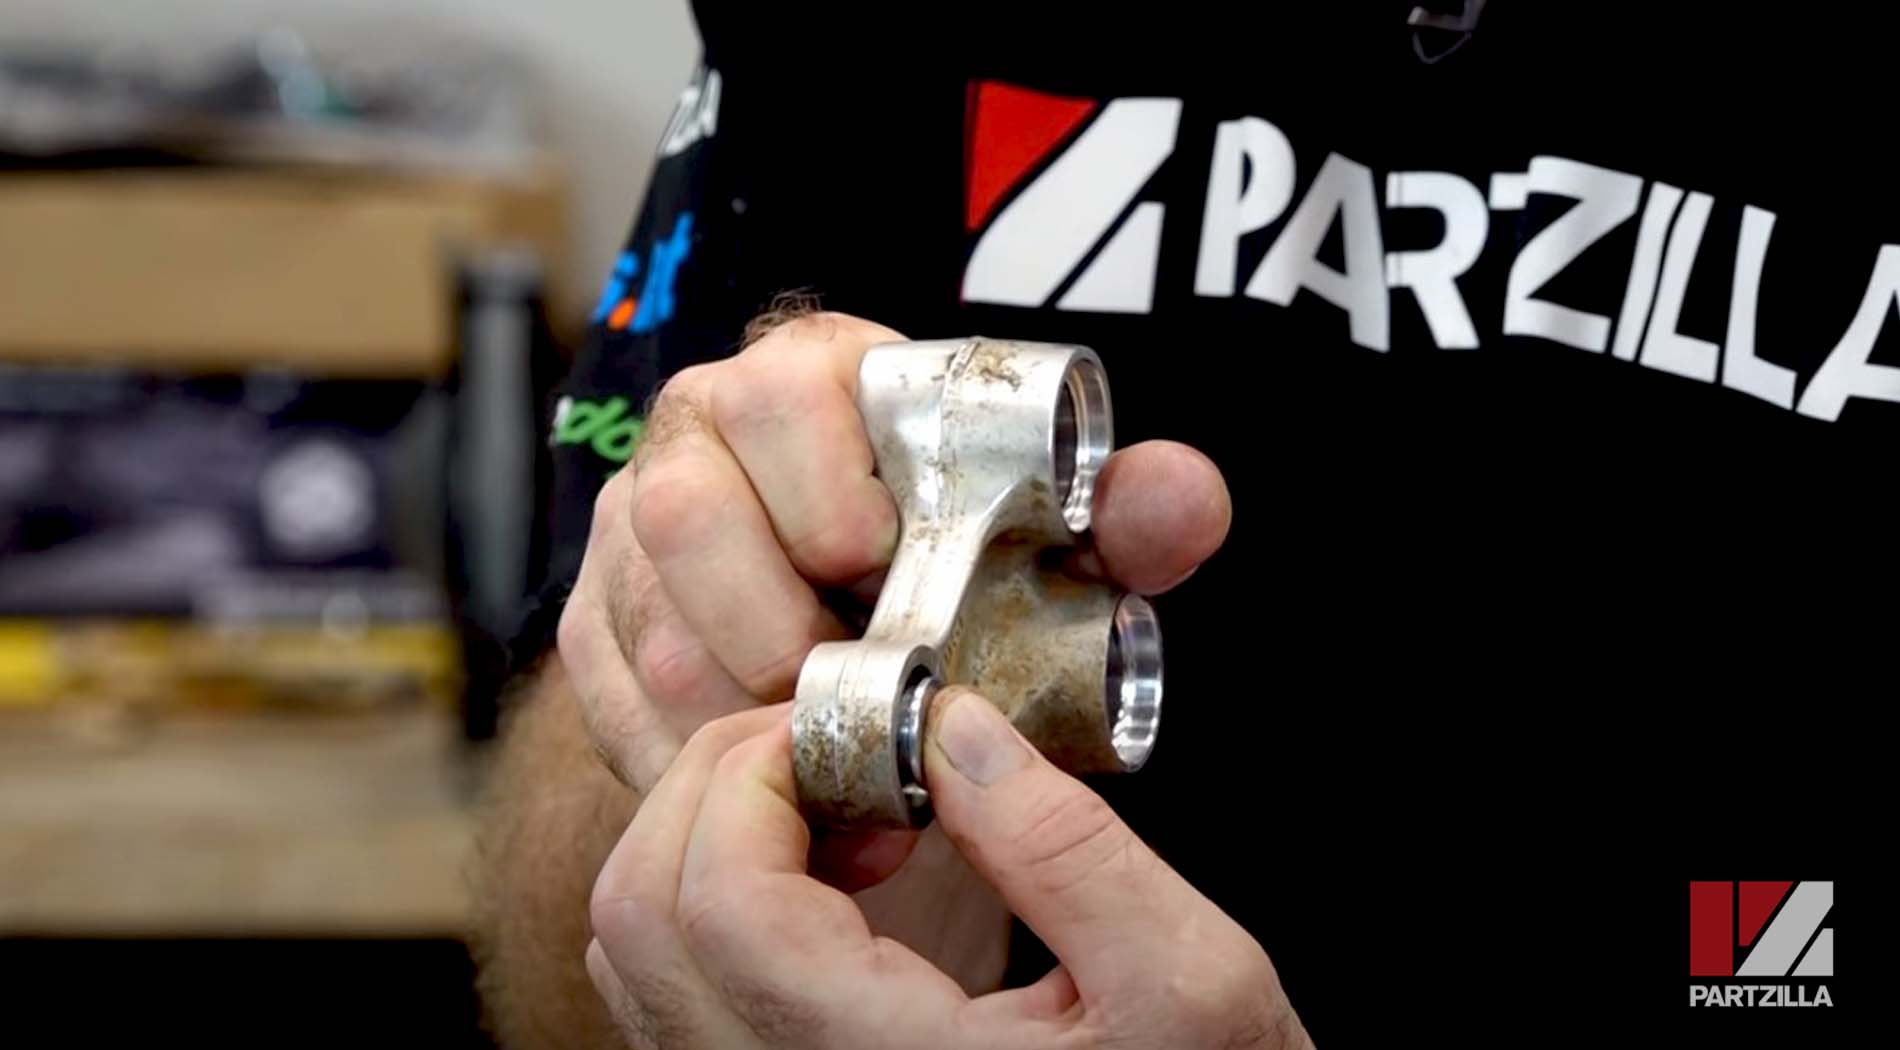
Step 3. Remove the linkage arm and the pivot on the back.
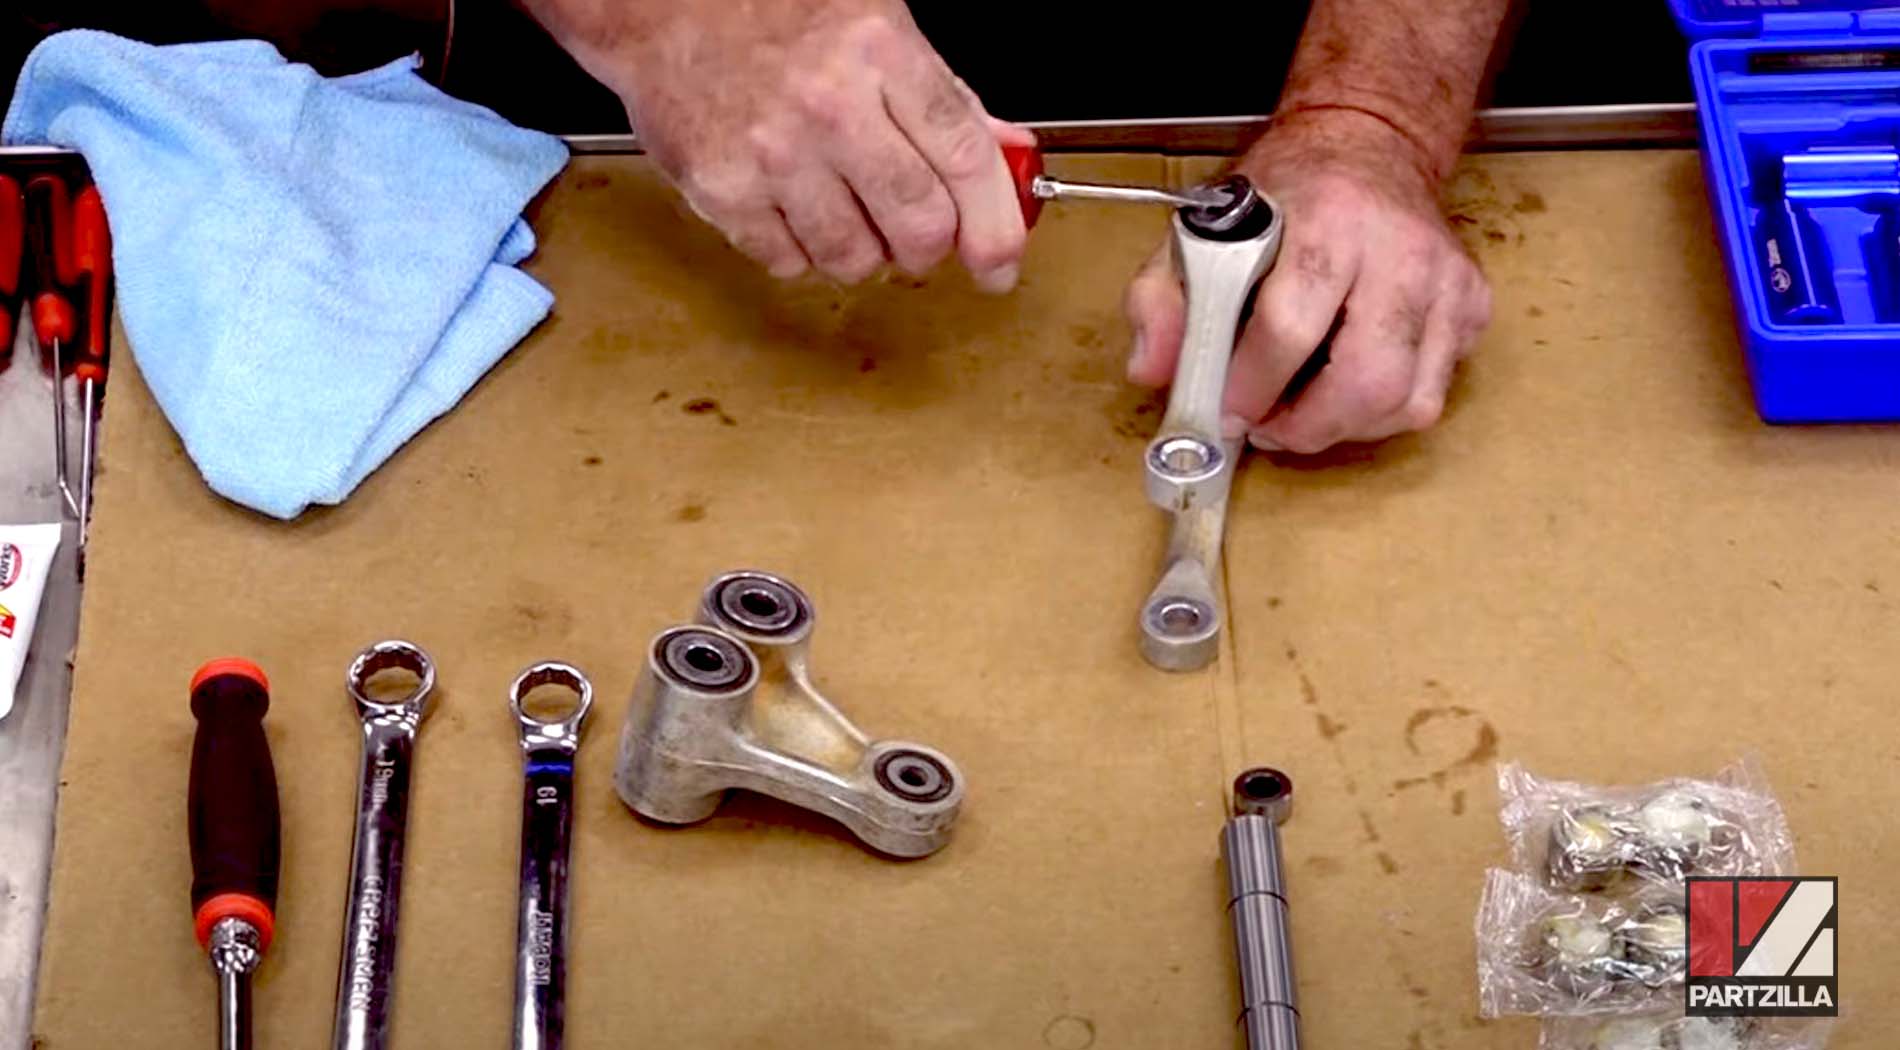
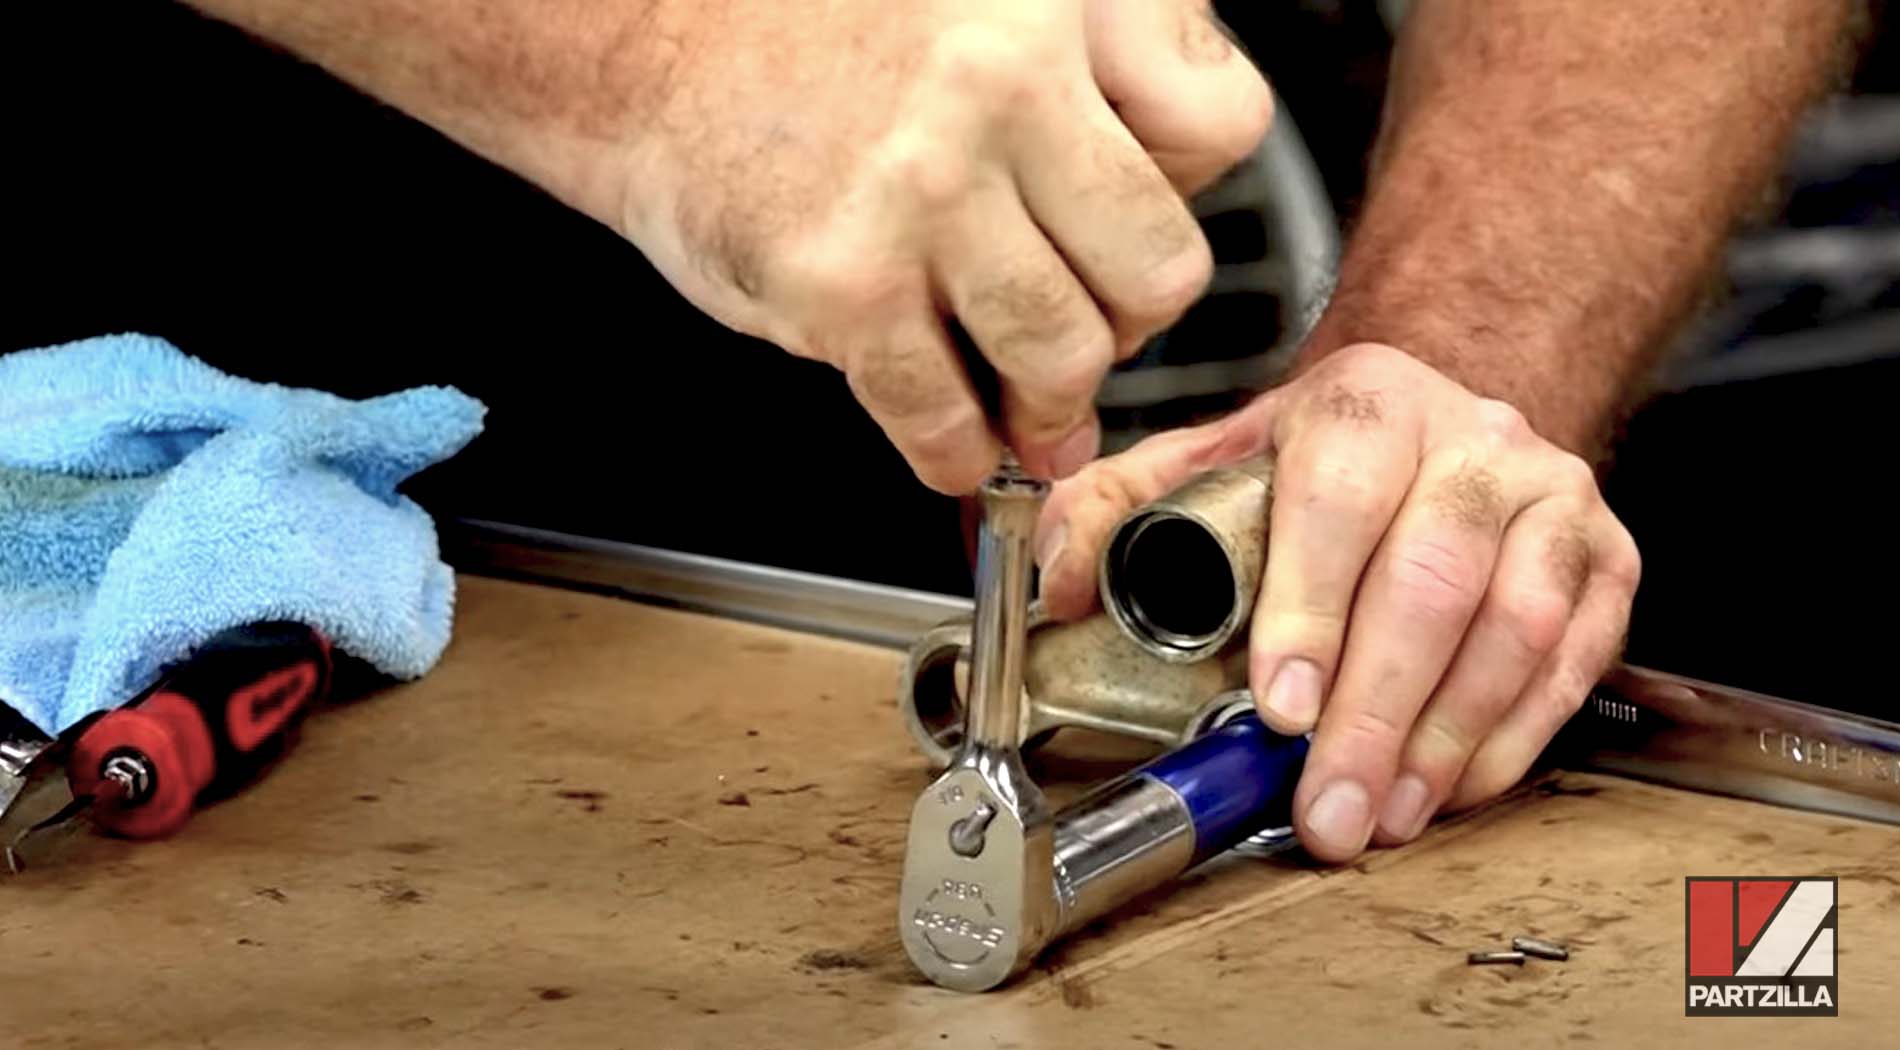
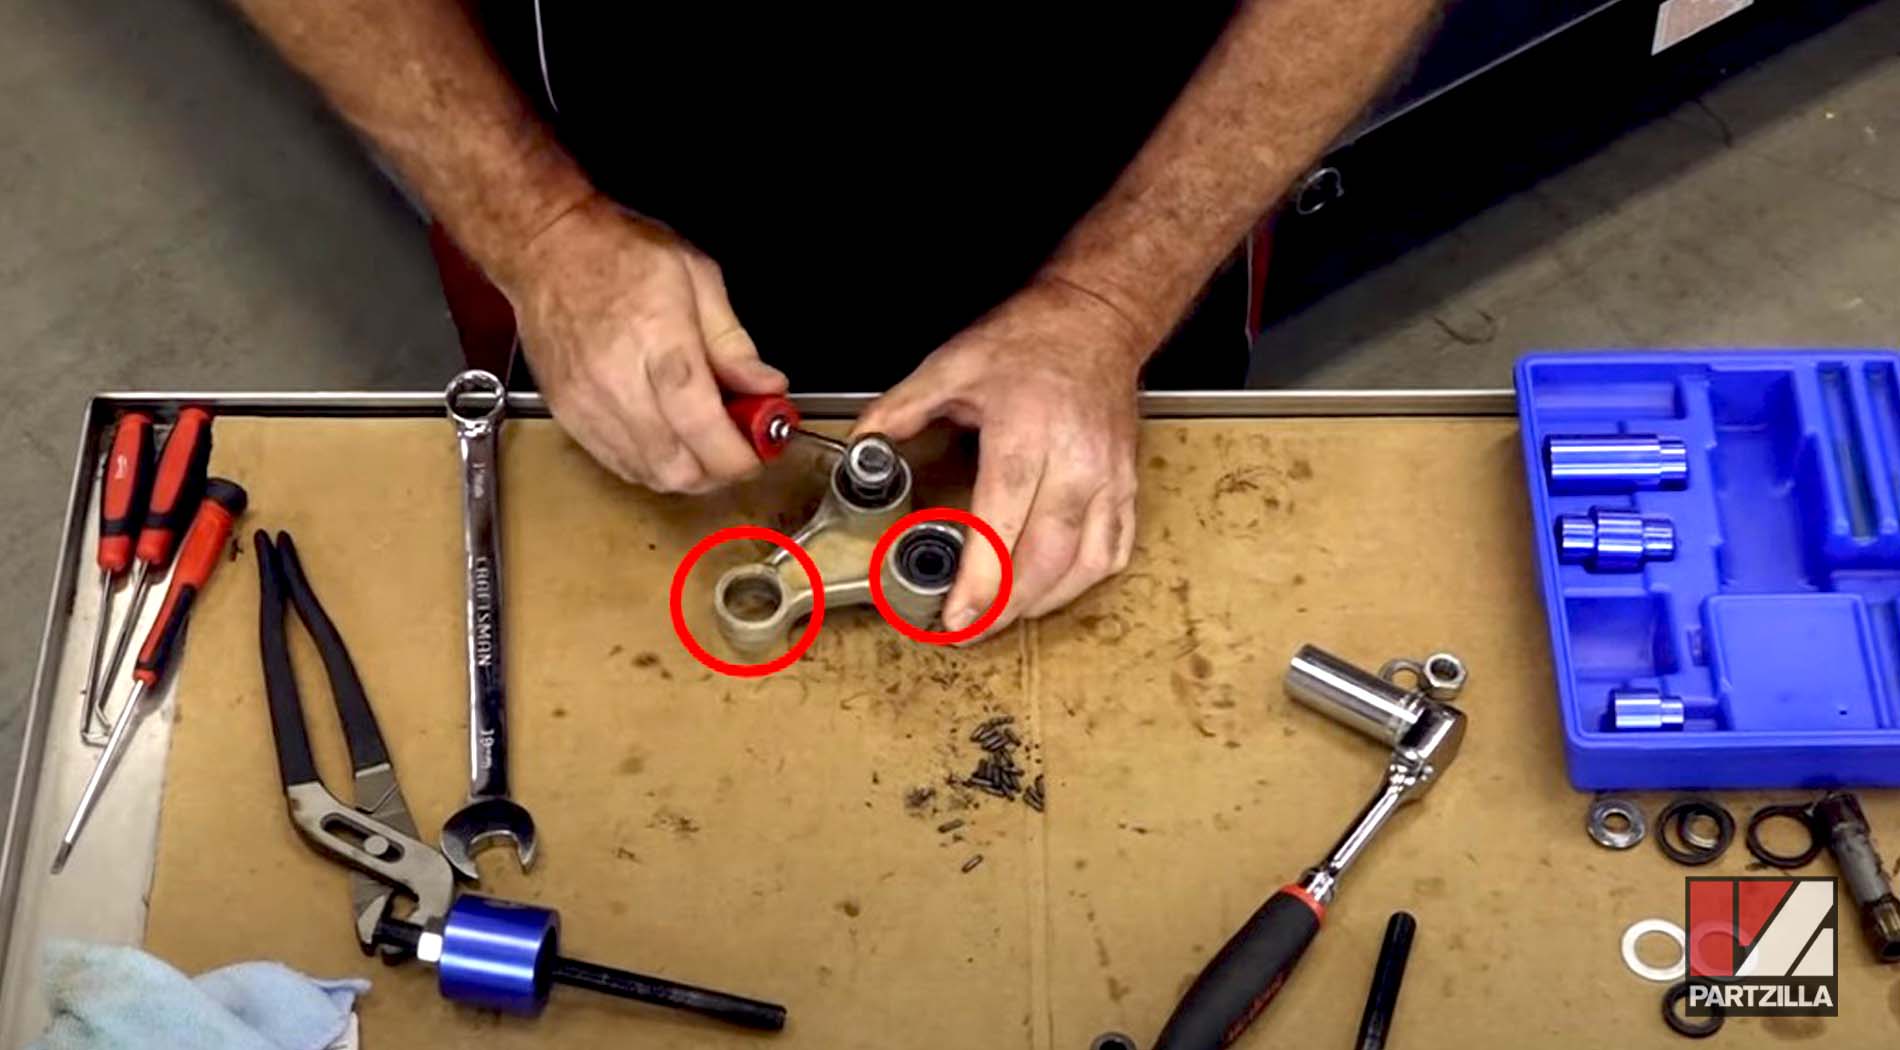
Step 4. Remove the washers, seals and the connecting rod from the linkage arm.
NOTE: We used the Motion Pro deluxe suspension bearing kit, which is geared toward this particular motorcycle model. If you're working on a different model, make sure the kit you use has all the adapters needed to get everything pressed out and back in.
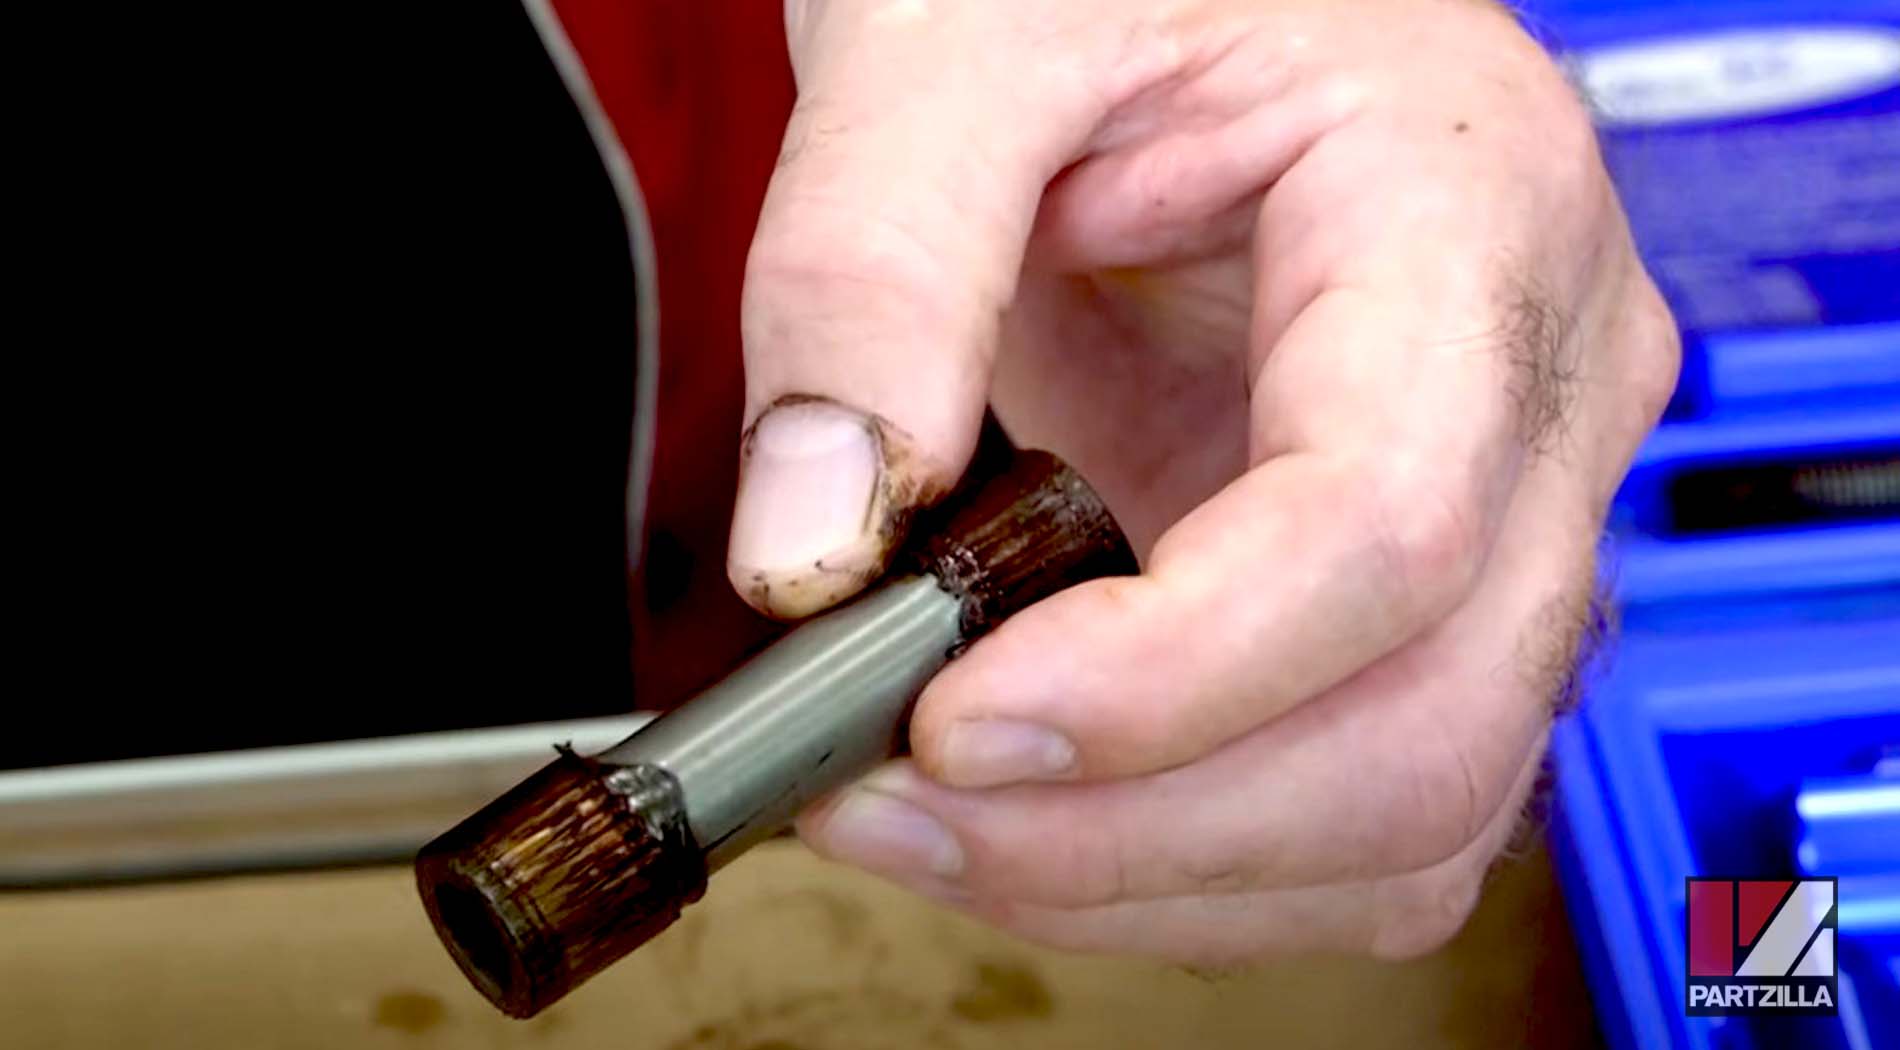
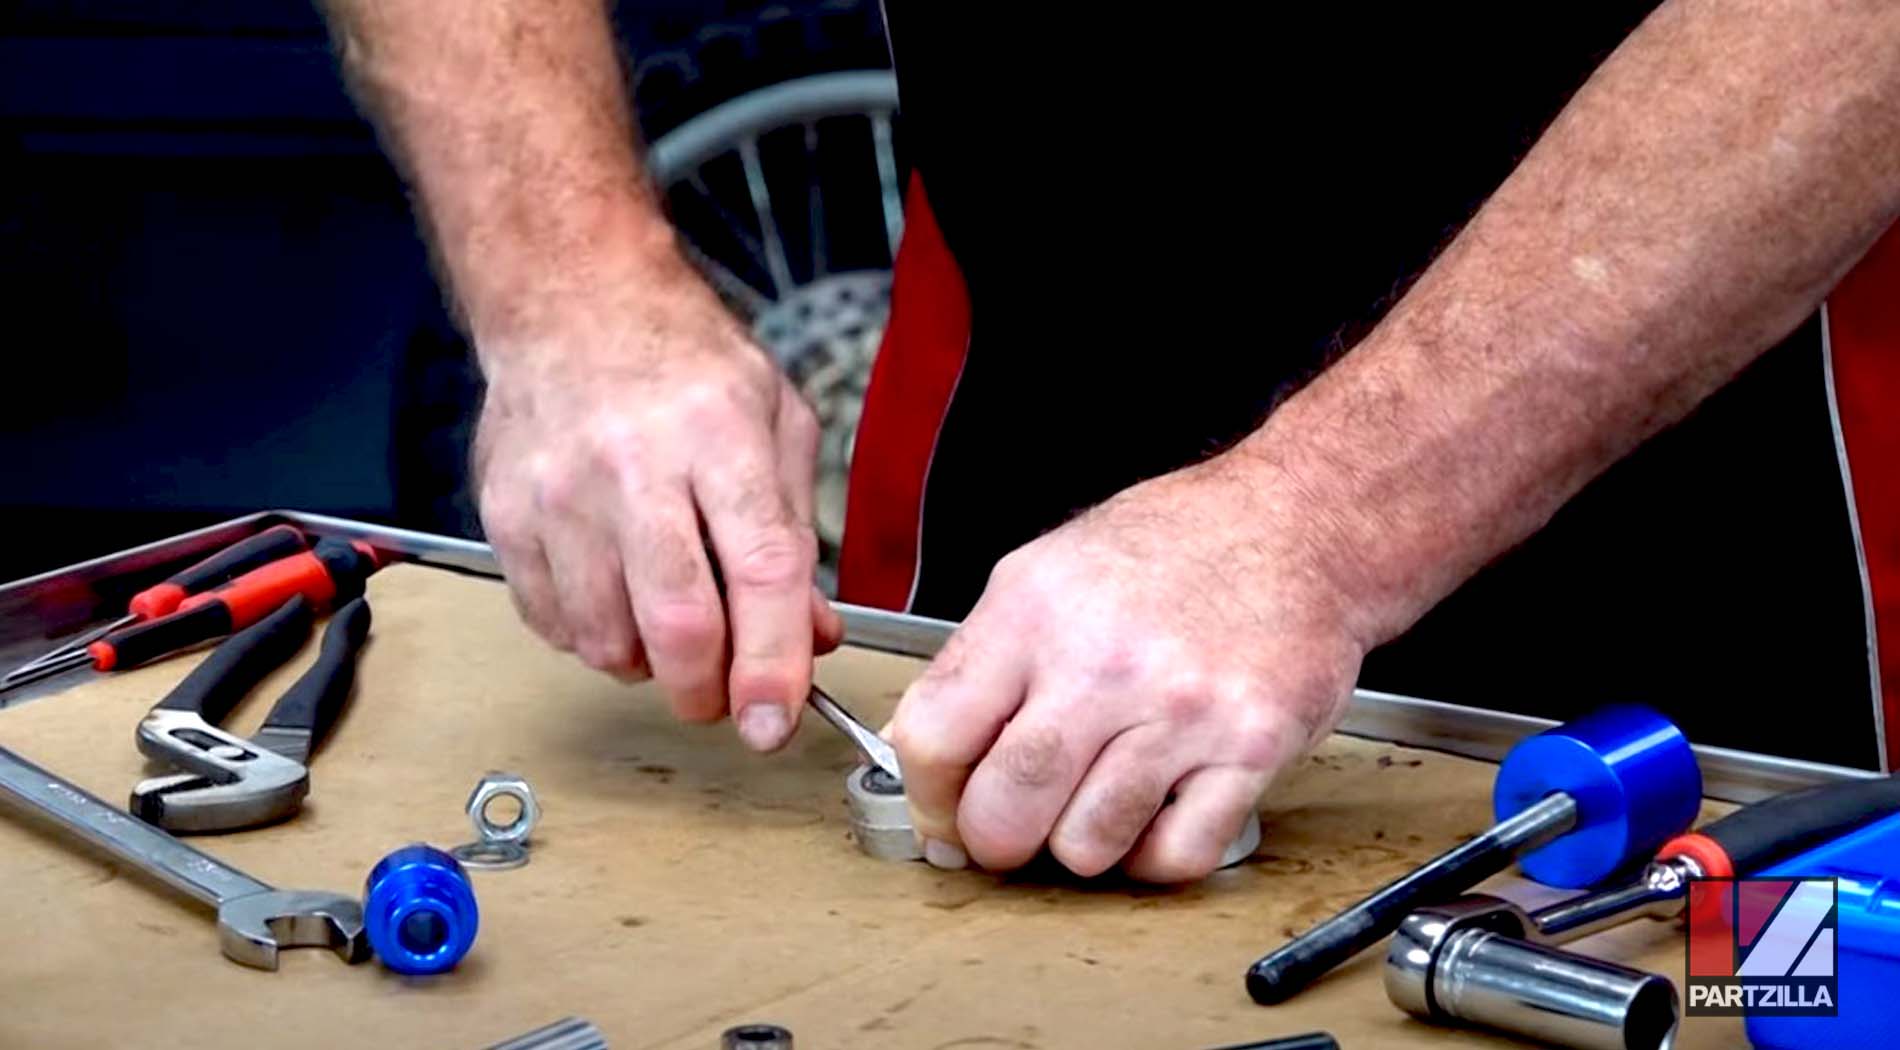
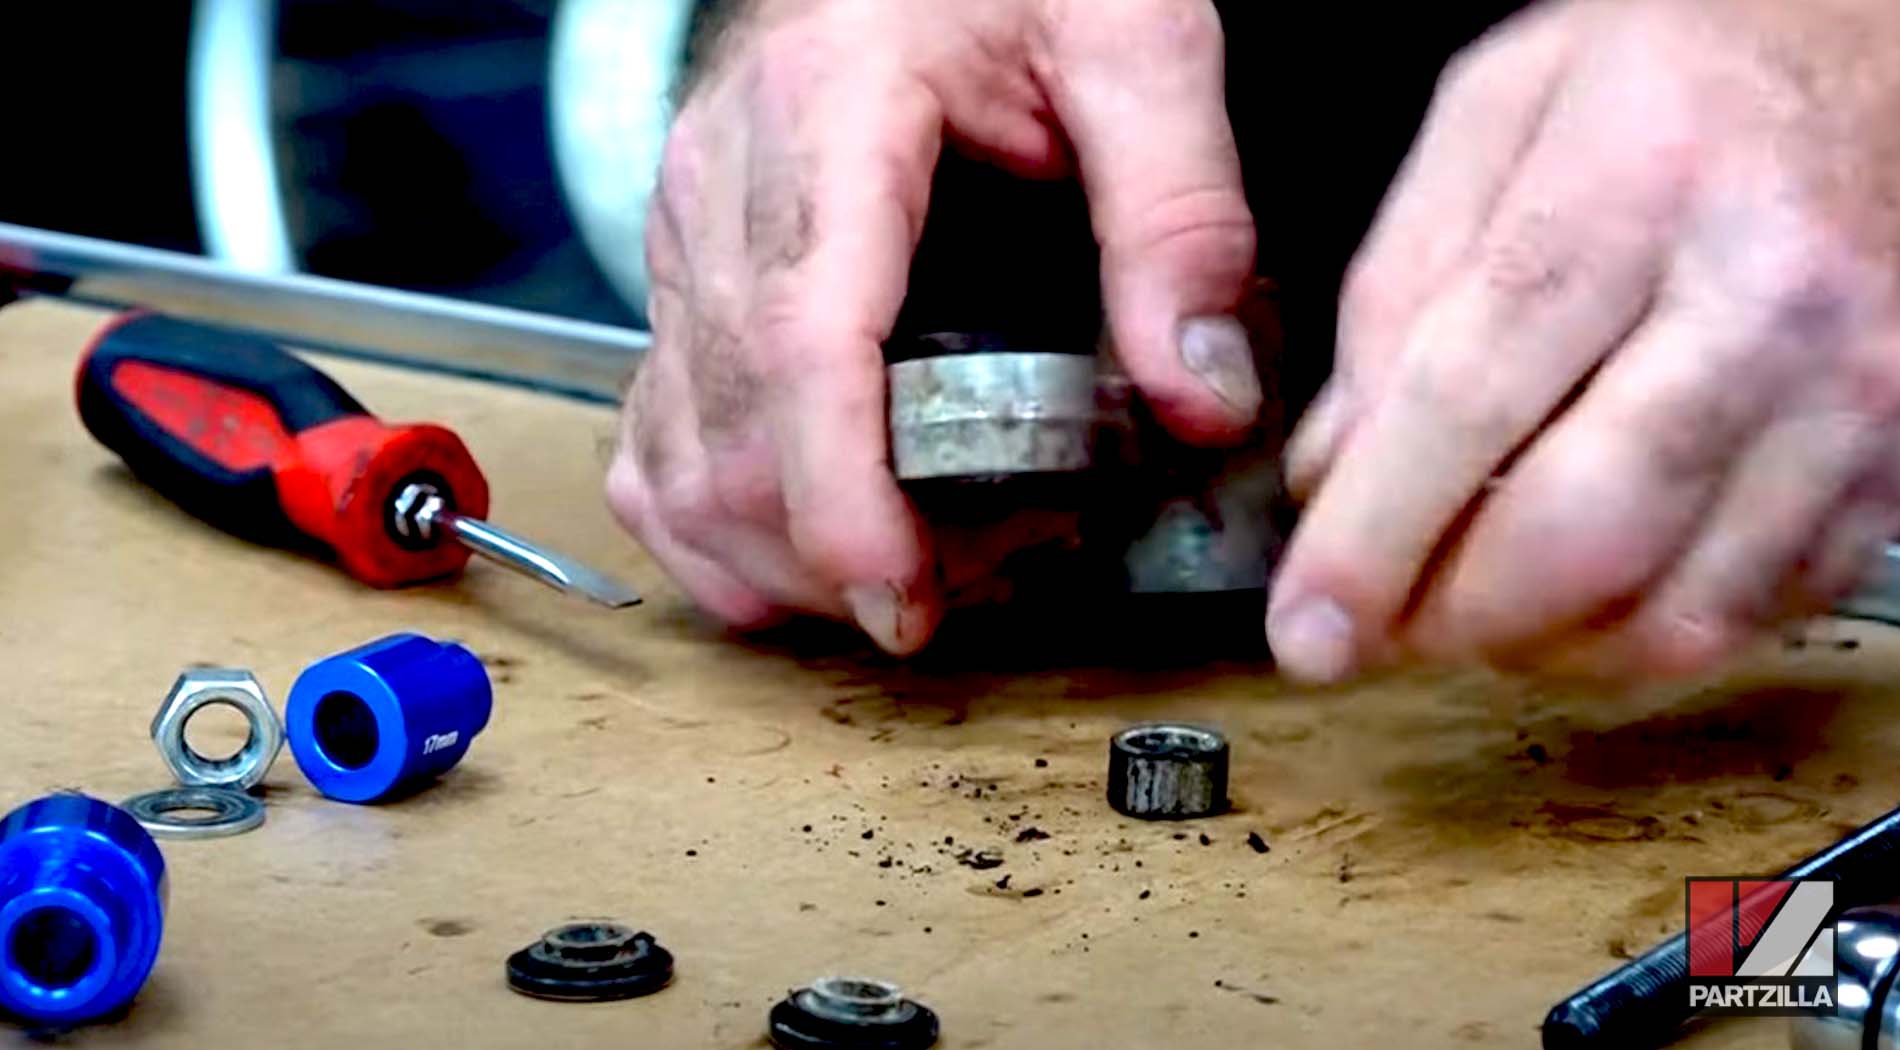
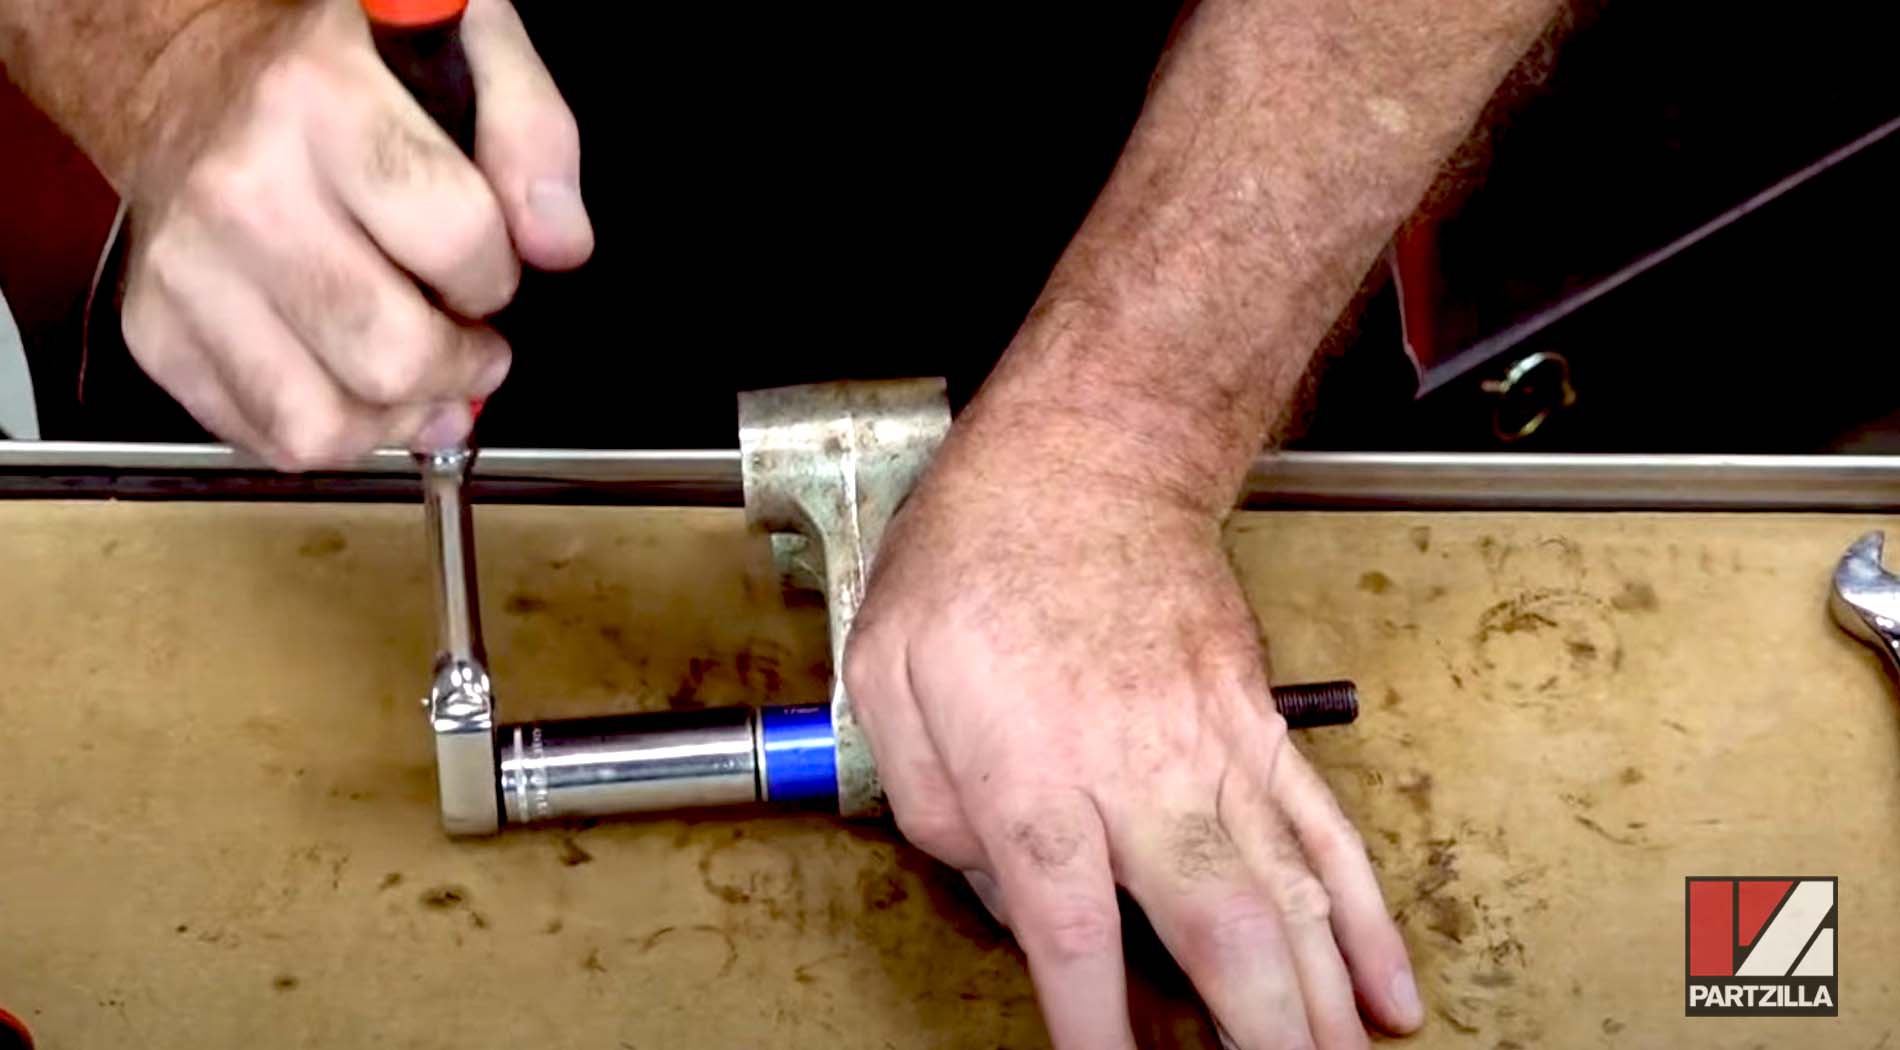
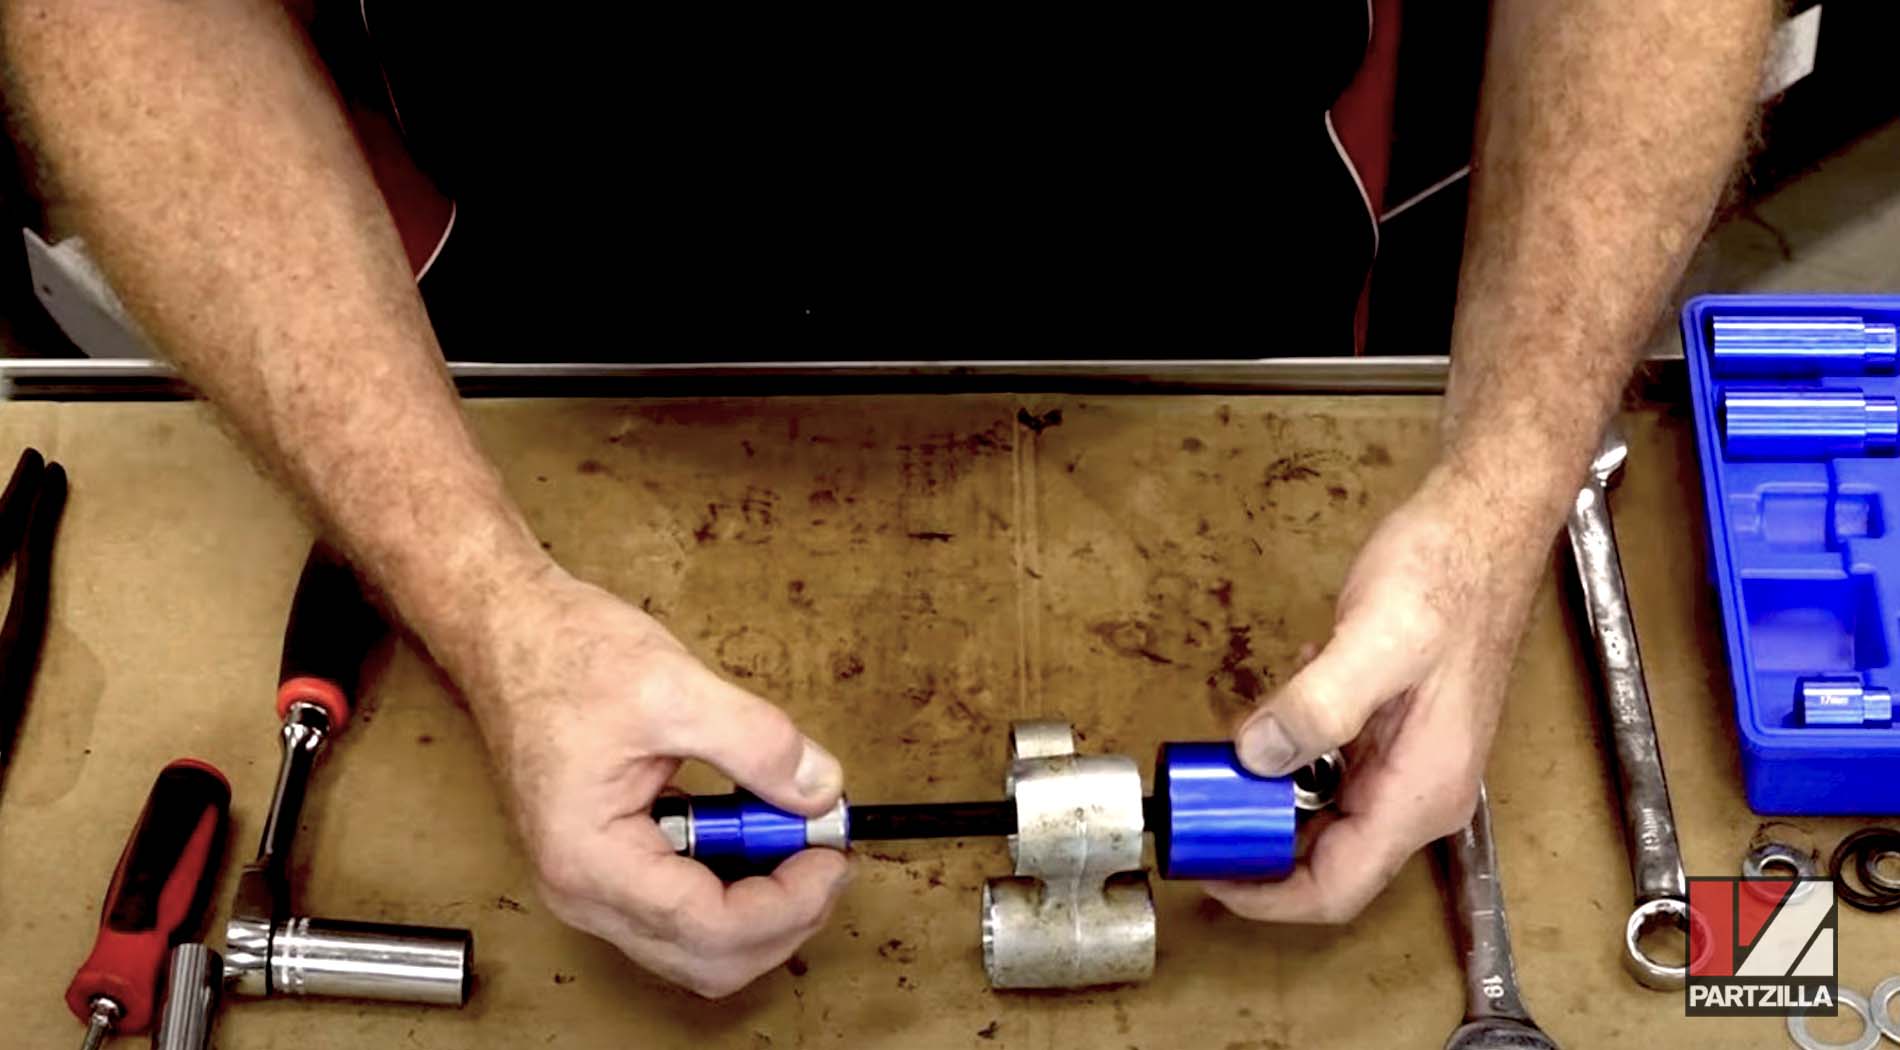
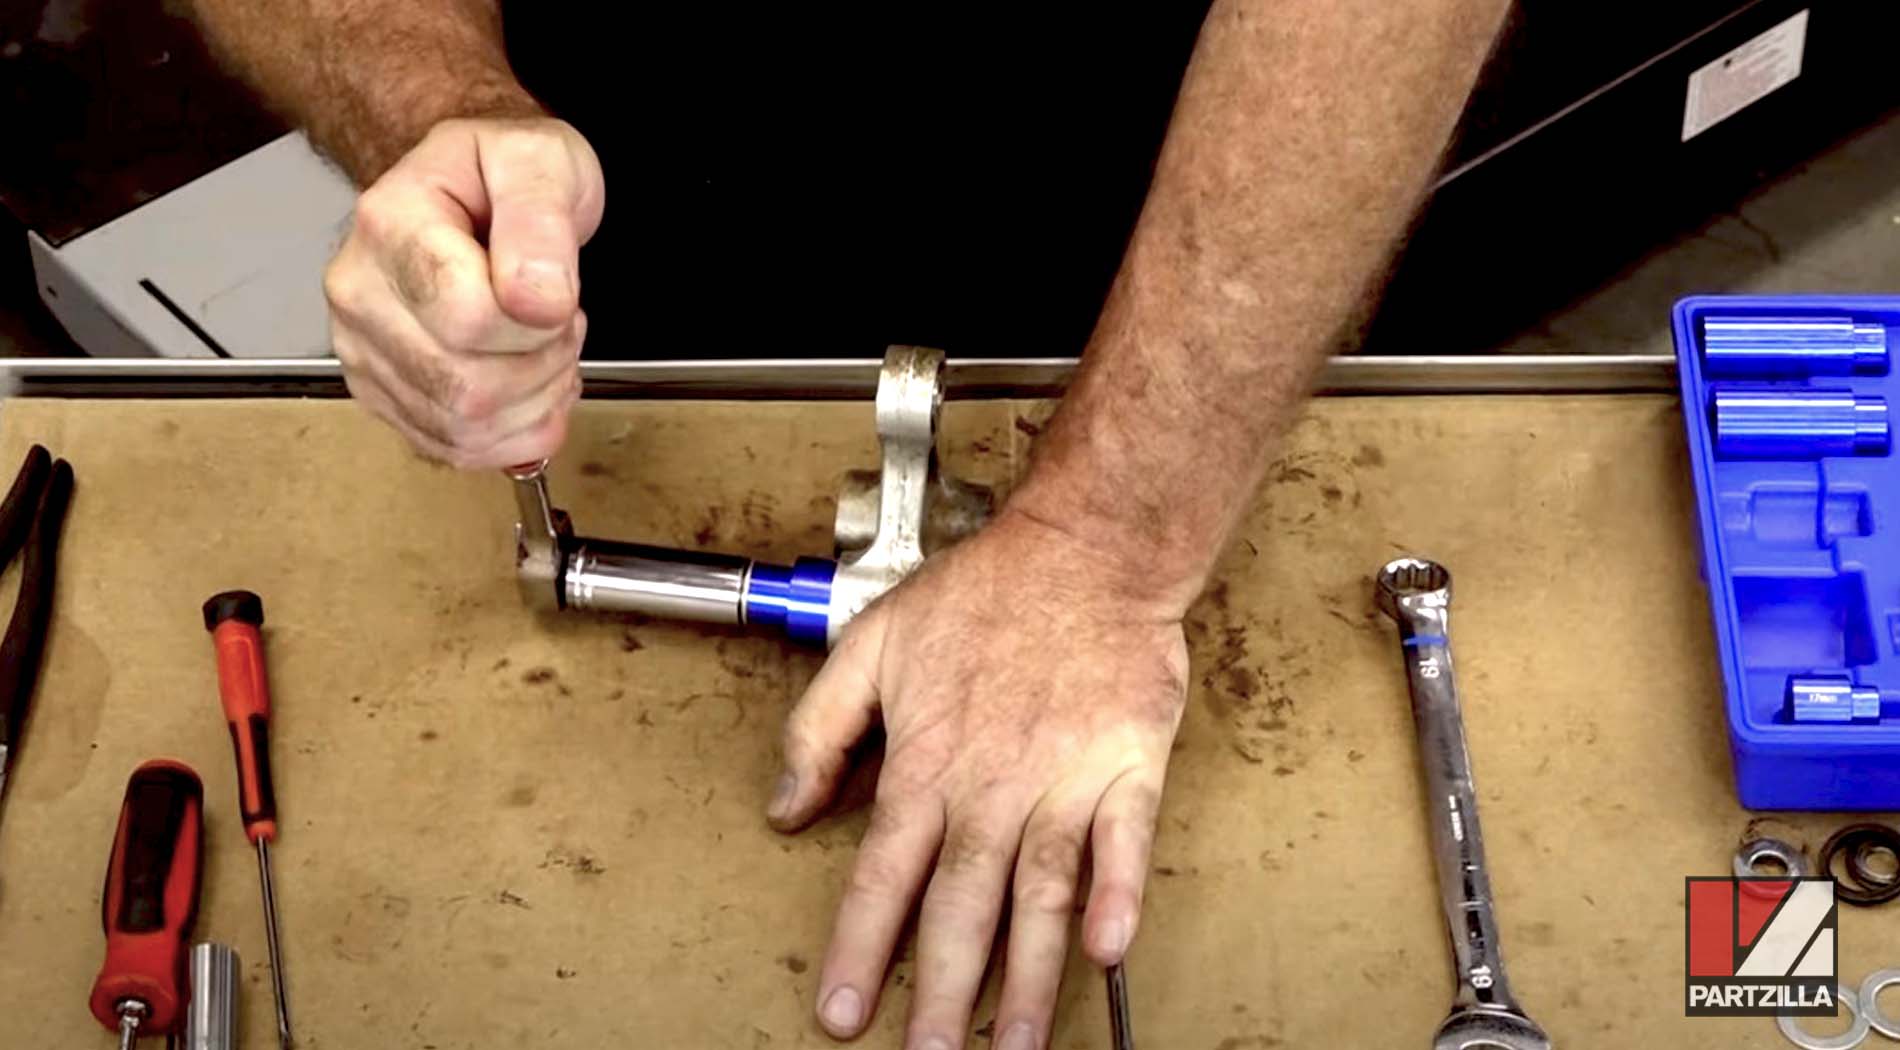
Step 5. Use a blind bearing puller (included in the kit) to press out the bearings from both sides of the linkage arm.
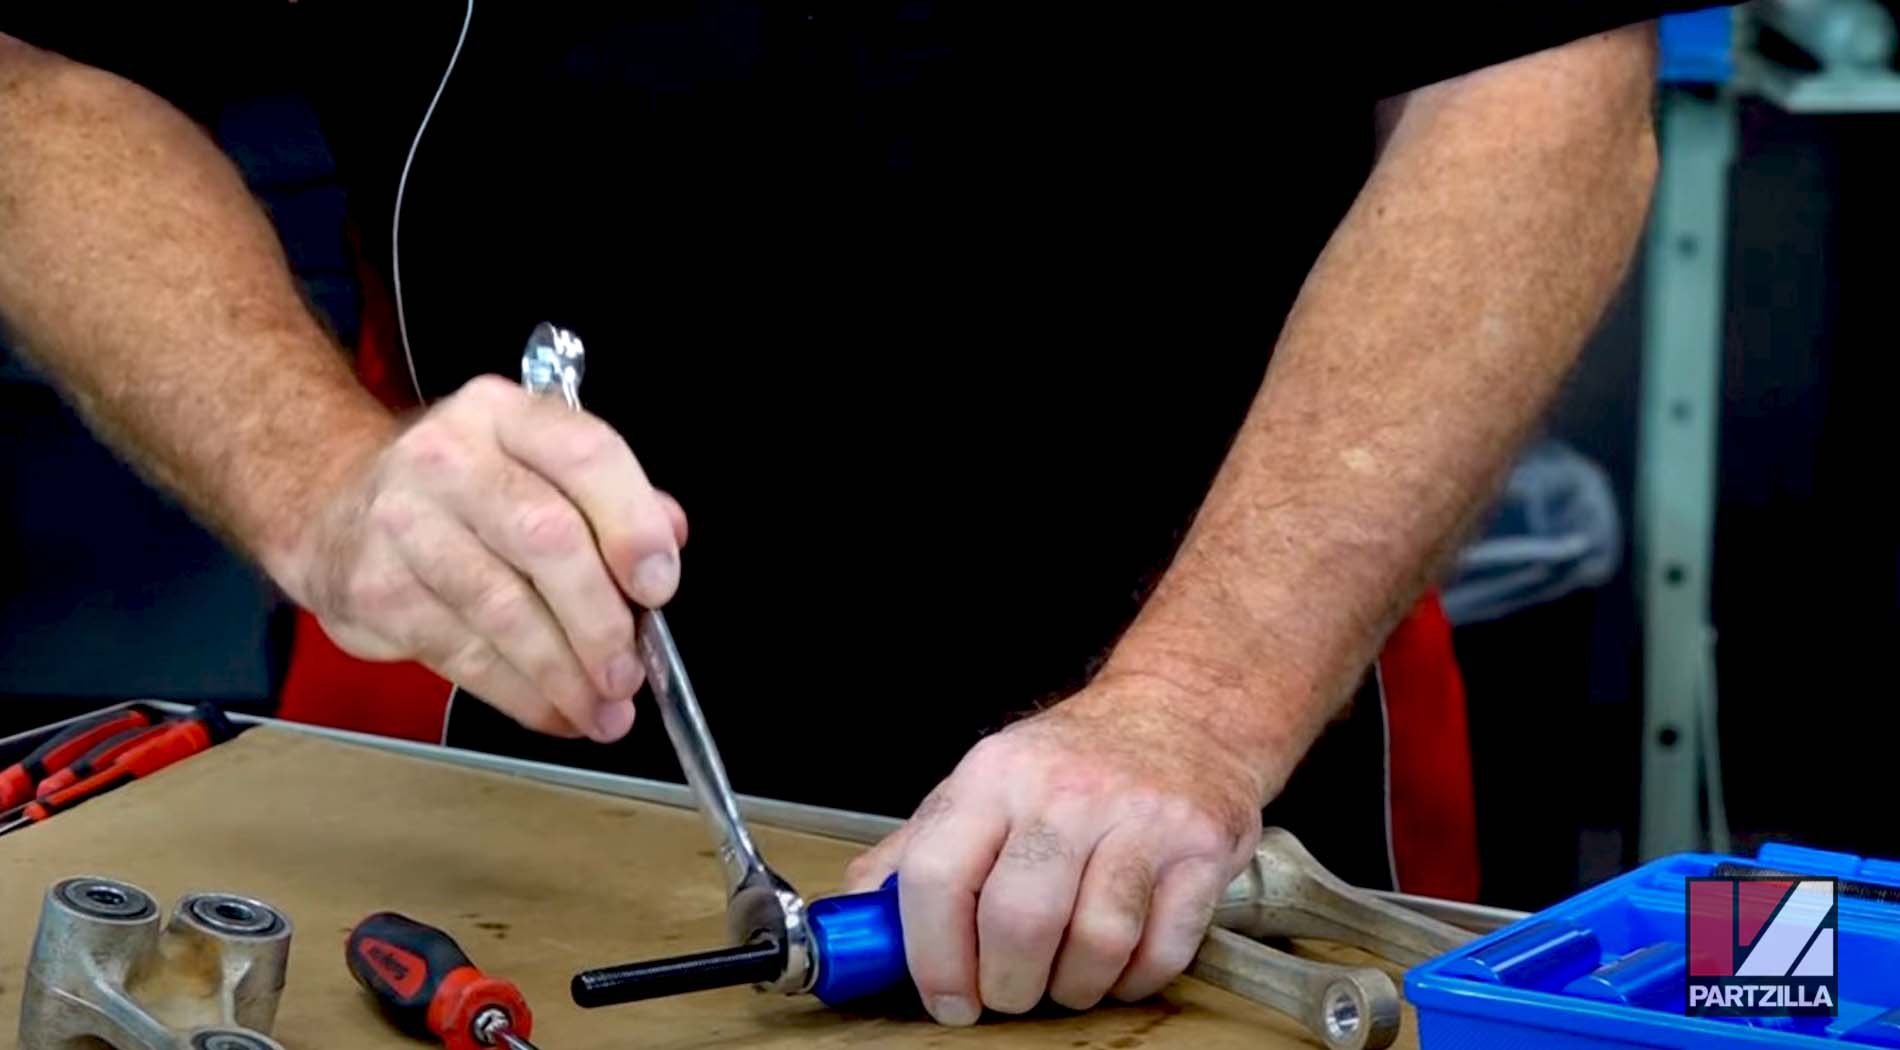
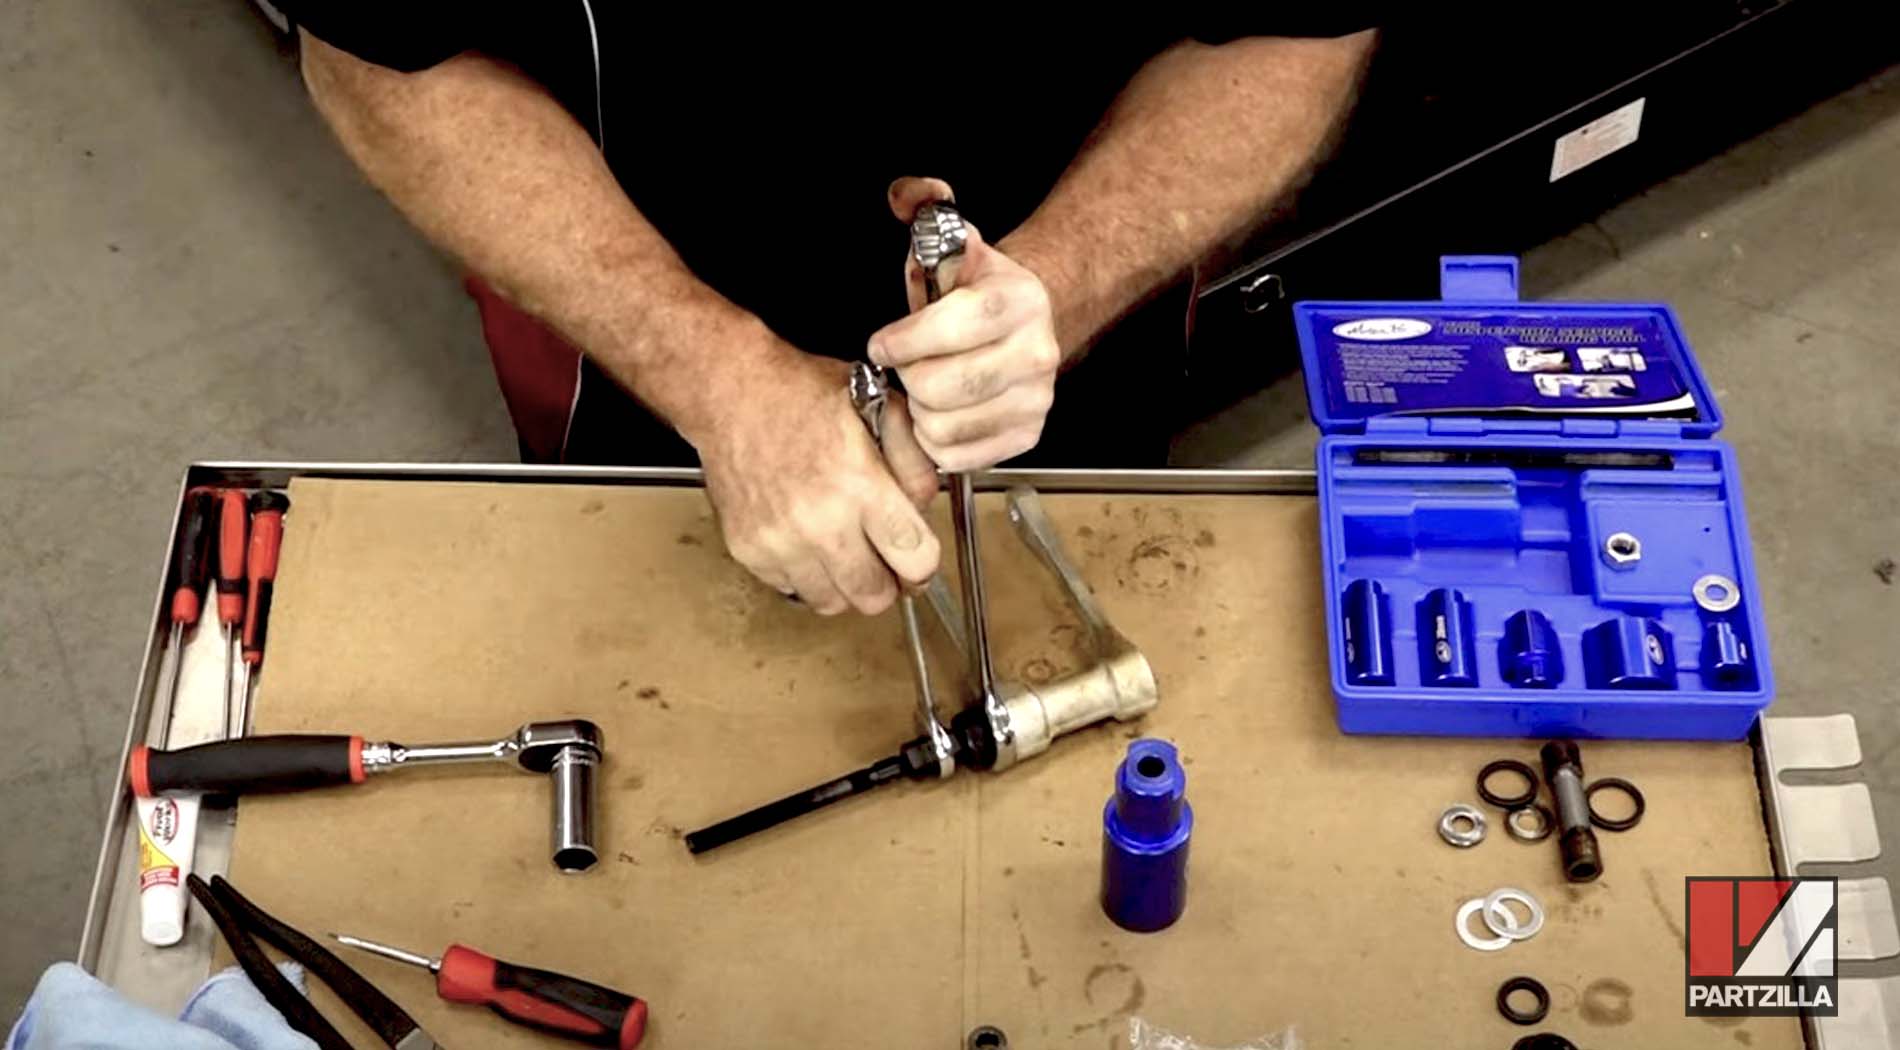
NOTE: When you get everything pushed out of the linkage arm, make sure you clean out any leftover sludge inside it.
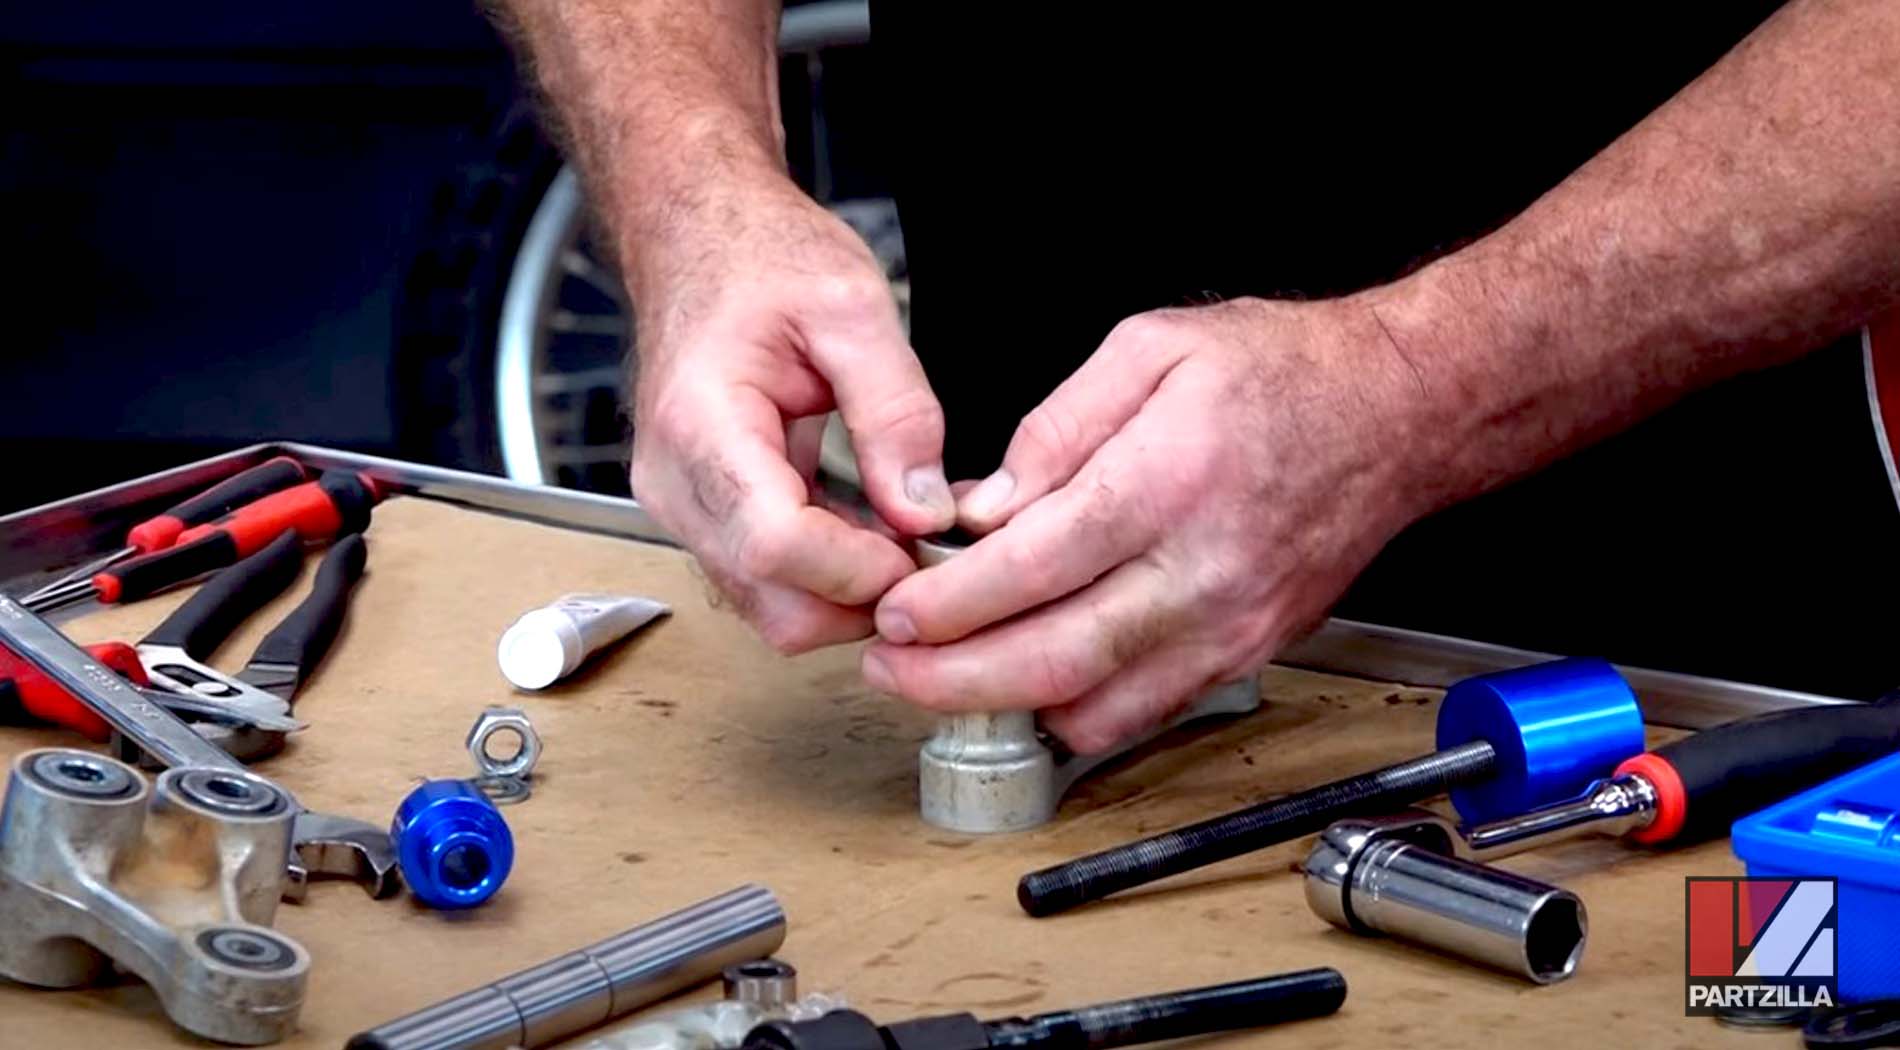
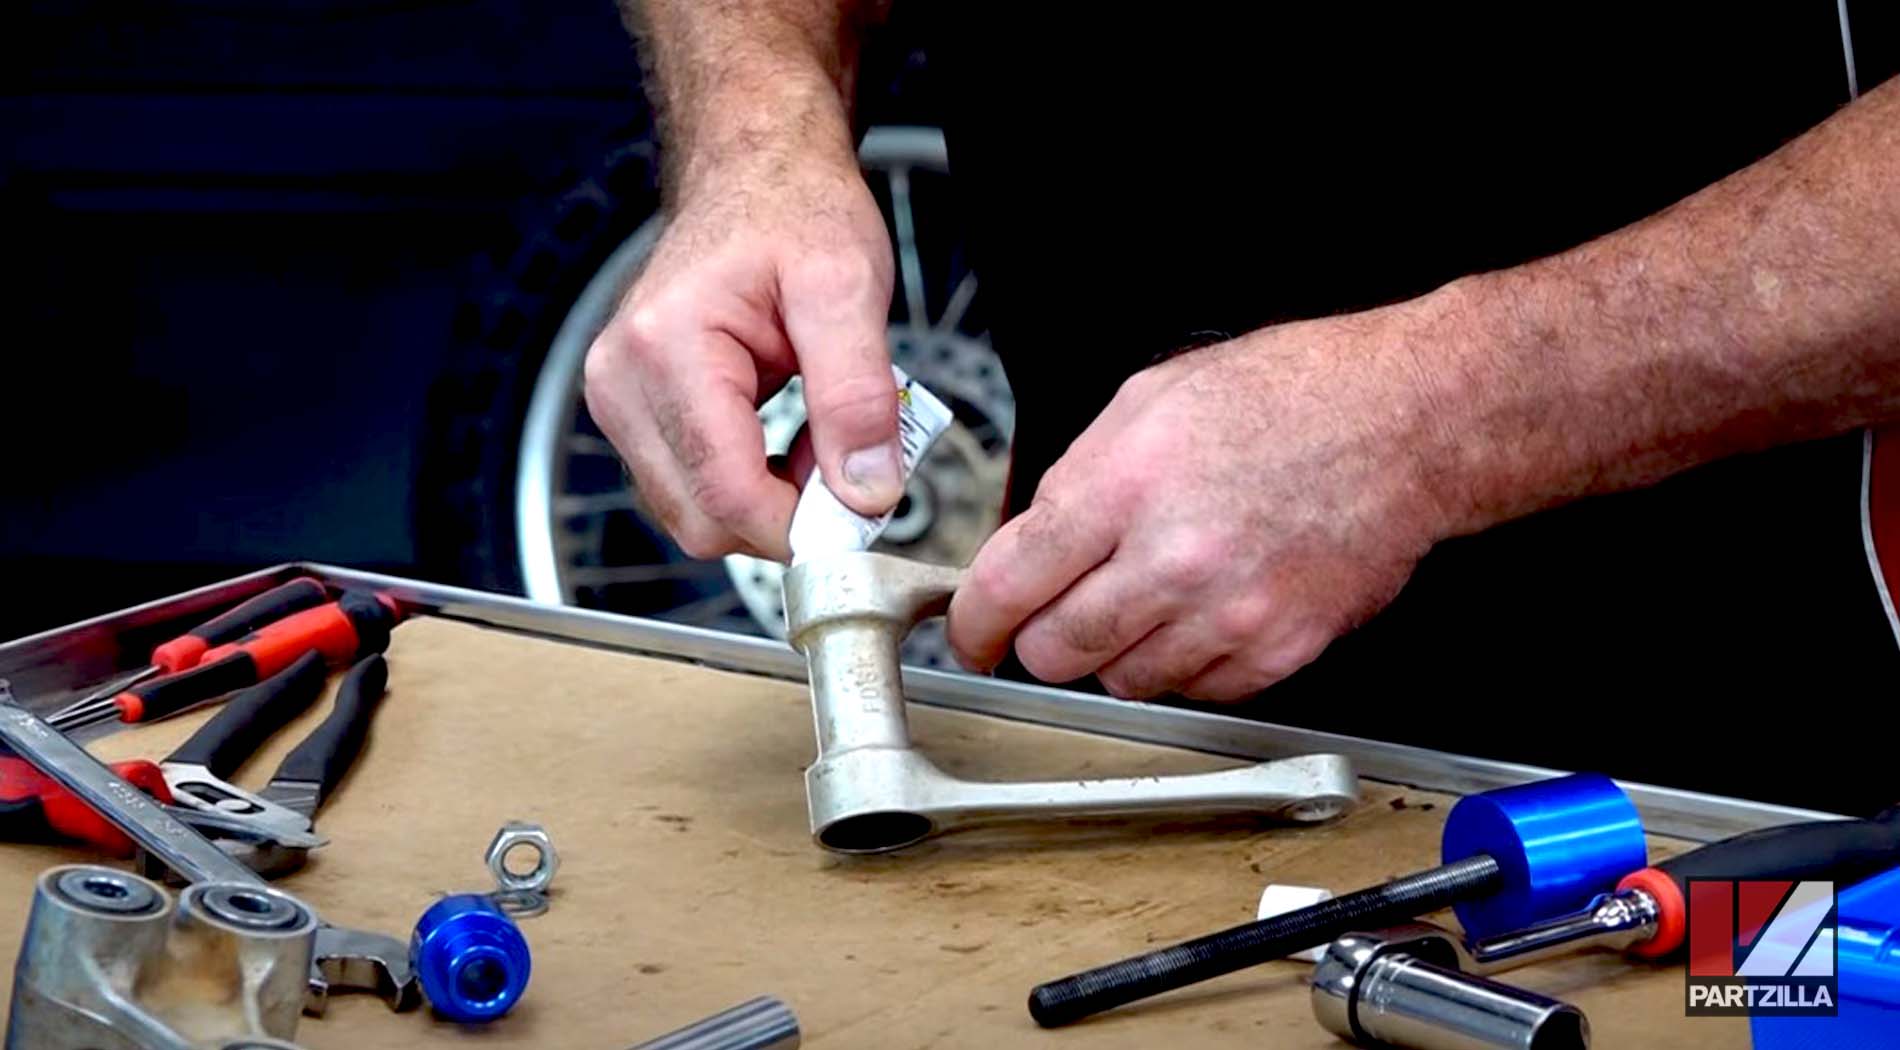
Step 6. Add a little grease to the cavities to make it easier to press in the new linkage arm bearings.

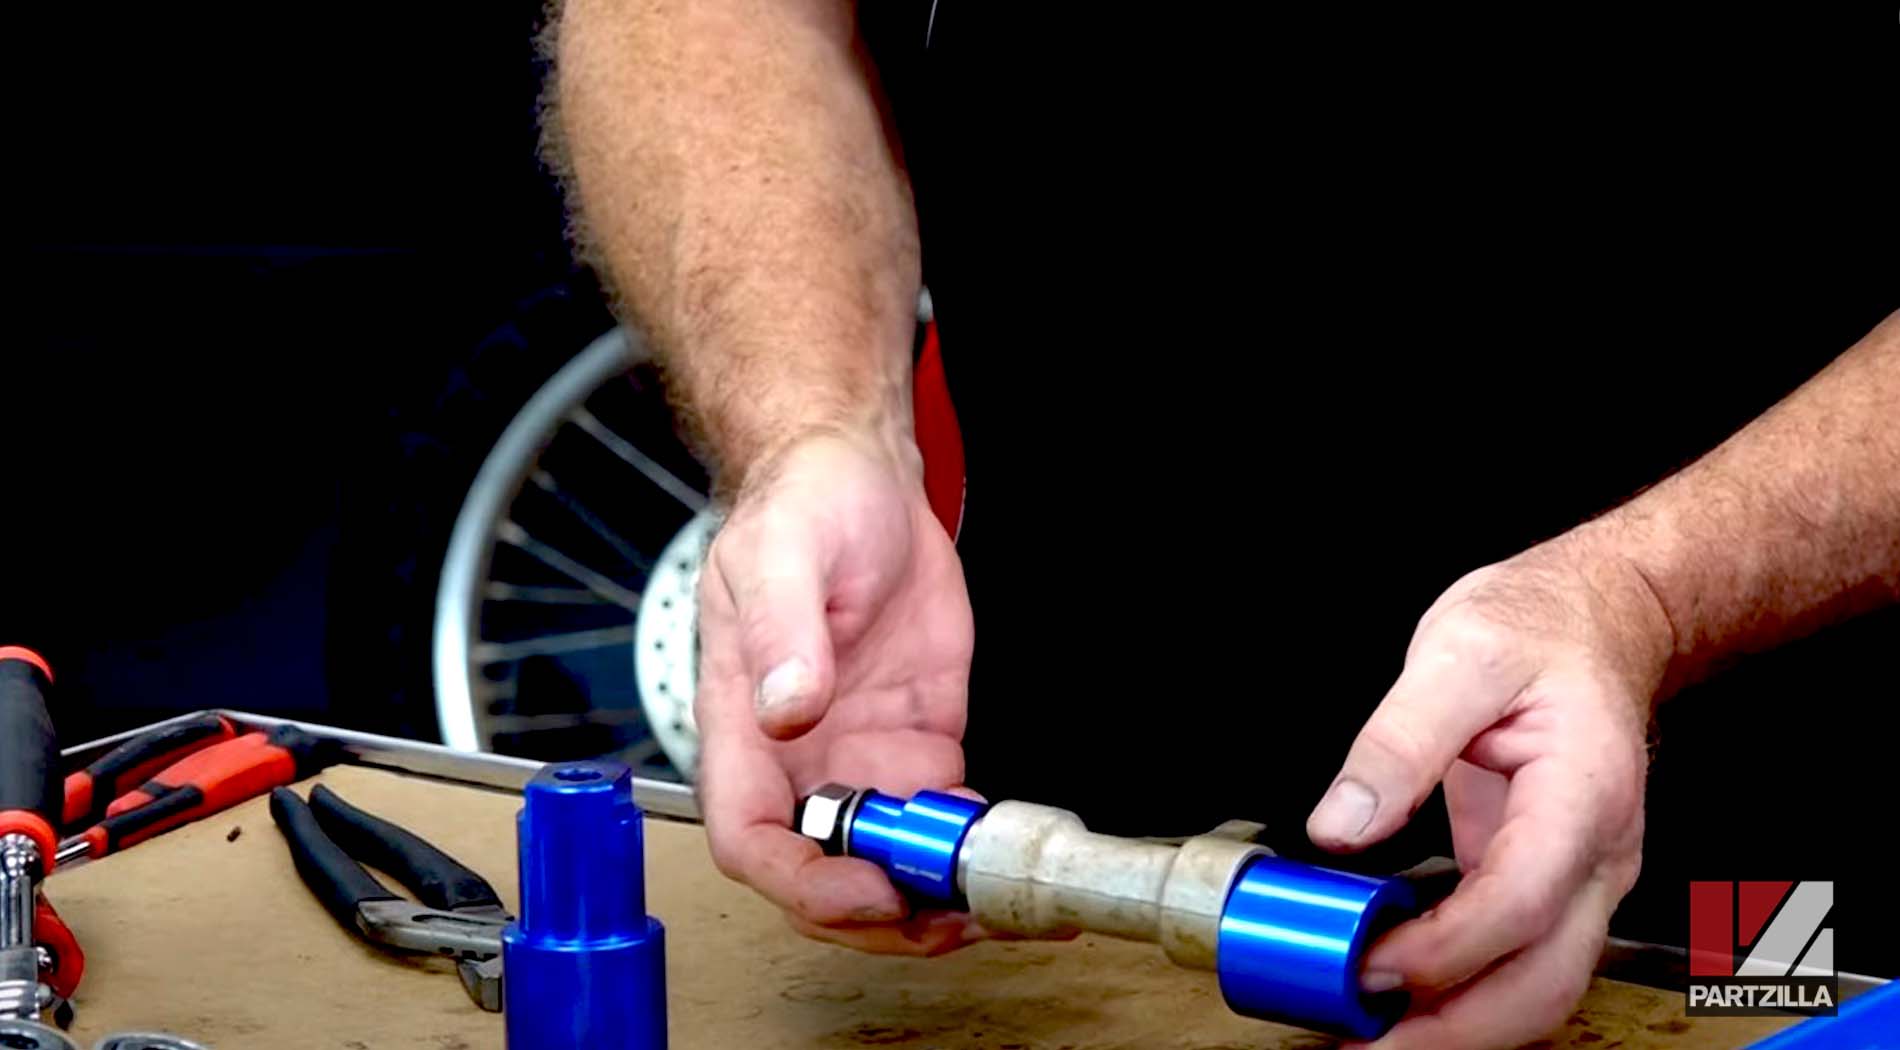
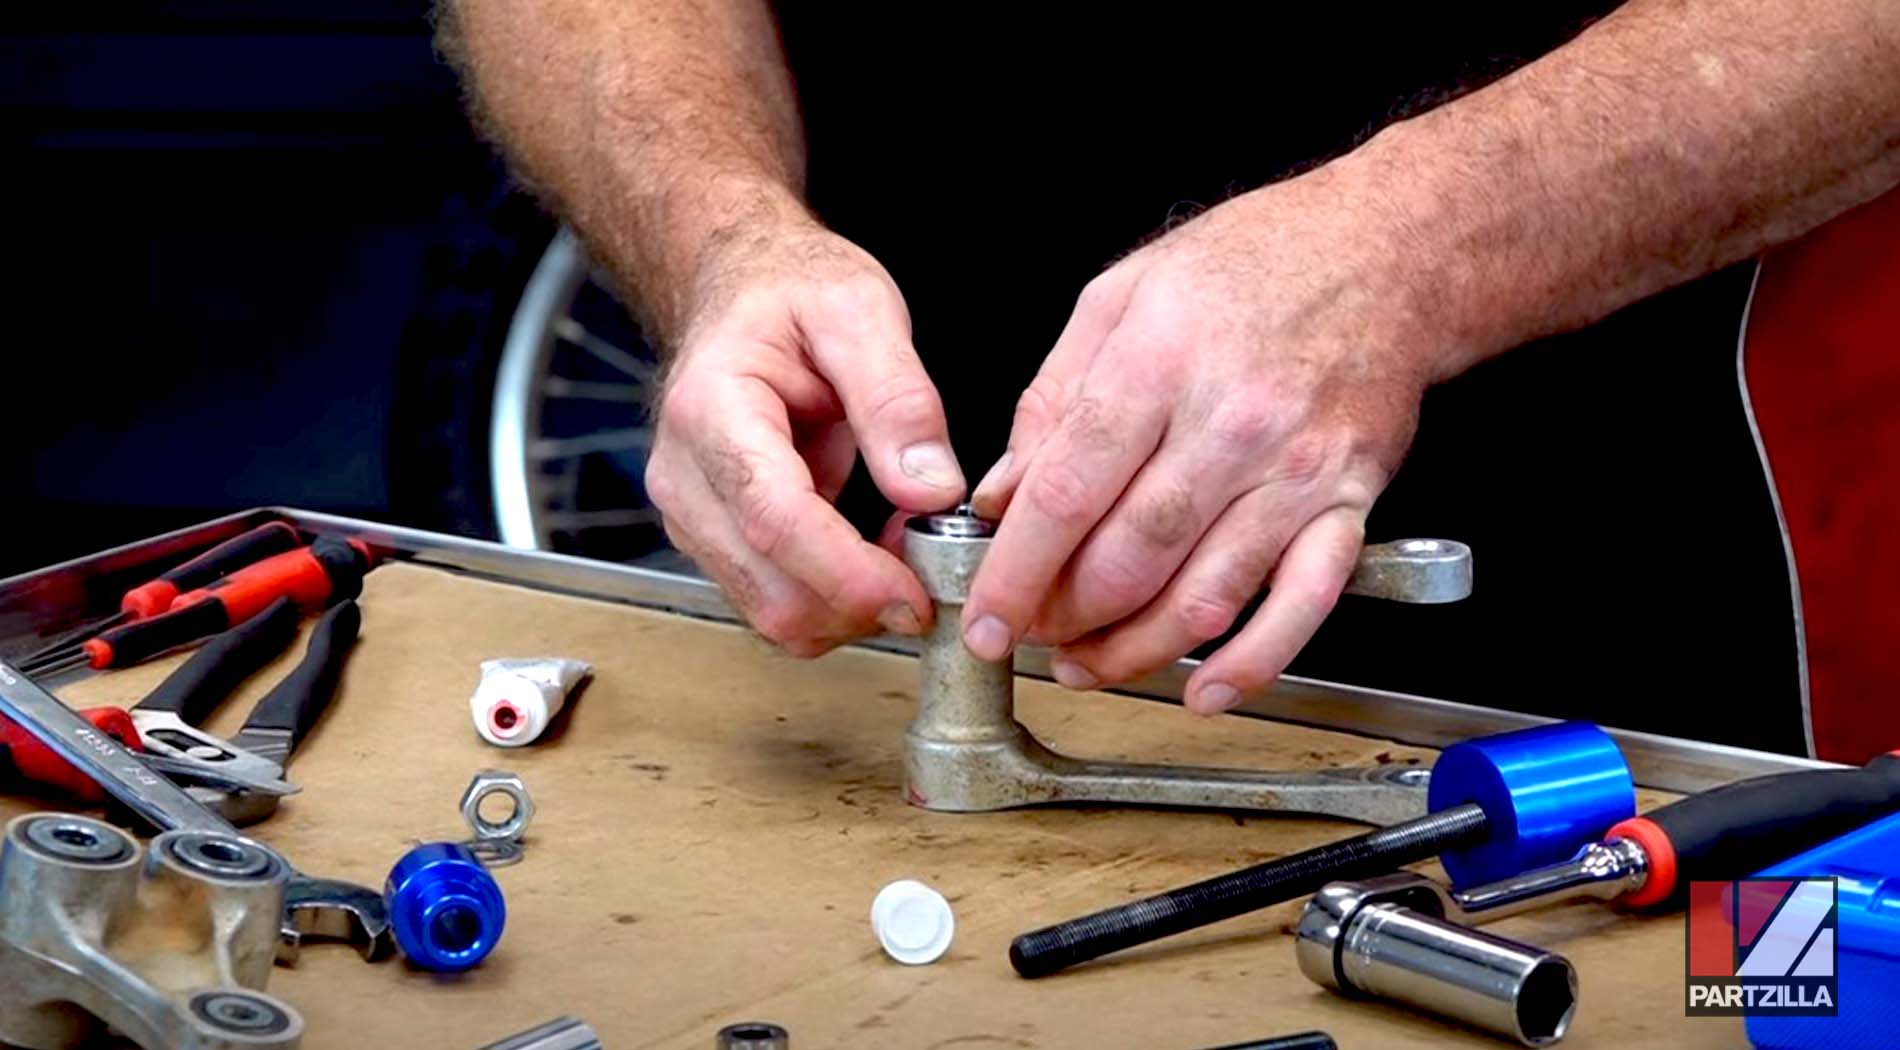
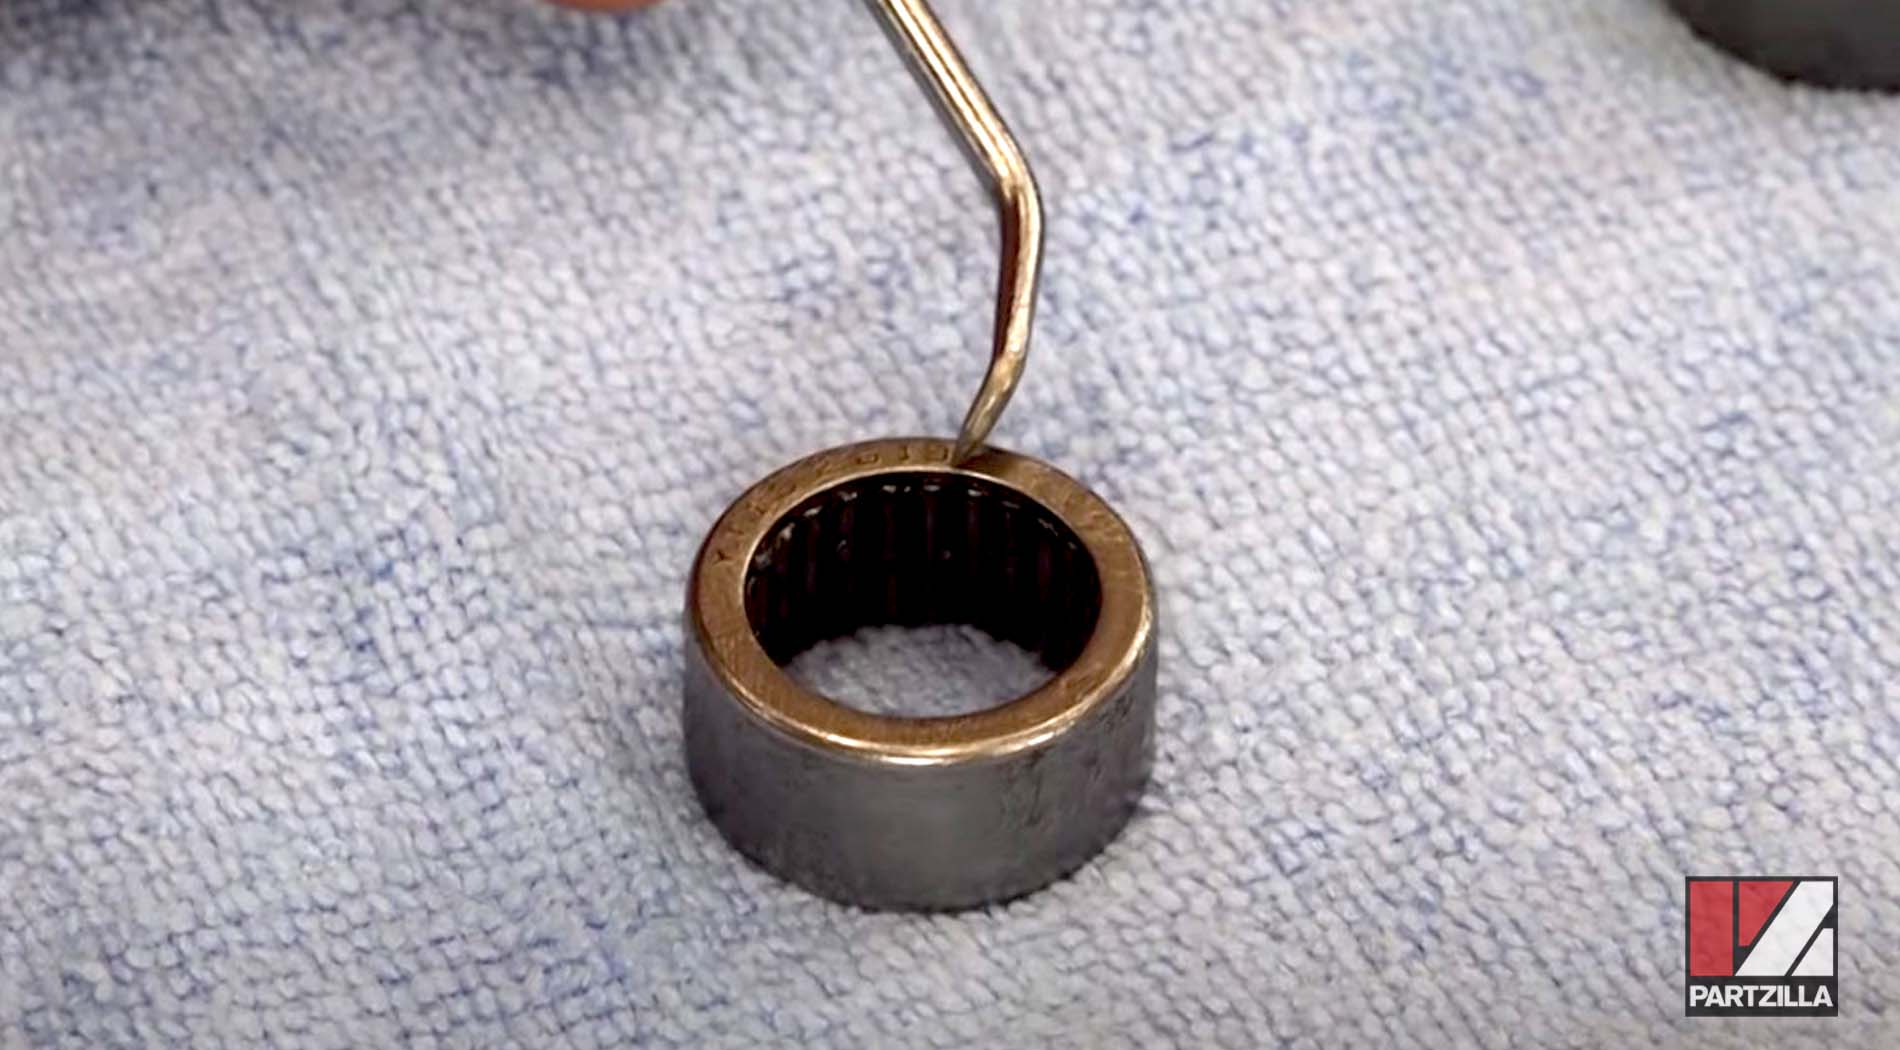
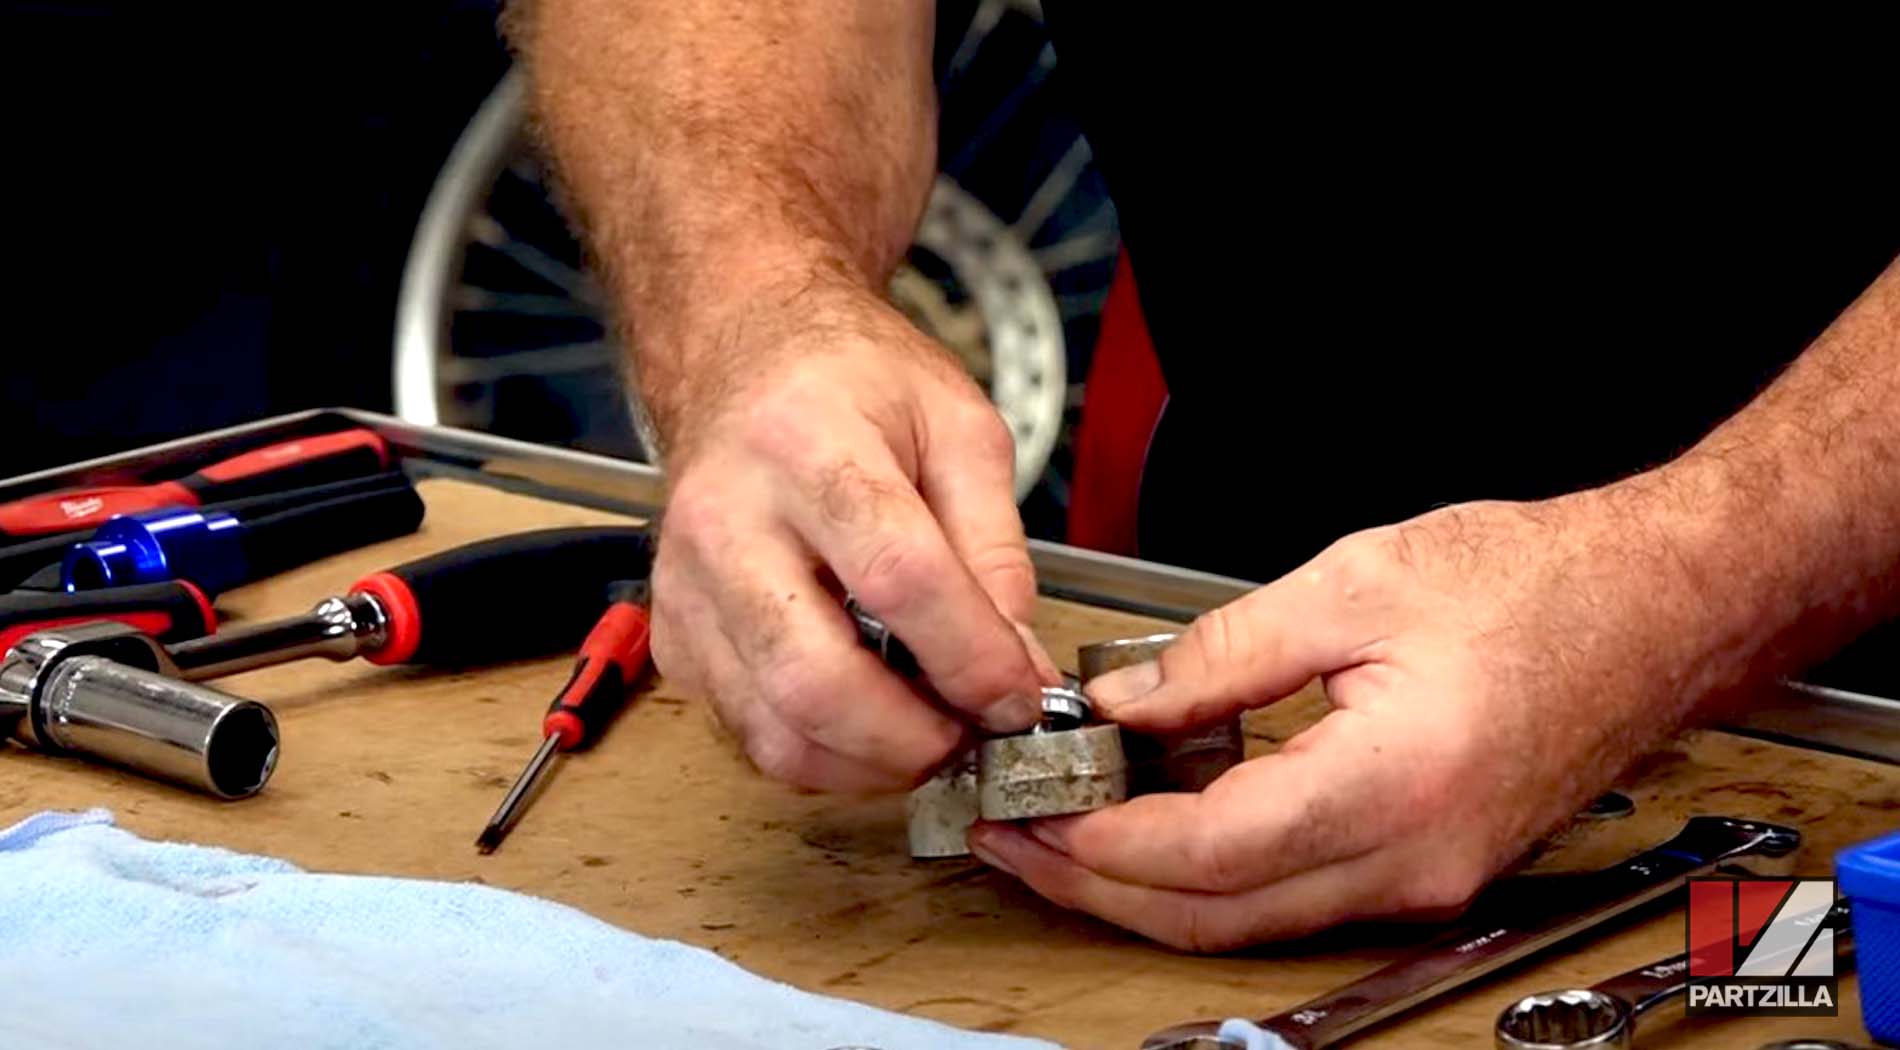
Step 7. Make sure the lettering on the bearing is facing toward the outside before setting the adapter for the bearing tool, then press each bearing in.

Step 8. Press in the seals for each side with your fingers, then pack them with grease.
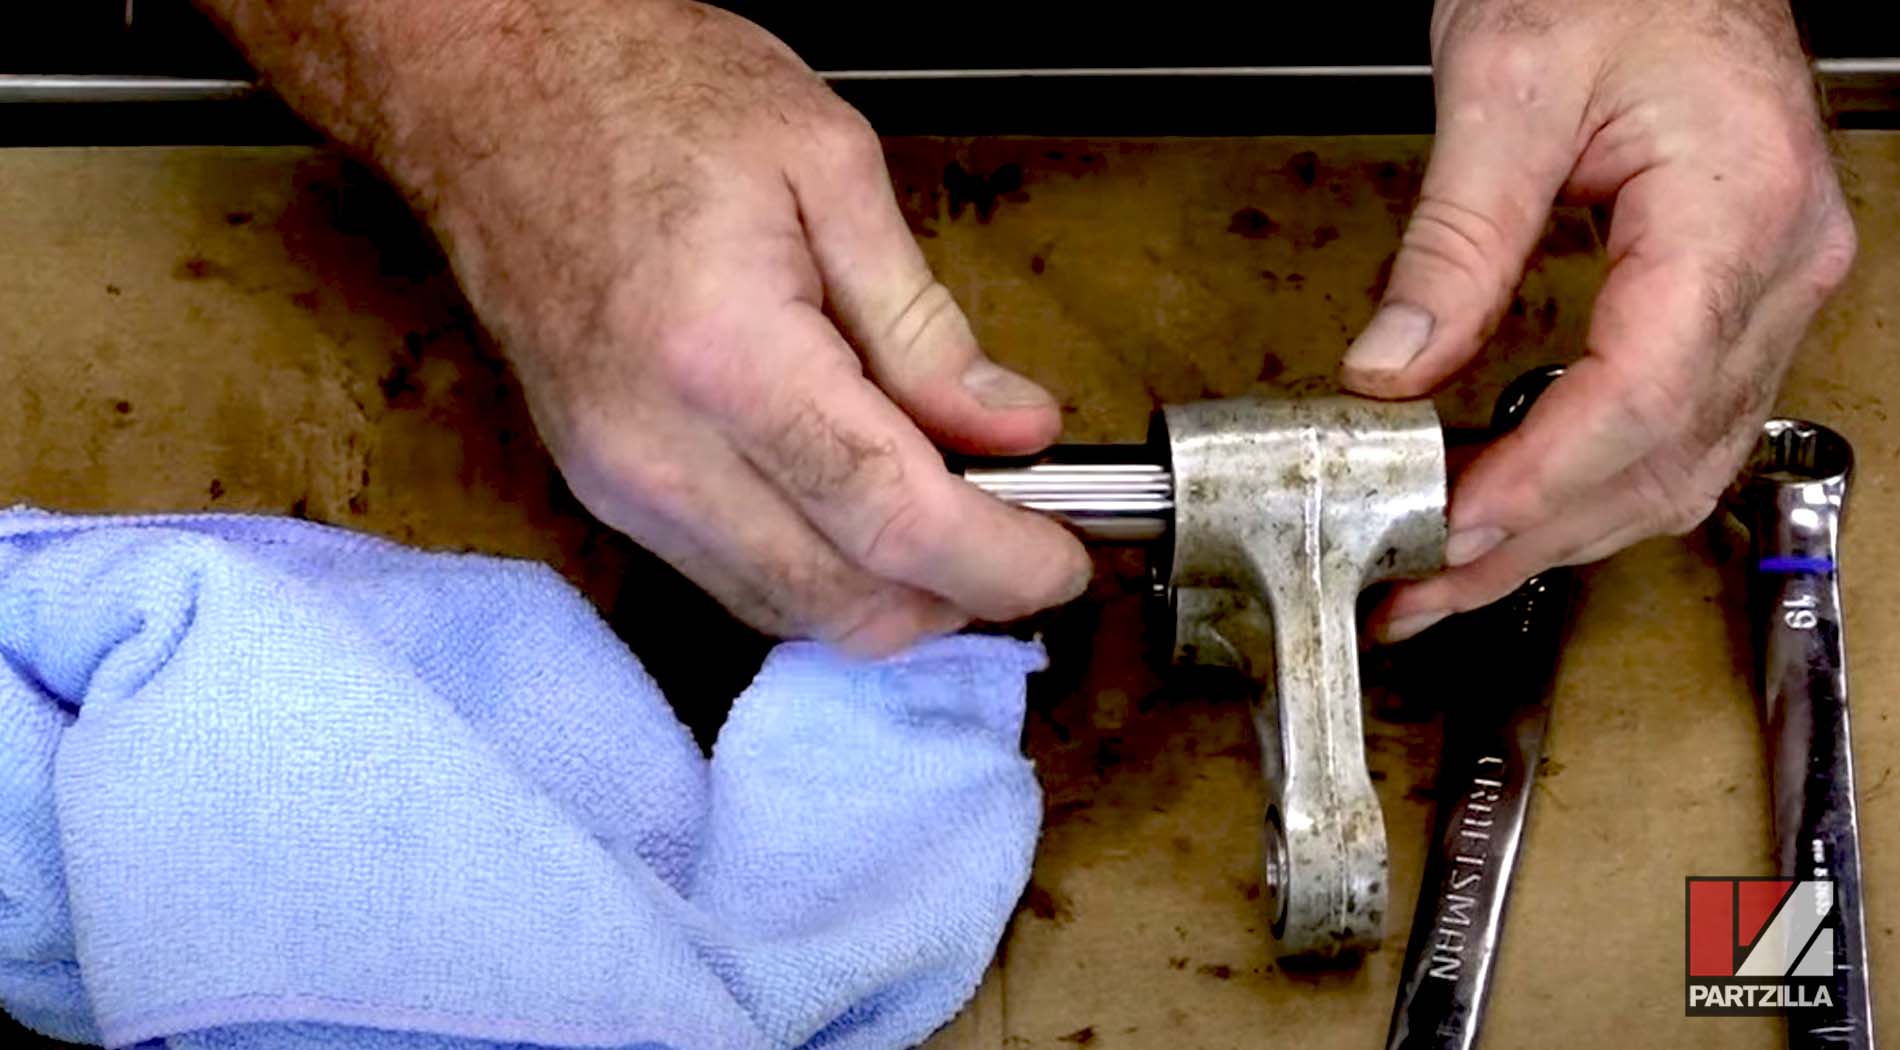
Step 9. Push the collar spacer in, then press in the washers for each side, making sure they go in flush and don’t press in on the seal.
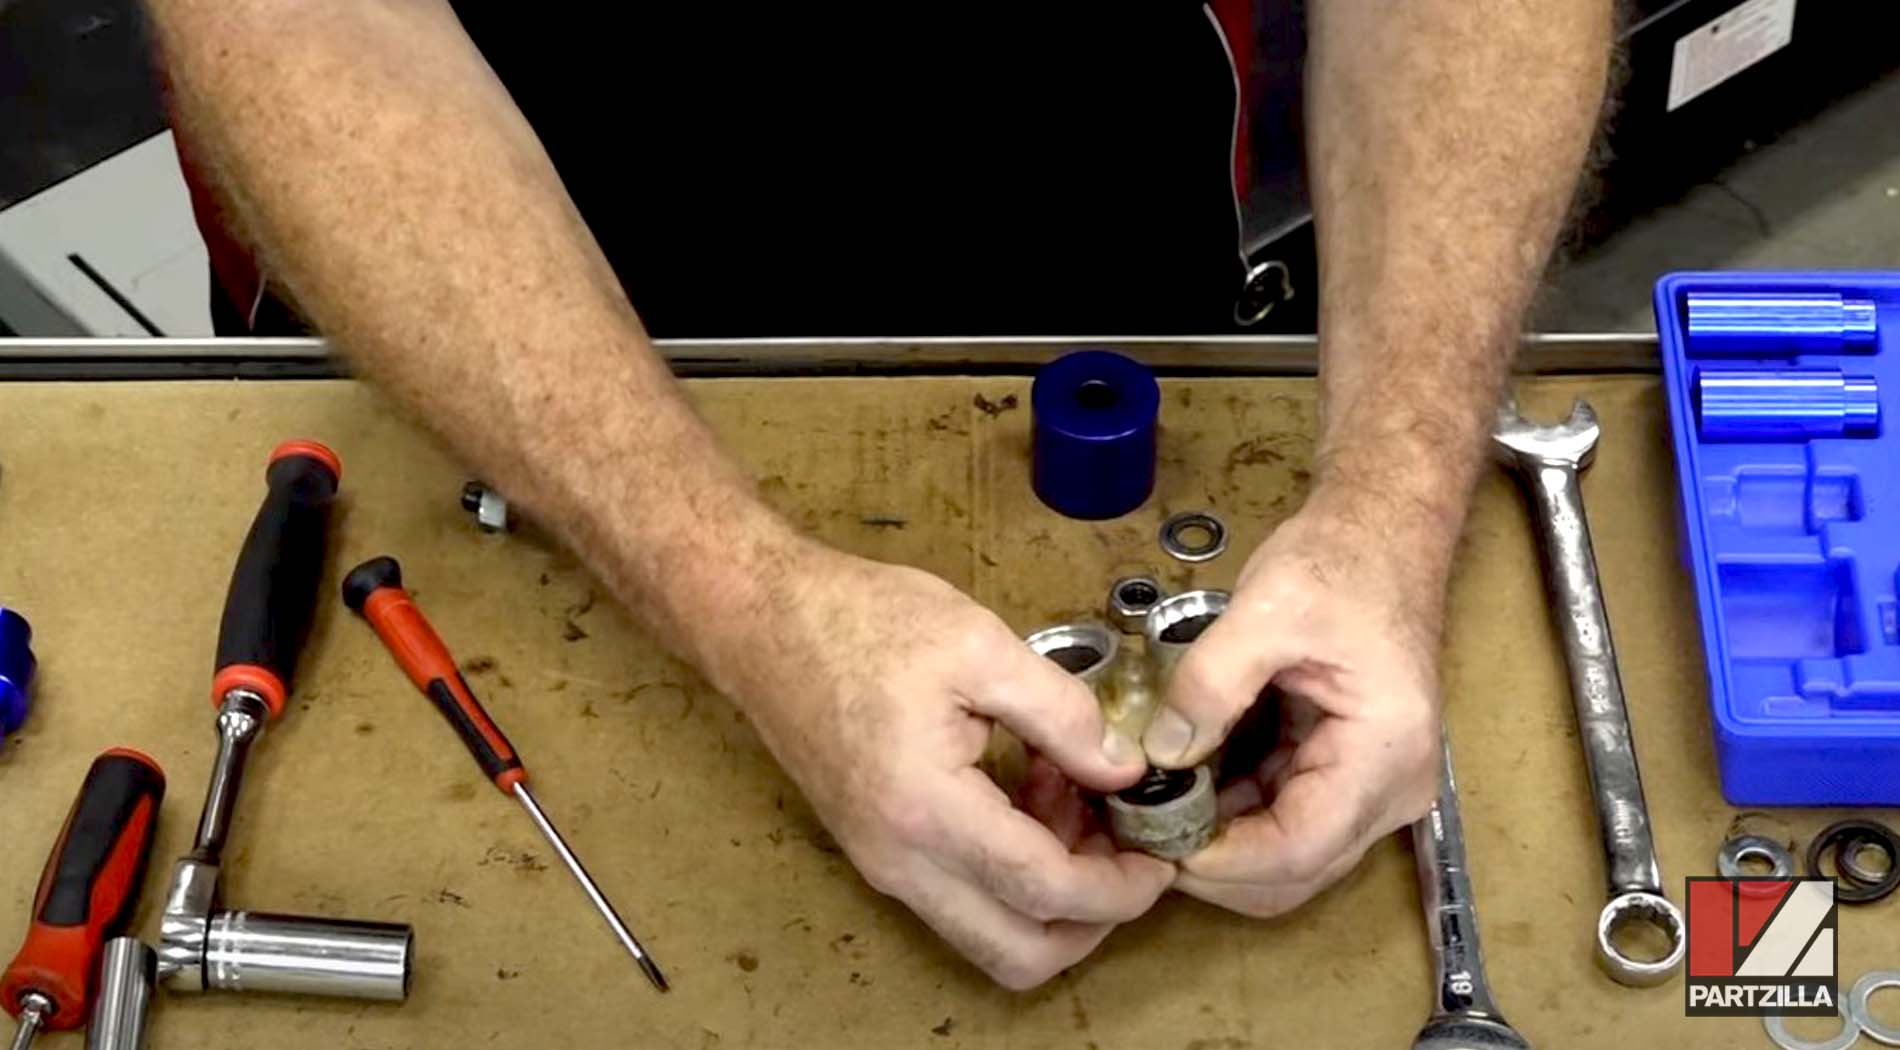
Step 10. Remove the washers, seals and the collars out of every side of the cushion arm.
Step 11. Remove all of the bearings from every side of the cushion arm, then clean it out to remove any debris left behind by the old bearings. Make sure all old seals and washers for the bearings have been removed.
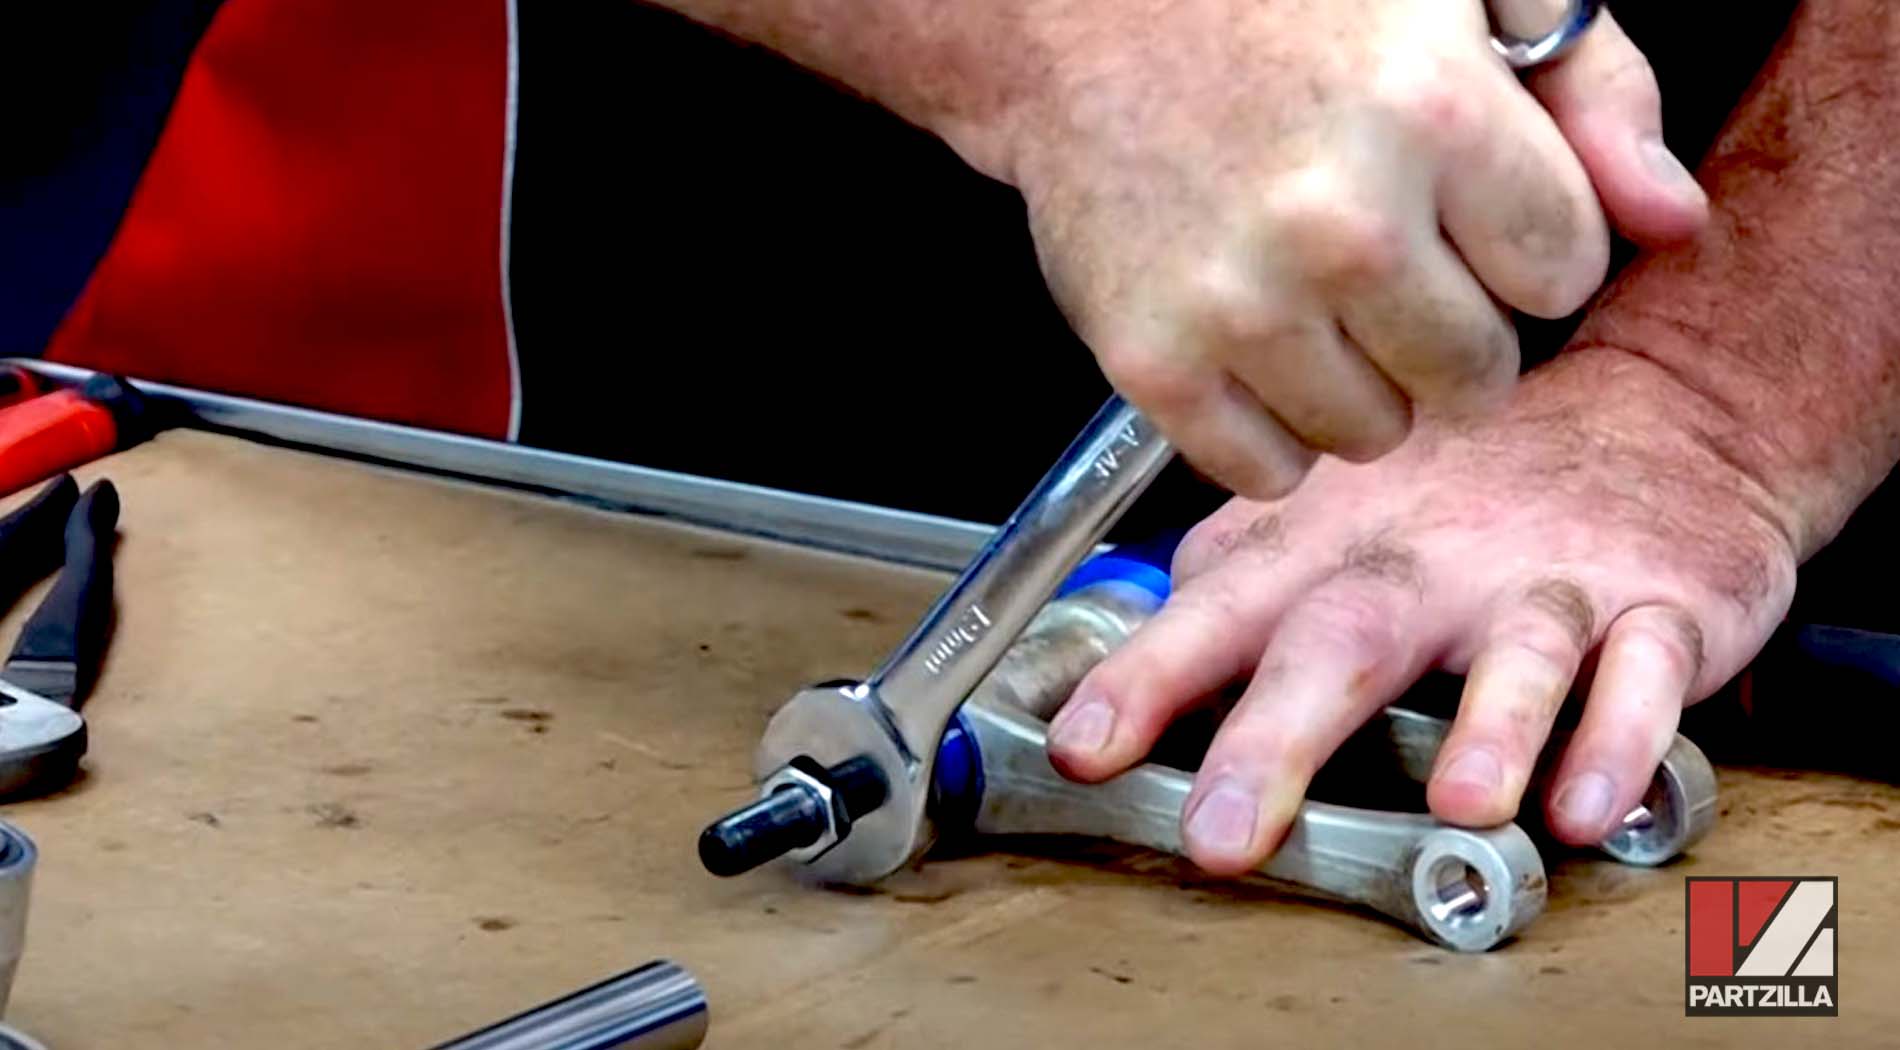
Step 12. Install the new bearings into the cushion arm, starting with the smallest cavity first. Don’t bottom out the bearing, just center it. Aim for 3mm depth on either side, and press against the lettering on the bearing when installing it.
PRO TIP: Use the spacer to measure whether you have enough clearance to where it’s not rubbing against the bearing.
Step 13. Push in the new inner seals and pack them full of grease, then put the spacer in and push in the seal on the other side. After putting in and greasing all the seals, install the outer washers.
Step 14. Grease up the larger cavities on the cushion arm, then install the remaining four bearings for both sides using the adapter tool, making sure they bottom out at the correct depth.
Step 15. Grease the cavities again, then install the seals, the collar and the two outer washers. Remember the inner seals go in first, then the collar, then the outer washers and seals.

With the linkage bearings replaced, next up in our CRF450 complete rebuild project is replacing the swingarm bearings. Watch the video below to see how to replace the swingarm bearings on a Honda CRF450R.