Yamaha YZF R1 Oil Change in 10 Steps
Why pay a mechanic to change the oil in your Yamaha motorcycle when you can do it yourself in minutes and save money?
Watch the video above and follow the steps below to do an oil change on a 2017 Yamaha R1 motorcycle.
Tools and Parts - Yamaha R1 Oil Change
- Ratchet
- 8mm Allen
- Oil filter wrench
- Drain pan
- Torque wrench
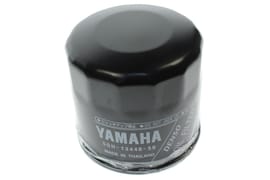
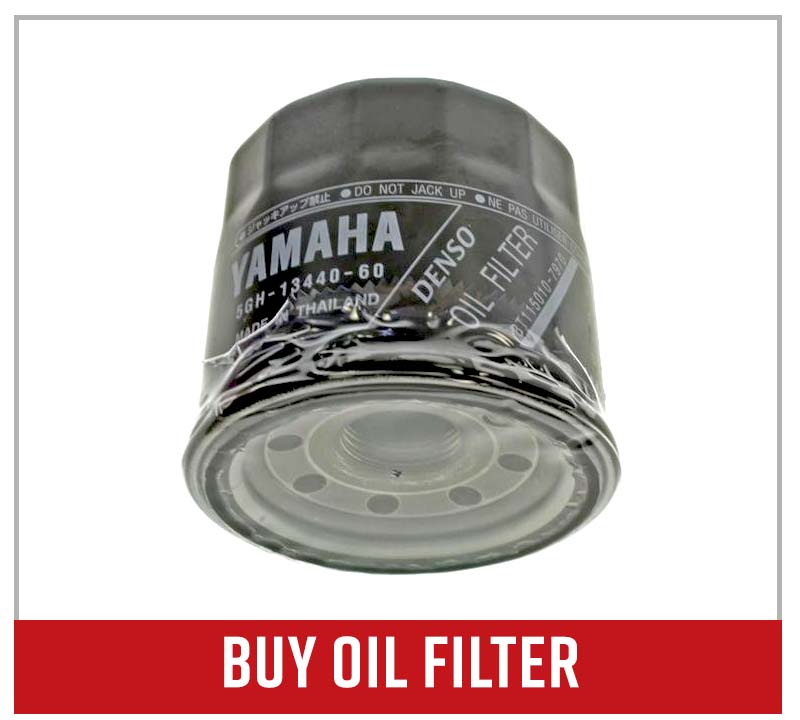
- Oil filter
- Crush washer
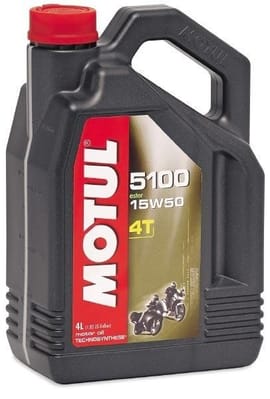
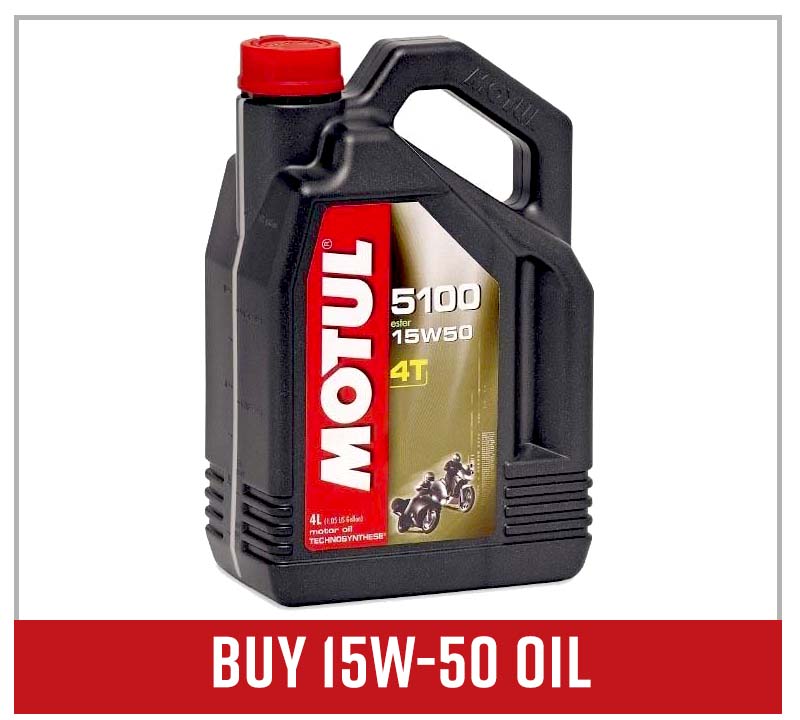
- 15W-50 motorcycle oil
How to Change the Oil in a Yamaha YZF R1
Step 1. Position a drain pan under the engine and remove the oil filler cap from the right side of the crankcase.
Step 2. Remove the 8mm Allen drain bolt and crush washer from the bottom of the engine, and let the oil fully drain out.
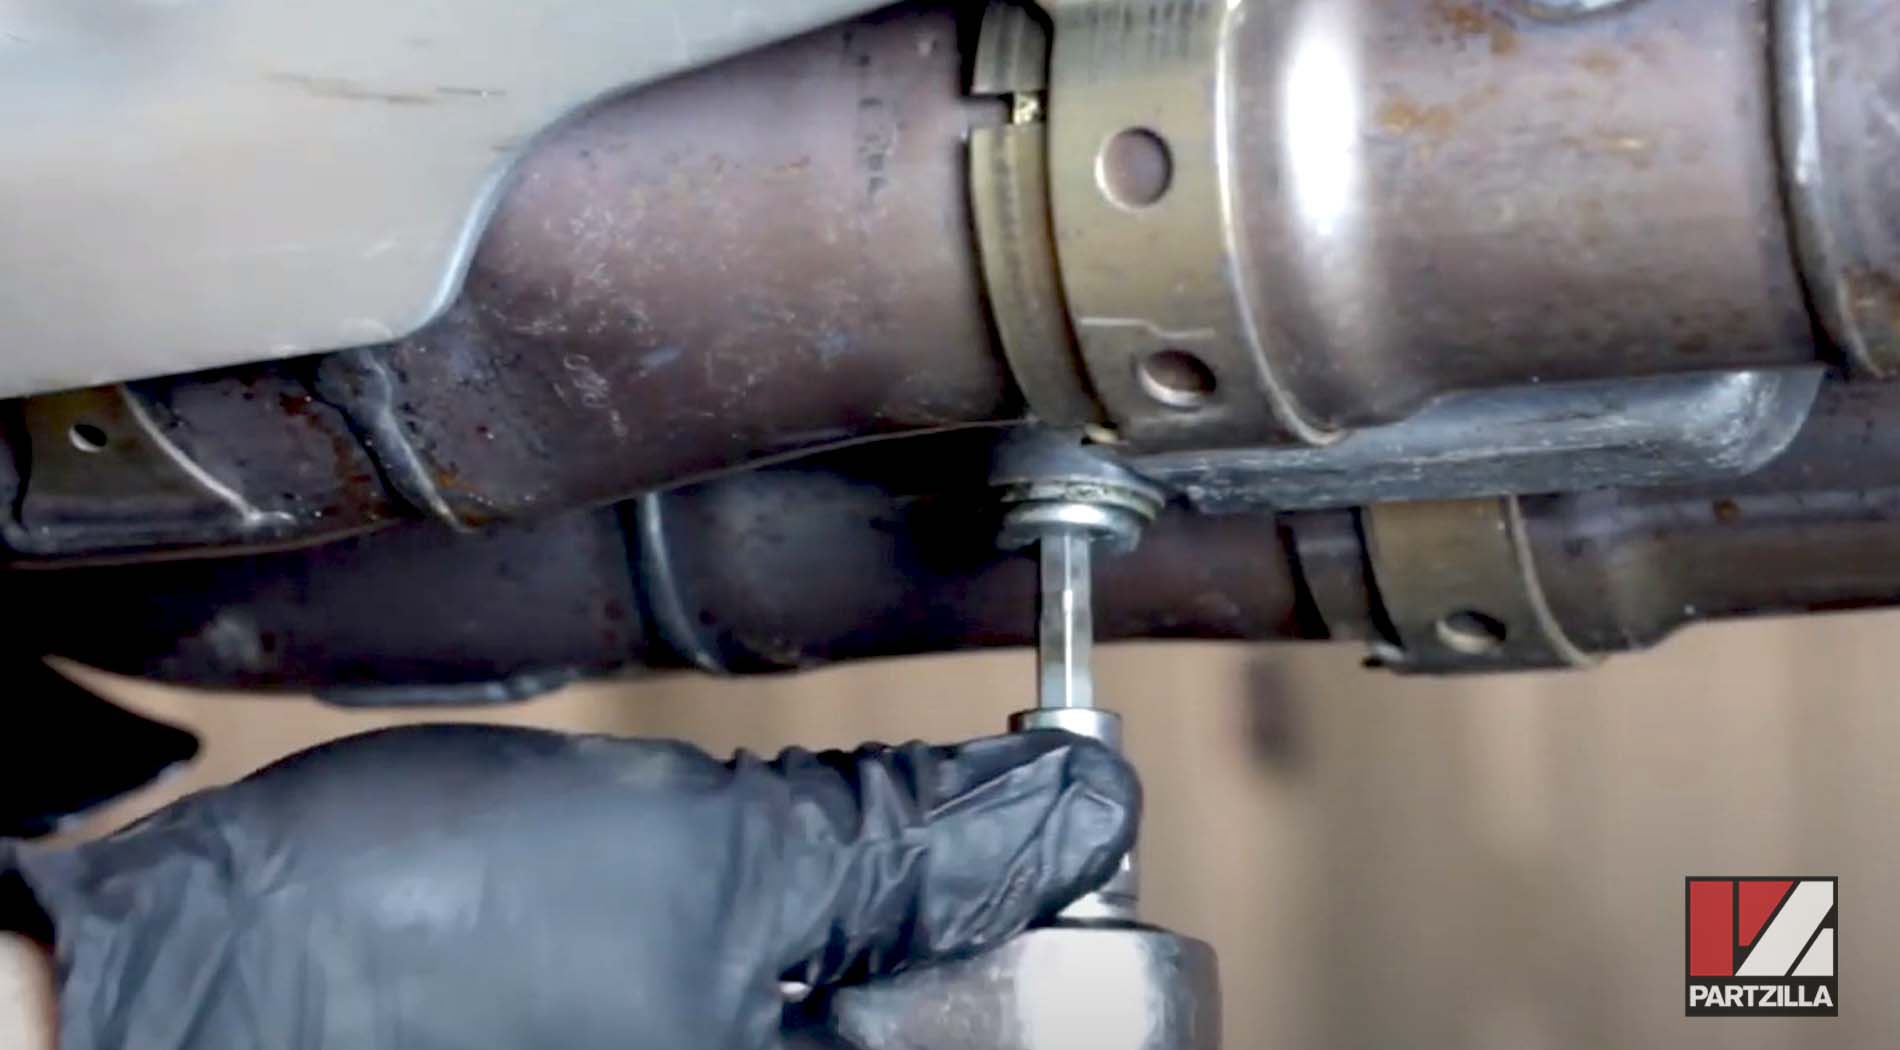
Step 3. Install a new crush washer, then reinstall the drain bolt and torque it to 17 foot-pounds.
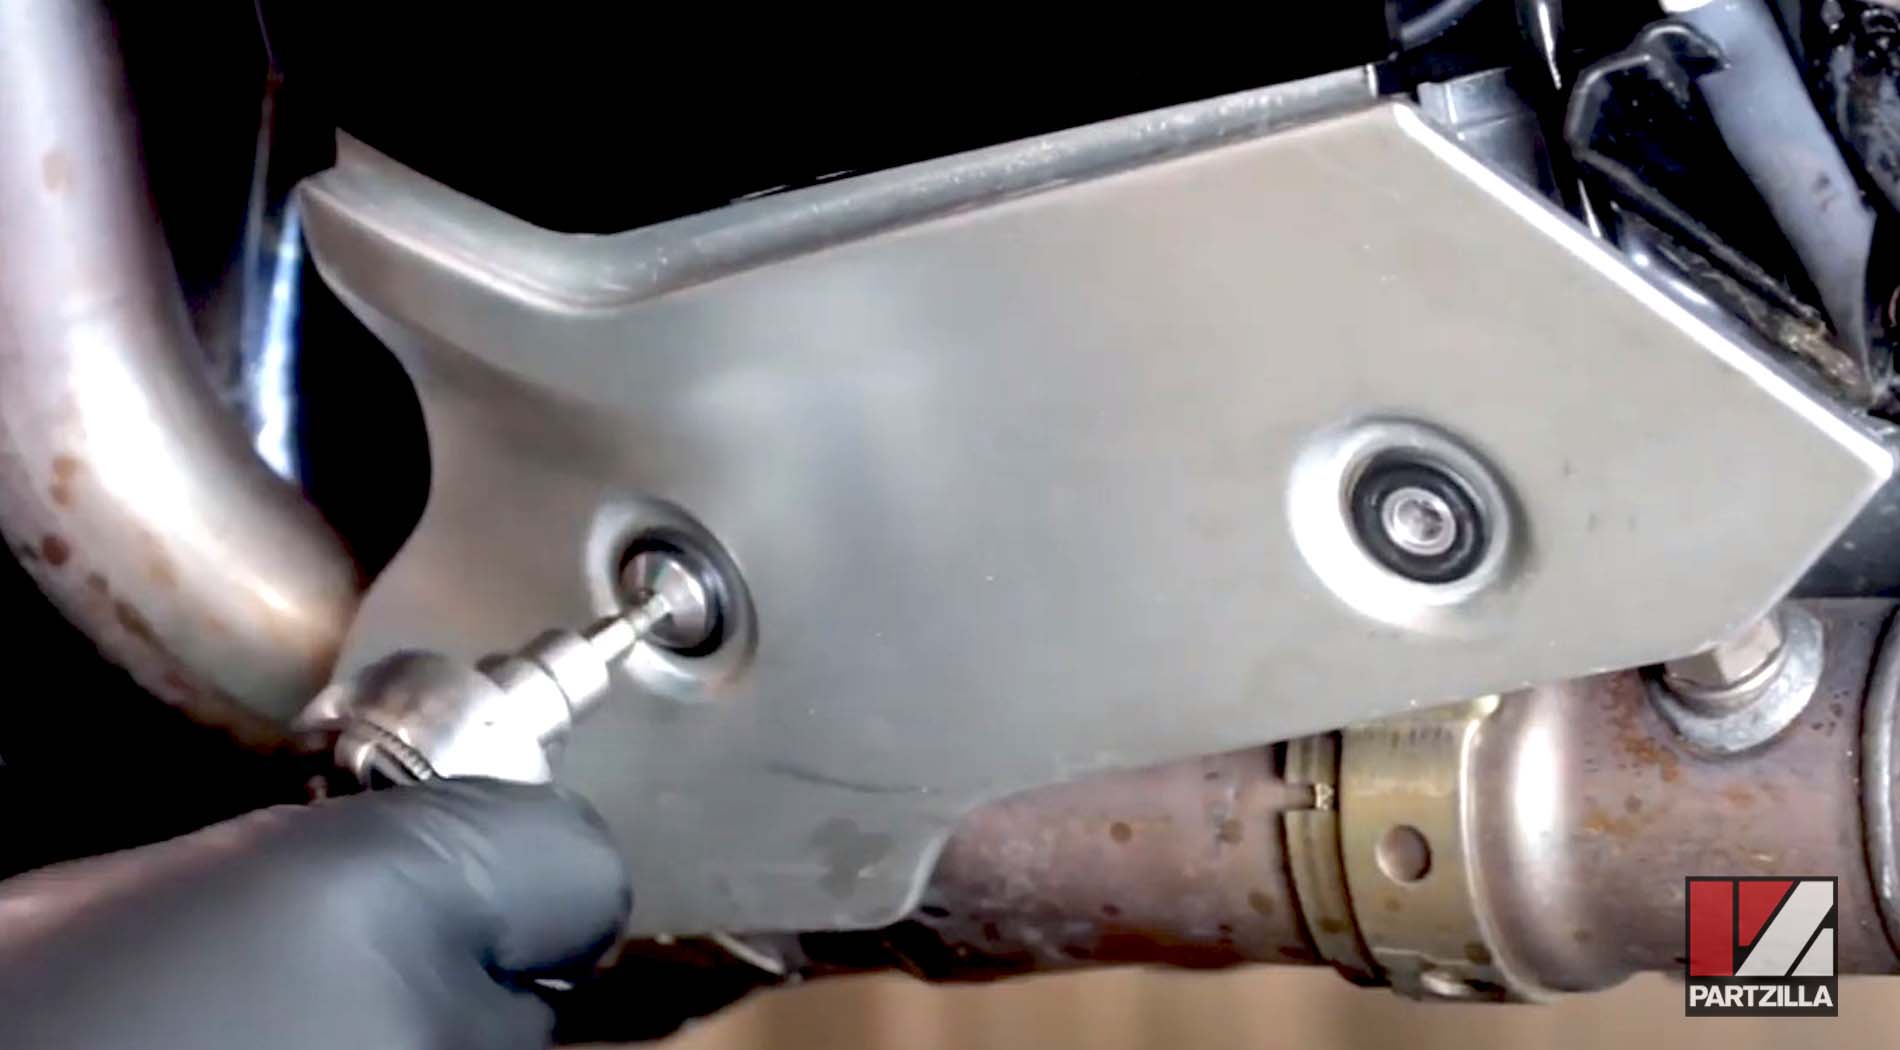
Step 4. Remove the left side lower fairing to access the oil filter by removing the two 8mm Allen bolts.
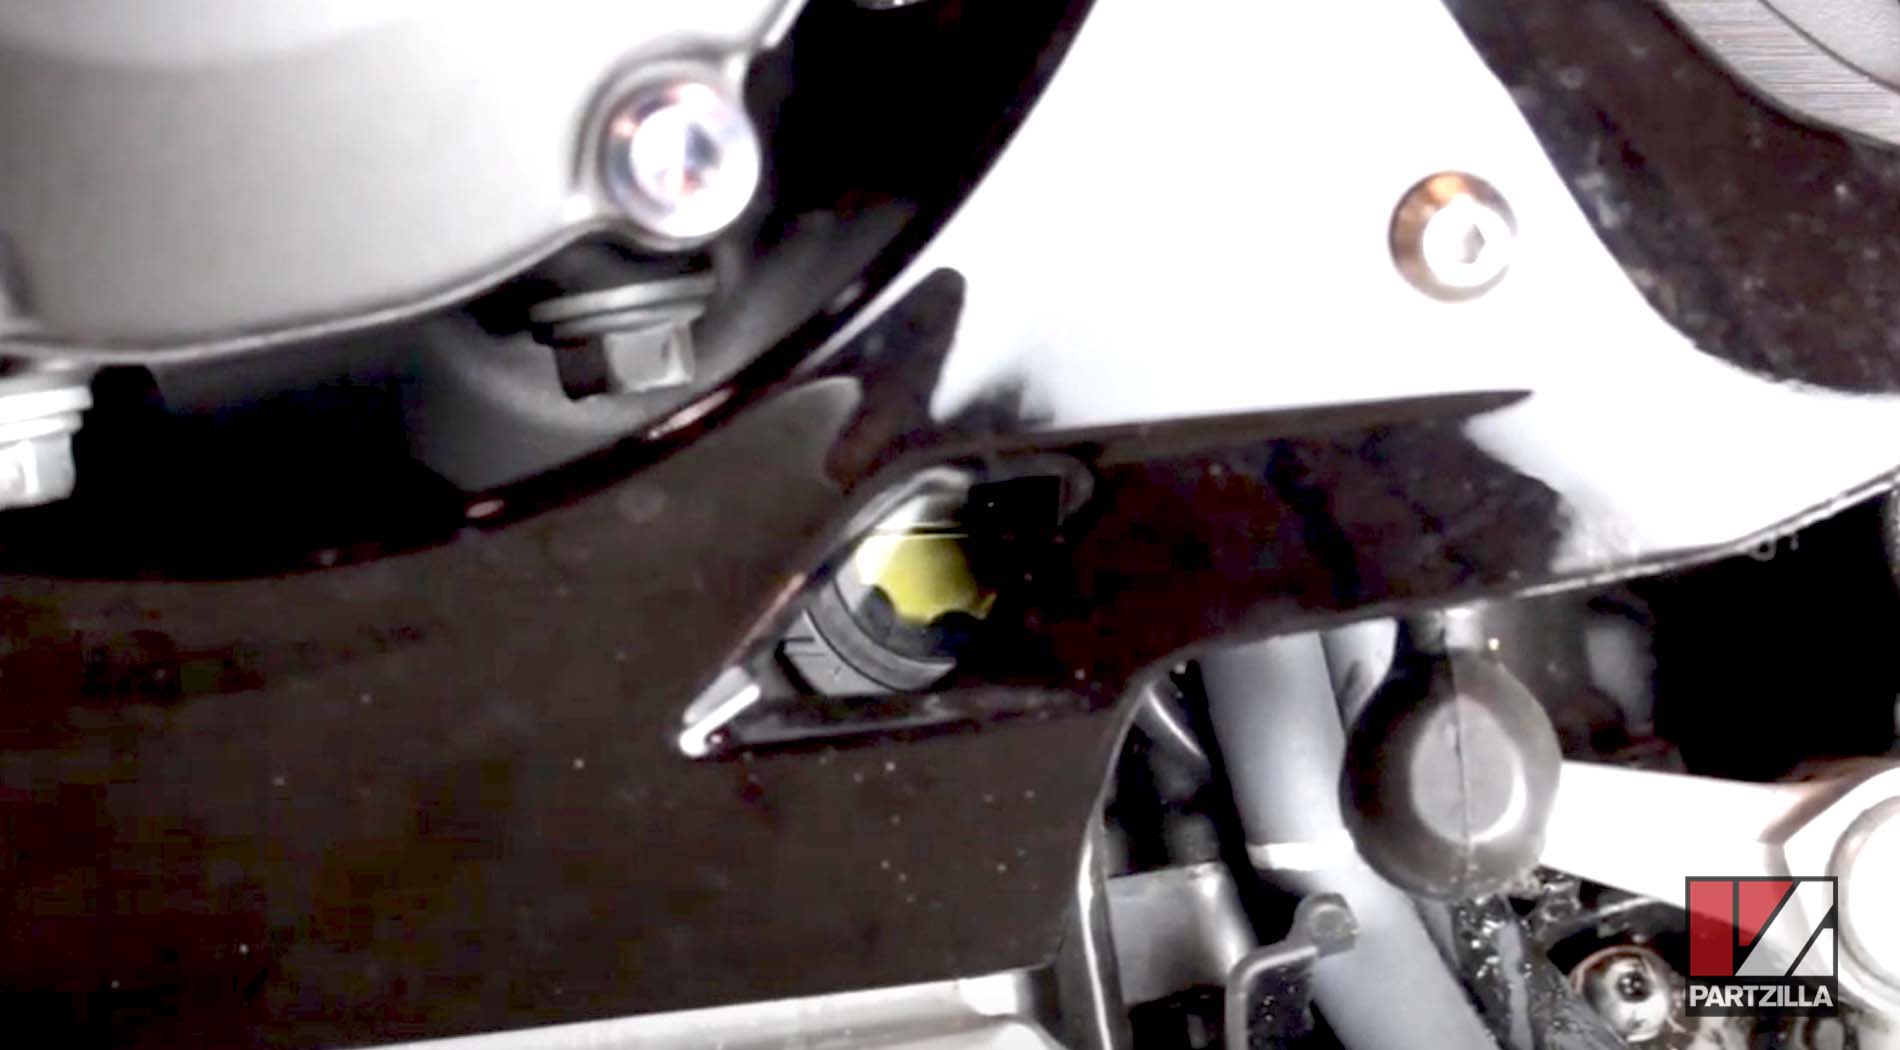
Step 5. Remove the oil filter from the lower left side of the engine using an oil filter wrench.
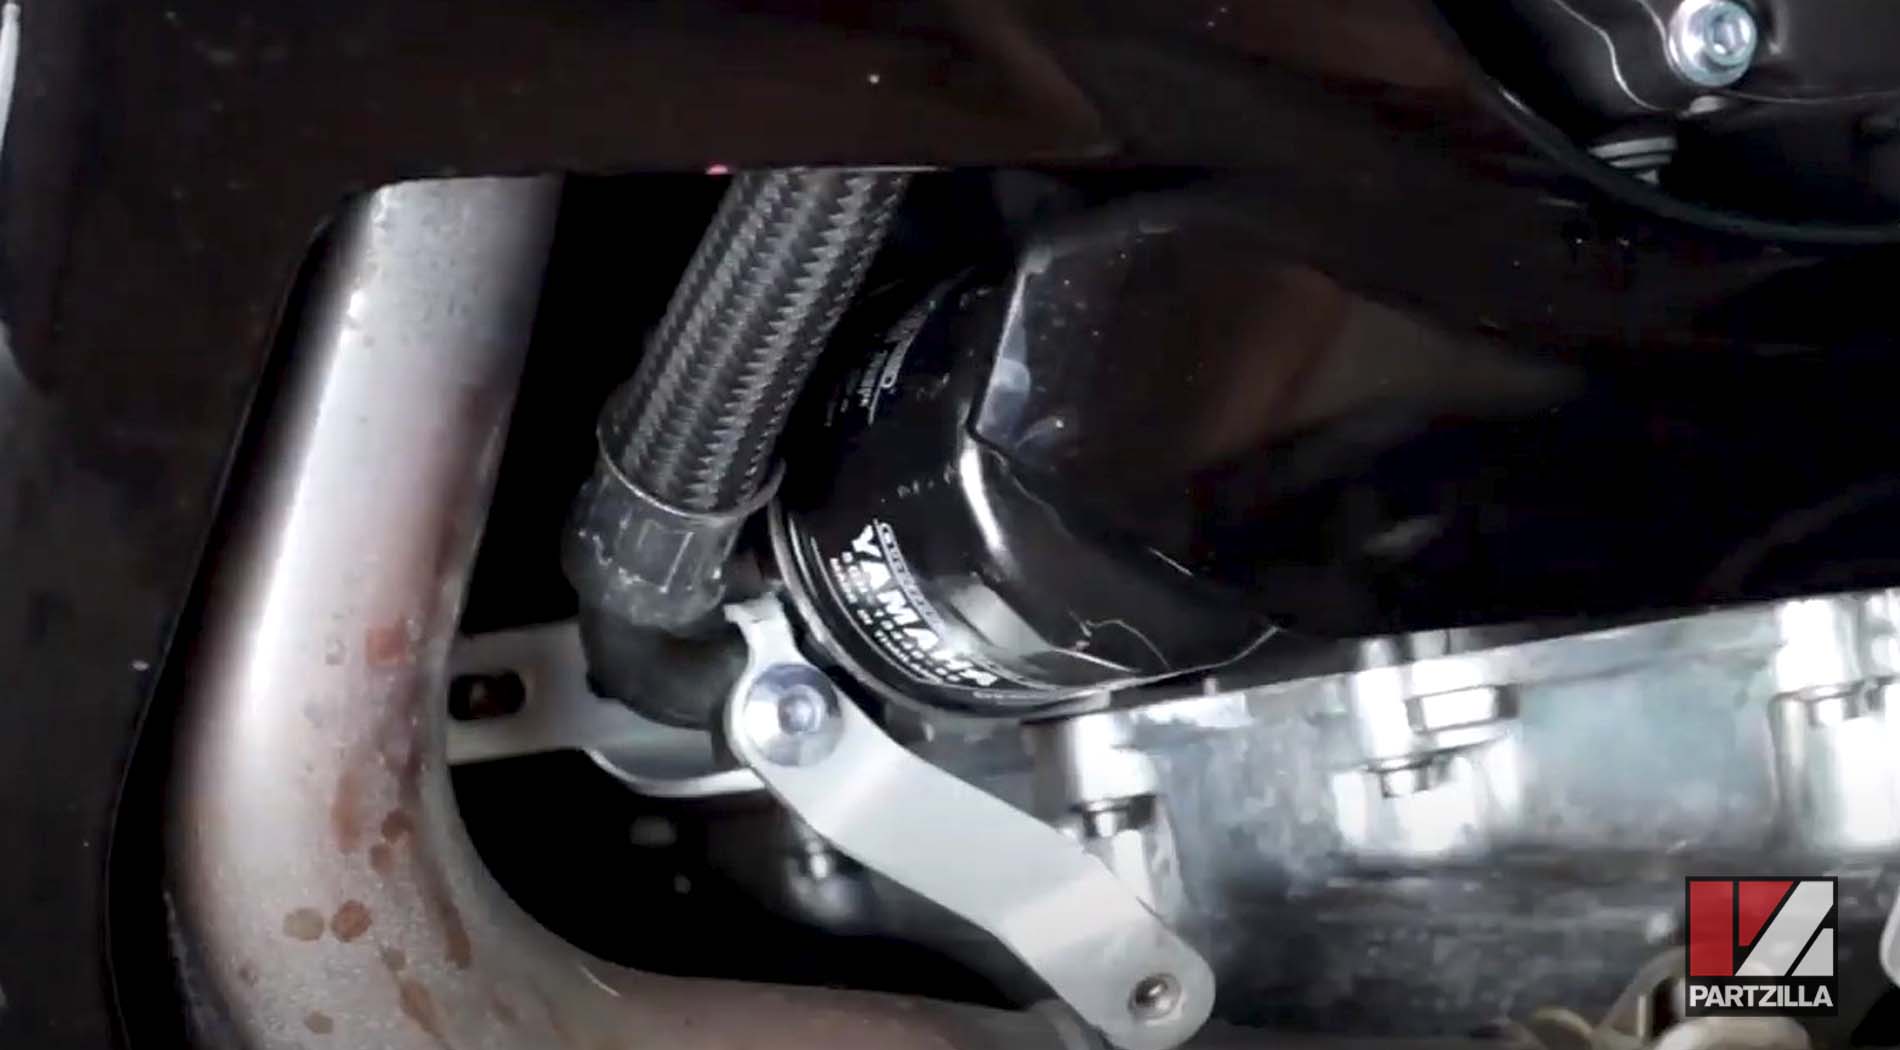
Step 6. Install the new oil filter and torque it to 12 foot-pounds.
Step 7. Clean off any oil that may have dripped onto the exhaust pipe with contact/brake cleaner to prevent it from smoking and burning when you run the motorcycle, and reinstall the left side lower fairing.
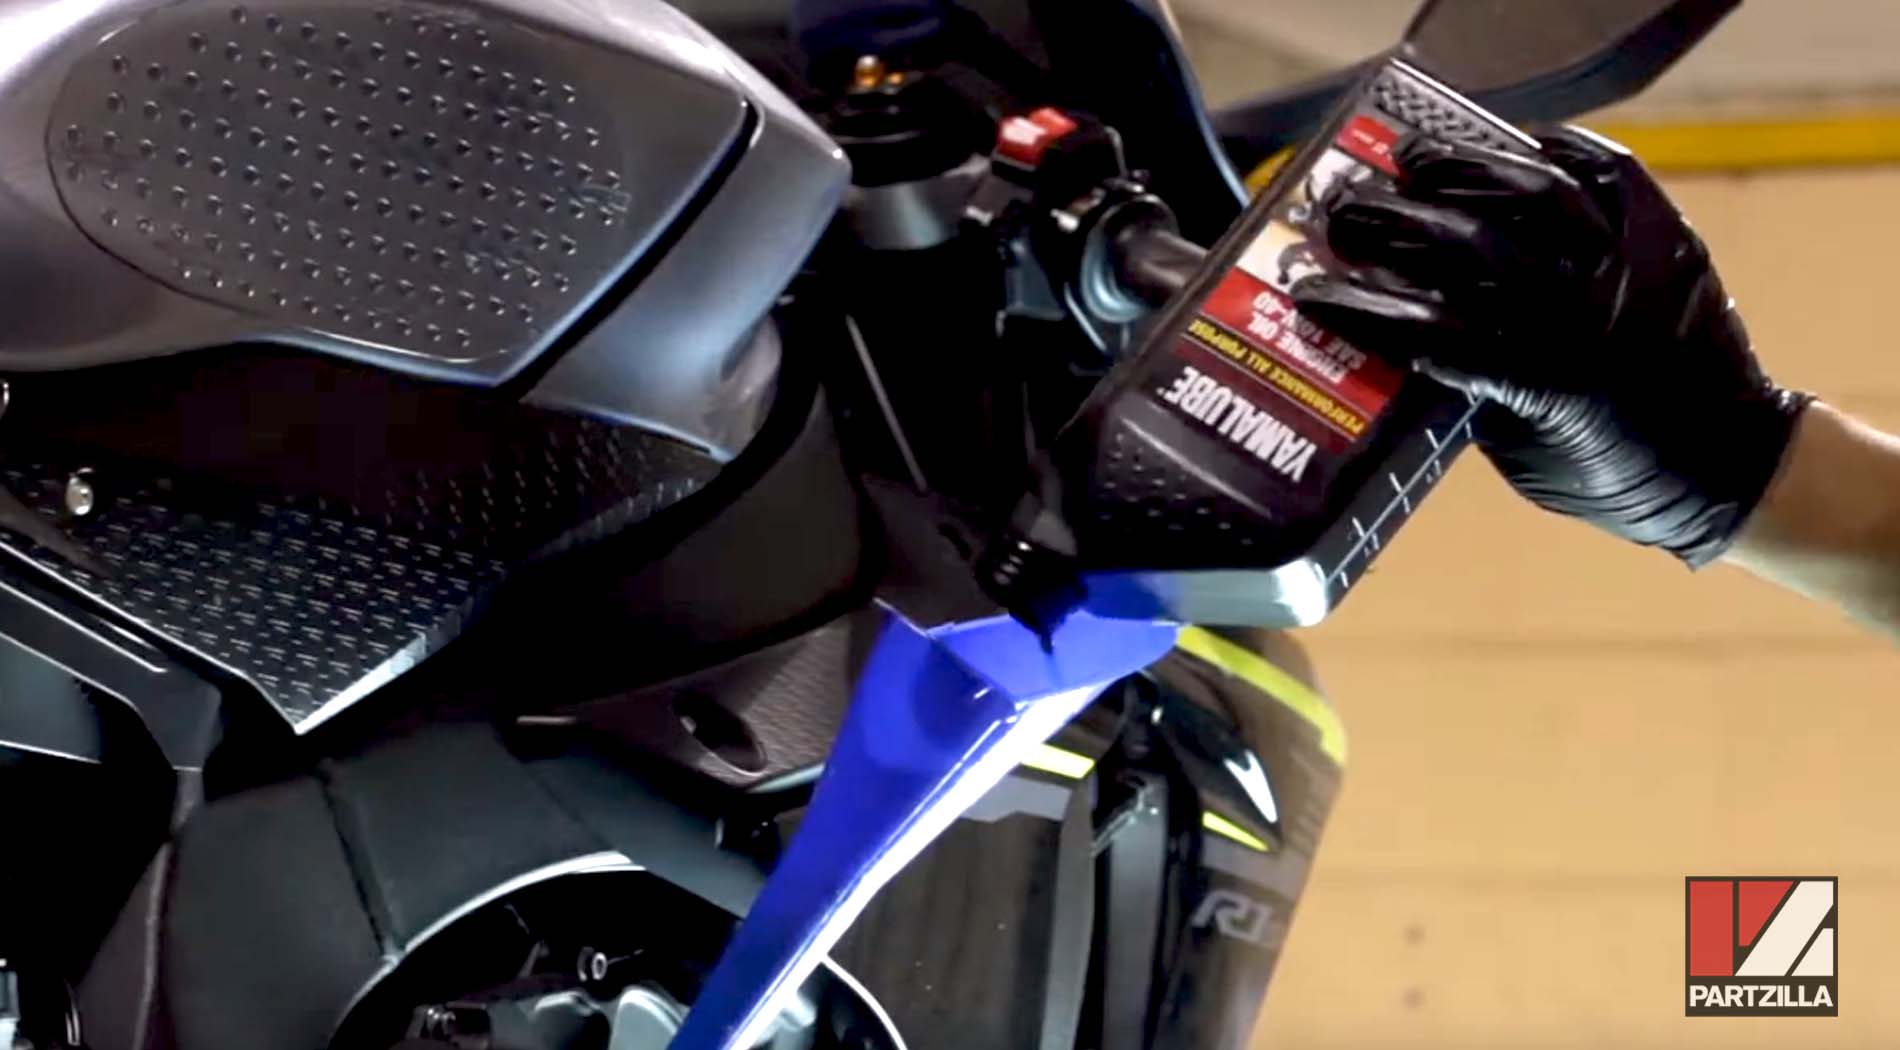
Step 8. Remove the oil fill cap from the right side crankcase cover, then fill the engine with 4.2 quarts of 15W-50 motorcycle oil and reinstall the oil fill cap.
Step 9. Start the engine and let it idle for a few moments to circulate the new oil within the engine.
Step 10. Shut off the engine, let it rest for a minute, and check the oil level through the oil sight glass on the right side of the crankcase. The oil level should be between the middle and upper part of the window. Top off the oil if necessary and you're done.
The steps for changing the oil are the same or similar for all Yamaha motorcycle models. However, if you want to see an oil change done on a slightly older Yamaha R1 model, watch the video below to see how to do an oil change on a 2014 Yamaha YZFR1.