Replacing Secondary Air Filter on a Yamaha YXZ1000R
Dirty air filters block air from reaching the engine, effectively killing the performance of a powersports vehicle like the Yamaha YXZ1000R.
You probably remember to clean or replace the primary air filter in your Yamaha UTV once a year, but what about the secondary air filter? Yamaha says the secondary filter in the YXZ1000R should be changed every 1200-3000 miles, depending on the condition of both air filters.
Watch the video above and follow the steps below to do a secondary air filter change on a Yamaha YXZ1000R.
Tools and Parts – Yamaha YXZ1000 Secondary Air Filter Replacement
- Ratchet and extensions
- Universal joint socket adapter
- 8mm, 10mm, 12mm sockets
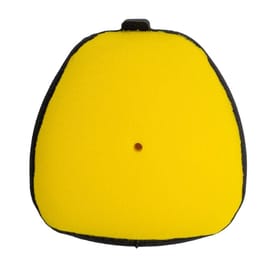
- Secondary air filter
- Contact/brake cleaner
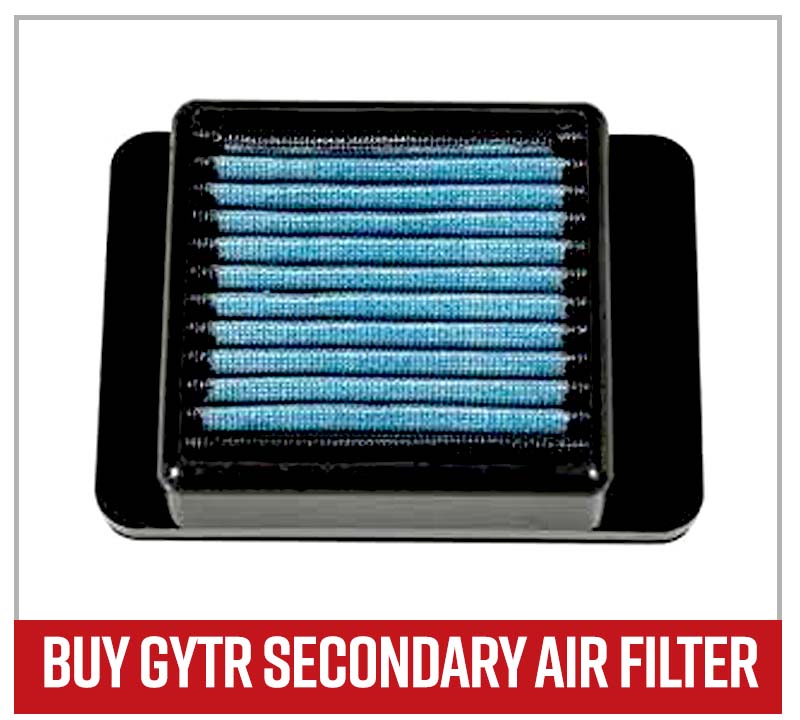
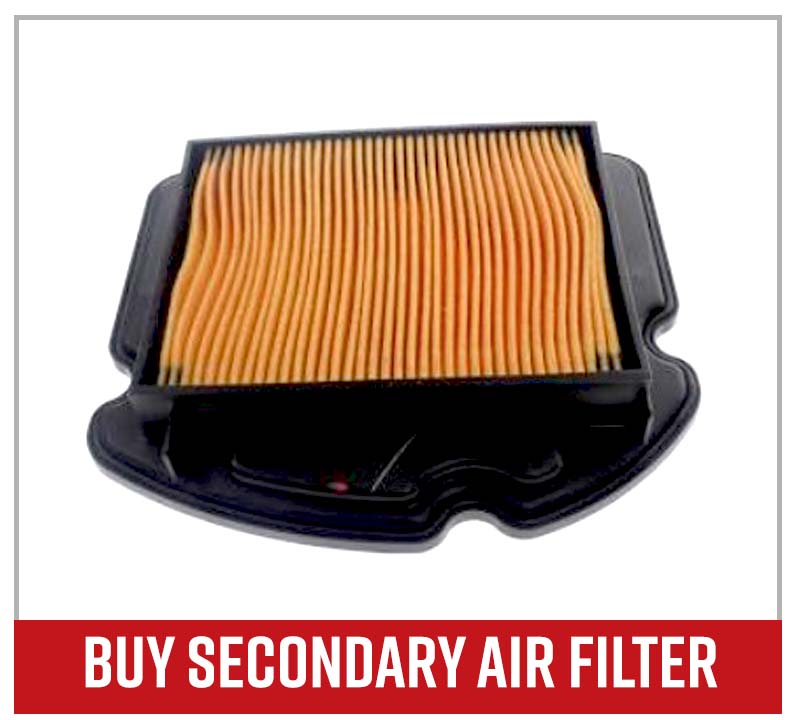
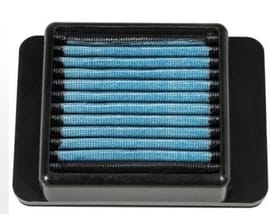
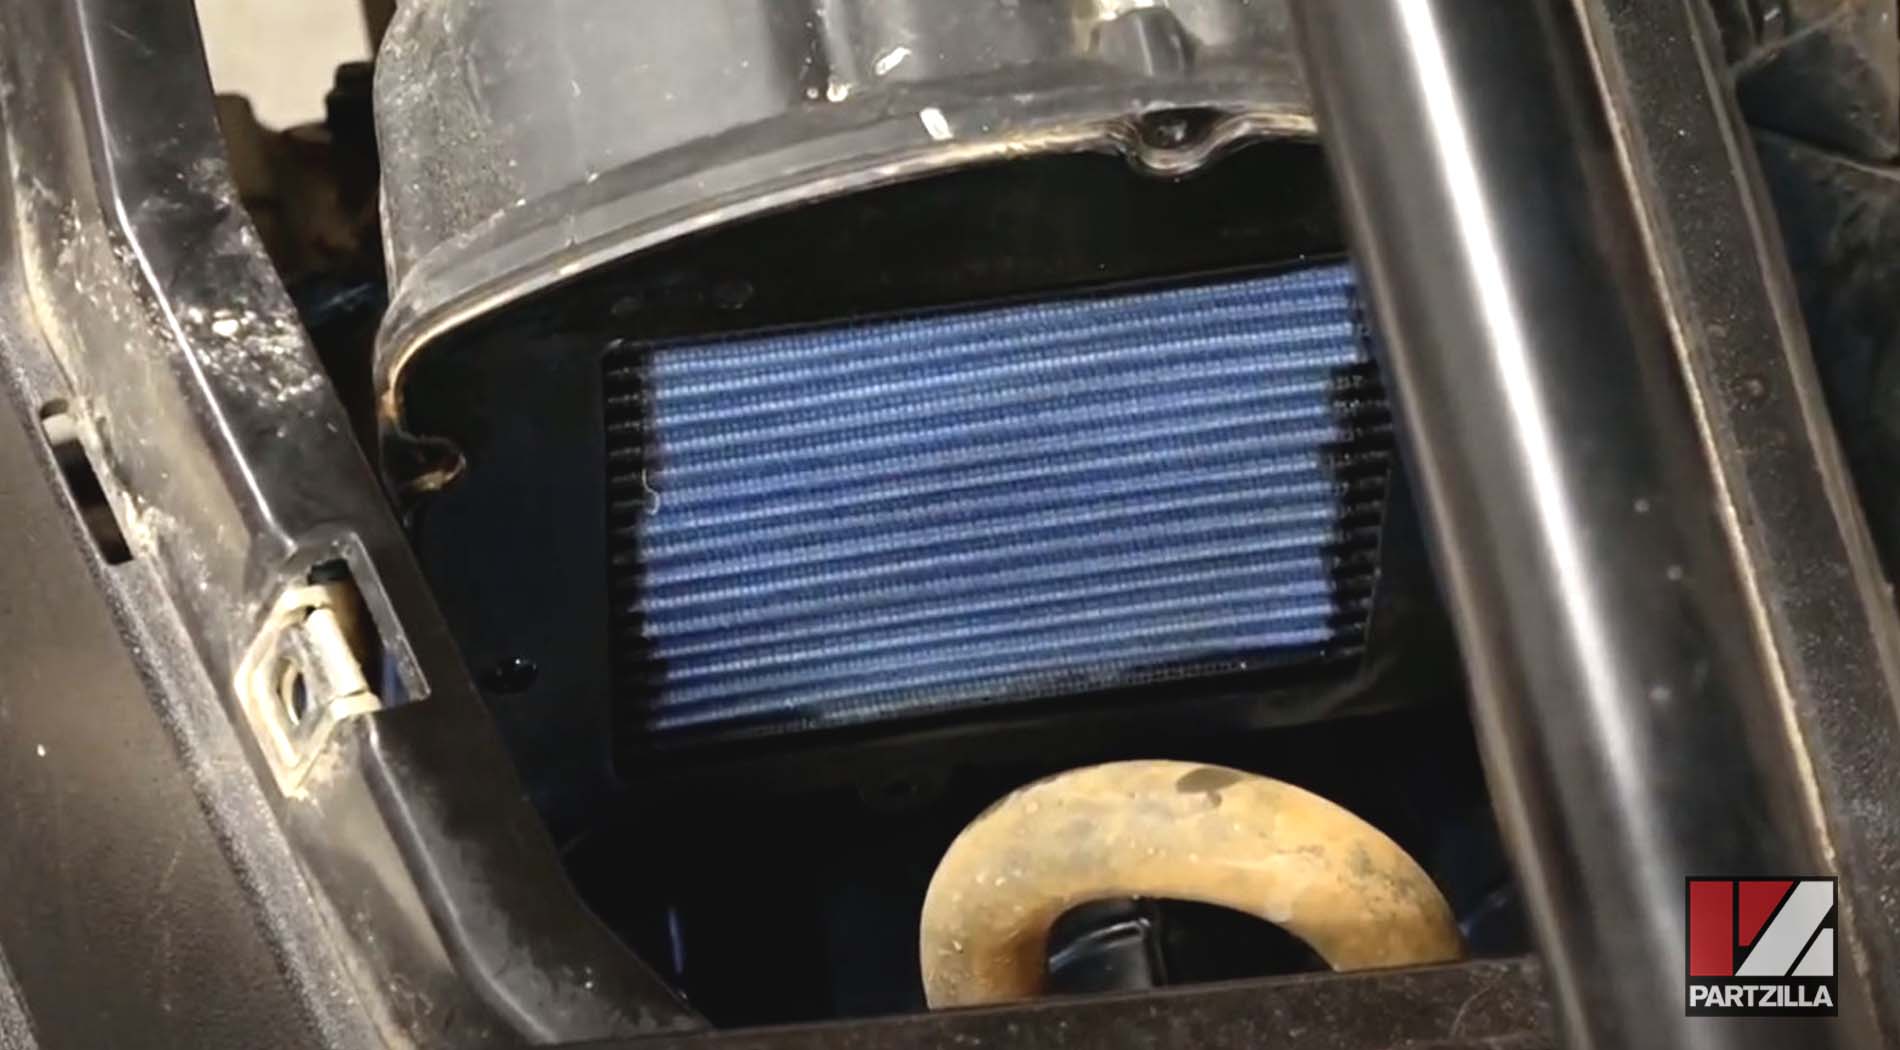
NOTE: We installed a GYTR air filter from Yamaha’s performance division. It’s a gauze filter that provides more airflow to the engine than the OEM paper filter.
Removing the Air Cleaner Casing Cover
Step 1. Release the quick-release fasteners holding the cover from the forward part of the cargo bed, and then remove the cover itself.
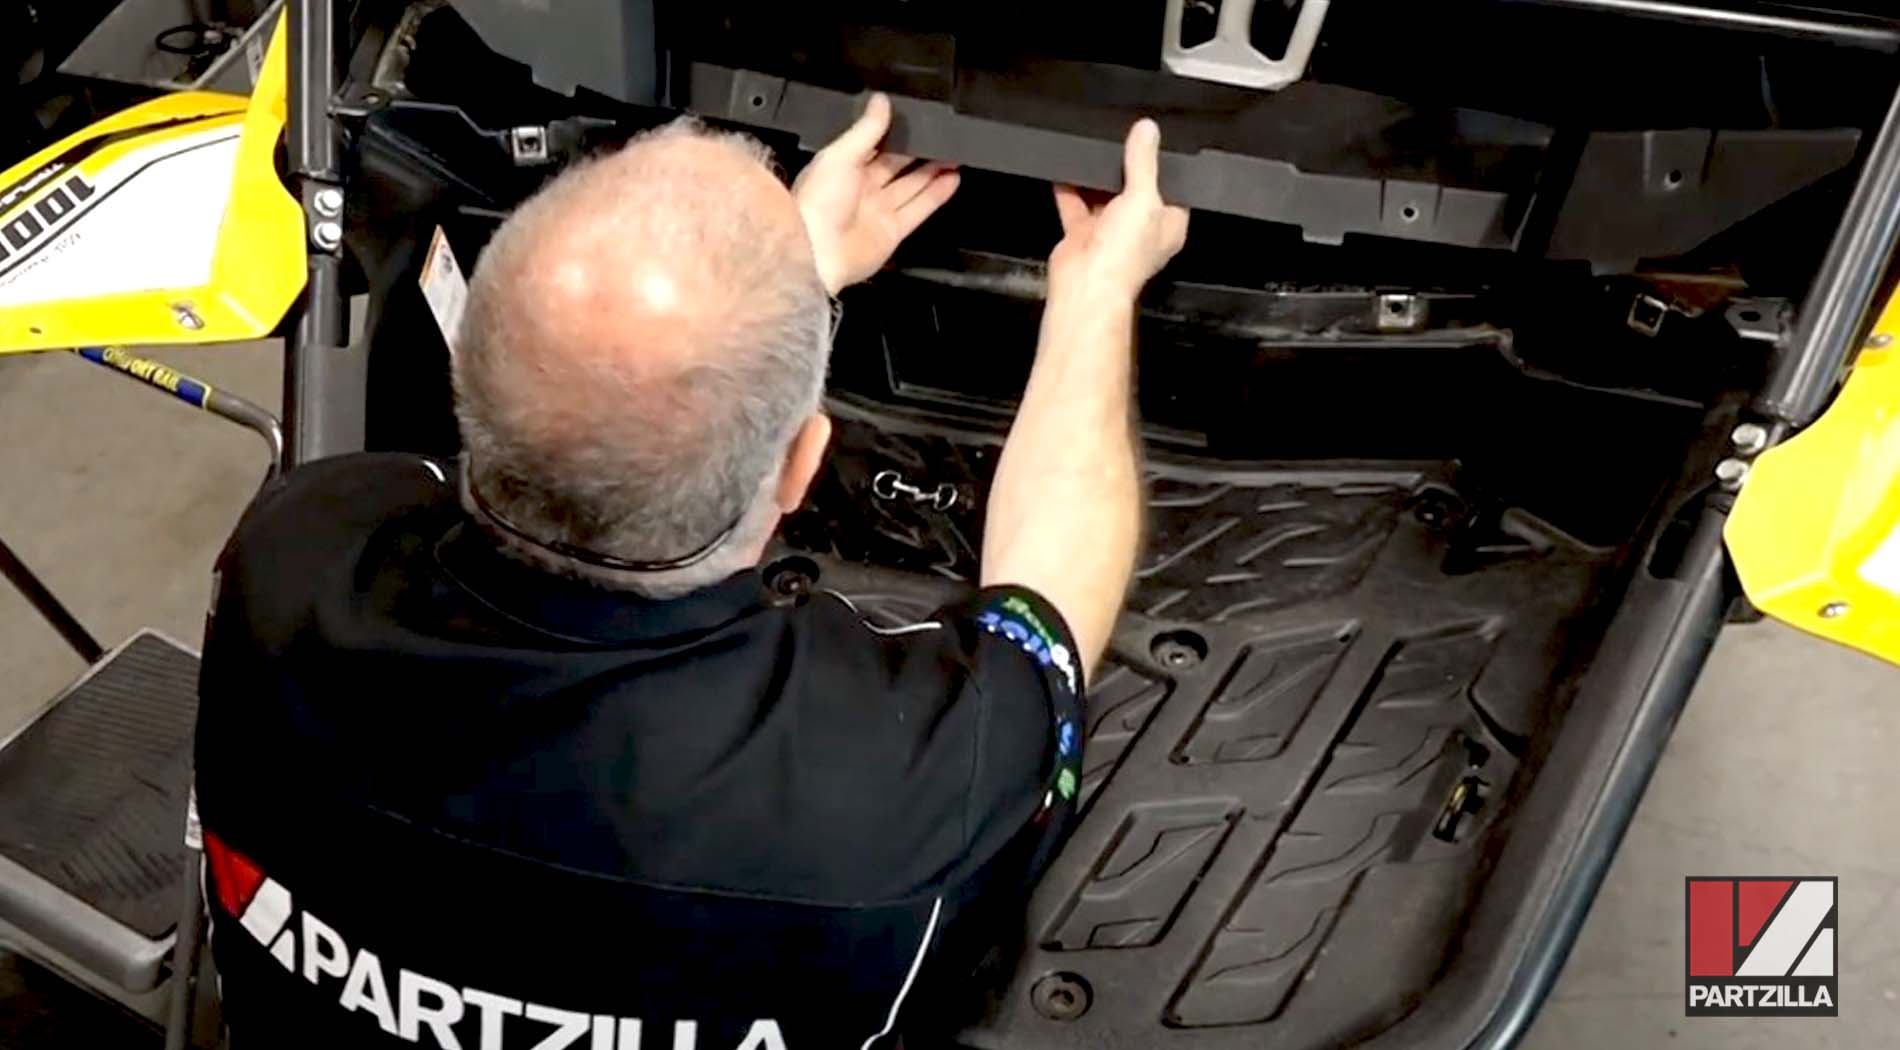
Step 2. Remove the three 10mm screws holding the oil tank cover, followed by the cover itself.
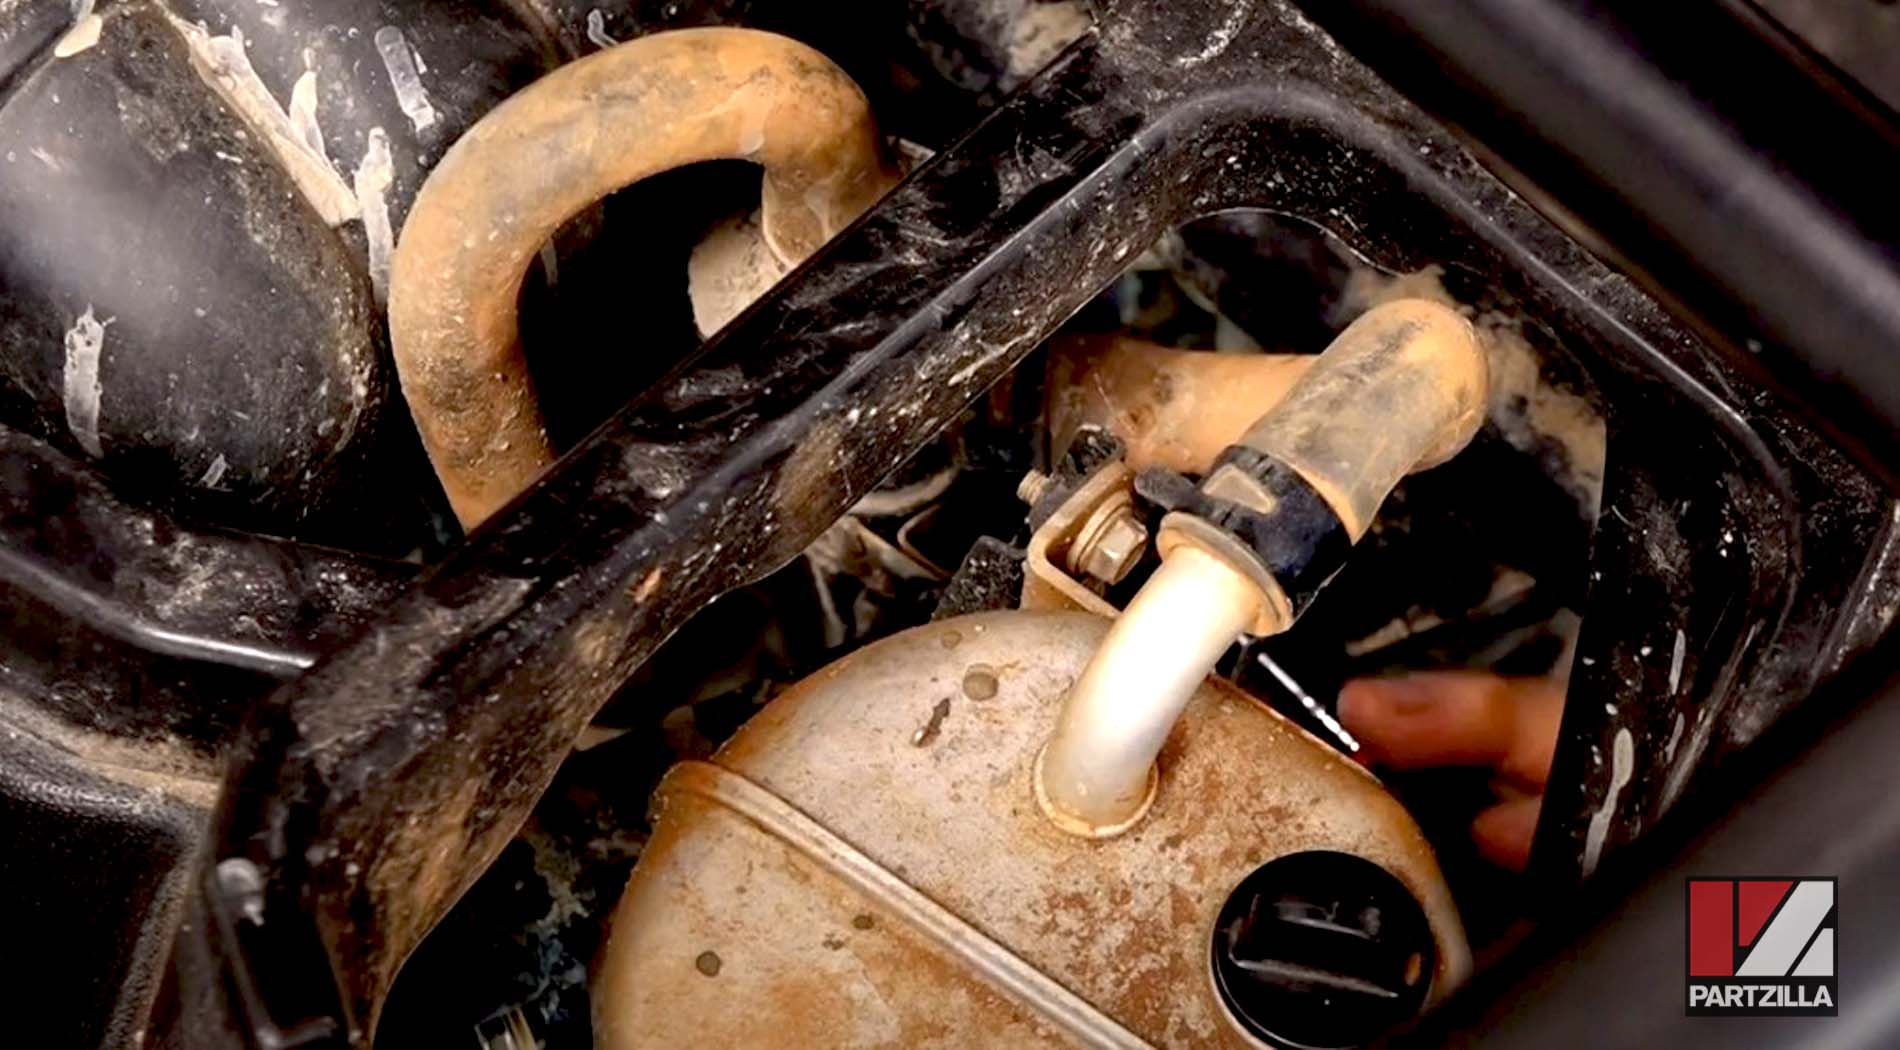
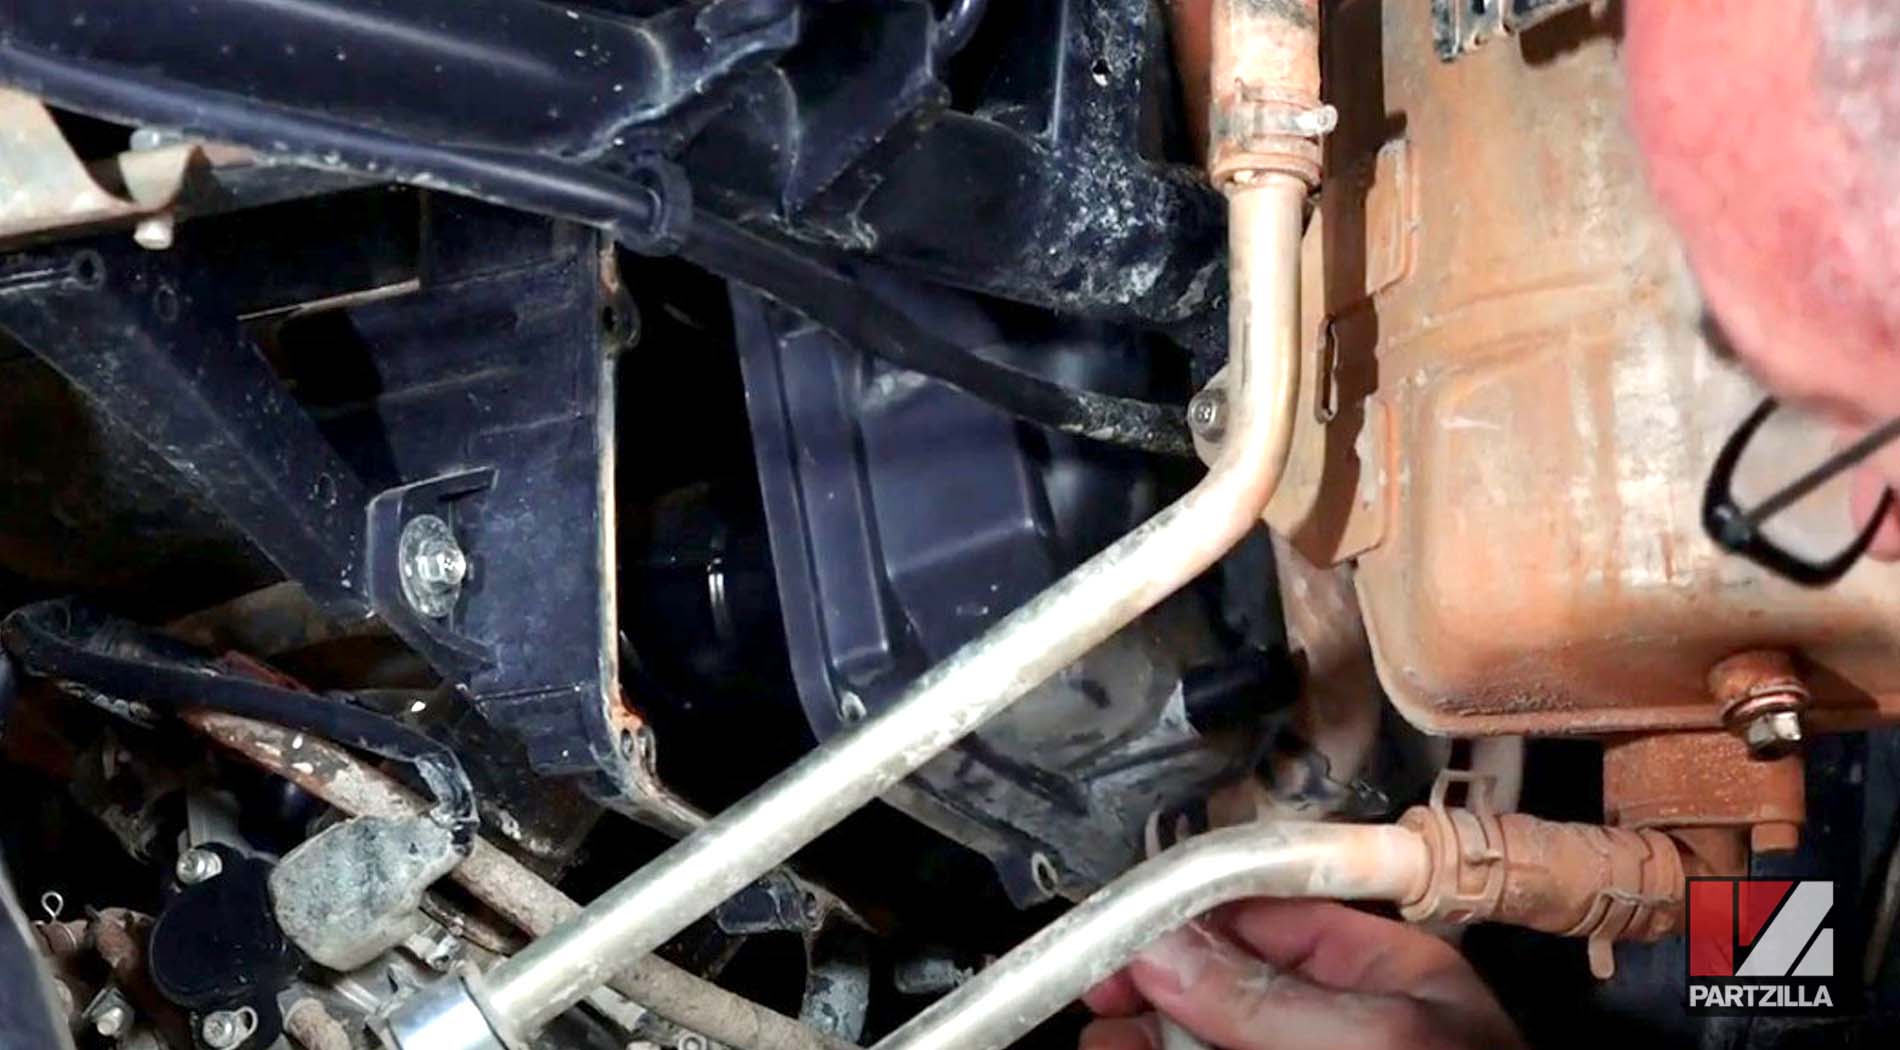
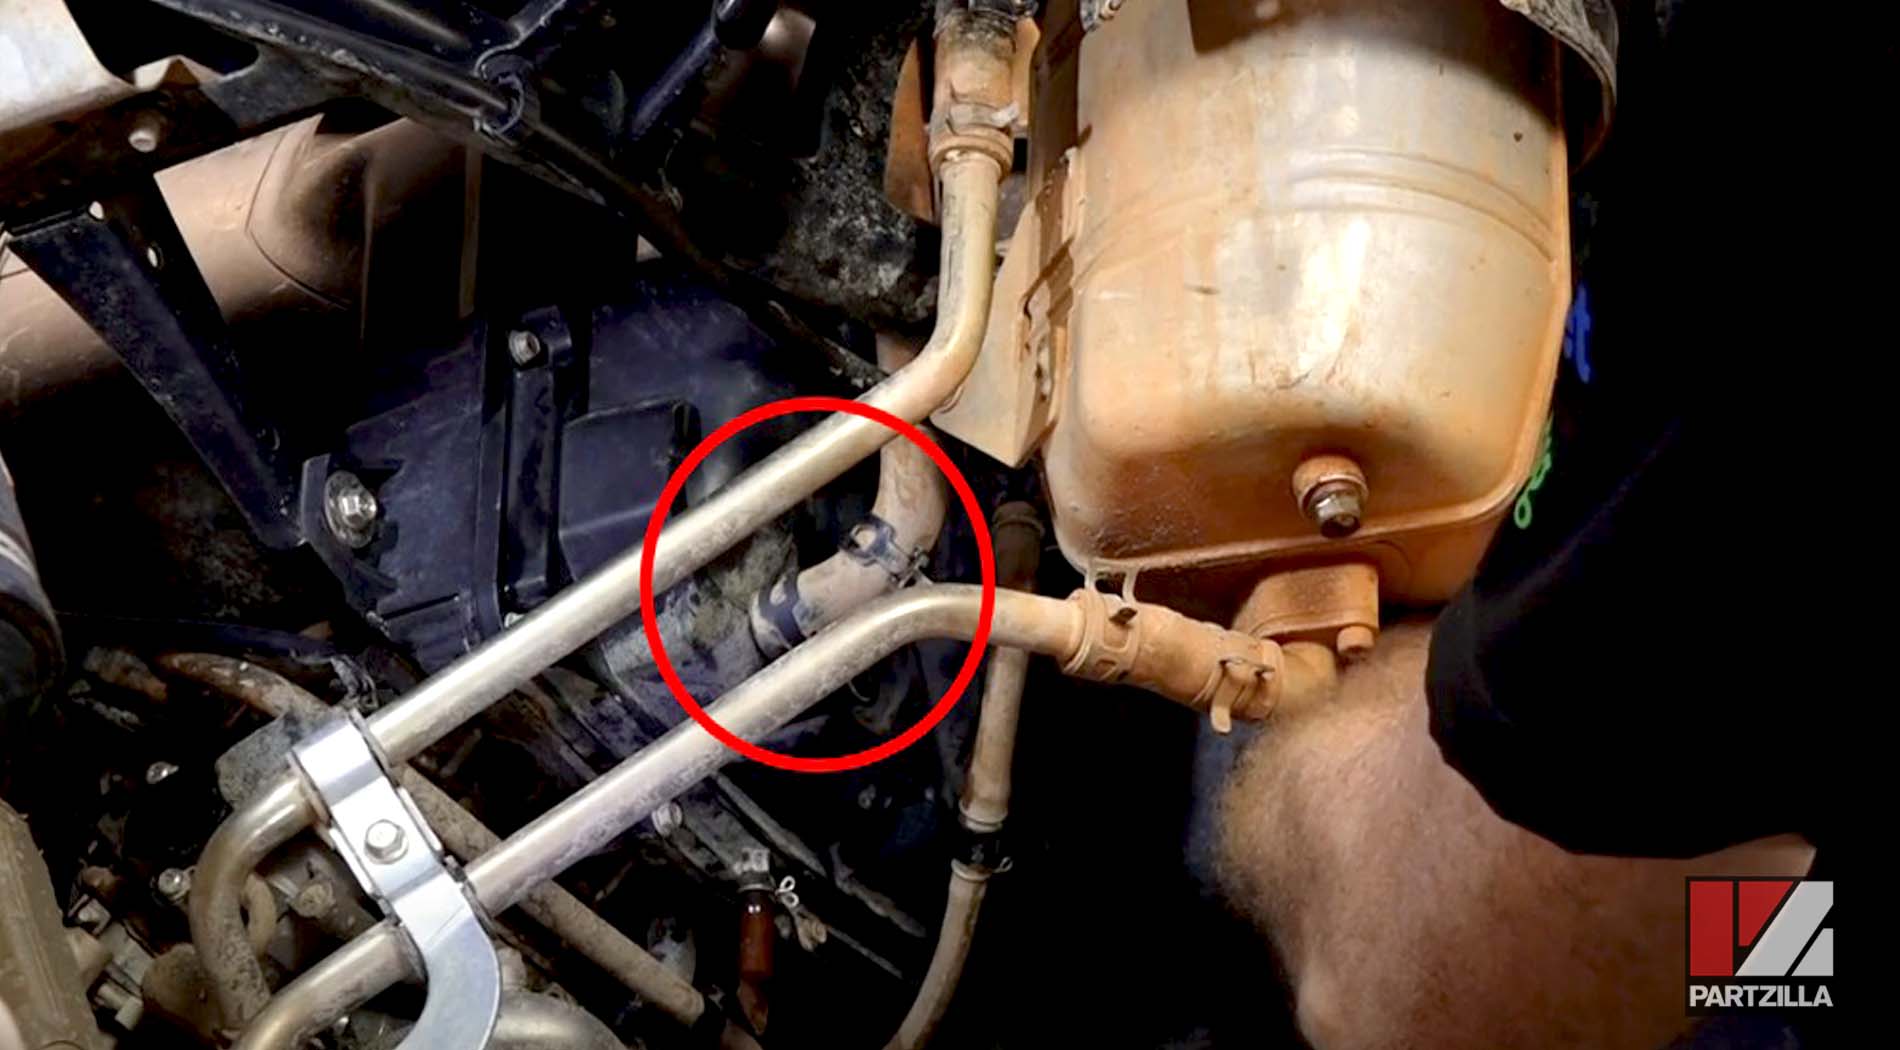
Step 3. Disconnect the clip and breather pipe from the bottom of the air cleaner casing.
Step 4. Remove the 8mm screws holding the cover of the air cleaner casing.
PRO TIP: There are 11 screws in total. Remove as many of the screws by working from above the air cleaner casing, then removing the remaining screws by working from beneath the casing. To remove the lower screws, use two ratchet extension bars joined together and a universal joint socket adapter. Wind electrical tape around the universal joint socket adapter to keep it in position and make it more manageable.
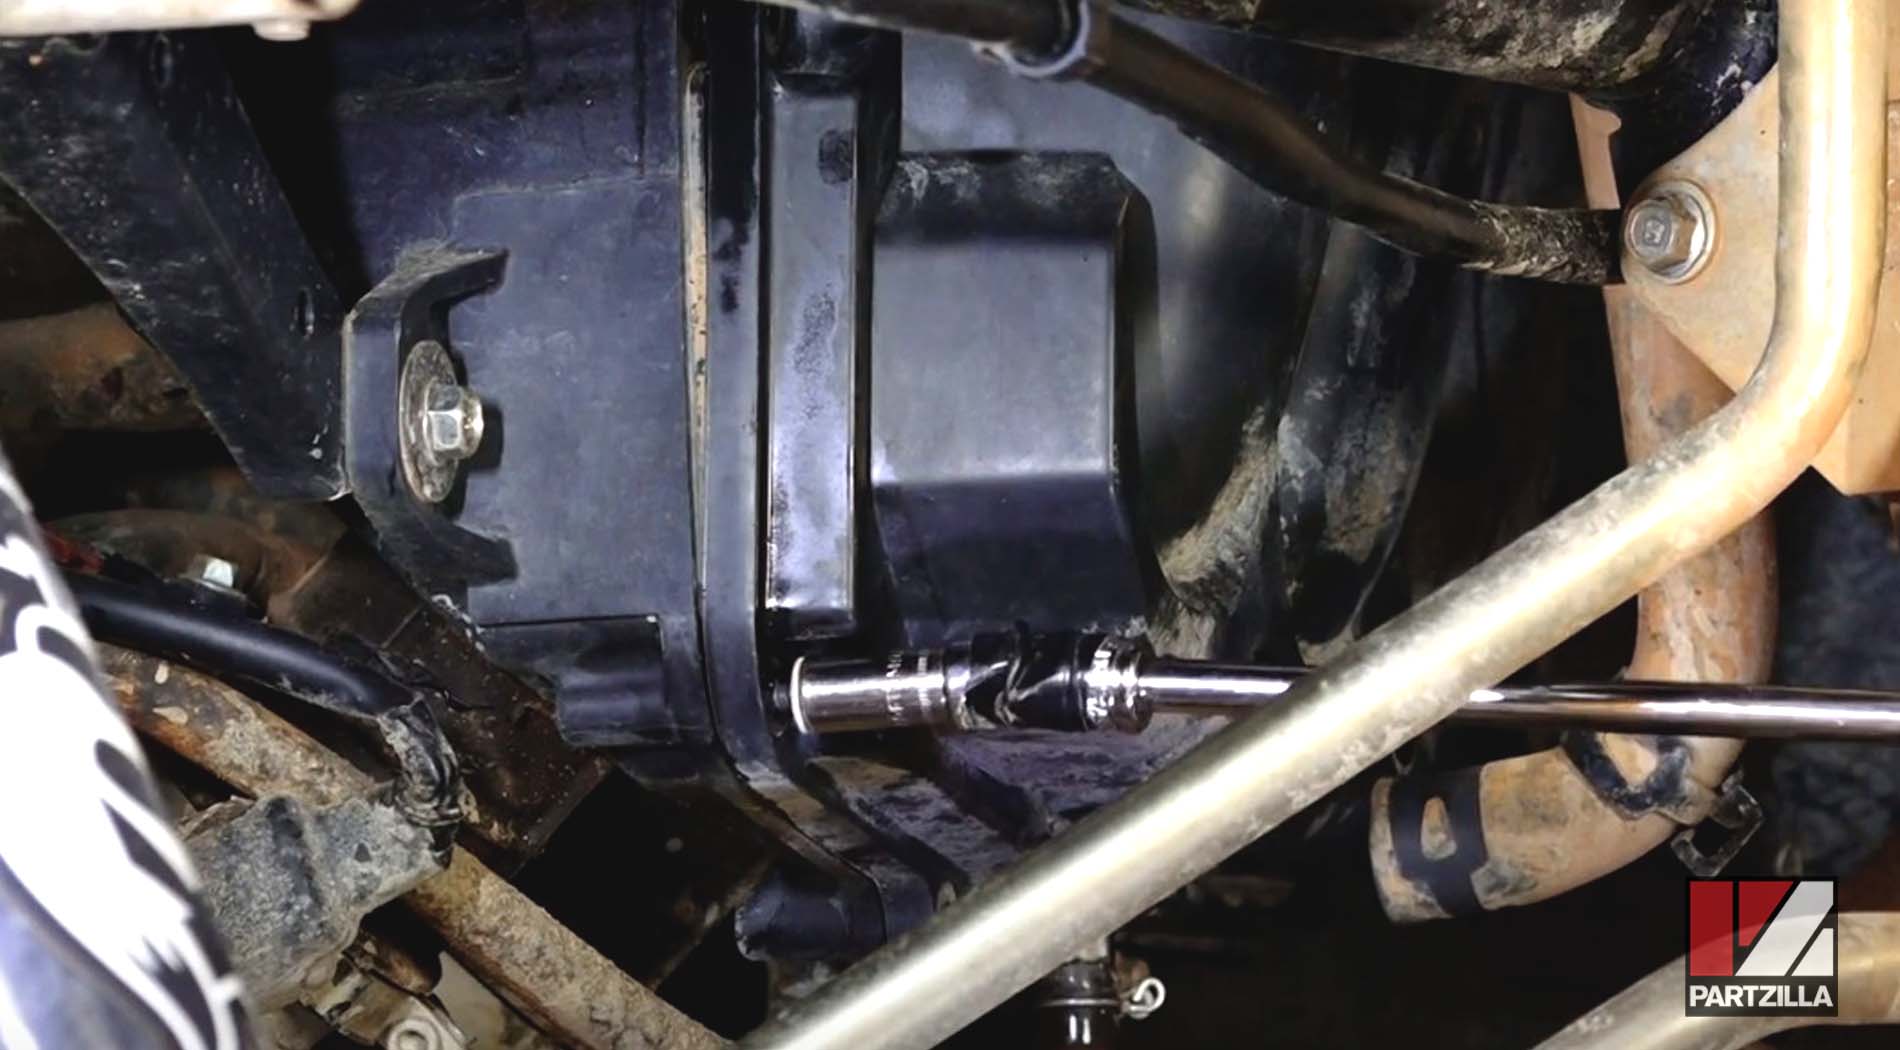
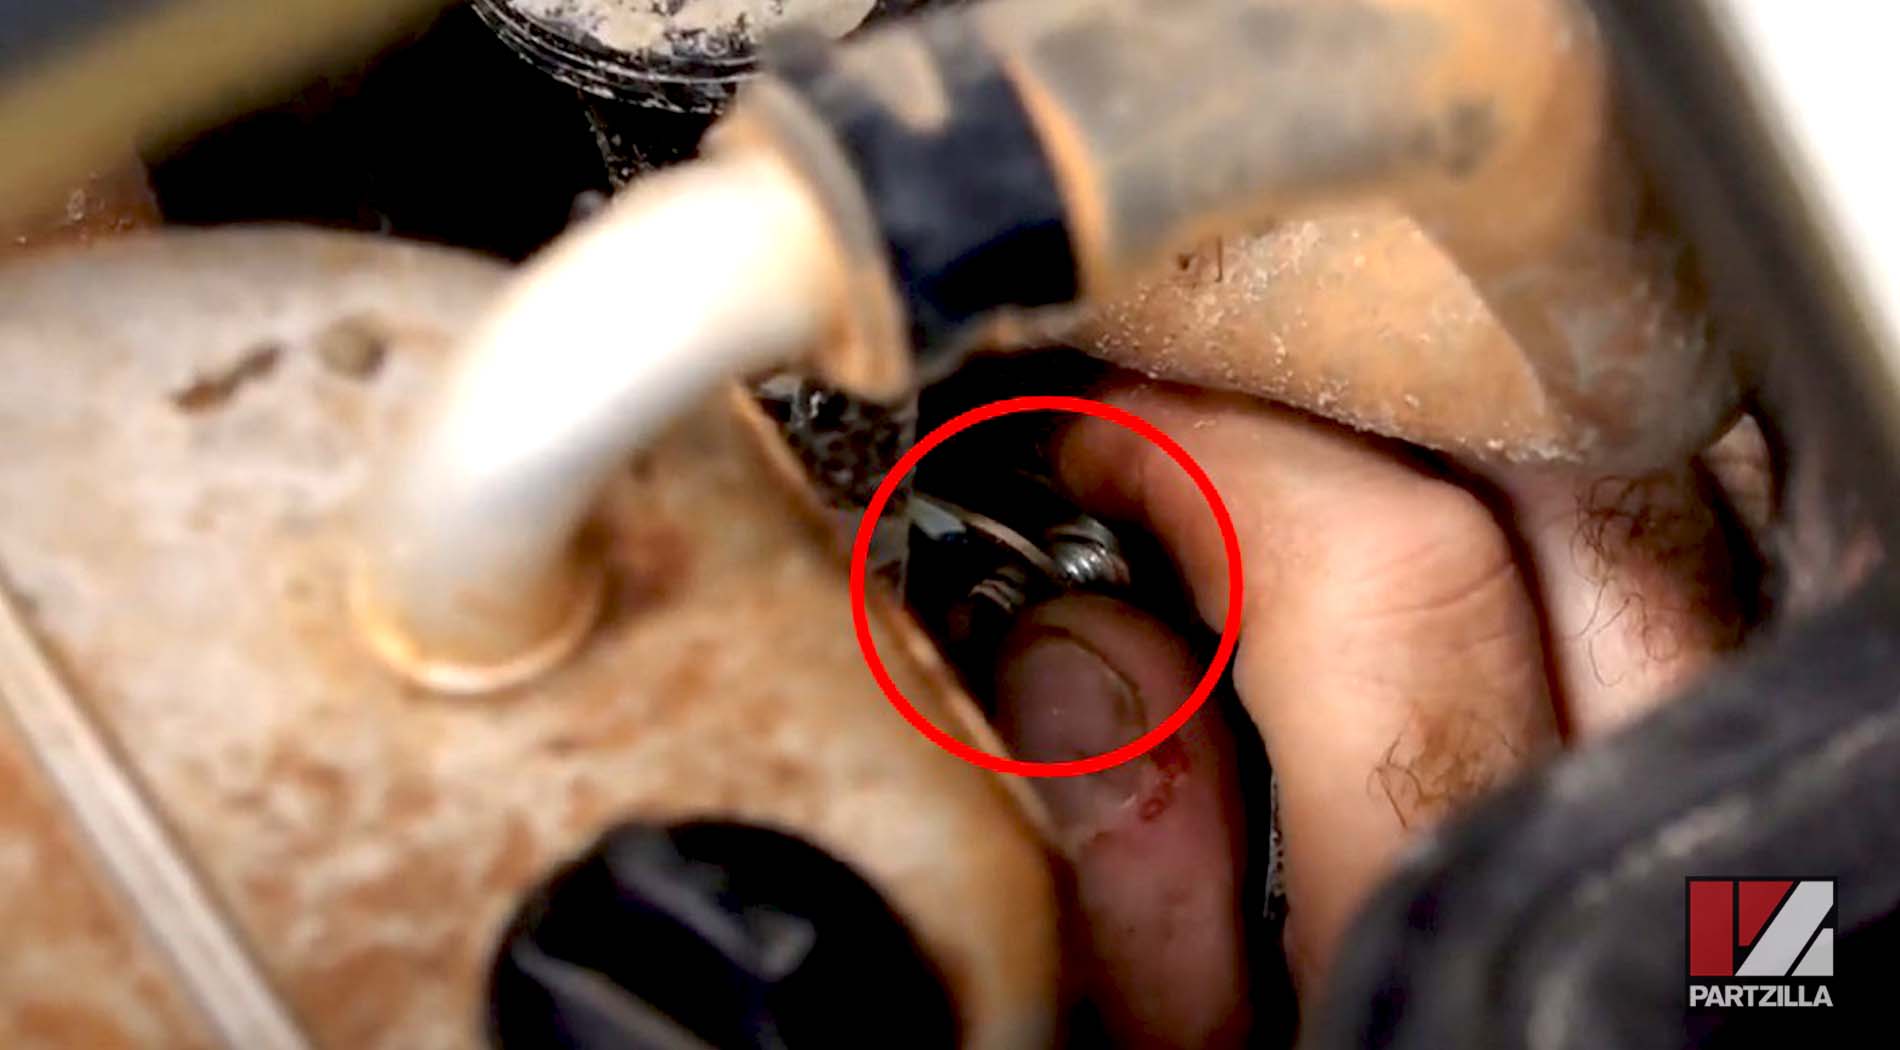
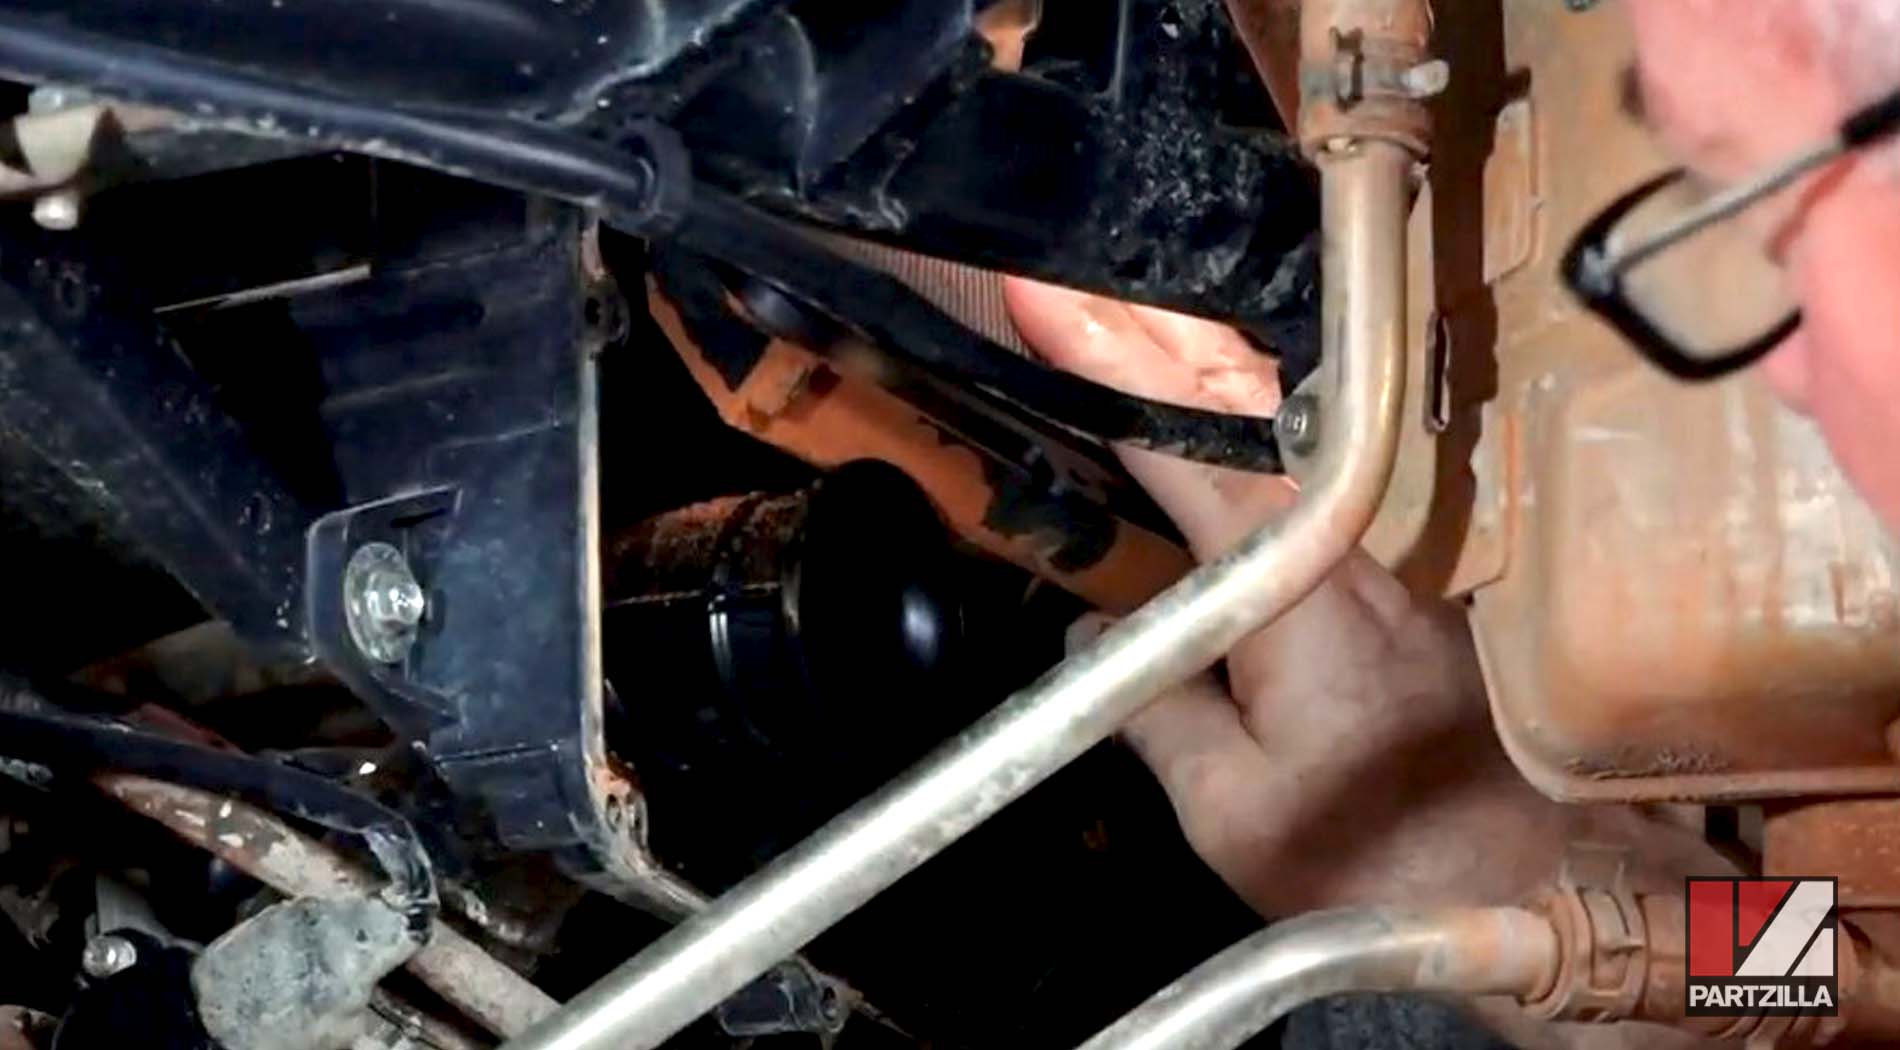
Step 5. Remove the 12mm bolt holding the oil catch tank bracket to the rear subframe.
Step 6. Remove the air cleaner casing cover.
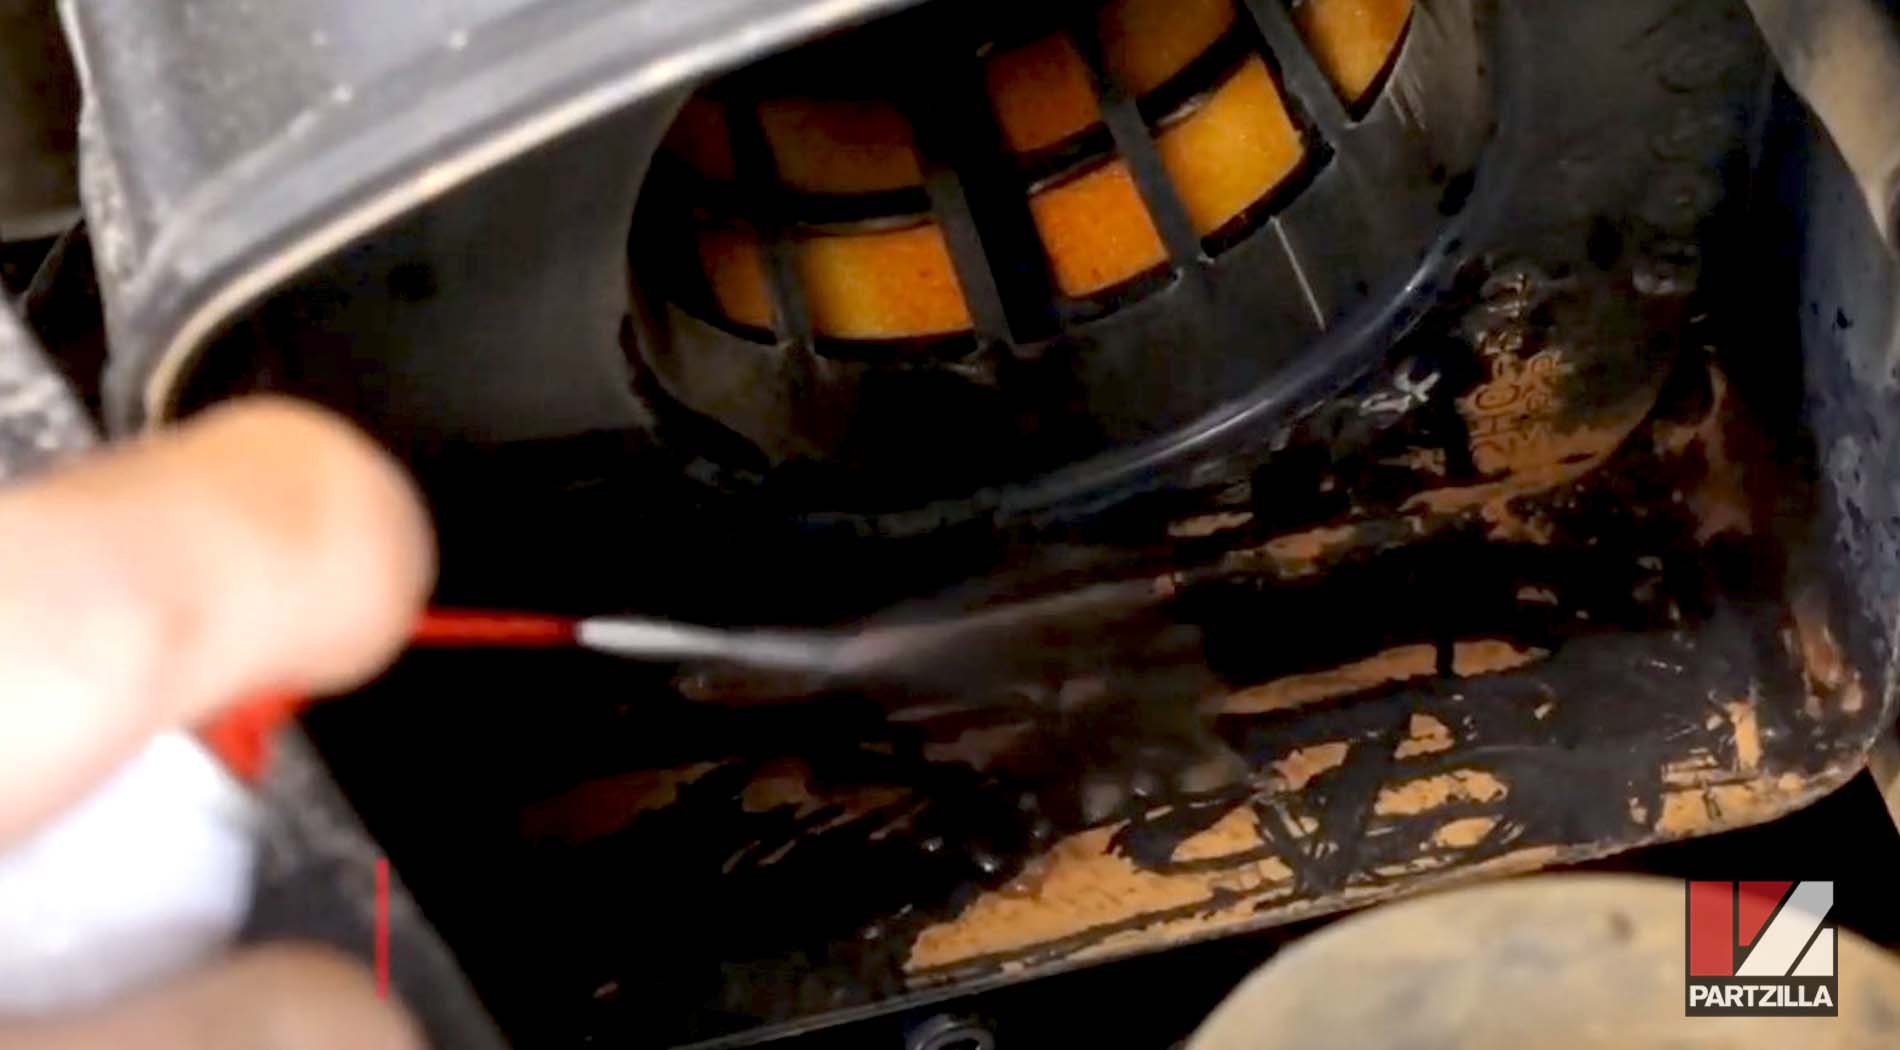
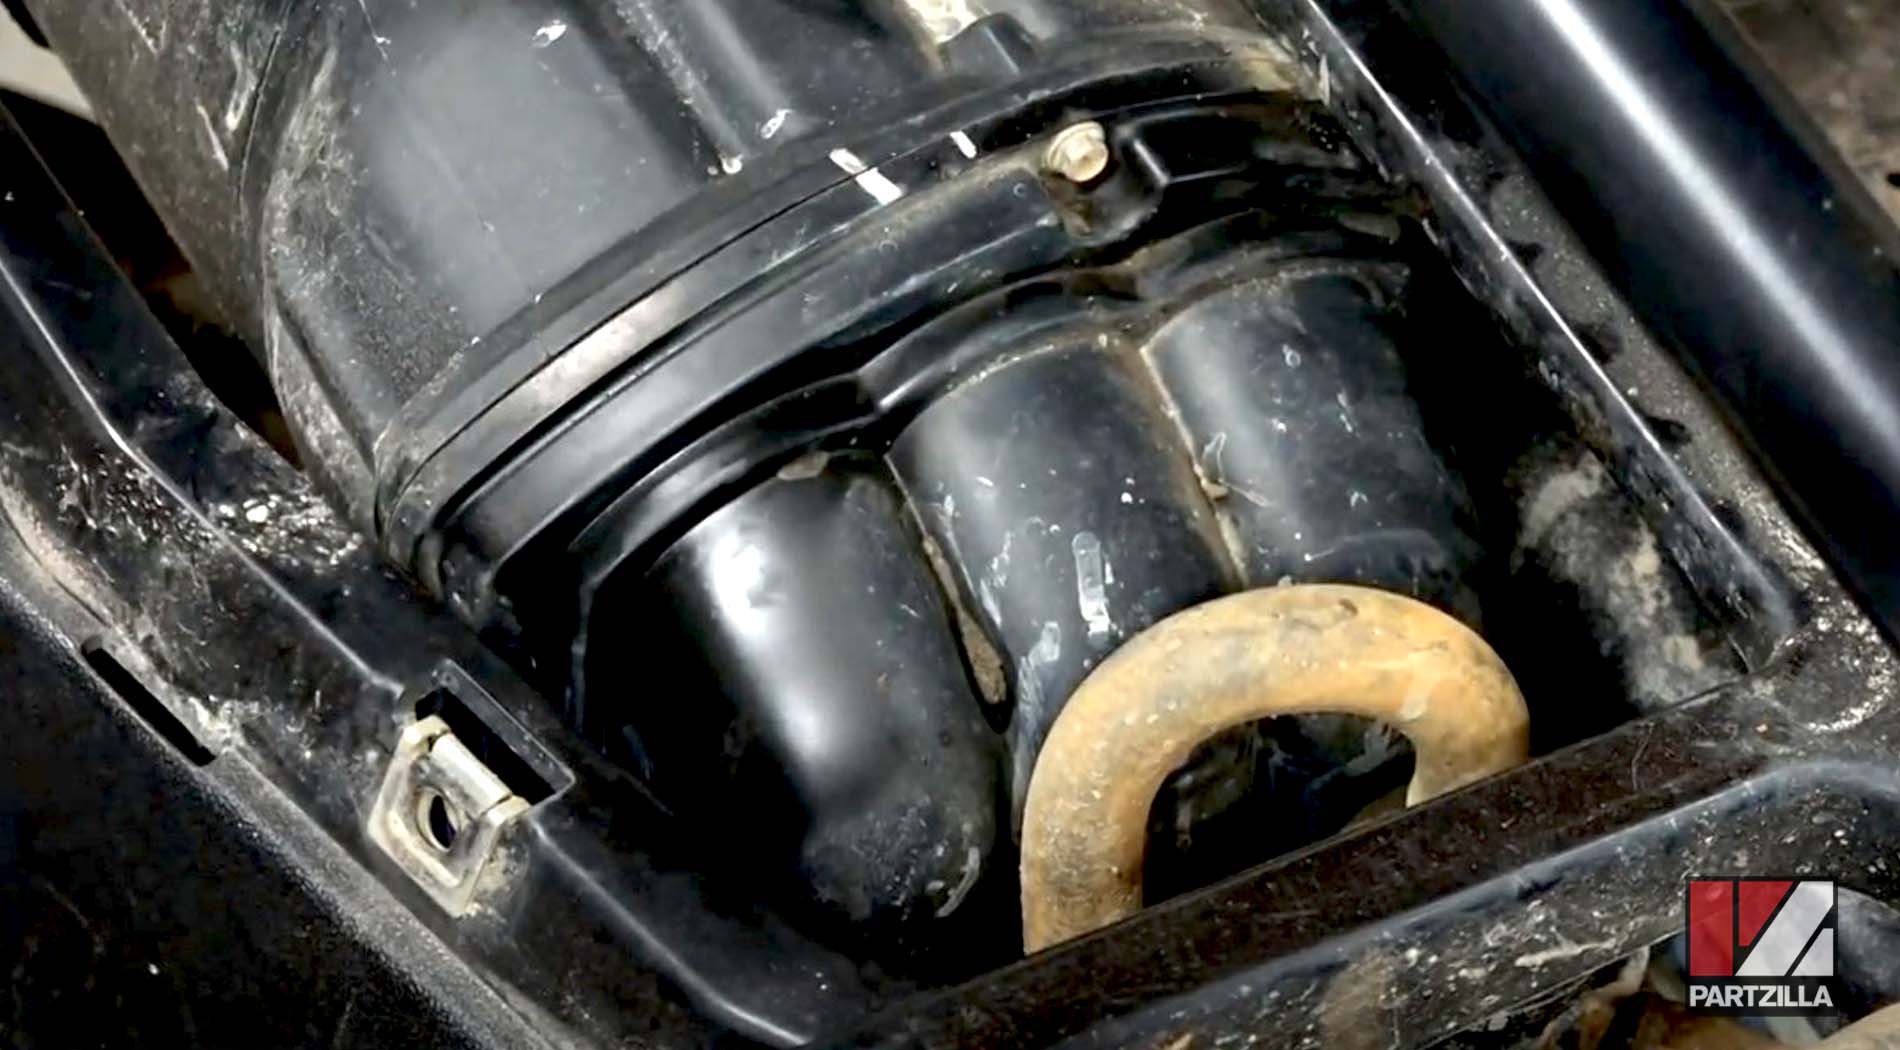
Step 7. Remove the secondary air filter from the air cleaner casing.
Cleaning the Air Cleaner Casing
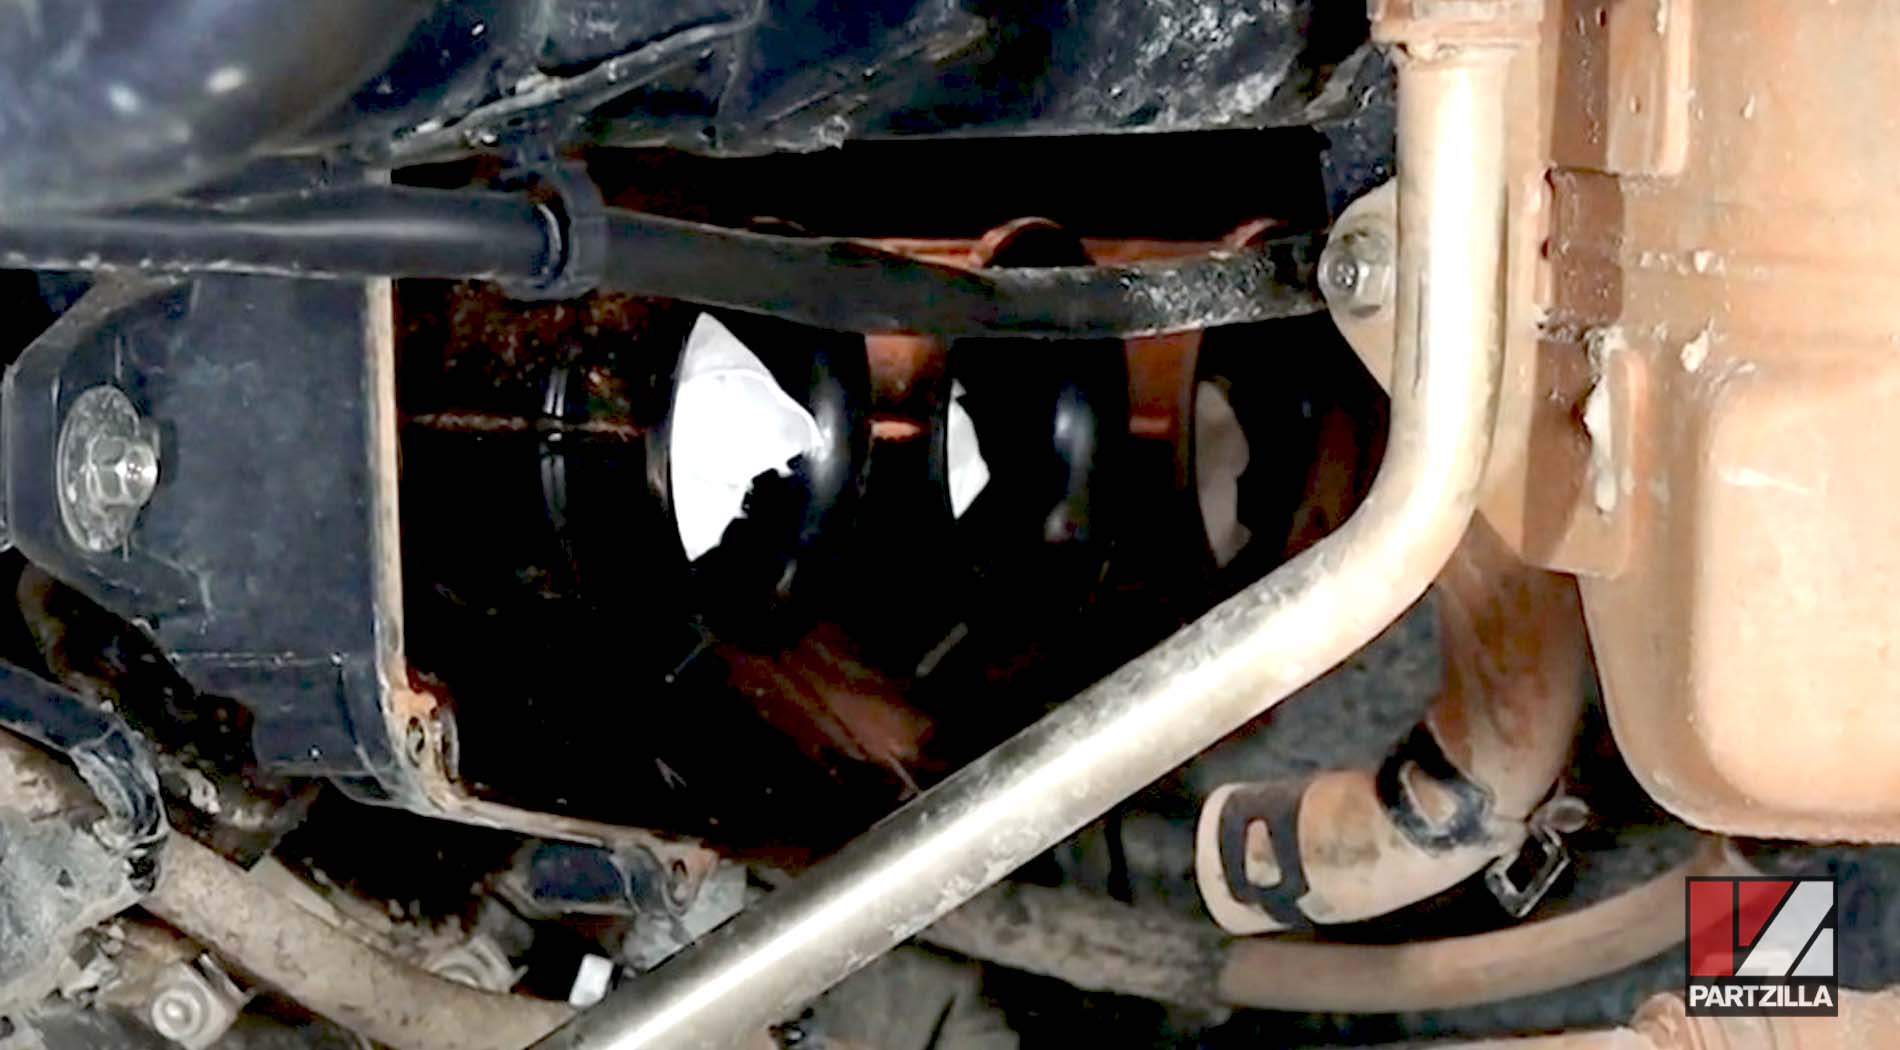
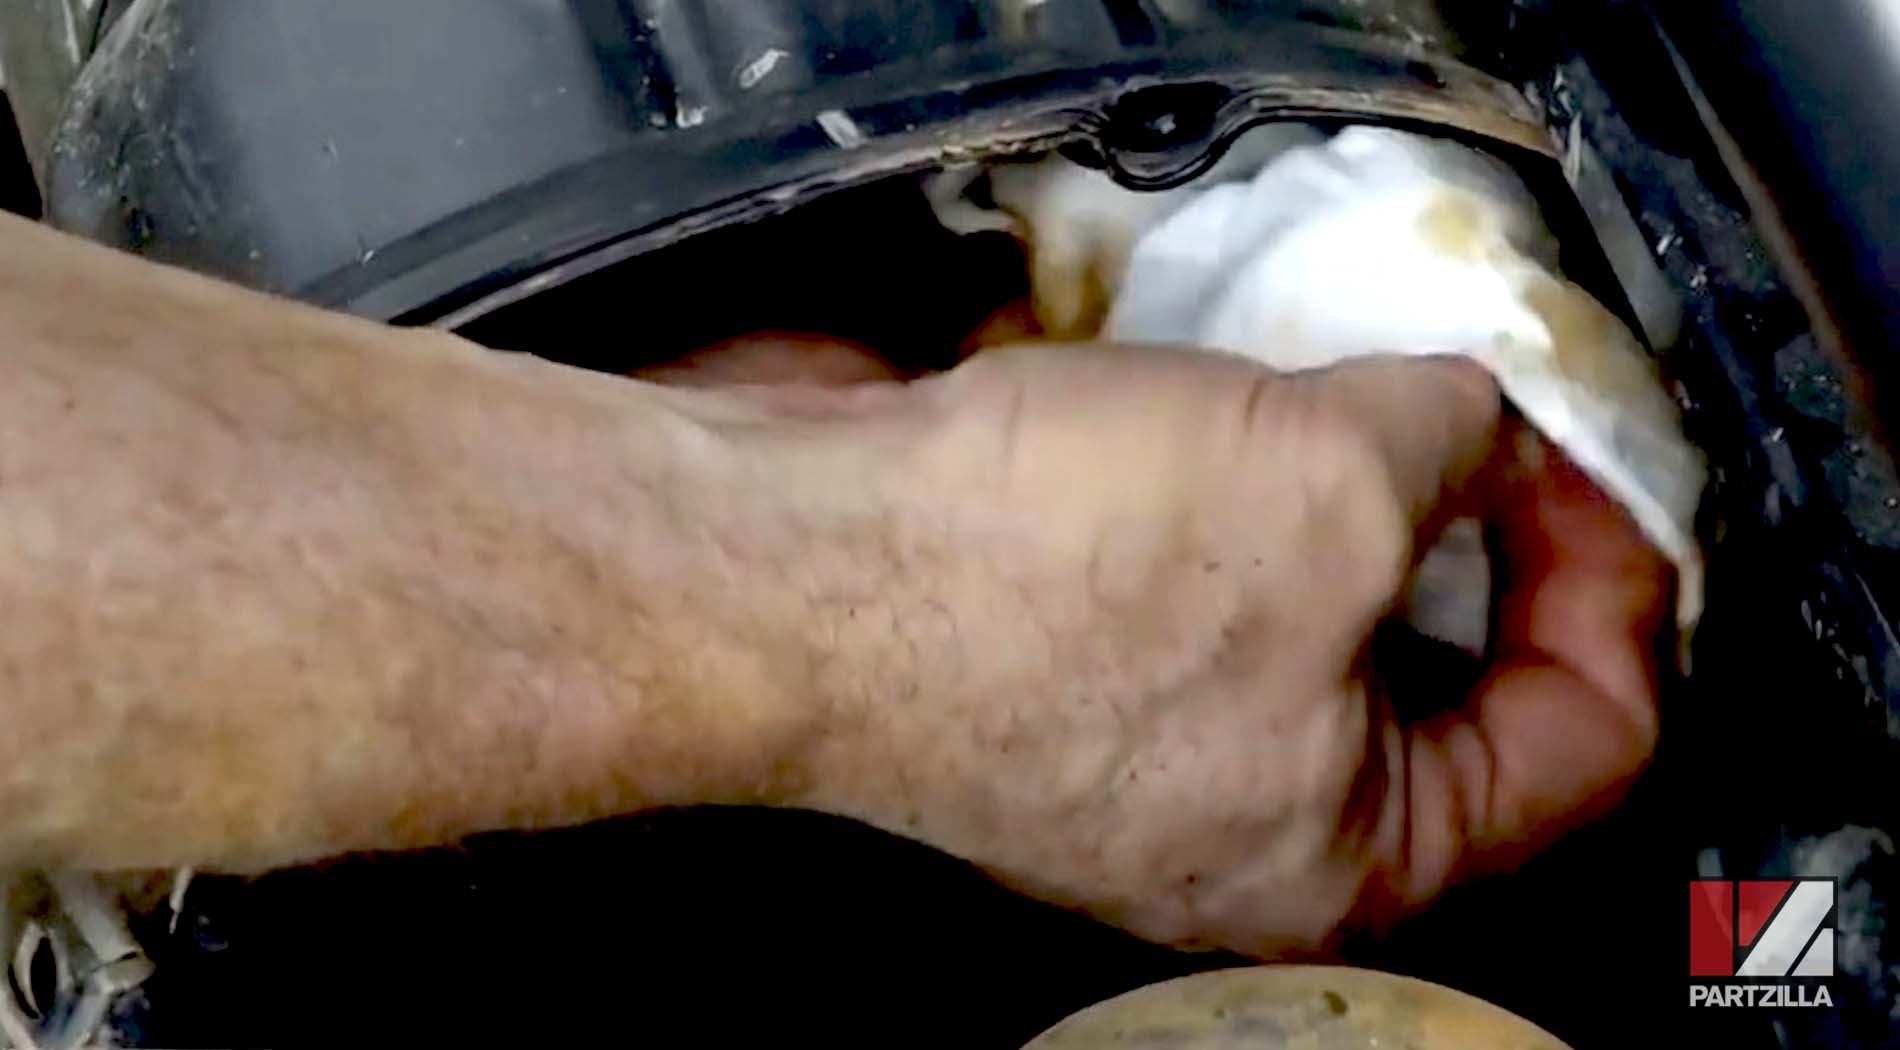
Step 8. Plug the three engine air intakes at the bottom of the air cleaner casing with clean paper towels to prevent any dust or debris from entering the engine.
Step 9. Use a shop vac (or something similar) to remove as much loose dust and dirt from inside the air cleaner casing.
Step 10. Spray the air cleaner casing with contact/brake cleaner and wipe away any traces of dust and dirt from inside the casing.
Step 11. Clean the inside of the air cleaner casing cover with contact/brake cleaner and paper towels.
Installing the Secondary Air Filter
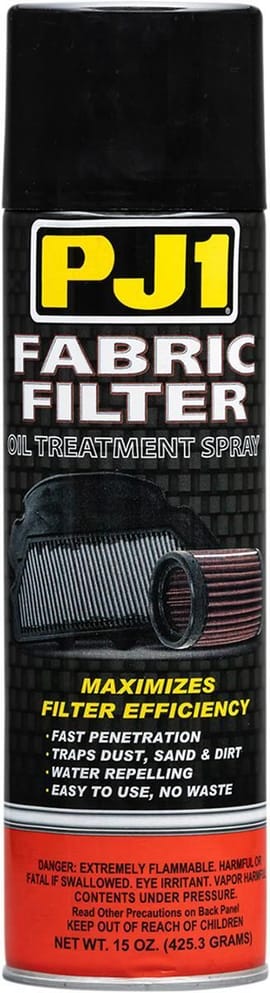
Step 12. Install the new secondary air filter. If you’re installing the GYTR gauze air filter, oil it with air filter oil before installing it. If you’re using the stock paper filter, simply slot it into place within the air cleaner casing.
Reinstalling the Air Cleaner Casing Cover
Step 13. Maneuver the air cleaner casing cover back into place and reinstall the 11 screws.
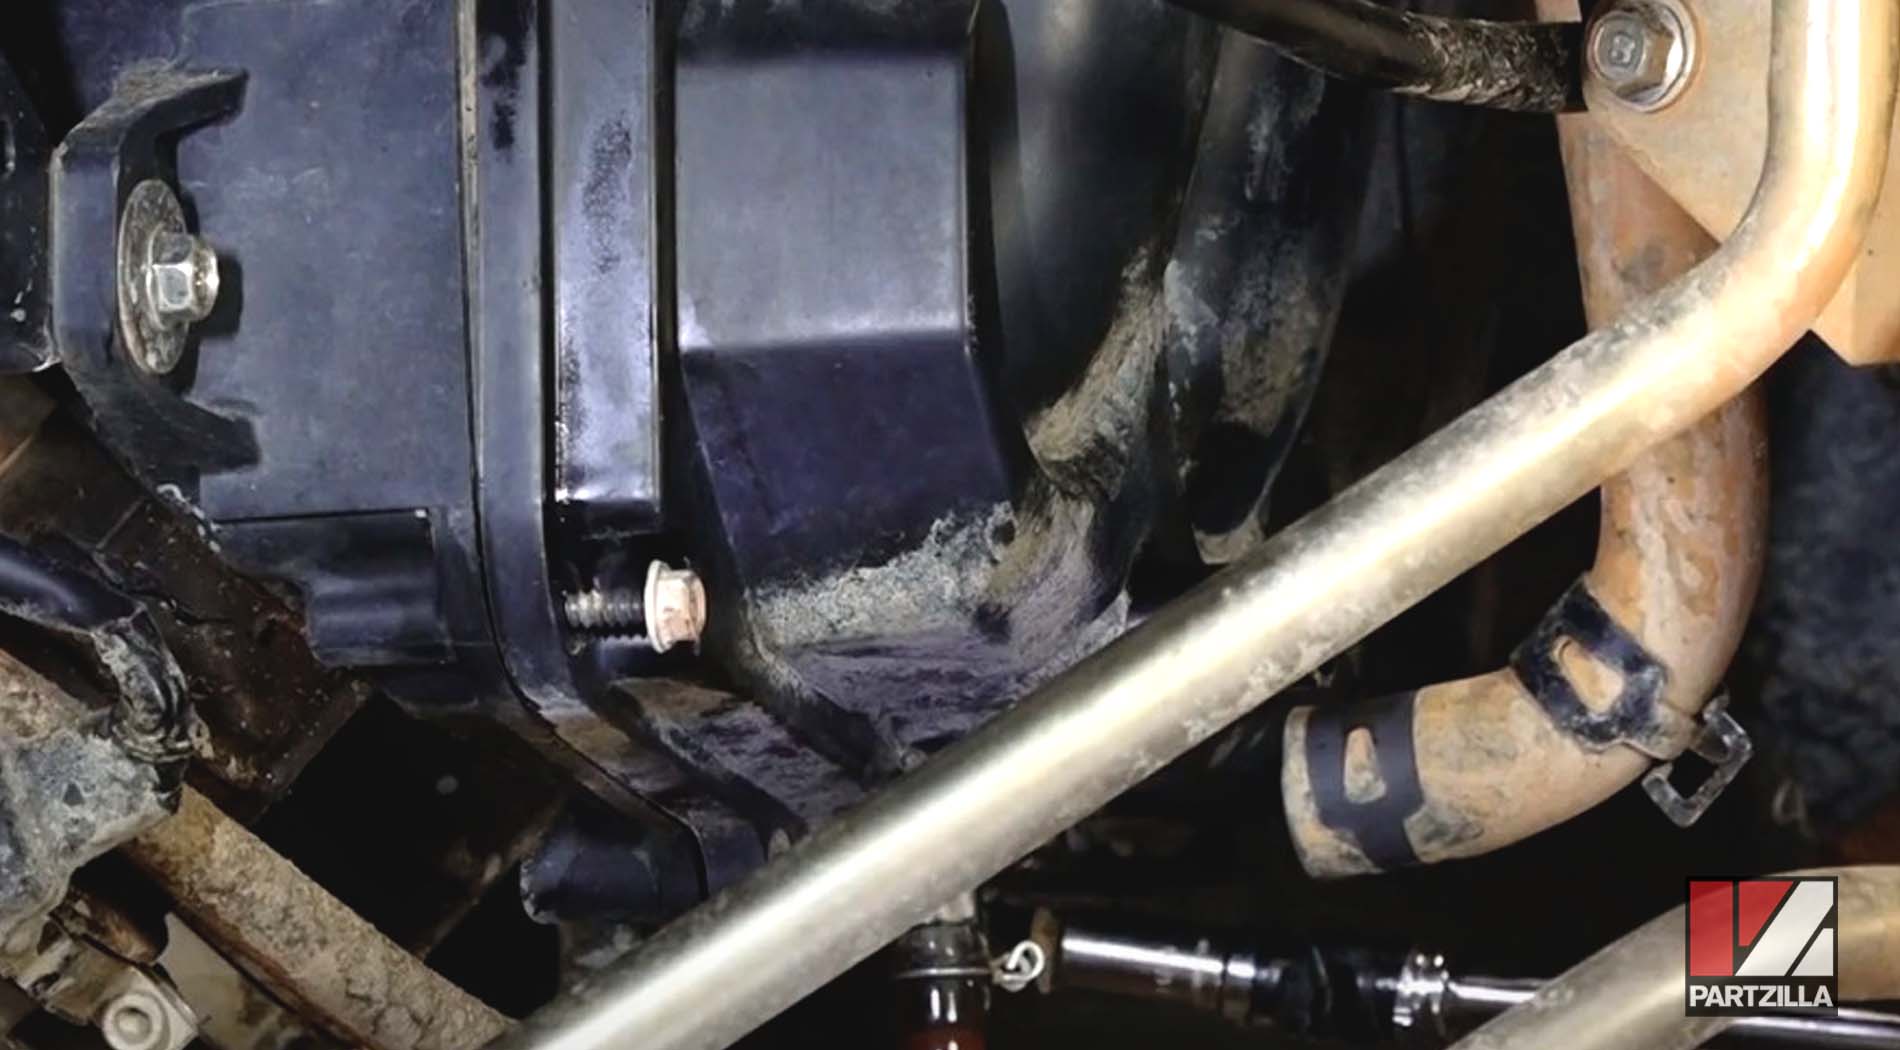
Step 14. Reinstall the 12mm bolt that holds the oil catch tank bracket to the rear subframe.
Step 15. Reconnect the breather pipe and clip to the bottom of the air cleaner casing.
Step 16. Reinstall the oil tank cover and the three 10mm cover screws.
Step 17. Reinstall the cover to the forward part of the cargo bed and you’re done.
If you haven’t done so already, watch the video below to see how to clean and replace a Yamaha YXZ1000R primary air filter.