Yamaha YXZ1000R Primary Air Filter Clean/Replace
A dirty air filter prevents air from passing through, while a torn air filter allows dirt and dust into the engine, where it’ll wreak havoc. Your side-by-side’s engine needs plenty of clean air to perform at its peak.
It’s recommended you inspect and clean the air filter in your Yamaha UTV before and after every ride, especially if you run often in dirty conditions. Watch the video above and follow the steps below to clean and replace the primary air filter on a Yamaha YXZ1000R side-by-side.
Tools and Parts – Yamaha YXZ1000 Primary Air Filter Cleaning and Replacing
- Ratchet and extensions
- Universal joint socket adapter
- 8mm, 10mm, 12mm sockets
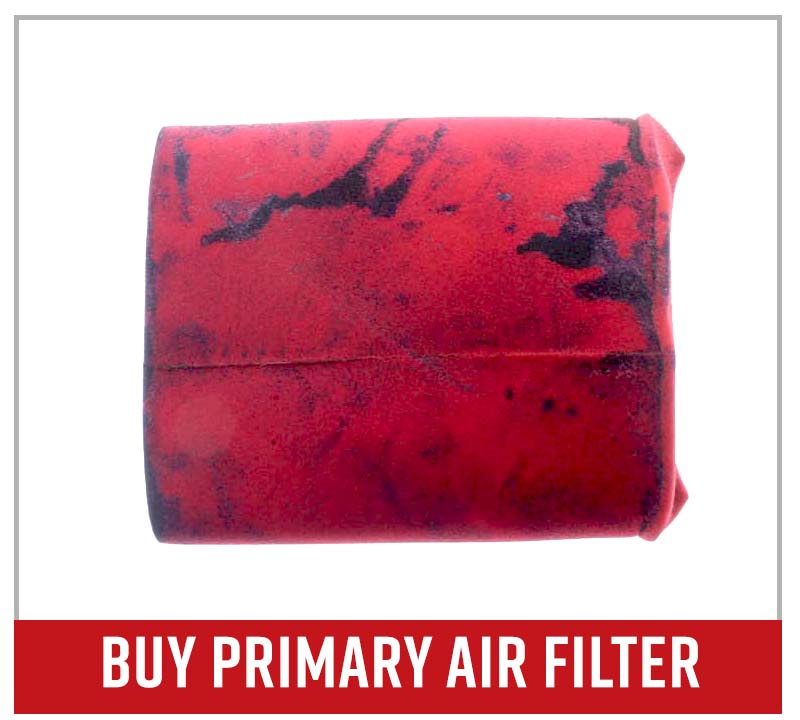
- Primary air filter
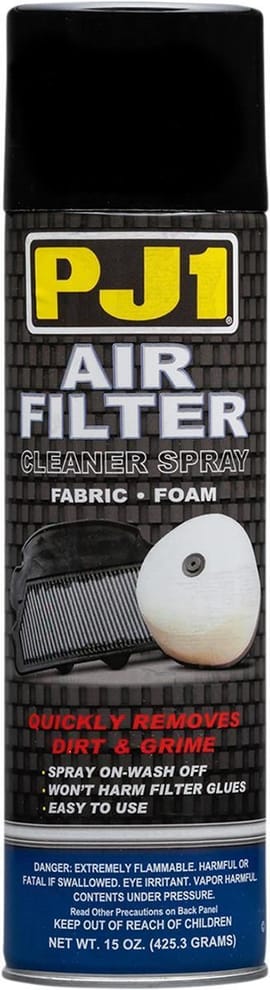
- Foam filter cleaner
- Foam filter oil
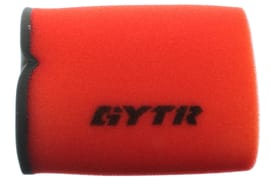
NOTE: We installed a GYTR air filter from Yamaha’s performance division. However, you can stick with the OEM Yamaha filter if you prefer.
Removing Yamaha YXZ1000R Primary Air Filter
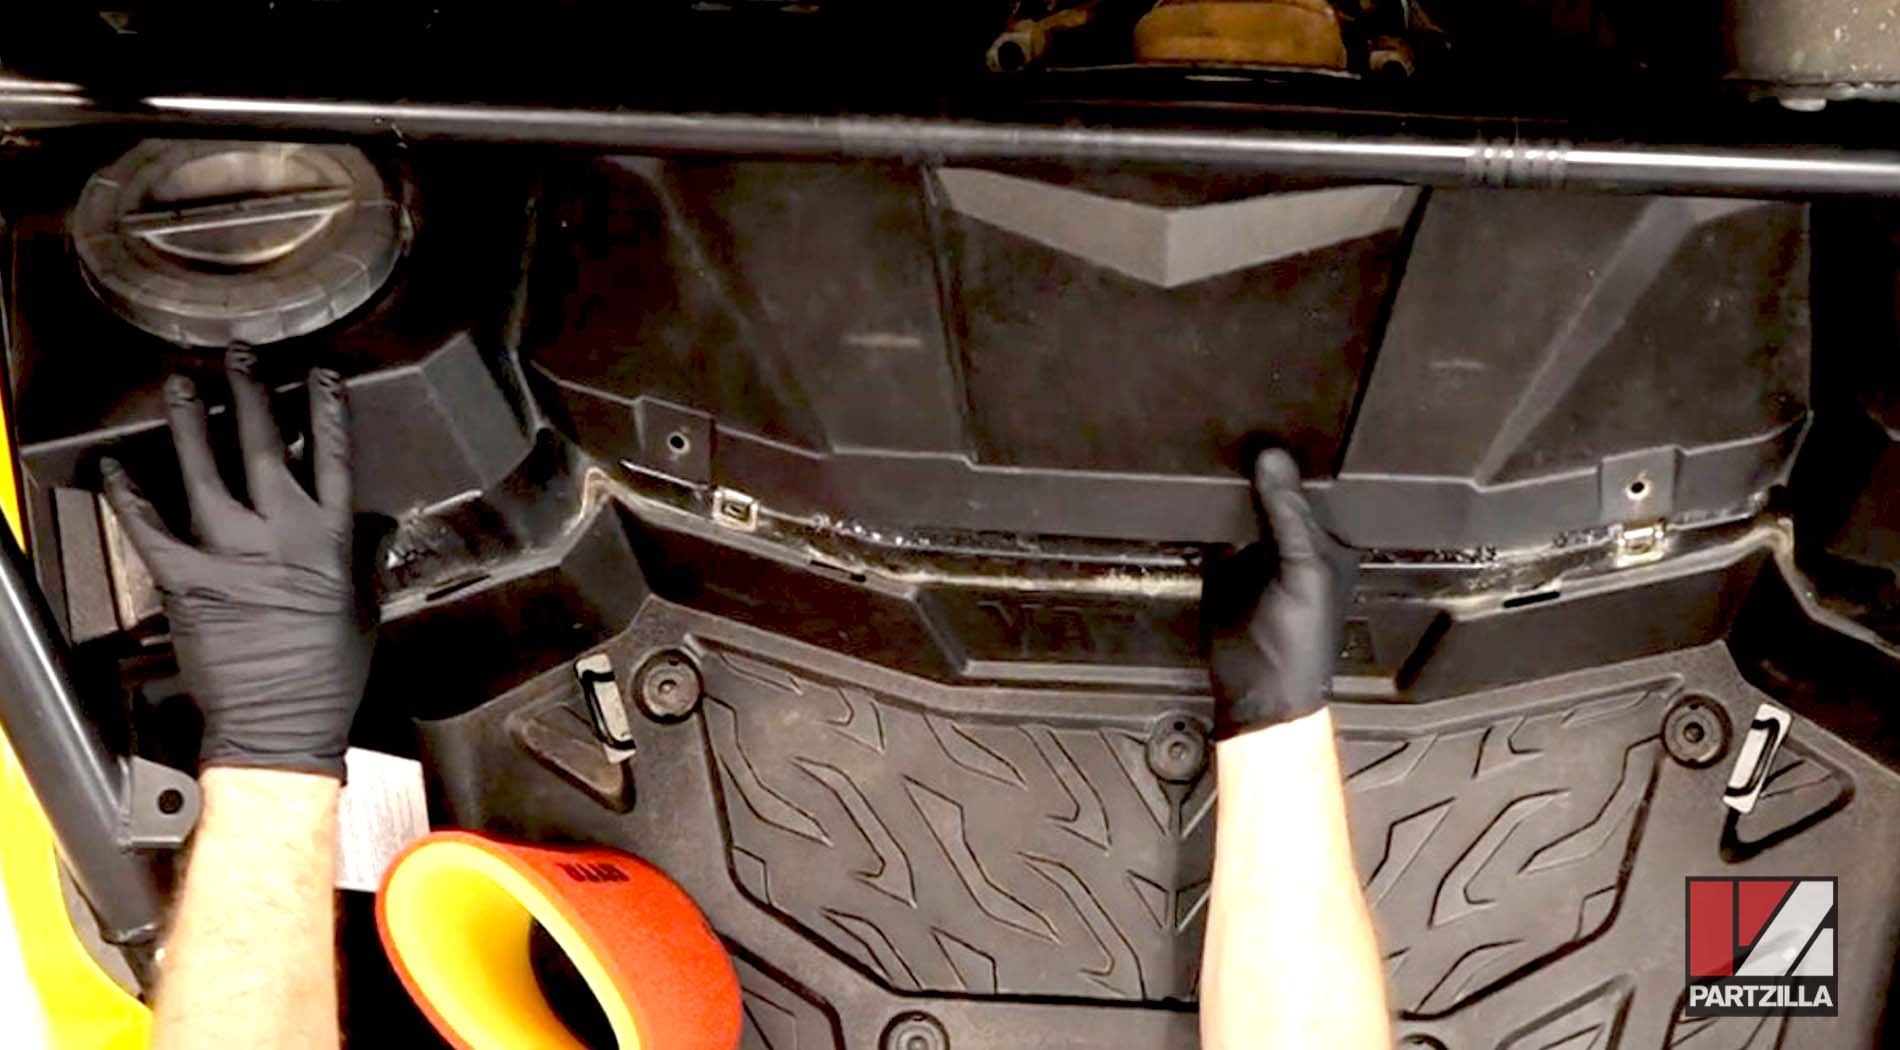
Step 1. Release the quick-release fasteners holding the cover from the forward part of the cargo bed, then remove the cover itself.
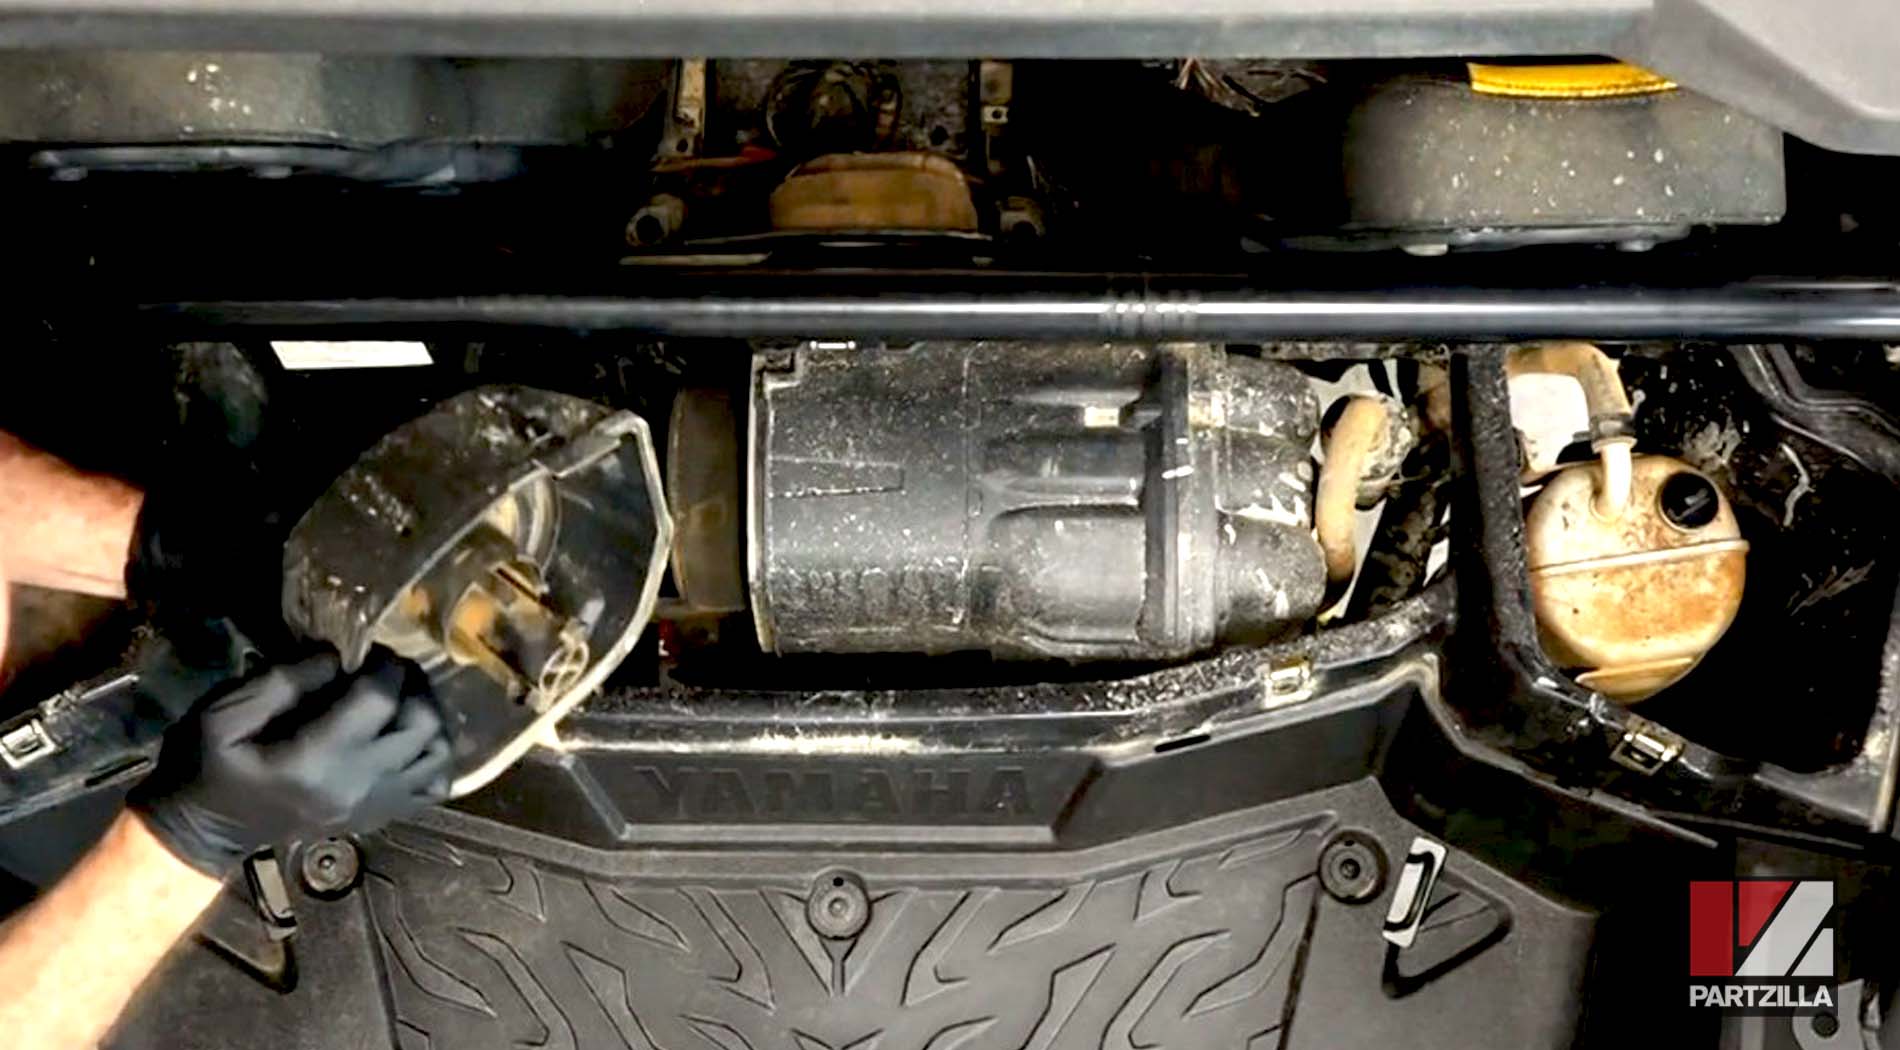
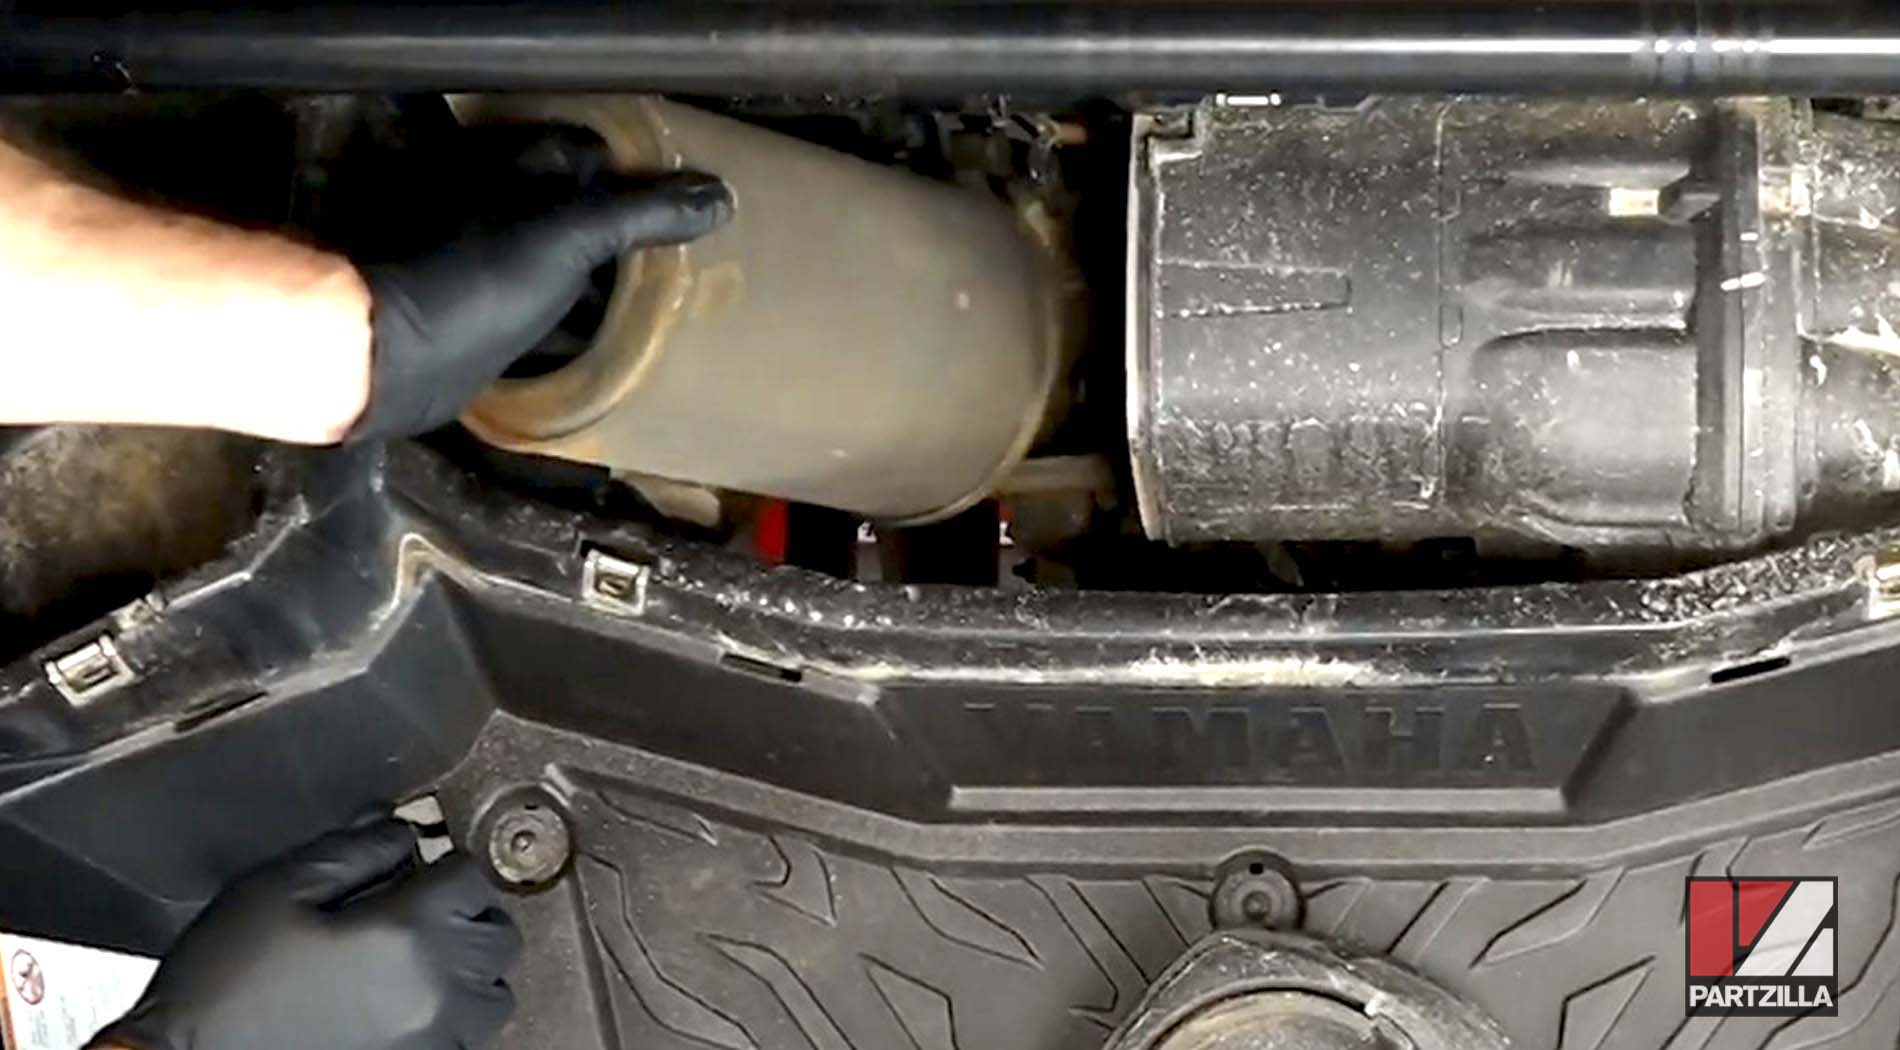
Step 2. Remove the cap of the air cleaner casing by rotating the handle in the cap counterclockwise and pulling the cap off the casing.
Step 3. Remove the primary air filter assembly from the air cleaner casing and slide the foam air filter off the filter guide.
Cleaning Yamaha YXZ1000R Primary Air Filter
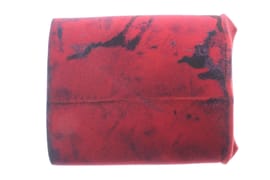
Step 4. Spray the filter with foam filter cleaner and massage the cleaner into the foam, then let the filter sit for about 15 minutes.
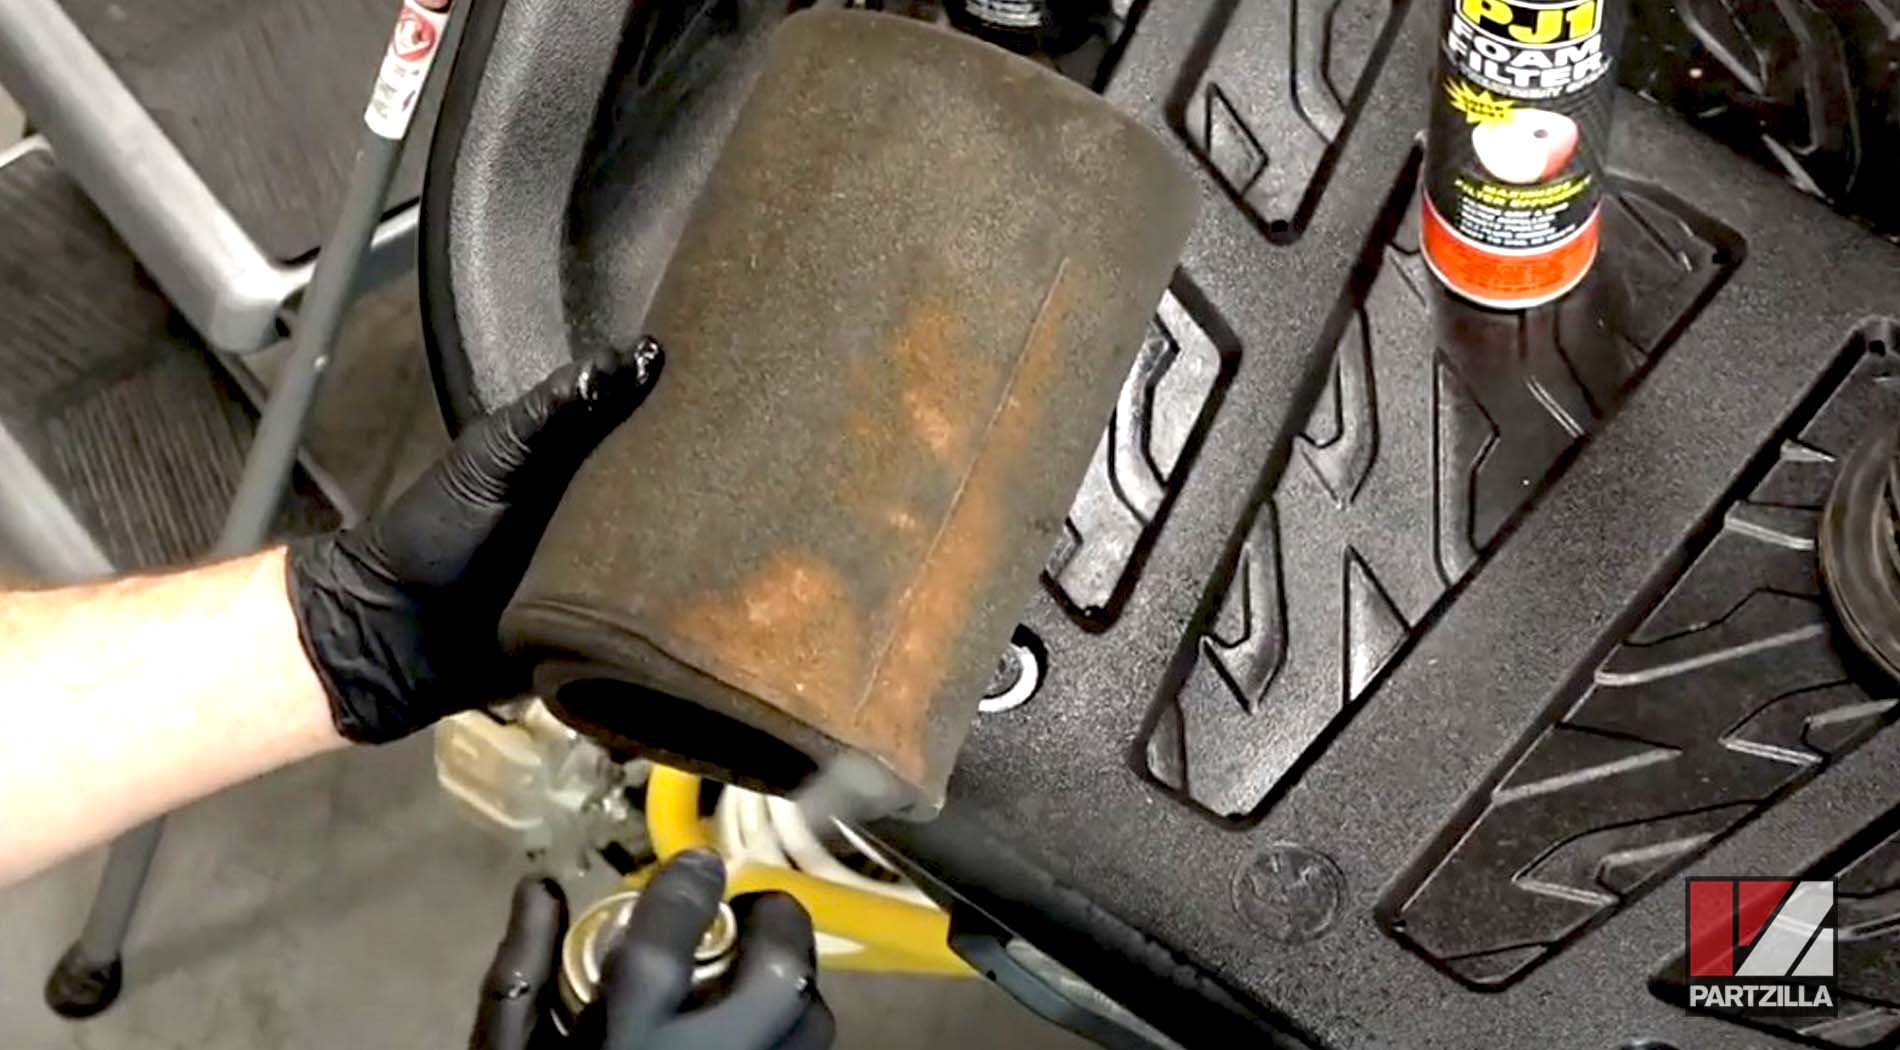
NOTE: Don’t twist the filter, as it can easily be torn. Also, make sure you’re using an air filter cleaner specifically designed for foam filters, not paper or gauze filters.
Step 5. Rinse the filter with water without twisting it. Next, squeeze as much water out of the filter as possible and leave it out to dry completely, preferably overnight.

Step 6. Clean out any dirt from the air cleaner casing with a vacuum cleaner while the air filter is drying. Next, wipe away any remaining dust with a damp rag and clean the cap from the air cleaner casing.
Installing Yamaha YXZ1000R Primary Air Filter
Step 7. Take the new primary air filter, or the cleaned and dried existing air filter, and spray it with filter oil. Spray an even coat of oil across the entire inner and outer surface of the filter. Massage the oil into the filter, again being careful not to twist the filter.
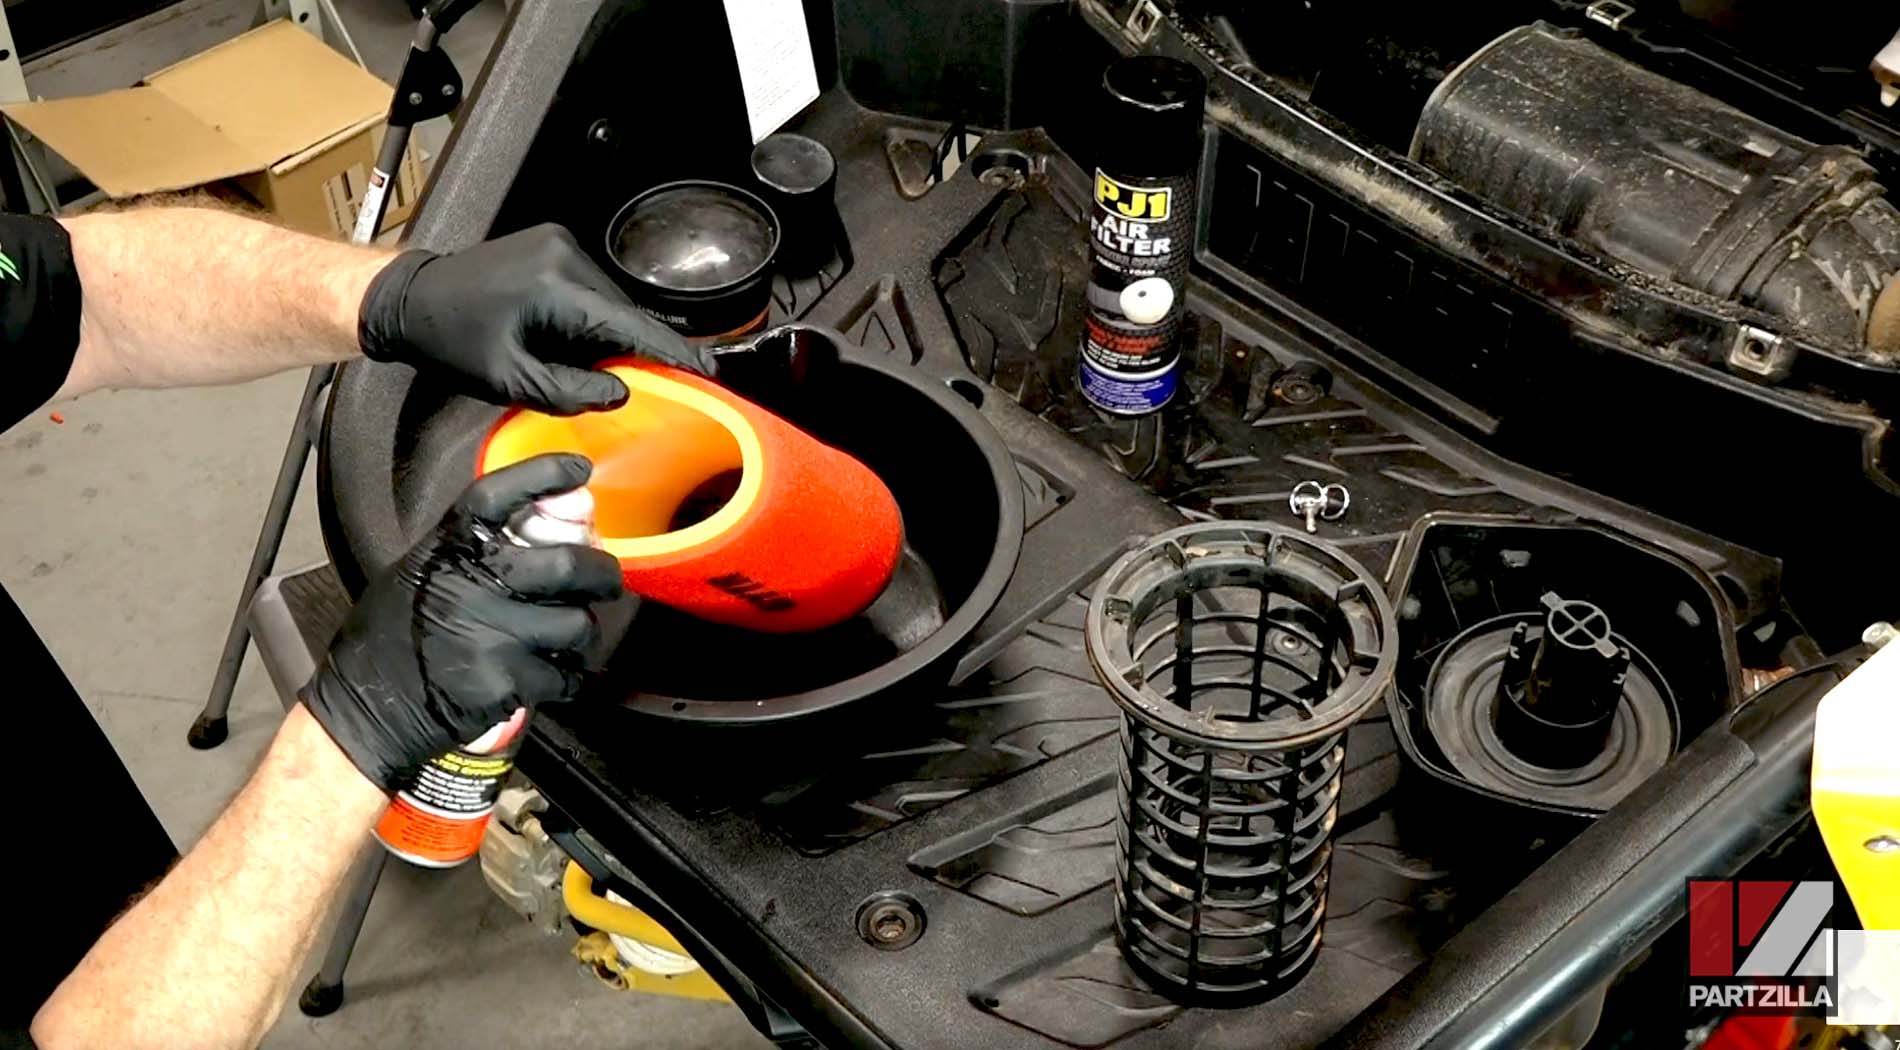
NOTE: Make sure you’re using an air filter oil specifically designed for foam filters, not paper or gauze filters.
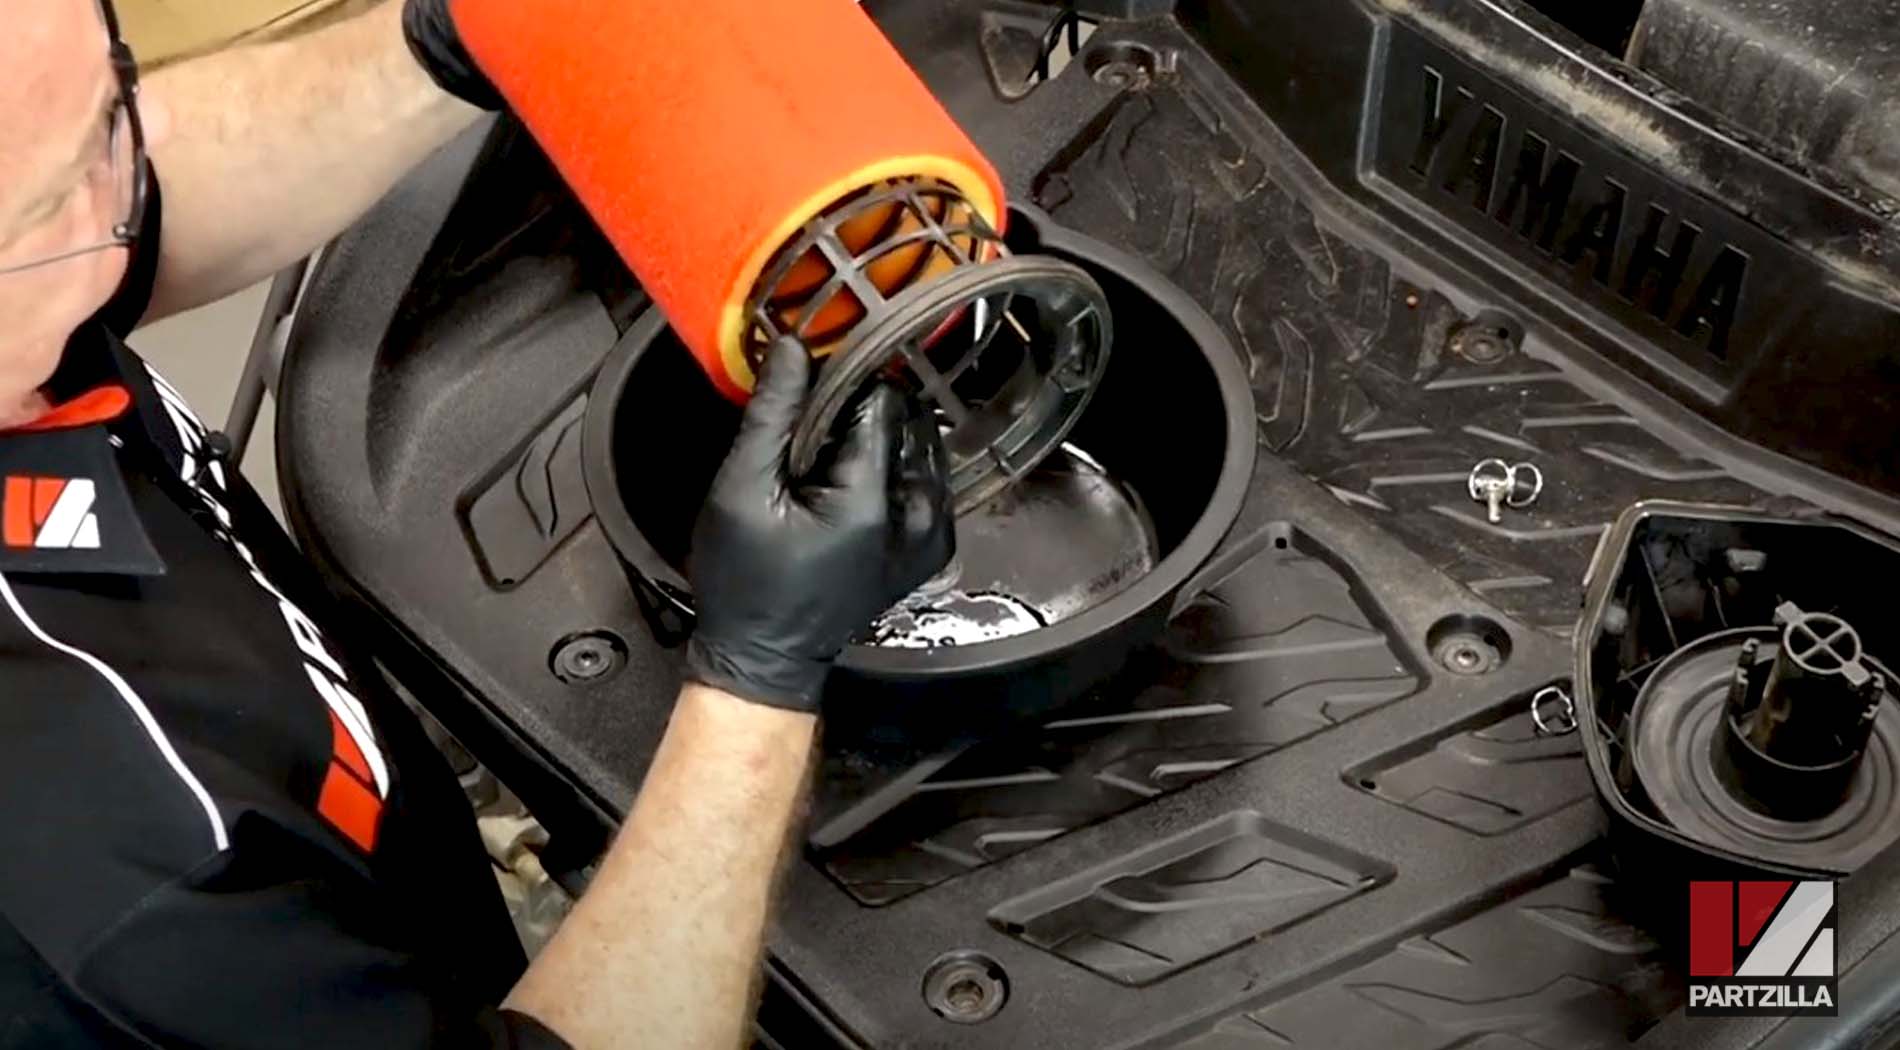
Step 8. Slide the air filter onto the filter guide, and reinstall the assembly back into the air cleaner casing.
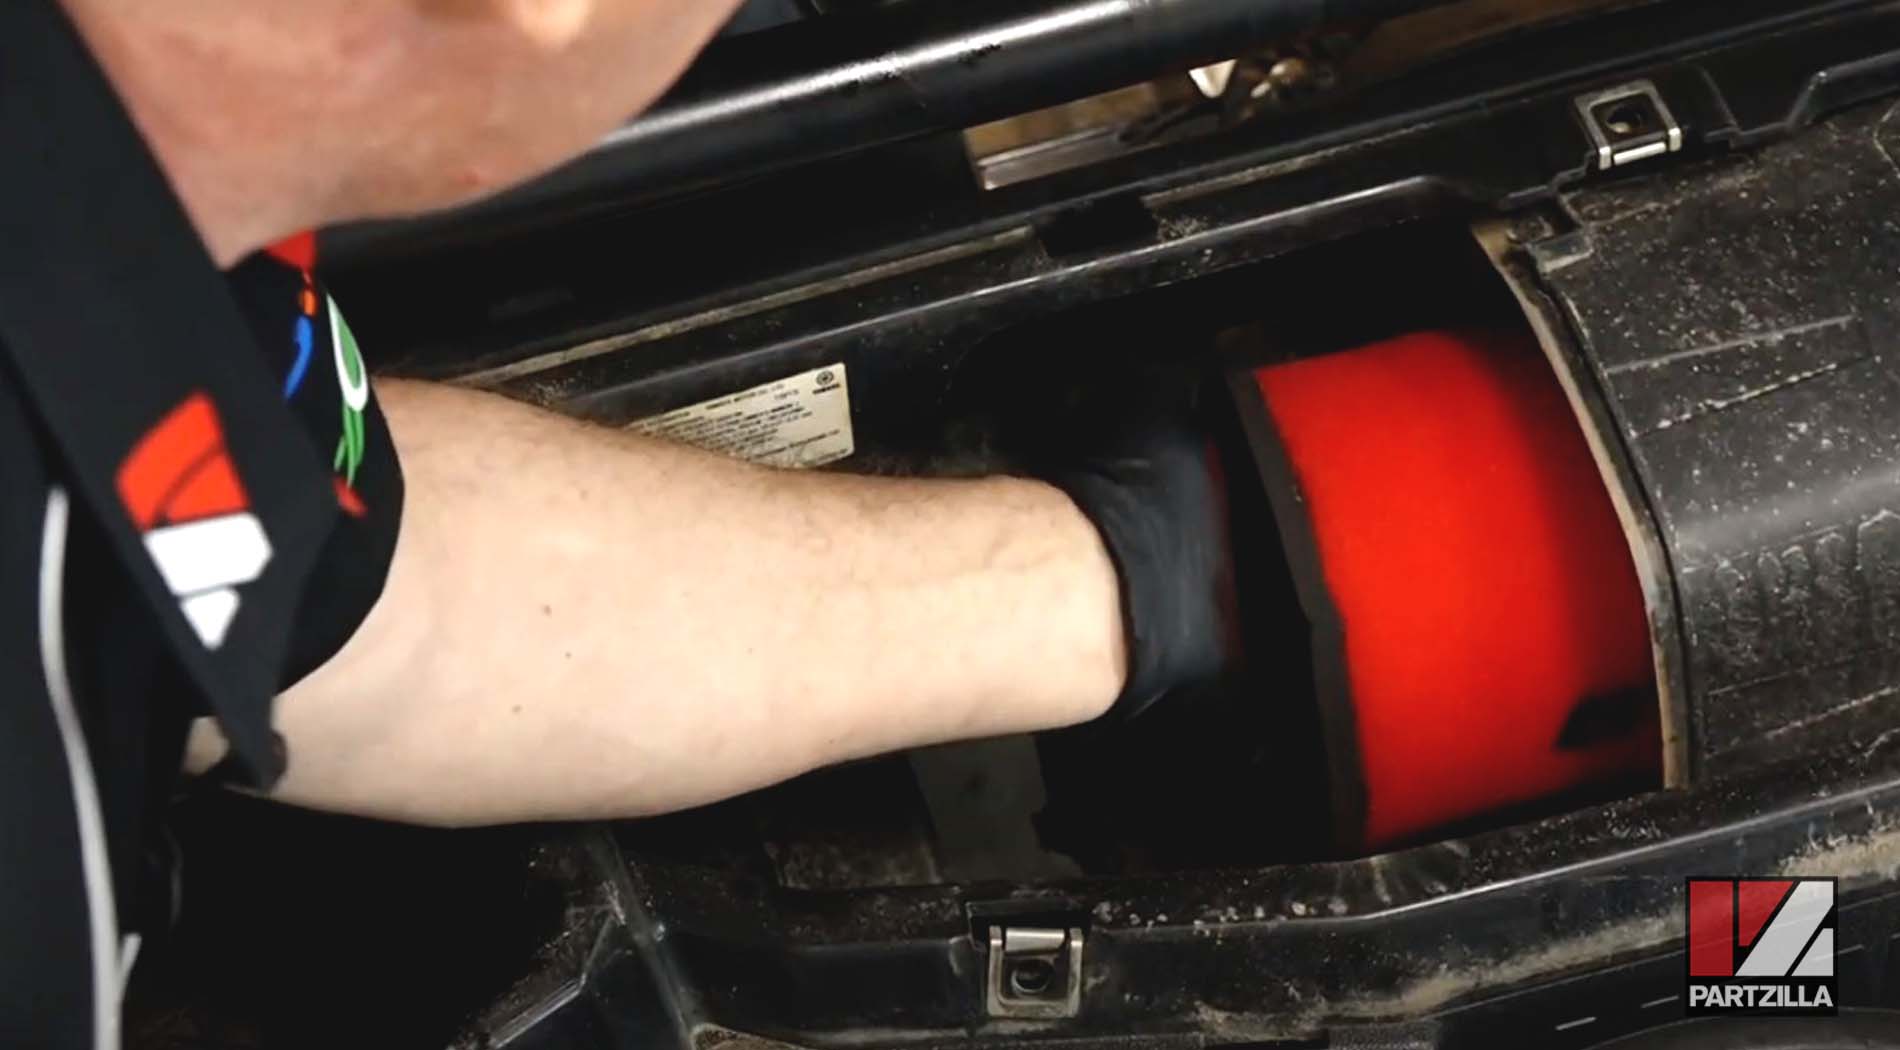
Step 9. Reinstall the cap onto the air cleaner casing and rotate the handle clockwise to lock it in place.

Step 10. Reinstall the cover onto the forward part of the cargo bed, then reconnect the quick-release fasteners and you’re done.
Ready to do the secondary air filter next? Watch the video above to see how change the secondary air filter on a Yamaha YXZ1000R.