How to Bleed Yamaha YFZ450R Brakes
Just like on any other vehicle, the brakes on a Yamaha ATV will wear down over time. If the brakes on your ATV feel worn, sometimes a simple brake bleed is all they need.
Check the brake fluid to see if it’s dark and viscous and if so, it’s time for a brake bleed. Watch the video above and follow the steps below to bleed the brakes on a Yamaha YFZ450.
Tools and Supplies - Yamaha YFZ450 Brake Bleed
- Phillips screwdriver
- 8mm wrench
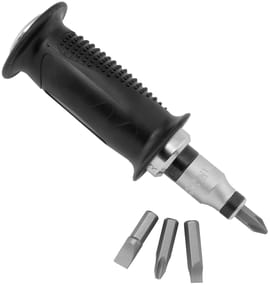
- Impact driver
- Empty container
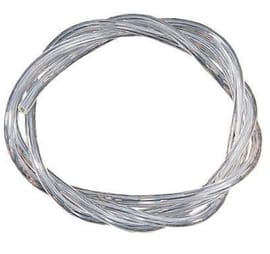
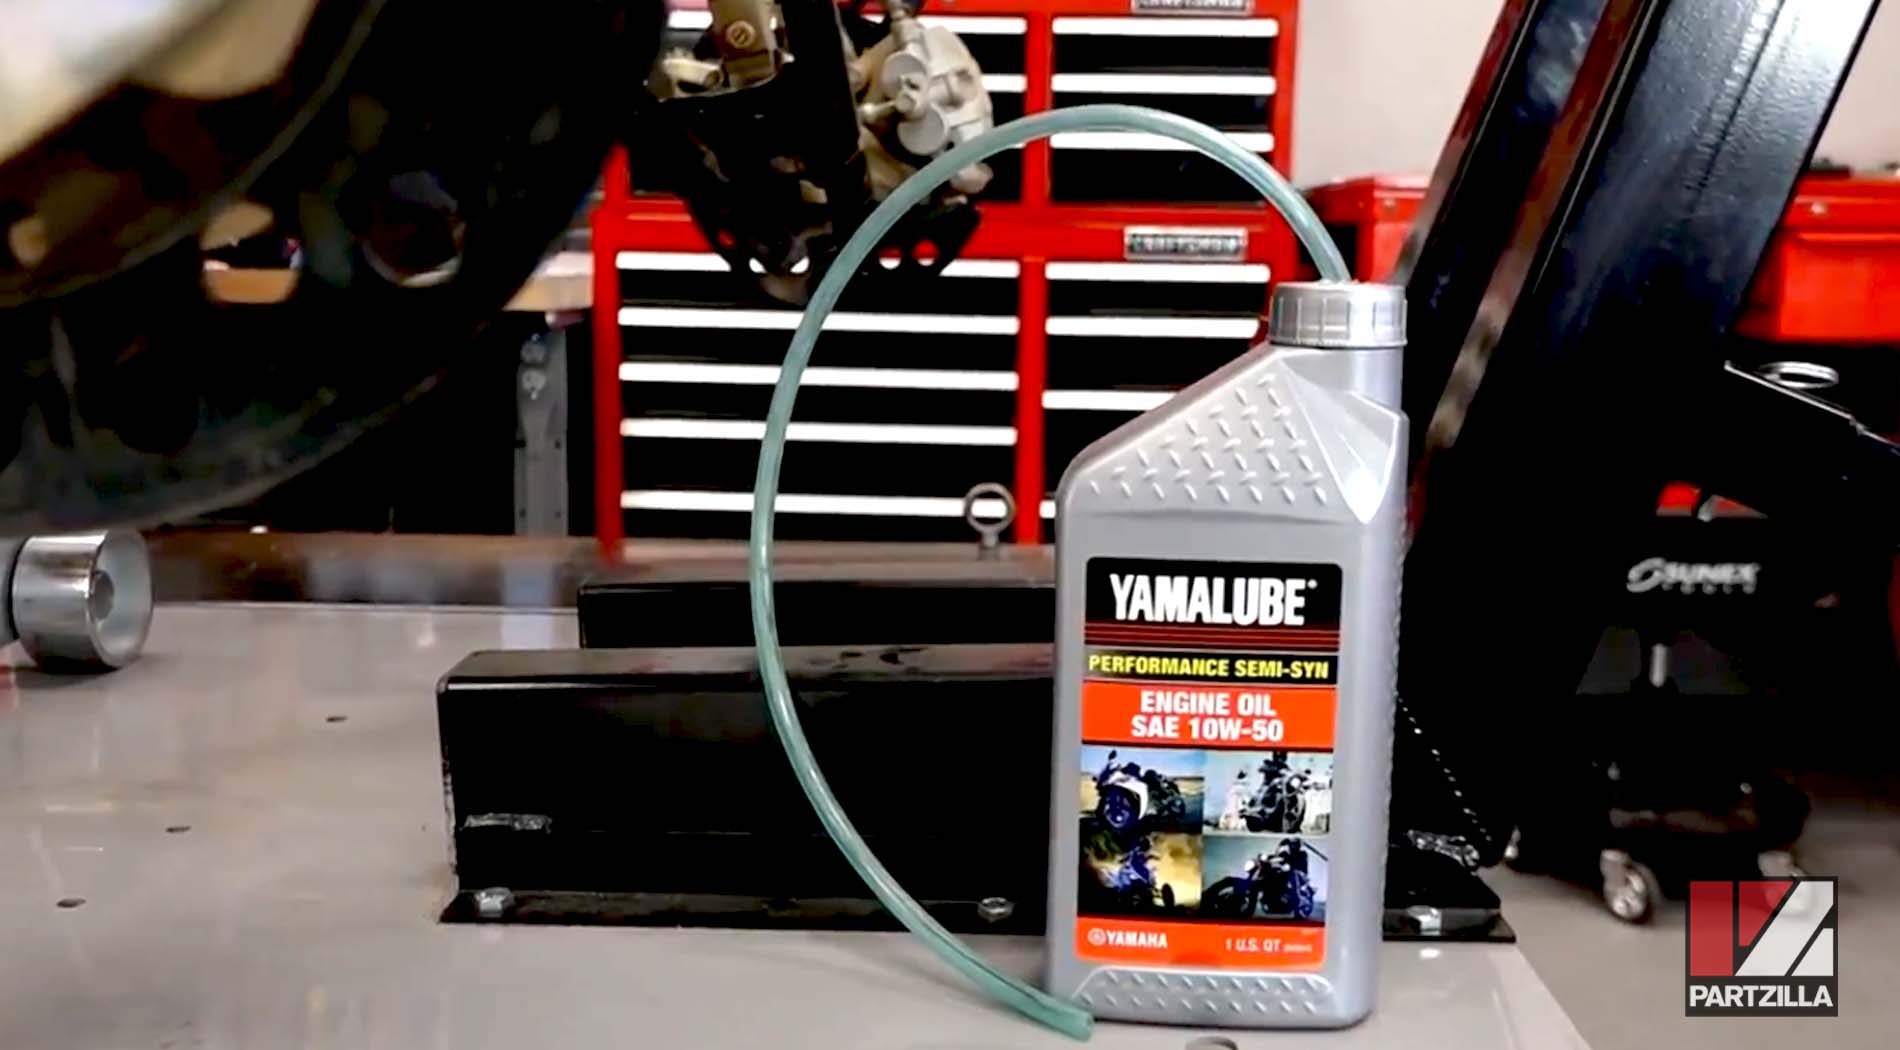
- Quarter inch hose
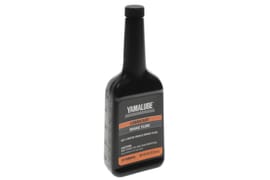
- Yamaha DOT 4 brake fluid
NOTE: We bled the brakes on a Yamaha YFZ450R, but the steps to bleed the brakes on a YFZ450 are the same or similar for all Yamaha ATVs.
Yamaha YFZ450 Brake Bleed
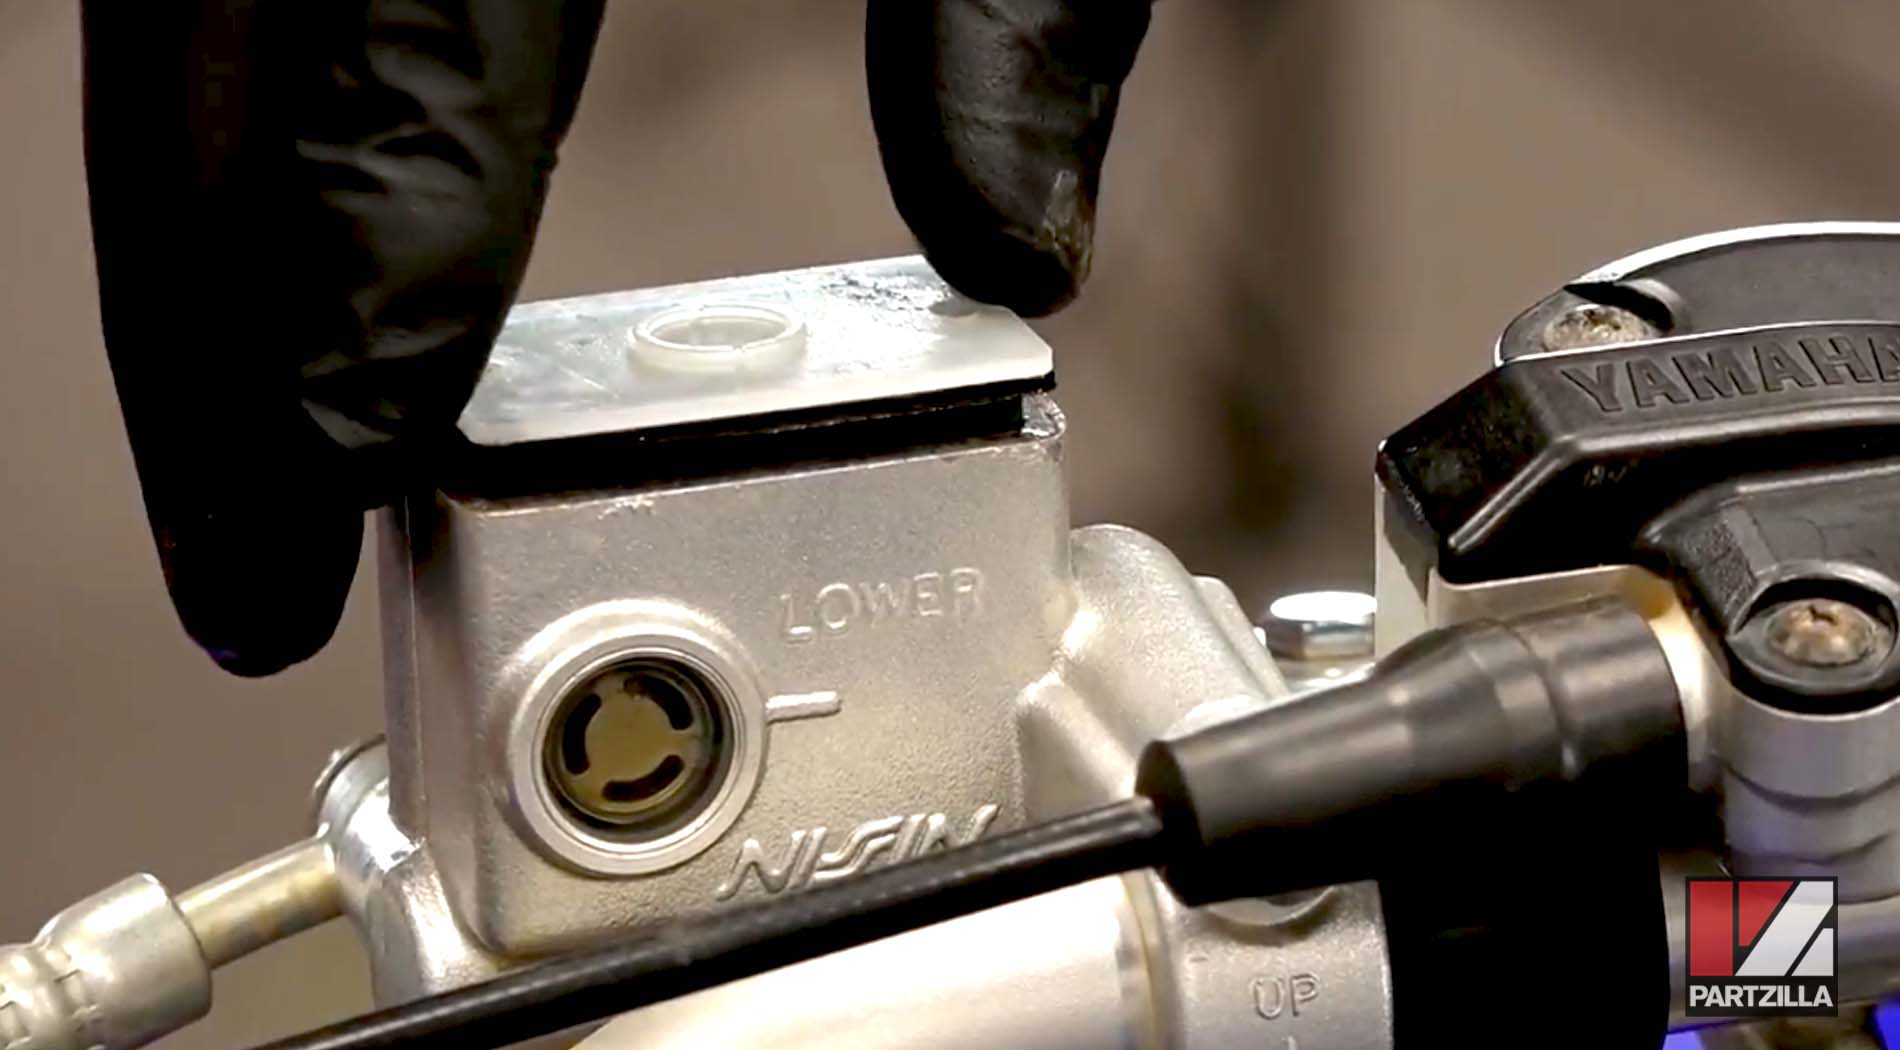
Step 1. Remove the cover from the front master cylinder reservoir. Next, remove the plastic section and the rubber diaphragm below the cover and clean them off.
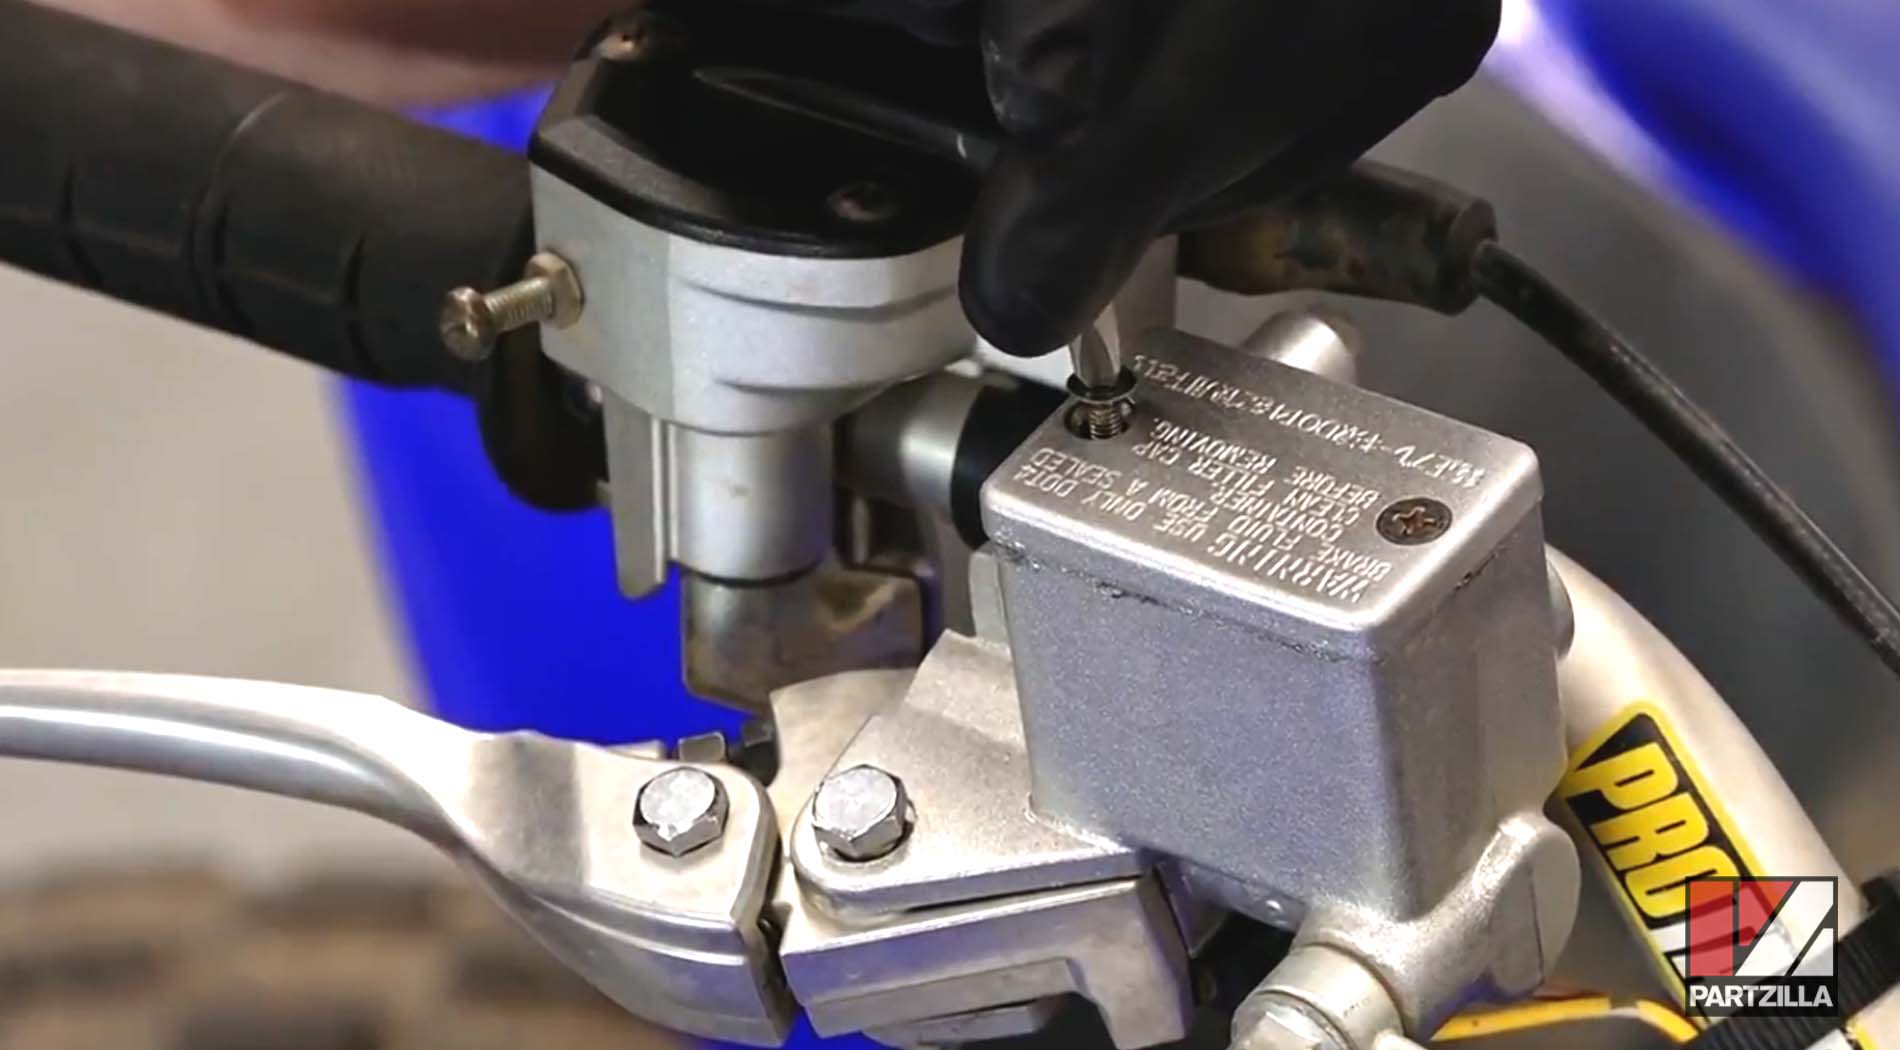
PRO TIP: If the screws don’t come off right away with a regular Phillips screwdriver, use an impact driver instead.
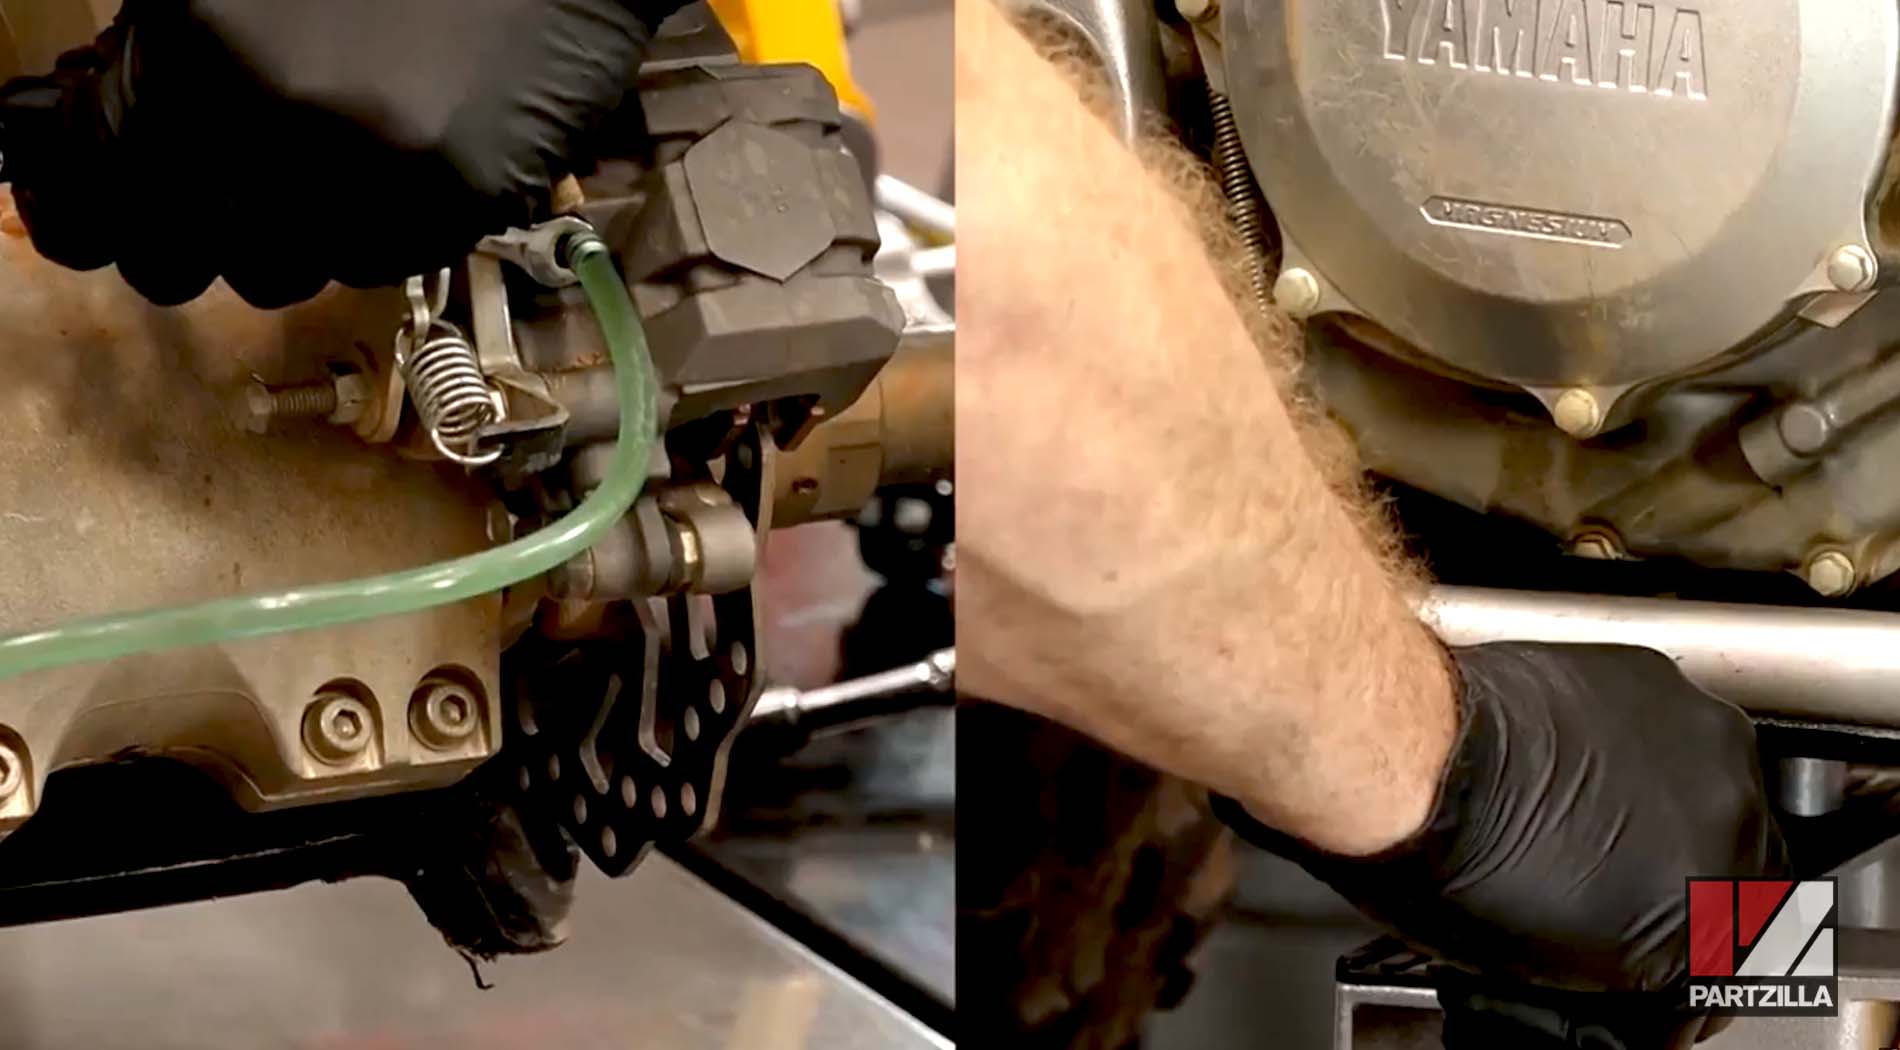
Step 2. Connect one end of a length of hose to the bleed valve, and have the other end ready to drain into an empty container.
Step 3. Pump and then hold the right-side brake handle, open the valve until it bottoms out, then close the valve and repeat.
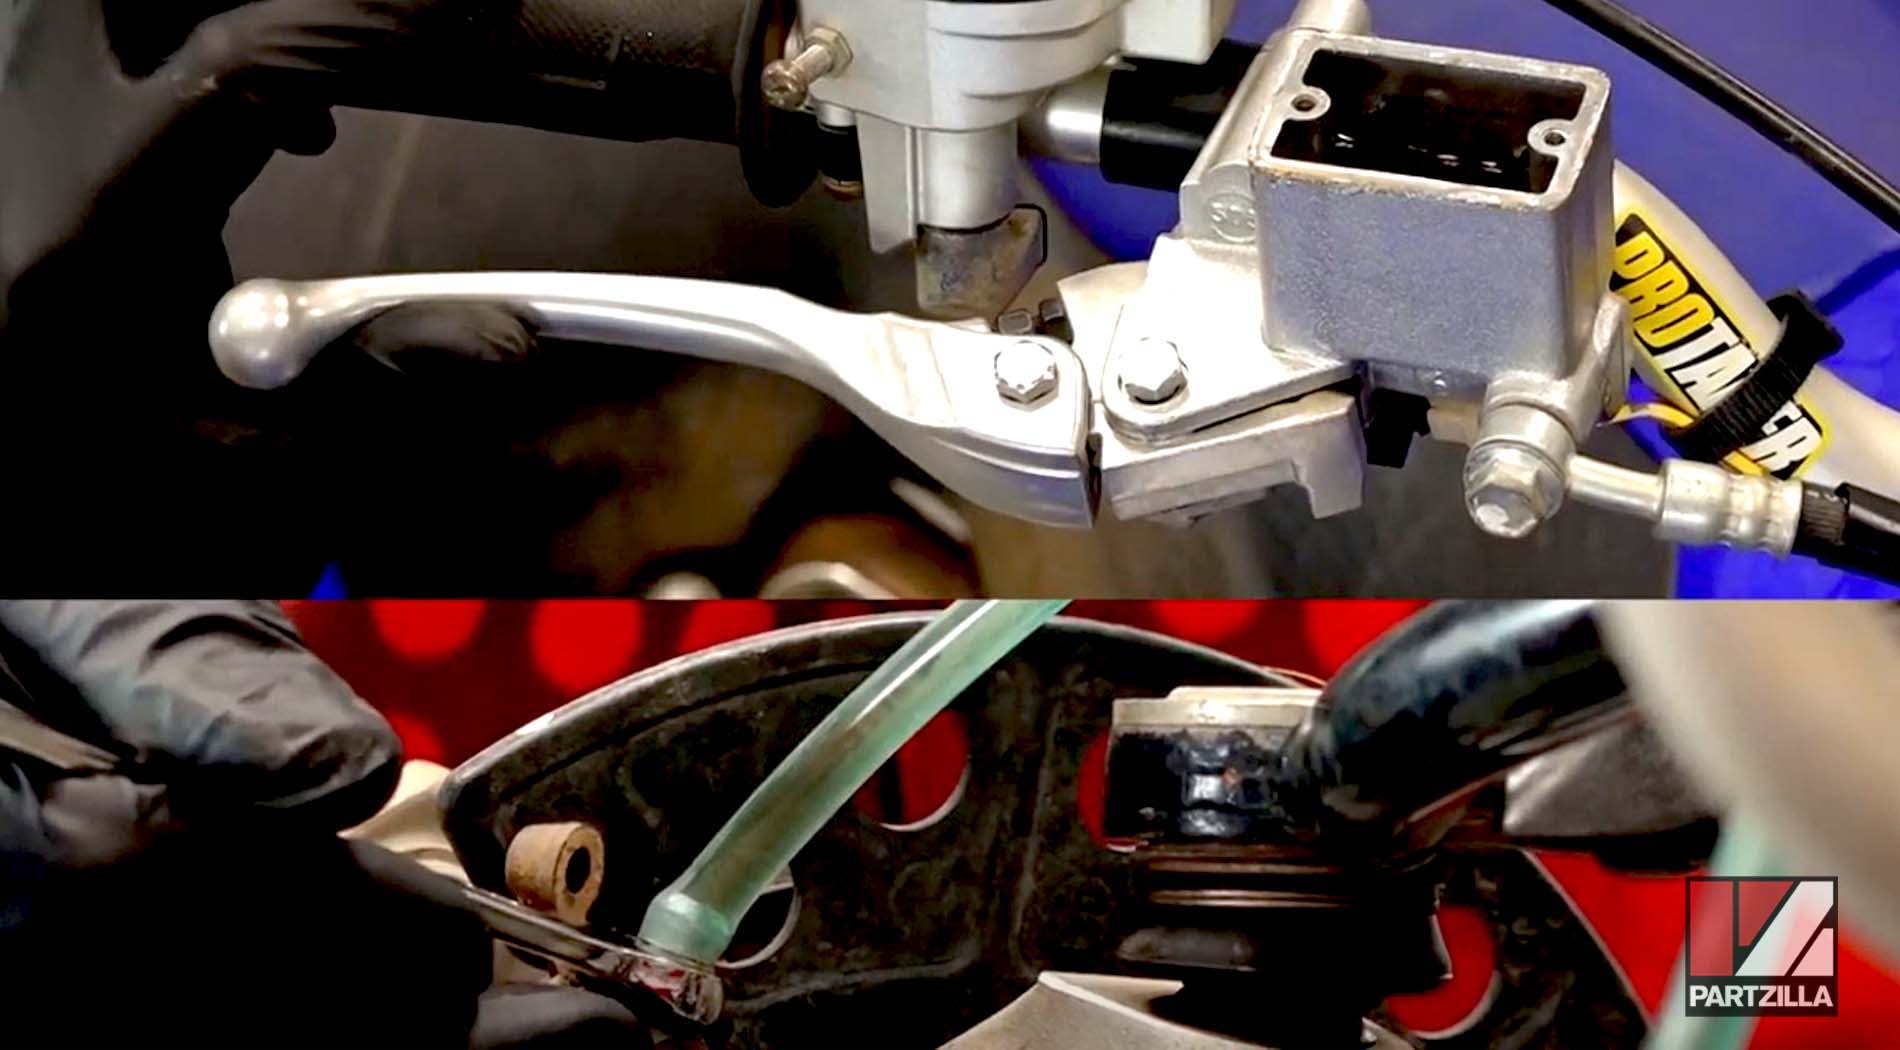
NOTE: Keep an eye on the reservoir as you're doing this to avoid forcing an air bubble down into the caliper.
Step 4. Repeat step 3 around 20-25 times as you pour brake fluid into the reservoir.

Step 5. Once the right side is filled up, tighten up the valve and repeat Steps 3-4 for the left side.
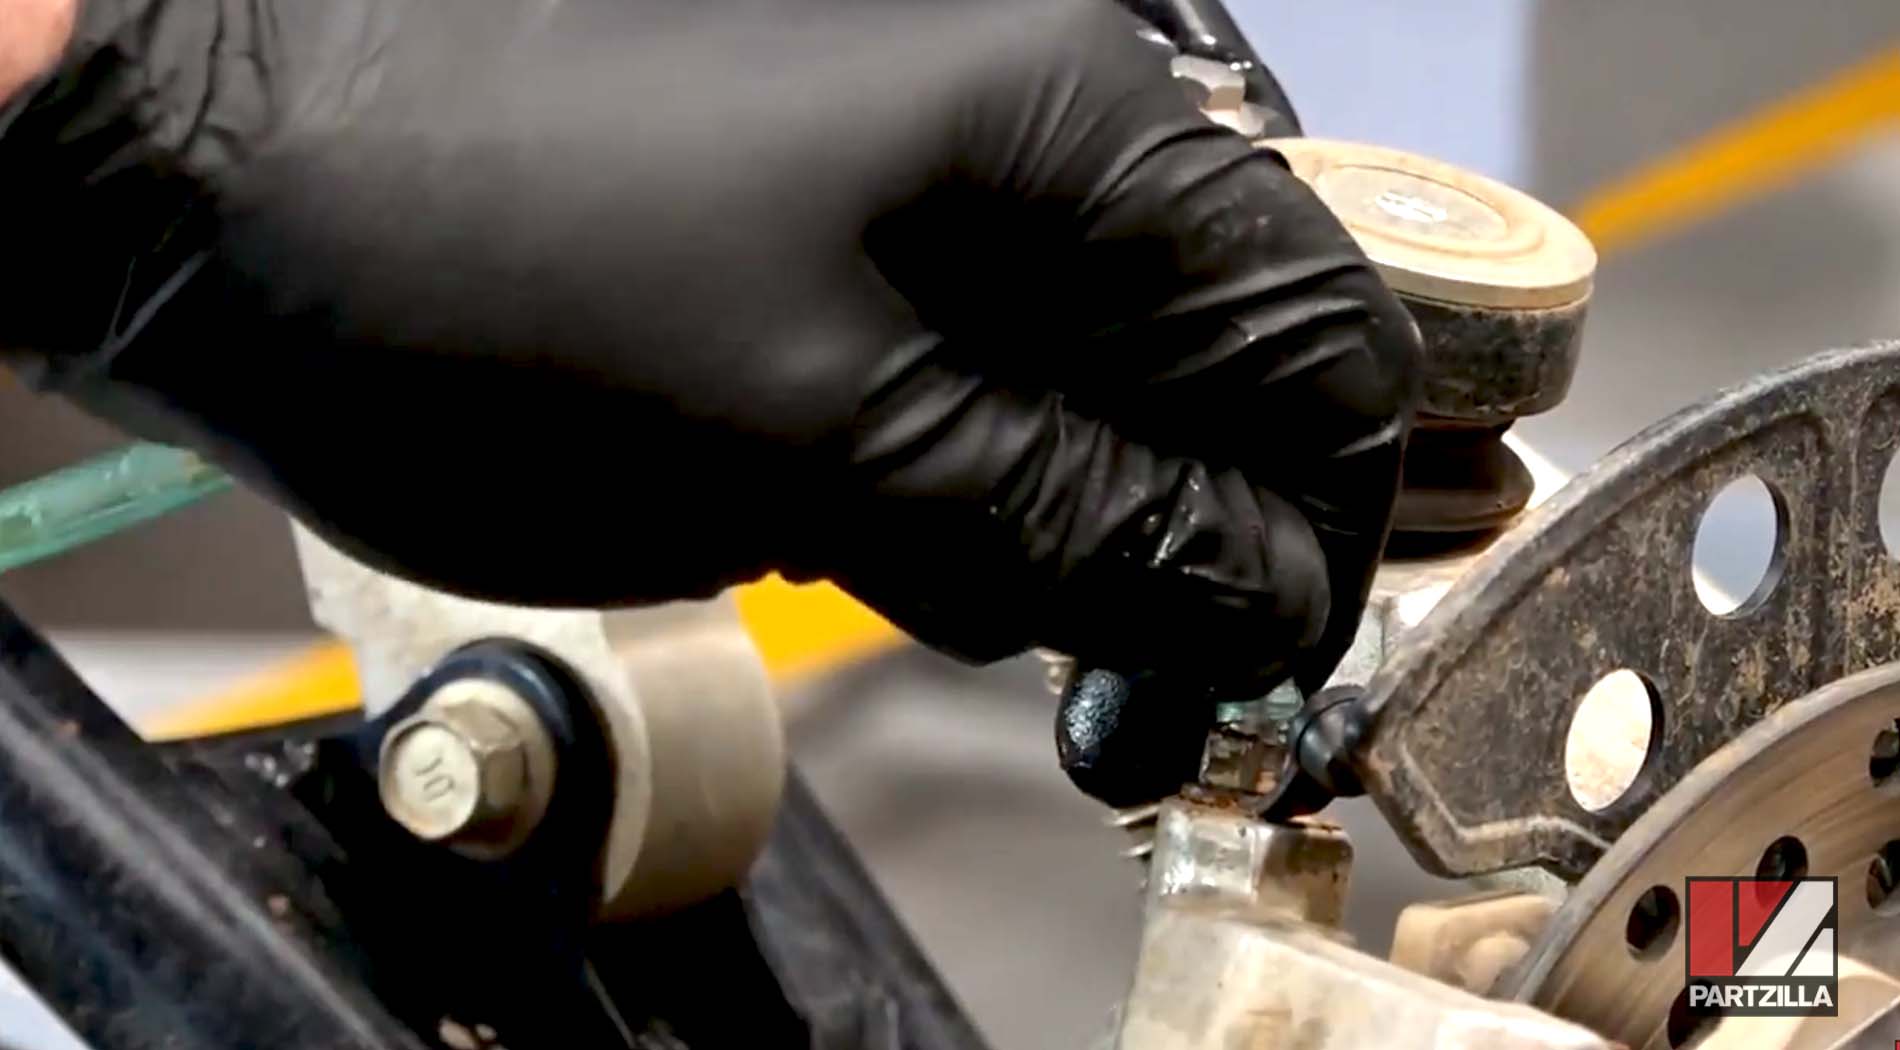
NOTE: Make sure to put the dust and dirt cap back on both sides after tightening the valve.
Step 6. Check the sight level on the reservoir before refilling the brake fluid to avoid overfilling it.
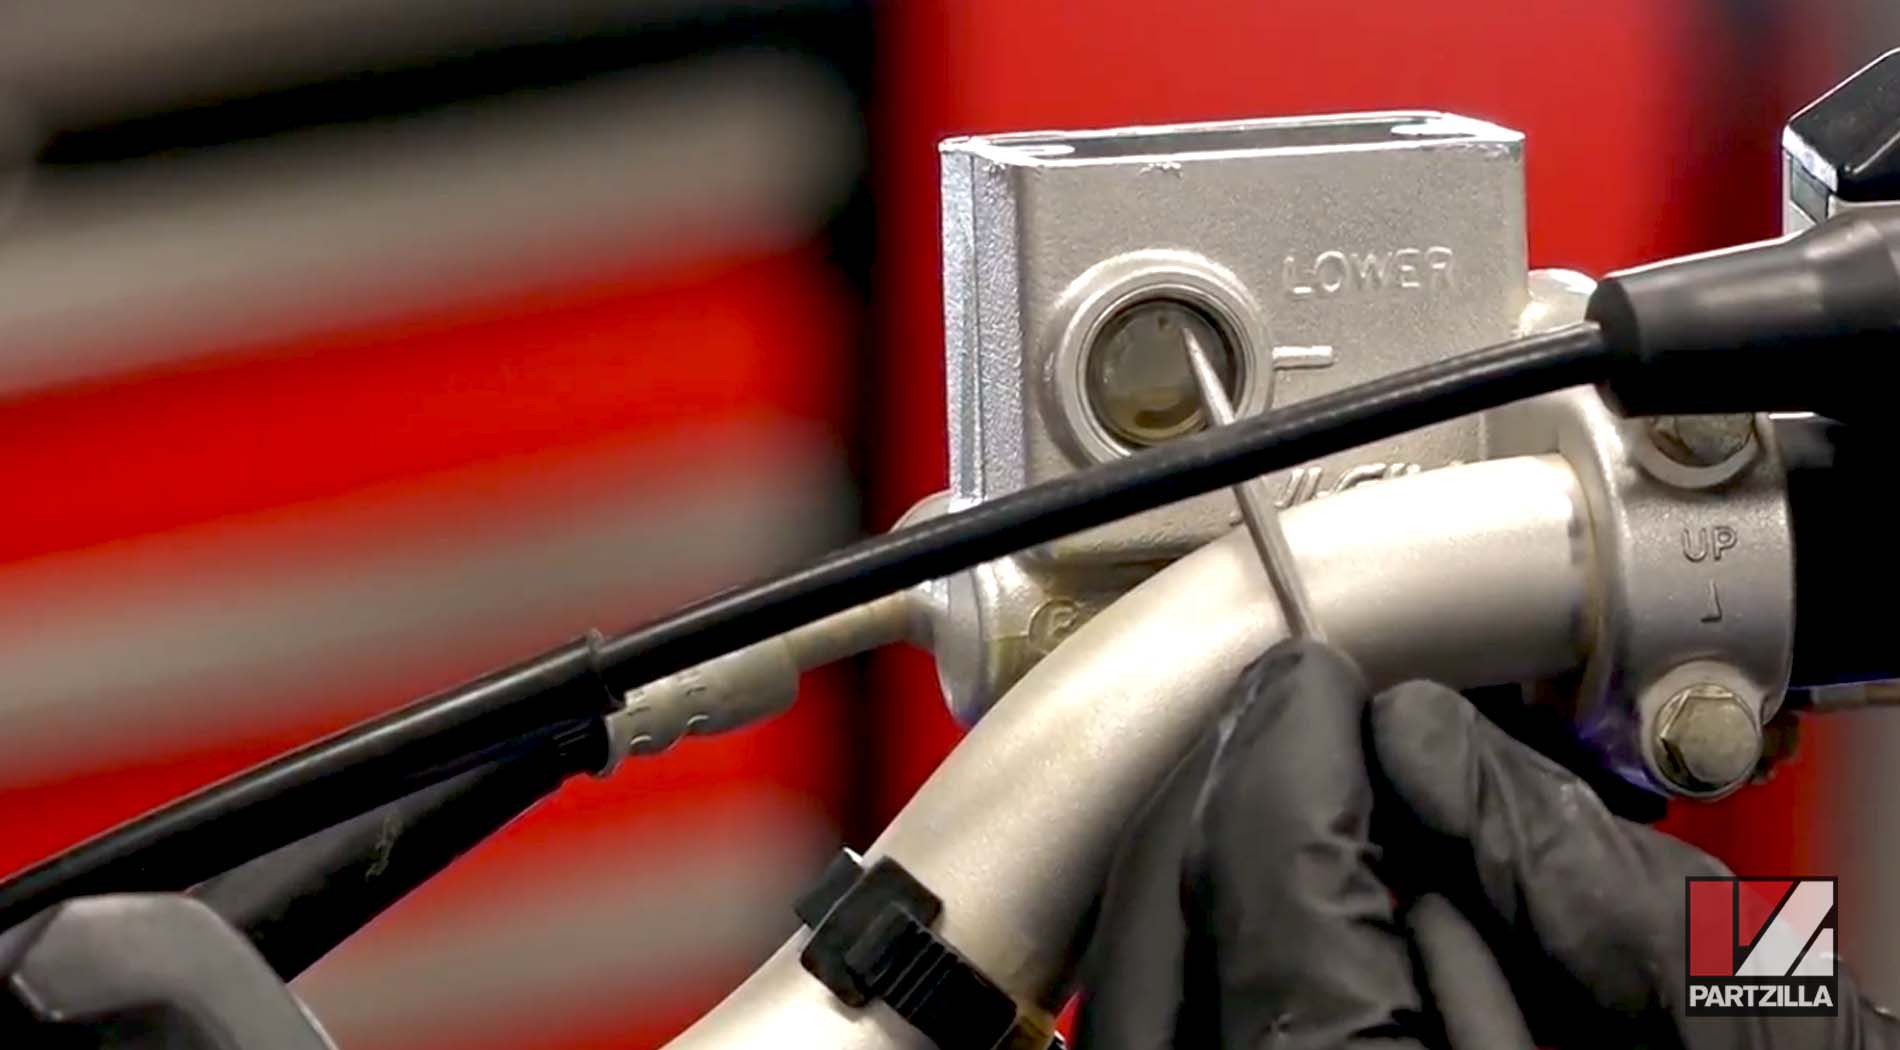
Step 7. Once the reservoir is filled up to the sight level (don’t fill it all the way to the top), replace the diaphragm, the plastic spacer and the cover in that order.
Step 8. Locate the rear reservoir under the seat and remove the cap, spacer and diaphragm.
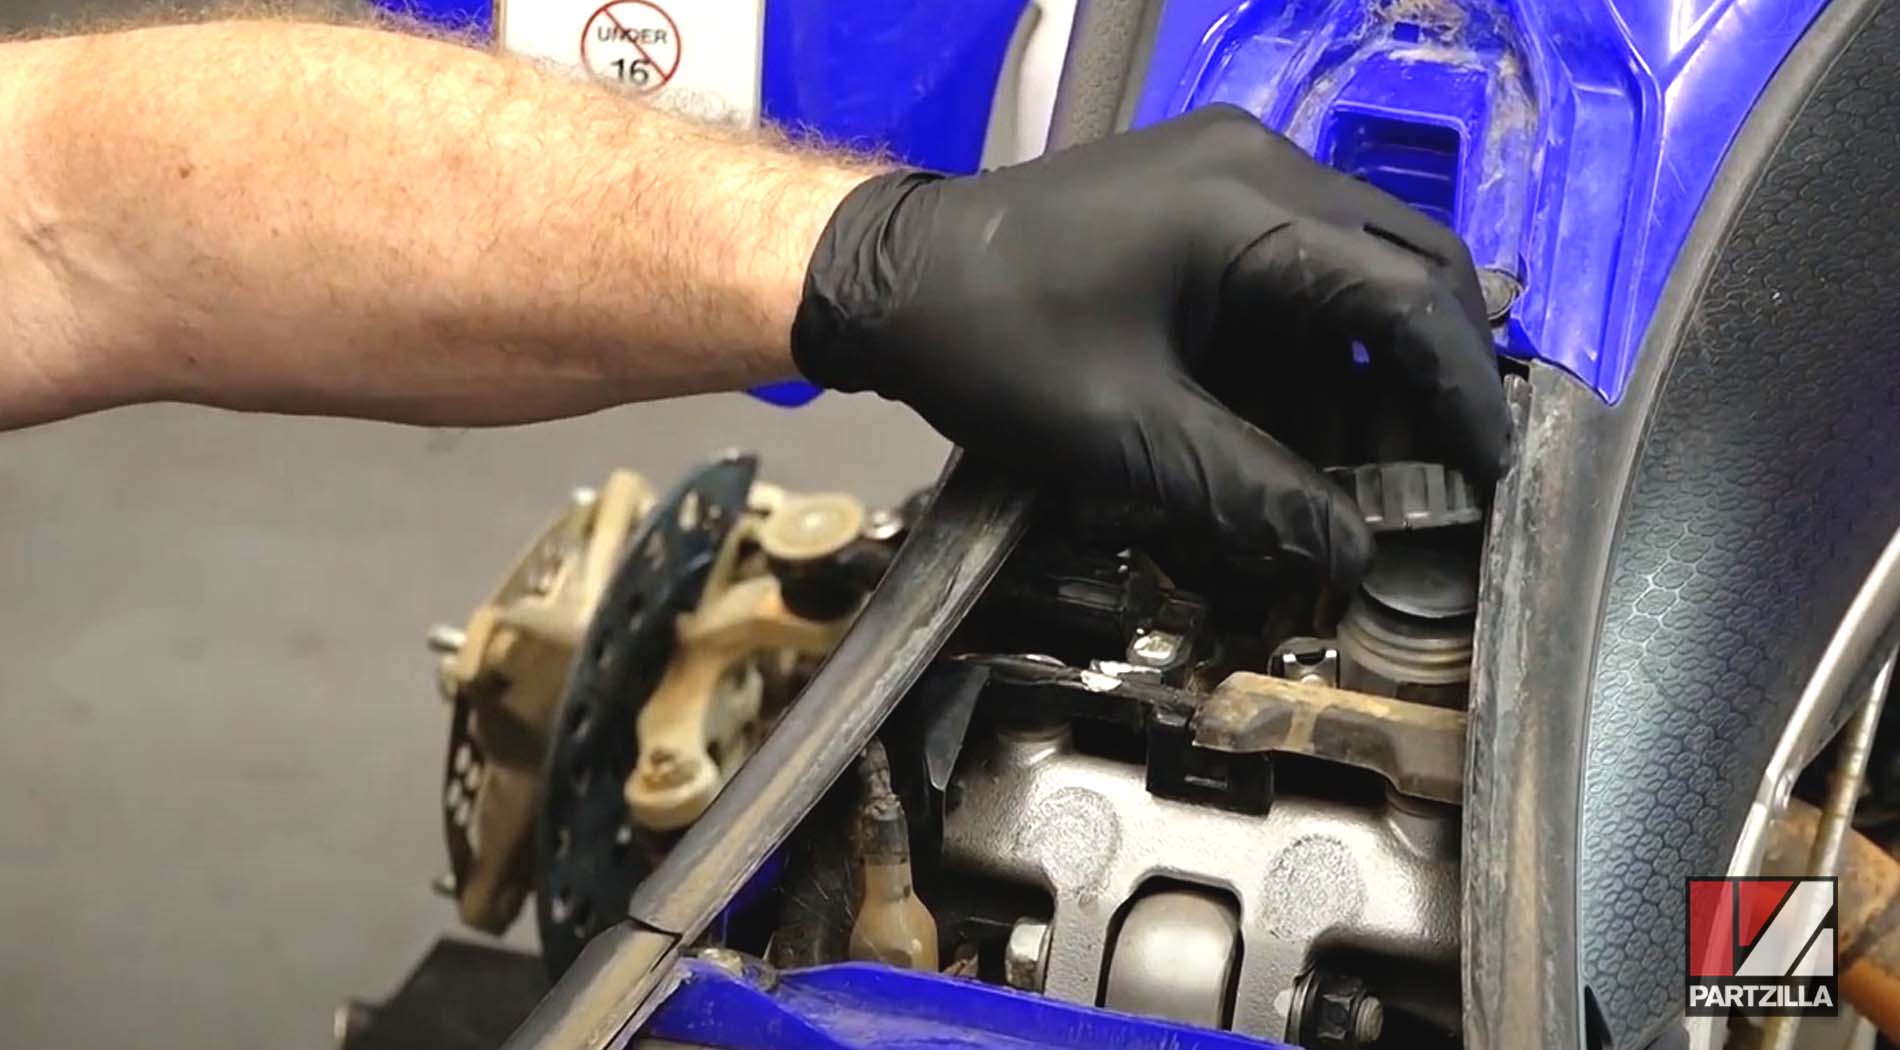
Step 9. Top off the rear reservoir with new brake fluid, then pump out the old brake fluid several more times to flush it out. Make sure not to overfill the reservoir before replacing the diaphragm, spacer and cap.
As noted, the steps to bleed the brakes on a YFZ450 are the same or similar for all Yamaha ATVs. However, if you want to see a brake bleed for a different Yamaha ATV model, watch the video below to see how to bleed the brakes on a Yamaha Grizzly 700.


