How to Bleed Yamaha Grizzly 700 Brakes
Opening the braking system on a Yamaha ATV introduces air into it, which can result in a spongy feel in the brakes and a loss of braking performance.
Getting the air out of the system by bleeding the brakes is a must when you open the system, and a solid way to resolve braking issues. Watch the video above and follow the steps below to manually bleed the brakes on a Yamaha Grizzly 700.
Tools and Supplies – Yamaha YFM 700 Grizzly Brake Bleed
- 8mm wrench
- Drain pan
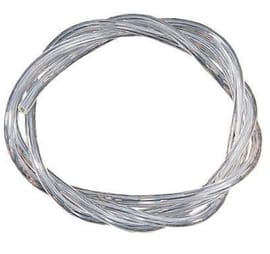
- 3/16th hose
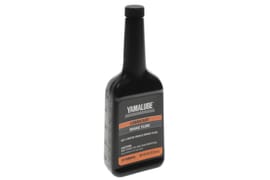
- Yamaha DOT4 brake fluid
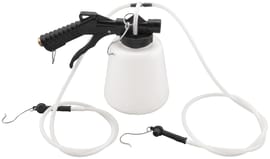
- Fluid extractor
Yamaha Grizzly 700 ATV Brake Bleed
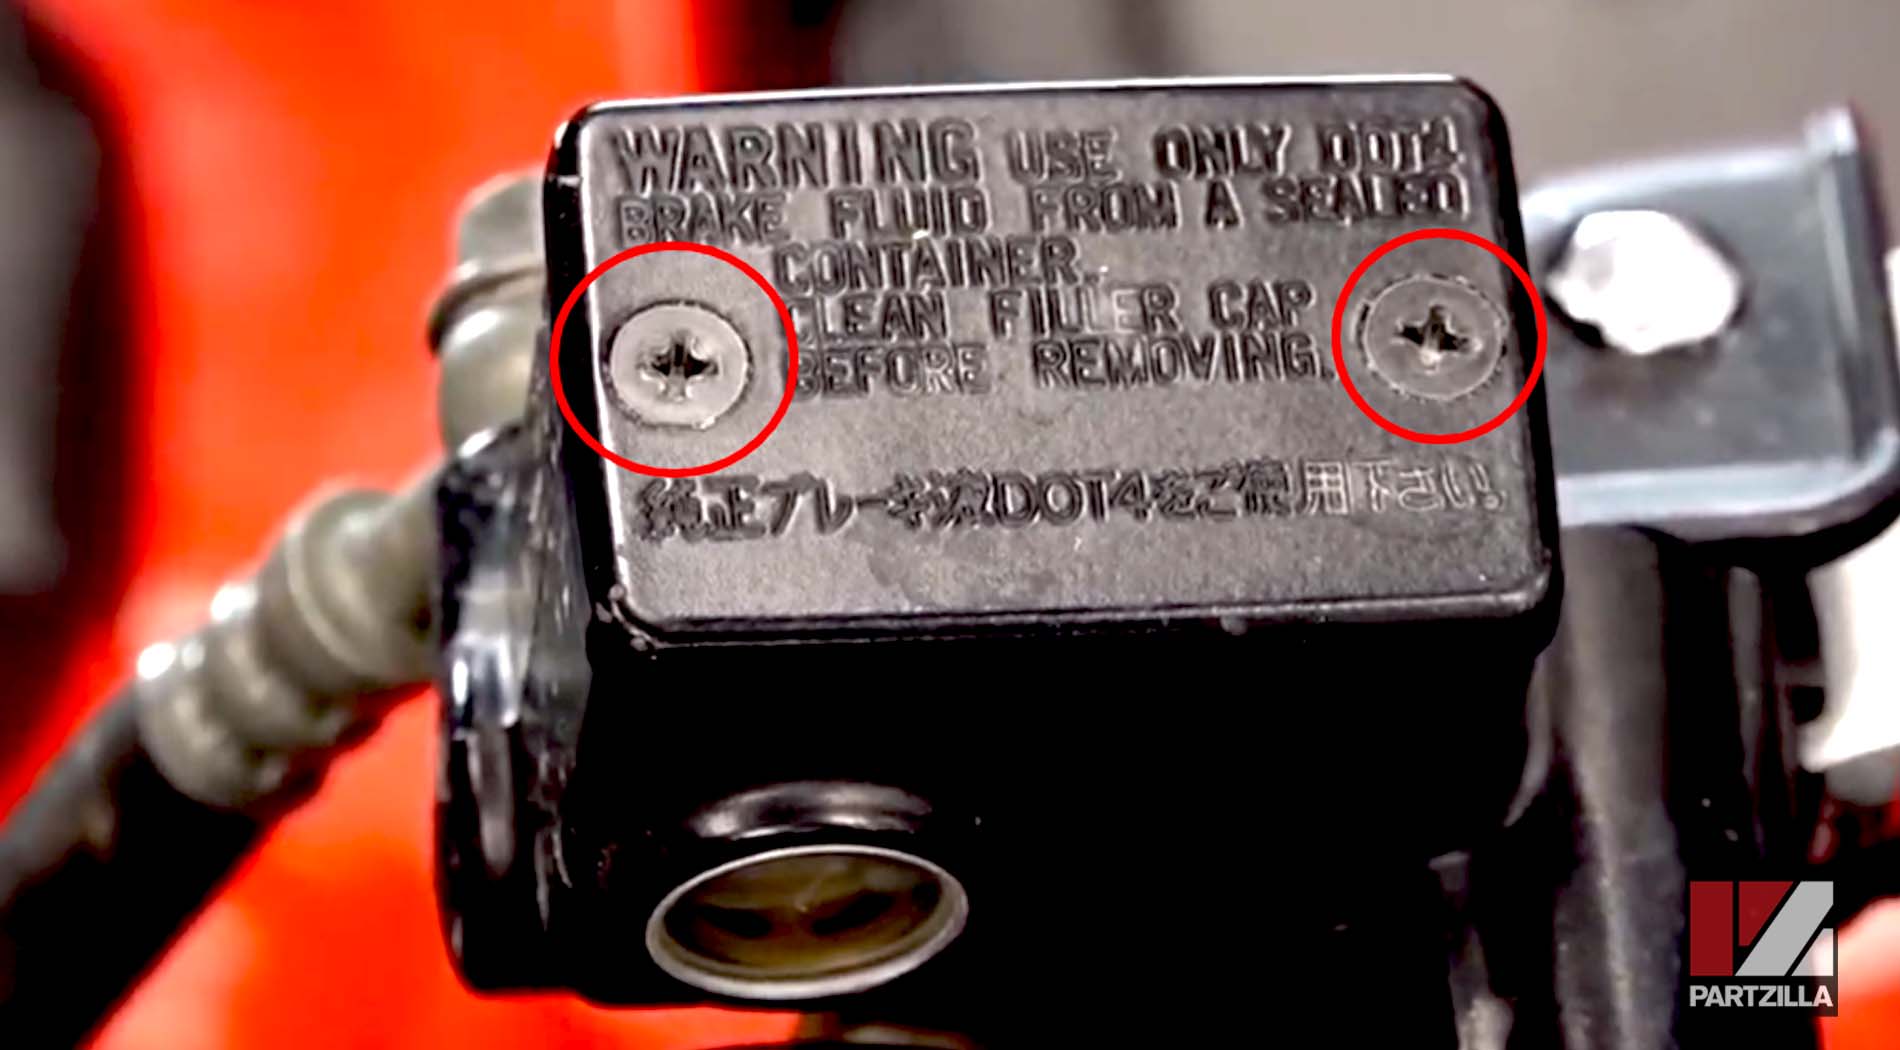
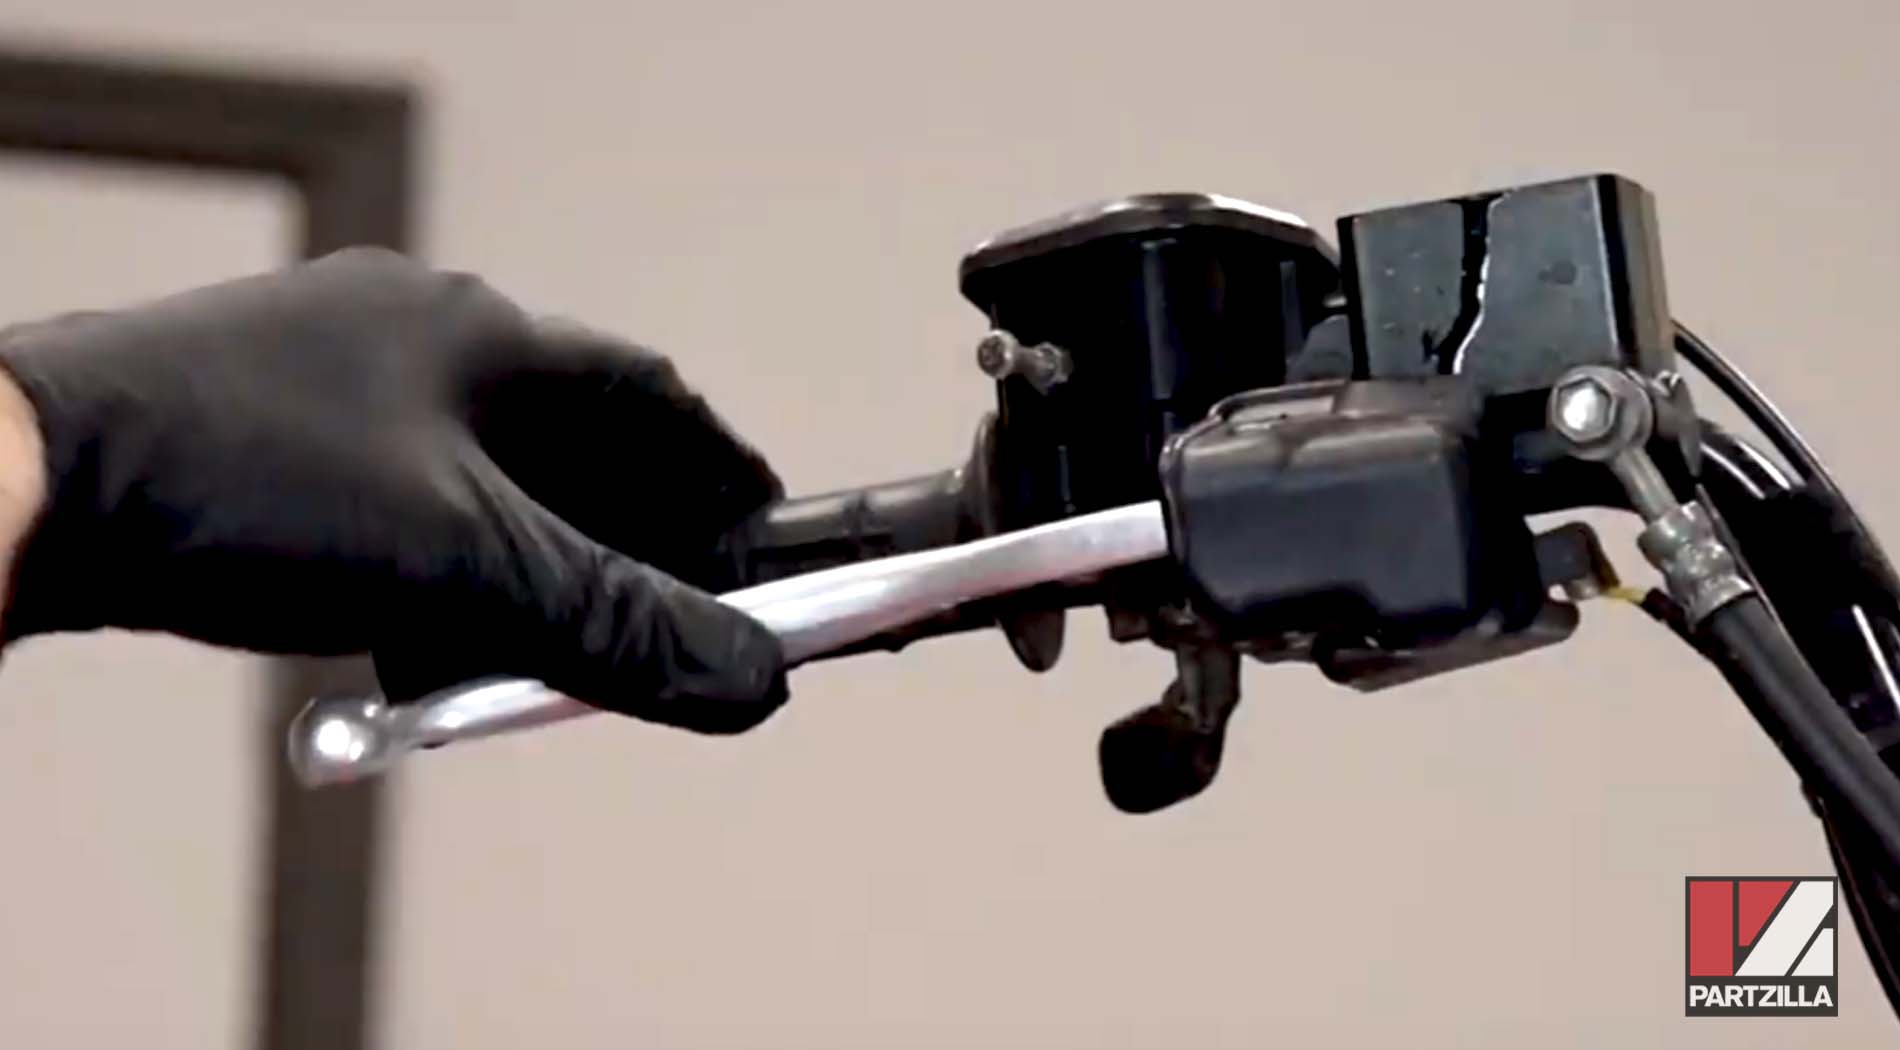
Step 1. Place paper towels underneath the brake reservoir on the handlebar, then open the reservoir by removing the two Phillips head screws.
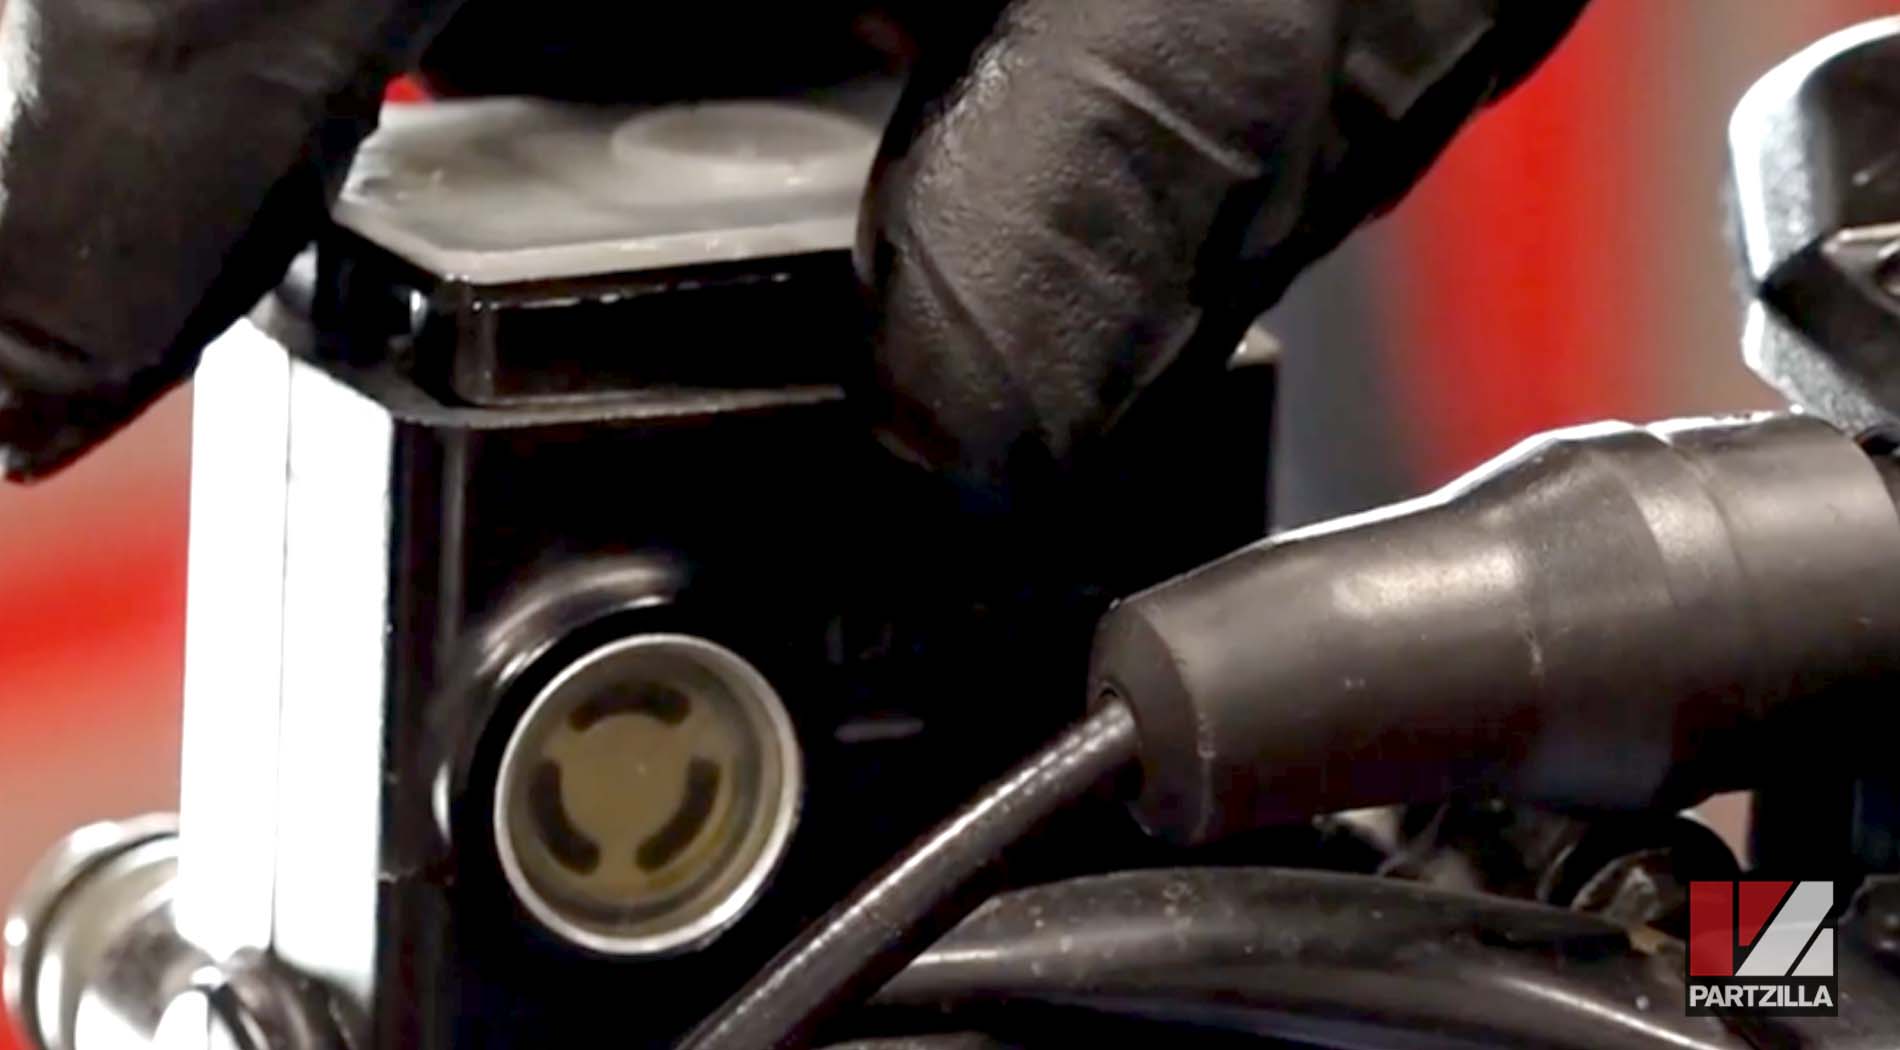
Step 2. Remove the plastic cap and the rubber diaphragm underneath it.
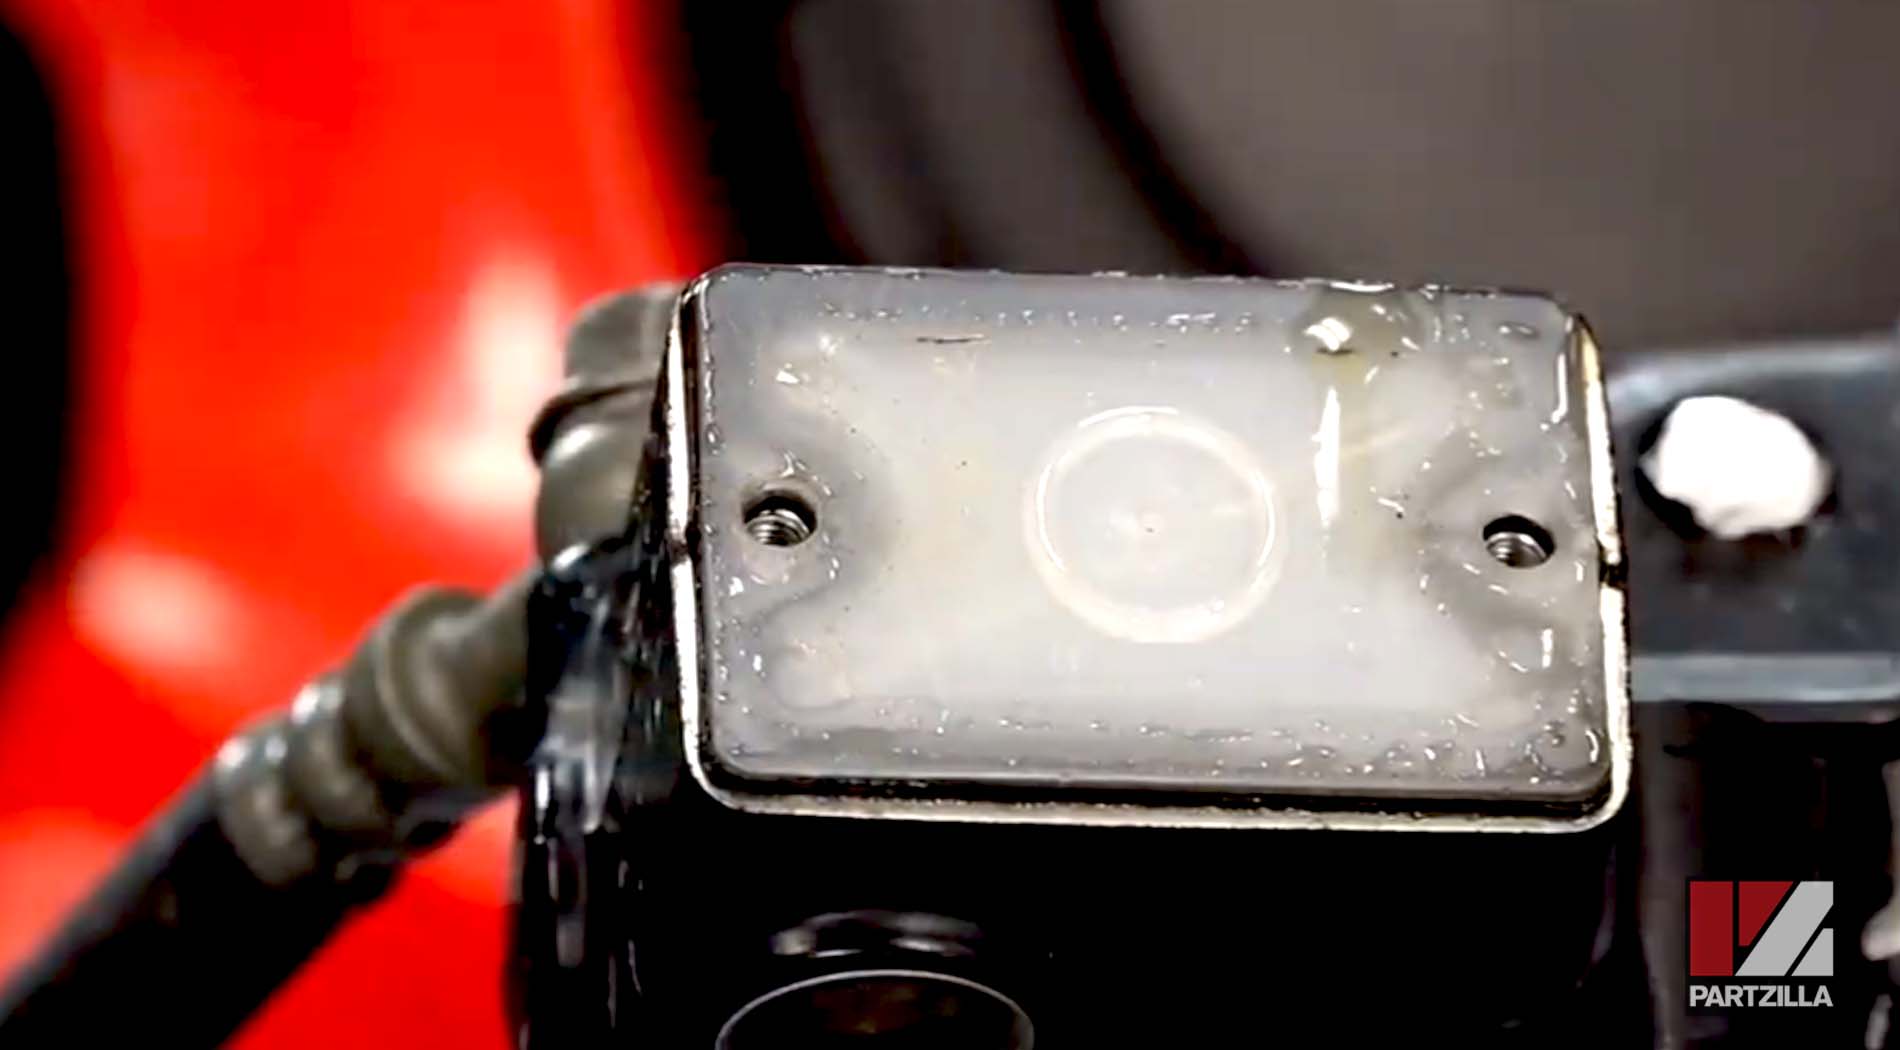
NOTE: See #5 and #6 in our Yamaha Grizzly master cylinder diagram.

Step 3. Top off the reservoir with brake fluid.
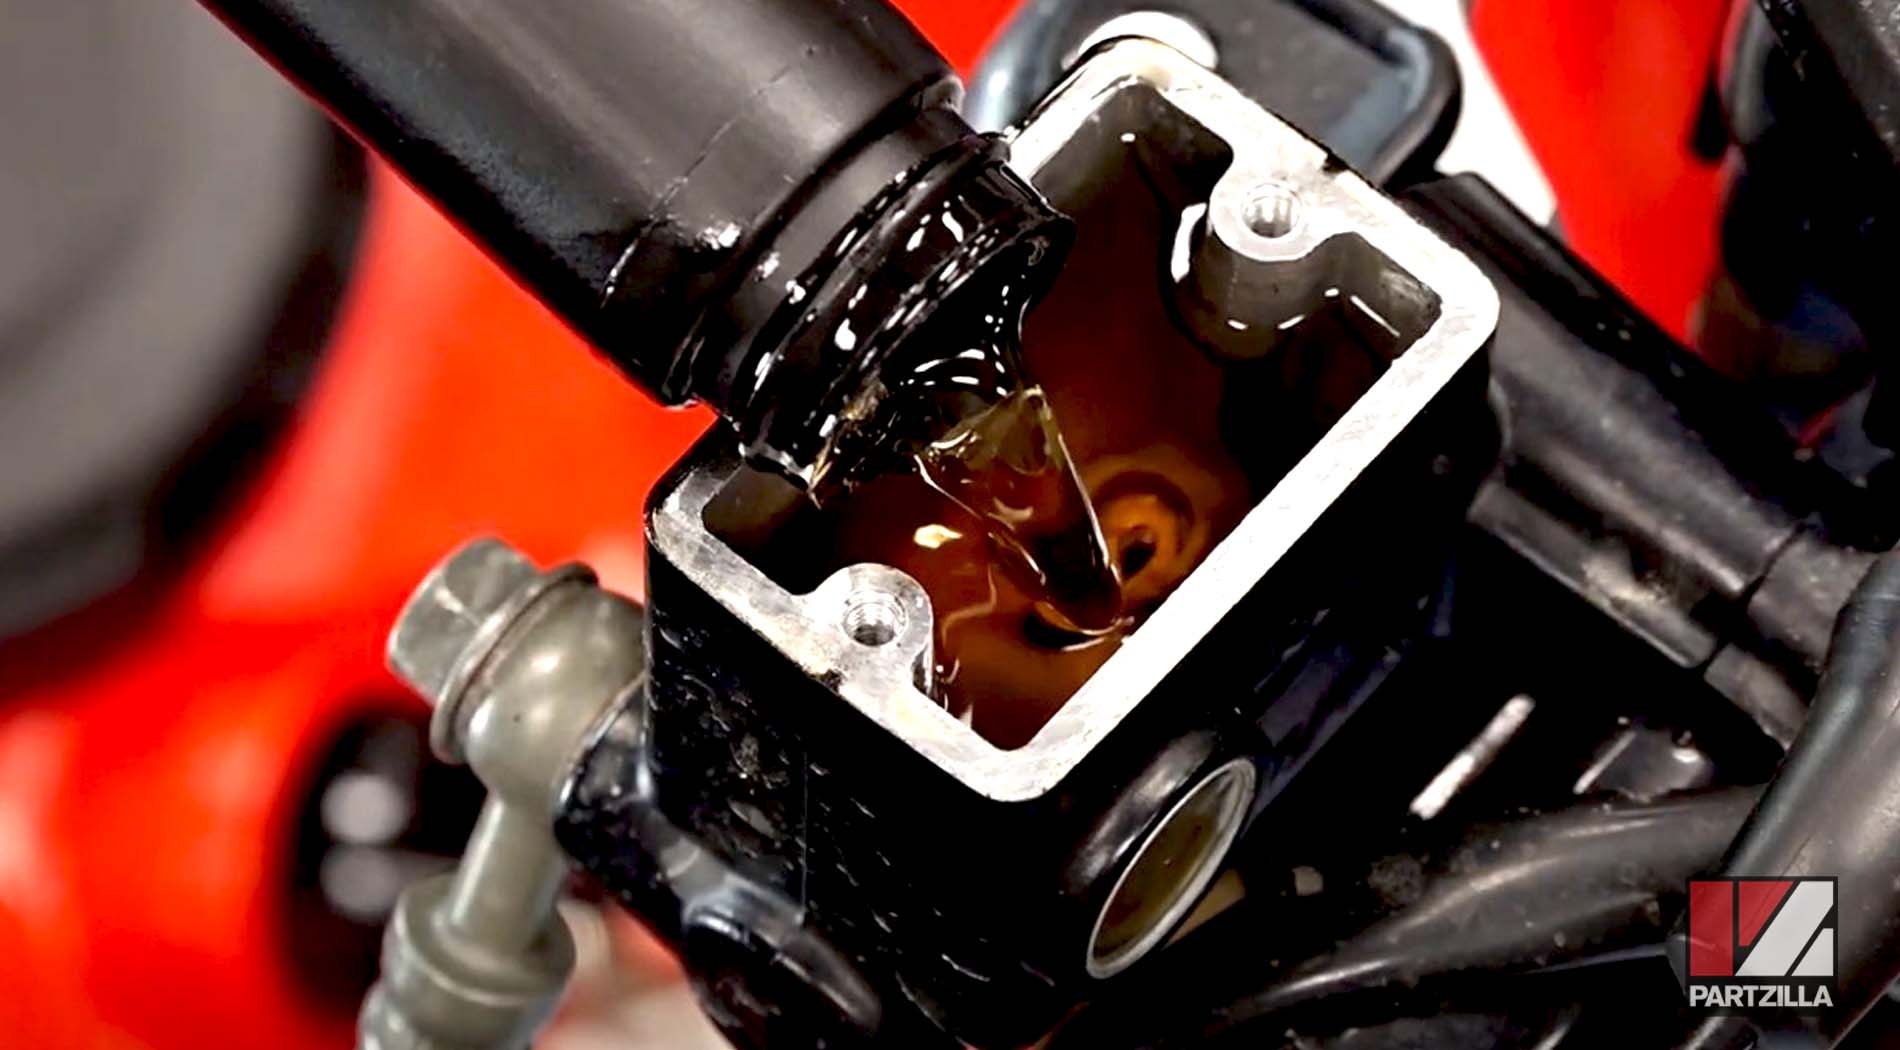
NOTE: Throughout this process, keep pouring more fluid in the top as you move brake fluid through the system, especially if you use a fluid extractor, which pulls fluid through the system quickly.
Step 4. Remove the black rubber dust cap covering the bleed valve, which is located down at the right front caliper.

Step 5. Attach a 3/16th hose to the valve with an 8mm wrench, and have the other end of the hose lead to a drain pan or bottle to collect the old fluid.
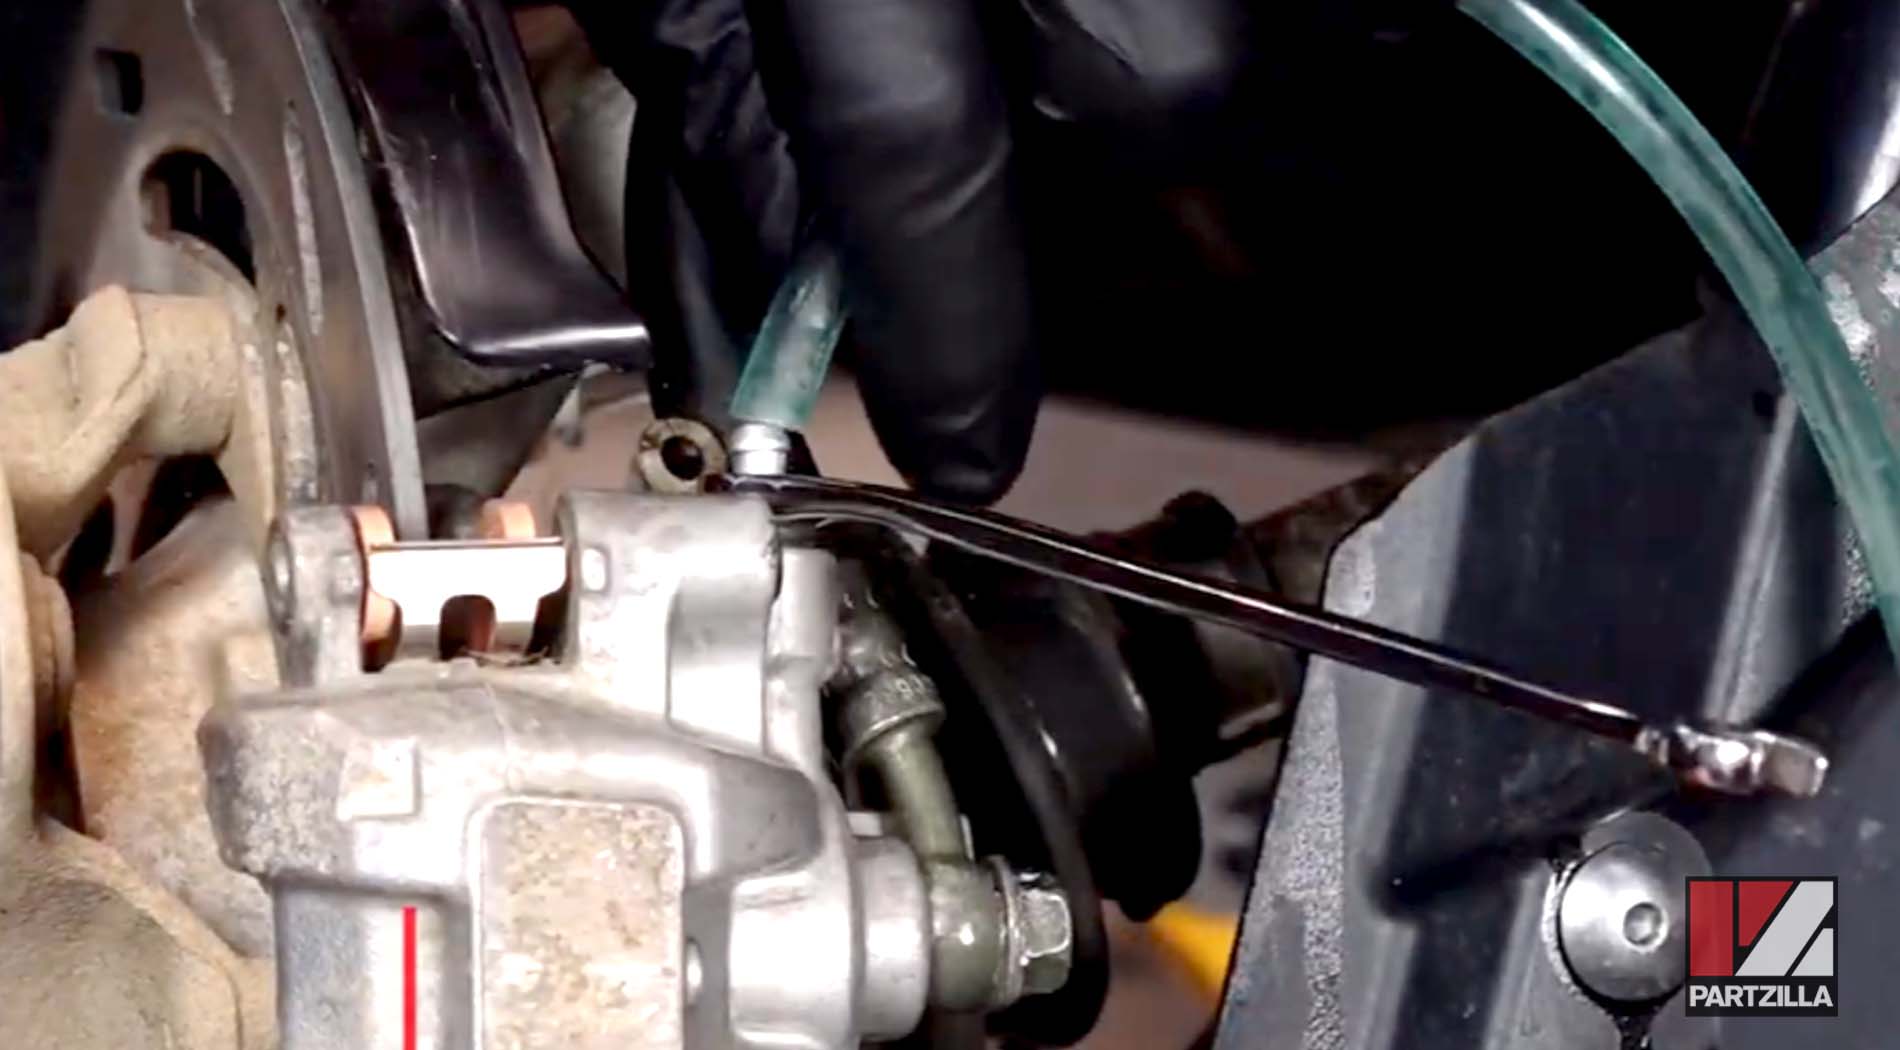
Step 6. Pump the brake lever several times, then open the bleeder valve with an 8mm wrench.
NOTE: When you bleed the brakes manually, you’re building brake pressure through the brake lever and releasing it through the bleed valve.

Step 7. Close the valve and repeat Step 6.
NOTE: Check the level in the reservoir throughout the process. It should take about three full reservoirs to clean the system out.
Step 8. Repeat the process on the other side.
Step 9. Set the level by adding clean brake fluid to the reservoir.
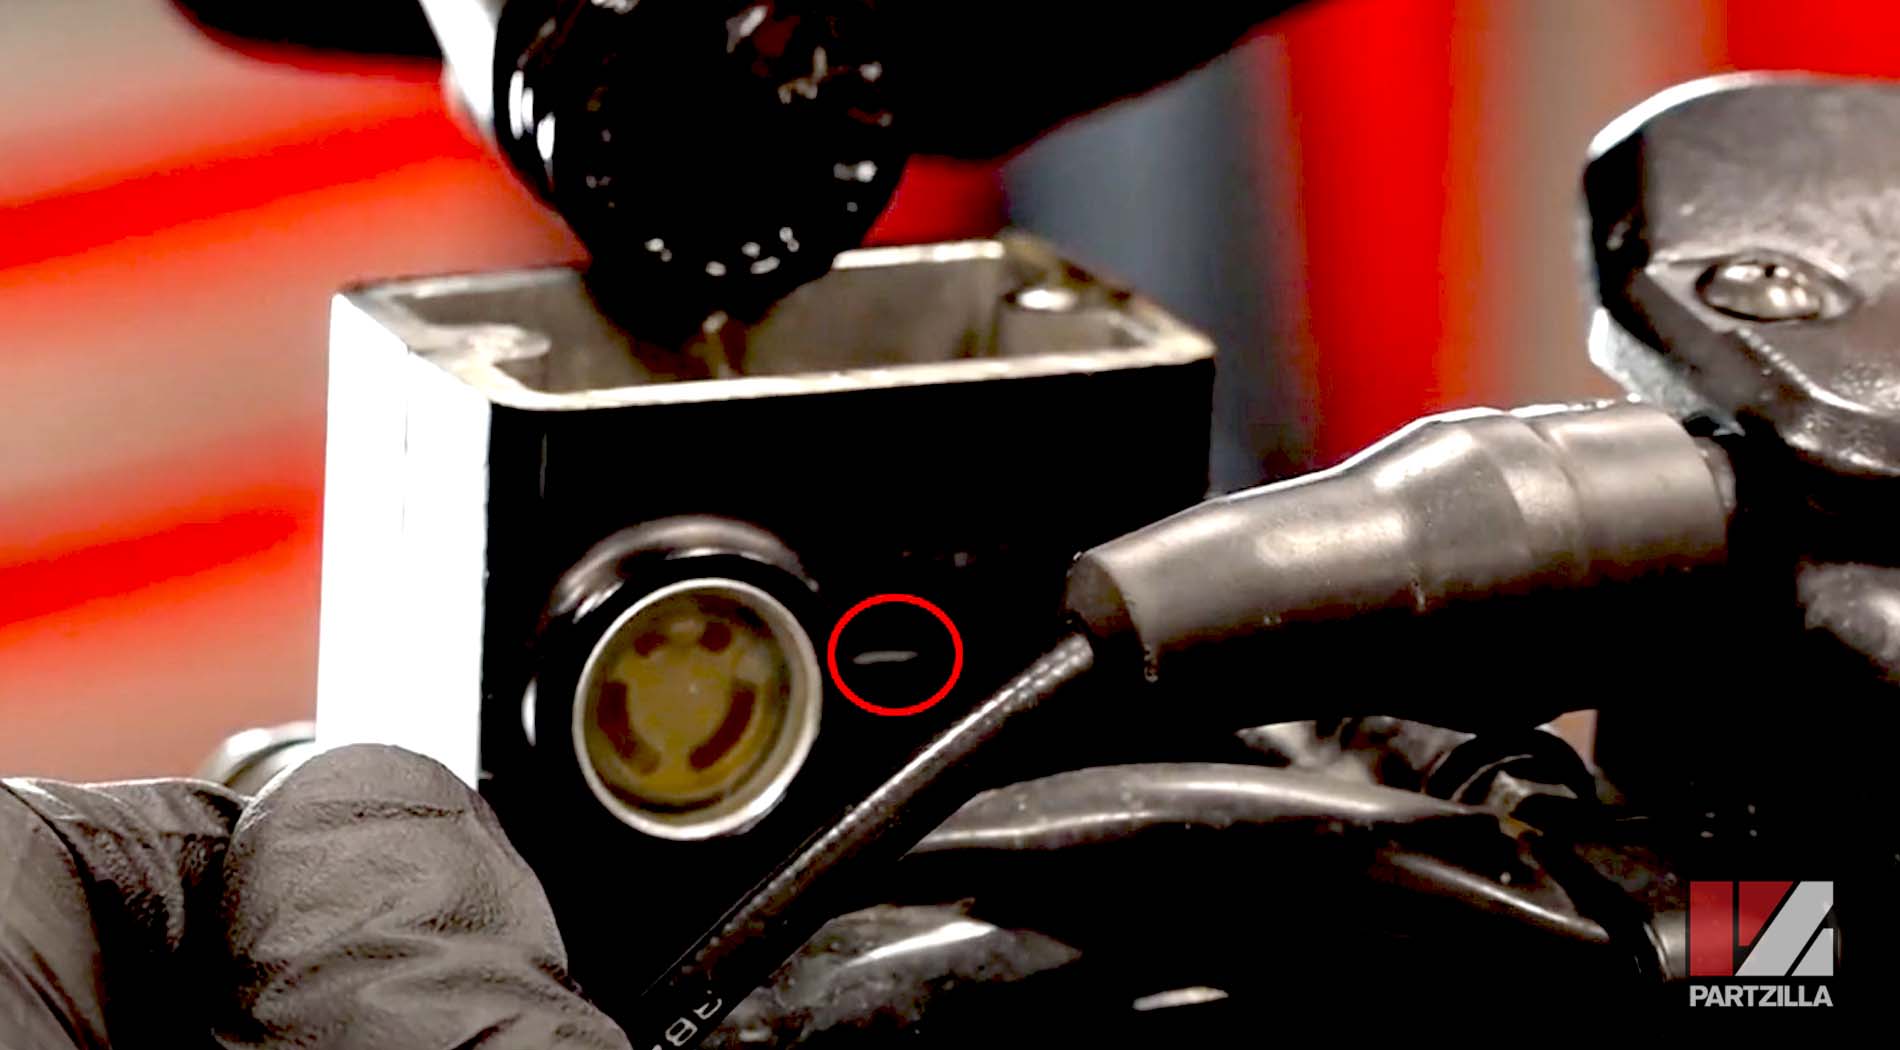
NOTE: There’s a line that marks the low end of the desired level. If you have new brake pads, fill it up to the top of the glass. However, if you’re bleeding the brakes with older pads and are about to replace them soon, don’t fill it up all the way. The new pads will push fluid up the system from the caliper, and you’ll need room for that fluid in the reservoir.
Step 10. Replace the plastic cap and rubber diaphragm.
Step 11. Replace the reservoir cap, then tighten down the two Phillips head screws holding it in place and you’re done.
If you’re ready to change out the brake pads on a Yamaha Grizzly 700, we have that covered too. Watch the videos below to see how to change the front brake pads on a Yamaha Grizzly YFM700 and how to change the rear brake pads on a Yamaha Grizzly YFM700.