How to Change the Oil in a Yamaha Bolt
Regular oil changes are standard yet essential maintenance to prolonging the lifespan of your Yamaha motorcycle. Not only are oil changes one of the most important maintenance tasks you can do yourself, but they’re also one of the easiest.
Got a handful of minutes? Watch the video above and follow the steps below to learn how to change the oil in a Yamaha Bolt motorcycle.
Tools and Parts – Yamaha Bolt Oil Change
- Ratchet and 17mm socket
- Drain pan
- Torque wrench
- 65mm oil filter wrench
- Oil filter
- Motorcycle oil (5 quarts)
Yamaha Bolt Oil Change Service
Step 1. Run the engine for a minute to warm the oil, which makes it less viscous and helps it drain faster.
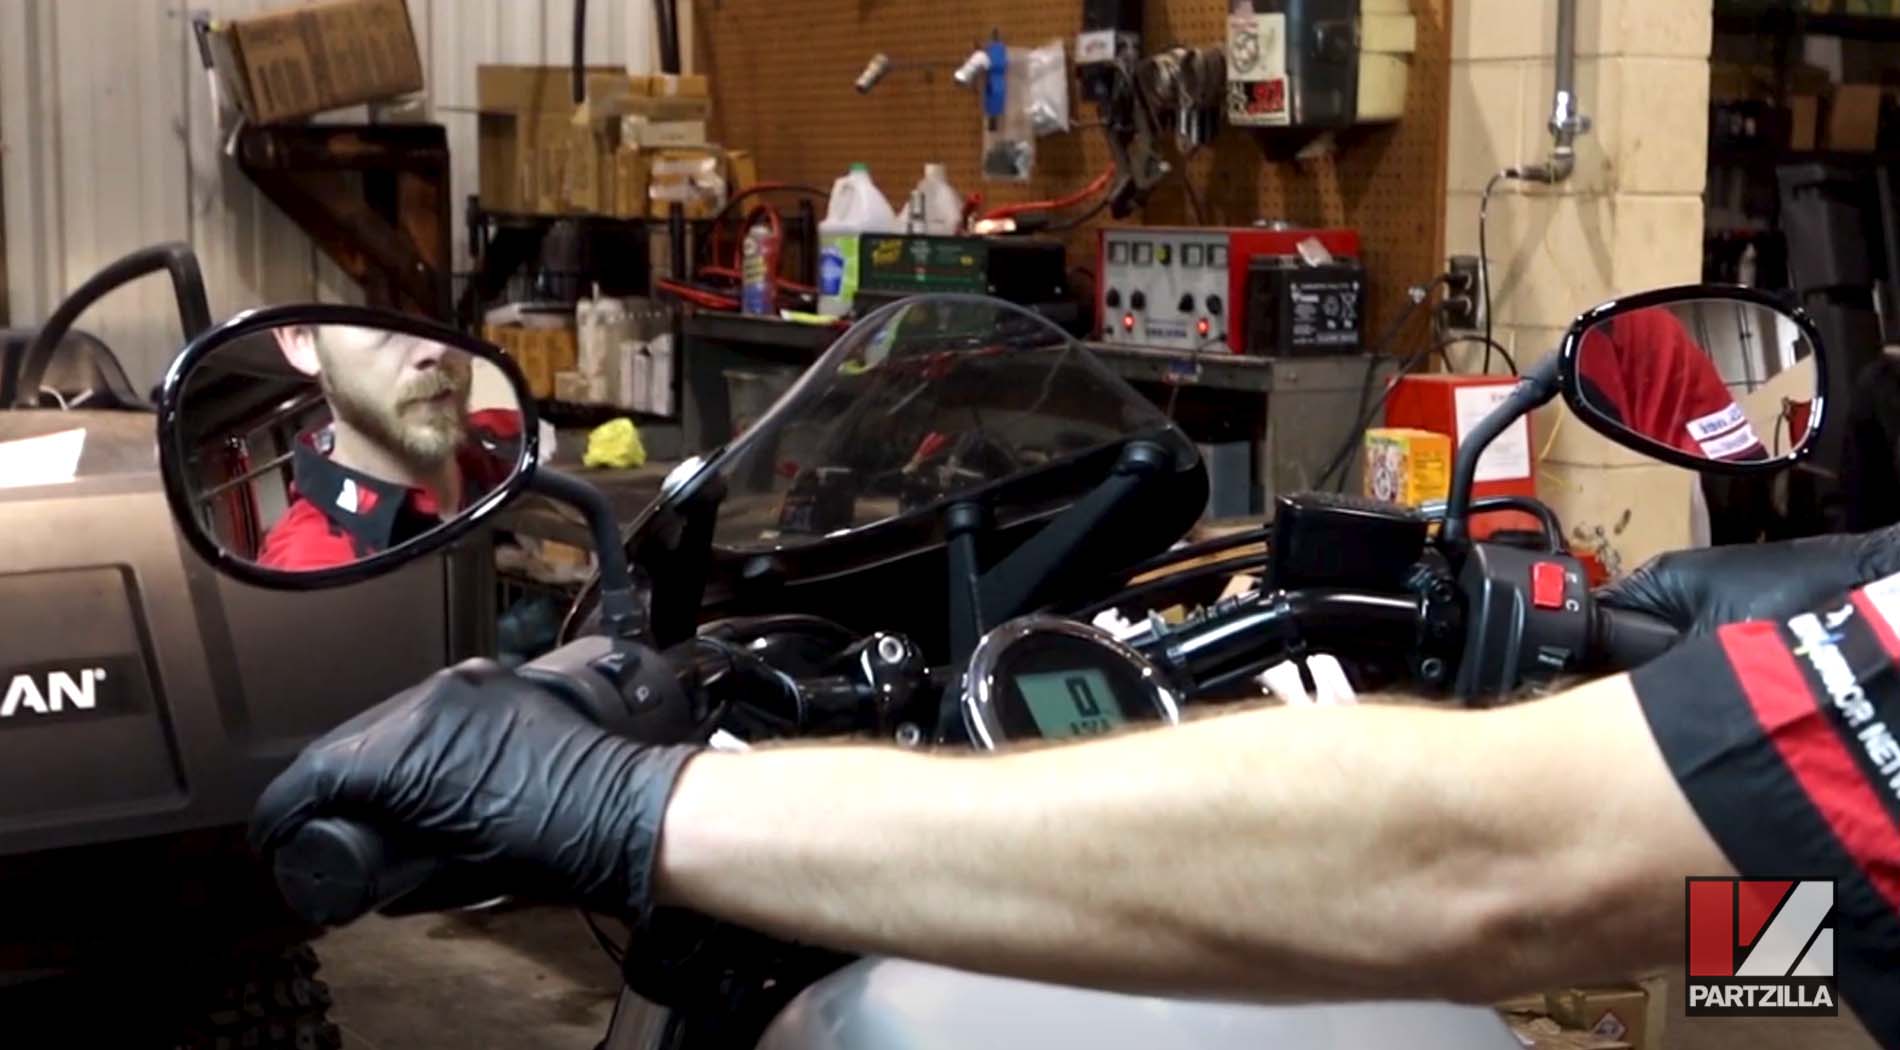
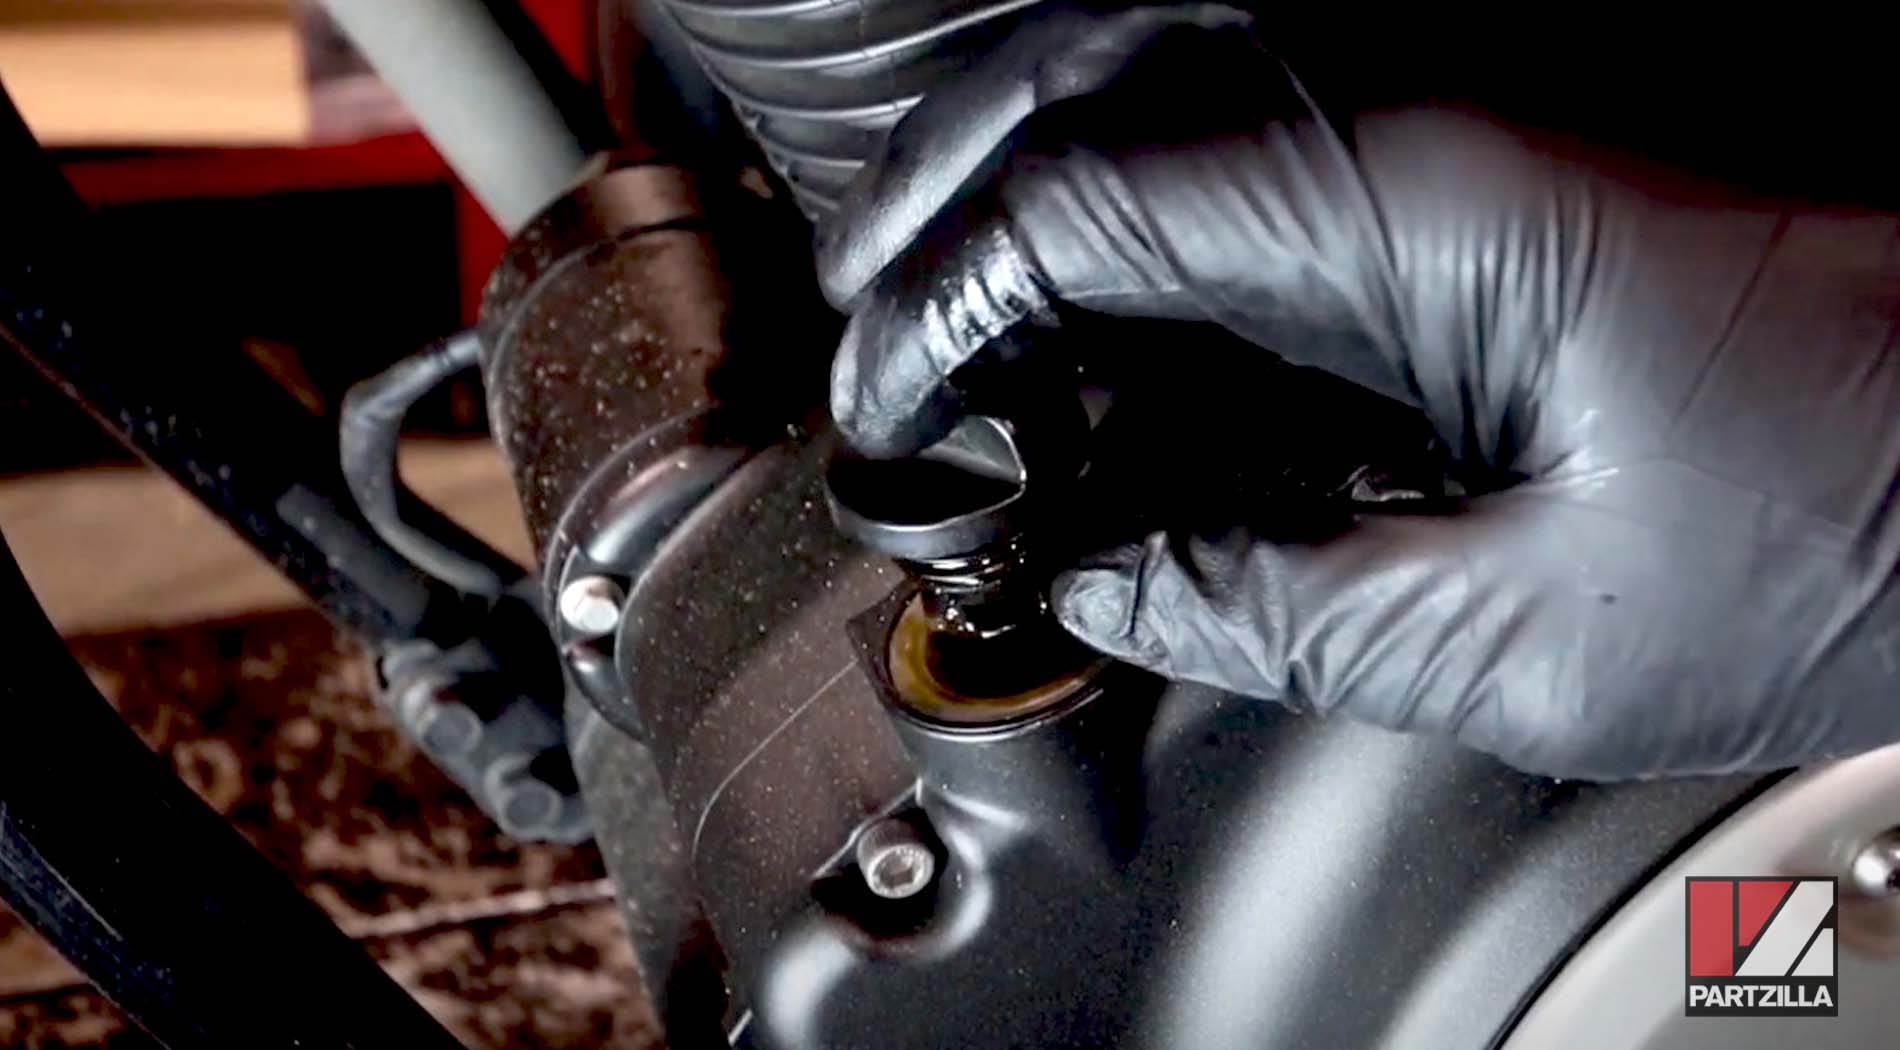
Step 2. Remove the dipstick to help the crankcase vent, which also helps the oil drain faster.
Step 3. Place a drain pan under the engine, and remove the 17mm drain bolt and crush washer from beneath the crankcase.
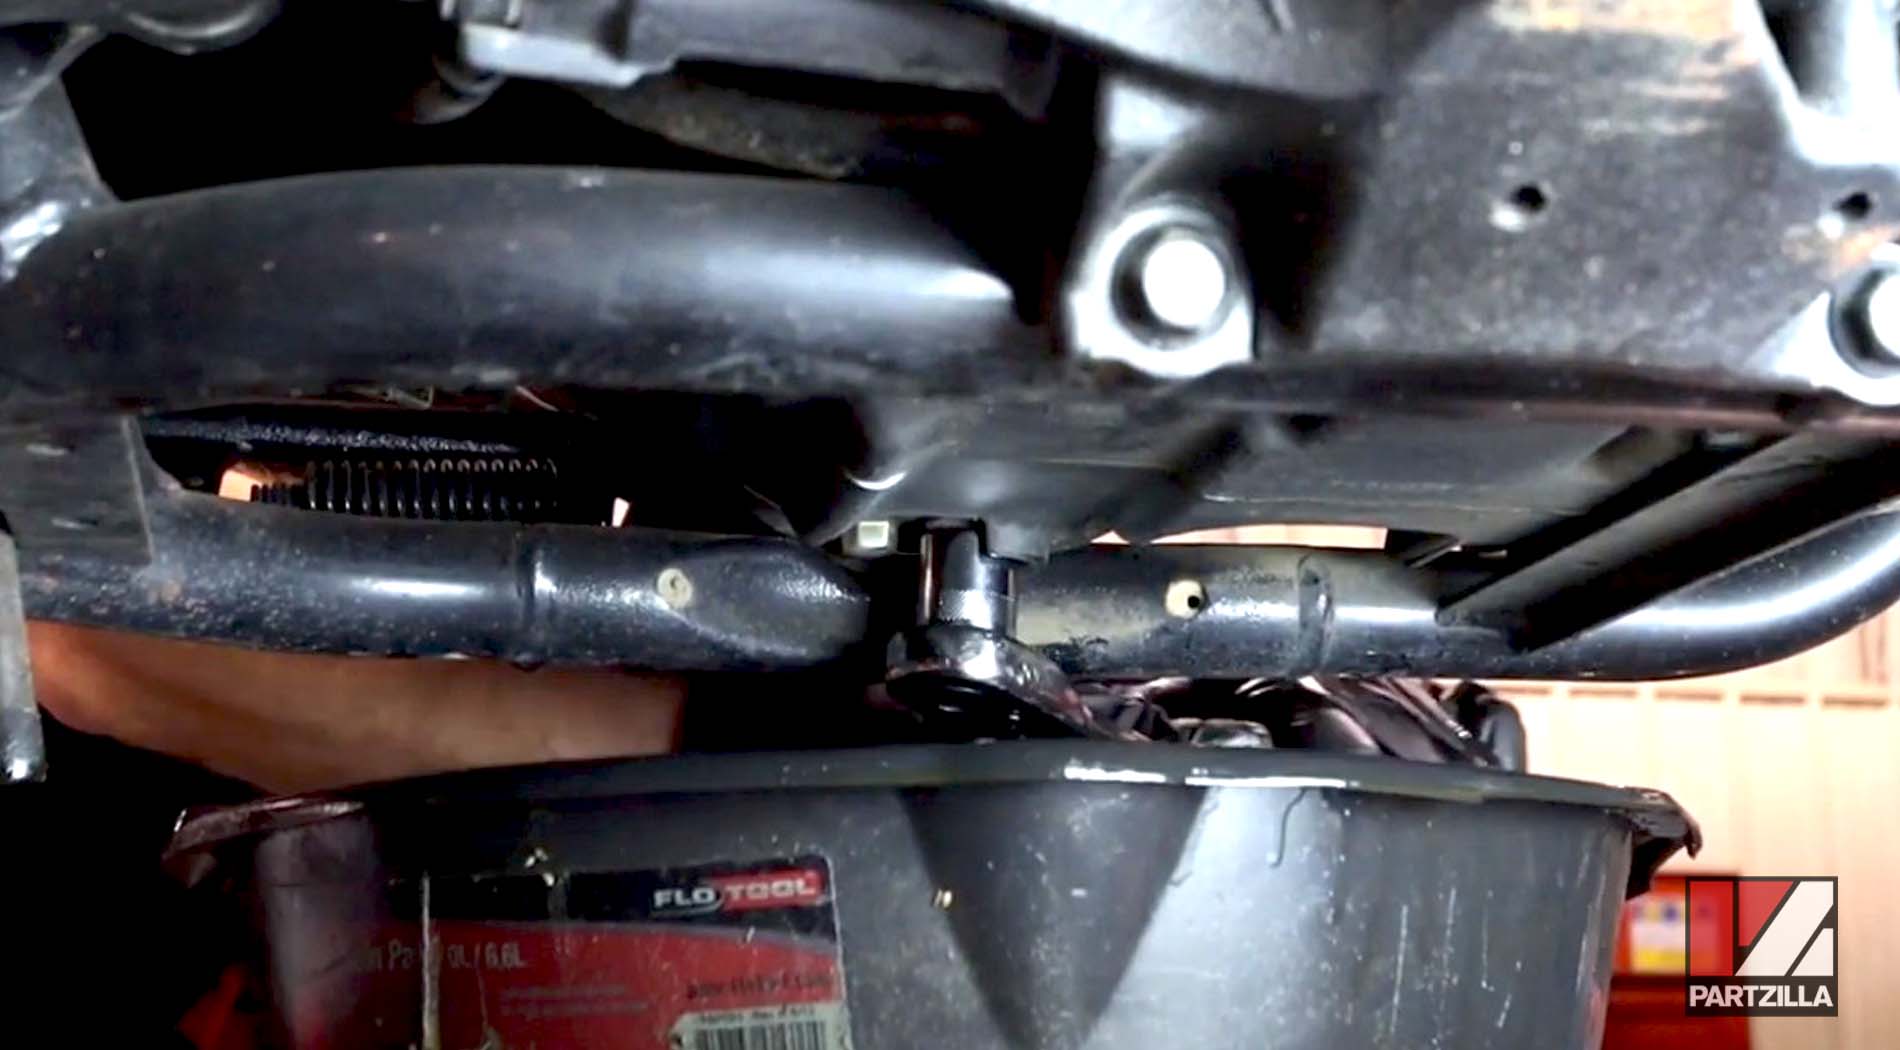
Step 4. Drain out the oil, then reinstall the drain bolt and its washer. Next, torque the drain bolt to 31 foot-pounds.
NOTE: If the crush washer is worn or hasn’t been replaced for the last 3-4 oil changes, replace it now with a new one.
Step 5. Remove the oil filter from the front of the crankcase using a 65mm oil filter wrench.

Step 6. Install the new oil filter, and torque it to 12 foot-pounds.
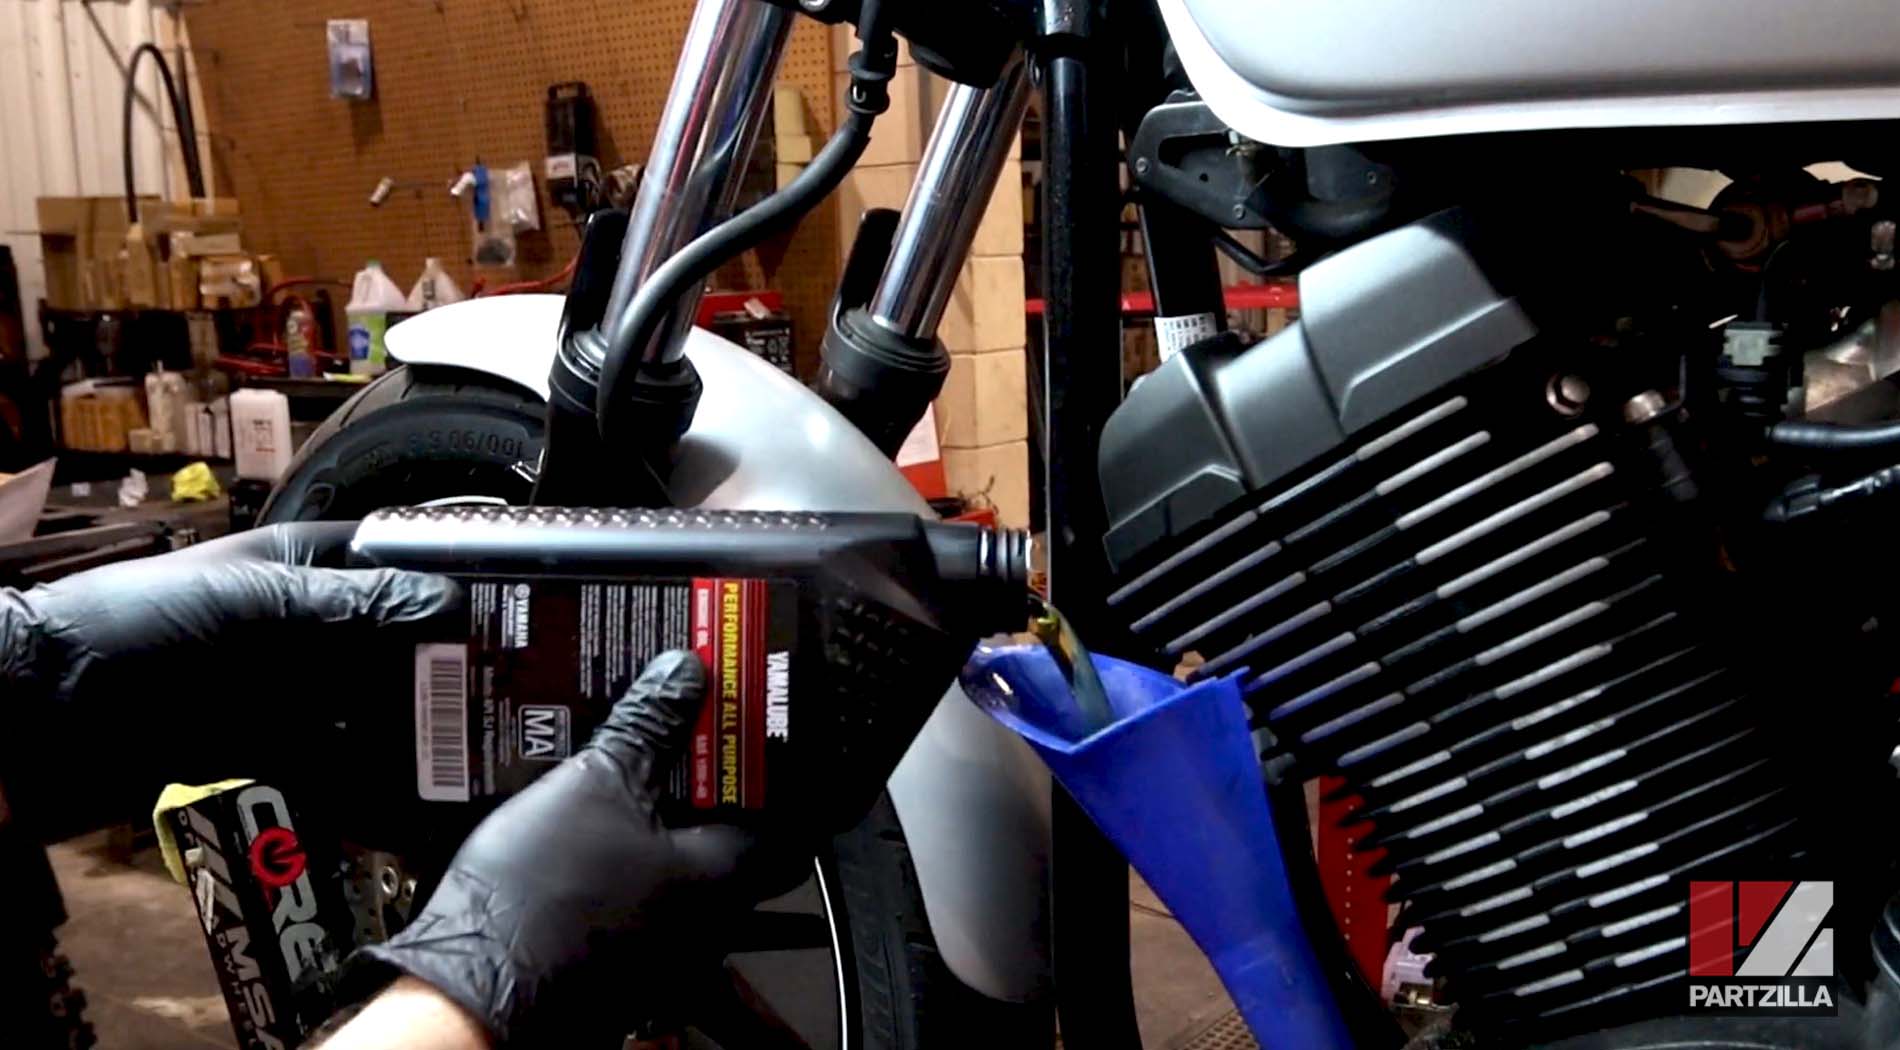
Step 7. Fill up the engine with 4.2 quarts of 10W40 motorcycle oil.
Step 8. Reinstall the dipstick, then run the engine for half a minute to circulate the oil within the motor and shut off the engine.
Step 9. Let the oil settle for a minute, then remove the dipstick, wipe it clean and press it back into the crankcase without screwing it in. Remove the dipstick again and read the oil level, then top off the oil if necessary and reinstall the dipstick.

The steps for a Yamaha motorcycle oil change are the same or similar across all models. However, if you want to see an oil change done on a different model Yamaha bike, watch the video below to see how to change the oil in a Yamaha FJ-09.