Polaris RZR 900XP Cylinder Head Installation
Installing the cylinder head on a Polaris RZR 900XP is one of the easier stages of rebuilding its motor. The installation needs to be done carefully to avoid damaging the Polaris side-by-side engine.
Watch the video above or follow the steps below to install the cylinder head on a Polaris RZR 900XP.
See the parts diagrams: 2012 Polaris RZR 900XP parts
Tools and Parts - Polaris RZR Cylinder Head Install
- Ratchet and extensions
- 8mm,14mm sockets
- 5mm, 10mm Allens
- Soft blow mallet
- Torque wrench
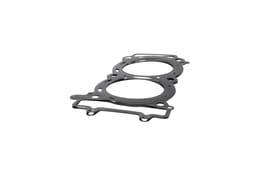
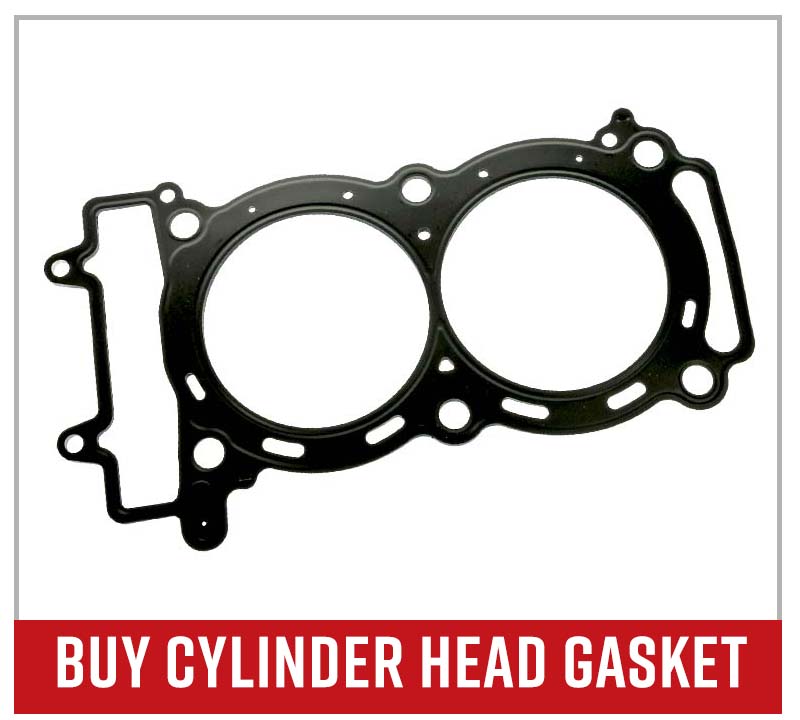
- Head gasket
- Brake/contact cleaner

How to Install Polaris RZR 900XP Cylinder Head
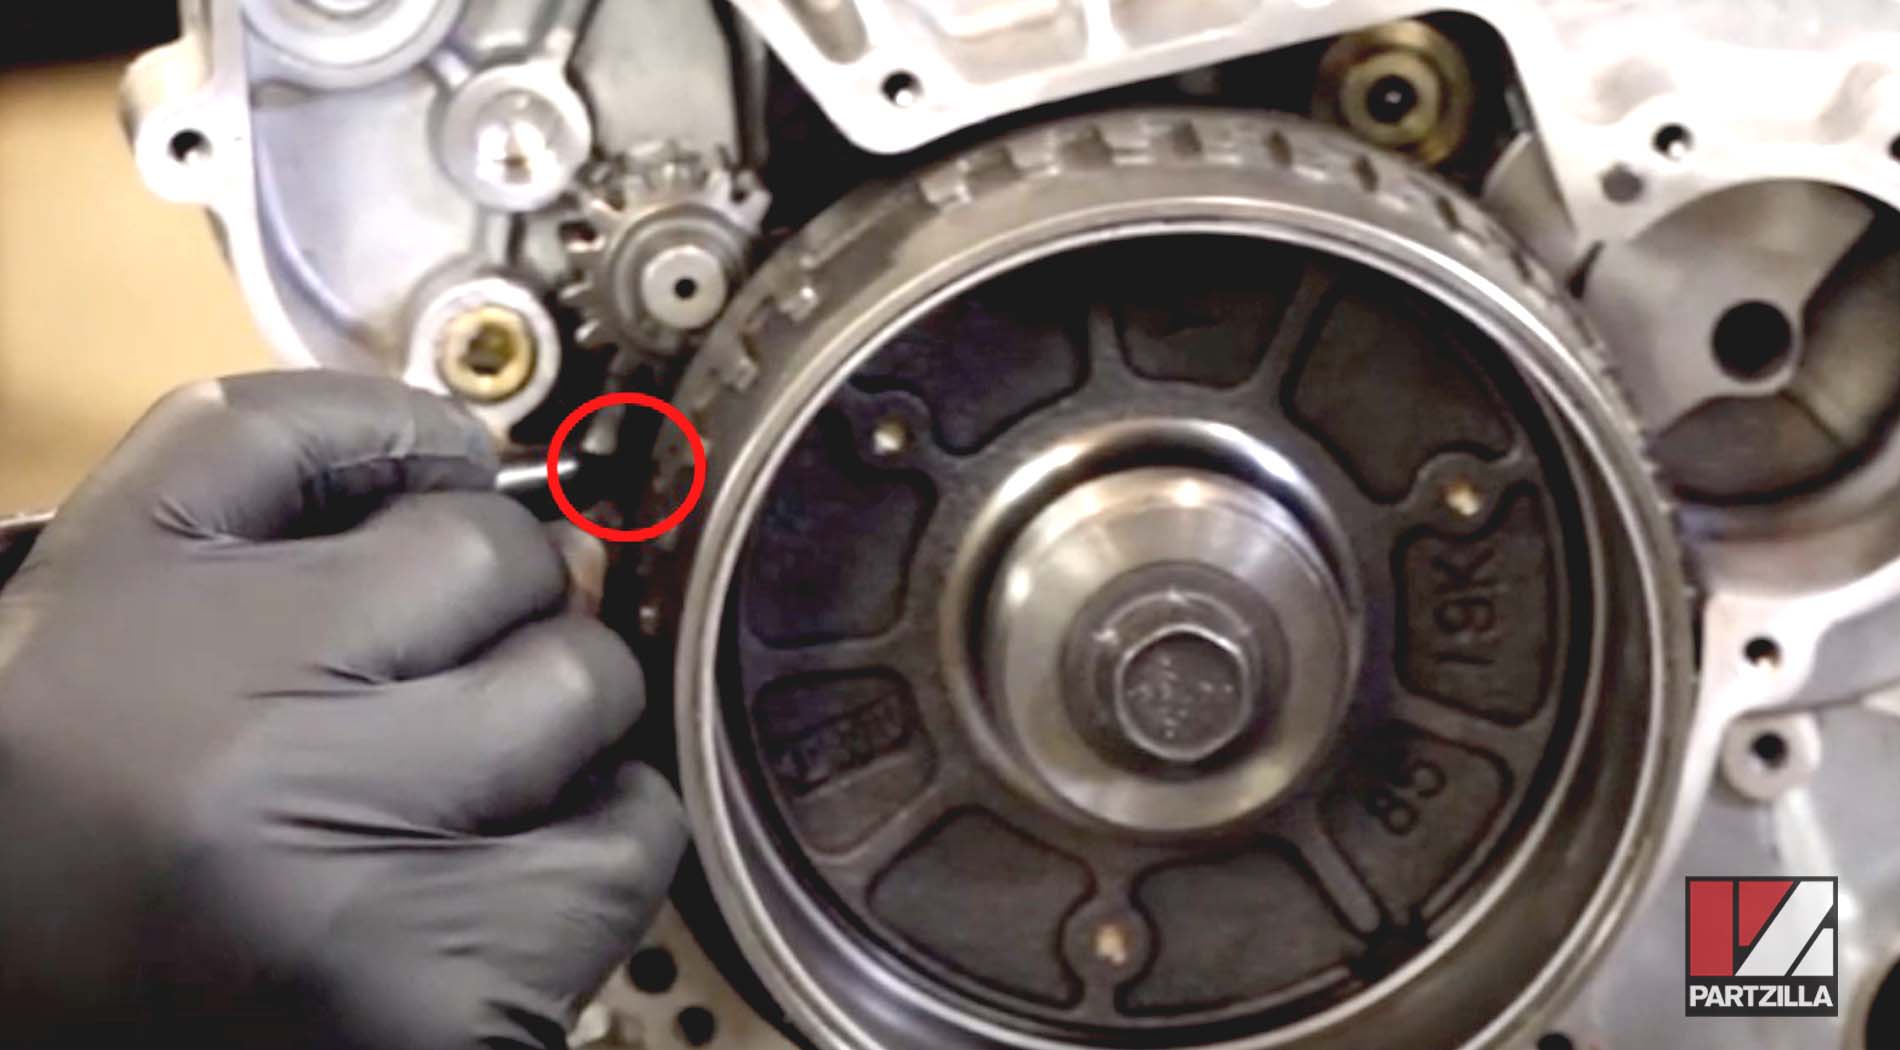
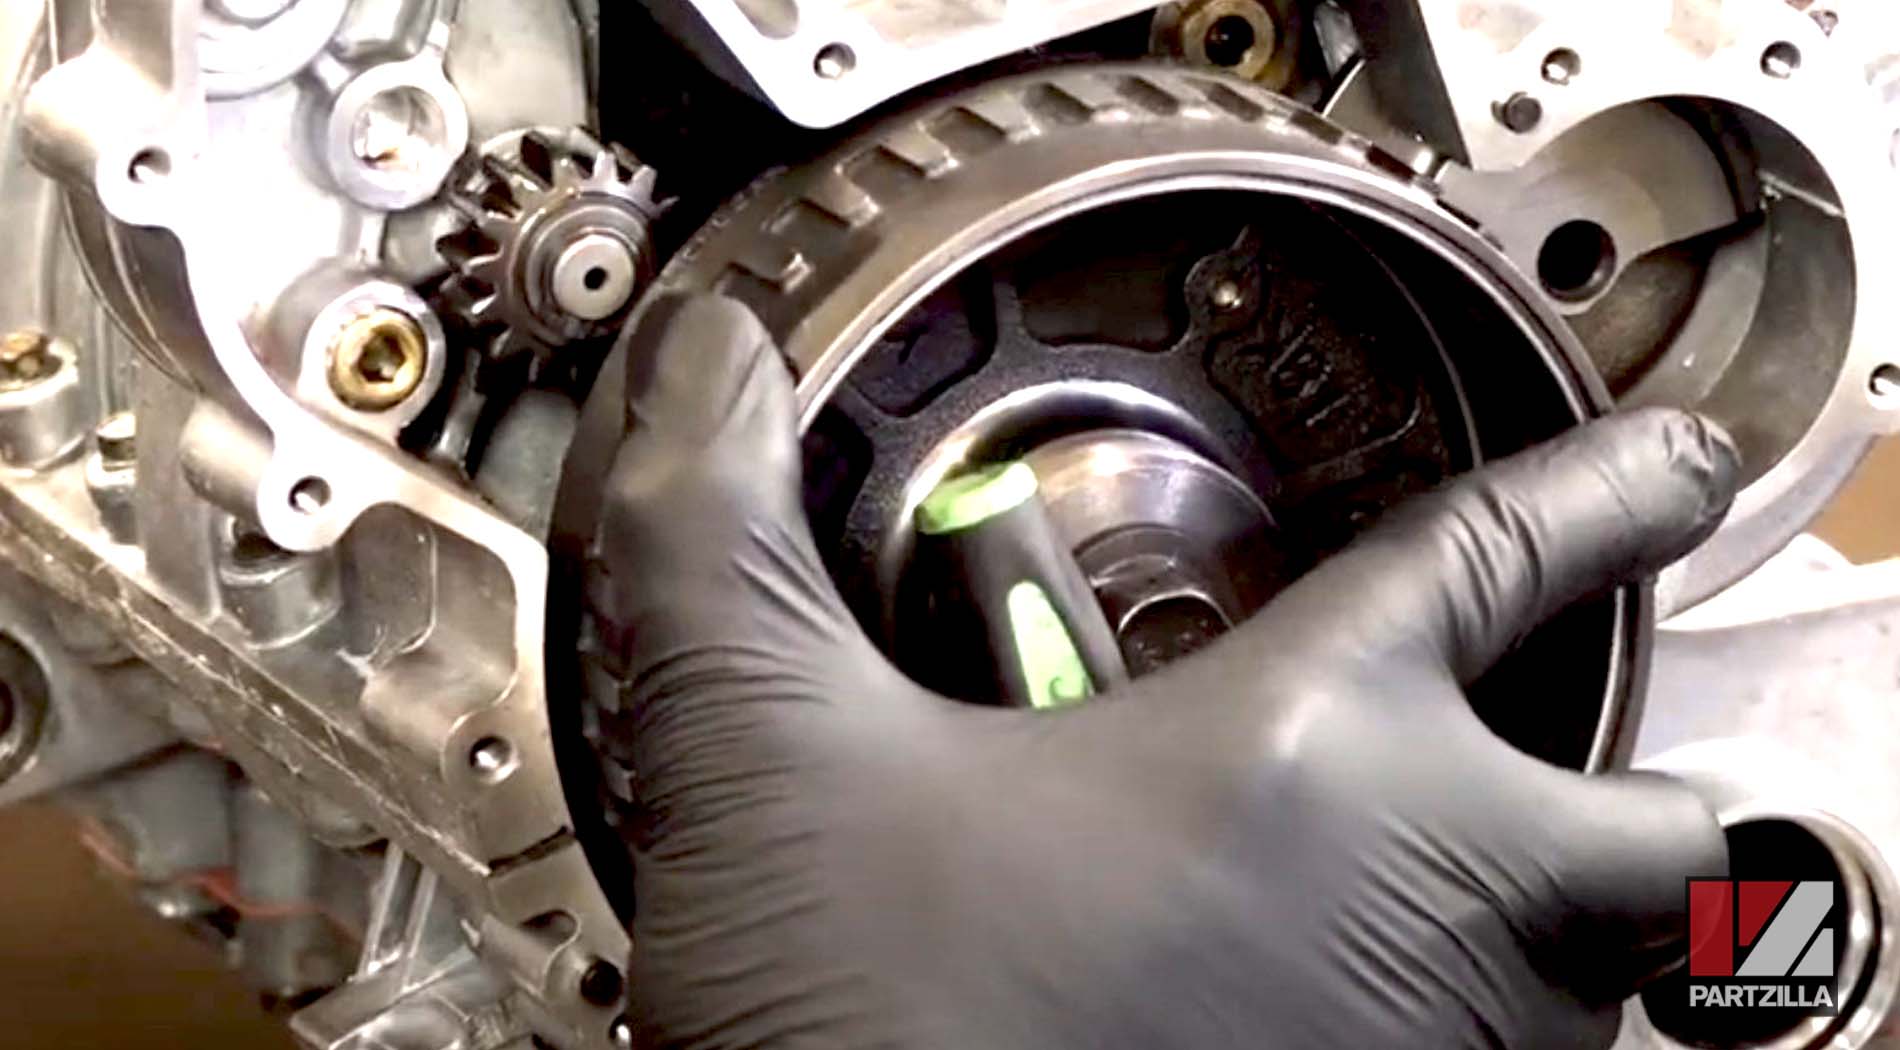
Step 1. Set the engine to top dead center. To do this, bring the crankshaft around until the mark on the flywheel aligns with the point where the two halves of the crankcase meet.

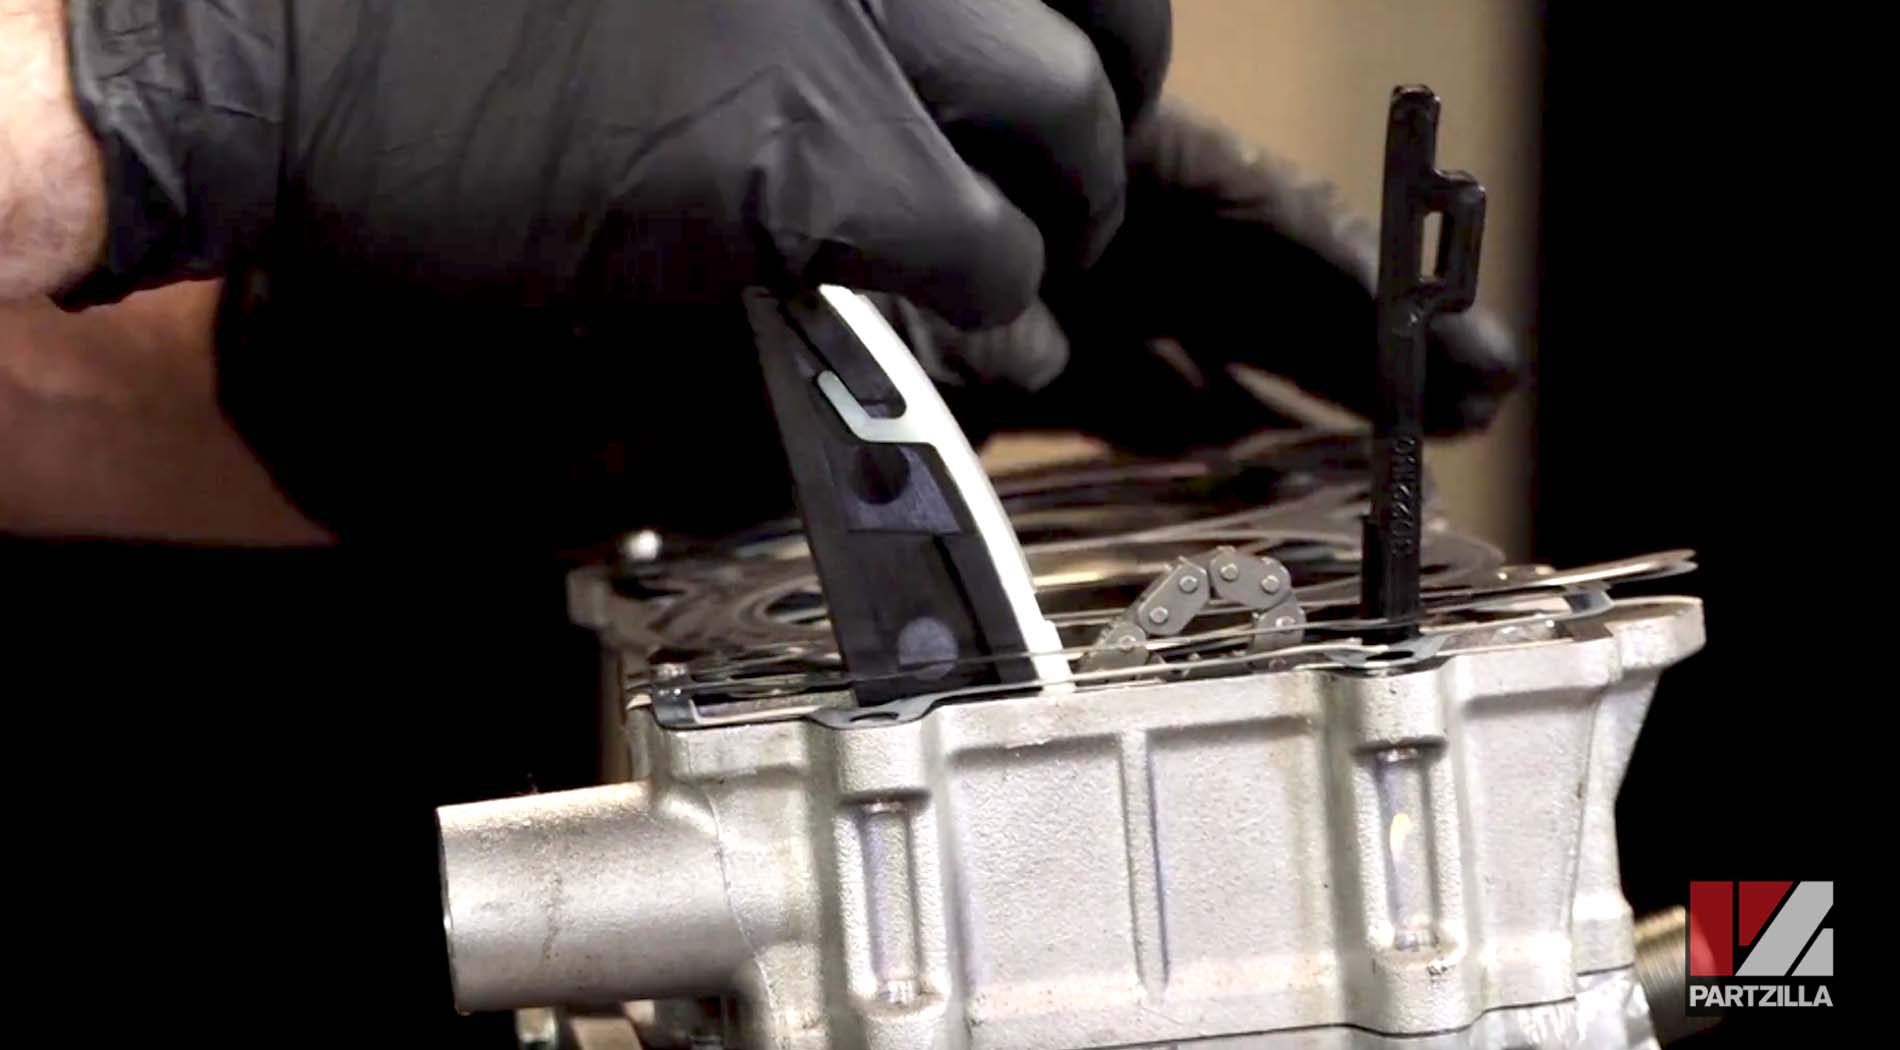
Step 2. Install a new head gasket. Use brake/contact cleaner to make sure the face of the cylinder block is completely clean and all the debris from the old head gasket is removed. Handle the new cylinder head gasket by the edges to keep it as clean and flat as possible.
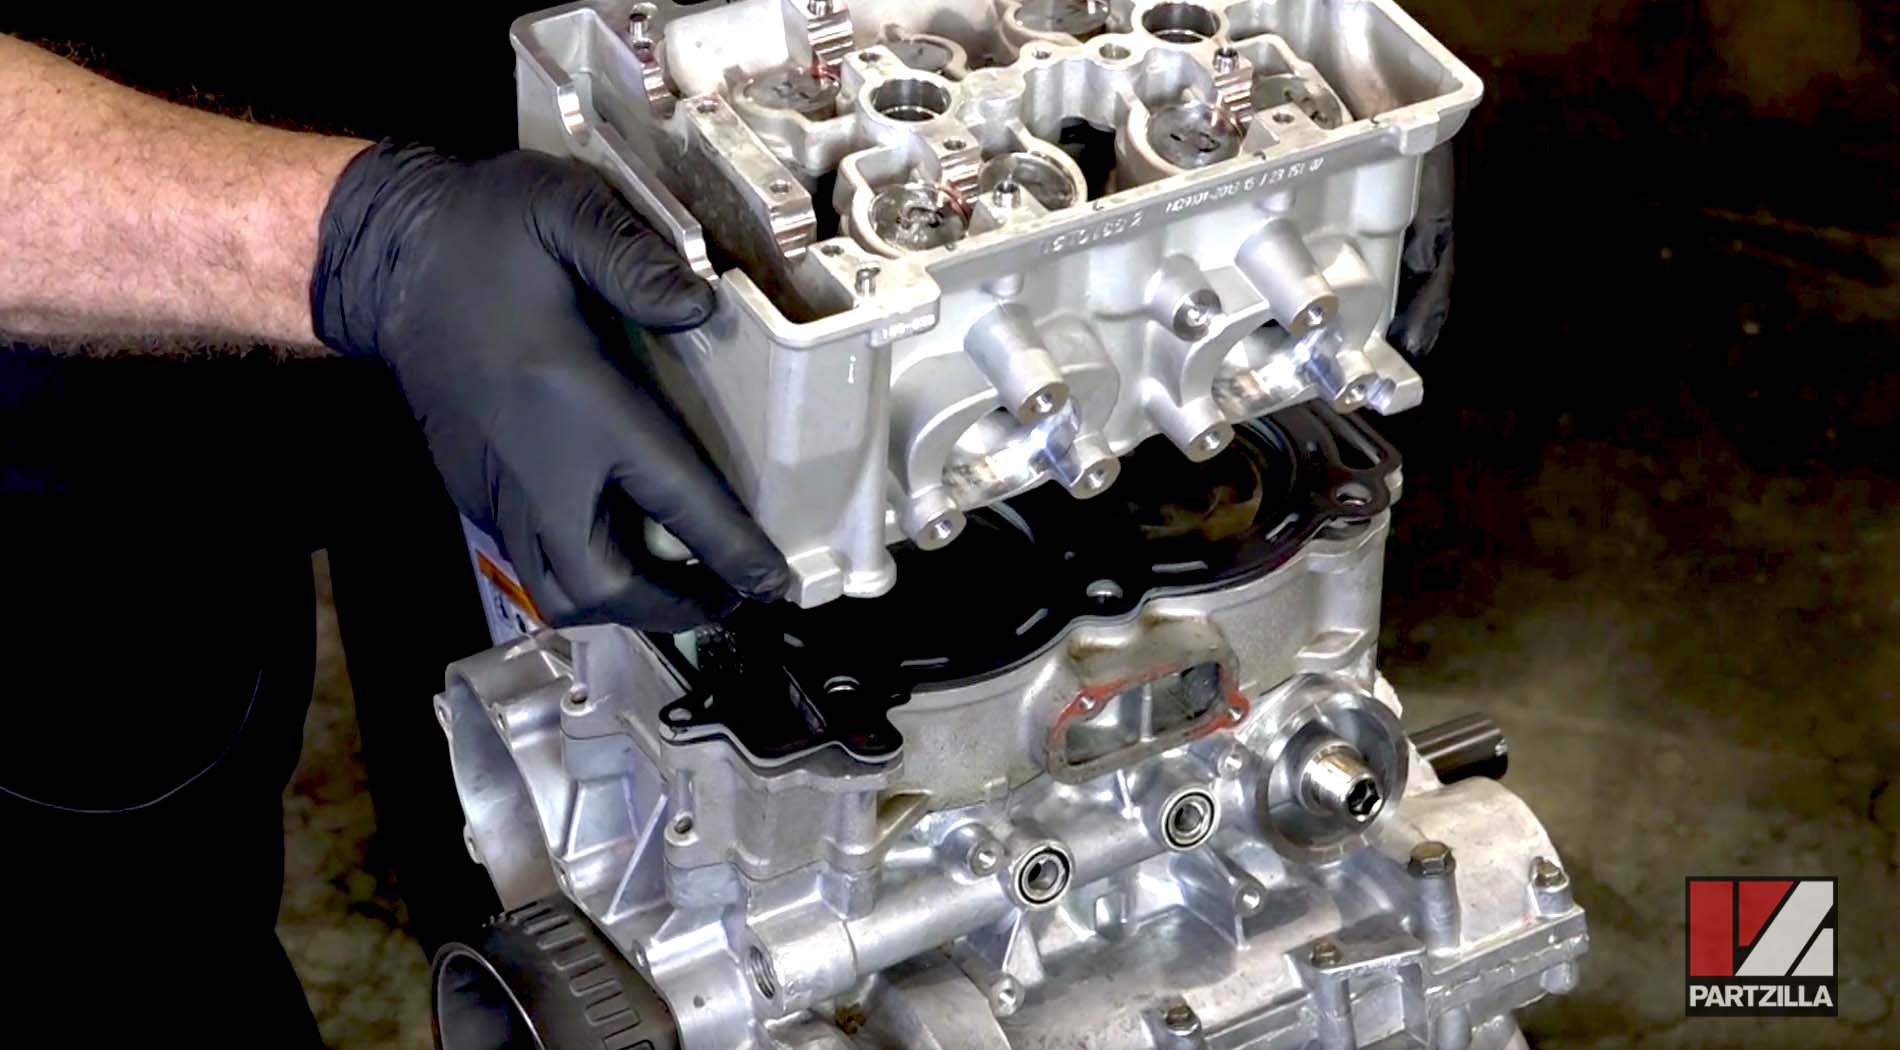
Step 3. Install the cylinder head by setting it onto the cylinder block and tapping it down gently with a soft blow mallet.
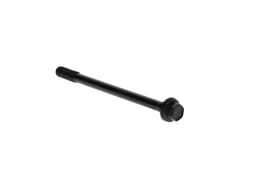
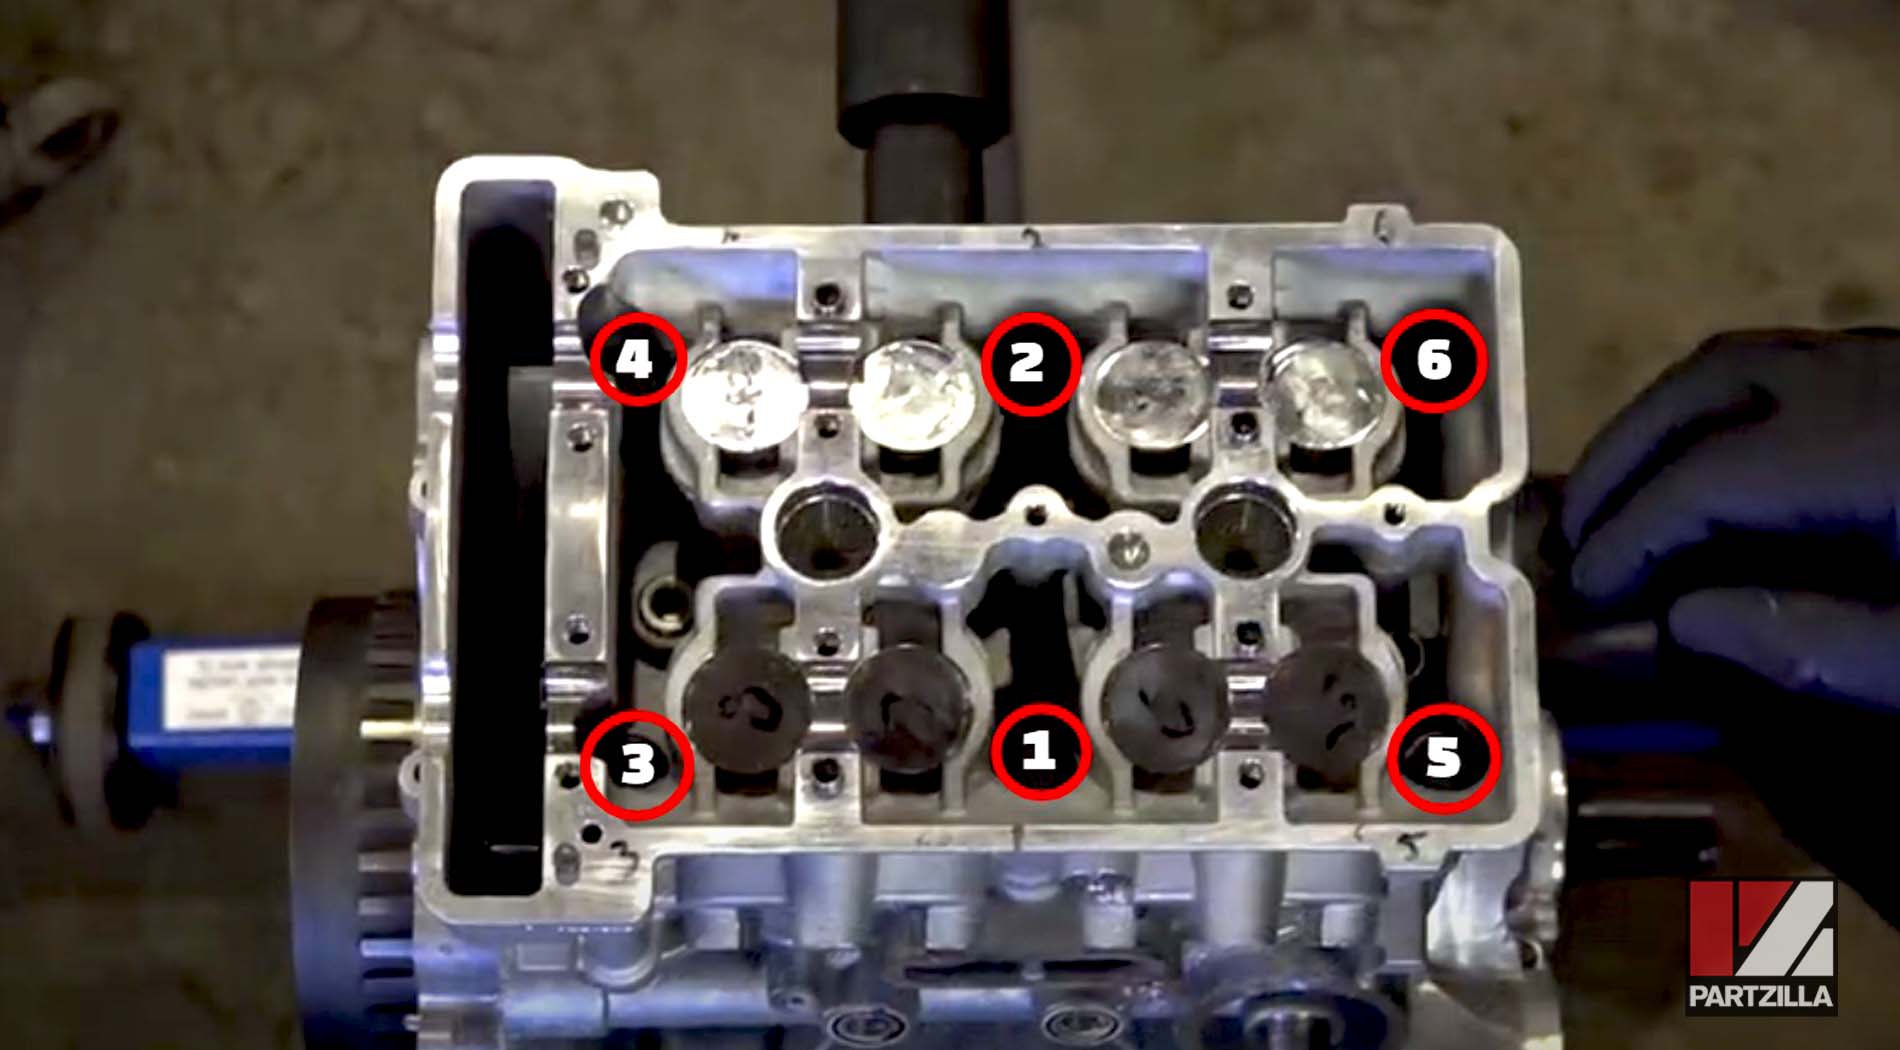
Step 4. Install the cylinder head bolts. All six cylinder bolts must be tightened in a specific sequence to keep an even pressure on and avoid causing any damage to the cylinder head as it's installed.
- Finger-tighten the cylinder head bolts first.
- Following the sequence below, torque each cylinder head bolt to 21 foot-pounds.
- Following the same sequence again, further torque each cylinder head bolt to 26 foot-pounds.
- Following the same sequence one last time, tighten each cylinder head bolt by an additional 180 degrees (half a turn).
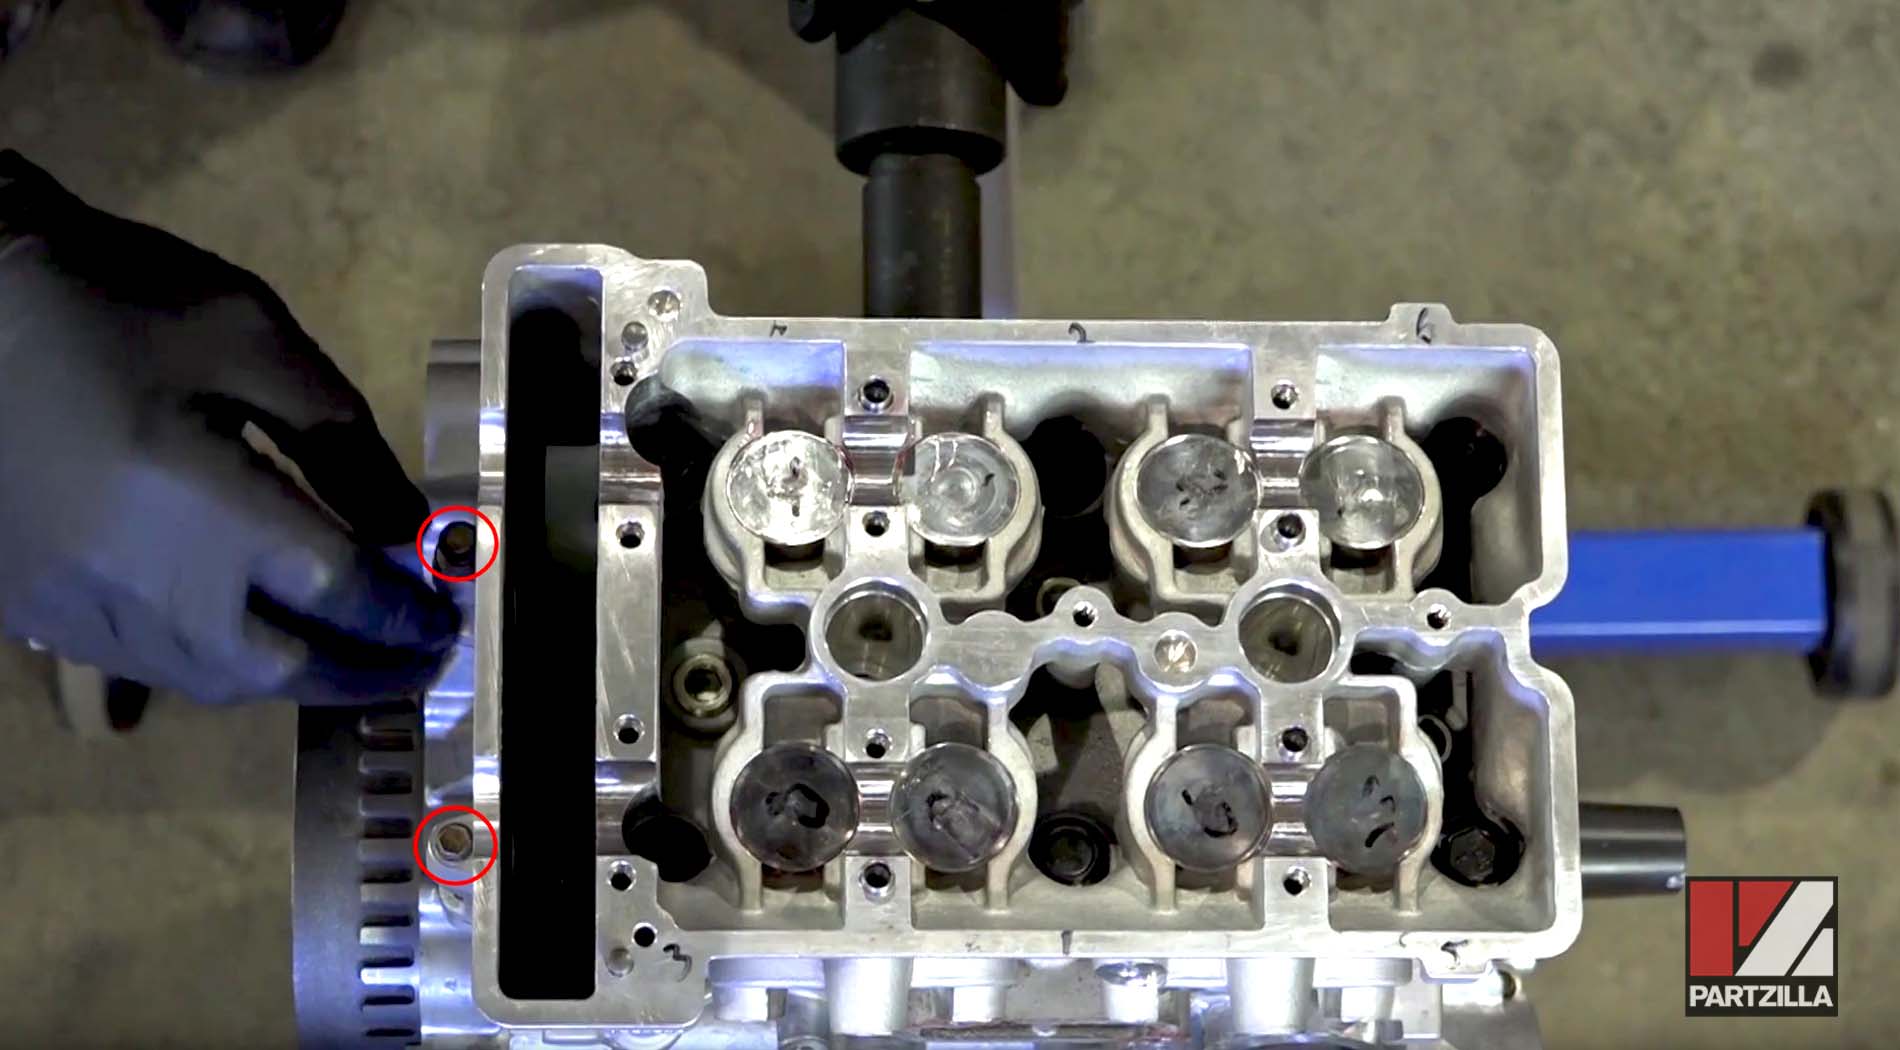
Step 5. Install the two bolts on the cylinder head beside the cam timing chain housing. Torque each bolt to 89 inch-pounds and your Polaris RZR 900XP cylinder head installation is all done!
Watch the video below to see how to remove the cylinder head from a Polaris RZR 900.