Troubleshooting Polaris RZR 900S Charging Problems
Losing electrical power on your Polaris side-by-side is no fun, but a little troubleshooting might solve the problem. There are a few simple ways to troubleshoot Polaris UTV charging problems.
Watch the video above or read on below to learn how to troubleshoot charging system problems with a Polaris RZR 900 side-by-side.
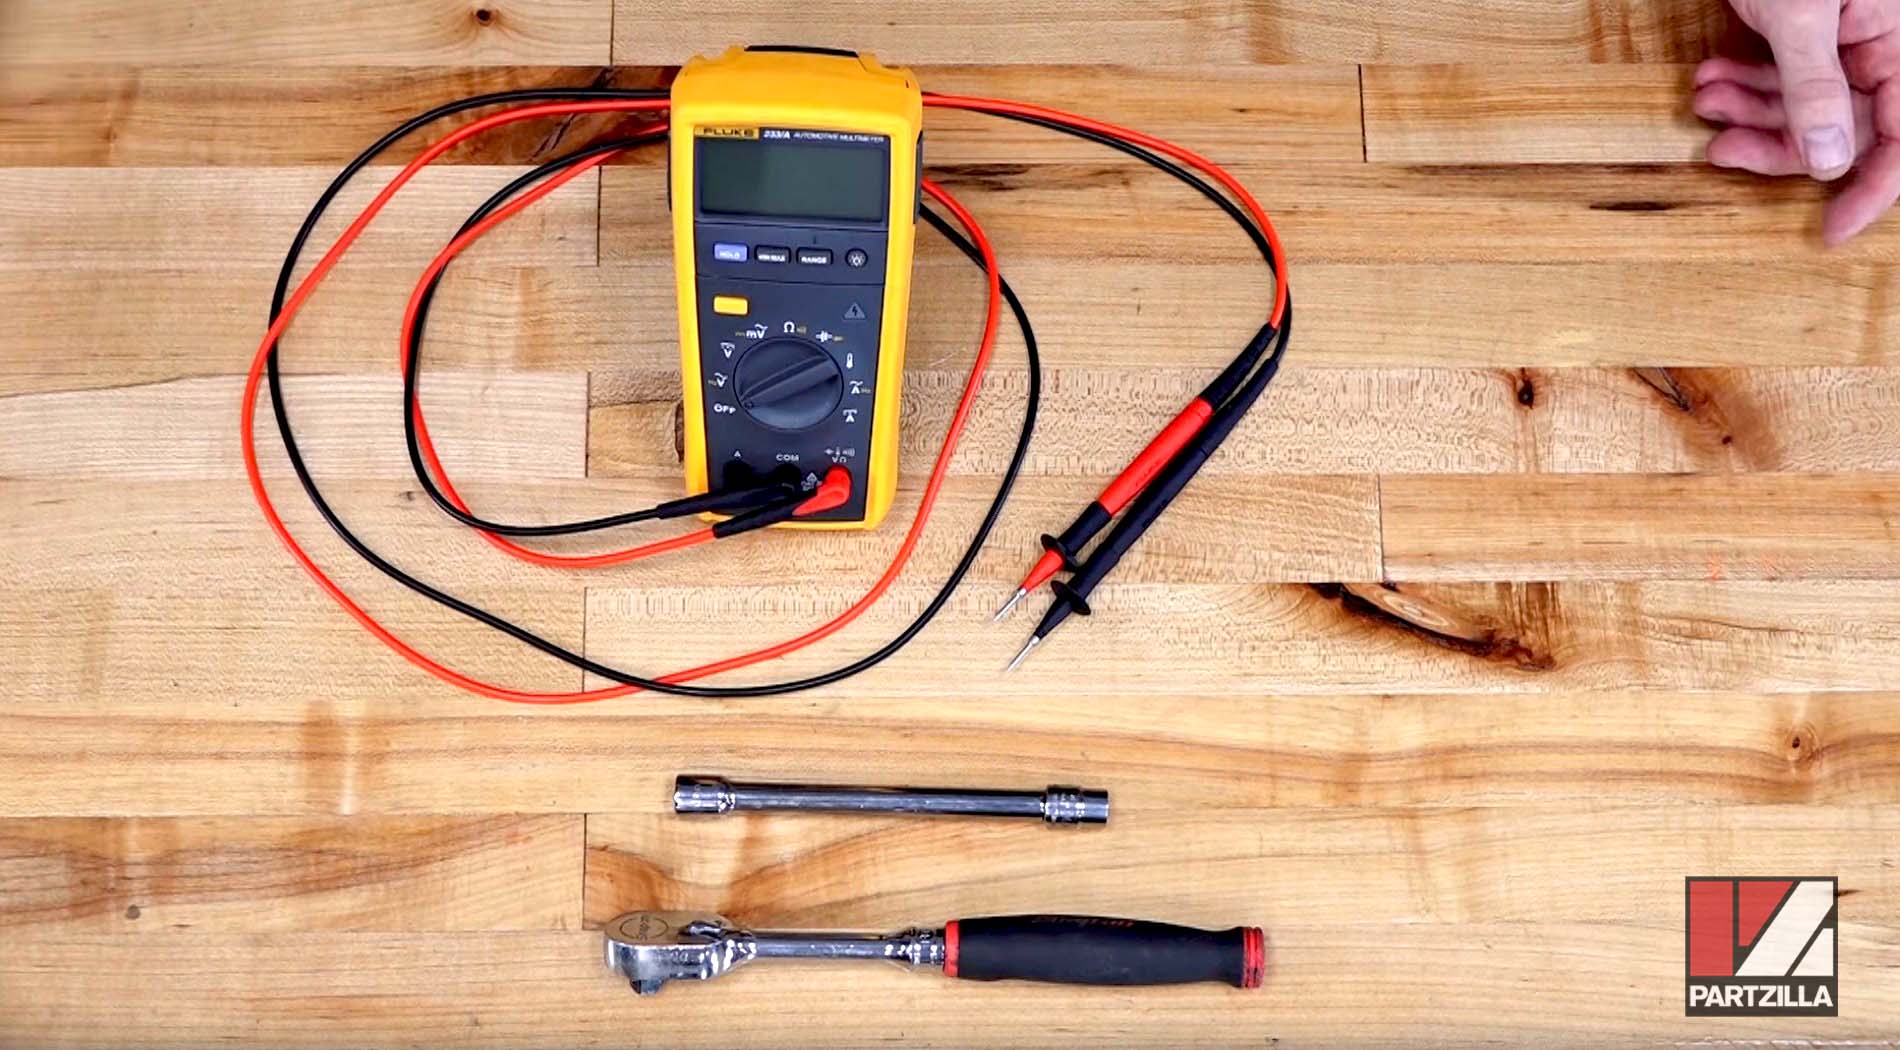
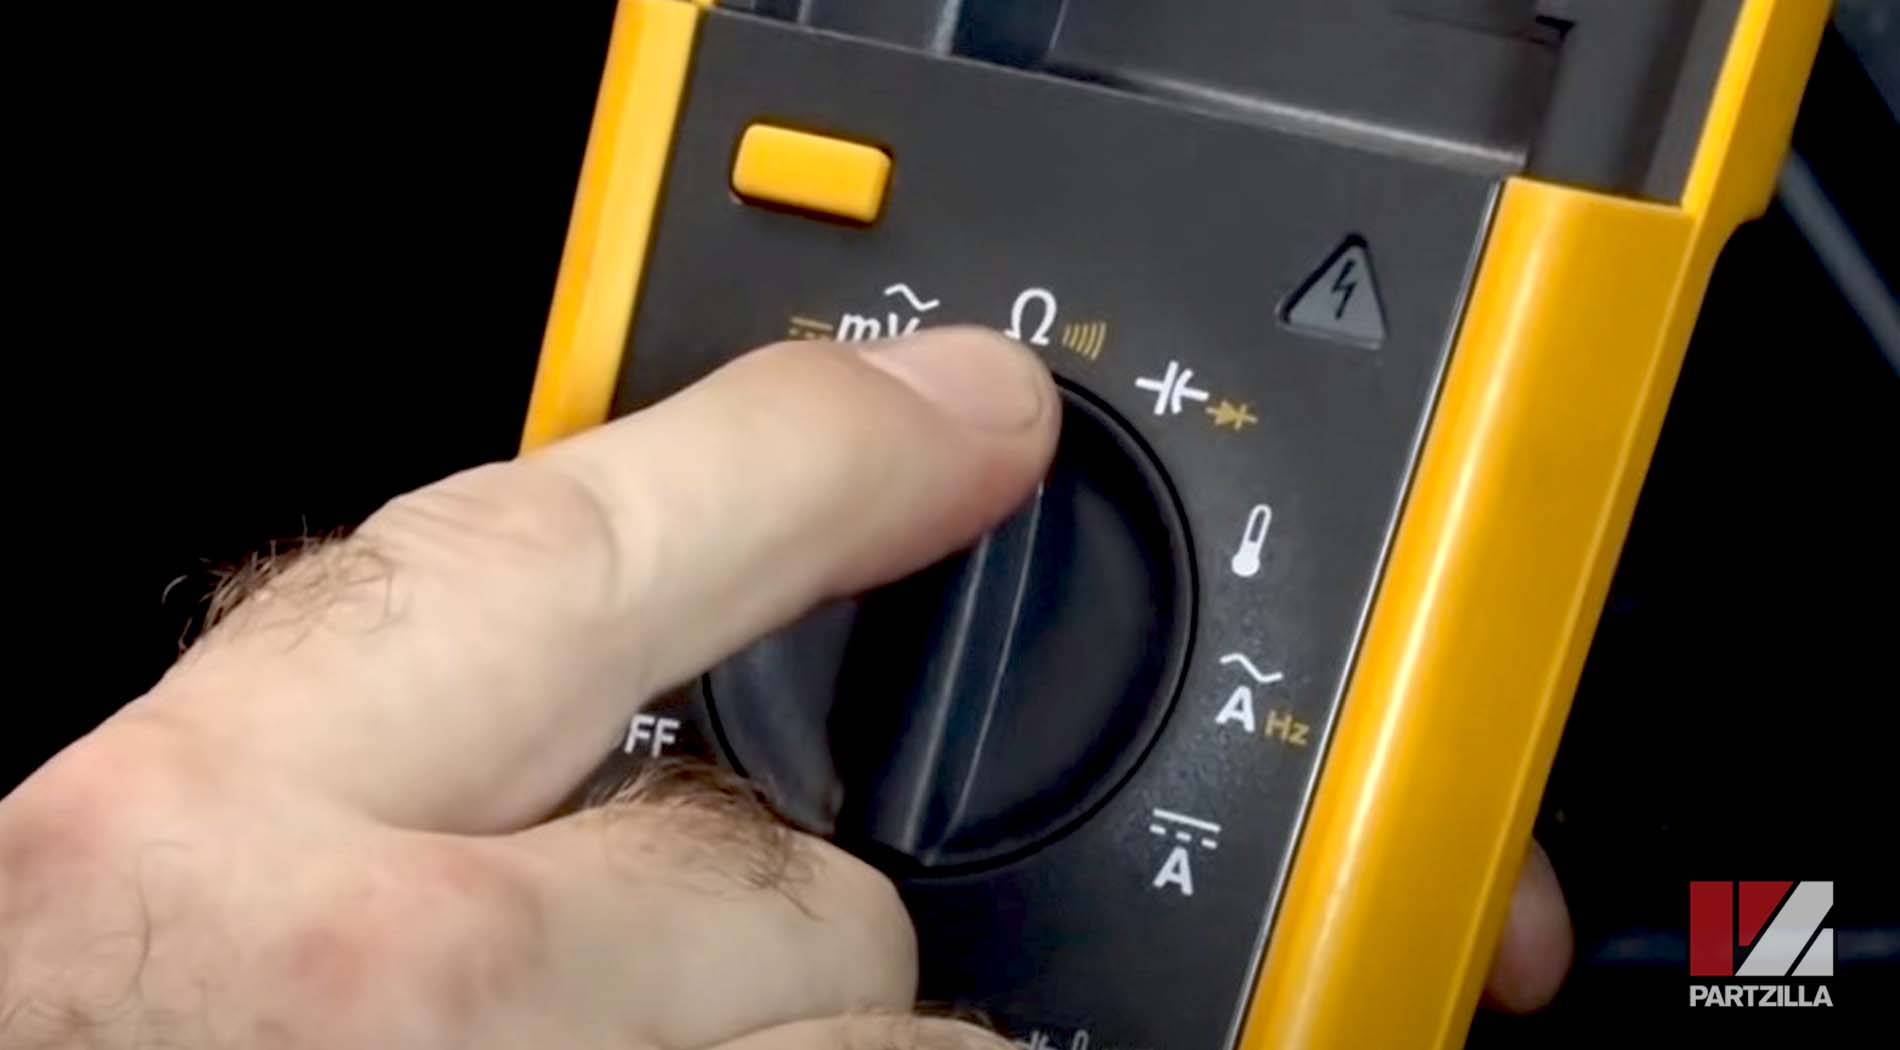
Troubleshooting electrical problems in your Polaris RZR requires a digital multimeter. If you don't already own a multimeter, get one as soon as possible. It's an invaluable tool that you'll use for many different jobs, including diagnosing your RZR 900's charging problems.
PRO TIP: Always keep a digital multimeter handy as part of your side-by-side's onboard tool kit.

Troubleshooting Polaris RZR Charging Problem: Battery Test
The battery is the power source for all the electrical components on your RZR, including the ignition system. There are two types of tests you can run to see if the charging issues lie within the battery.
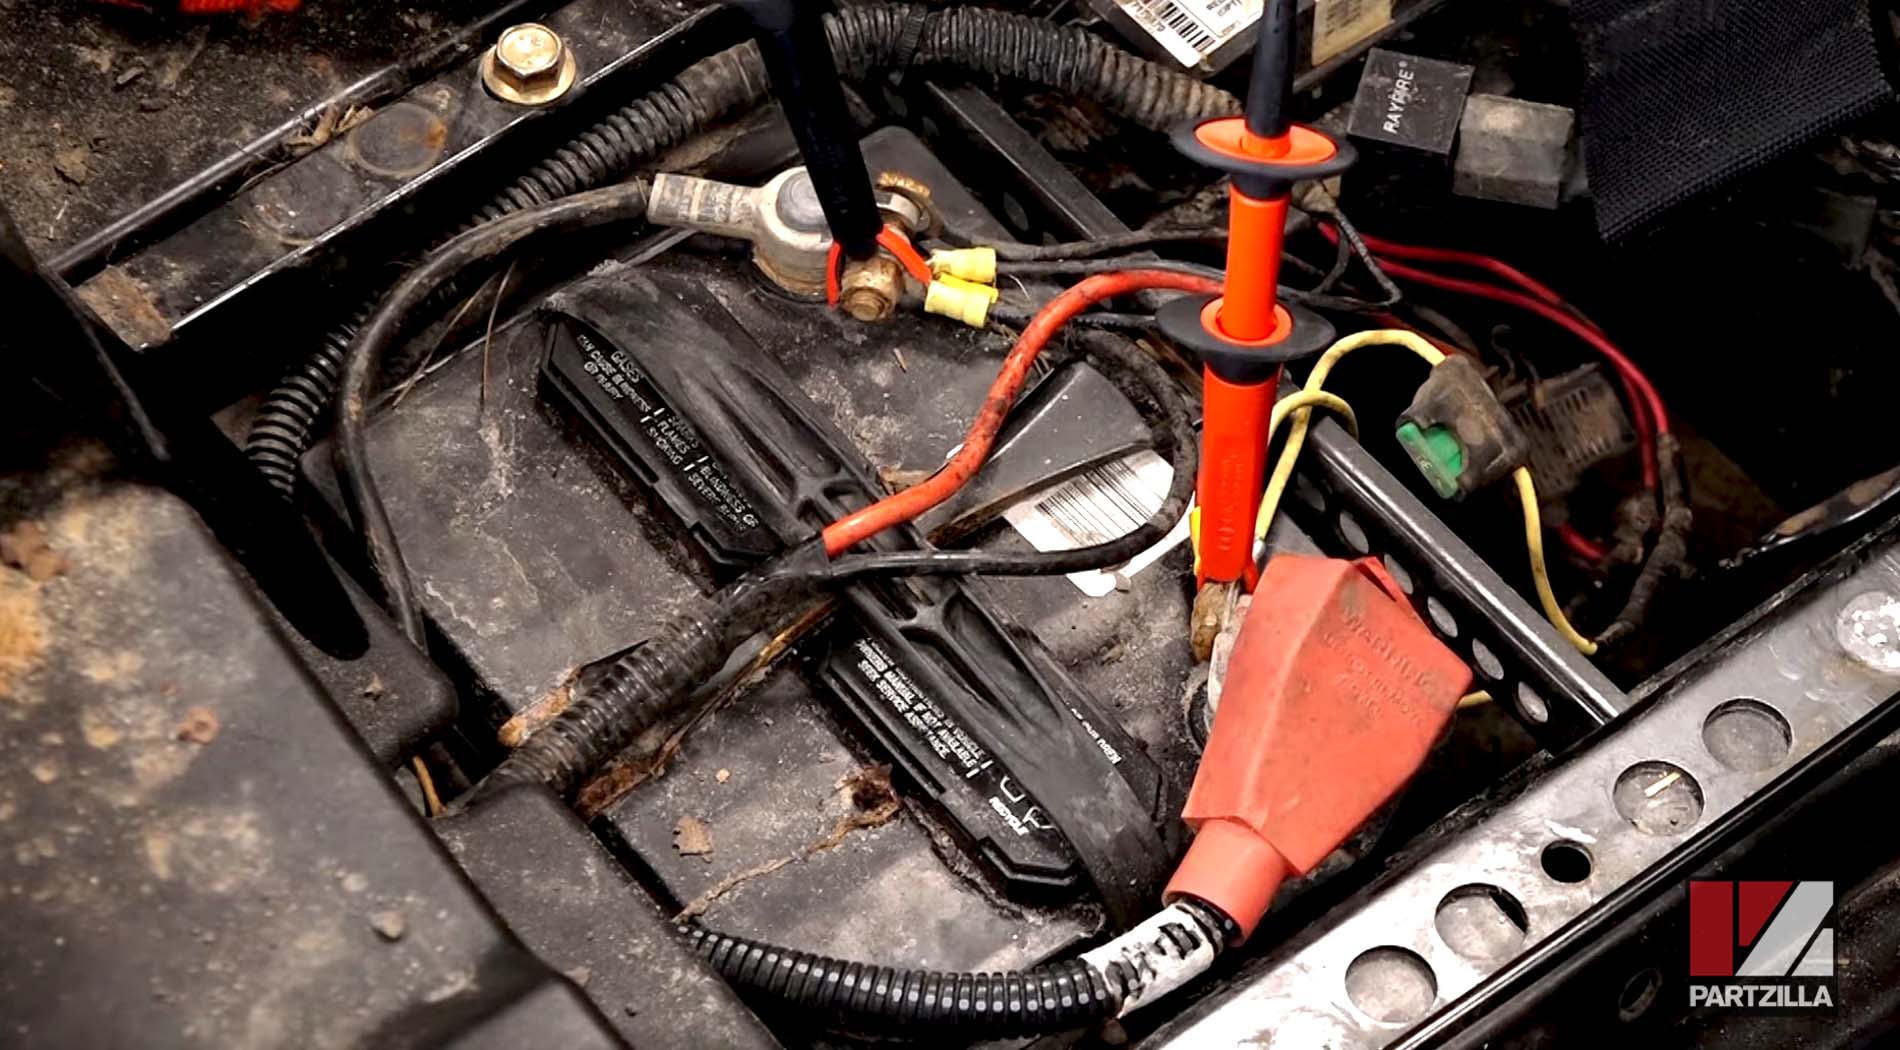
Static Battery Test
Lift out the driver's seat, and test the battery's voltage with the ignition off. A healthy battery will have a minimum of 12-12.5 volts in static conditions.

Operating Battery Test
Test the battery's voltage with the ignition on and the motor running. The battery's voltage should increase to about 13.5-14 volts with the engine idling. If the voltage drops or remains the same as it was during the static test, the battery isn't receiving the correct charge. In that case, it's time to test the stator.
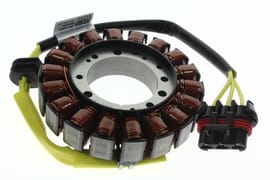
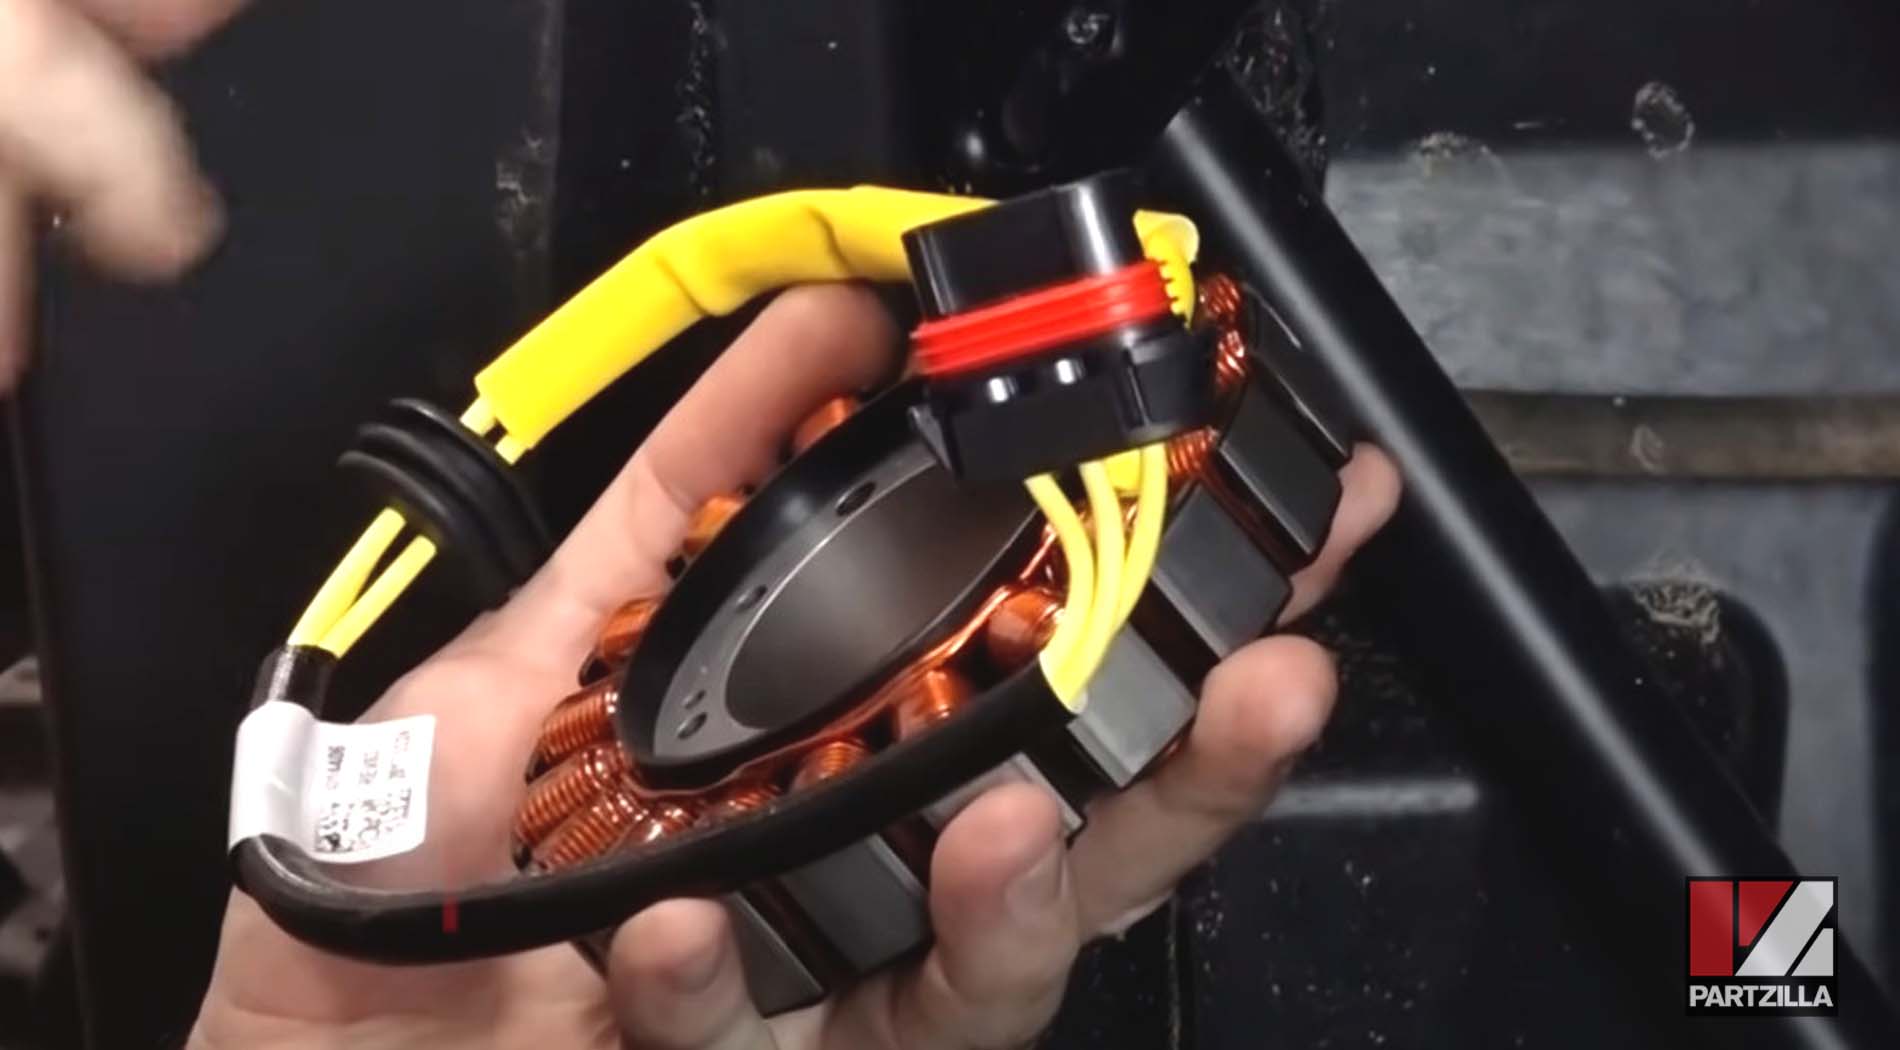
Troubleshooting Polaris RZR Charging Problem: Stator Test
The stator generates the electrical current your Polaris RZR relies on to charge the battery. Electricity is generated as AC voltage, and sent directly to the regulator/rectifier.
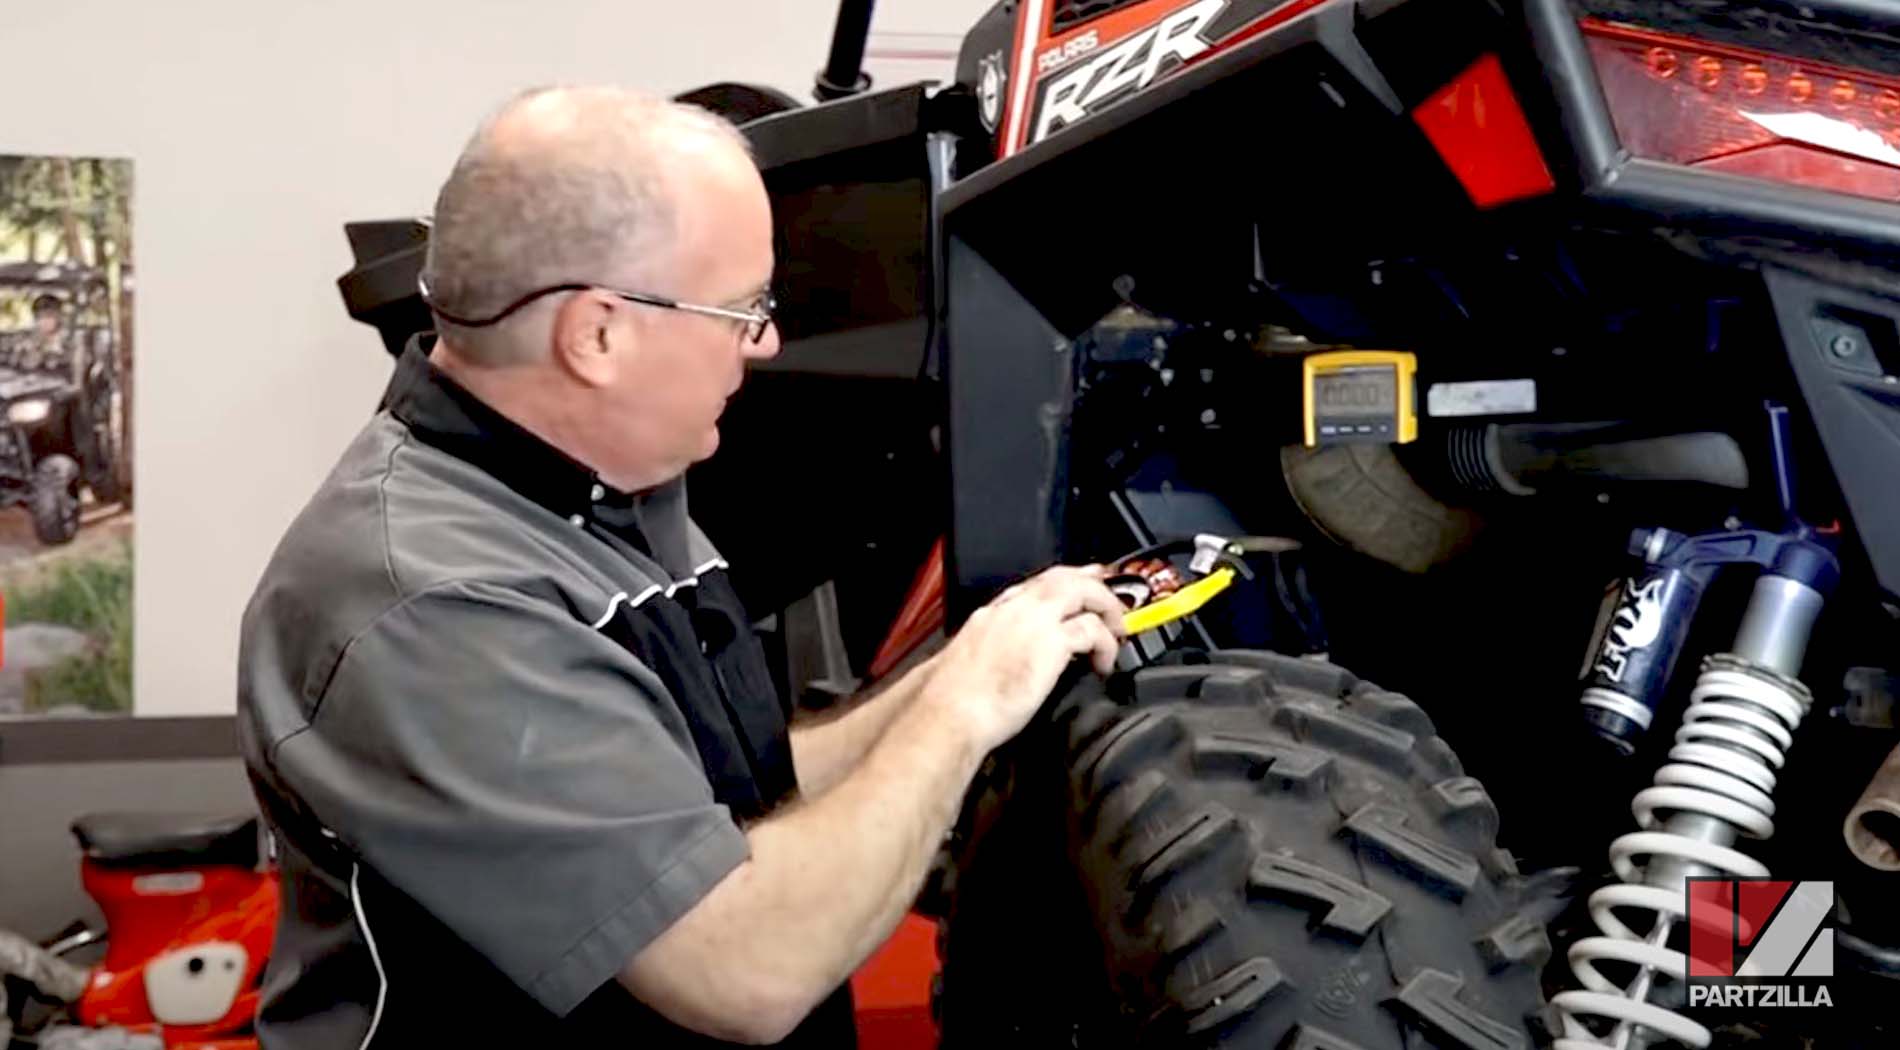
There are two types of tests you should run to see if your electrical problems lie with the stator on your Polaris RZR 900S.
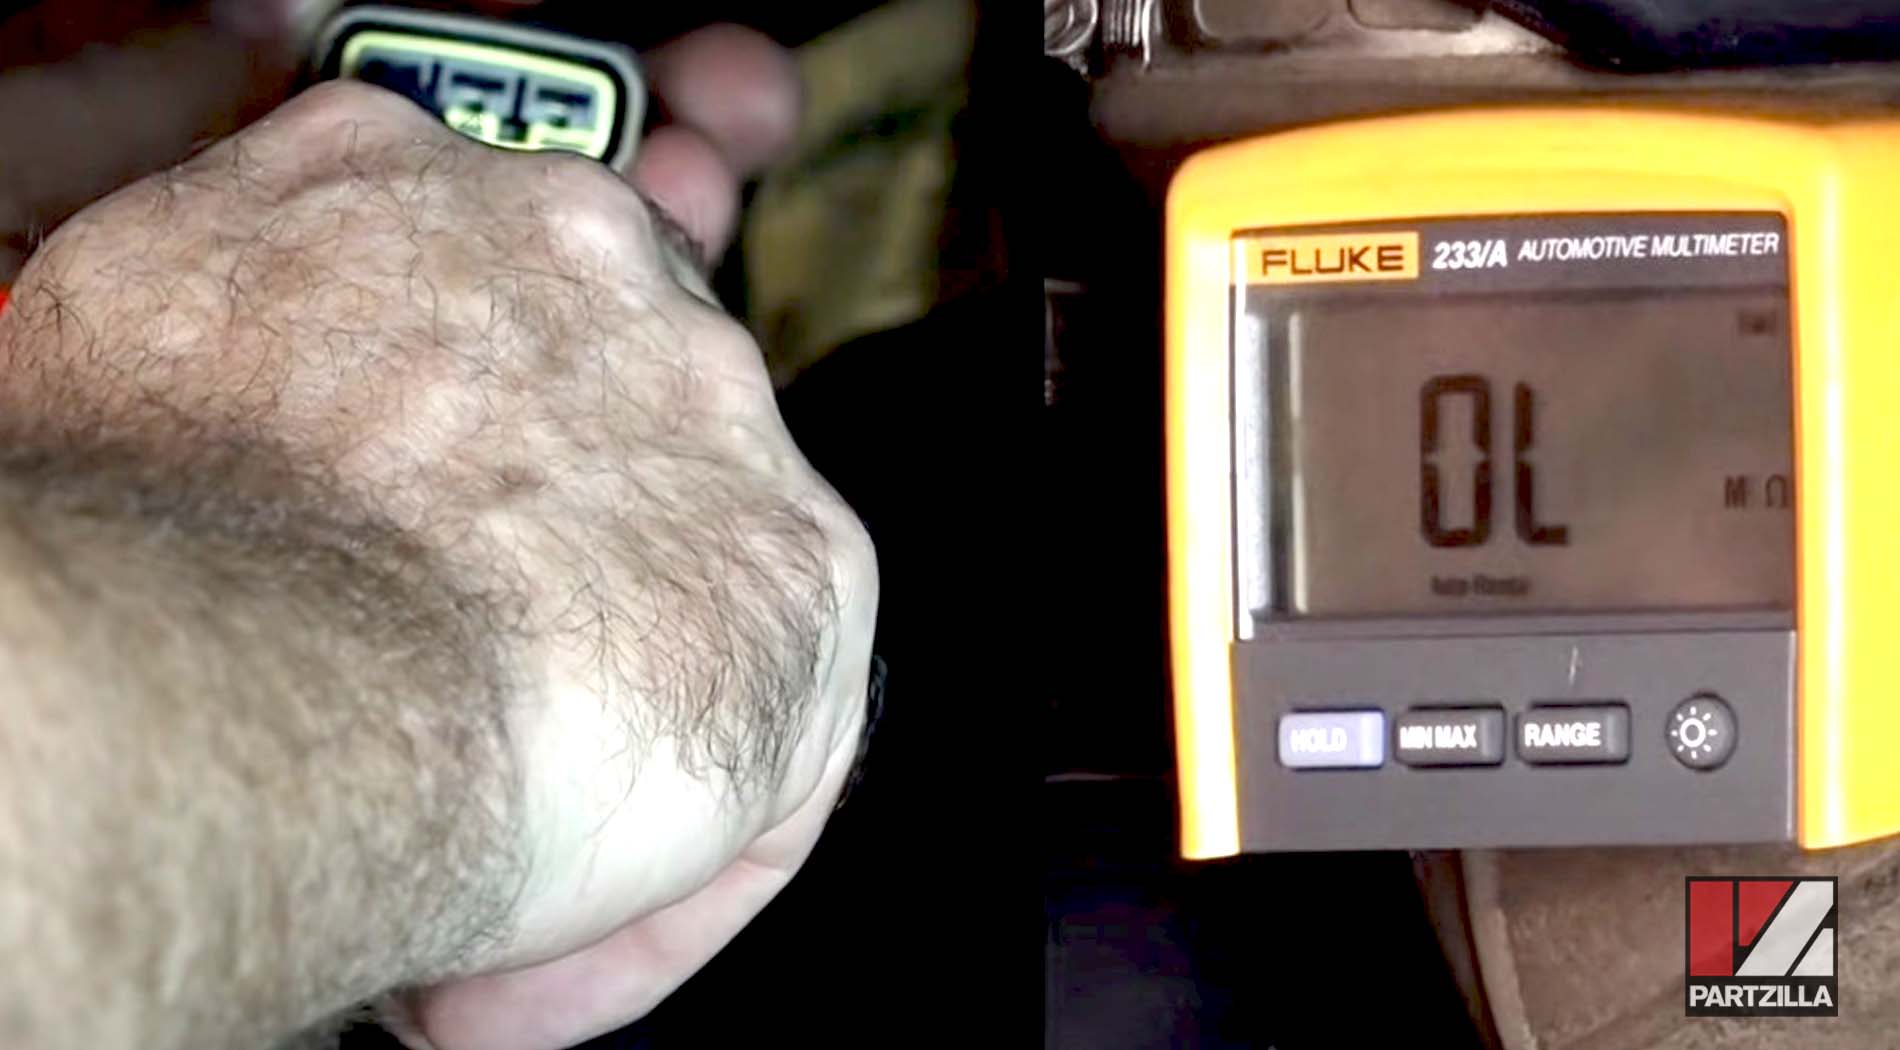
Measure Stator Grounding
Unplug the stator's electrical connector from the regulator/rectifier, and test its resistance to ground. With your multimeter set to resistance (ohms), connect one end to a ground supply and the other end to each of the three terminals in the stator's electrical connector. If the resistance increases, it's an indication the stator has shorted out to ground somewhere. However, if the reading remains at 0 ohms, it's time to test the stator's AC voltage.

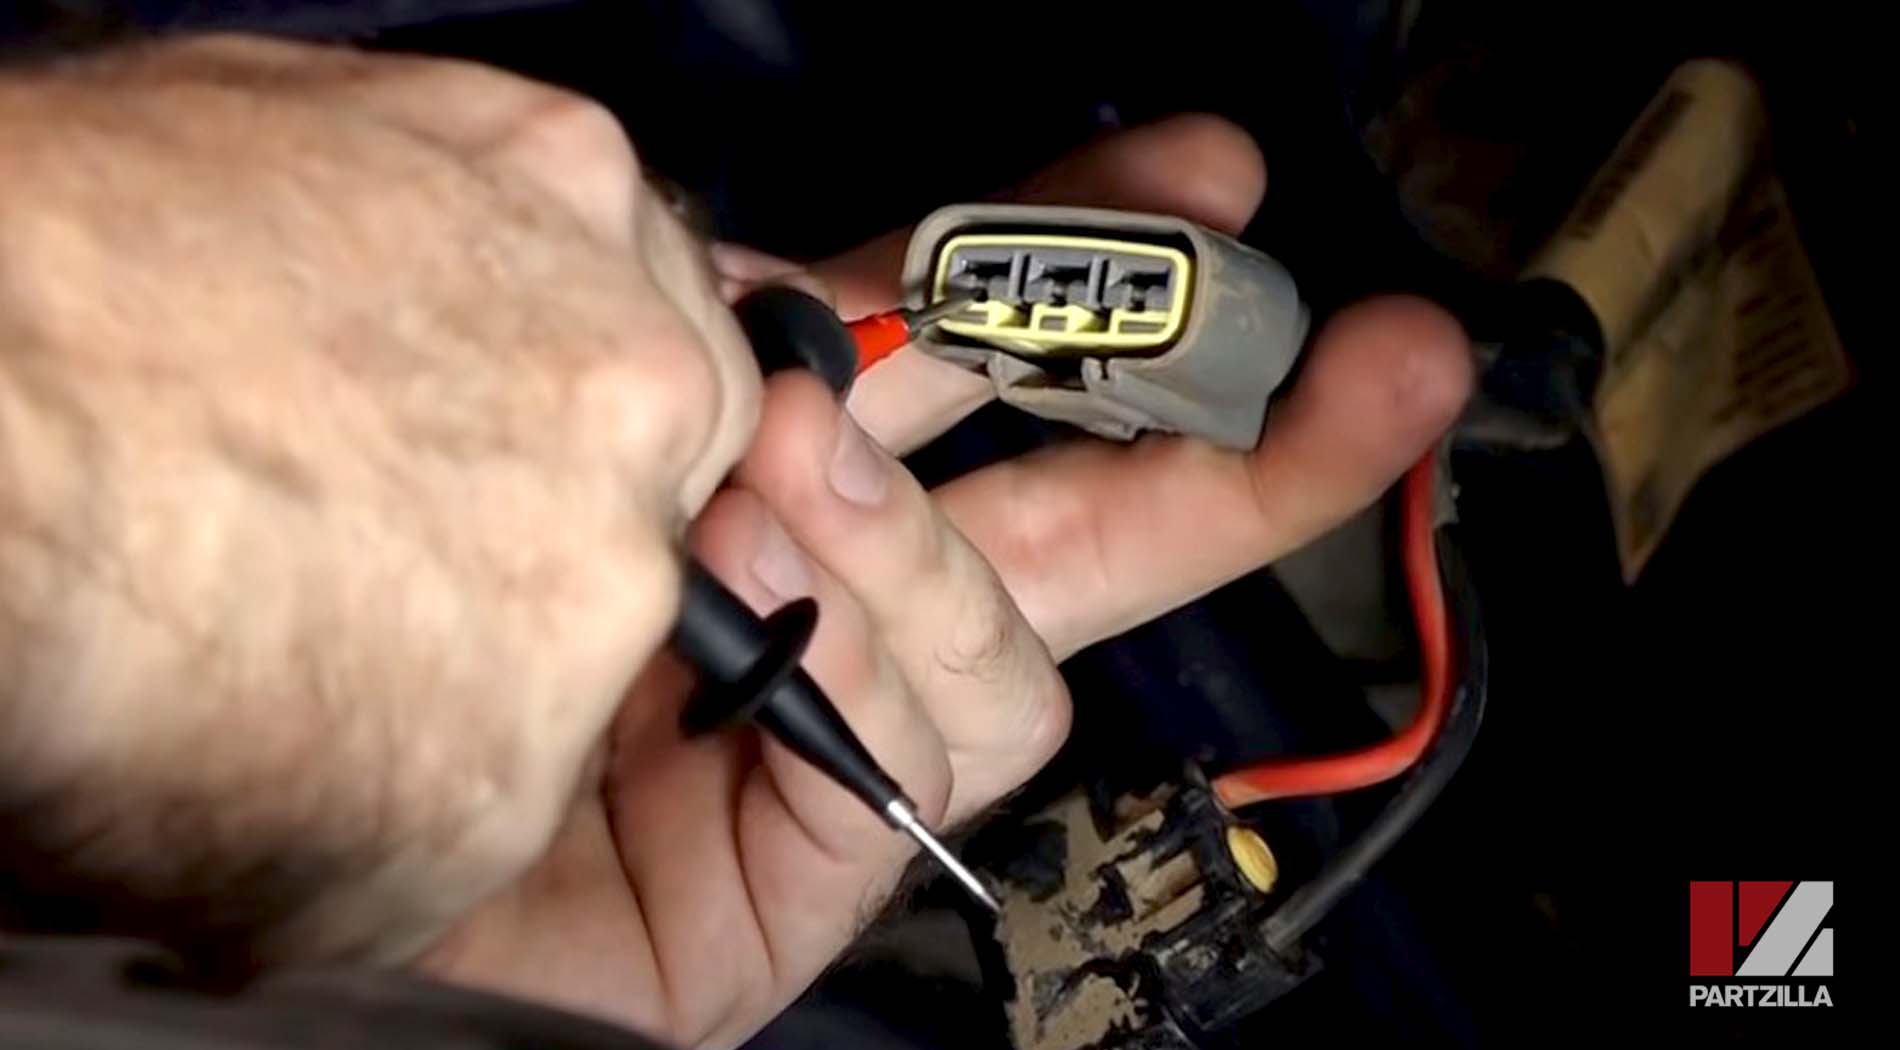
Measure Stator AC Voltage
Set your multimeter to AC volts, and measure between all three terminals in the stator's electrical connector: 1 and 2; 1 and 3; 2 and 3. With the ignition off, there should be no reading between the terminals. However, with the ignition on and the engine idling, there should be a reading of about 20 volts between the terminals. With the ignition on and the engine RPM increasing, the voltage reading should also increase between the terminals.

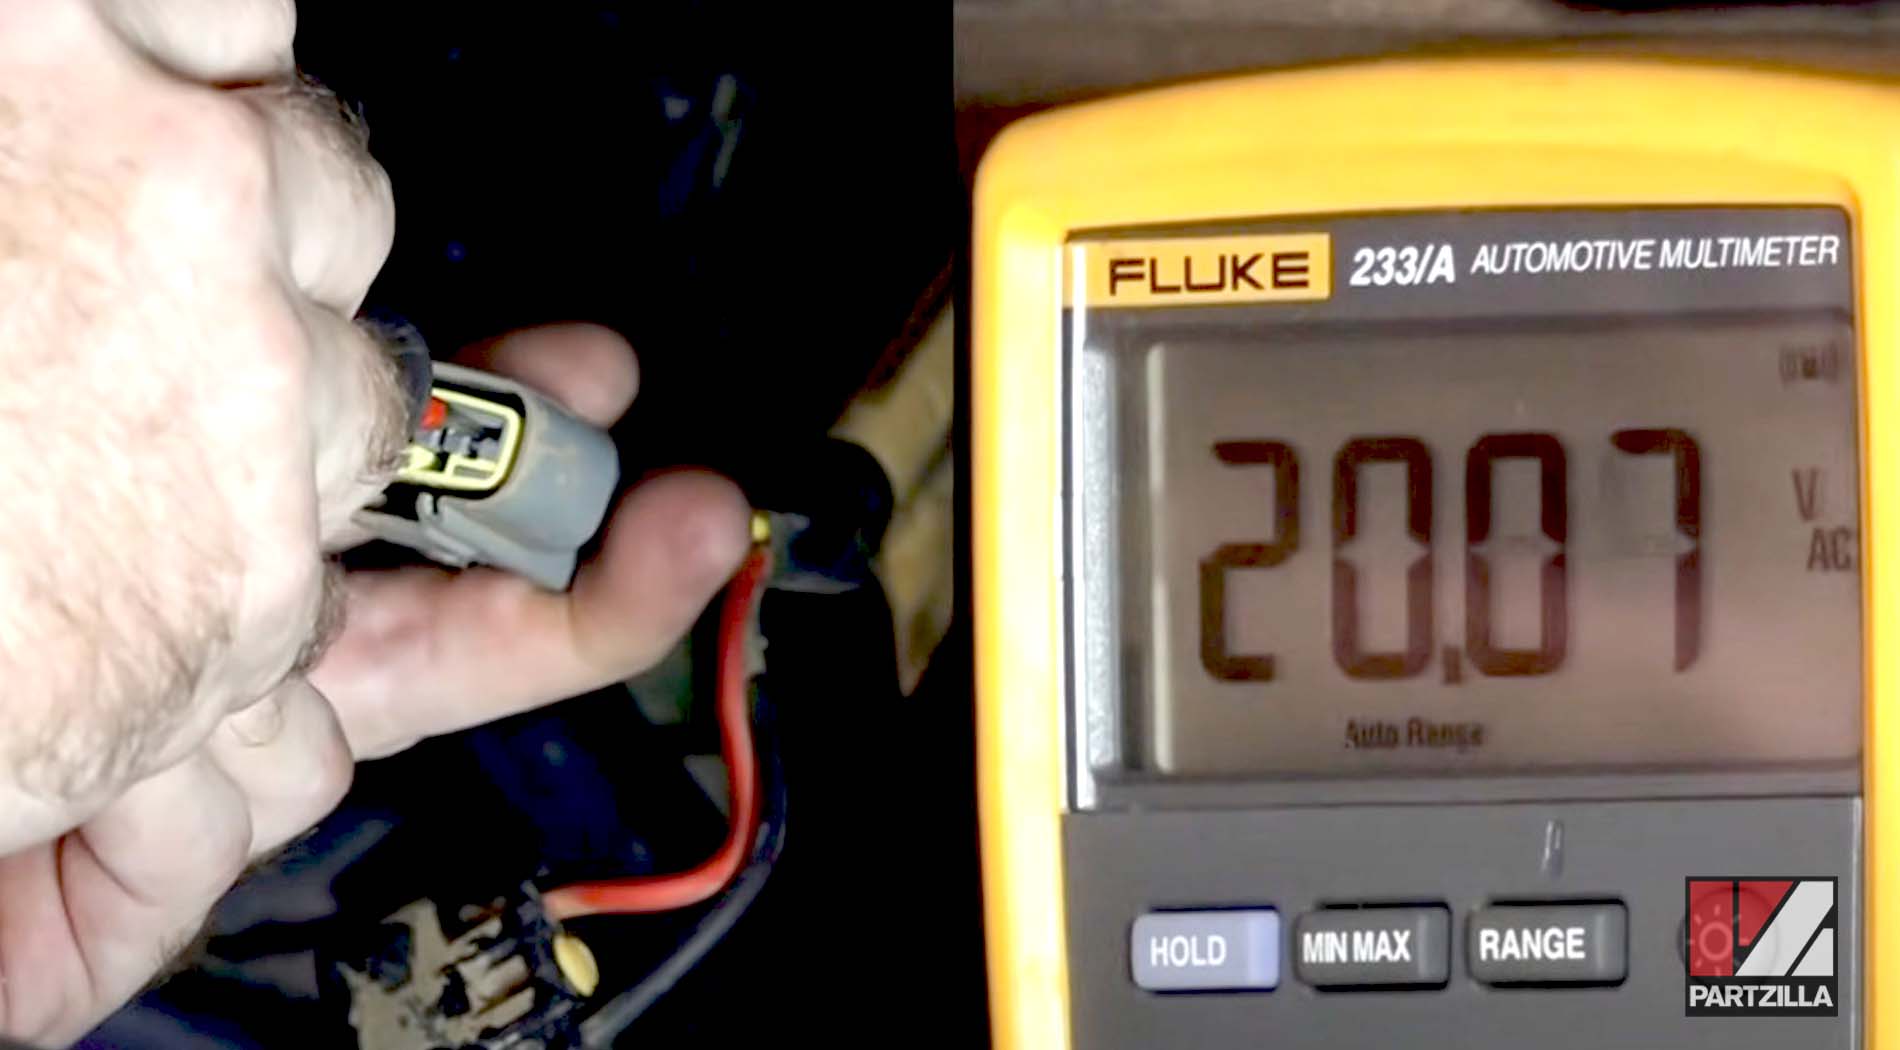
If the voltages don't increase, the stator is faulty and must be replaced with a new OEM Polaris RZR stator. However, if the voltage readings are correct, the stator is good and you need to test the regulator/rectifier next.
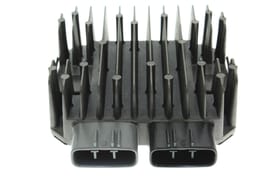
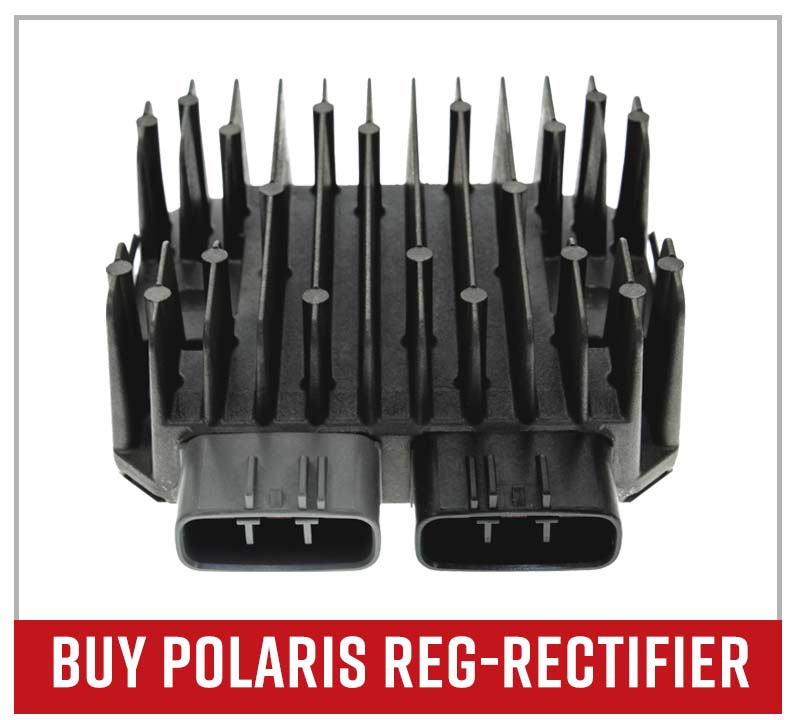
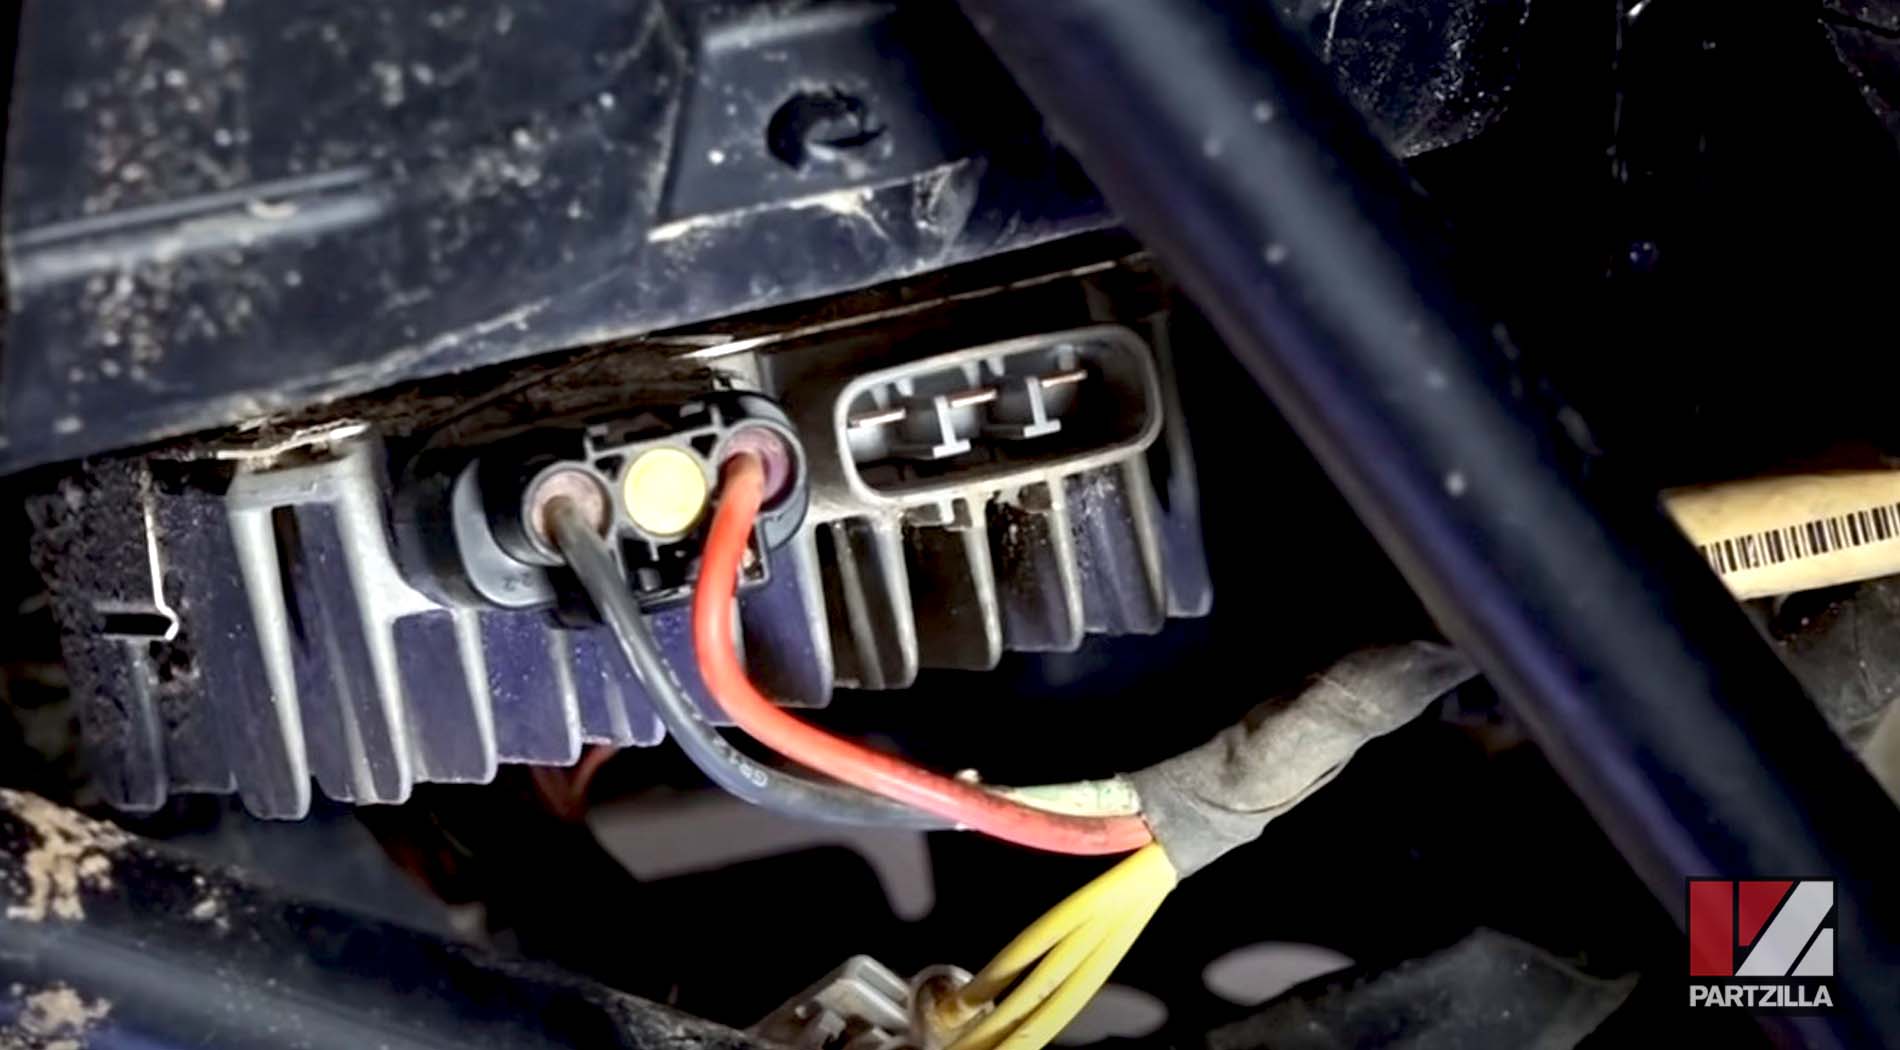
Troubleshooting Polaris RZR Charging Problem: Regulator/Rectifier Test
The regulator/rectifier receives AC current from the stator, and converts it into the DC current the battery requires. The regulator/rectifier also regulates how much voltage is sent to the battery to prevent damage to the electrical system.
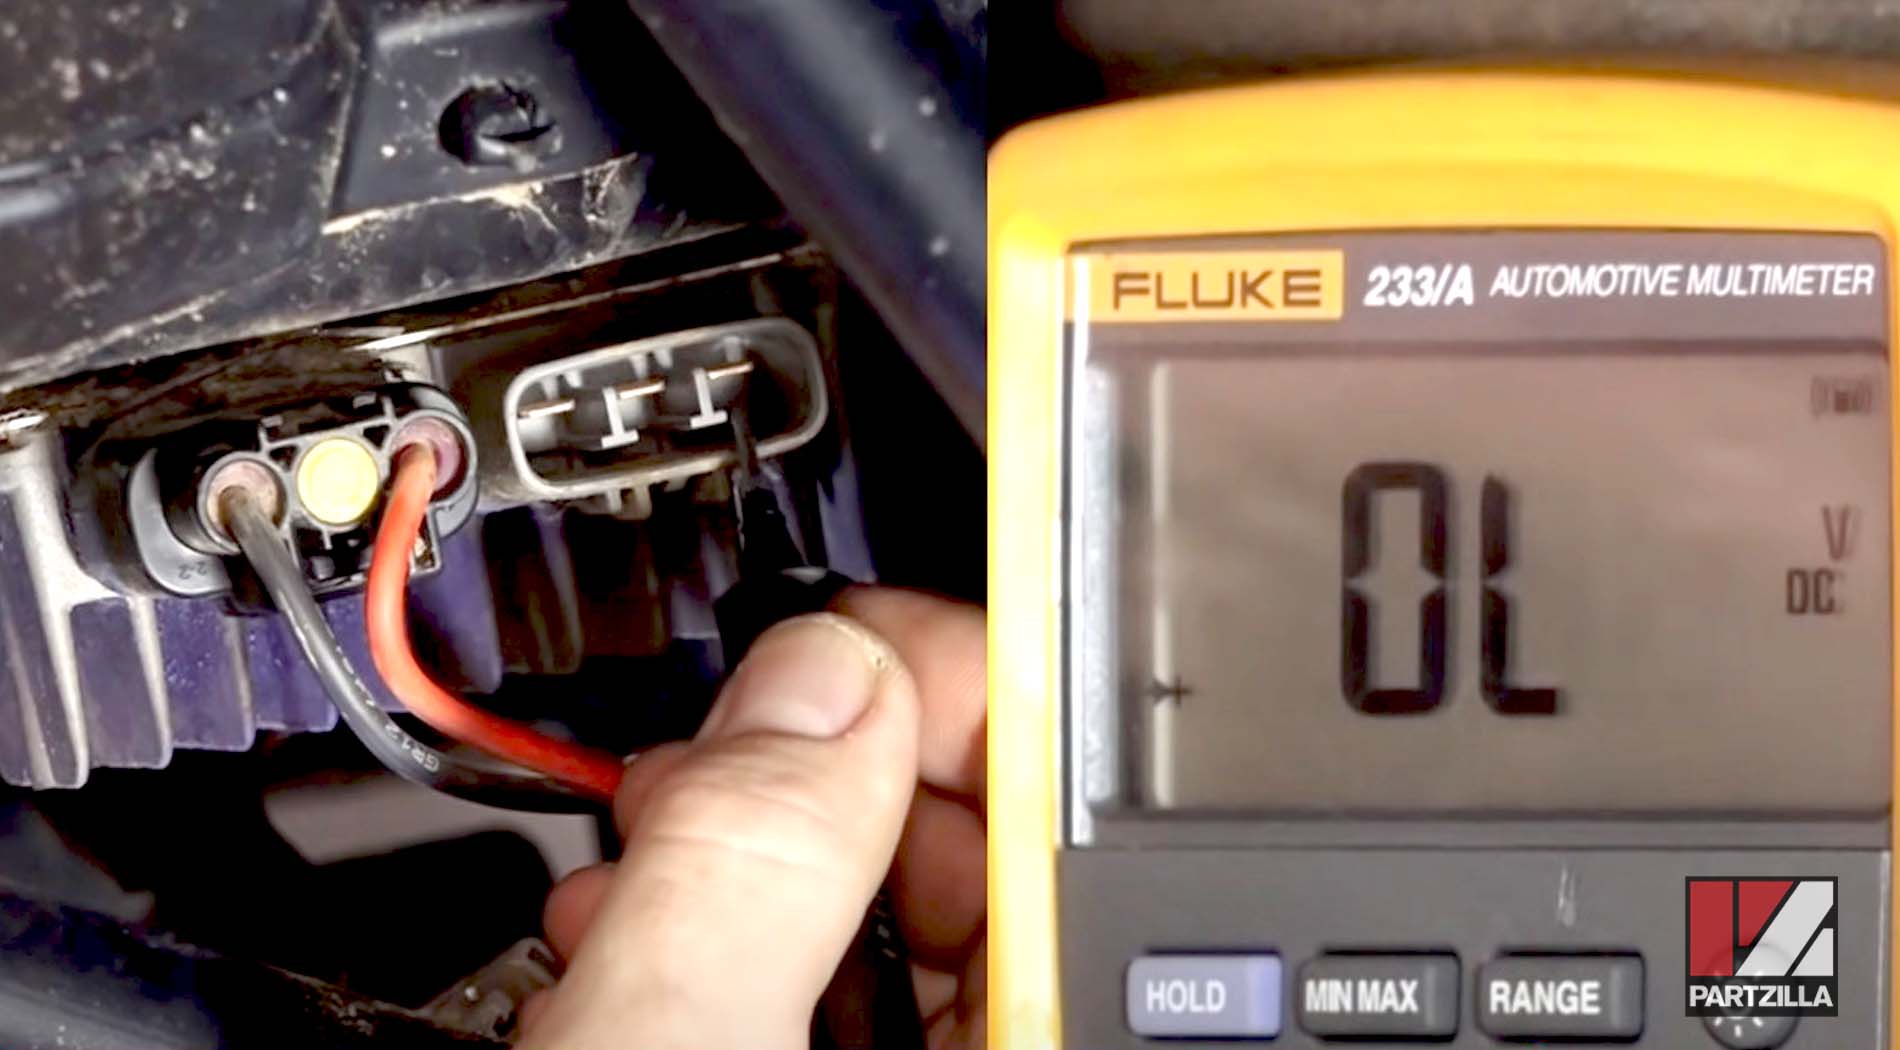
Test the Regulator/Rectifier
Reconnect the power connector to the regulator/rectifier. Set your multimeter to diode test mode, and connect the positive side of your multimeter to the negative side of the battery. Next, connect the negative side of your multimeter to each of the three terminals that would otherwise connect to the stator.
Each terminal should give a reading of at least 0.5 volts. A reading of 0 volts on any of the three terminals indicates the regulator/rectifier is faulty, and needs to be replaced with a new OEM Polaris RZR regulator/rectifier.

At the beginning of this article, we mentioned what an invaluable tool a digital multimeter is. A test light is another useful tool to keep handy for diagnosing simple electrical problem. Do you need them both? Watch the video below to learn about the differences between a test light and a multimeter.