How to Replace Polaris Ranger Crew Control Arm Bushings
Although the Ranger 800 Crew is an excellent Polaris side-by-side, one small error was made by the manufacturer in its design.
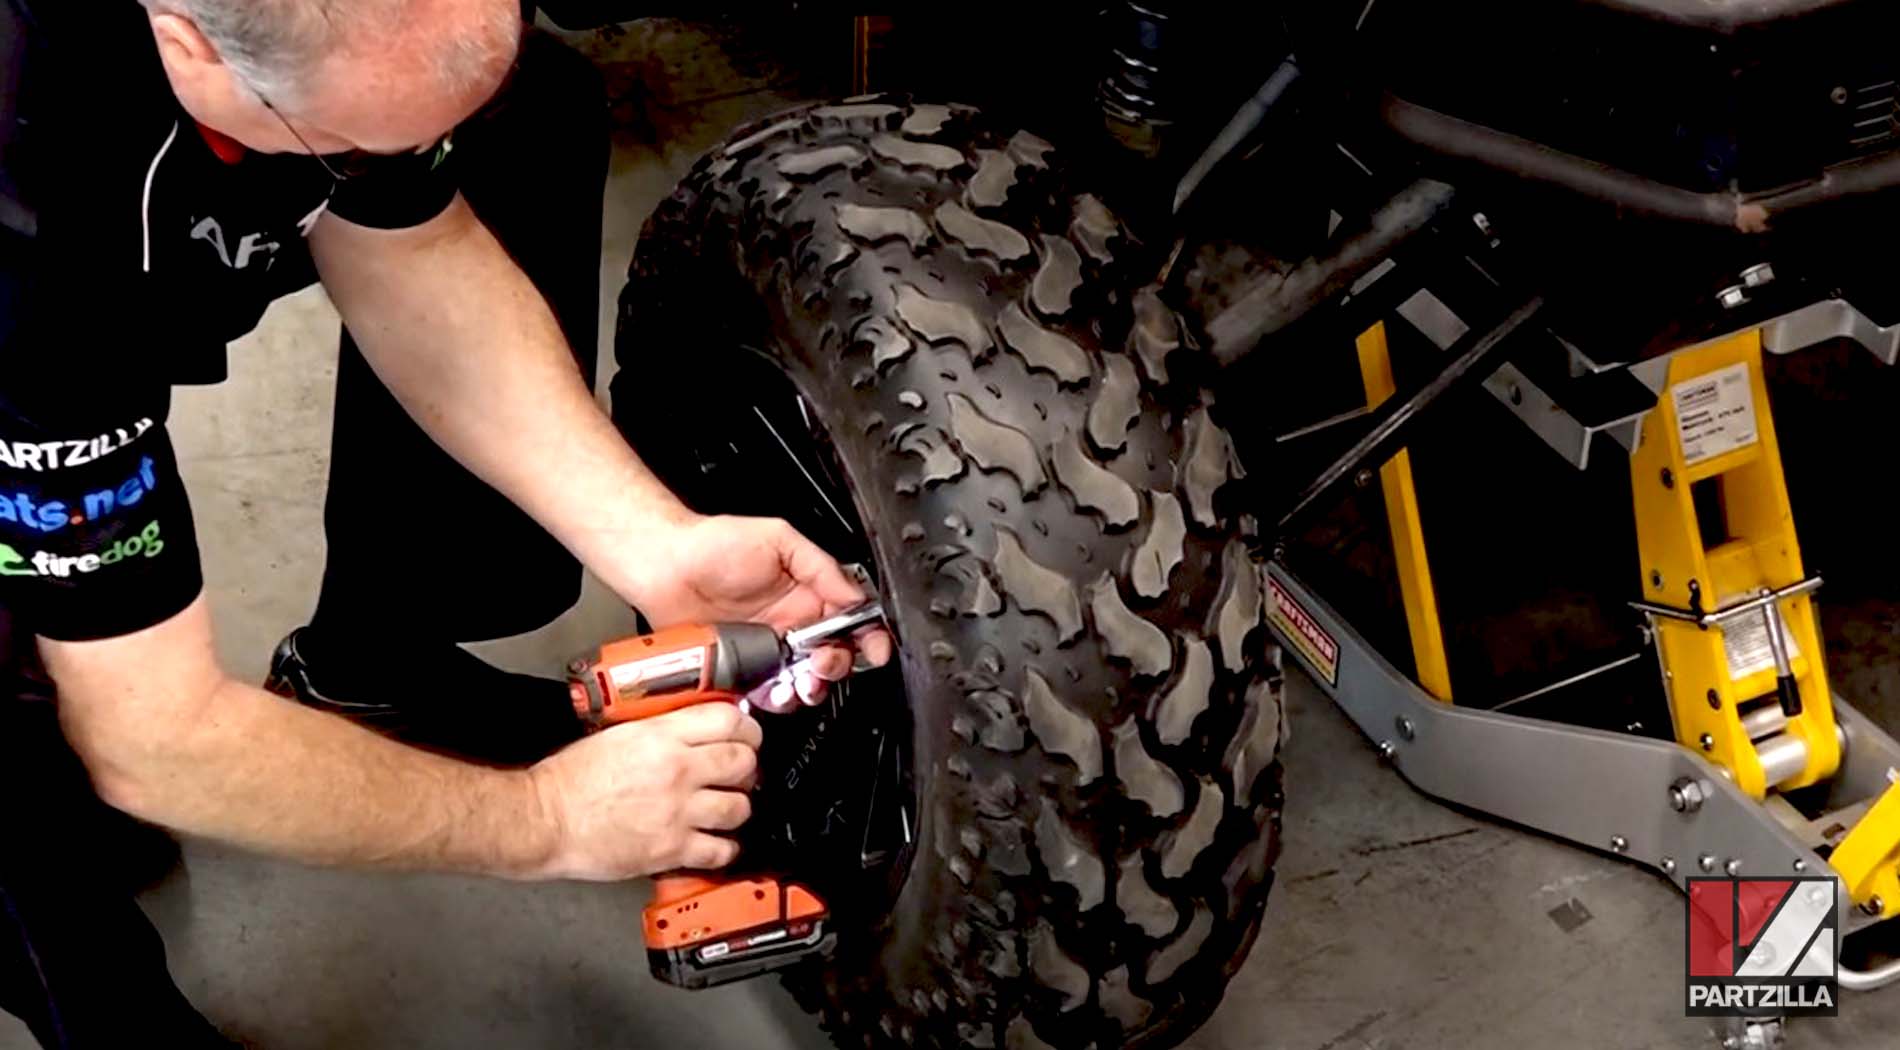
Polaris didn’t include zerk fittings for the front control arm bushings, so the only way to keep the suspension in peak condition is to replace and re-grease those A-arm bushings every once in a while. Watch the video above and follow the steps below to learn how to replace the control arm bushings on a Polaris Ranger UTV.
NOTE: We worked on a Polaris Ranger 800 Crew, but the steps are the same or similar for most side-by-side makes and models.
Tools and Parts – Polaris Ranger UTV Control Arm Bushings Replacement
- Ratchets and extensions
- 13mmm, 15mm sockets
- Torx T25
- Pliers
- Soft-blow hammer
- Torque wrench
- Control arm bushing (x16)
- Cone washer (x4)
- Castle nut cotter pin (x2)
- Steering arm bolt cotter pin (x2)
- Blue threadlocker

Removing Polaris Ranger 800 Crew Control Arms
Step 1. Raise the front of the Ranger and support it on axle stands. Make sure the axle stands are positioned under the frame (not the floor panels), then remove the front wheels.
NOTE: Don’t work on your side-by-side or any other vehicle using only a jack. Make sure the vehicle is properly supported on axle stands.
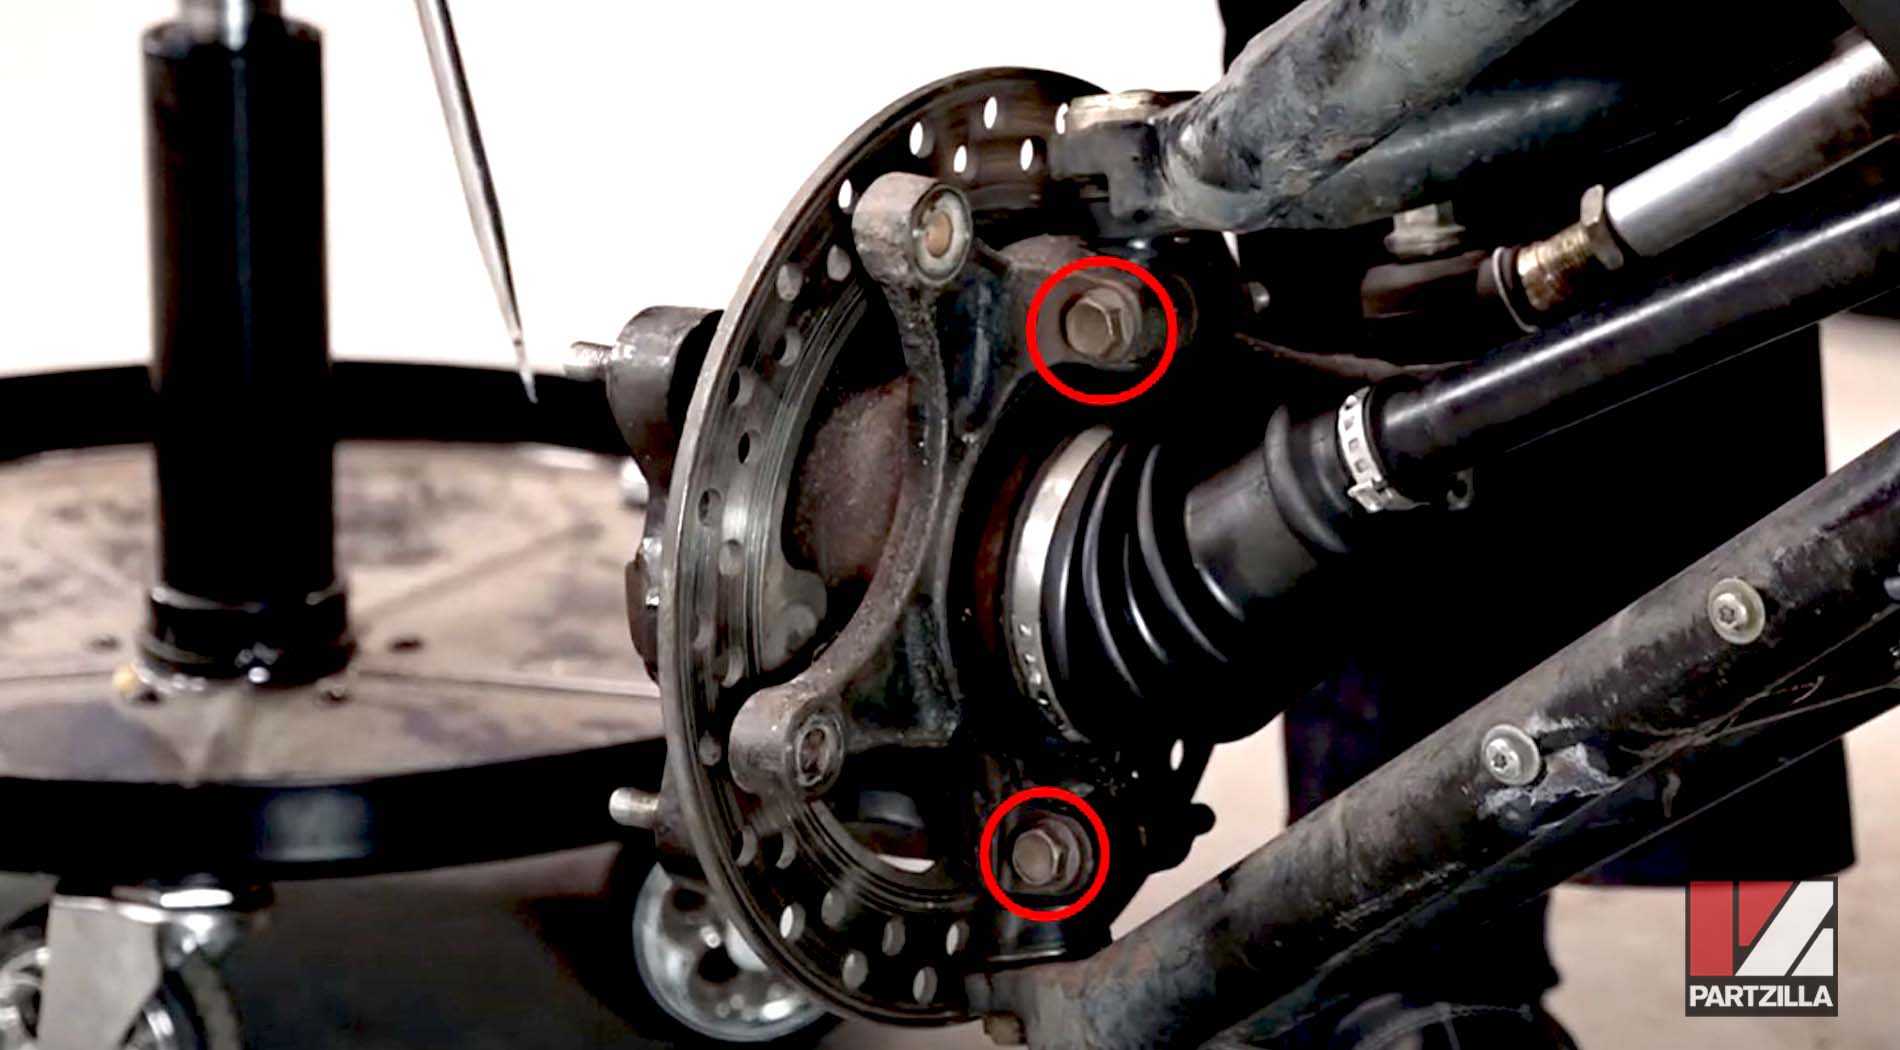
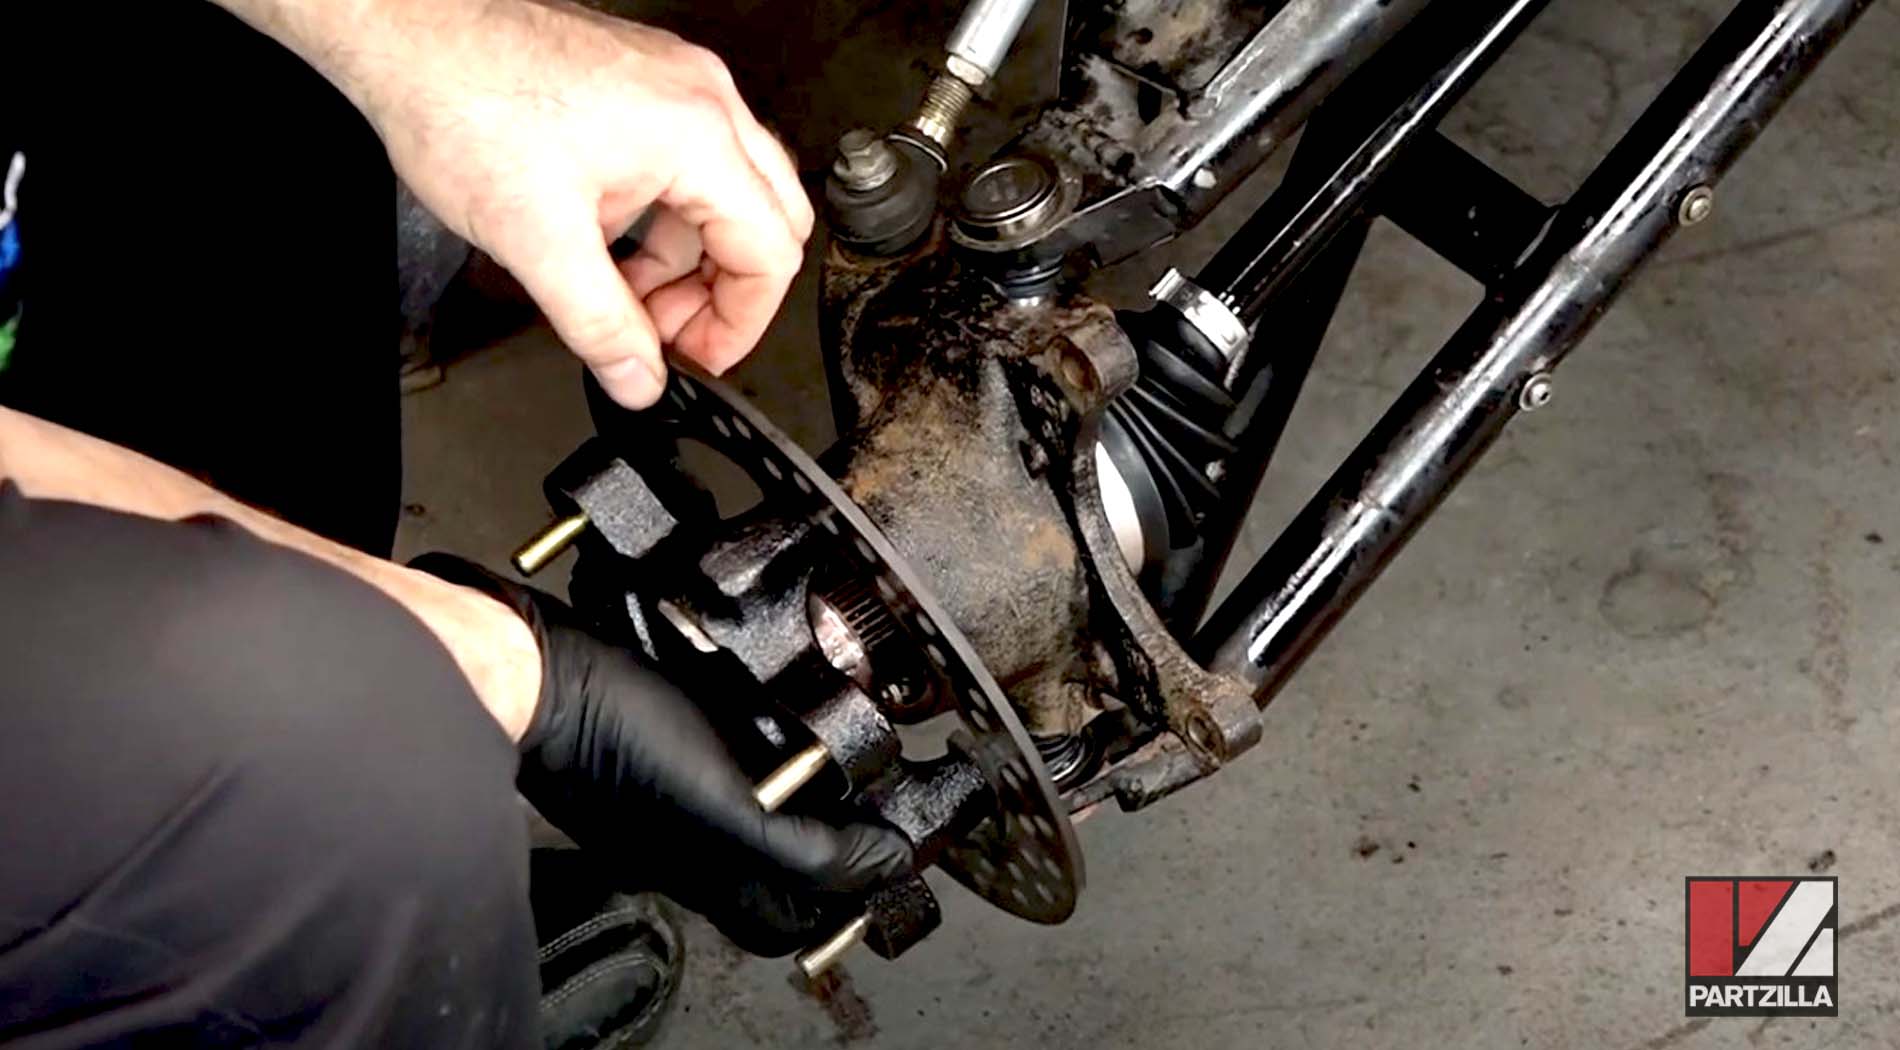
Step 2. Remove the two 15mm bolts from the brake caliper mounting bracket, and slide the caliper and bracket off the brake rotor. Use a zip tie or bungee cord to hold the caliper out of the way so it isn’t suspended by its brake line.

Step 3. Pry the cap off the wheel hub, then remove the cotter pin, the castle nut and the two cone washers from the end of the driveshaft. Pull the hub from the steering knuckle.

Step 4. Remove the cotter pin, steering arm bolt and two washers from the steering knuckle. The bolt has a 13mm head at the top and a 15mm nut at the bottom.

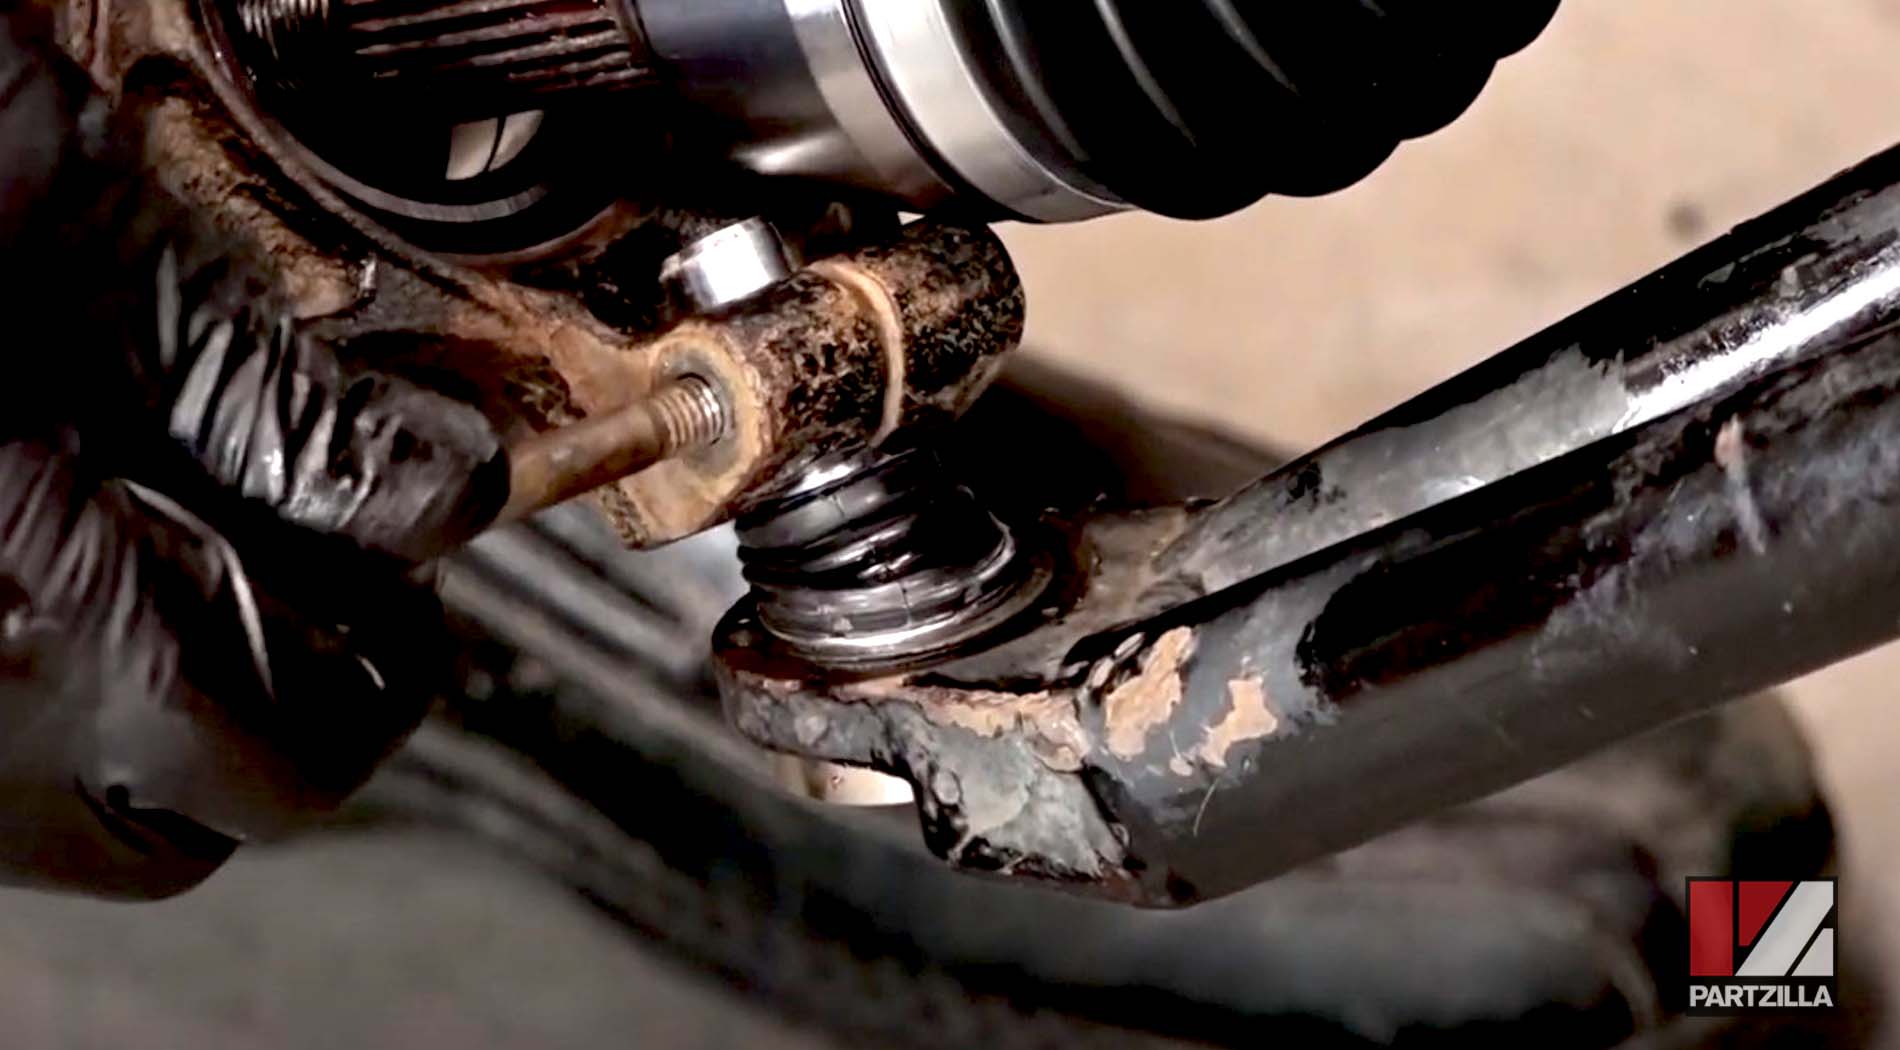
Step 5. Remove the two 13mm pinch bolts from the steering knuckle that hold the ball joints in place. Next, pull the ball joints free from the steering knuckle and remove the knuckle.
Watch the clip below to see the steering arm and steering knuckle removal segment of our Polaris Ranger 800 Crew control arm bushings video.
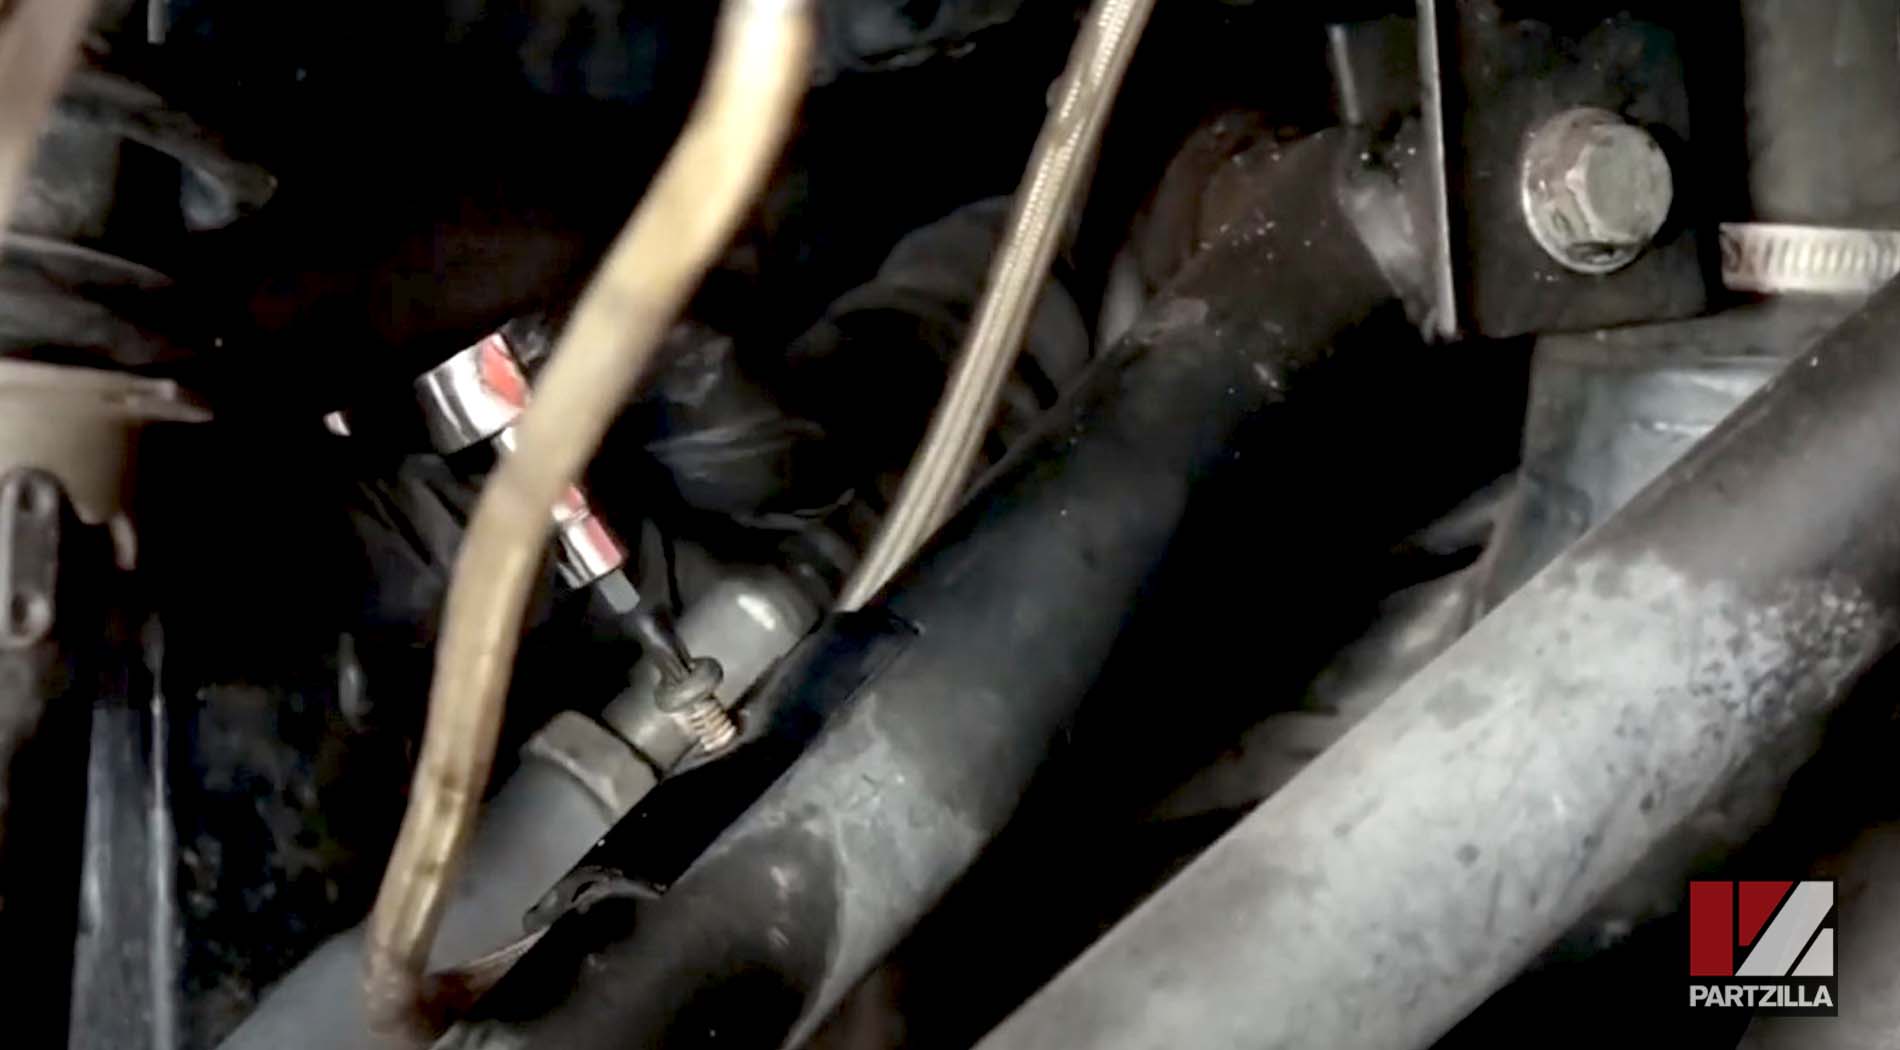
Step 6. Remove the Torx T25 bolt from the brake line bracket on the upper A-arm, and hang the brake caliper somewhere further out of the way using a zip tie or bungee cord.
Step 7. Remove the 15mm shock absorber mounting bolts from the upper control arm and the frame, then remove the shock absorber.

PRO TIP: You can work with the shock absorber only disconnected from the upper A-arm, but it’s much simpler to completely remove the shock absorber.
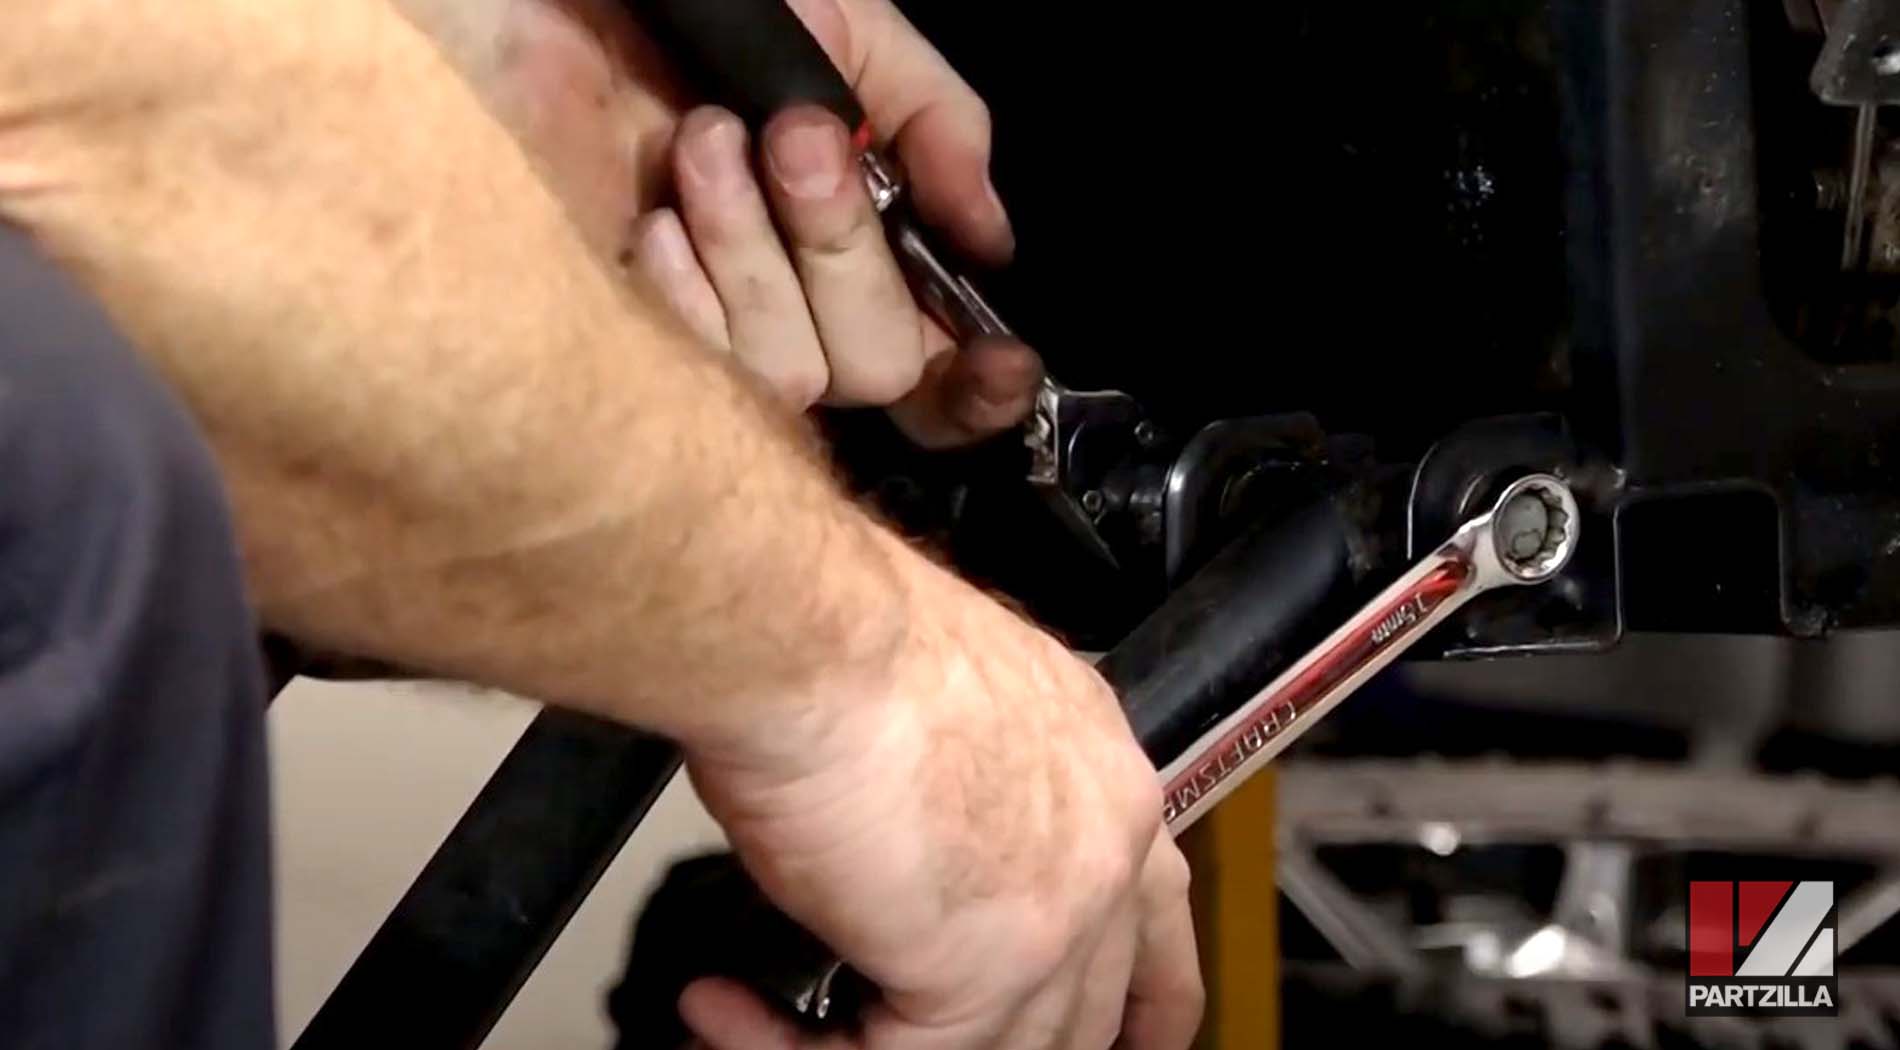
Step 8. Remove the 15mm upper control arm mounting bolts from the frame. You’ll have to remove the forwardmost mounting bolt first, otherwise you won’t be able to remove the rearward mounting bolt. Next, remove the upper control arm.

Step 9. Remove the front bumper to access the lower control arm mounting bolts.
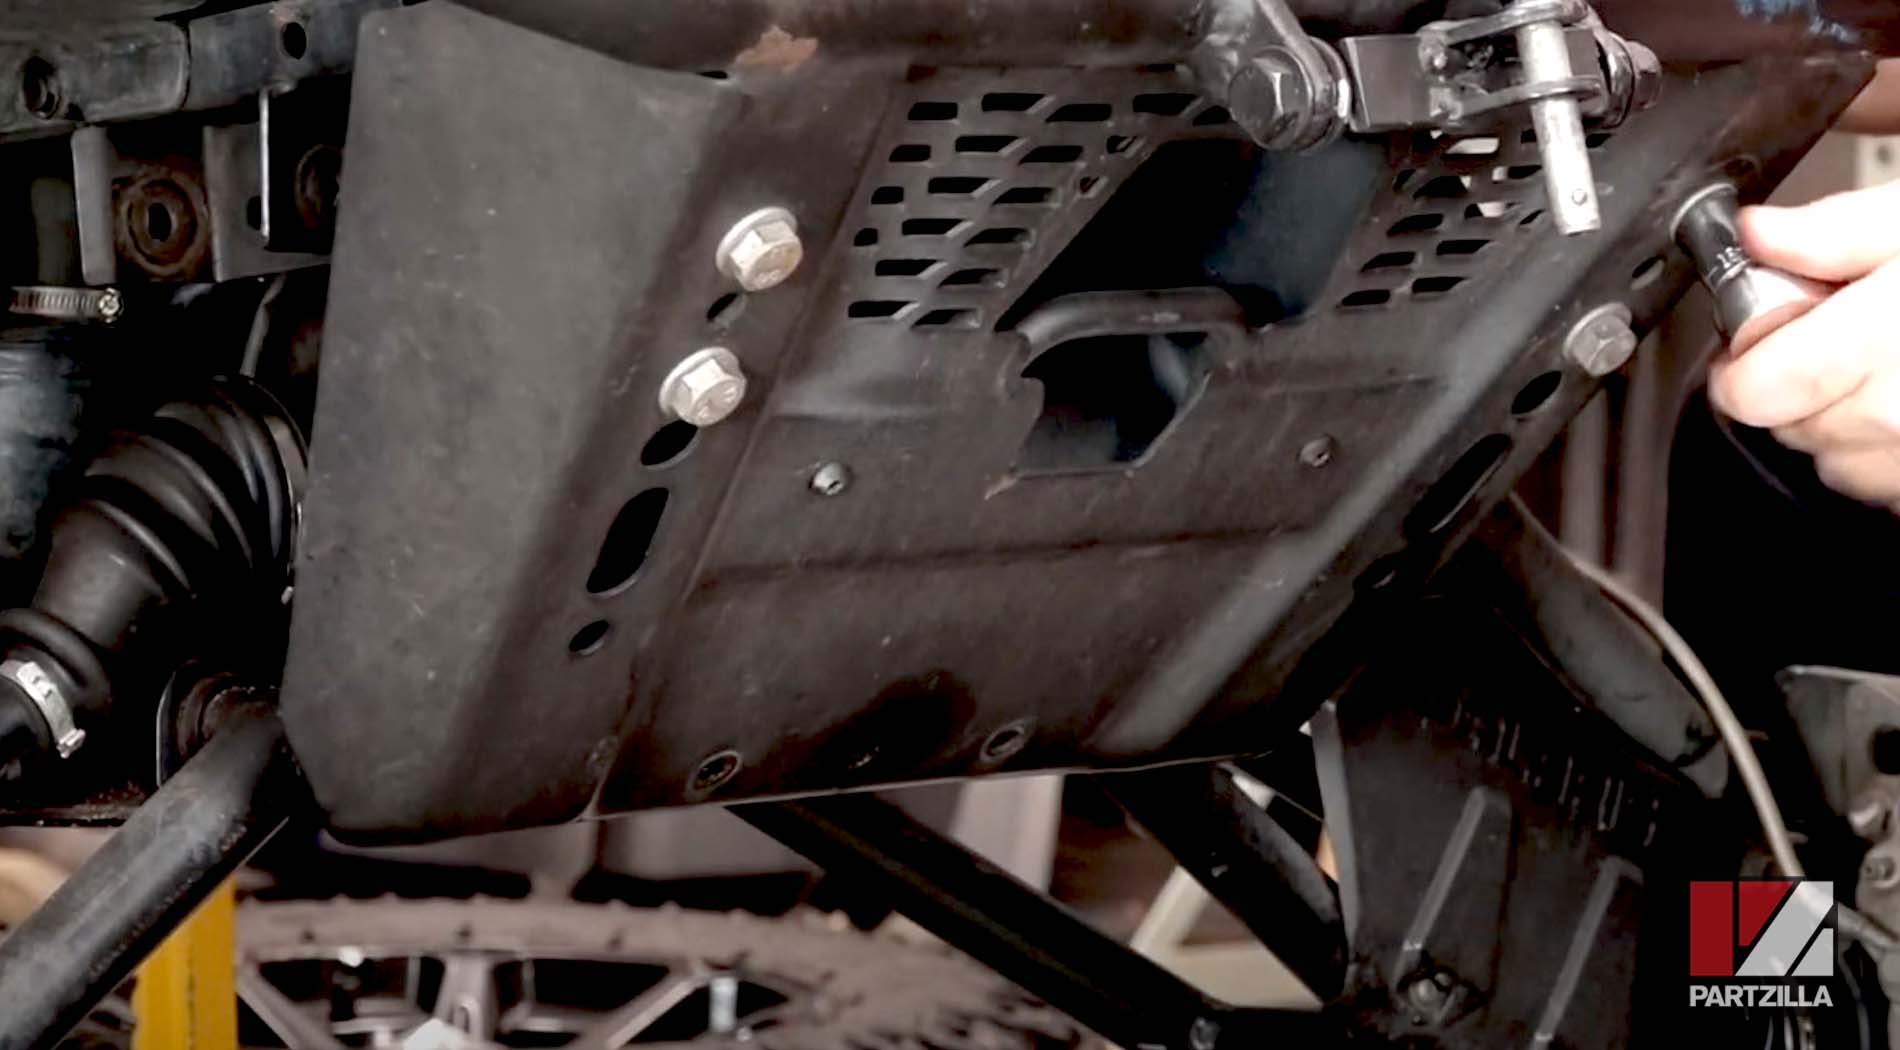
PRO TIP: At this point, you can remove the driveshaft if you want to make working on the lower control arm easier. Simply pull the driveshaft out from the transmission case. If the driveshaft doesn’t pull free or if you prefer to leave it attached, simply lift it and hold it out of the way with a zip tie or bungee cord.
Step 10. Remove the 15mm lower A-arm mounting bolts from the frame, followed by the lower control arm.
Watch the clip below to see the shock absorber and control arm removal segment of our Polaris Ranger 800 Crew control arm bushings video.
Replacing the Control Arm Bushings in a Polaris Ranger 800 Crew
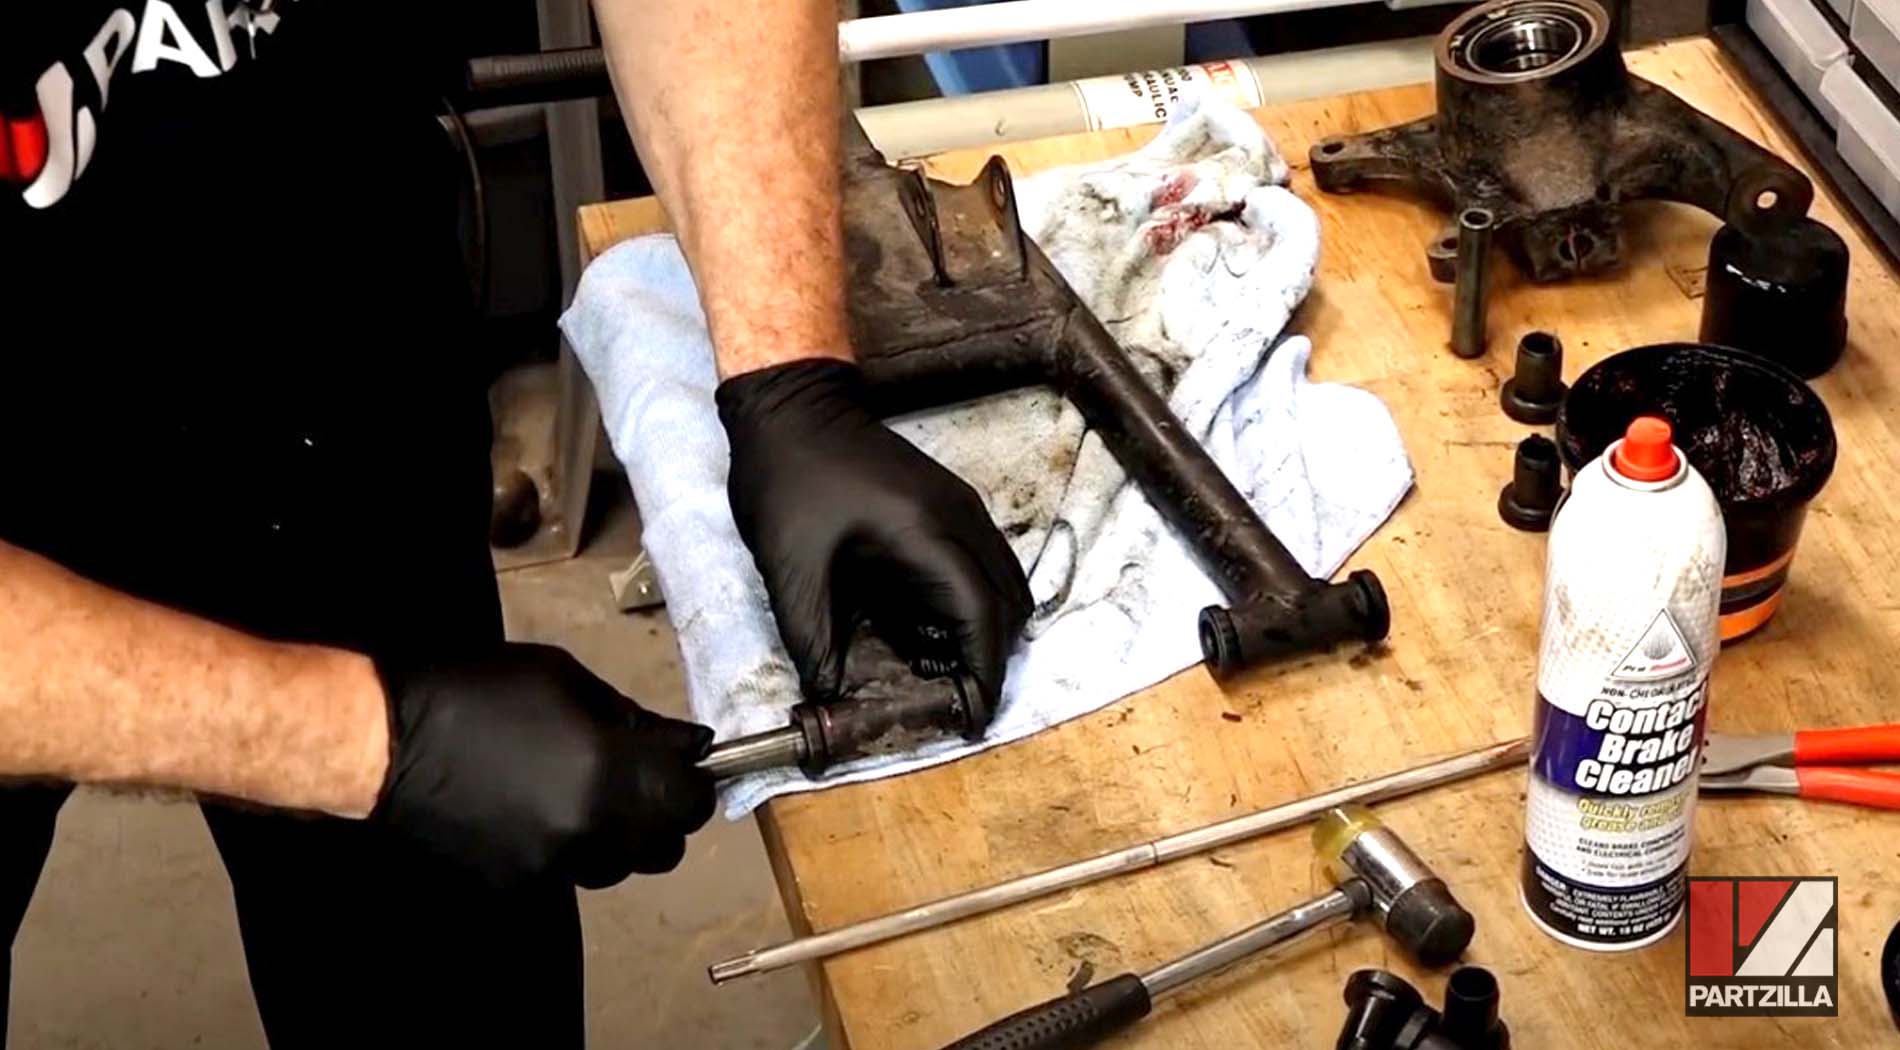
Step 11. Remove the old bushings and the pivot shafts from the control arms.
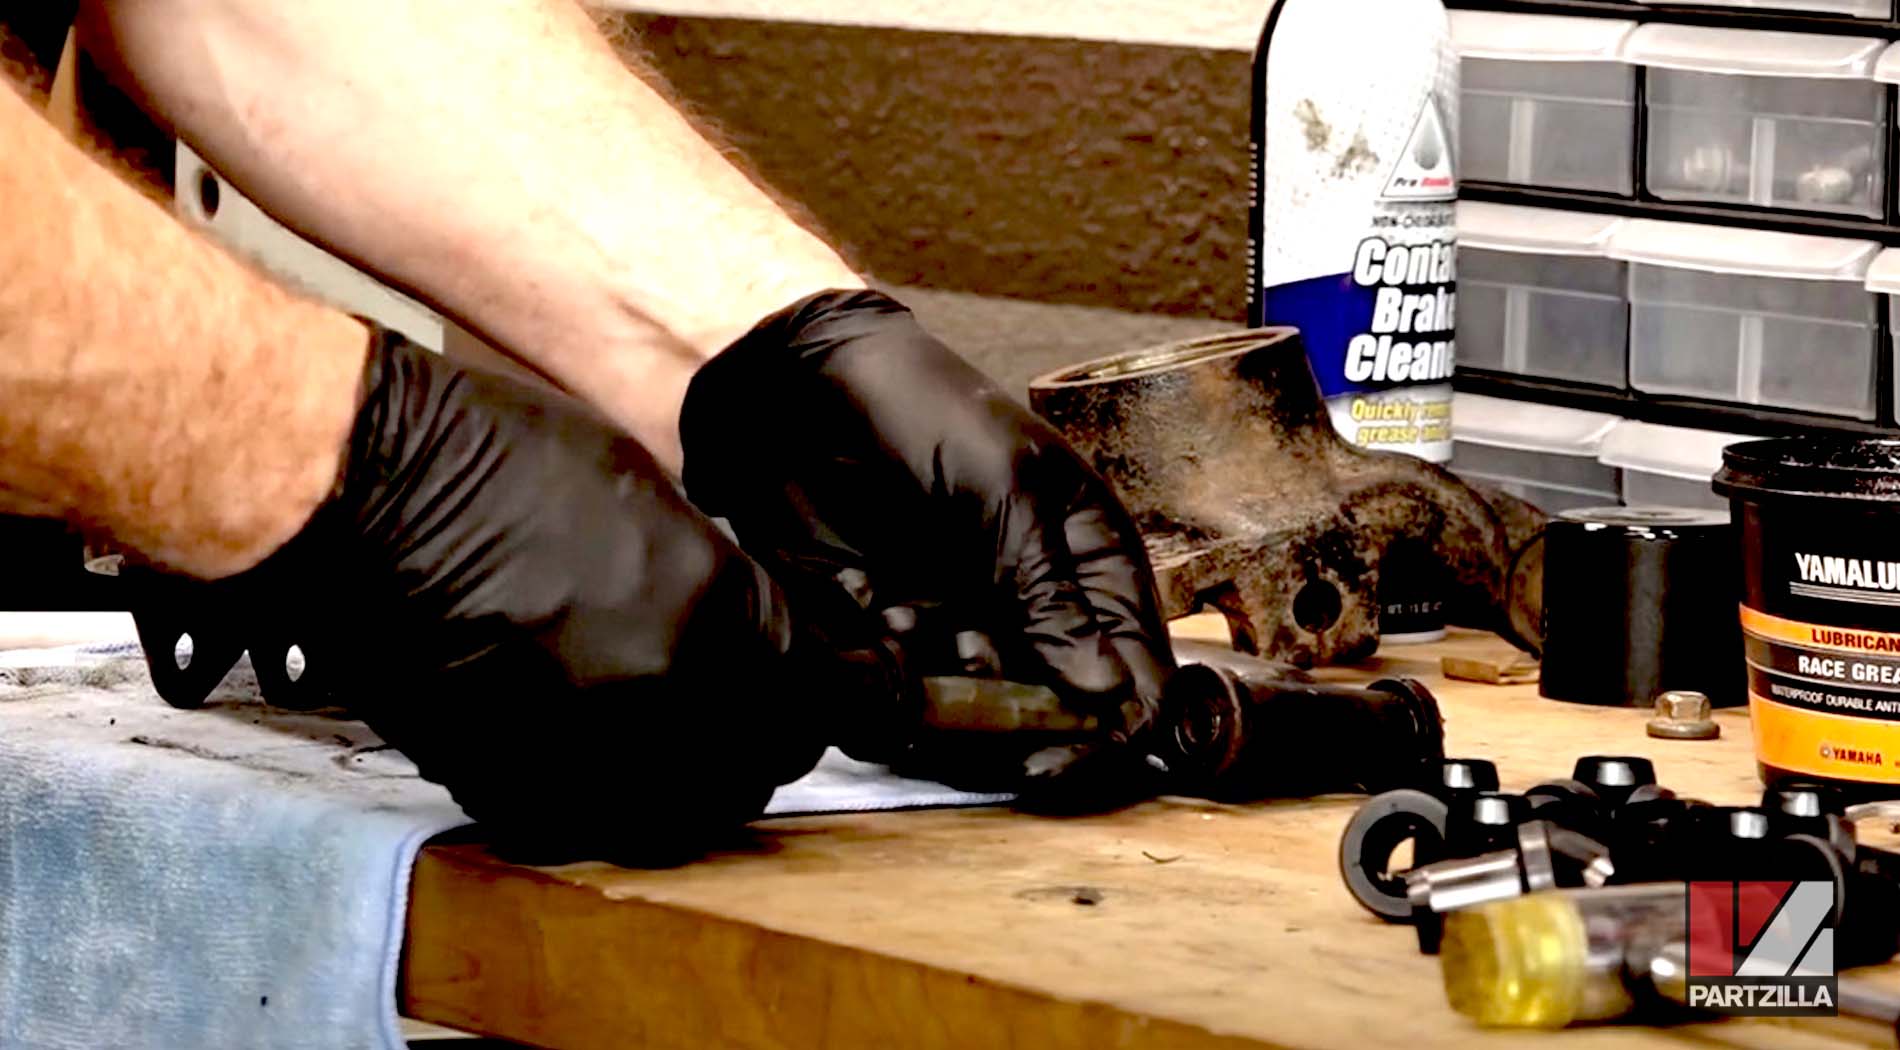
Step 12. Clean the pivot shafts and remove all the old grease.
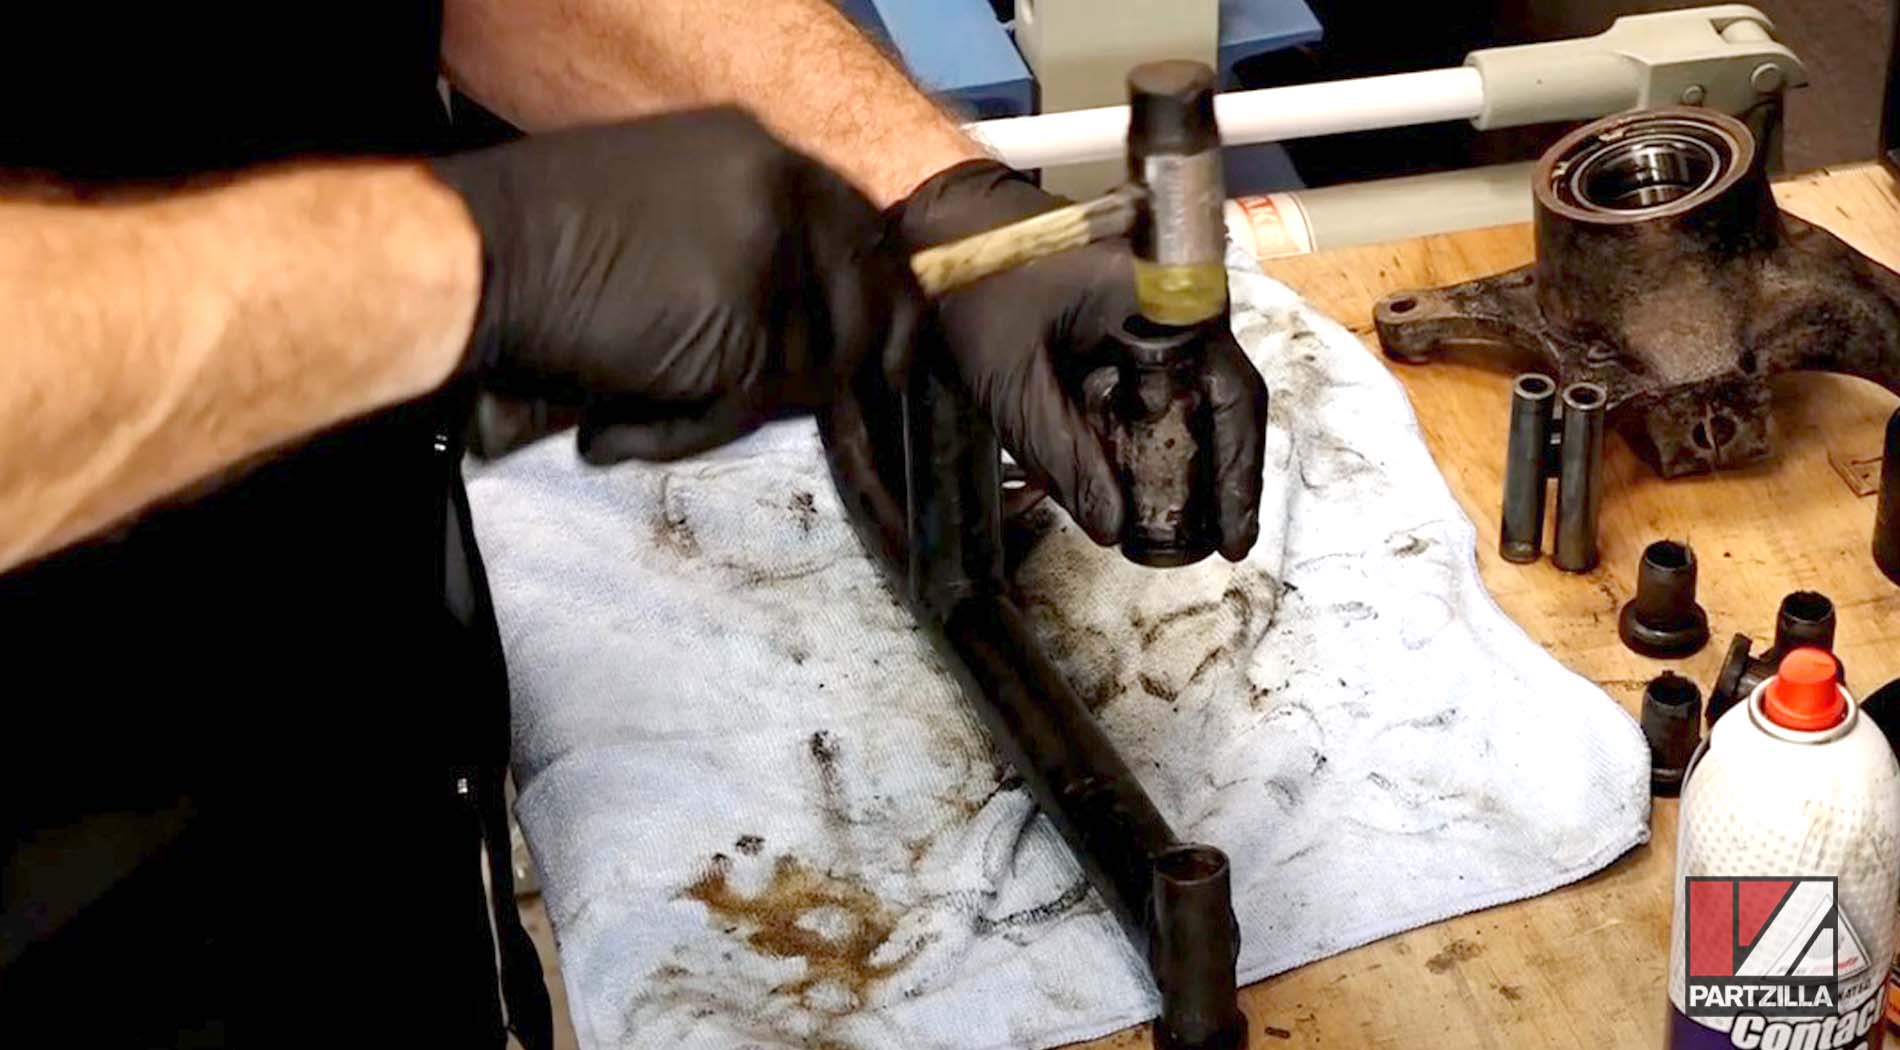
Step 13. Gently tap the new bushings into the A-arms using a soft-blow hammer.
Step 14. Grease the insides of the control arm bushings and reinstall the pivot shafts.
Watch the clip below to see the control arm bushings installation segment of our Polaris Ranger 800 Crew control arm bushings video.
Reinstalling the Control Arms into a Polaris Ranger 800 Crew
Step 15. Reinstall the lower control arm, then lightly grease the non-threaded shaft of the mounting bolts and reinstall them. Torque the bolts to 30 foot-pounds.

Step 16. Reinstall the upper control arm, then lightly grease the non-threaded shaft of the mounting bolts again and torque them to 30 foot-pounds.
PRO TIP: If you removed the driveshaft earlier, now is the time to push it back into the transmission casing.
Step 17. Grease the driveshaft splines and slide the steering knuckle back over it.
Step 18. Push the upper and lower ball joints back into the steering knuckle, then reinstall the pinch bolts and torque them to 23 foot-pounds.
Step 19. Reinstall the steering arm with the two washers and the mounting bolt to the steering knuckle. Don’t torque the mounting bolt yet.
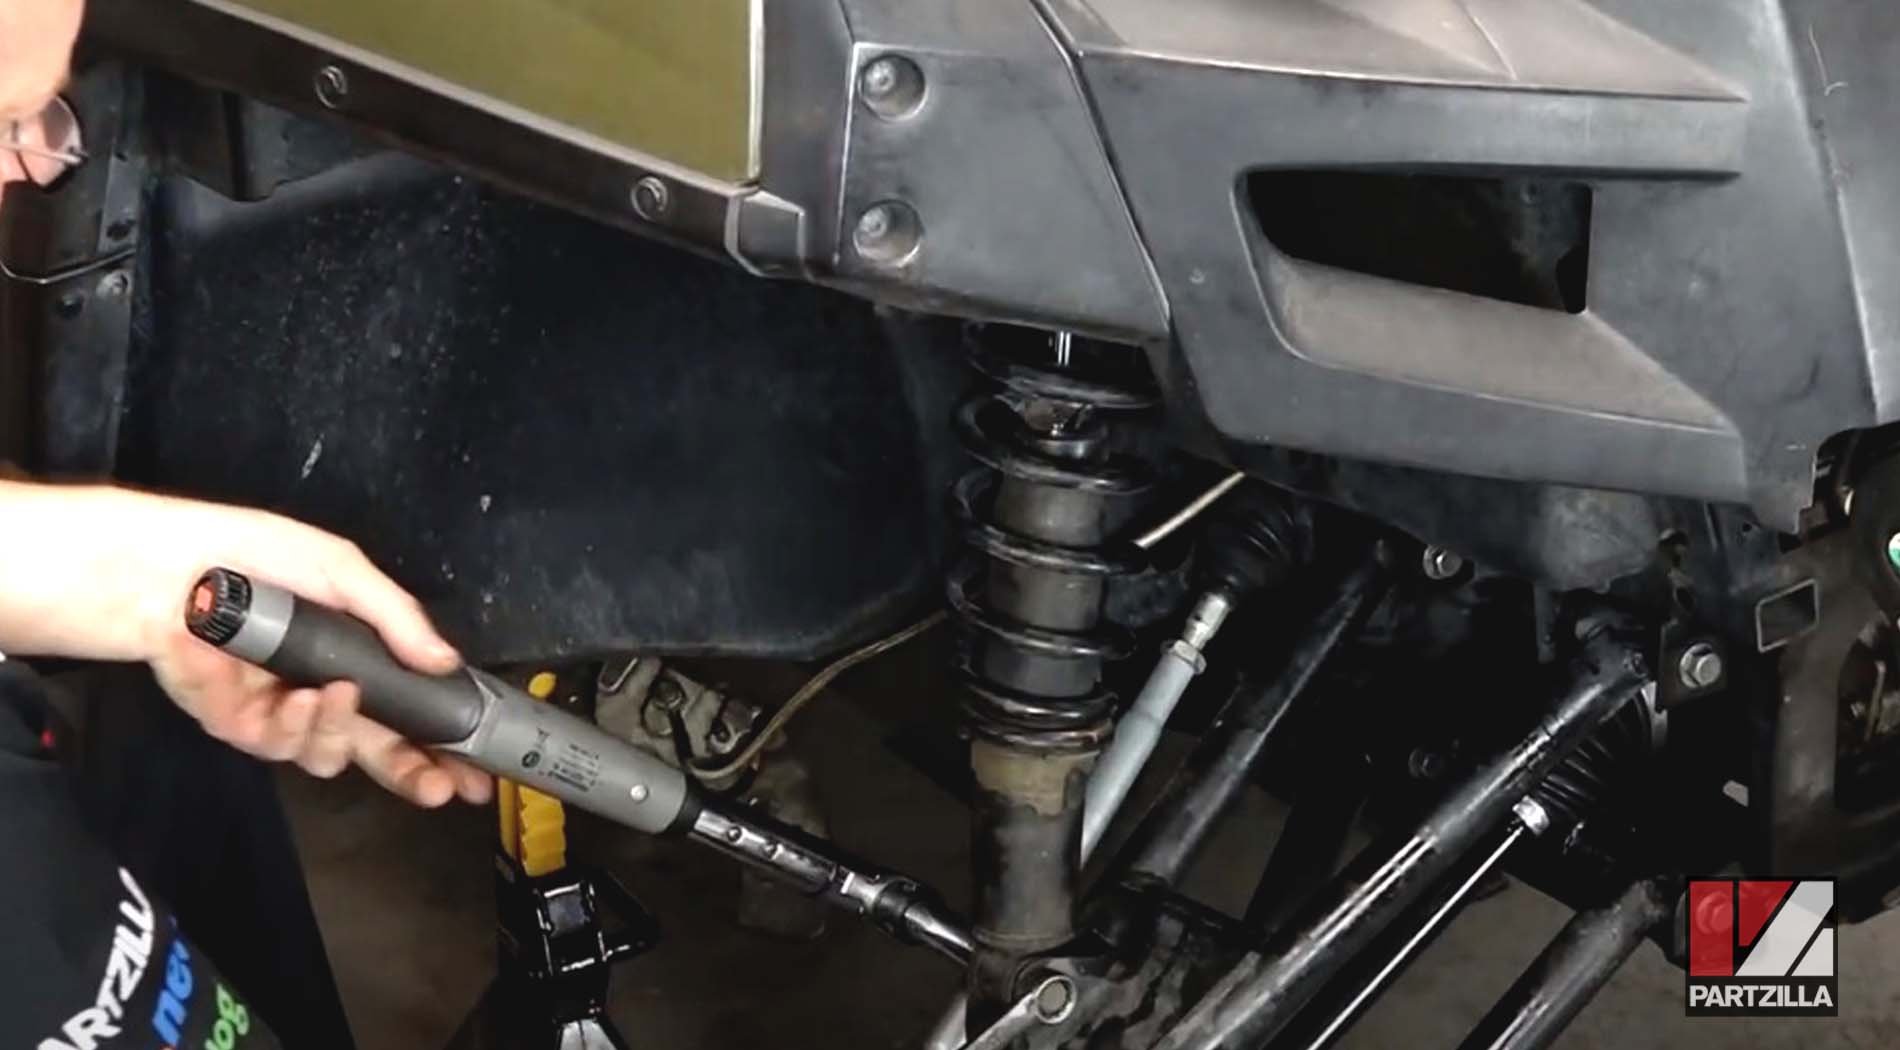
Step 20. Reinstall the shock absorber or reconnect the lower mounting bolt if you didn’t completely remove the shock earlier. Next, torque the upper and lower shock absorber mounting bolts to 30 foot-pounds.
Watch the clip below to see the control arm and shock absorber reinstallation segment of our Polaris Ranger 800 Crew control arm bushings video.
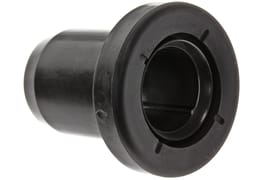
Step 21. Grease the inner and outer sides of the wheel hub, then slide it back over the driveshaft splines and into the steering knuckle.
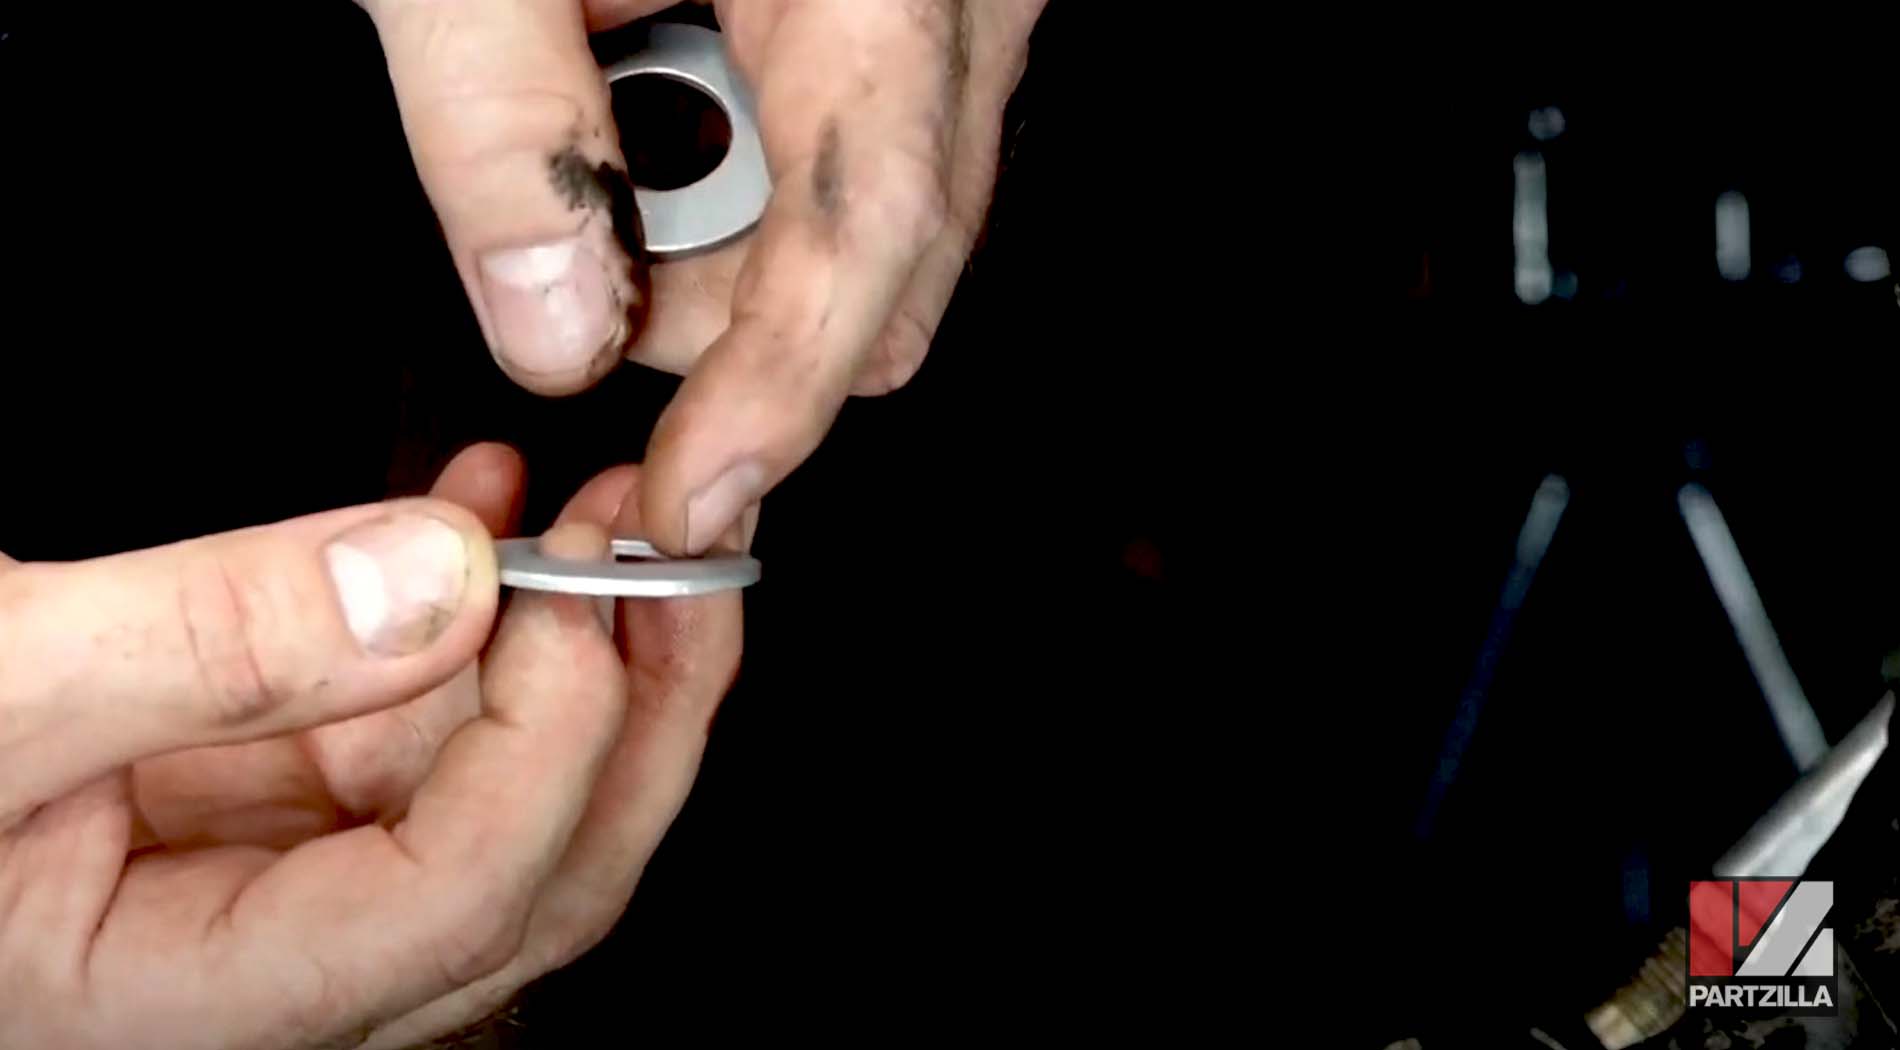
Step 22. Install two new cone washers onto the driveshaft splines. The washers are angled upward at their centers and must be facing outward as you install them.
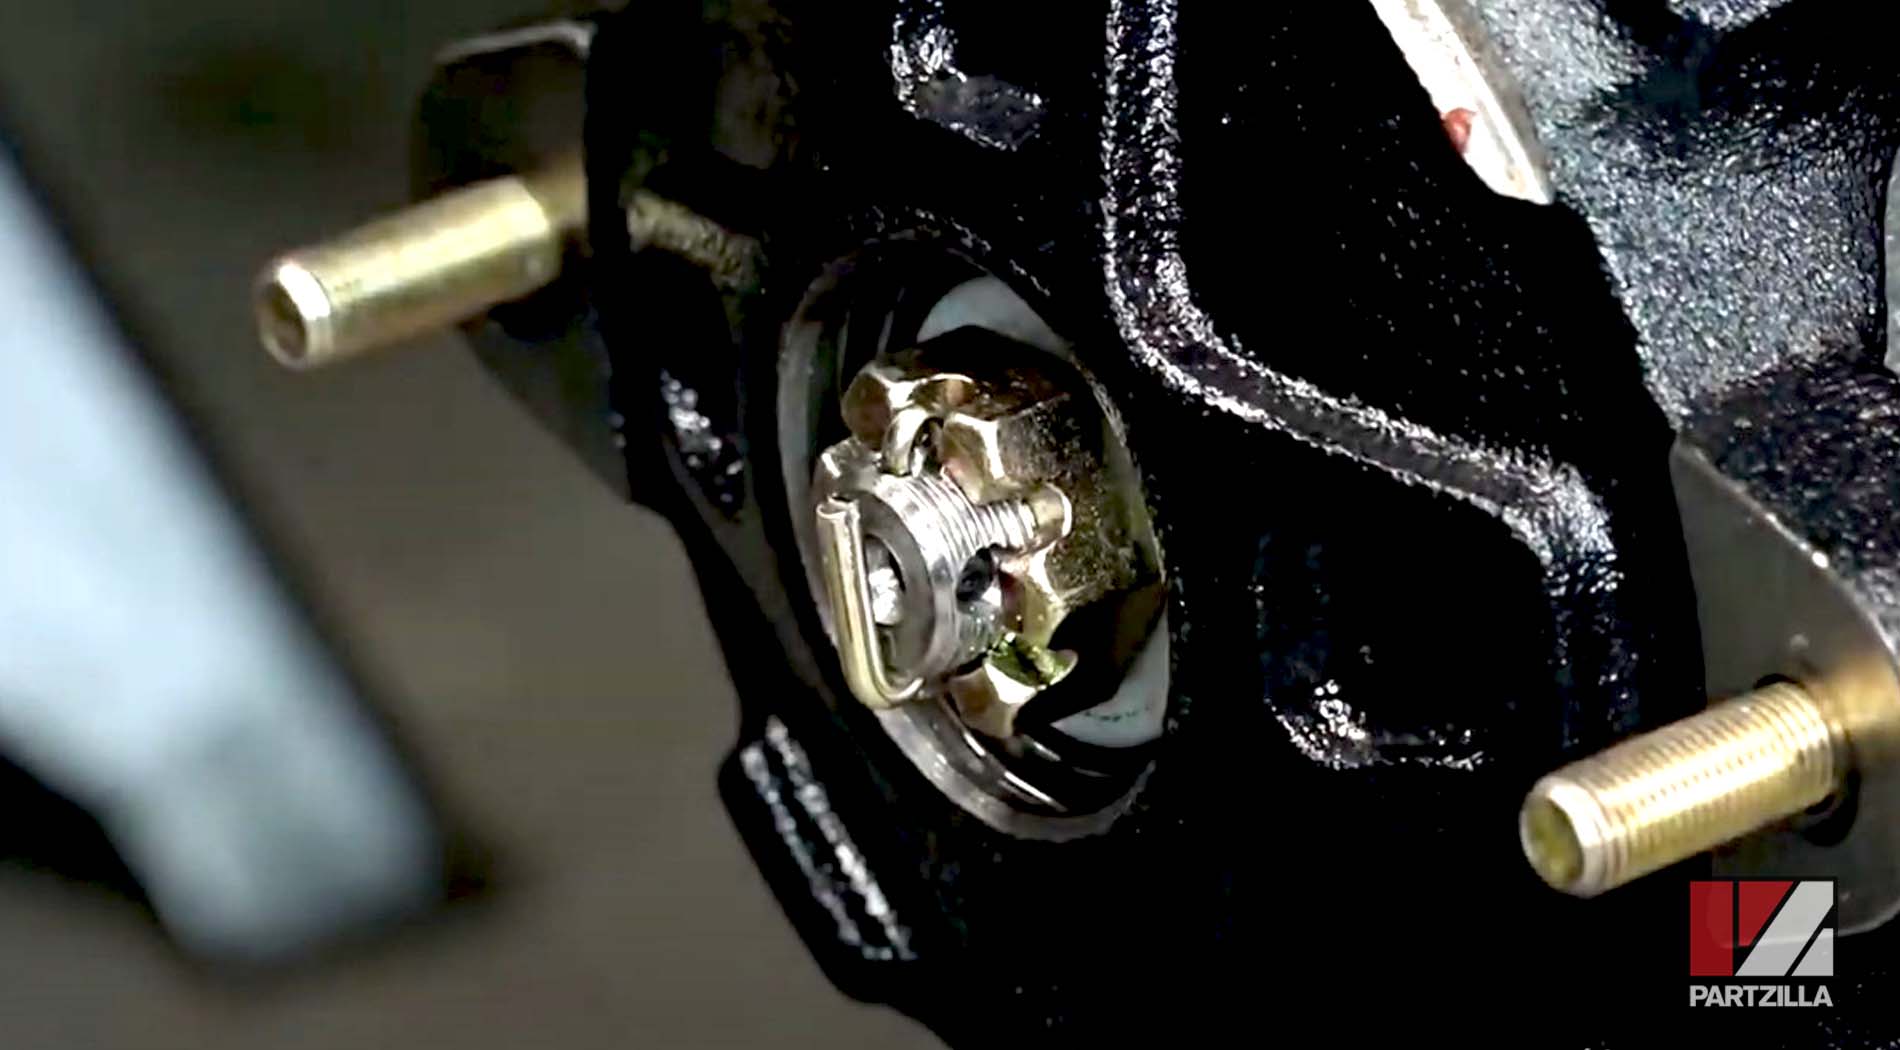
Step 23. Reinstall the castle nut and torque it to 80 foot-pounds. Have someone apply the brakes to stop the nut from rotating as you torque it.
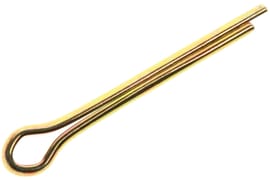
Step 24. Install a new cotter pin and bend it, as shown in the image below.
Step 25. Reinstall the brake caliper and mounting bracket, then apply blue threadlocker to the two 15mm mounting bolts and torque them to 30 foot-pounds.
Step 26. Reinstall the brake line bracket on the upper A-arm with the Torx T25 bolt.
Step 27. Torque the steering arm mounting bolt to 40 foot-pounds, then install a new cotter pin and reinstall the cap over the wheel hub.
Repeat all of the steps to replace the A-arm bushings on the other side and you’re done.
Watch the clip below to see the wheel hub, brake caliper and steering arm reinstallation segment of our Polaris Ranger 800 Crew control arm bushings video.