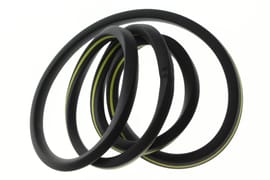
How to Replace a Polaris Ranger Drive Belt
Replacing the drive belt on a Polaris Ranger 900XP side-by-side is a relatively simple process that can be done with a handful of basic tools.
Watch the video above and follow the steps below to learn how to replace a Polaris Ranger 900XP drive belt.
Tools and Parts – Polaris Ranger 900 Drive Belt Change
- Ratchet and extensions
- 8mm, 10mm, 15mm sockets
- 10mm wrench
- Torque wrench
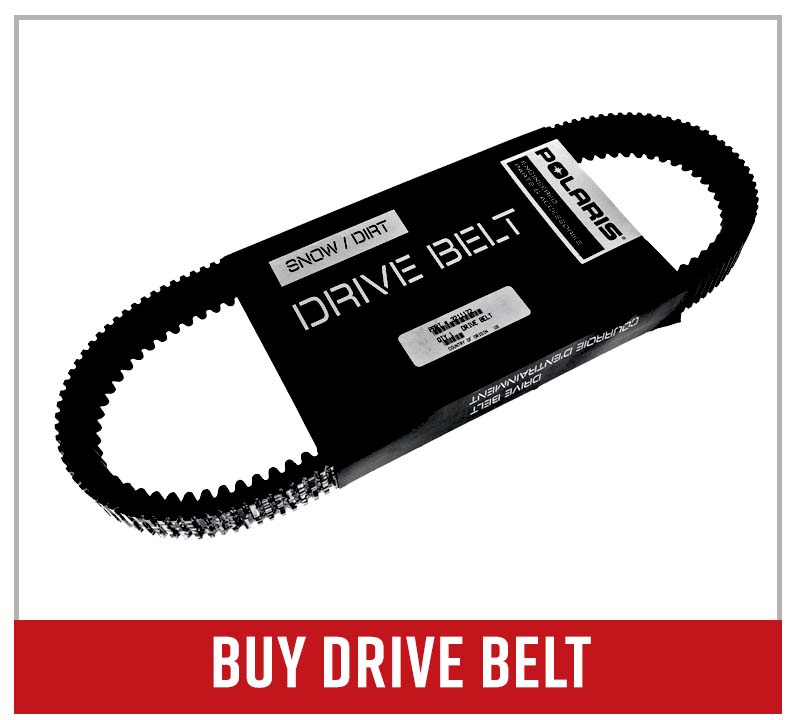
- Drive belt
- Brake/contact cleaner
- Nylon pad
NOTE: The Polaris Ranger 900XP’s primary clutch is commonly known as the “drive clutch,” and the secondary clutch is commonly known as the “driven clutch.” We’ll be using the terms drive clutch and driven clutch in this guide.
Removing Polaris Ranger 900XP Drive Belt
Step 1. Remove the left rear wheel.
PRO TIP: You can change a Polaris Ranger 900XP drive belt with the wheel still in place, but removing the wheel makes the job much easier.
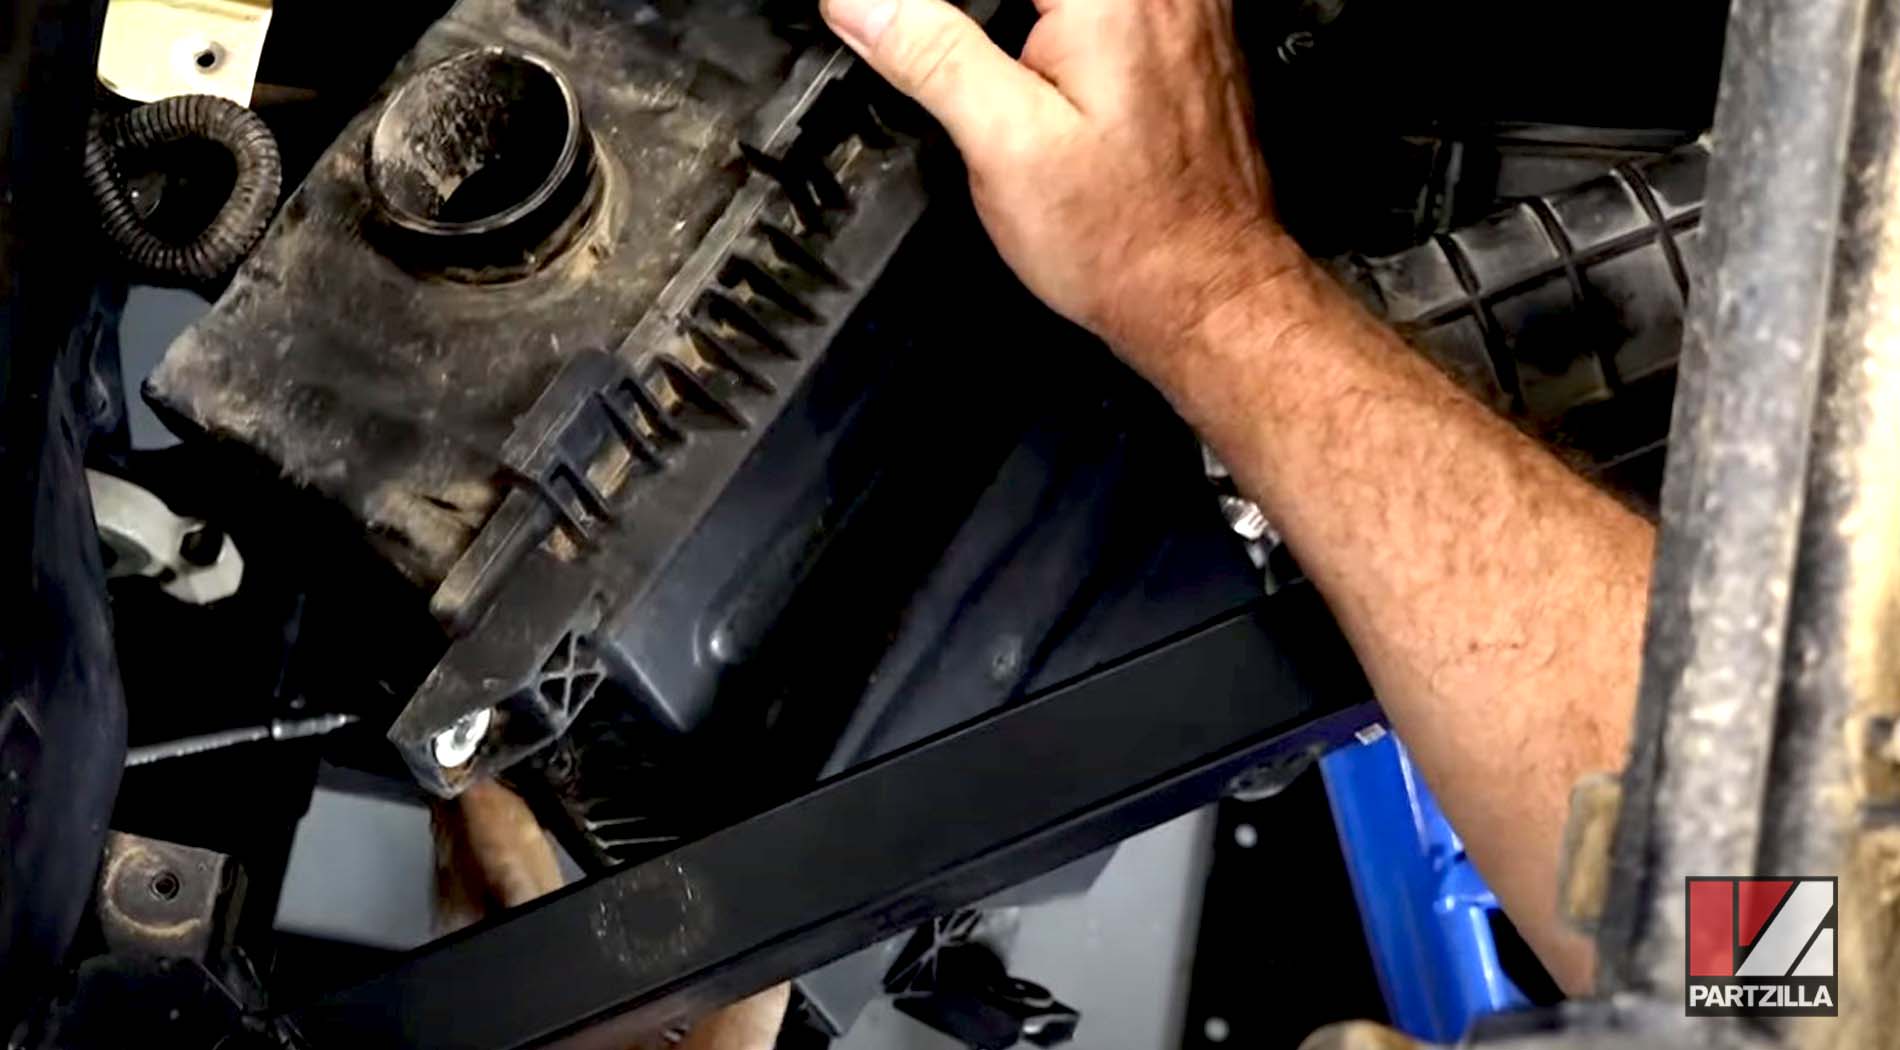
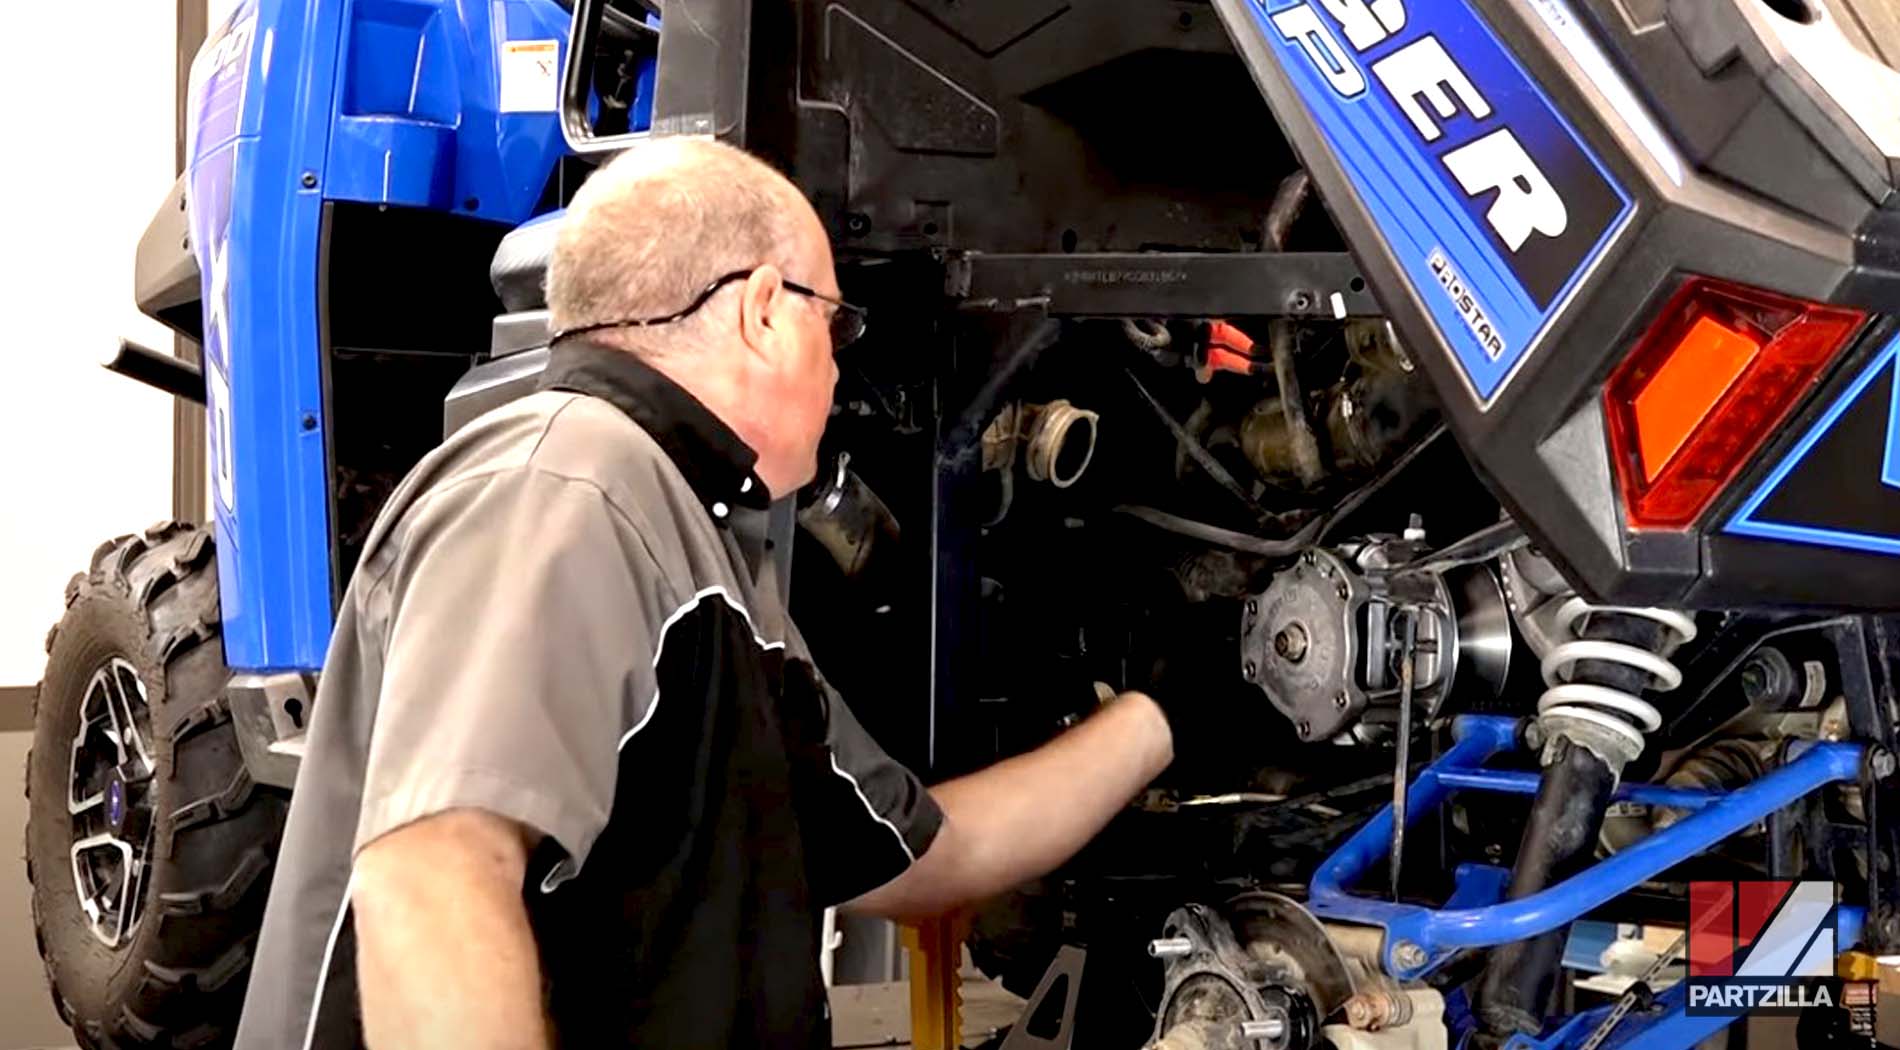
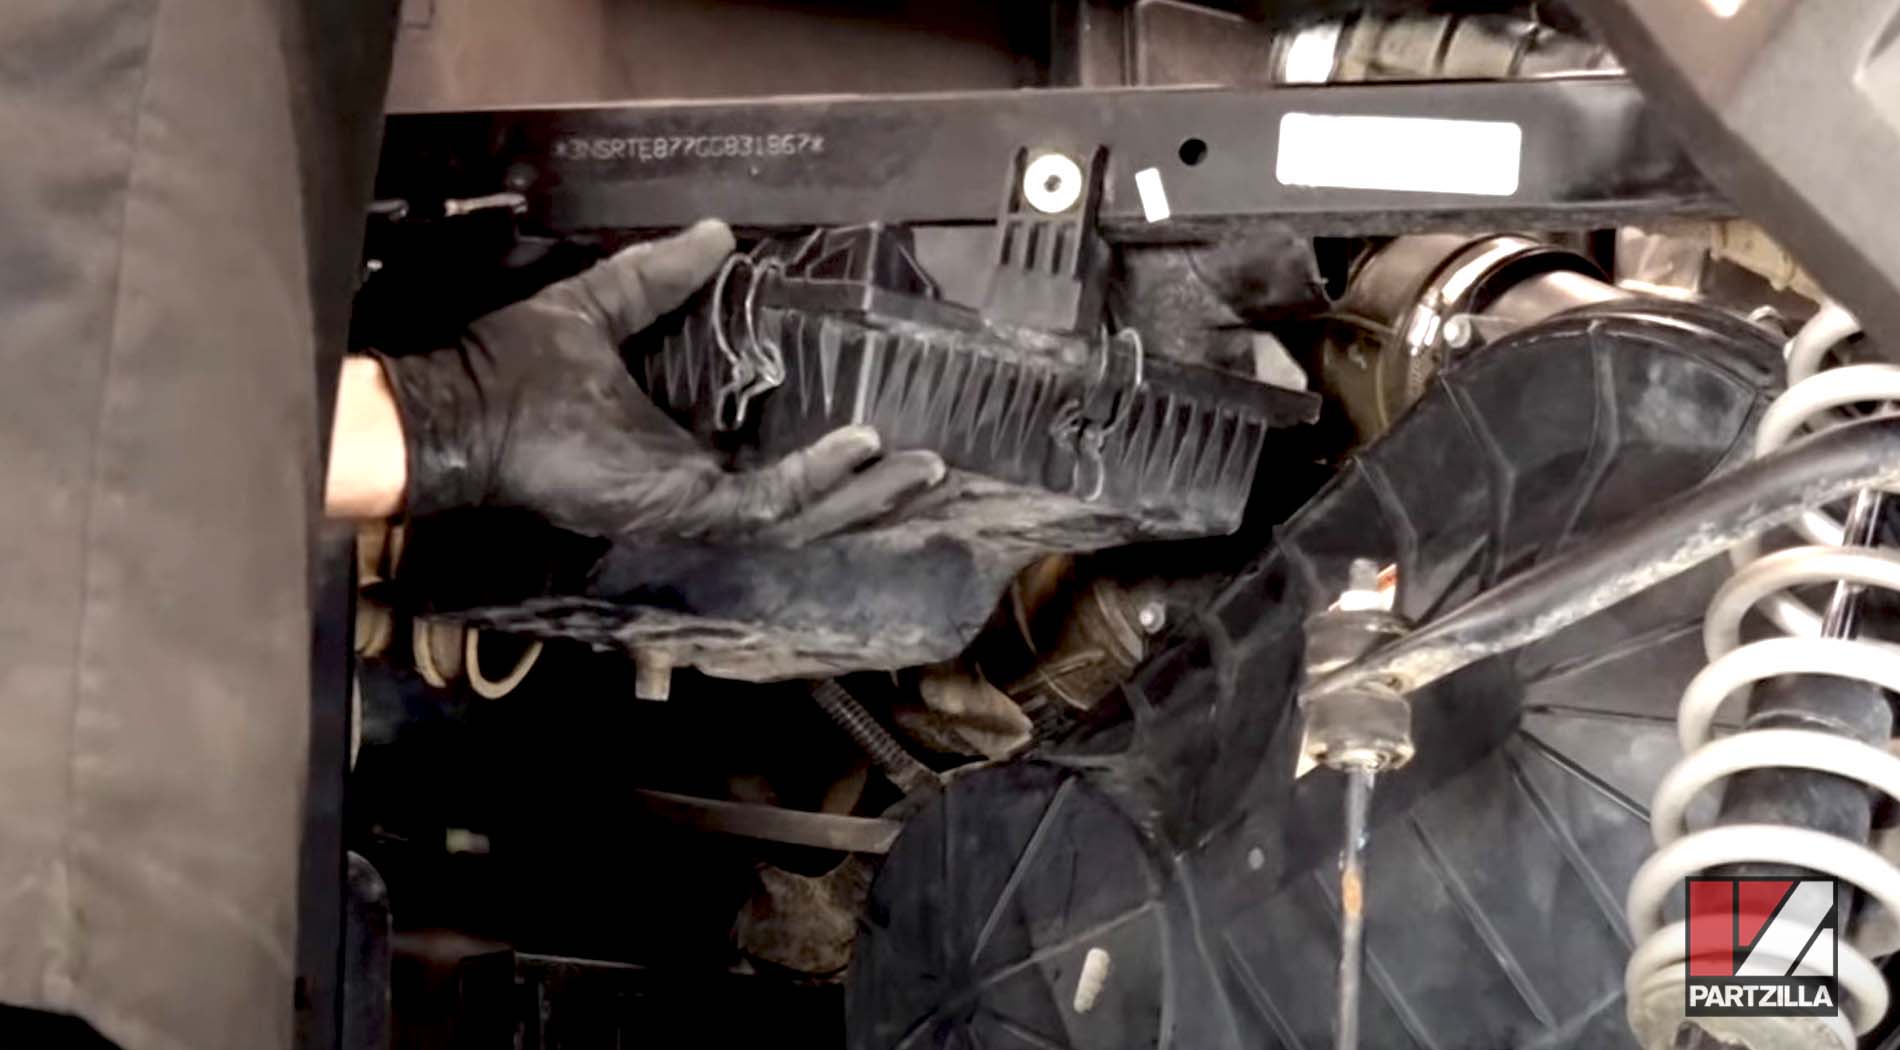
Step 2. Tilt the rear cargo bed back, and remove the three 10mm bolts holding the airbox in place. Loosen the two air hose clamps (one at either end), and move the airbox out of the way.
Step 3. Remove the 10mm zerk fitting above the upper A-arm forward mounting bolt.
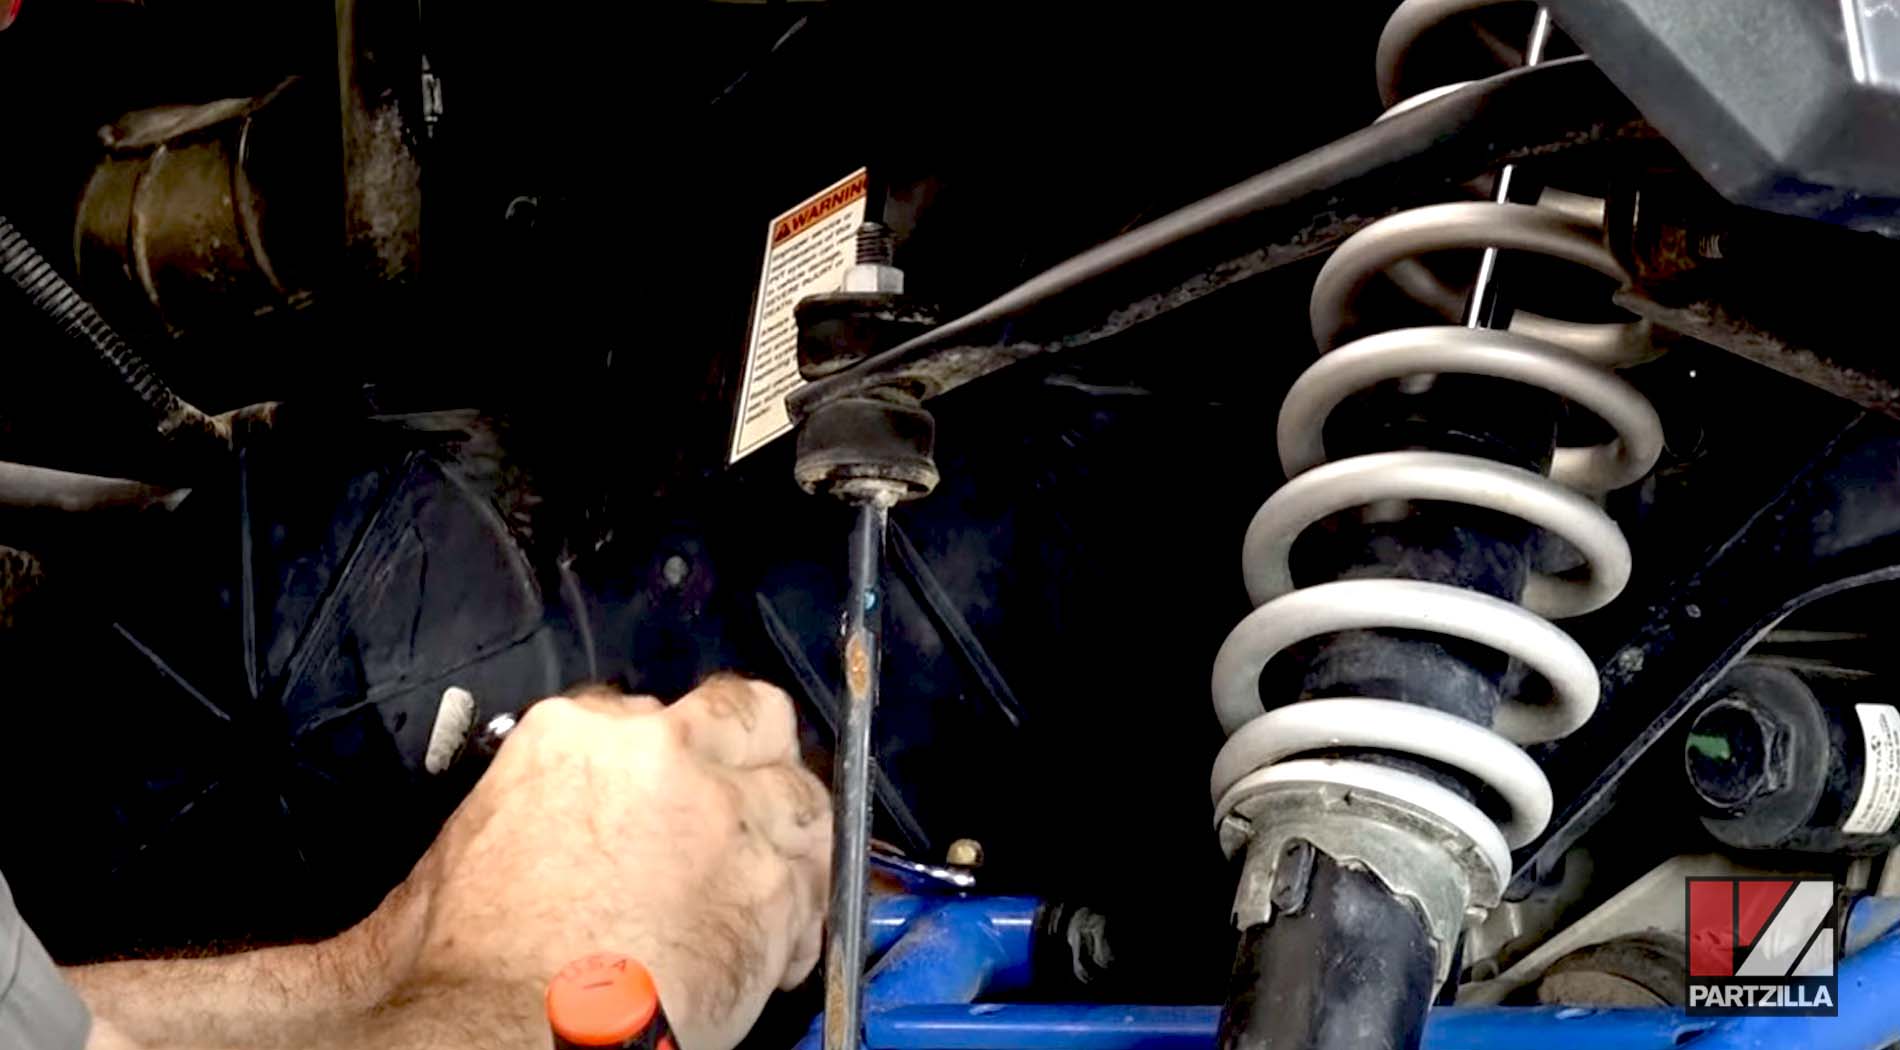
PRO TIP: This isn’t a required step, but it also makes the job much easier.
Step 4. Remove the screws, and pull the outer clutch cover off the Ranger.
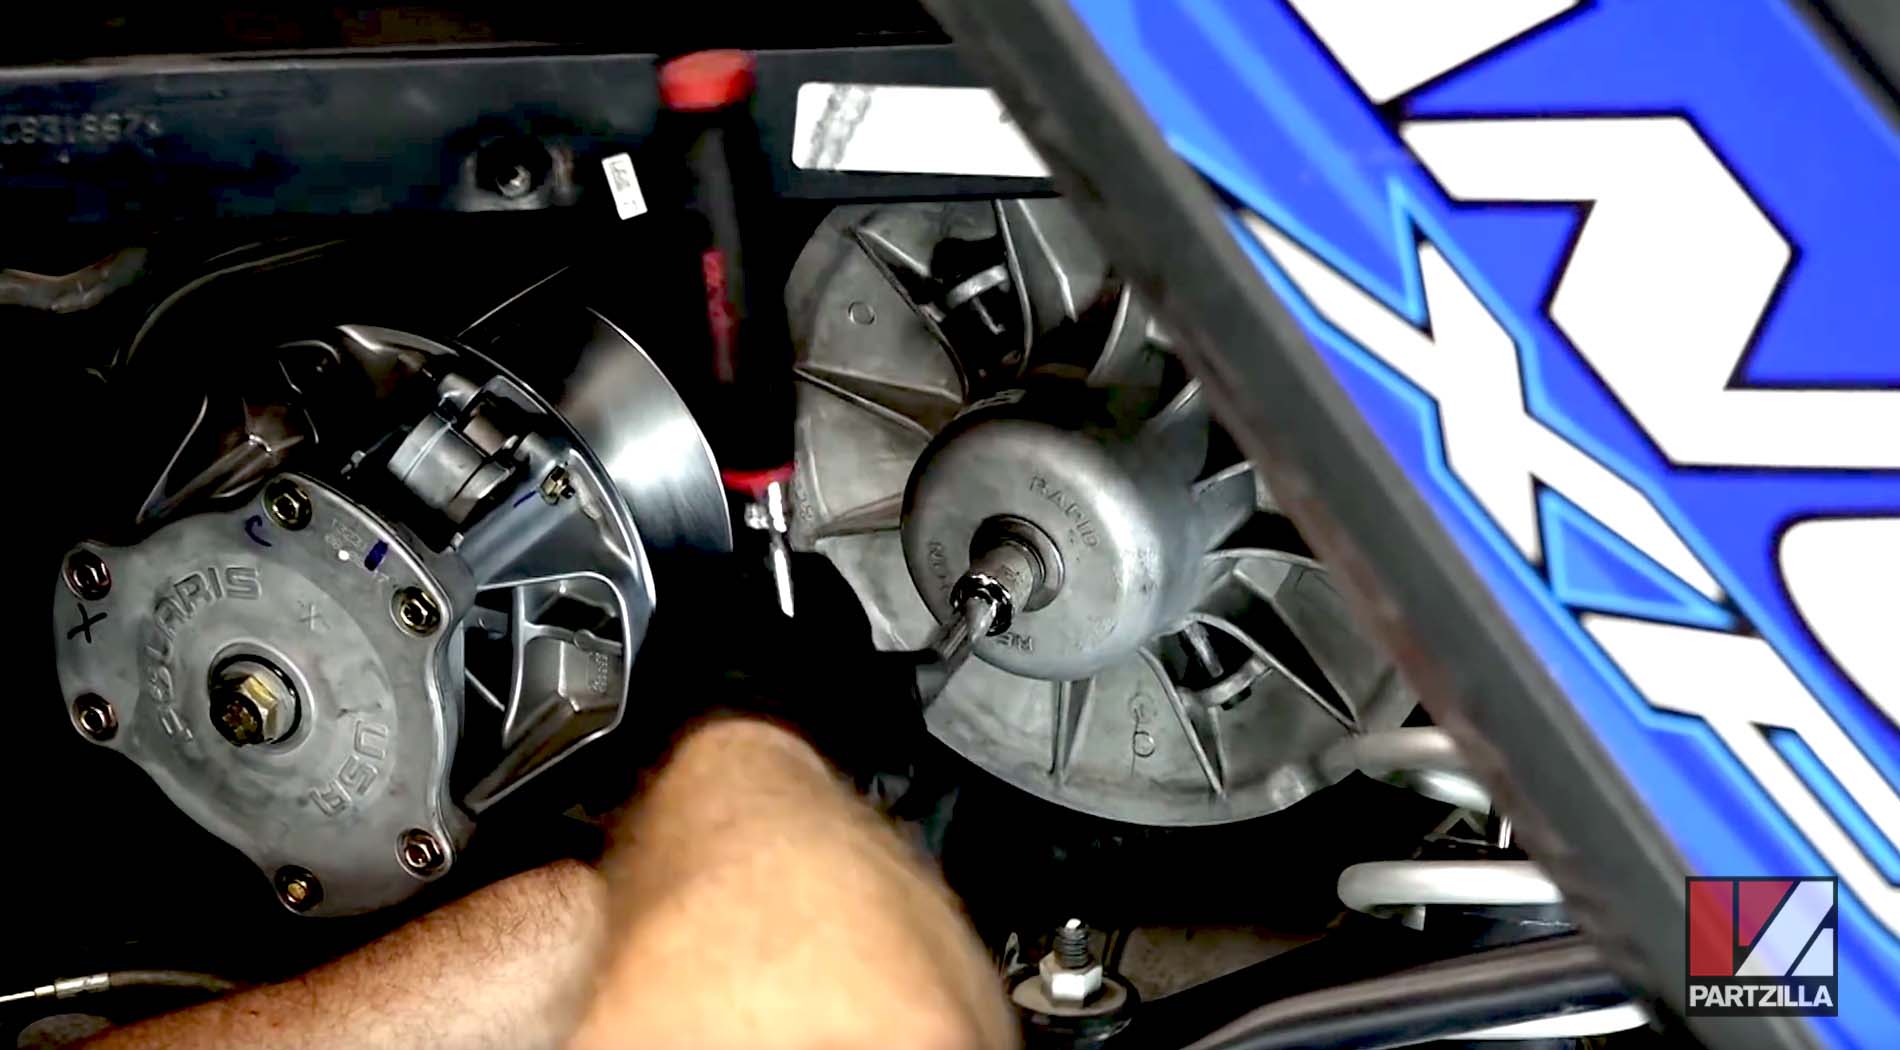
Step 5. Loosen the driven clutch center bolt to the point you can separate the two halves of the driven clutch. Next, pull the drive belt out from the bottom of the driven clutch, rotate the clutch counterclockwise, and walk the drive belt up and out as you do so.
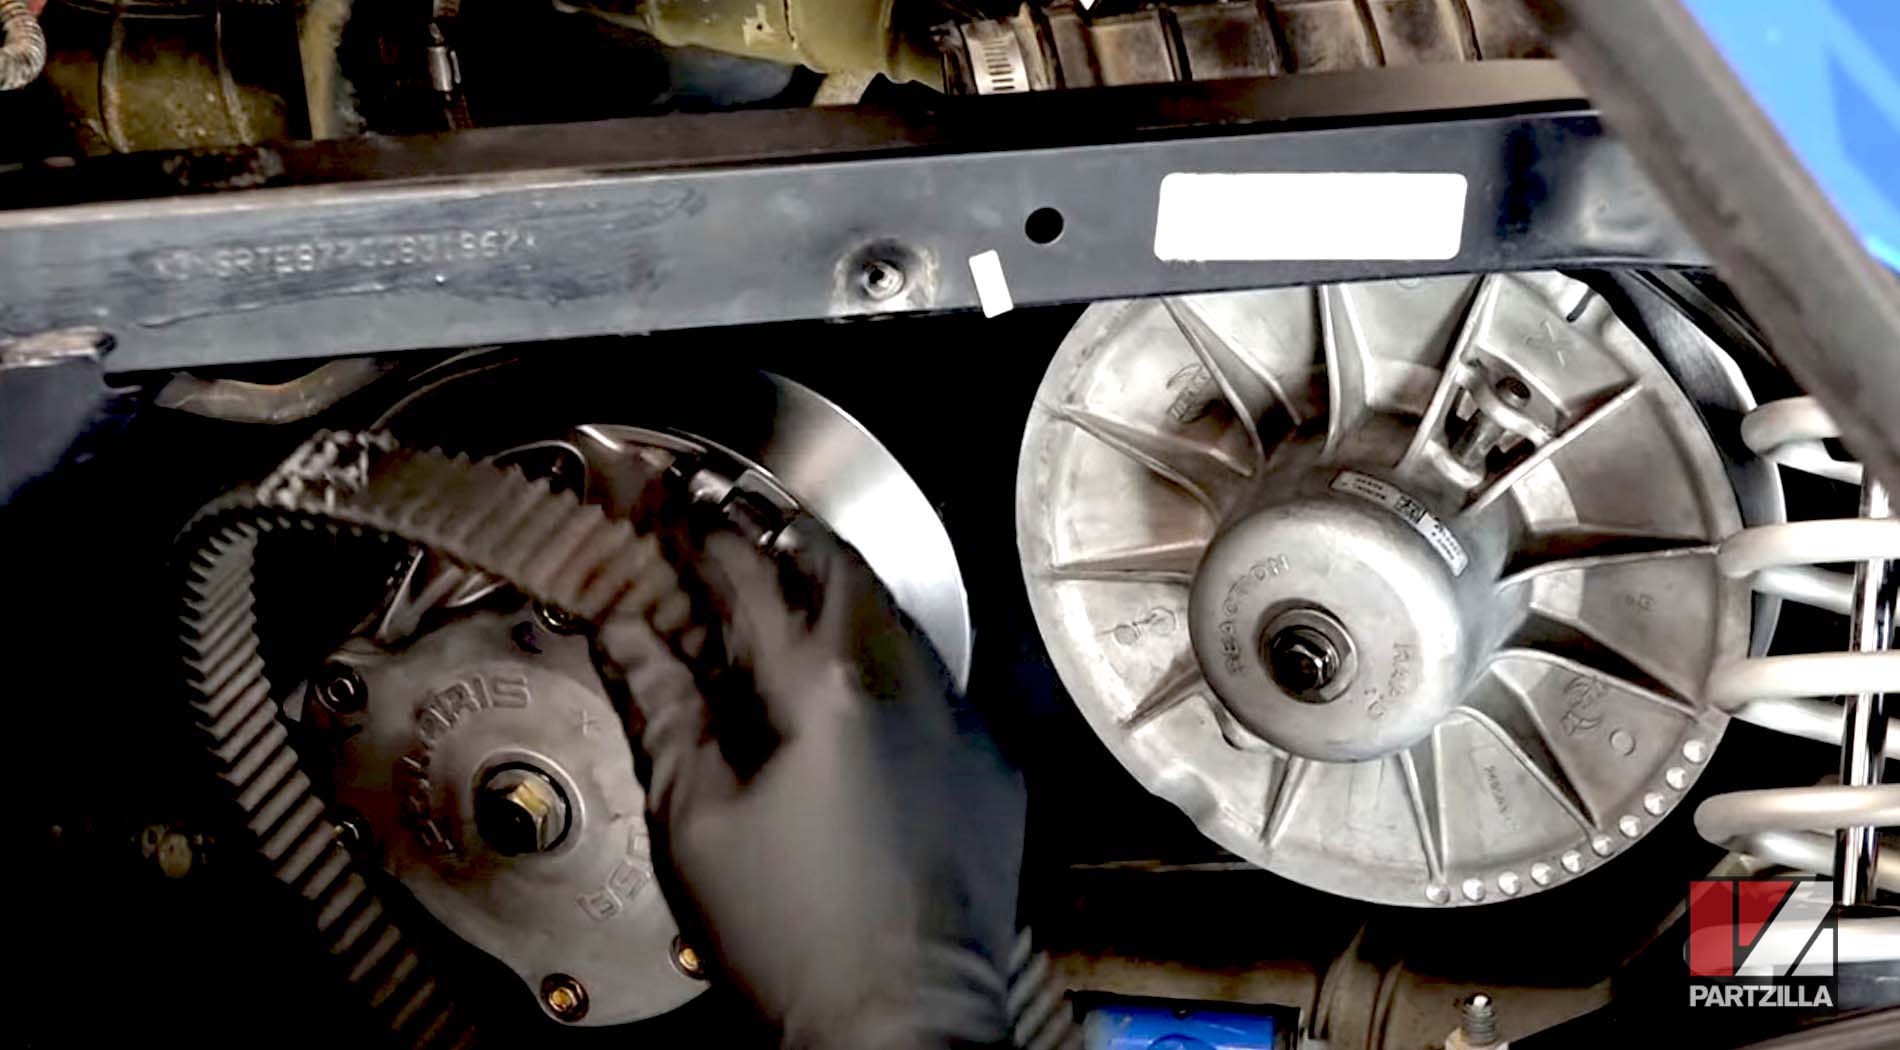
Step 6. Bend the drive belt, and carefully inspect it inside and out for any cracks, burns, and damaged or missing teeth. Replace the drive belt if it shows any signs of wear.
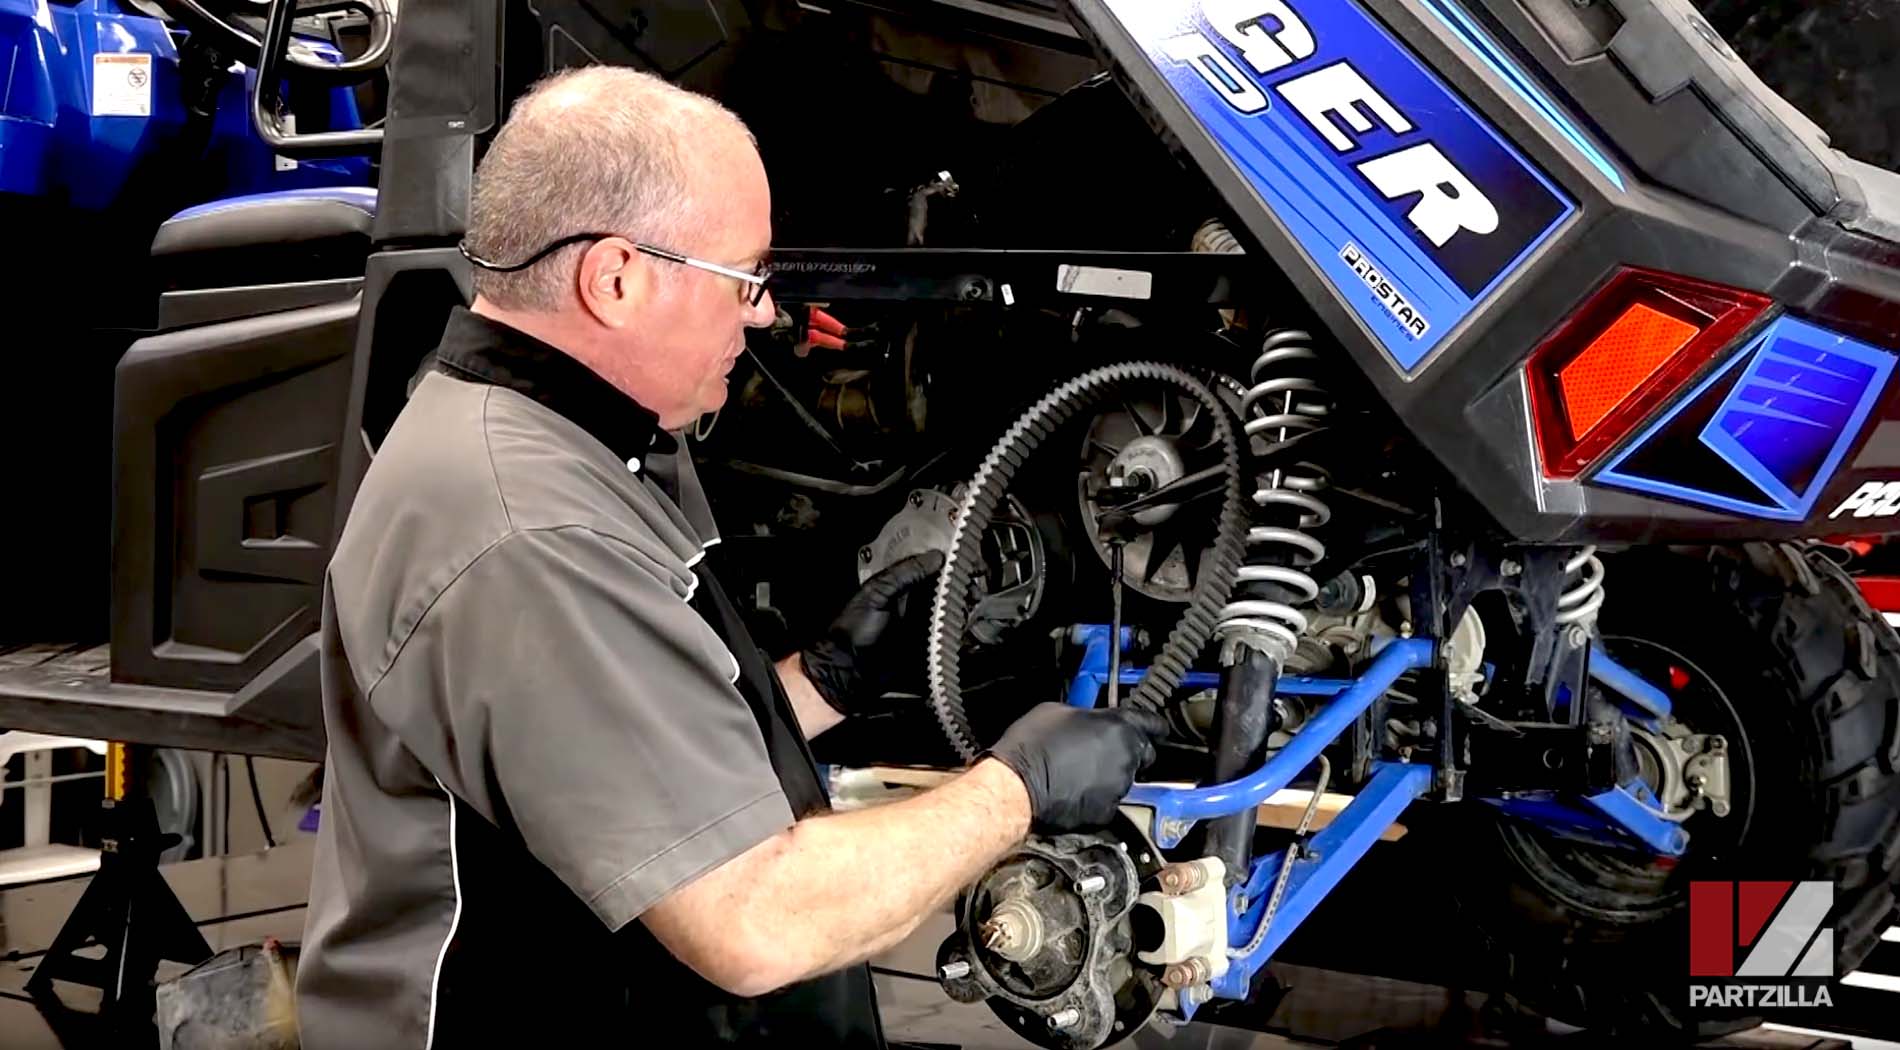
NOTE: If you’re replacing the drive belt, you’ll need to clean the drive and driven clutches first. If you’re reusing the existing drive belt, skip ahead to the Installing Polaris Ranger 900XP Drive Belt section below.
Cleaning Polaris Ranger 900XP Drive and Driven Clutches
Step 1. Remove the driven clutch, and separate the two halves.
Step 2. Use brake/contact cleaner and a nylon pad to clean the driven clutch, and lightly scuff the clutch’s sheaves. Wipe down the surfaces with brake/contact cleaner once you’re done.
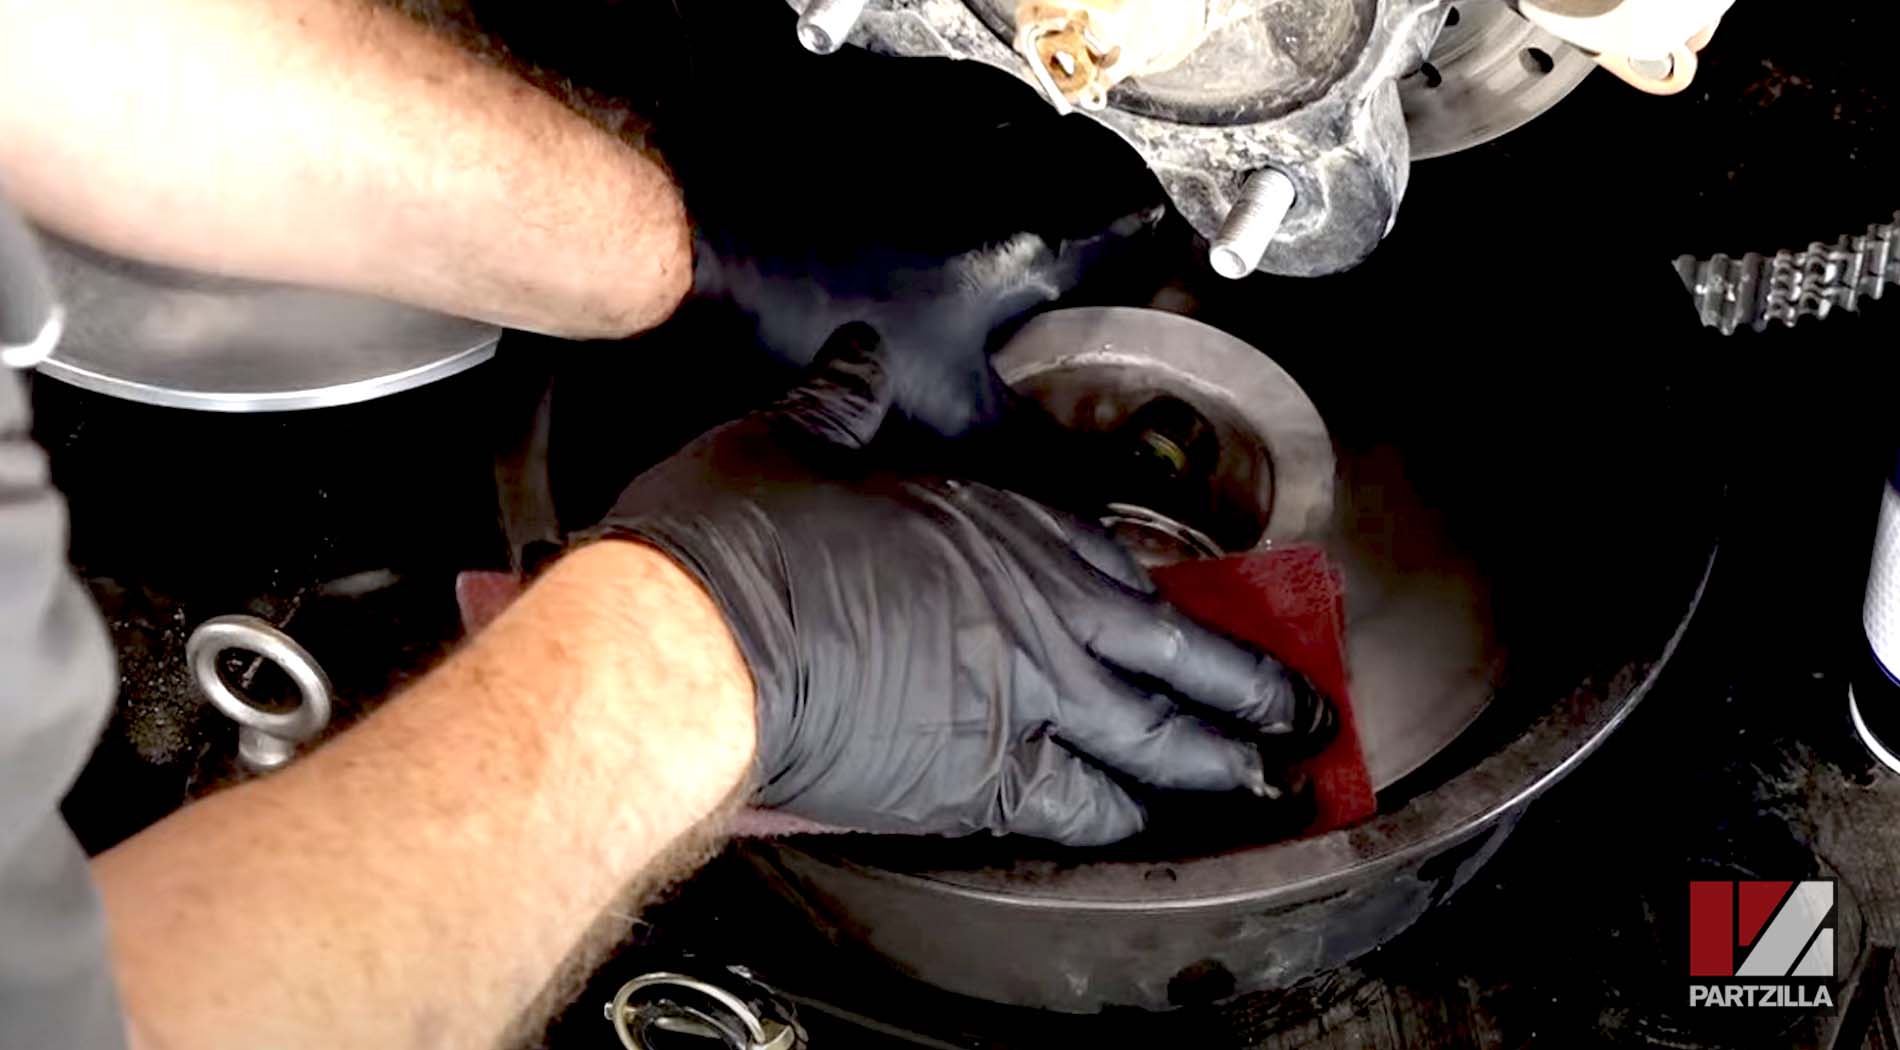
NOTE: Scuffing the sheaves will ensure the new drive belt gets enough purchase and won’t slip.
Step 3. Leave the drive clutch on the Ranger, and reach in to clean it. Once again, use brake/contact cleaner and a nylon pad to lightly scuff the drive clutch’s sheaves. Wipe down the surfaces with brake/contact cleaner once you’re done.
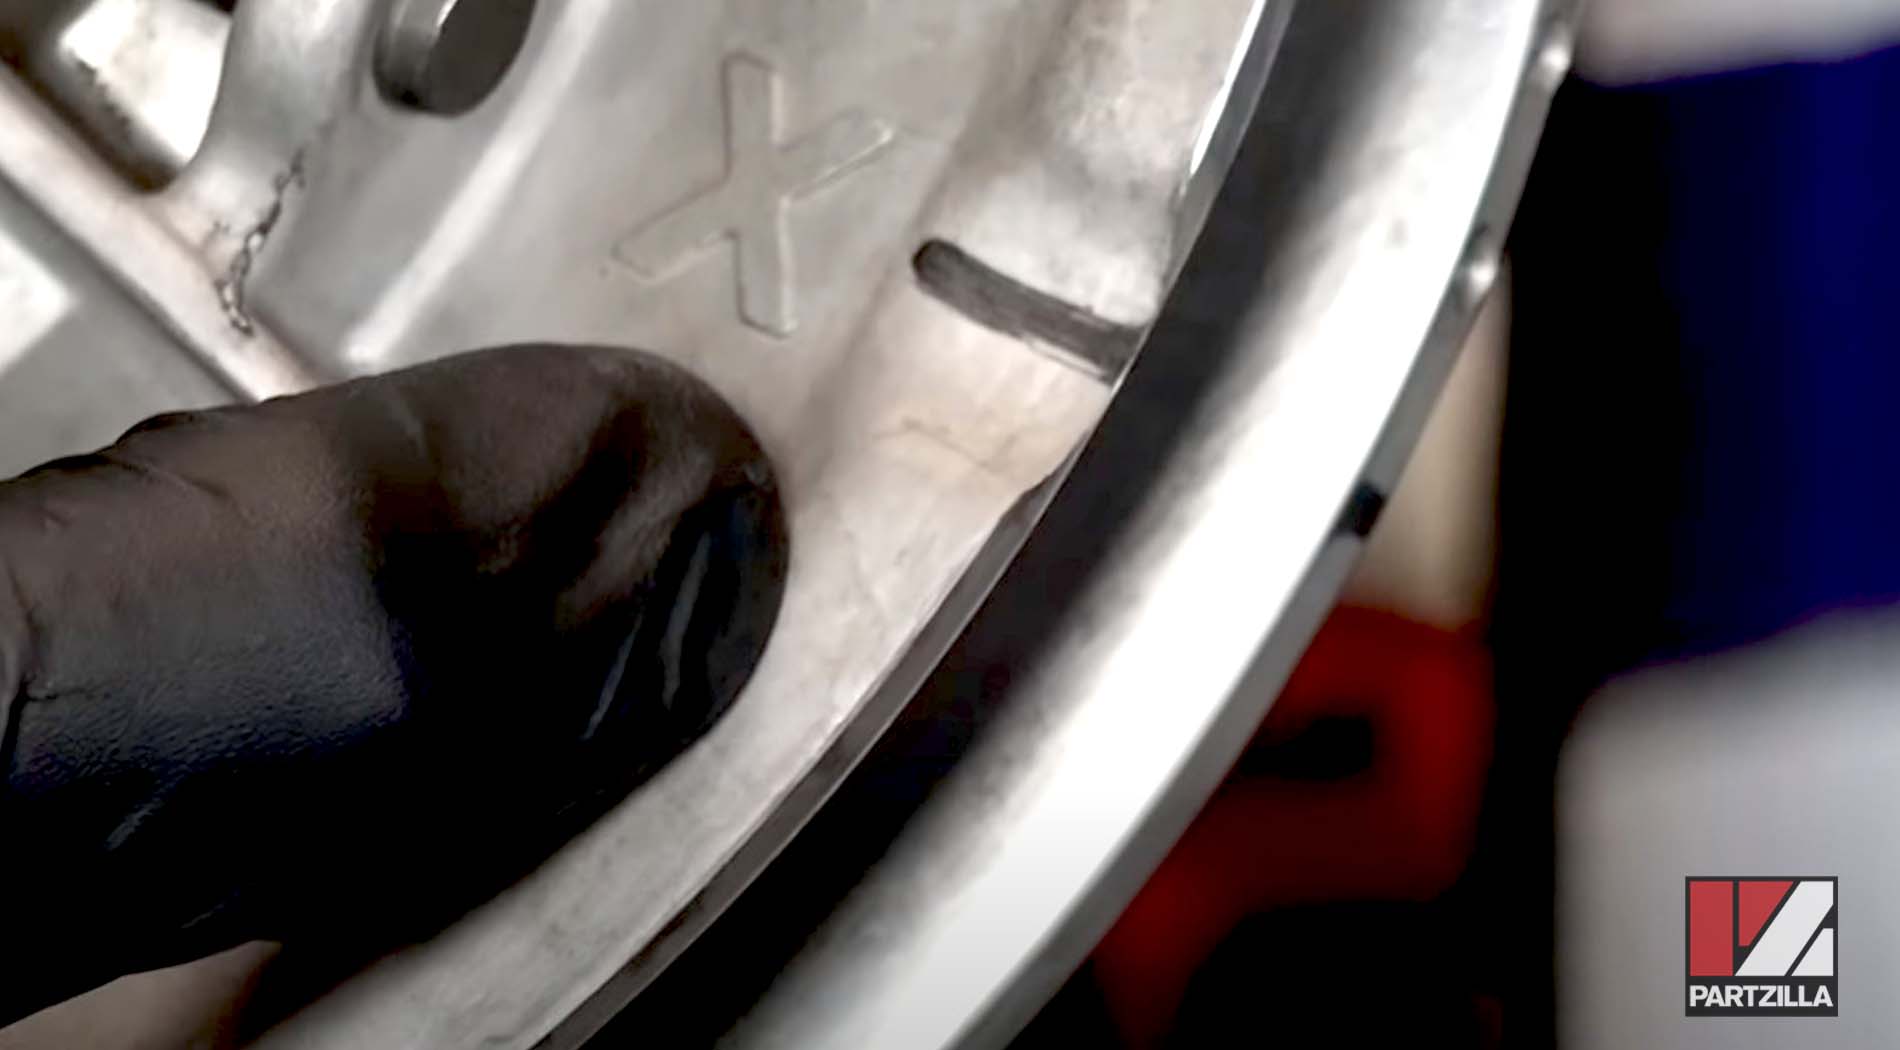
Step 4. Reconnect the two halves of the driven clutch, making sure the X-marks on each are aligned with one another, and reinstall the drive clutch onto the Ranger.
Installing Polaris Ranger 900XP Drive Belt
Step 1. Install a new drive belt over the drive clutch and under the bottom edge of the driven clutch. Rotate the driven clutch counterclockwise, and walk the belt up and onto the driven clutch as you rotate it.
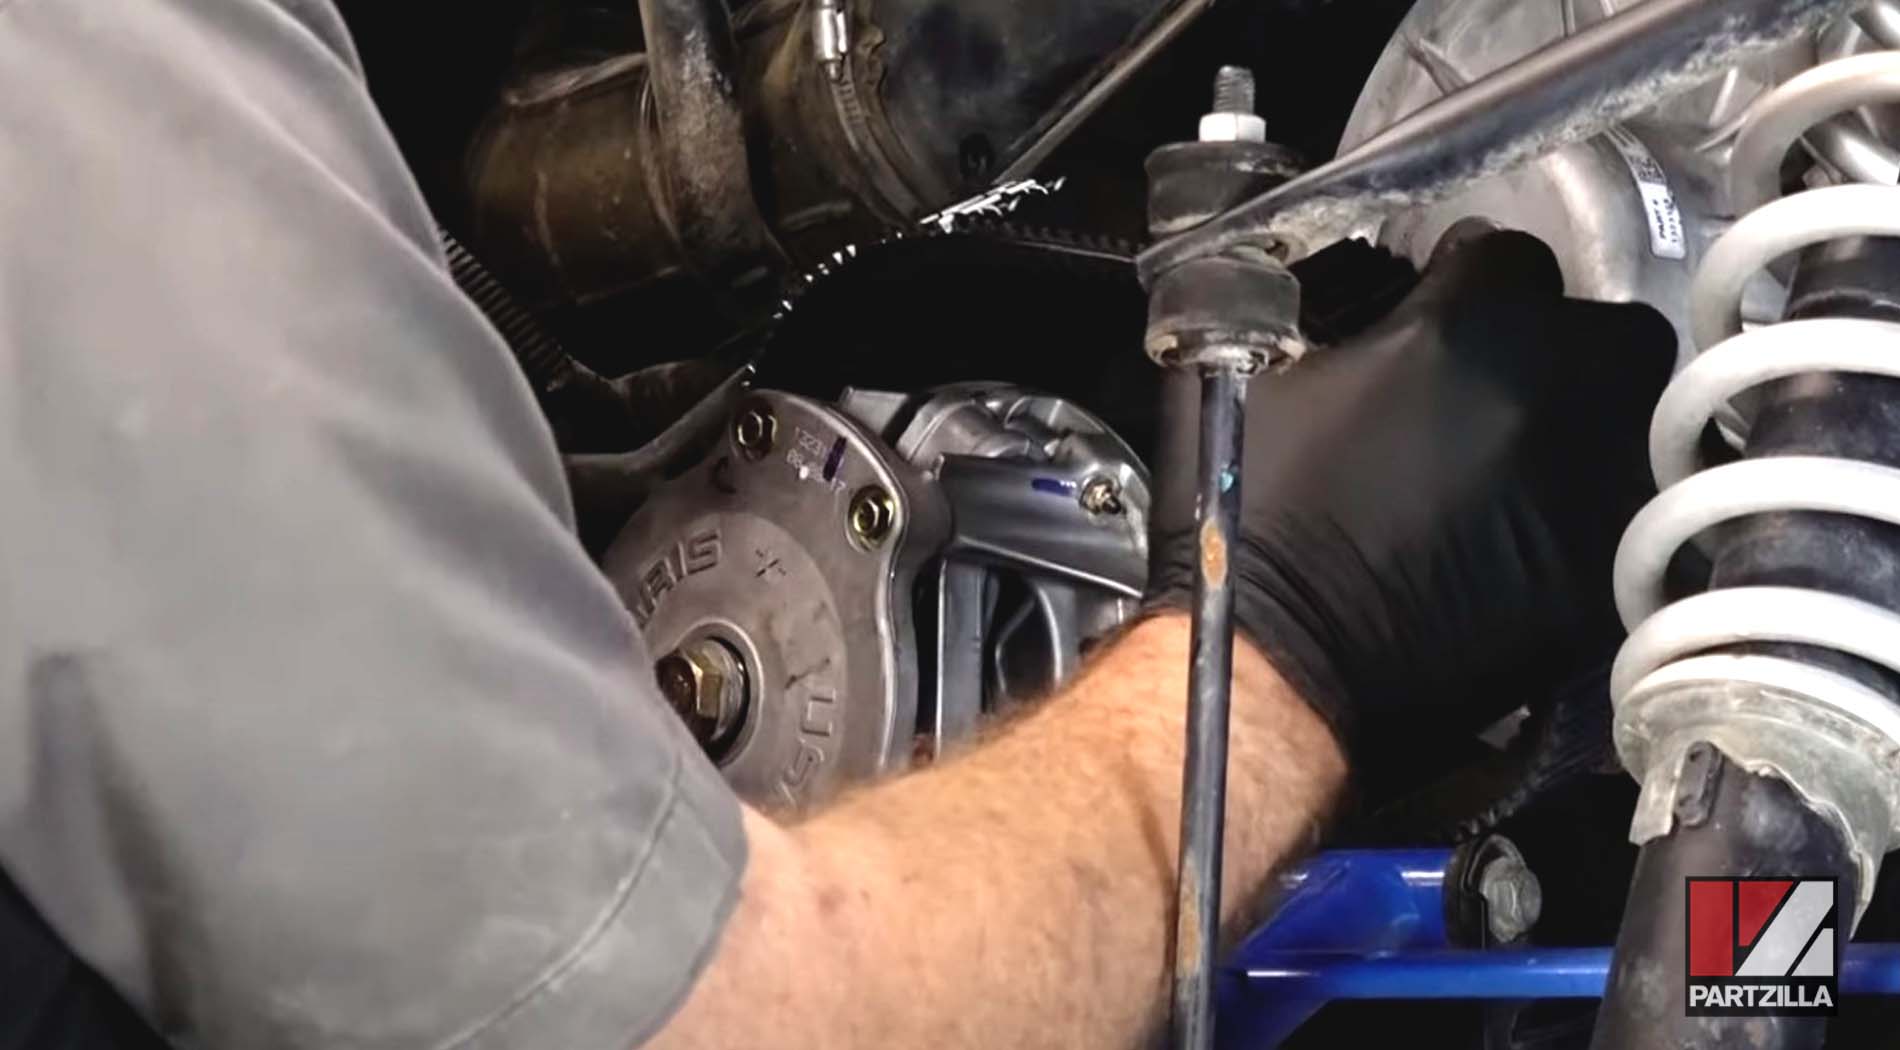
Step 2. Tighten the driven clutch center bolt while holding the drive belt out at the edge of the driven clutch to prevent it from getting pinched between the sheaves. Torque the driven clutch bolt to 43 foot-pounds.
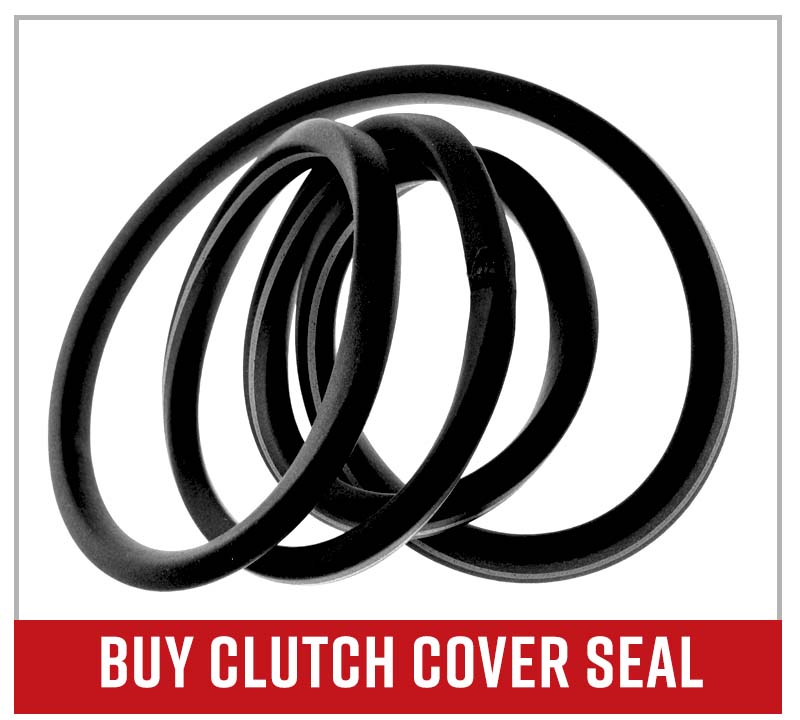
Step 3. Inspect the seal between the inner and outer clutch cover. If the seal is worn or broken, or if there are signs that water has been getting into the clutch cover, you should replace the seal.
Step 4. Reinstall the outer clutch cover.
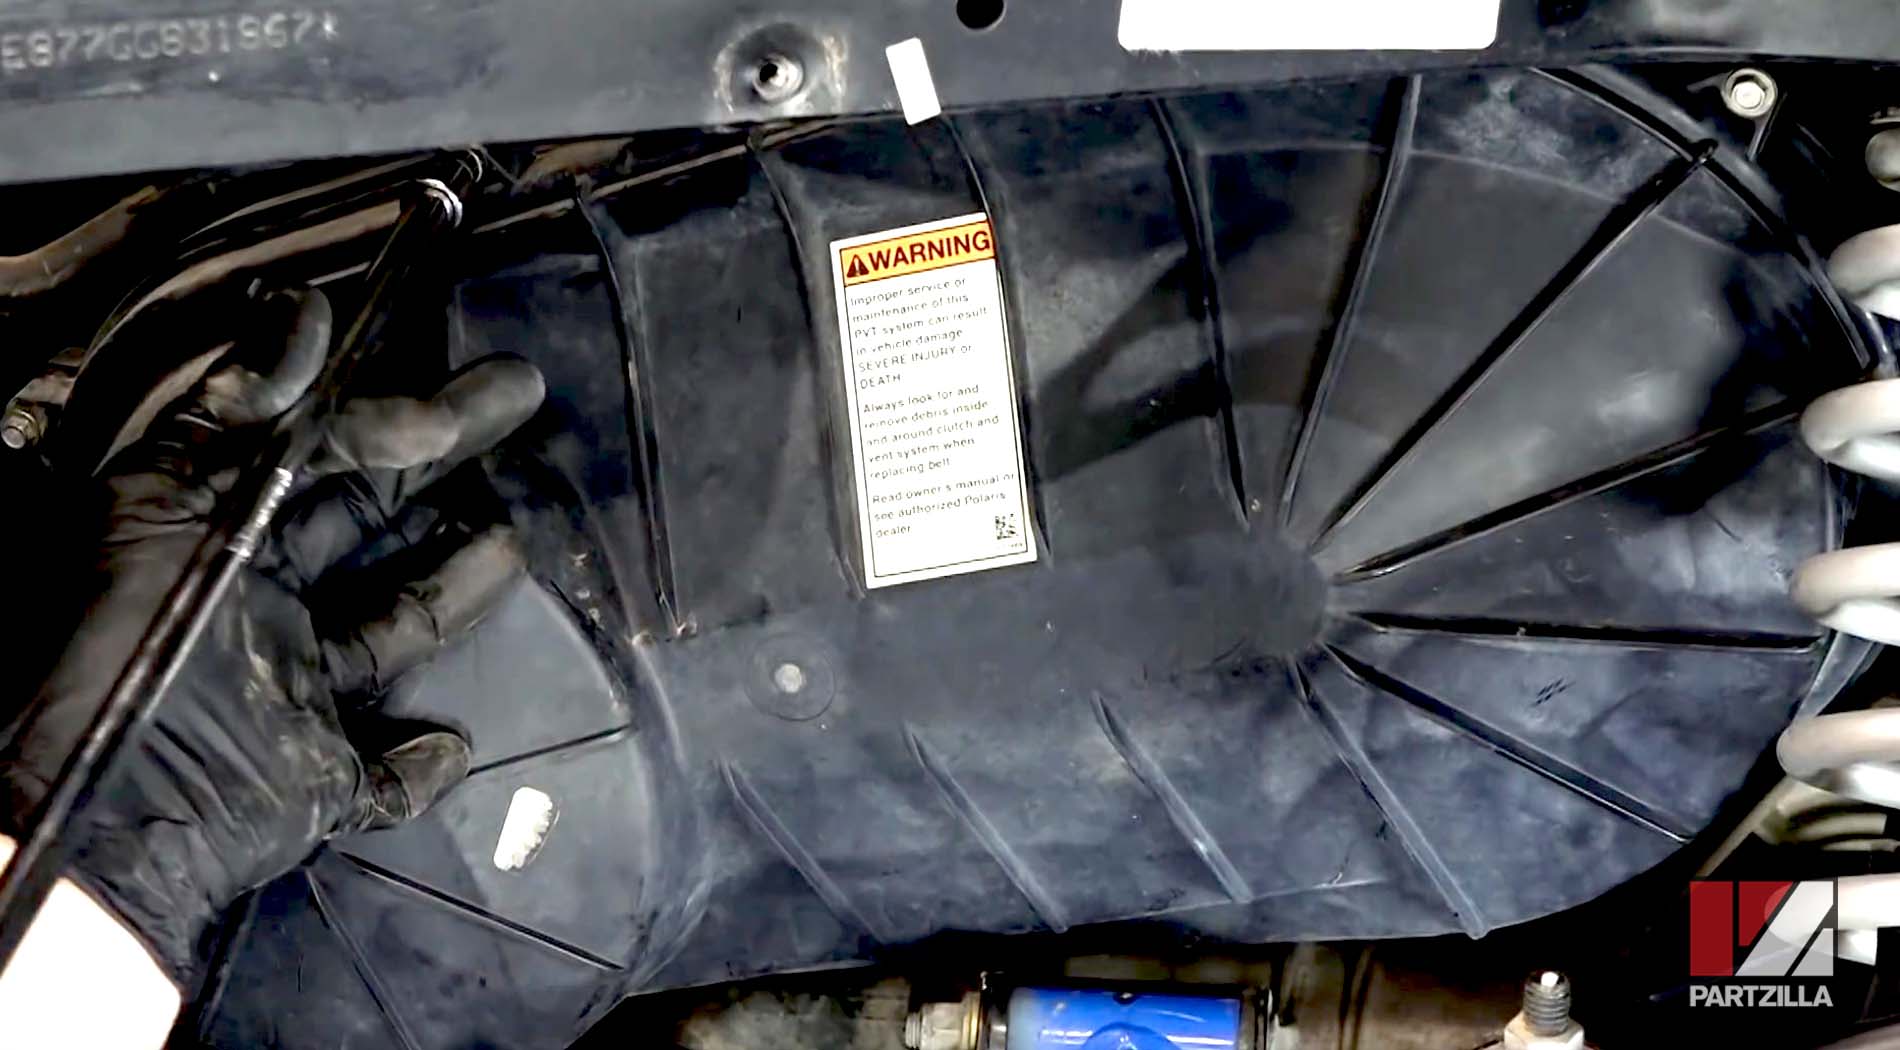
NOTE: Don't overtighten the cover’s bolts, or they'll strip the threads in the plastic clutch covers.
Step 5. Reinstall the zerk fitting into the upper suspension A-arm, and reinstall the airbox.
Step 6. Reattach the wheel, and torque the lug nuts to 120 foot-pounds if you have aluminum rims or 60 foot-pounds if you have steel rims.
