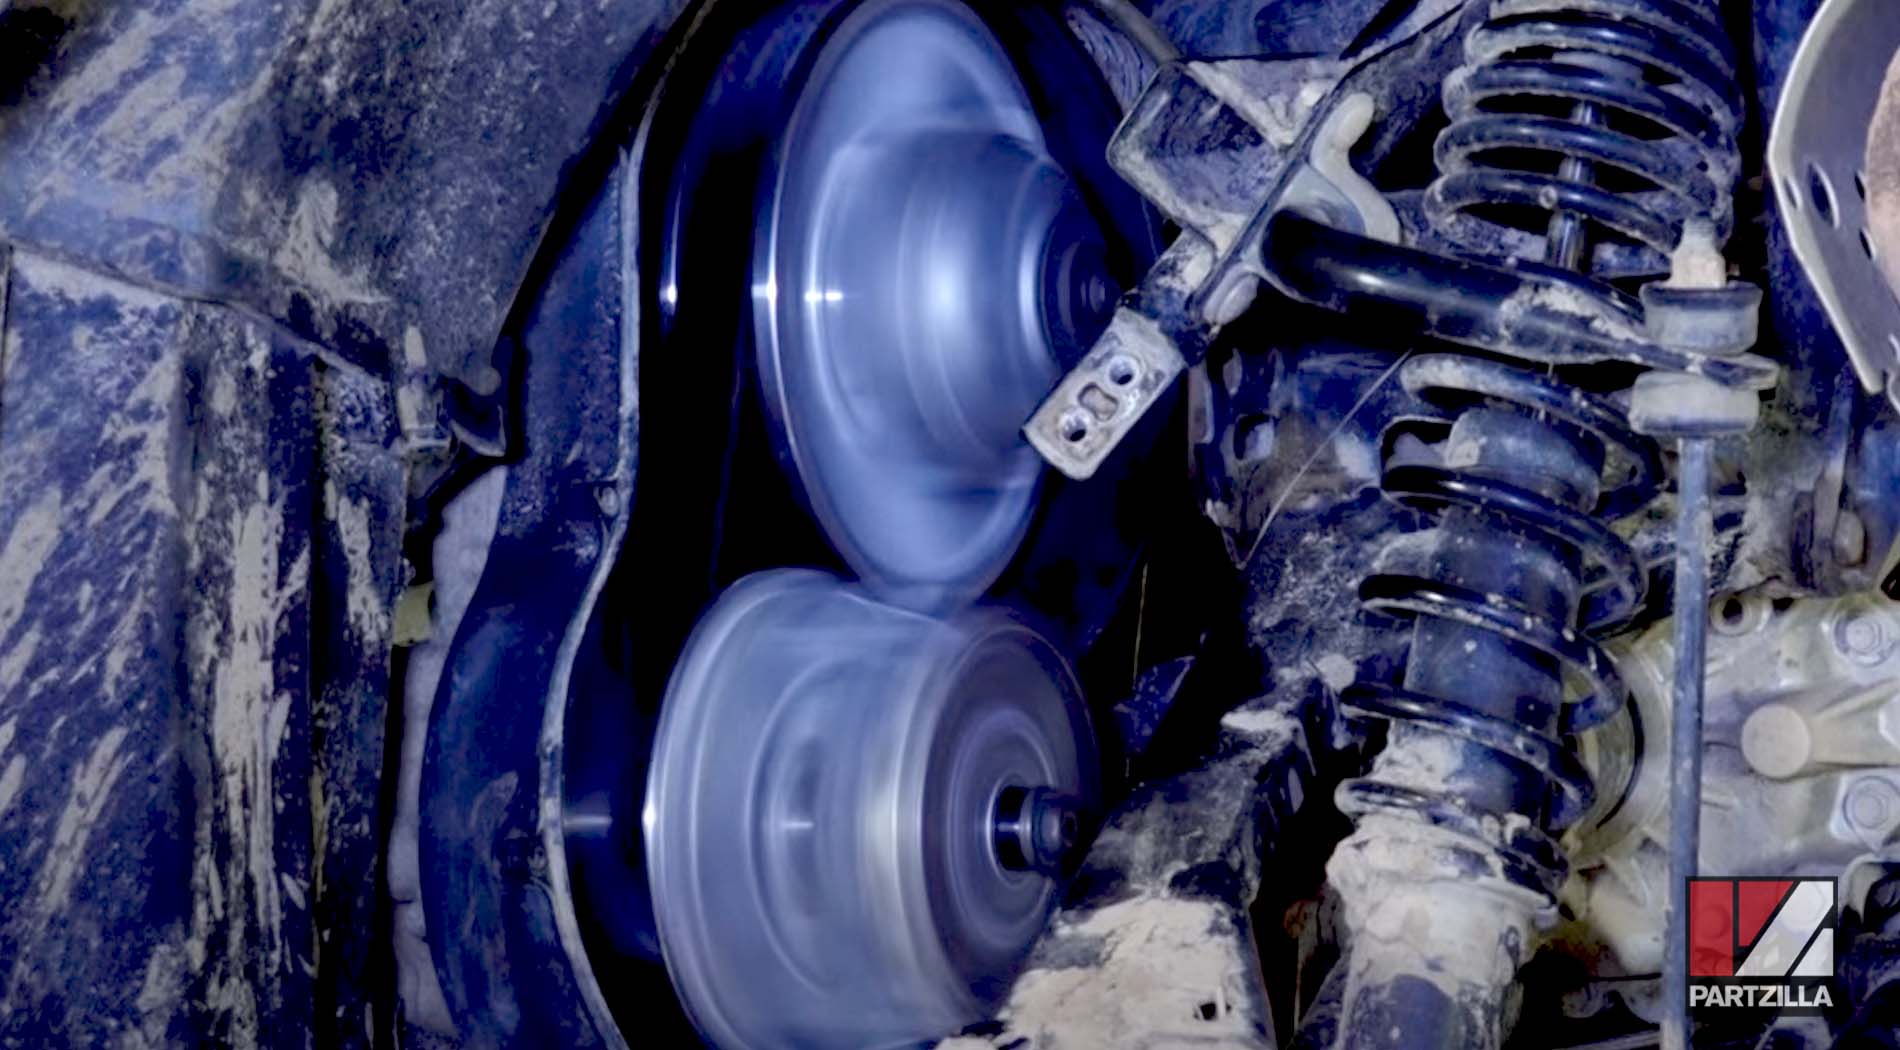
Polaris ATV Clutch Rebuild Part Three: Replacing the Clutch
Some performance issues in a Polaris ATV can be traced to the clutch. When changing the drive belt doesn’t resolve all the issues, a clutch rebuild may be required.
In the last part of our three-part Polaris Sportsman 850 clutch rebuild series, we cover how to replace the clutch after the rebuild is complete. Watch the video above and follow the steps below to reinstall the clutch on a Polaris ATV.
Tools – Polaris Sportsman 850 ATV Clutch Rebuild
- 15mm, 17mm, 18mm, 22mm sockets
- 3/4th box wrench
- Two 10mm sockets— one for a 3/8th drive, one for a 1/4th drive
- 1/4th, 3/8th ratchet drives
- 2mm Allen
- Drive extensions
- Pliers
- Small pick tool
- Medium hammer
- Clutch puller
- Clutch compression tool
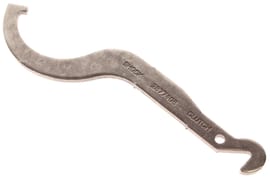
- Span/spreader wrench
NOTE: Reinstalling the drive and driven clutch on a Polaris ATV is simply the reverse of the process to remove the clutch. The drive and driven clutches are positioned vertically.
Reinstalling the Clutch on a Polaris ATV
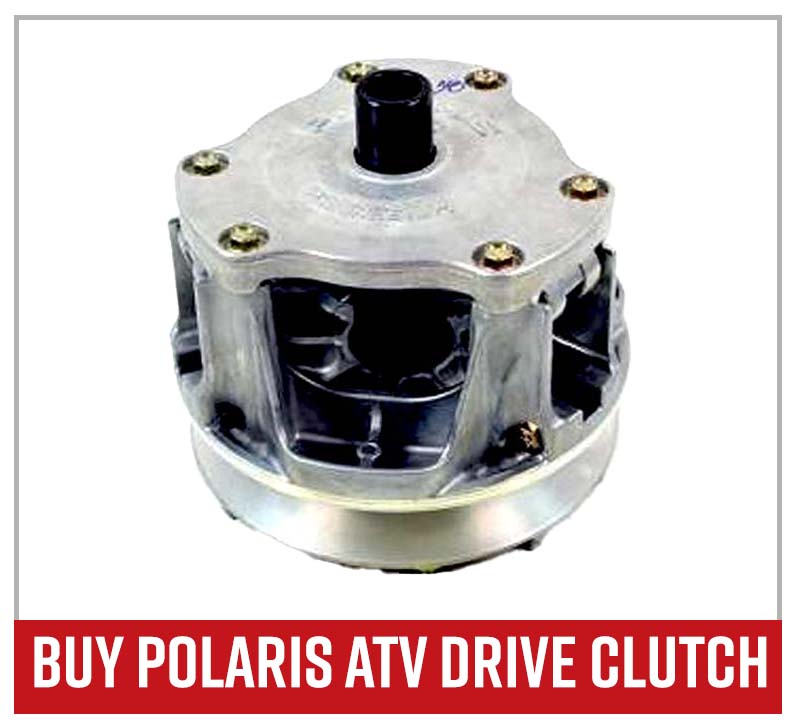
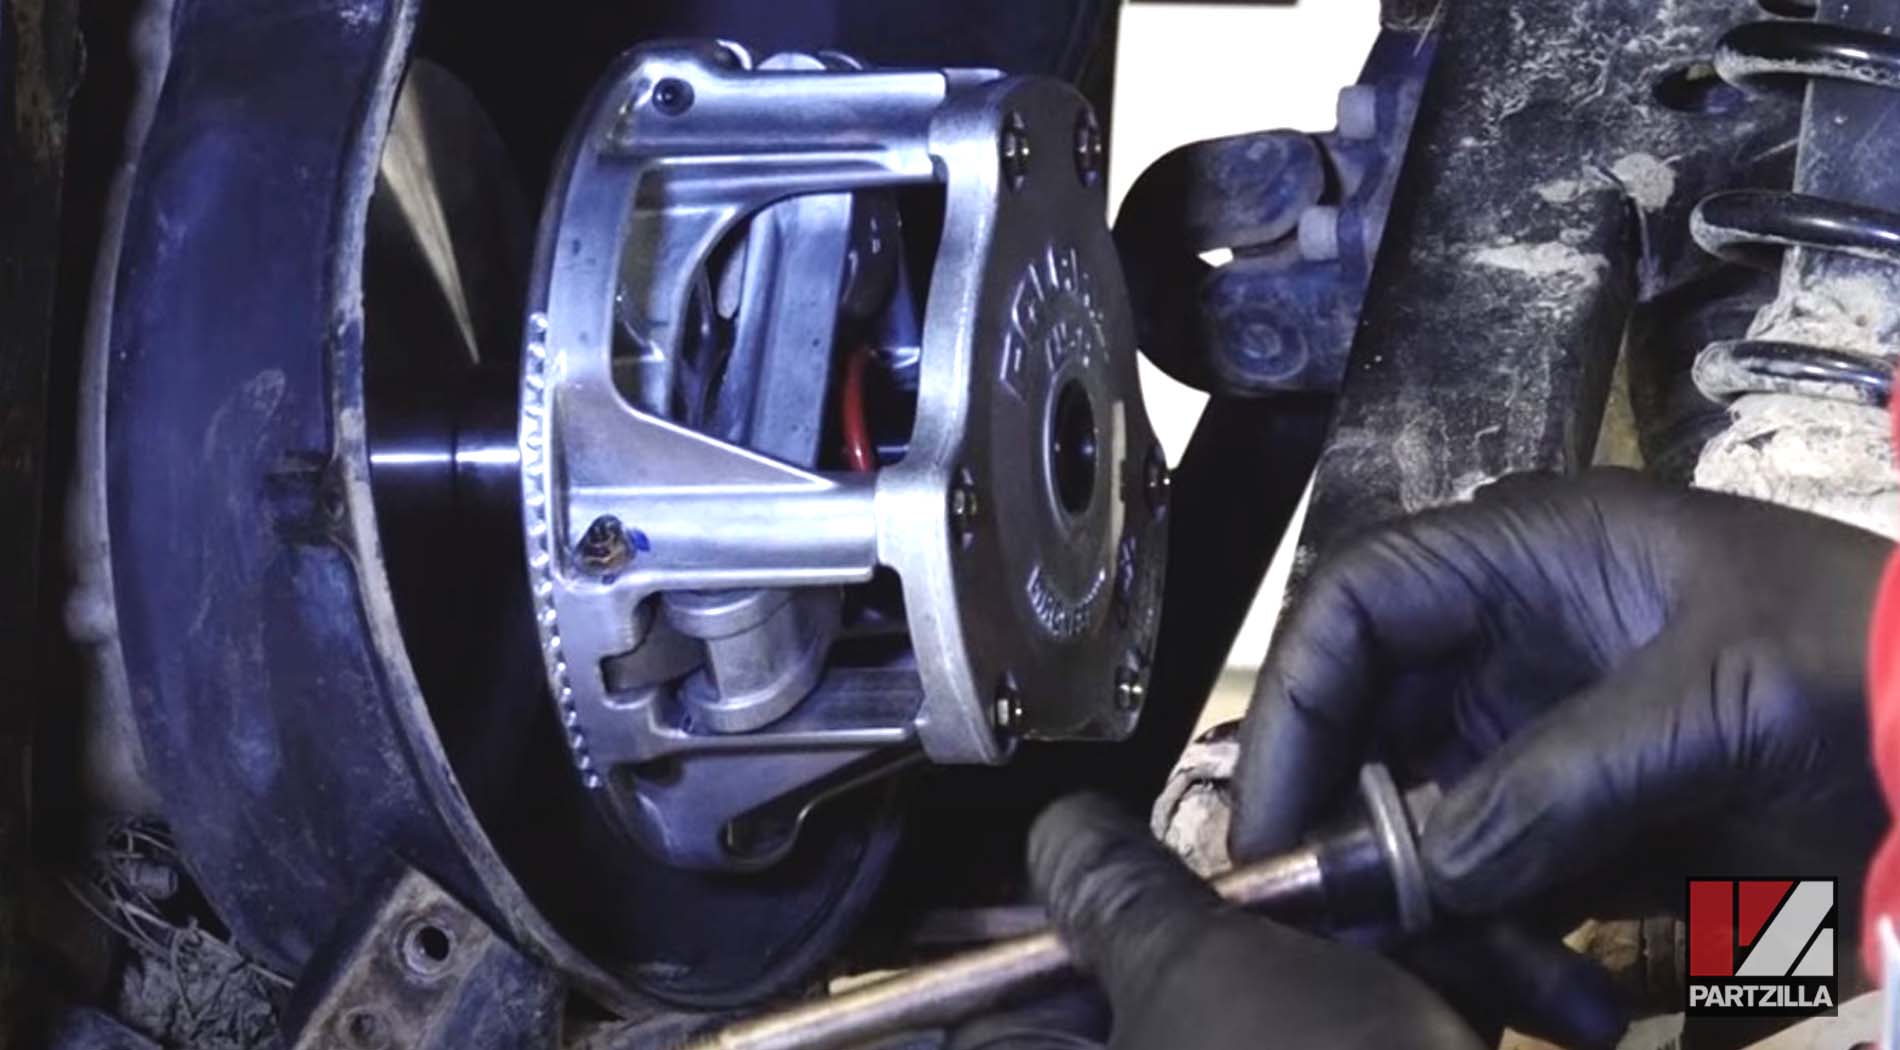
Step 1. Replace the drive clutch by inserting the long 18mm bolt into the opening in the center of the drive clutch. Make sure you have three pieces on the bolt before placing it: an outer lock washer next to the head of the bolt, a larger washer and a shim.
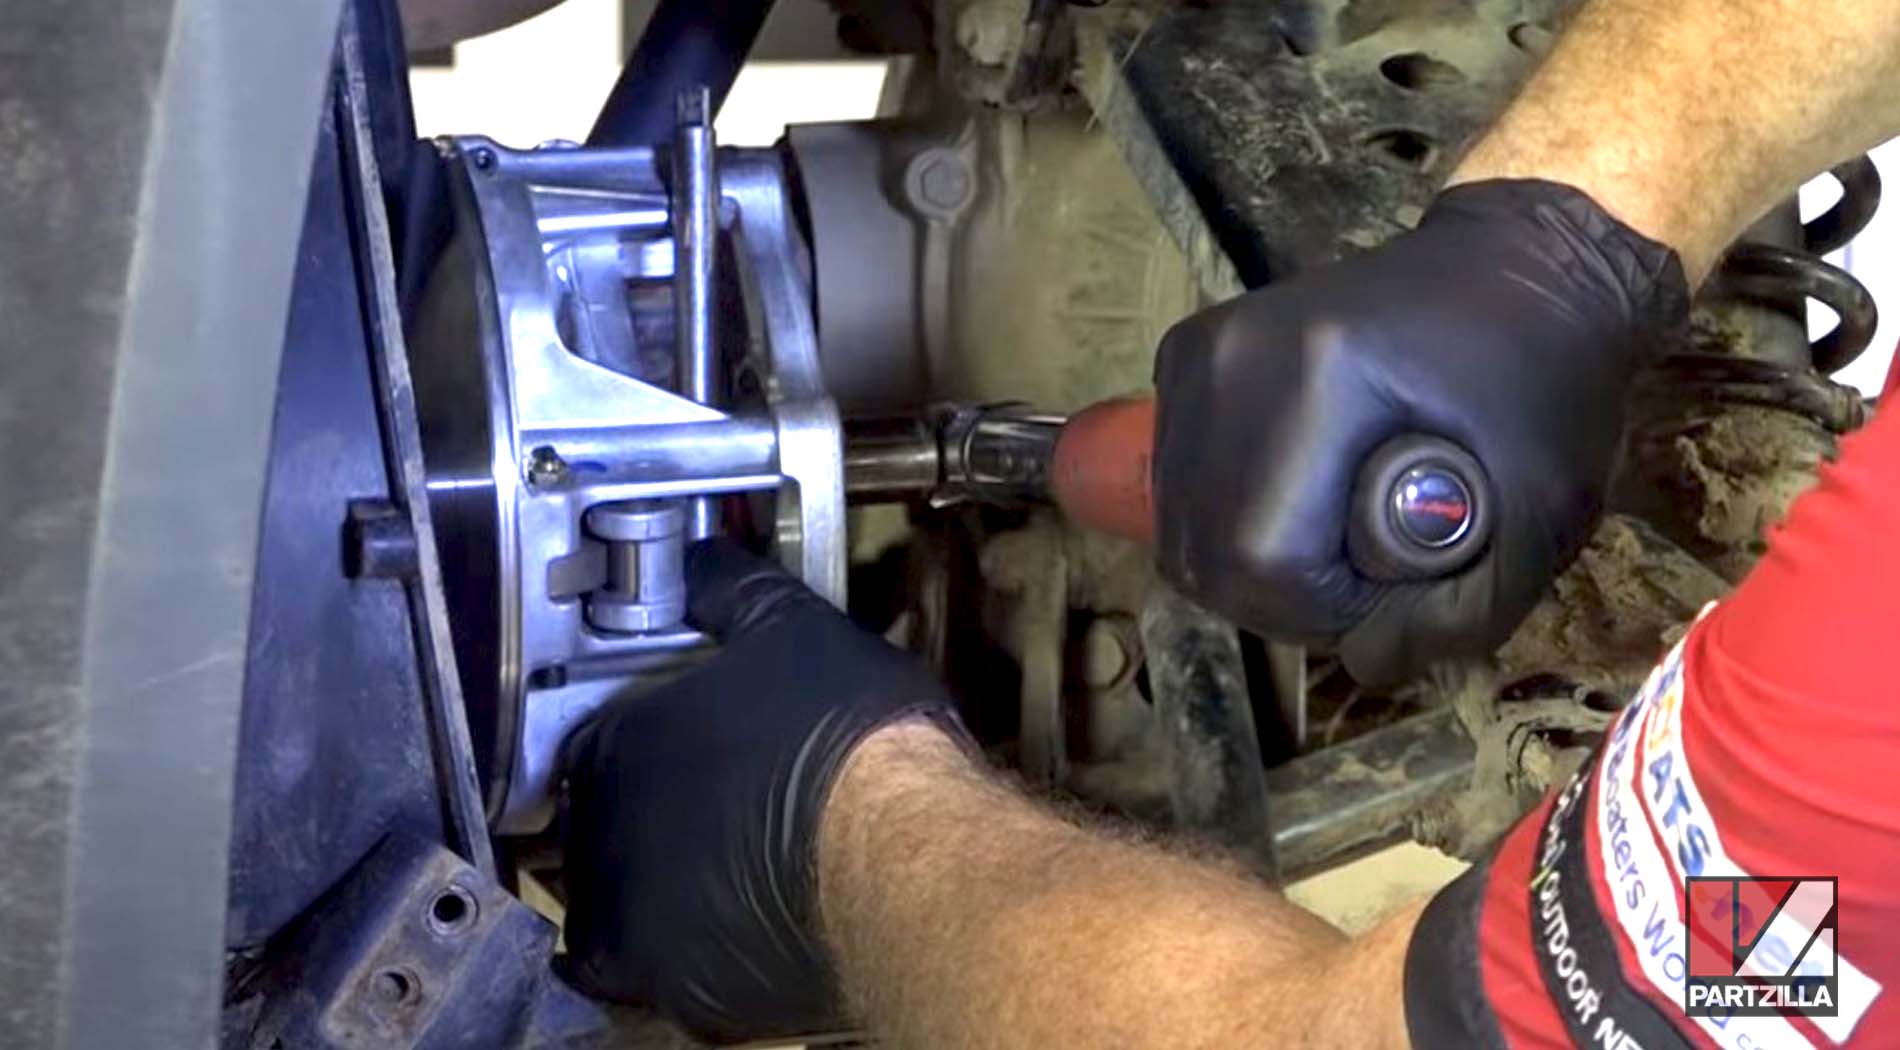
Step 2. Tighten the 18mm bolt, which is a reverse thread, to 47 foot-pounds. Use a long 3/8th extension to keep the clutch from turning as you tighten down the bolt.
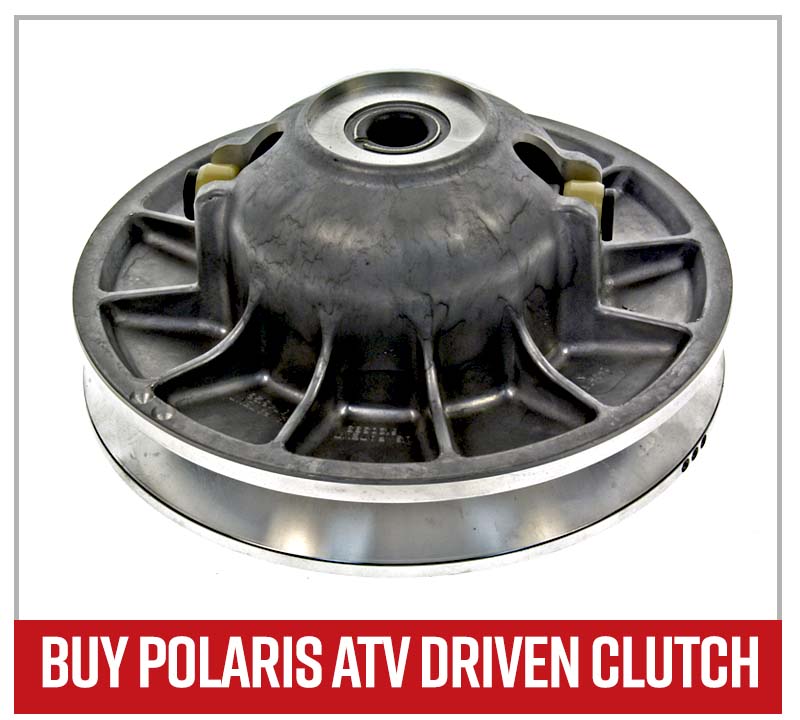
Step 3. Place the driven clutch above the drive clutch, but don’t tighten any bolts yet.
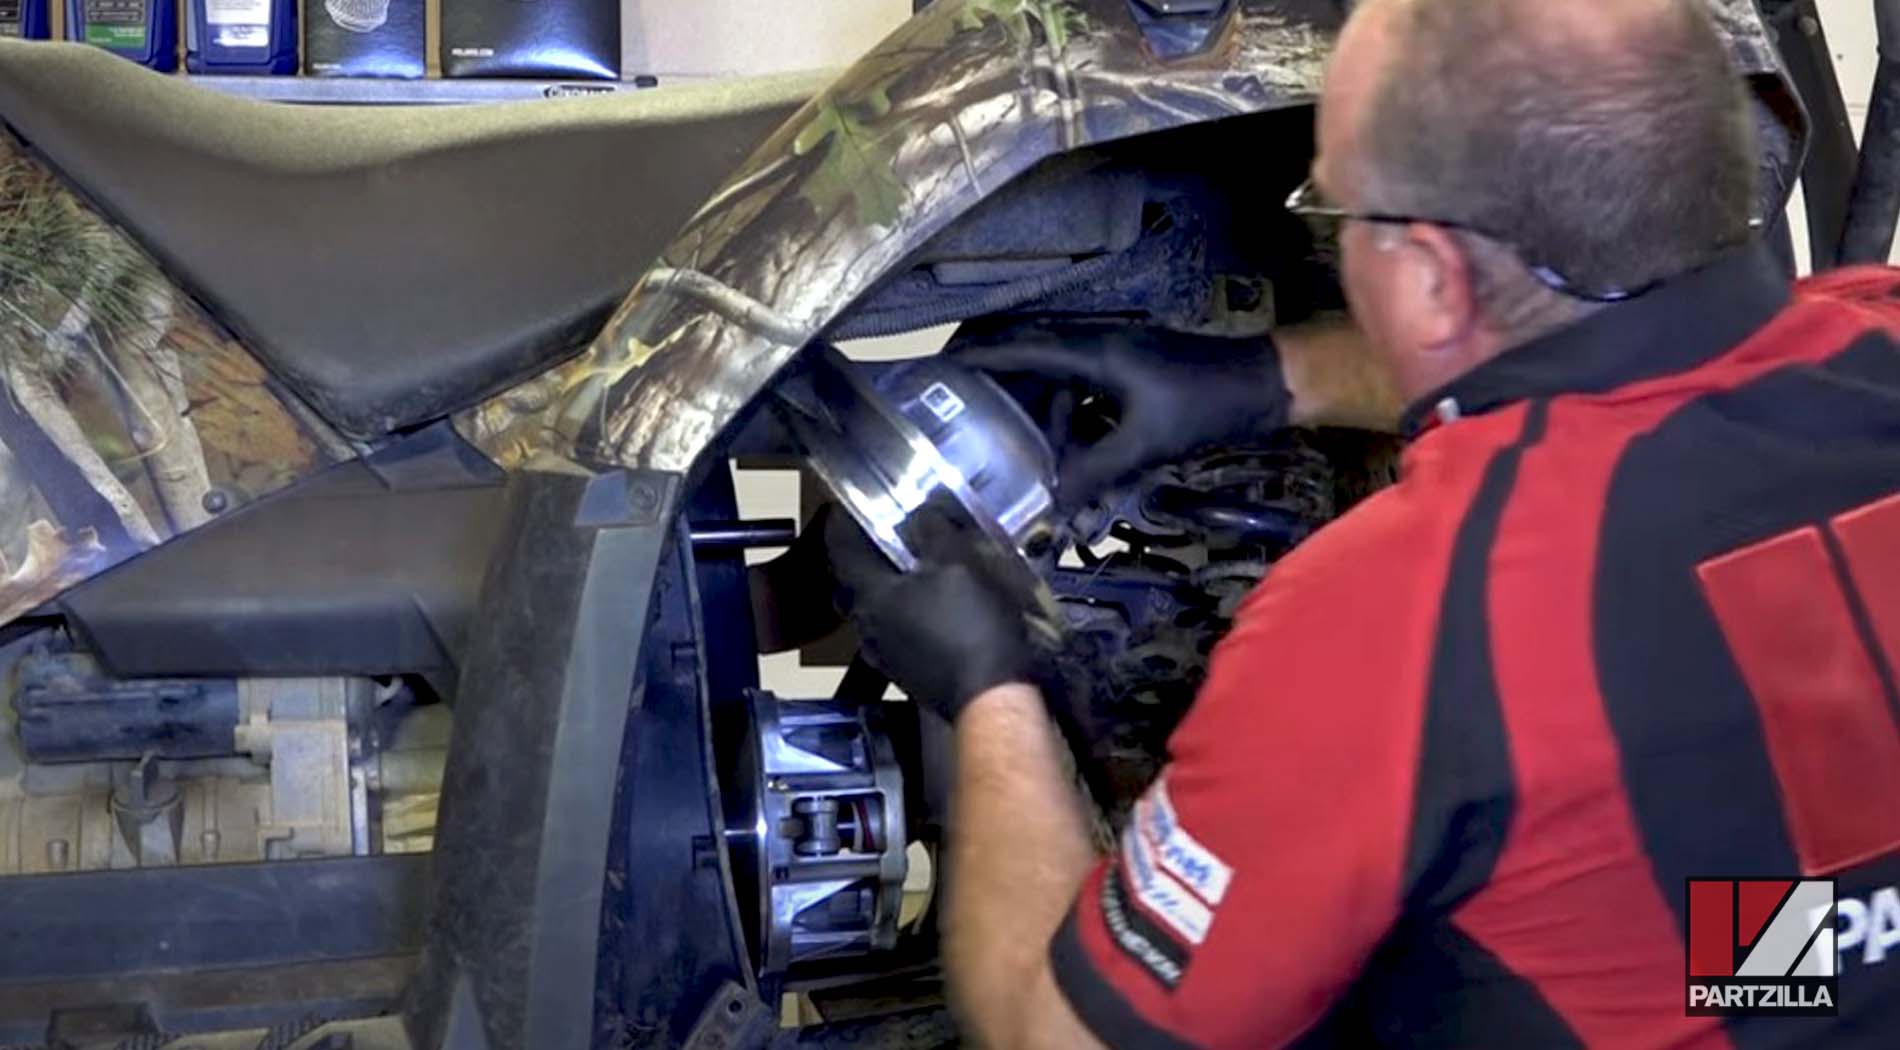
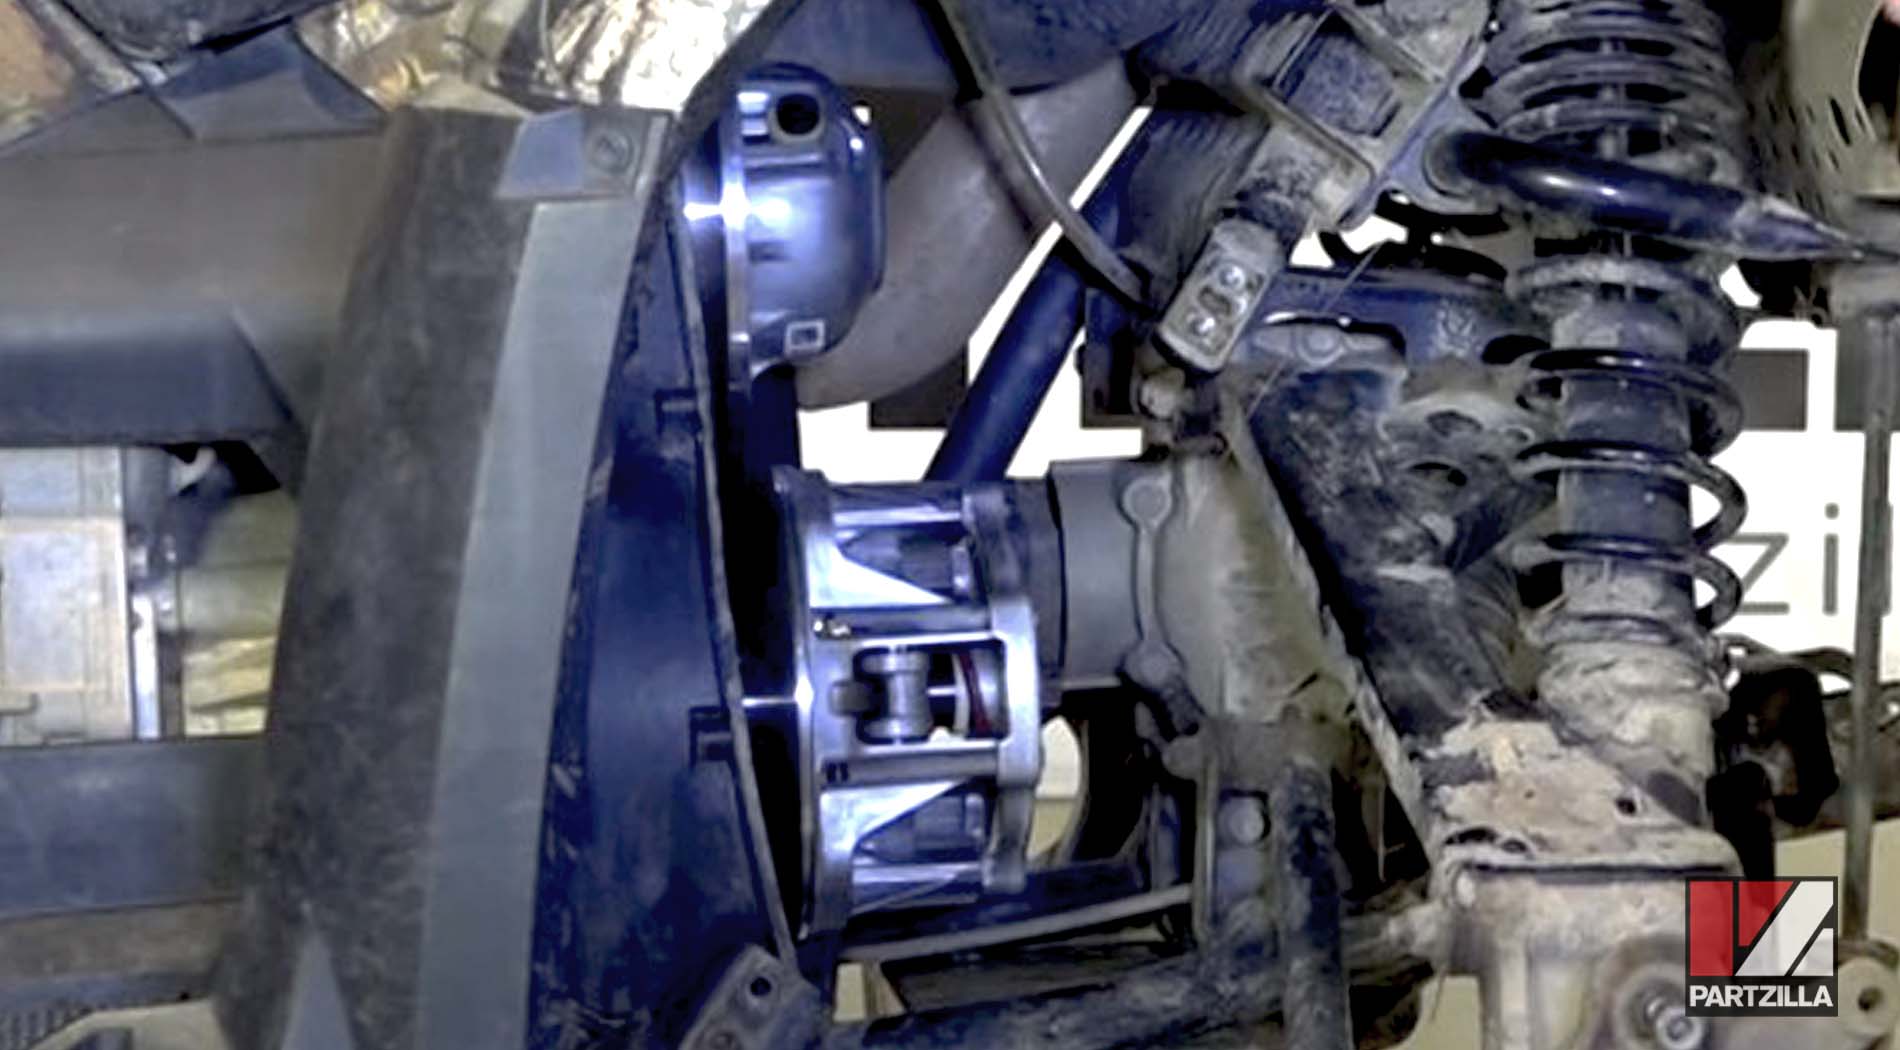
Step 4. Replace the clutch drive belt. If you’re using an OEM Polaris belt, the writing on the belt should face you when installing it. Place it in the sheaves in the drive clutch, then wiggle it over the driven clutch and into place.
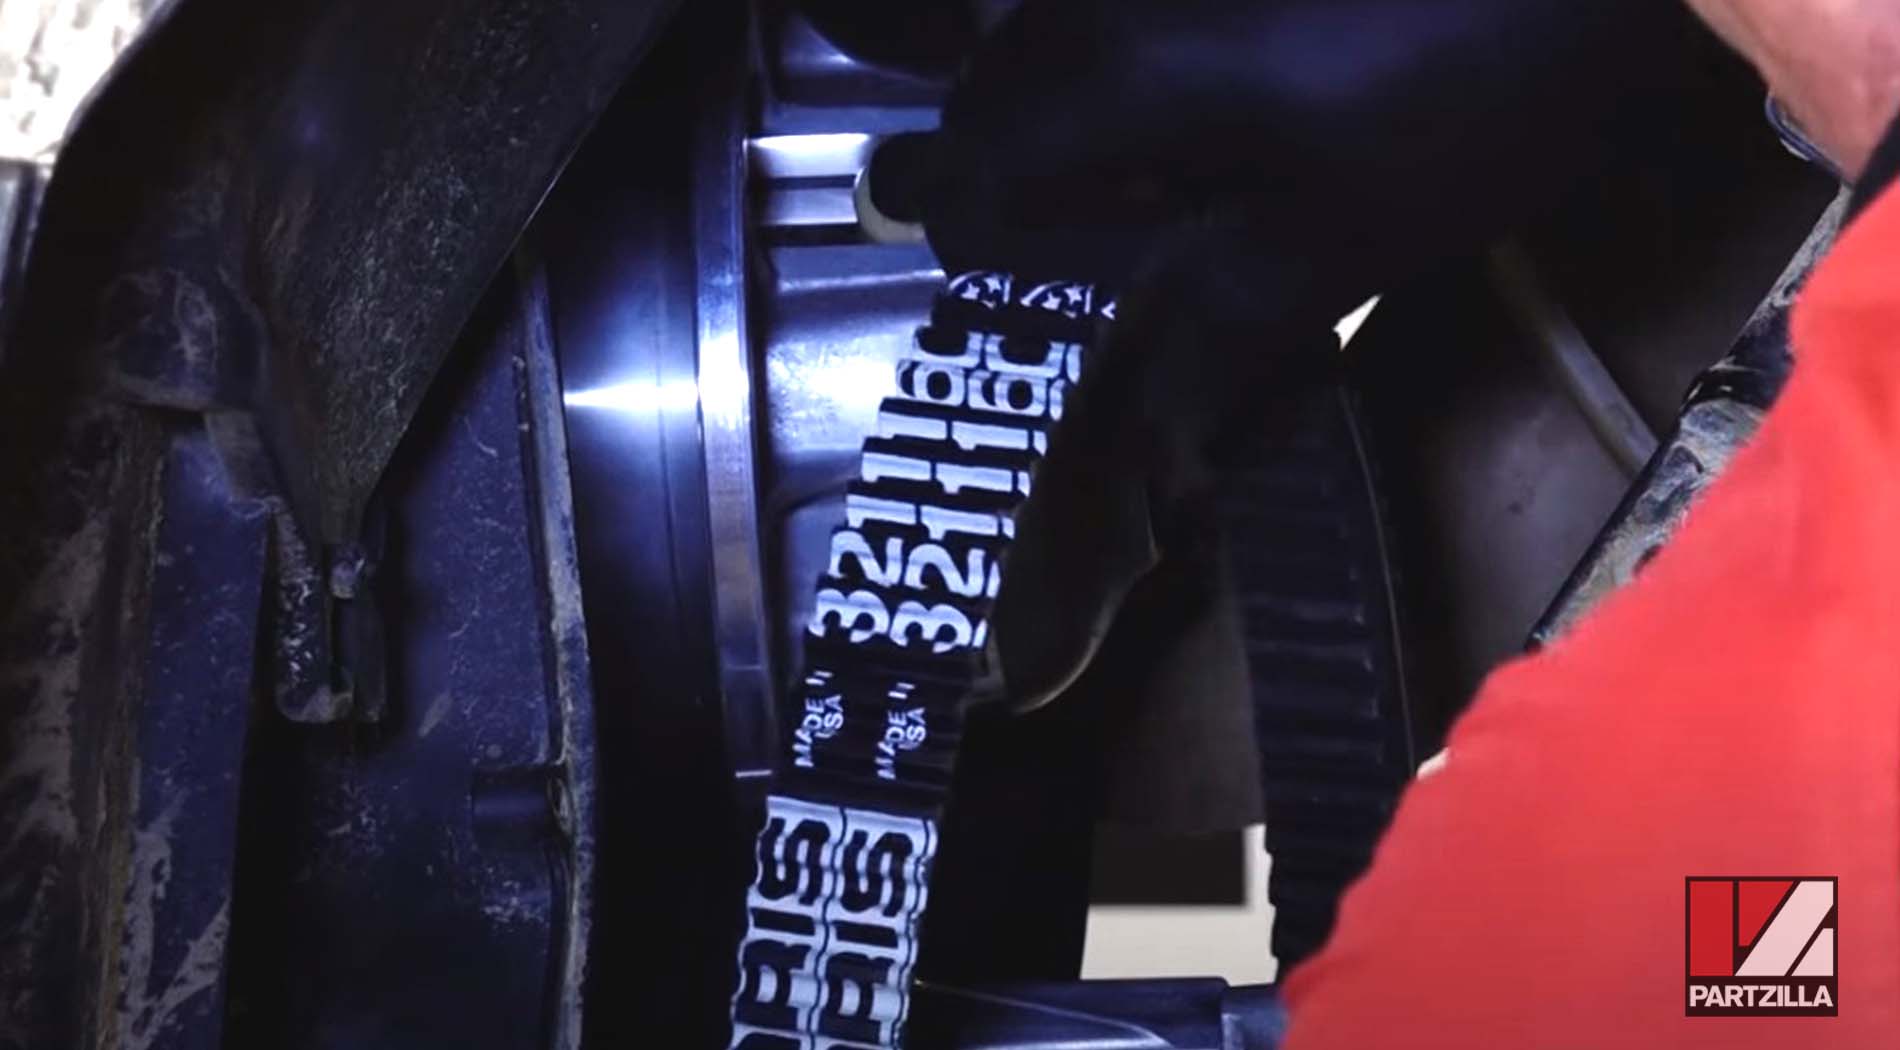
Step 5. Replace the bolt that holds the driven clutch in place by inserting it into the opening at the center of the clutch. Make sure you have all of the washers on the bolt: the washer next to the bolt head, a larger washer behind it and a couple of small shim washers. Use a 15mm socket to tighten the bolt to 37 foot-pounds.
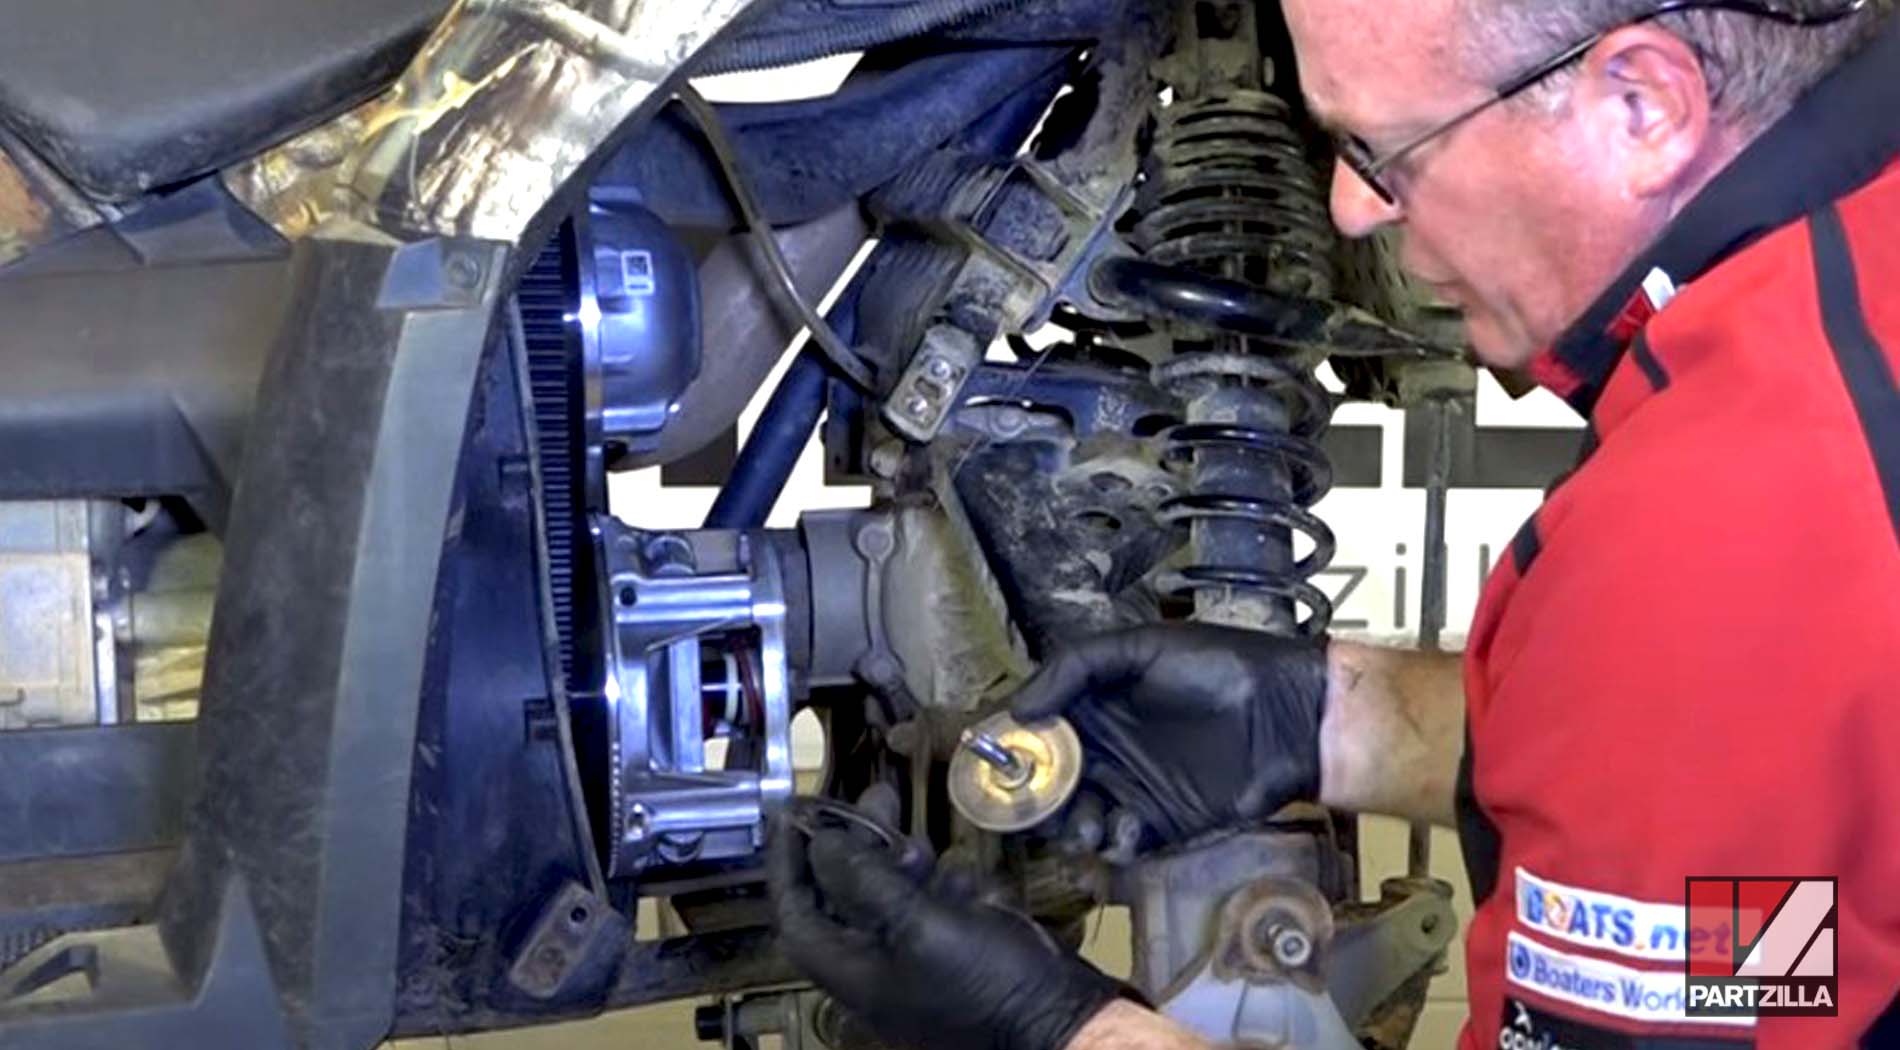
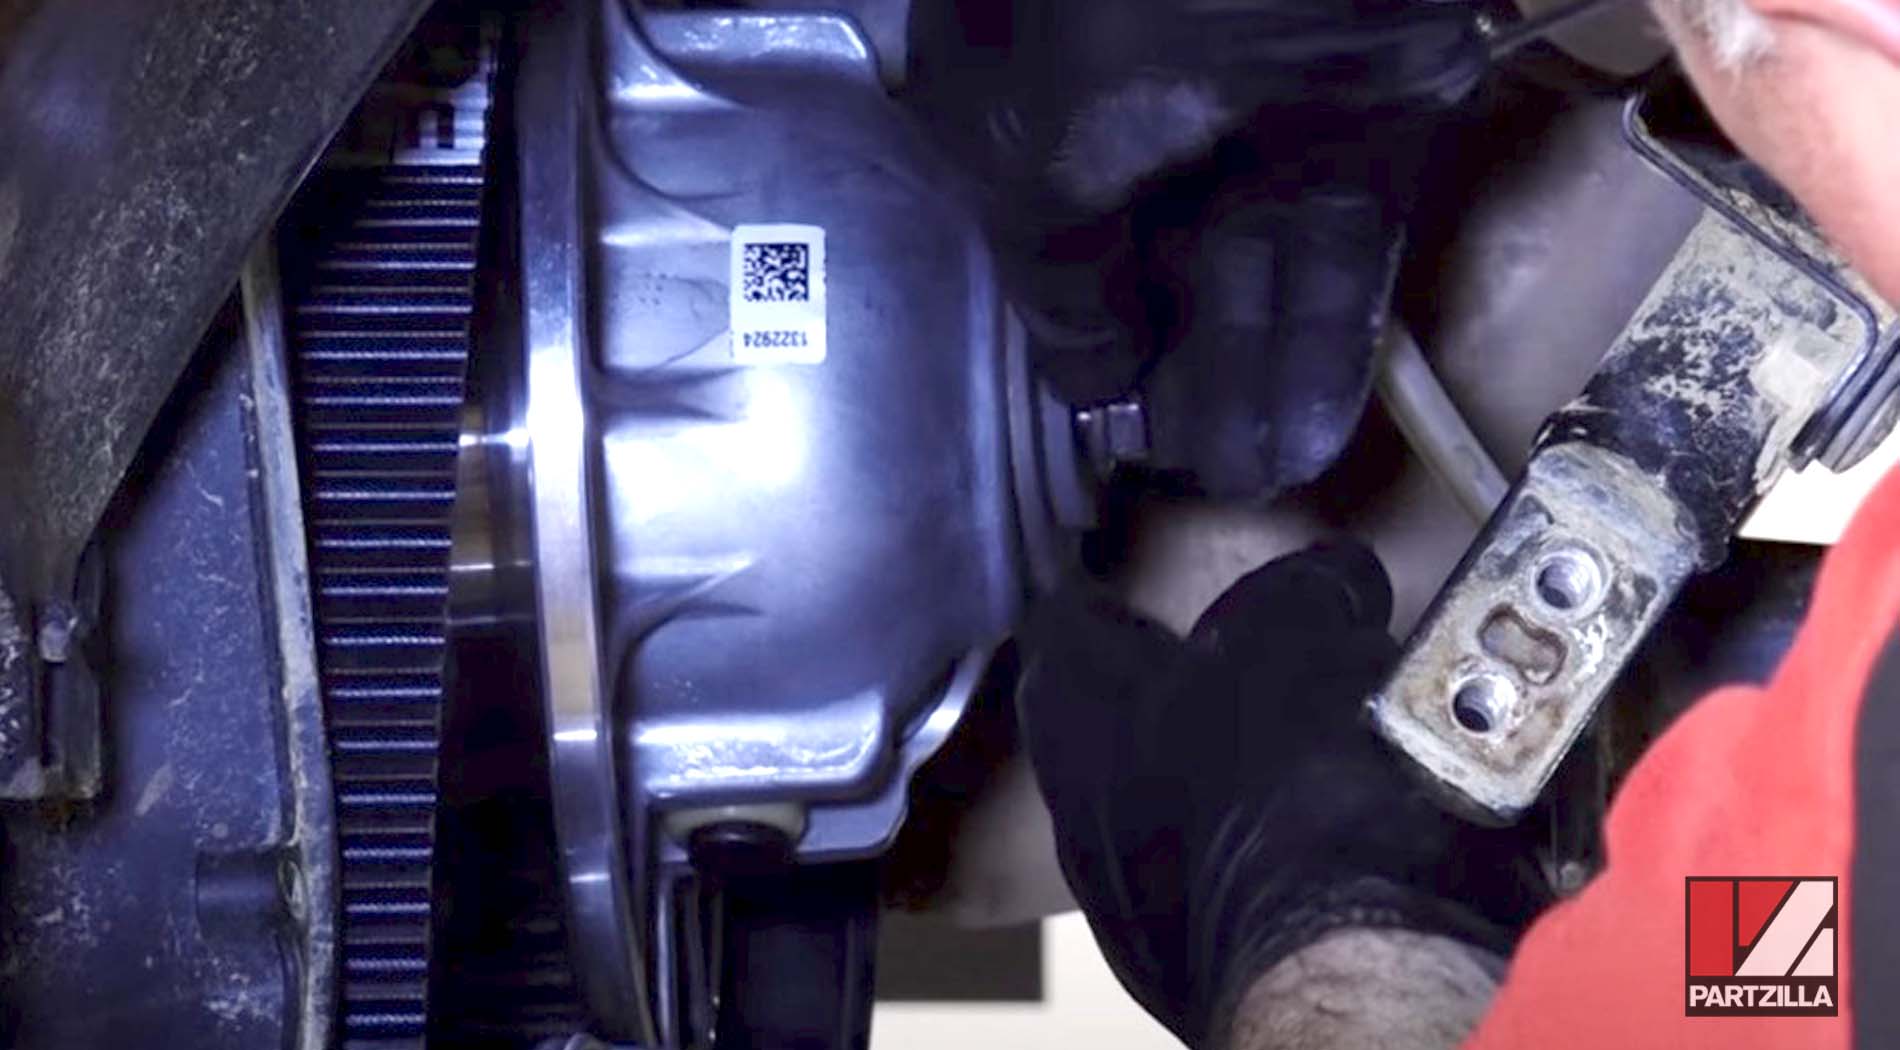
PRO TIP: The span/spreader wrench can be useful to hold the driven clutch in place while you tighten the bolt. Watch the clip below to see how to tighten the driven clutch bolt using the spreader wrench.
Step 6. Reinstall the clutch cover and tighten the eleven 10mm bolts that hold it in place.
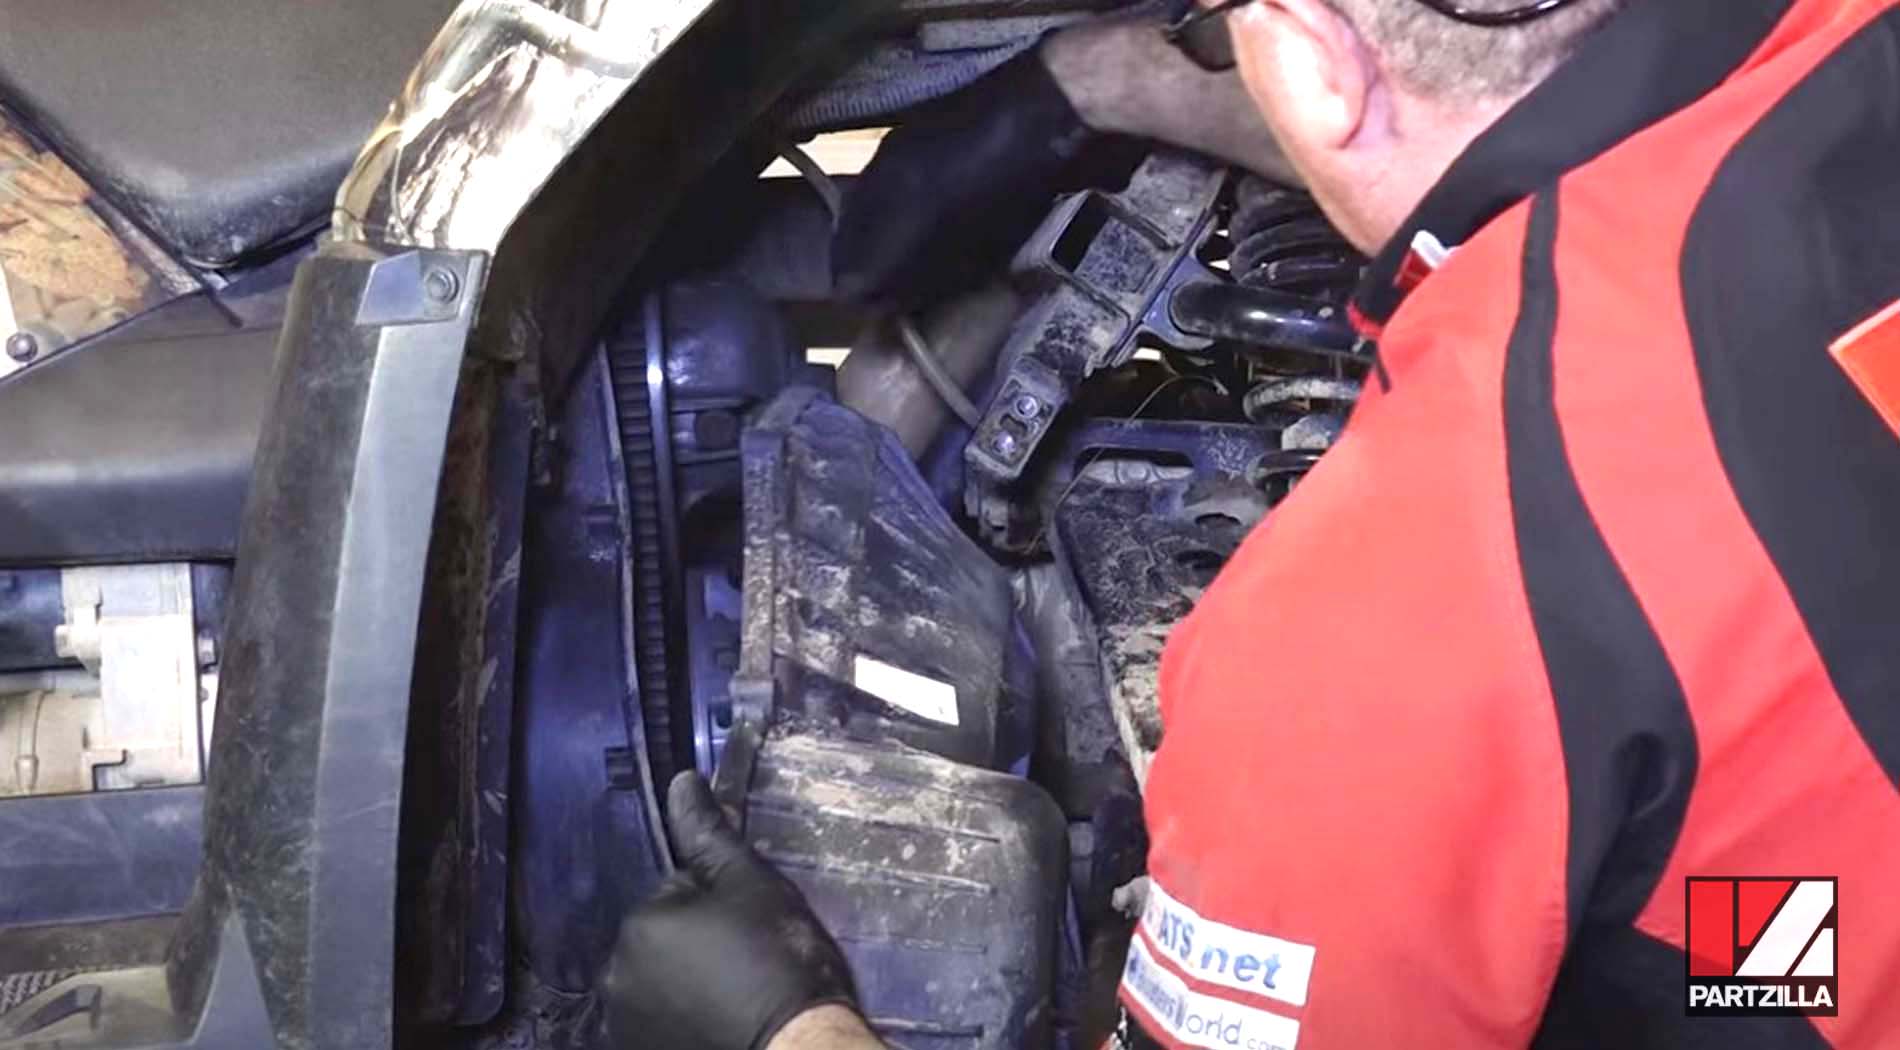
Step 7. Replace the frame brace and tighten the four 15mm bolts that hold it in place.
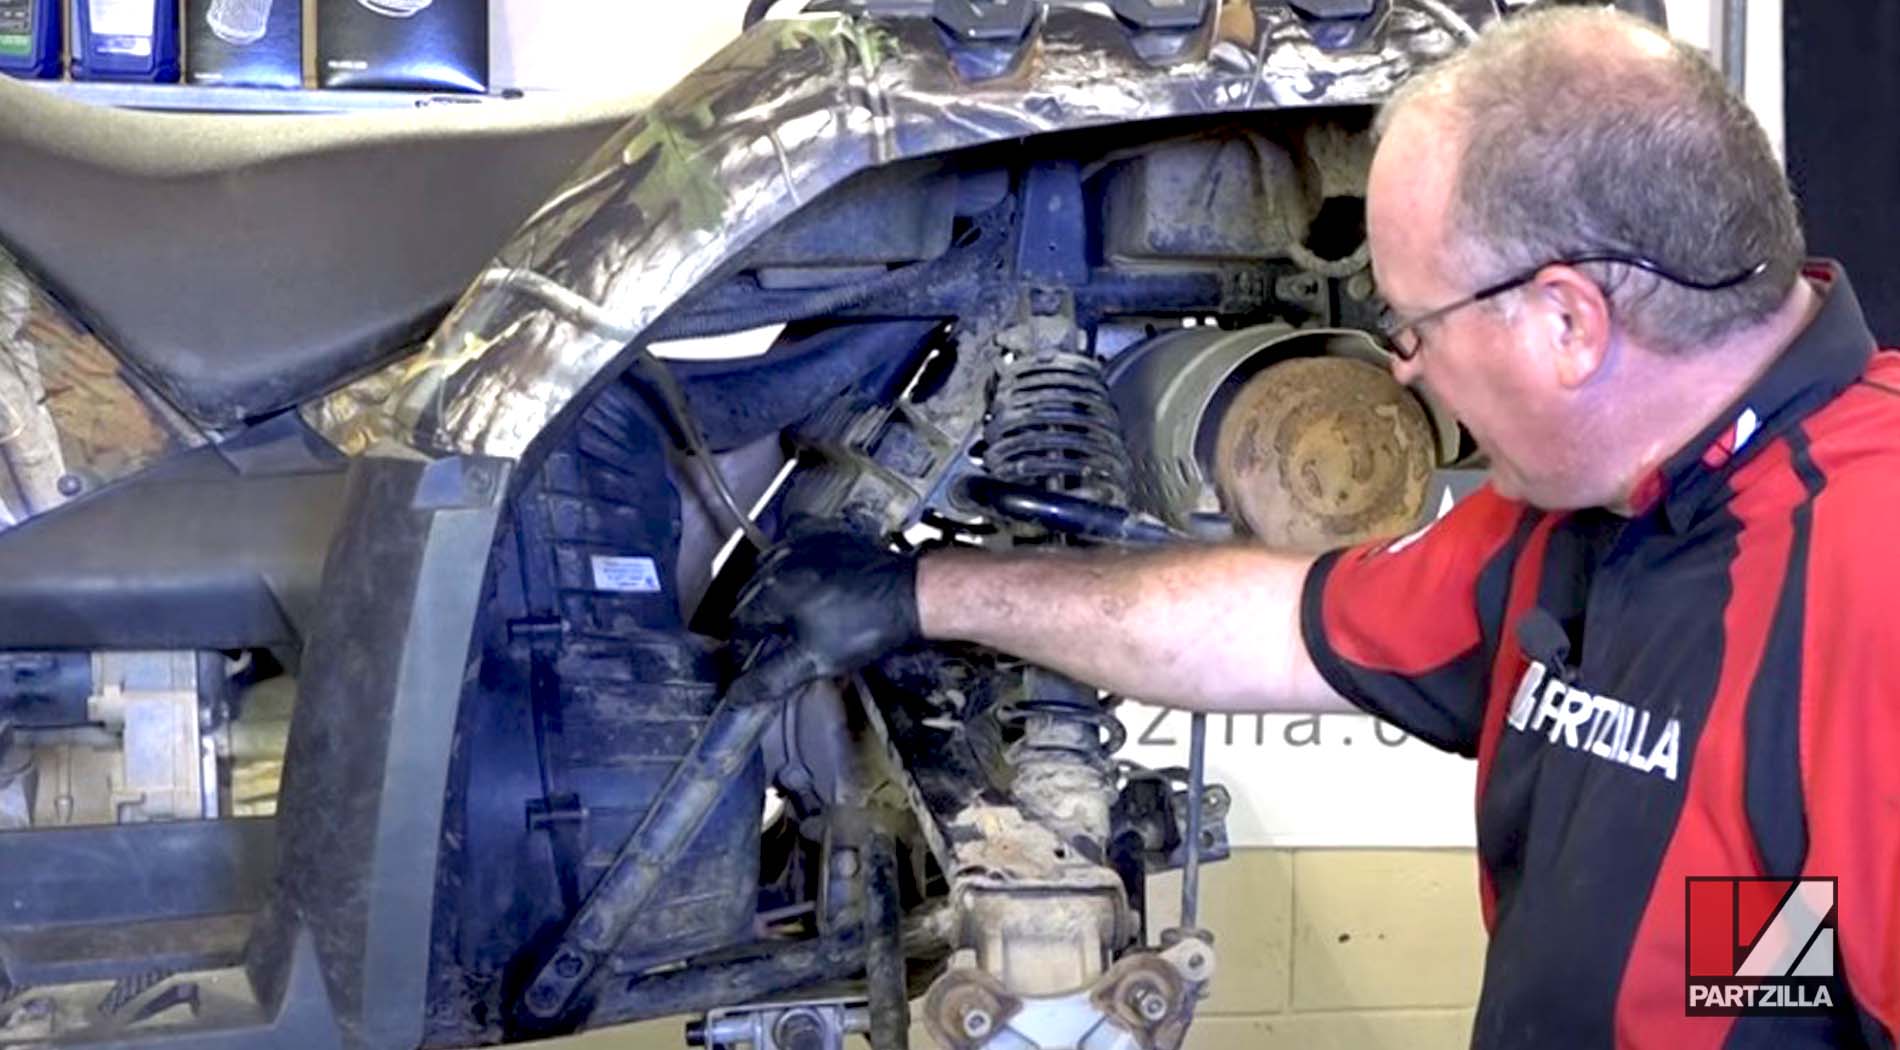
Step 8. Replace the tire and you’re done.
NOTE: The clutch needs some time to break in, so go easy on it when accelerating for a little while to let the belt seat properly.
