Motorcycle Shift Shaft Seals Quick Replacement
Older motorcycles are notorious for the problem of leaking shift shaft seals.
It’s a repair job most bike owners dread, because removing the engine and splitting apart the crankcase is a hell of a lot of work just to push out an old seal. Nobody has time for that, so we have a solution! Watch the video above and follow the steps below to learn how to replace a shift shaft seal the easy way. How easy is it to do? Well, put it this way, you can put your motorcycle on its centerstand and get it done in a handful of minutes.
Tools and Parts - Motorcycle Shift Shaft Seal Replacement
- Small flat-blade screwdriver
- Pick tools
- Wood screws
- Socket set
- Hammer
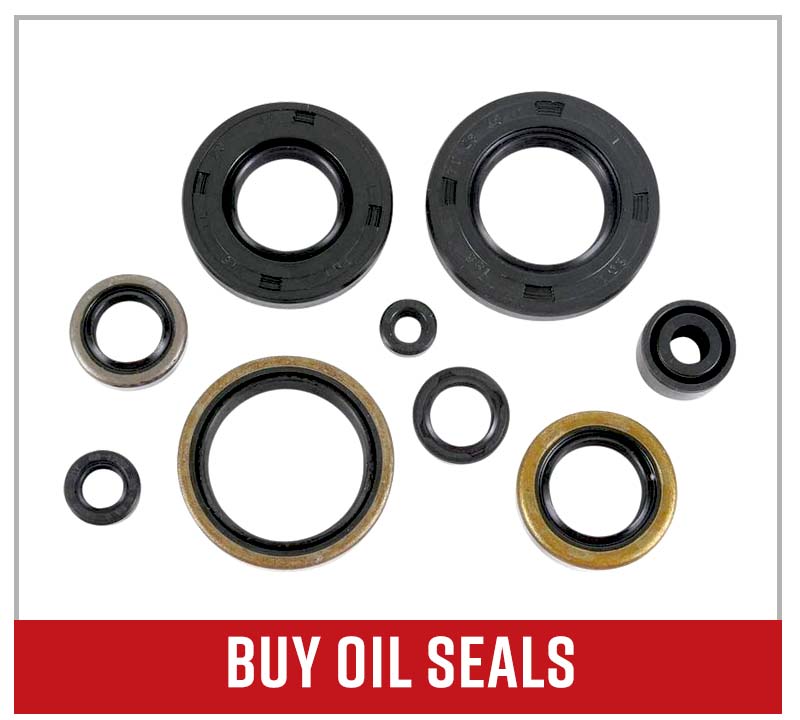
- Shift shaft seal
- Motorcycle engine oil

Replacing a Shift Shaft Seal
Step 1. Drain the engine oil.
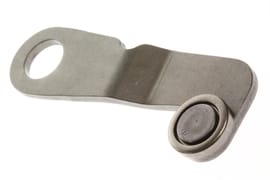
Step 2. Mark the shift pedal and shift spline so you can reinstall it in the same position, then remove the shift pedal.
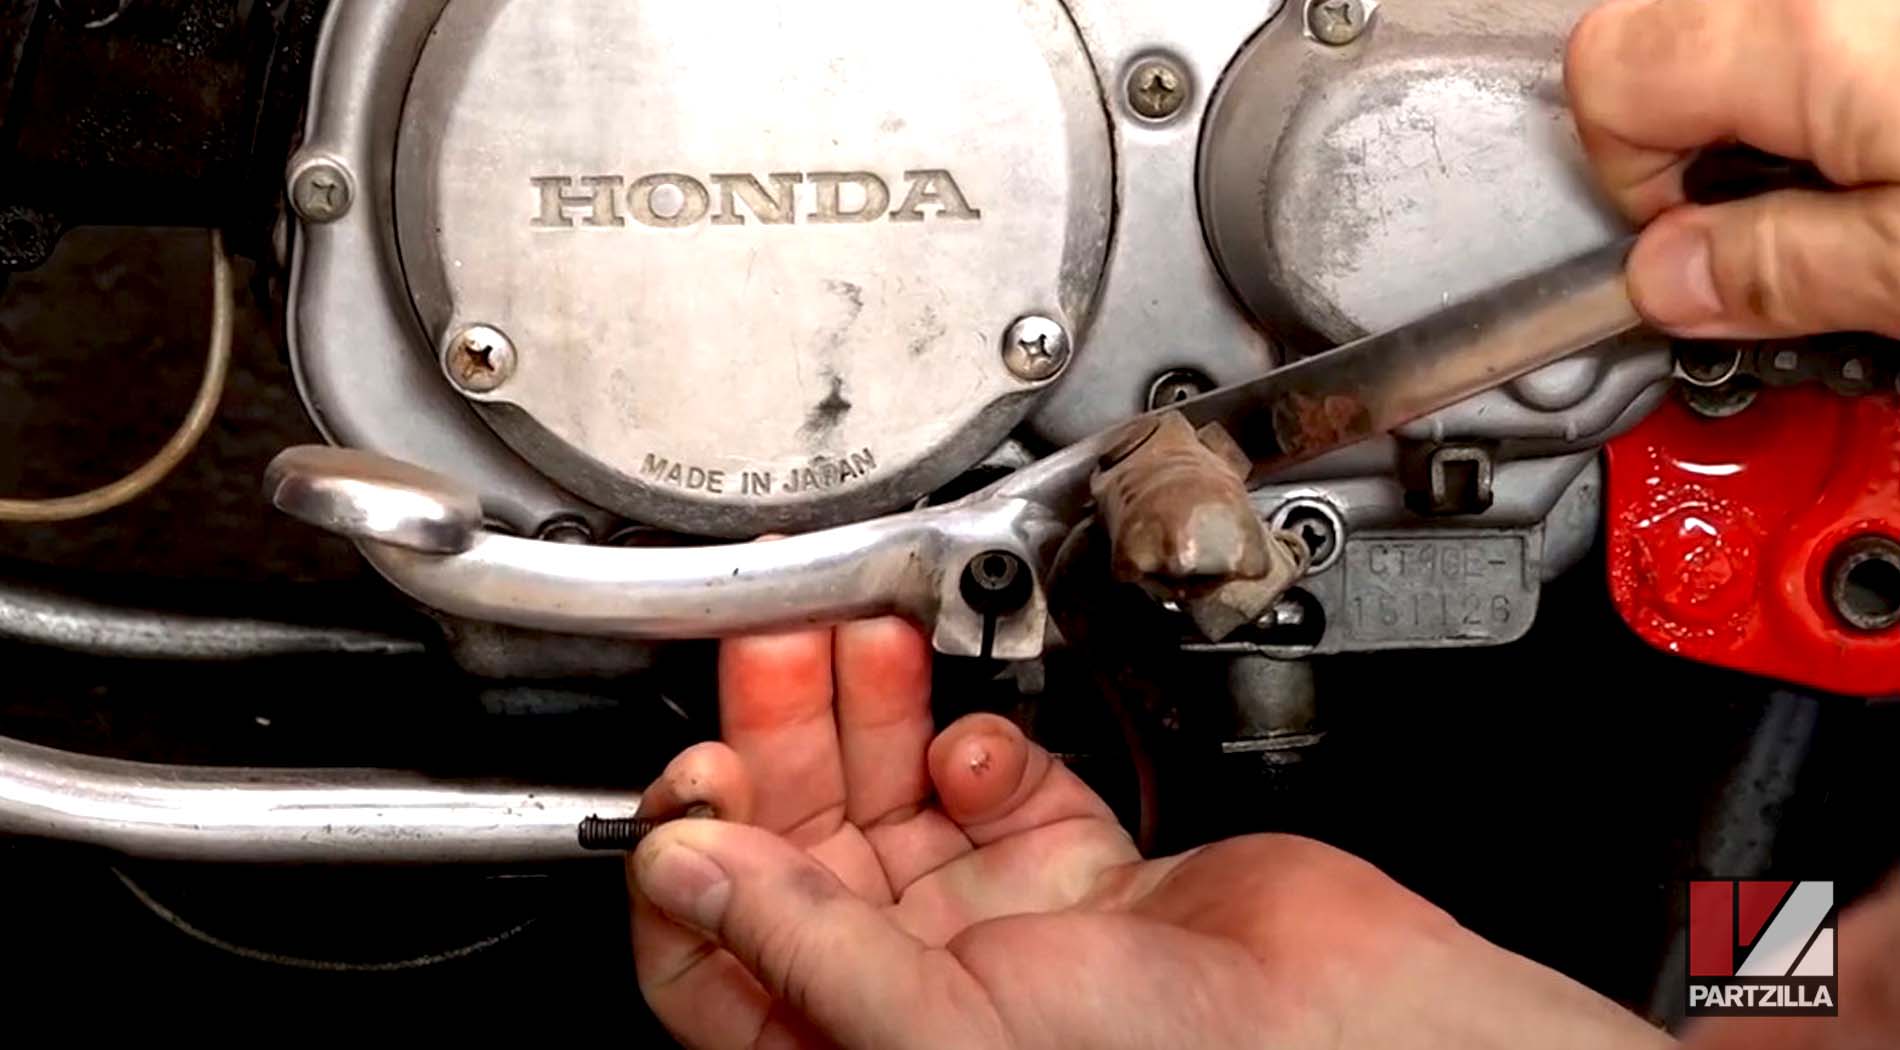
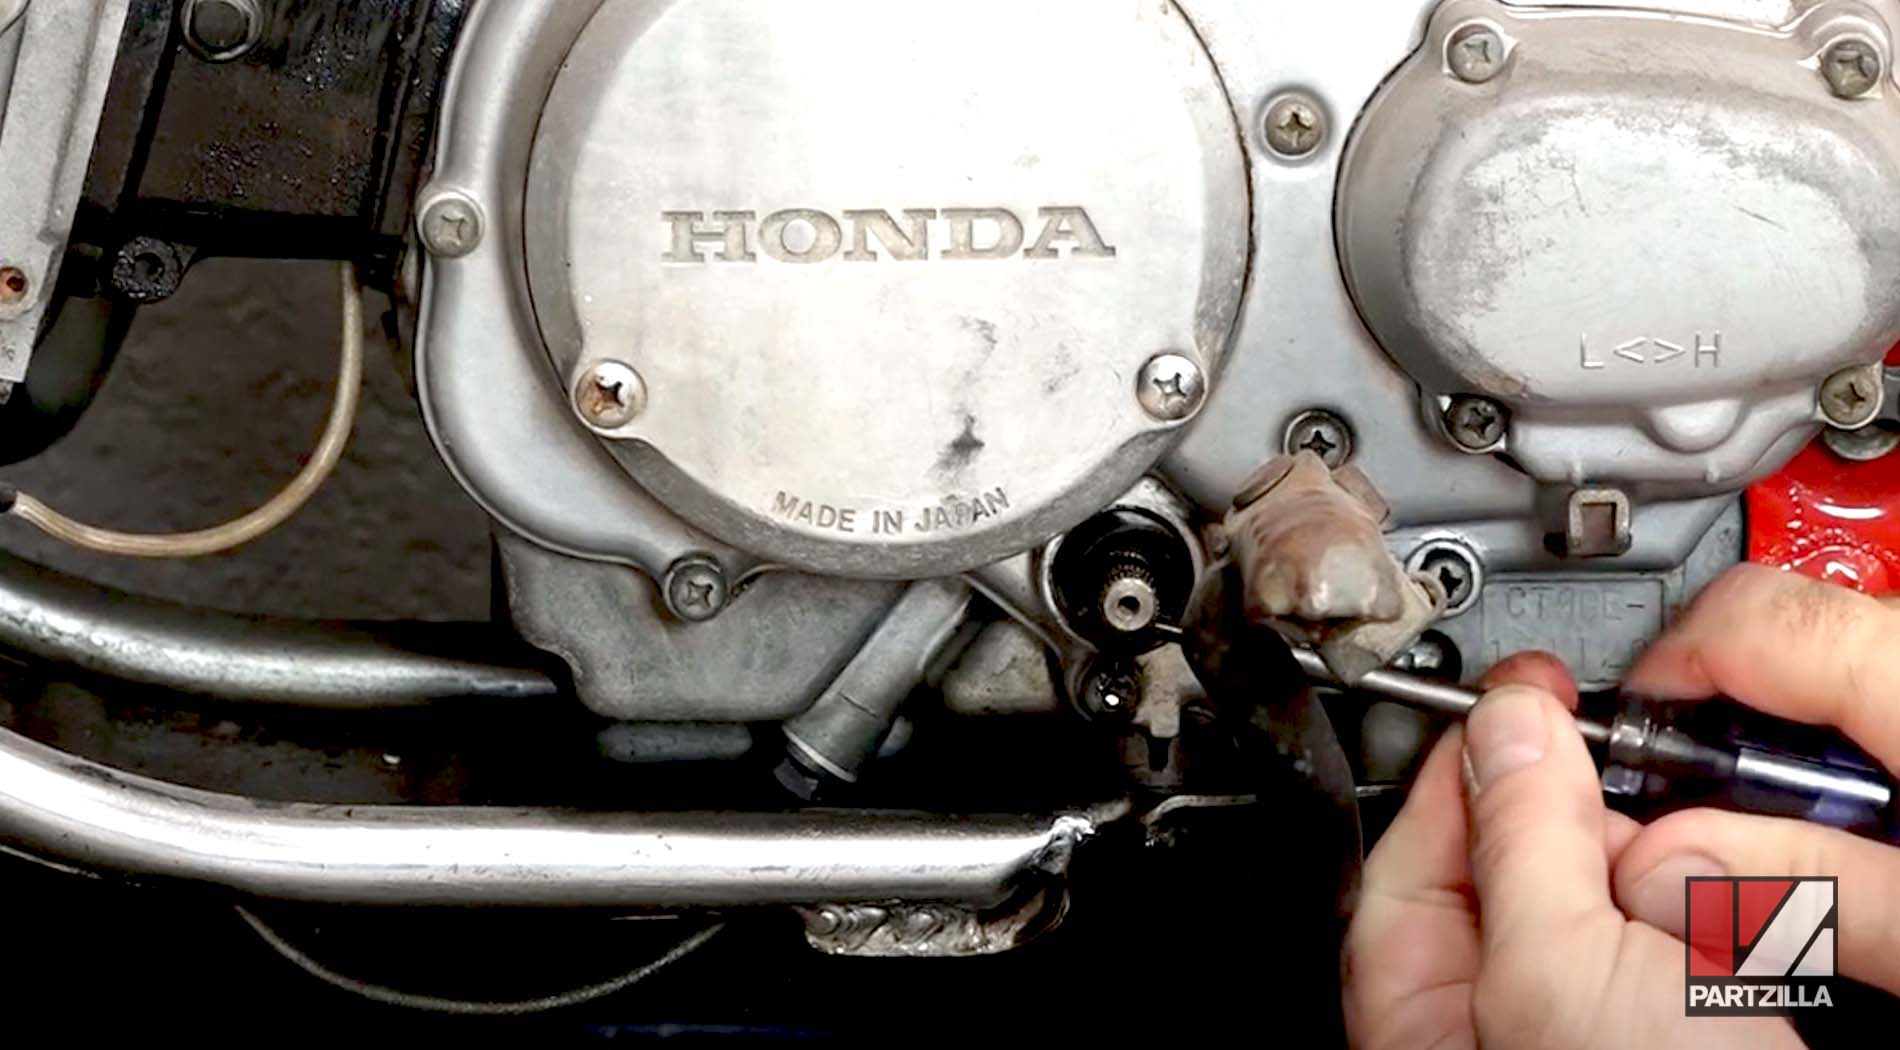
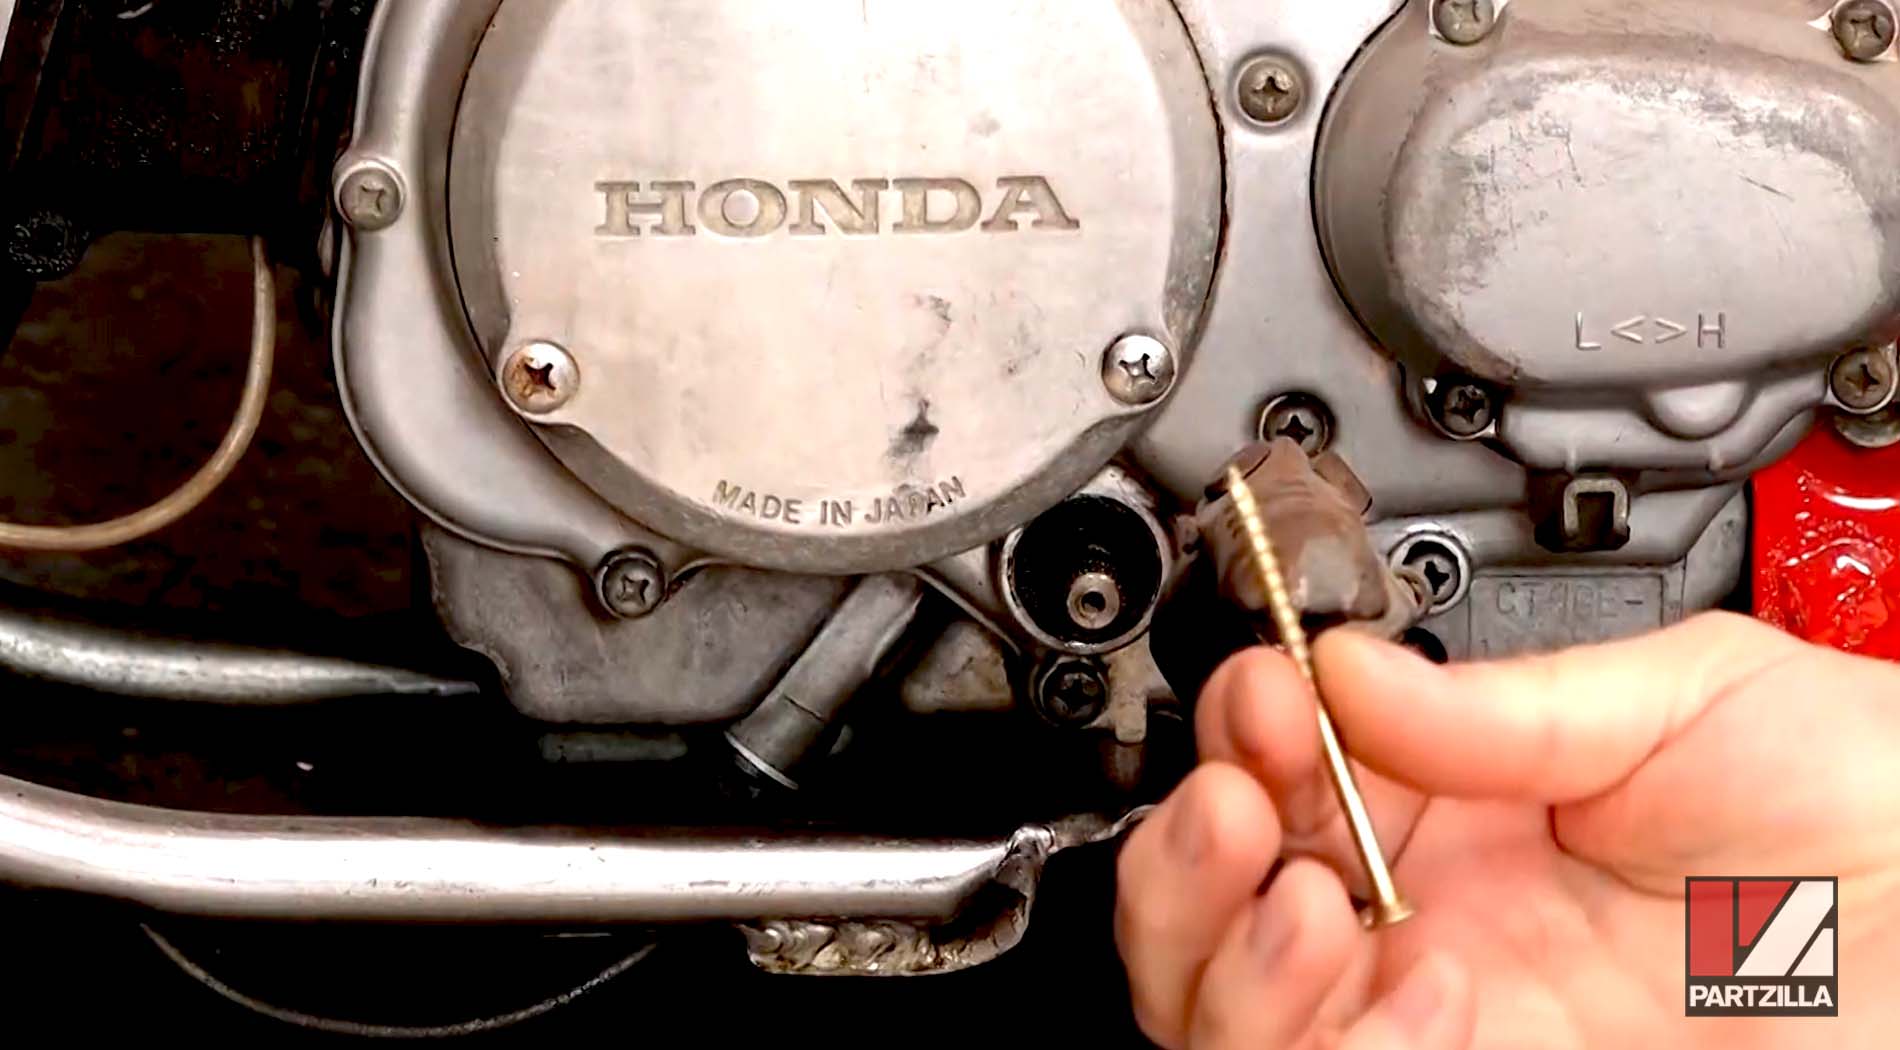
Step 3. Use pick tools and a small flat-blade screwdriver to carefully pry out the old shift shaft seal. If the seal won’t pry free, screw two wood screws into the seal on either side of the shift shaft, then grip the screws and pull the seal out.
Step 4. Select a socket that’s large enough to cover the shift seal sidewall, but small enough to fit within the shift seal’s housing in the crankcase.
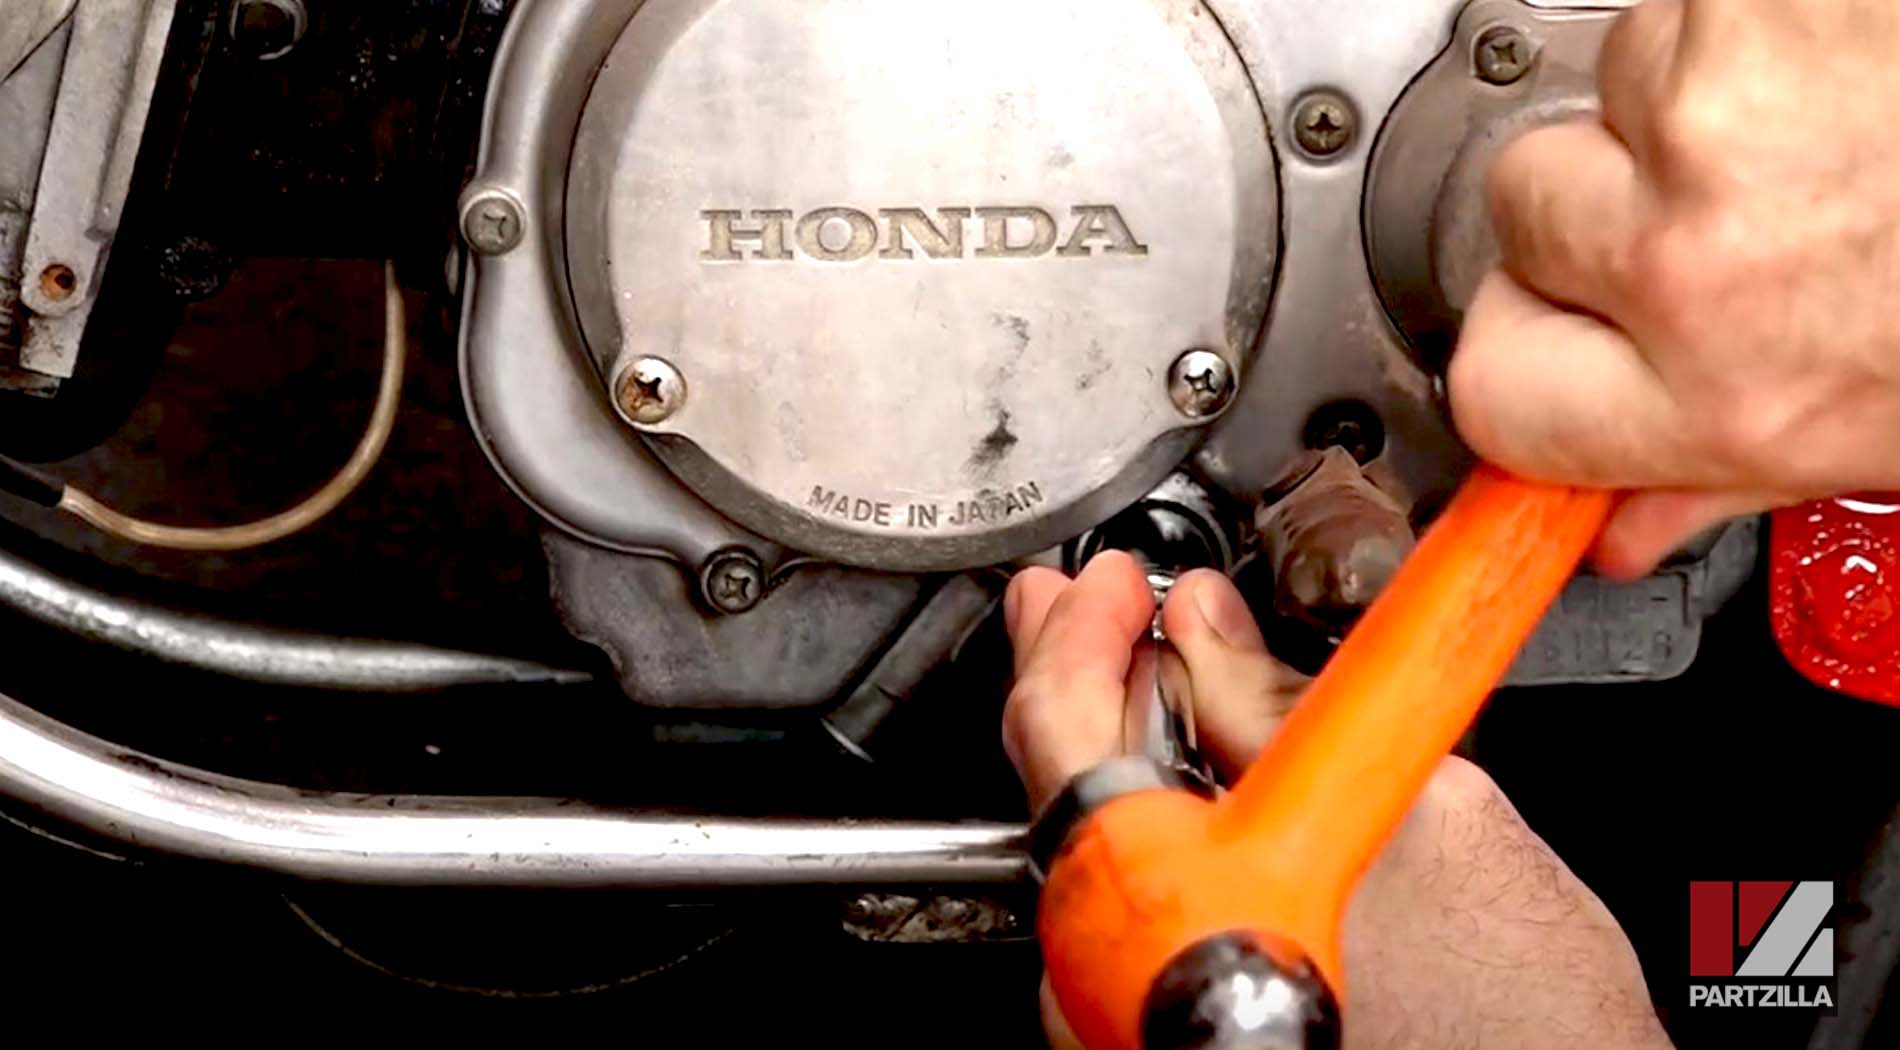
NOTE: For the 1967 Honda CT90 shown in these images, the socket is an 18mm.
Step 5. Install the new seal over the shift shaft, then put the socket over the seal and gently tap it until the seal’s outer sidewall is flush with the crankcase.
Step 6. Reinstall the shift pedal.
Step 7. Refill the engine with the motorcycle oil recommended on your motorcycle’s owner’s manual and you’re done.

We replaced the shift shaft seal as well as the kickstarter seal on our Honda CT90. Watch the video below to see how to replace the kickstarter seal on a Honda CT90 motorcycle.