How to Install a Kawasaki Mule LED Light Bar
Installing an LED light bar to a Mule PRO-FXT gives this Kawasaki side-by-side added safety and style, and there are many styles and brands of light bars to choose from.
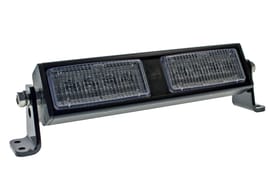
However, we chose the OEM Kawasaki LED light bar and LED light bar mounting kit because they seamlessly integrate with the Mule. Watch the video above and follow the steps below to install an LED light bar on a Kawasaki Mule Pro FXT.
Tools and Parts - Kawasaki Mule LED Light Bar Installation
- Ratchet and sockets
- 12mm, 19mm wrenches
- 5mm Allen
- Philips screwdriver
- Wire crimpers
- Side cutters
- File
- Dremel tool
- Drill and 1/8" drill bit
- Torque wrench
- Pliers
- LED light bar
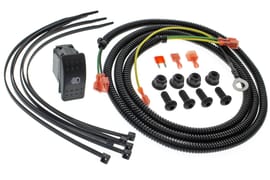
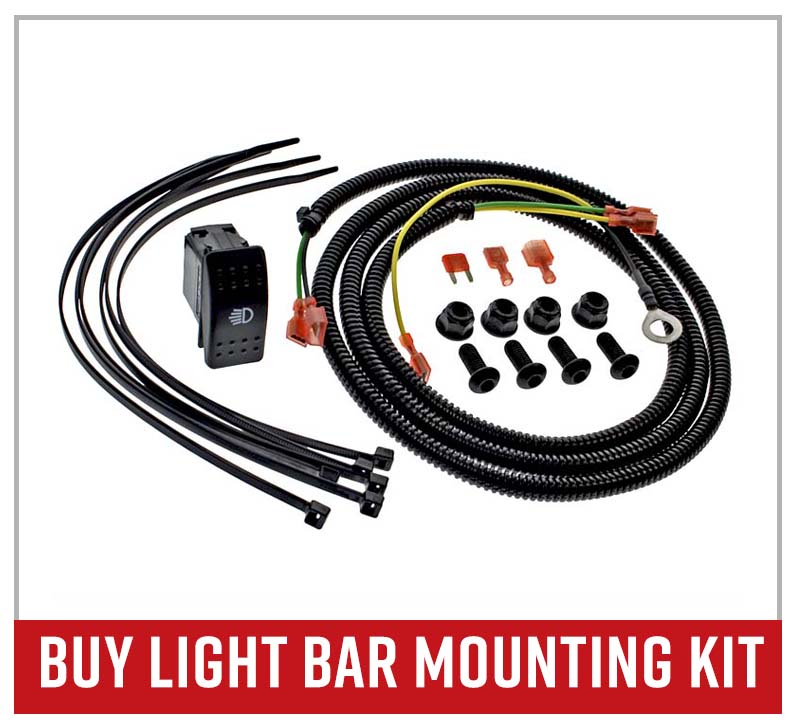
- LED light bar mounting kit
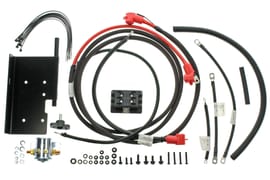
NOTE: To install an LED light bar to a Kawasaki Mule, you'll first need to install a brush guard and an accessory fuse box. If you haven't installed the accessory fuse box yet, skip to the end of this article and watch our video on how to get that done.
Installing Kawasaki Mule PRO-FXT LED Light Bar
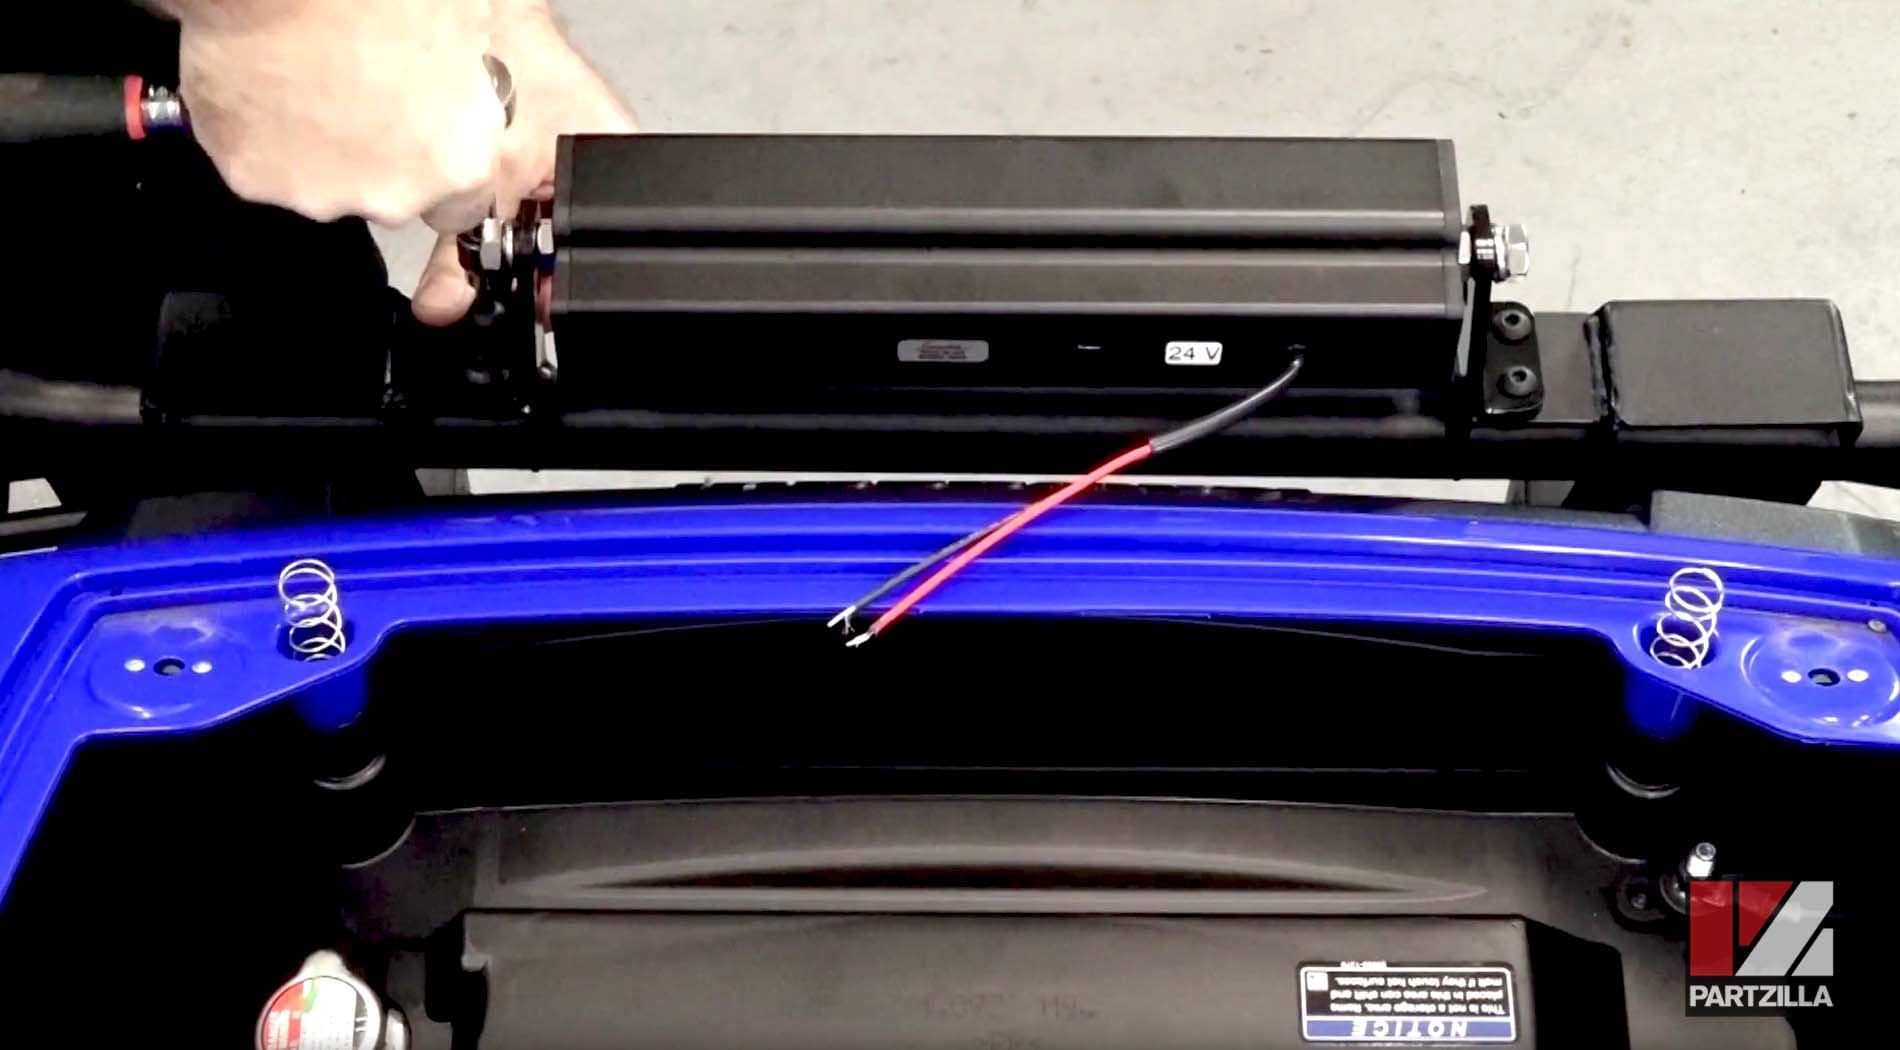
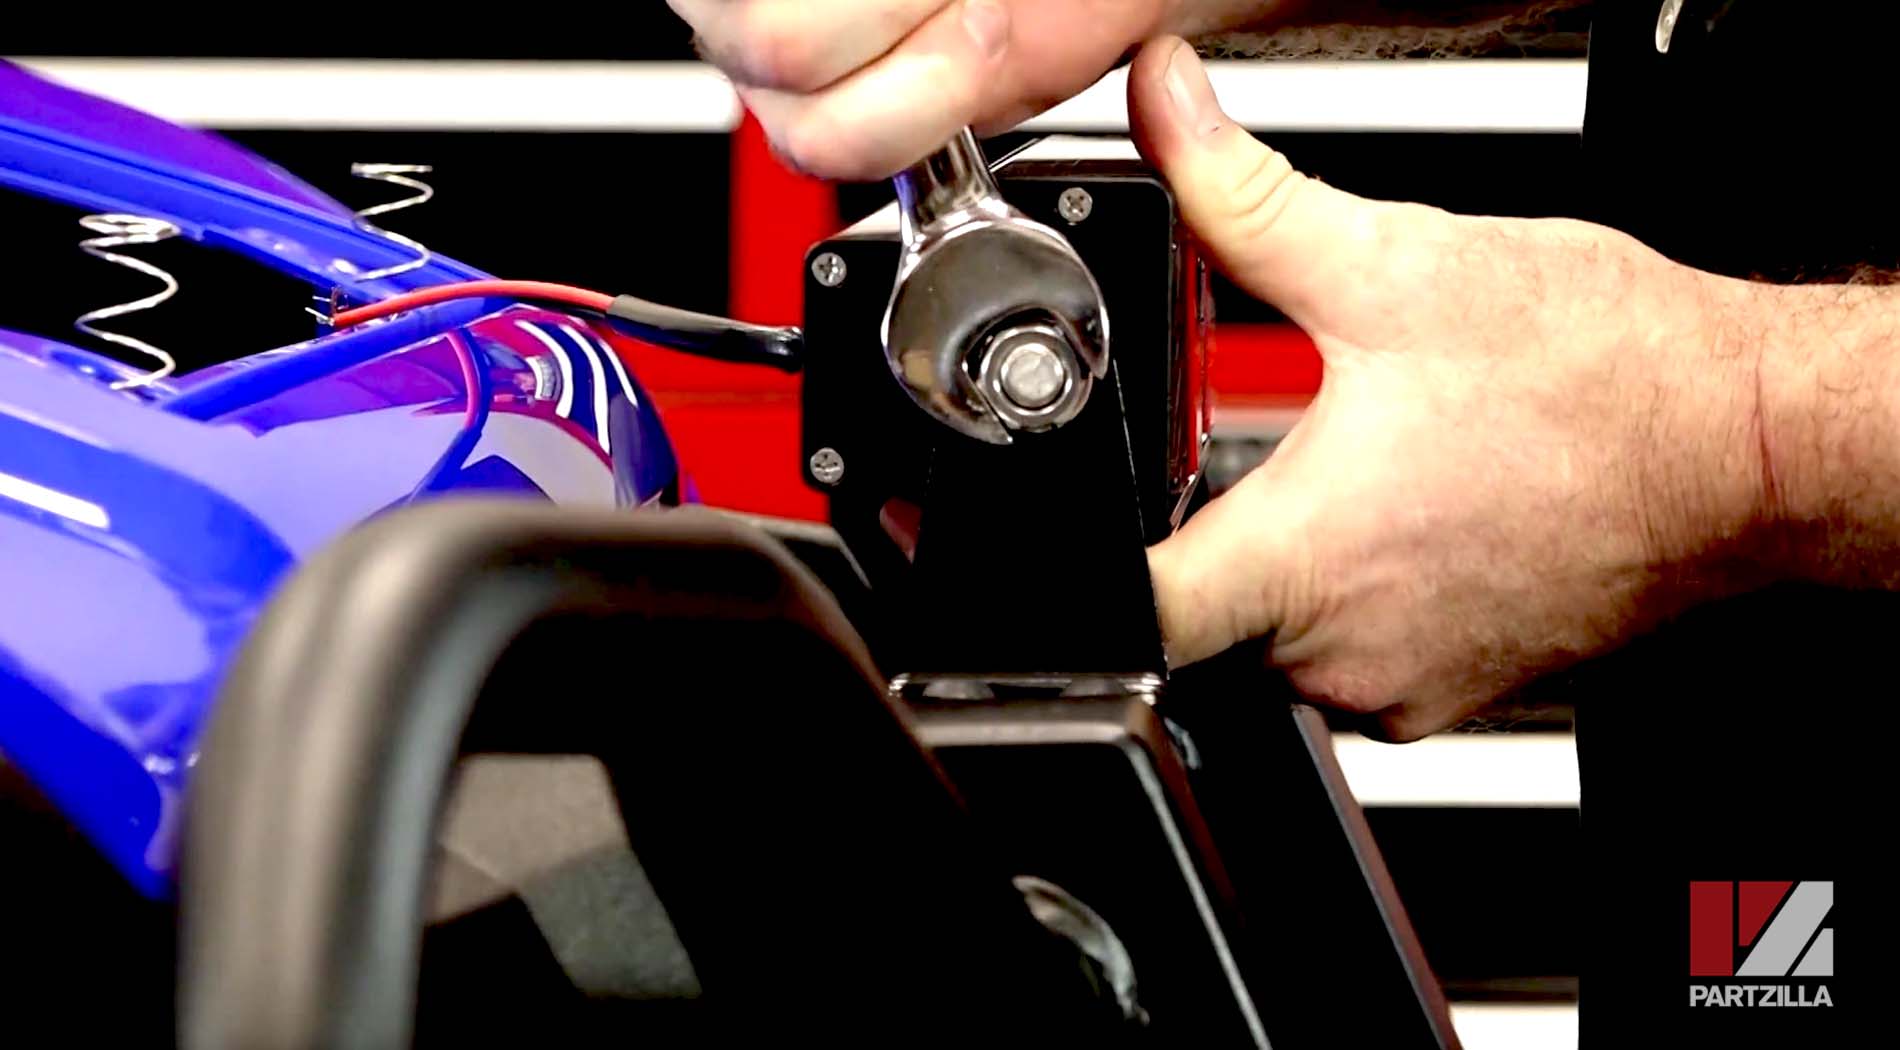
Step 1. Bolt the LED light bar to the pre-drilled holes in the factory brush guard. Use a 5mm Allen bolt through the top with a 13mm nylon locknut underneath.
NOTE: The Kawasaki mounting kit contains all the hardware you'll need to mount the light bar.
Step 2. Tighten the two angle adjustment nuts on each end of the light bar to stop it from moving around during the installation. You can change the angle to suit your needs once everything is installed and working.
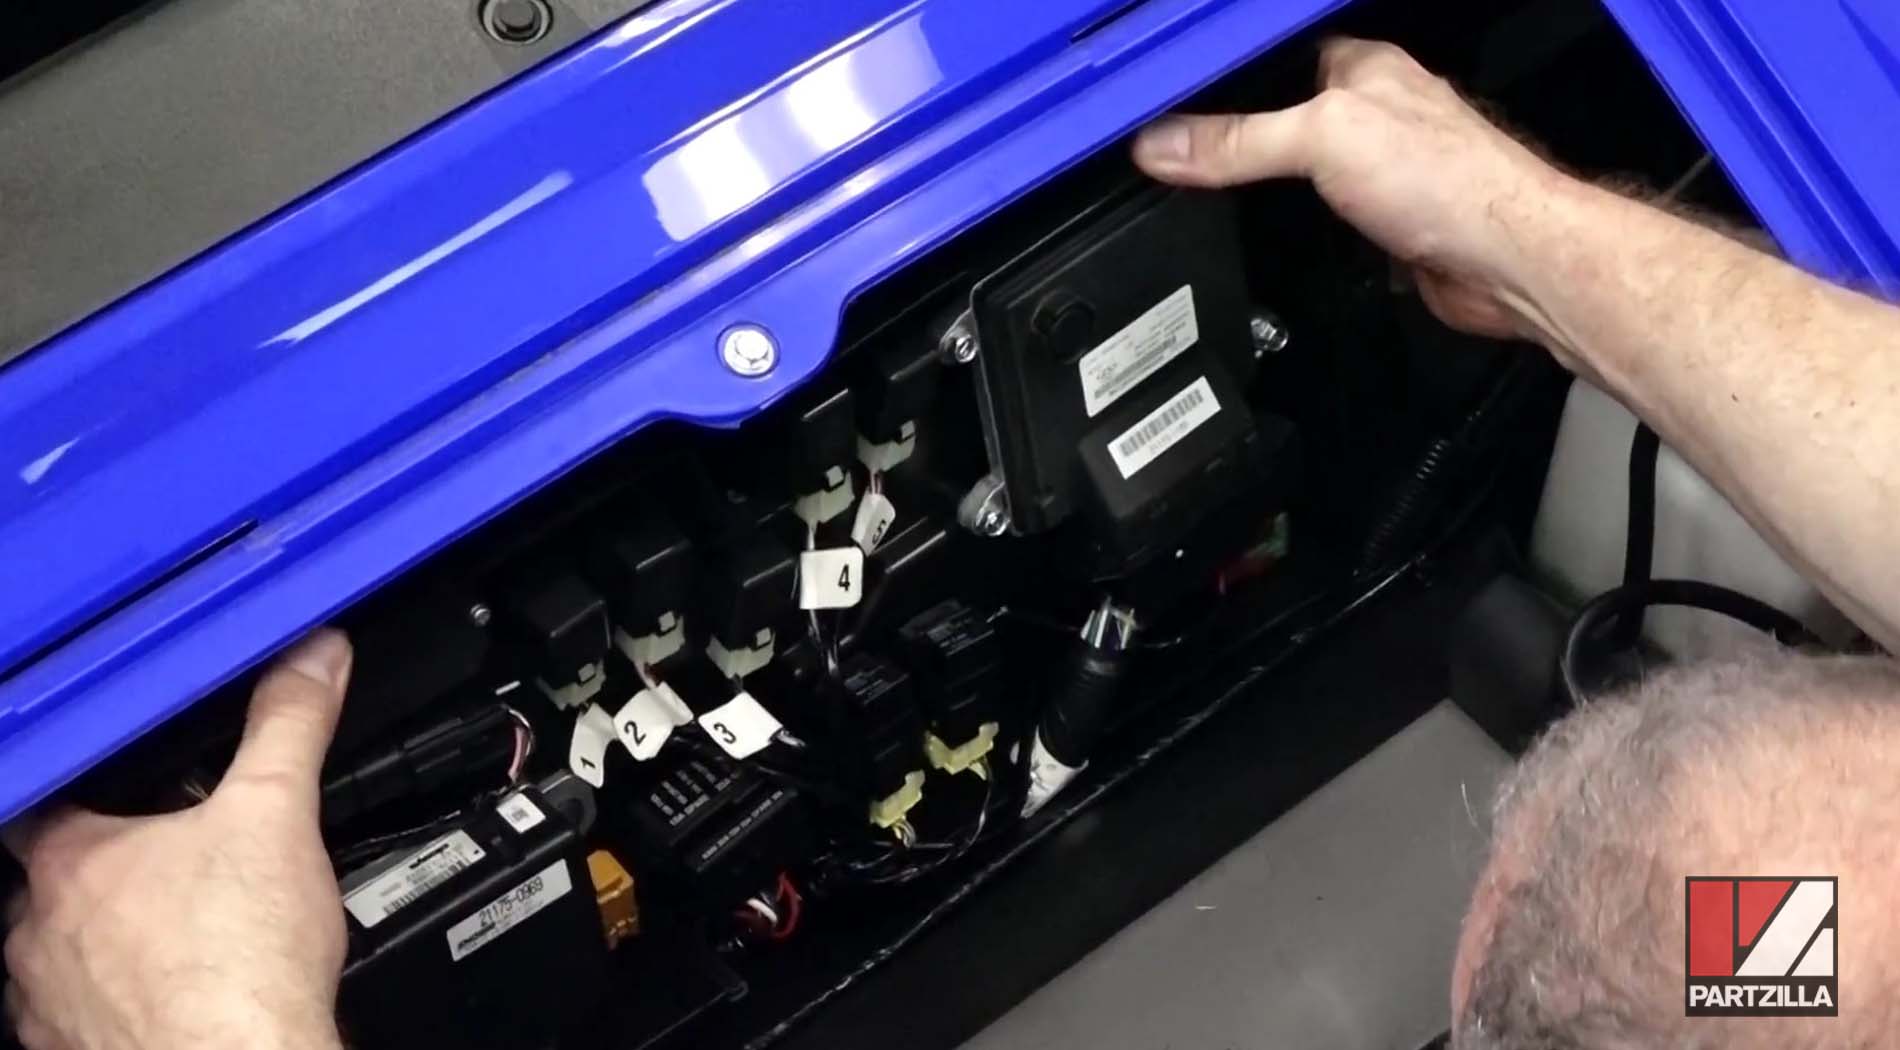
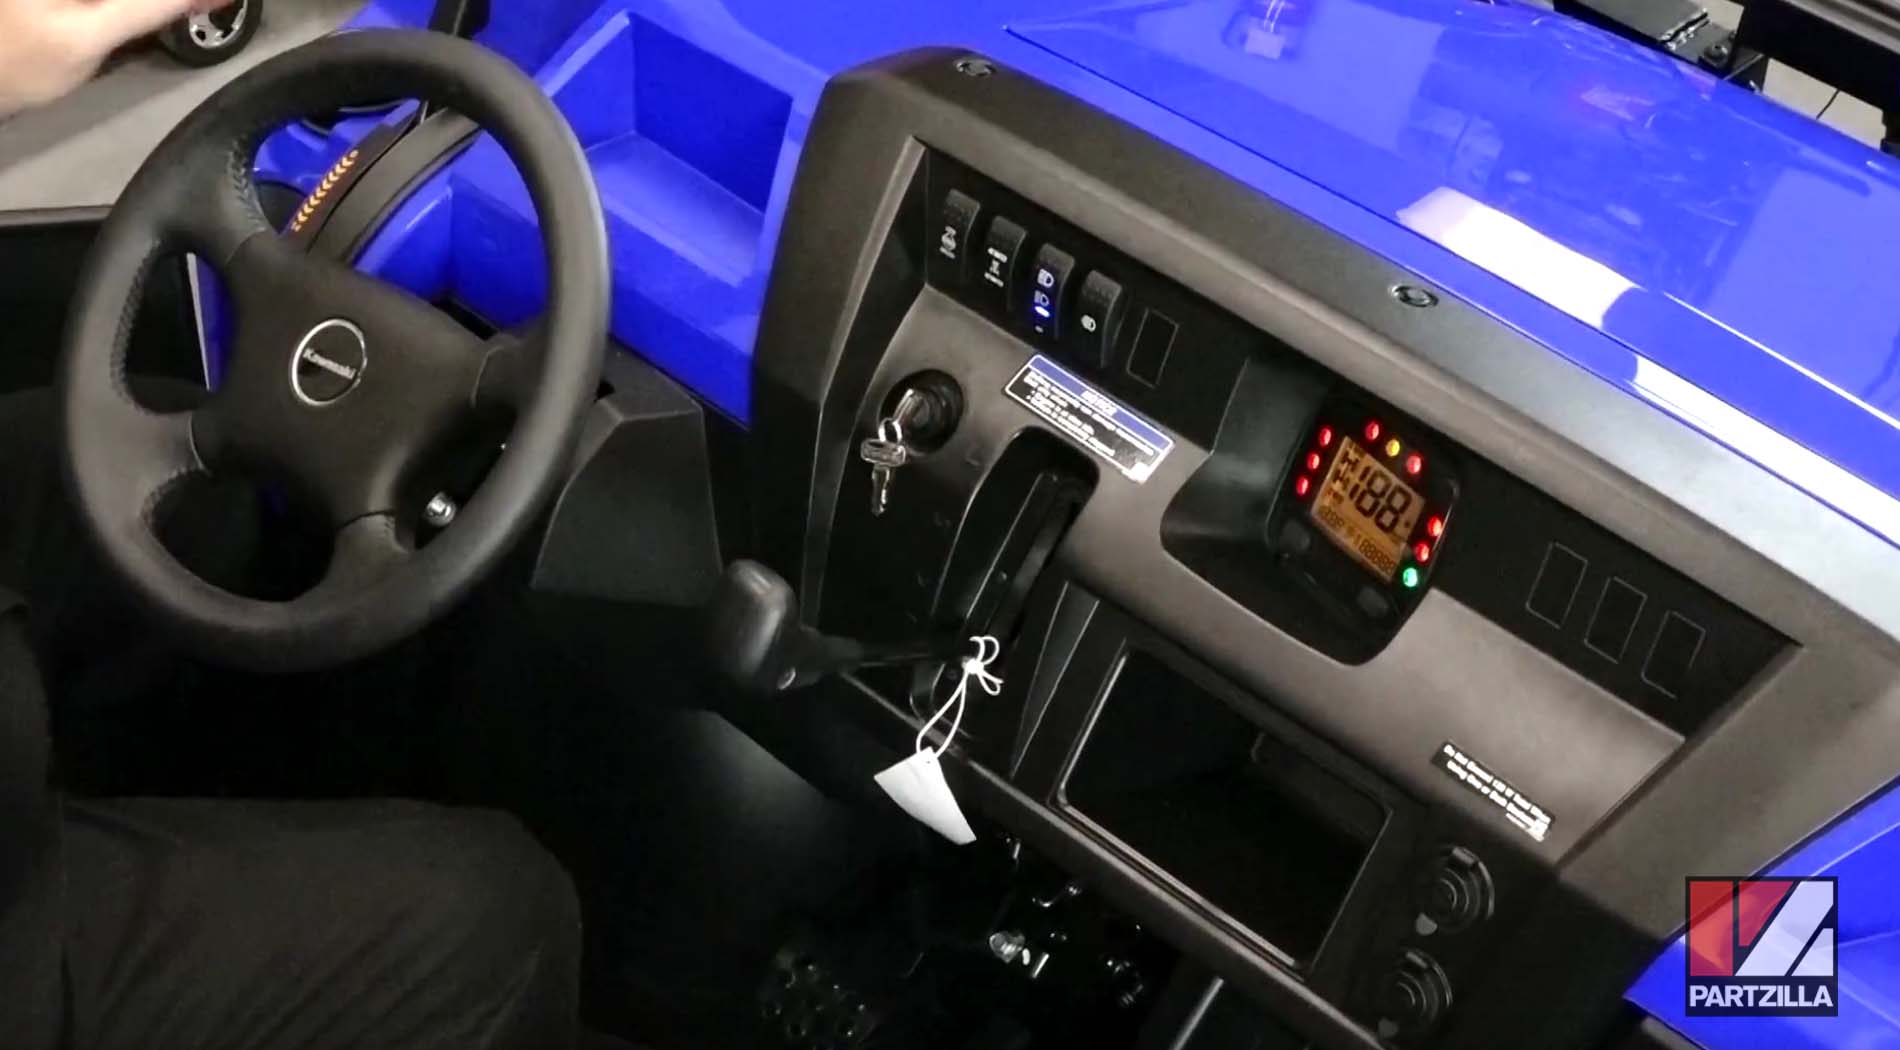
Step 3. Remove the front compartment hood and the cover from the box containing the electronics inside the front compartment.
Step 4. Remove the two screws from the electronics box, so you can pull the box forward and access the rear of the dashboard.
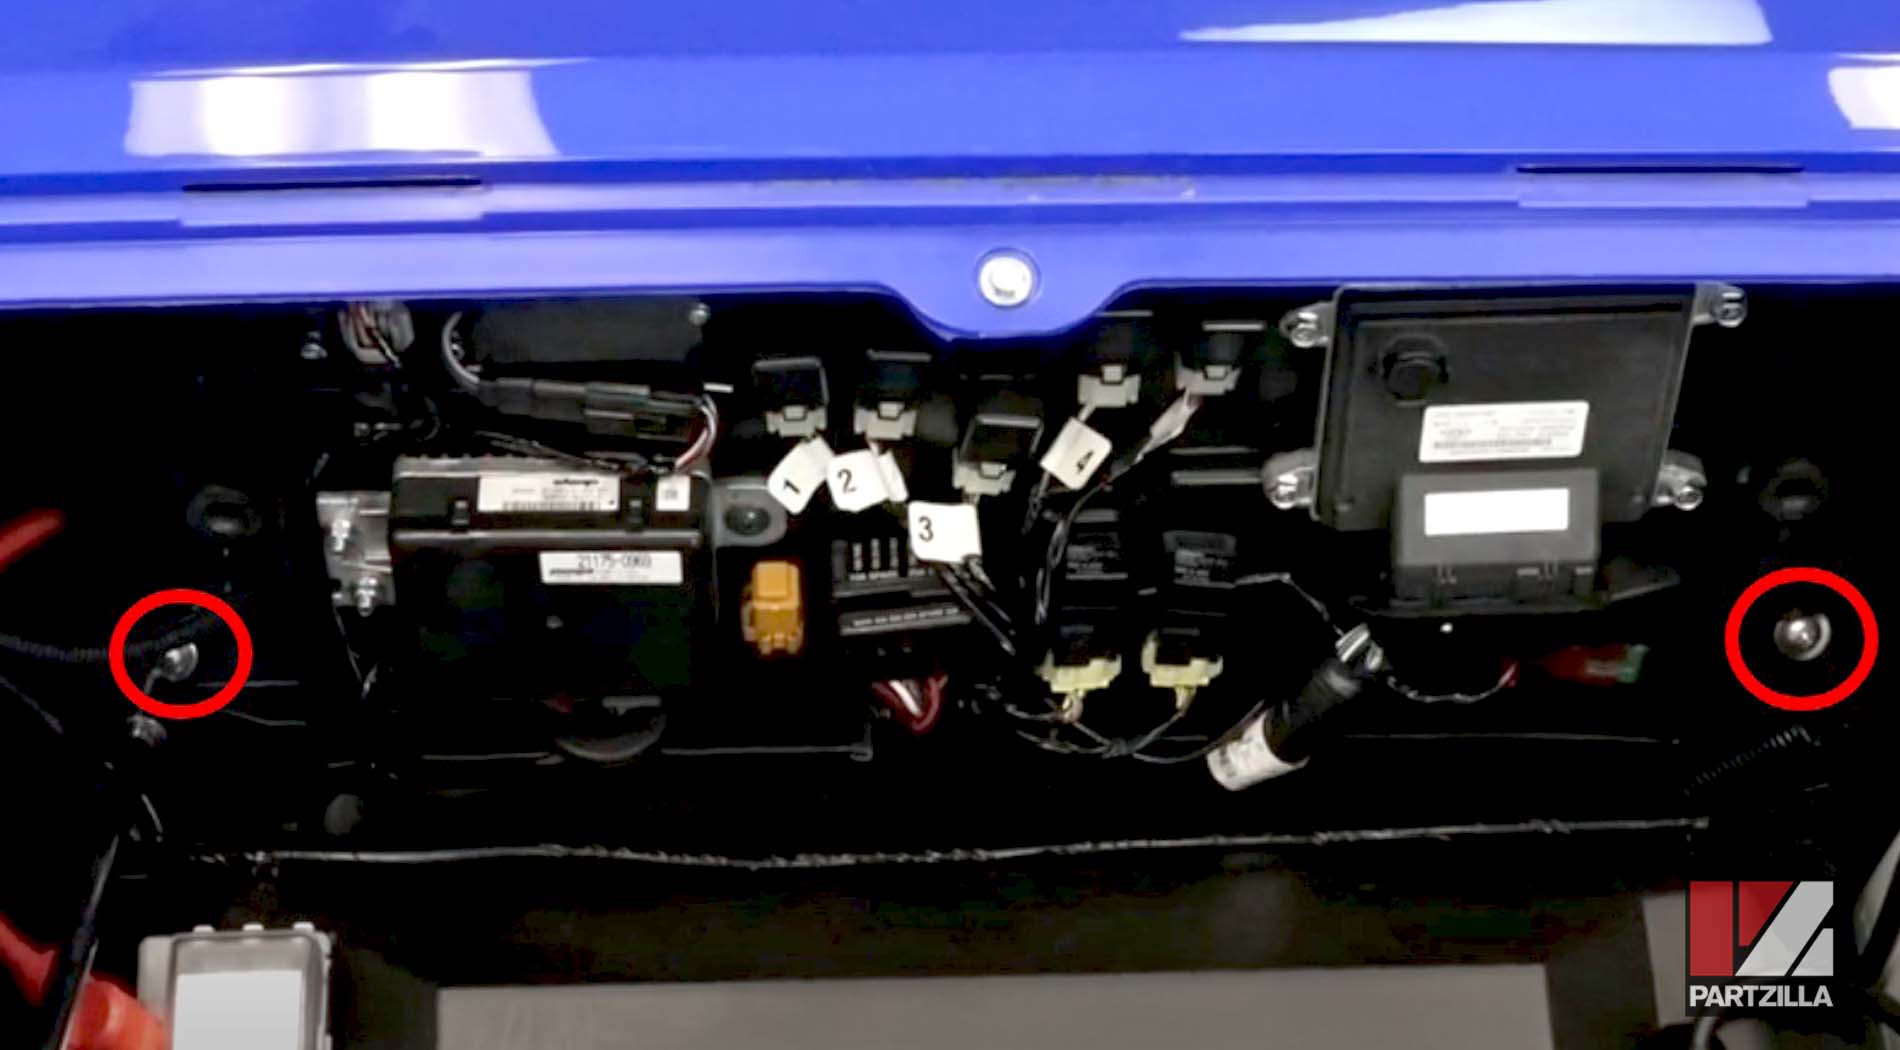
PRO TIP: Use an impact driver to break the screws free without stripping their heads.
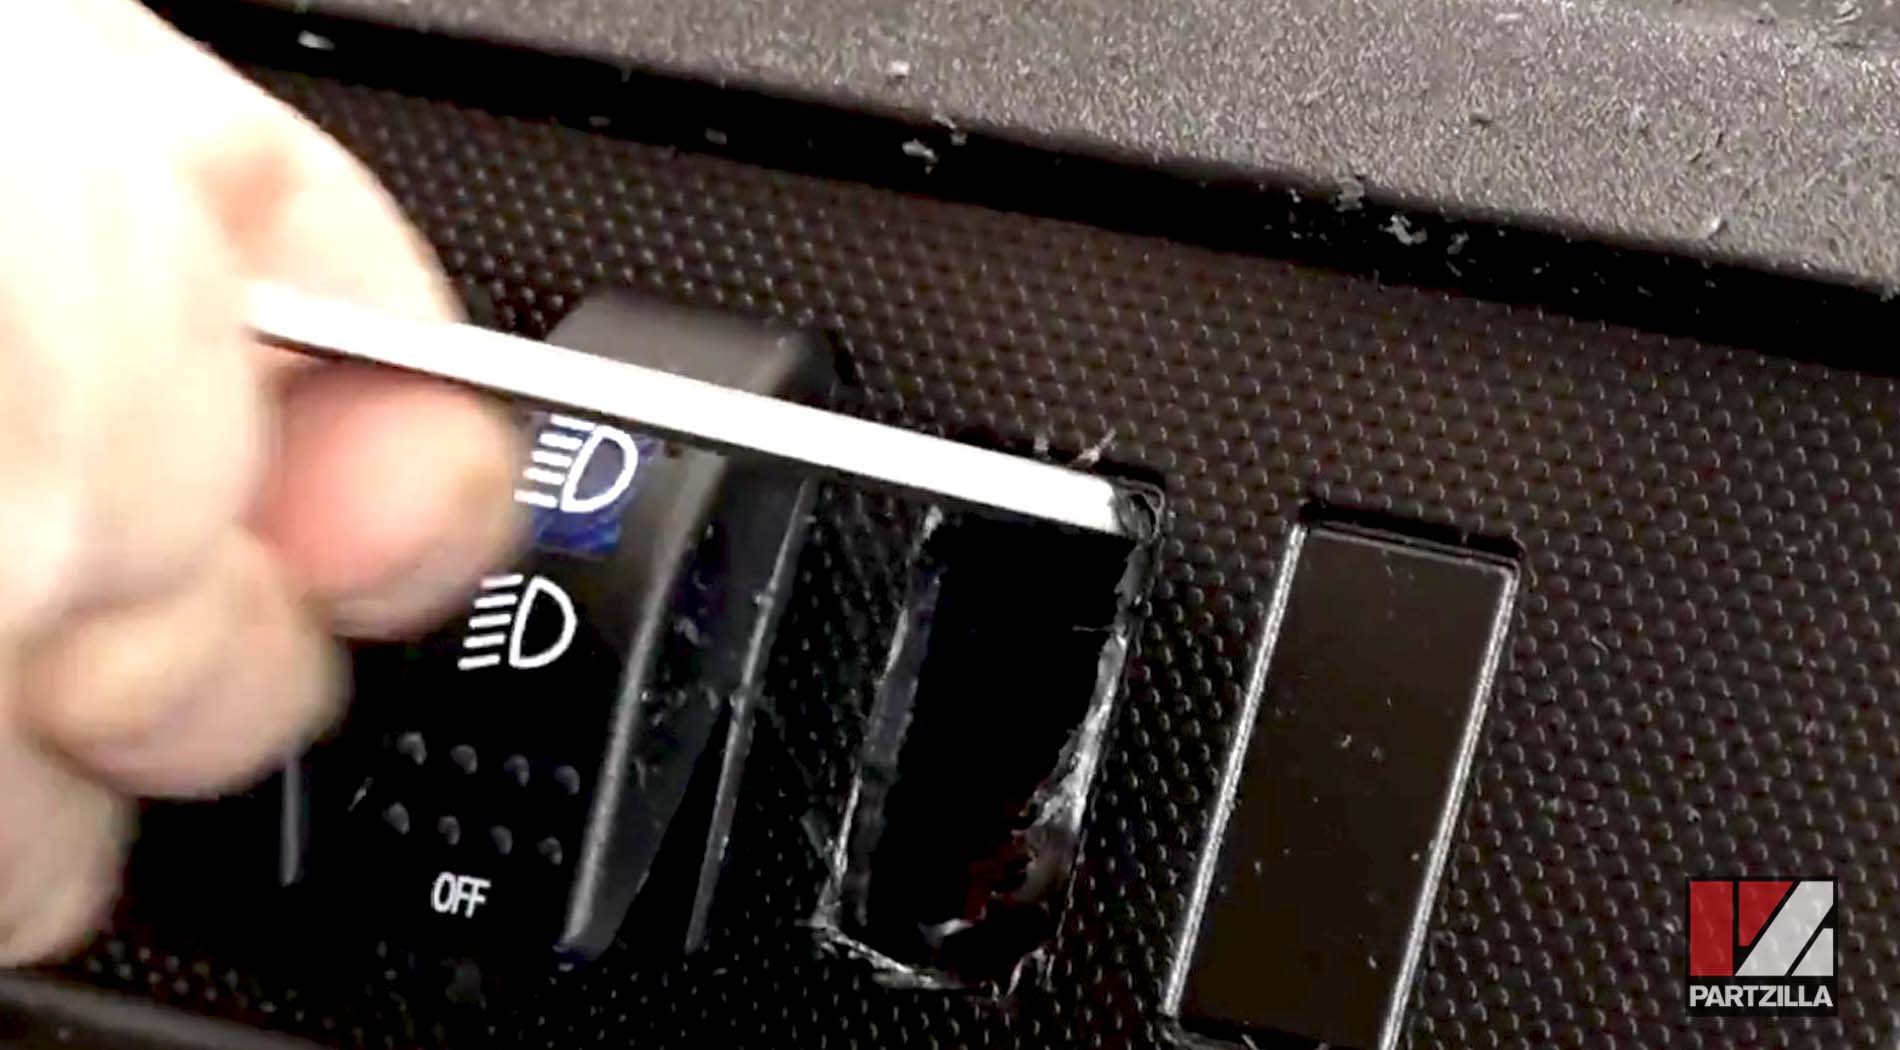
Step 5. Remove the switch blank by drilling a pilot hole at each corner, then using a Dremel tool to remove the remainder of the blank. Lastly, flatten down the edges with a file so you have a nice secure fit for the light bar ON/OFF switch.
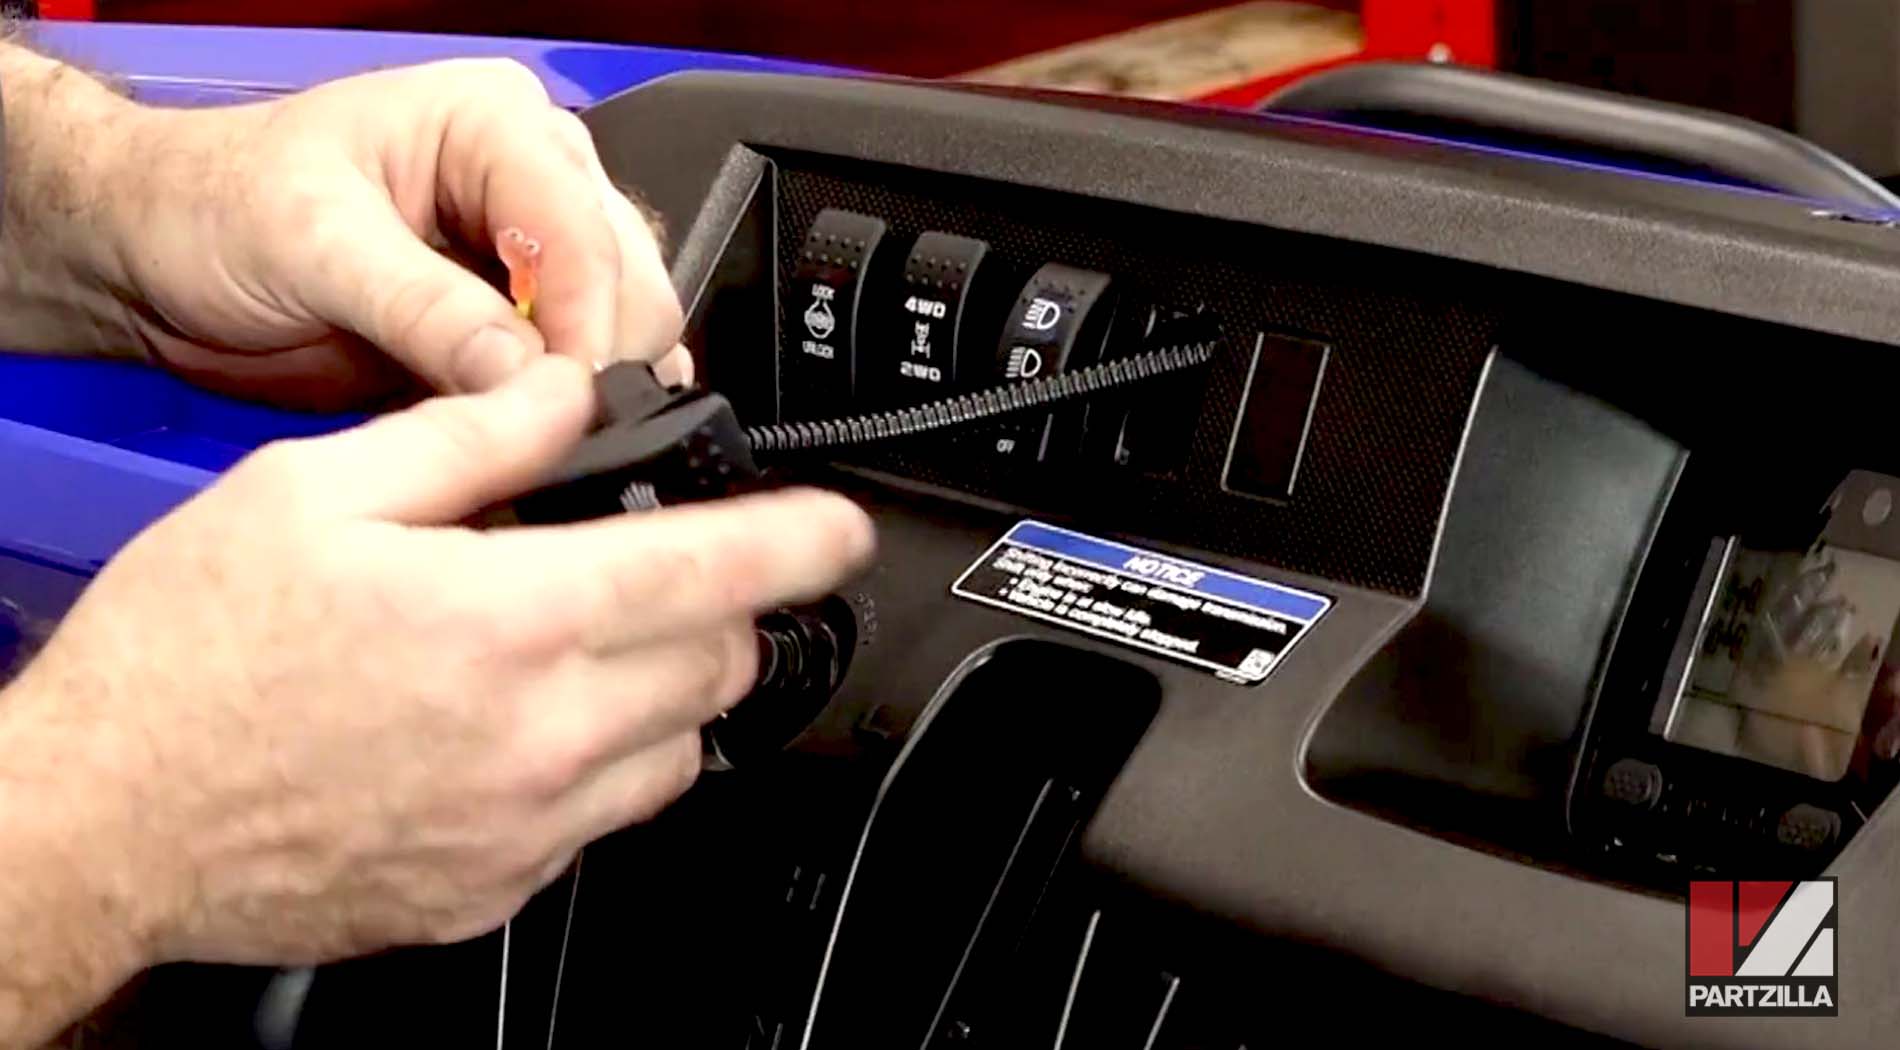
Step 6. Feed the light bar kit's wiring harness behind the dashboard up to the hole for the switch. Connect the harness to the ON/OFF switch (it doesn't matter which way you connect the two wires) and install the switch into the dash.
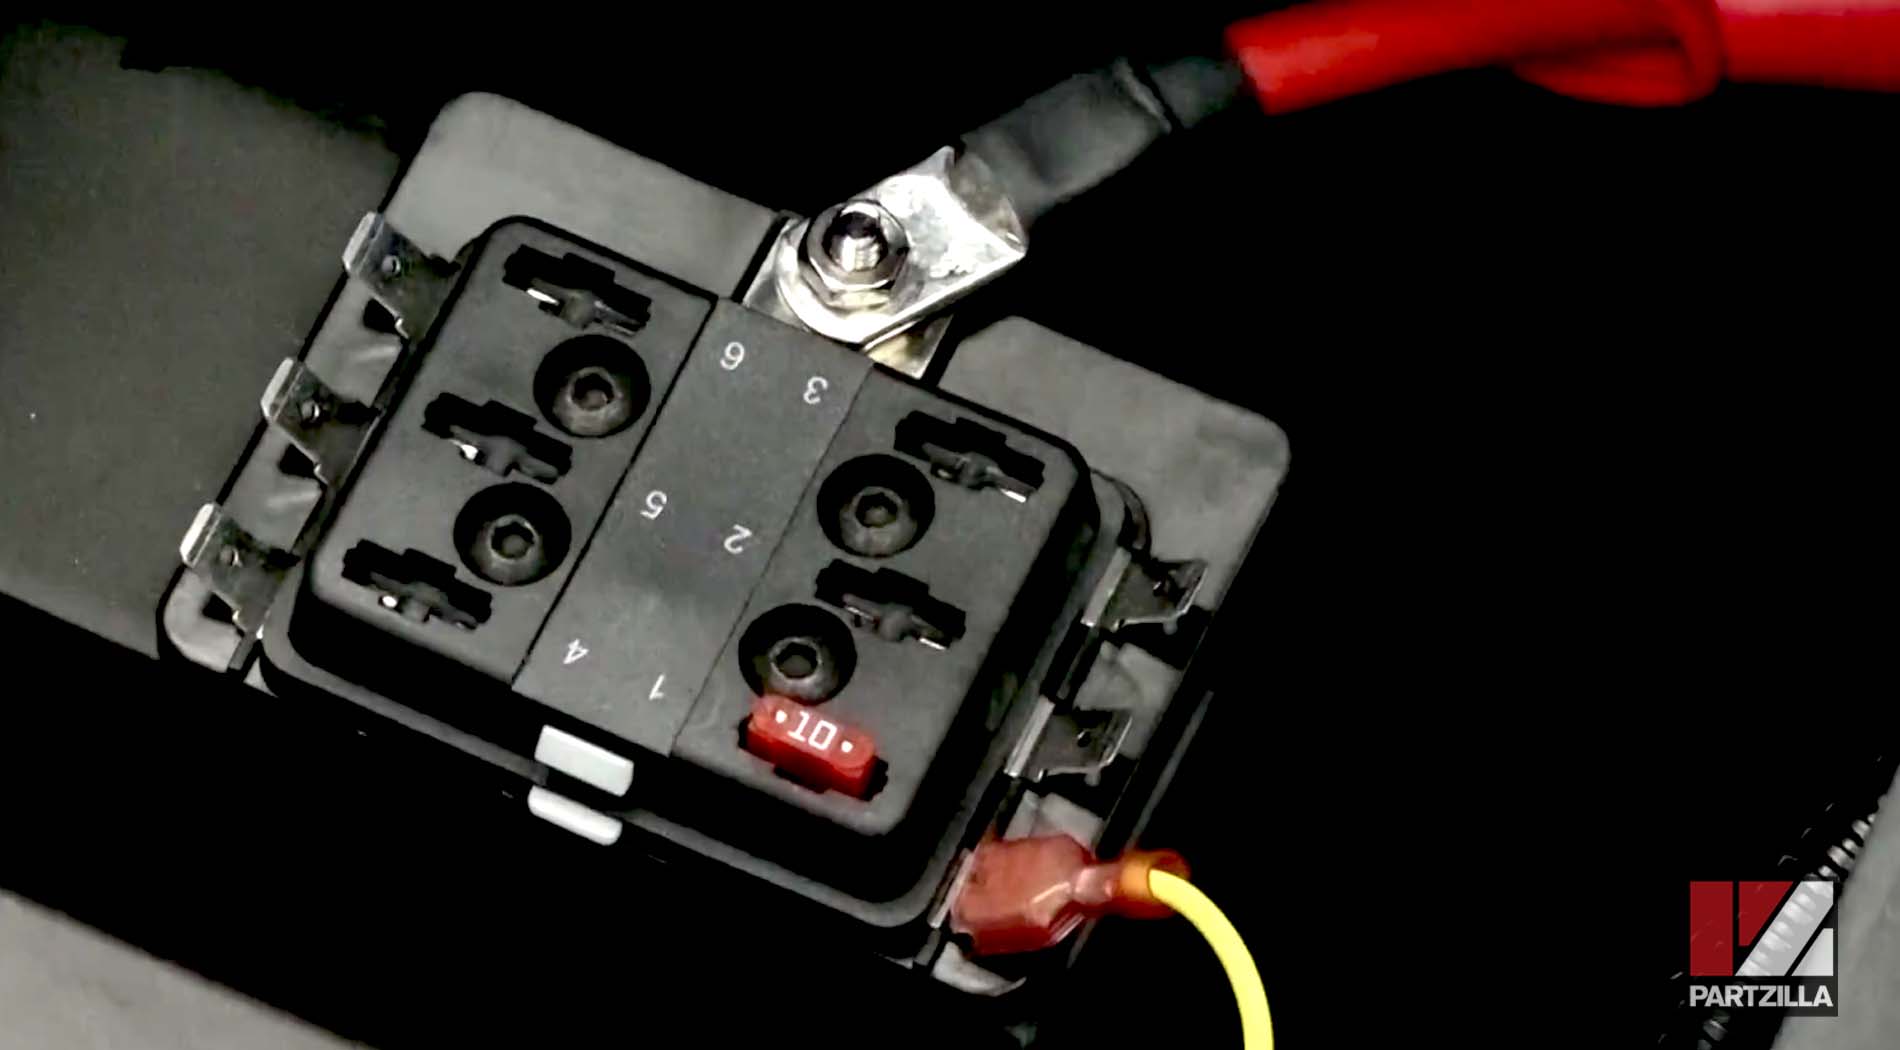
Step 7. Remove the cover from the accessory fuse box mounted within the front compartment, and connect the yellow cable from the wiring harness to it.
Step 8. Install the fuse from the light bar kit into the accessory fuse box and reinstall the fuse box cover.
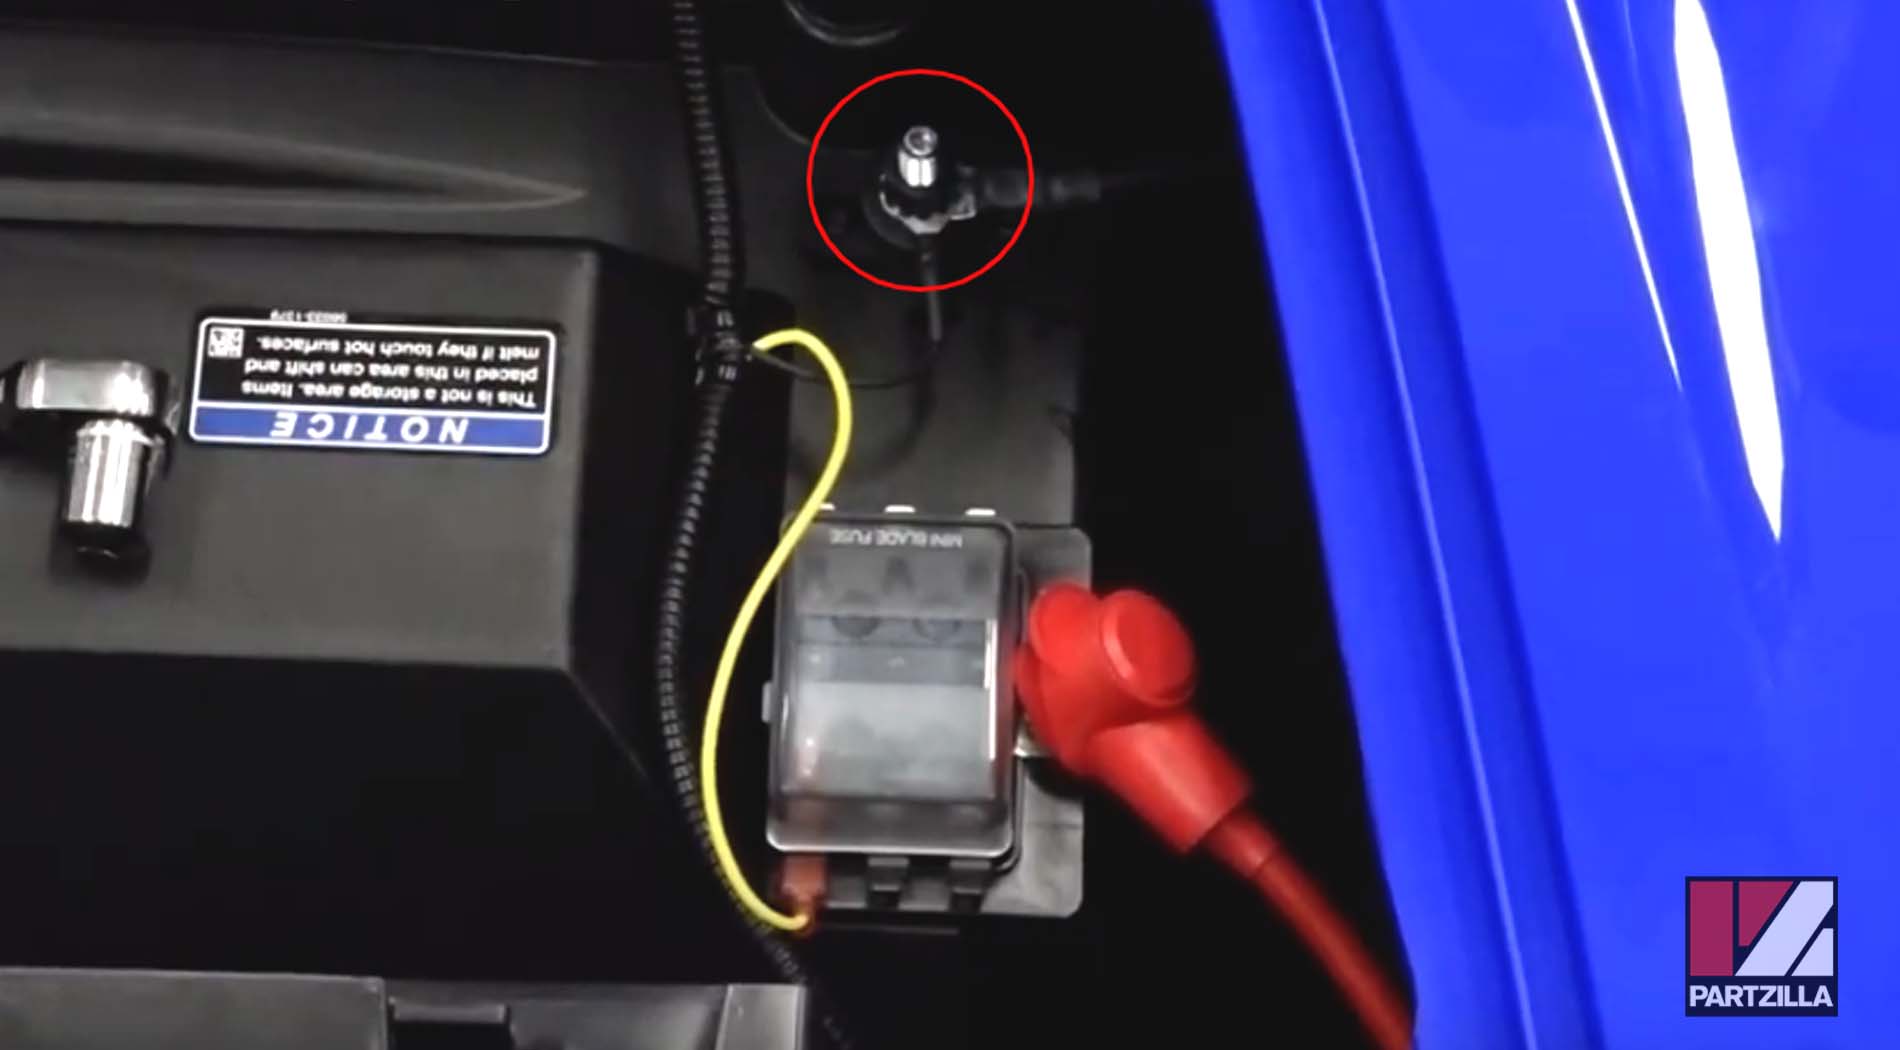
Step 9. Bolt the black wire from the wiring harness to the ground post just in front of the fuse box.
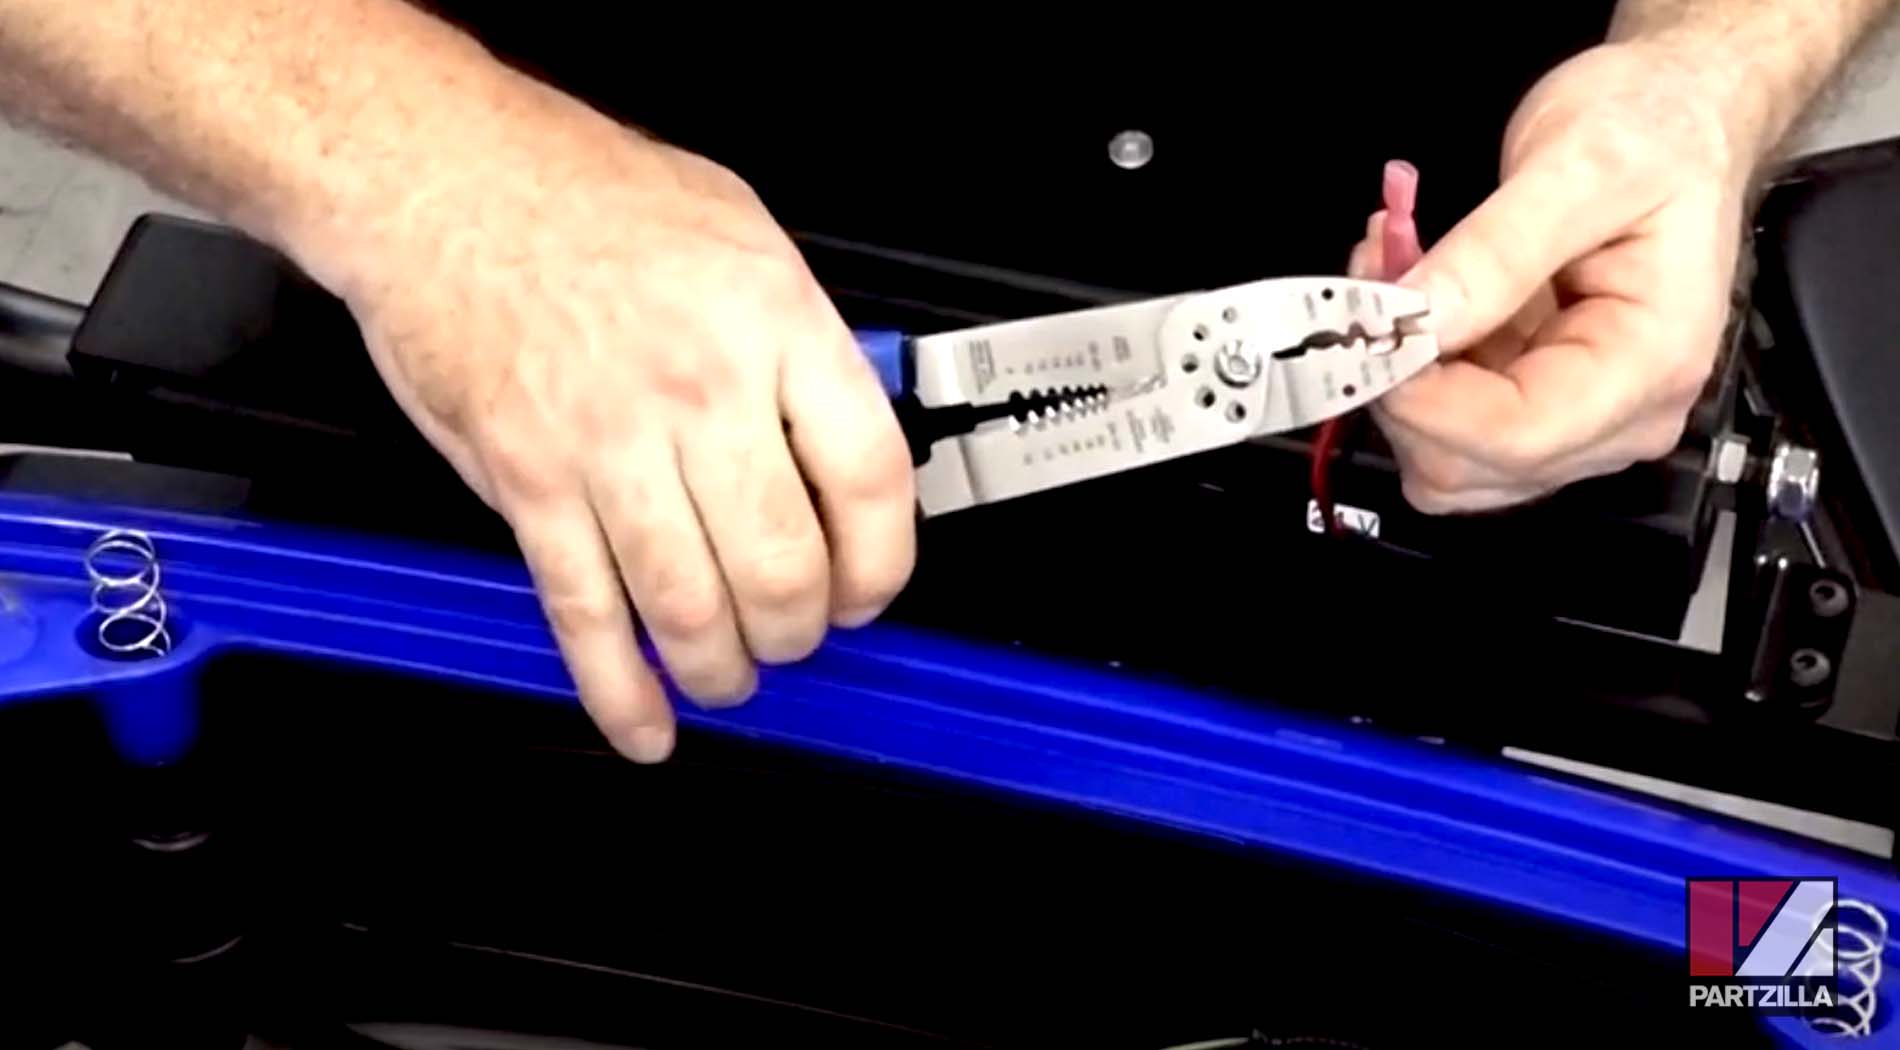
Step 10. Attach a female spade connector to the negative (black) wire coming from the light bar, and attach a male spade connector to the positive (red) wire coming from the light bar.
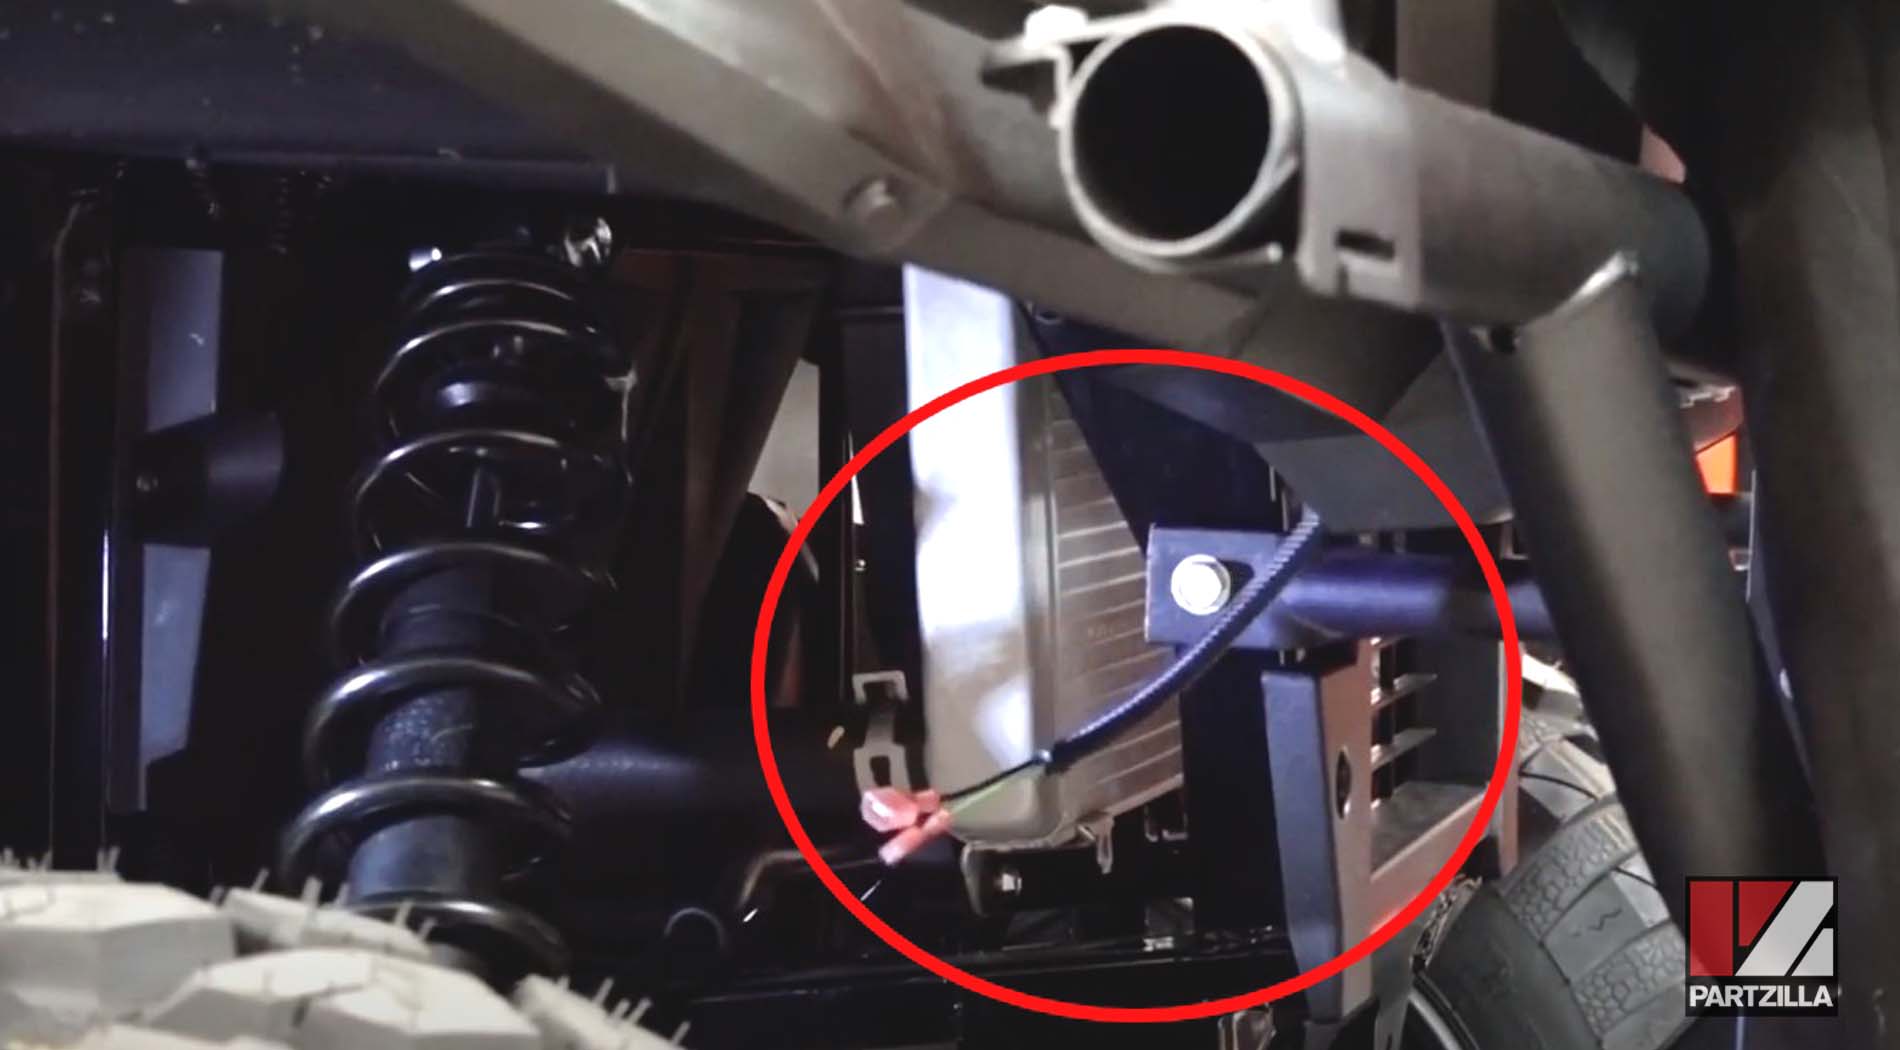
Step 11. Route the wiring harness to the very front of the Mule, and feed it down the gap between the radiator and the shroud.
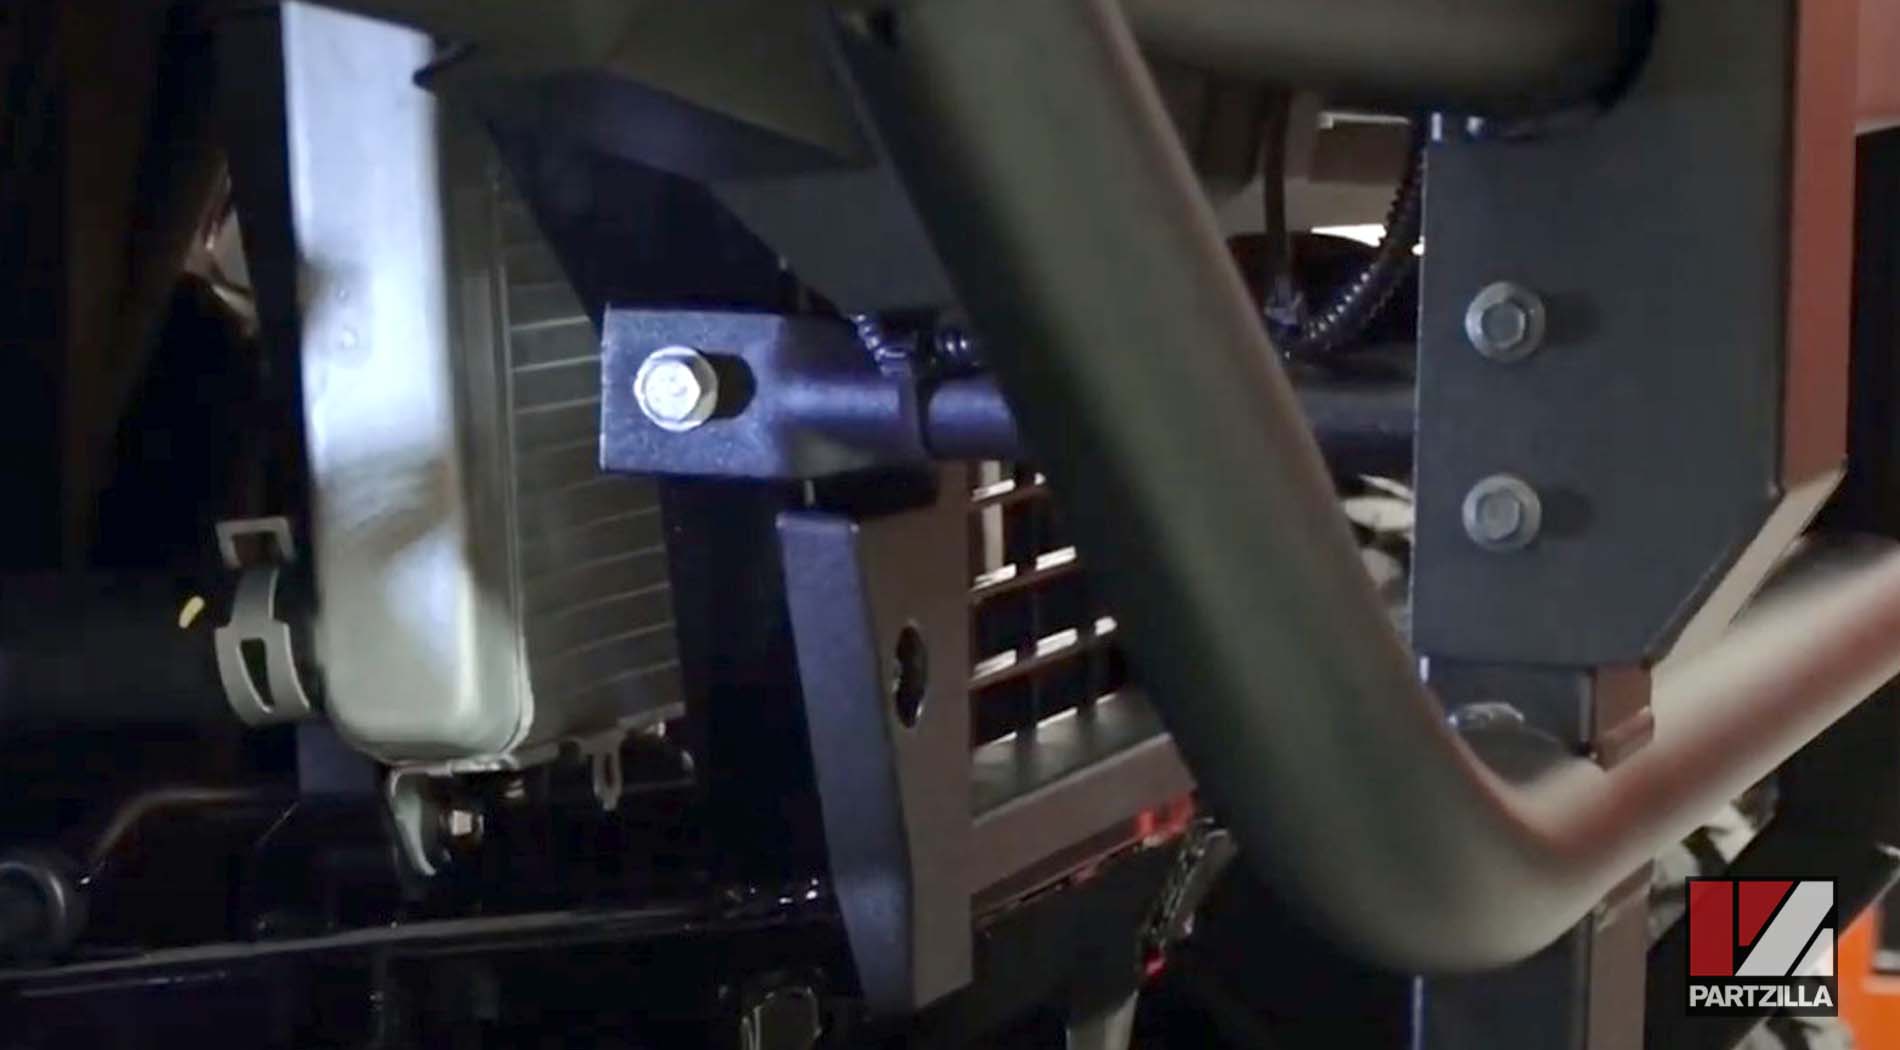
Step 12. Run the wiring harness up behind the main pillar on the brush guard, and connect it to the positive and negative wires coming from the light bar.
Step 13. Use zip ties to attach the wiring harness to the brush guard and secure it in place. Also use zip ties to secure the wire from the light bar's ON/OFF switch to the Mule's main wiring harness so there are no stray wires.
Step 14. Push the electronics box back into place and reinstall its two screws. Next, reinstall the electronics box cover and the front compartment cover.
As mentioned at the beginning of this article, the Kawasaki Mule LED light bar can't be installed without installing the accessory fuse box first. Watch the video below to get that done, so you can then install the LED light bar.