How to Install a Kawasaki Mule Brush Guard
A brush guard is a great enhancement for any Kawasaki UTV or ATV. It gives your vehicle a more rugged look, and creates room for other accessories you might want to add on to your side-by-side later.
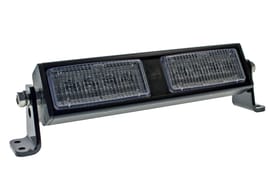
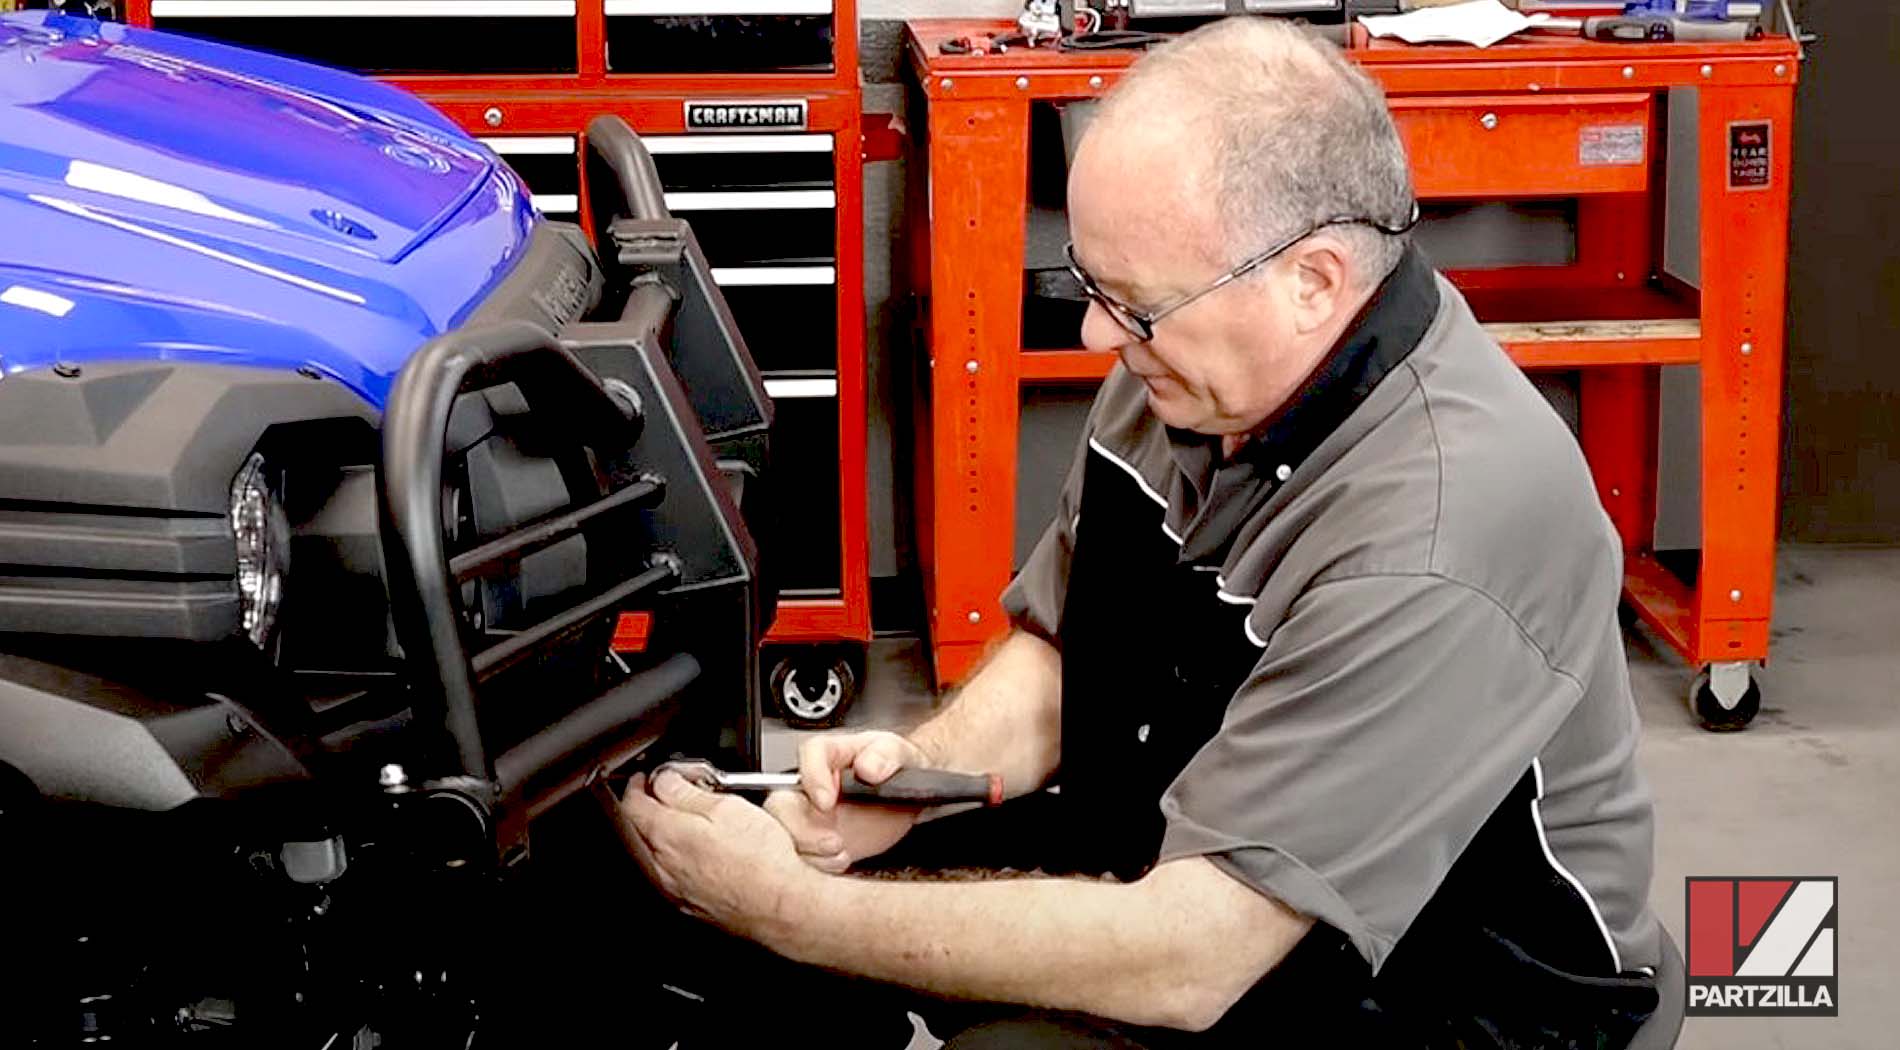
A brush guard makes for an attractive, stable perch to add on more lights. This Kawasaki Mule brush guard installation was effortless, because we used an OEM part (recommended) that came with everything needed to get the job done. Watch the video above and follow the steps below to do a brush guard installation on a Kawasaki Mule Pro FXT.
Tools and Parts - Kawasaki Mule Brush Guard Installation
- 3/8th ratchet
- Socket extension
- 10mm, 12mm socket
- Torque wrench
- Impact wrench (optional)
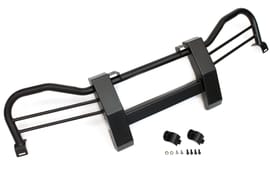
- Kawasaki Mule brush guard
Installing a Brush Guard on a Kawasaki UTV
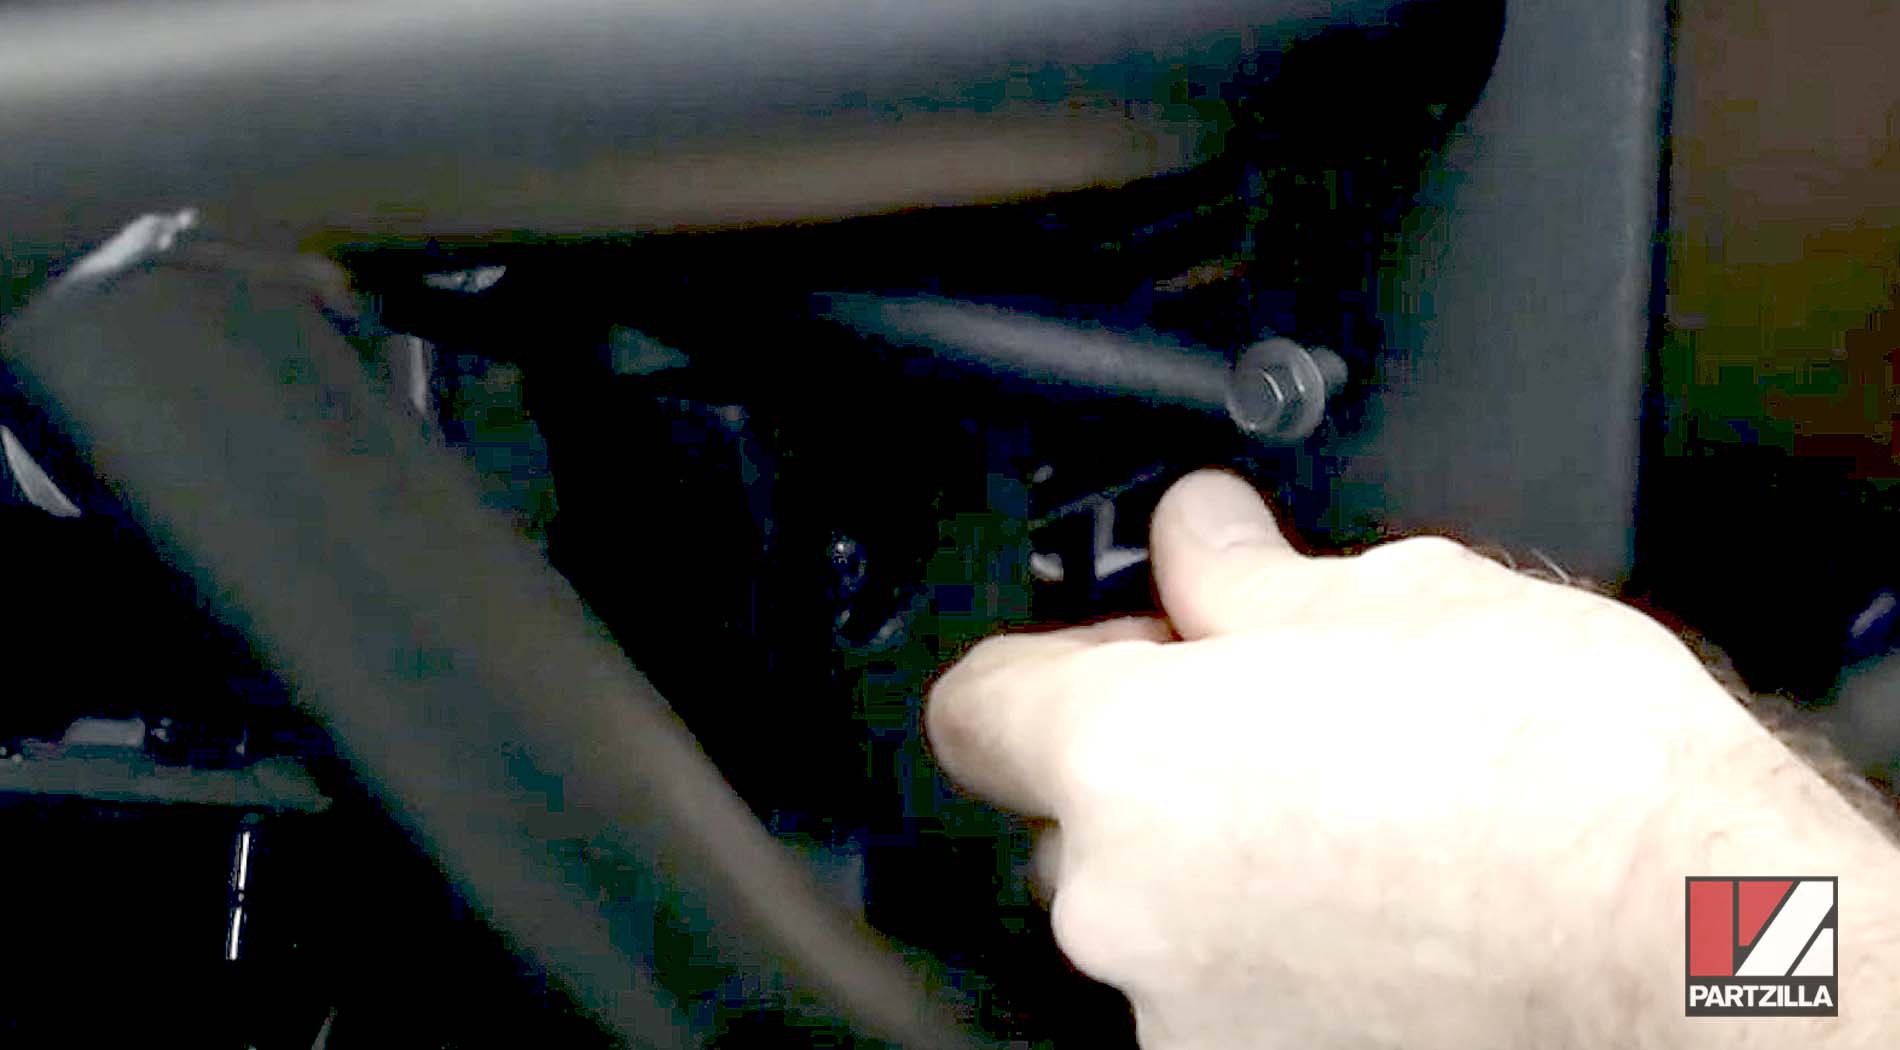
Step 1. Thread the bolts included with the brush guard to the mounting holes on both sides of the bumper. Run the bolts in, and then back the bolts out and remove them.
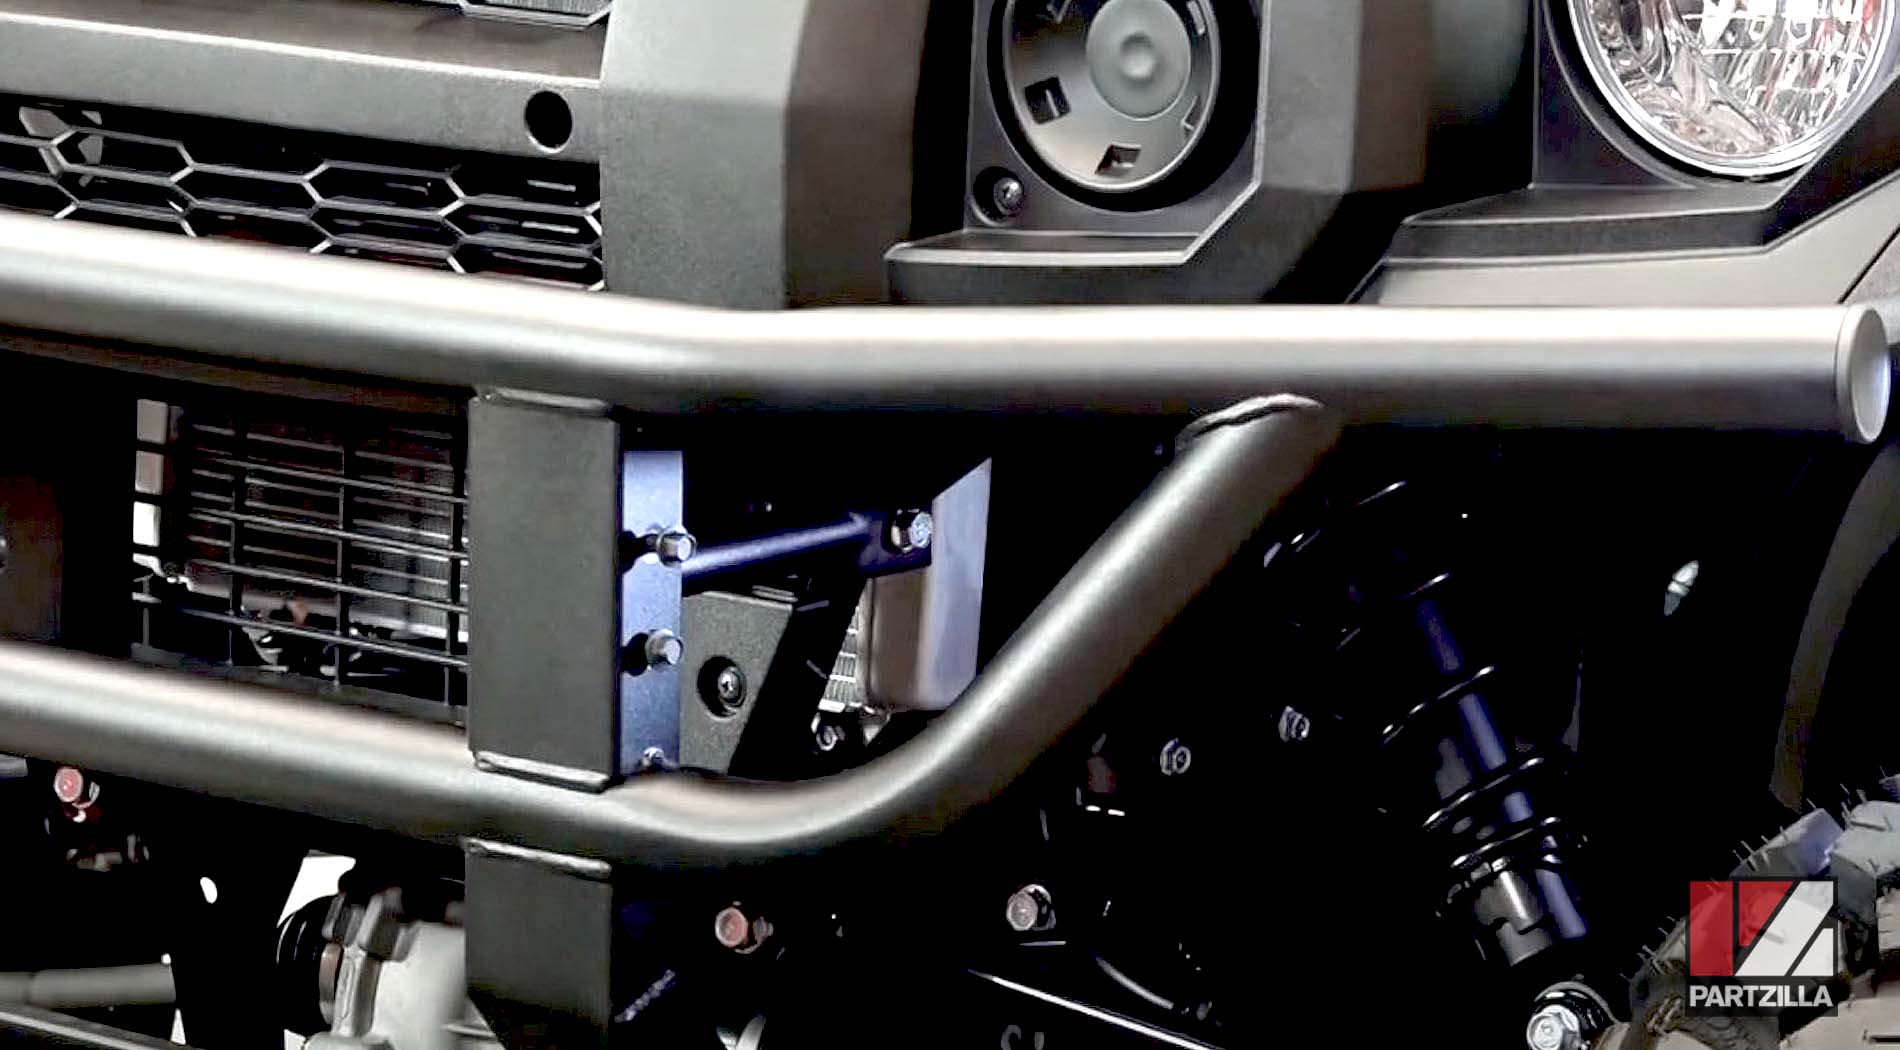
Step 2. Position the brush guard to the holes on the brush guard that line up with the holes threaded on the bumper. There's a C-shaped cut in the brush guard that fits around the bumper. Lift the brush guard into place and hold it there.
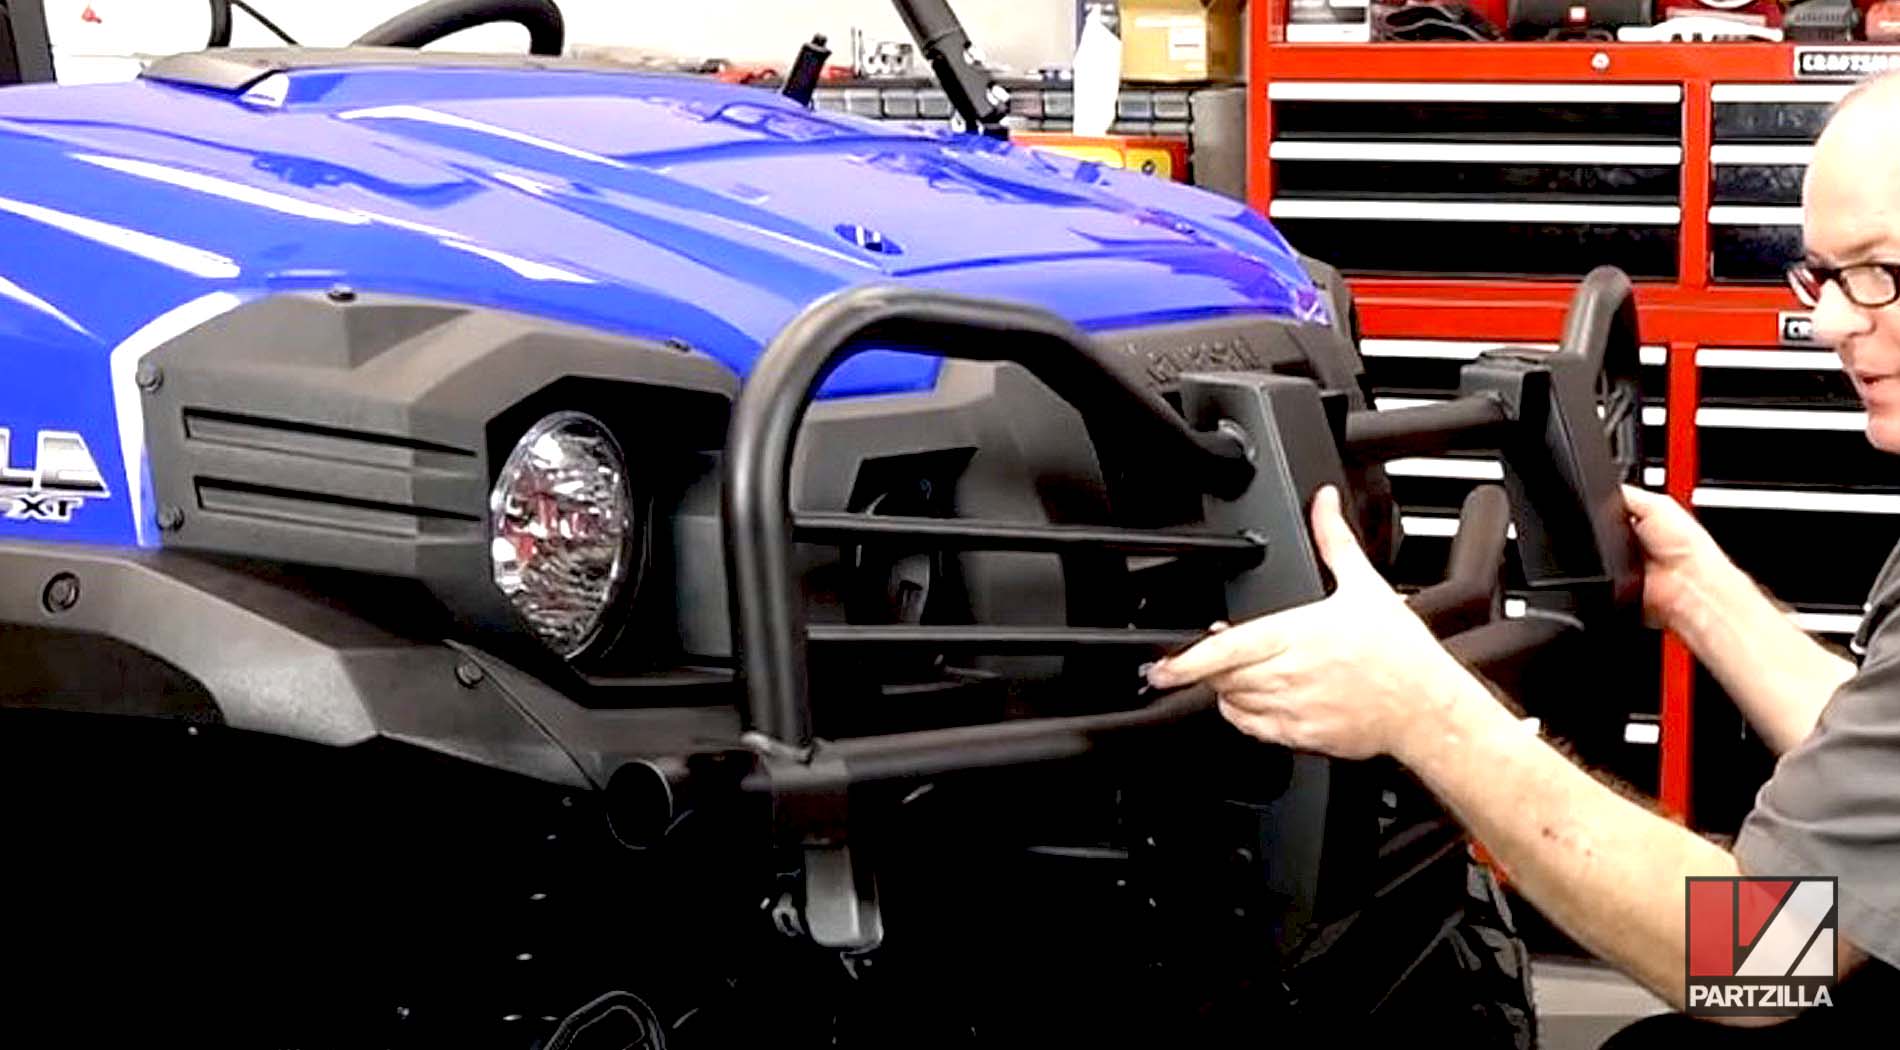
Step 3. Hand-tighten the top bolts on either side of the brush guard to hold it in place. Next, hand-tighten the bottom bolts on each side of the brush guard. Don't completely tighten these bolts down just yet, since you'll want everything to be able to move around a little while you add on additional mounts.
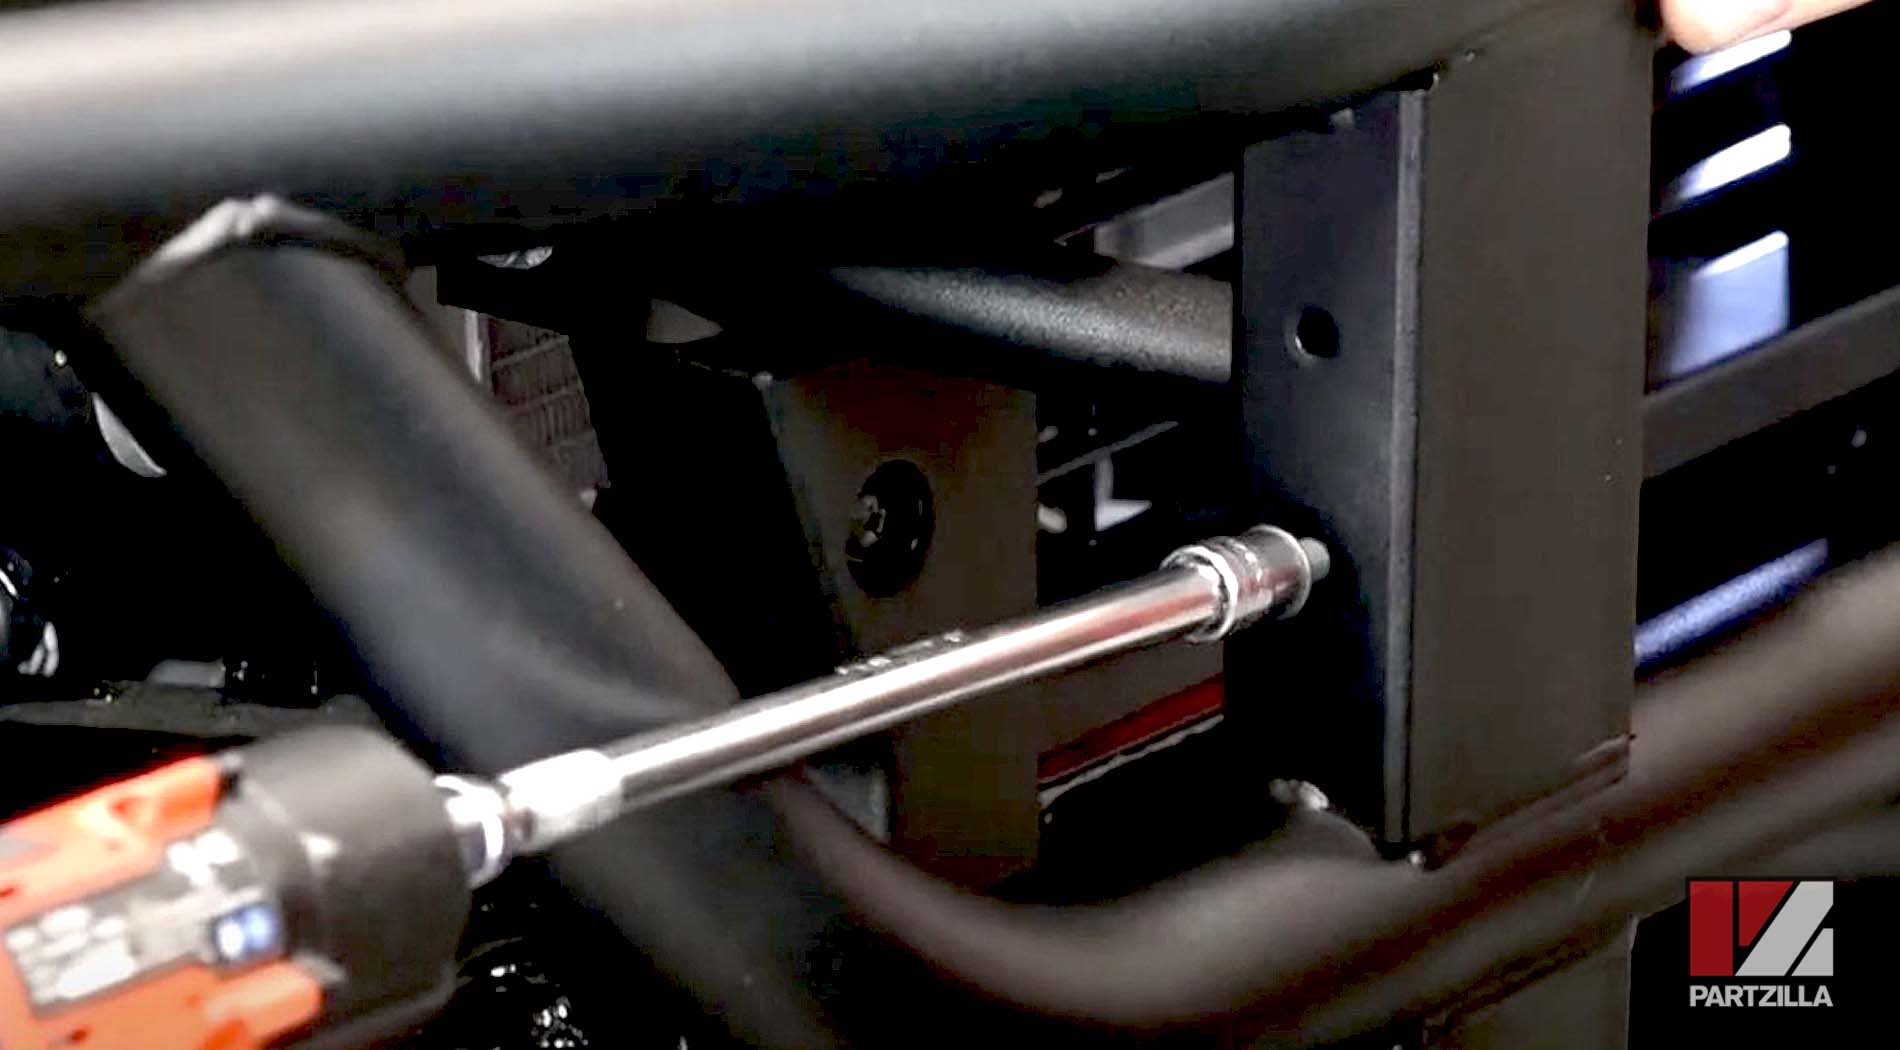
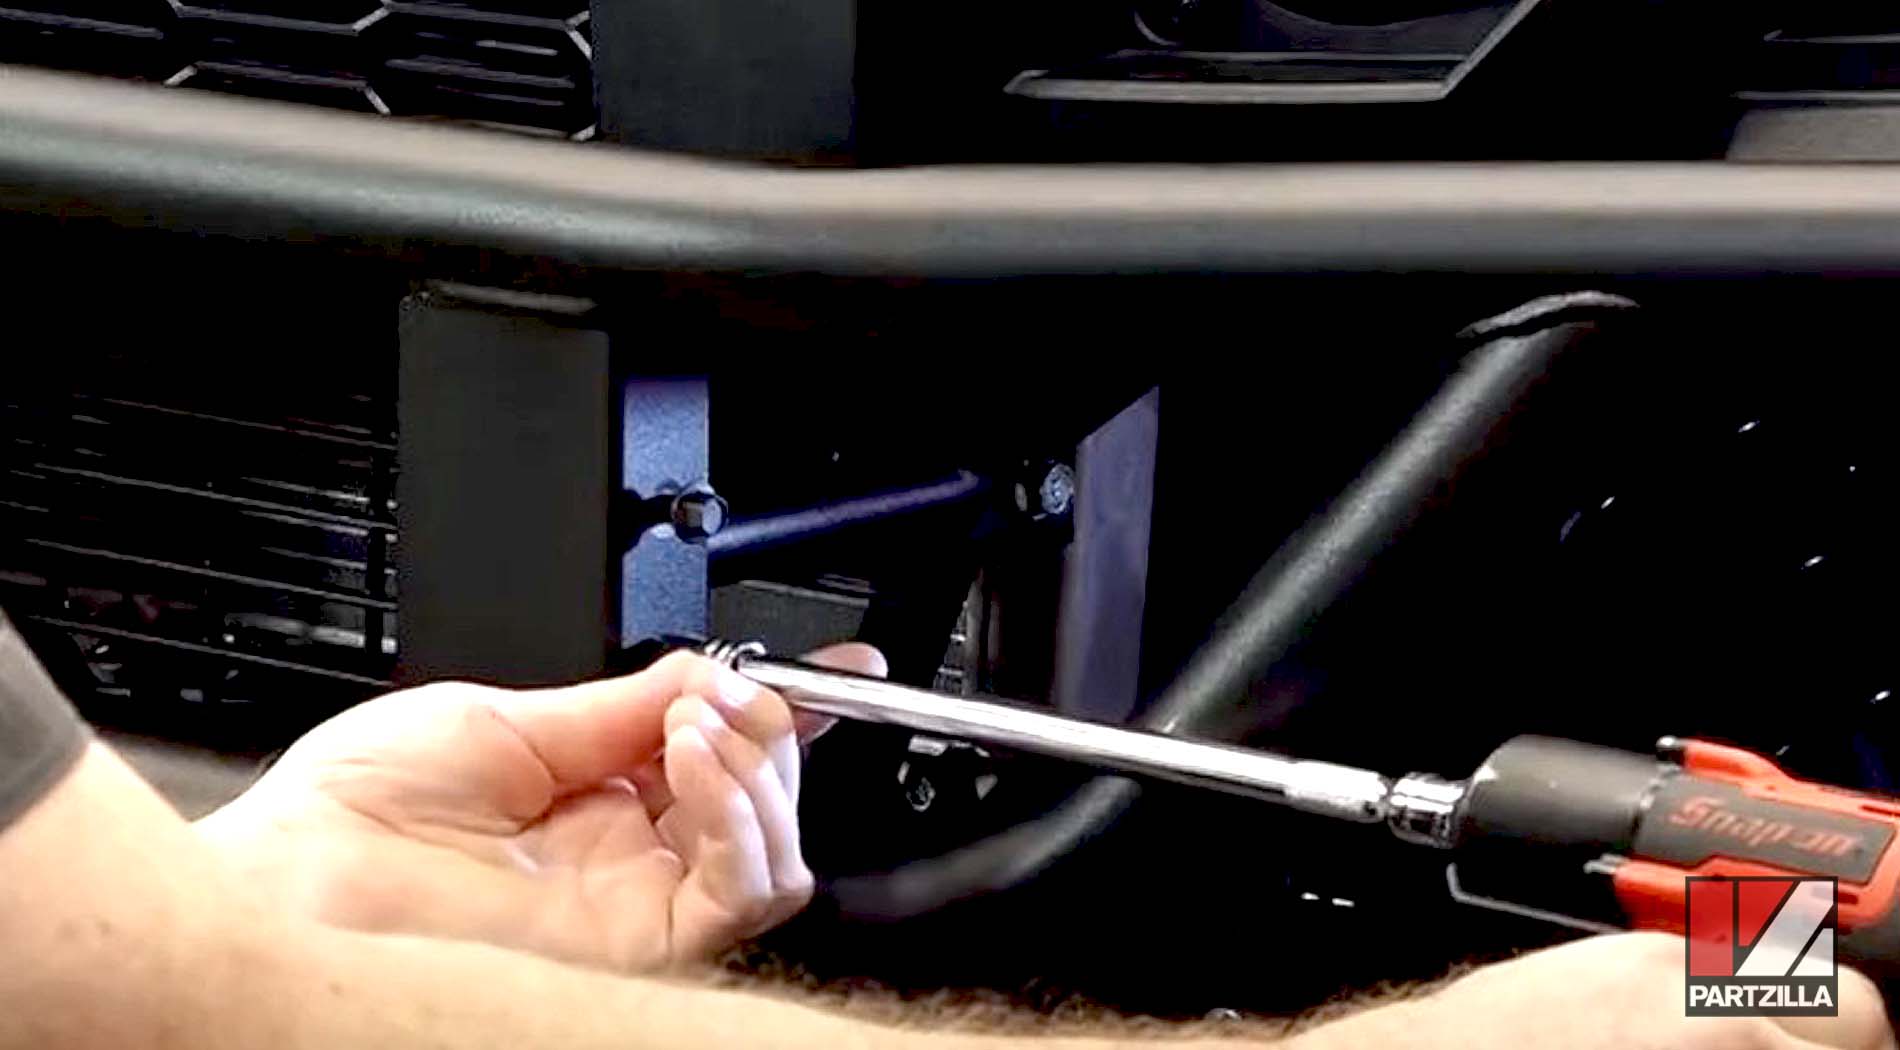
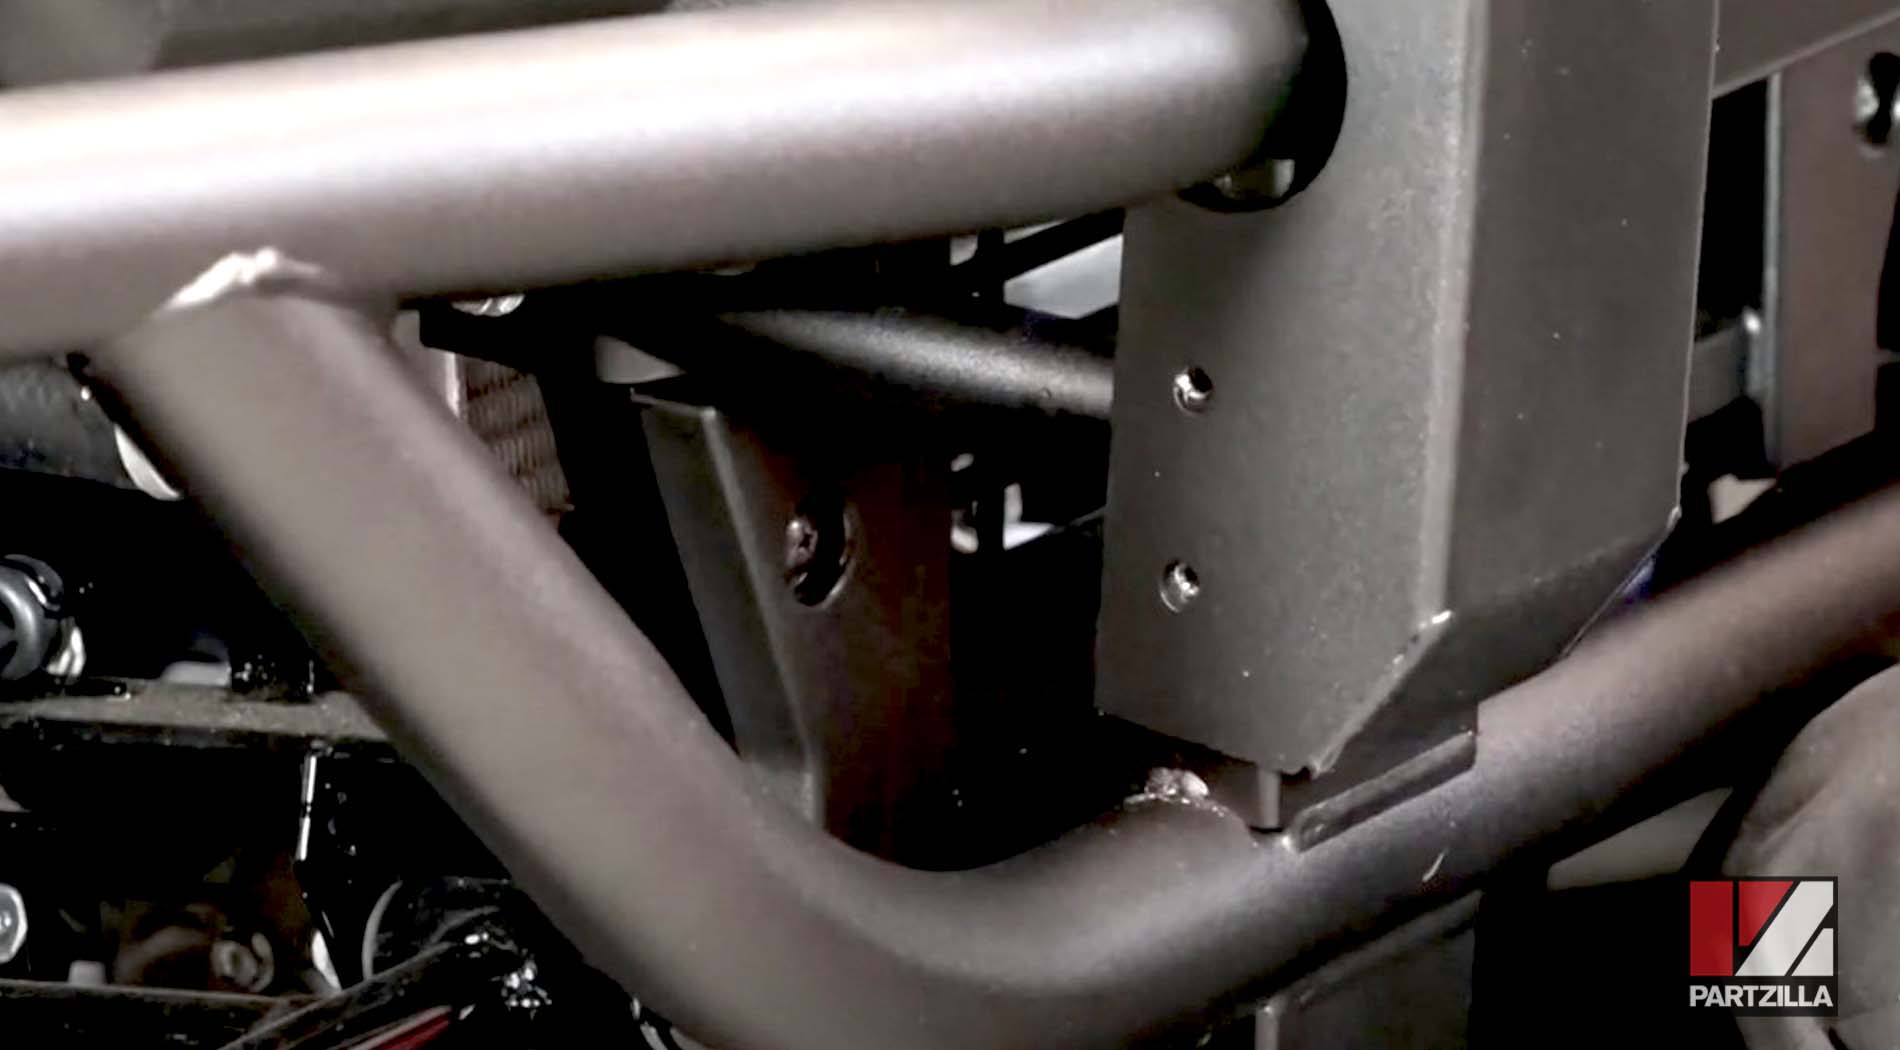
Step 4. Hook the C-shaped mounts into the slits at both ends of the brush guard, where the brush guard meets the end of the bumper. Next, thread in and tighten the bolts behind these mounts and tighten them to 18 foot-pounds.
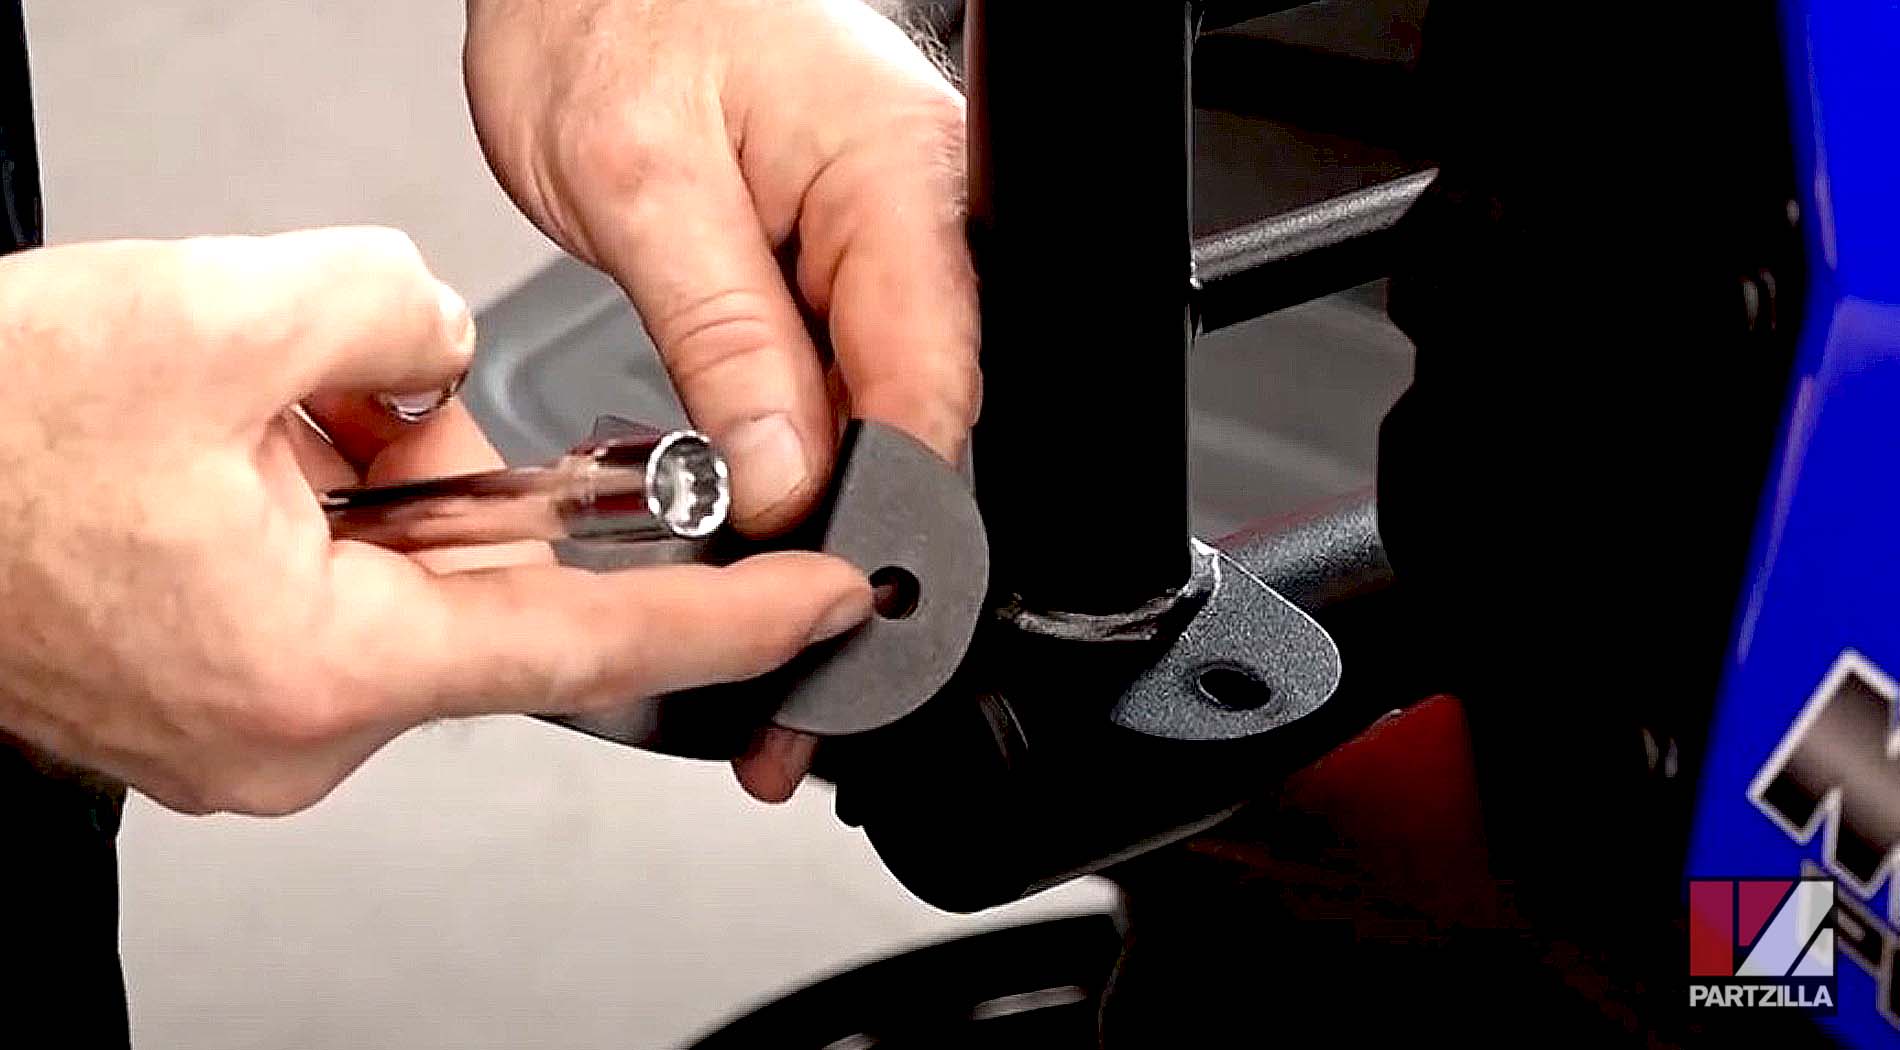

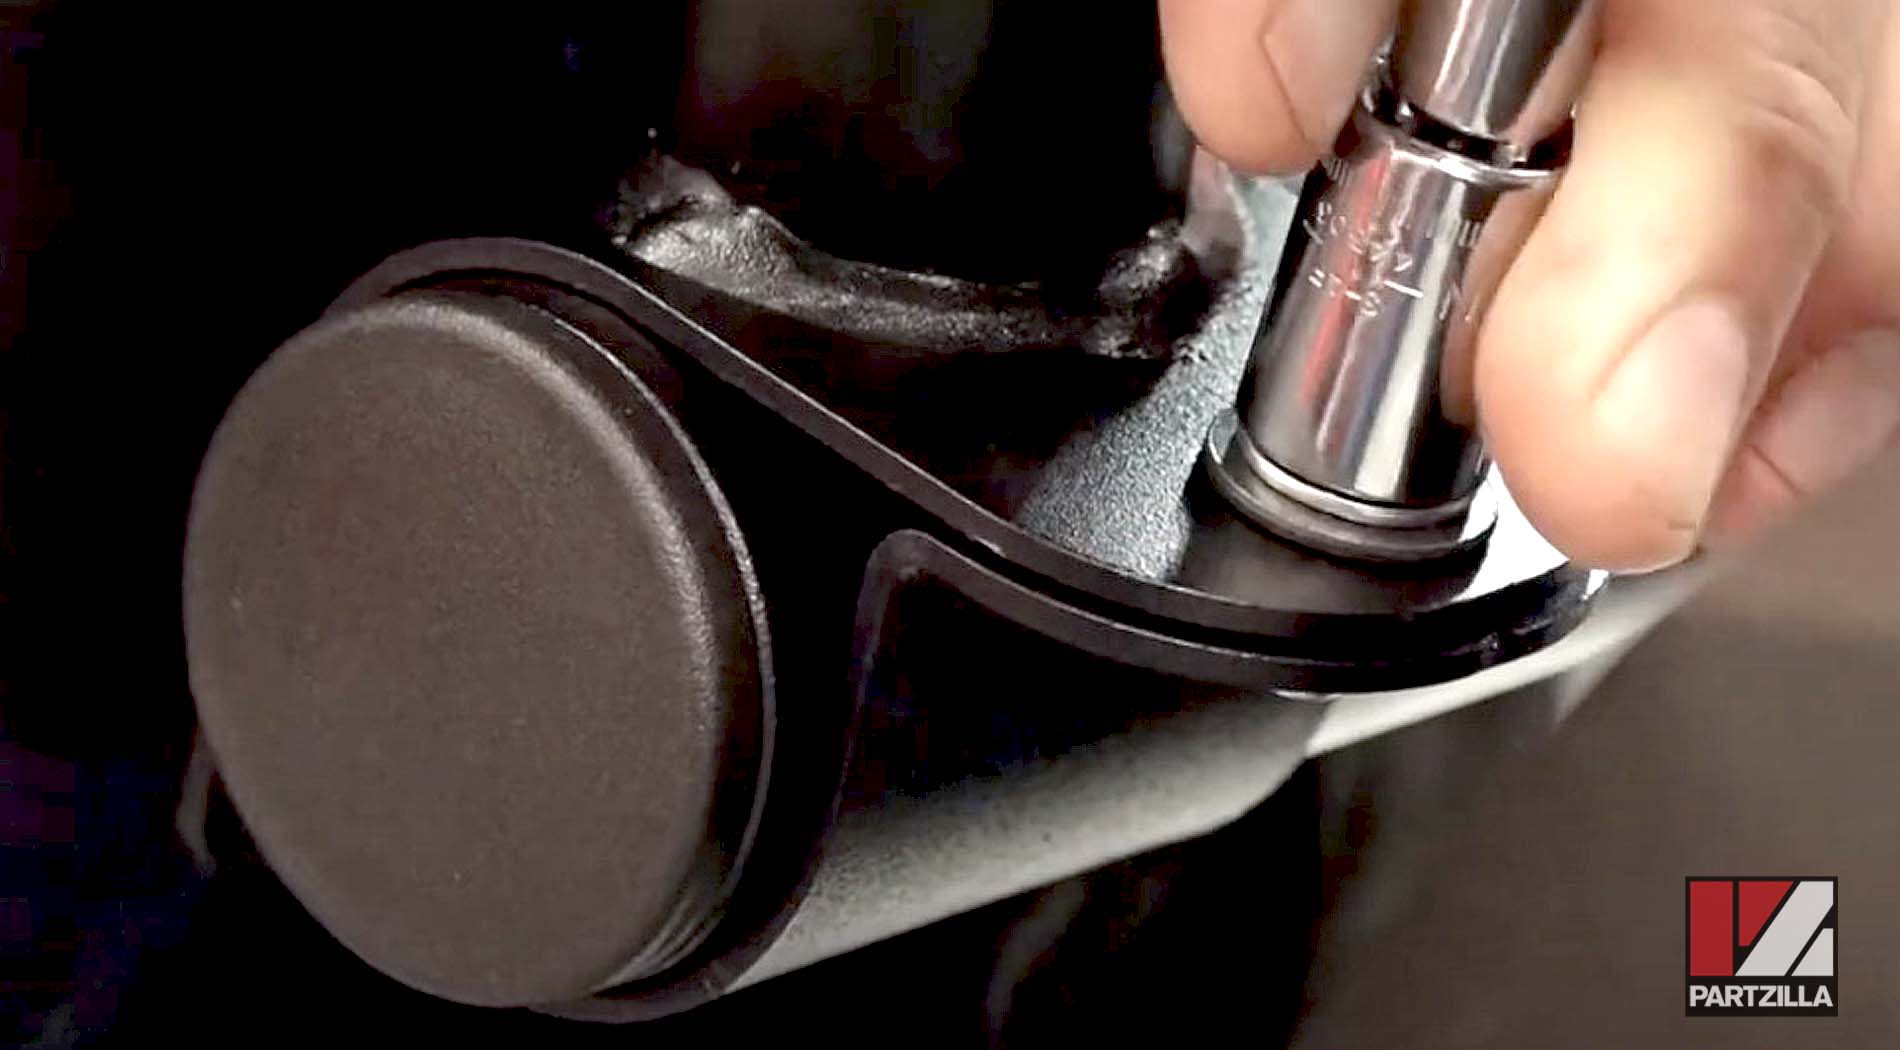
Step 5. Tighten down the four bolts, two on each side, that you hand-tightened back in Step 3. There isn't a torque setting for these bolts, so it's important not to overtighten them.
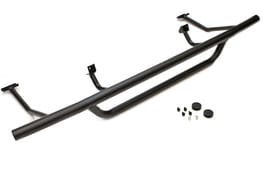
With a brush guard installed up front, why not add a bumper to the back? Watch the video below to learn how to install a rear bumper on a Kawasaki Mule Pro FXT.