How to Install a Kawasaki Mule Rear Bumper
Aside from the peace of mind it offers for safety, a rear bumper on your Kawasaki UTV enhances the look of your machine.
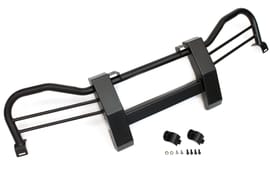
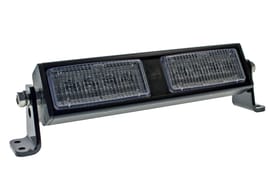
Our Kawasaki Mule was ready for a number of accessories, including a brush guard, a light kit, and of course a rear bumper. Watch the video above and follow the steps below to do a rear bumper installation on a Kawasaki Mule Pro FXT.
Tools and Parts - Kawasaki Mule Rear Bumper Installation
- 3/8th ratchet
- 10mm socket
- 12mm wrench
- Soft-blow hammer
- Impact wrench (optional)
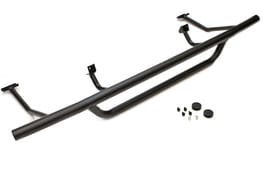
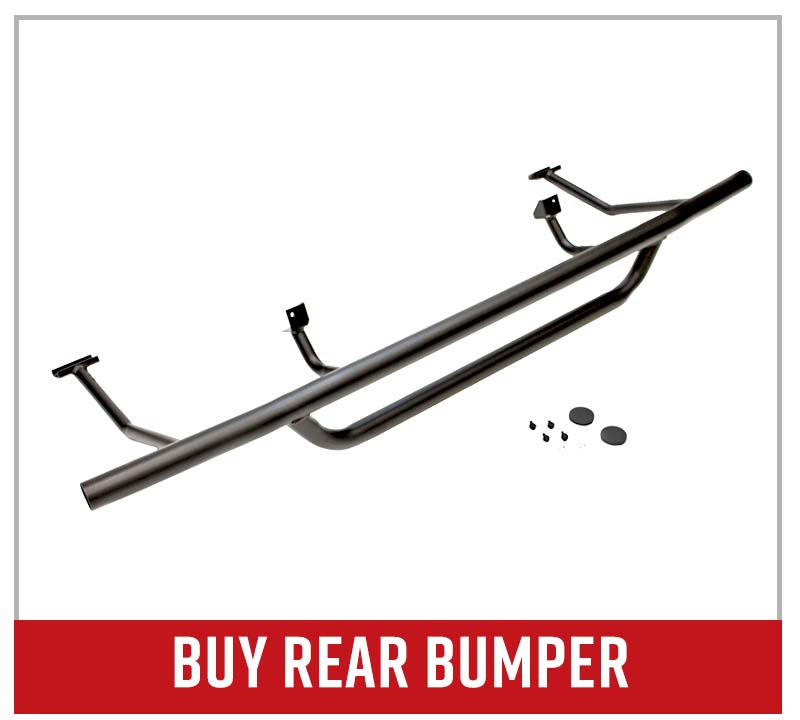
- Kawasaki Mule rear bumper

Installing a Rear Bumper on a Kawasaki Mule UTV
Step 1. Separate the bolts included in the rear bumper kit: two silver bolts, and four darker self-threading bolts.

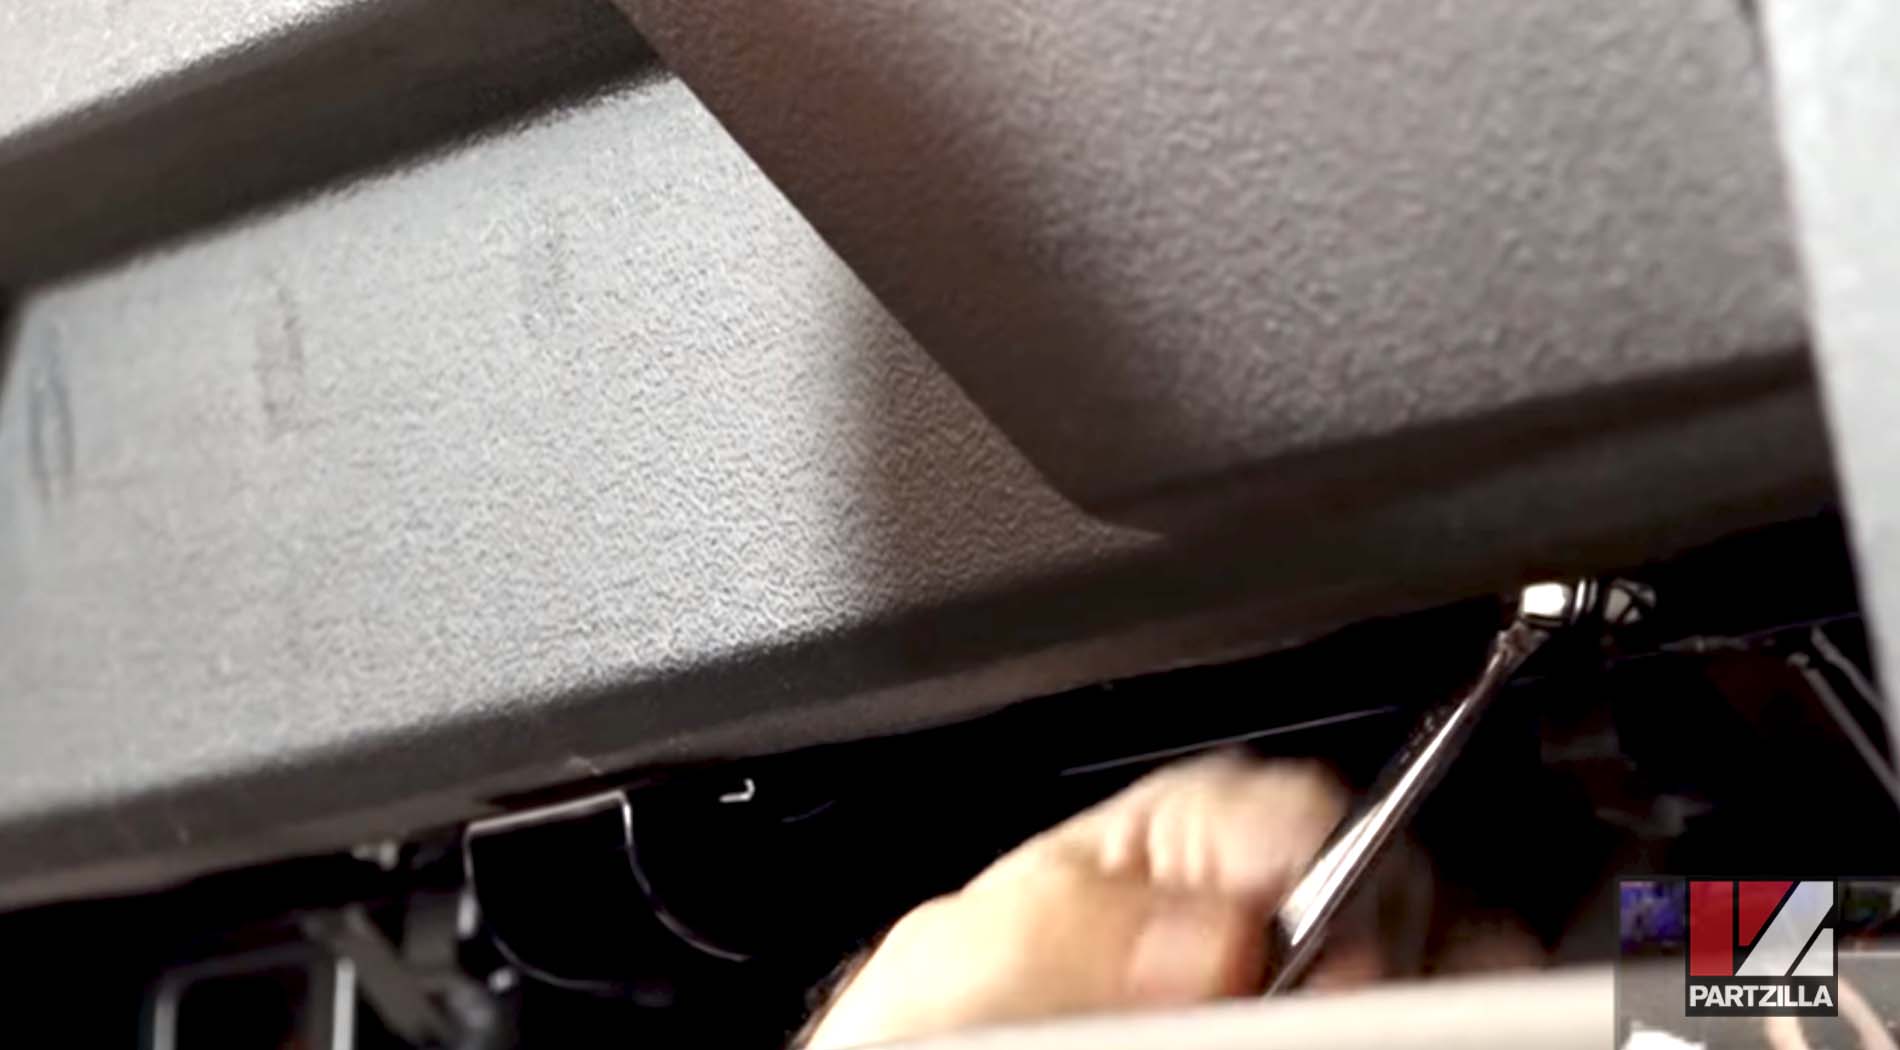
Step 2. Thread the four holes under the Mule (two on each side) for attaching the bumper. The holes must be prepared before the bumper can be attached. Use the darker, self-threading bolts to thread these holes without the bumper in place. When you're done threading, back the bolts out of the holes.
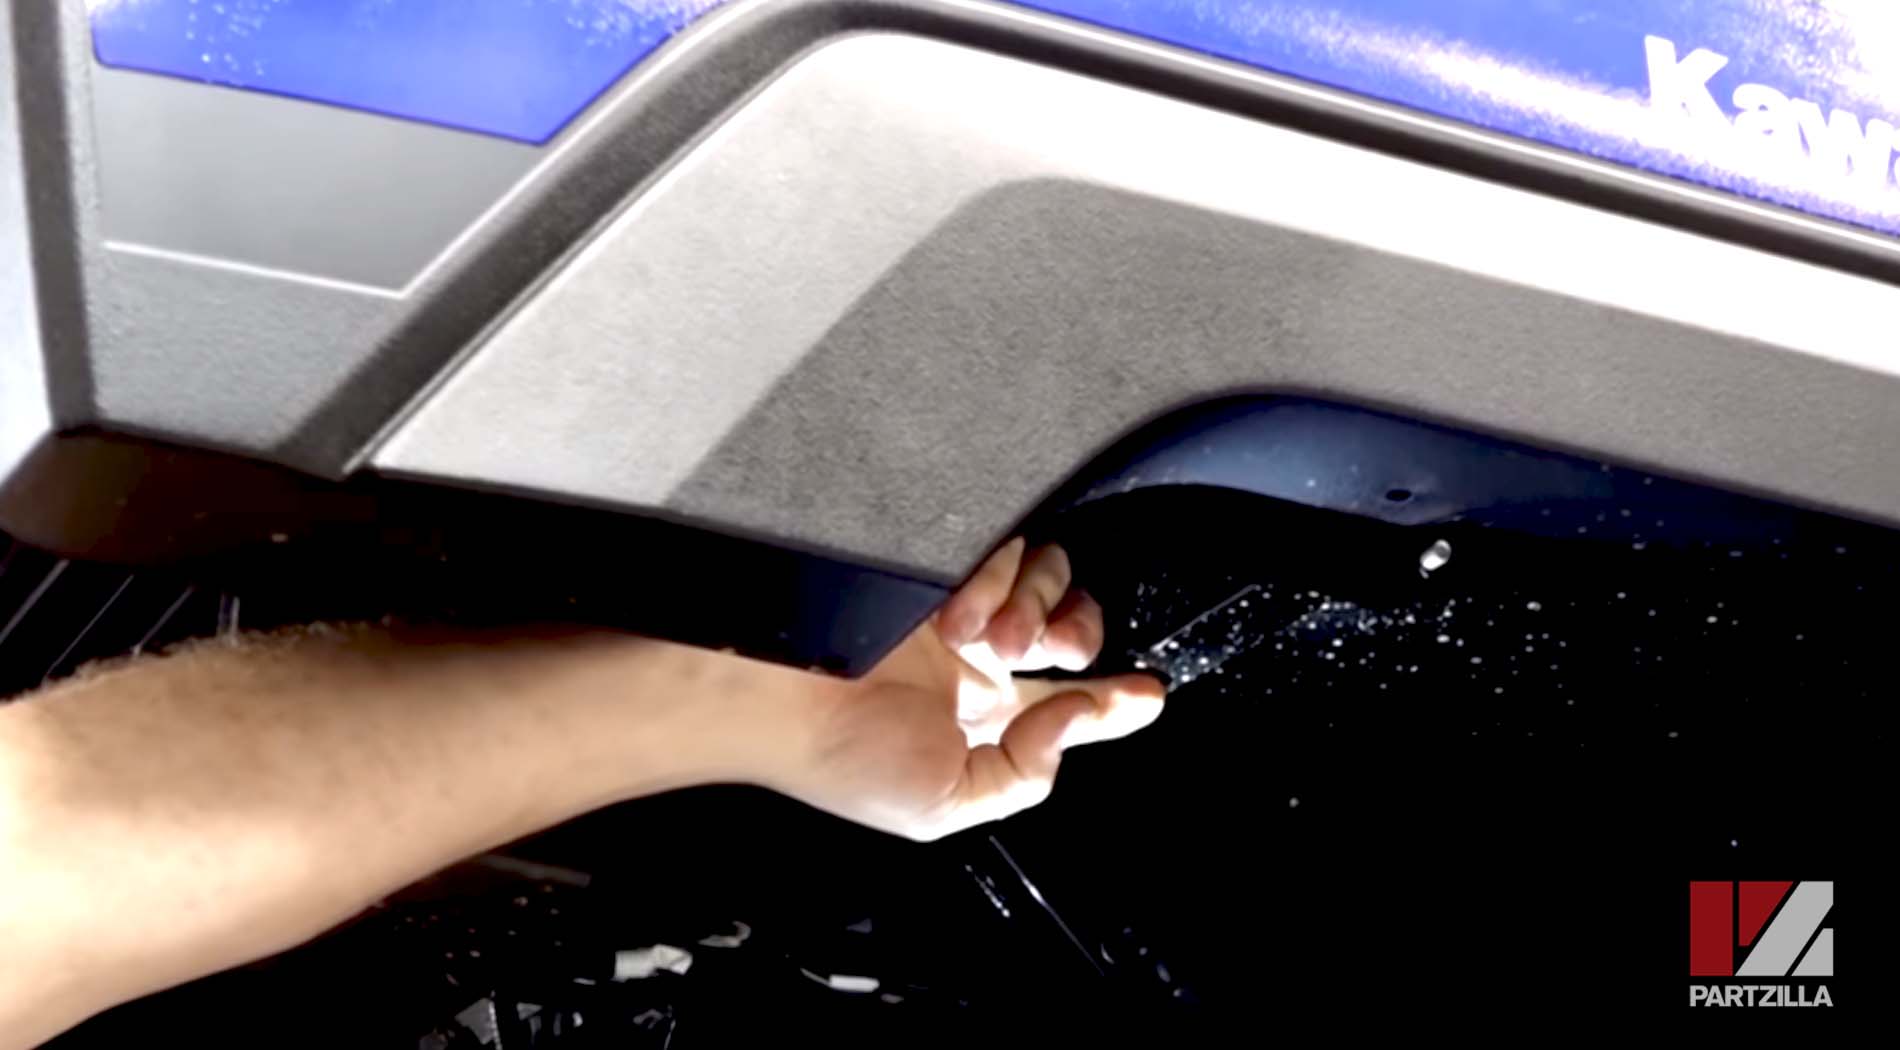
PRO TIP: You can thread these holes with a ratchet, but it's much easier to do with an impact wrench.
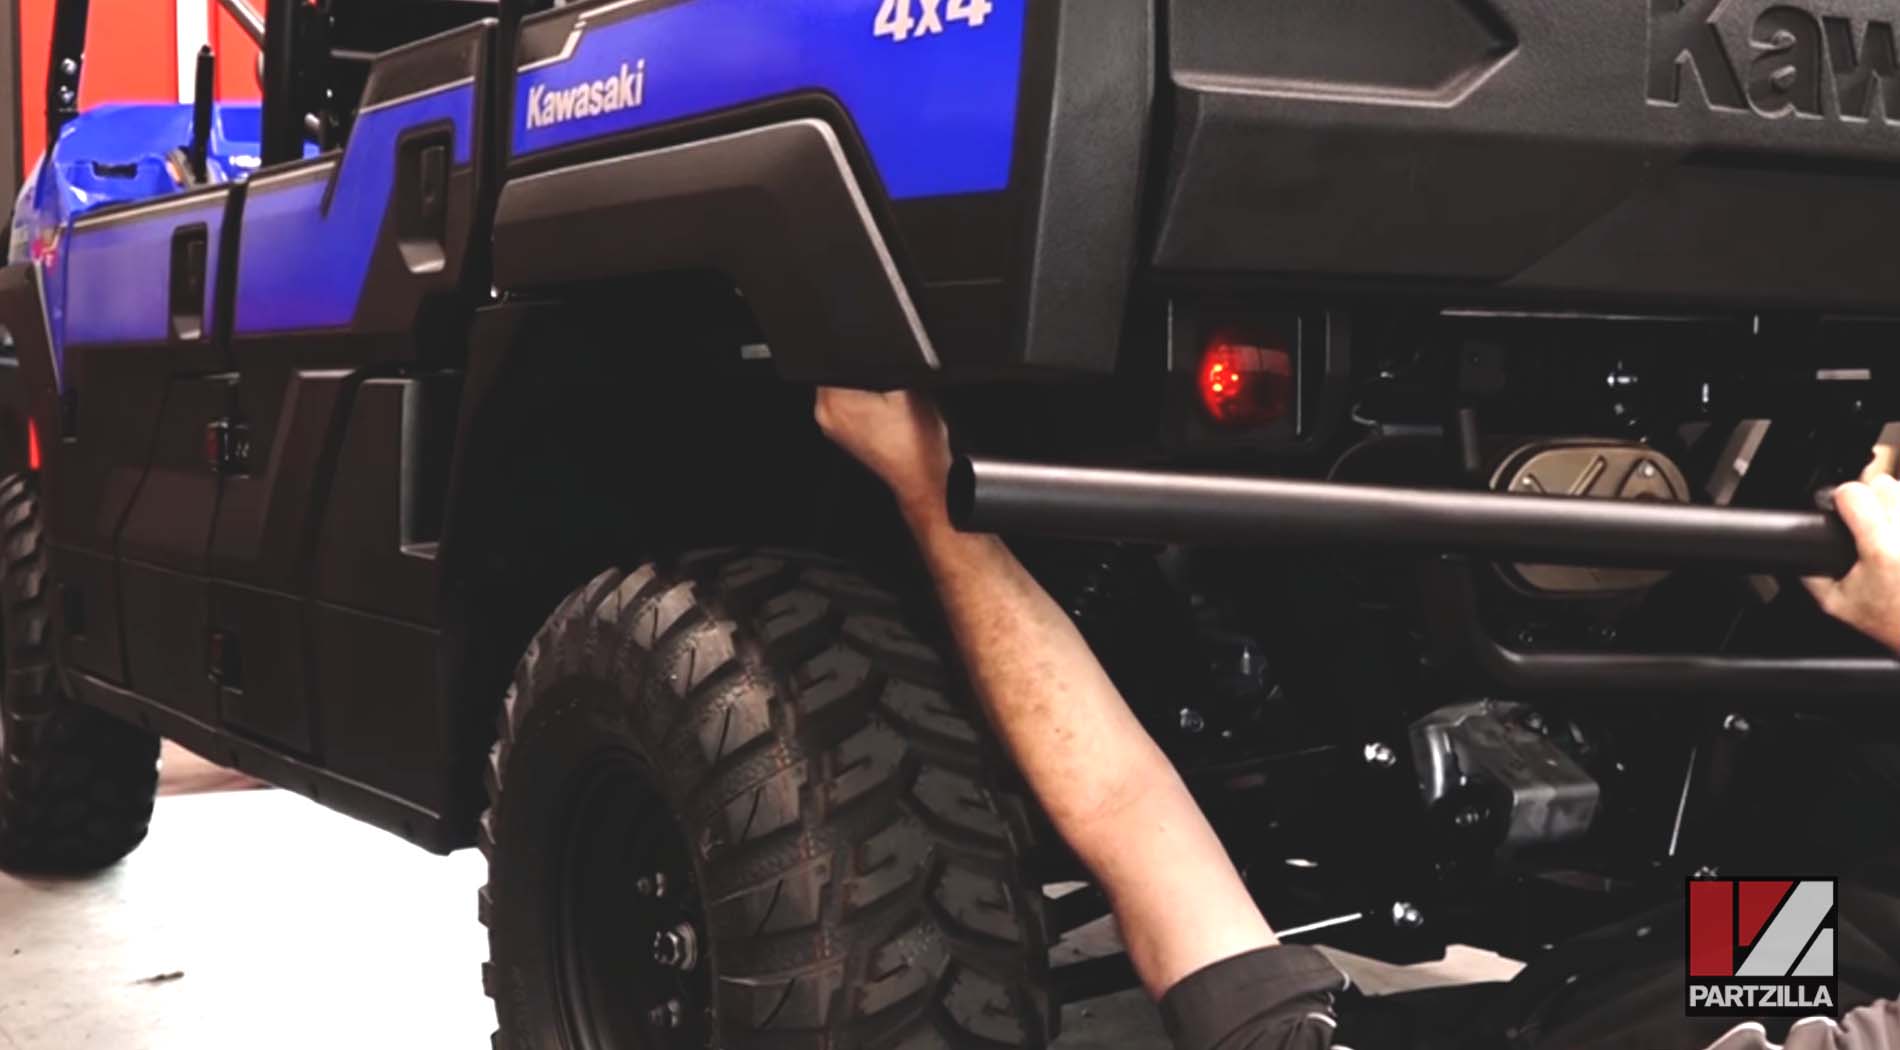
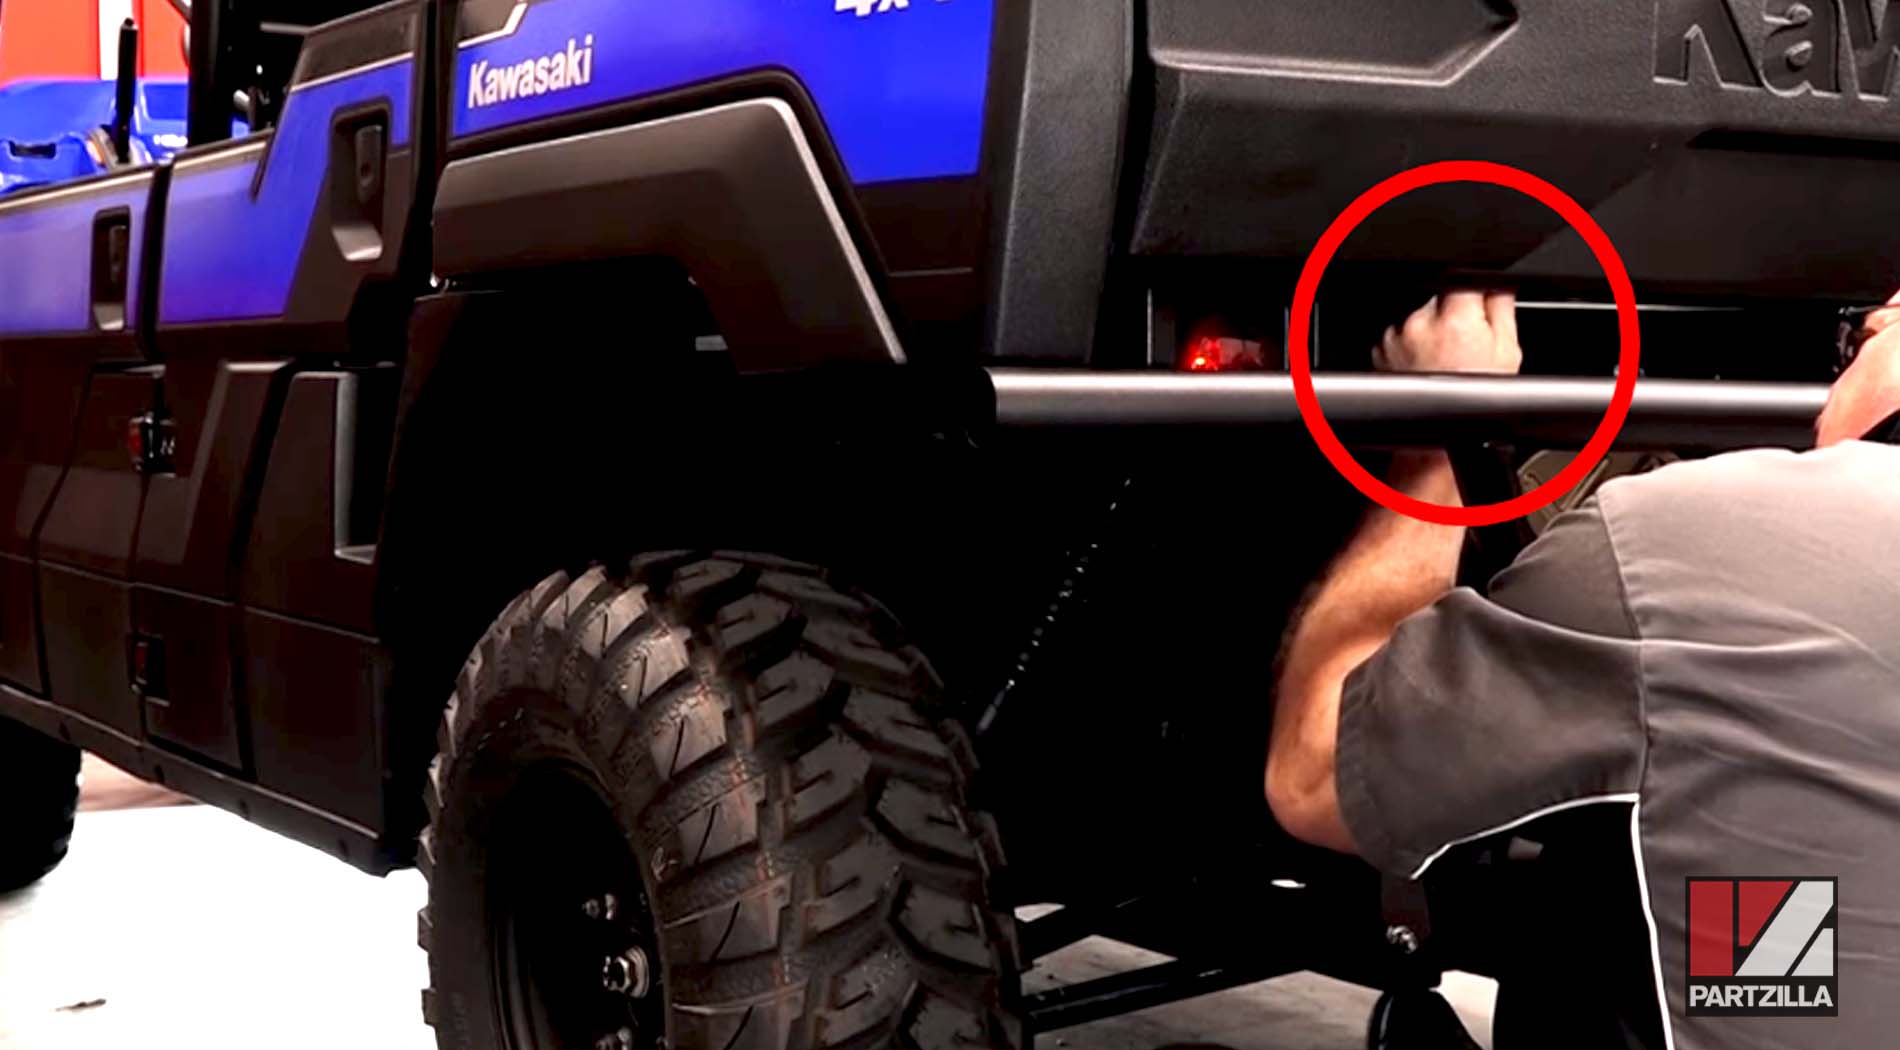
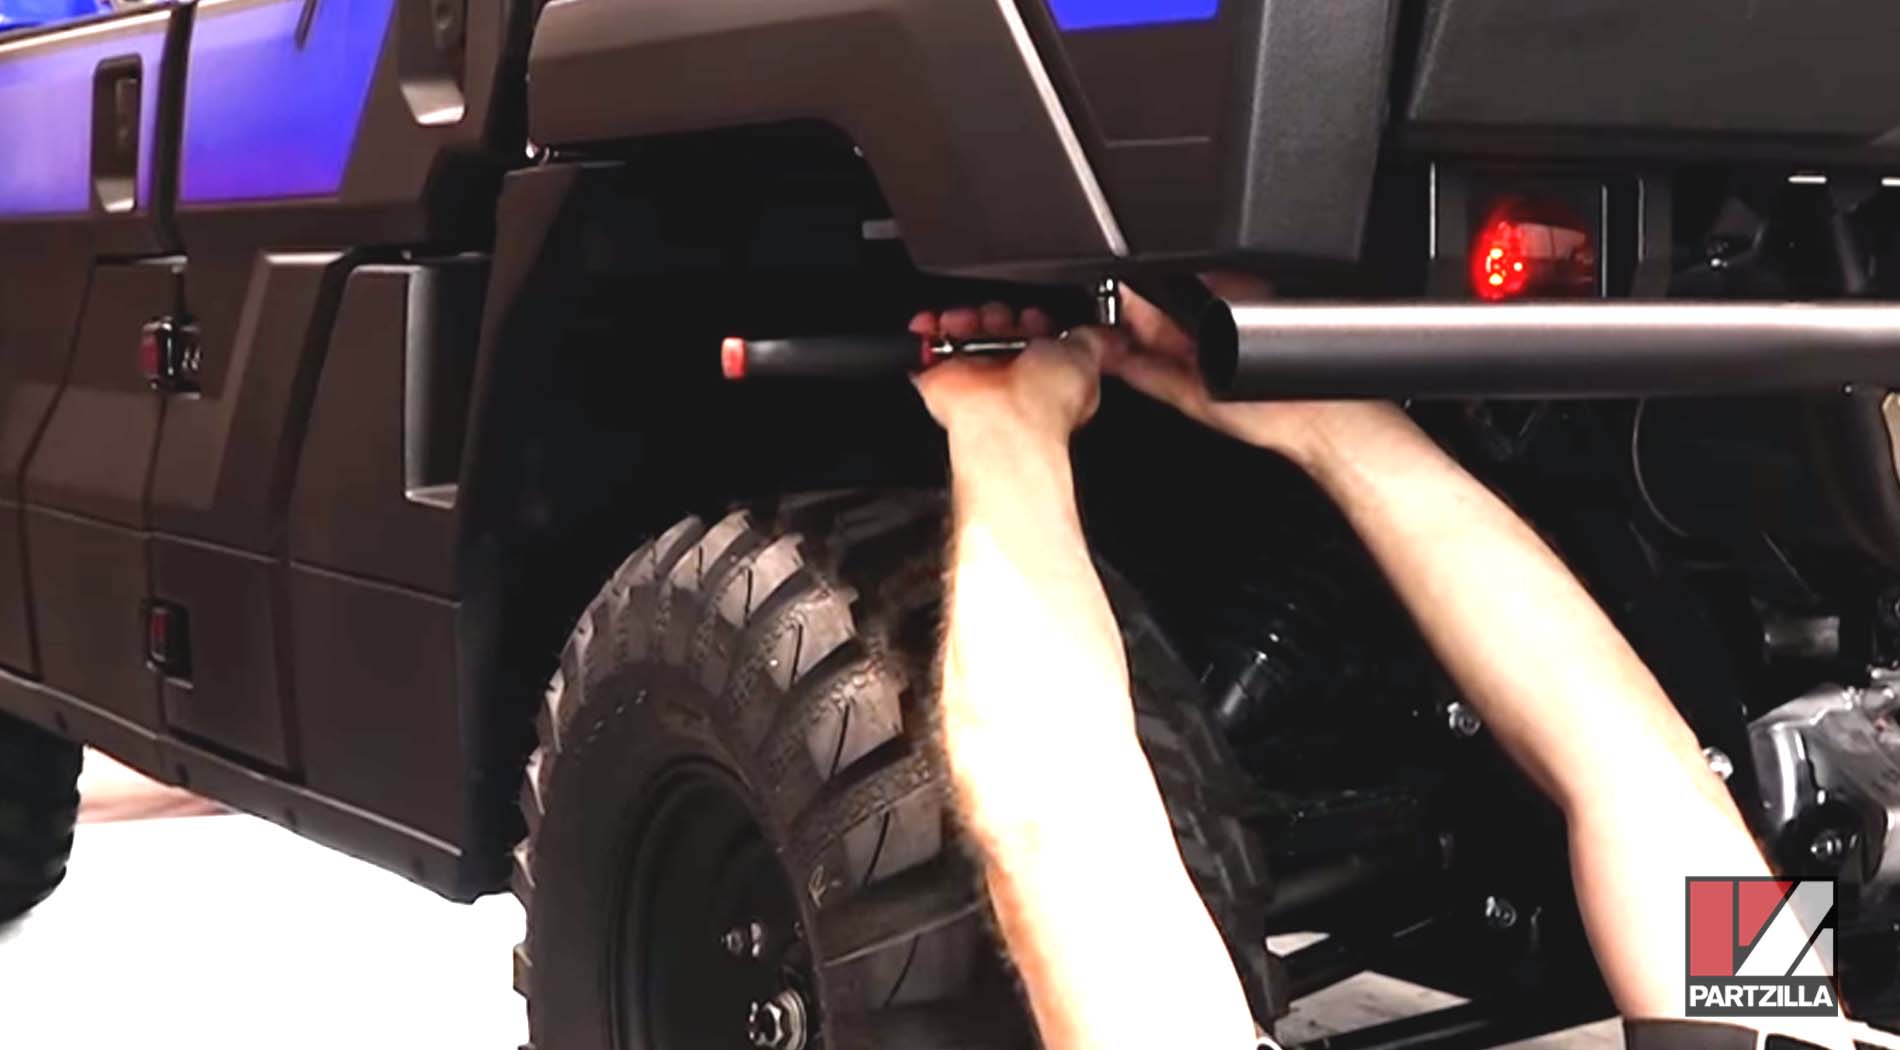
Step 3. Position the rear bumper into place, then hand-tighten the four dark-colored, self-threading bolts from the previous step to hold the bumper in place, starting with one on each side of the UTV. This makes it easy to move the bumper around a little if you have trouble getting the bolt holes on the bumper to line up with the bolt holes on the Mule.
Step 4. Place the two silver bolts above and behind the bumper, one on each side of the Mule. The holes for these bolts are already threaded.
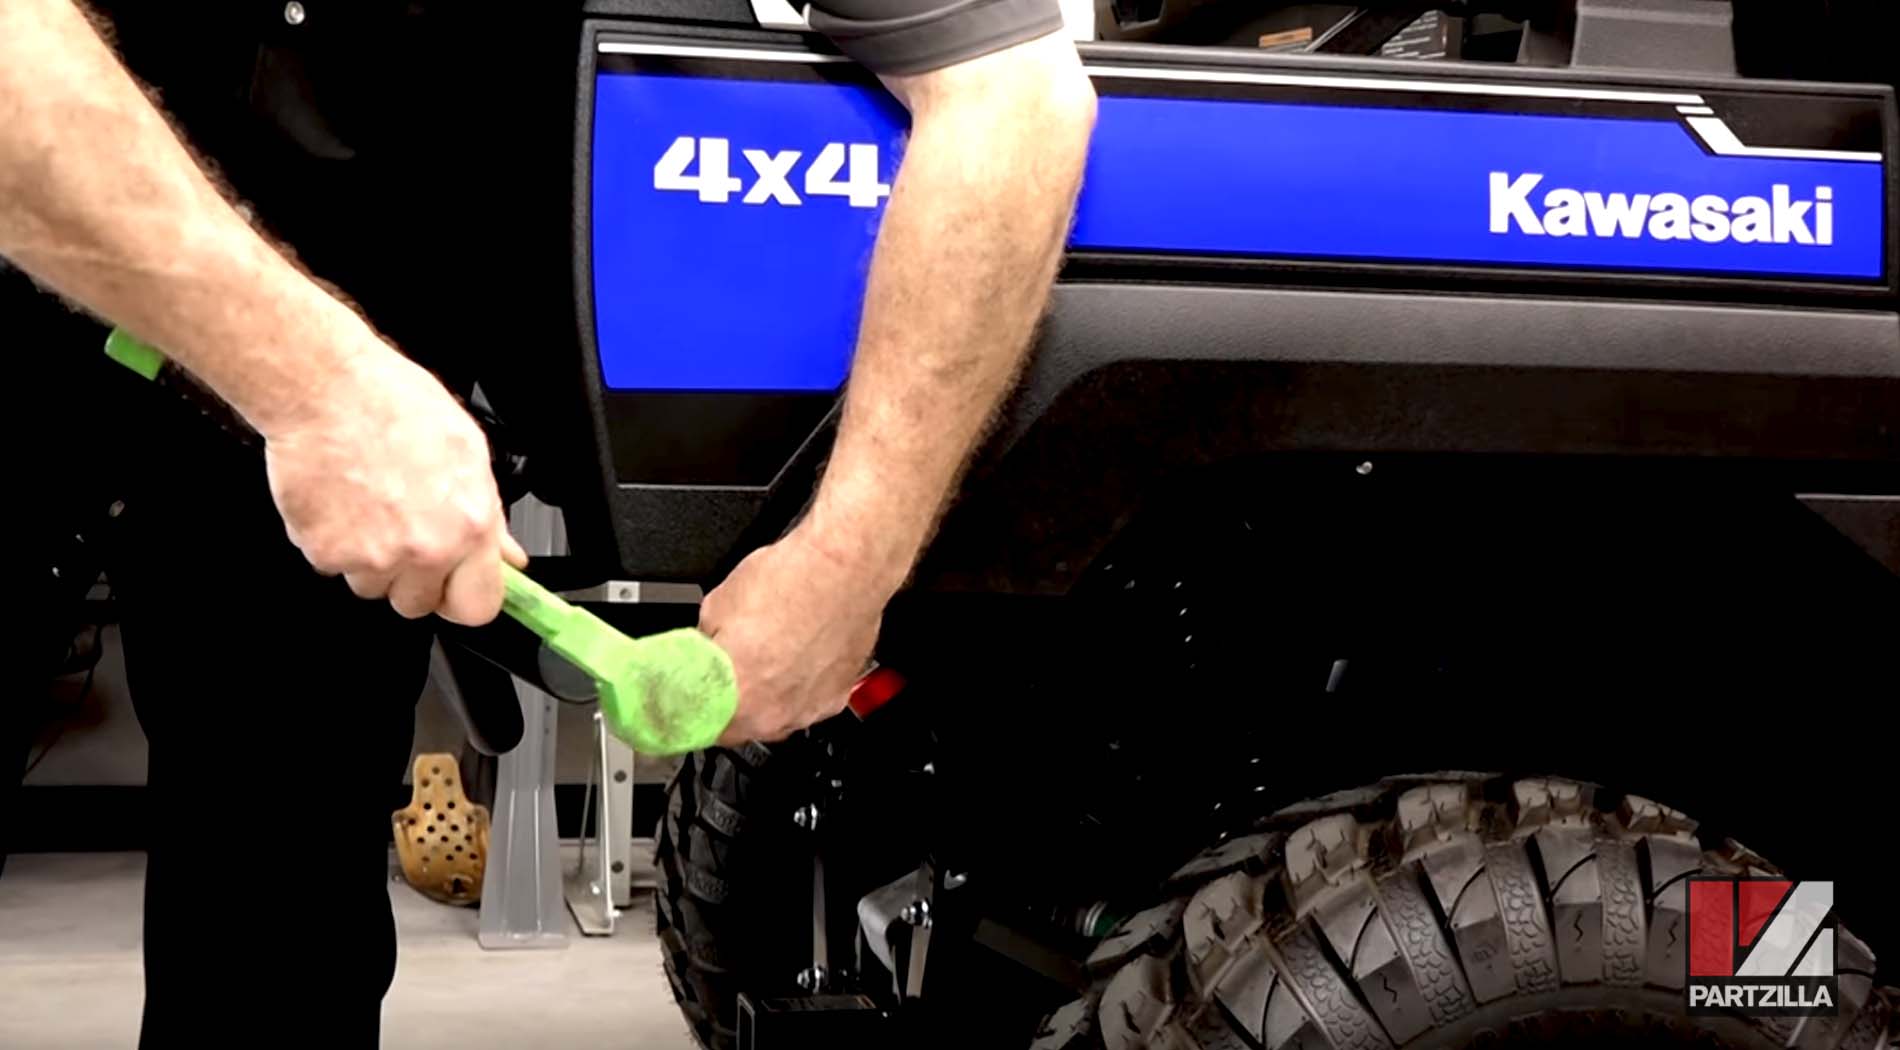
Step 5. Tighten all of the bolts. Kawasaki recommends 18 foot-pounds of torque on the two silver bolts, but doesn't offer a torque spec on the four self-threading bolts, so just tighten them snug.
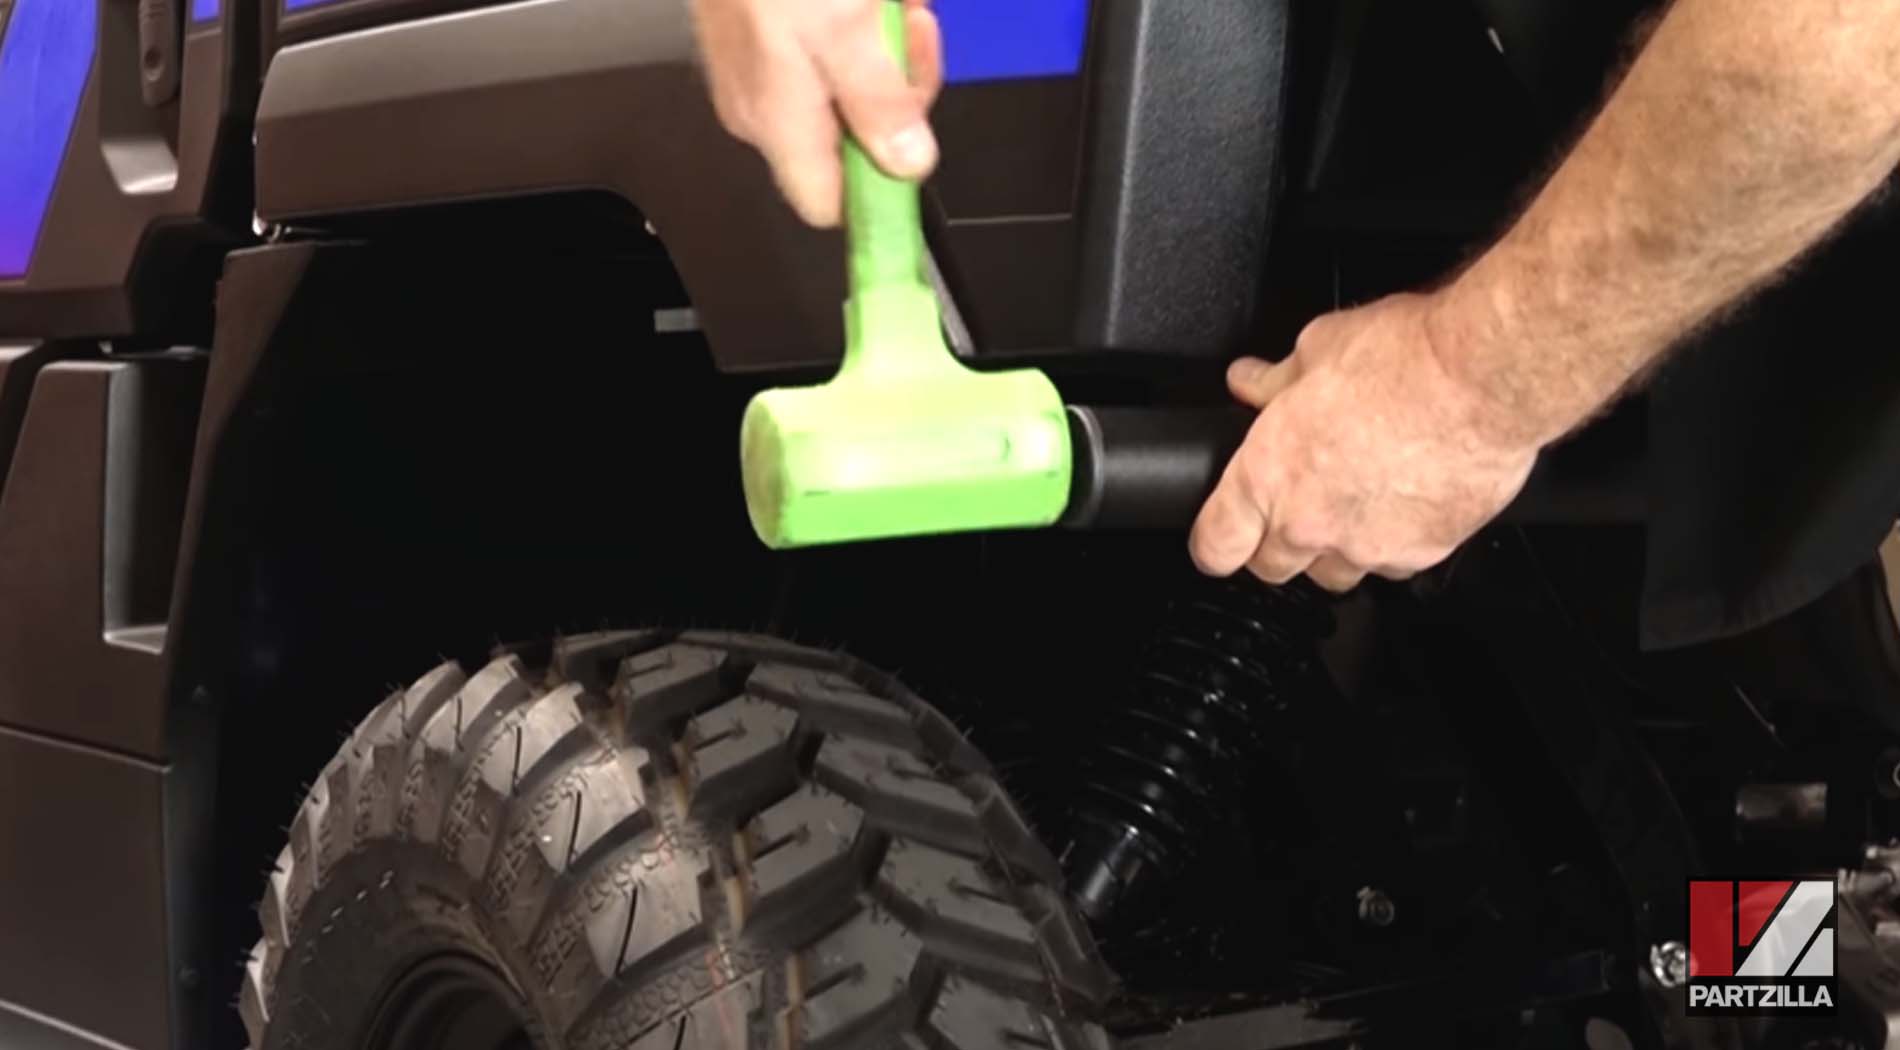
Step 6. Use a soft-blow hammer to drive in the end plugs on both sides of the bumper and you're done.
With rear bumper protection installed, why not get some extra protection up front as well? Watch the video below to see how to install a brush guard on a 2018 Kawasaki Mule.