How to Clean and Adjust a Kawasaki KLX110 Chain
If you own a dirt bike, one of the most frequent maintenance tasks you’ll have to do is cleaning and adjusting the chain.
Fortunately this is one of the easiest “do-it-yourself” maintenance tasks to accomplish. Watch the video abobe and follow the steps below to clean and adjust the drive chain on a Kawasaki KLX110.
Tools and Parts - Kawasaki KLX 110 Chain Cleaning & Adjustment
- Ratchet and 22mm socket
- 10mm, 14mm wrenches
- Pliers
- Wire brush
Adjusting a Kawasaki KLX110 Chain
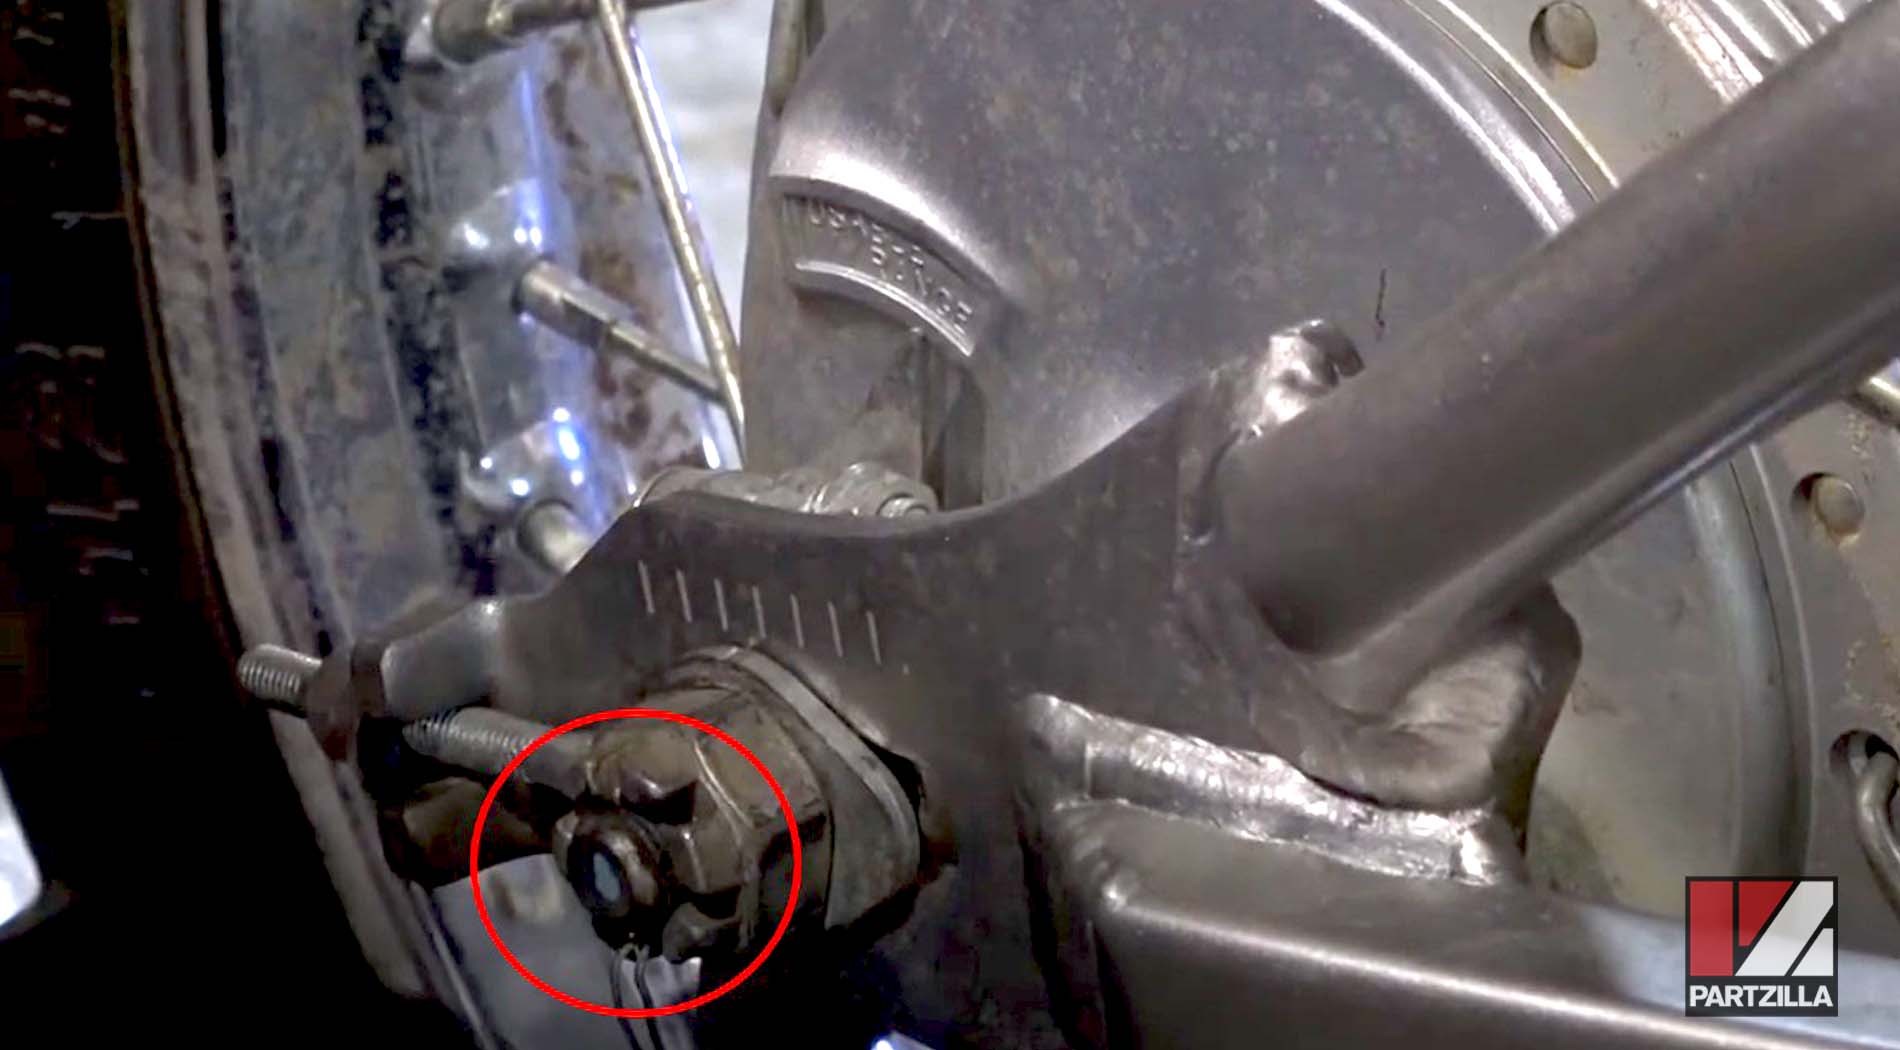
Step 1. Remove the cotter pin from the 22mm rear axle castle nut and loosen the nut.
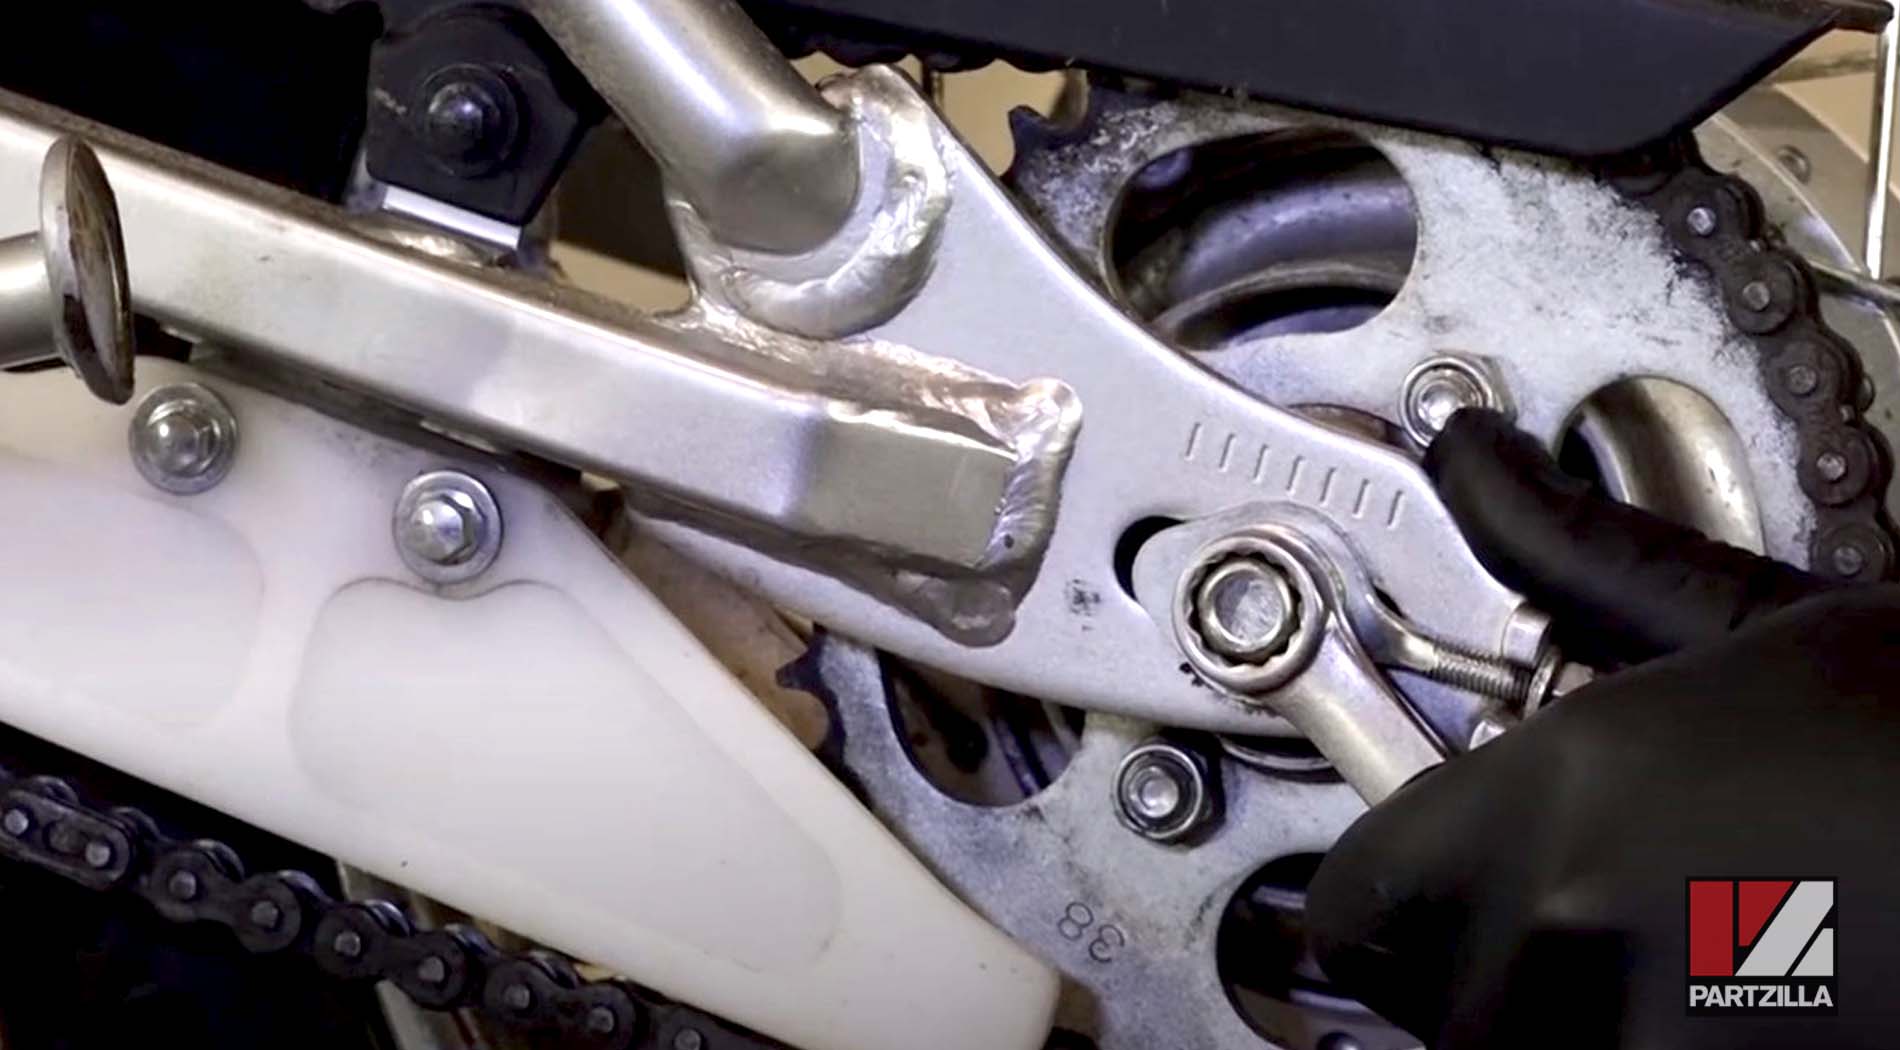
Step 2. Back off the adjustment bolt at the brake drum lever.
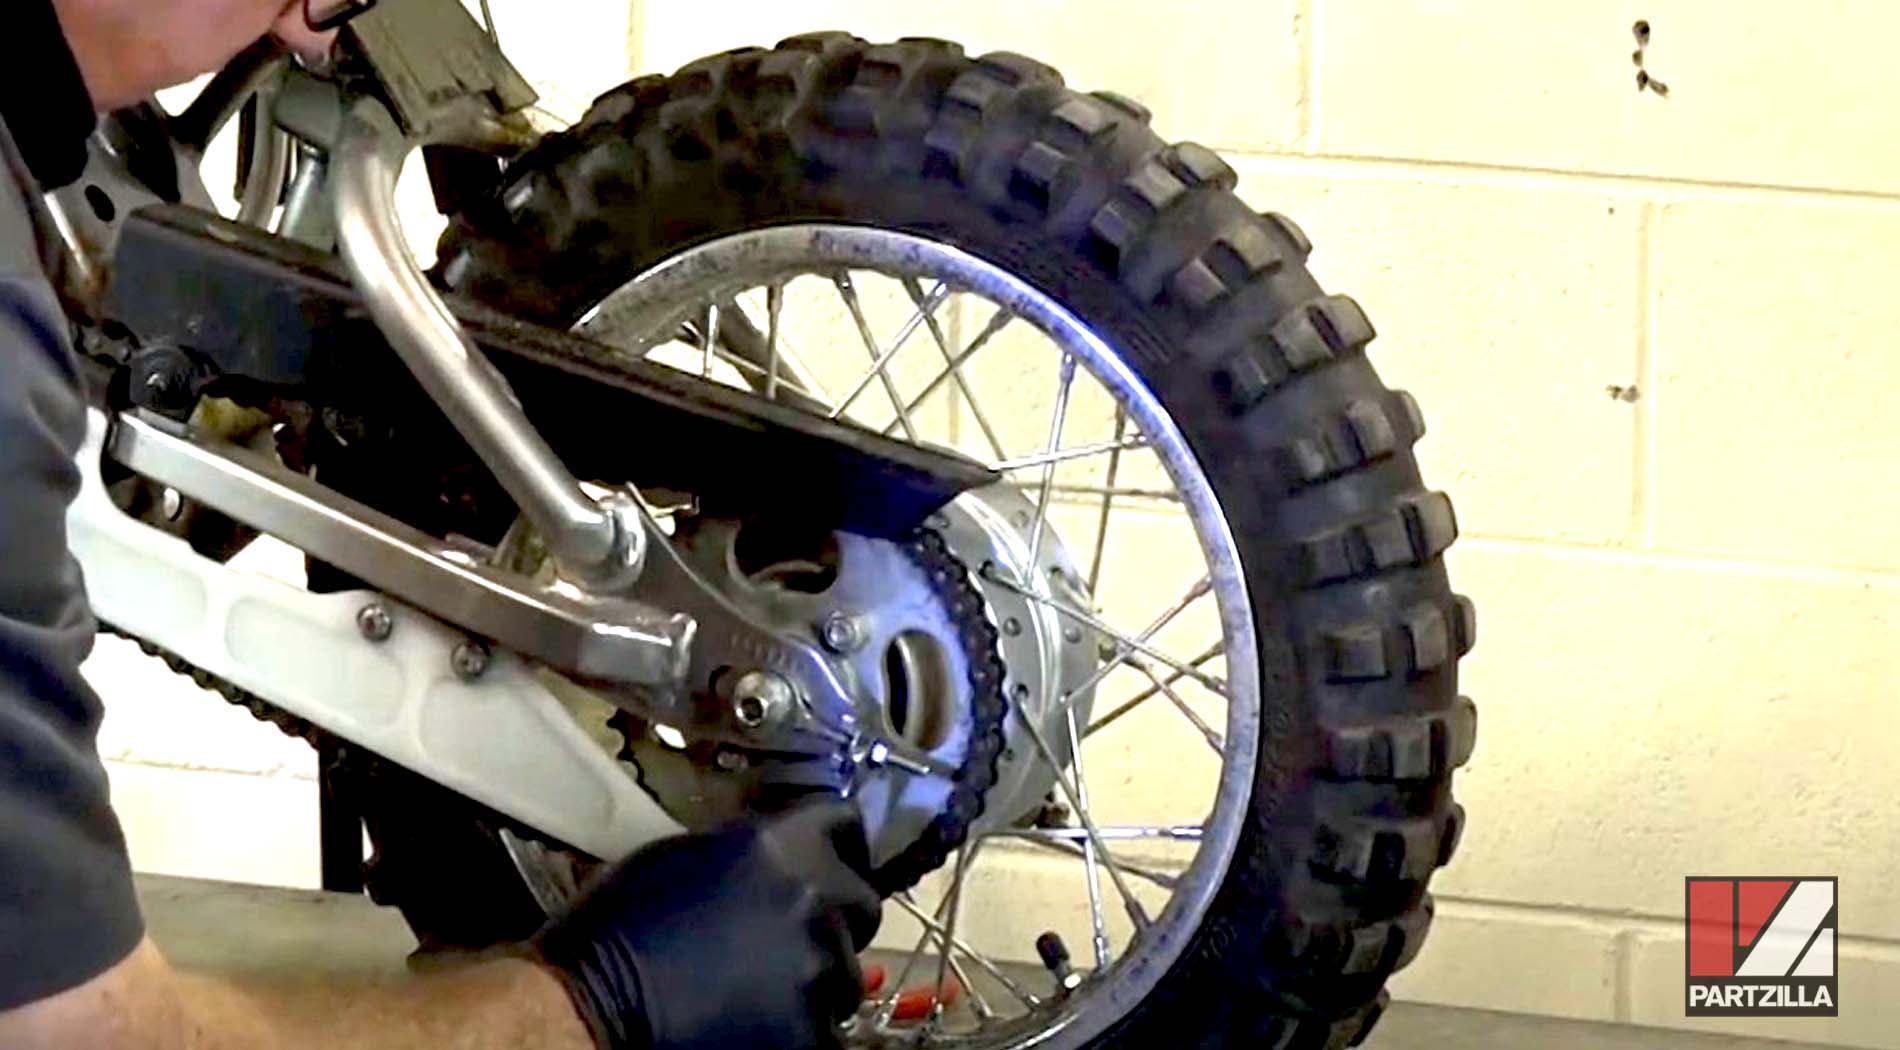
Step 3. Loosen the 10mm locking nuts from the chain adjuster bolts on each side of the wheel.
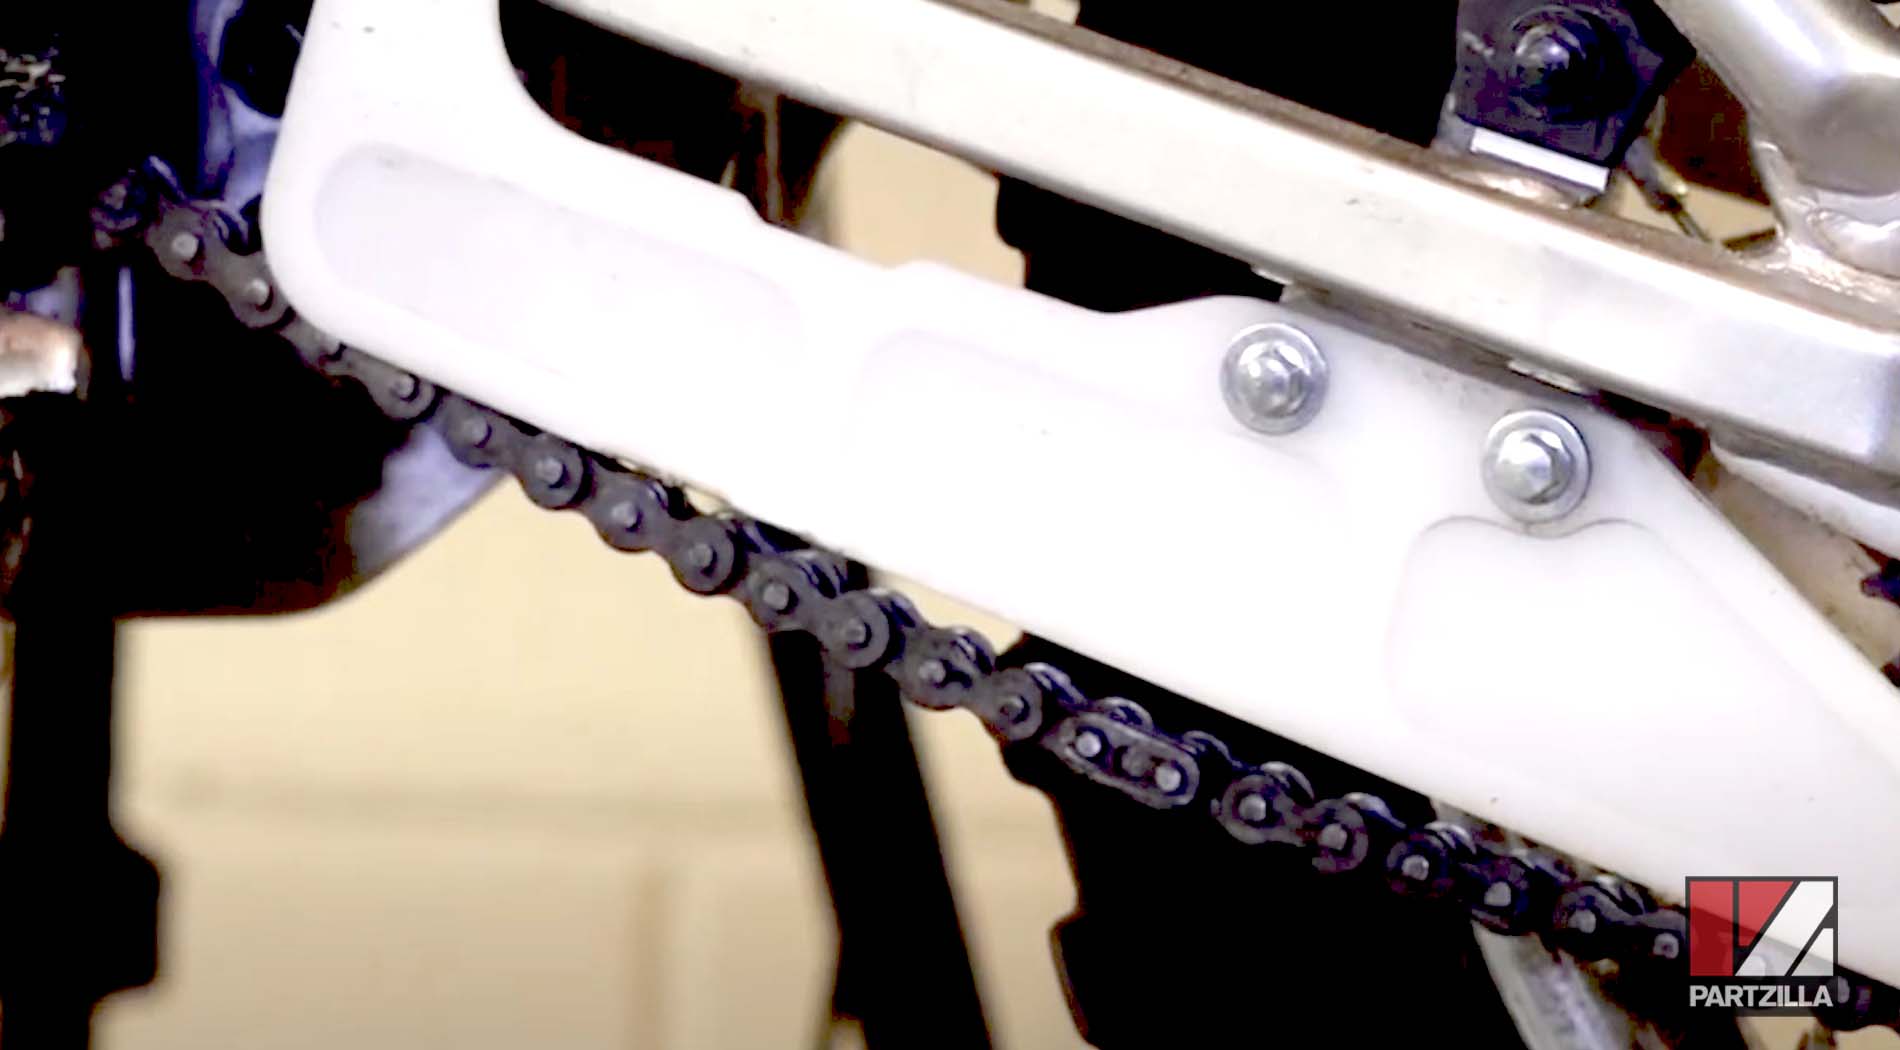
Step 4. Tighten the 10mm adjuster nut on the left side (chain side) chain adjuster bolt until there is about a half inch of slack in the chain.
Step 5. Note where the axle is compared to the adjustment scale on the left side of the swingarm, then tighten the 10mm adjuster nut on the right side chain adjuster bolt until the axle is at the same point on the right side adjustment scale.
NOTE: The axle needs to be adjusted to the same point on each side to ensure the wheel tracks straight. Incorrect tracking causes excessive wear to the chain, rear sprocket and tire.
Step 6. Check that the chain still has the correct amount of slack (about half an inch). If the slack isn’t correct, repeat steps 3-5 to loosen or tighten the chain accordingly.
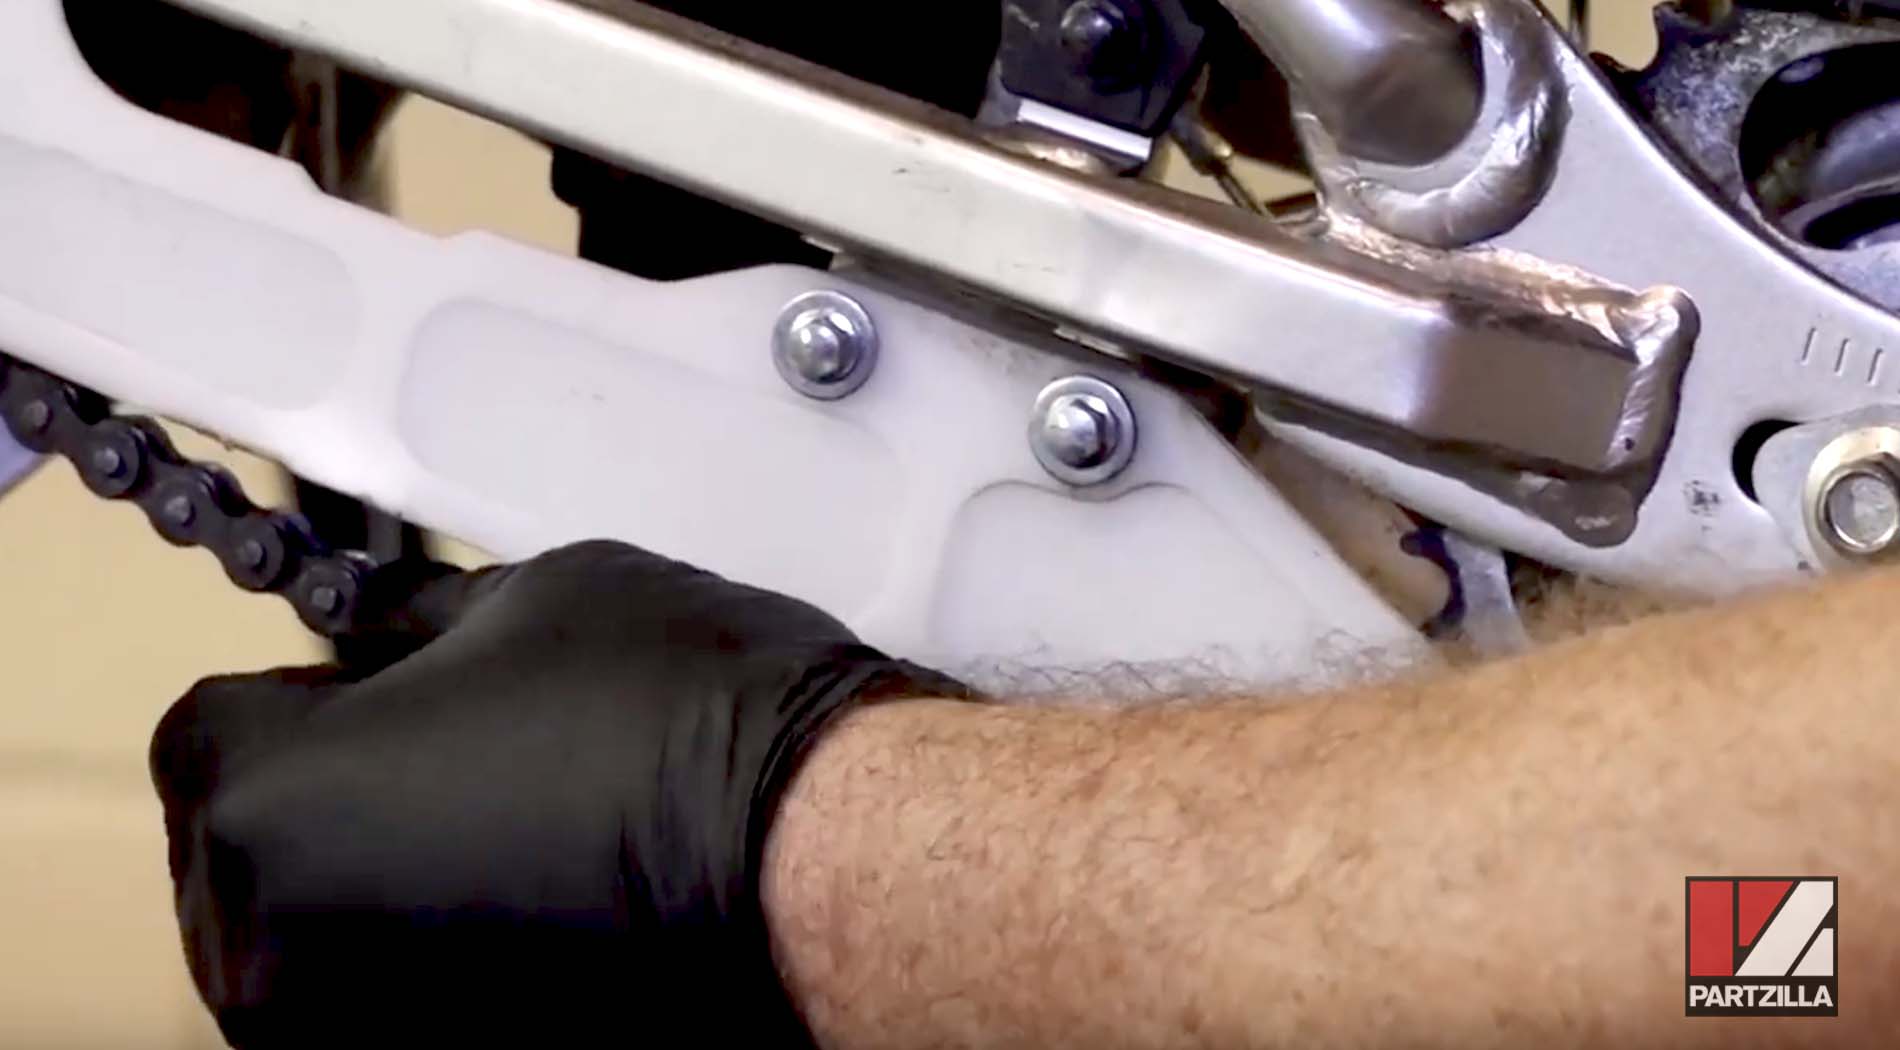
Step 7. Tighten the 10mm locking nuts on each side of the wheel, followed by the adjustment bolt at the brake drum lever until there is a small amount of play in the lever before it engages the brake.
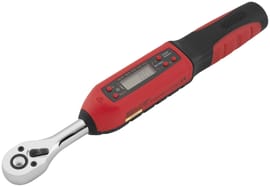
Step 8. Torque the 22mm rear axle castle nut to 47-foot pounds, and install a new cotter pin.
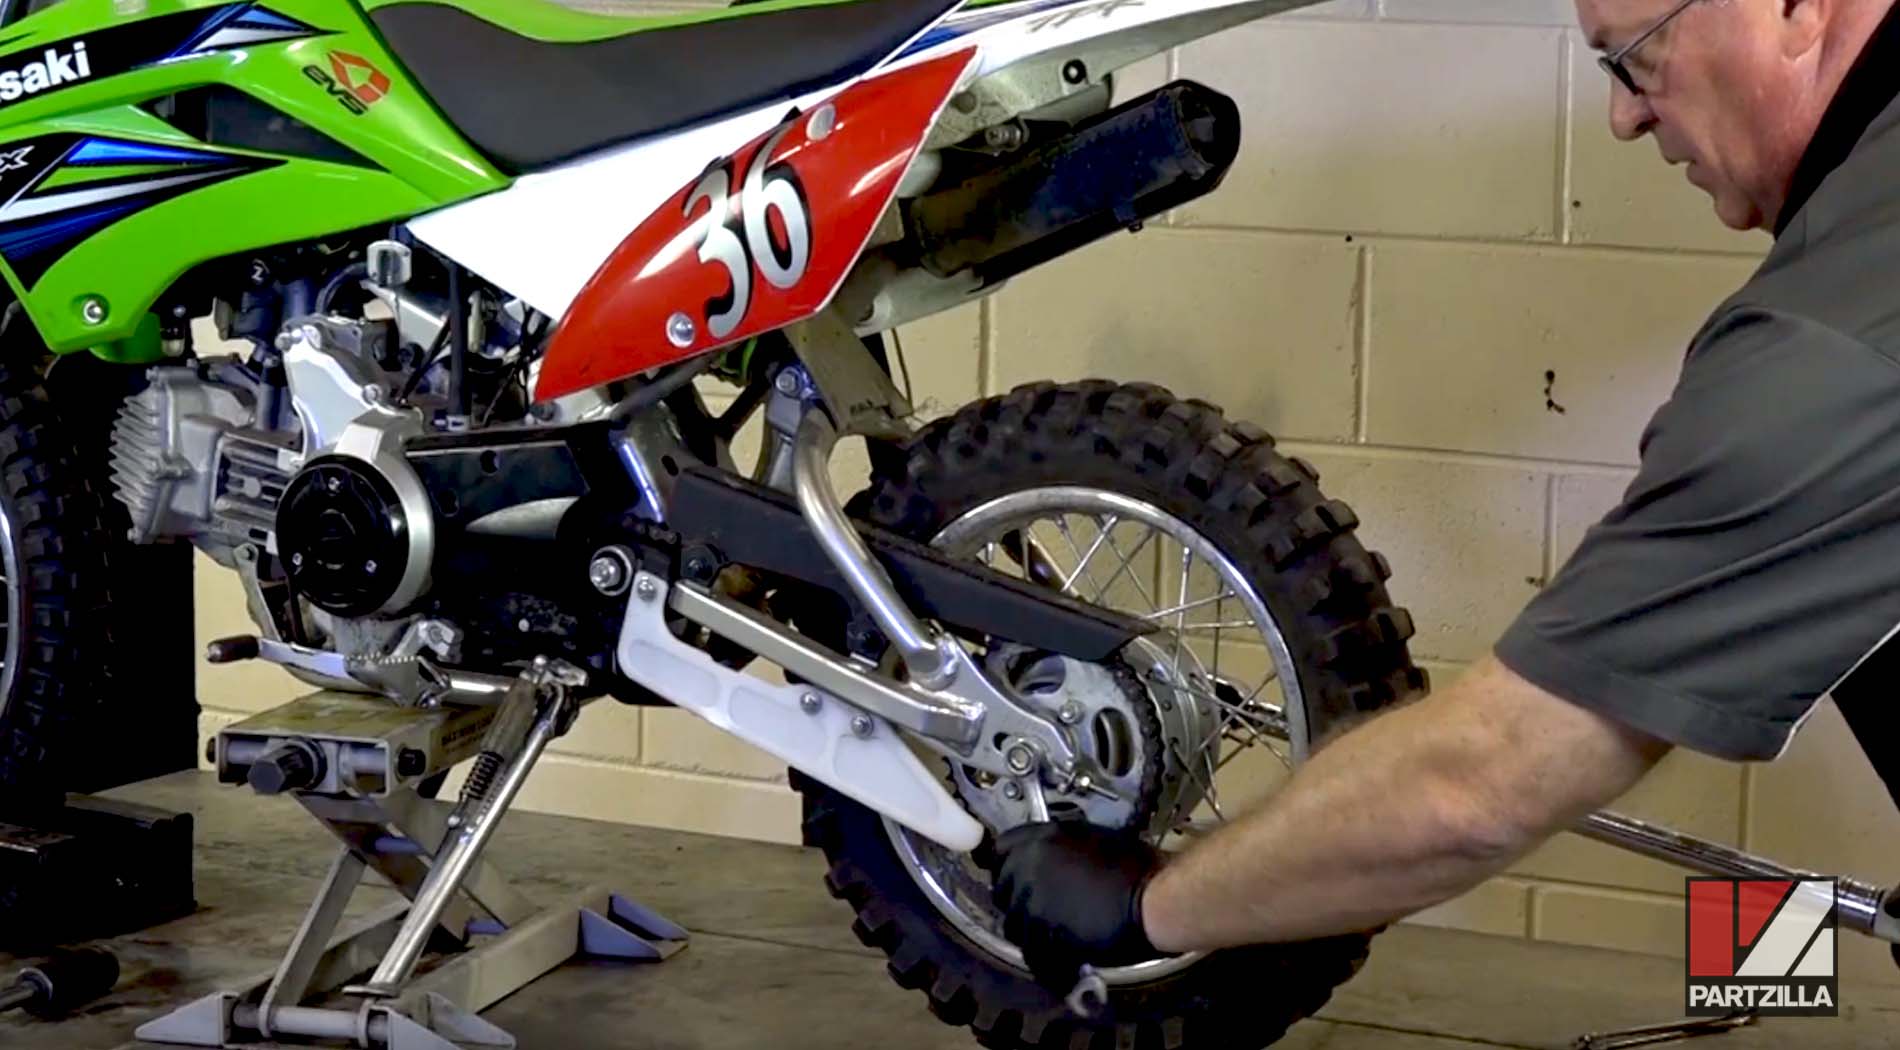
Cleaning & Lubing a Kawasaki KLX110 Chain
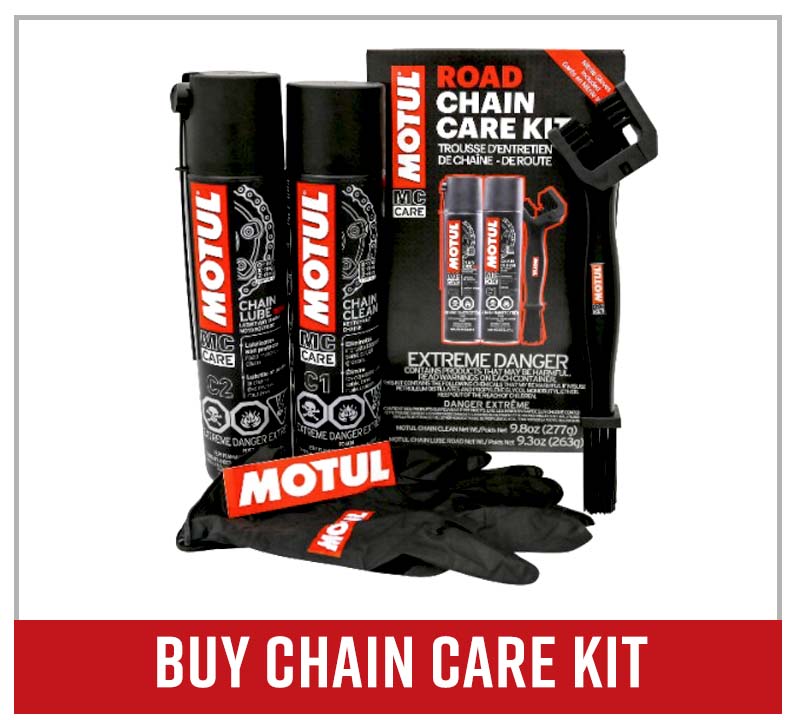
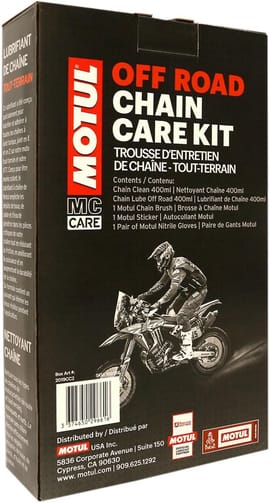
Step 1. Rotate the rear wheel, and spray chain cleaner onto the chain and rear sprocket as the chain passes by.
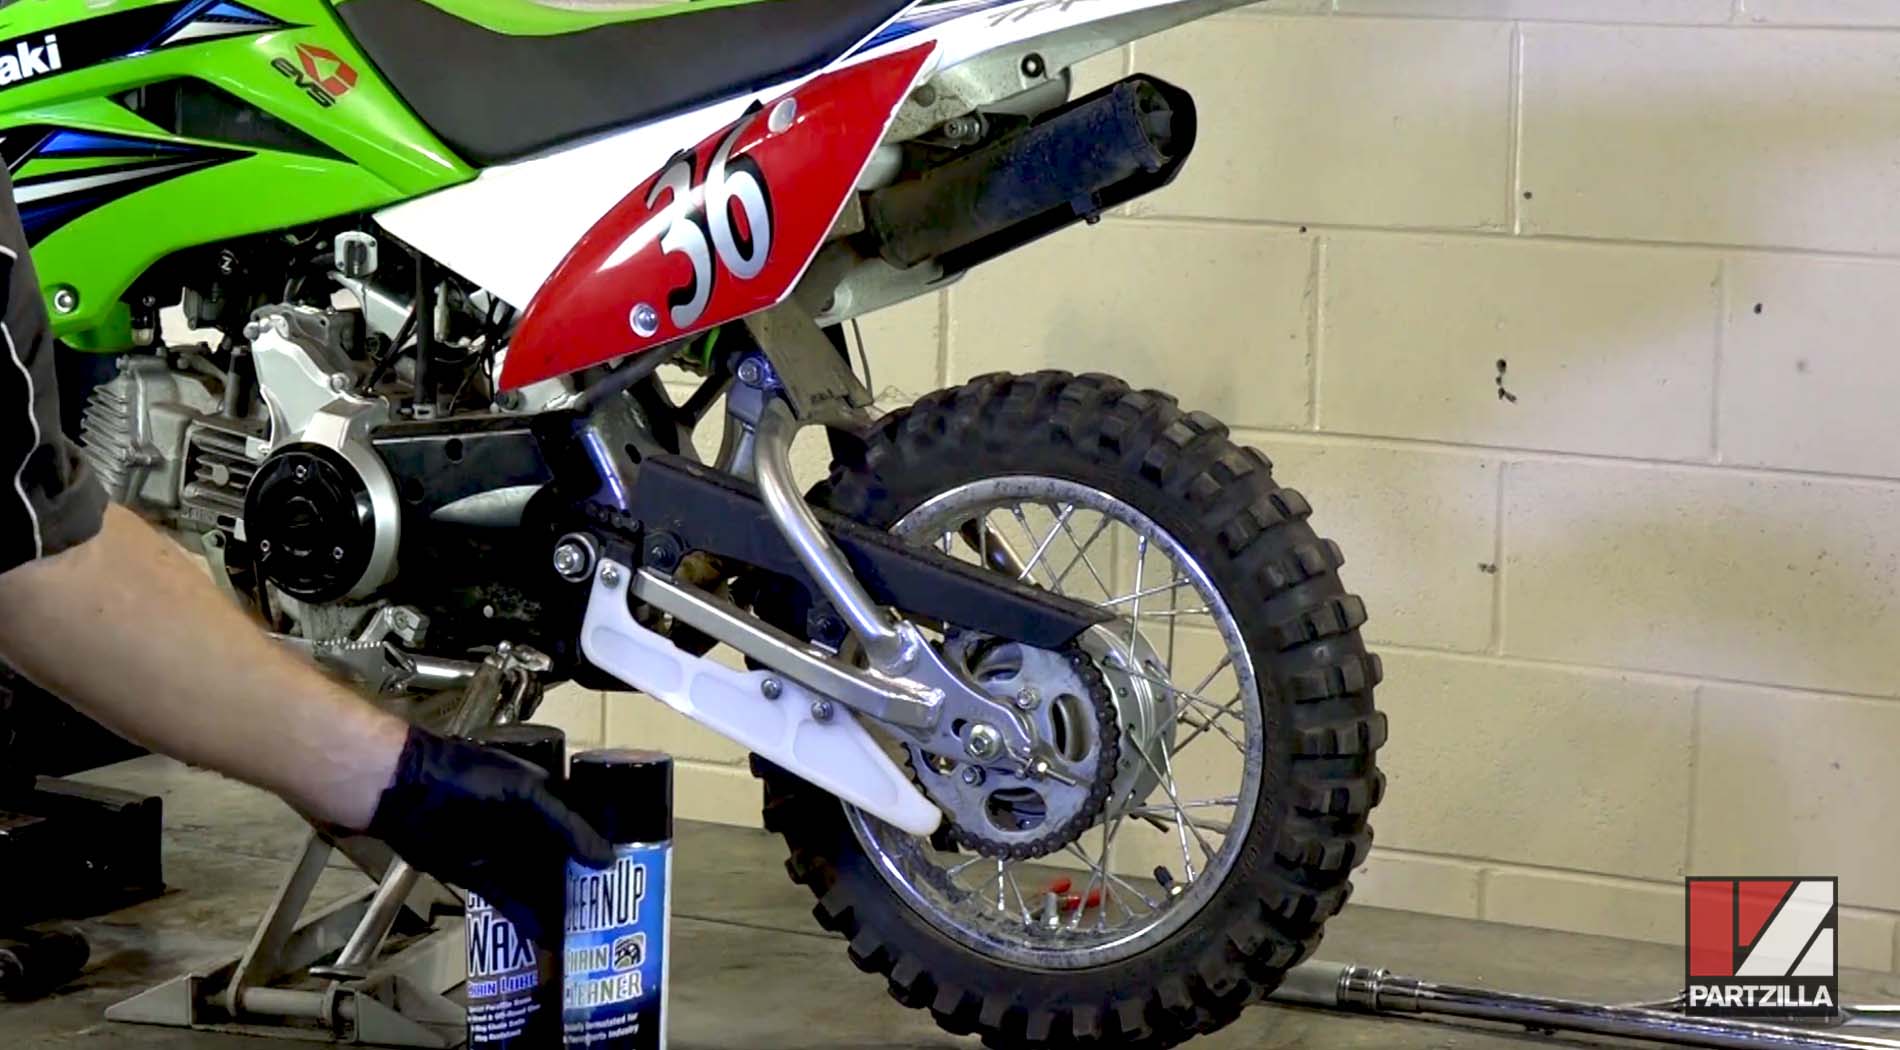
Step 2. Let the chain cleaner sit for a couple of minutes, then clean the chain with a wire brush as you rotate the wheel again to access the entire chain. Clean the inner and outer chain plates and down between the chain pins.
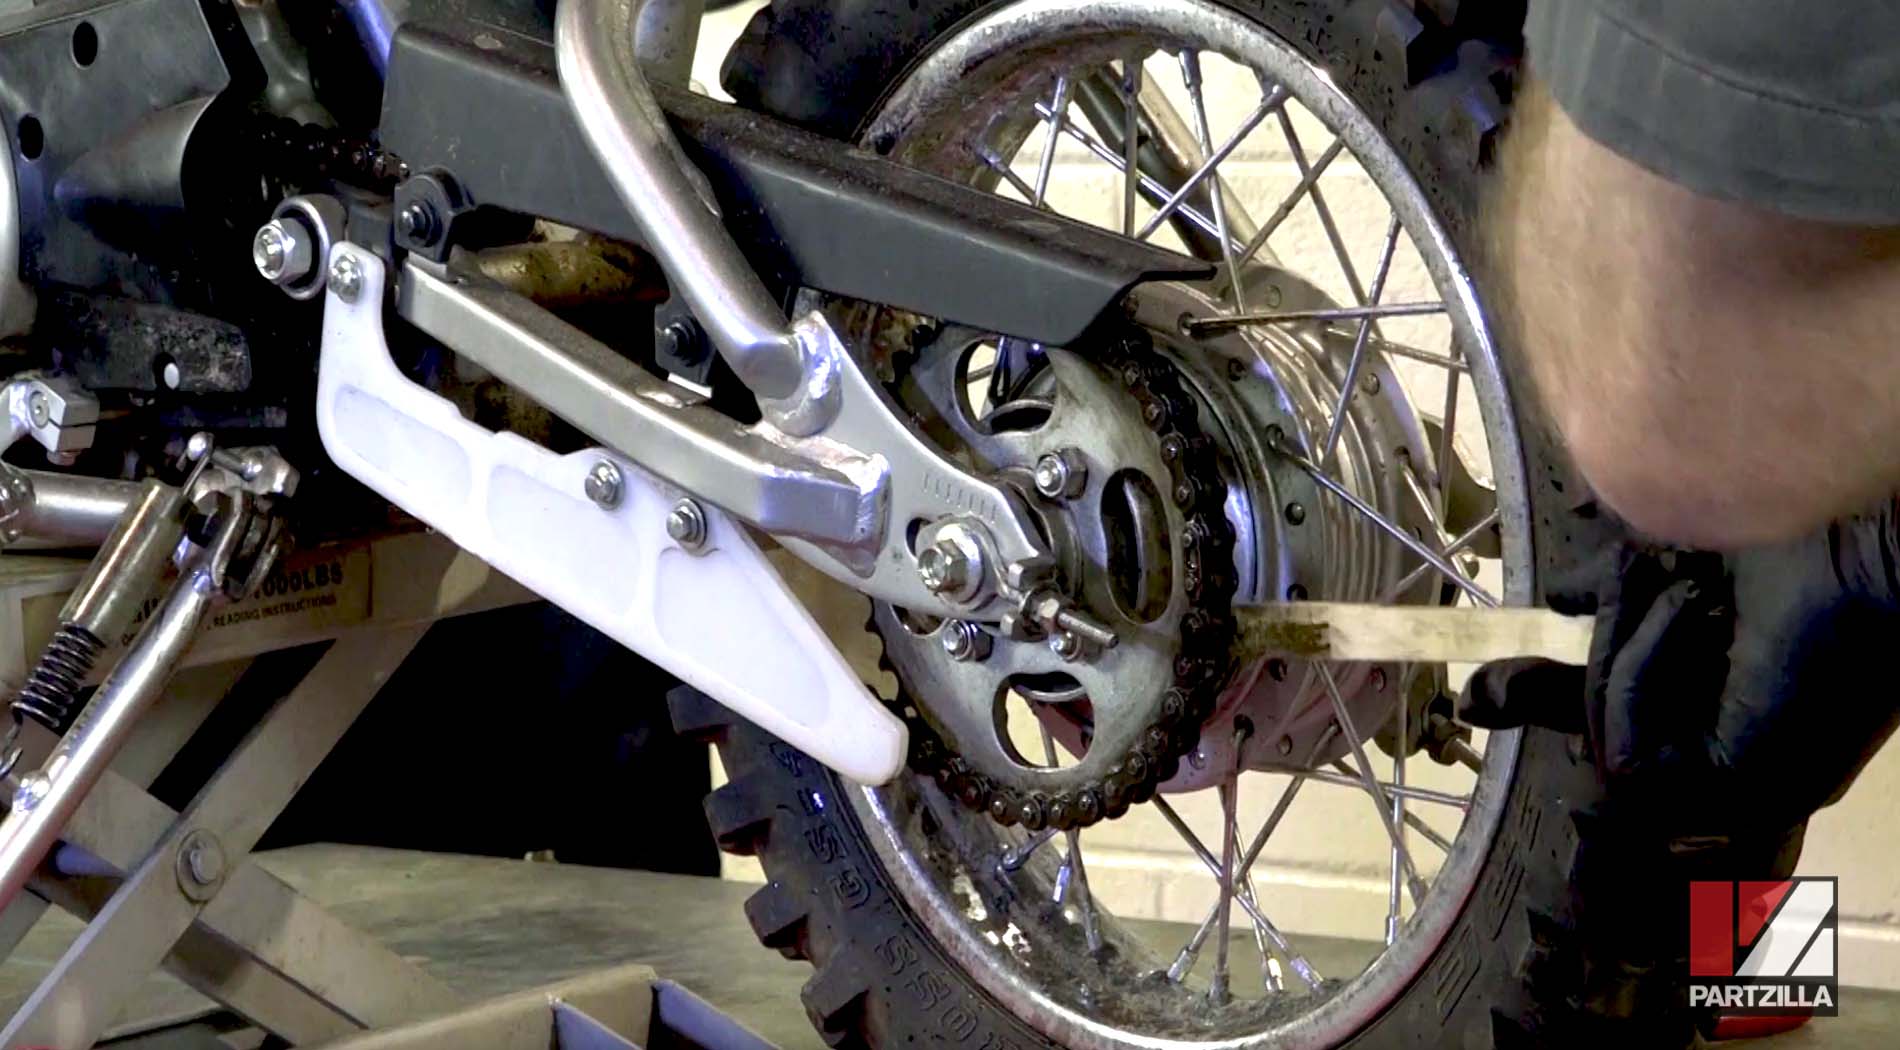
Step 3. Hose off the chain cleaner and let the chain dry.
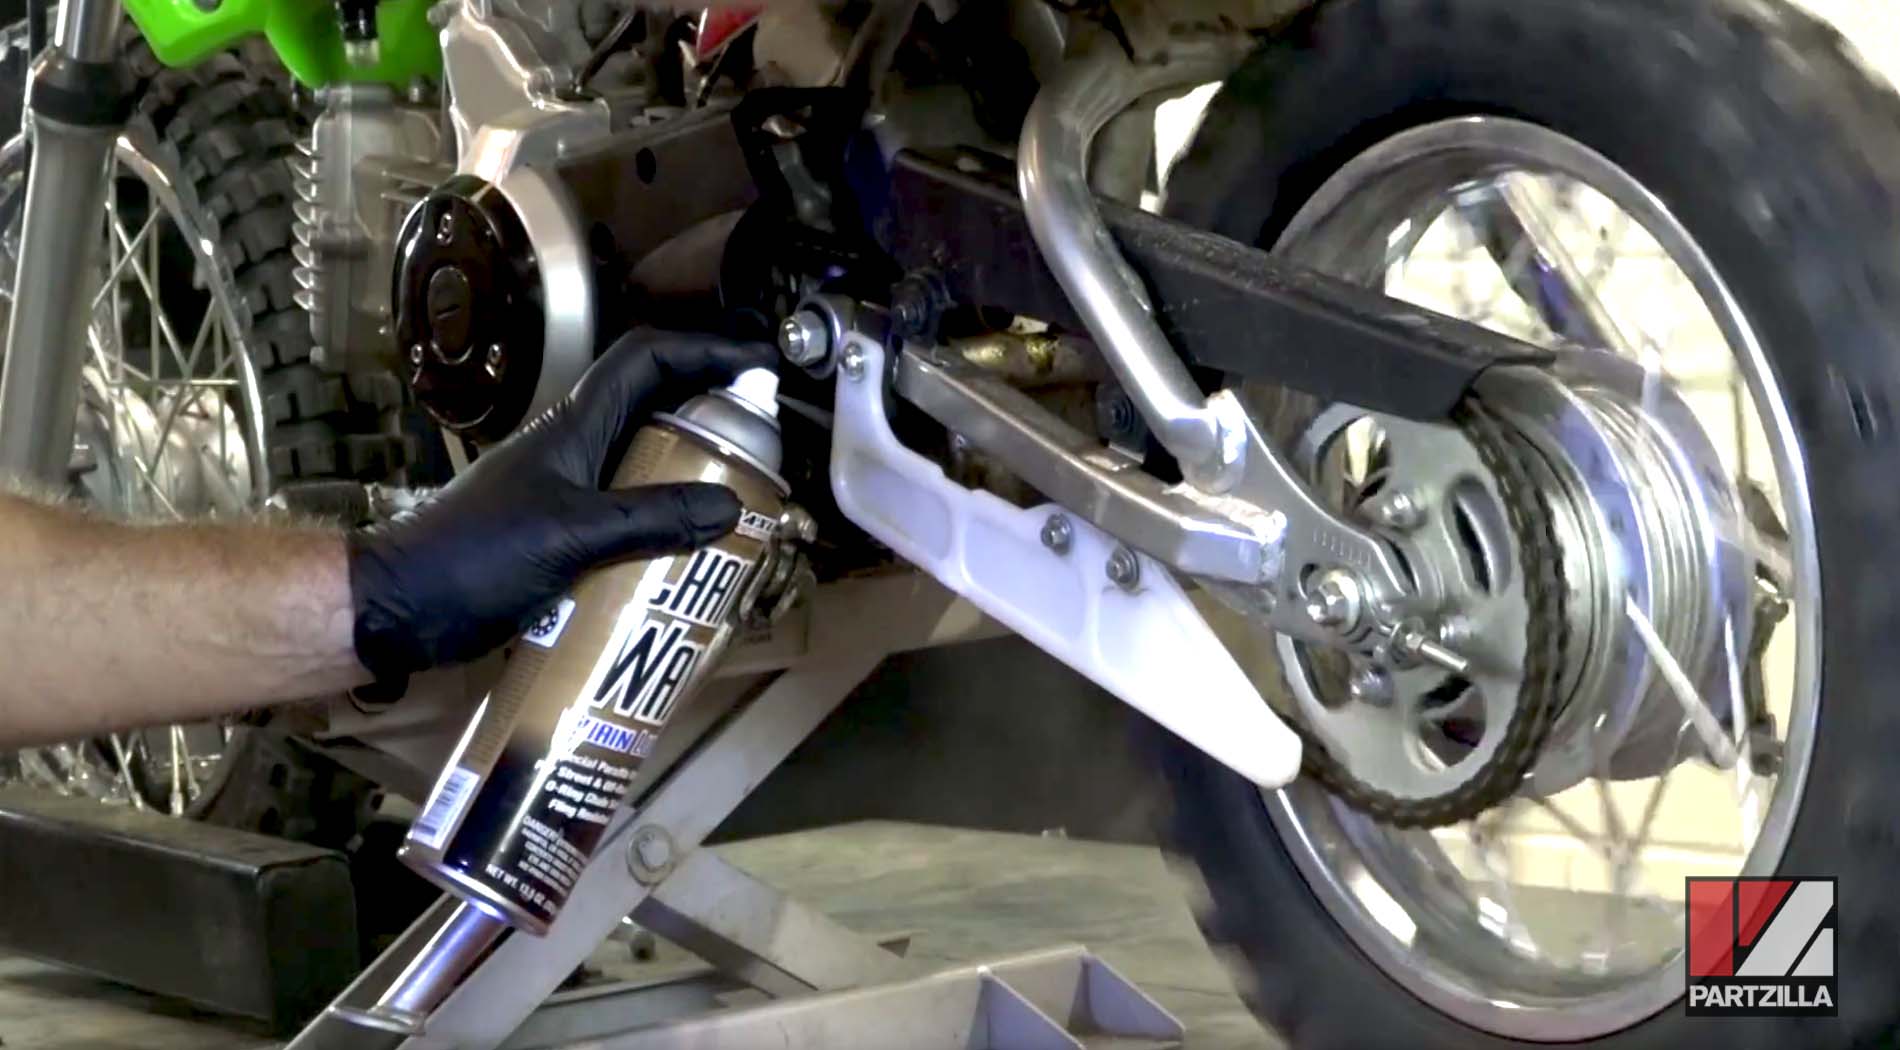
Step 4. Rotate the rear wheel and spray chain lube onto the chain. Spray from various points to ensure every part of the chain is coated in lube and you’re done.
In case you missed it, we changed the chain and sprockets on our KLX dirt bike before doing this adjustment, cleaning and lube. Watch the video below to see how to change the chain and sprockets on a Kawasaki KLX 110 dirt bike.
