How to Replace Kawasaki KLX110 Chain and Sprockets
The chain and sprockets on dirt bikes like the Kawasaki KLX110 wear out much faster than those on road bikes due to the fact that they typically take much more punishment on the track or trail.
When it’s time to change out these two Kawasaki motorcycle parts, watch our KLX110 chain and sprocket replacement video above or follow the steps below to get this job done.
Tools and Parts – Kawasaki KLX 110 Chain & Sprocket Replacement
- Ratchet and extension
- 8mm, 14mm, 22mm sockets
- 10mm, 14mm wrenches
- Circlip pliers
- Flathead screwdriver
- Torque wrench
- Chain tool
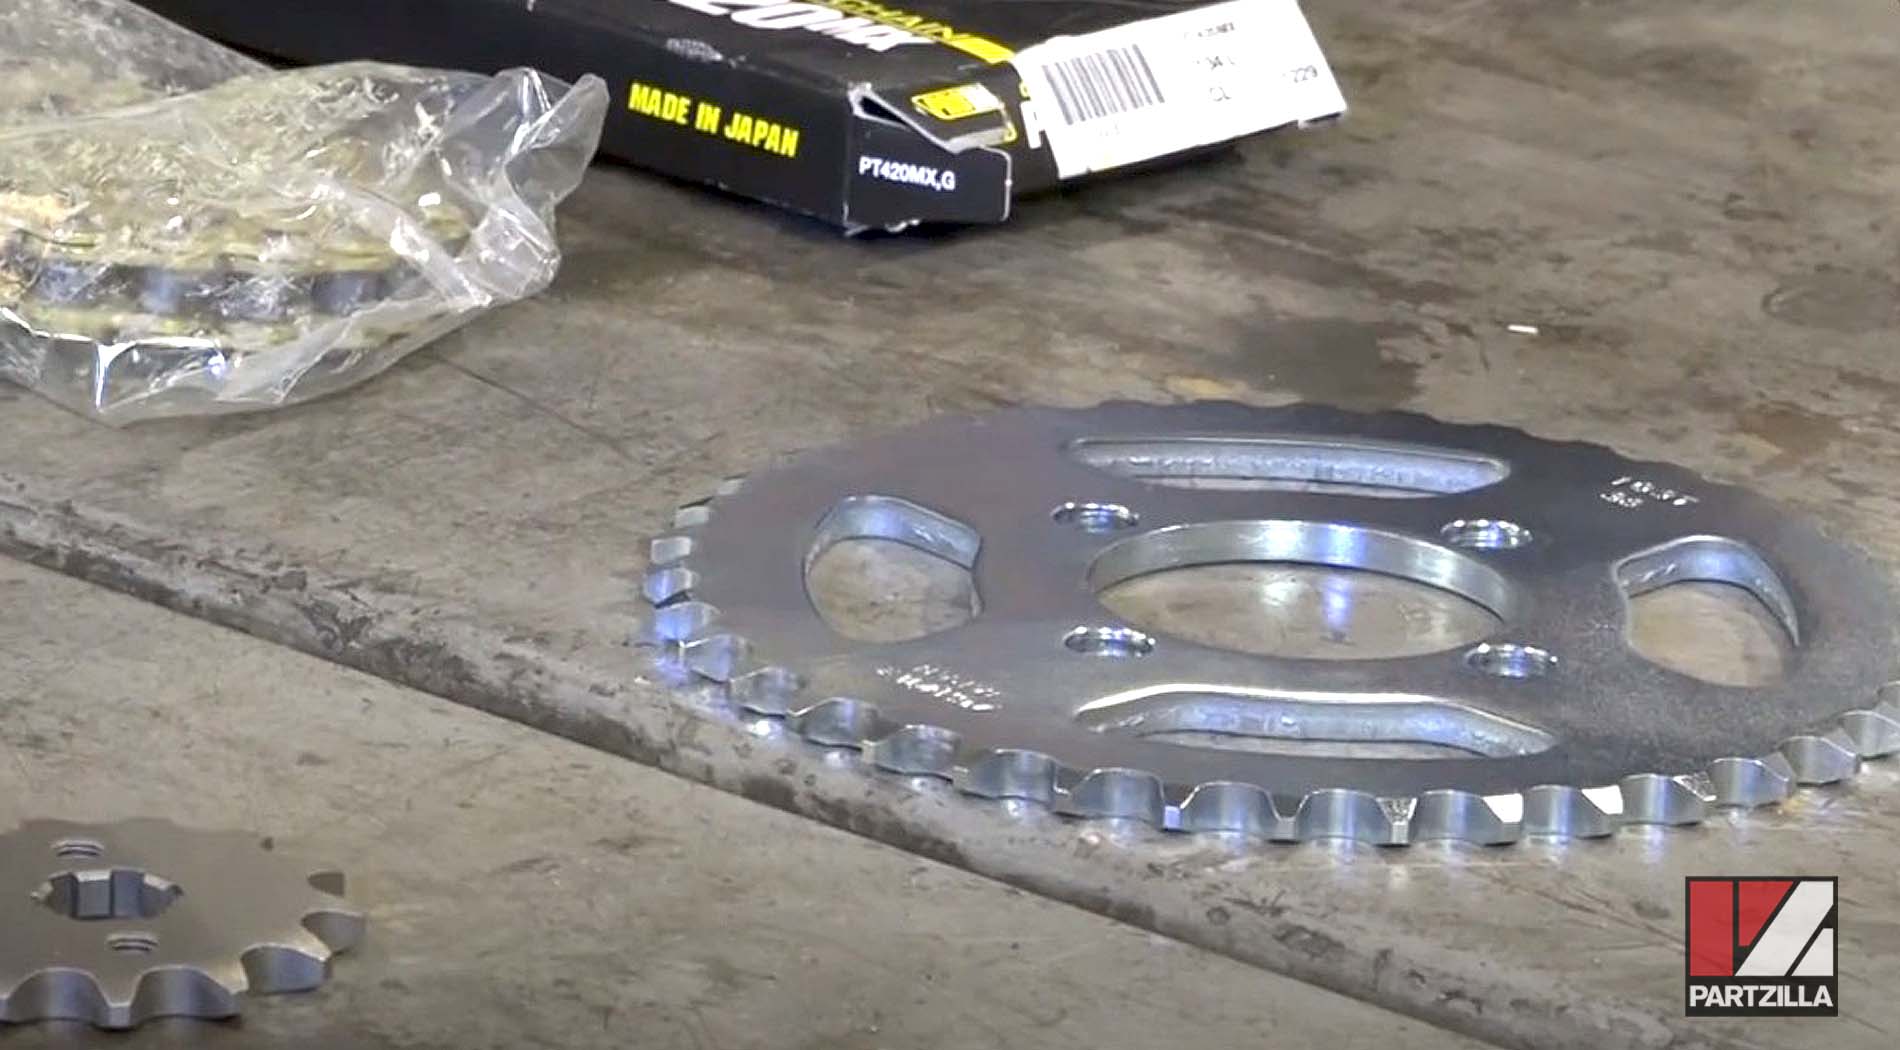
- Chain
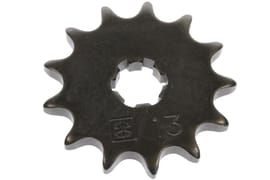
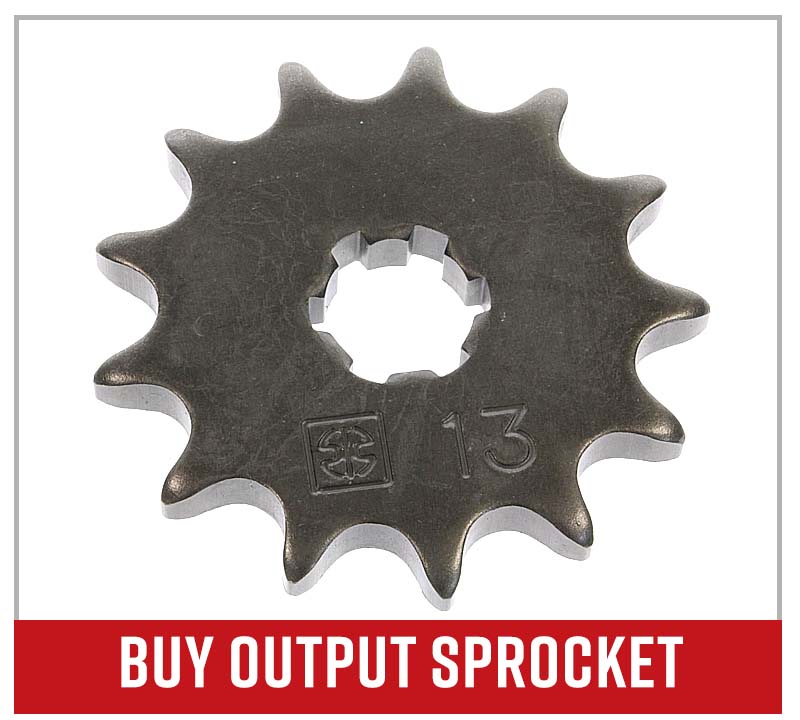
- Output sprocket
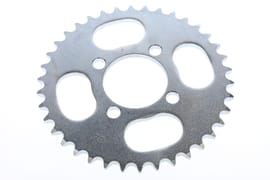
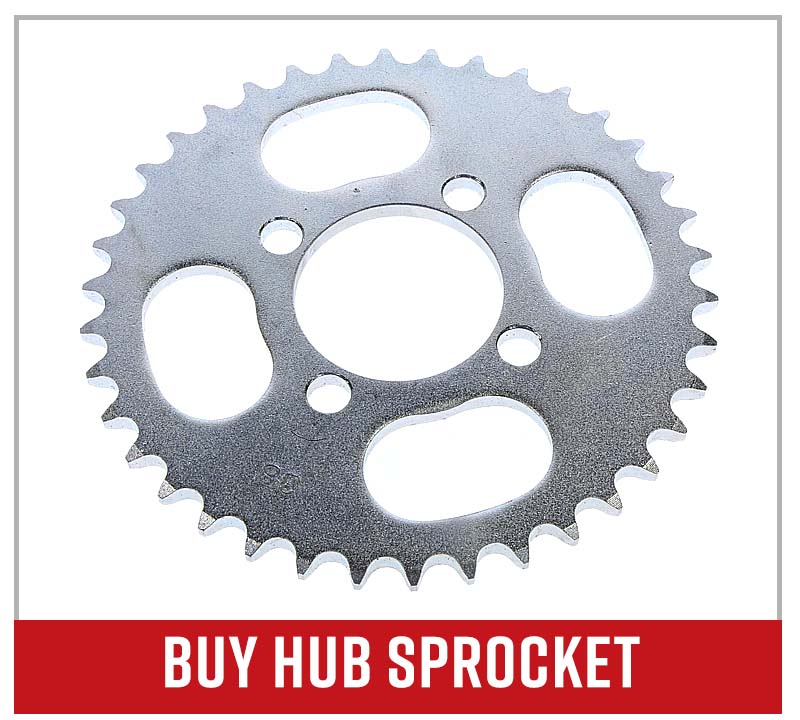
- Hub sprocket
NOTE: The chain and sprockets on a motorcycle should be replaced together as a set because old sprockets will quickly tear up a new chain, and an old chain will cause excessive wear to new sprockets.
How to Remove Kawasaki KLX110 Chain & Sprockets
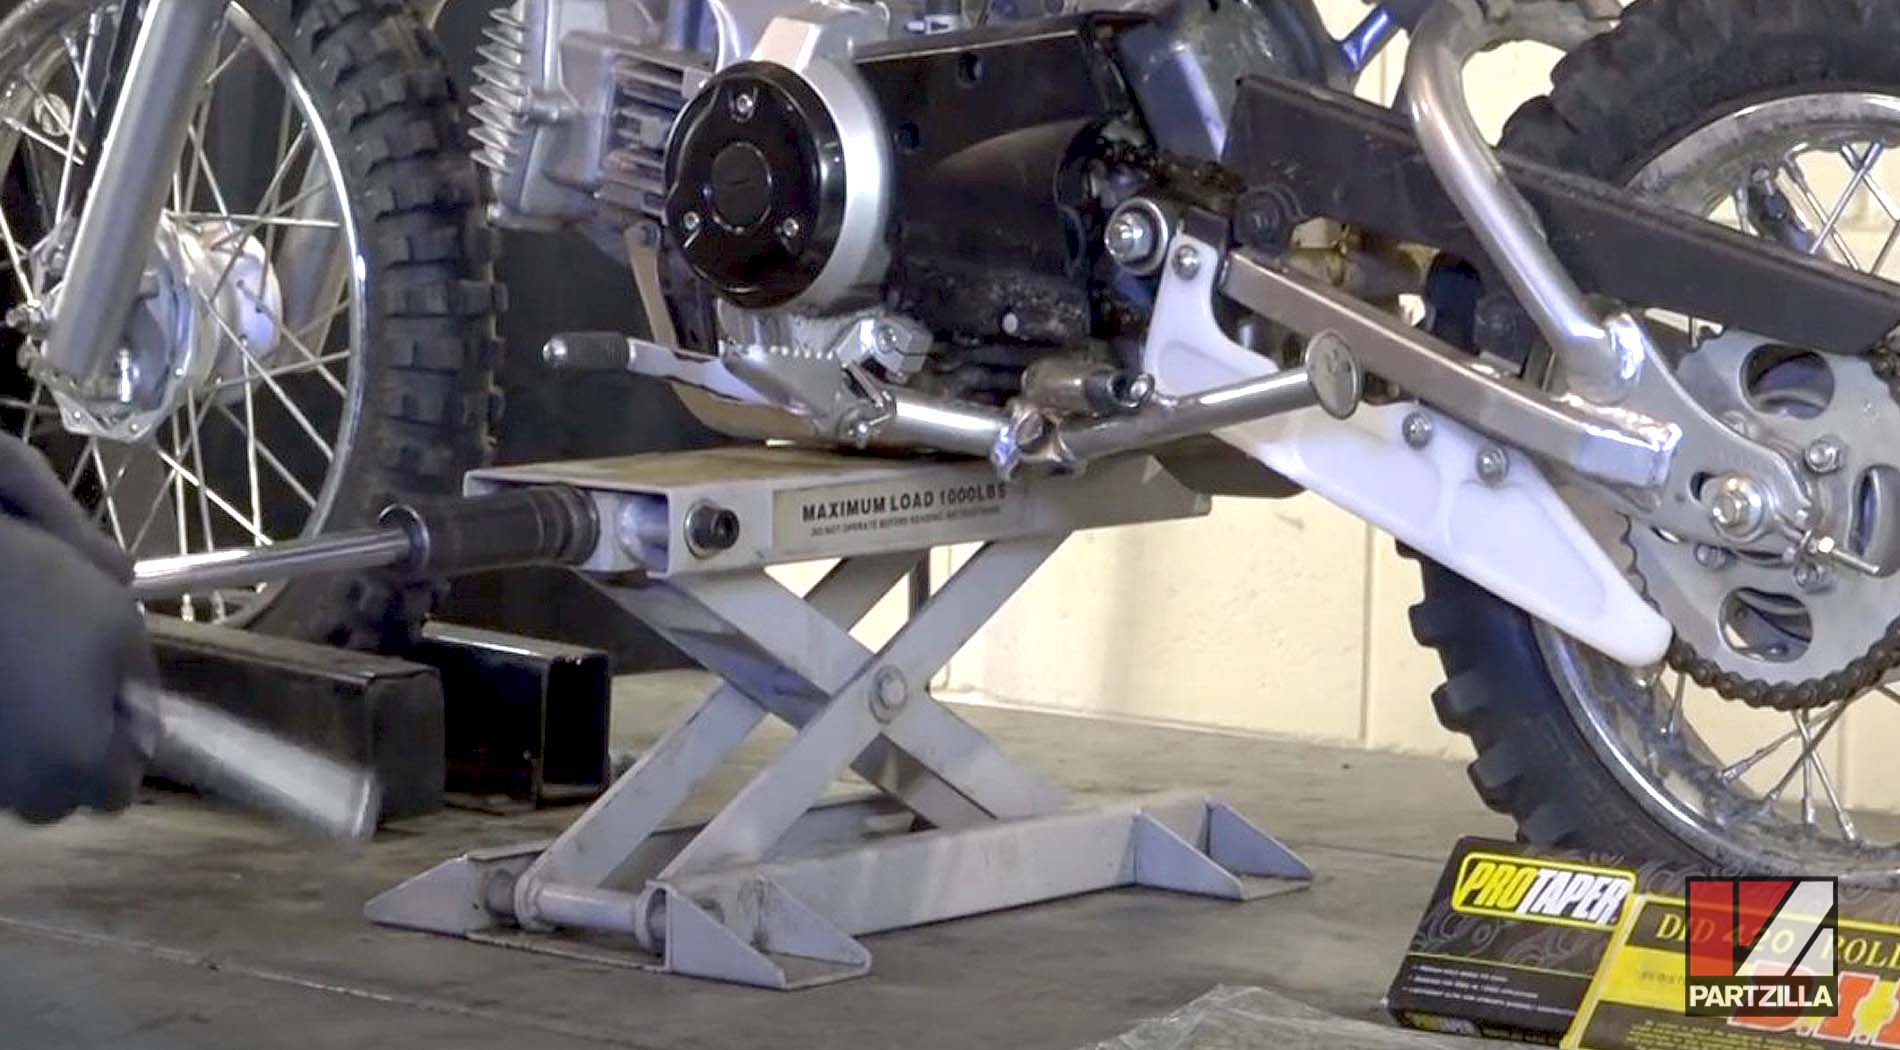
Step 1. Lift the bike on a stand, then loosen the 10mm locking nuts, and back off the adjuster nuts on the chain adjuster bolts on each side of the wheel.
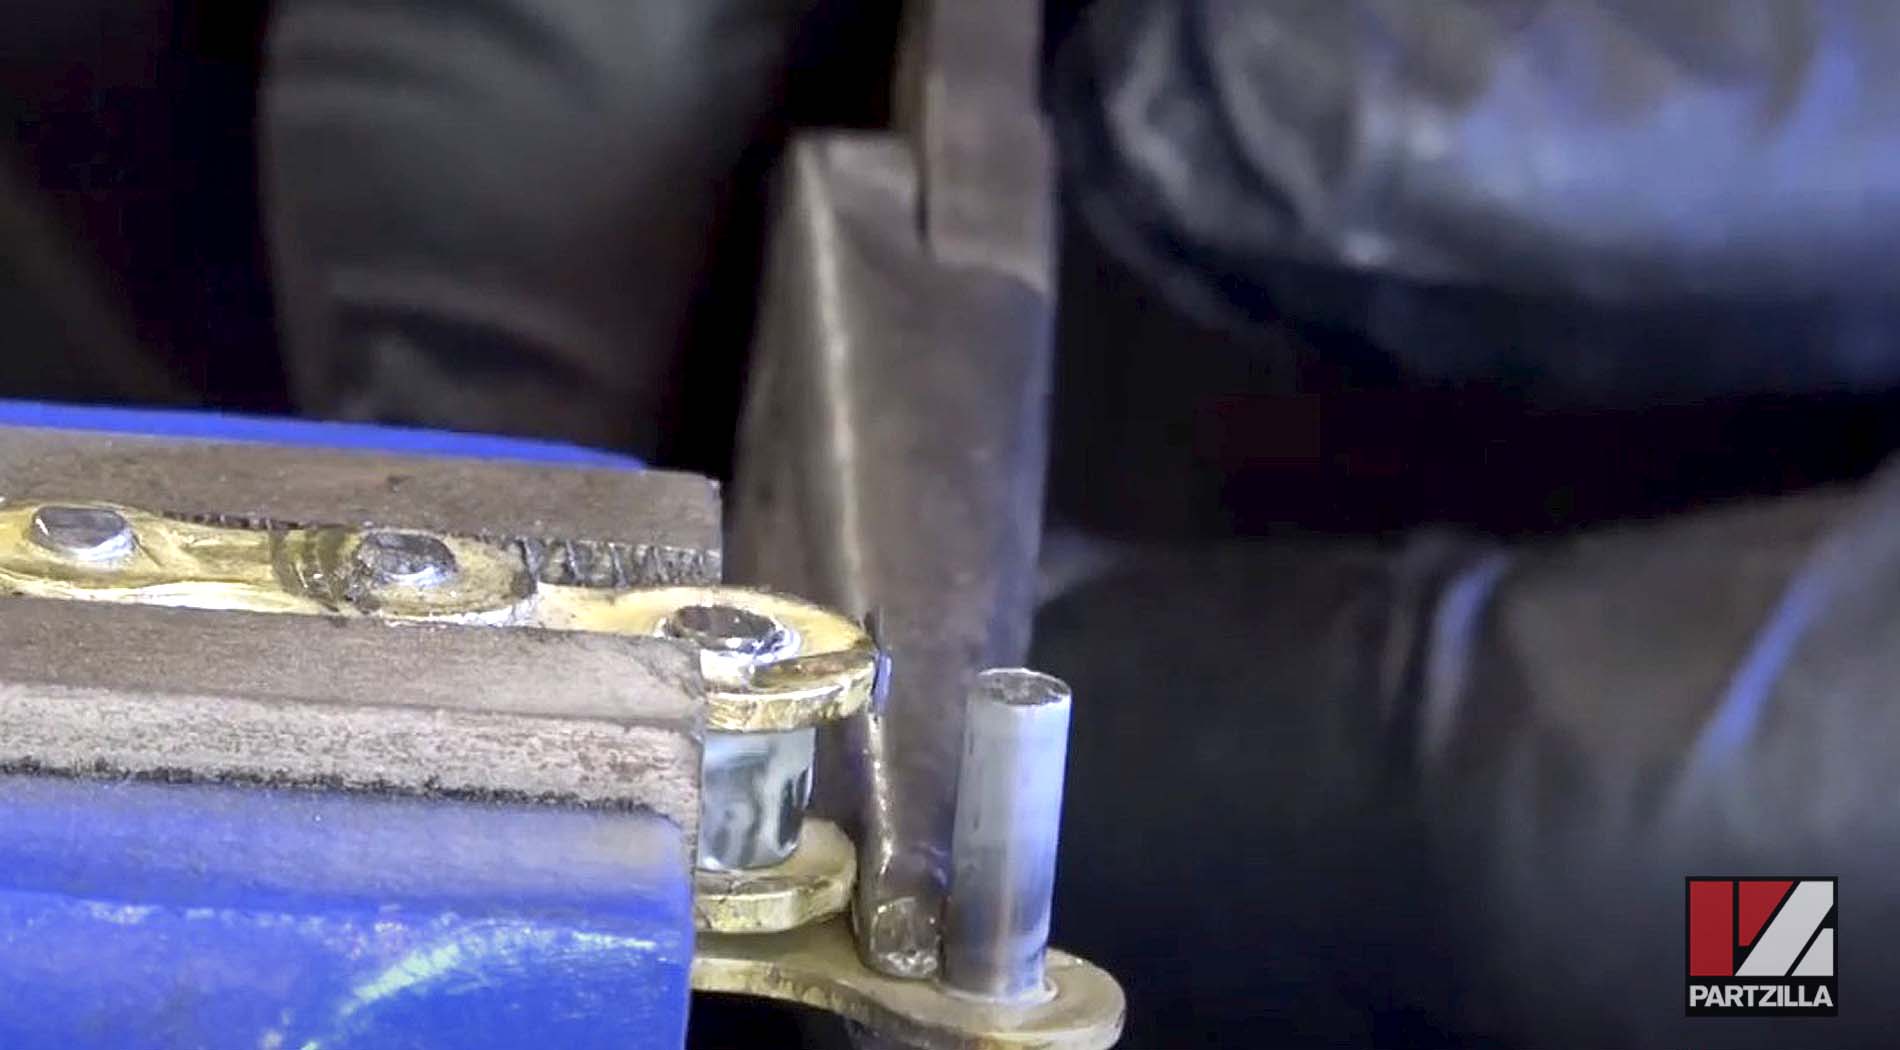
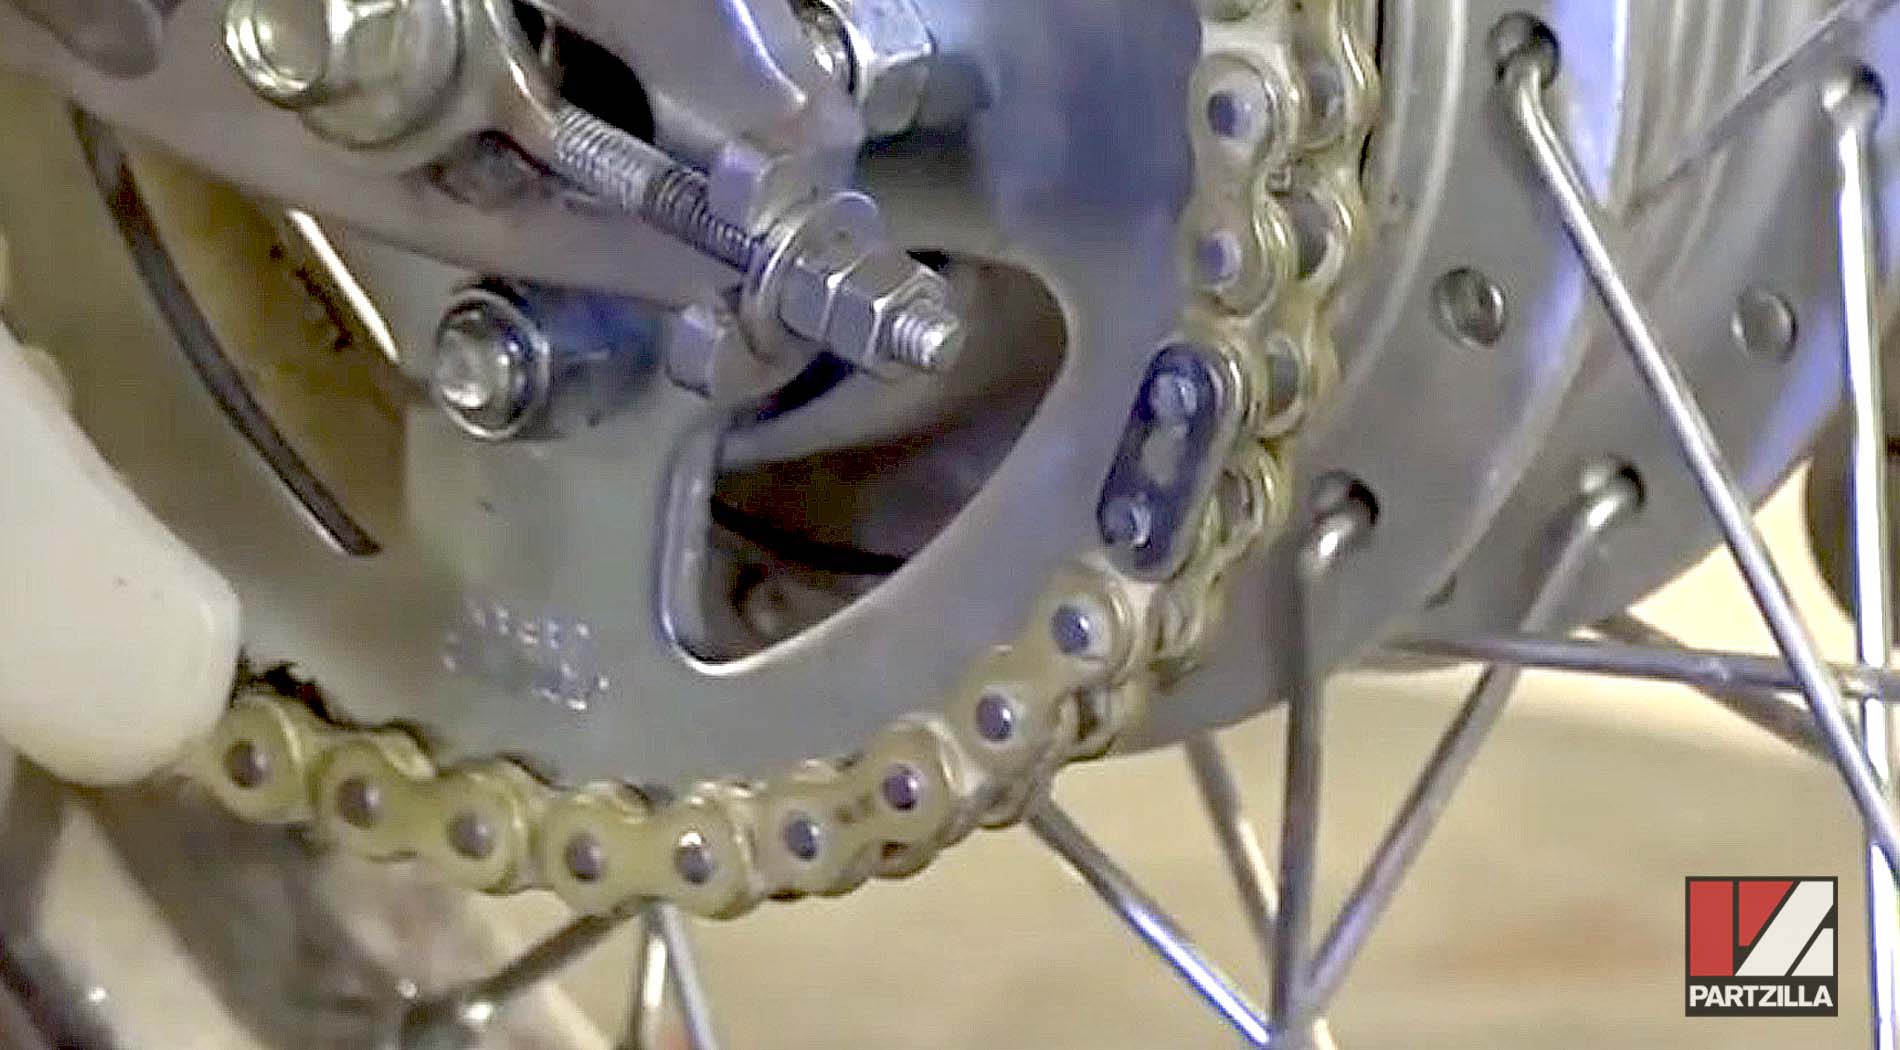
Step 2. Pry the clip and the outer plate from the chain master link with a screwdriver, then push out the master link and remove the chain.
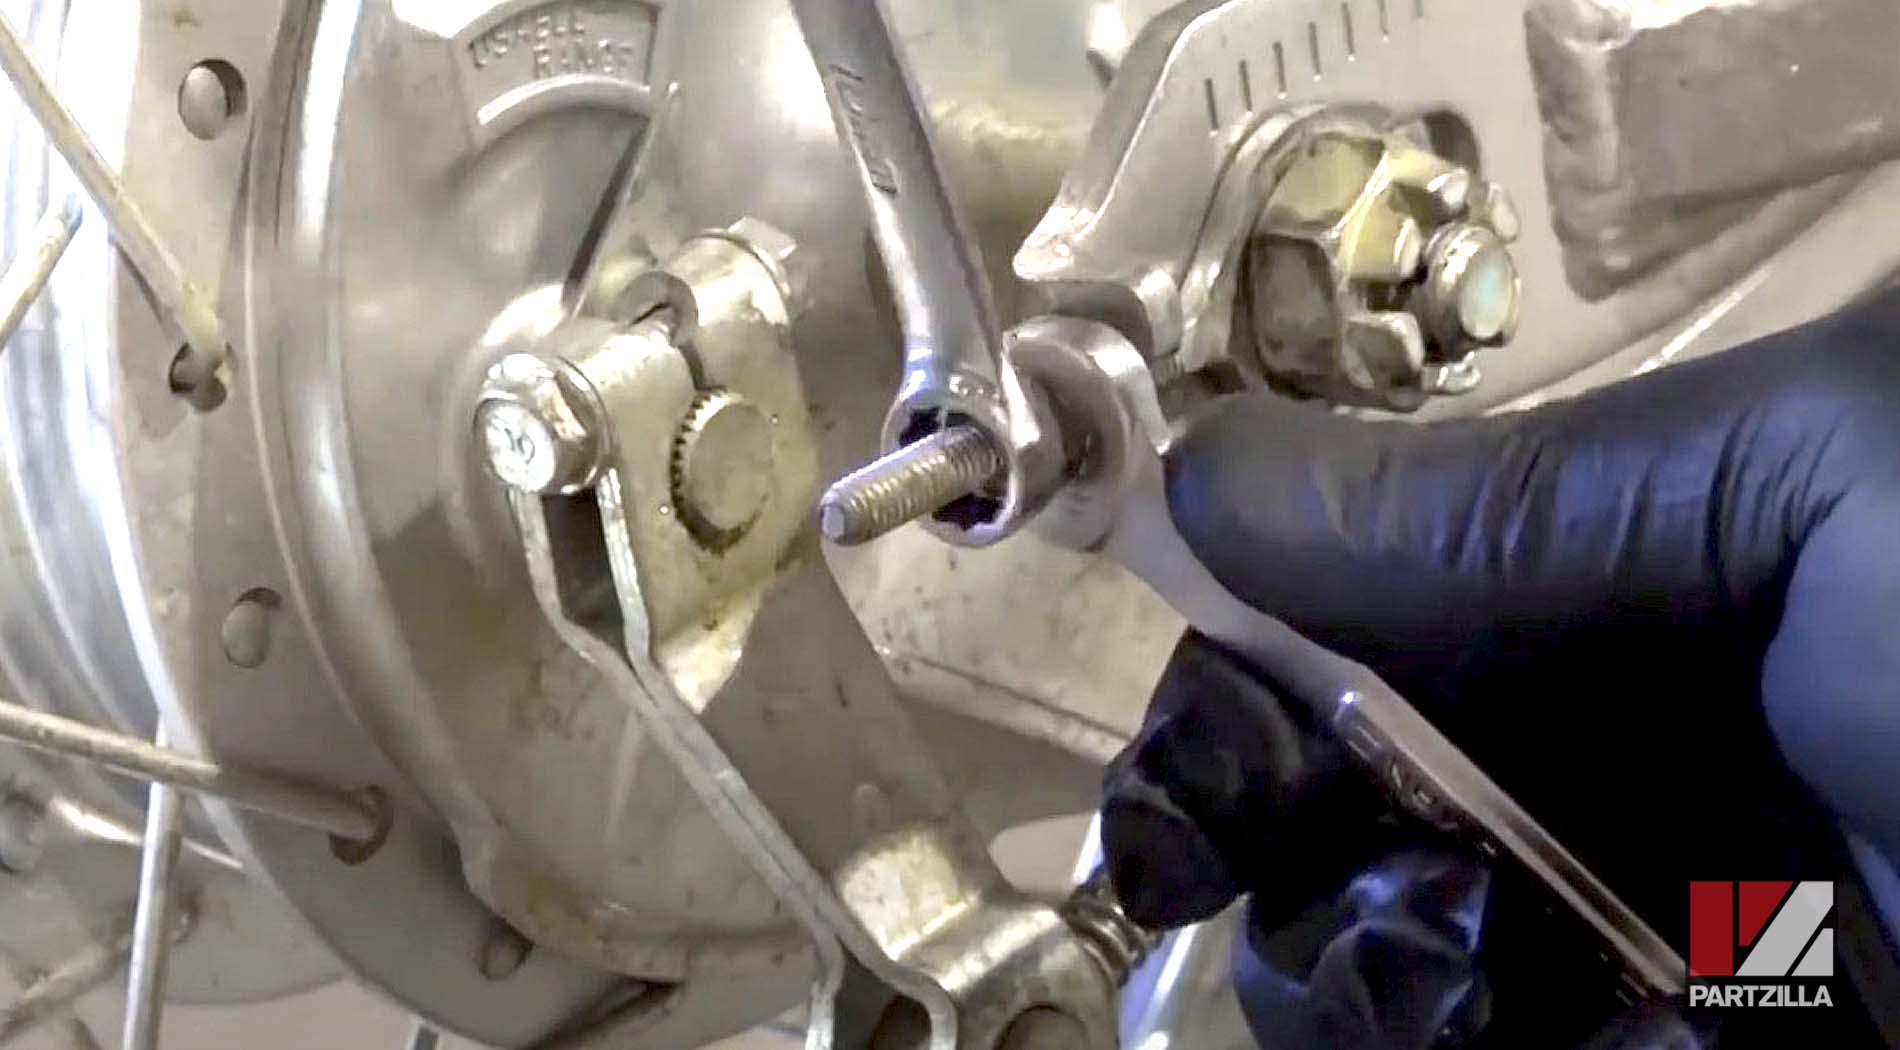
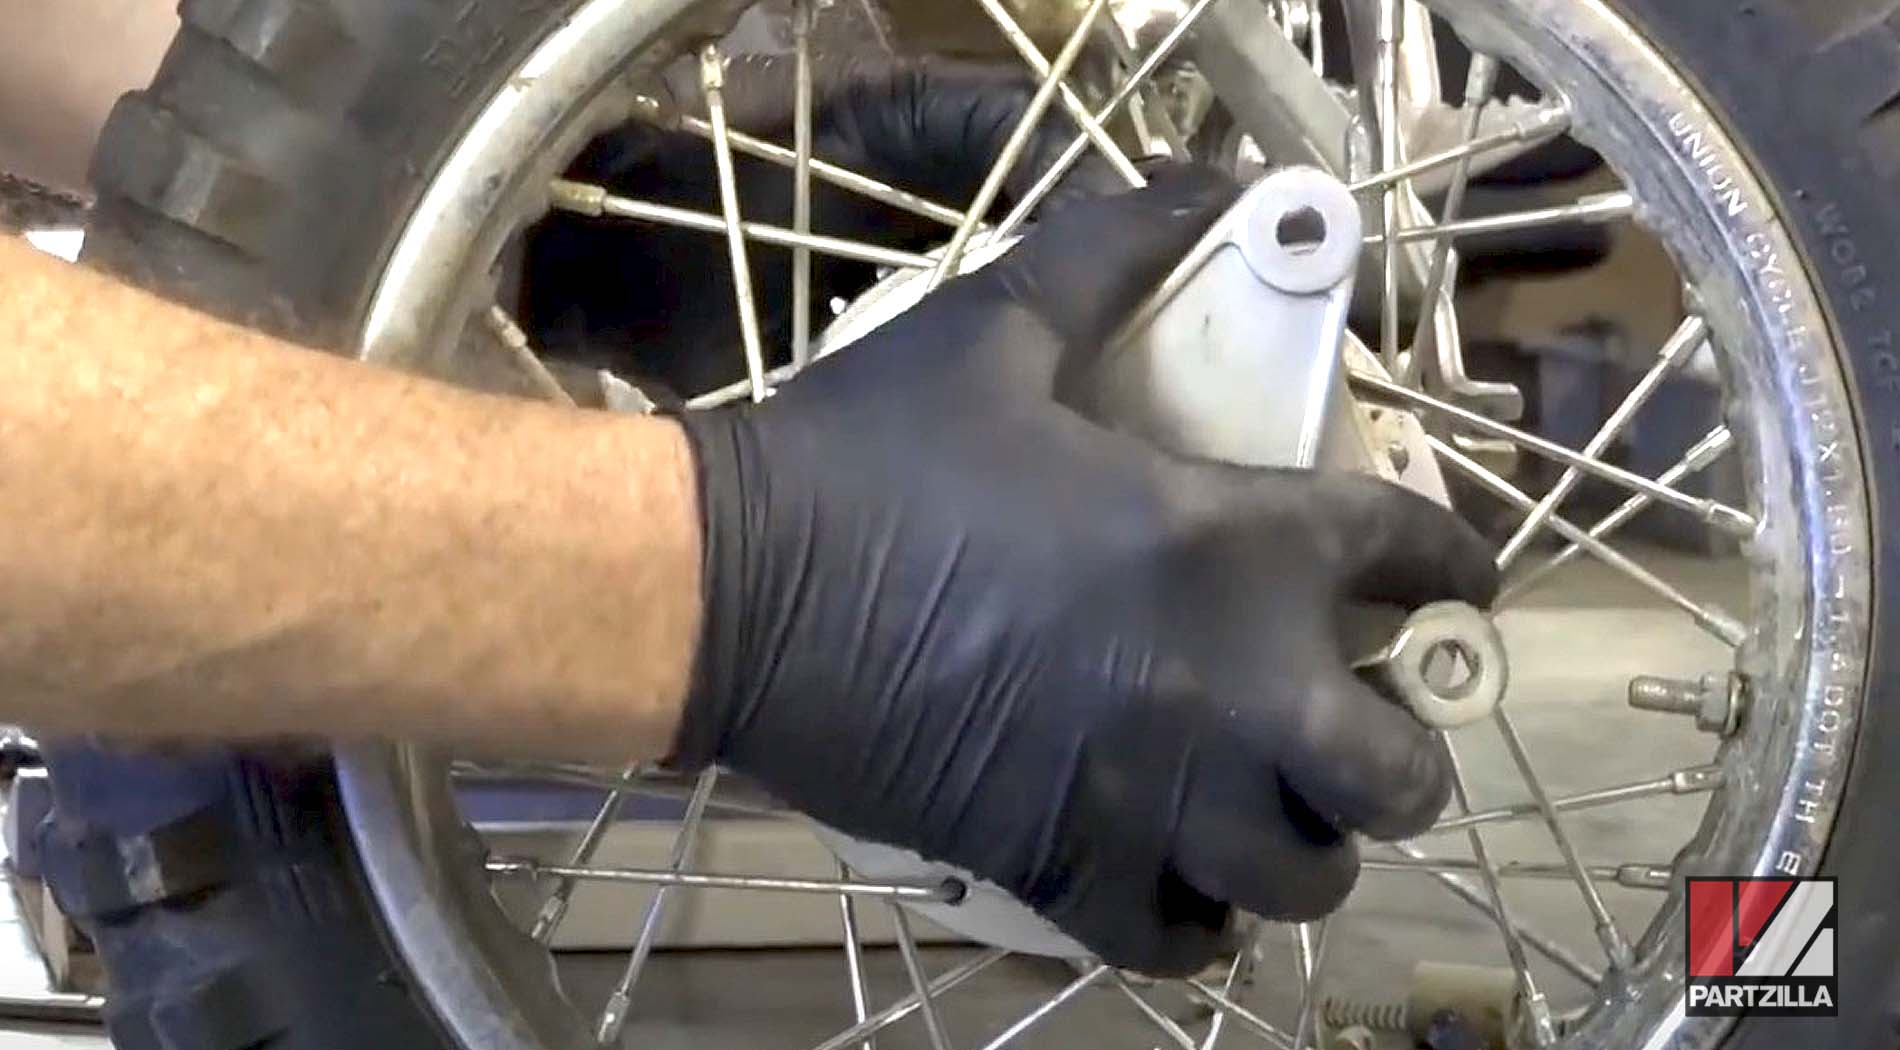
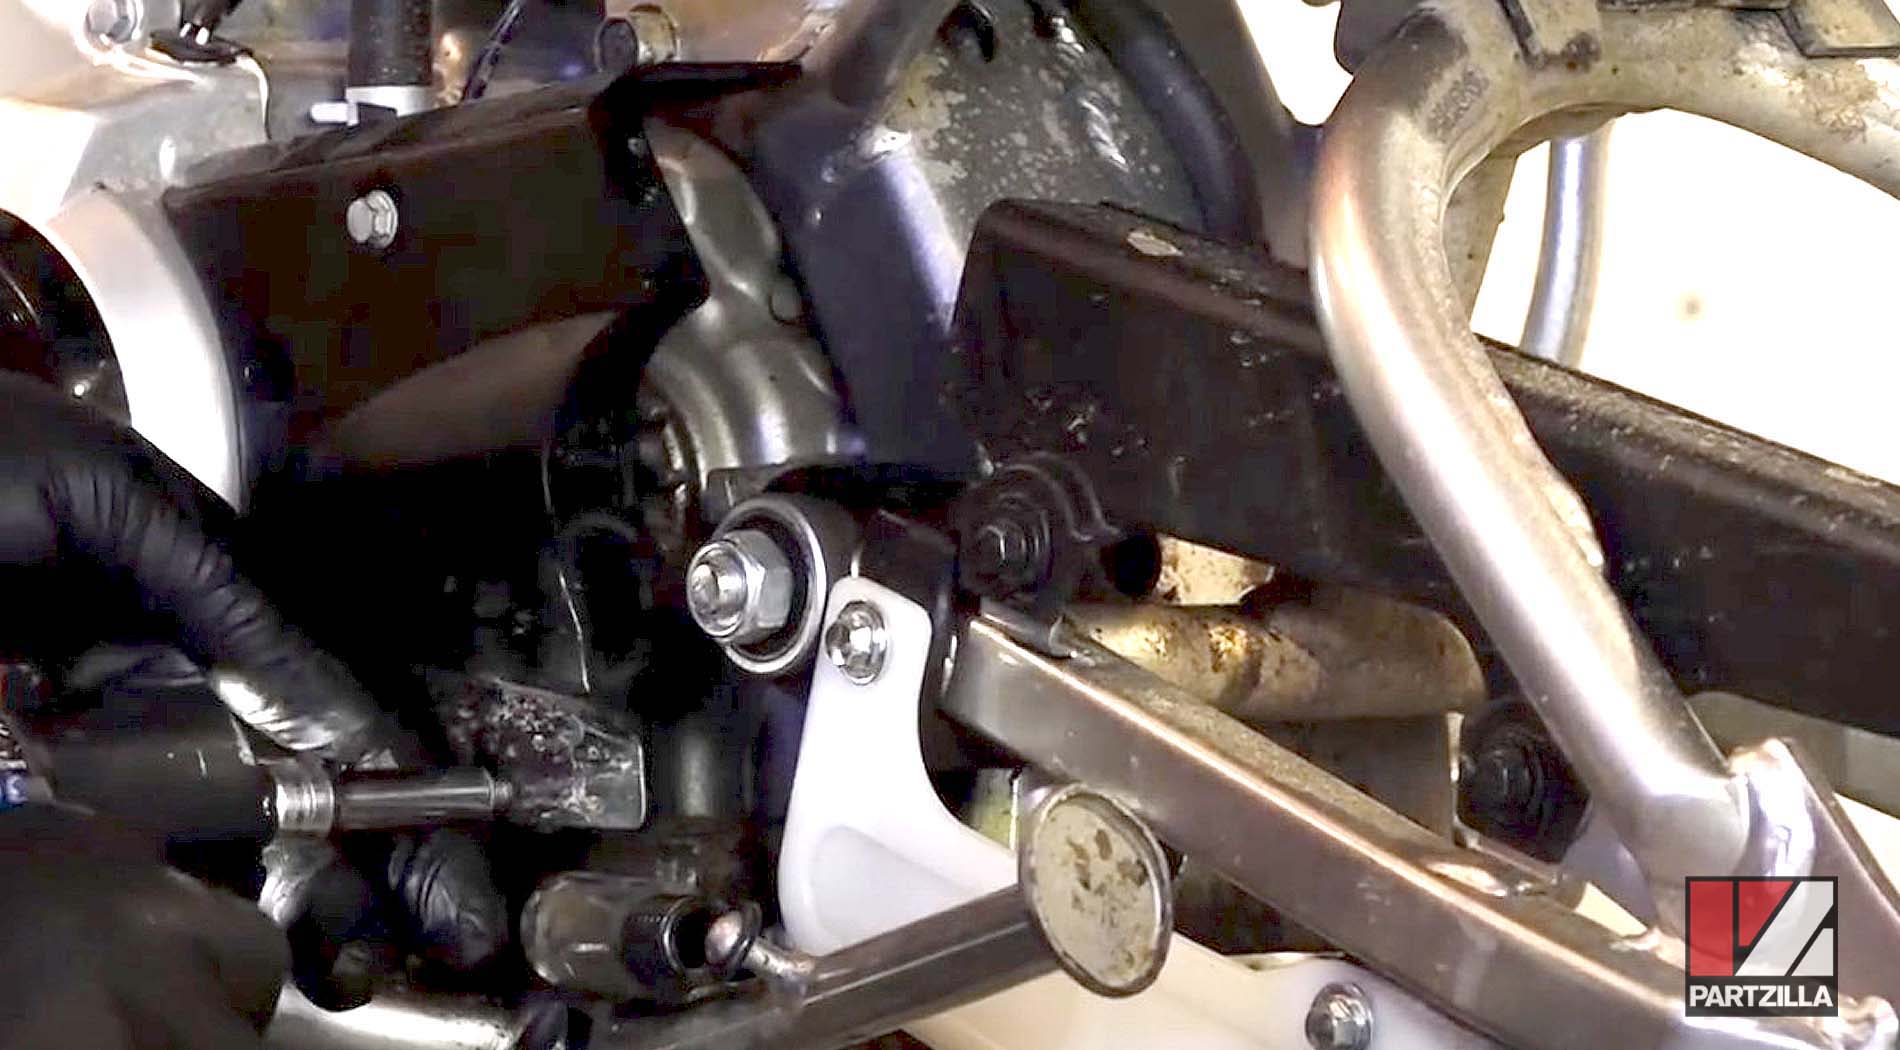
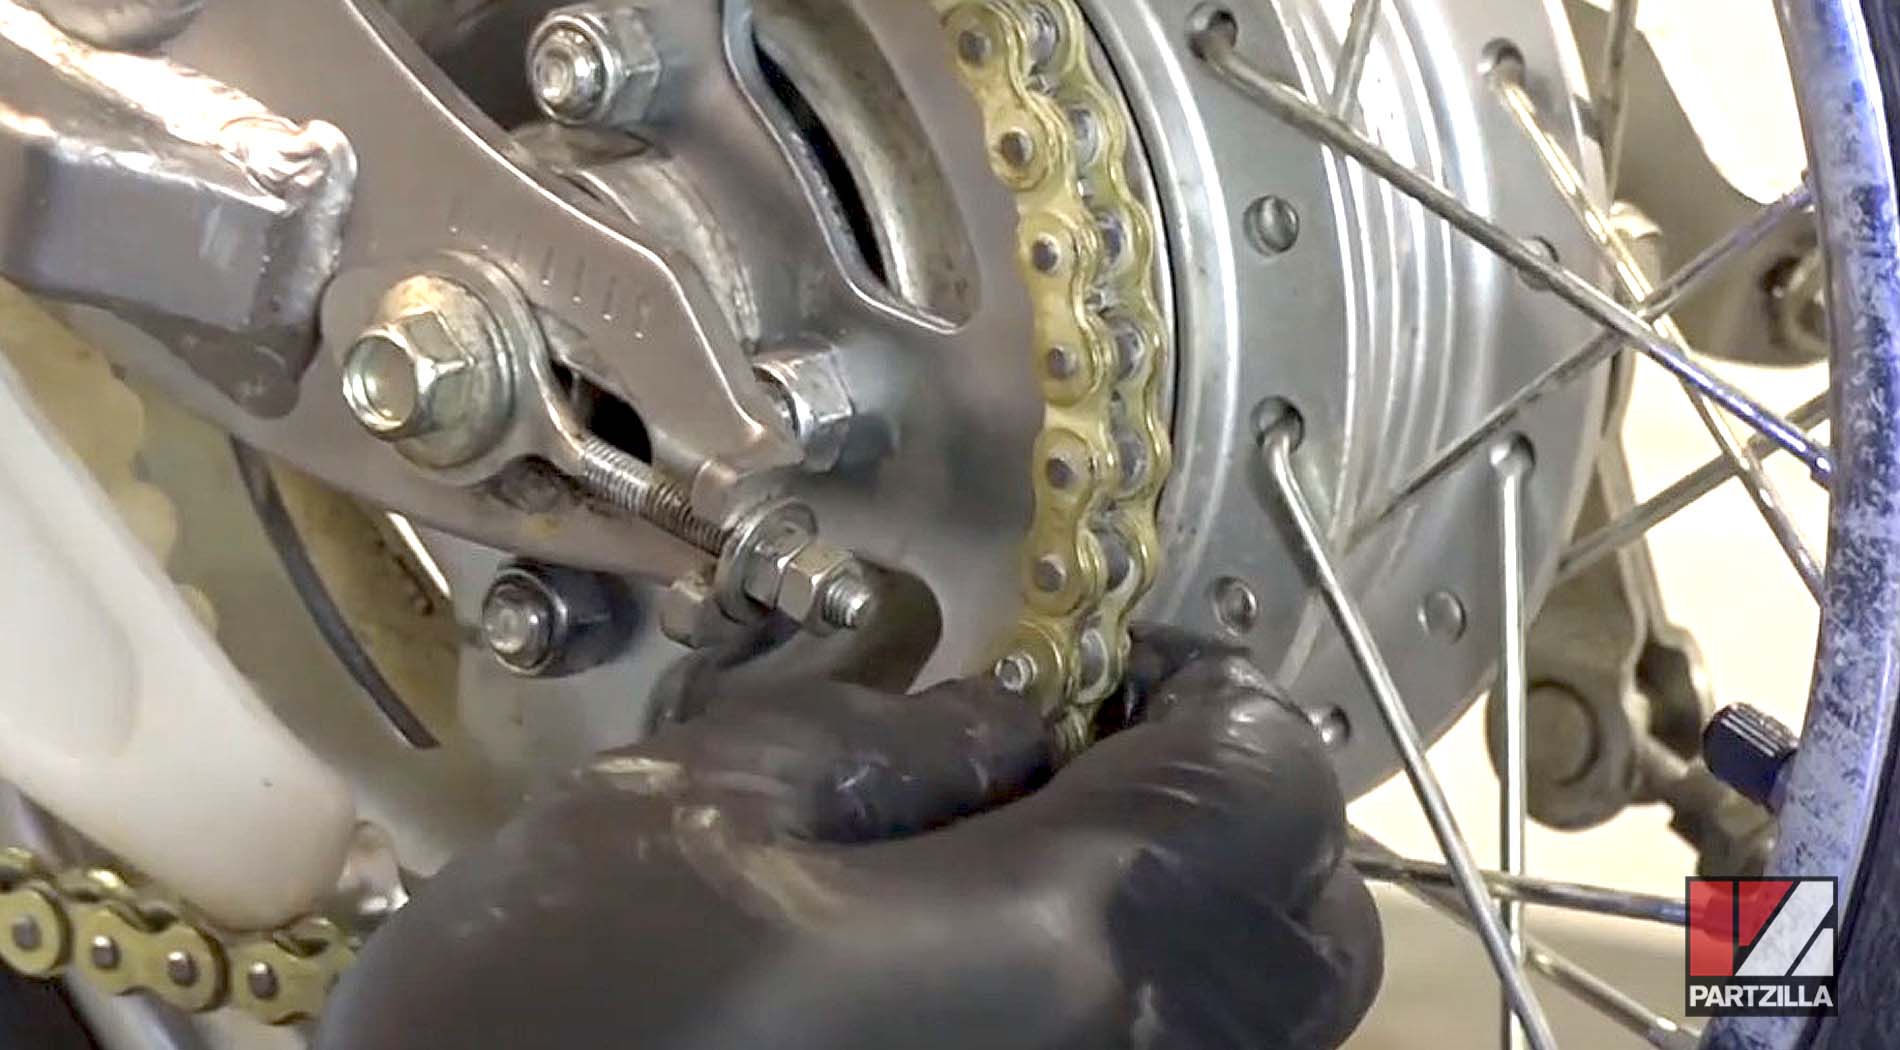
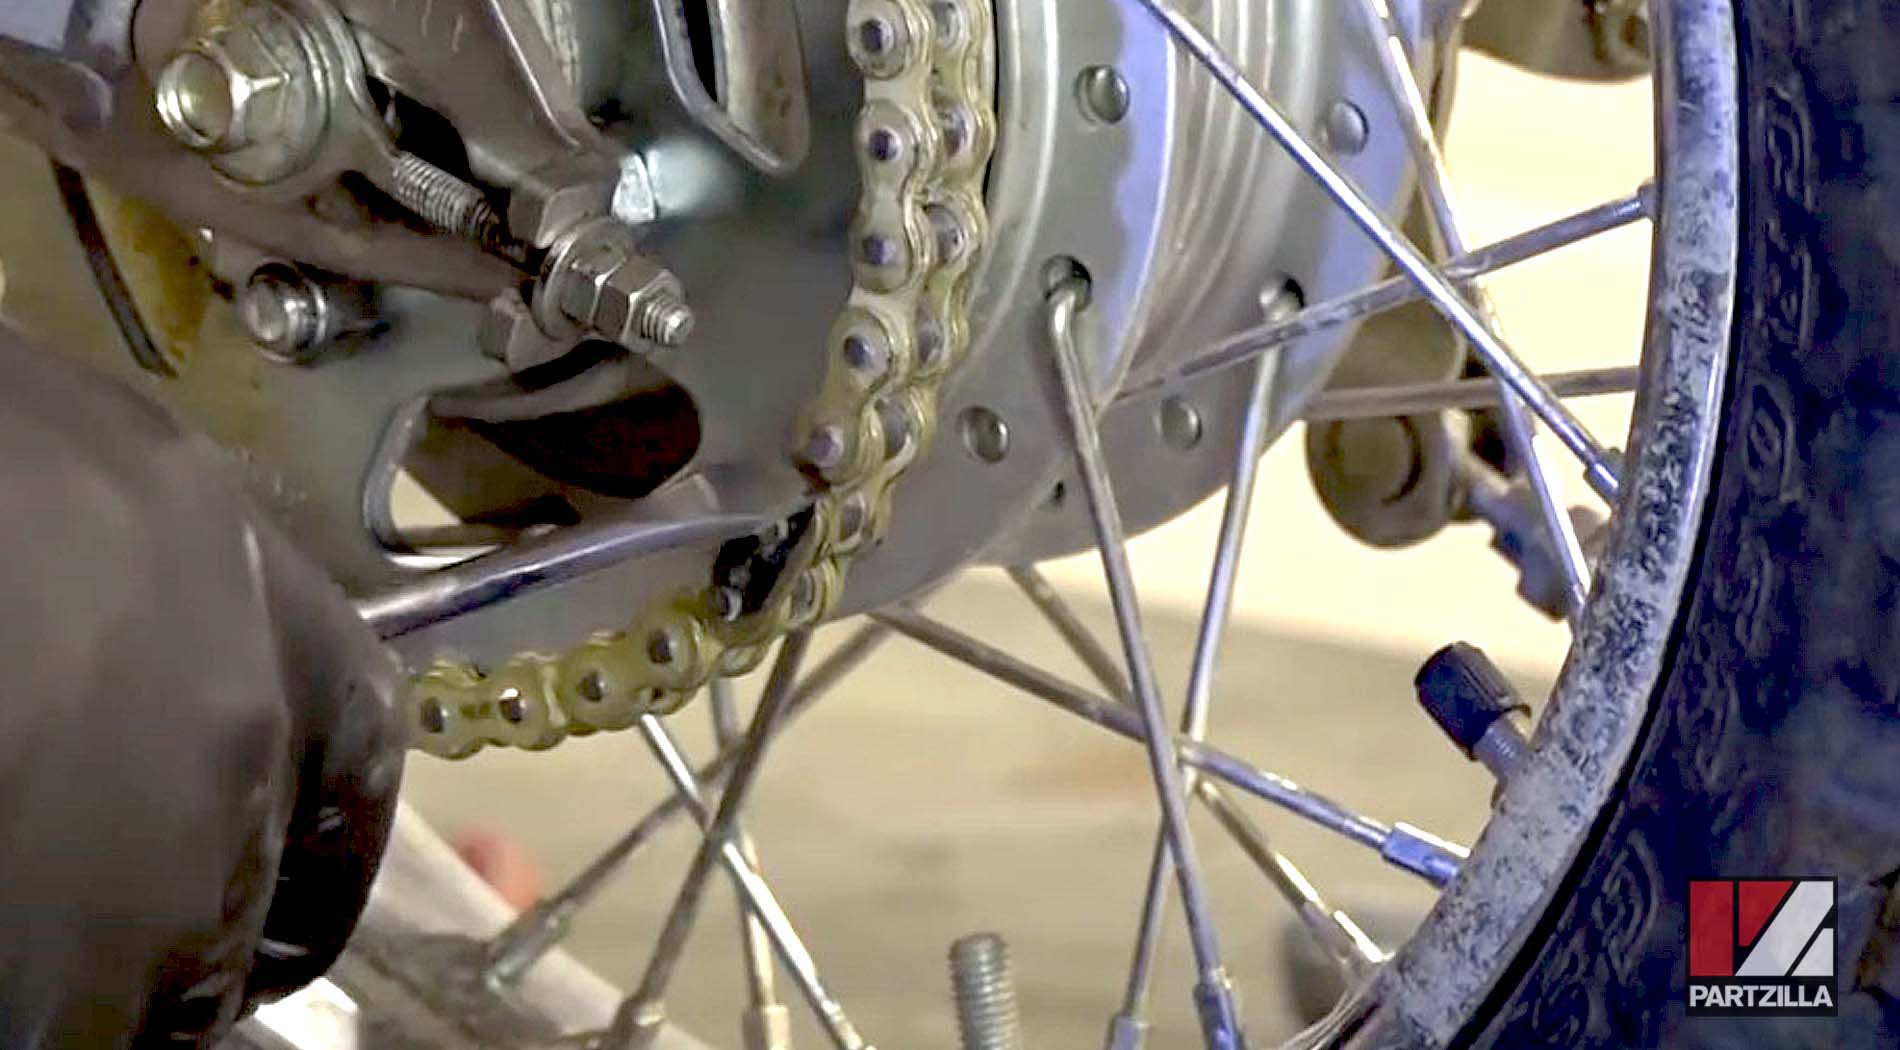
Step 3. Remove the cotter pin and nut from the brake drum torque rod.
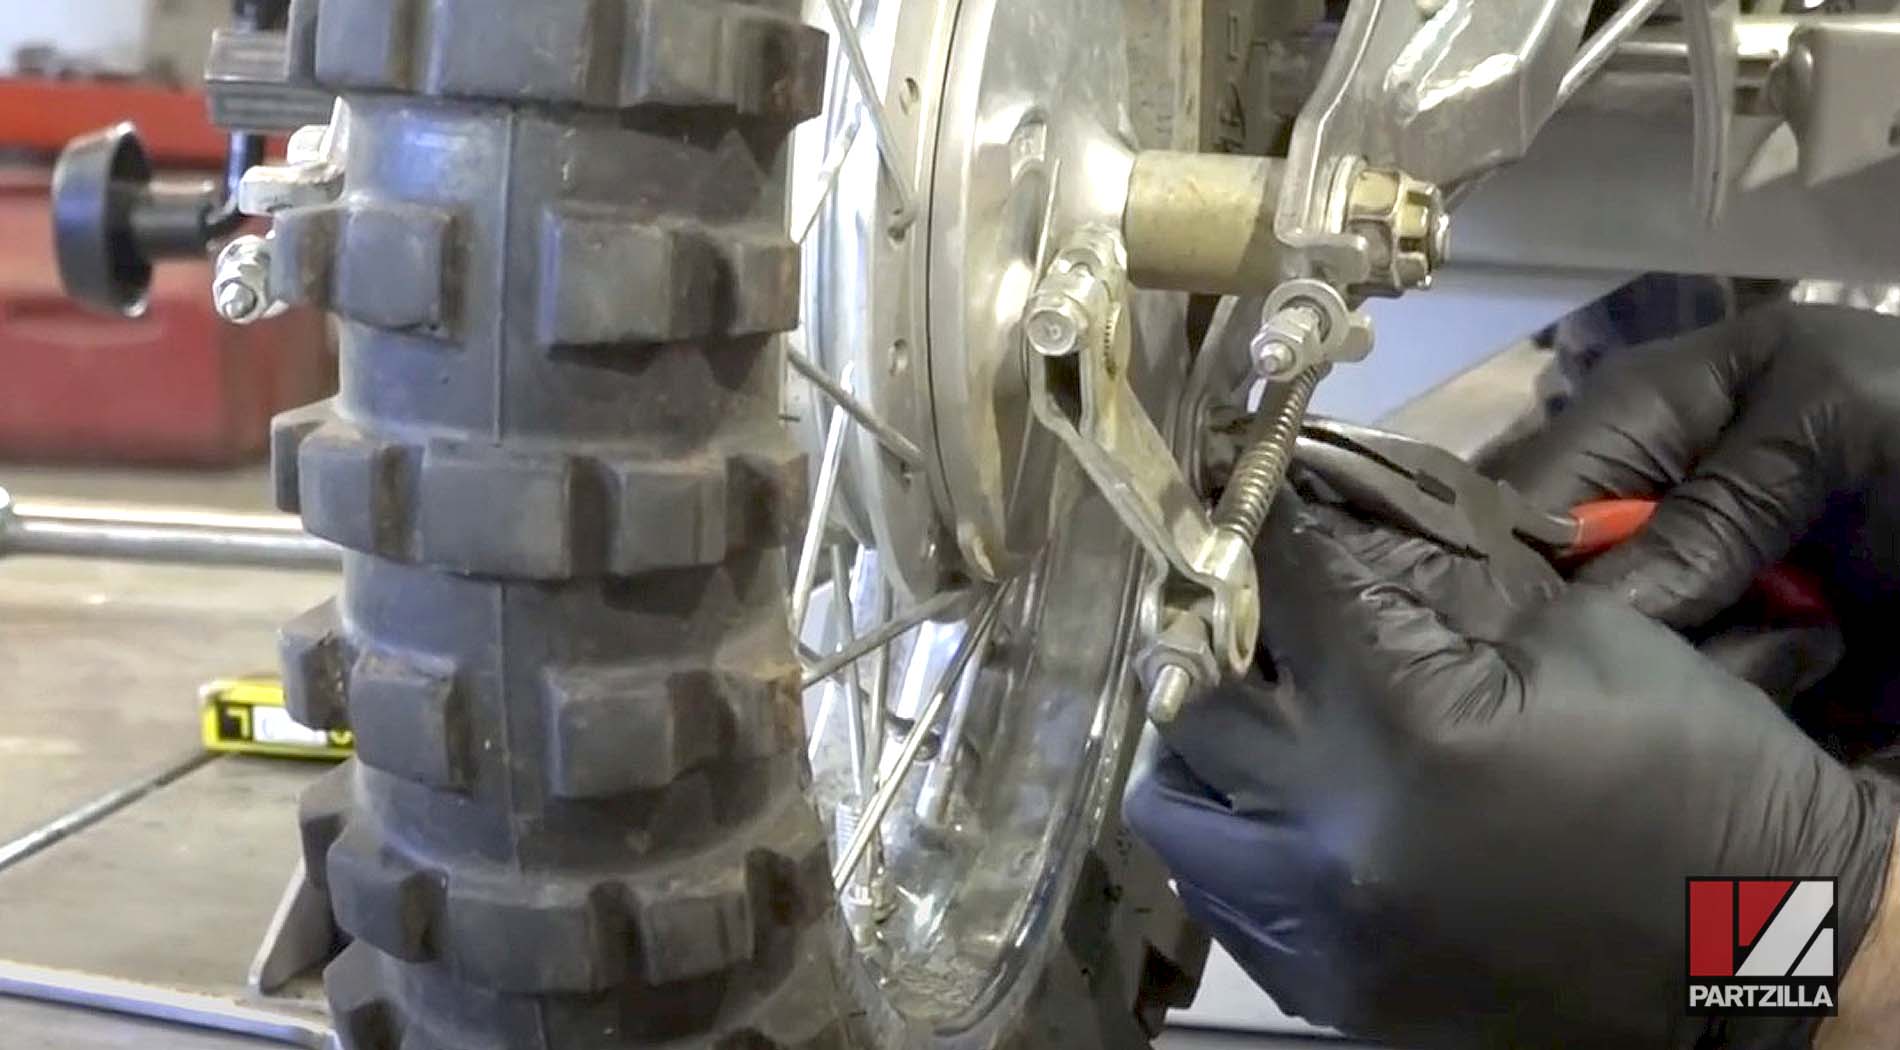
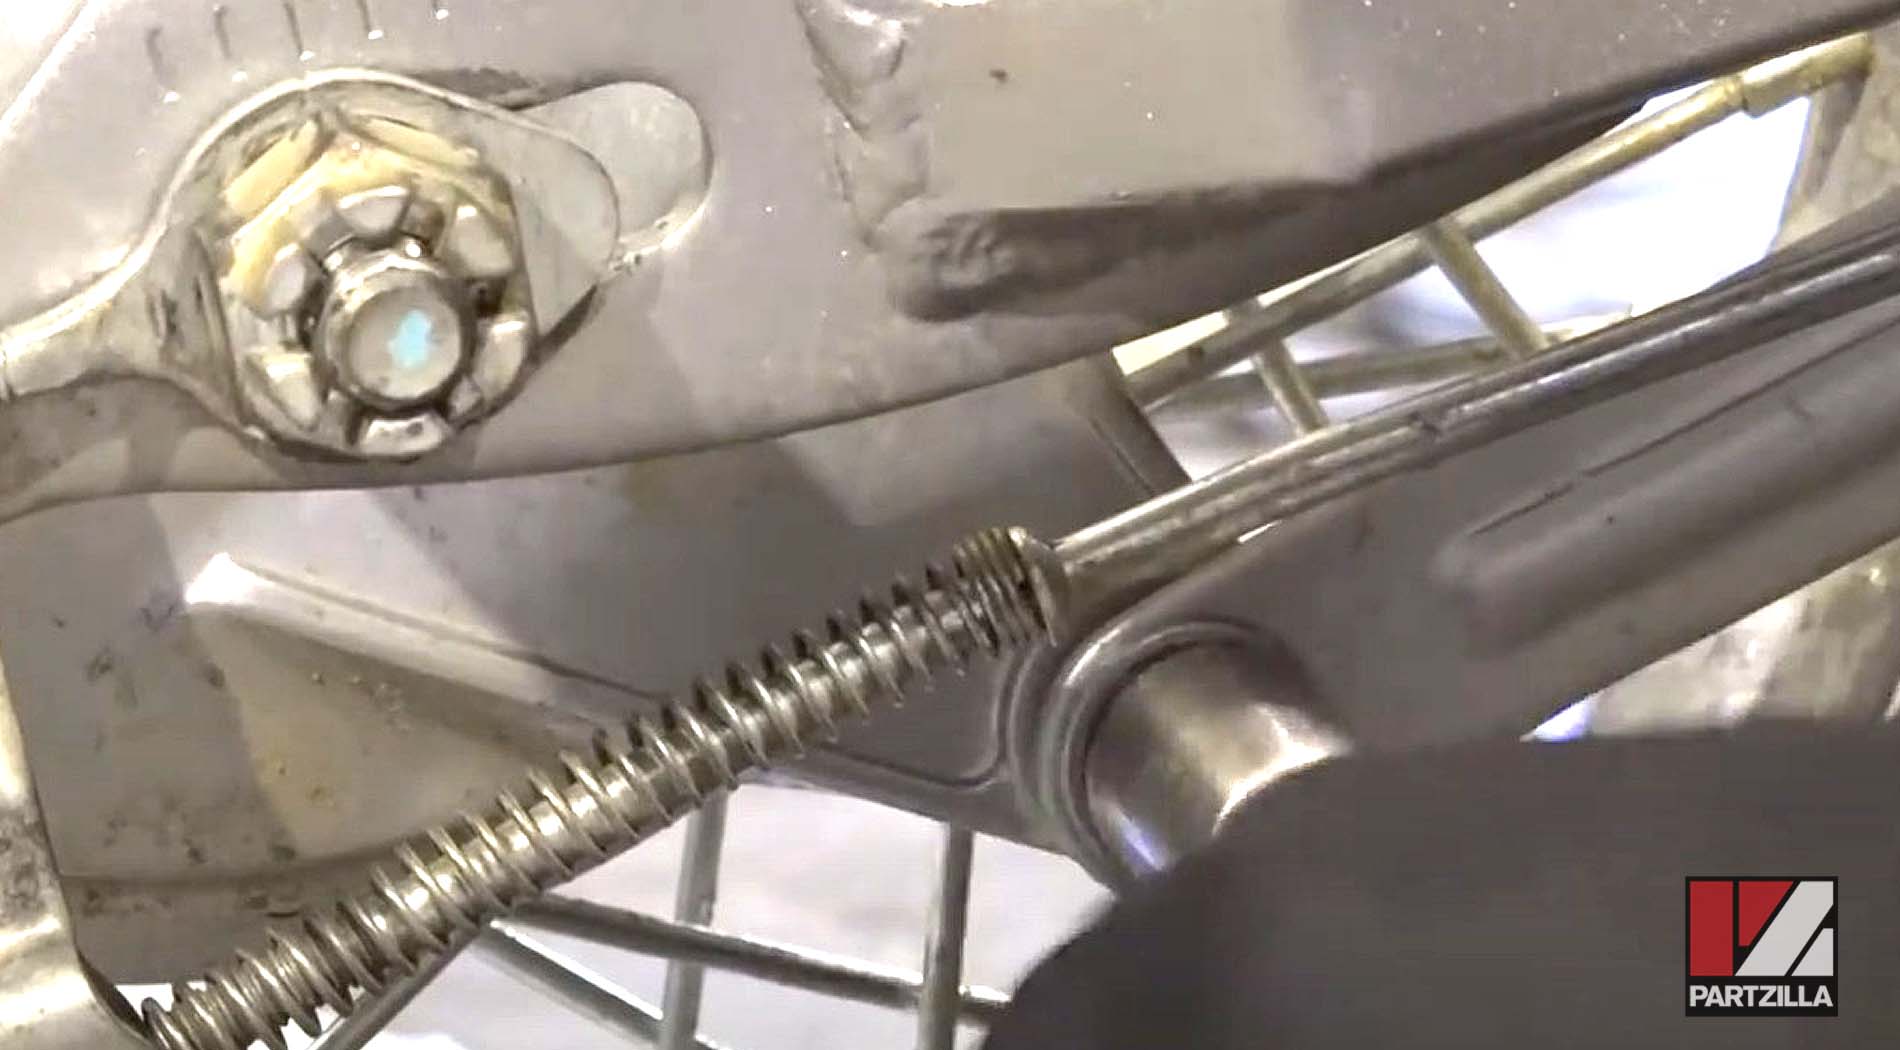
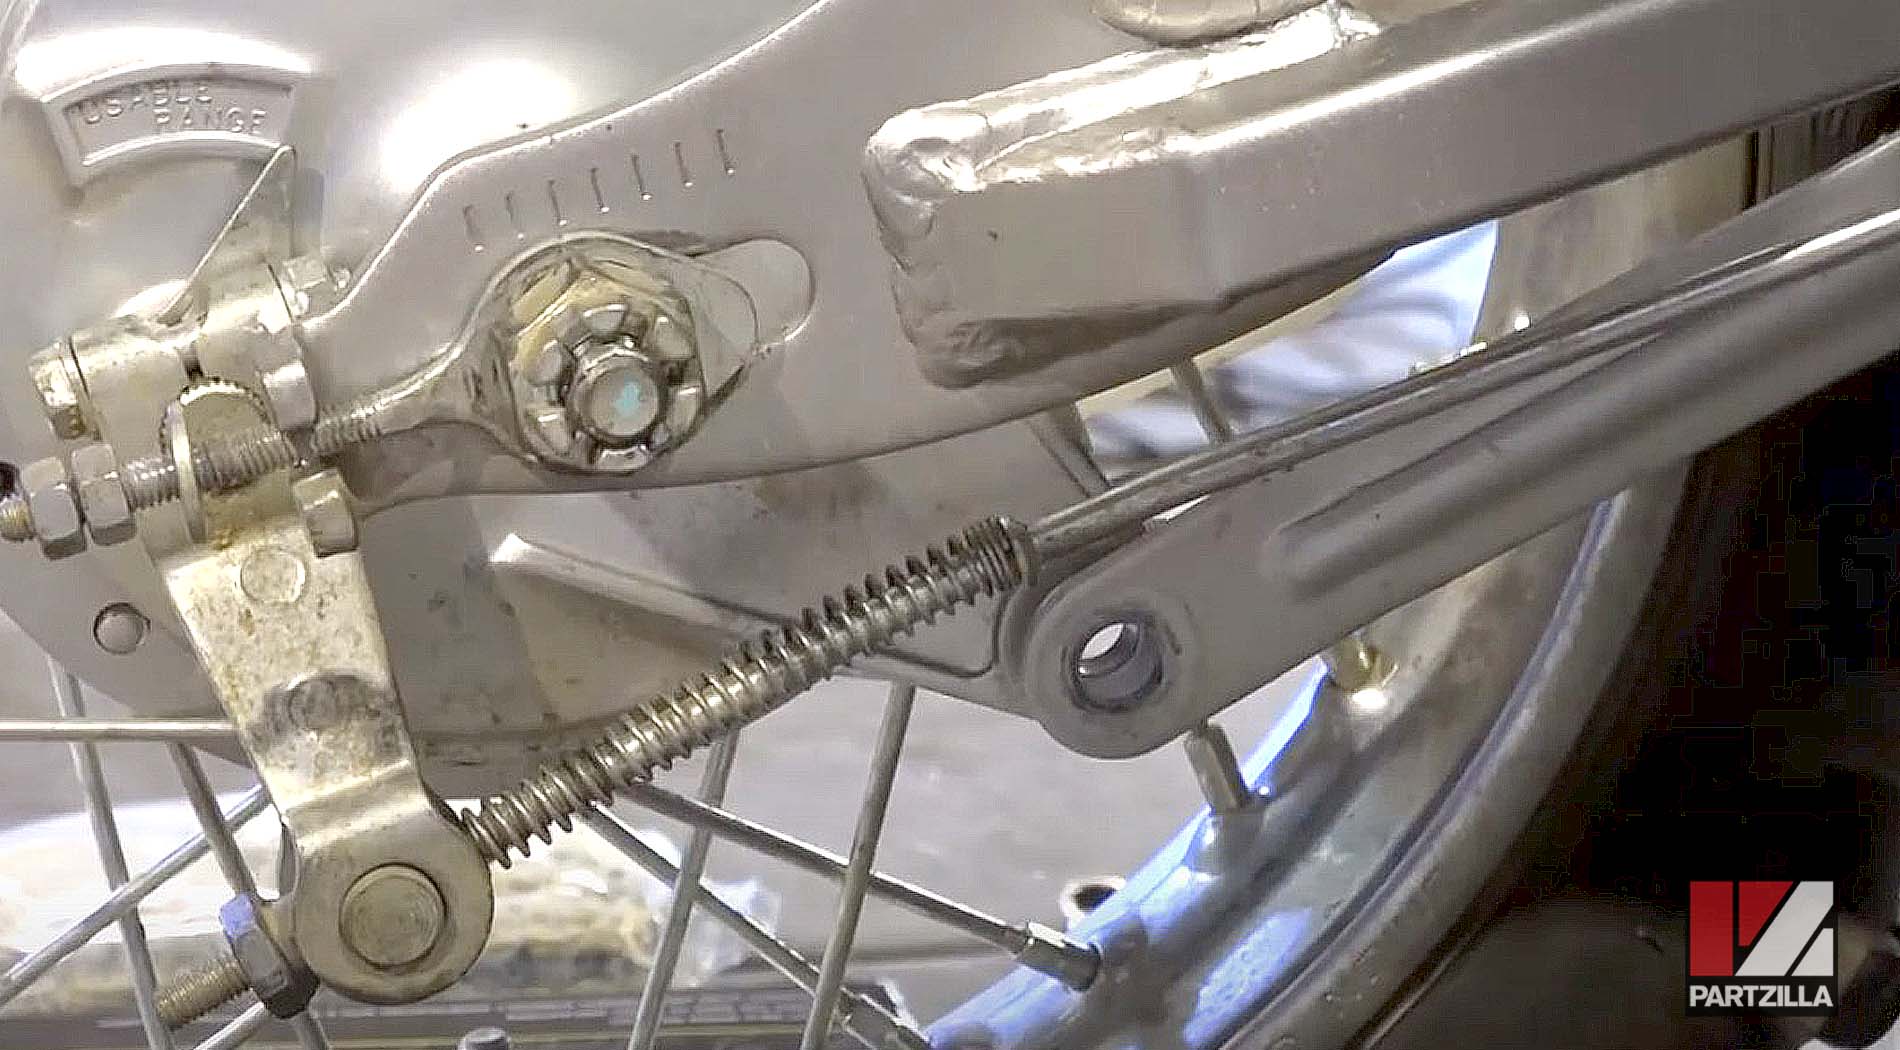
Step 4. Remove the rear brake cable adjustment bolt so the cable can pull free when you take off the wheel.
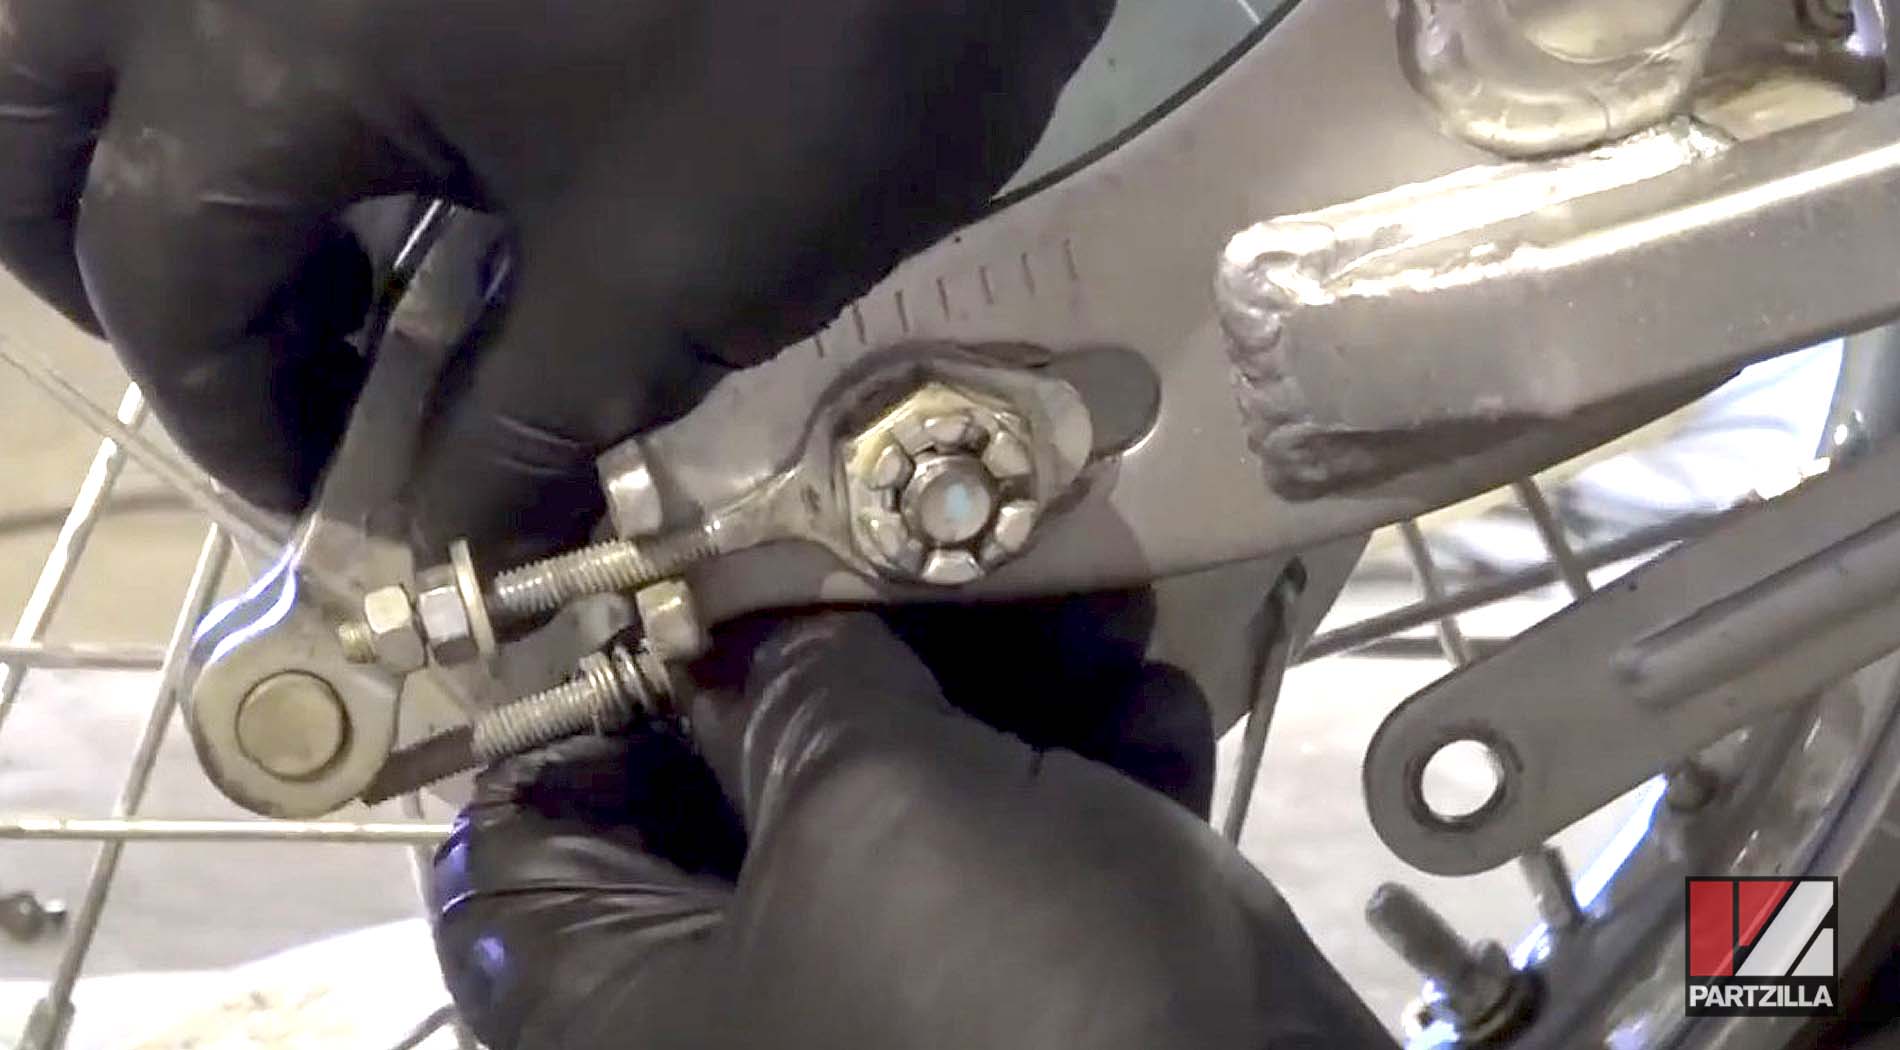
Step 5. Remove the cotter pin from the axle nut, followed by the axle nut itself. Pull the axle out from the hub and swingarms, and remove the wheel.
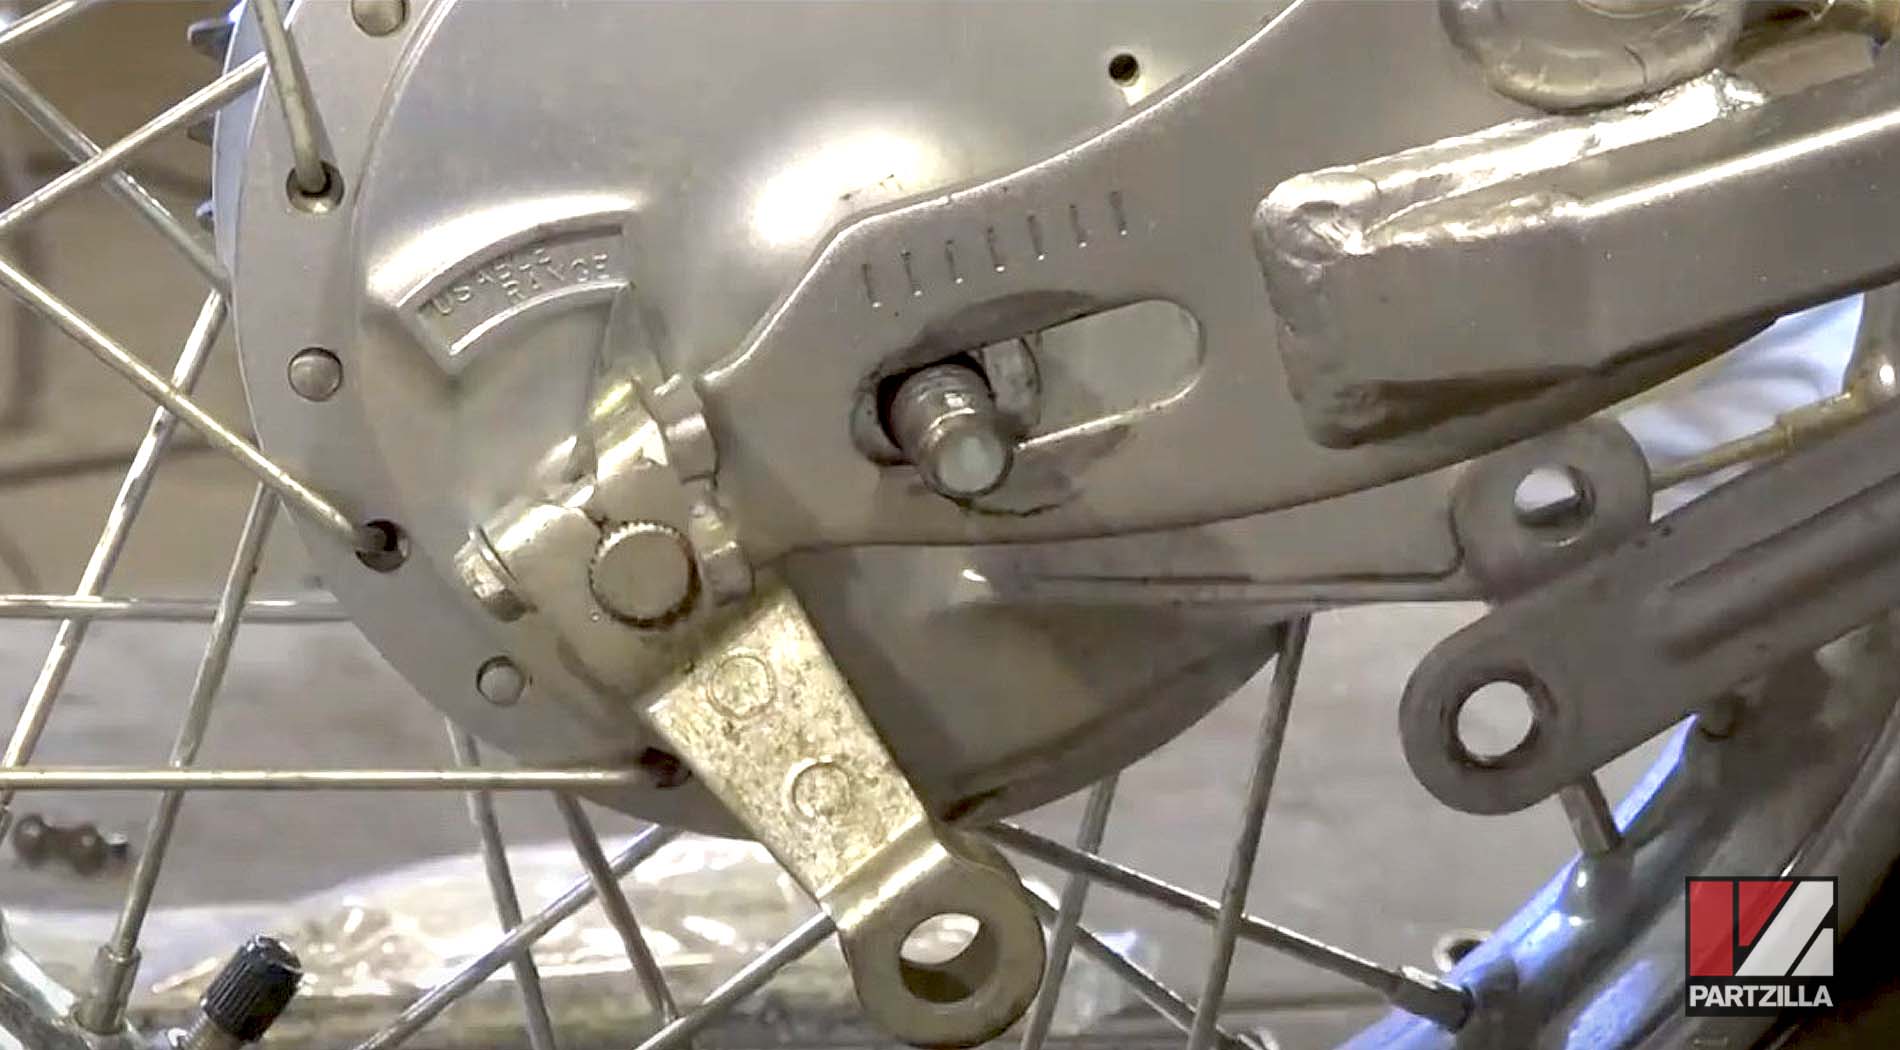
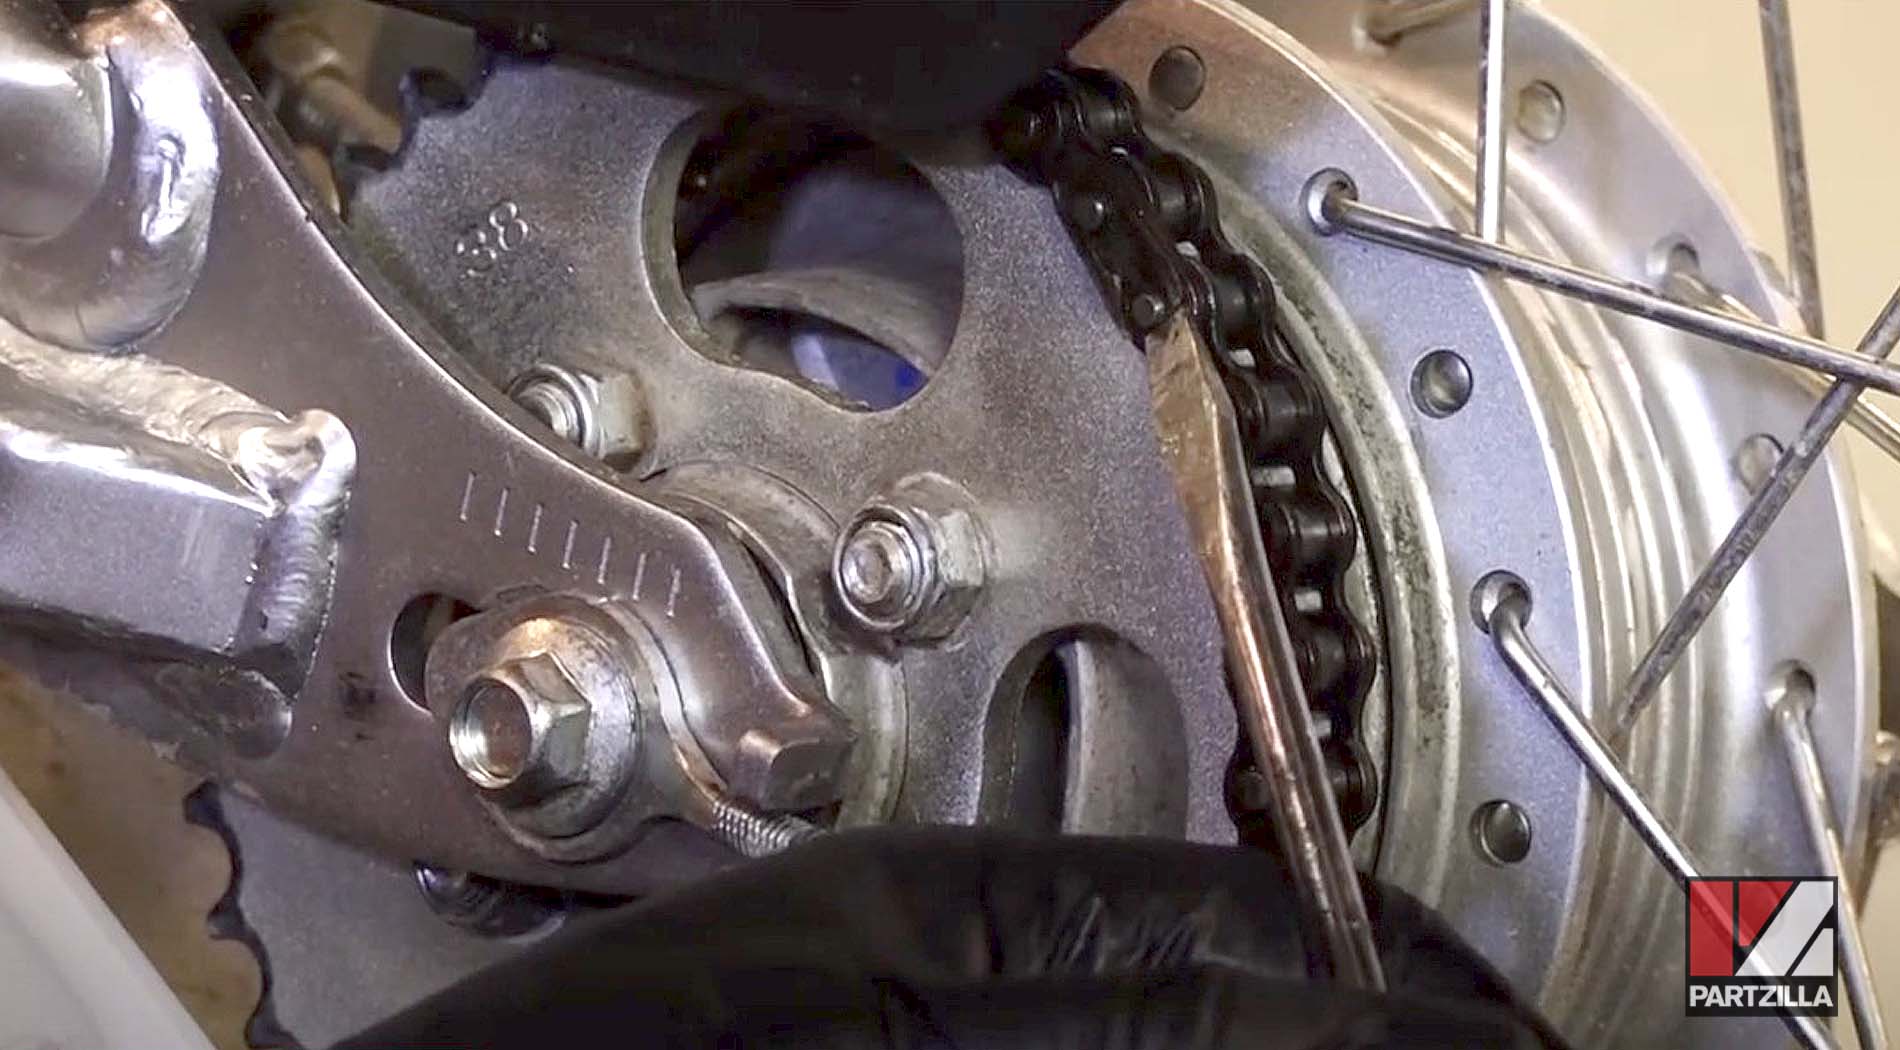
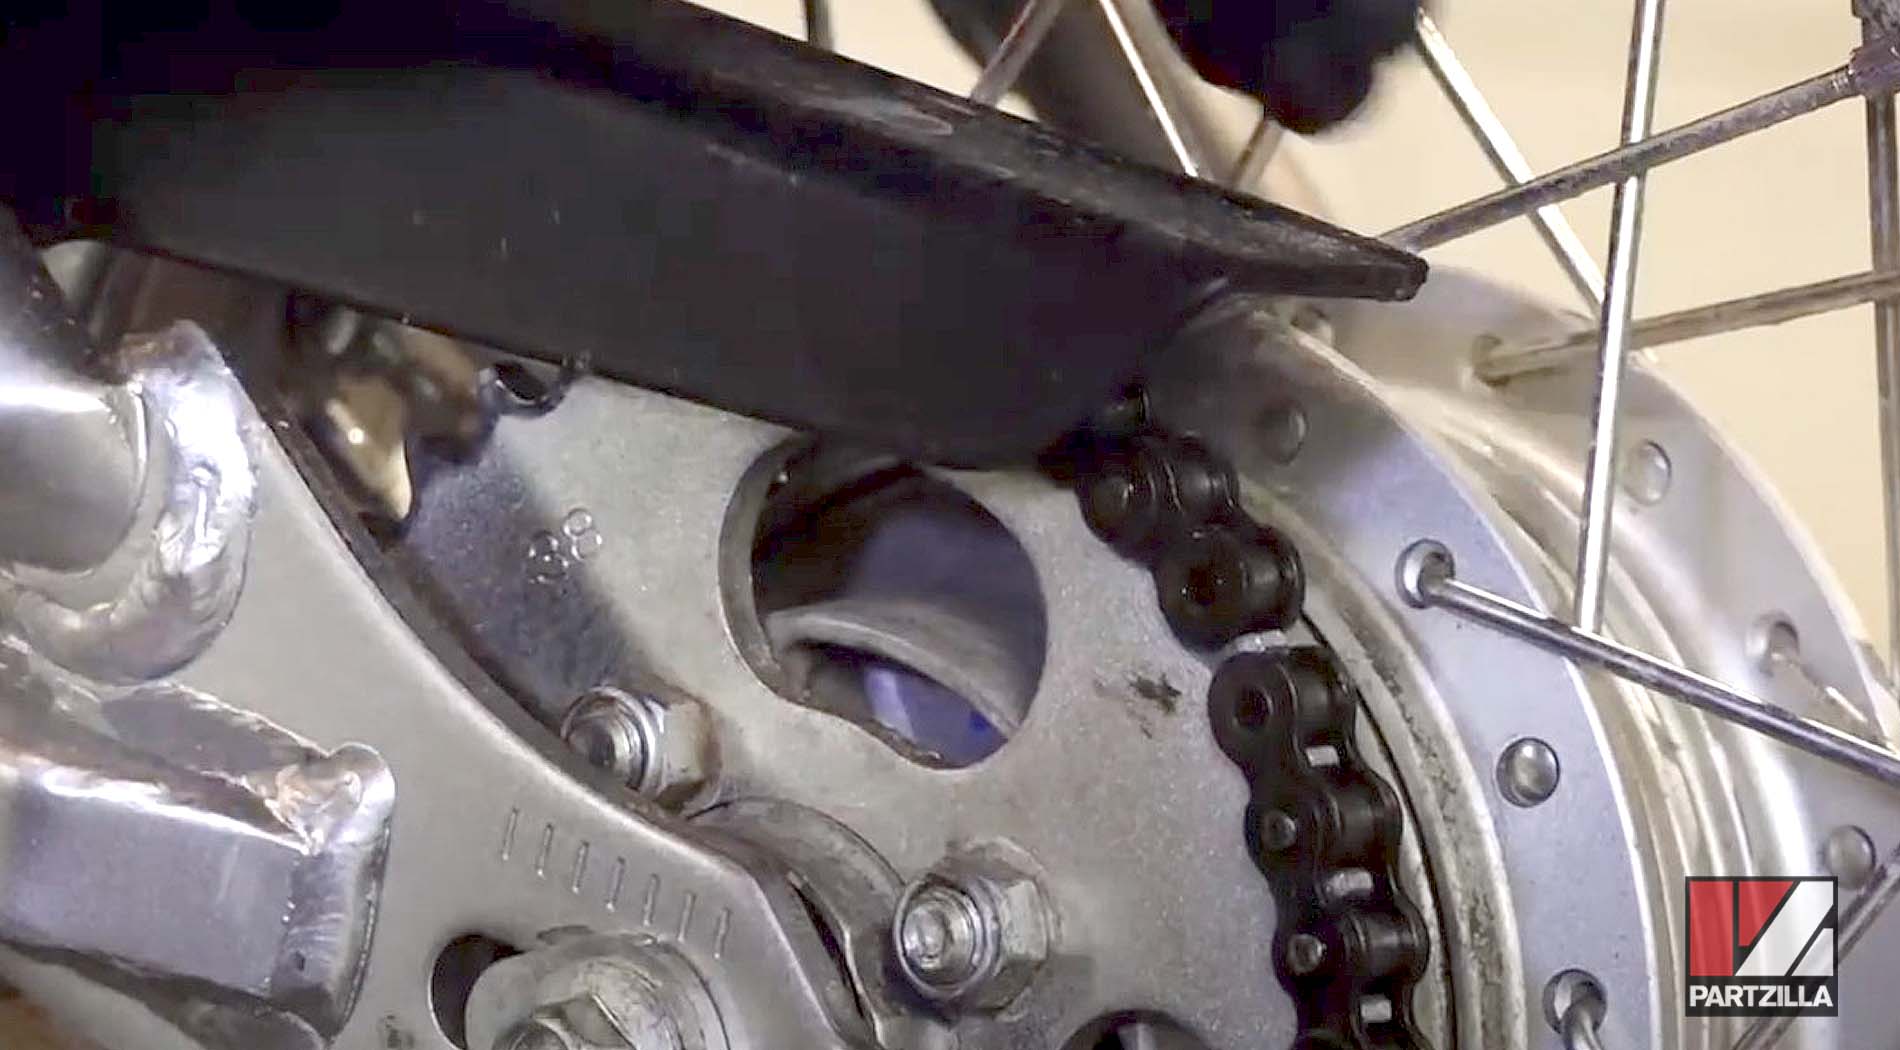
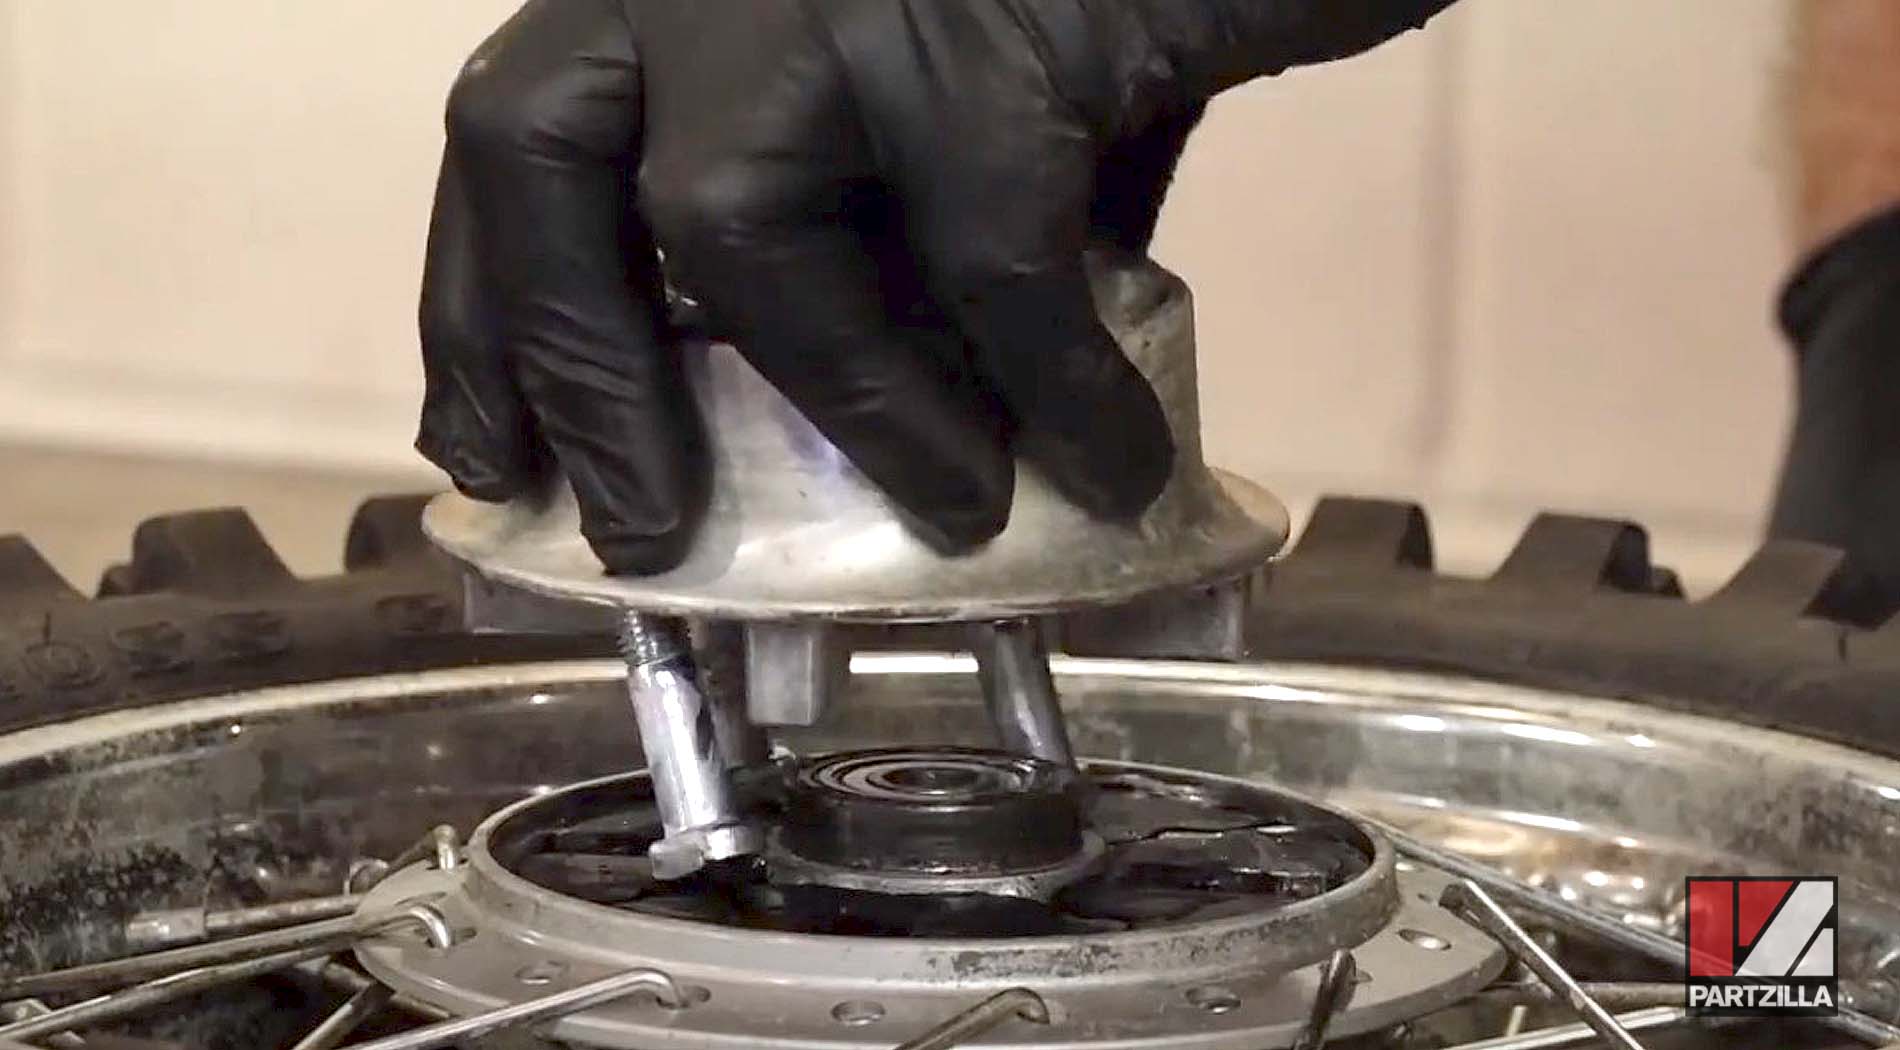
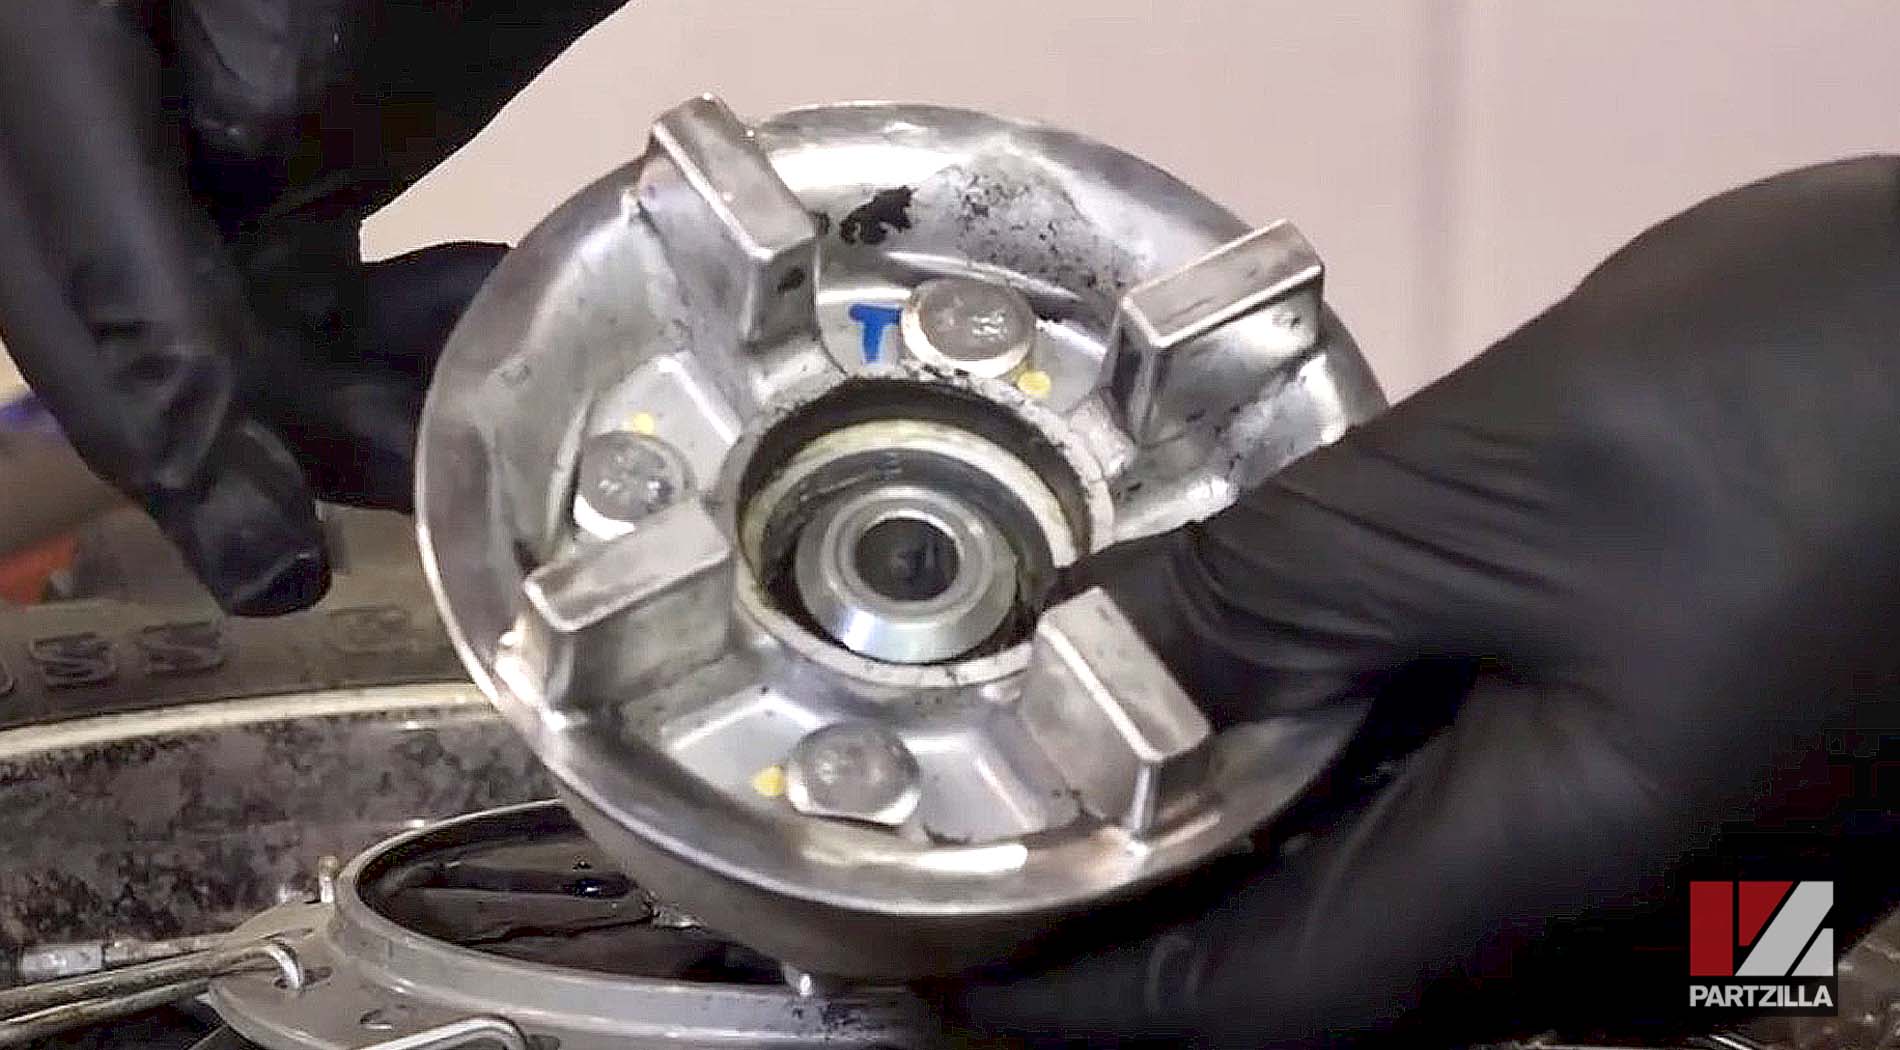
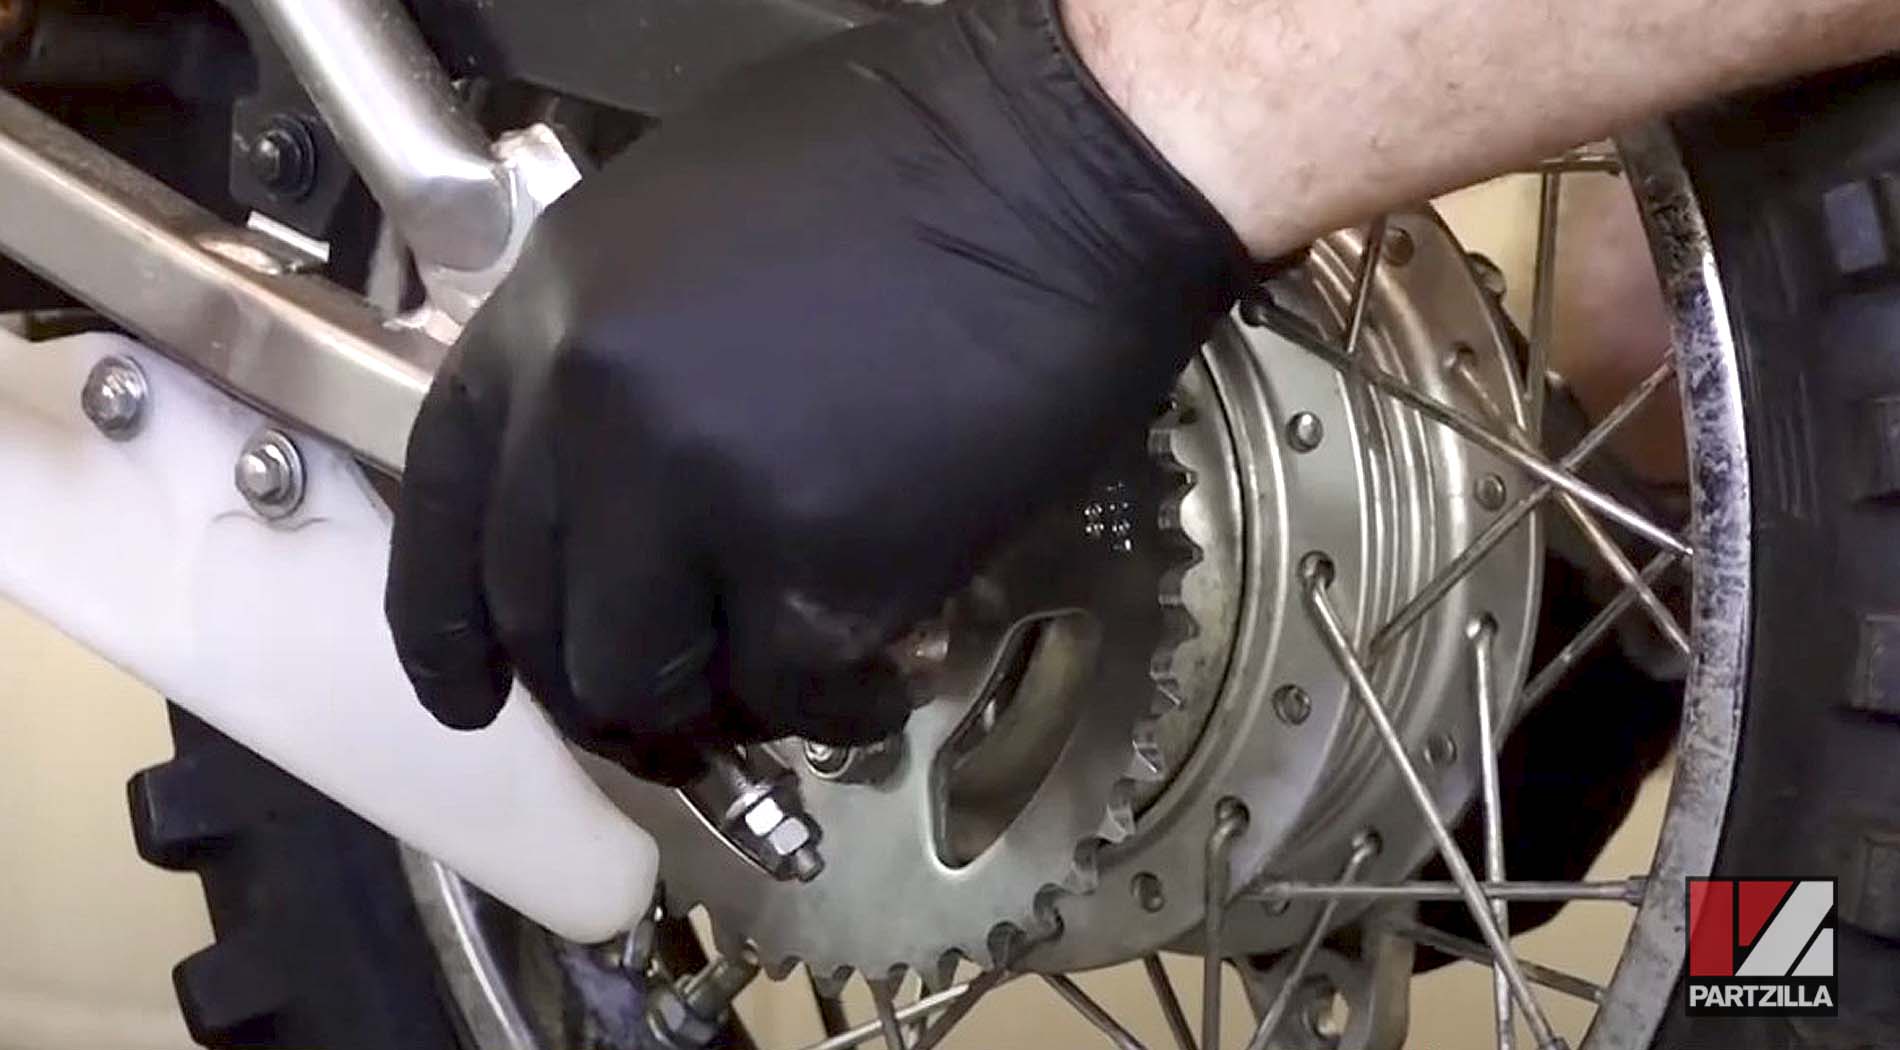
Step 6. Pull the hub sprocket and hub assembly off from the brake drum.
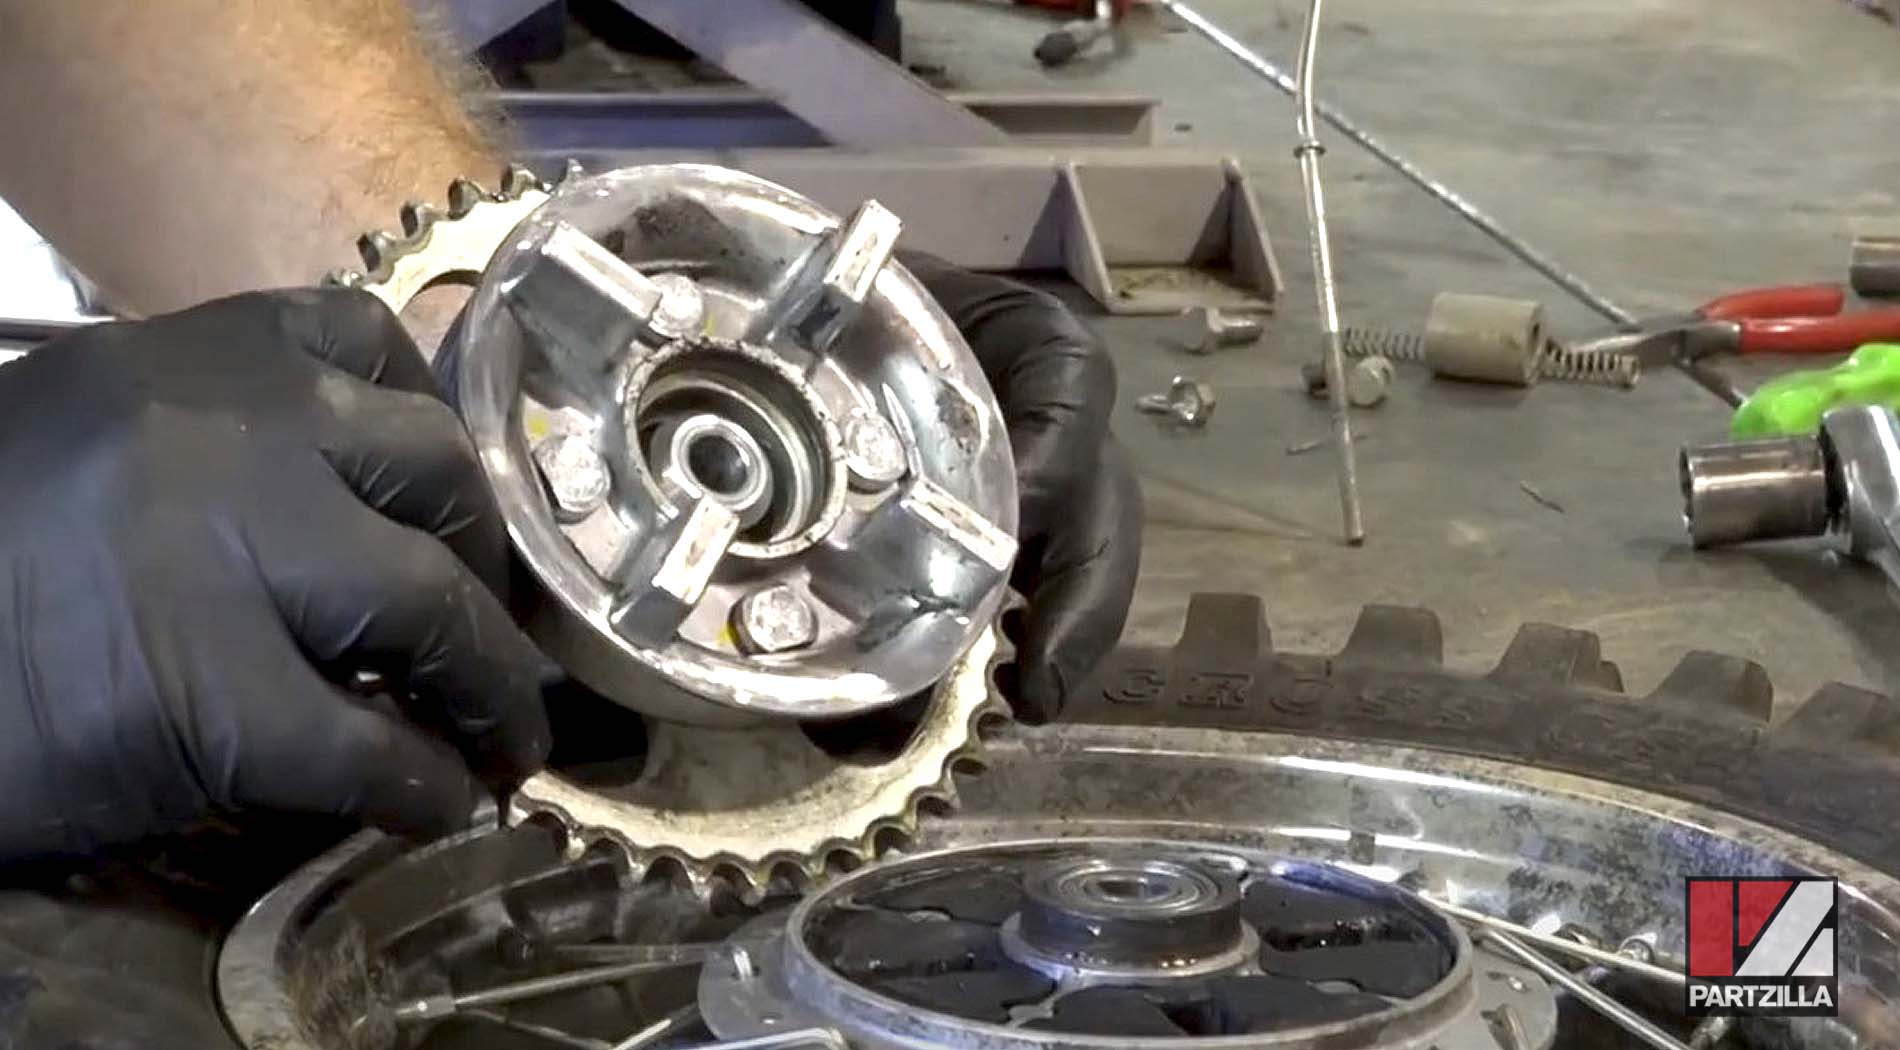
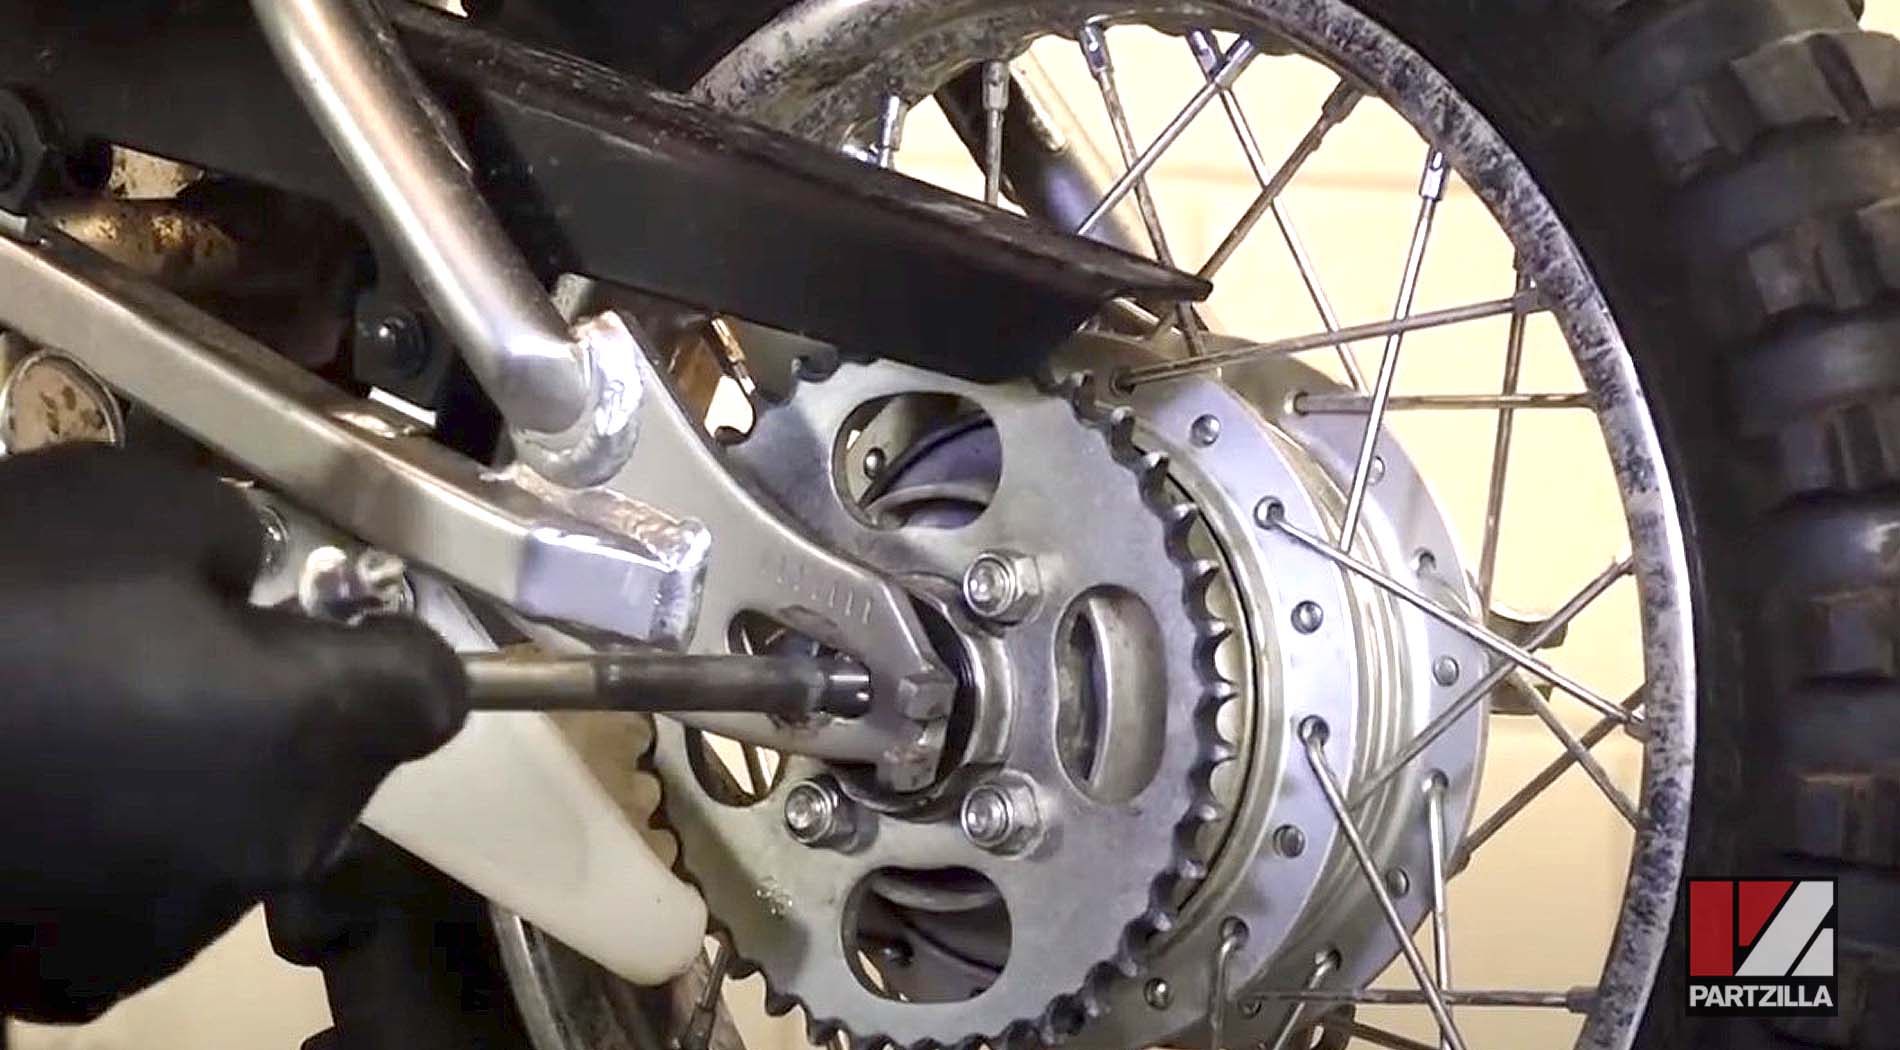
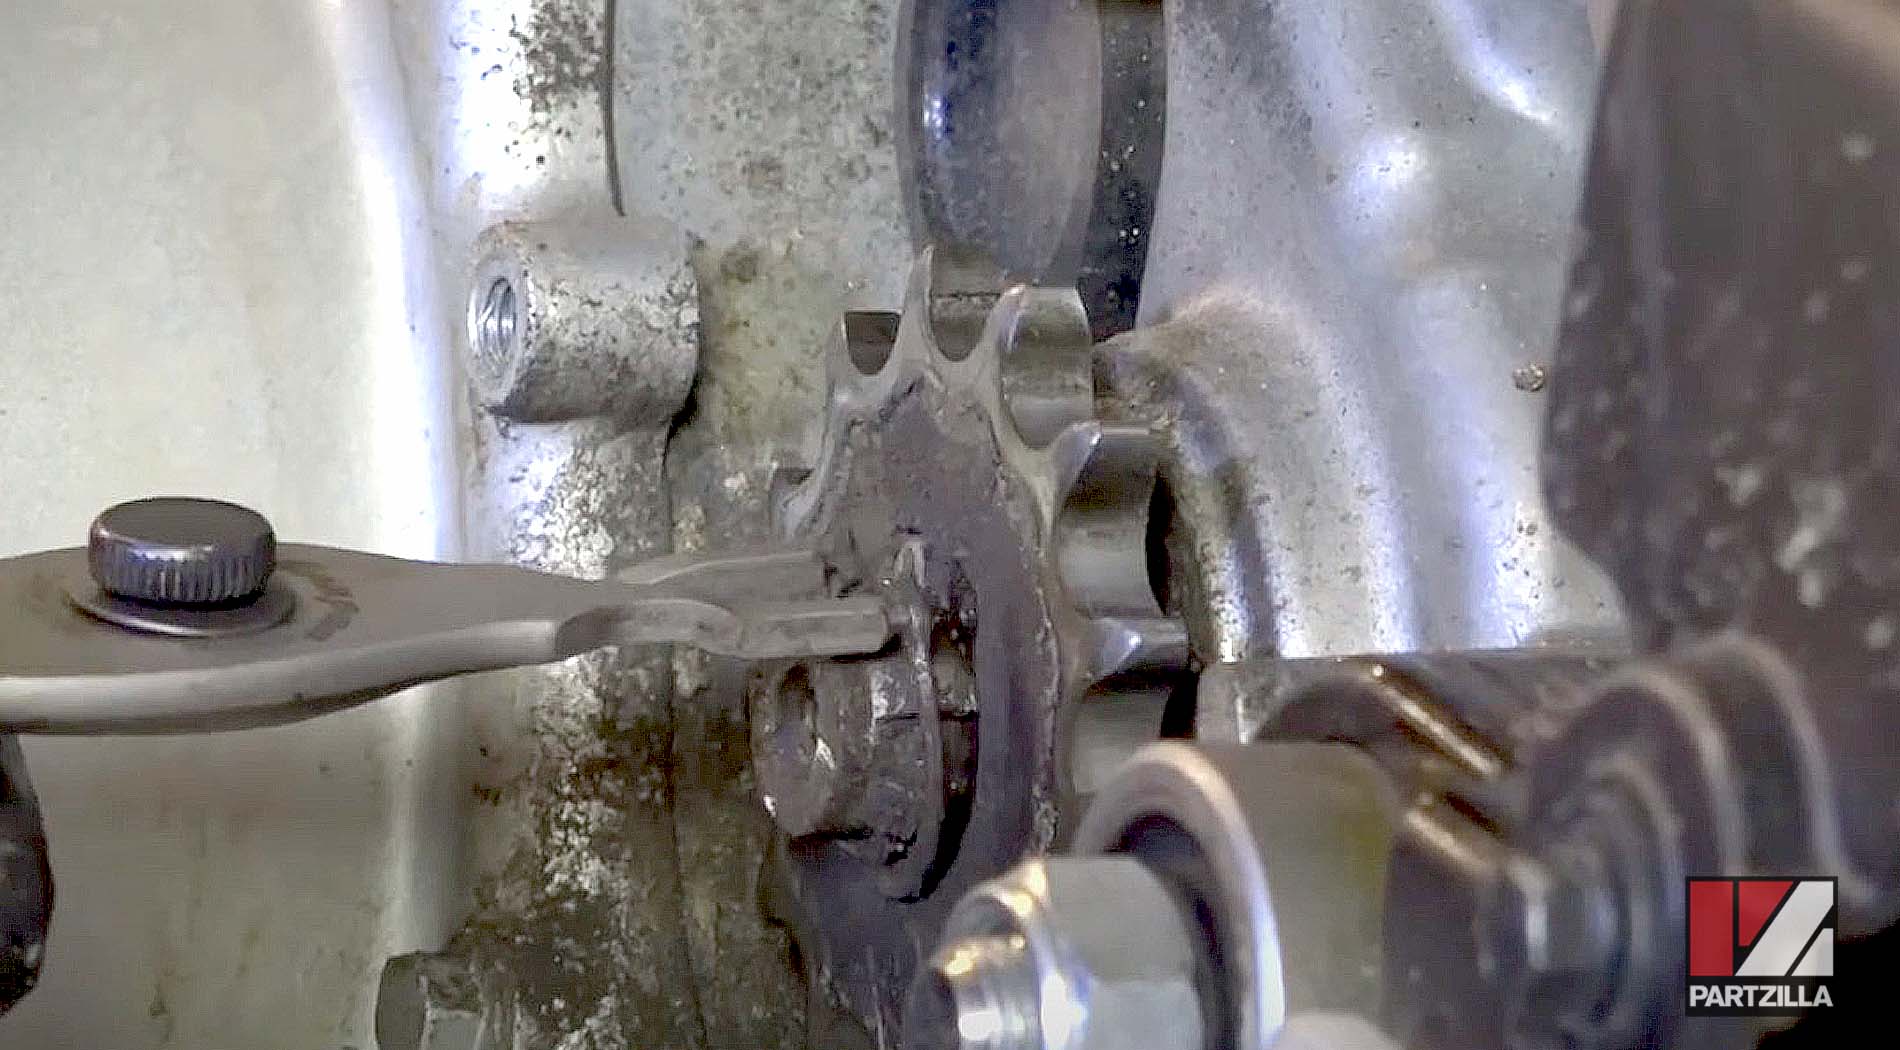
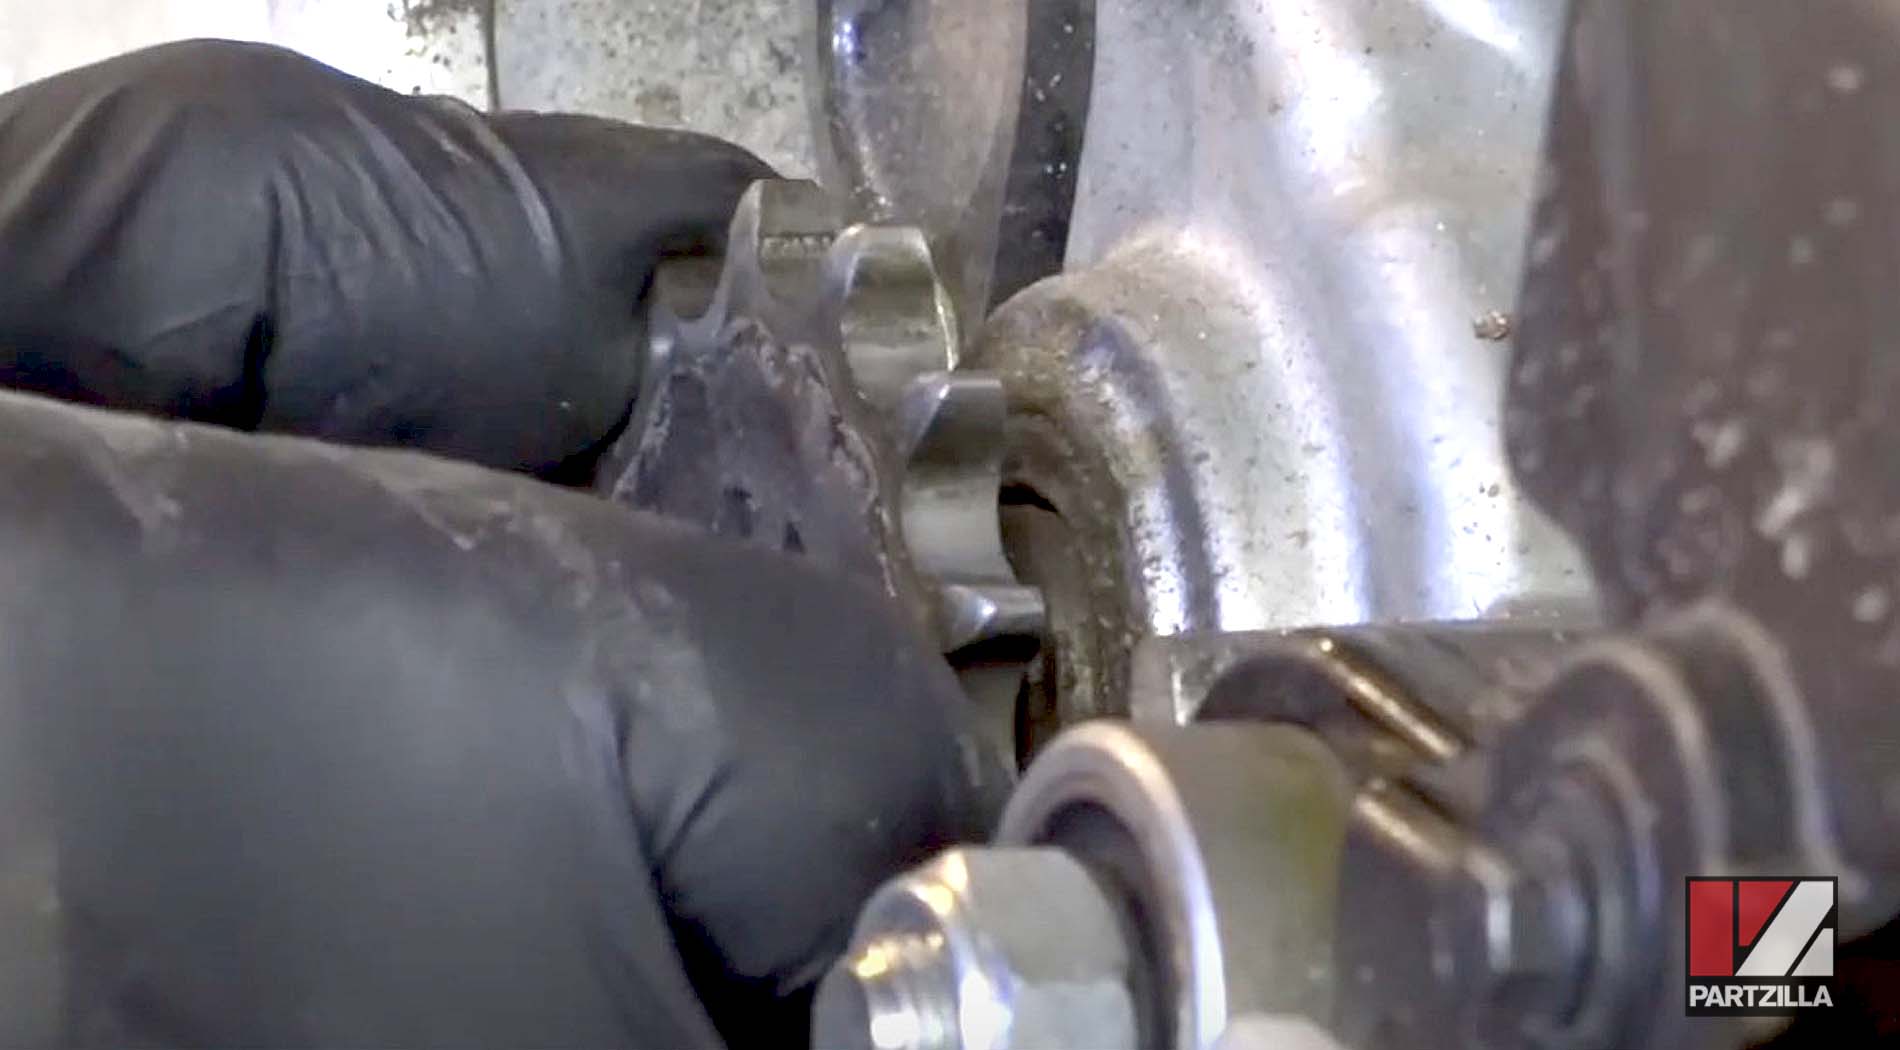
Step 7. Remove the four 14mm nuts holding the hub sprocket in place, then remove the sprocket from the hub.
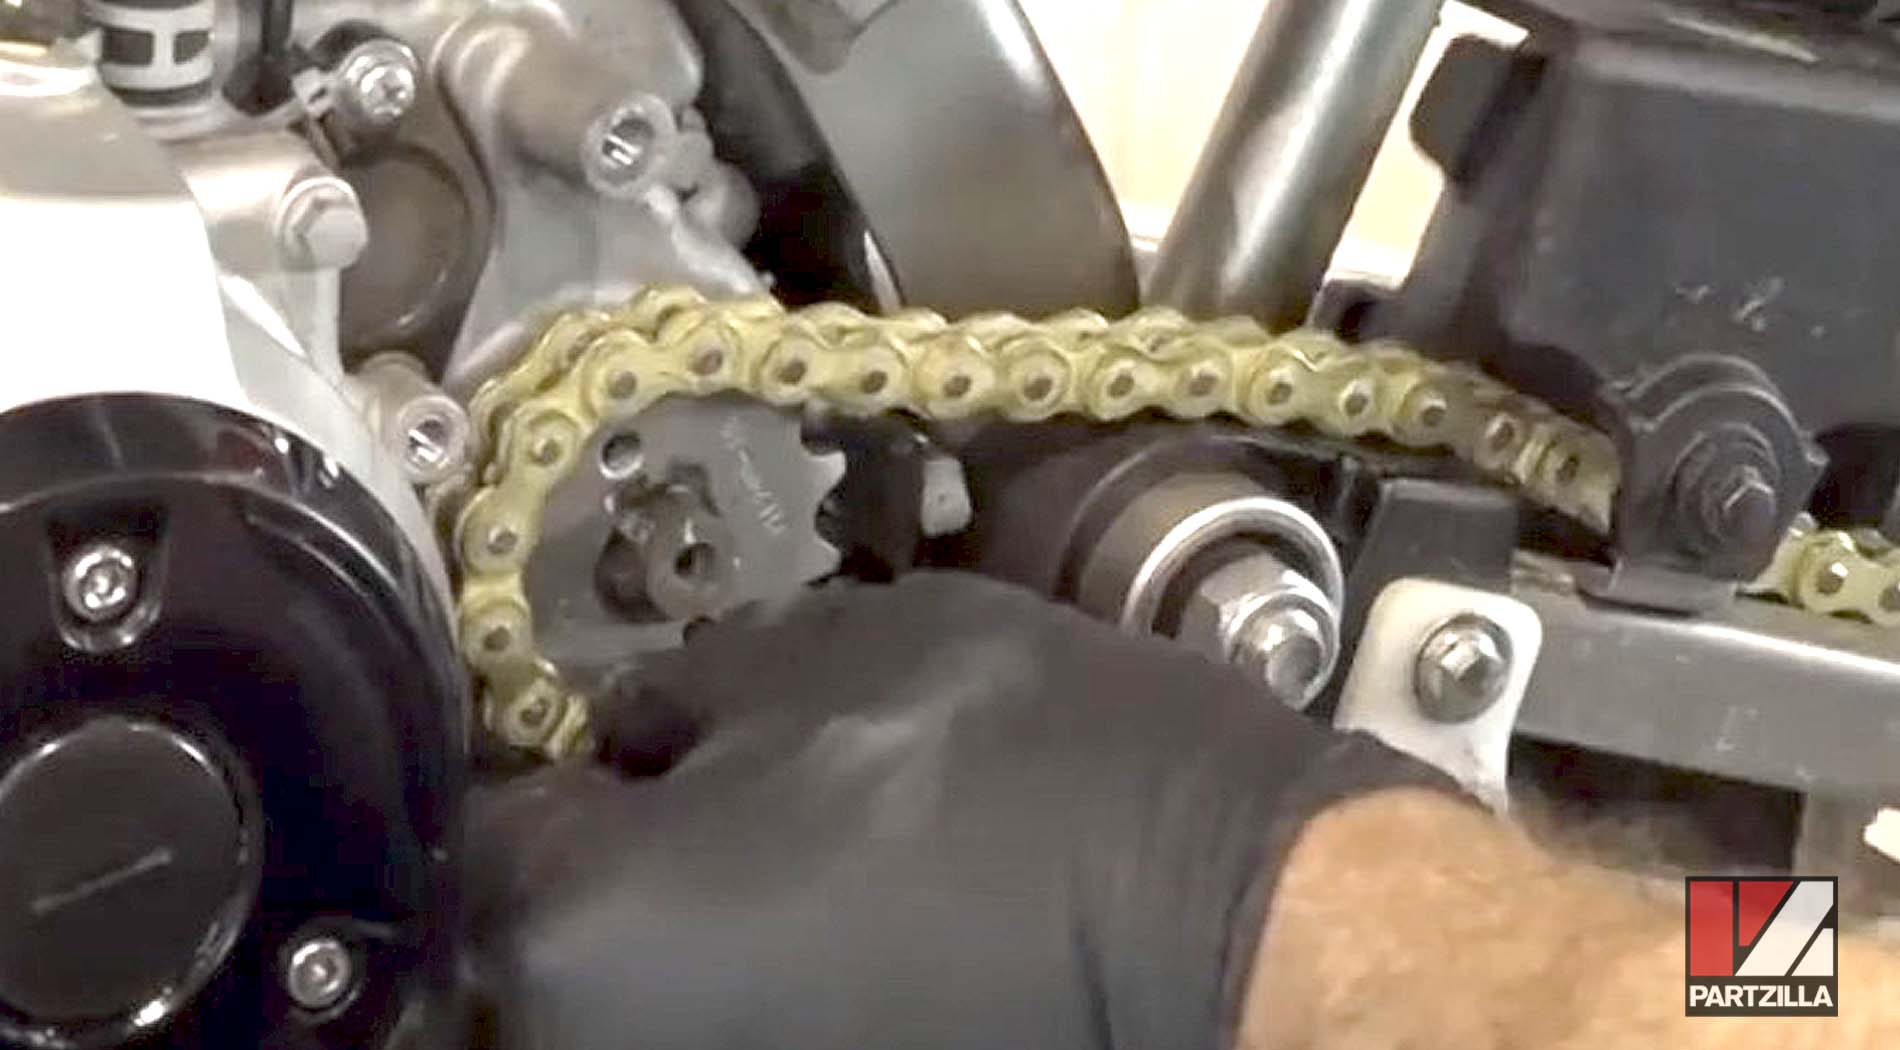
Step 8. Remove the output sprocket cover.
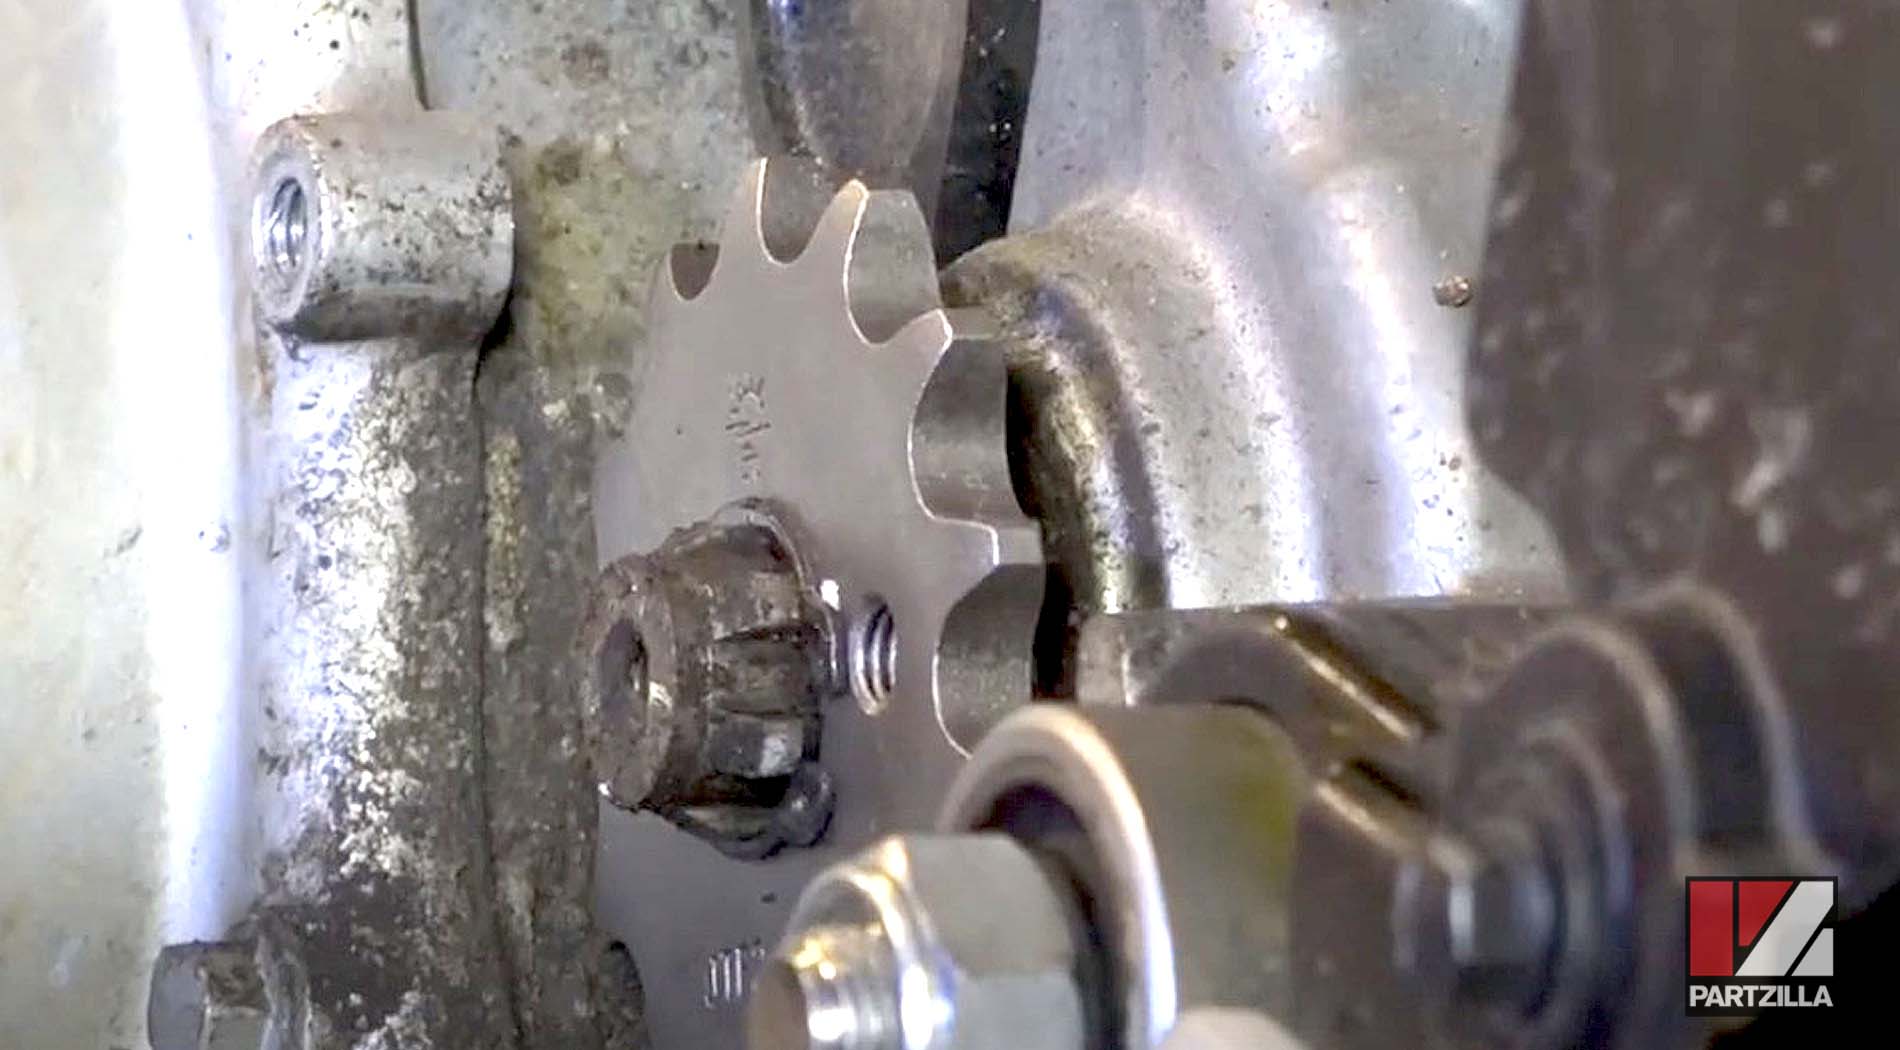
Step 9. Remove the circlip holding the output sprocket in place, followed by the sprocket itself.
How to Install Kawasaki KLX110 Sprockets
Step 1. Install the new output sprocket, and reinstall the circlip and sprocket cover.
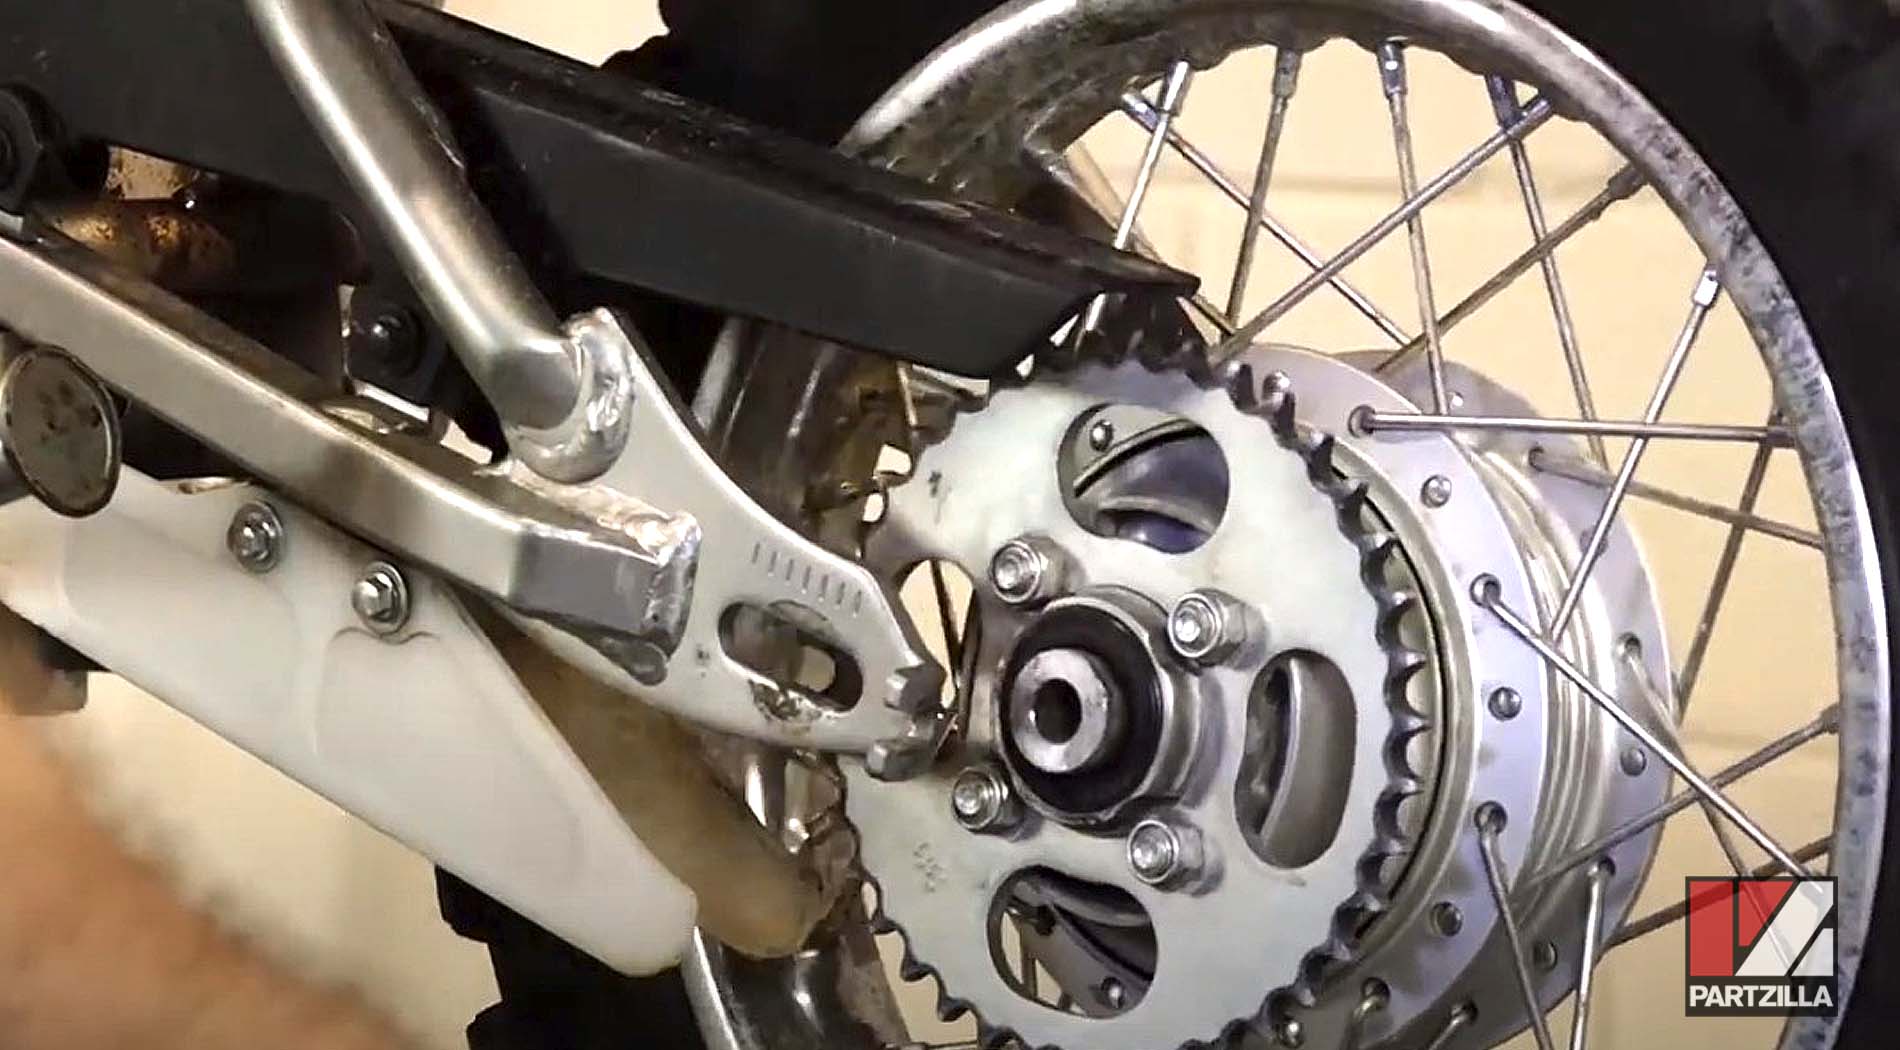
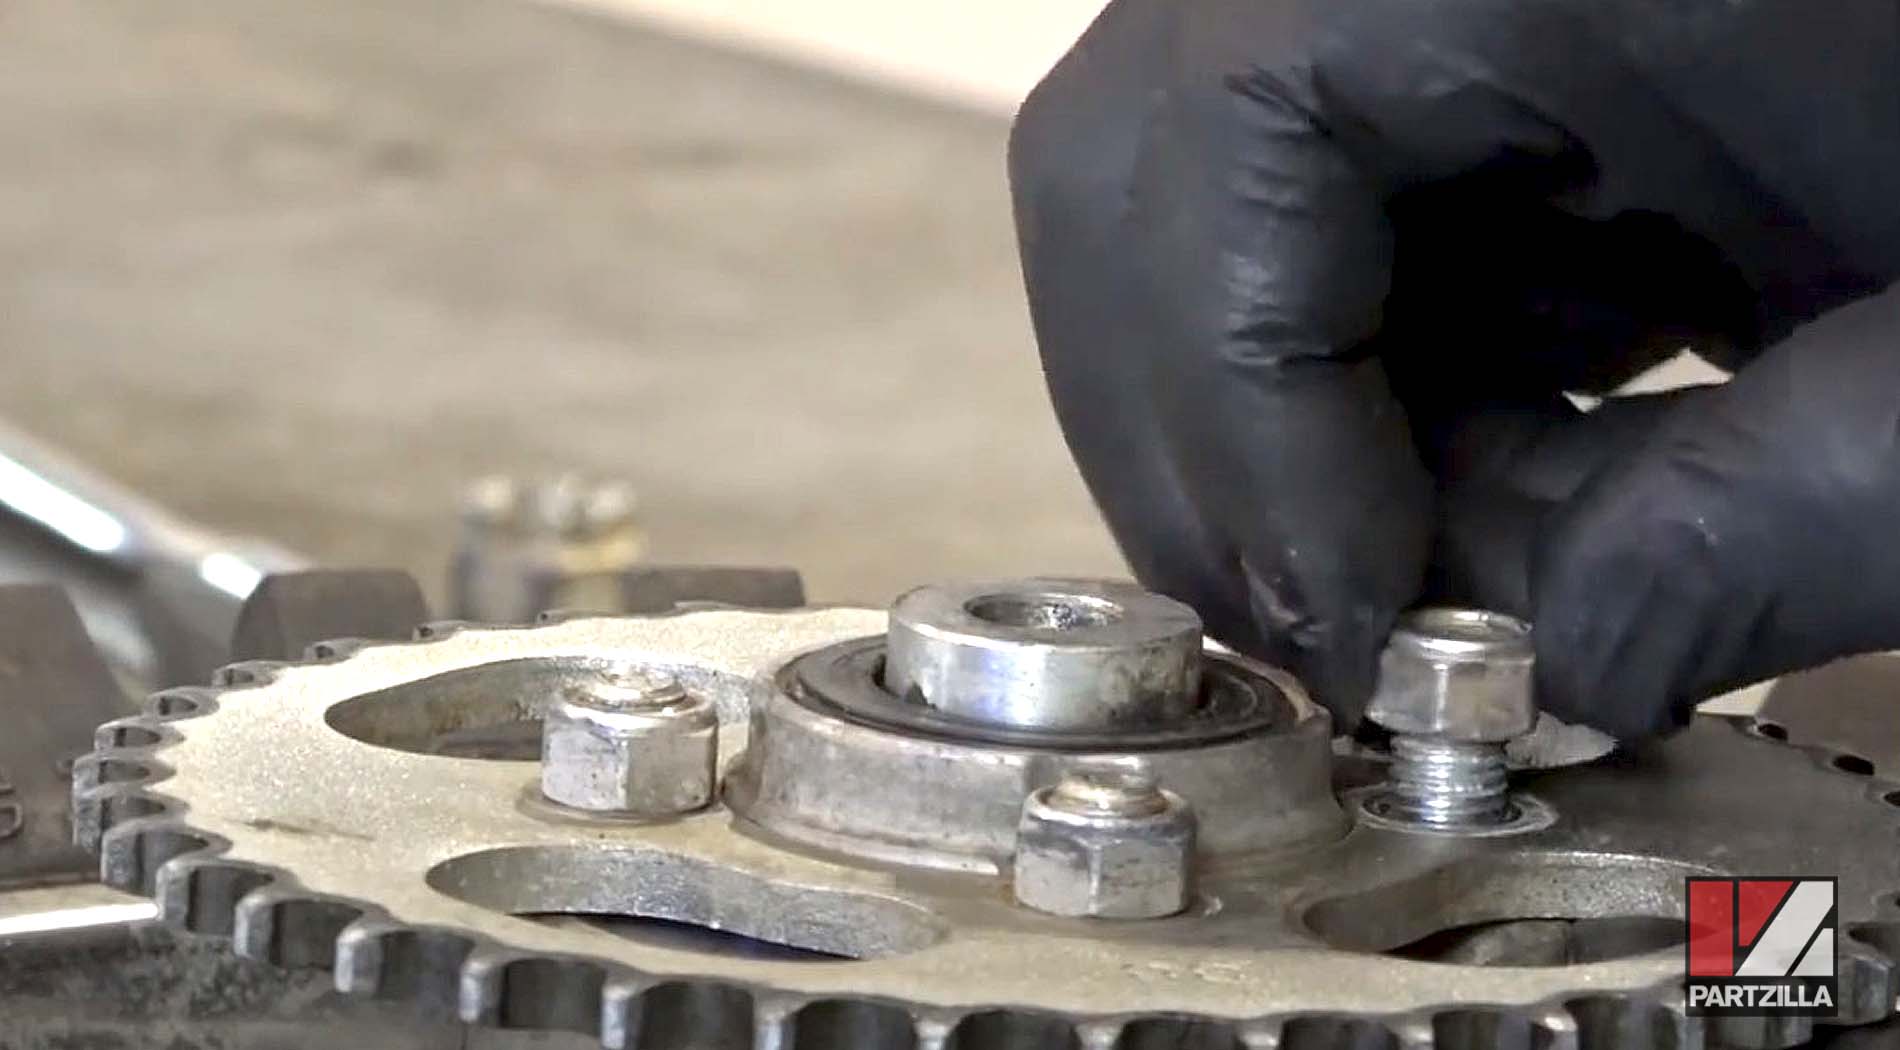
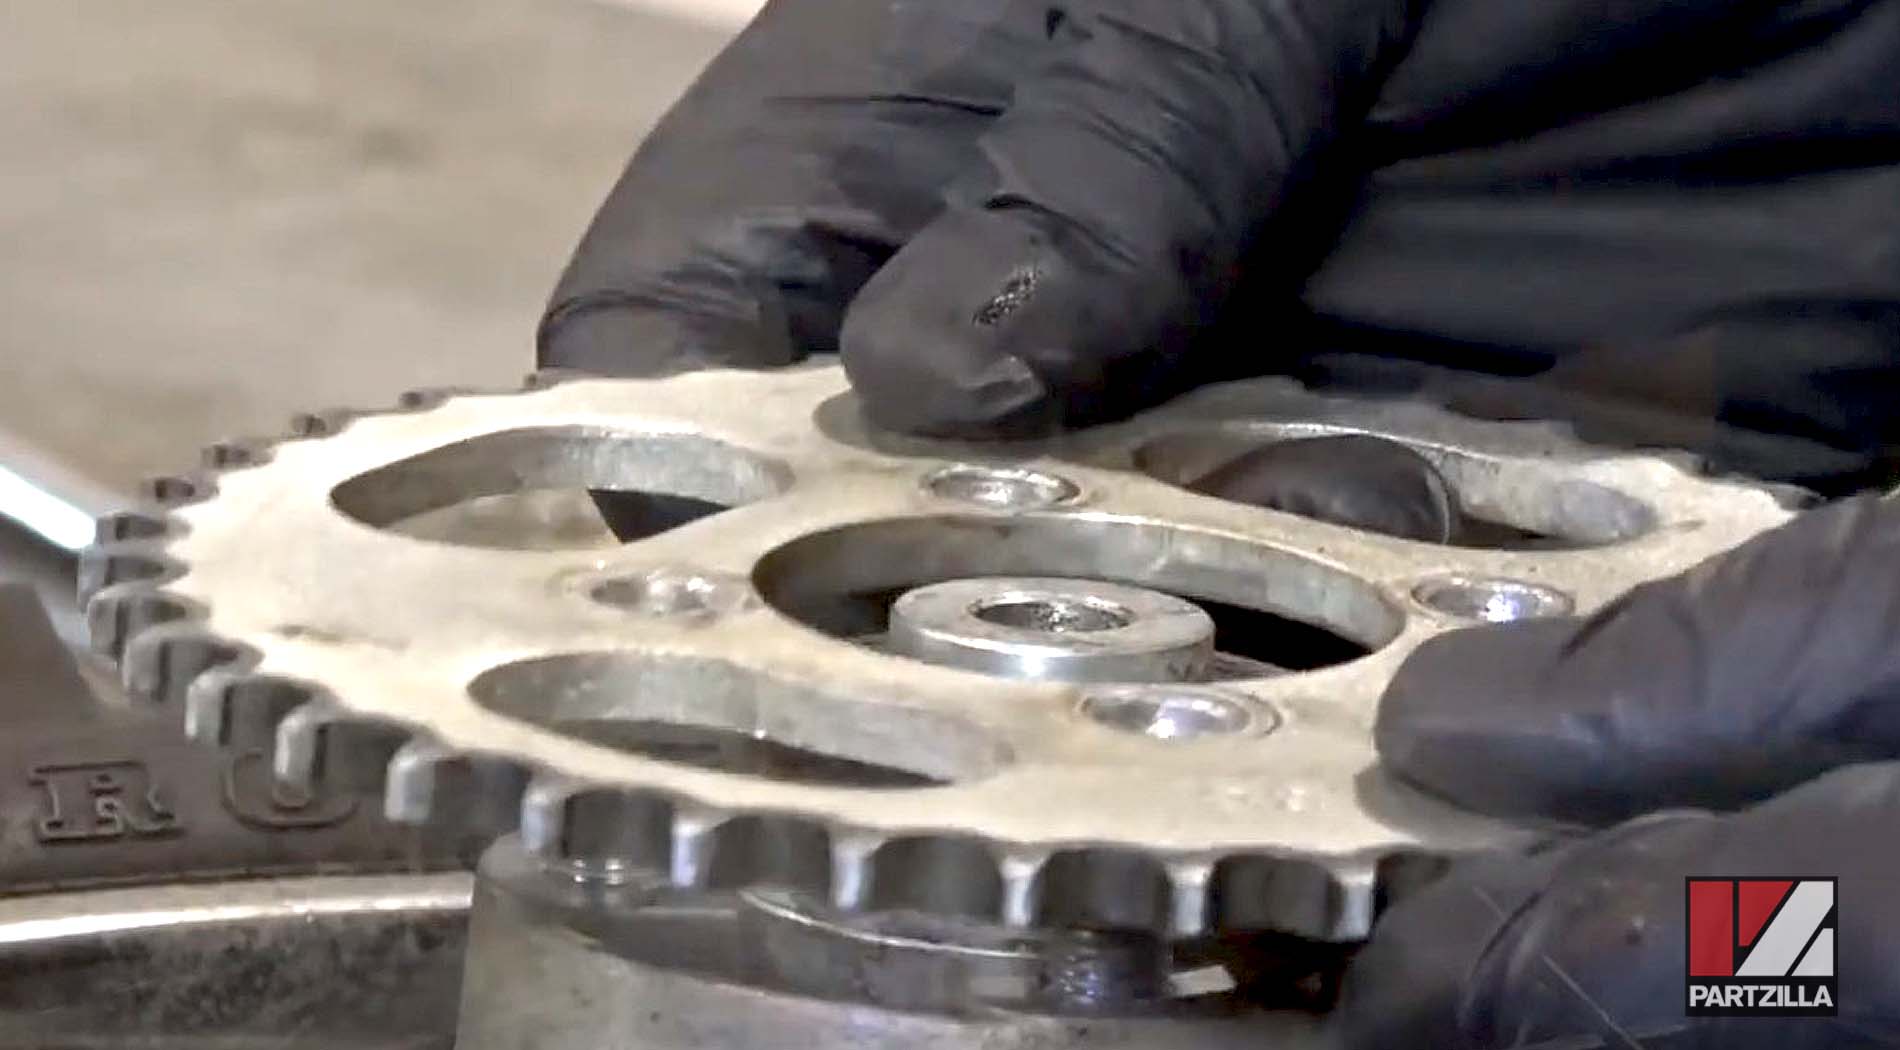
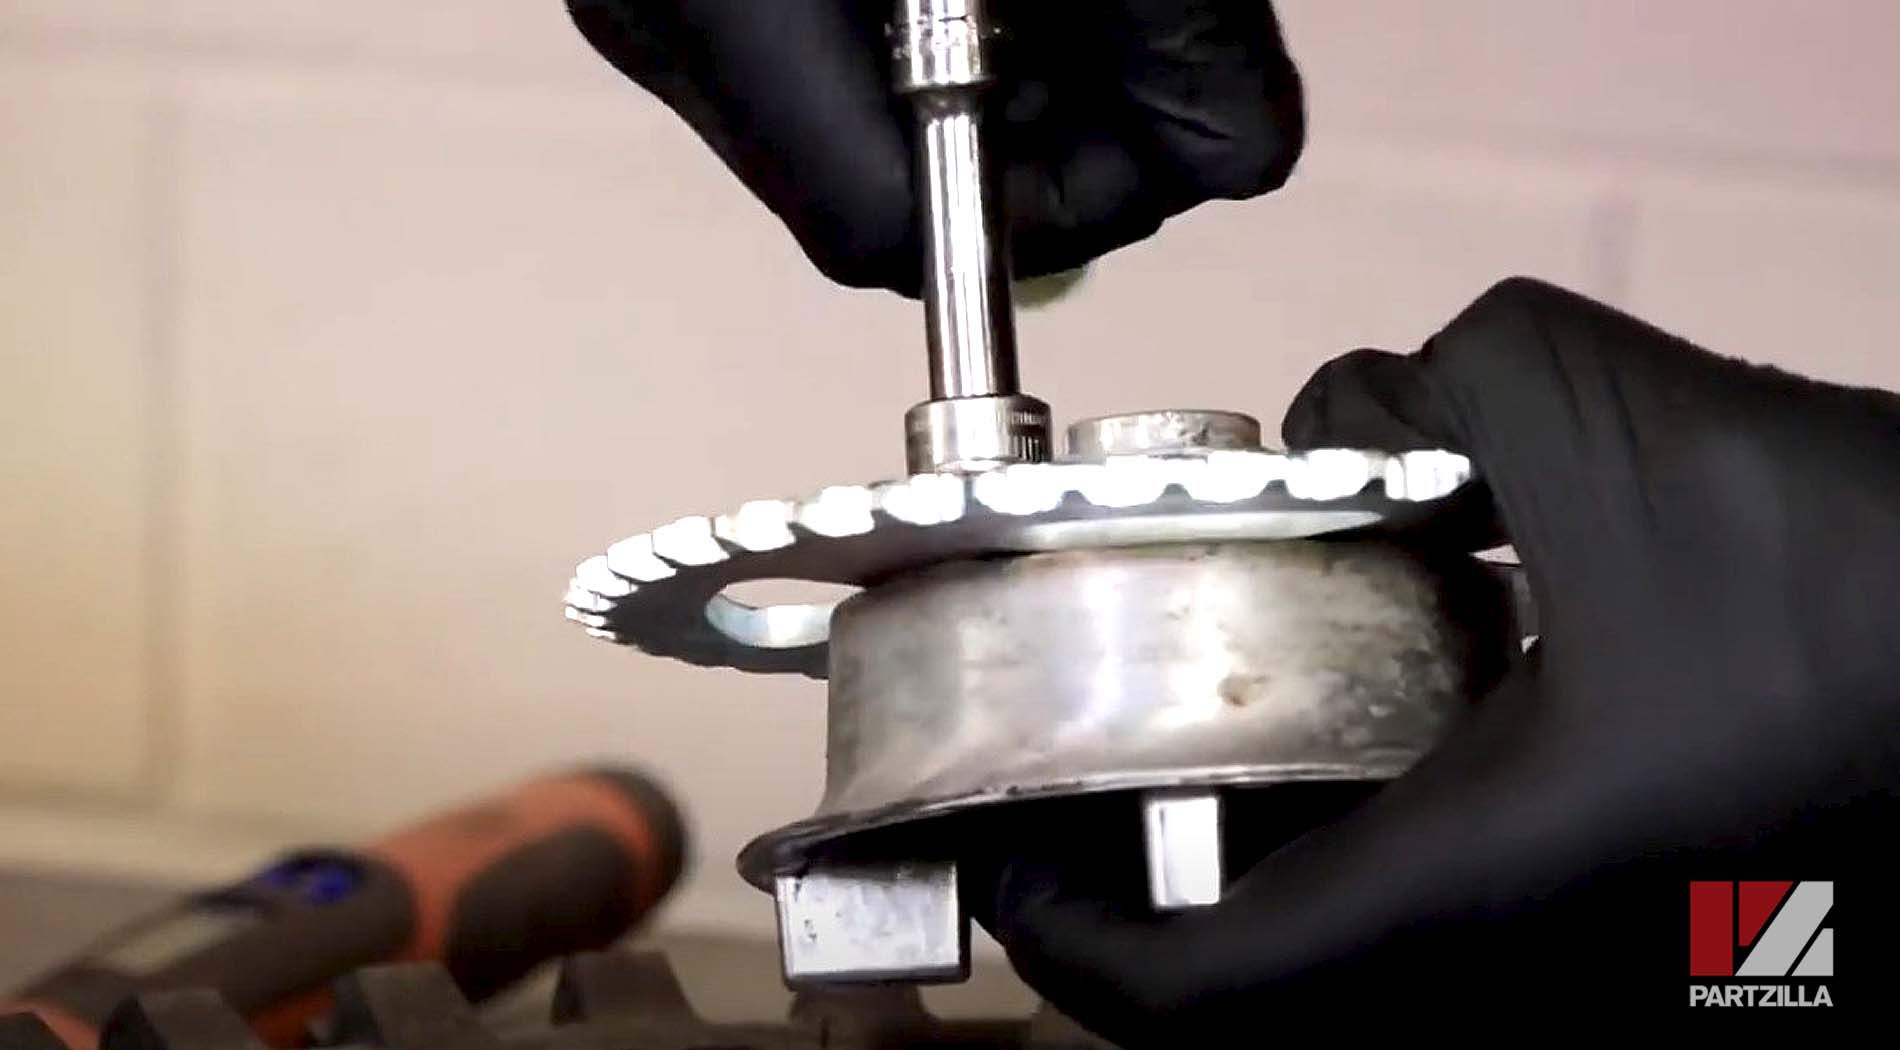
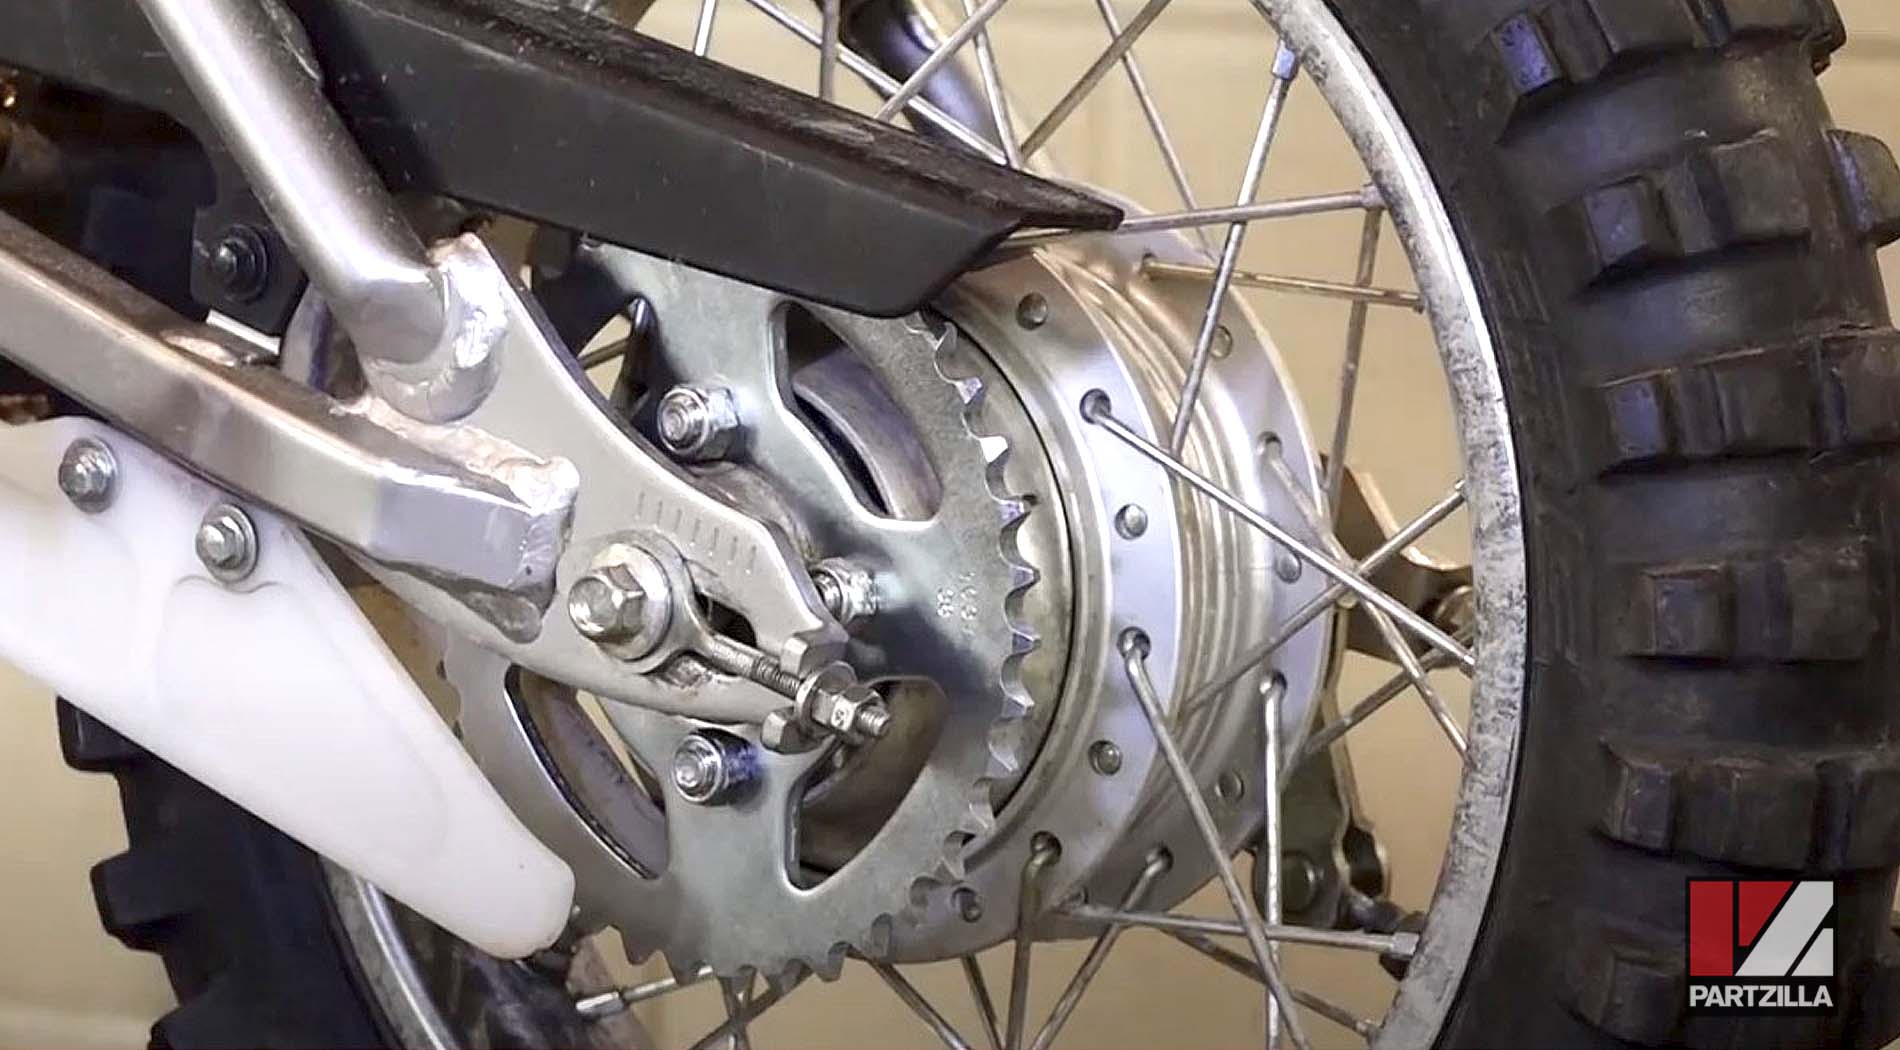
Step 2. Make sure the flat sides of the hub bolts are flush against the inside of the hub, then install the new hub sprocket.
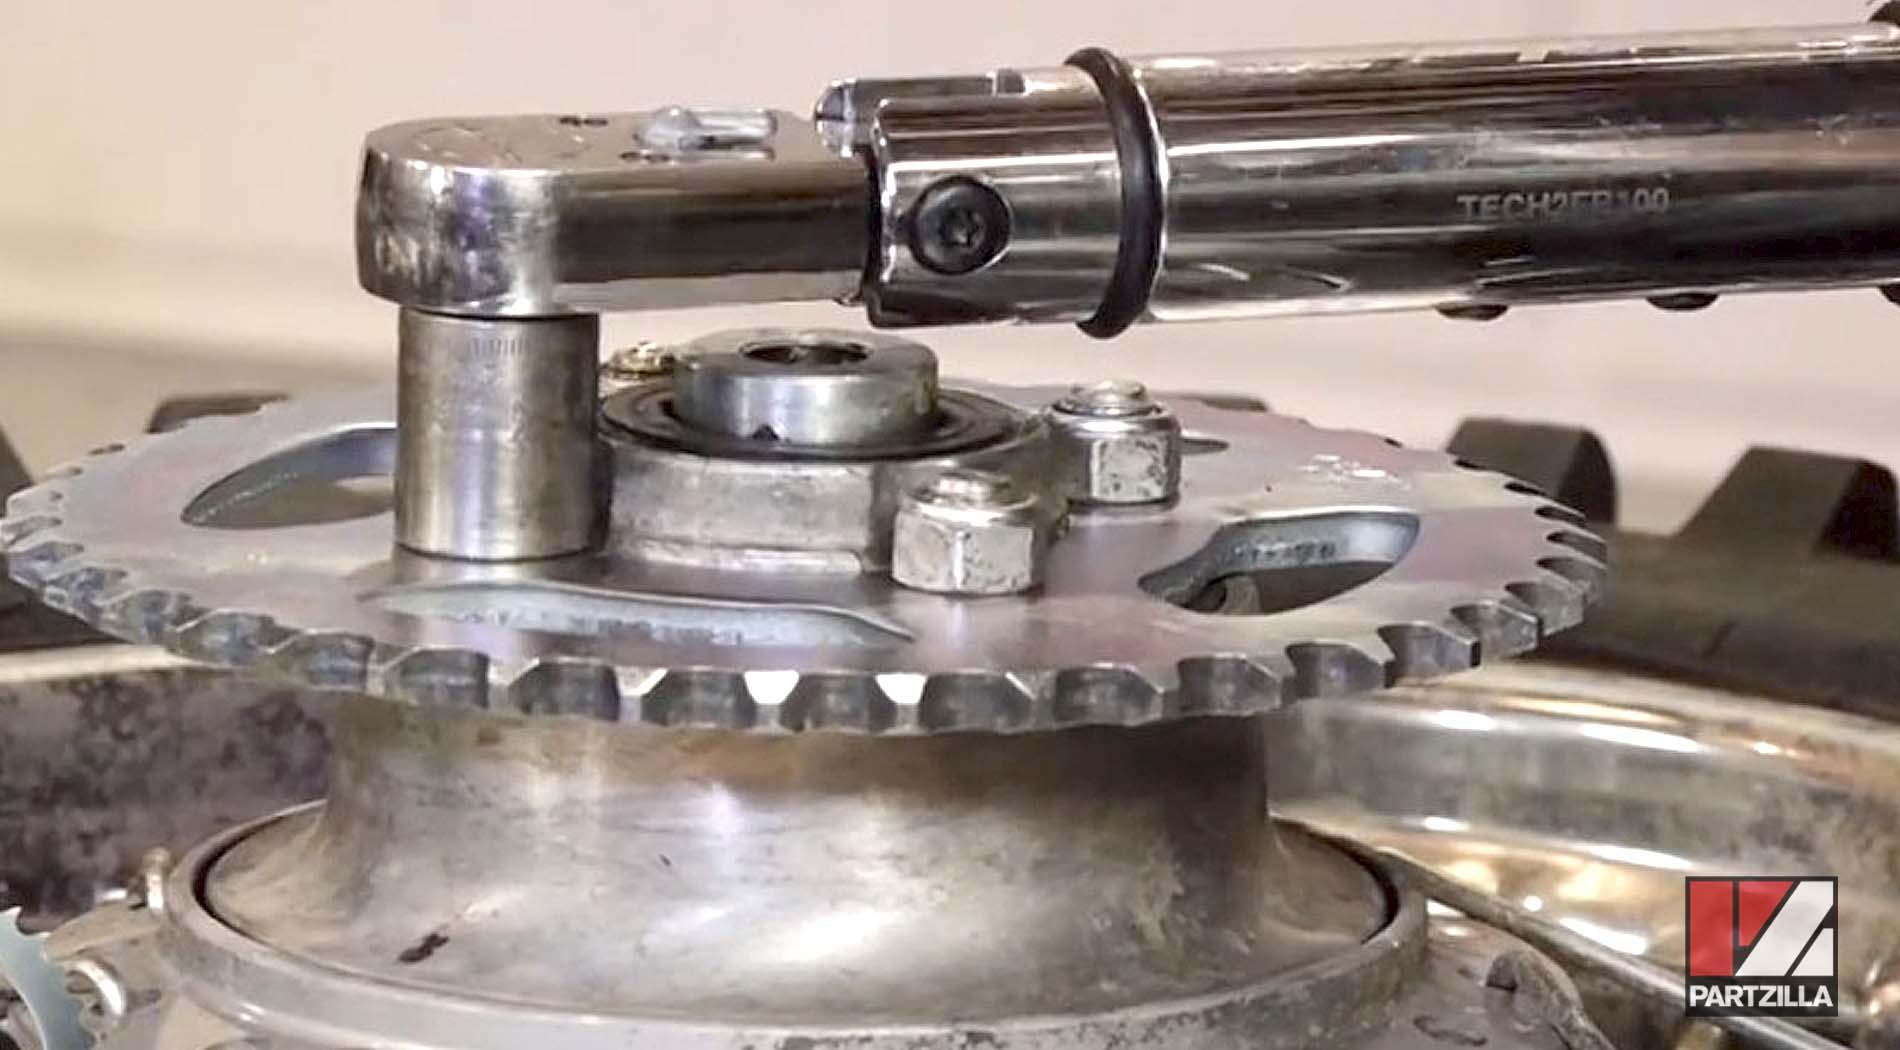
Step 3. Reinstall the hub sprocket and hub assembly back into the brake drum, then reinstall the four 14mm nuts that hold the sprocket, and torque them to 32-foot pounds.
Step 4. Slide the wheel back between the swingarms, and reinstall the axle.
Step 5. Reattach the brake drum torque rod and the rear brake cable adjustment bolt, then reinstall the axle nut and torque it to 47-foot pounds.
How to Install Kawasaki KLX 110 Drive Chain
Step 1. Count the number of links on the old chain, then count the same number on the new chain and mark the point you need to break the new chain.
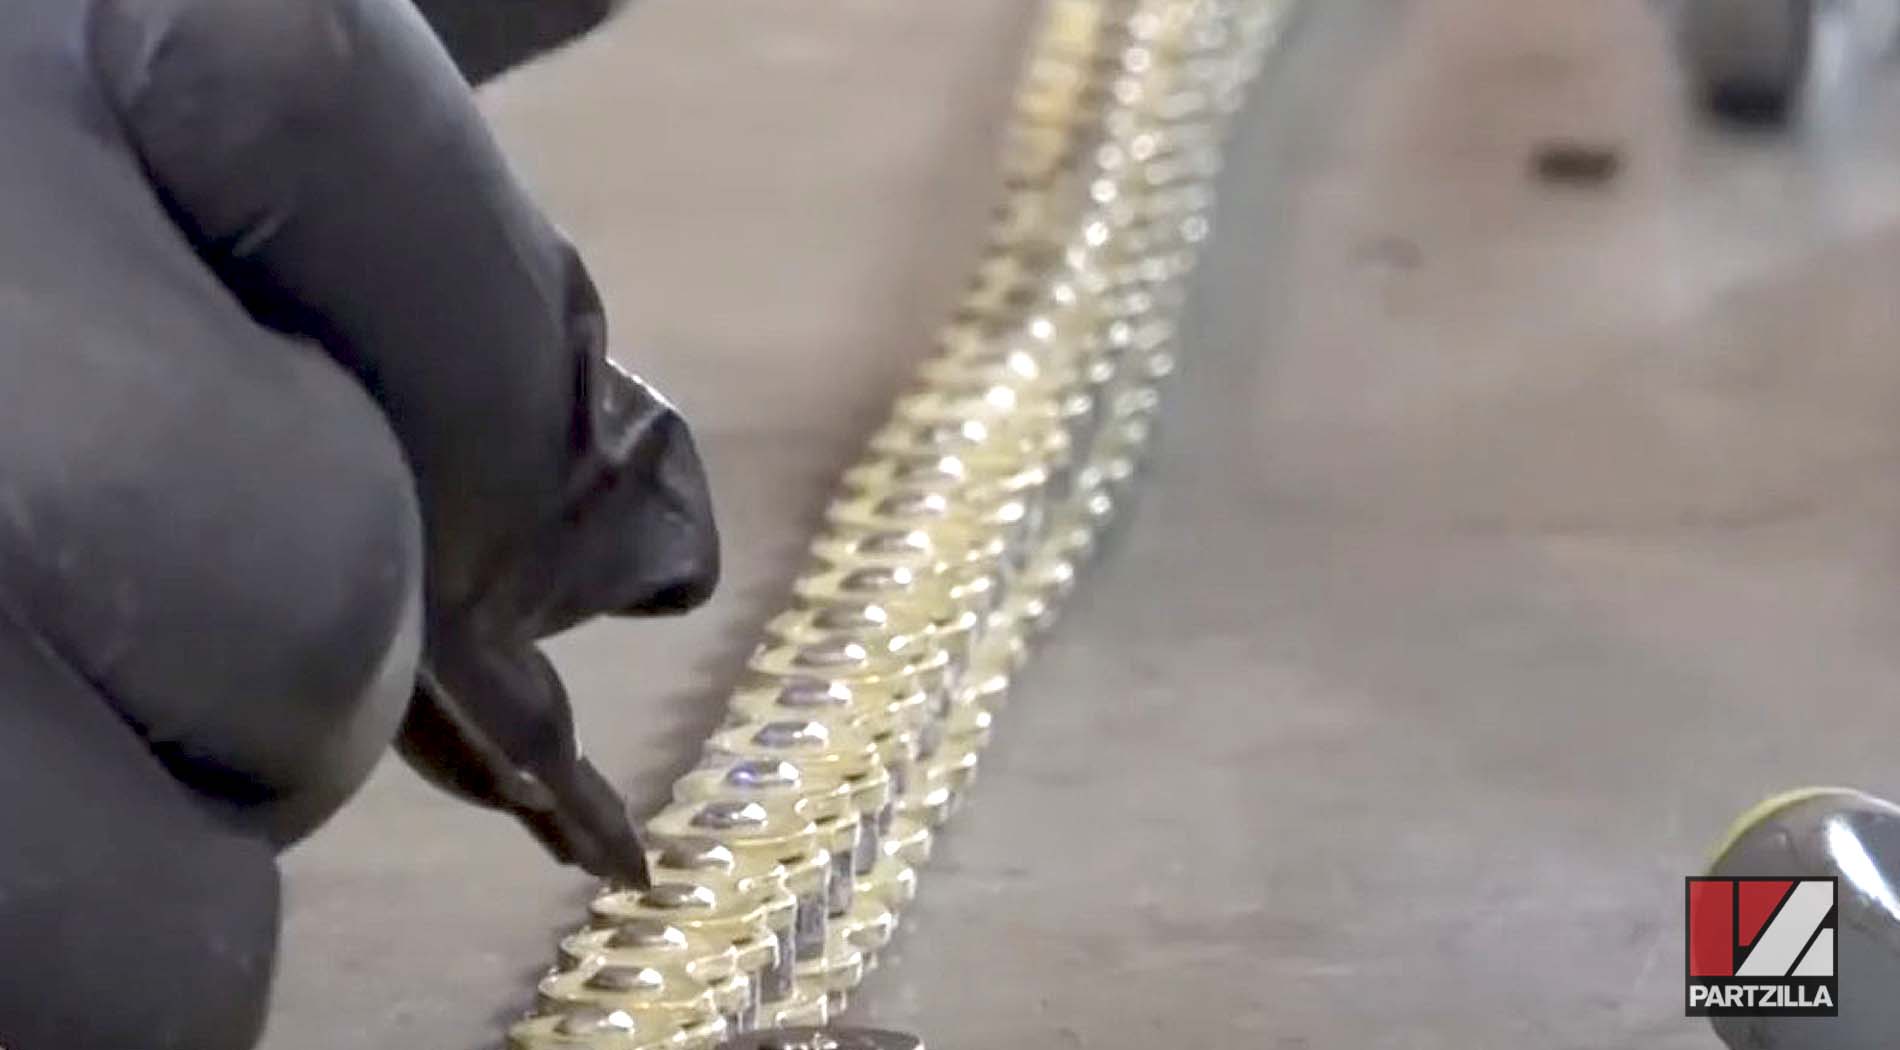
NOTE: Cutting the new chain too short will result in you having to buy another chain. The golden rule is to measure twice, and cut once.

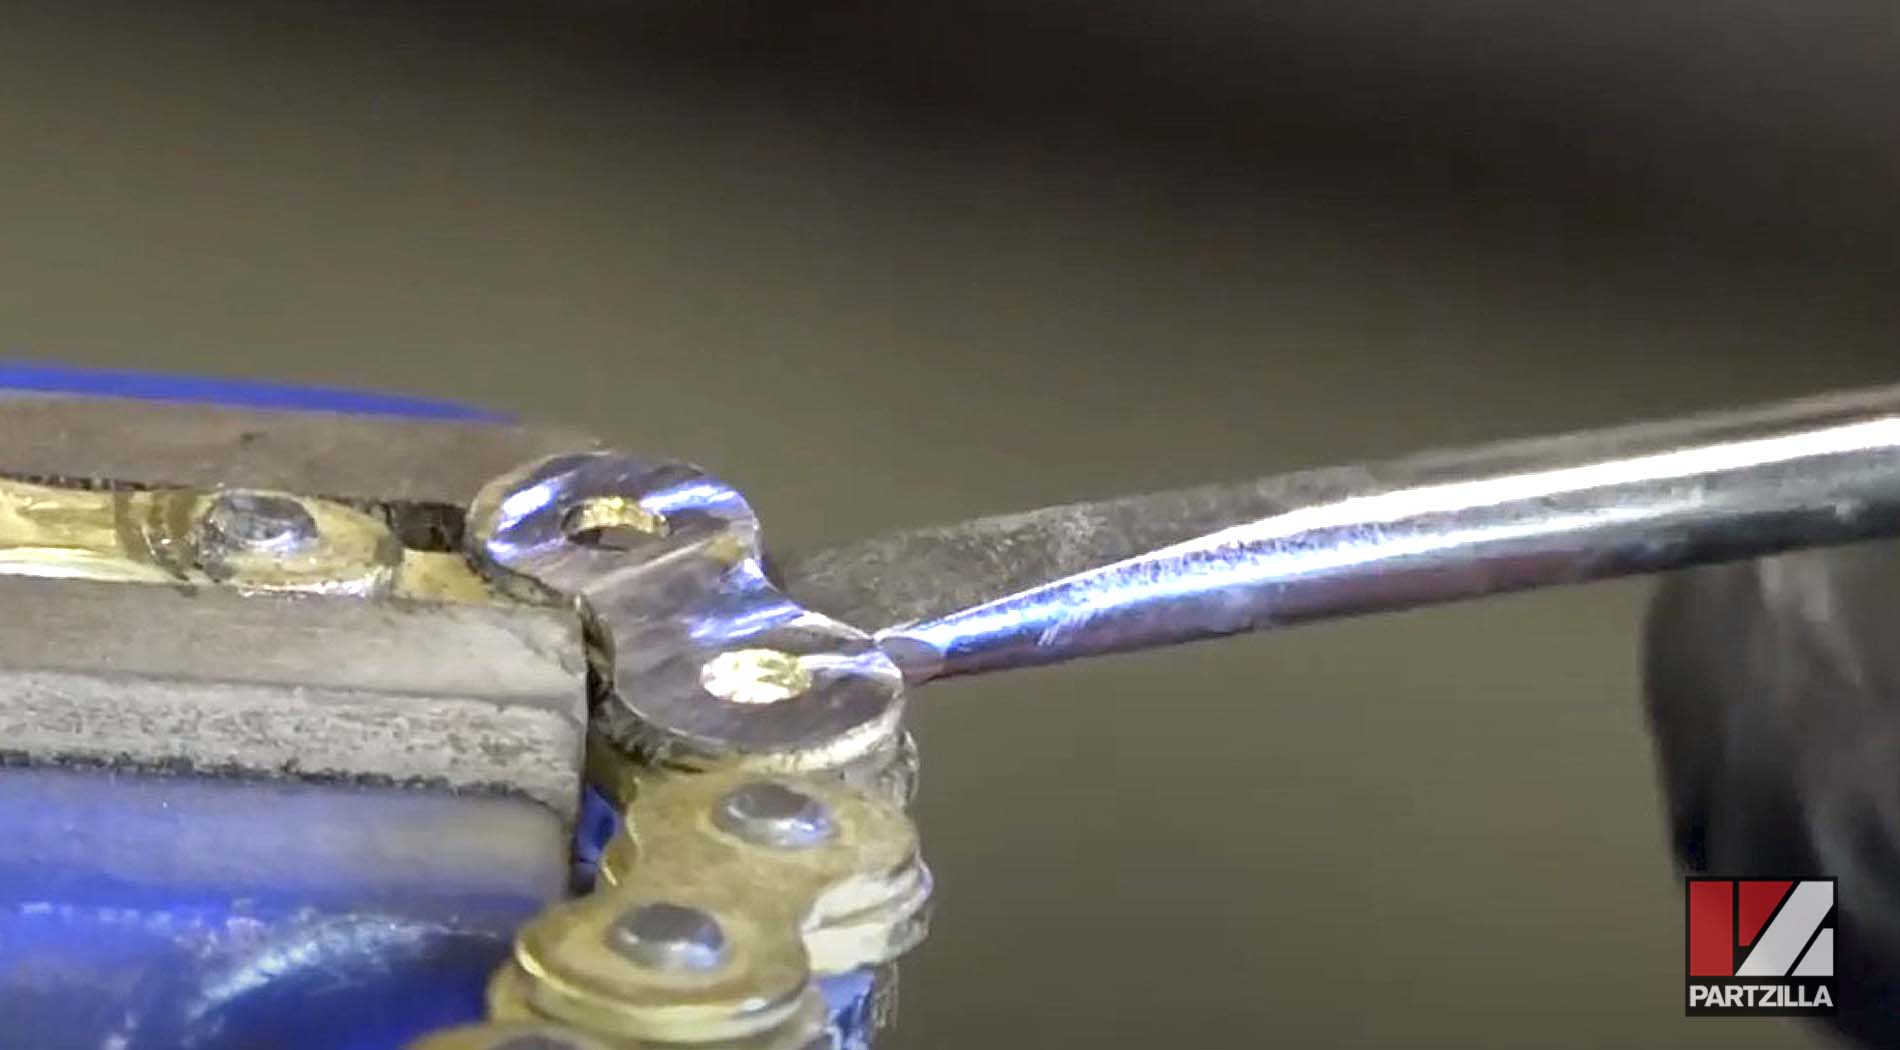
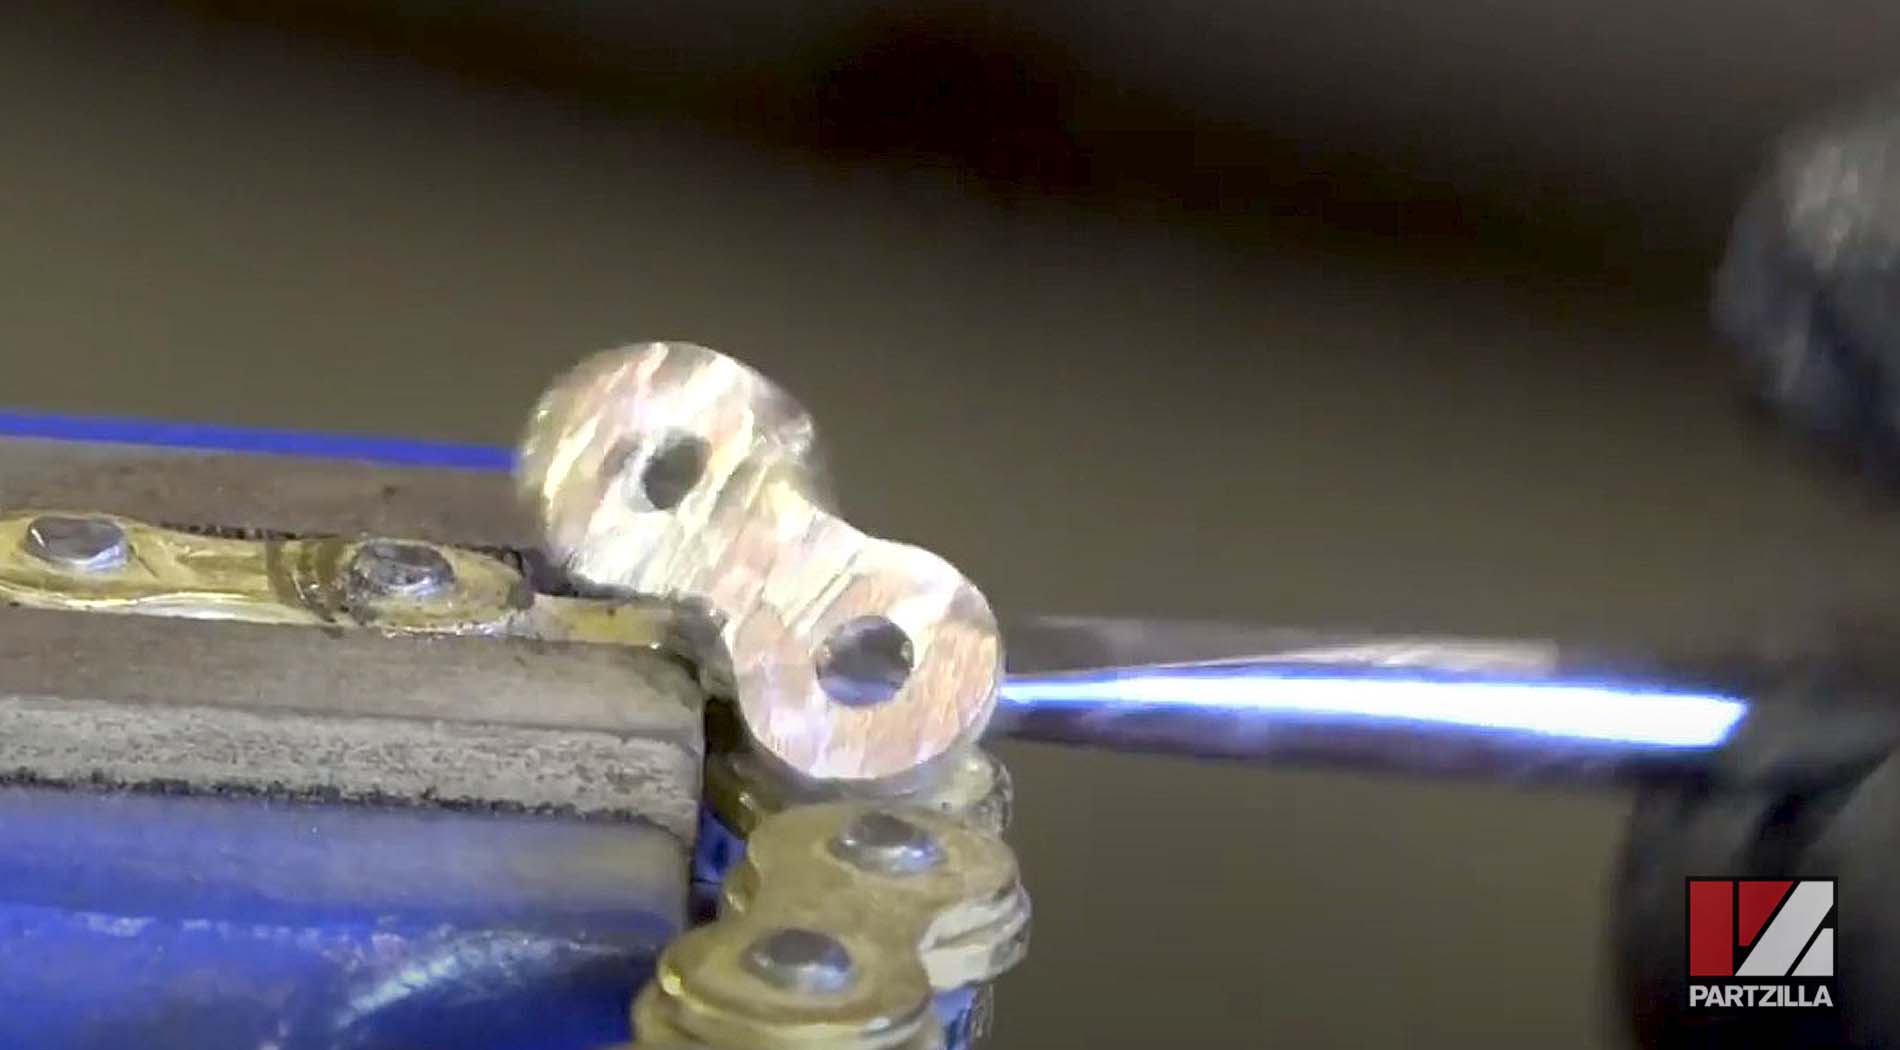
Step 2. Use a chain tool to press out the chain pin at the point you want to break the new chain.
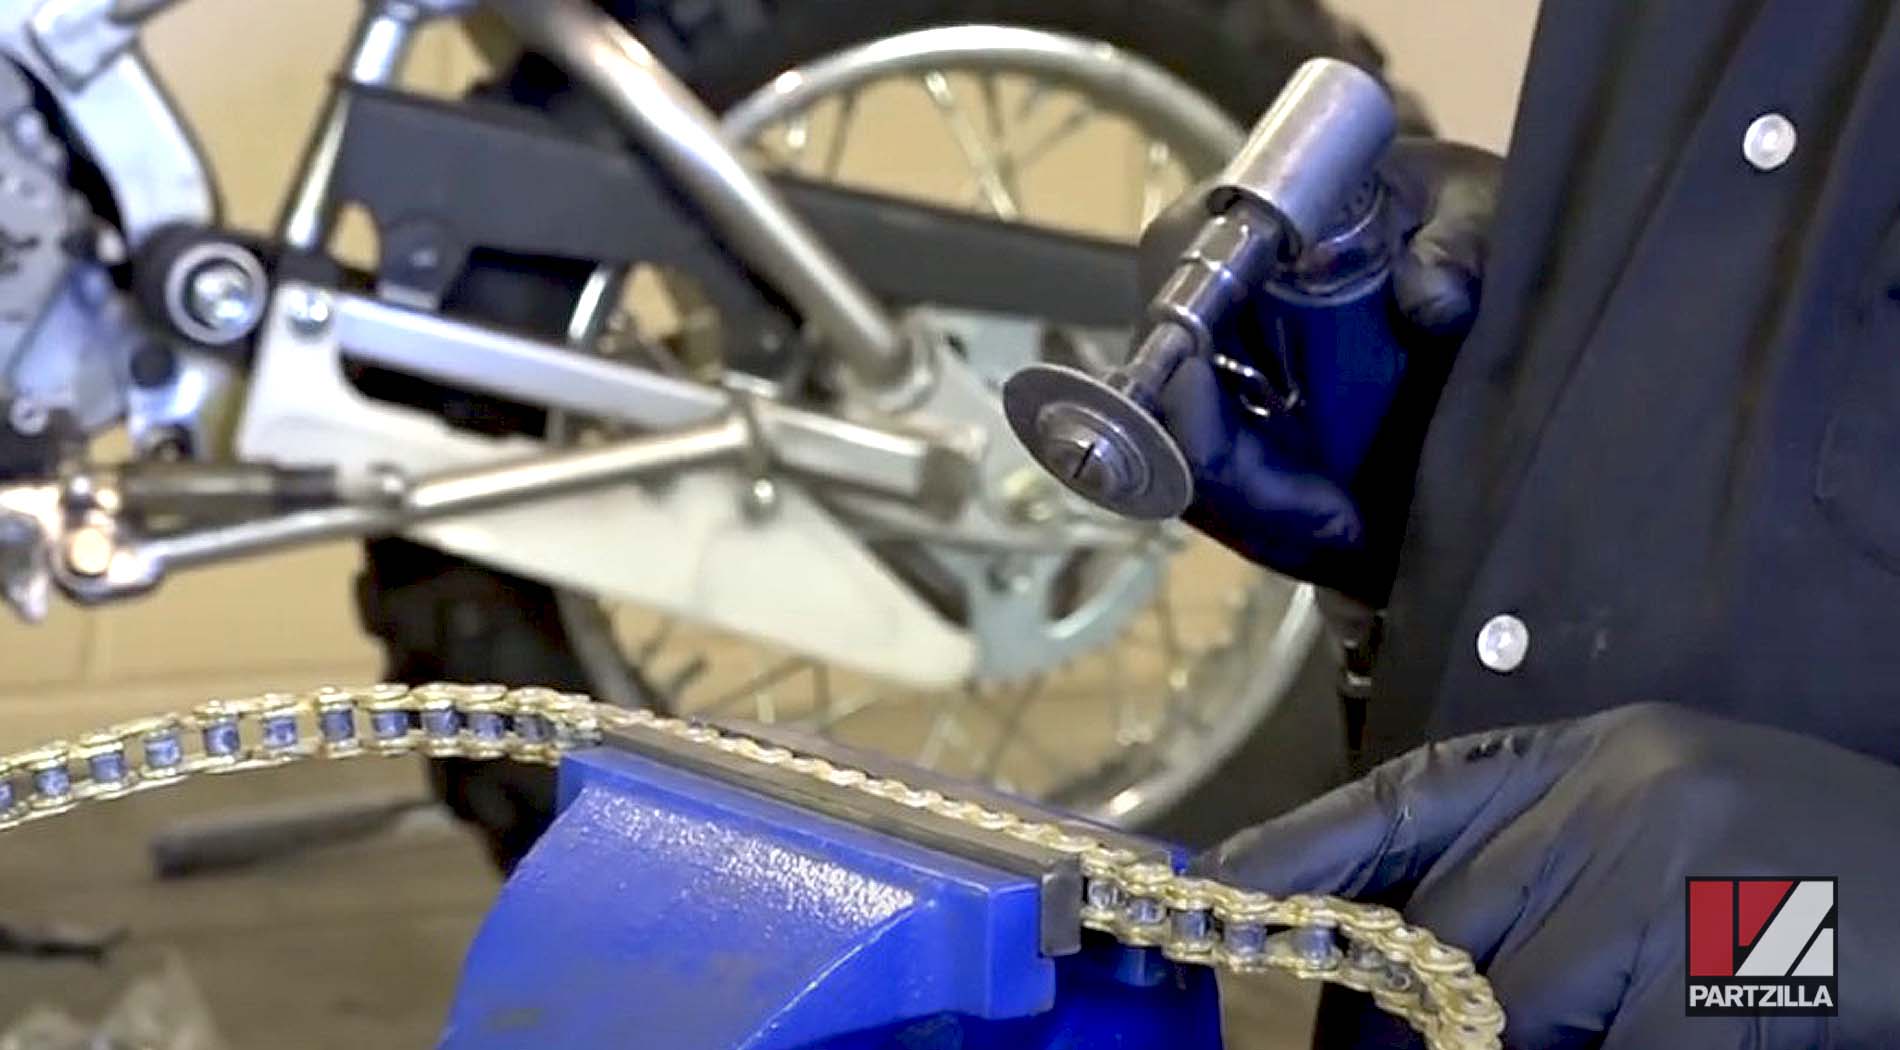
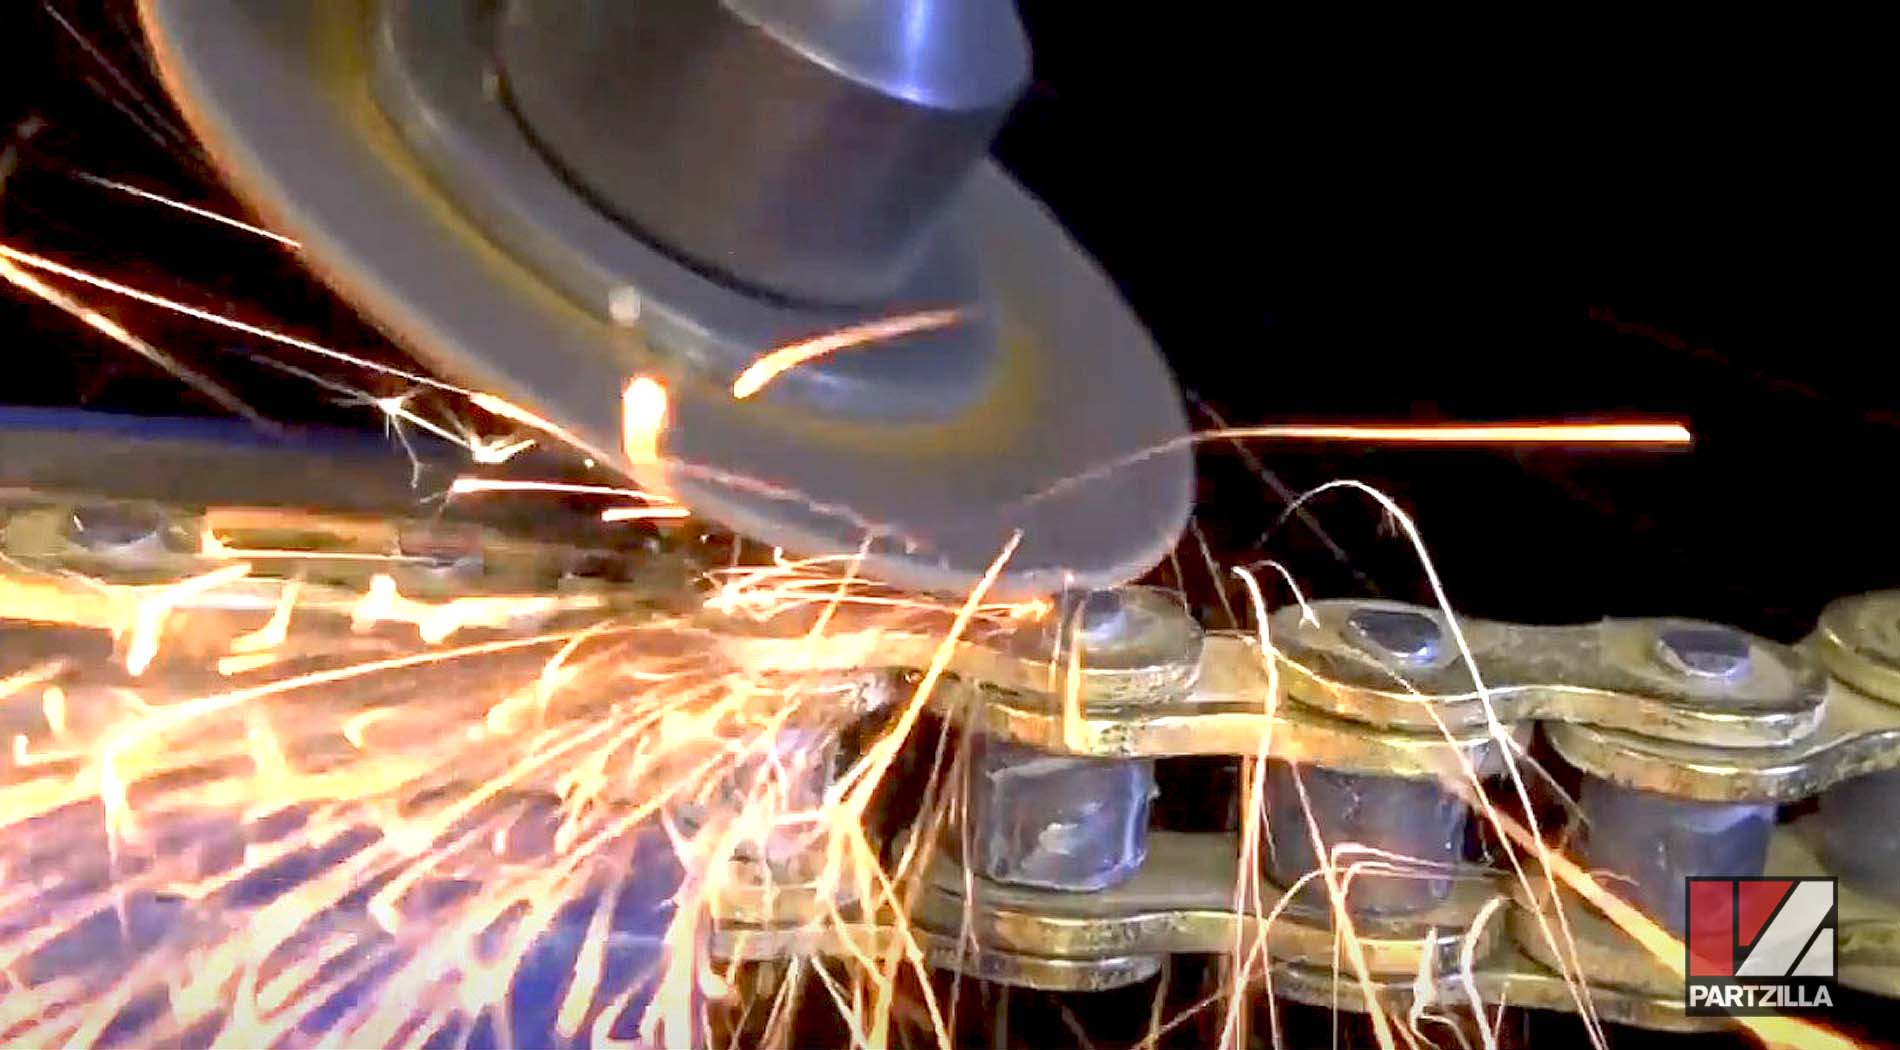
PRO TIP: If you don’t have a chain tool, you can use an angle grinder to grind away the flared head of the chain pin and then pry off the outer plate.
Step 3. Install the new chain over the new sprockets, then put the outer plate onto the master link and install the clip that secures the outer plate.
PRO TIP: Make sure the gap in the clip is facing away from the direction the chain rotates. This reduces the chances of something snagging the clip and pulling it off.
The next step is to clean and adjust the chain. Watch our Kawasaki KLX110 chain adjustment video above to see how to get that done.