How to Repair a Wiring Harness
When it comes to wiring and connections, if you have a problem with a wire being cut, or corroded or with a bad connection, there are several techniques to fix the problem.
Here are some ways you can remedy wiring harness problems, as well as things not to do, if you can’t replace an entire harness on a motorcycle, ATV or side-by-side.
Wiring Harness Repair: What Not to Do
When you have a cut wire somewhere on the harness and you don’t want to have to replace the entire harness for one connection, there are several things you don’t want to do.
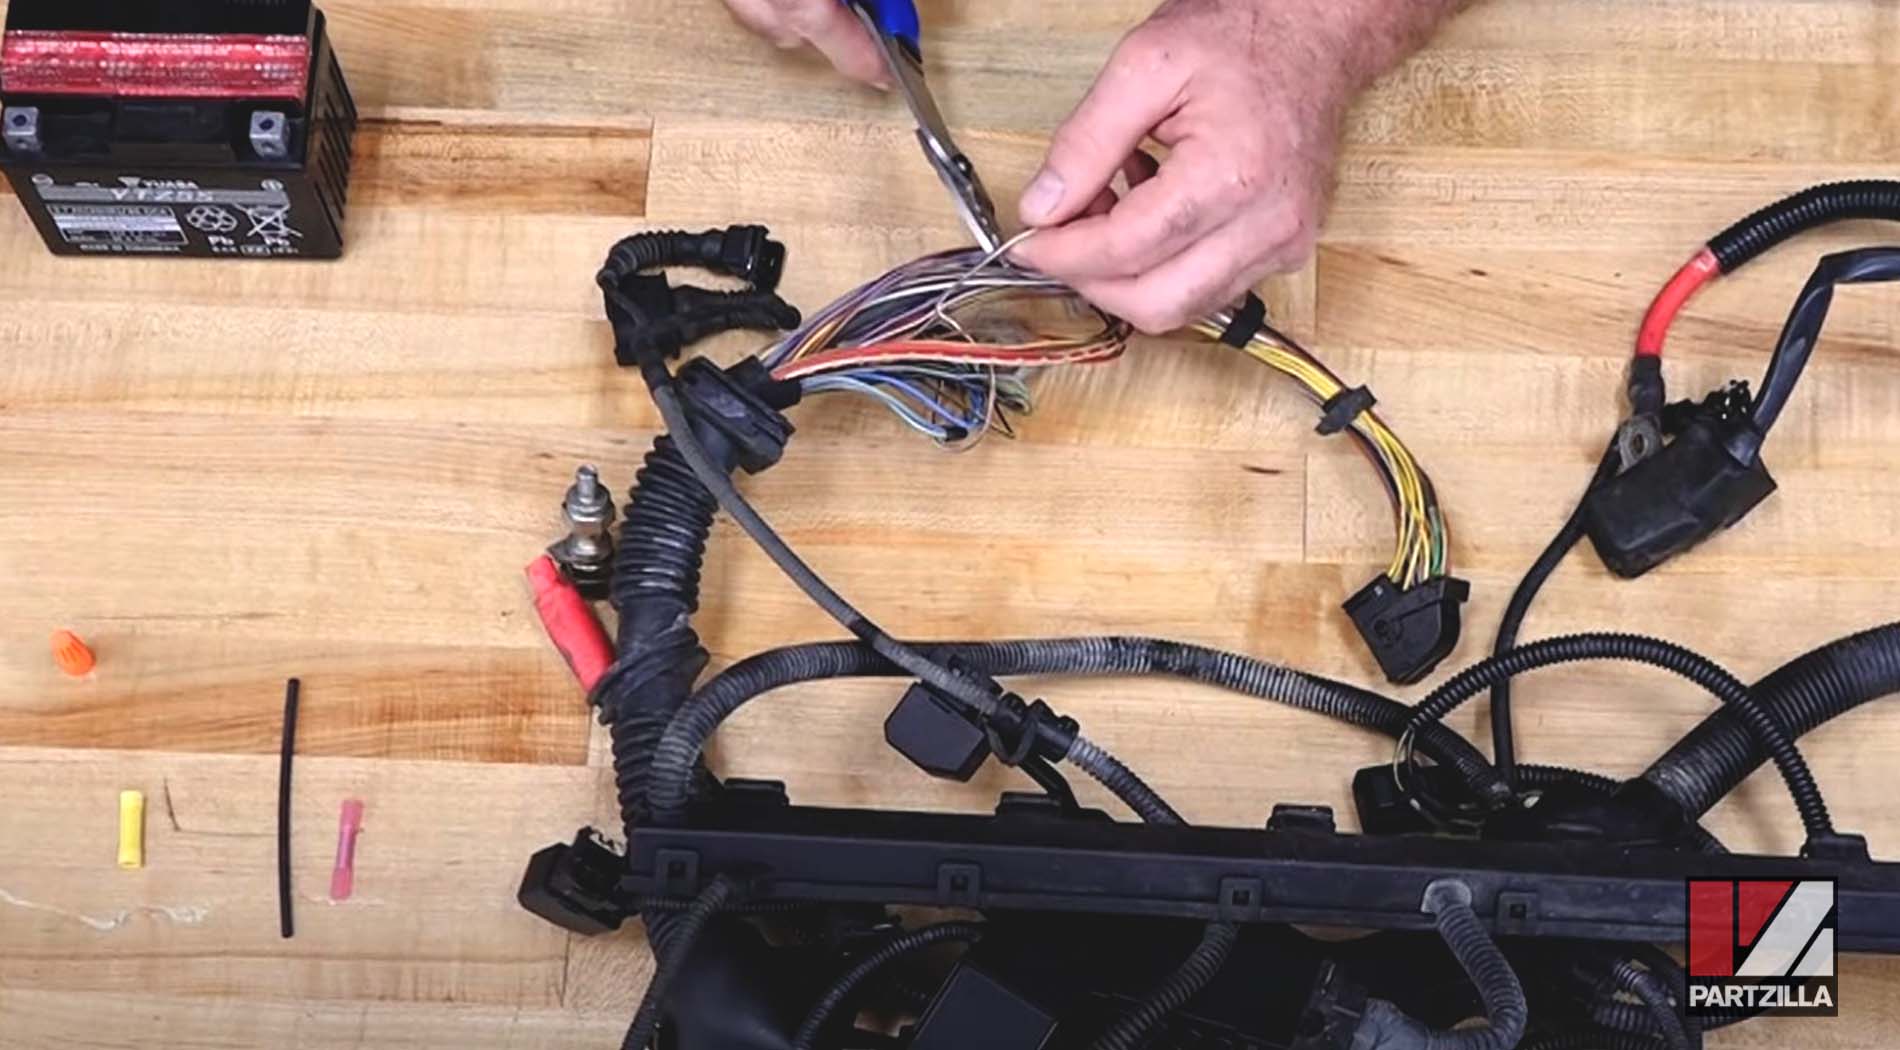
Perhaps the worst thing to do is twist them back together and just lay it over. Twisting it together and using electrical tape or other tape you may have lying around isn’t any better either, because as soon as there’s any stress, it could easily snap.
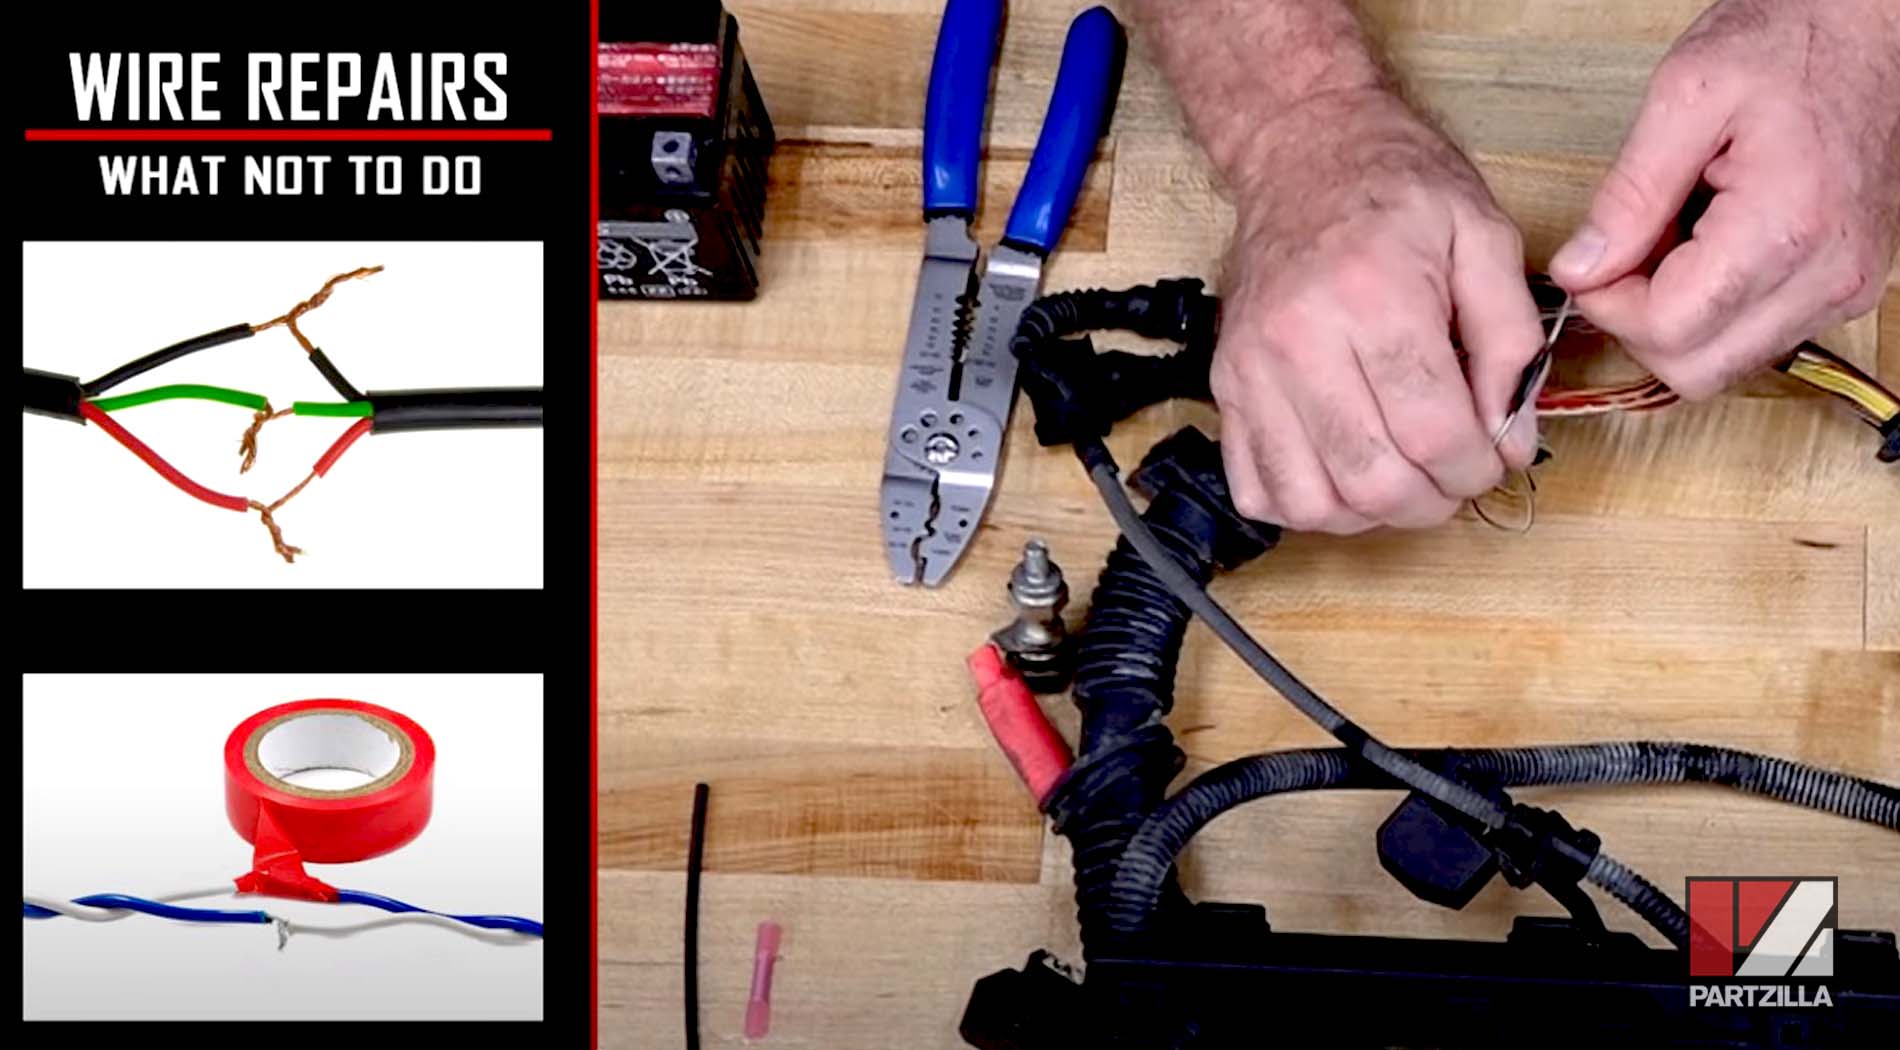
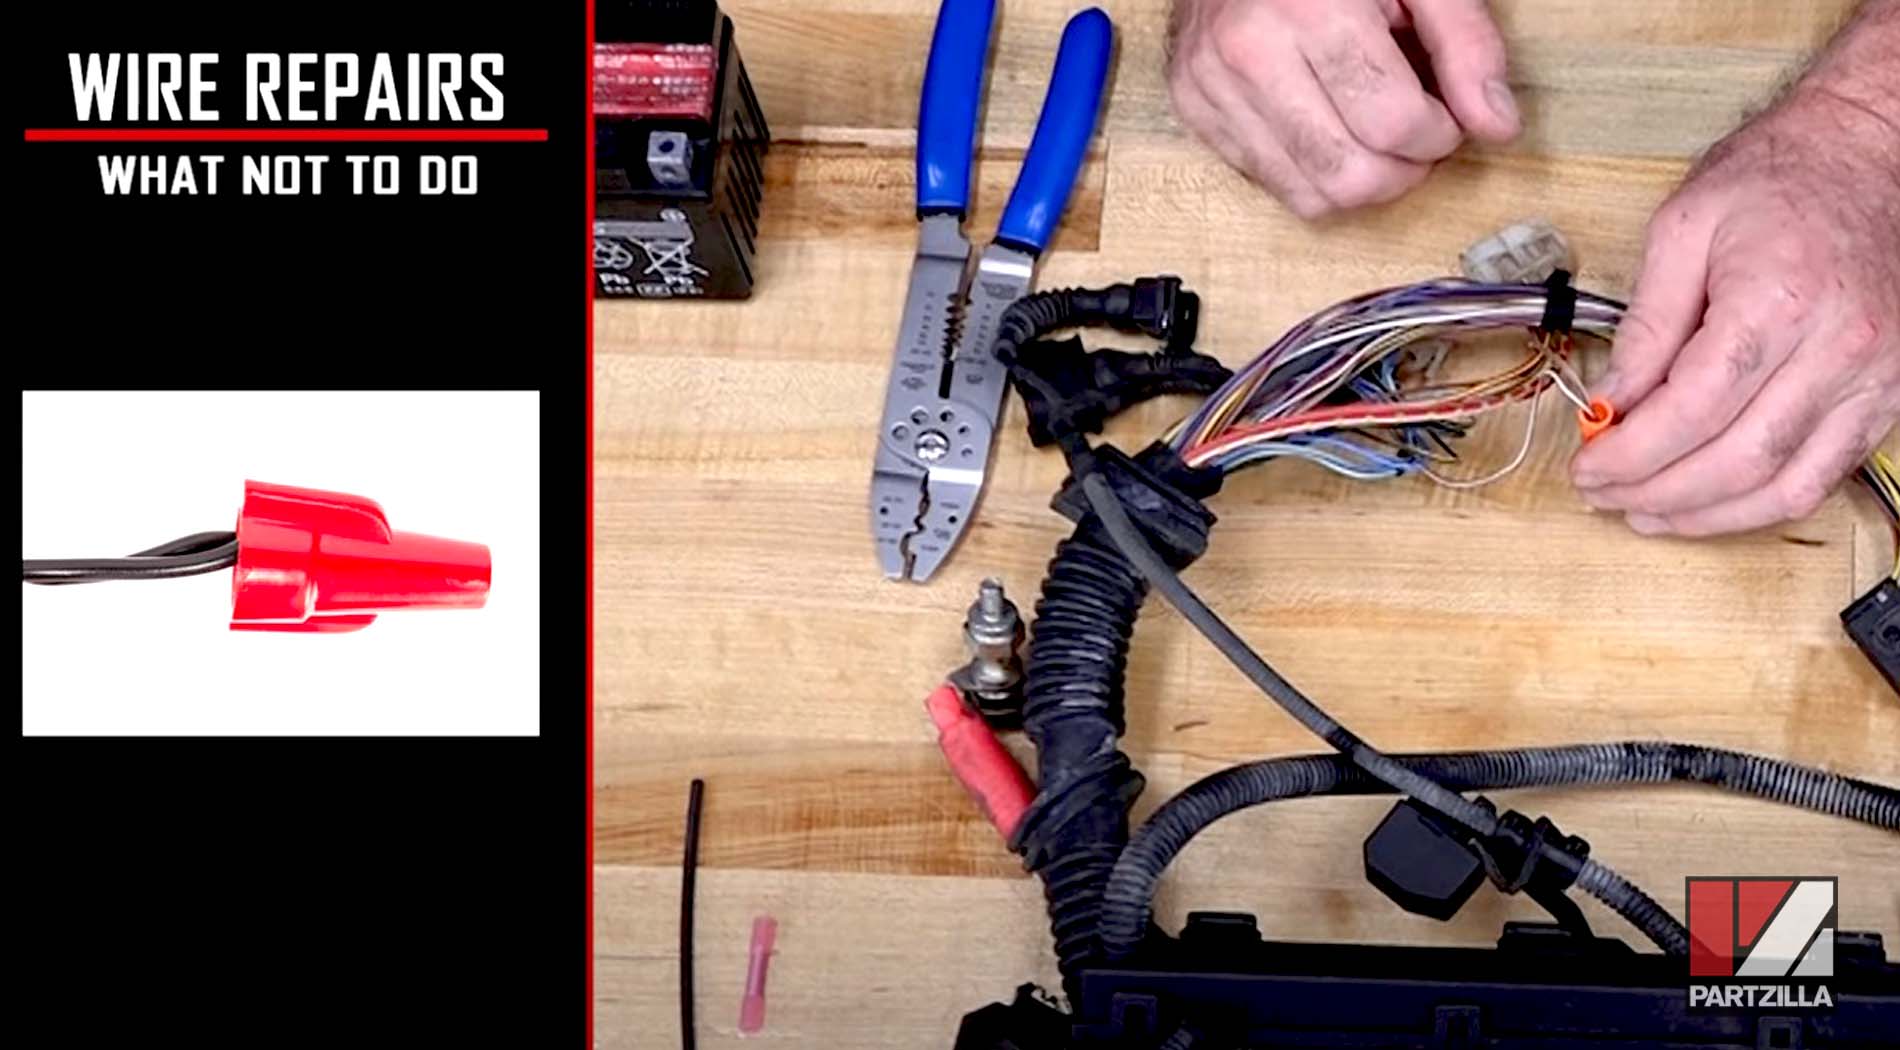
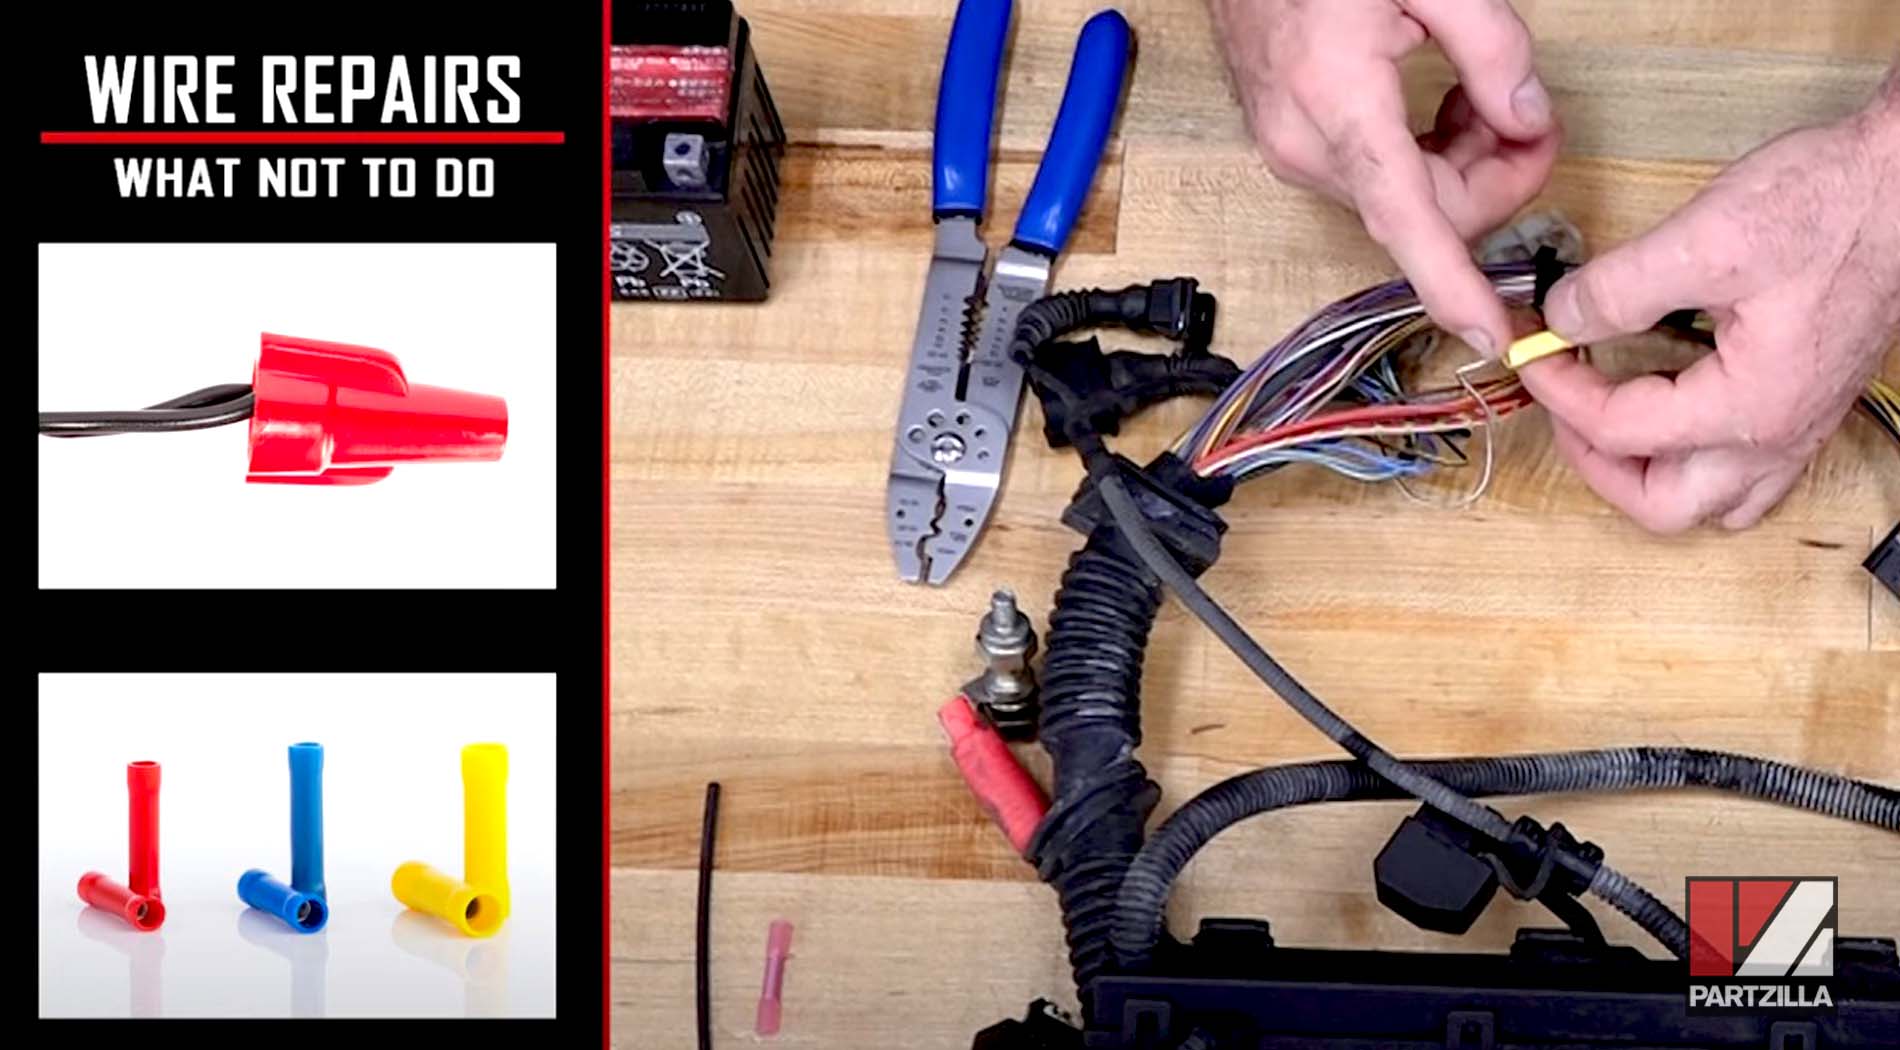
Twisting wires together and using a plastic twist-on wire connector is also not the way to go, especially on ATVs and UTVs. These twist-on connectors create a cup that can fill up with water, mud, or whatever else and corrode them almost immediately.
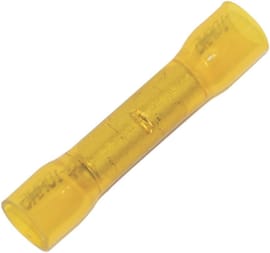
Using butt connectors works when done right. Like twist-on connectors, however, butt connectors can still leave an opening to outside air and potentially leave the wires exposed to corrosion from water intrusion and/or humidity.
Use a butt connector that has a shrinkable tube around it. Once you make your connections and get it crimped down, use a heat gun to shrink down the tube to effectively seal the connection inside. Make sure you use the right size butt connector, and don't crimp it so hard that you damage the shrink tube that goes around it.

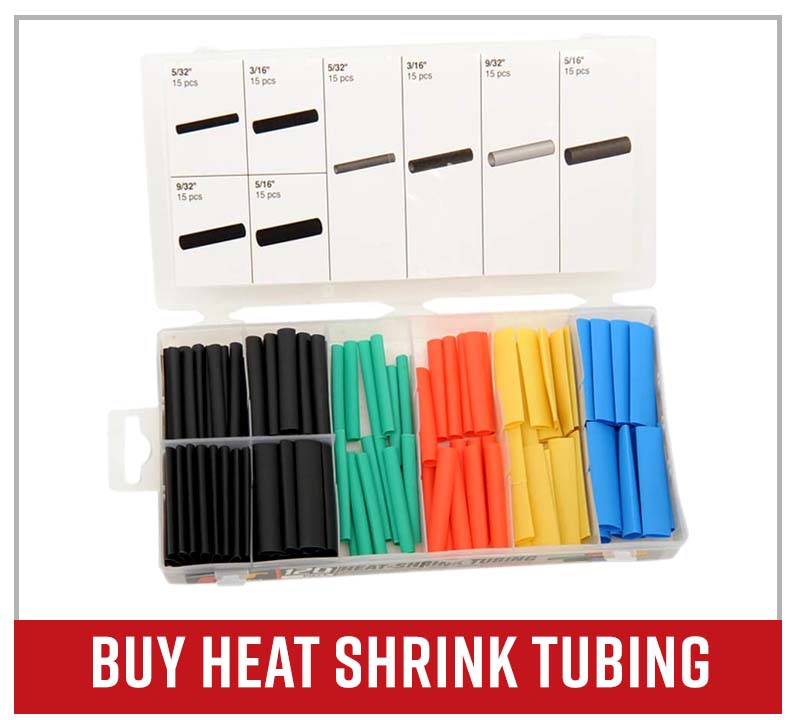
If you want to go one step further for a truly professional connection, use a section of heat shrink tubing. Put the tubing on before you start the connection and solder it on. Make sure you get the connection hot enough to where the solder flows into the wire and it’s not just globbed up on the outside.
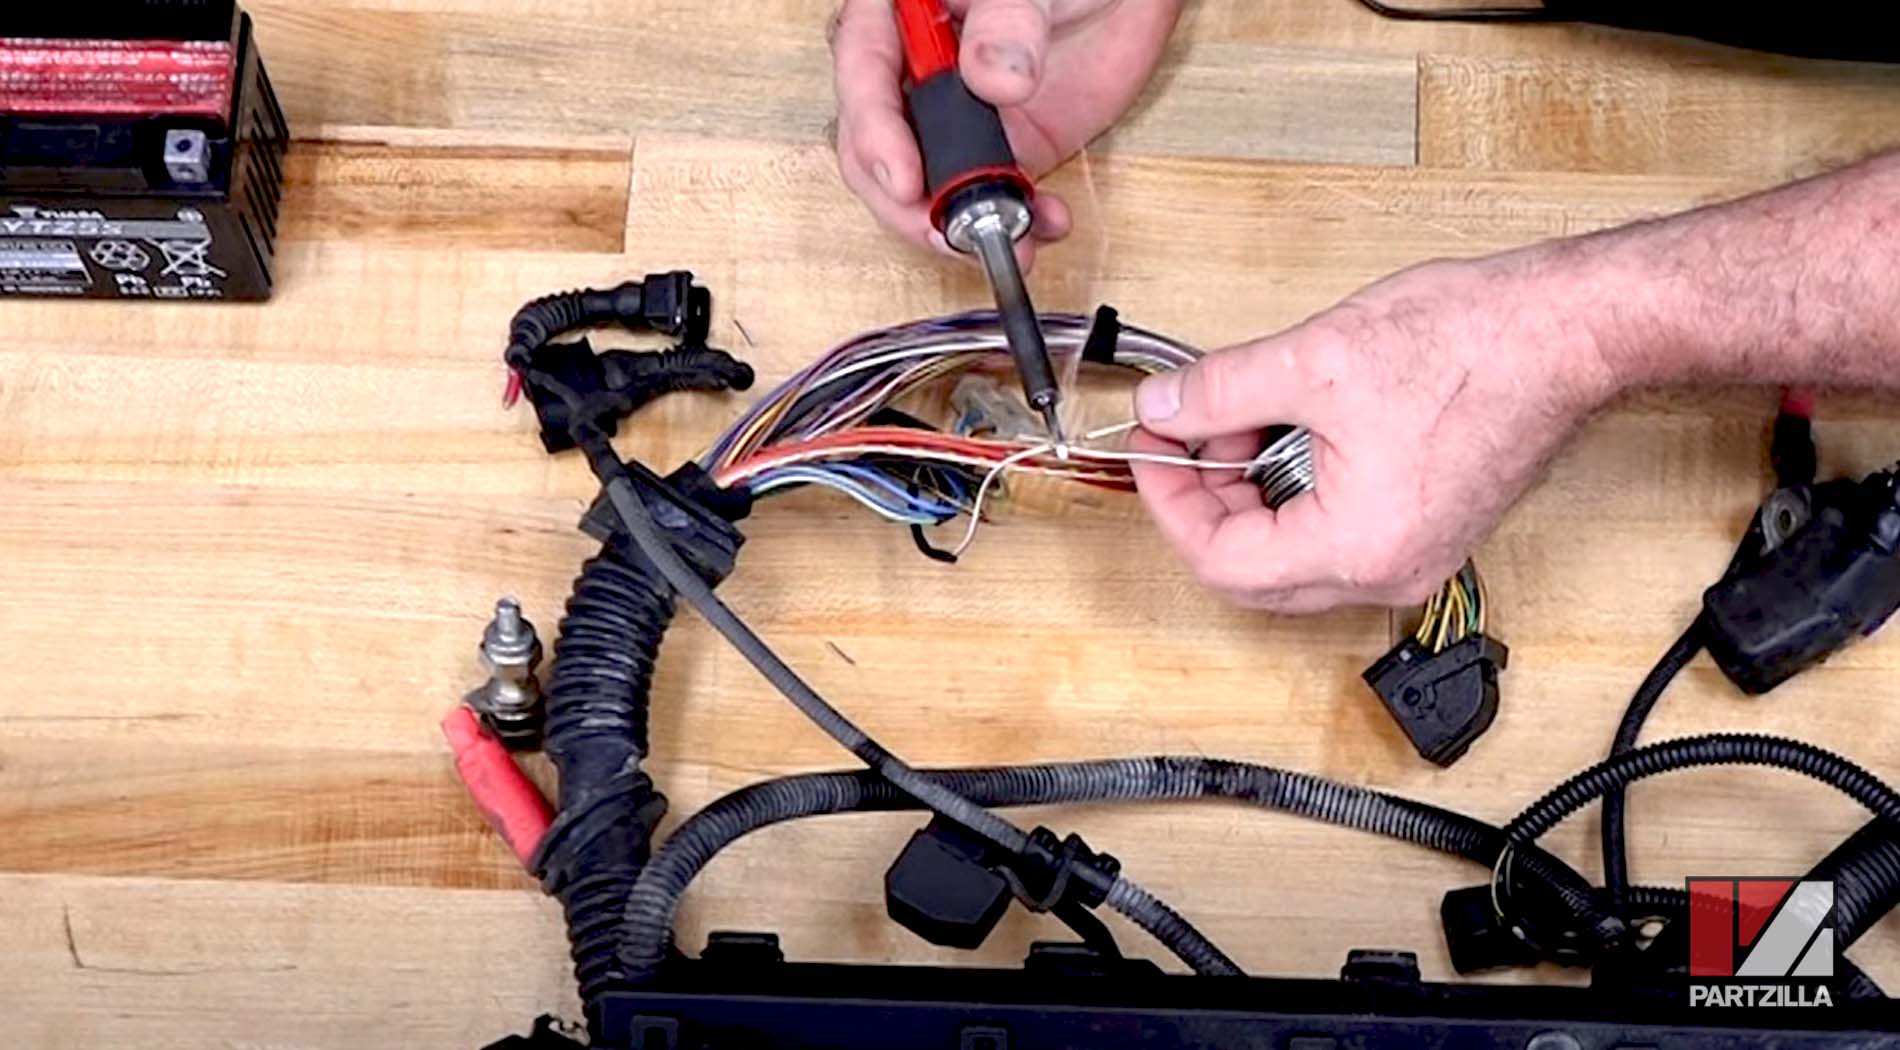
Let the tubing cool down a bit before you bring in the heat shrink gun. When you heat shrink it, put the connection roughly in the middle. Make sure the heat shrink you used has a gel fill on the inside because when it shrinks down, it's actually going to heat up that gel and completely encapsulate the connection on the inside.

Bad wiring and connections are just one of various problems that can prevent your machine from starting or running properly. Watch the video below for troubleshooting tips on a no-start condition.
Troubleshooting Wiring Harness Problems
Clean the Battery
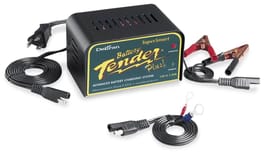
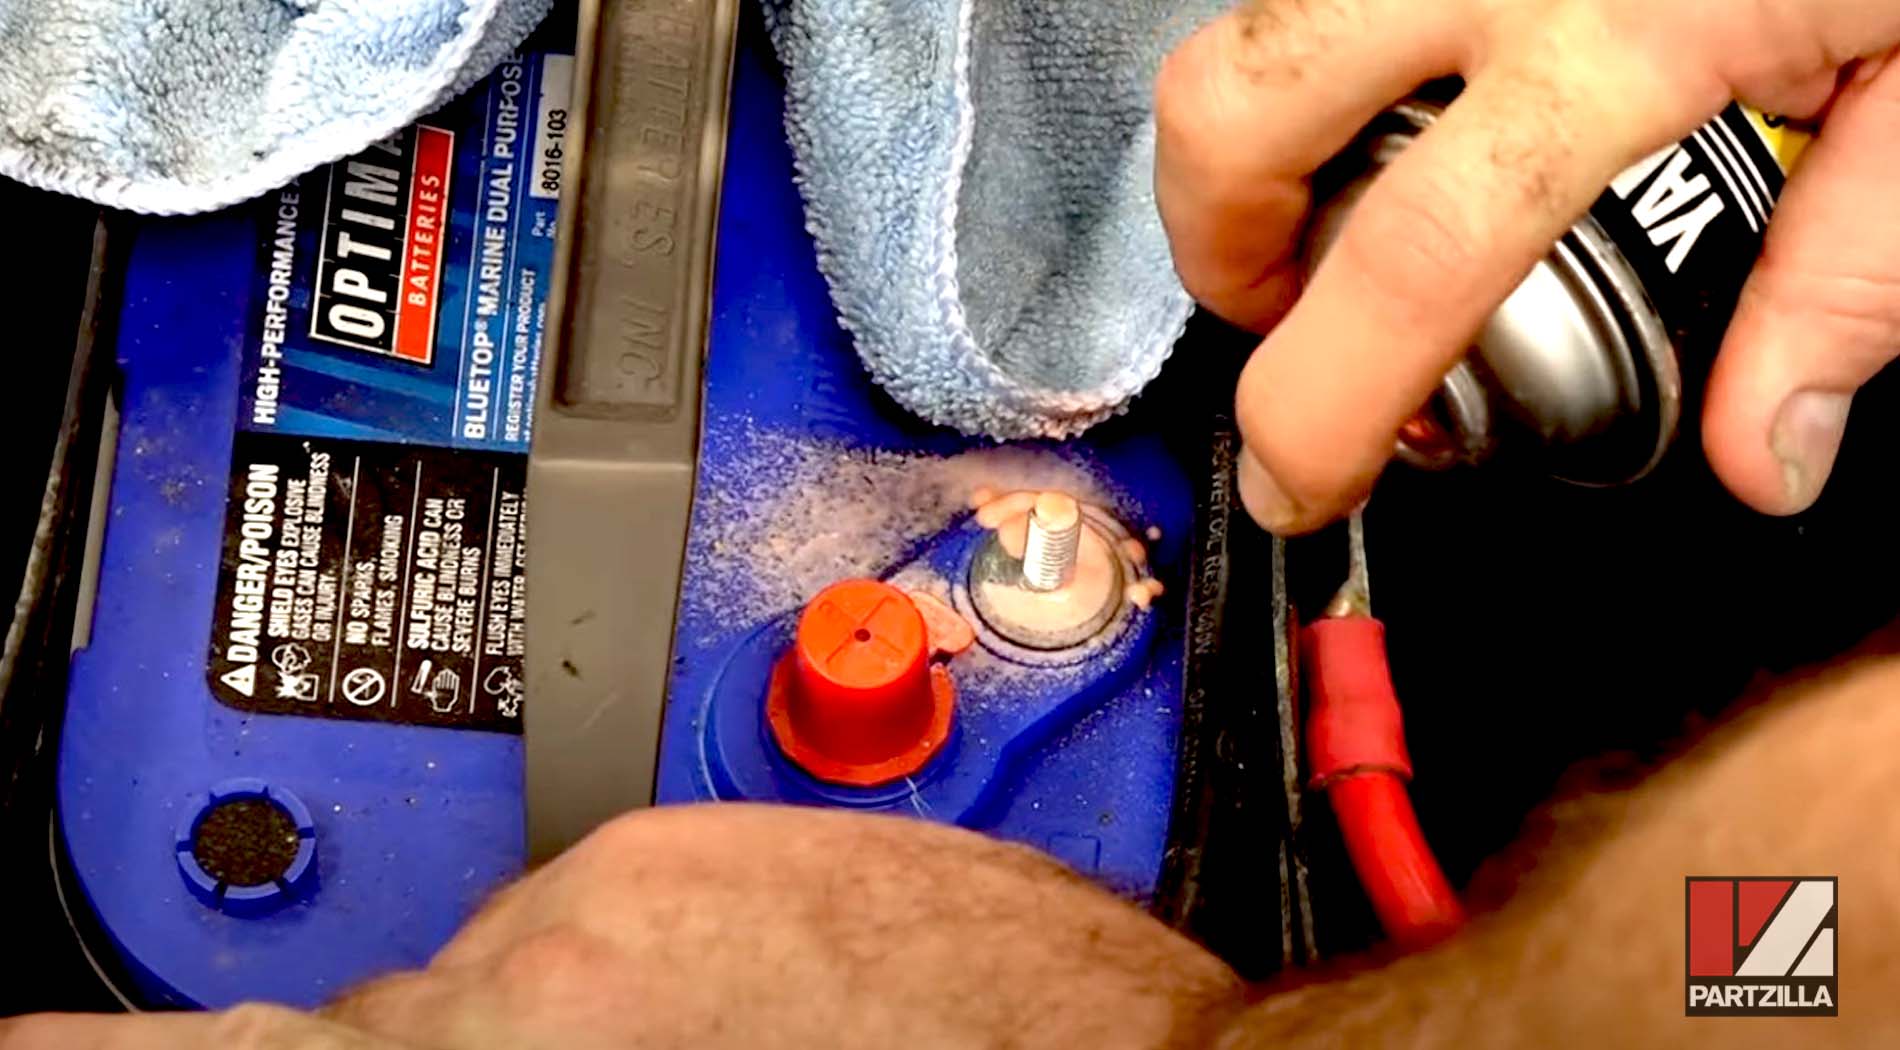
The battery is one area where wiring corrosion prevents a machine from running or starting up. Even if your vehicle is ready for riding season and you had a battery tender on it, pull the positive and the negative leads off the battery to clean them.

Use a wire brush to clean the posts on the battery, then reconnect them. Next, spray them down with a high quality cleaner and protector for good measure.
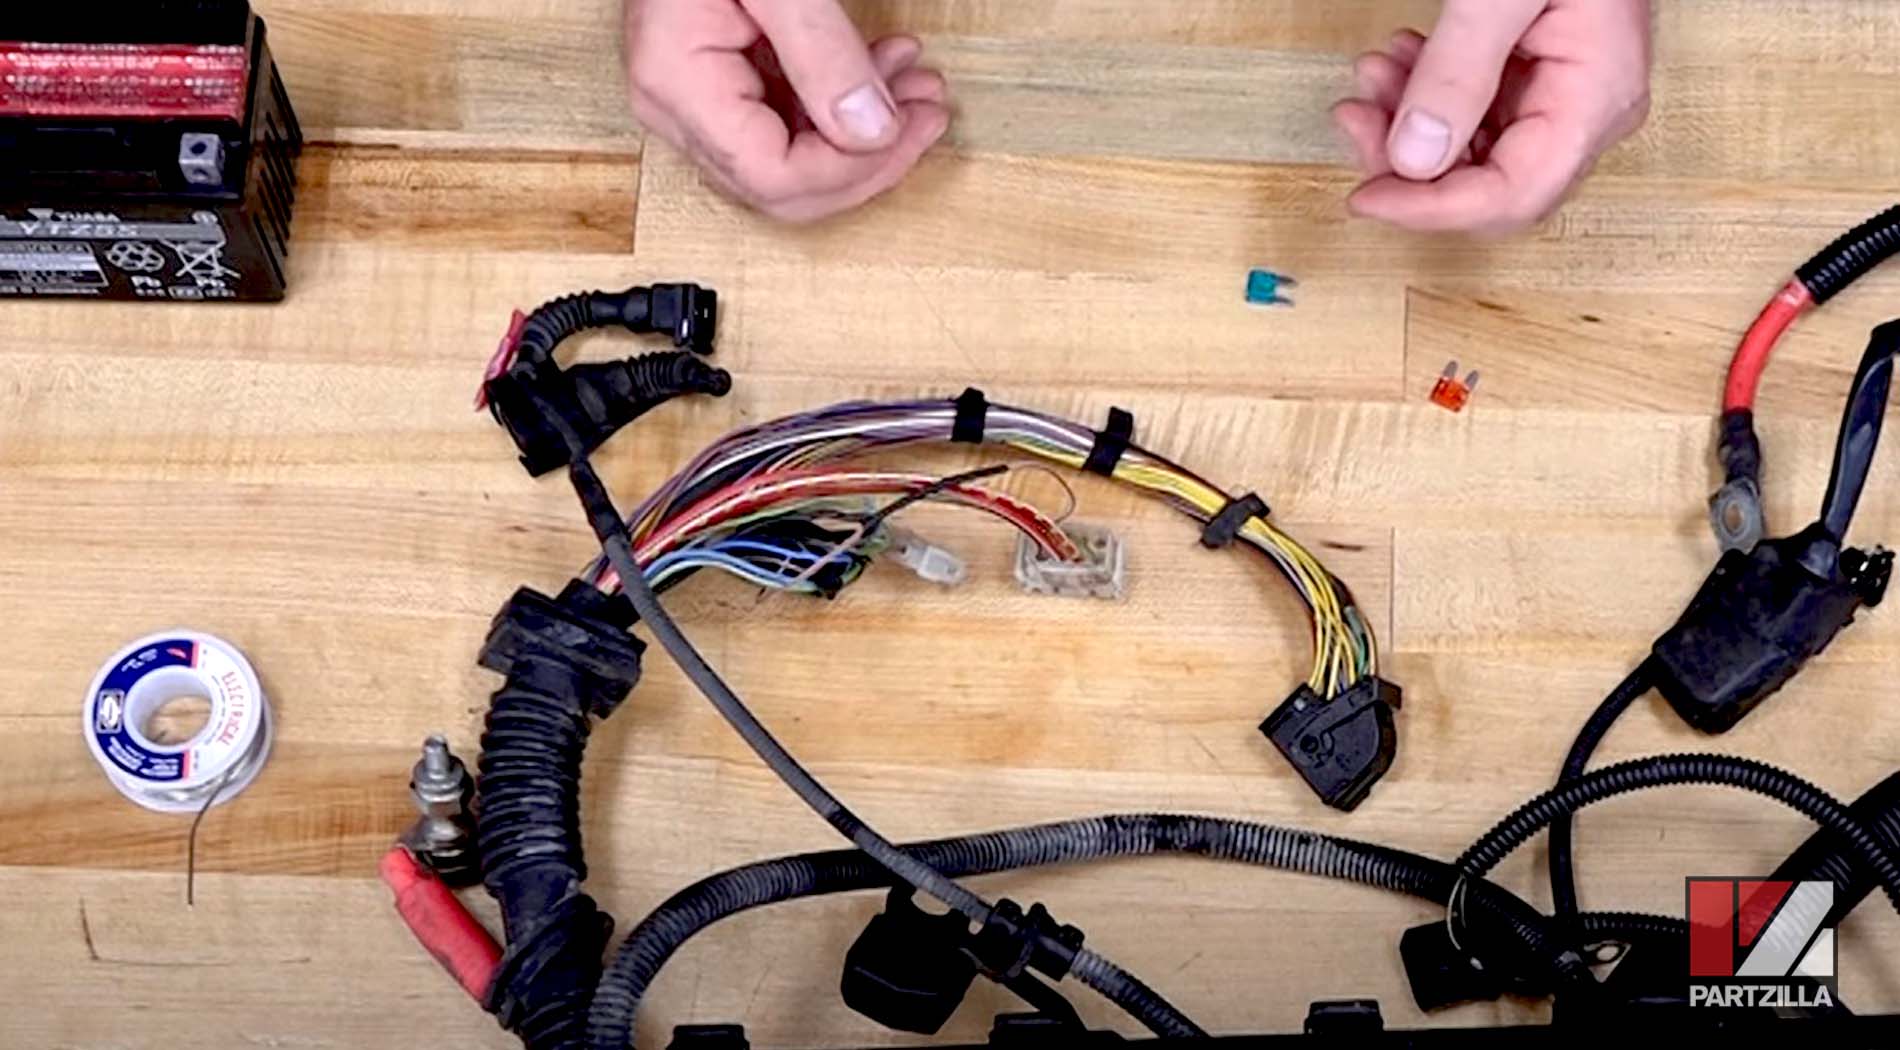
Check the Fuses
When a fuse blows, cramming in another one, especially of a higher value, isn’t going to work out in the long run. Fuses are sized for whatever circuit is on the machine.
Putting in a larger fuse to keep it from popping stresses the harness it was designed to protect, and you'll probably end up frying it. Trying to repair a heated up wire that’s burned into all the other wires going throughout the harness means you’ll probably end up having to replace the entire harness.
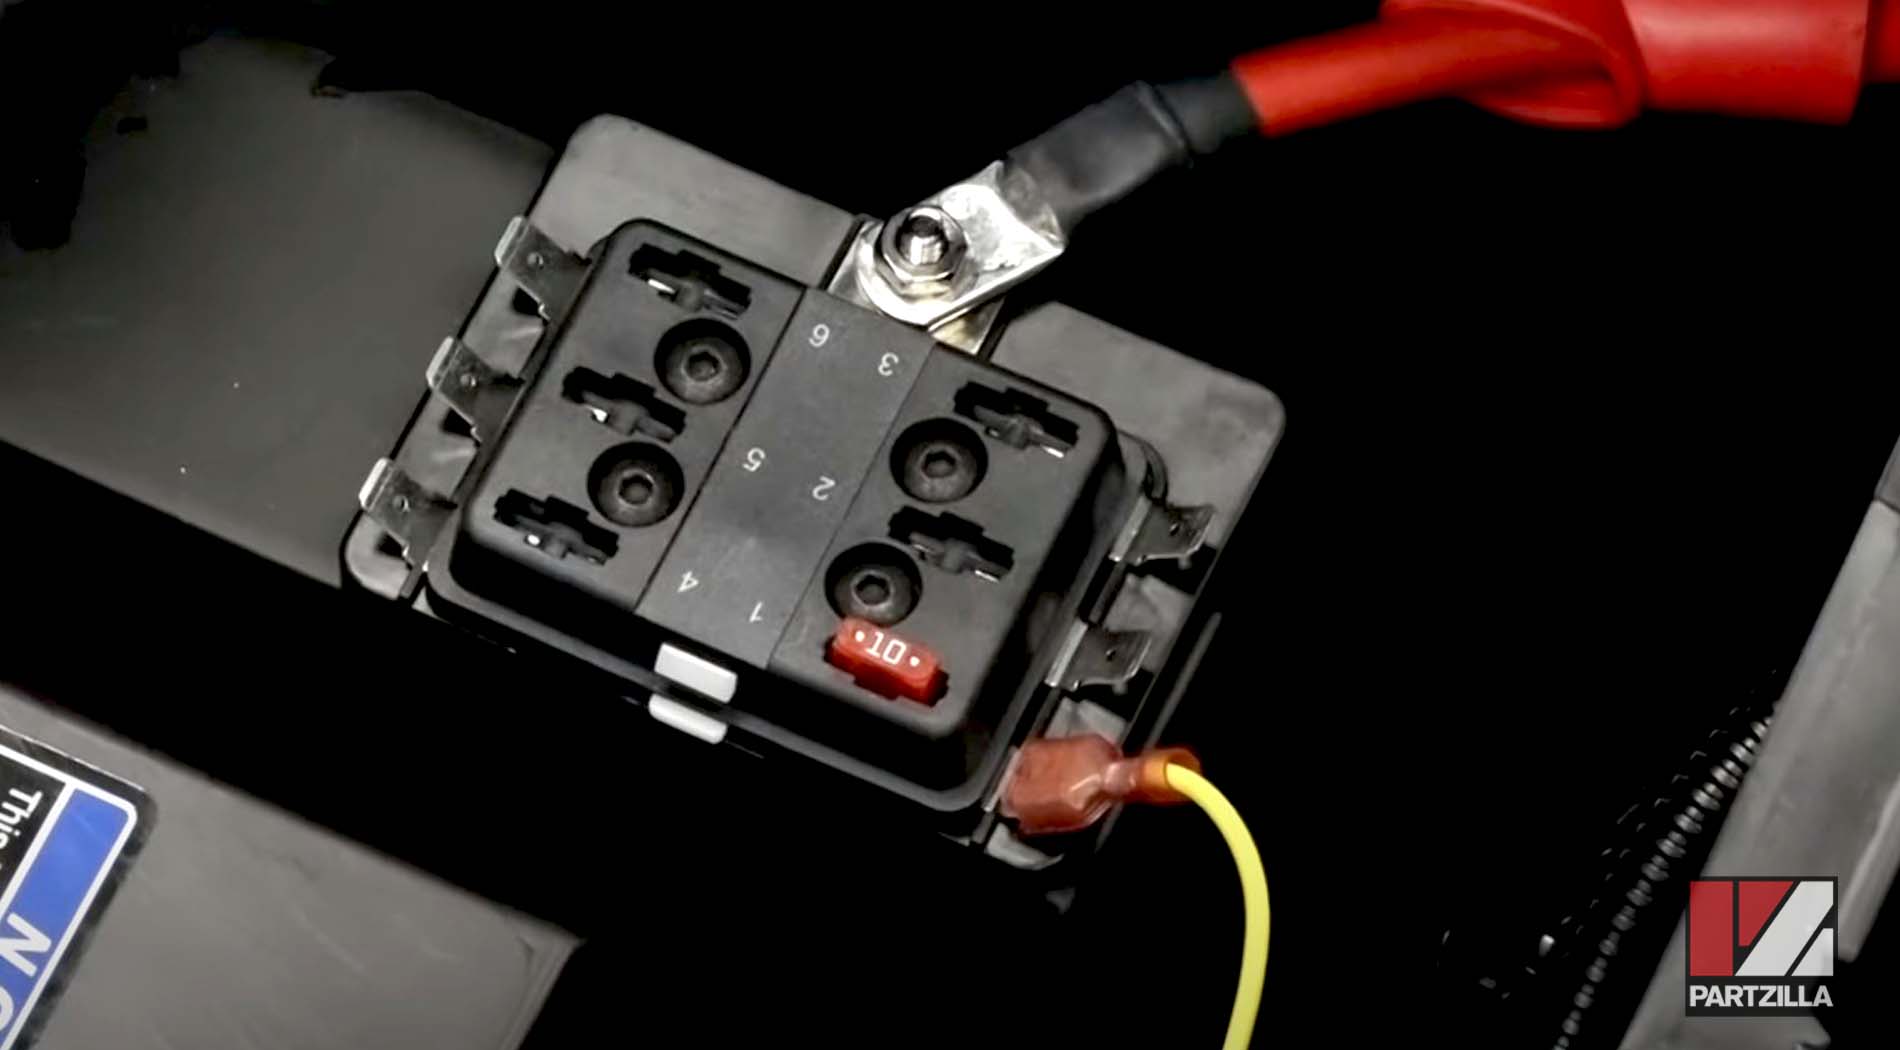
If a fuse blows despite having the correct amperage, your machine is telling you there’s a problem. It could be a short or an overloaded circuit, but whatever it is, you need to find and fix it. Don’t just cram in a larger fuse, as doing so risks damaging the wiring harness and potentially setting your machine on fire.
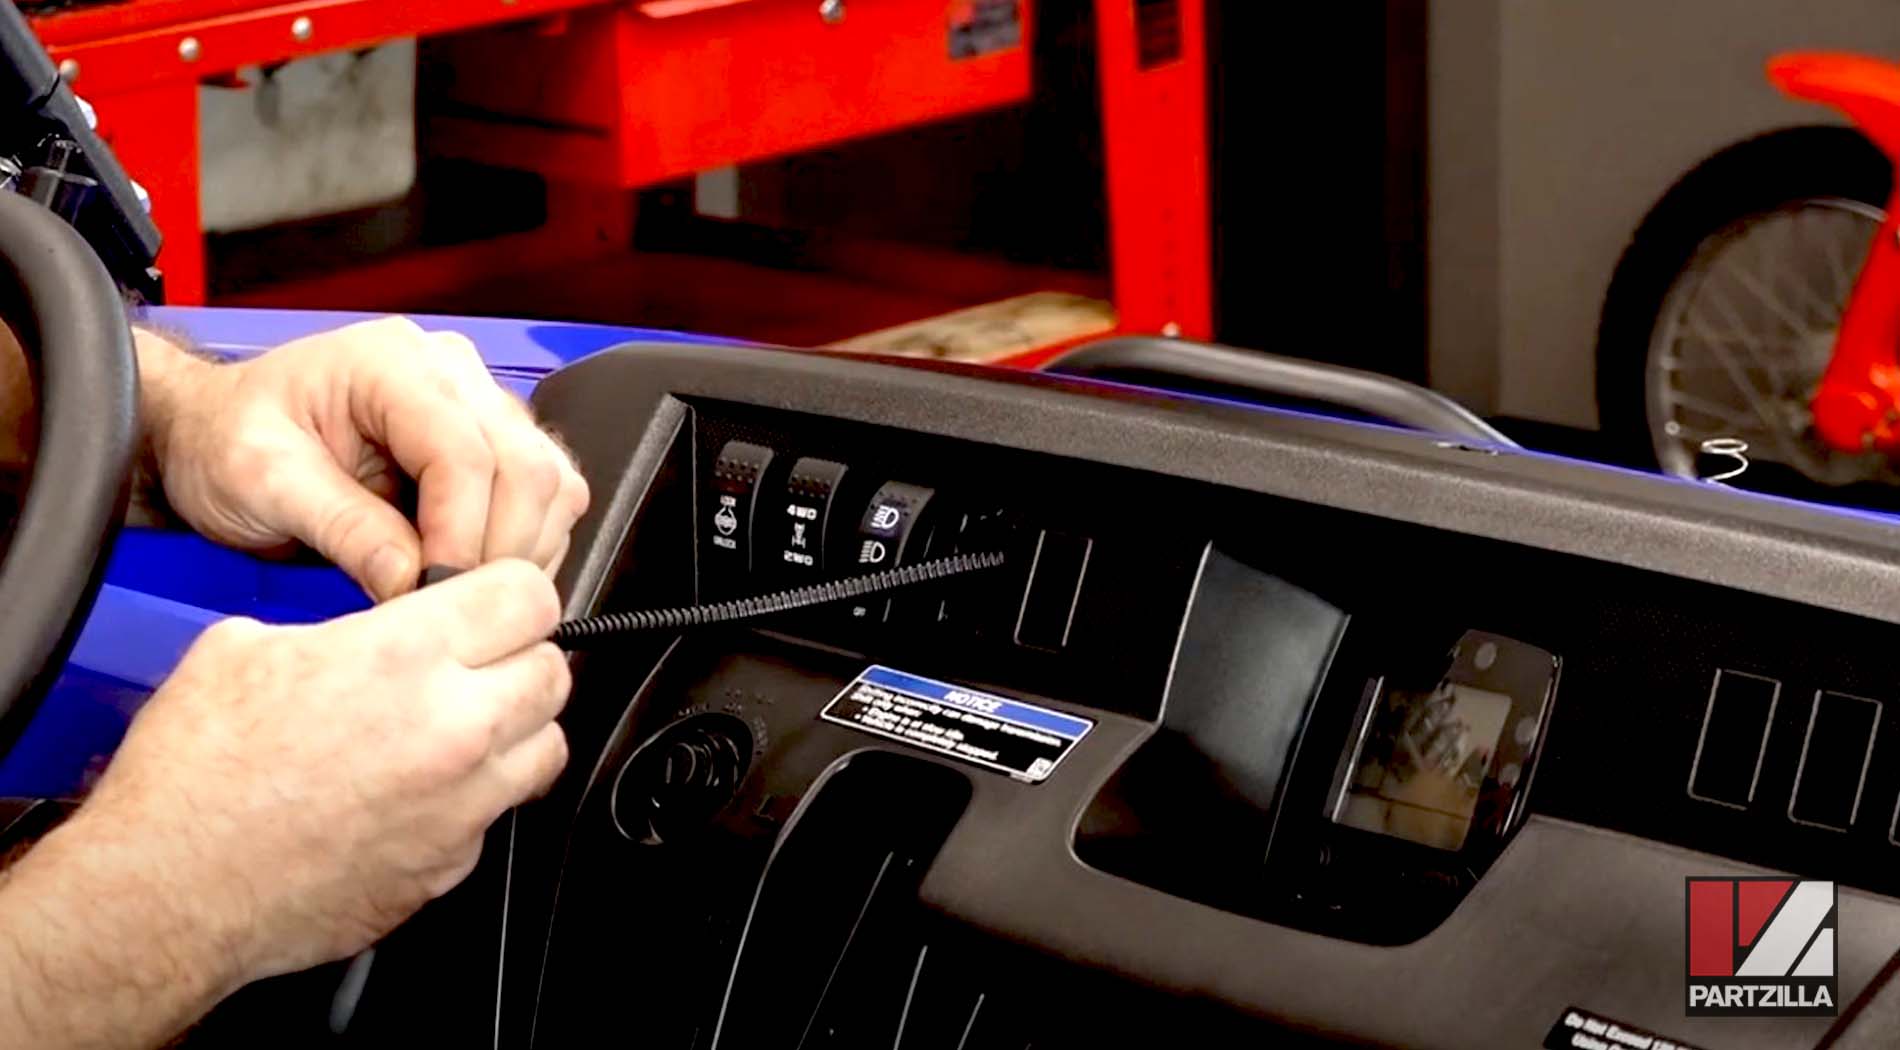
Check Add-Ons
Another common mistake people make when adding on a light bar or sound system is not paying attention to where they're routing their wires. A good rule of thumb is if you're going from one end of the machine or the other, follow the existing wiring harness.

The manufacturer took a pathway that’s safe from heat and pivot points on the machine. So while it may look easier to run it in a certain direction, check what's around it. Whether it’s the exhaust or suspension pivot points, it’s going to affect that wire if it comes into close contact with the heat.
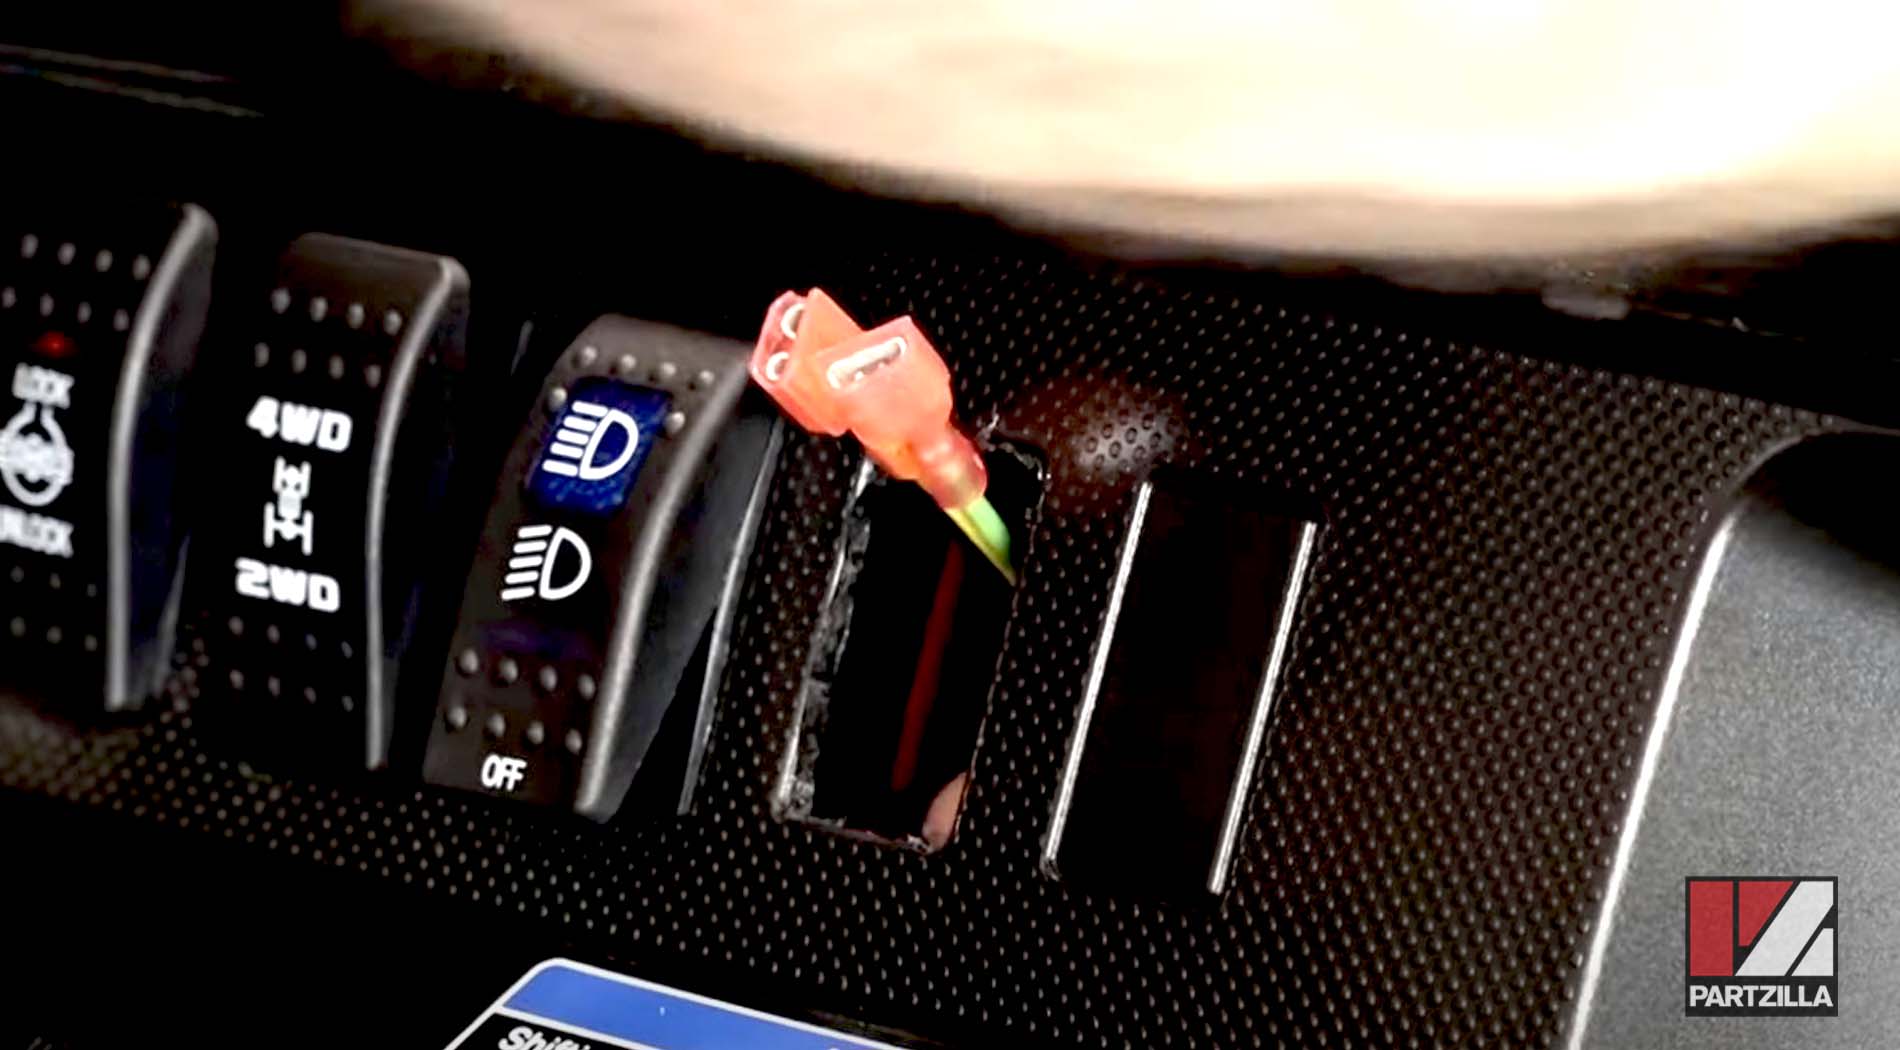
Don't tag on to the existing wiring harness. It was designed to carry the load for the machine and nothing else. If you’re going to add a load, separate it from the main harness. The best way to do that is to use a relay, which is an electronic switch.
Using part of the harness to activate and deactivate something like a light switch loads down what it takes to close that relay, which the wiring harness can deal with. However, if you connect the new light directly into the existing wiring harness for the lighting system, it increases the load to a level it was never designed to deal with. The relay transfers the load from the main harness over to the battery where it needs to be.