How to Remove a Broken Exhaust Bolt
It's every mechanic’s nightmare when working on a project to have one corroded bolt get stuck and even worse, break off while trying to release it.
If you work on machines long enough, you’ll eventually have to deal with a stubborn bolt, and it happened to Partzilla’s own John Talley while rebuilding the head of a 2016 Yamaha YXZ1000R engine. We gathered up all the footage off the cutting room floor for our YXZ1000R rebuild project to show you what it took to straighten out and remove one exhaust stud that didn't want to come out.
Tools Used - Broken Exhaust Stud Removal
- Blow torch
- Welder
- Power drill
- Ratchet and extensions
- Time Sert kit
- Blow gun
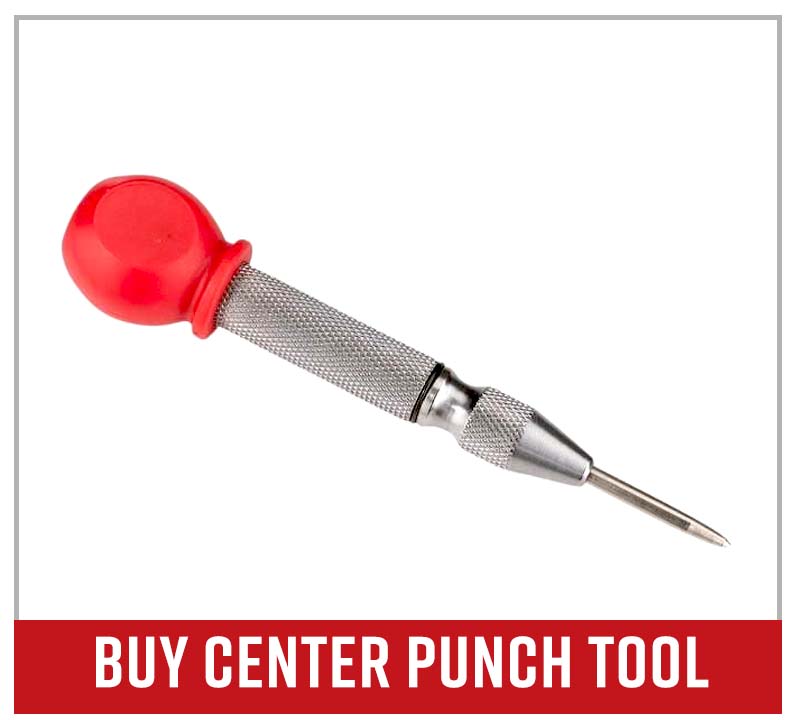
- Center punch
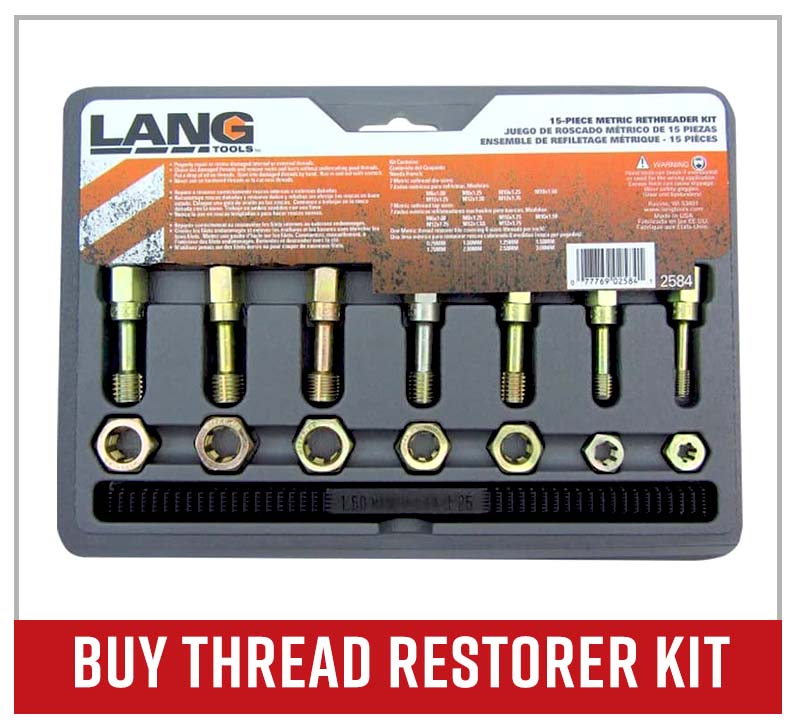
- Metric thread restorer
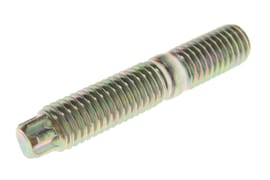
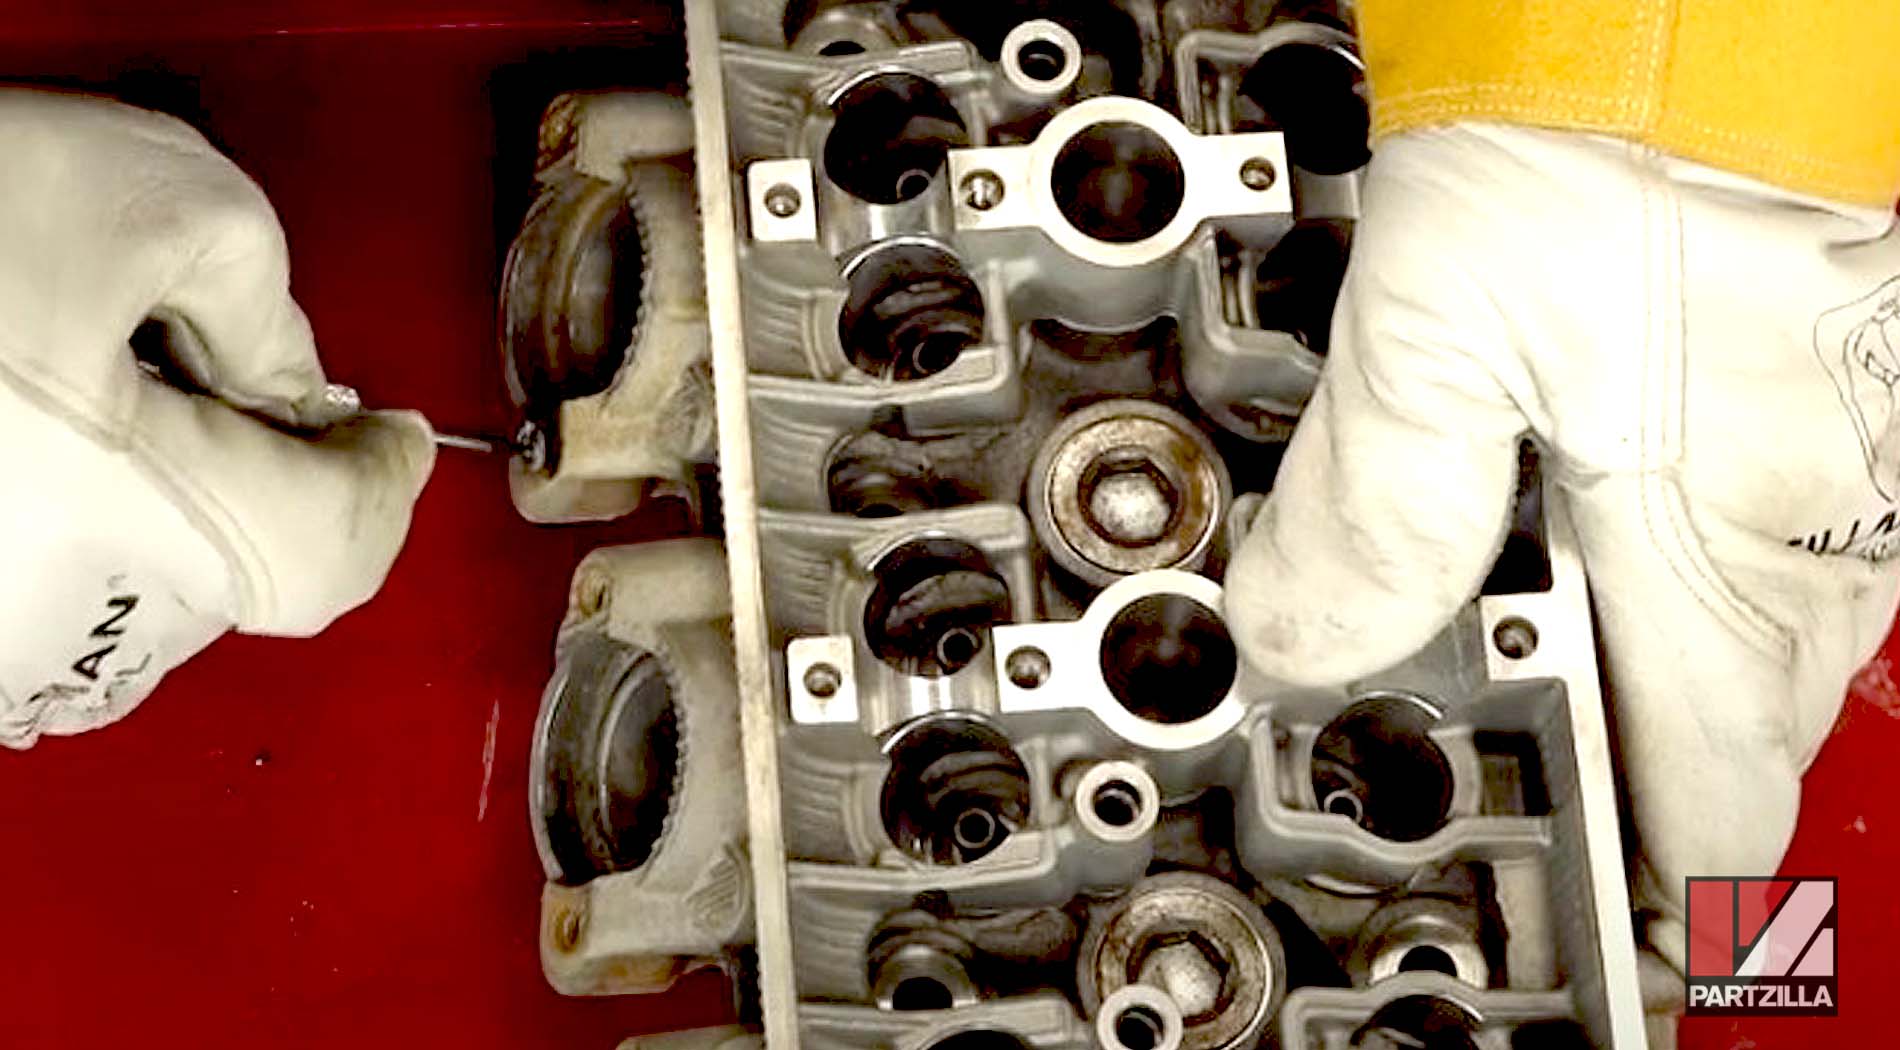
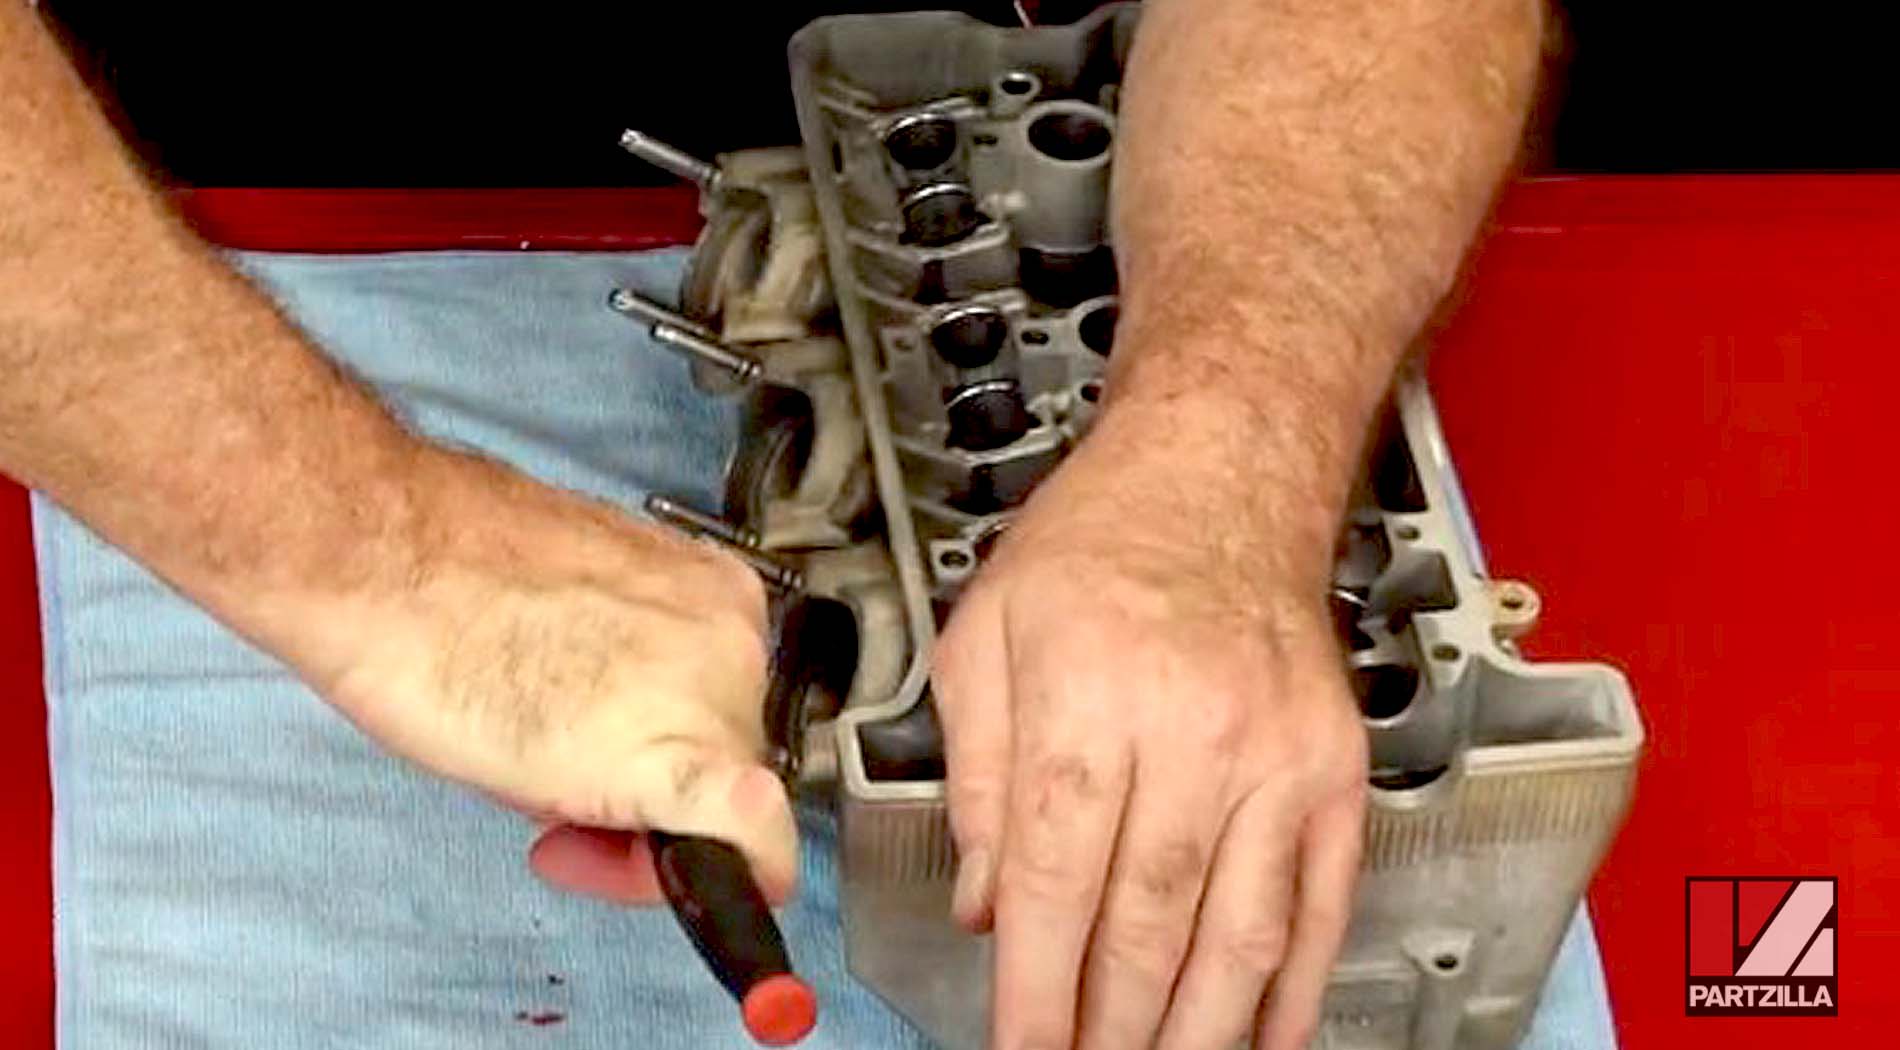
Part of that project was rebuilding the bottom end of the YXZ1000R and reducing the compression ratio for a turbo upgrade. Aftermarket Kibblewhite parts were used for the top end rebuild, but one OEM replacement component was kept: the exhaust valve studs.
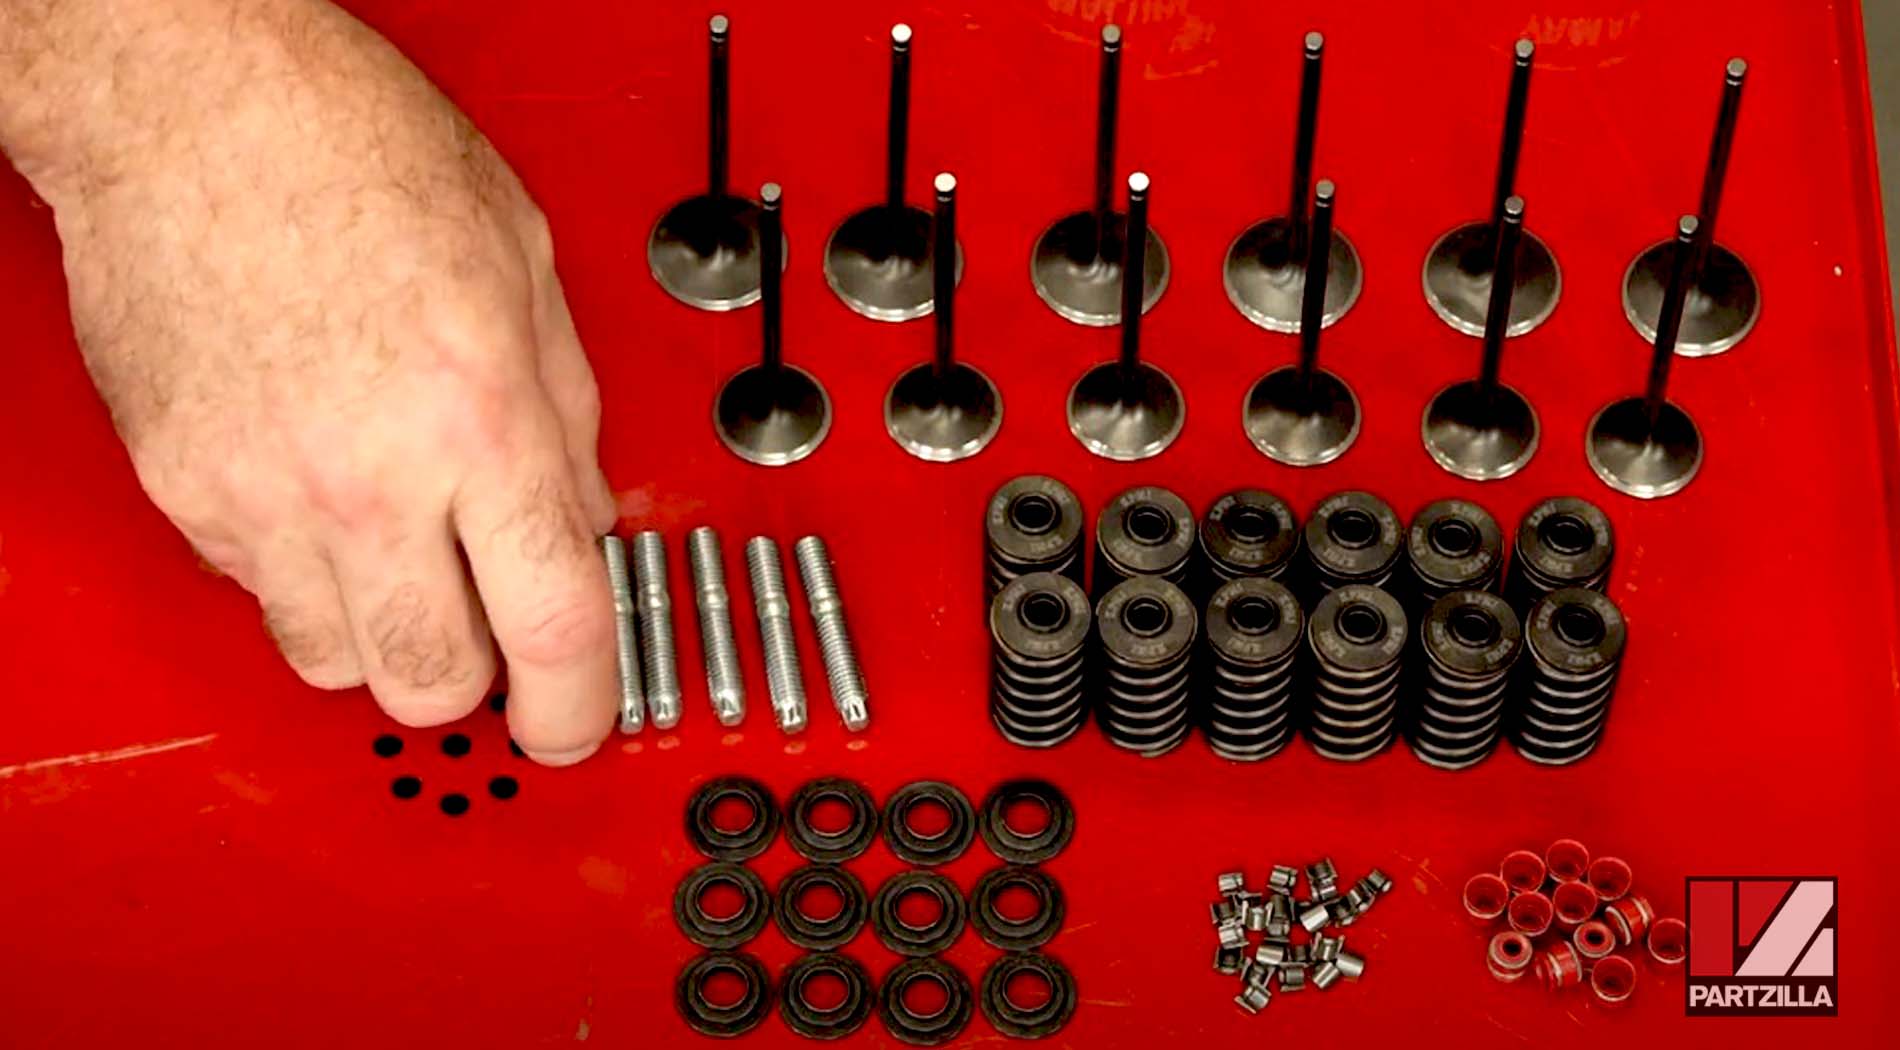
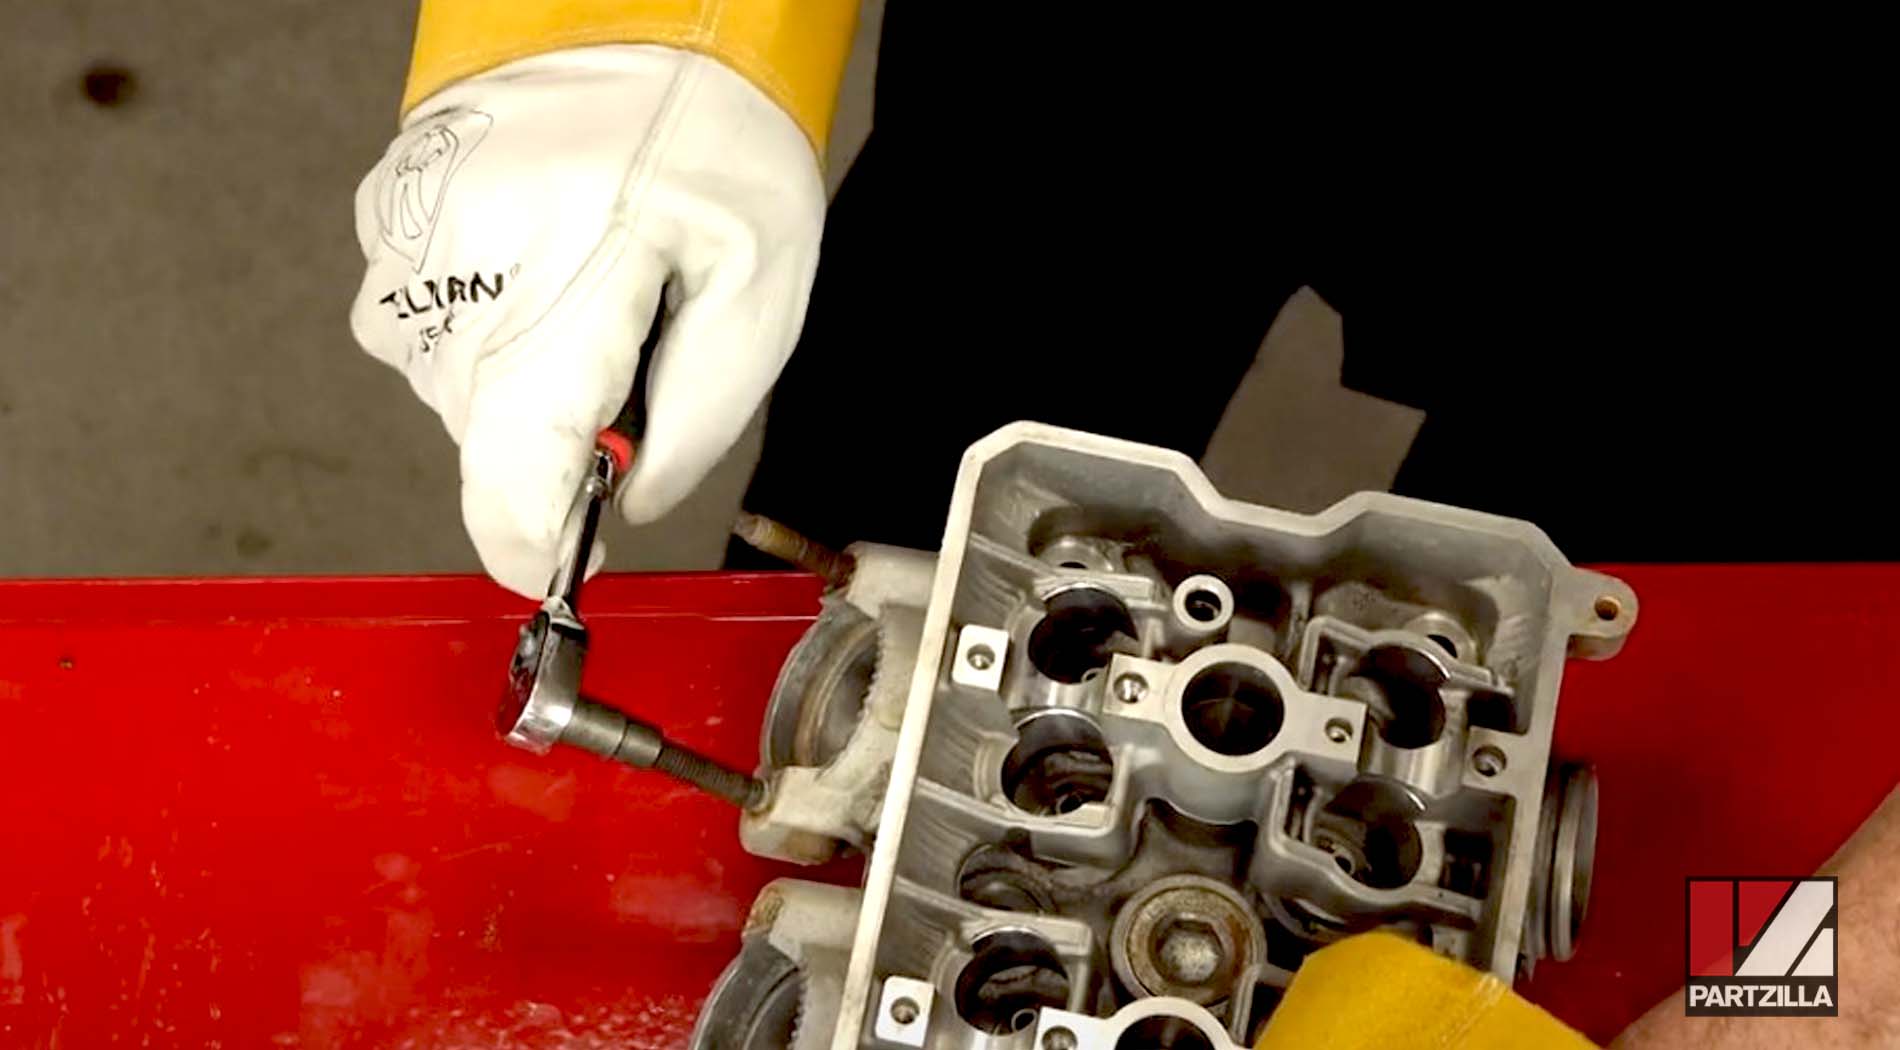
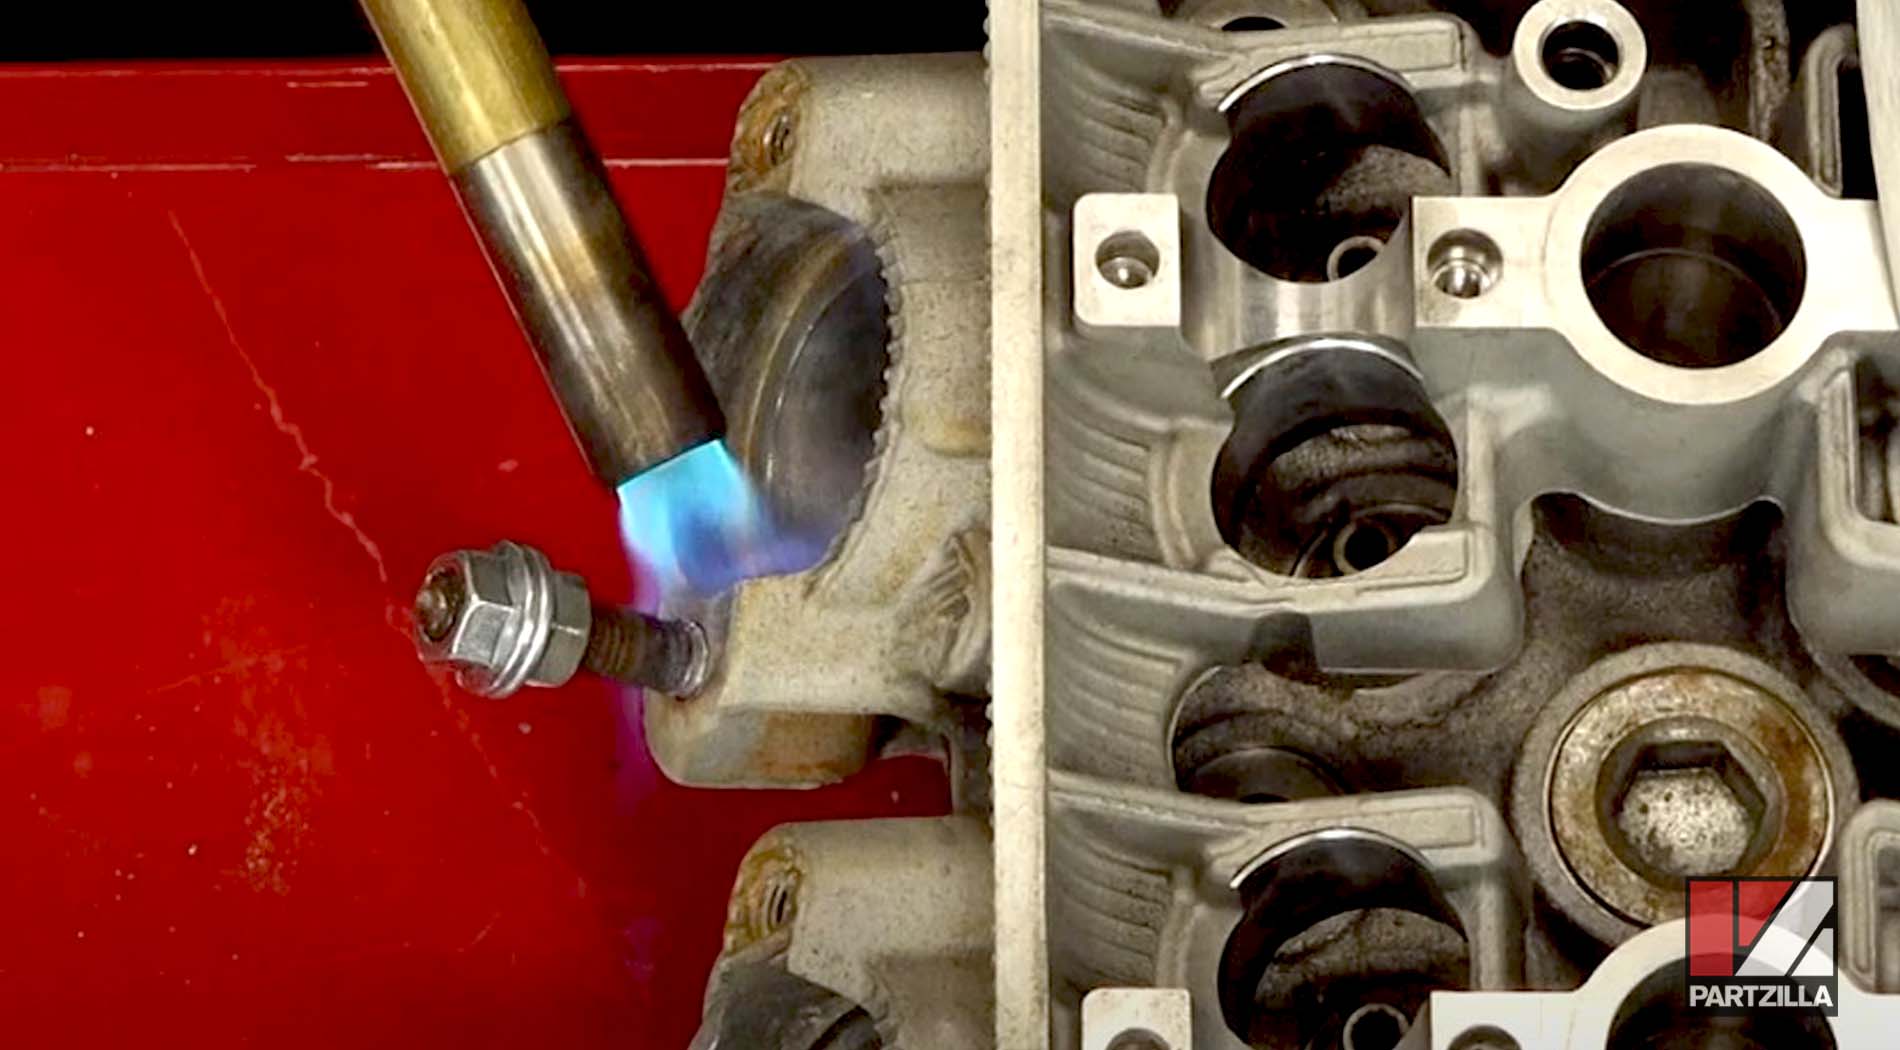
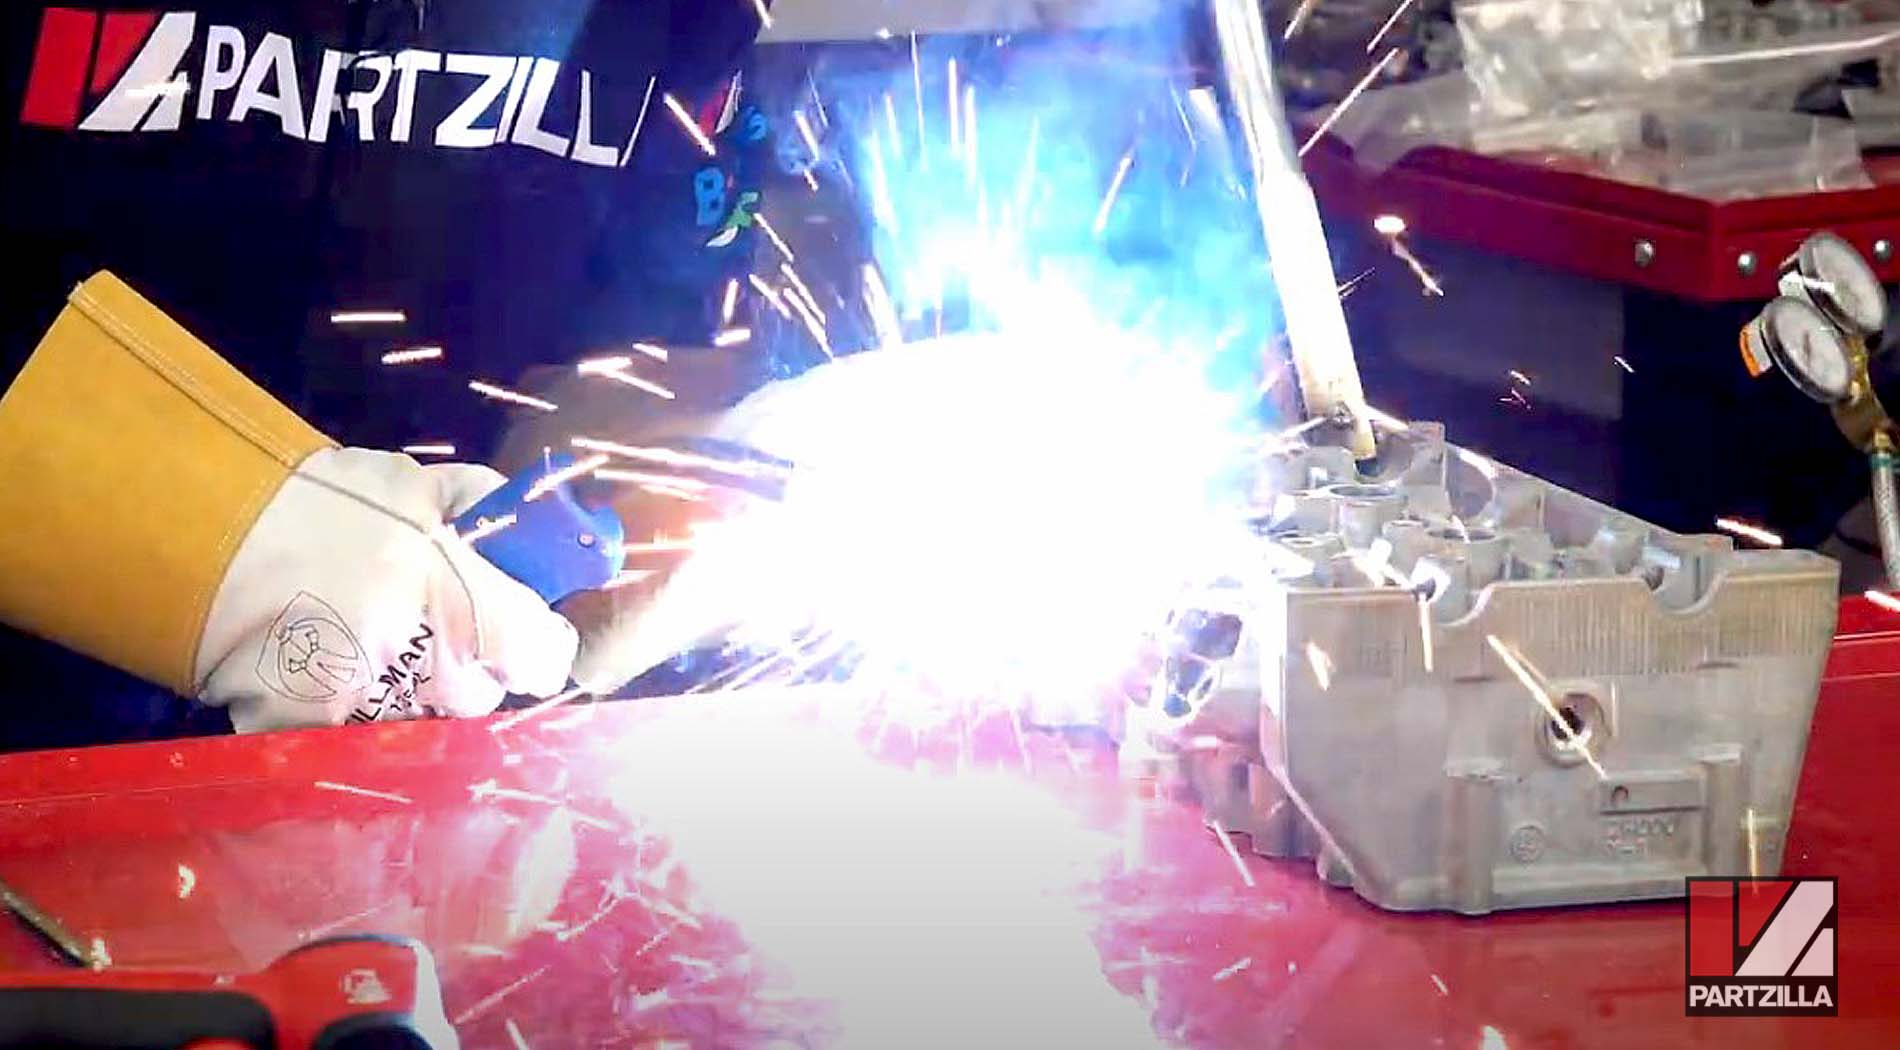
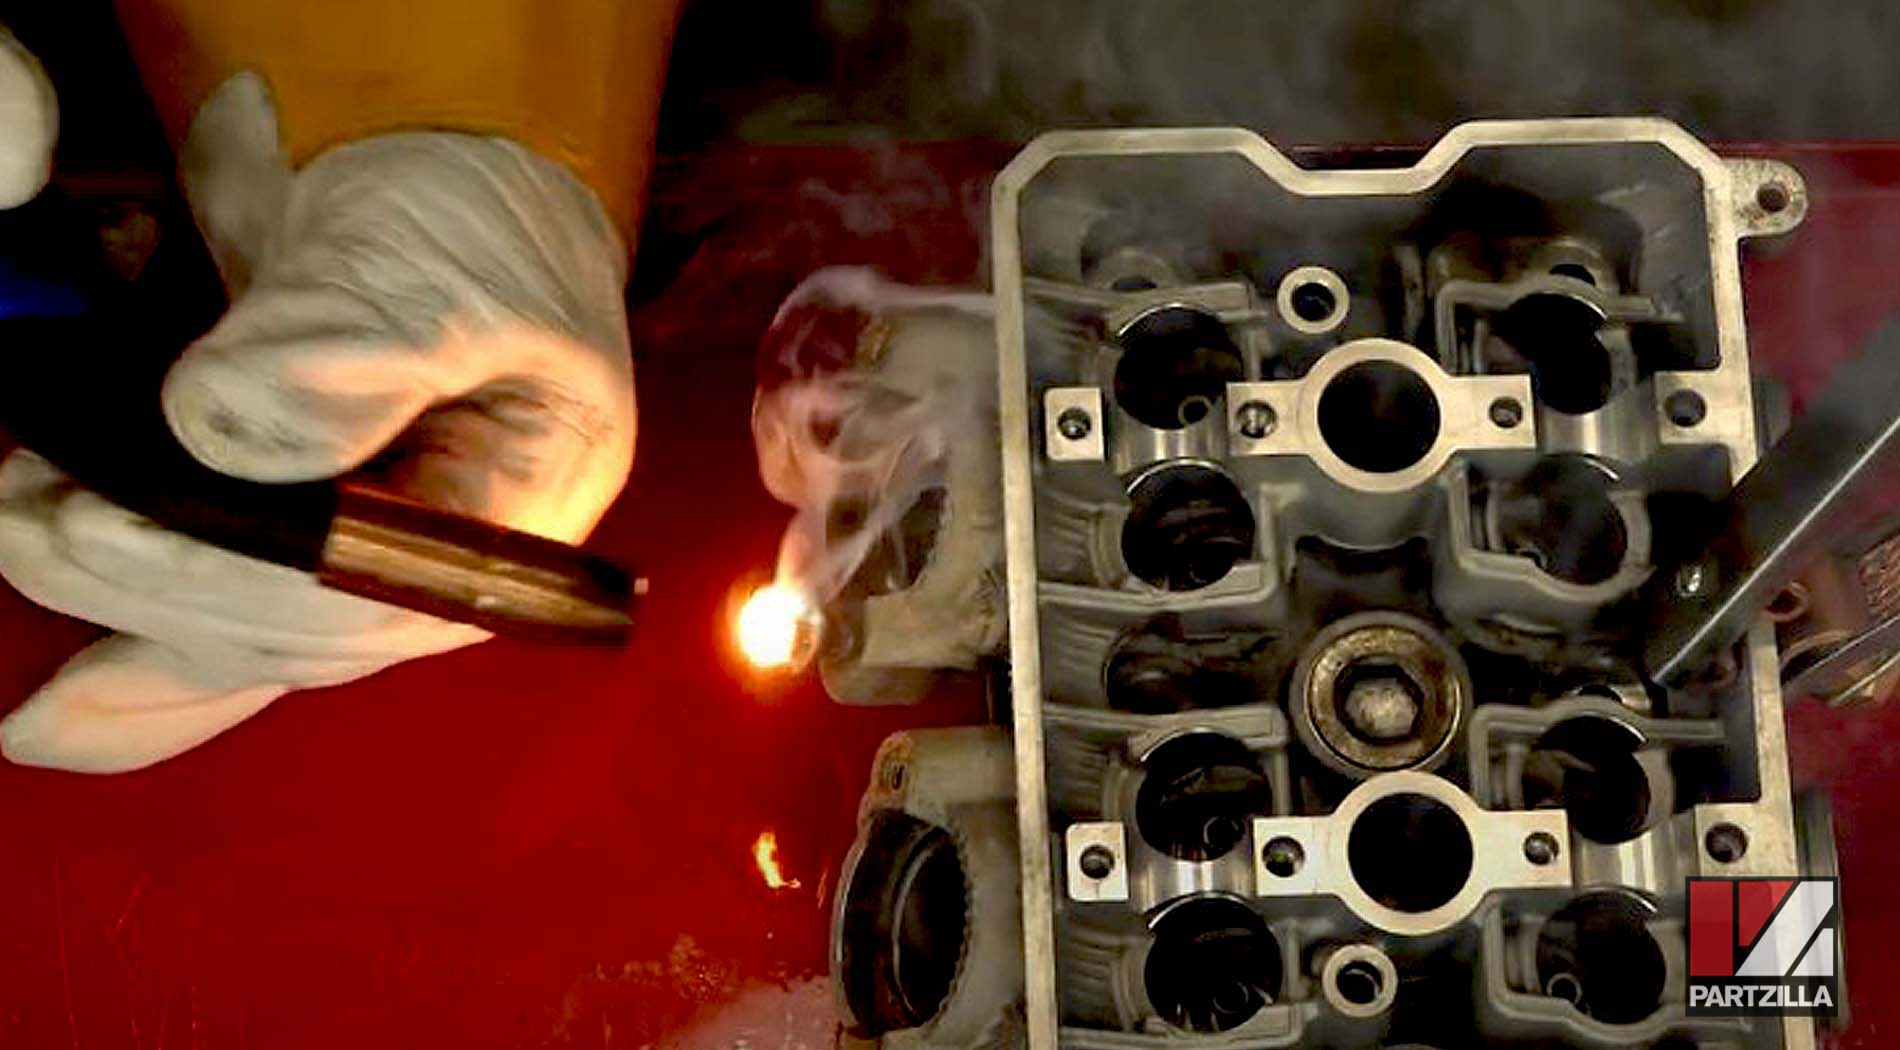
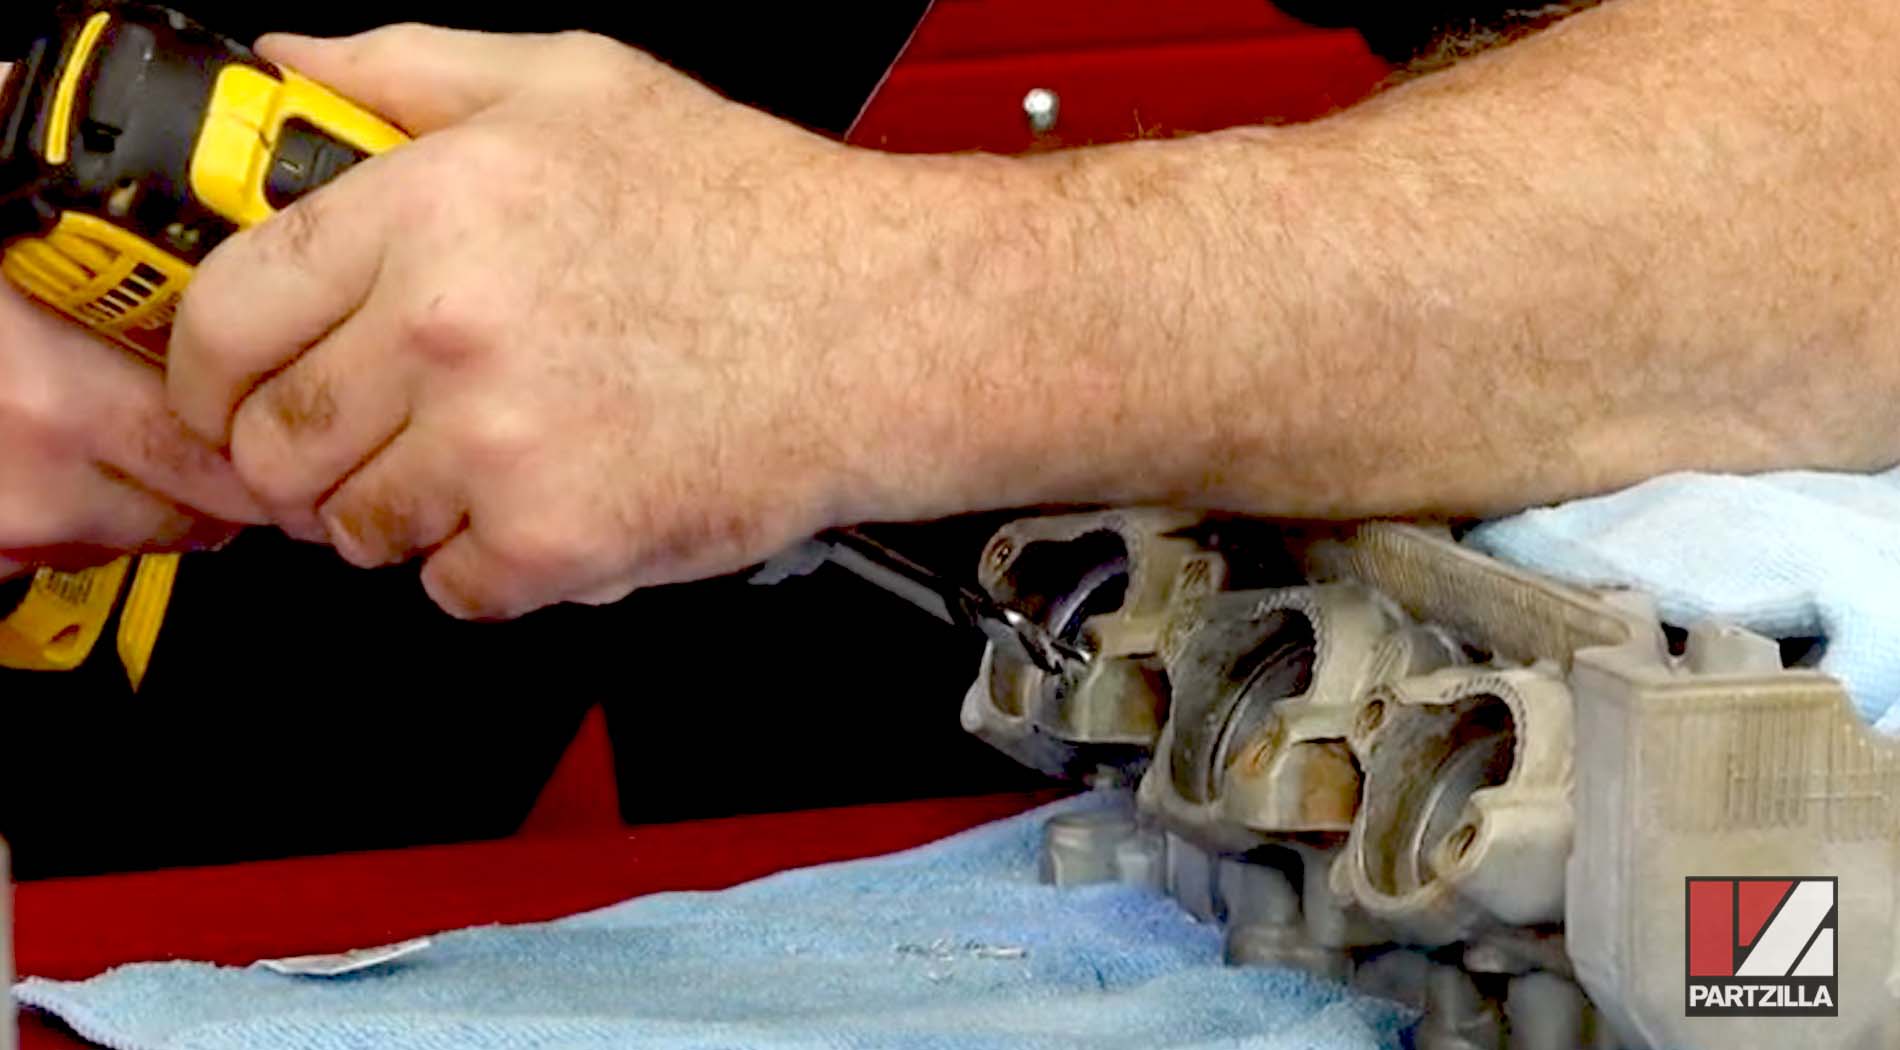
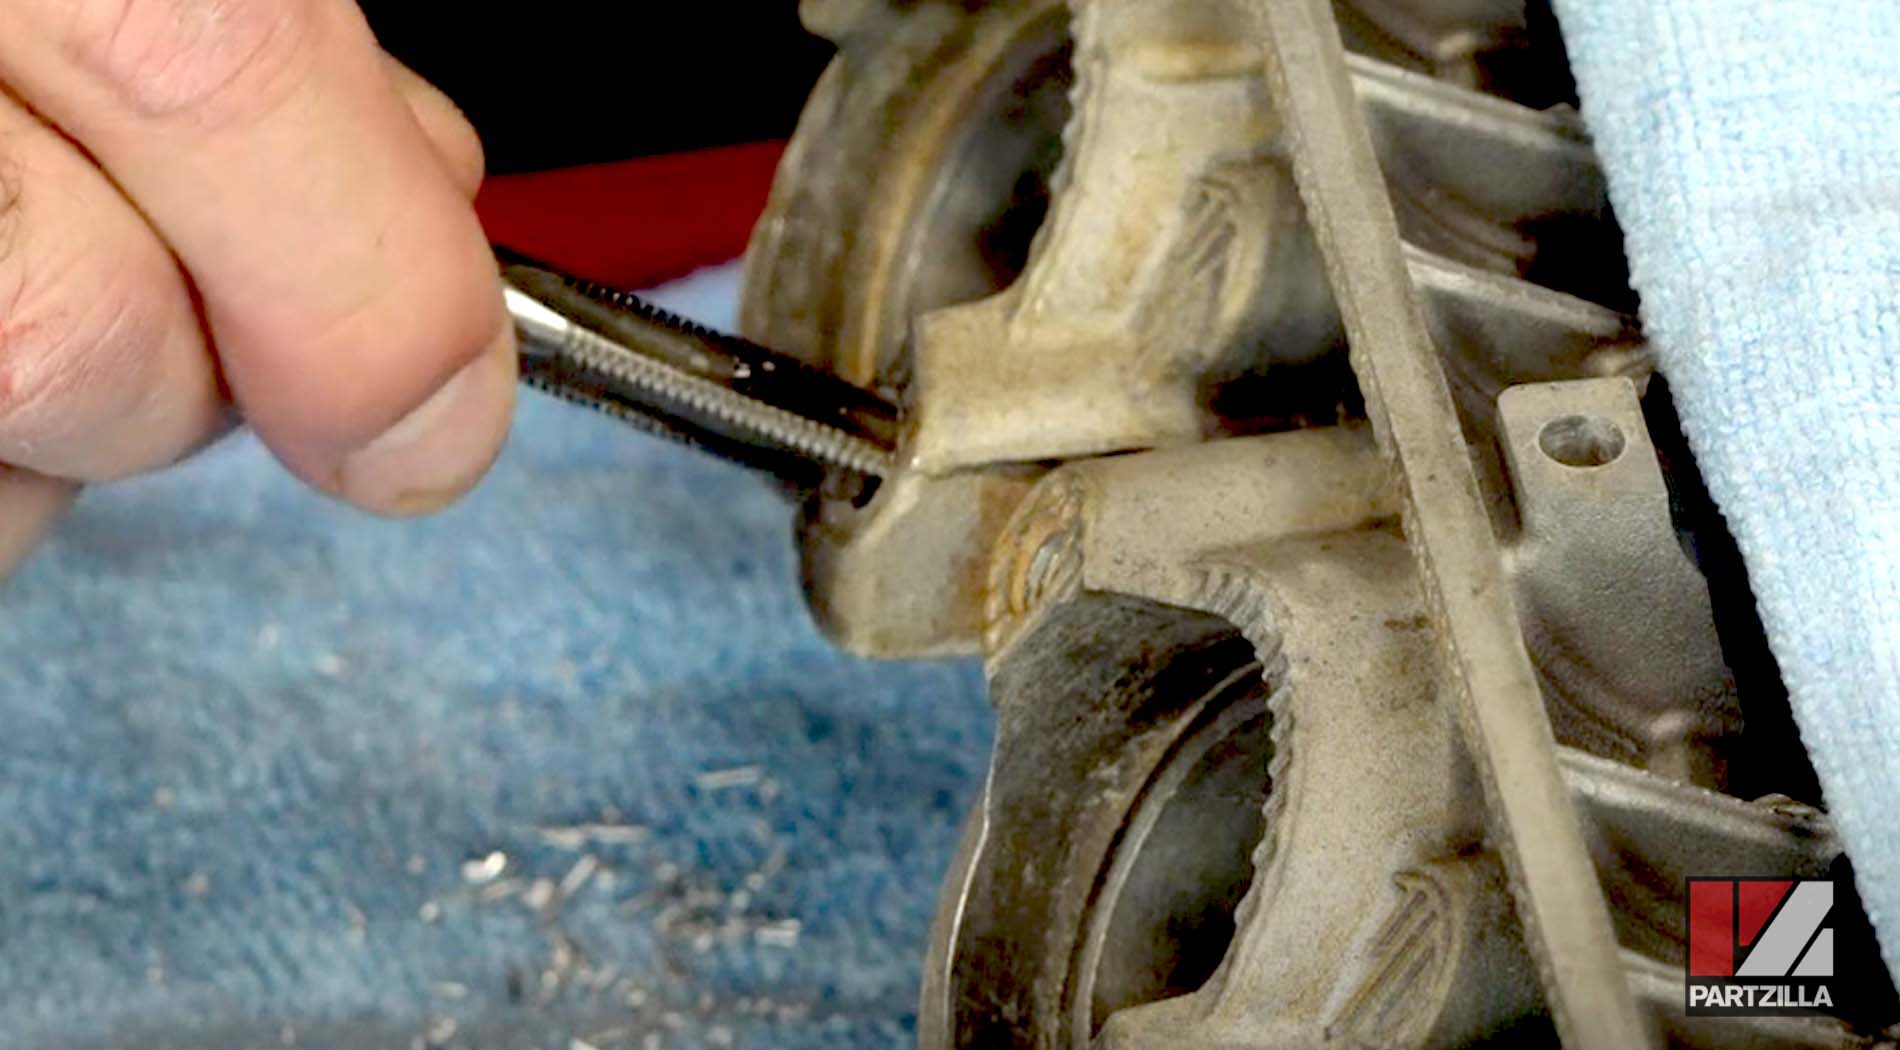
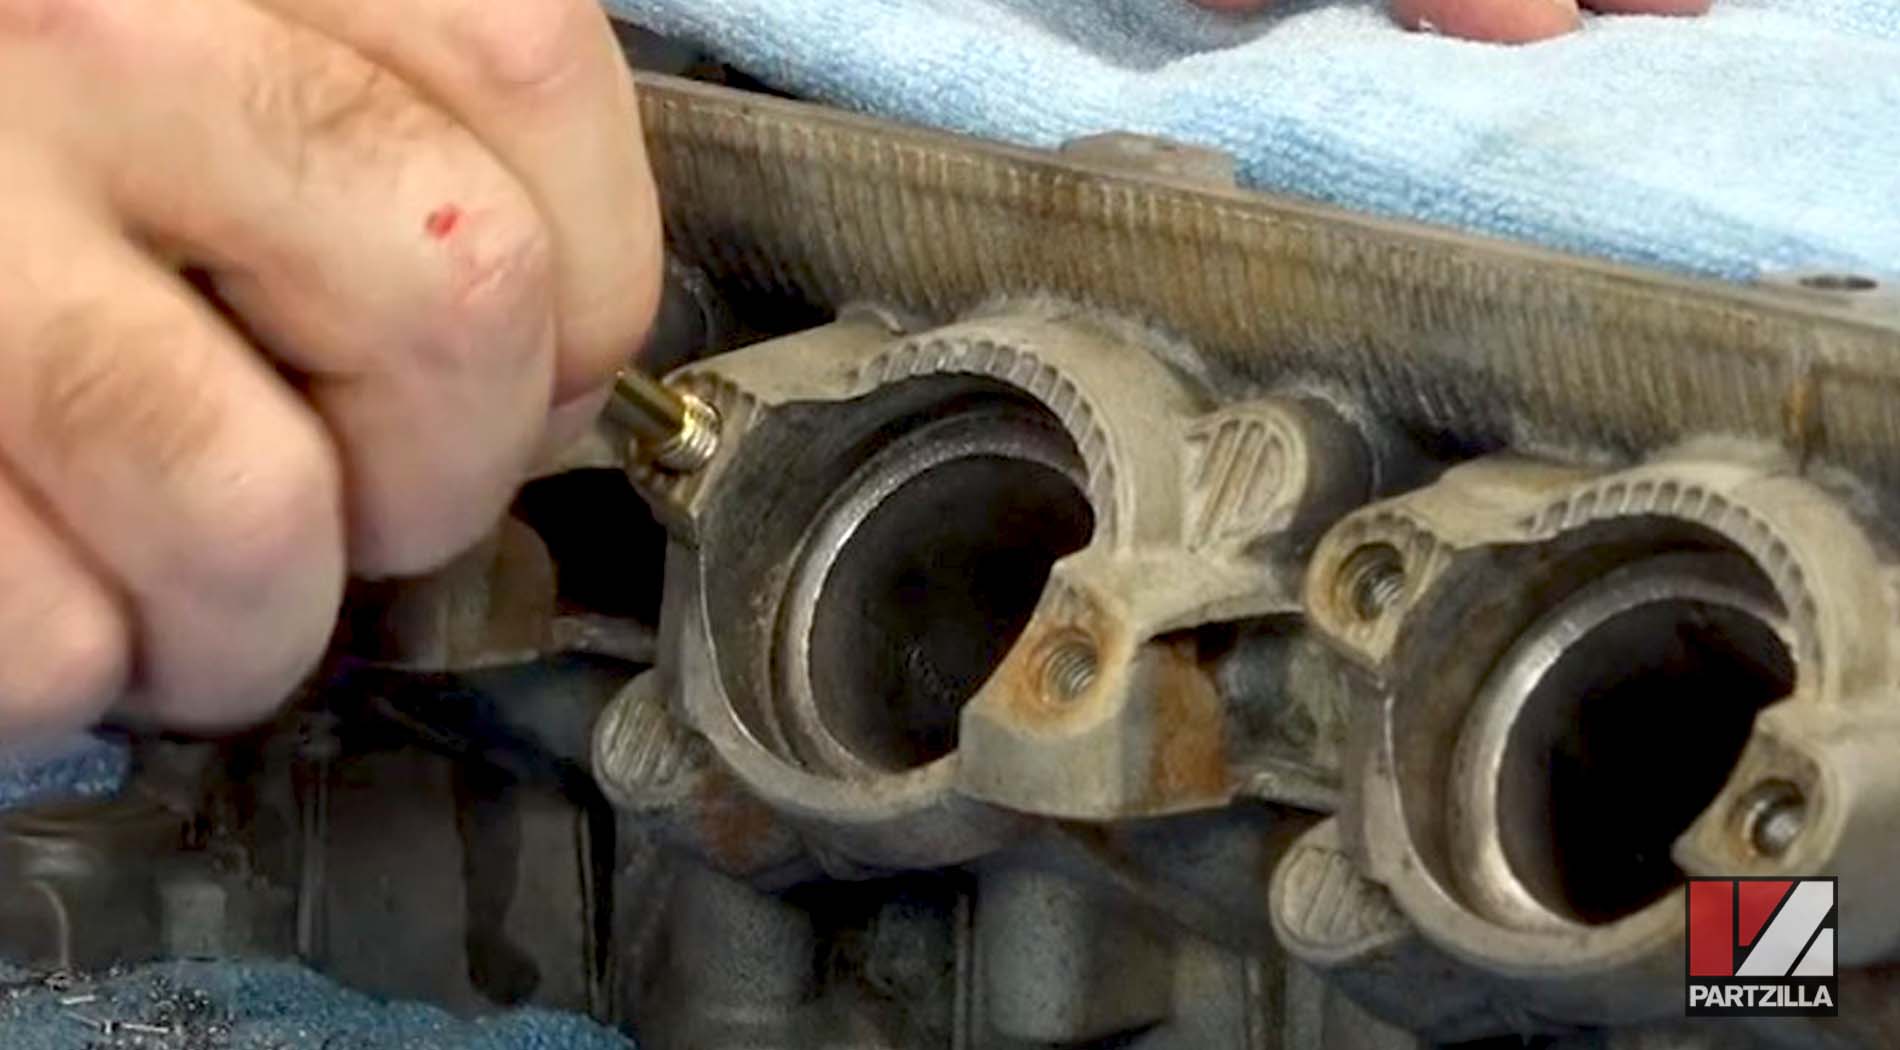
Those bolts were heavily corroded, and one in particular didn’t want to come out at all. The first step in getting the corroded exhaust bolts out was to heat them up with a blow torch to break down the corrosion between the studs and the aluminum head so they don’t strip or break.
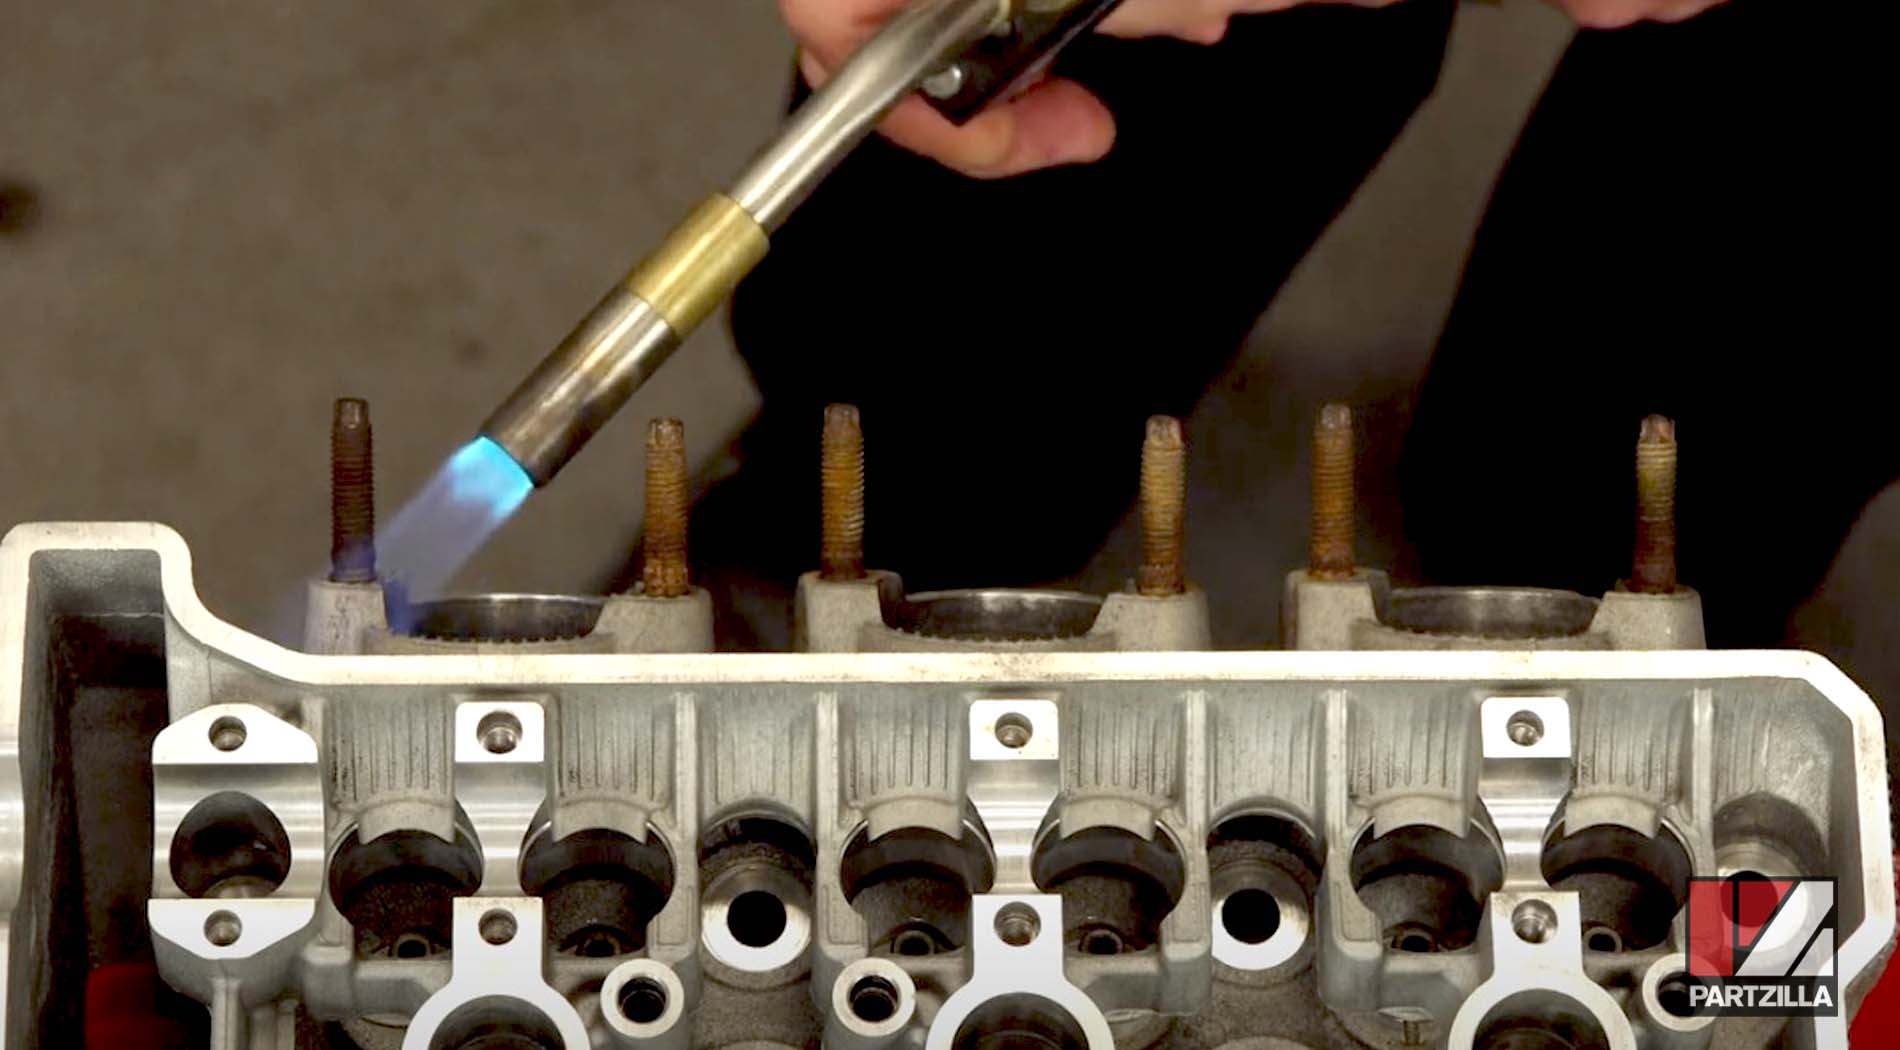
John spent a little time heating each bolt one by one, at 170-180 degrees at first and eventually at 200 degrees. All of the exhaust studs came out easily, except for one stubborn bolt that just wouldn’t budge.
That one stubborn bolt was a little bit more corroded than the others, so John kept heating it up and trying to remove it, but he was worried it was going to gall because he didn’t heat it up enough, and it did.
PRO TIP: To try to prevent this from happening, heat up the stuck bolt at 200 degrees for at least two minutes before attempting to remove it.
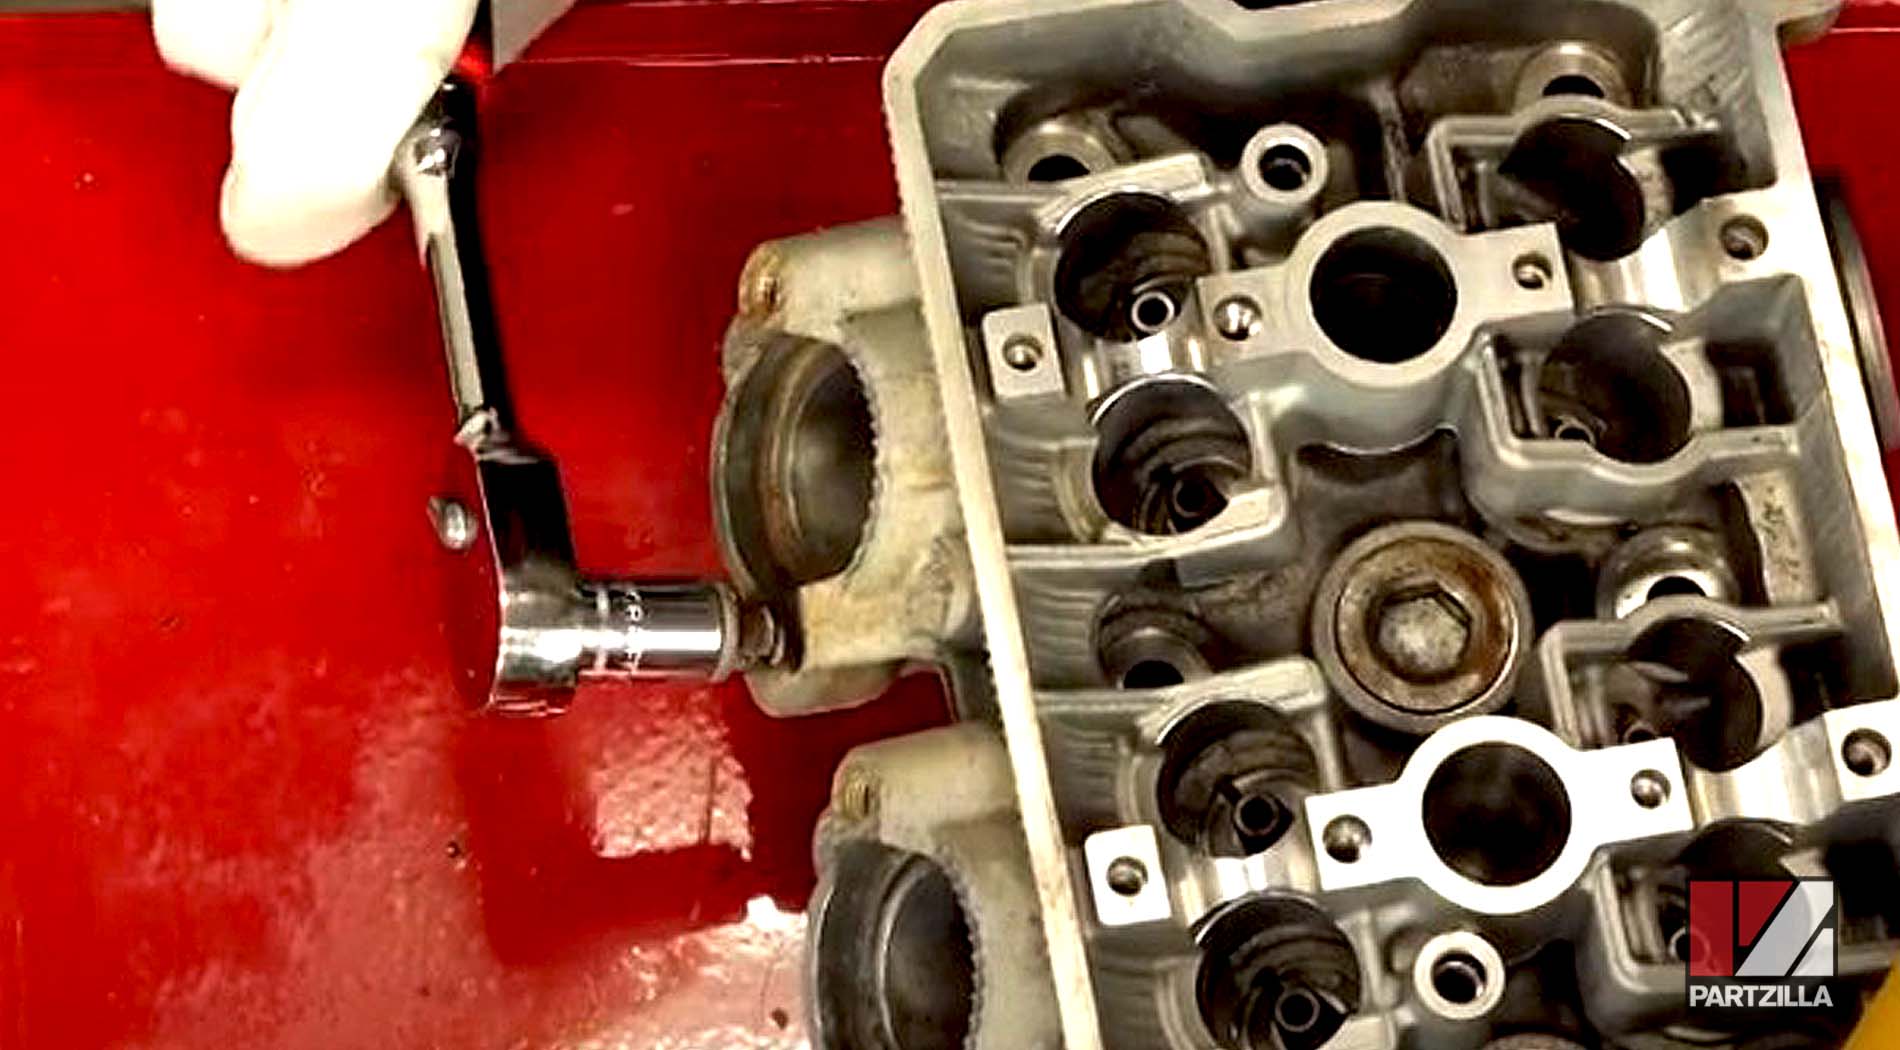
Because that one exhaust stud galled and wouldn’t come out, it was time for John to use a Time Sert thread repair kit to get that stud removed.
Watch the video below to learn about the differences between Time Sert and Heli-Coil thread repair tools for dealing with these types of situations.
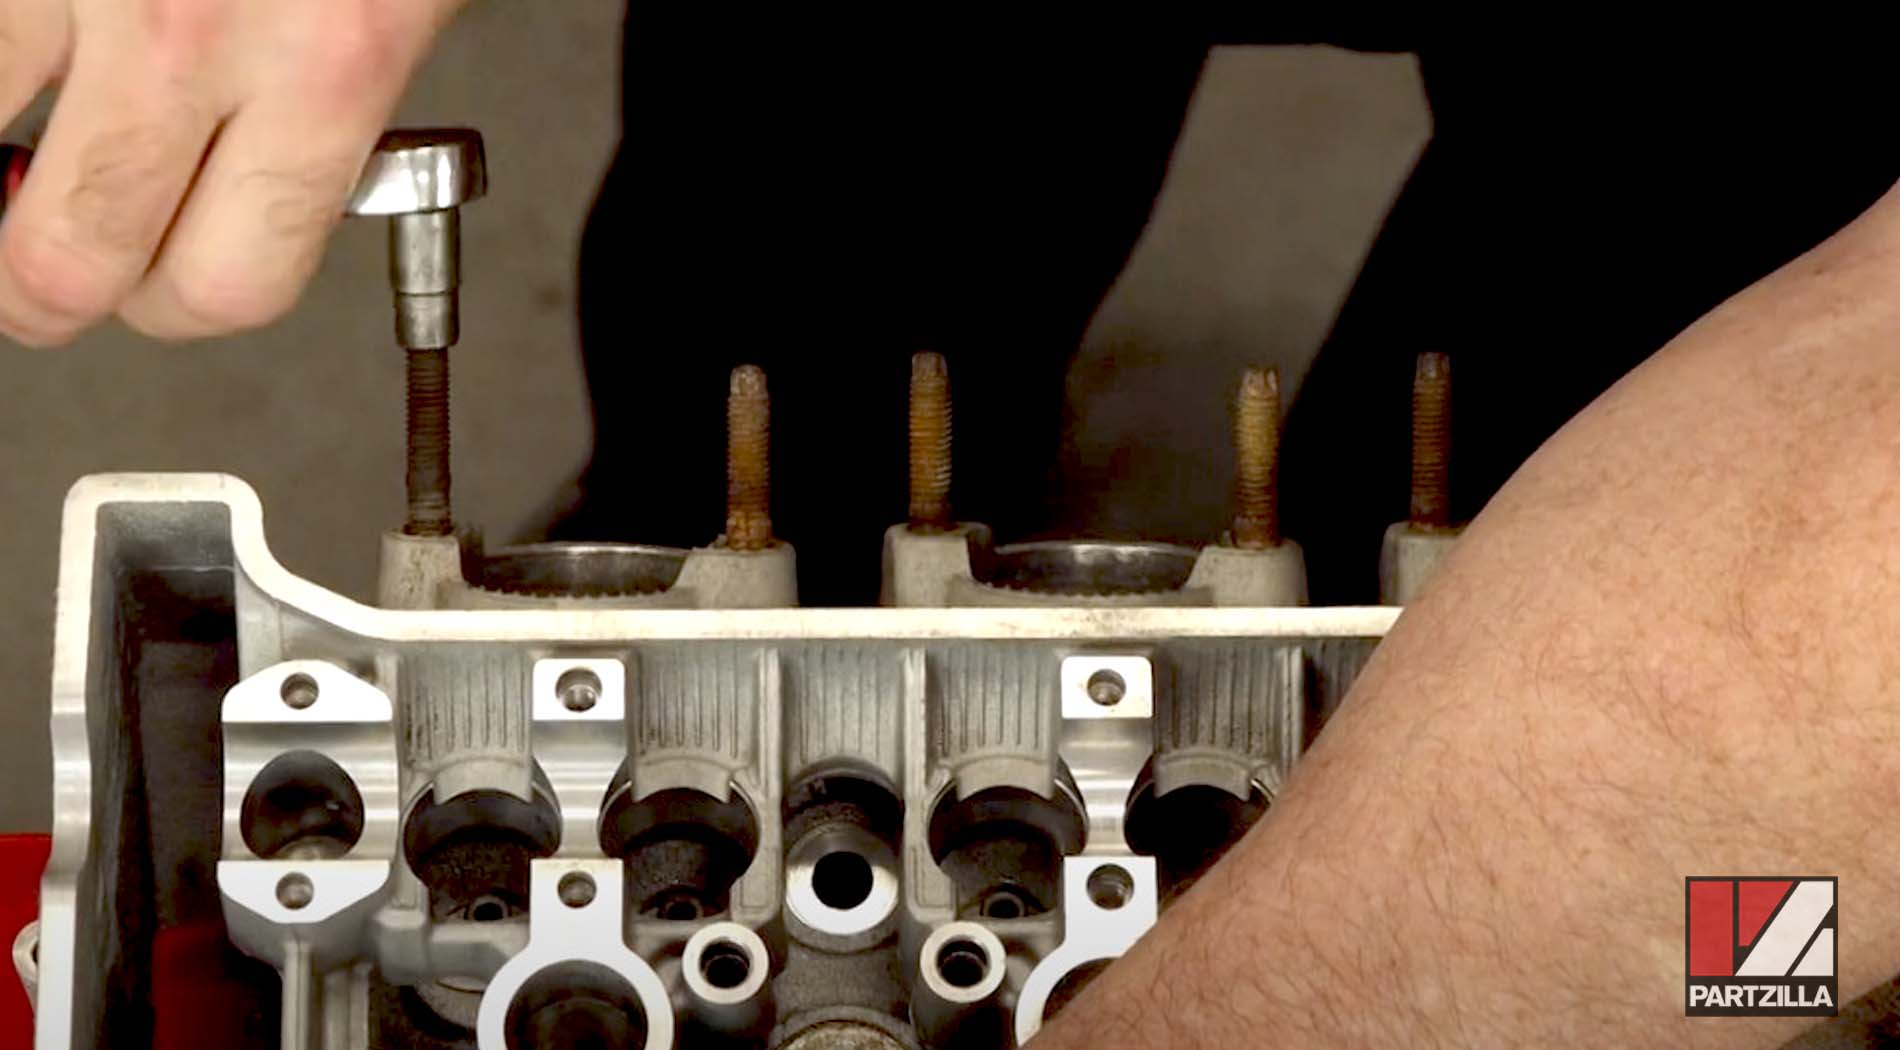
In most cases, you can take two nuts, back them up together, then heat up the bolt, and that locking action between the nuts will be enough to bring the stubborn bolt out, but that didn’t work in this situation.
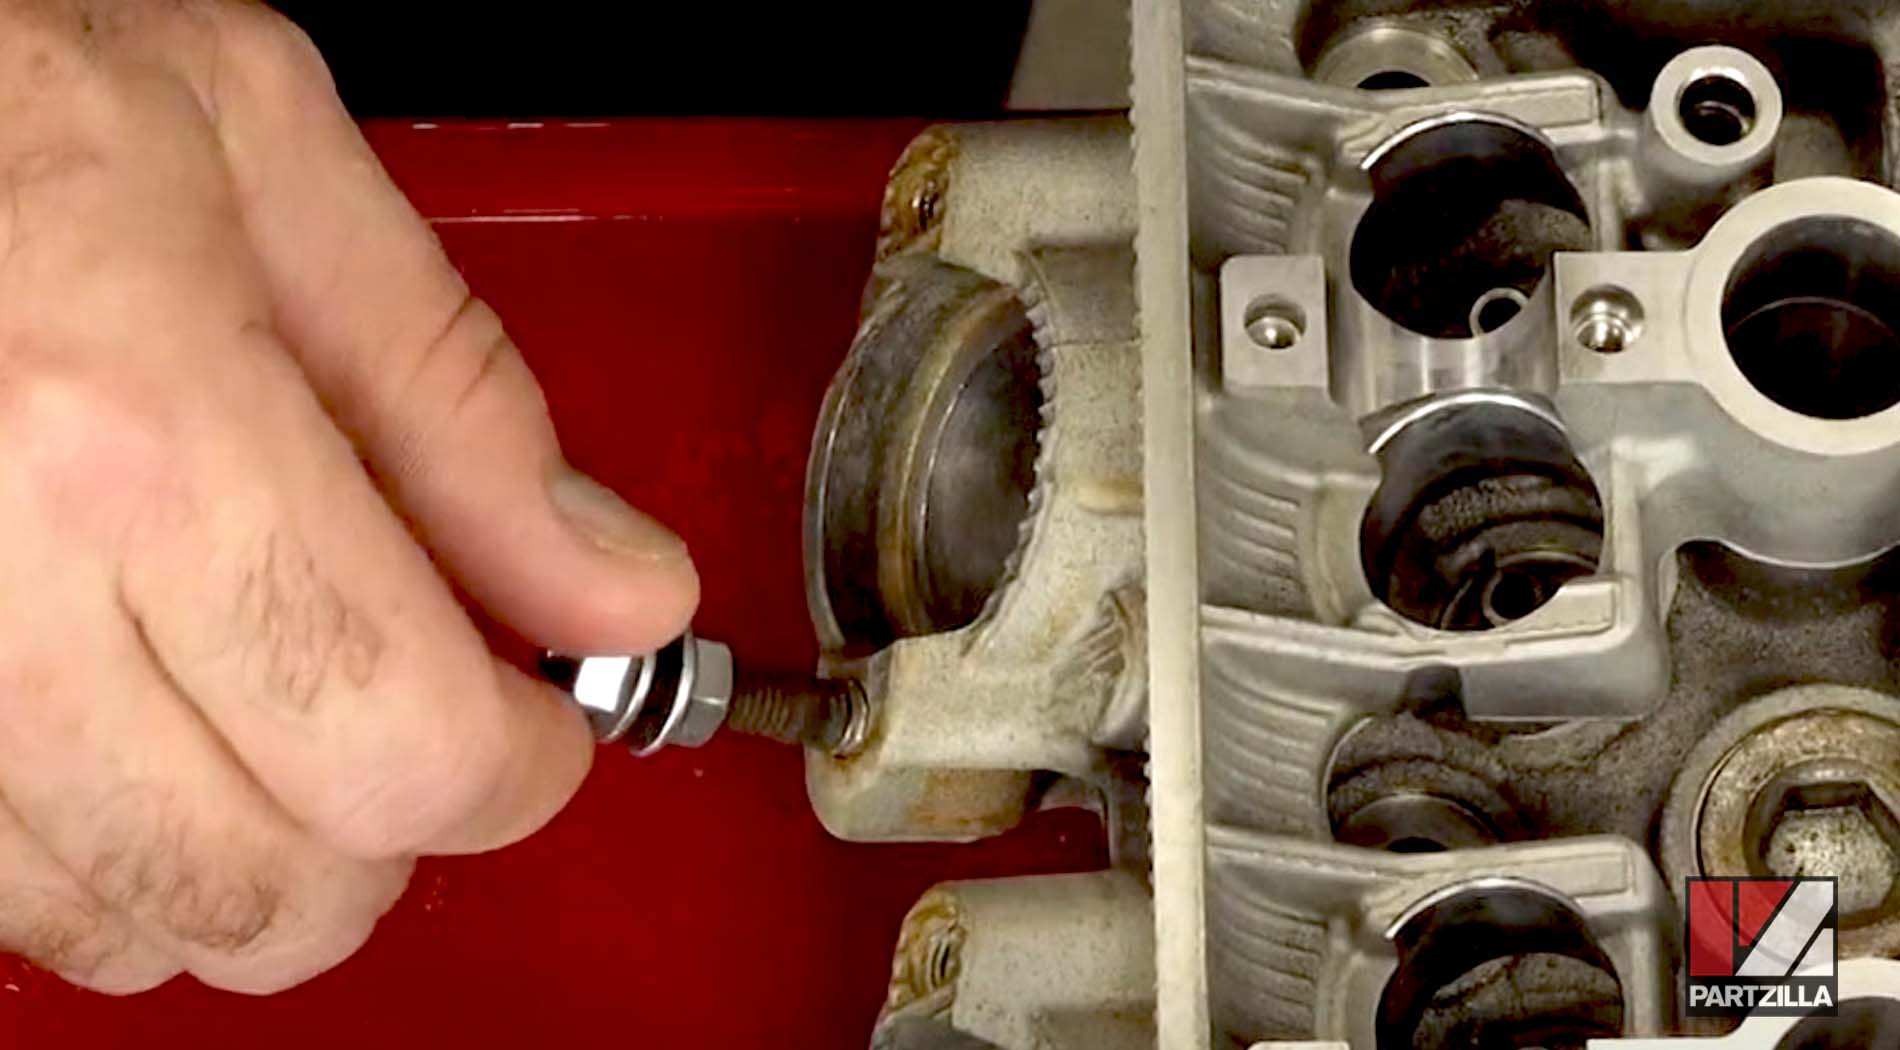
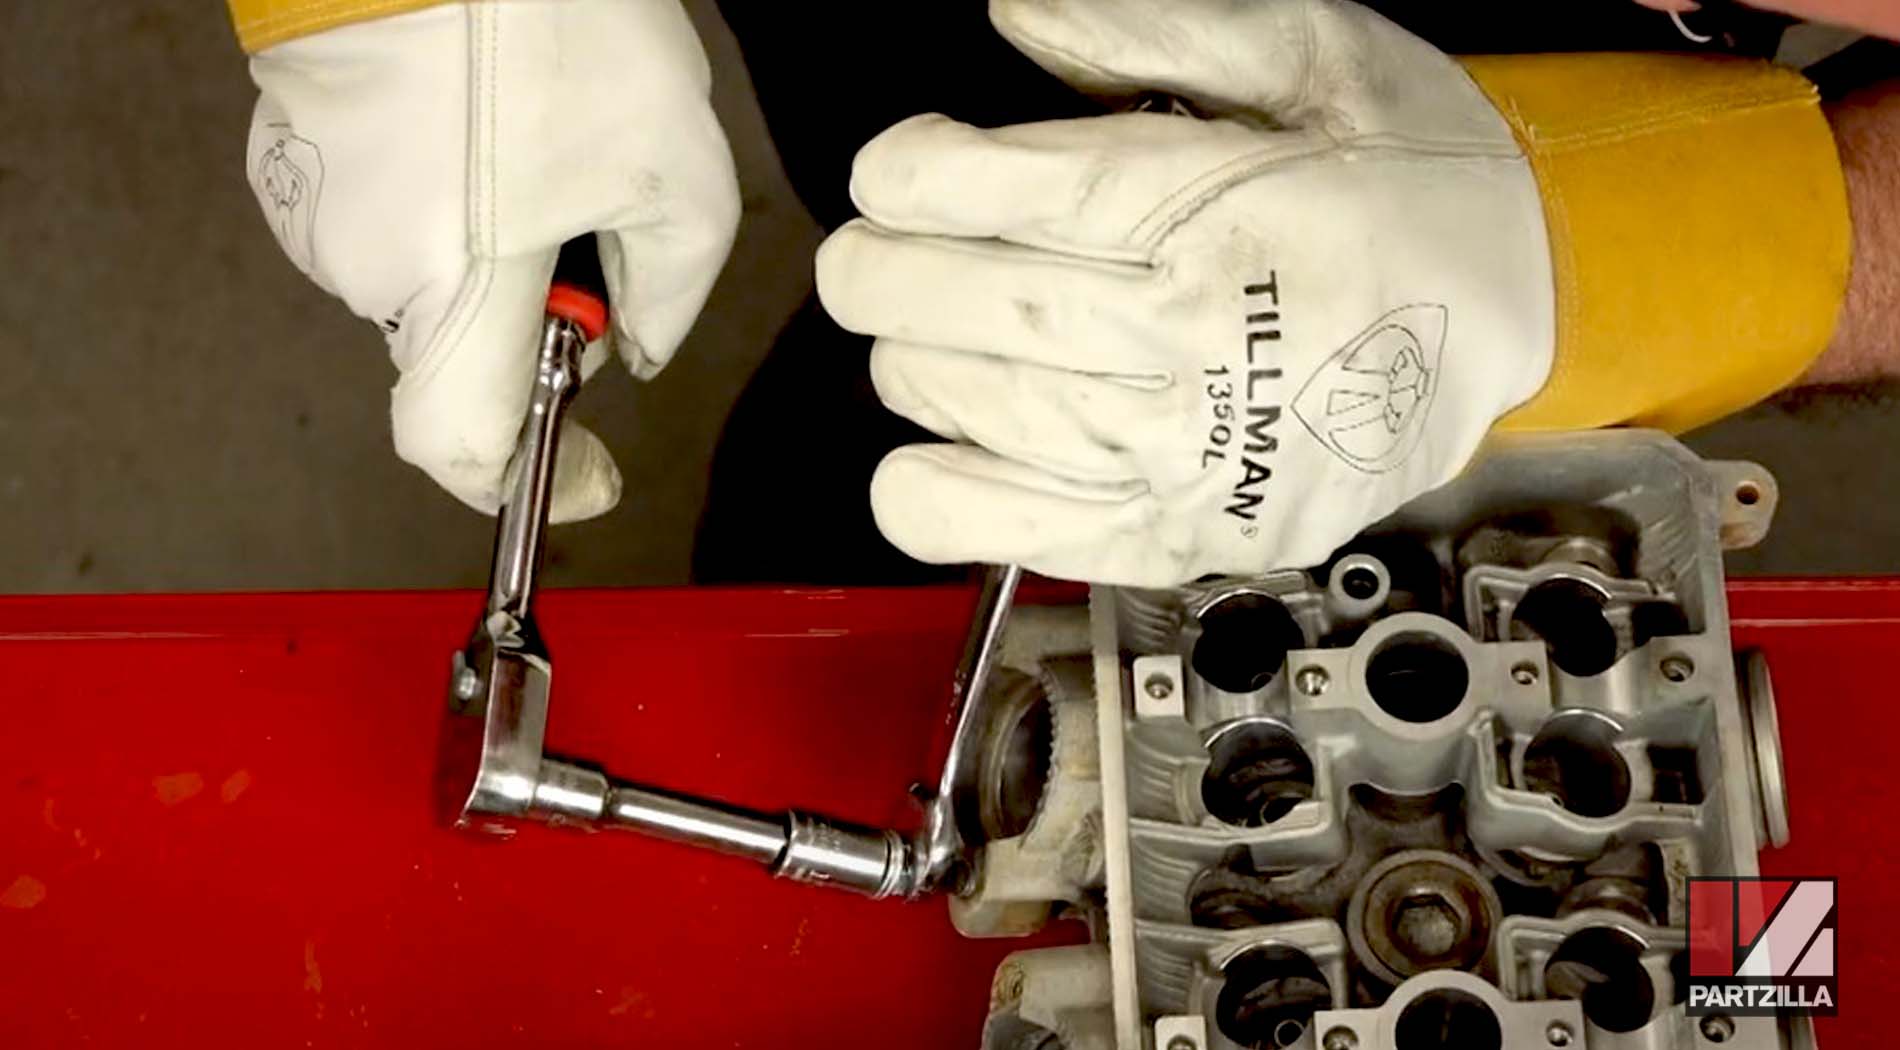
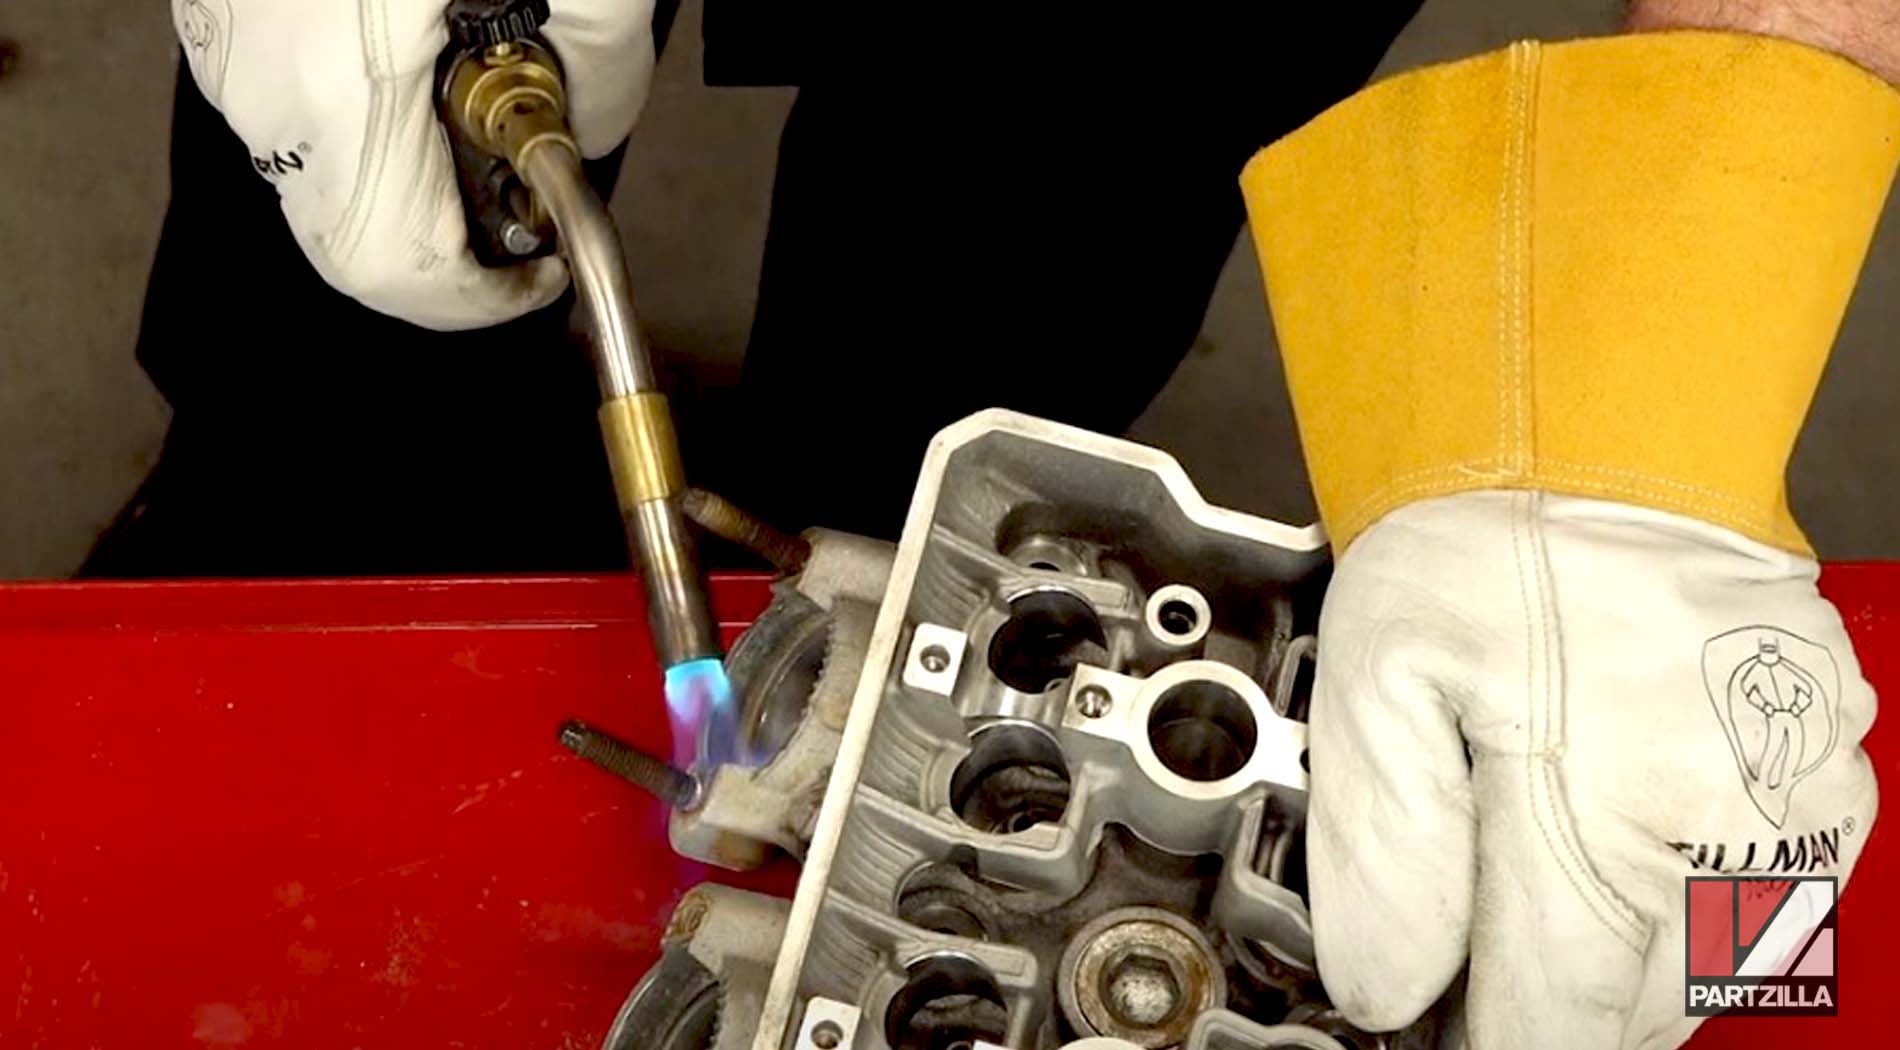
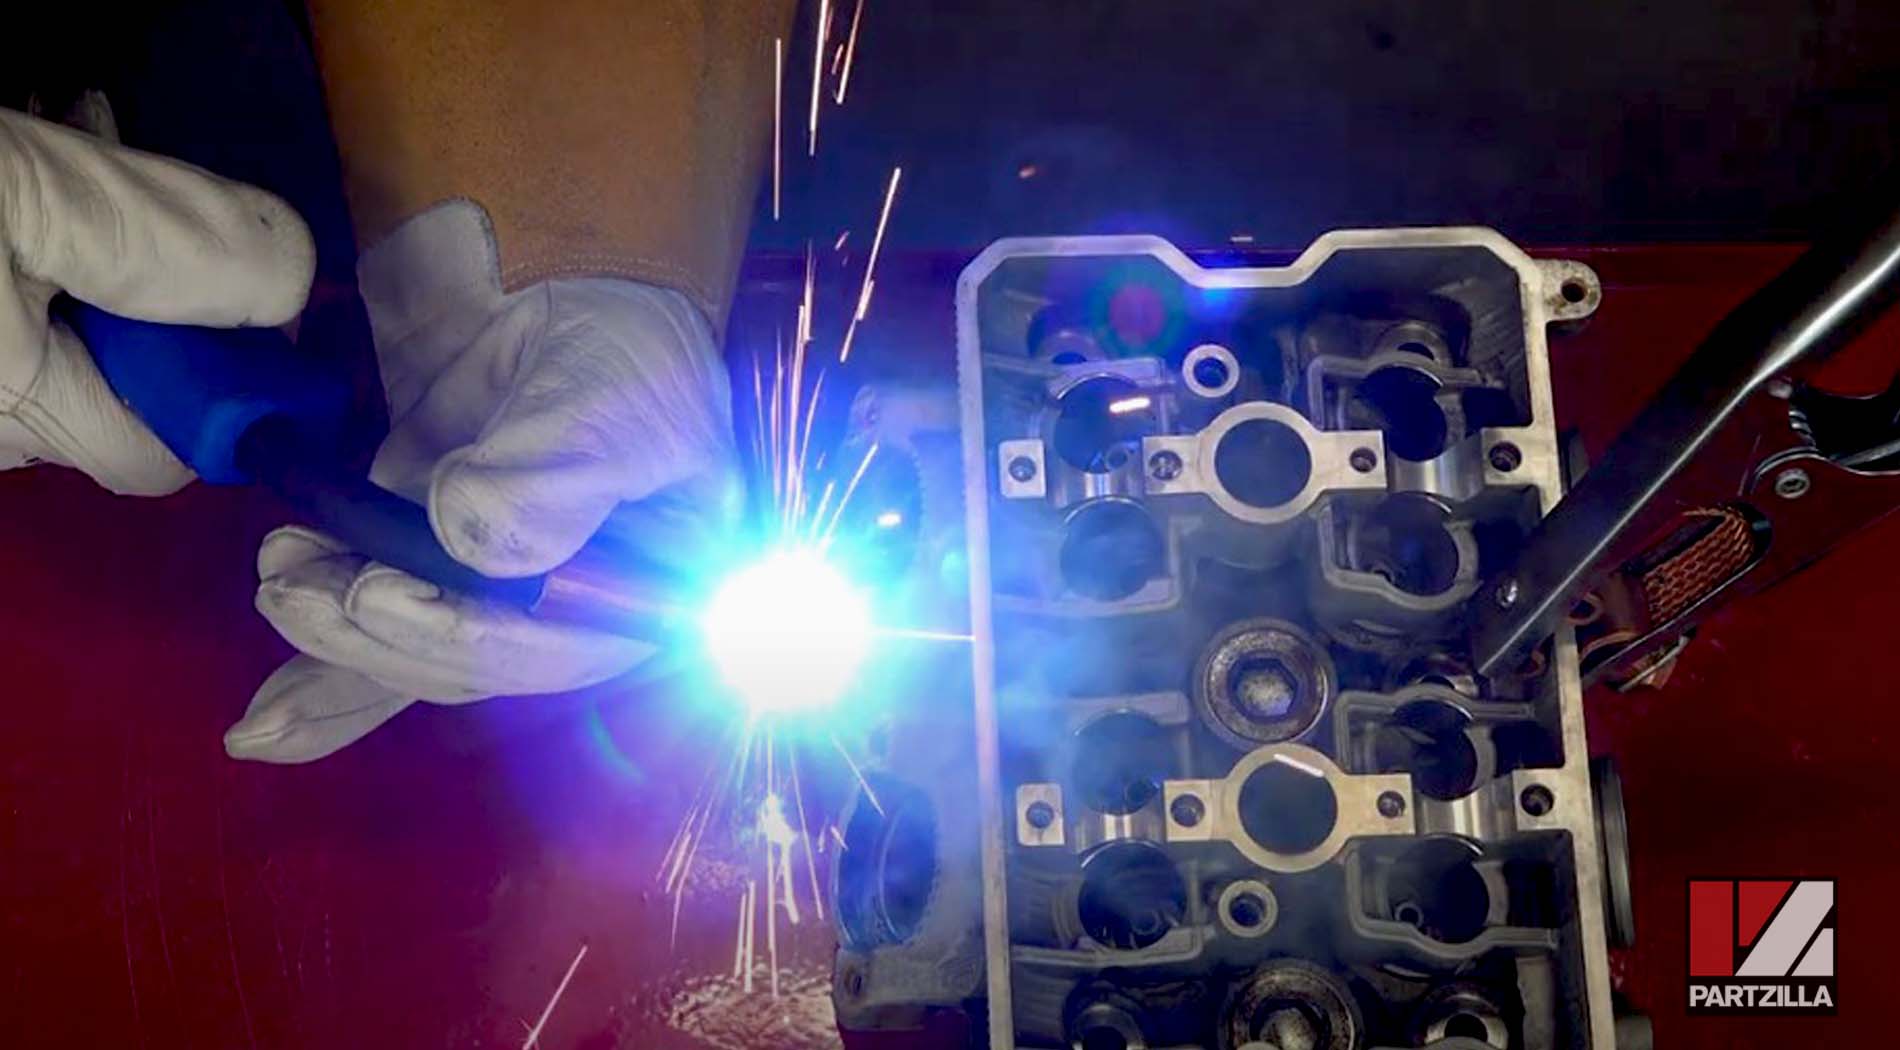
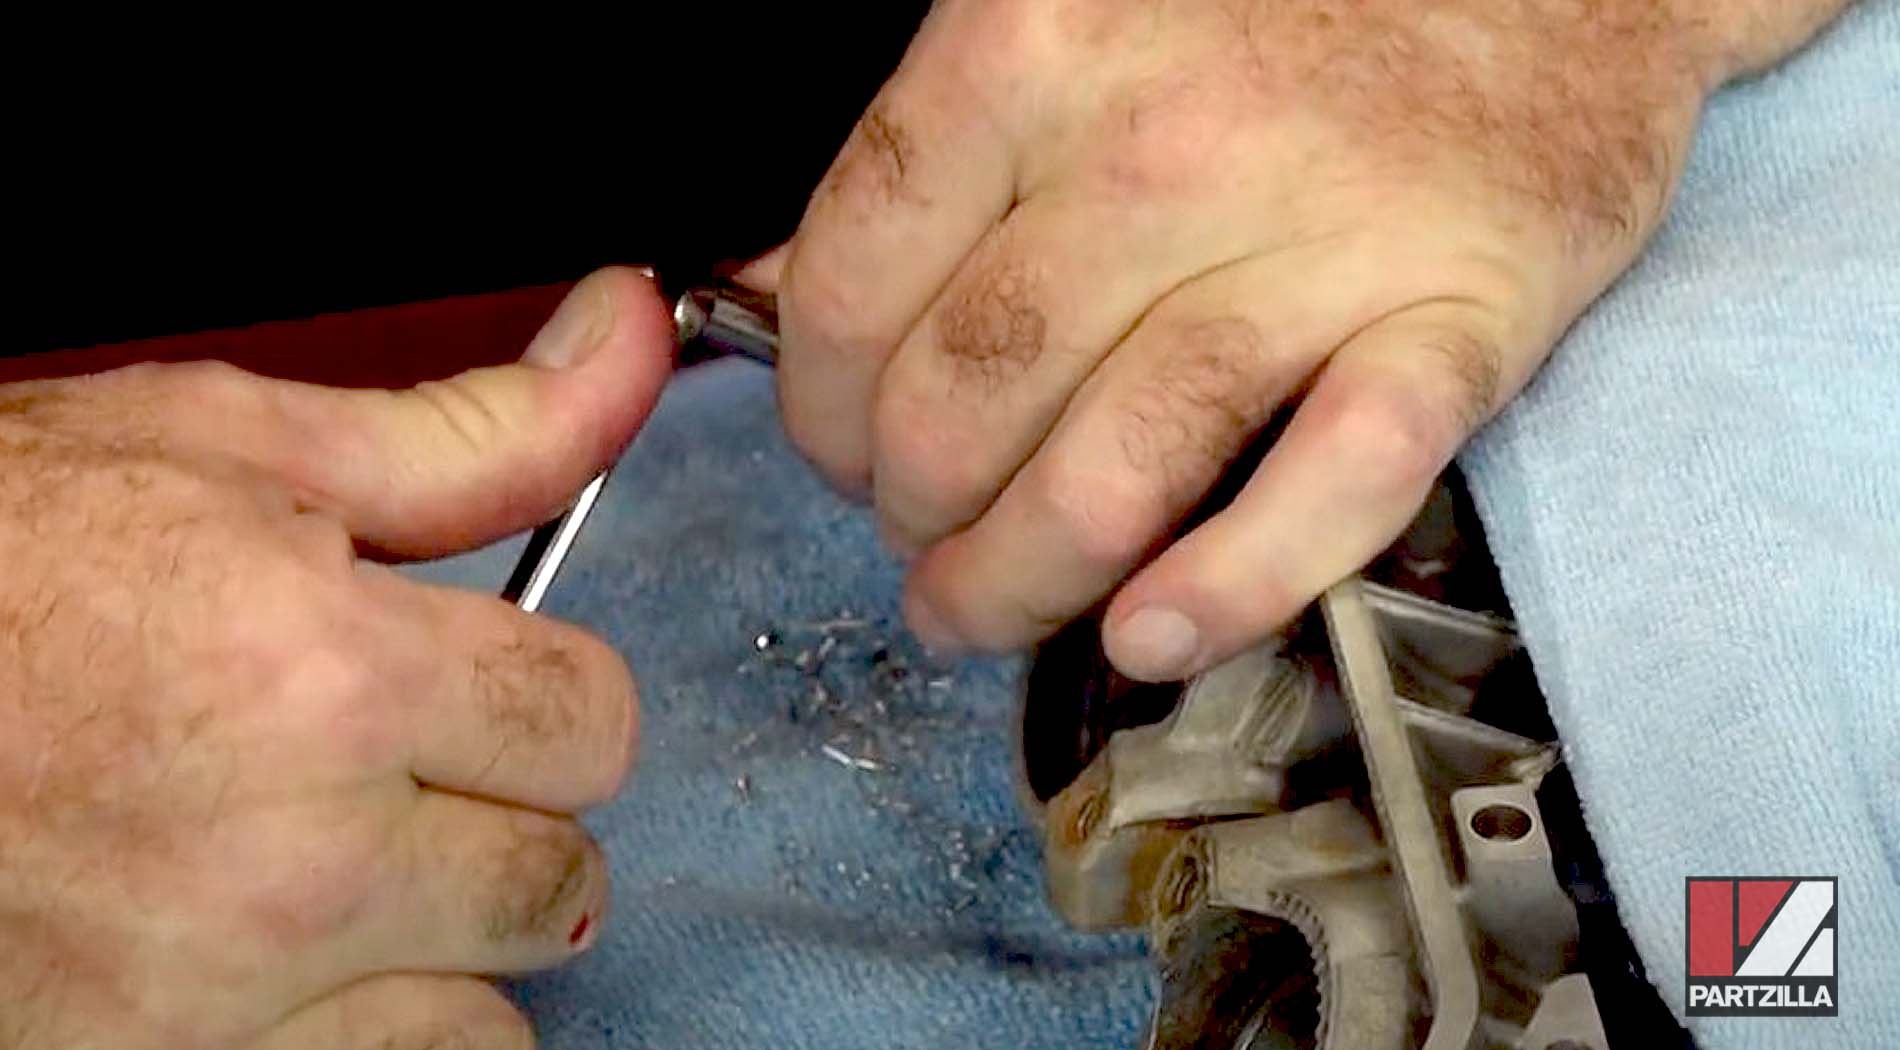
John had to get more serious with this stubborn exhaust stud, so he put a little tack weld on the end of this nut to see if that can be used to extract the bolt.
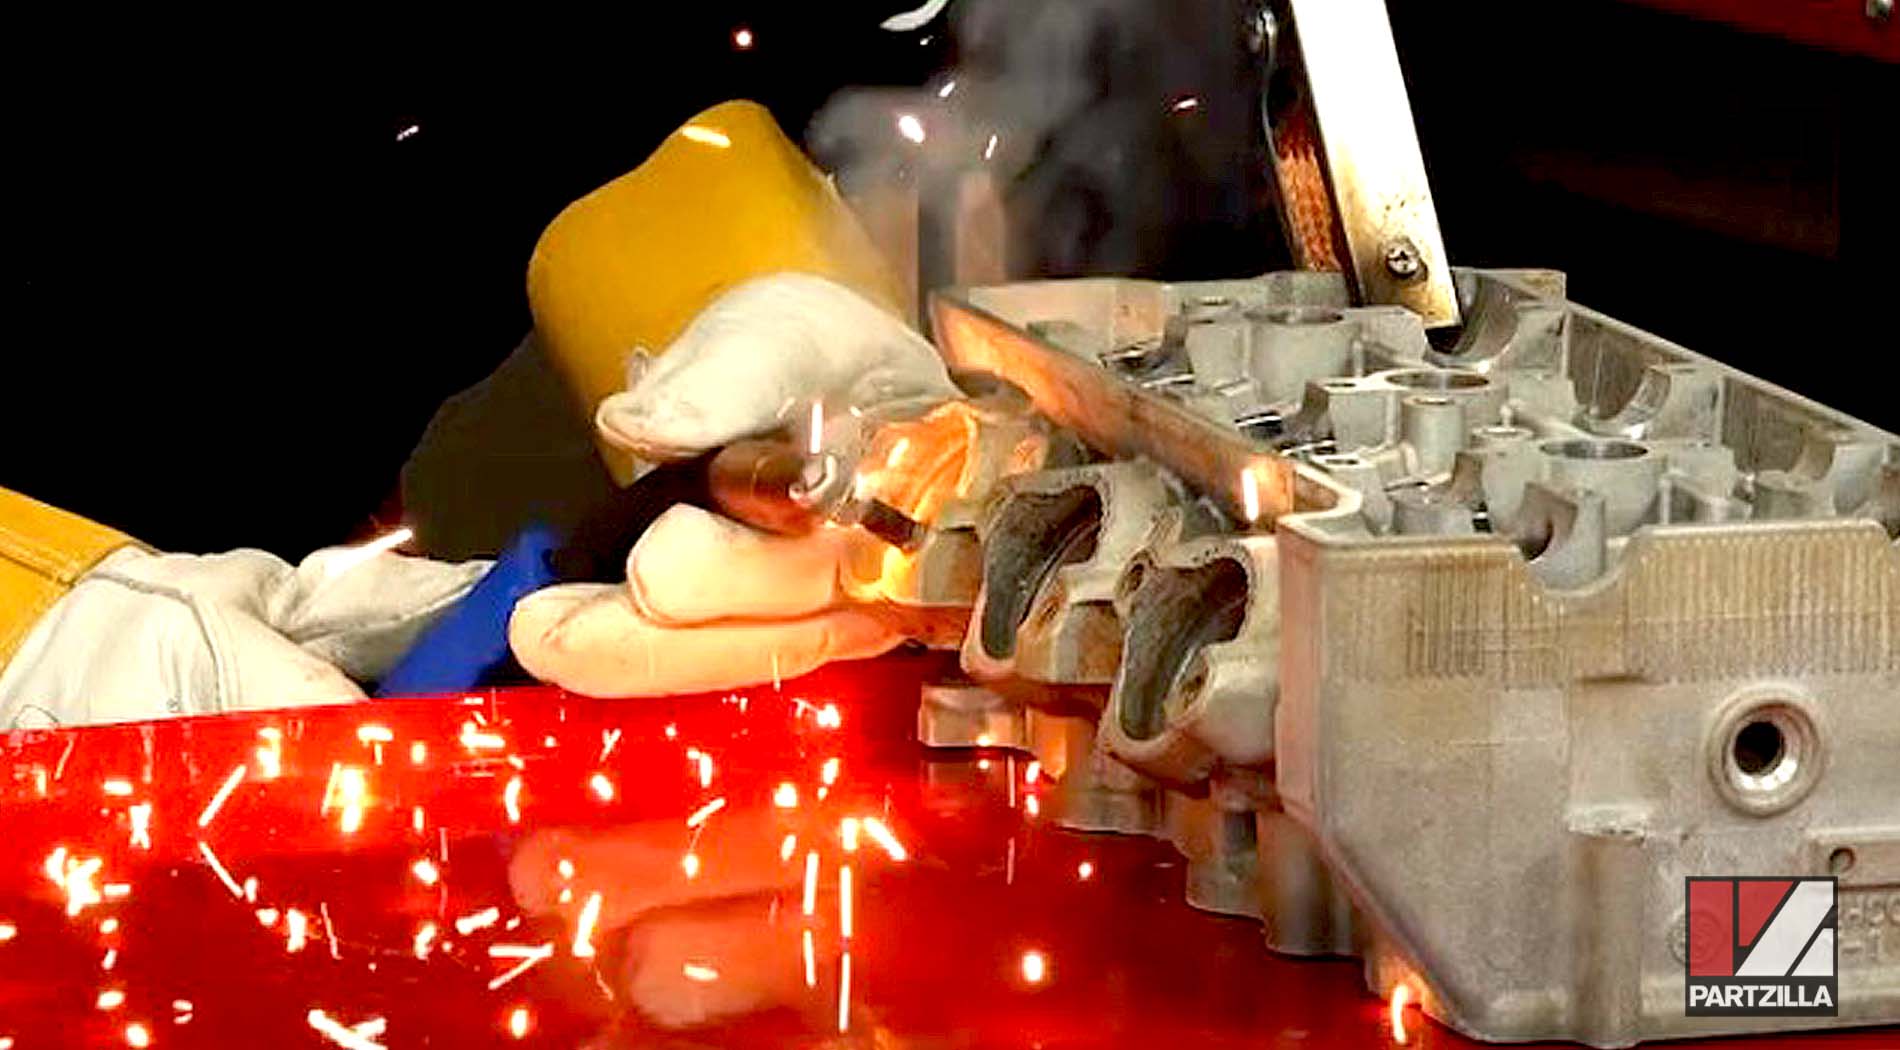
As John feared, the exhaust bolt snapped, so he had to repeat the process to extract the rest of the broken bolt.
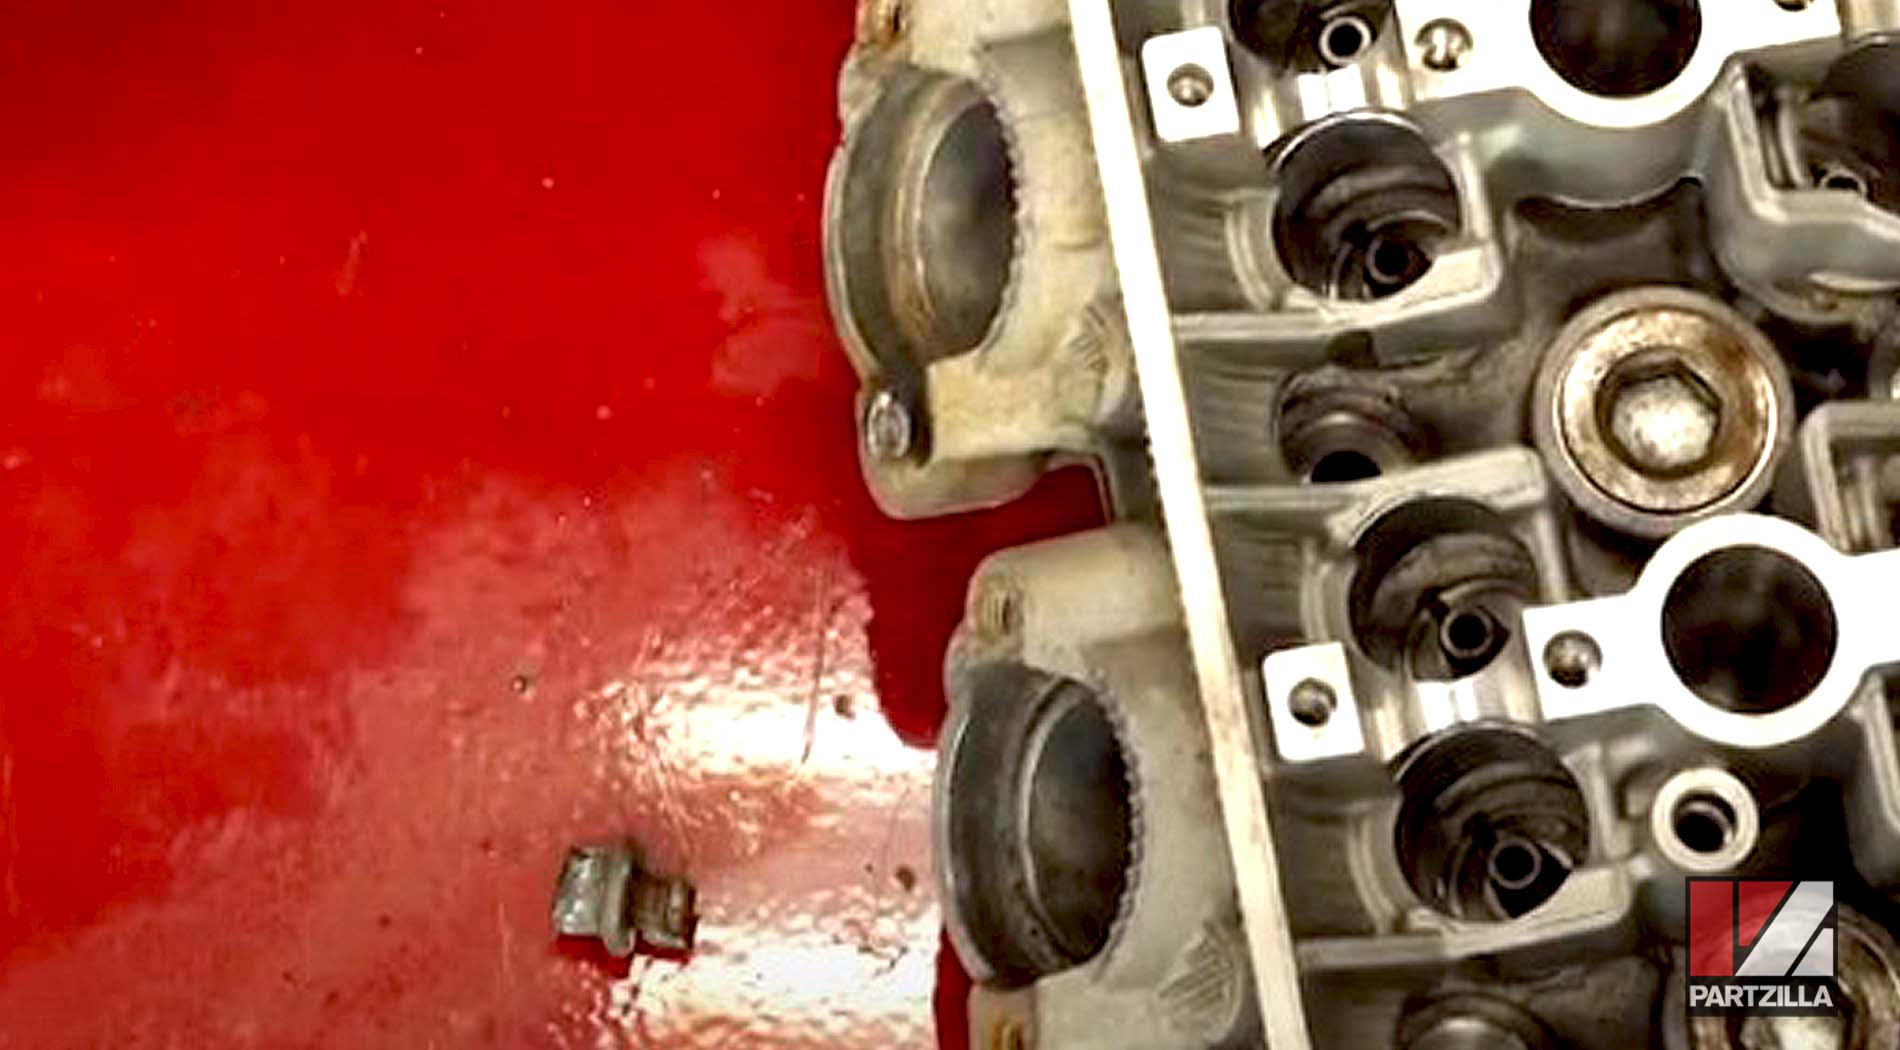
At this point, the Yamaha service manual says you need to get a new head for the engine, but John wasn’t ready to throw in the towel yet. Instead, he chose to center punch it, then drill it out before using a Time Sert to correct it.
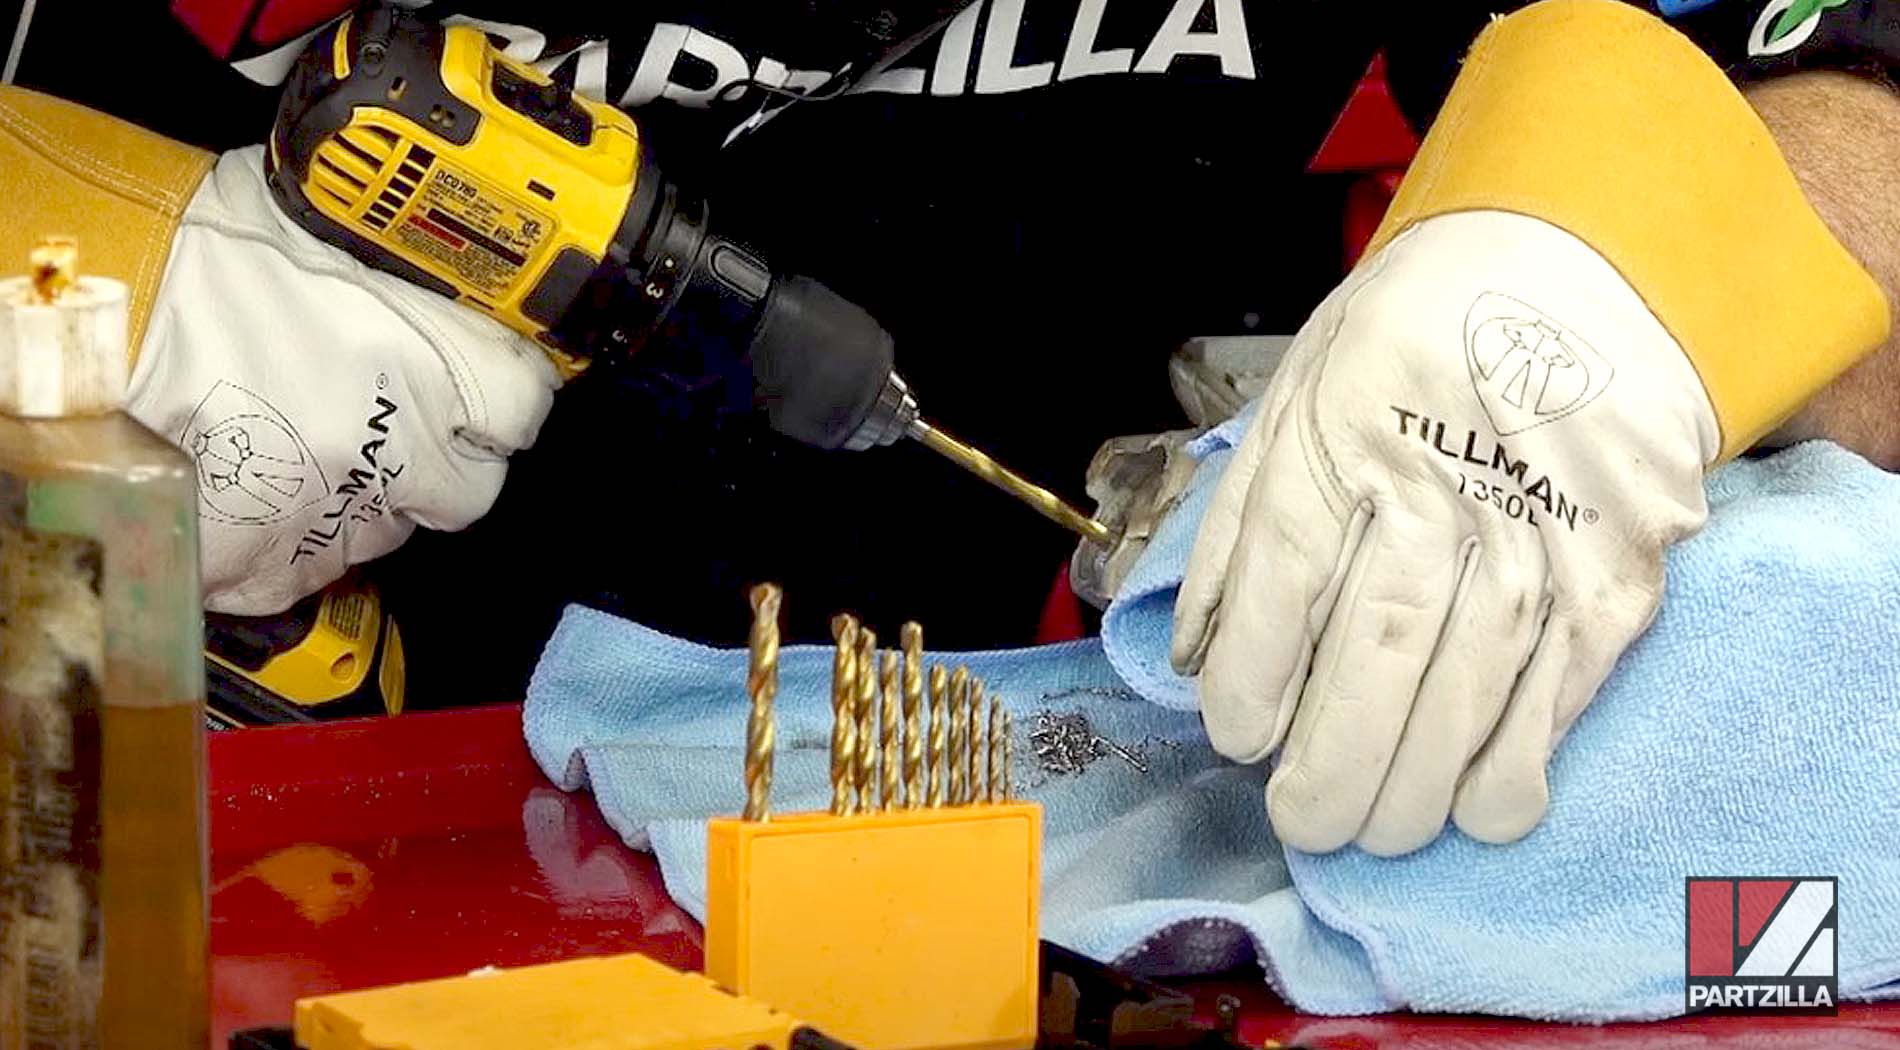
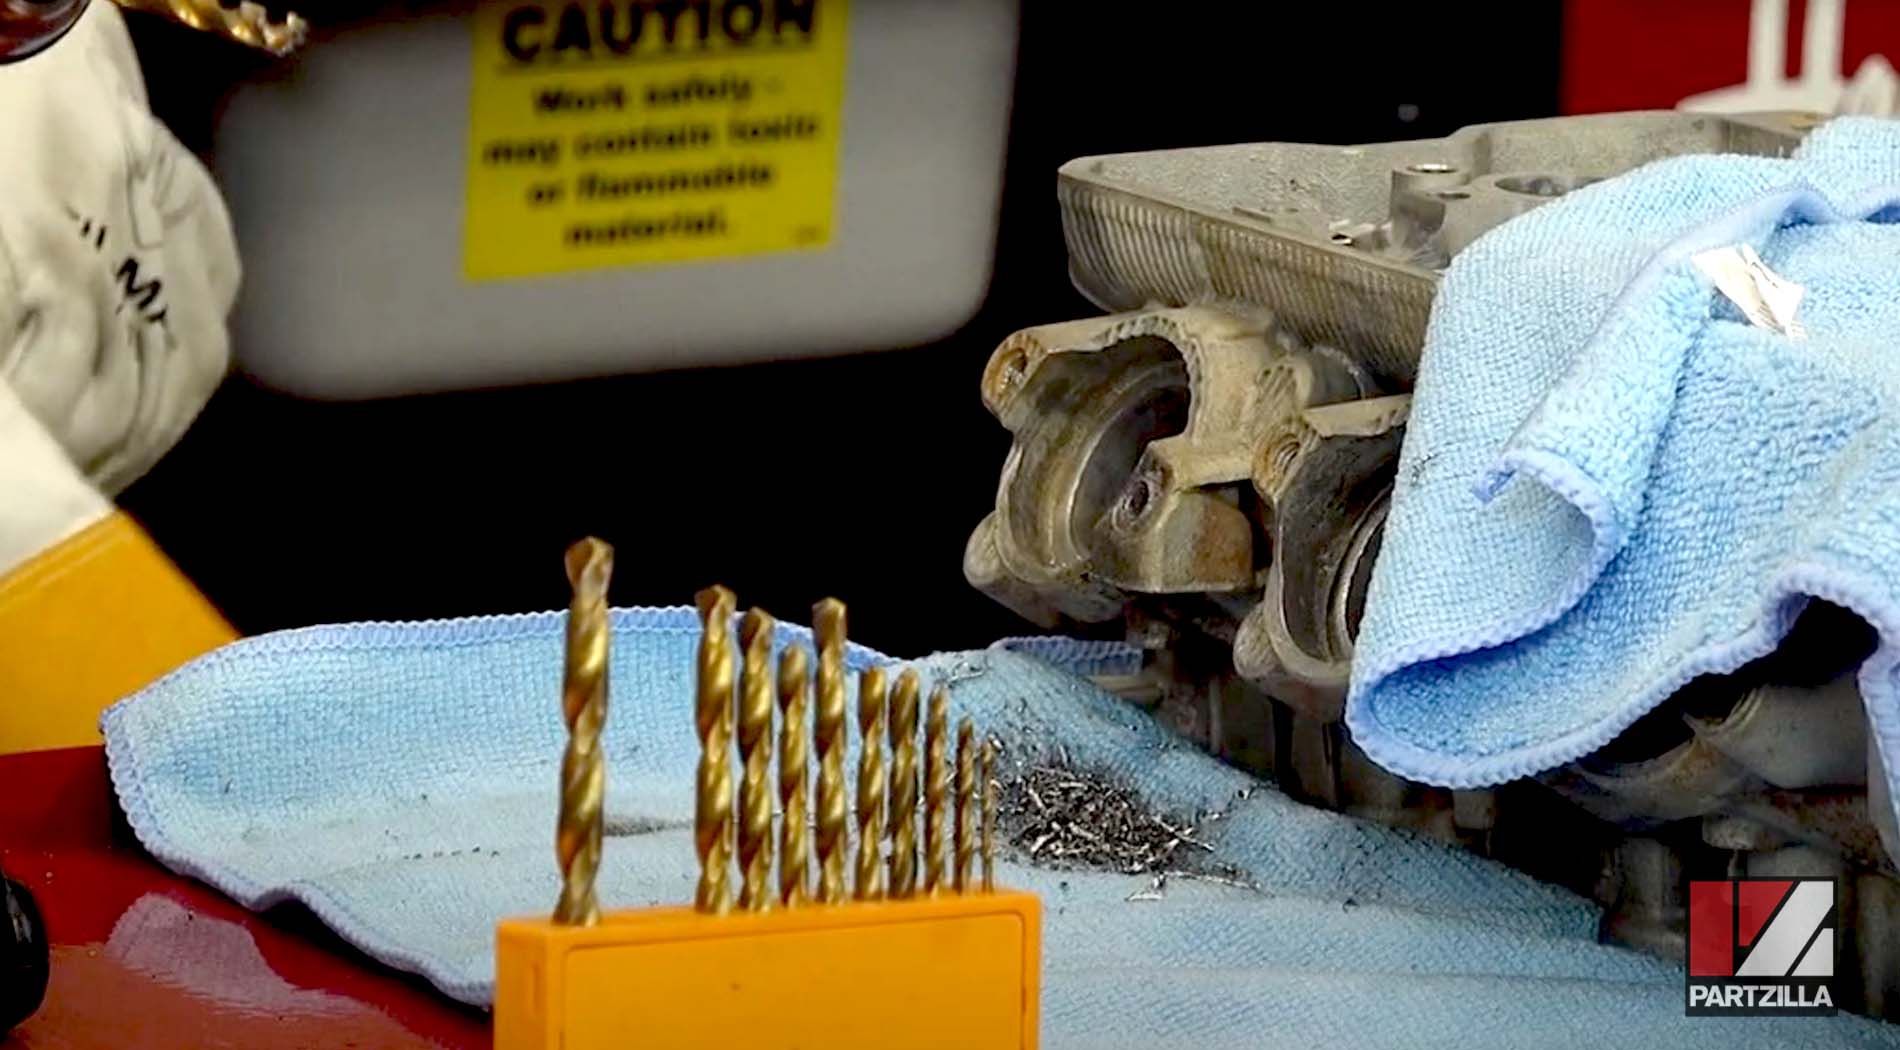
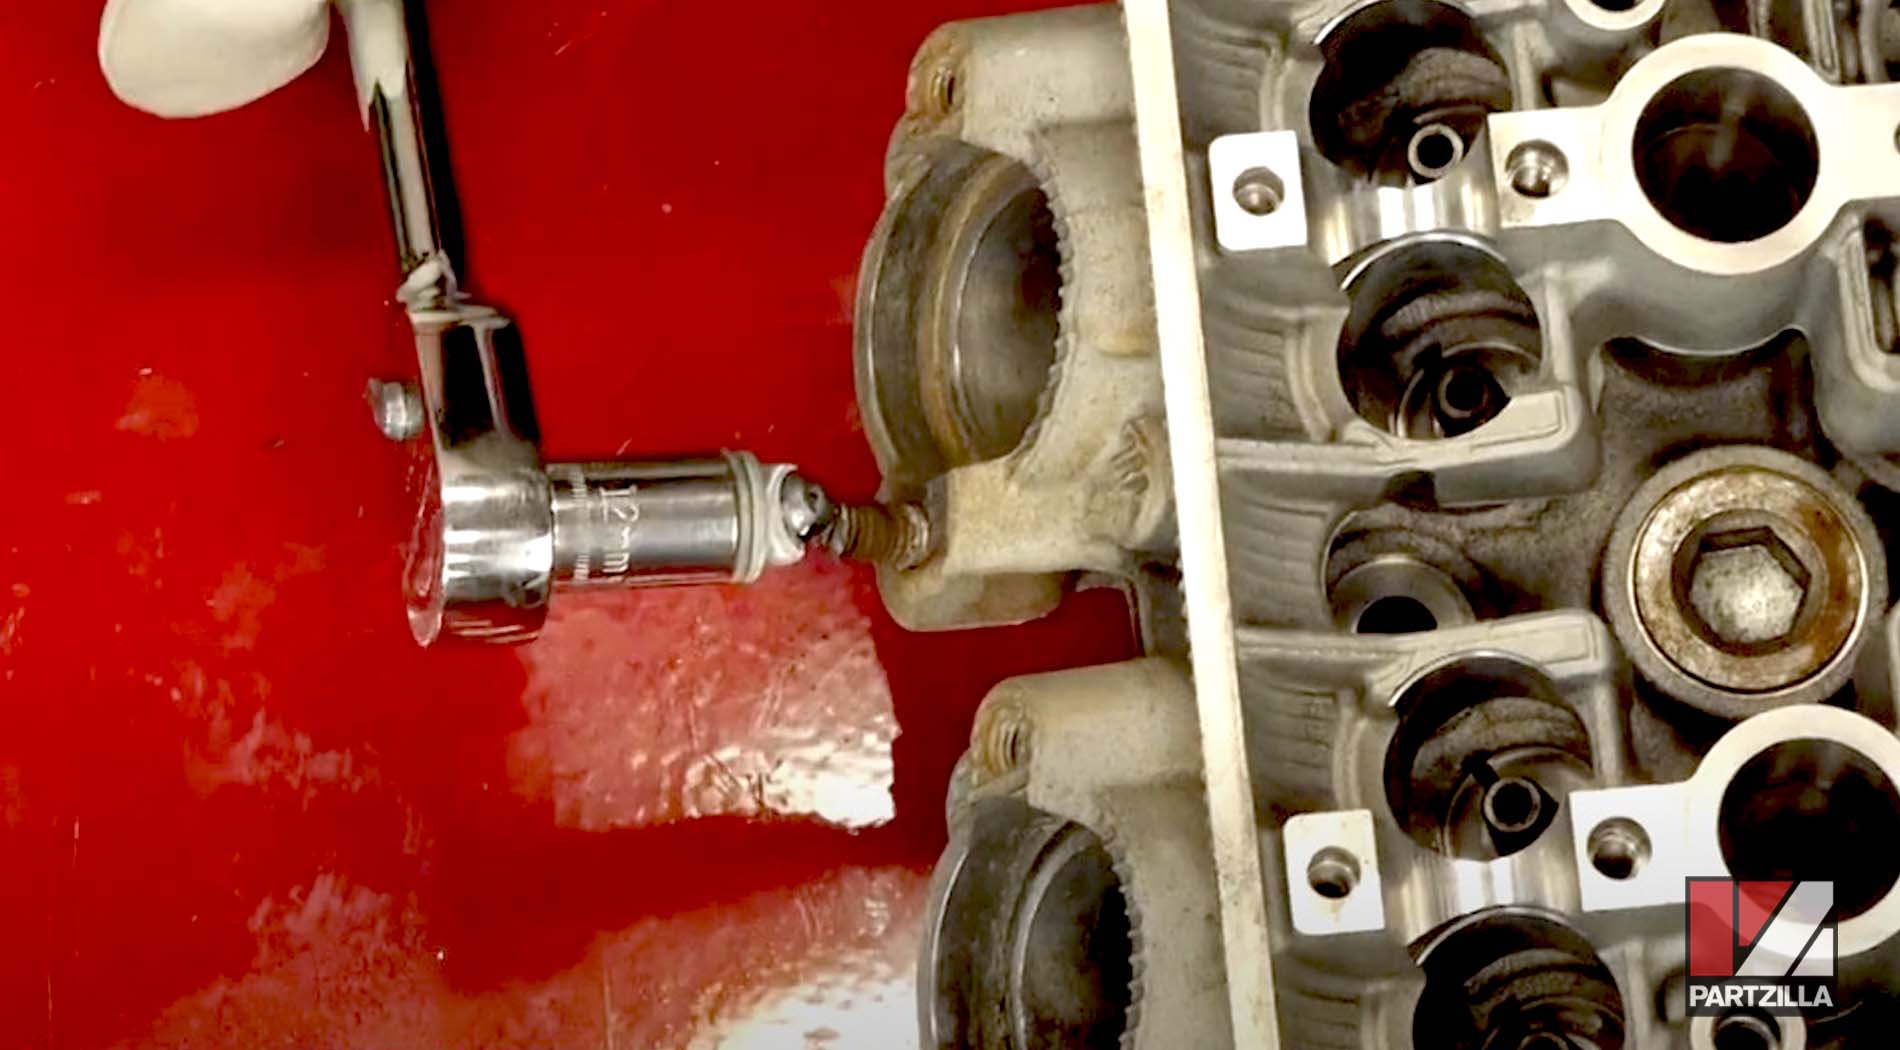
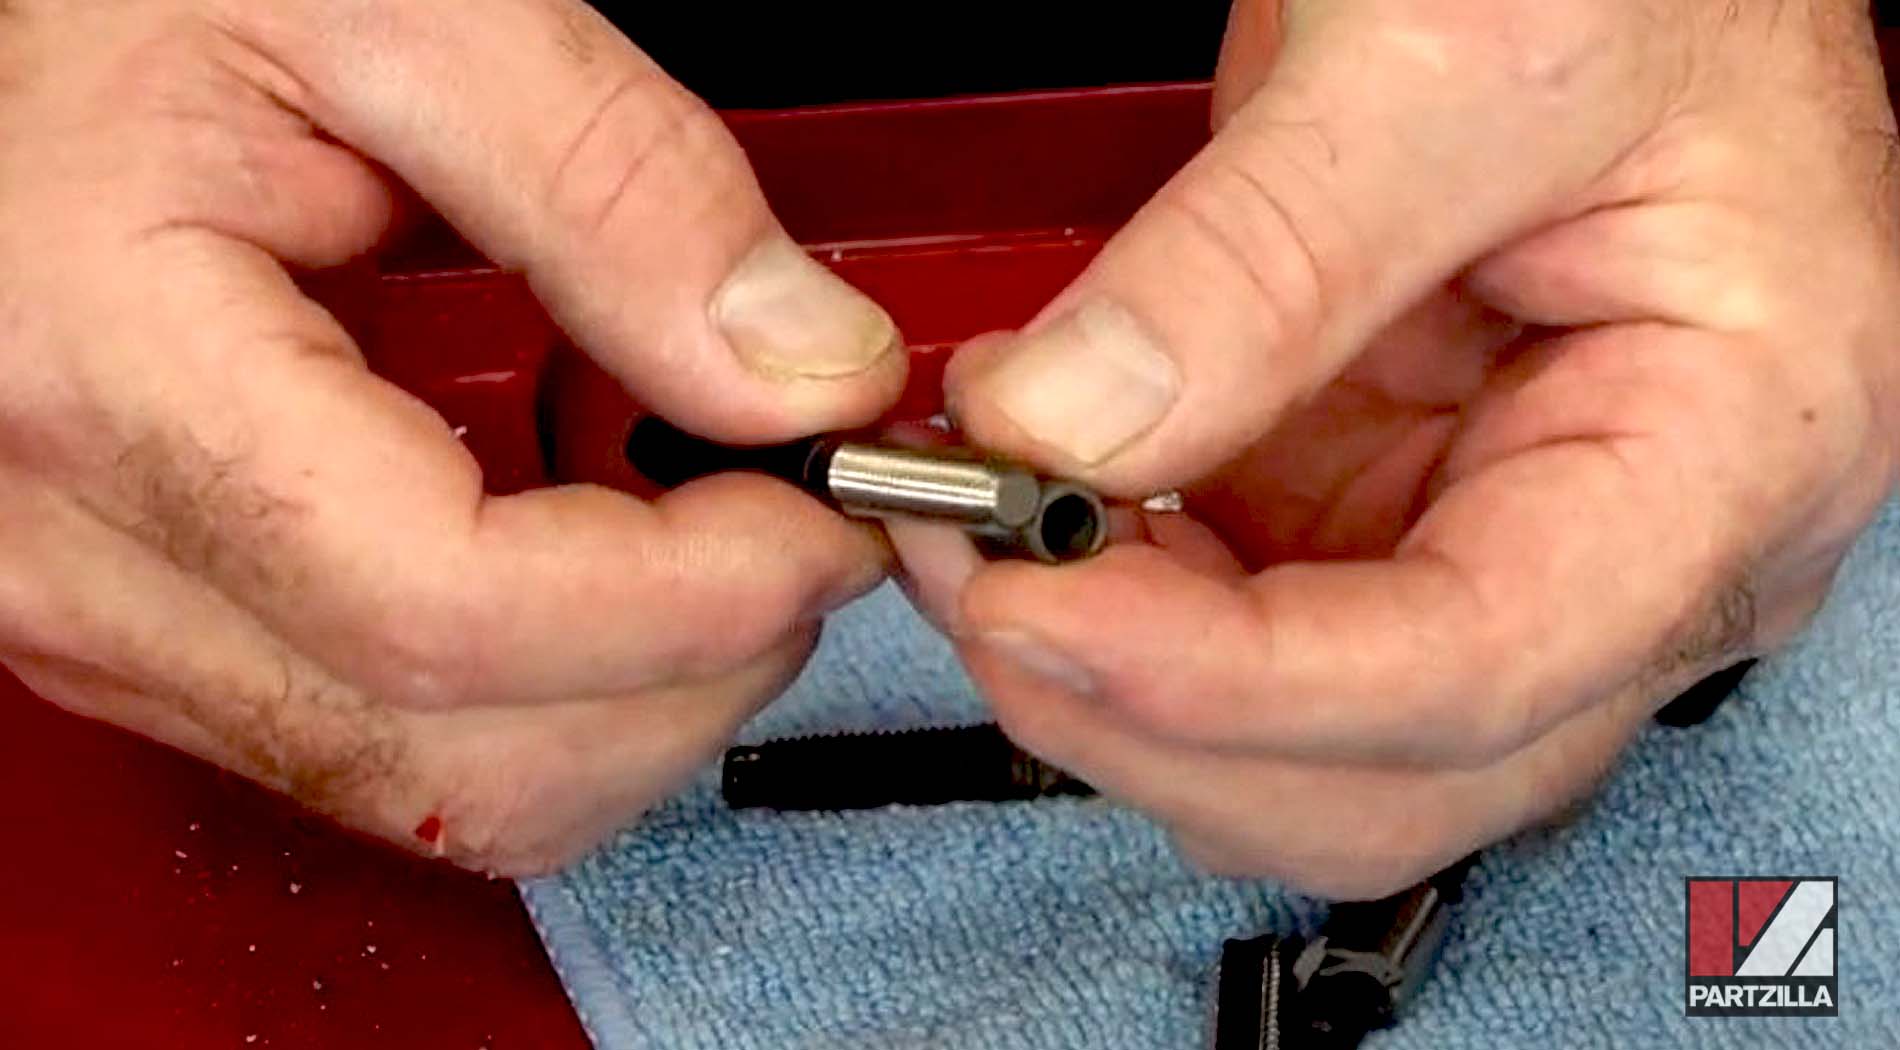
Next up, John got a drill bit out of the Time Sert kit that was slightly bigger than that 5/16th drill bit he was using before.
When it came time to decide which insert depth to go with, the longer one technically would fit, but it would go past the end of the threads when using the insertion tool. So while comparing the threads on one of the studs that came out, the shorter insert depth was the right choice.
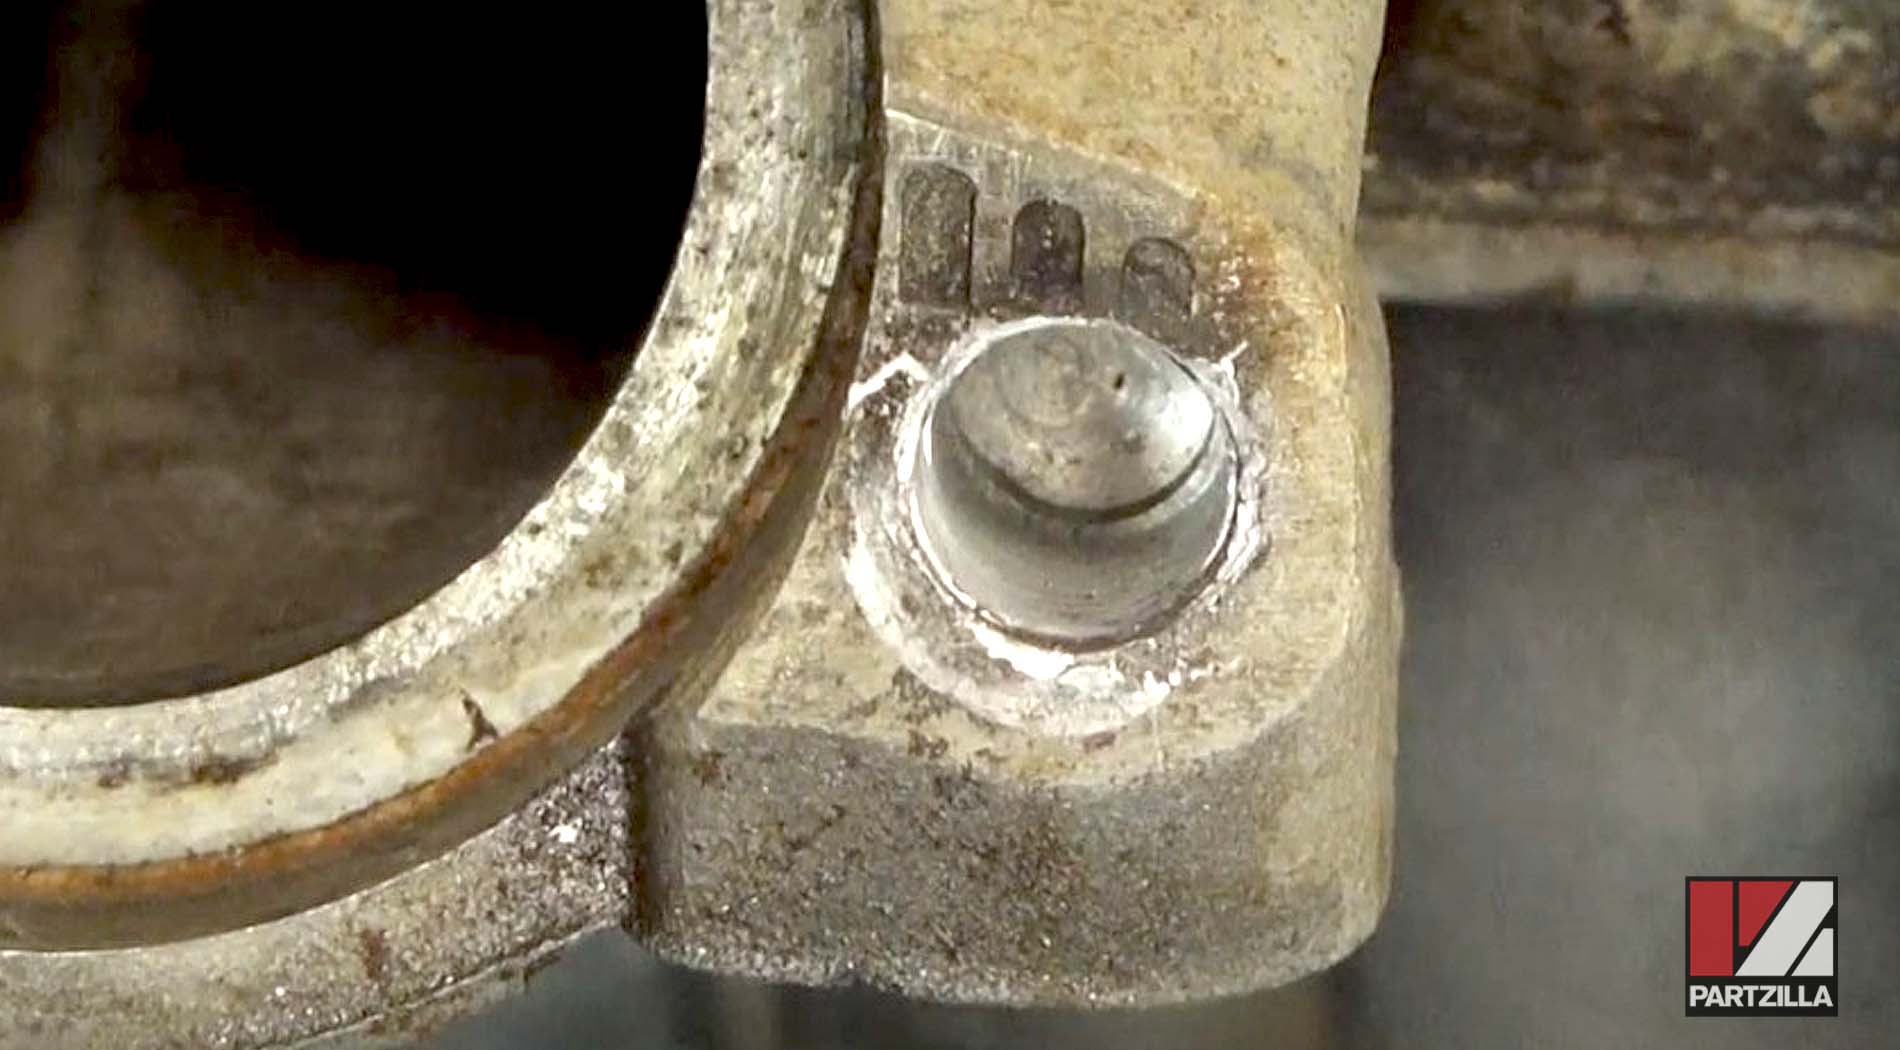
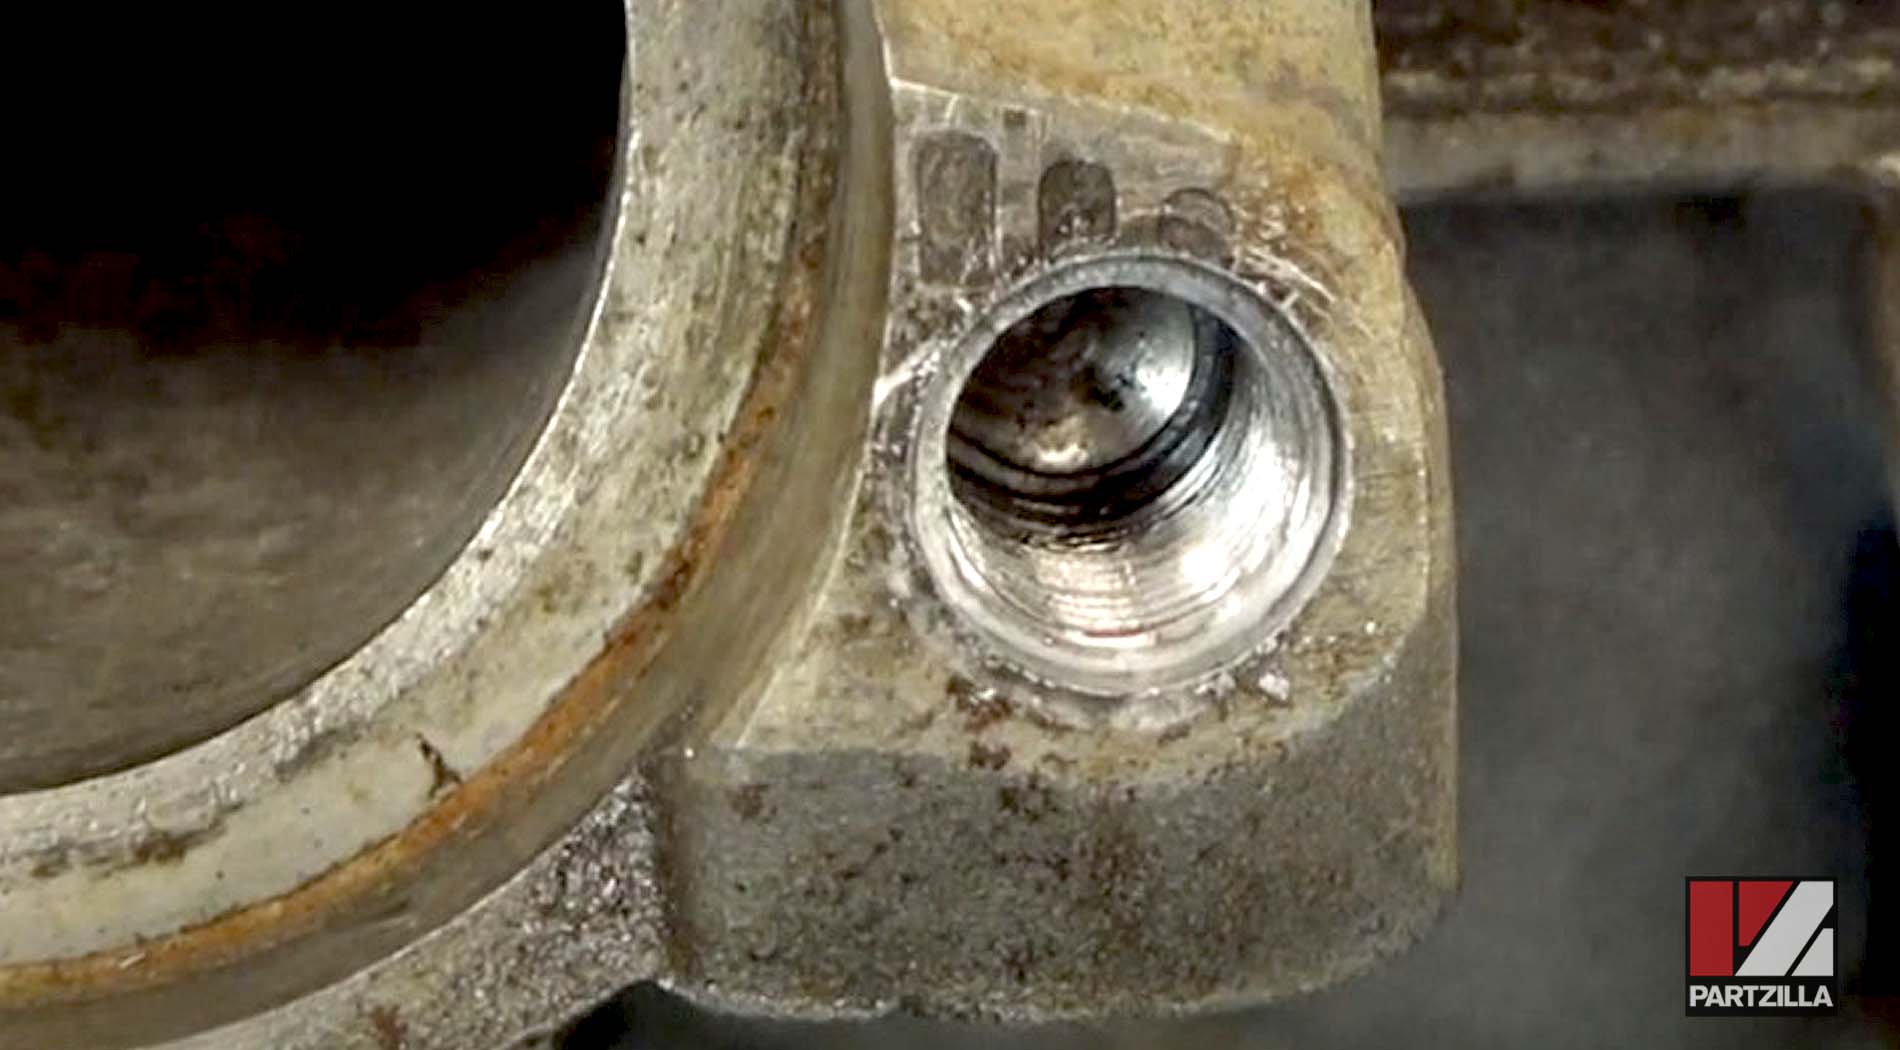
The Time Sert system uses a flange at the edge, and you use a countersink to accommodate the flange so that it ends up being flush all the way at the top.
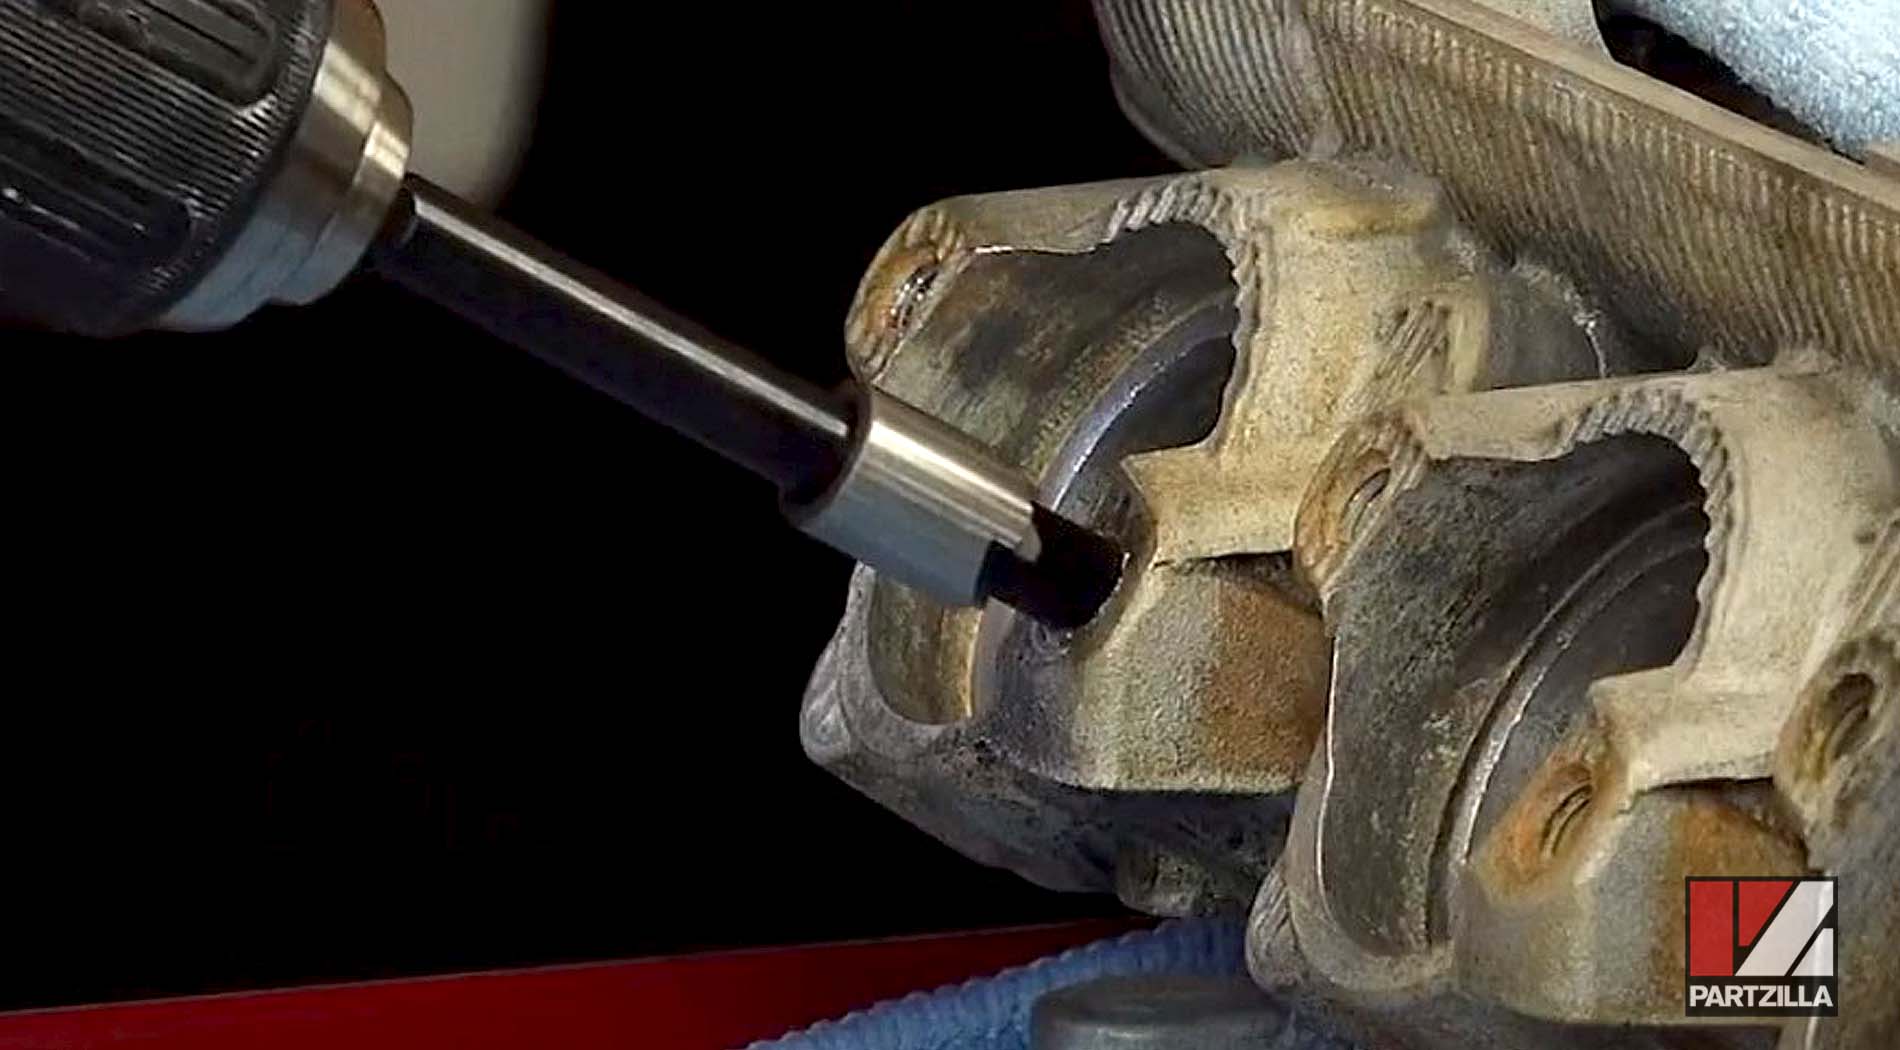
The critical part when using the Time Sert thread tool is to make sure it goes in perpendicular.
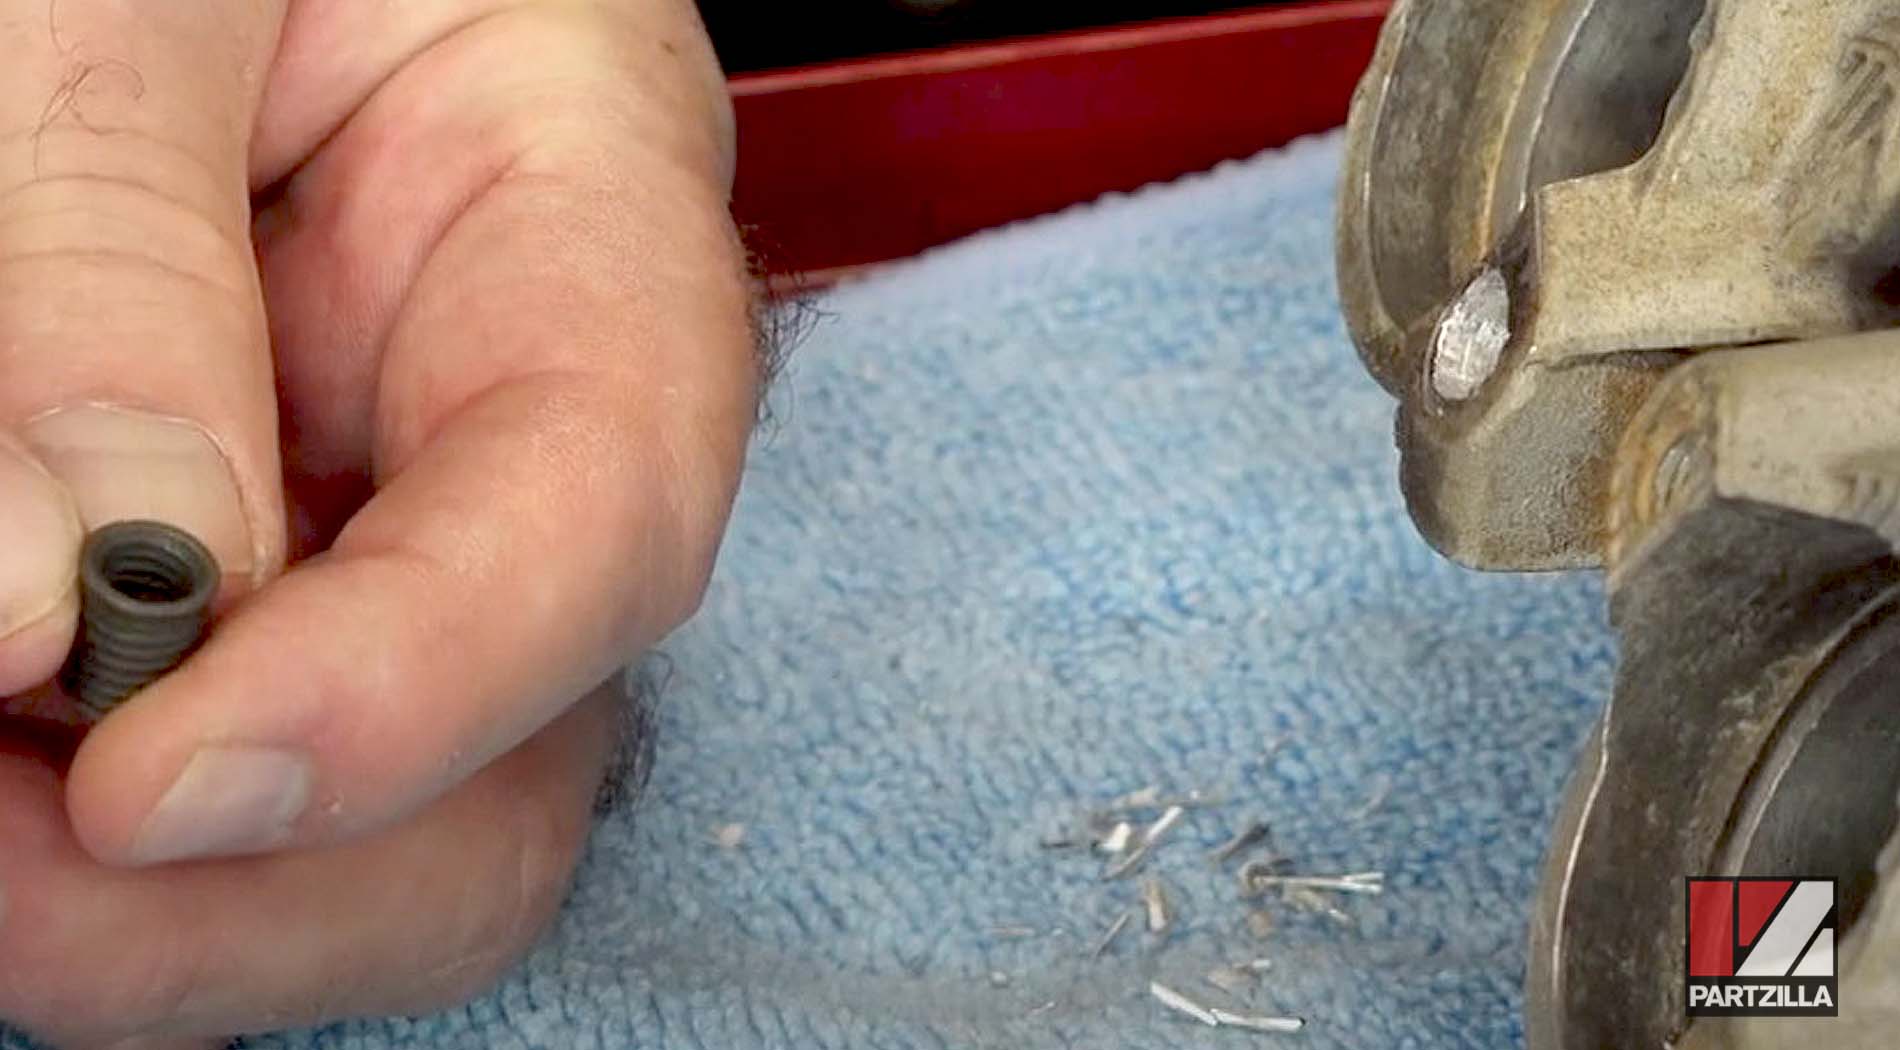
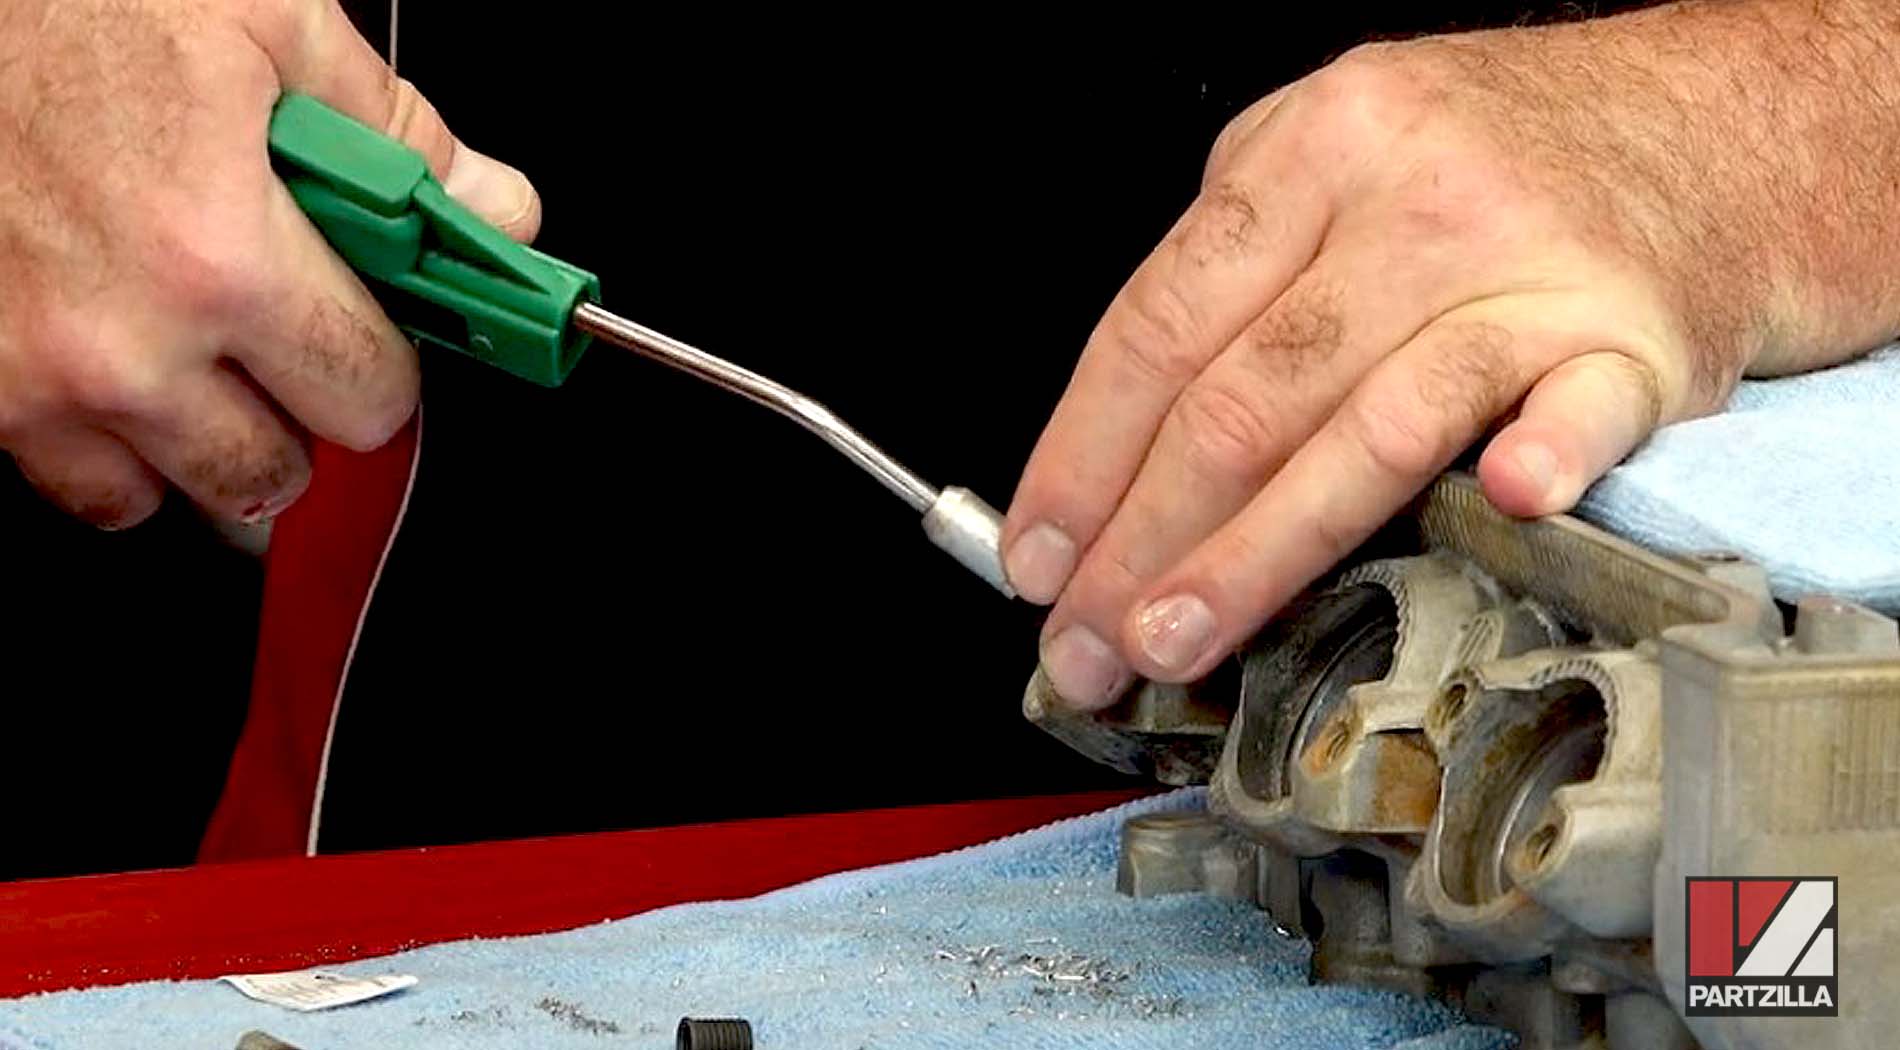
Before putting the actual Time Sert in, John used an air compressor to blow out any metal shavings. When using a Time Sert, you’ll want the bolt hole to be countersunk, with nice clean threads going all the way in at the right angle.
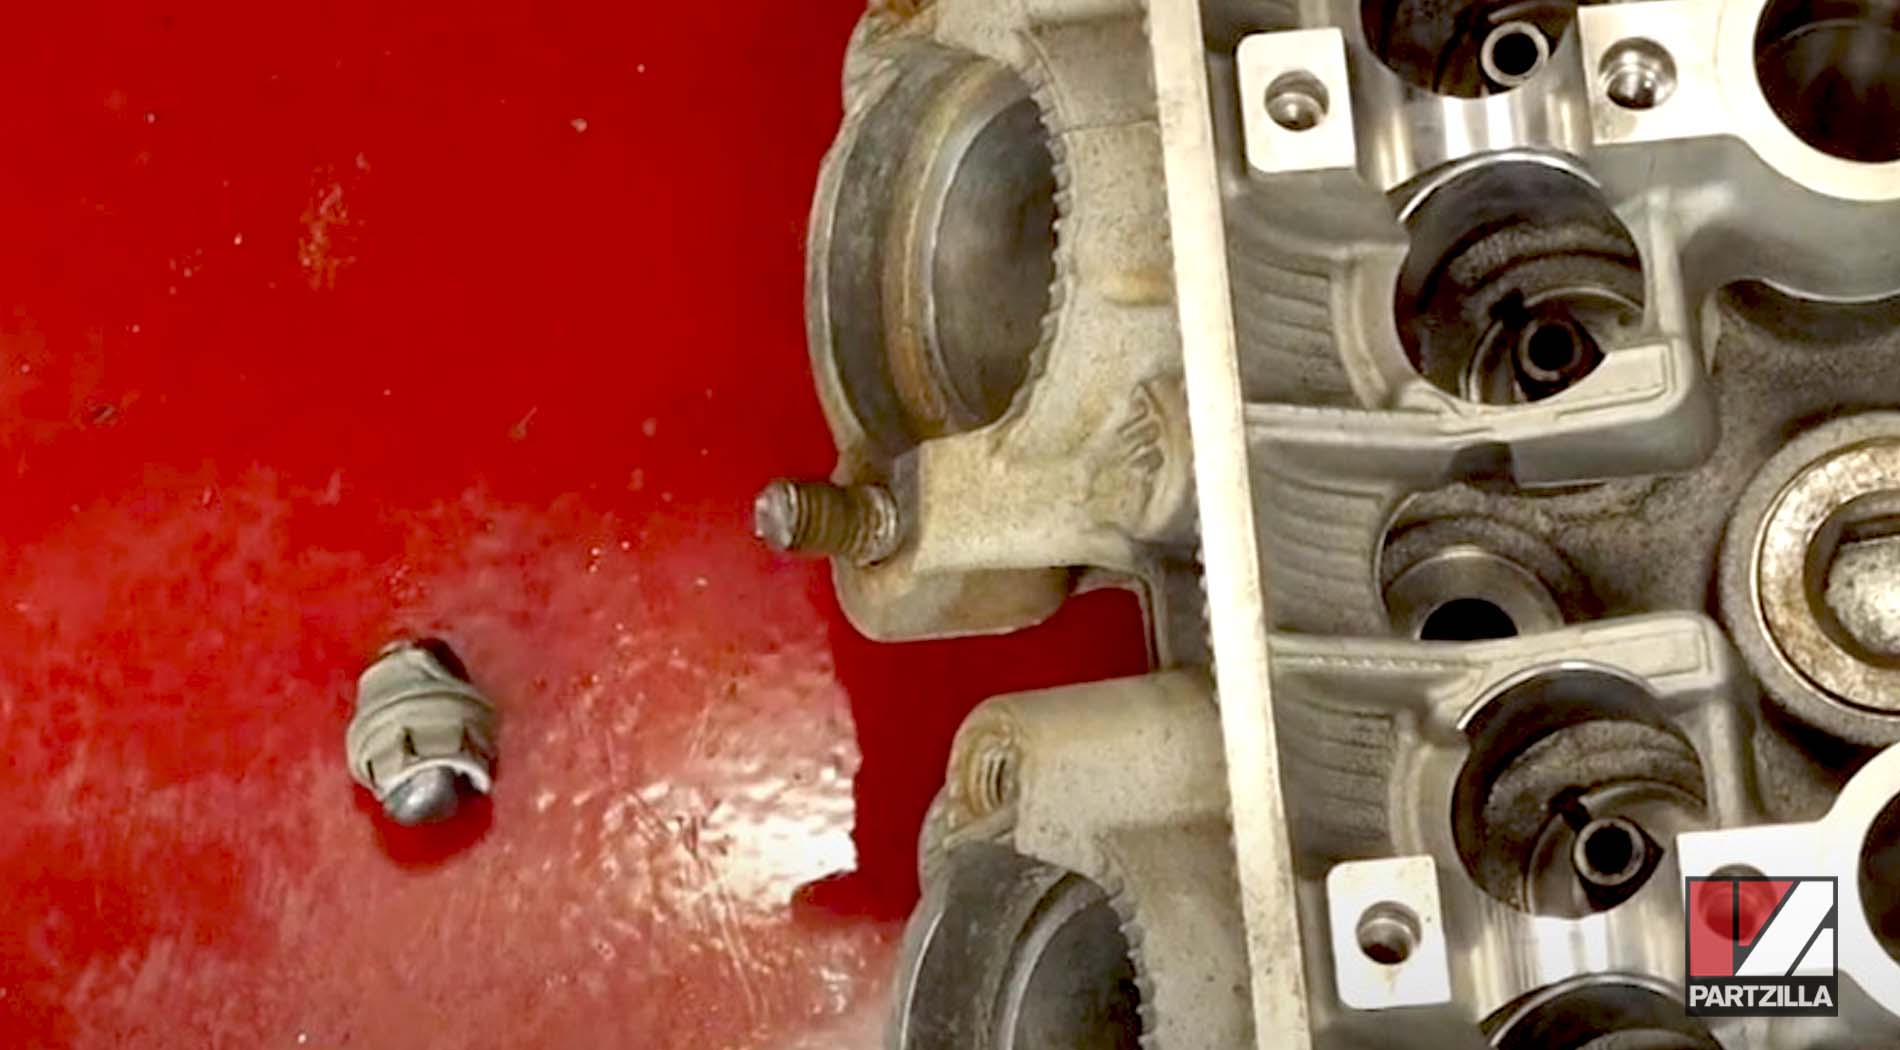
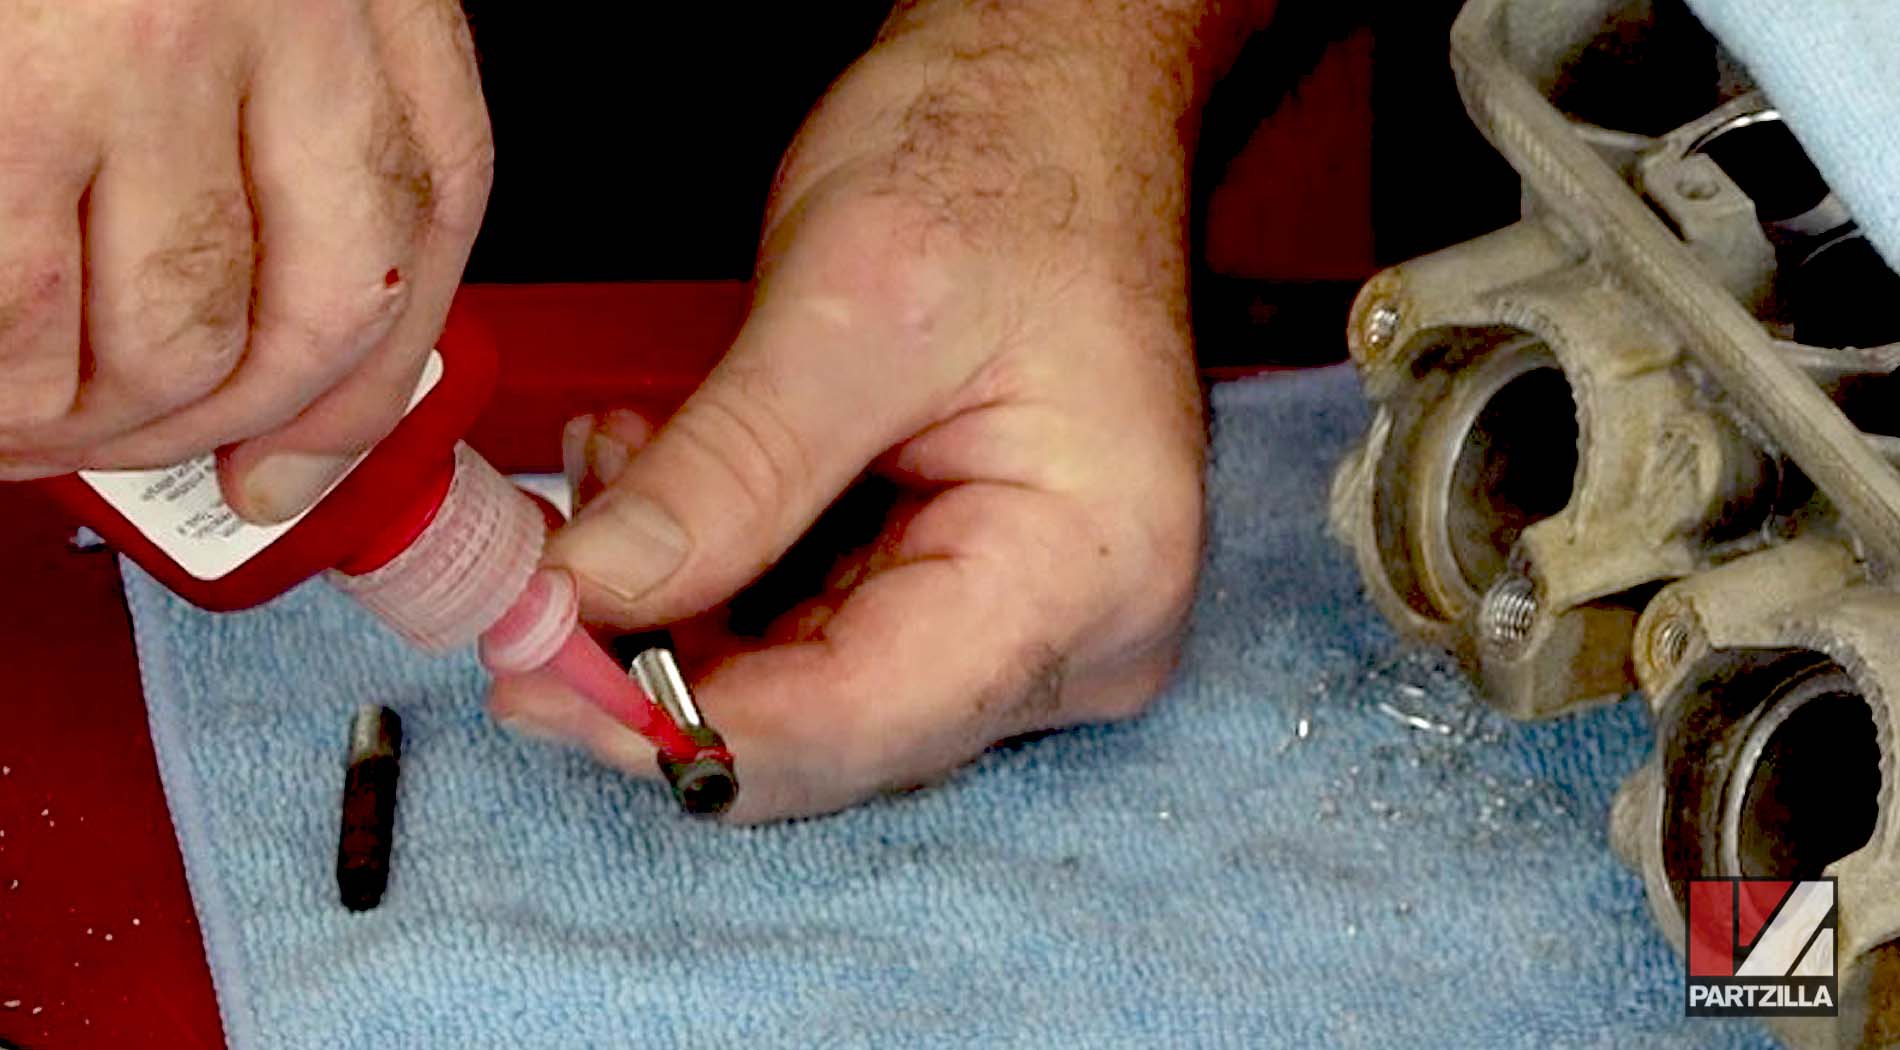
John then added some oil to the installation tool so that it goes all the way through the threads easily. On the outside of the Time Sert, John added add some high temperature red threadlocker.
When doing the insertion, you don't want it to catch anywhere. You want it to bottom out on the flange so when you drive it all the way in, it's going to expand out the very end of the Time Sert, and that's what's going to hold it in place. Once it's bottomed out, you can run the bolt all the way through it.
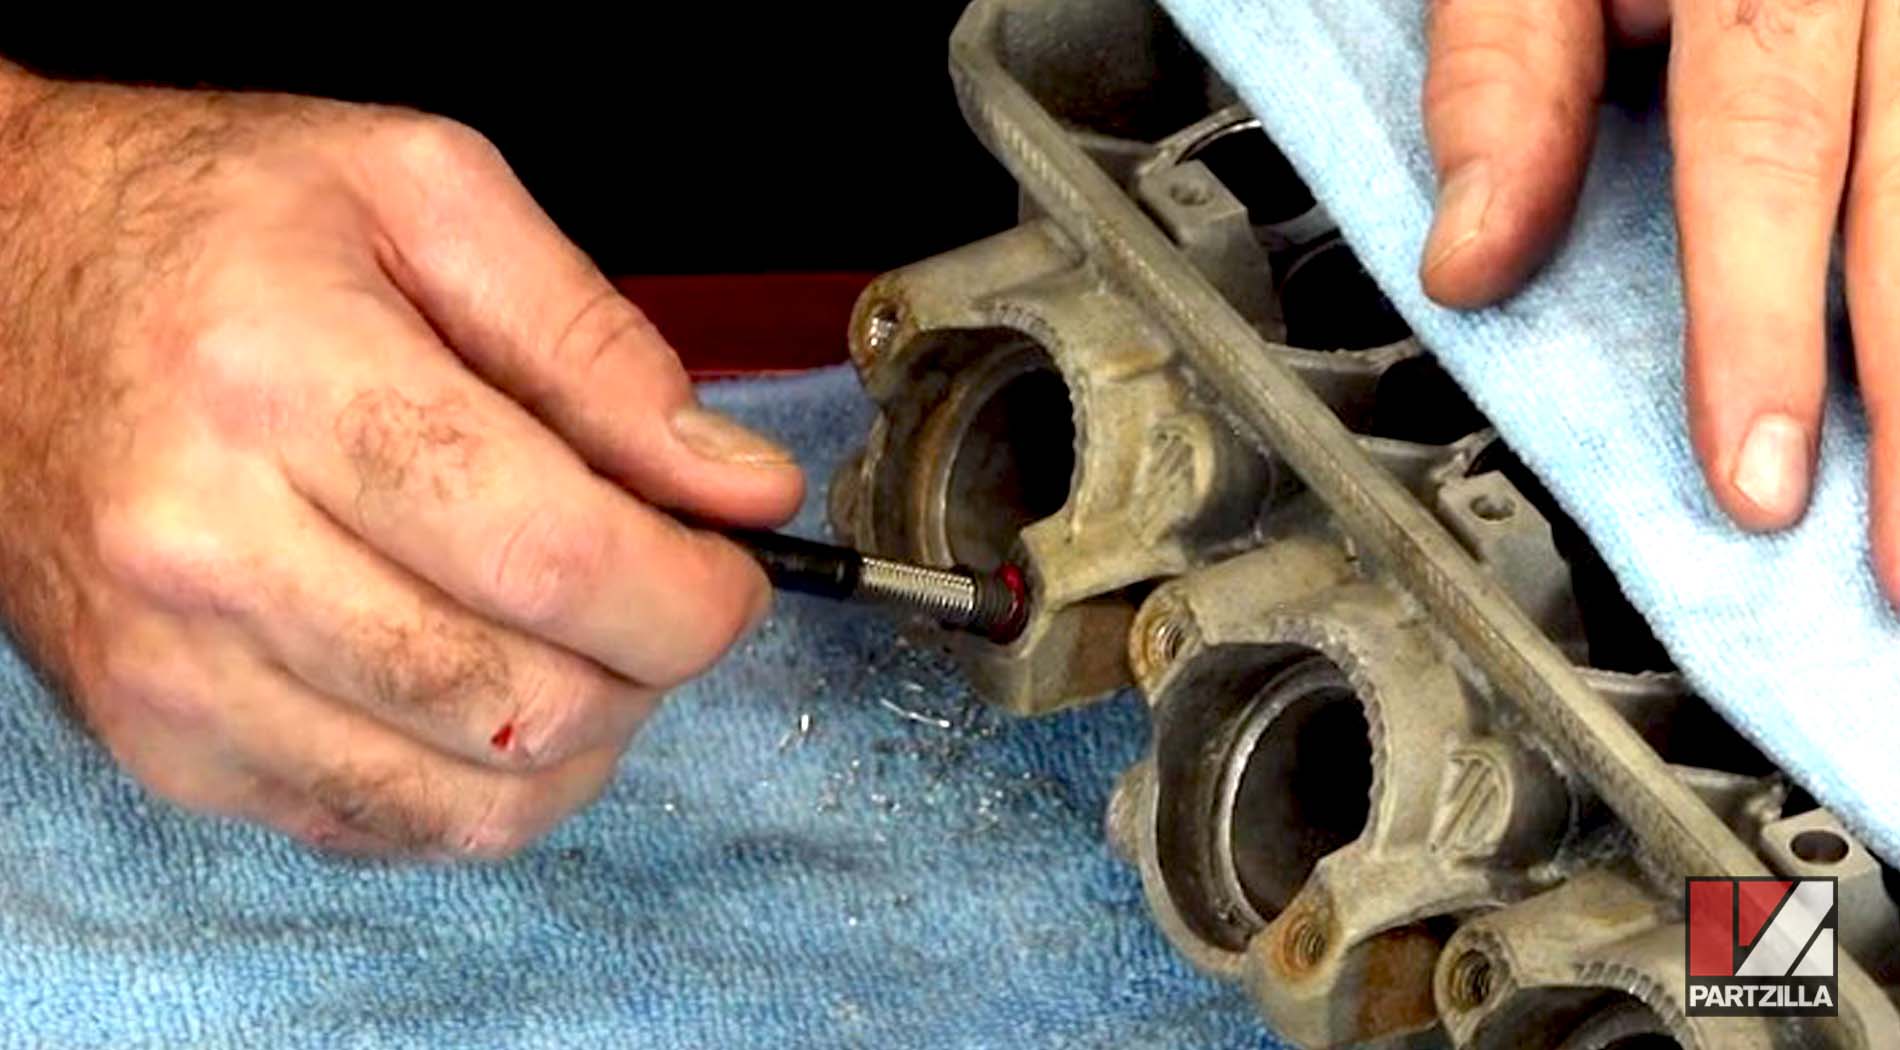
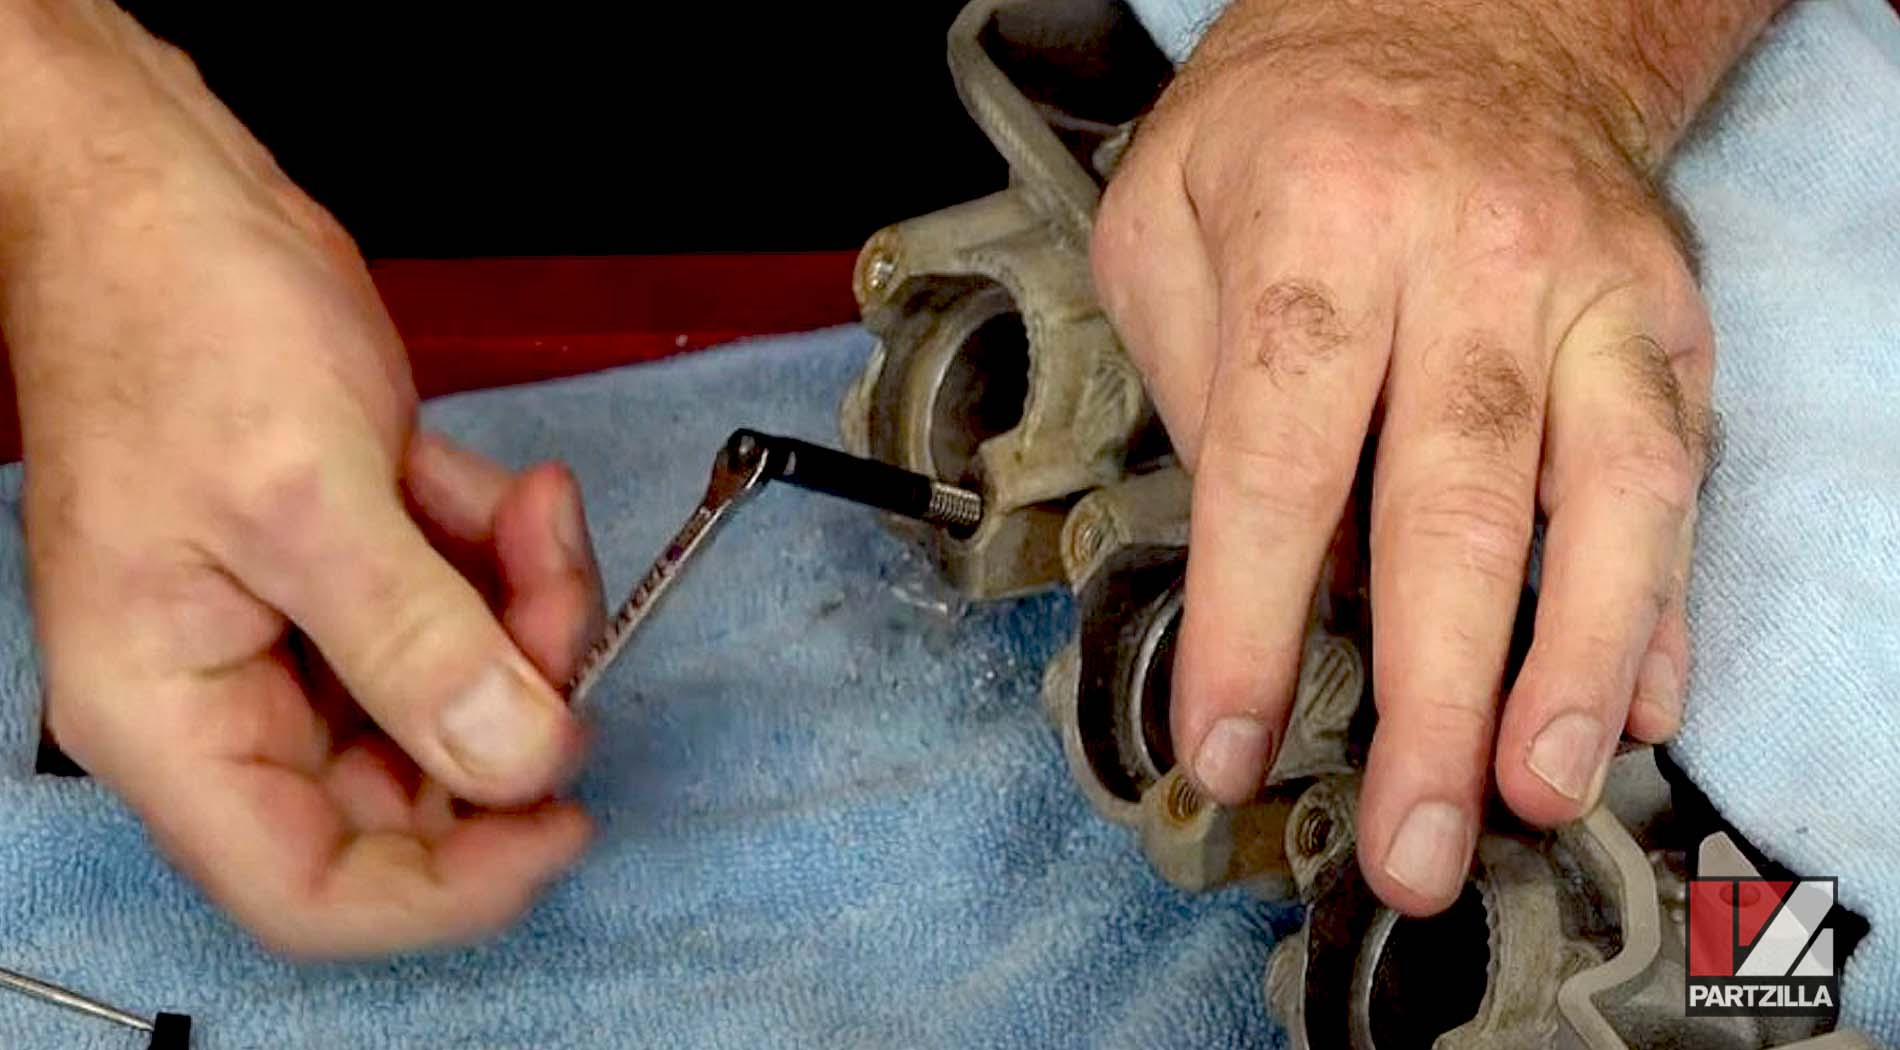
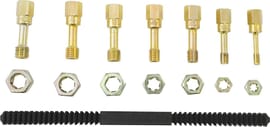
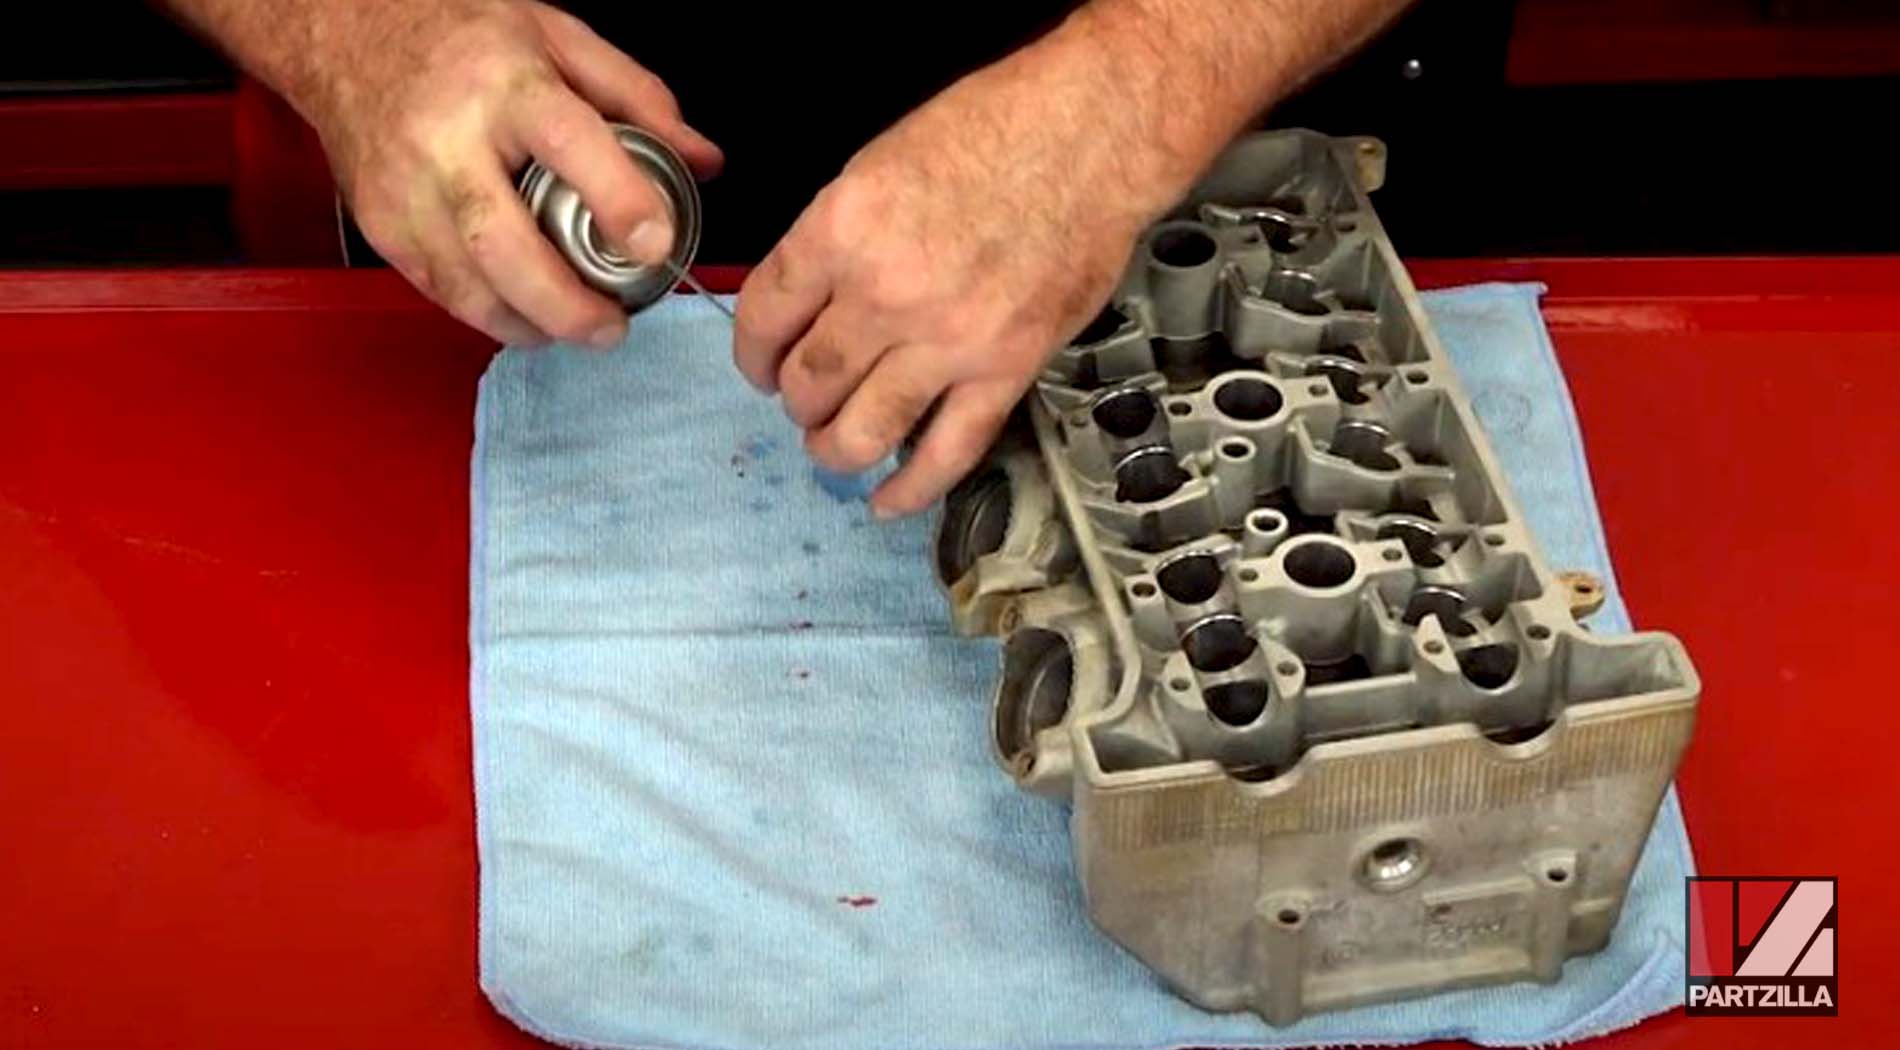
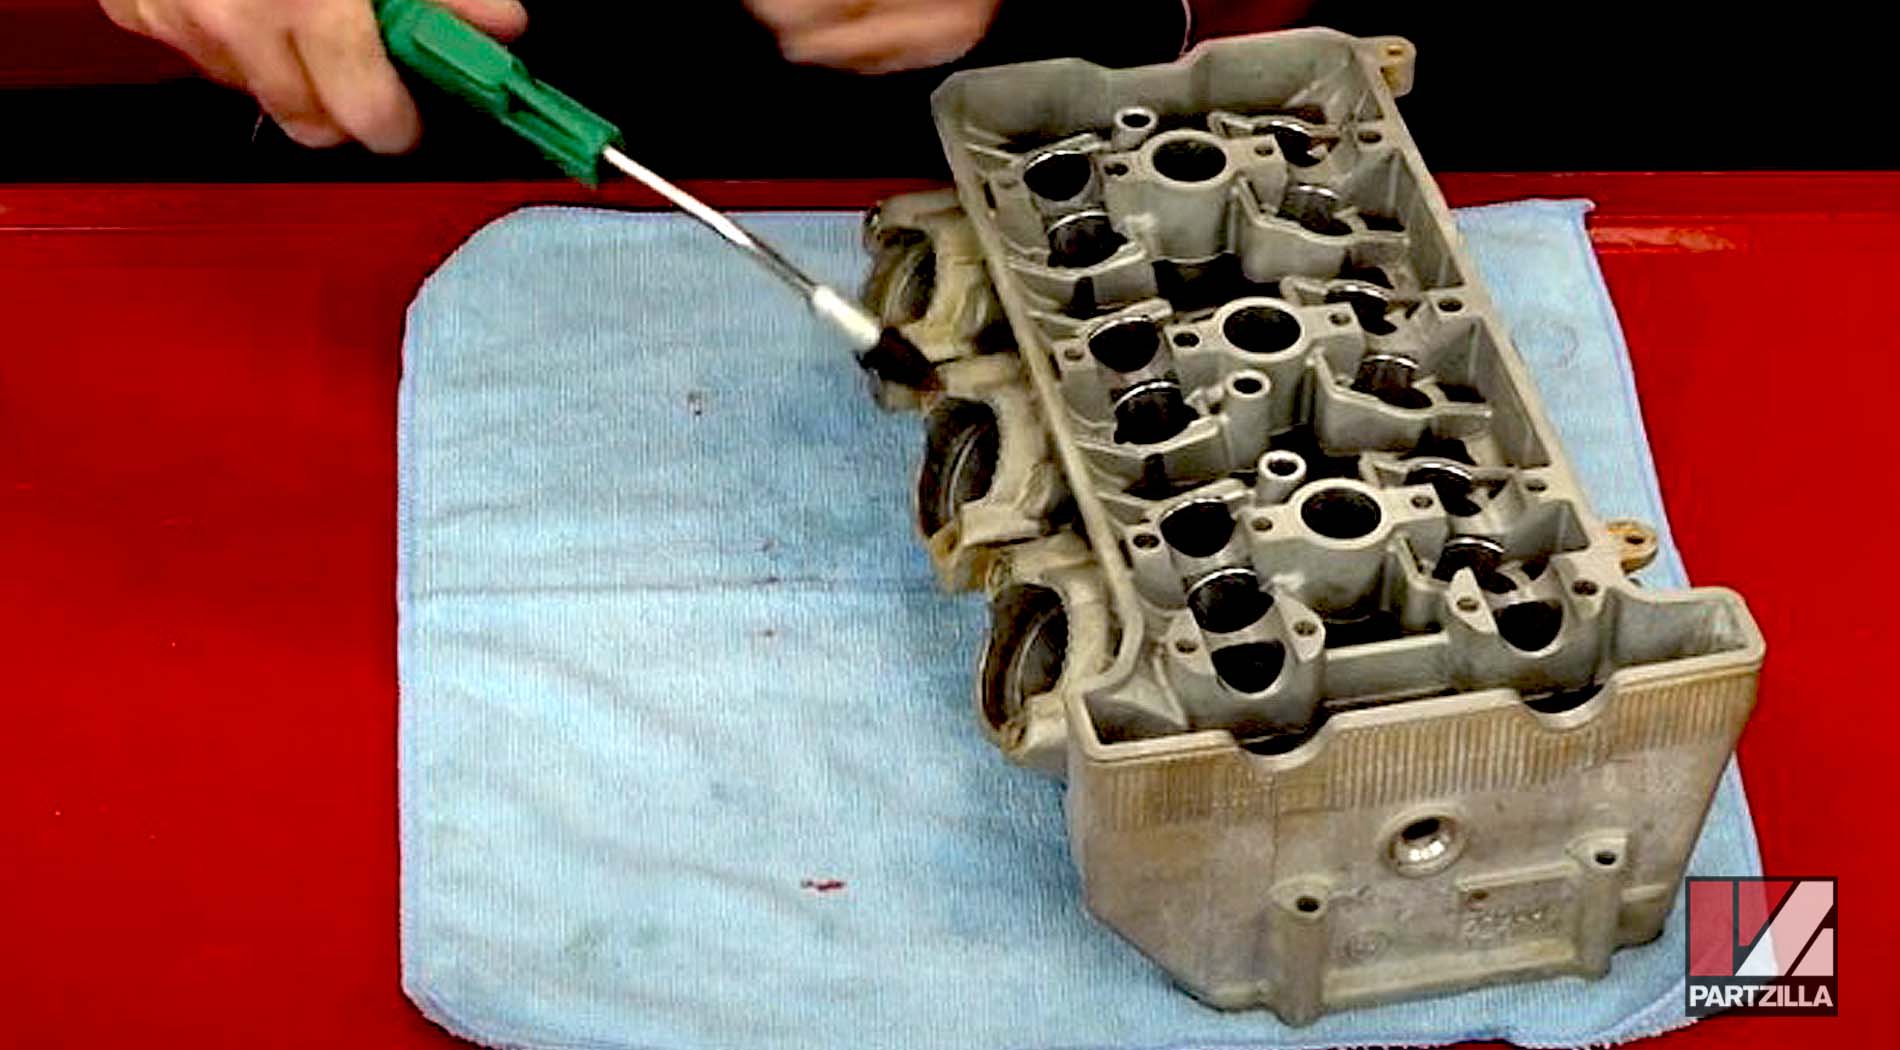
Before installing the exhaust studs, John used a thread chaser from a thread restorer kit to clean out all of the exhaust bolt holes because there was some corrosion in there to begin with.
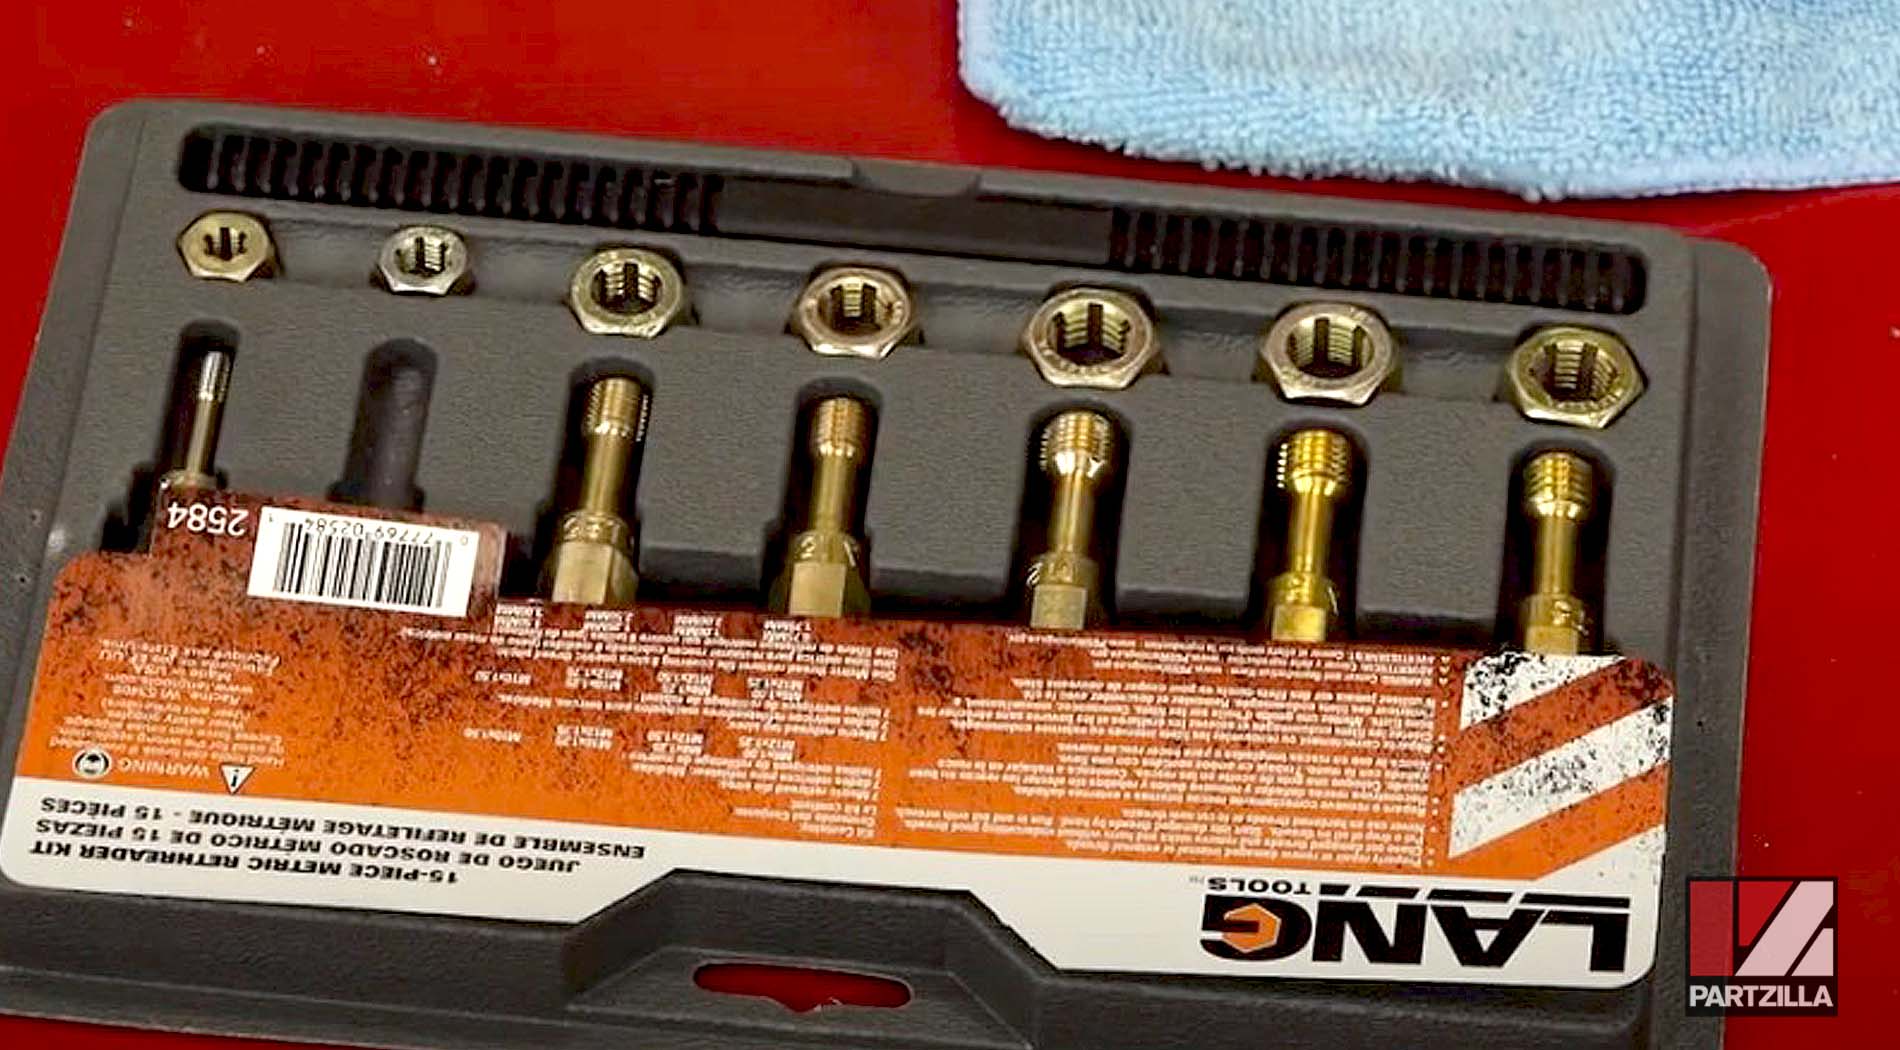
NOTE: You can use a tap and die set to do this much faster, but it does more damage than a chaser because you'd have to use a tool to run it in and out. The tip of the tap tool is like a drill bit, so it takes out a little bit more material than it should, whereas a chaser simply cleans them out without cutting new threads.
Next, John used Yamalube brake and contact cleaner and compressed air to finish cleaning out the bolt holes.
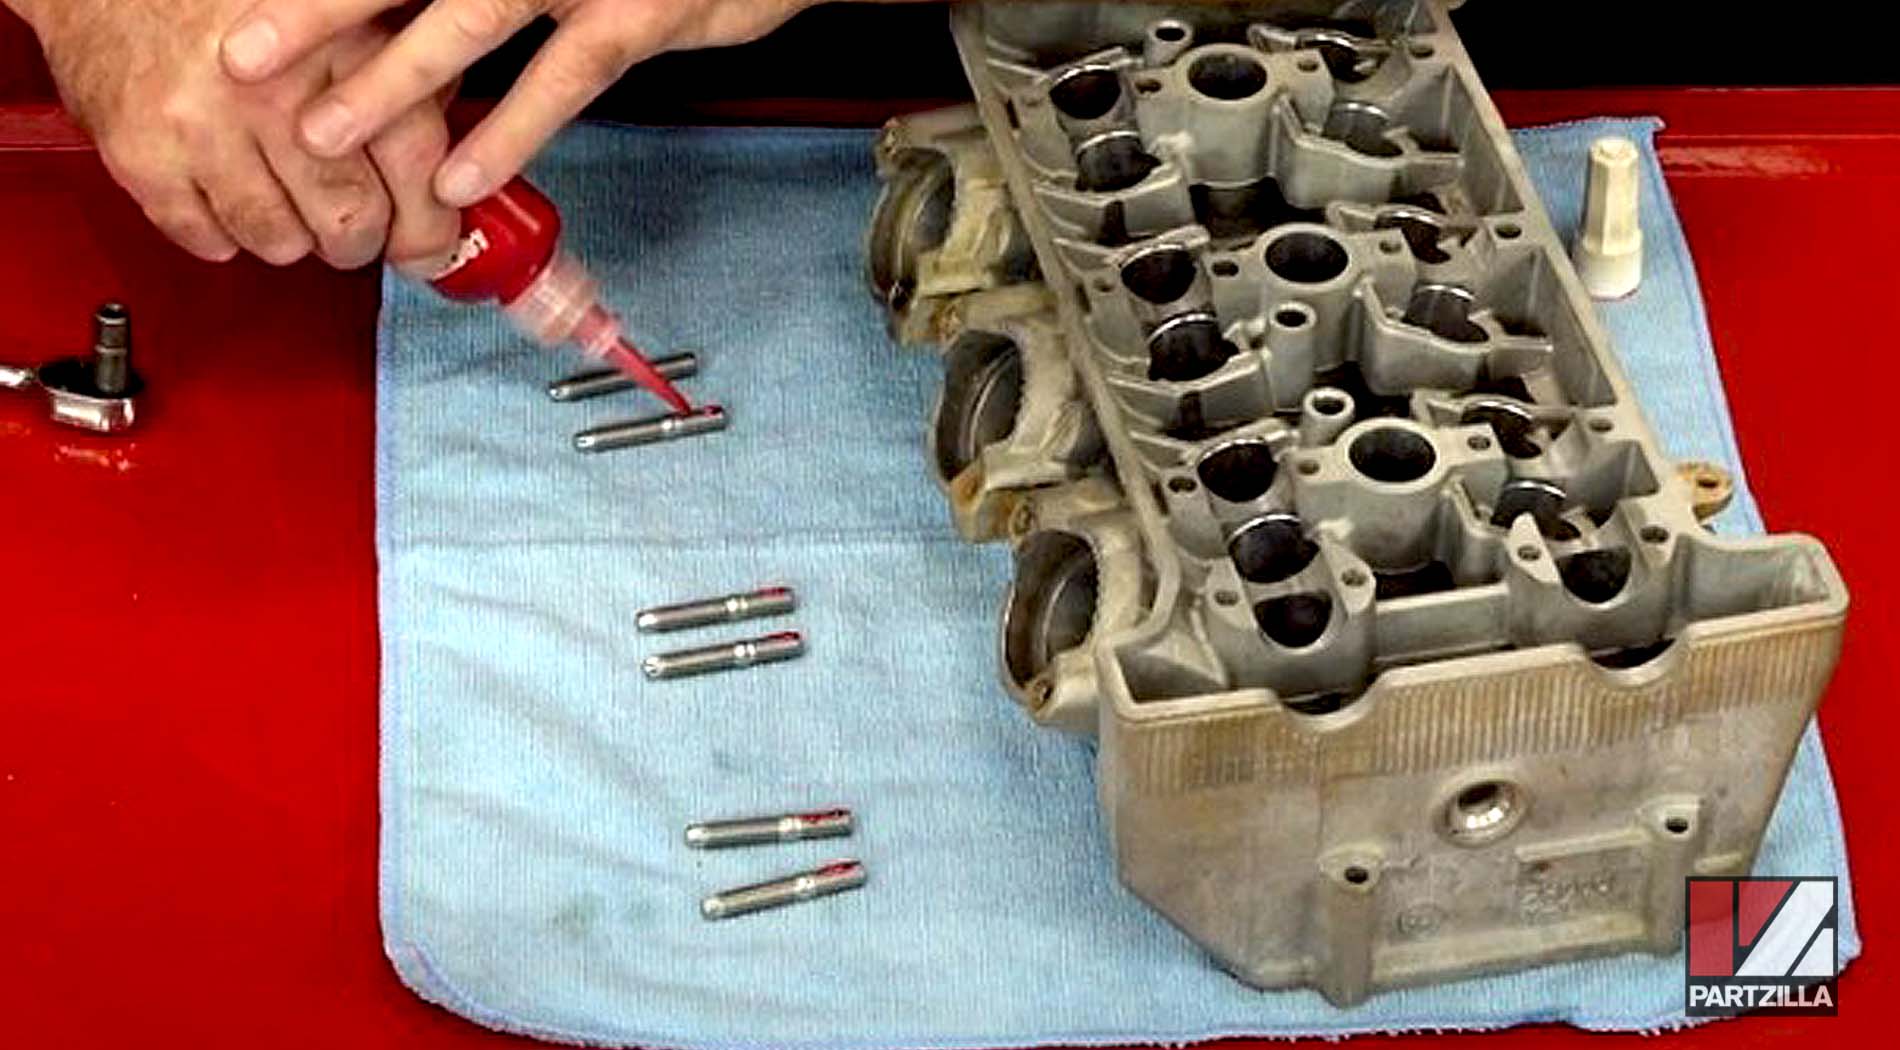
Finally, John installed the new exhaust stud bolts after adding a little bit of red threadlocker to each one. The threadlocker helps keep the bolts from corroding, and makes them much easier to pull back out should they ever need to be removed again.
So there you have it, a glimpse into the horror of experiencing a broken bolt while rebuilding an engine, and the nightmare of a process it took to get it removed. Let's hope this never happens to you.