How to Change Yamaha Raider Front Brake Pads
Replacing the front brake pads on a Yamaha motorcycle is a simple job, and bleeding the brakes after changing out the pads is recommended.
Watch the video above or follow the steps below to change the front brake pads on a Yamaha Raider motorcycle.
Tools and Parts – Yamaha Raider Front Brake Pads Replacement
- Needle-nose pliers
- Ratchet and socket set
- Torque wrench
- Soft blow hammer

NOTE: You’ll need two sets of brake pads to complete this job, since there’s a caliper on both sides of the front wheel, and each set contains pads for just one side.
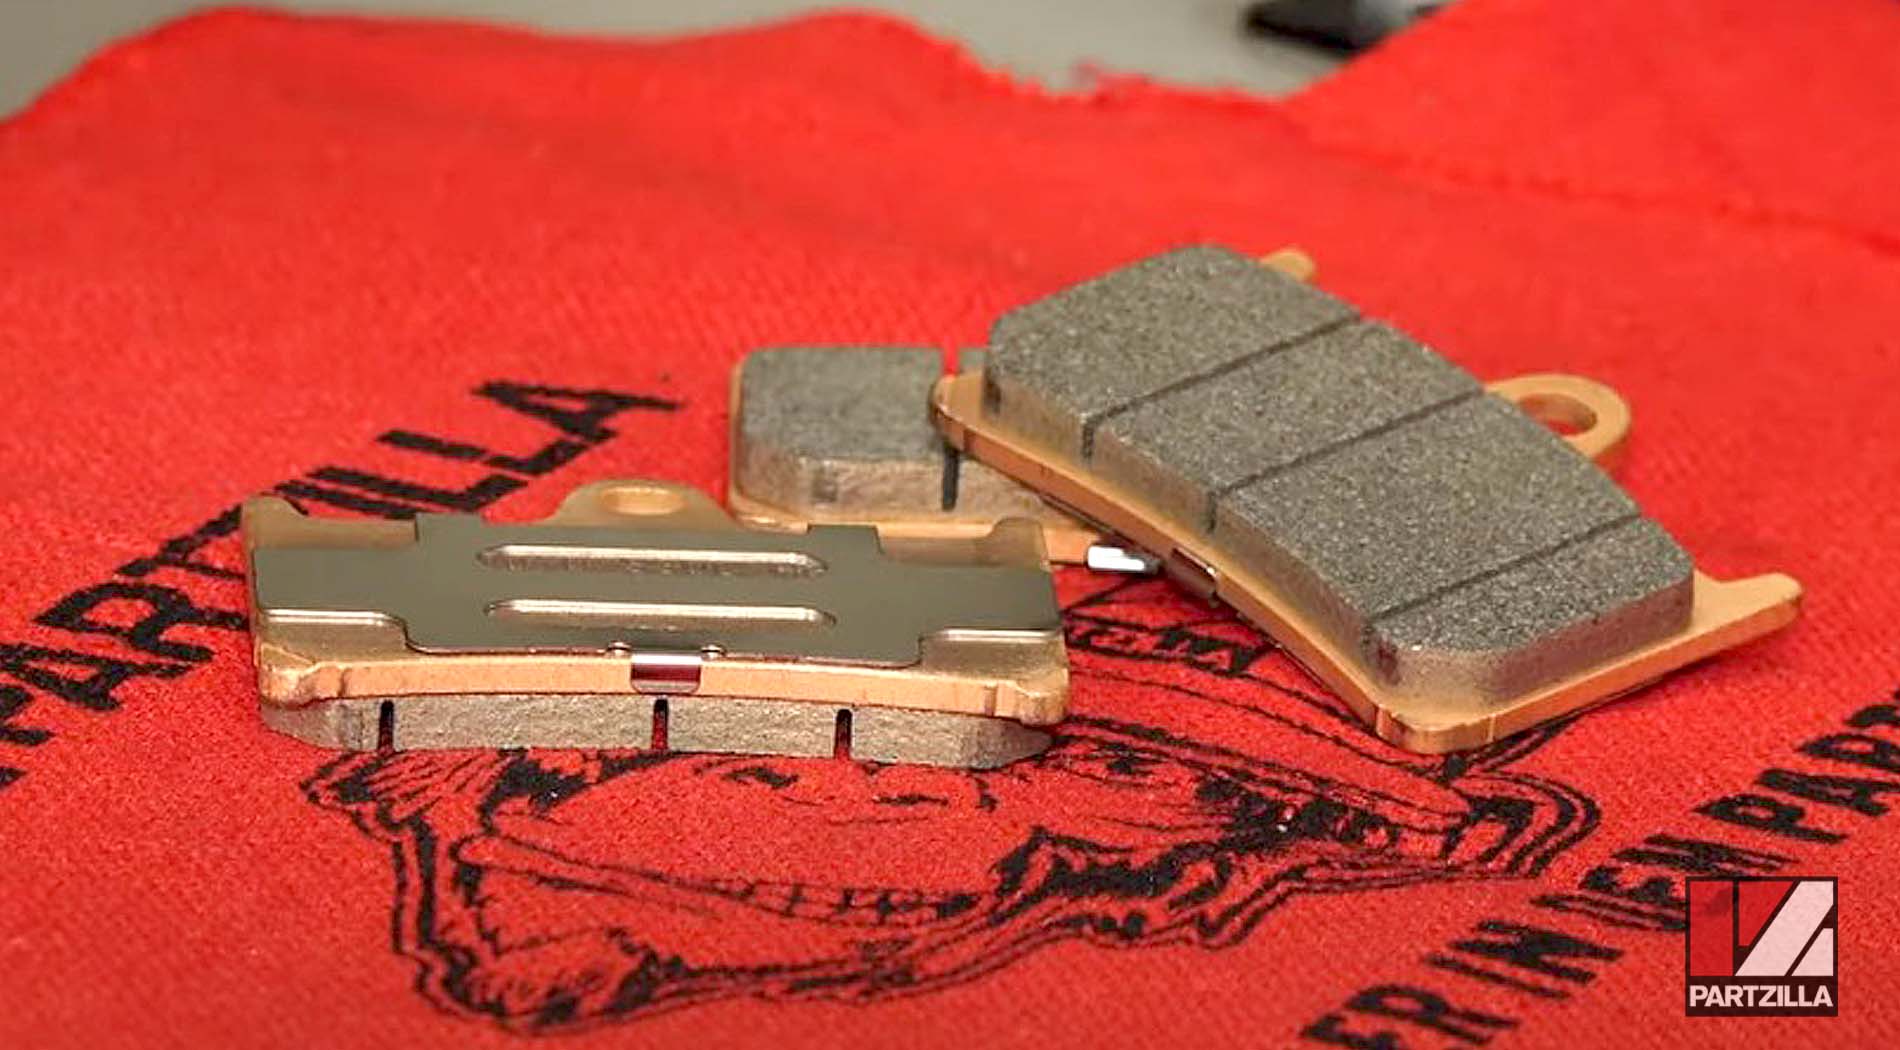
Yamaha specs cut it close on the wear limit for the Raider’s brake pads. They say you can get the front brake pads down to the bottom of the wear indicator channel, leaving about half a millimeter of pad material left. However, with just a tiny bit of pad material, you risk allowing a lot of heat to damage the caliper and perhaps cause brake failure.
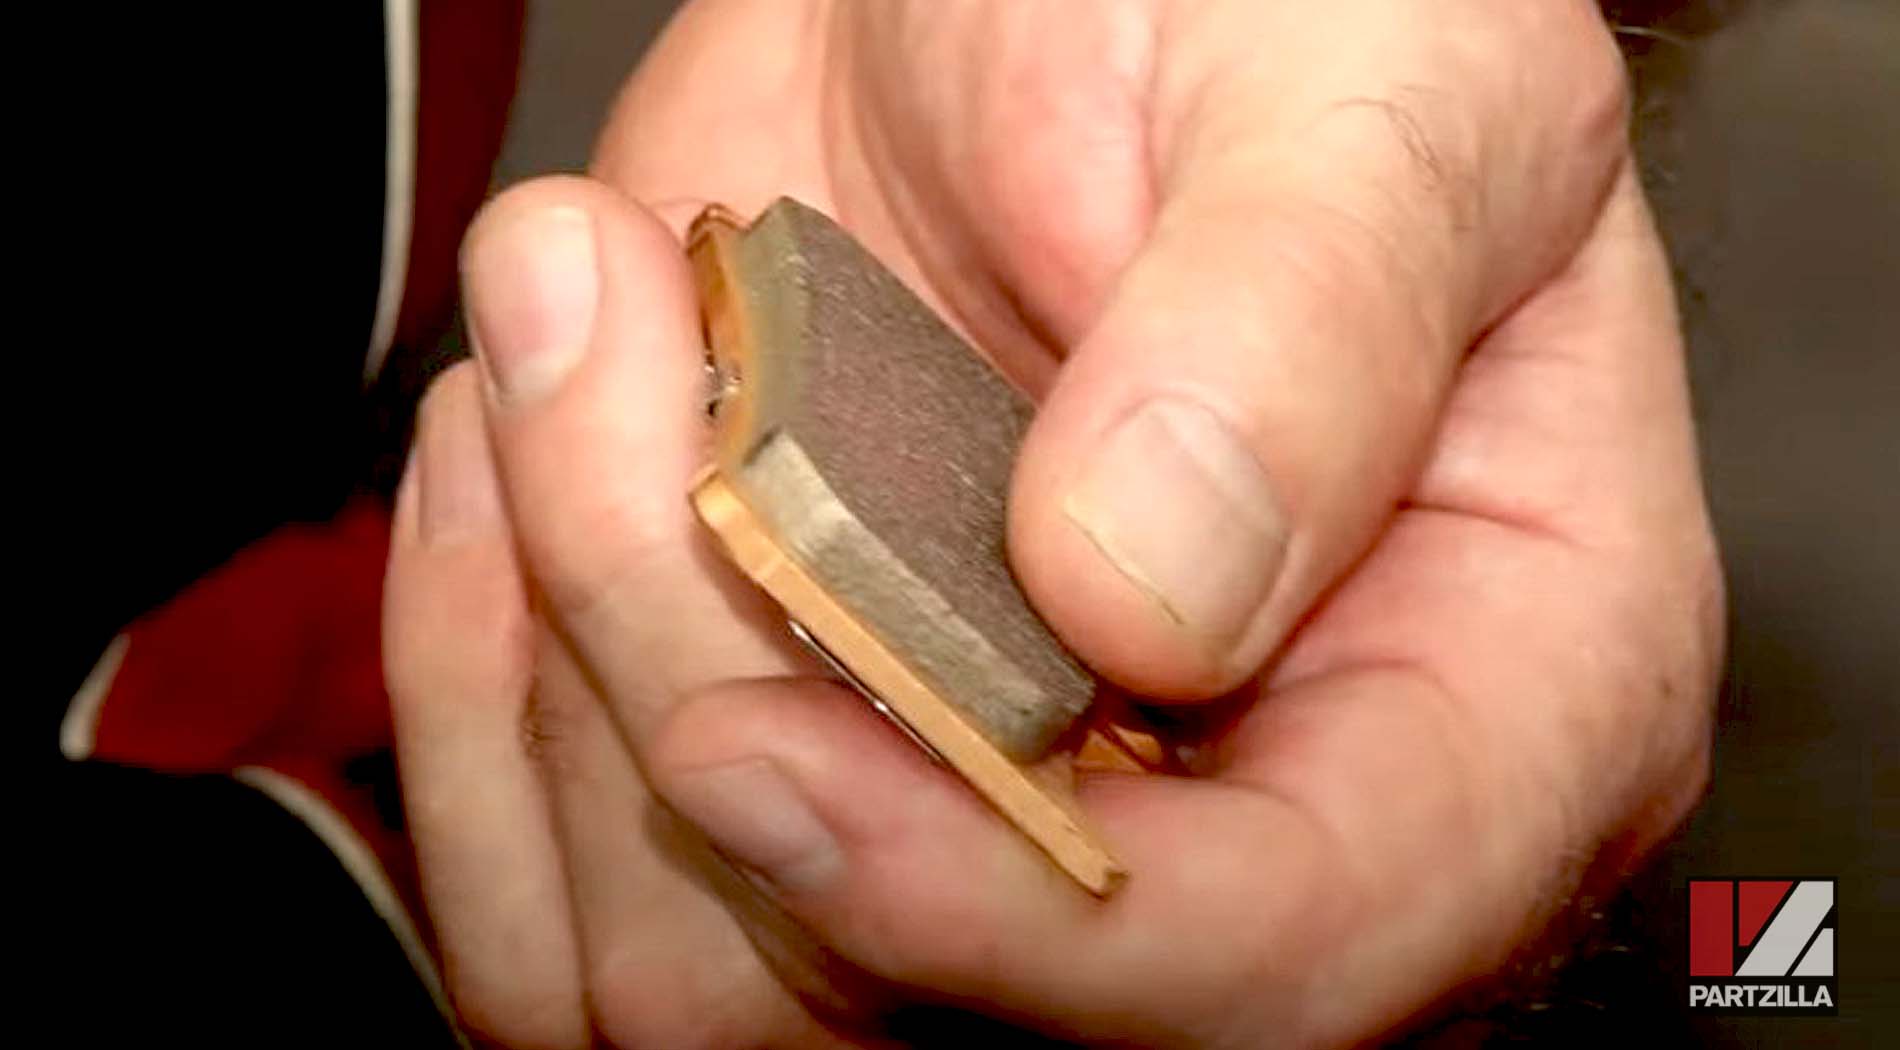
The extra material on new Yamaha Raider brake pads does a great job of handling the heat generated while braking the bike.
Yamaha Raider Front Brake Pads Change
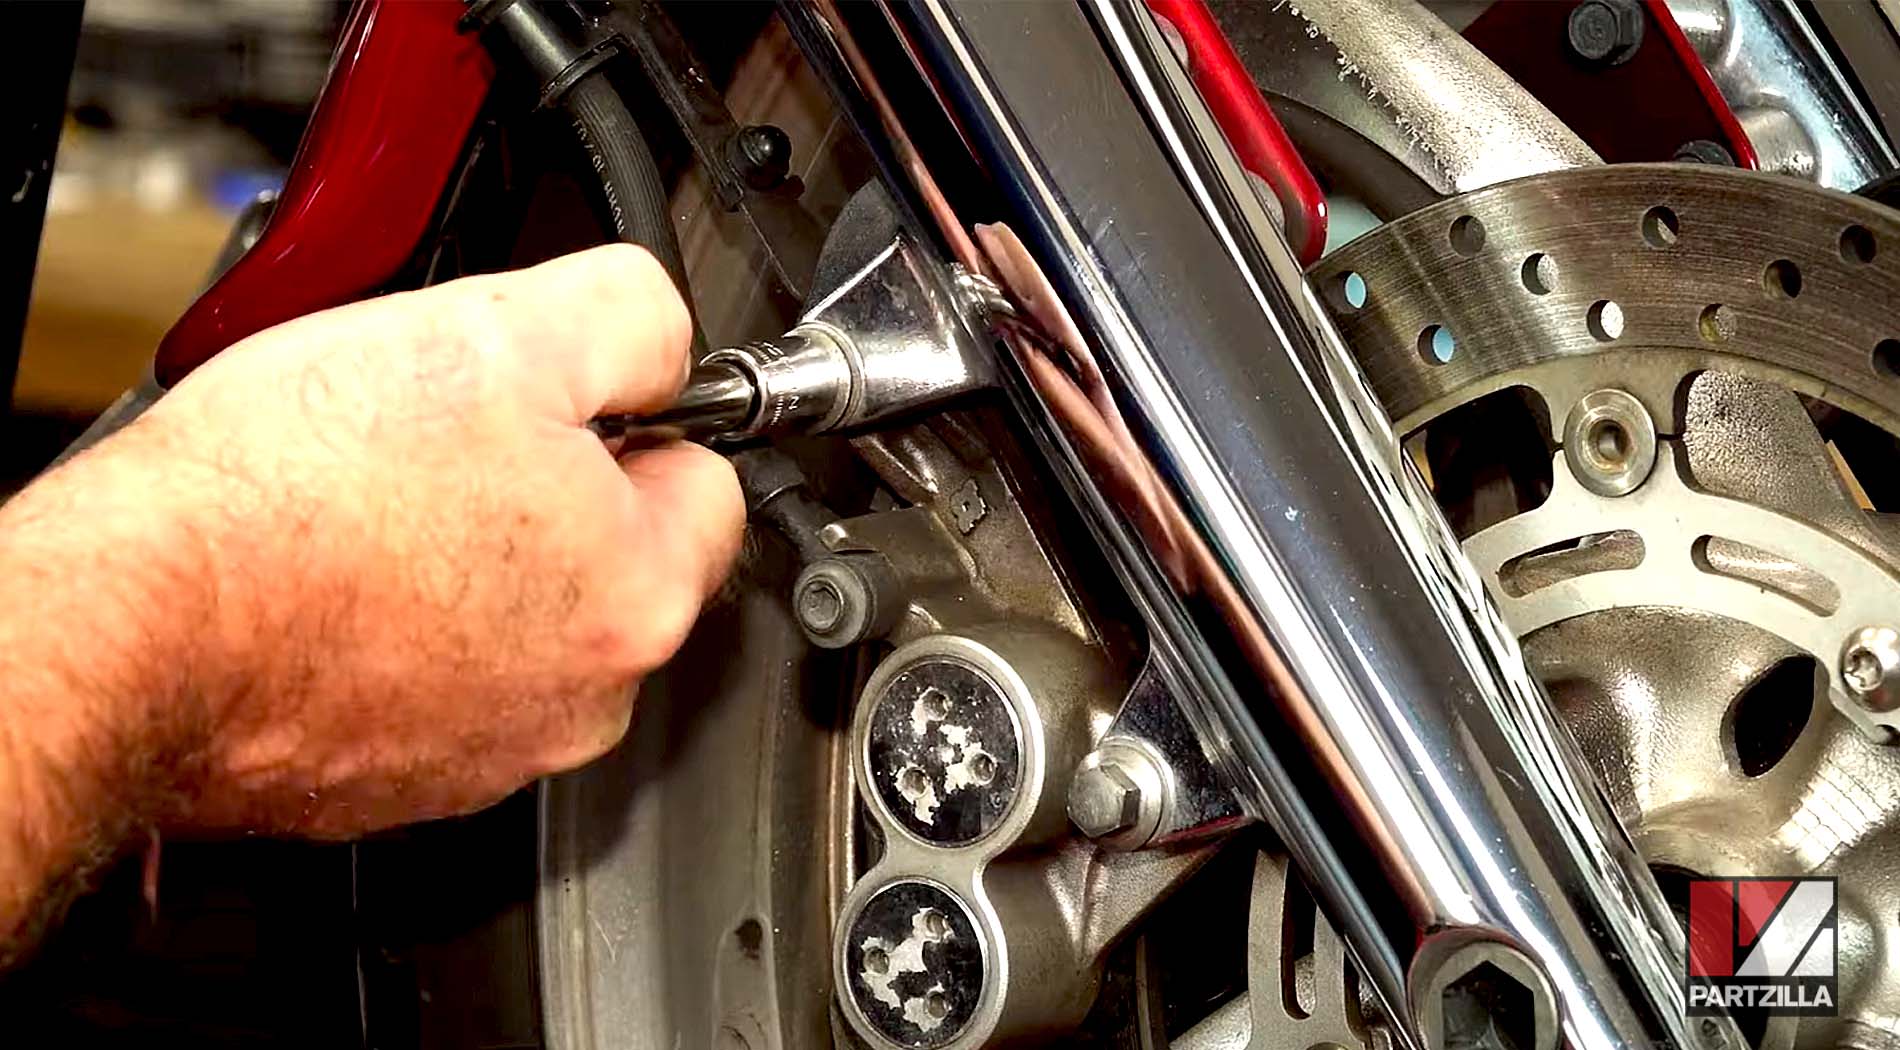
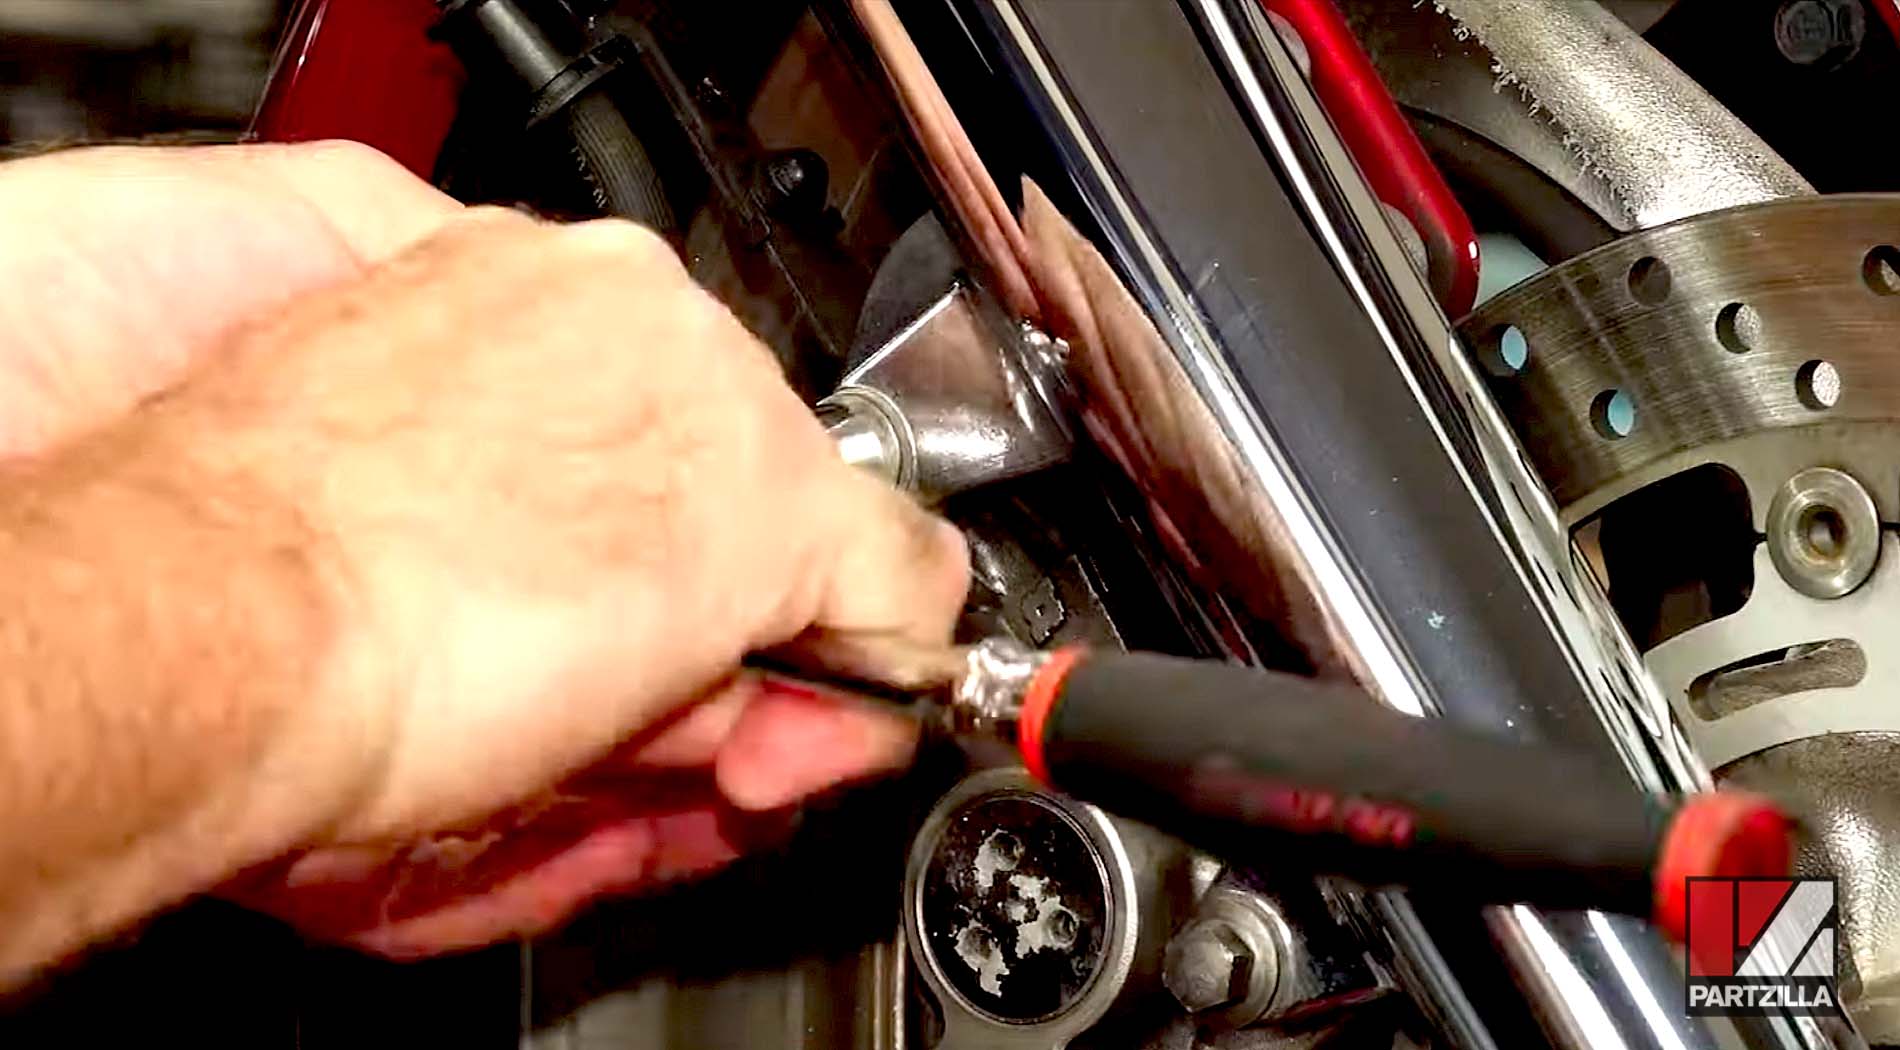
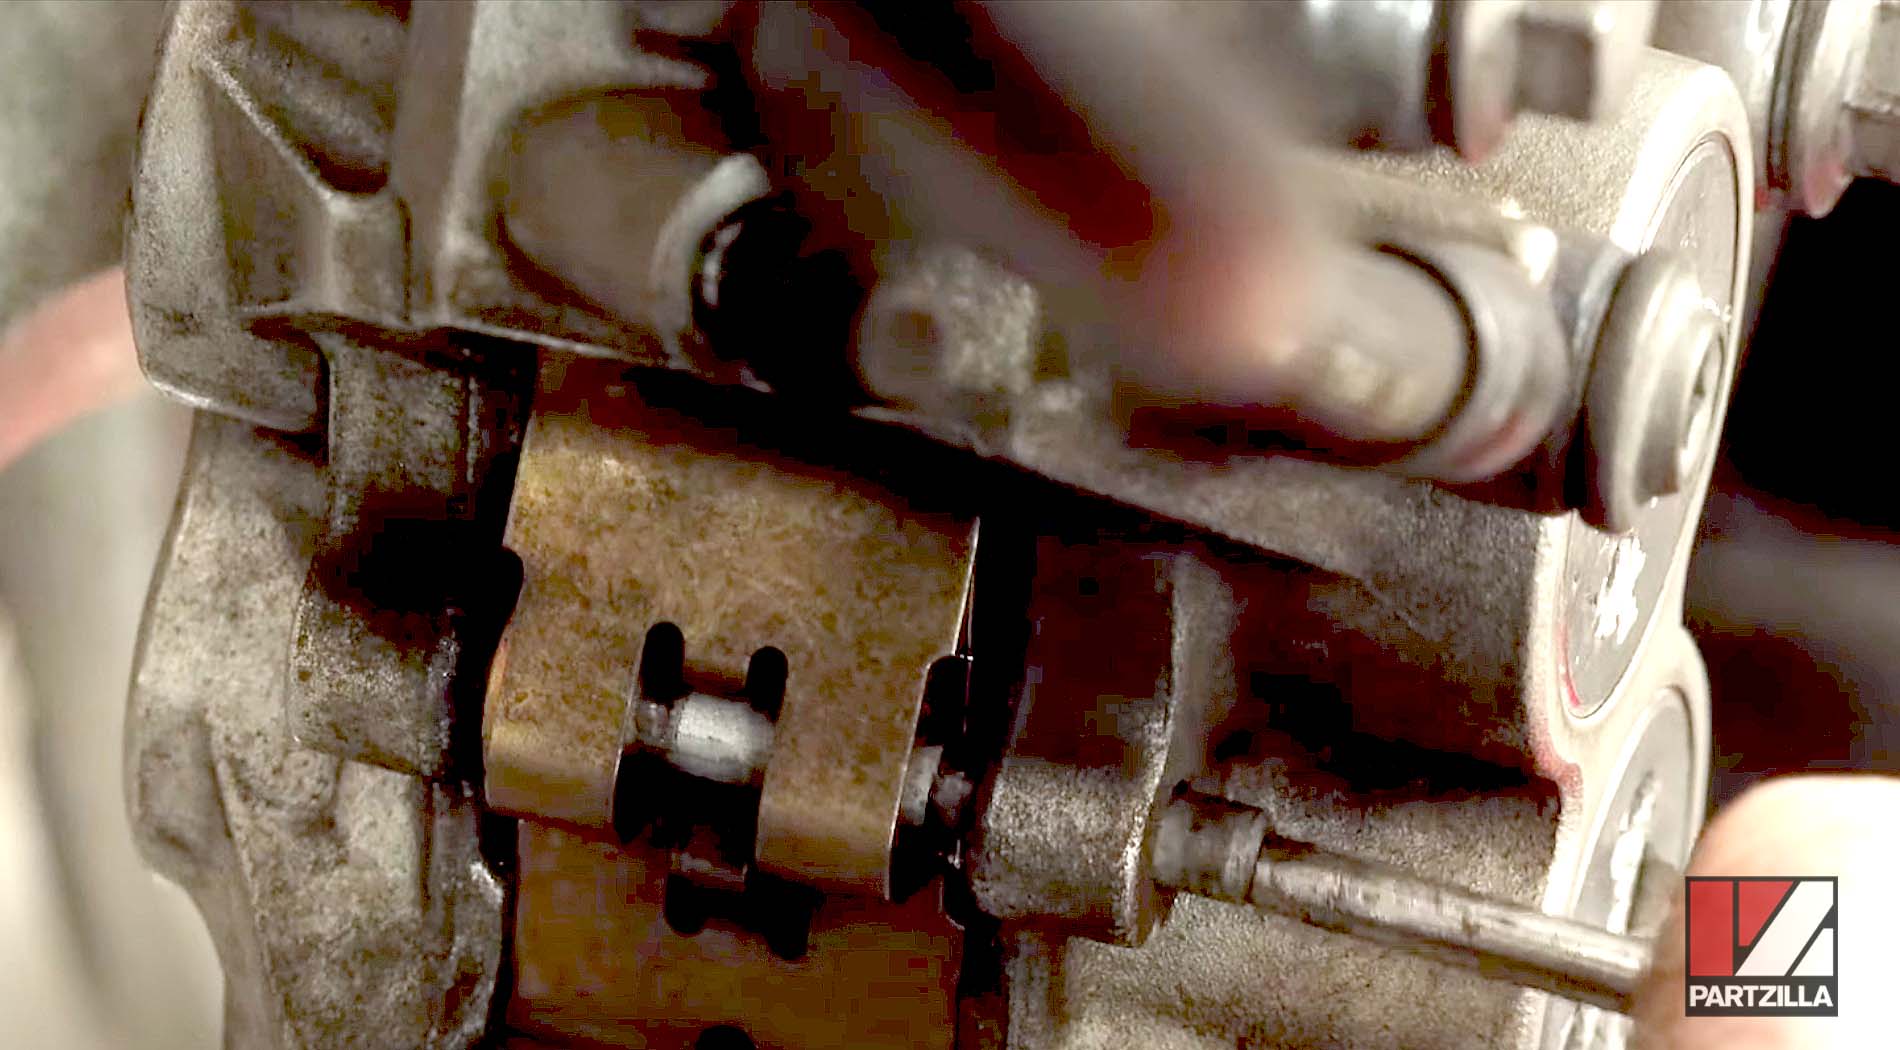
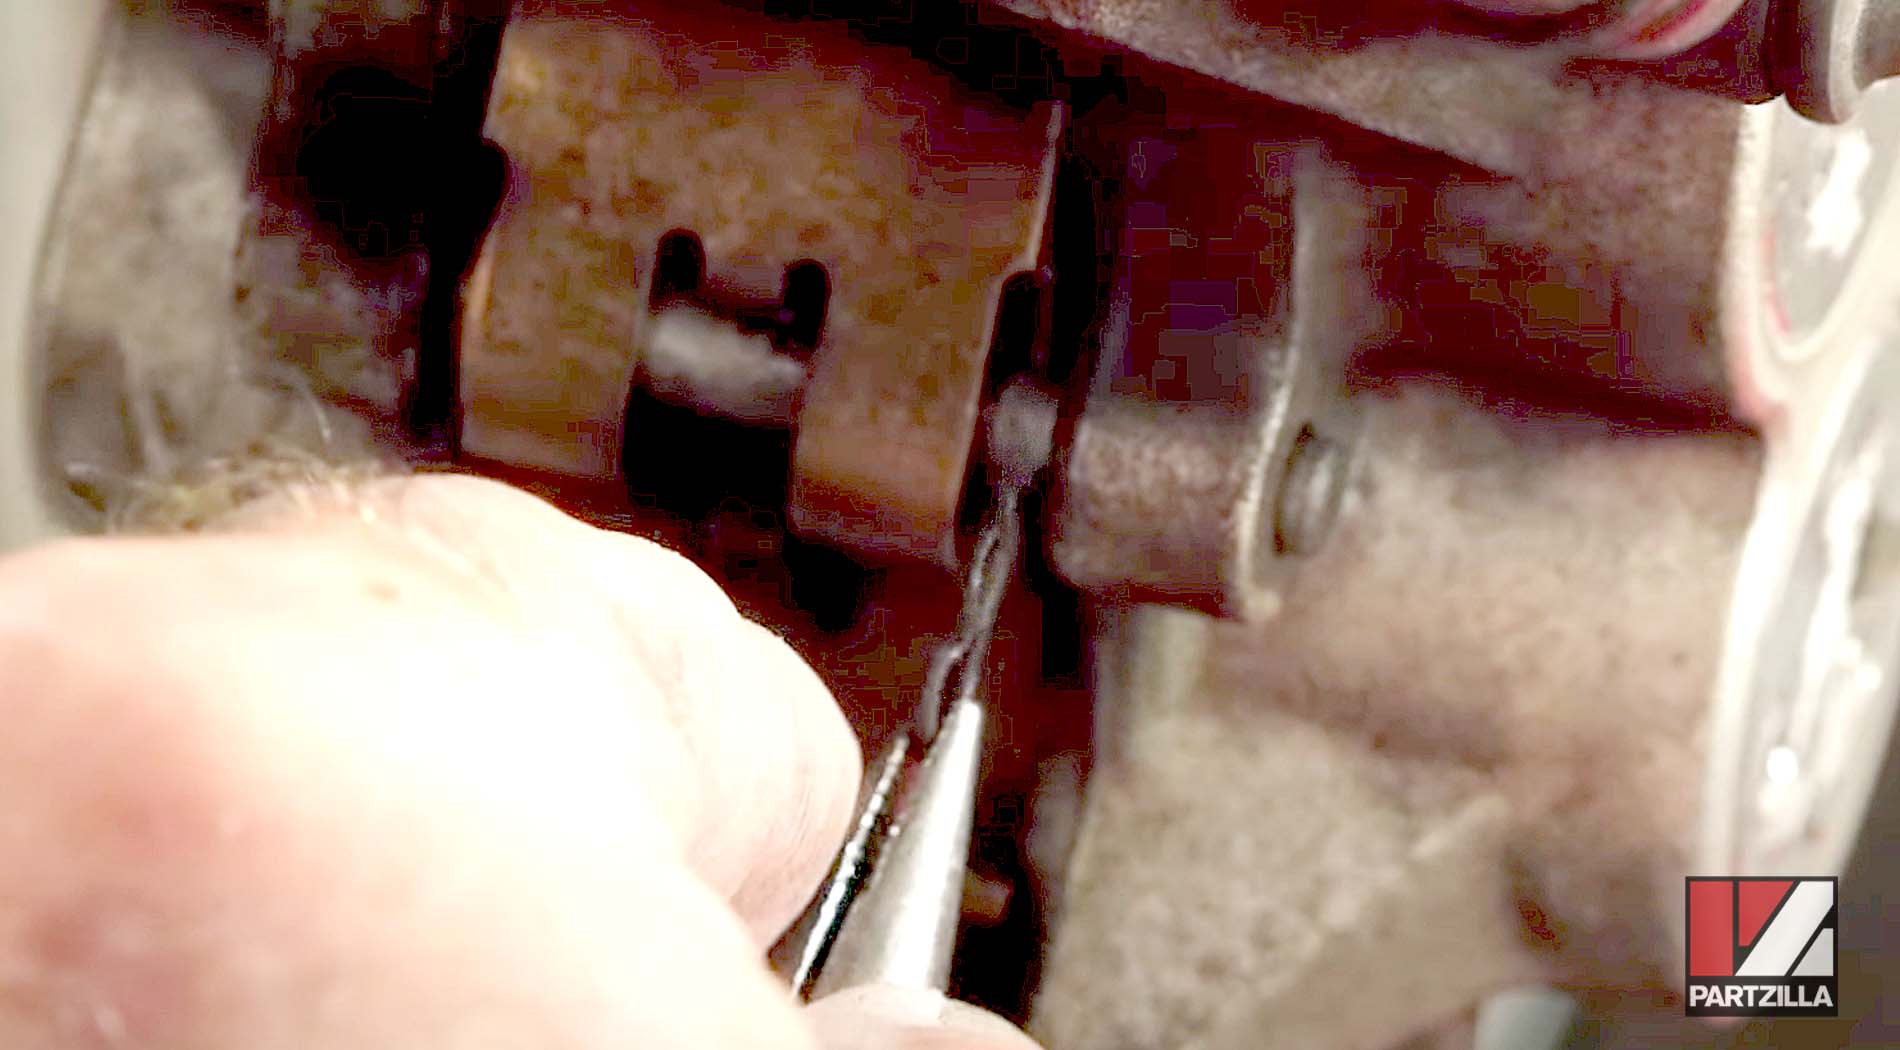
Step 1. Use needle-nose pliers to remove the two small cotter pins that hold the brake pad pin in place.
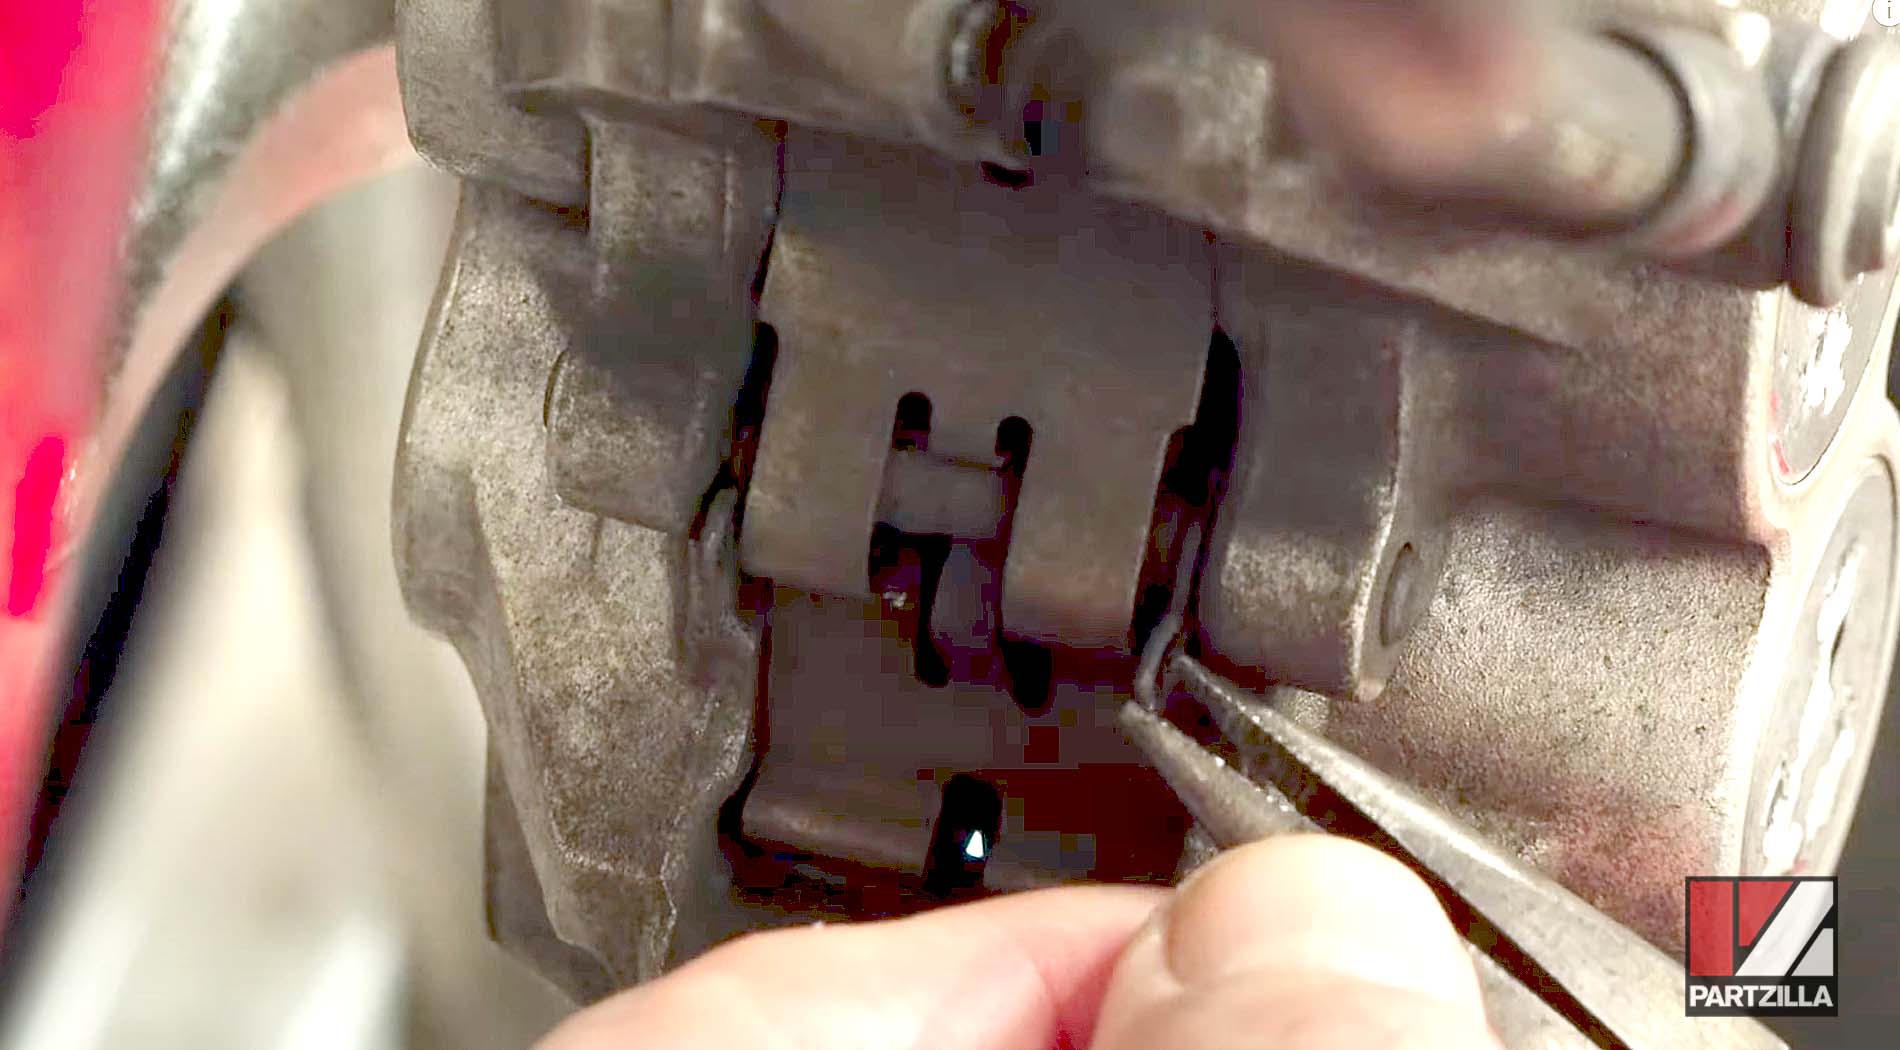
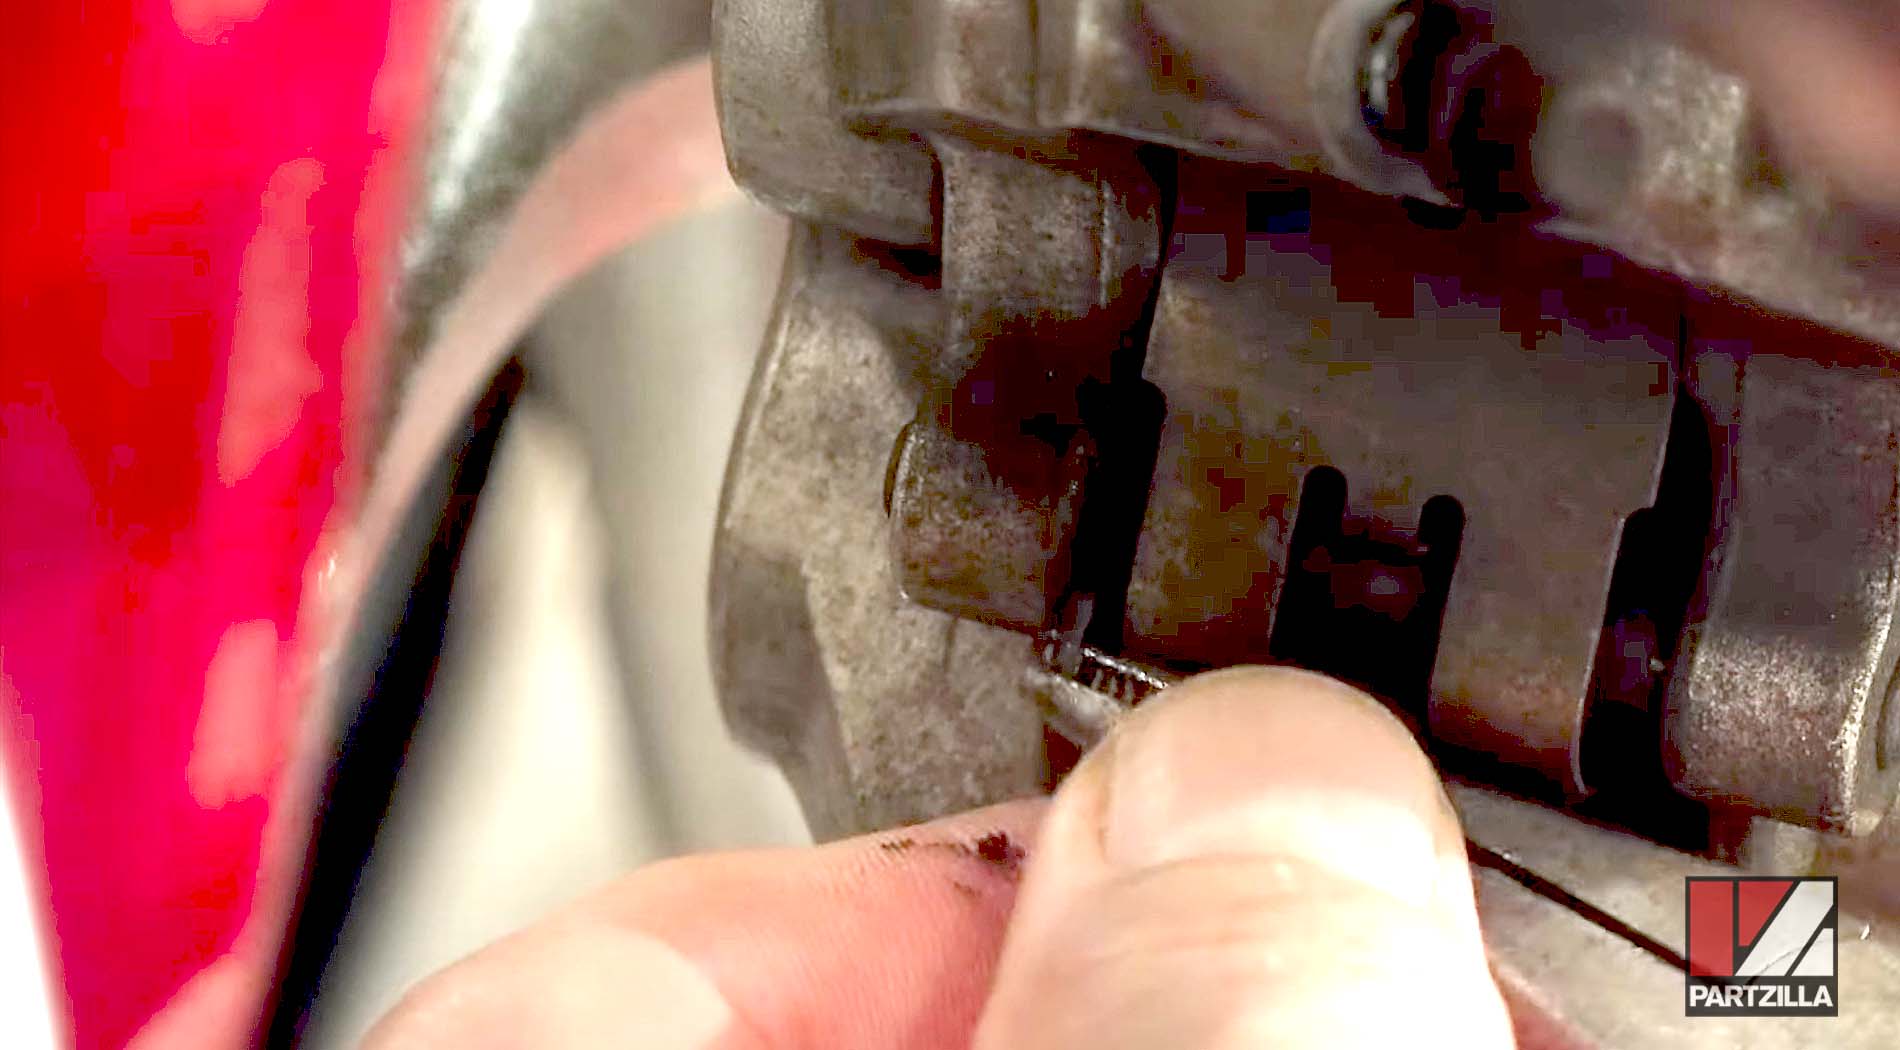
Step 2. Remove the pin that runs through the brake pads by tapping it out with a soft-blow hammer.
NOTE: There’s a pad support that helps stabilize the pads inside the caliper. Once you’ve knocked the pad pin out, the pad support might just fall out. If not, it’ll come out easily by hand.
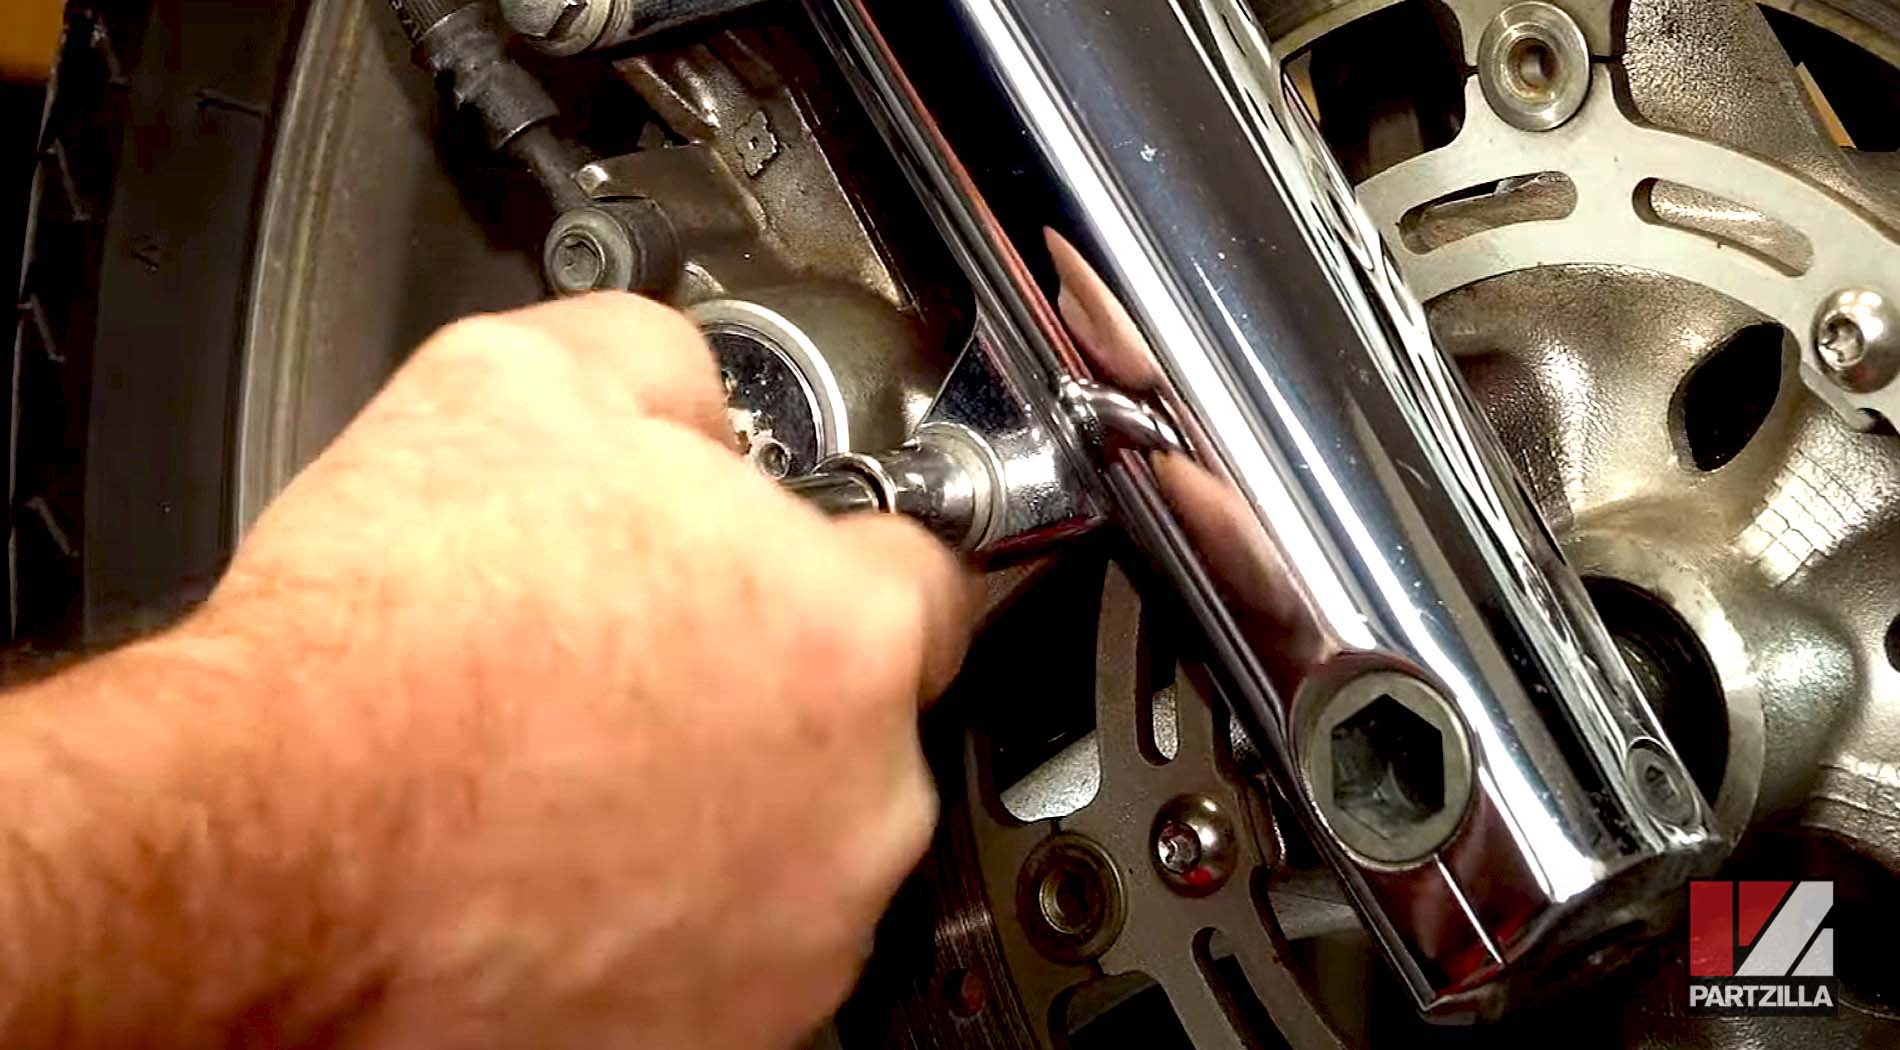
Step 3. Remove the two bolts that hold the caliper in place, followed by the caliper itself, so you can push the pistons back.
NOTE: Don’t pull out the old brake pads yet. Keeping the old pads in place makes it easier to push the caliper pistons back to make room for the new pads.
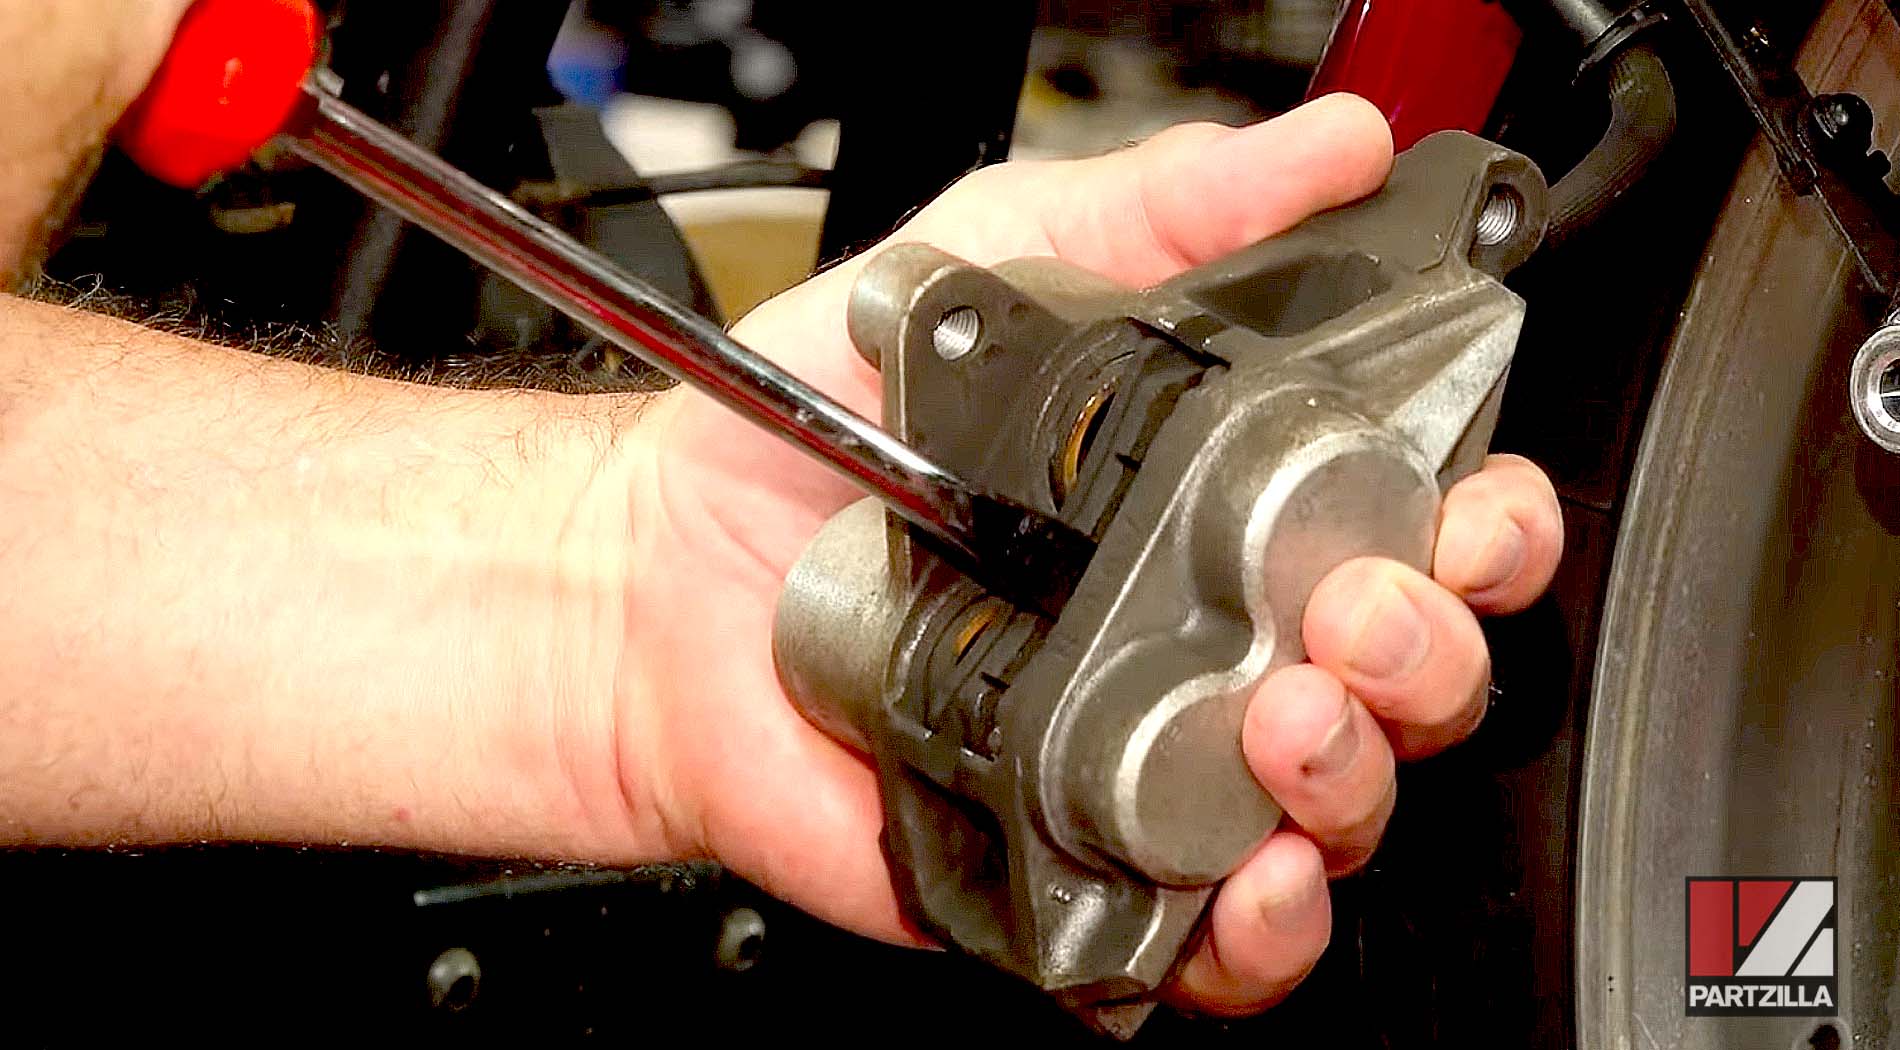
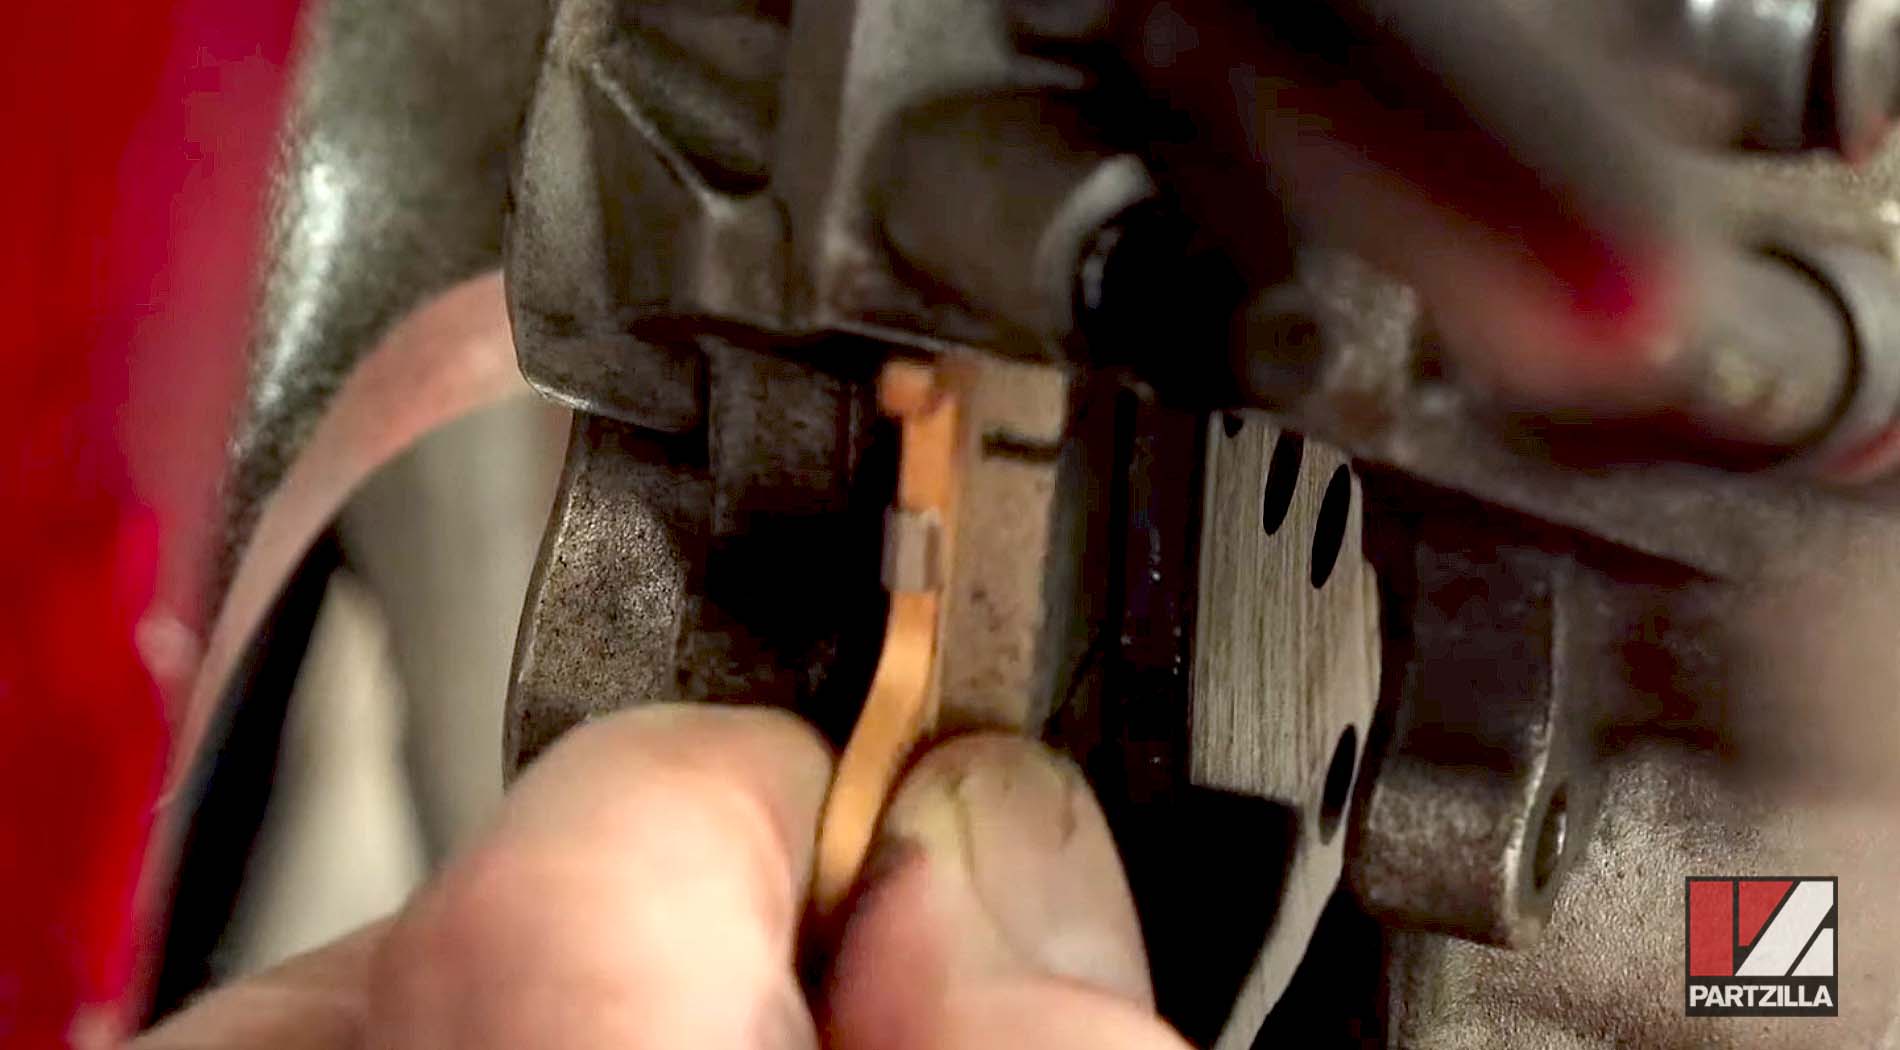
Step 4. Use a flathead screwdriver to pry on the old brake pads and push the pistons back, then remove the old pads, which should fall right out.
Step 5. Put the caliper bolts back in place and tighten them down, but don’t torque them yet.
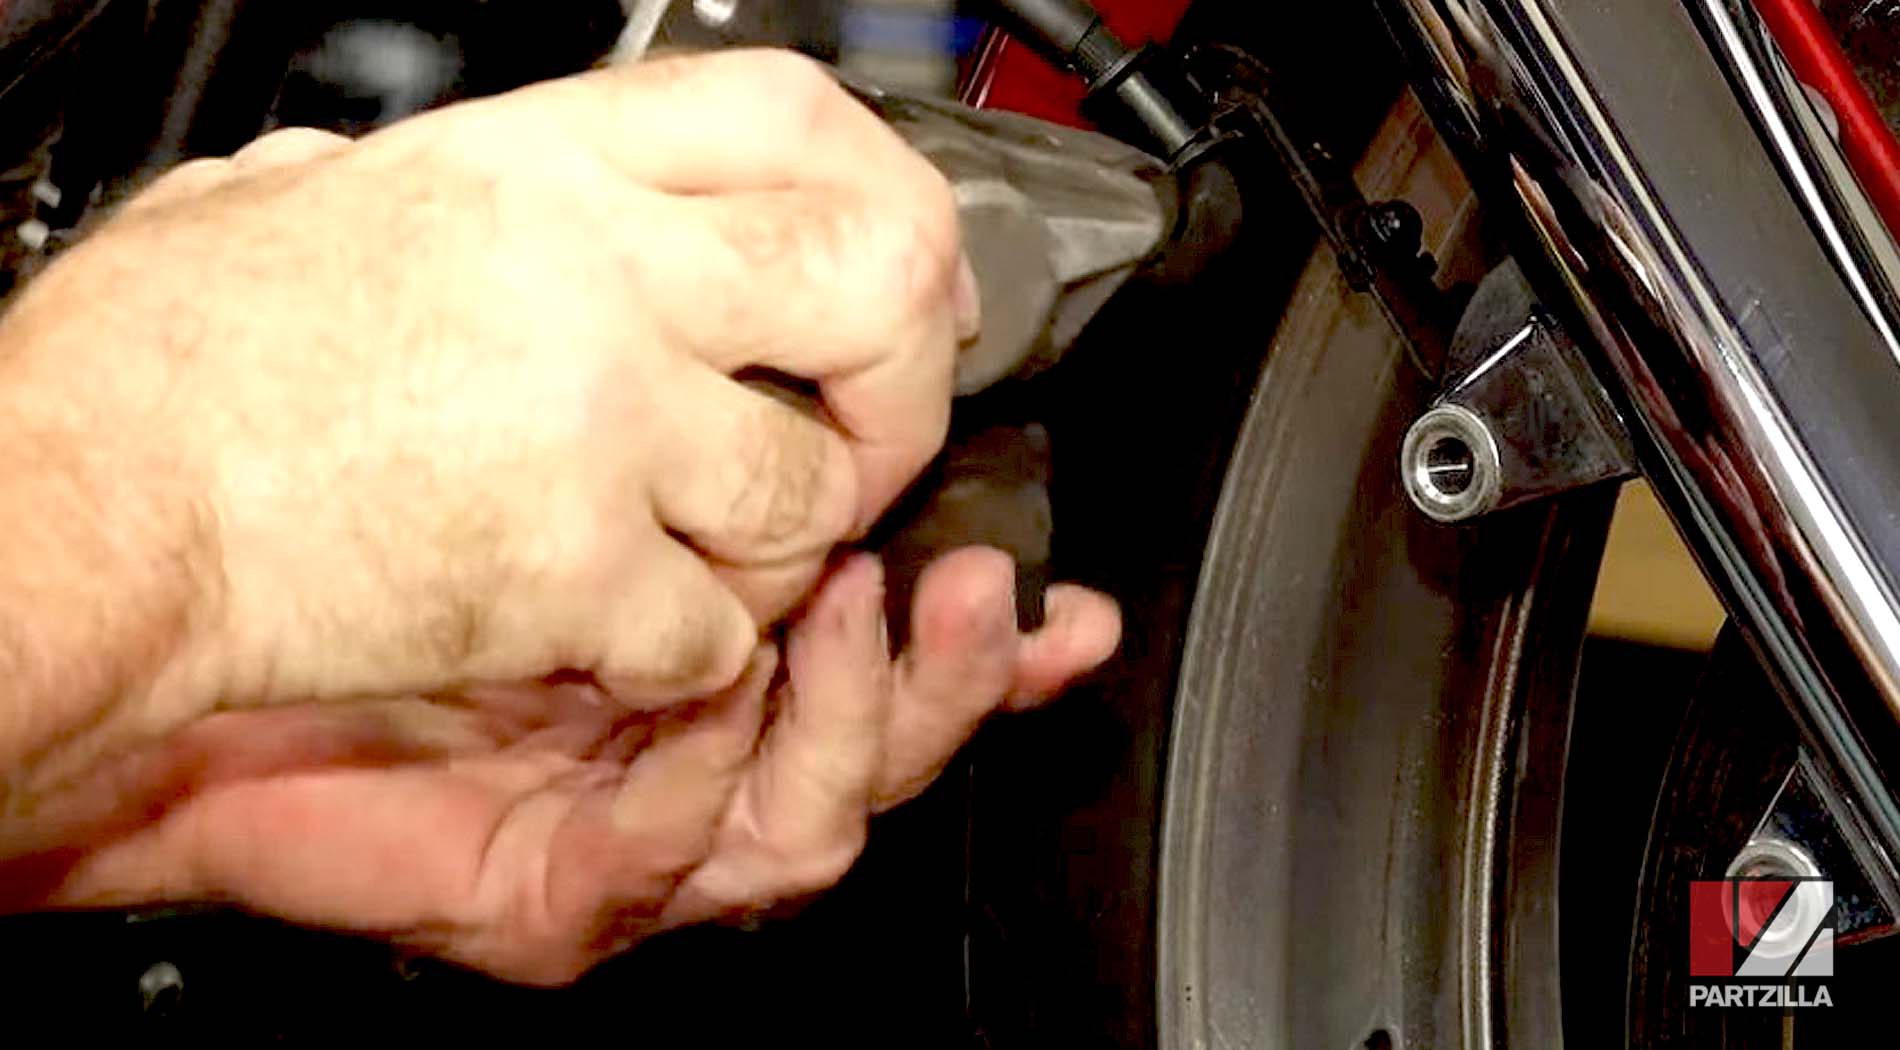
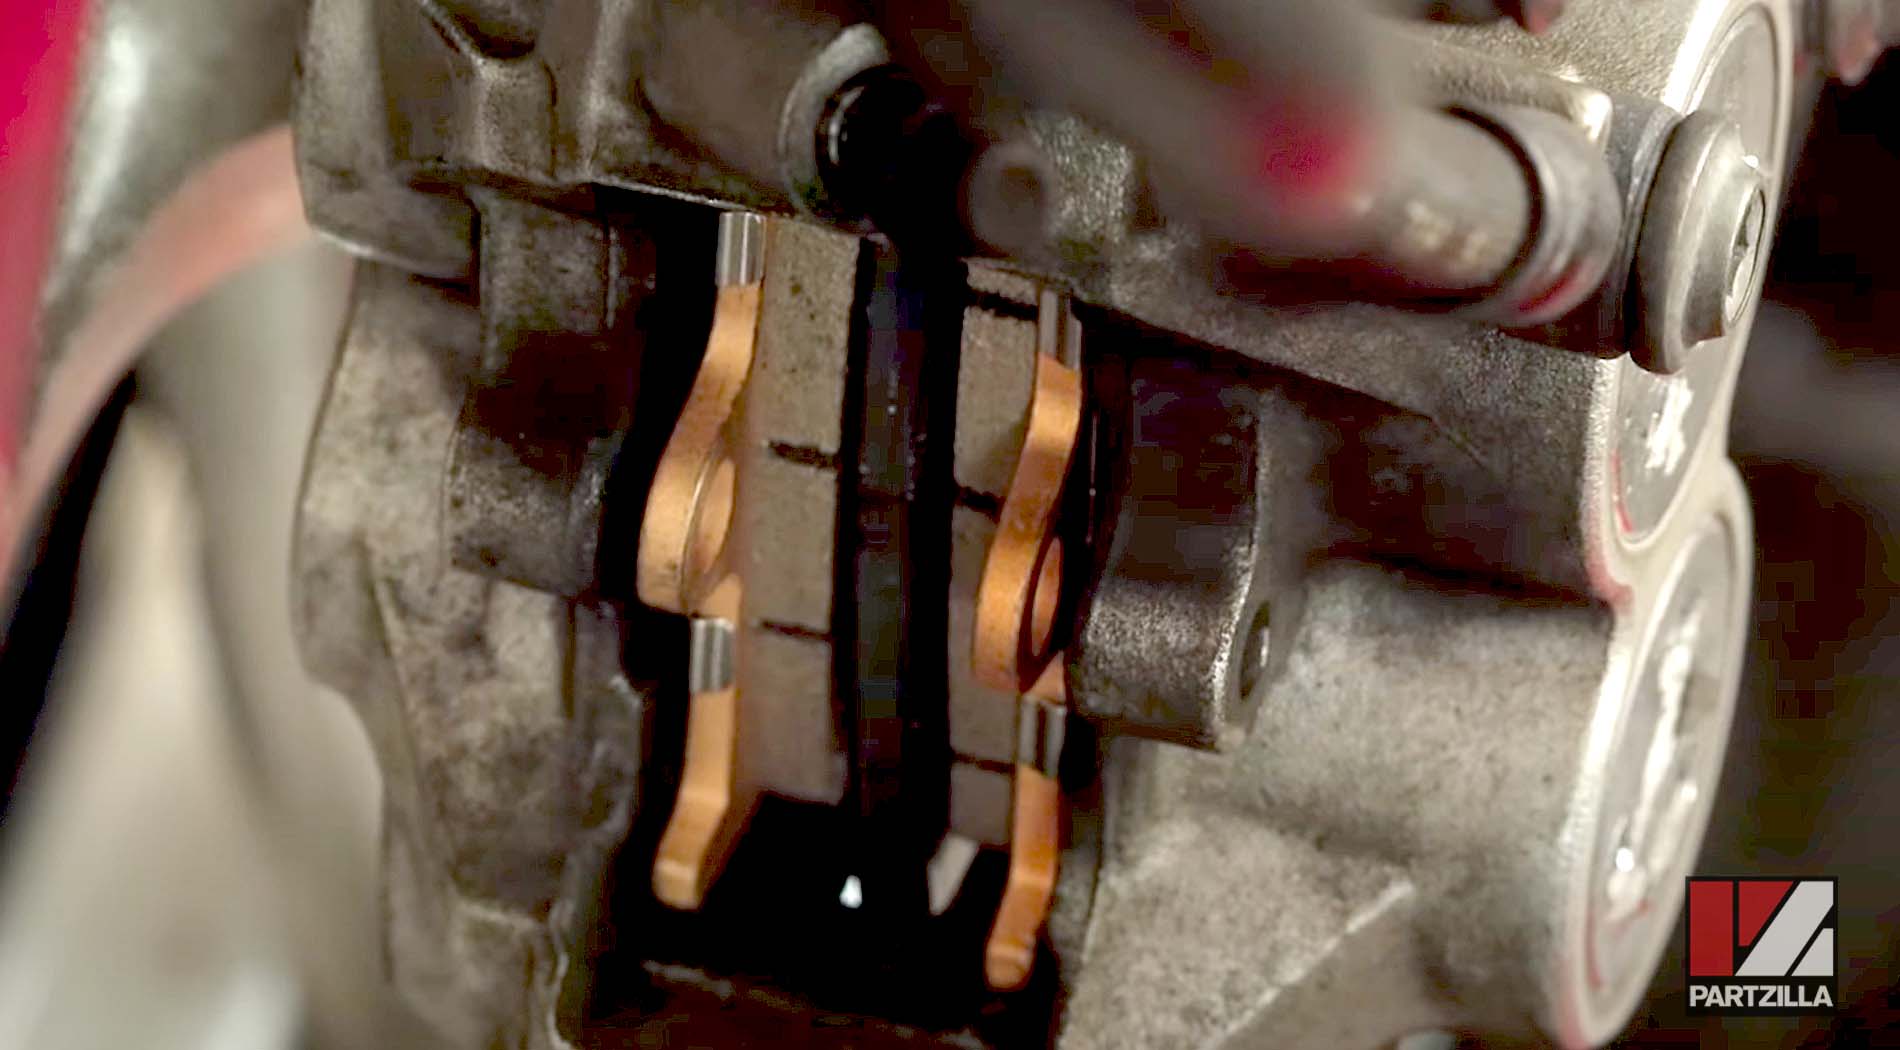
Step 6. Install the new front brake pads by sliding them into the caliper one at a time on either side of the brake disc.
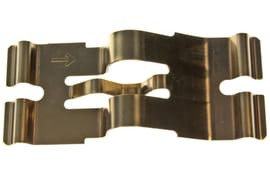
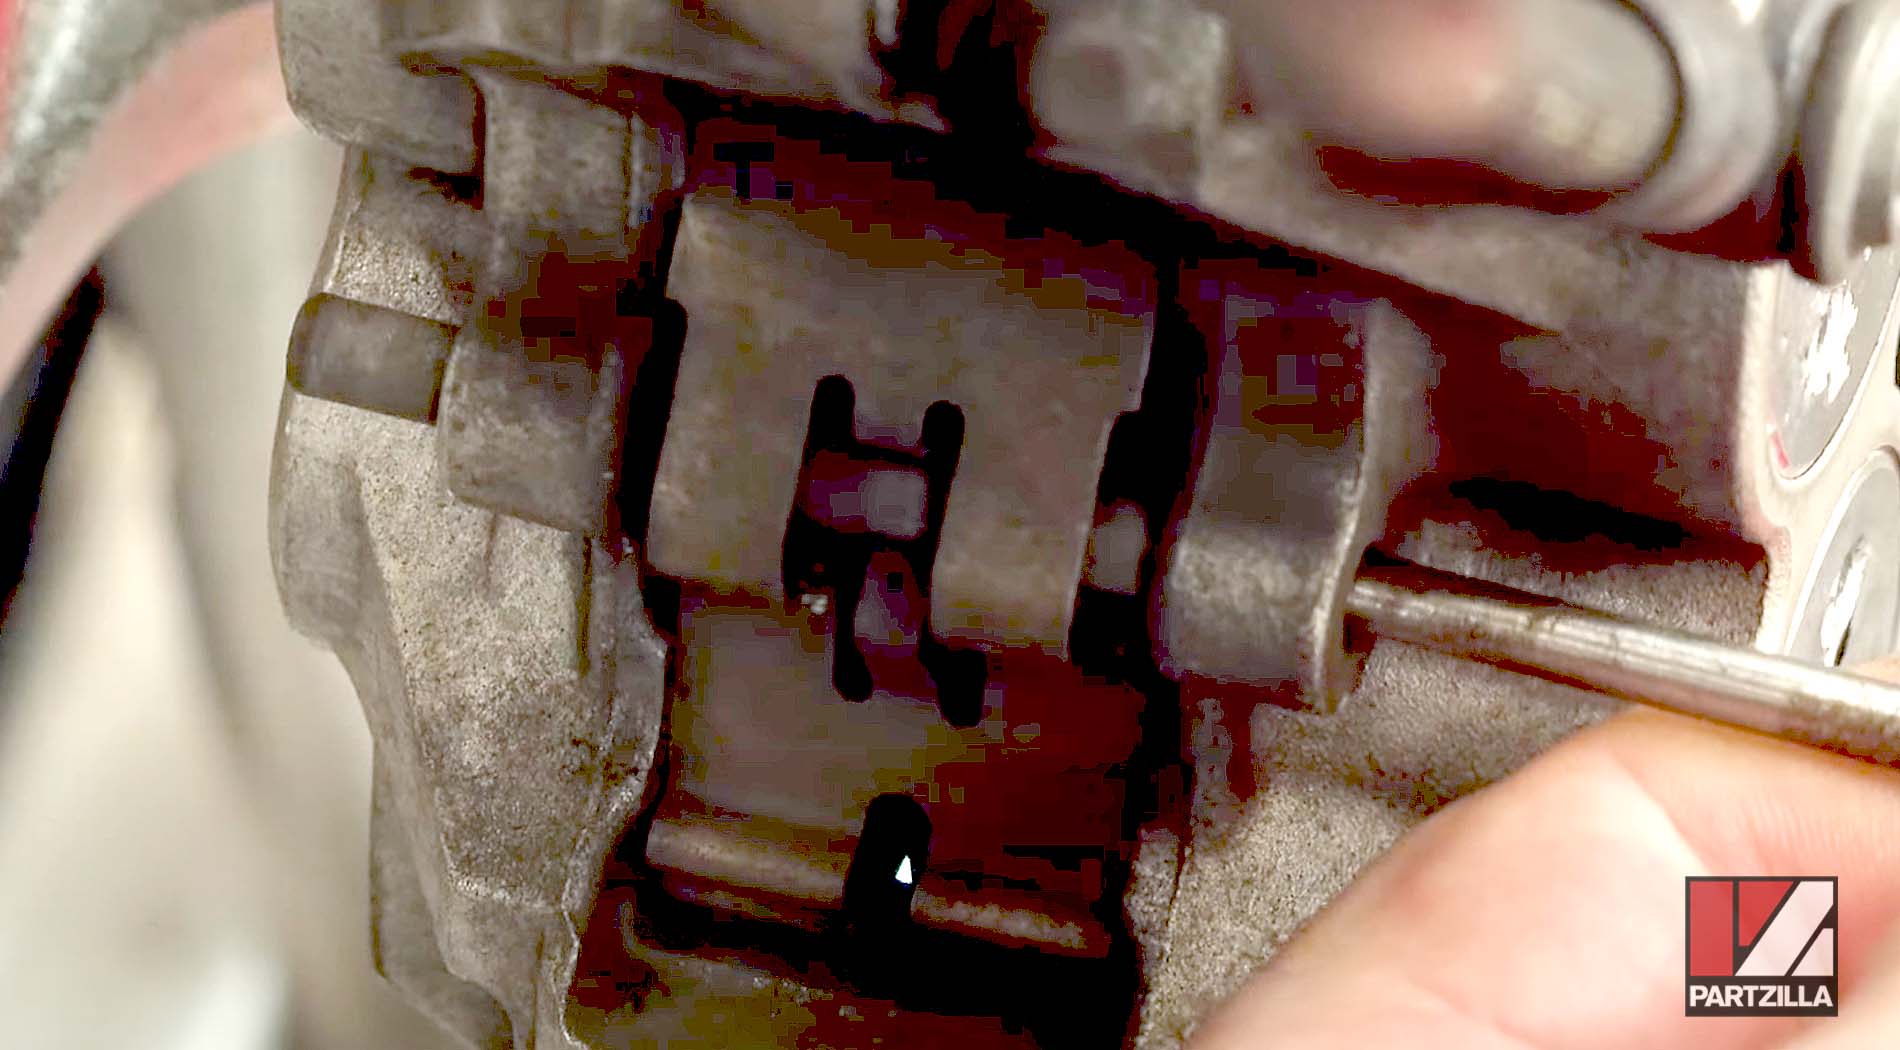
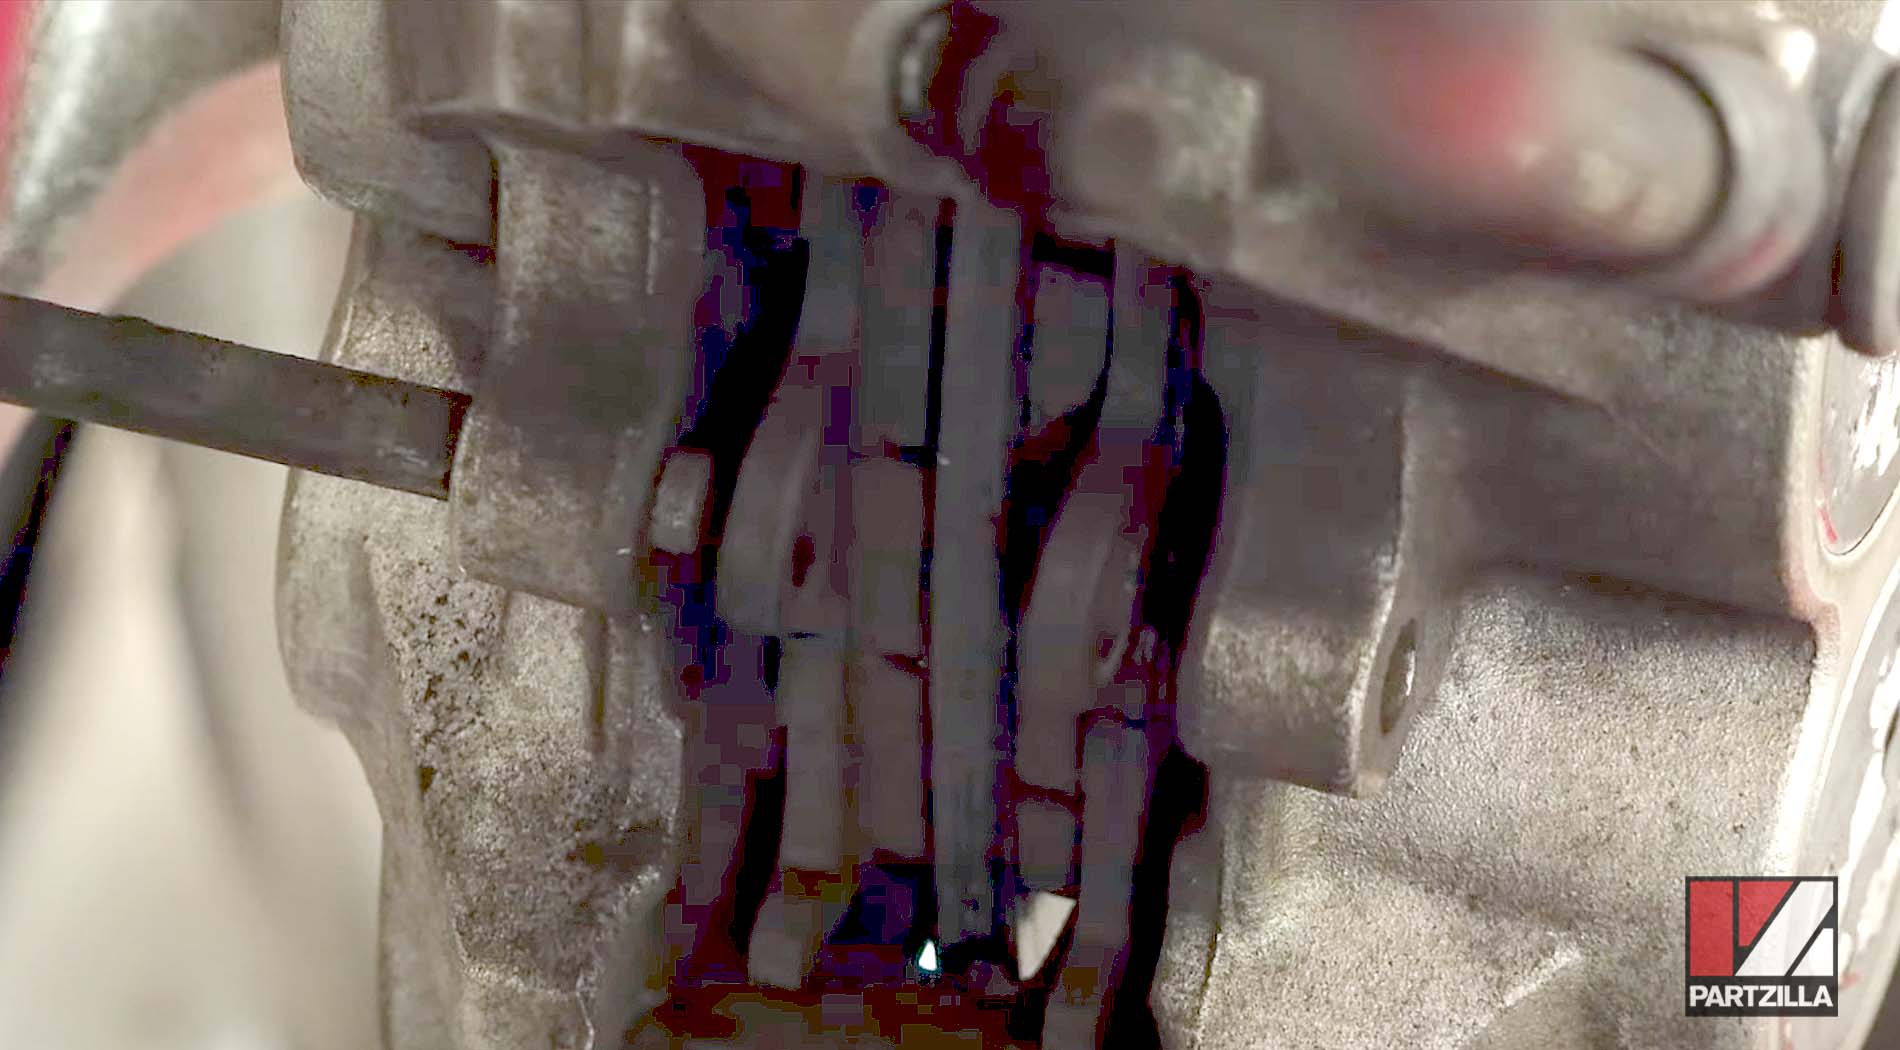
Step 7. Install the pad support and the pad pin. There’s an arrow stamped on the inside of the pad support that tells you which way should be pointed up when installing it.
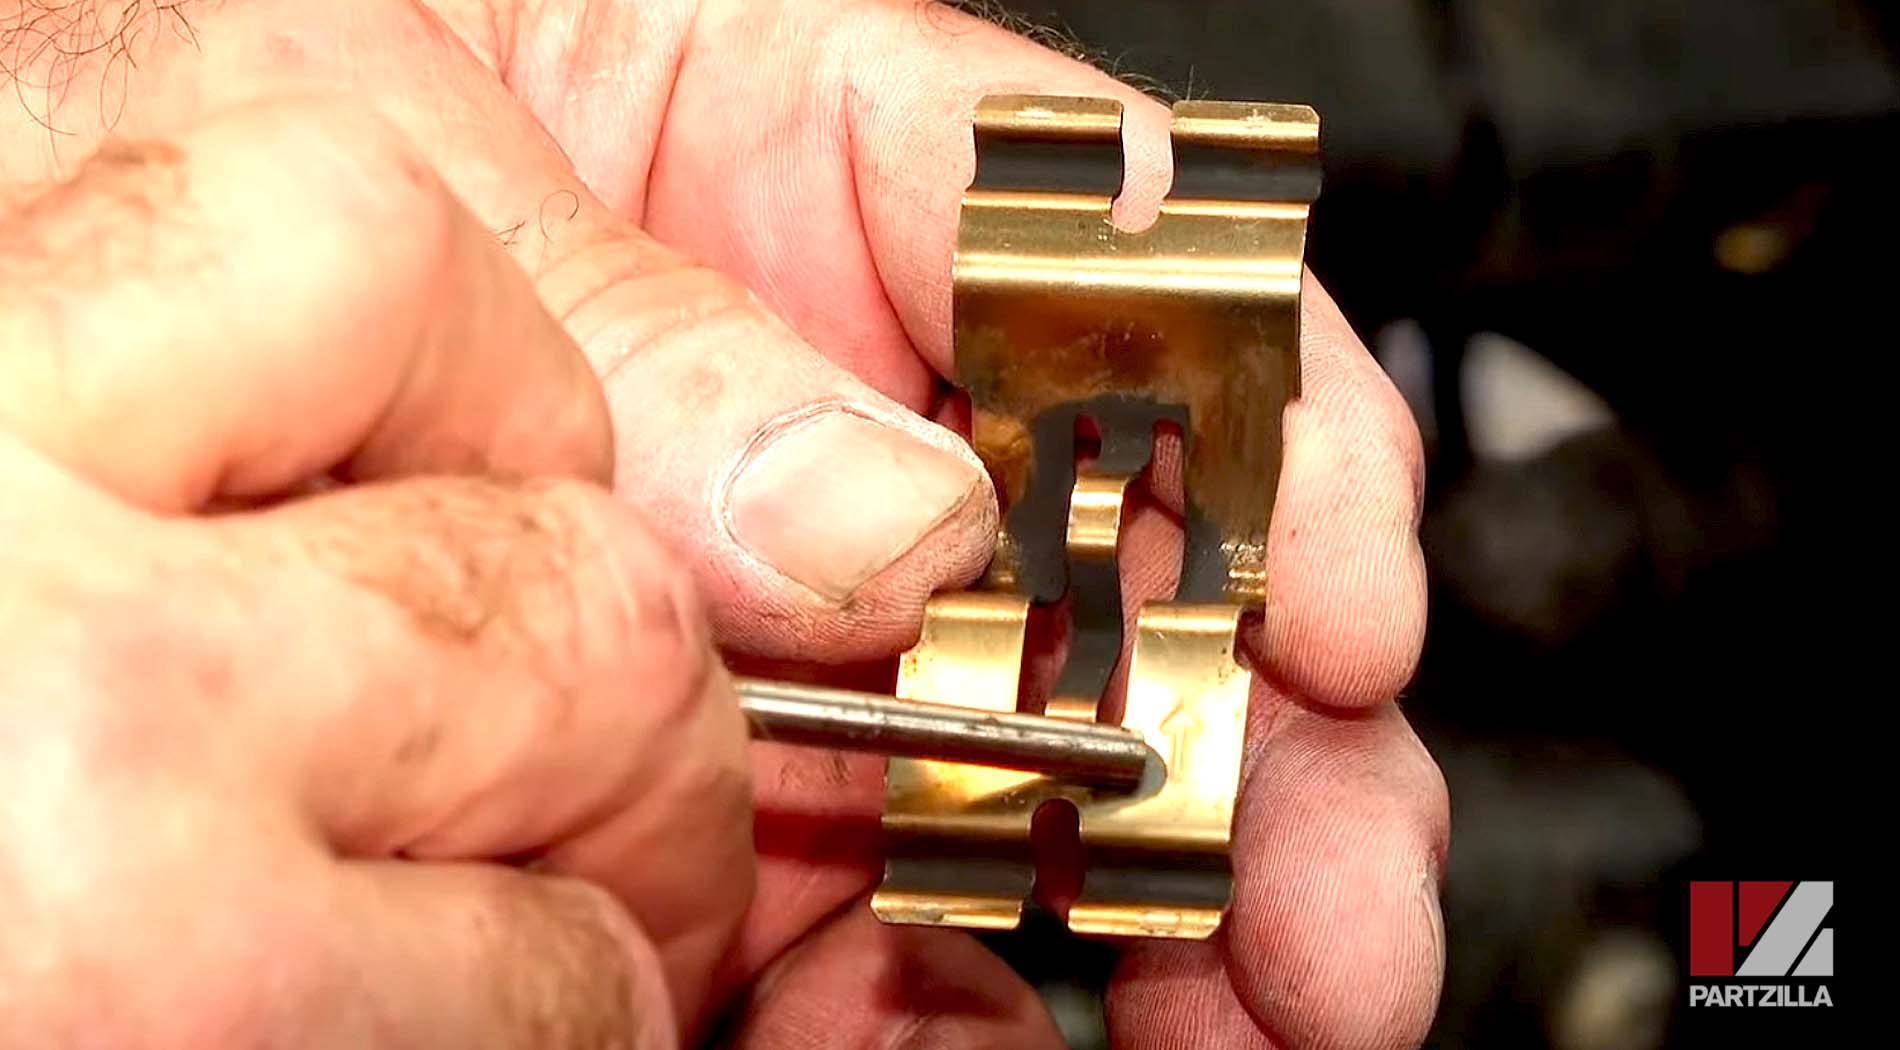
The small holes in the pin need to be facing front-to-back (not up-and-down) to accommodate the small cotter pins that hold it in place. Hold the pad support in place by aligning the hole in it with the holes in the brake pads, then use a ratchet extension and a soft-blow hammer to knock it into place.

Step 8. Use needle-nose pliers to install the cotter pins on both ends of the pad pin.
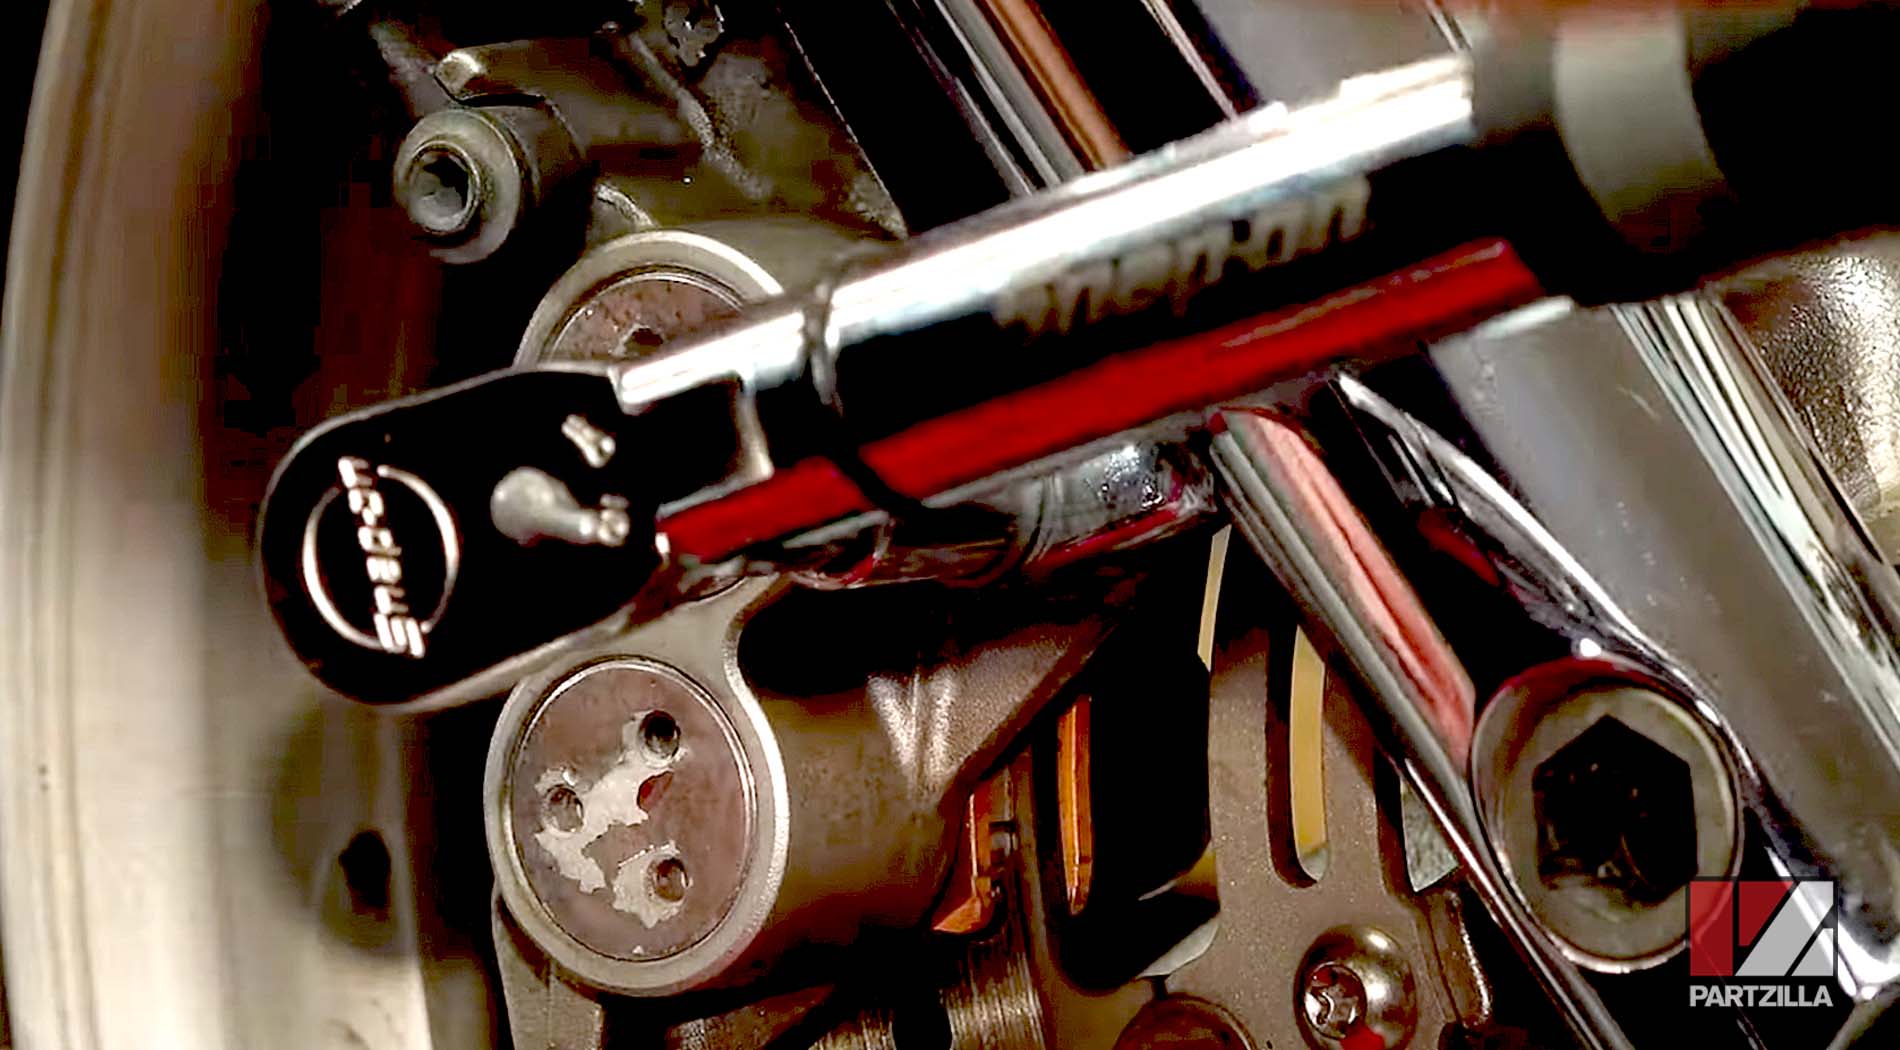
Step 9. Torque the two bolts that hold the brake caliper in place to 29 foot-pounds.
NOTE: After the new brake pads are installed, it’s time to bleed the brakes. The Yamaha Raider has separate brake fluid reservoirs for each of the front calipers, so you’ll have to do the bleeding process twice.
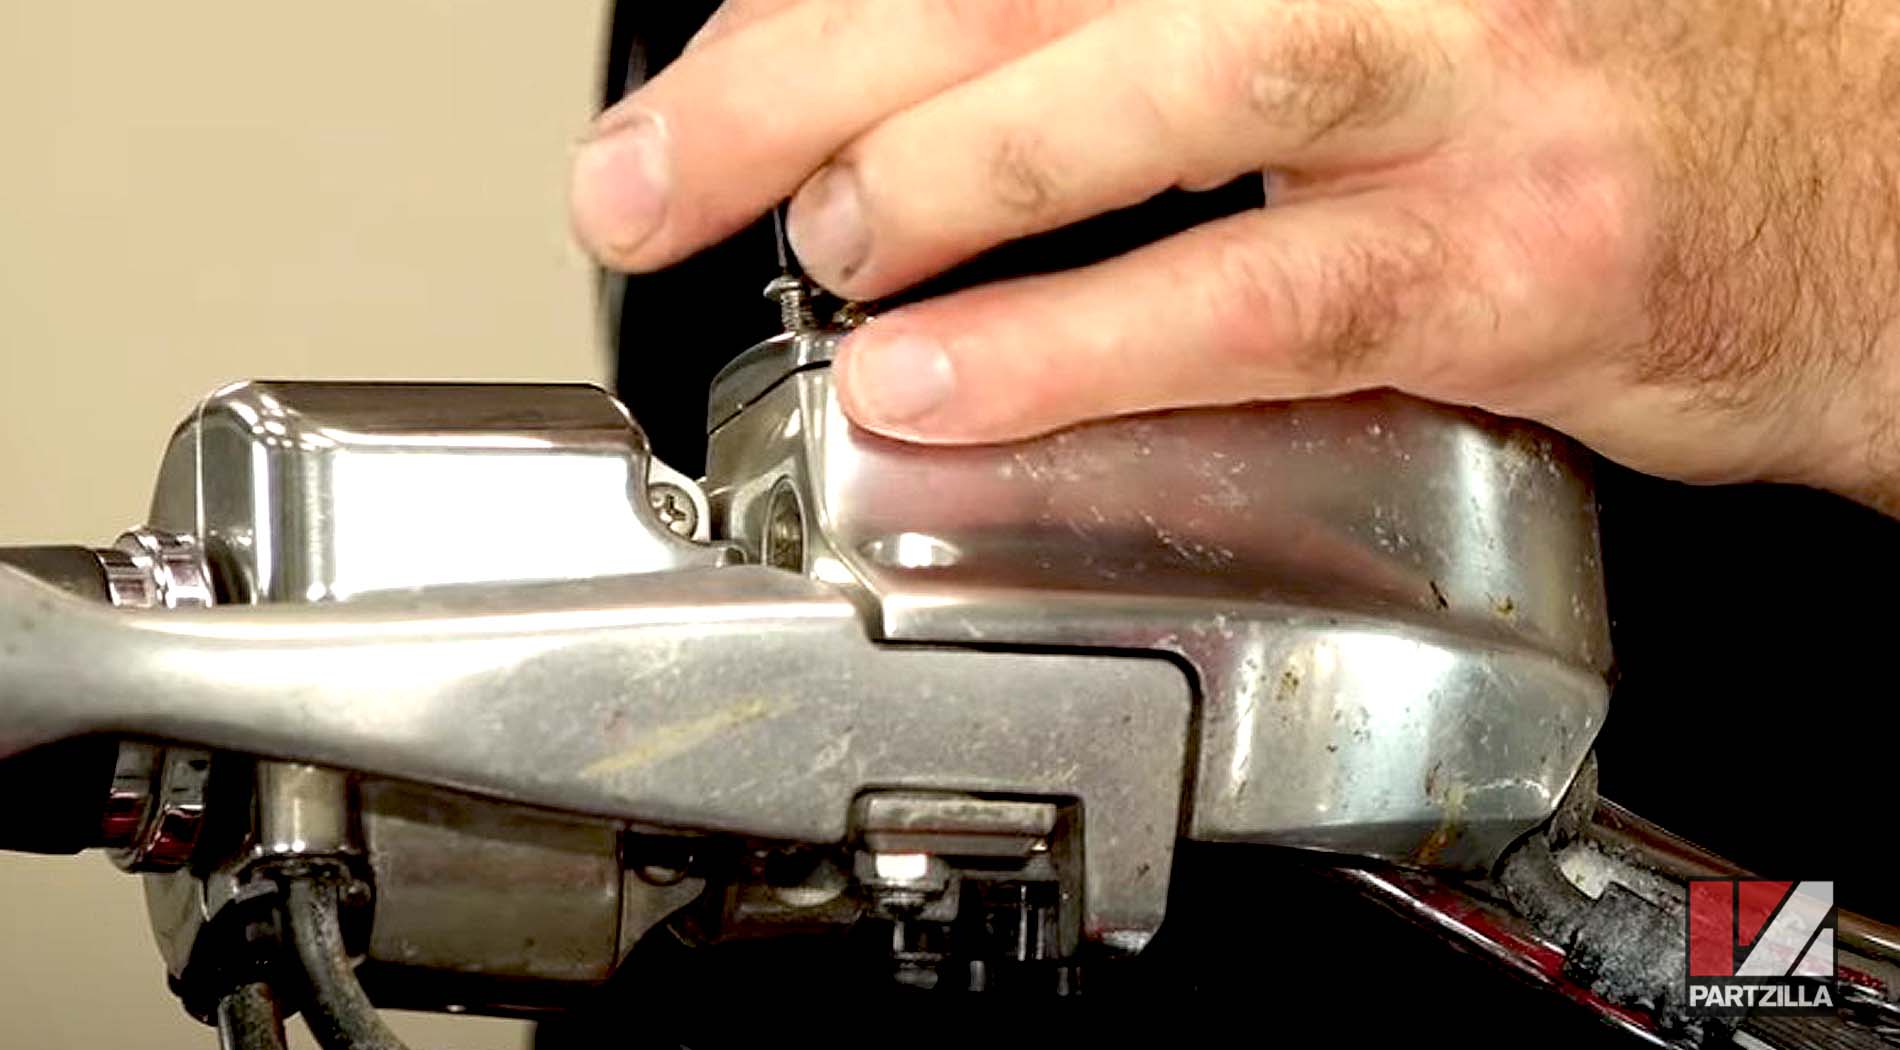
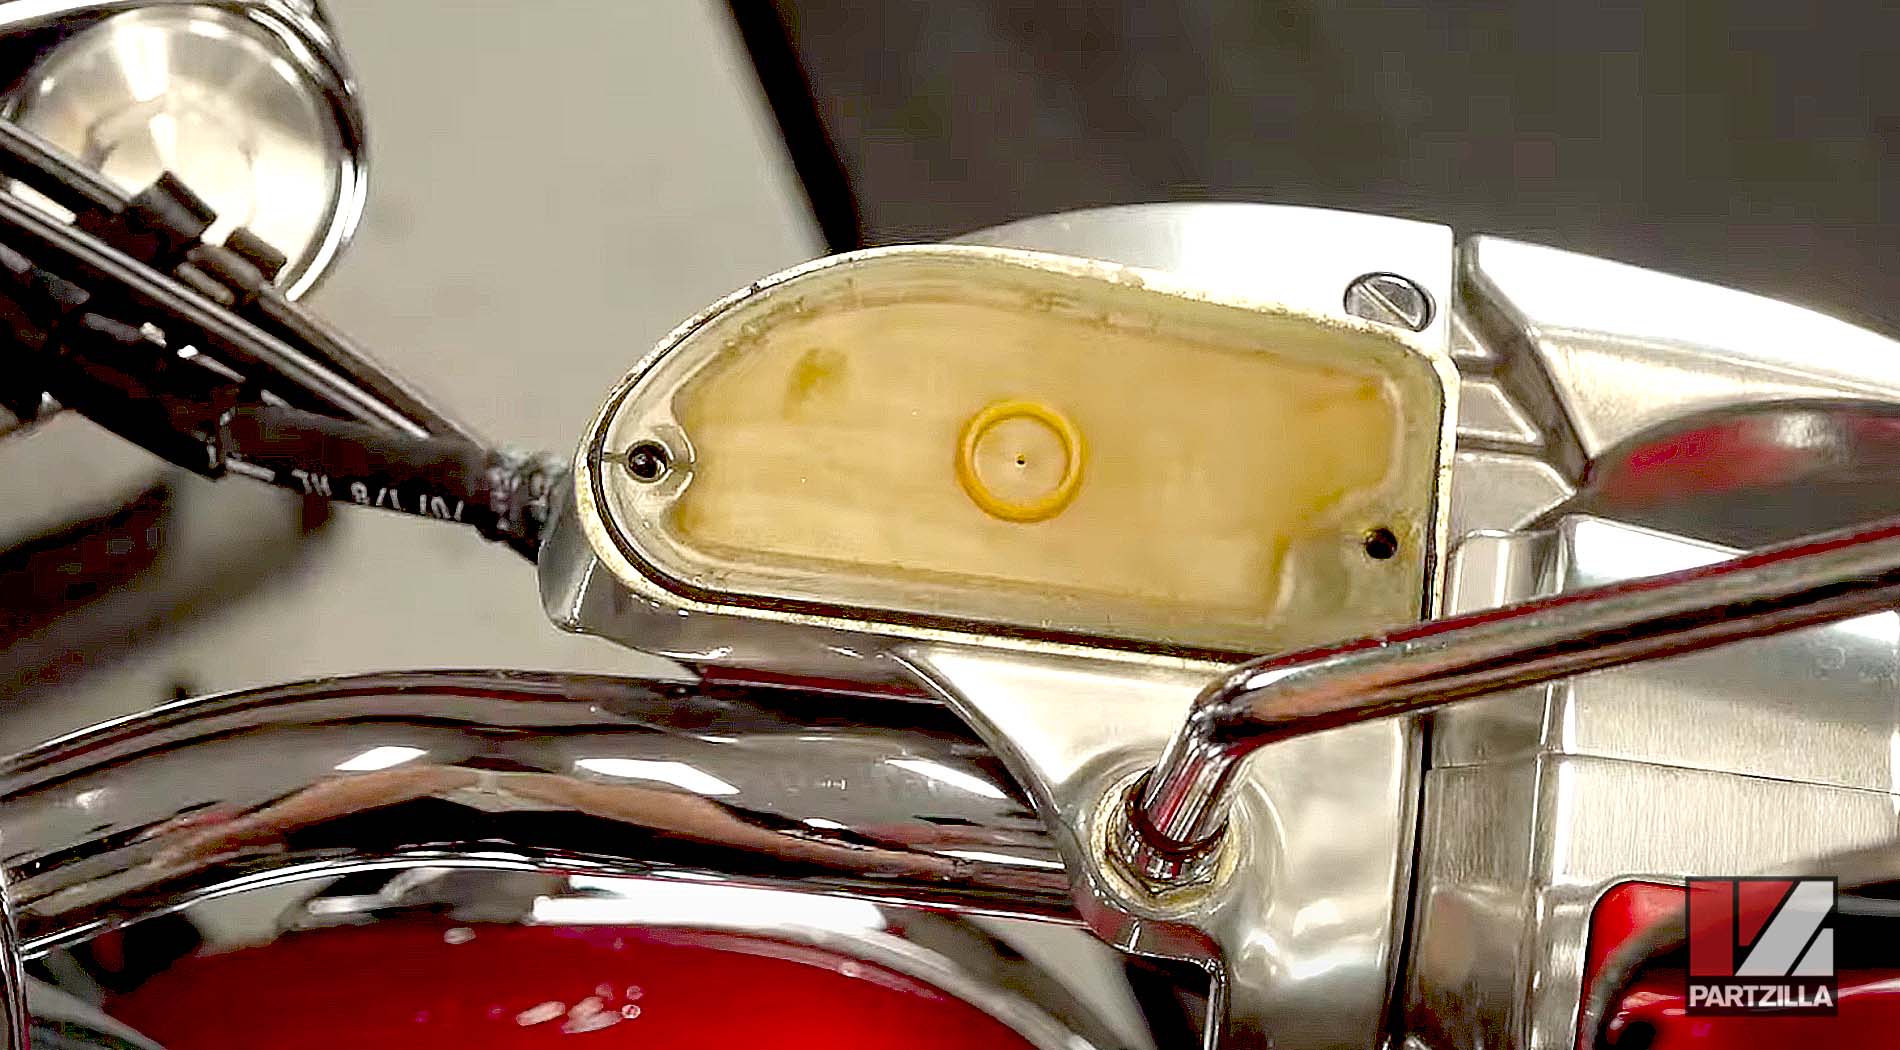
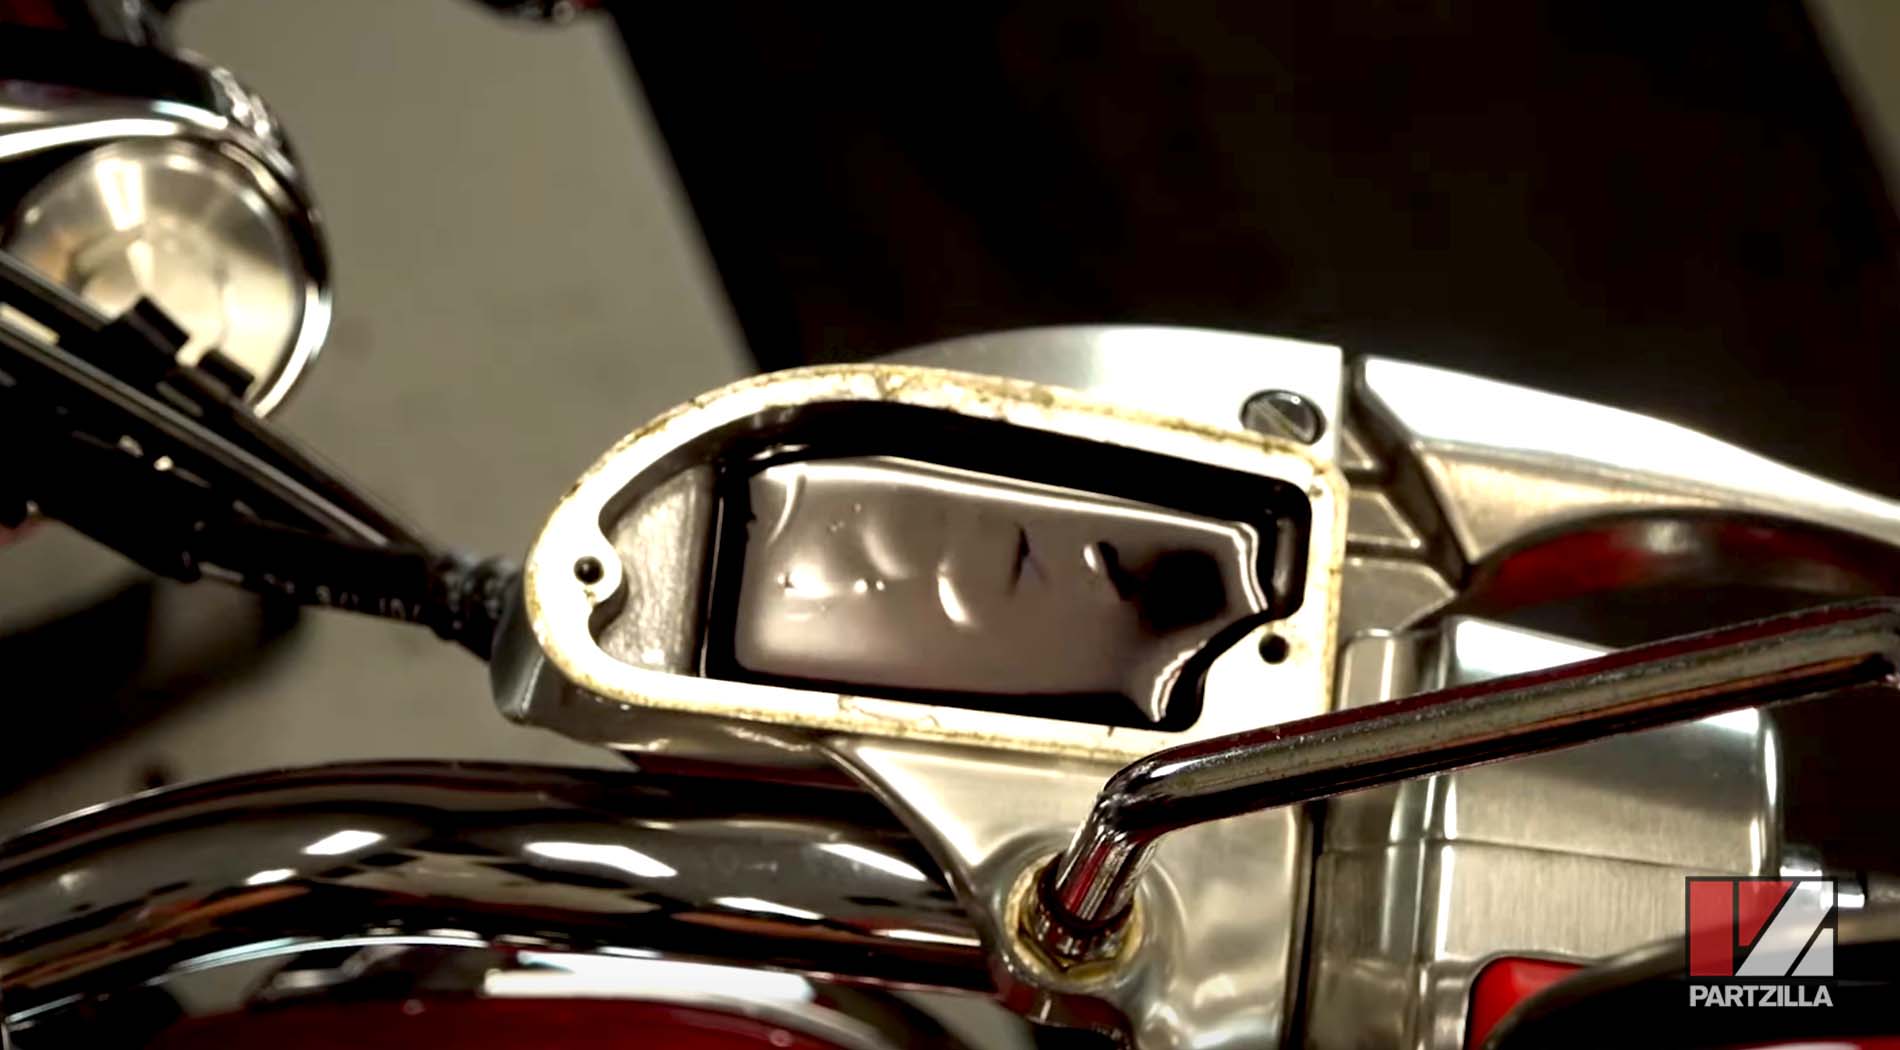
Step 10. Use a 2.5mm Allen to remove the two small screws holding the reservoir cap in place. Next, lift off the reservoir cap and the diaphragm underneath it to get to the brake fluid.
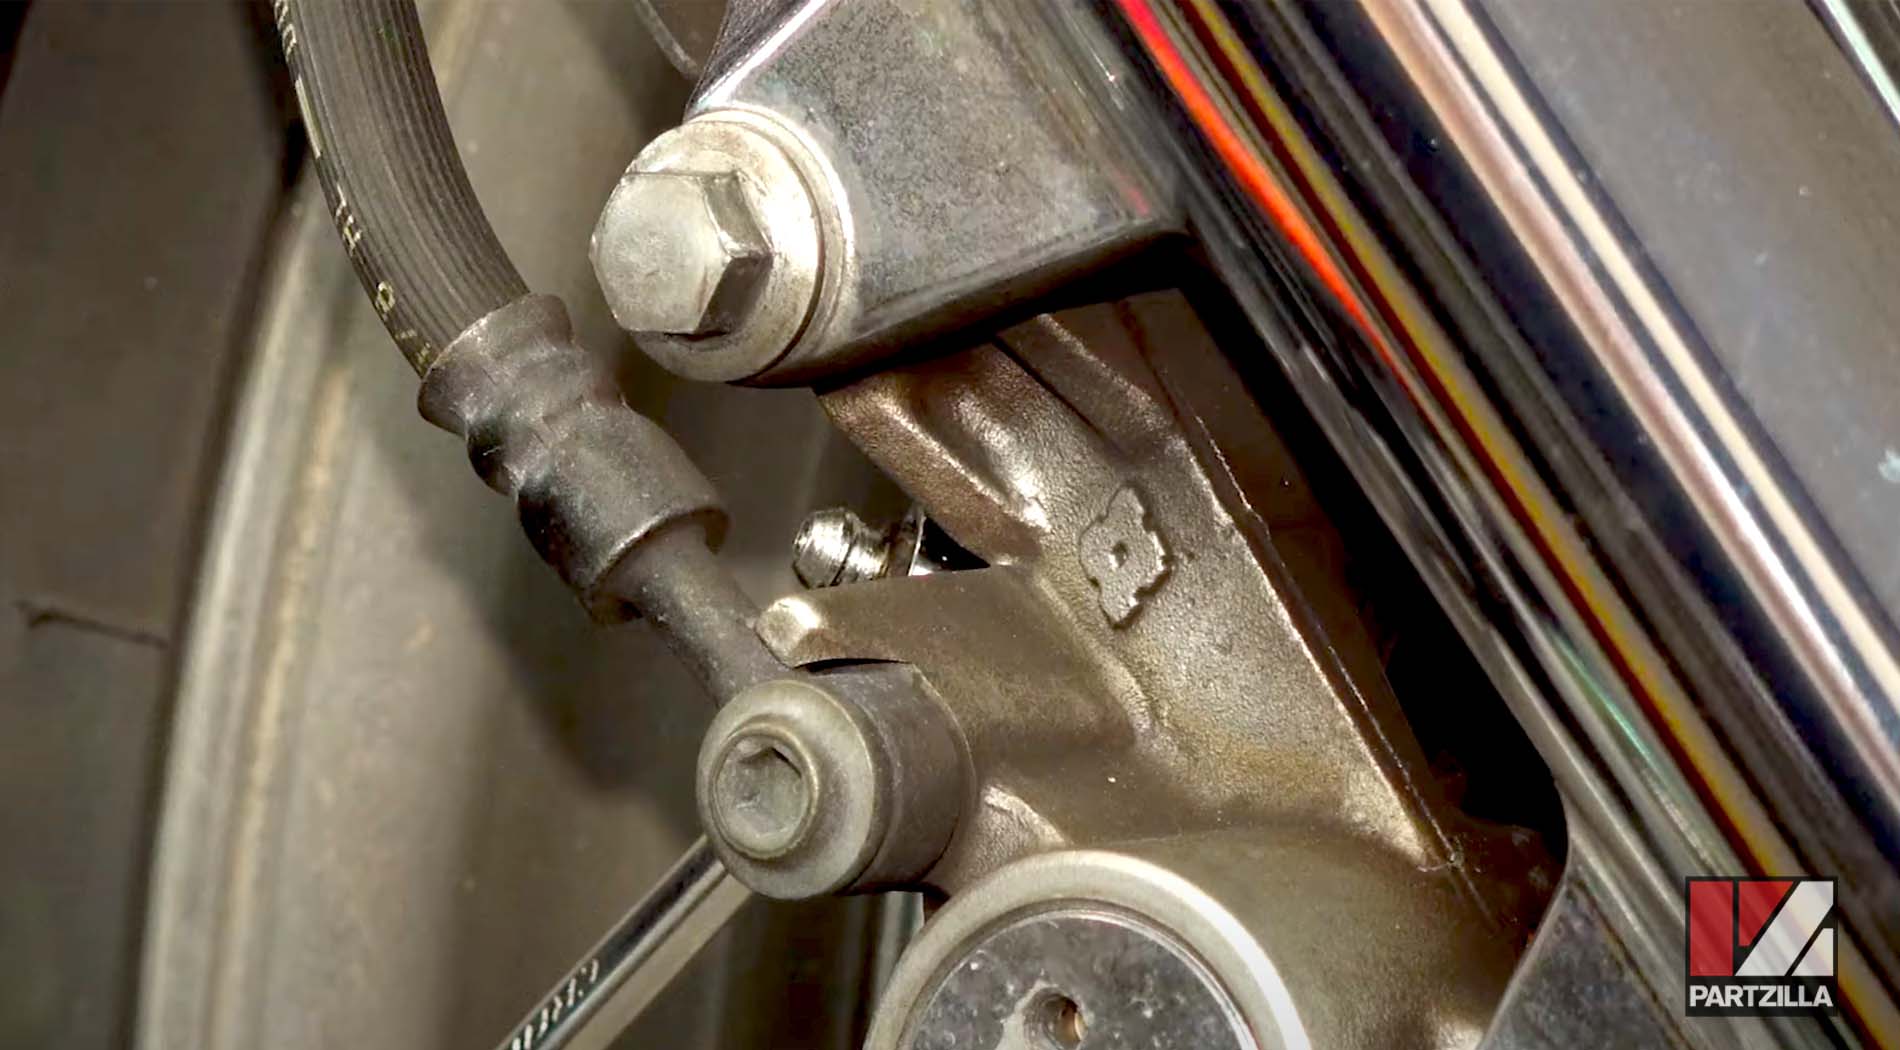
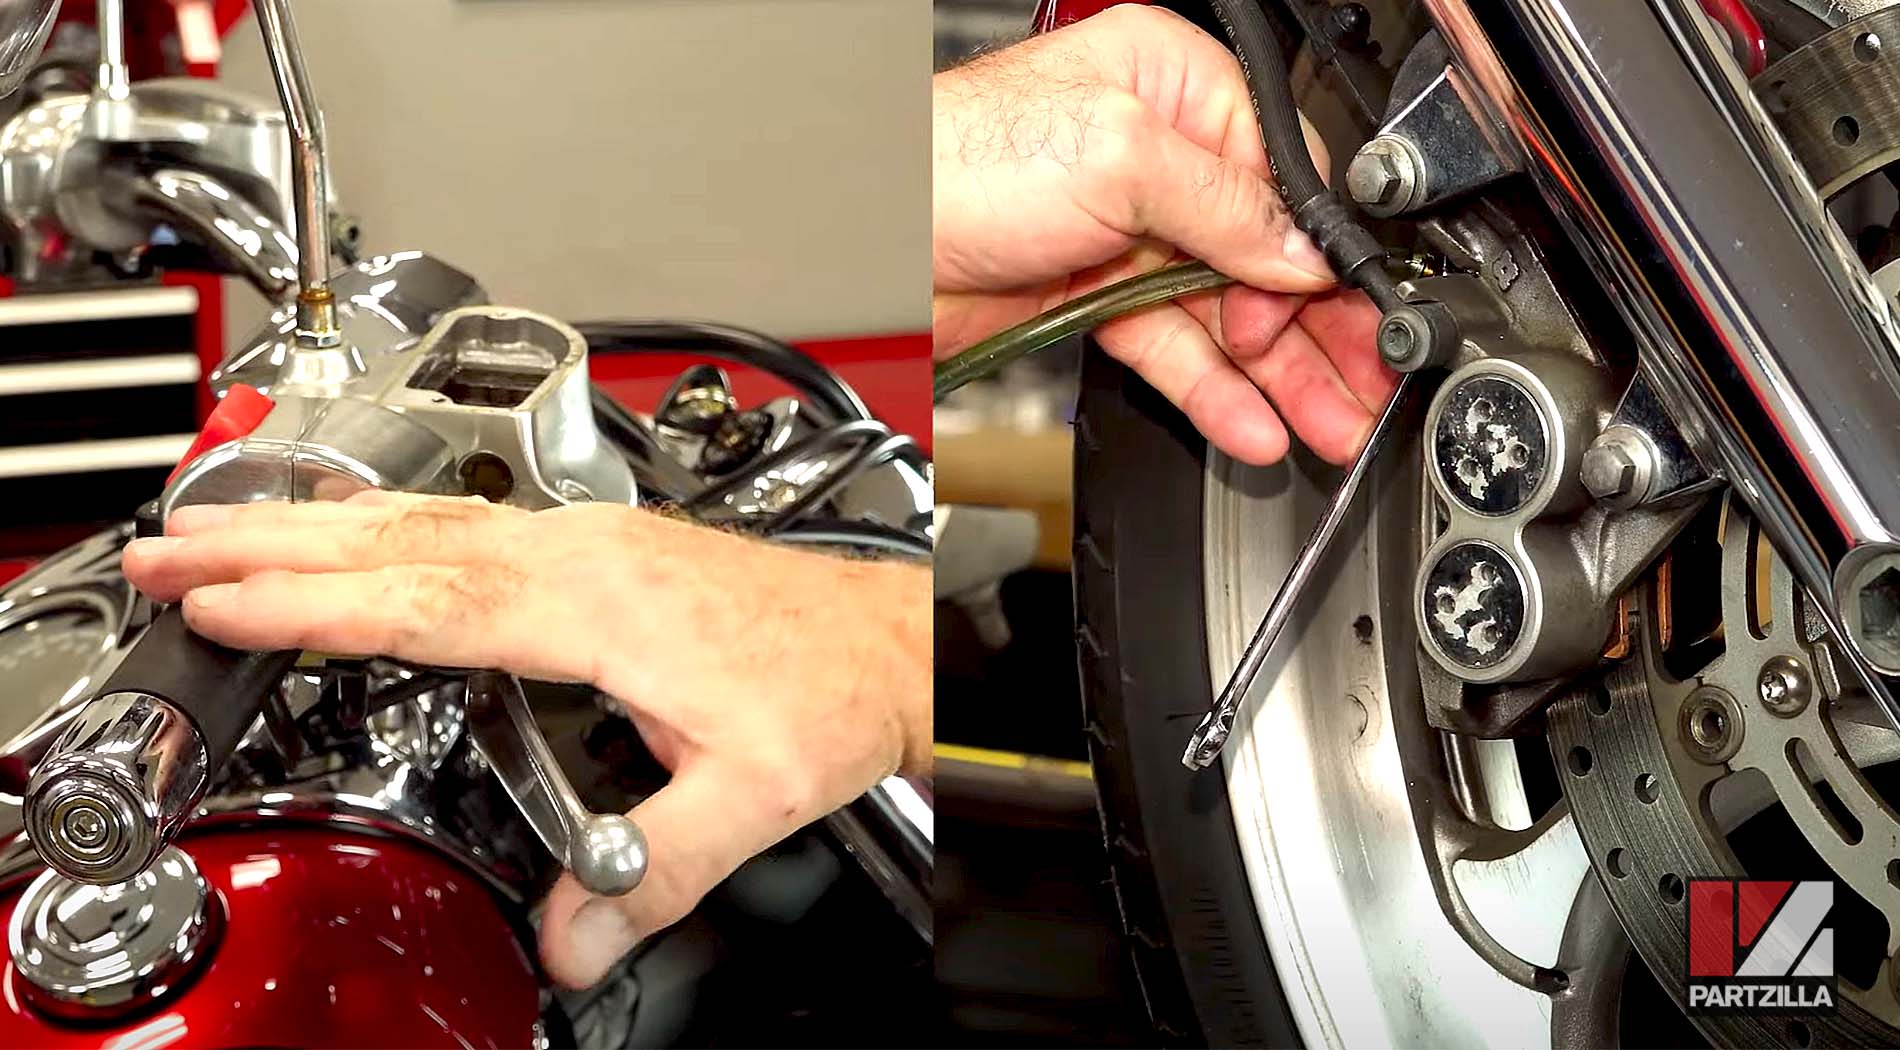
Step 11. Remove the bleed screw cap on the caliper, then attach an 8mm wrench and a clear tube to the bleed screw, with the opposite end of the tube leading to an empty bottle to catch the brake fluid.
Step 12. Build pressure in the brake system by applying the brake handle two or three times, then open the caliper bleed screw to release some of the brake fluid. Next, close the bleed screw, build pressure by applying the brake handle a couple of times, and open the bleed screw again. Close the screw and repeat the process, then replace the diaphragm, the reservoir cap, and the two 2.5mm screws holding the cap in place when you’re done.
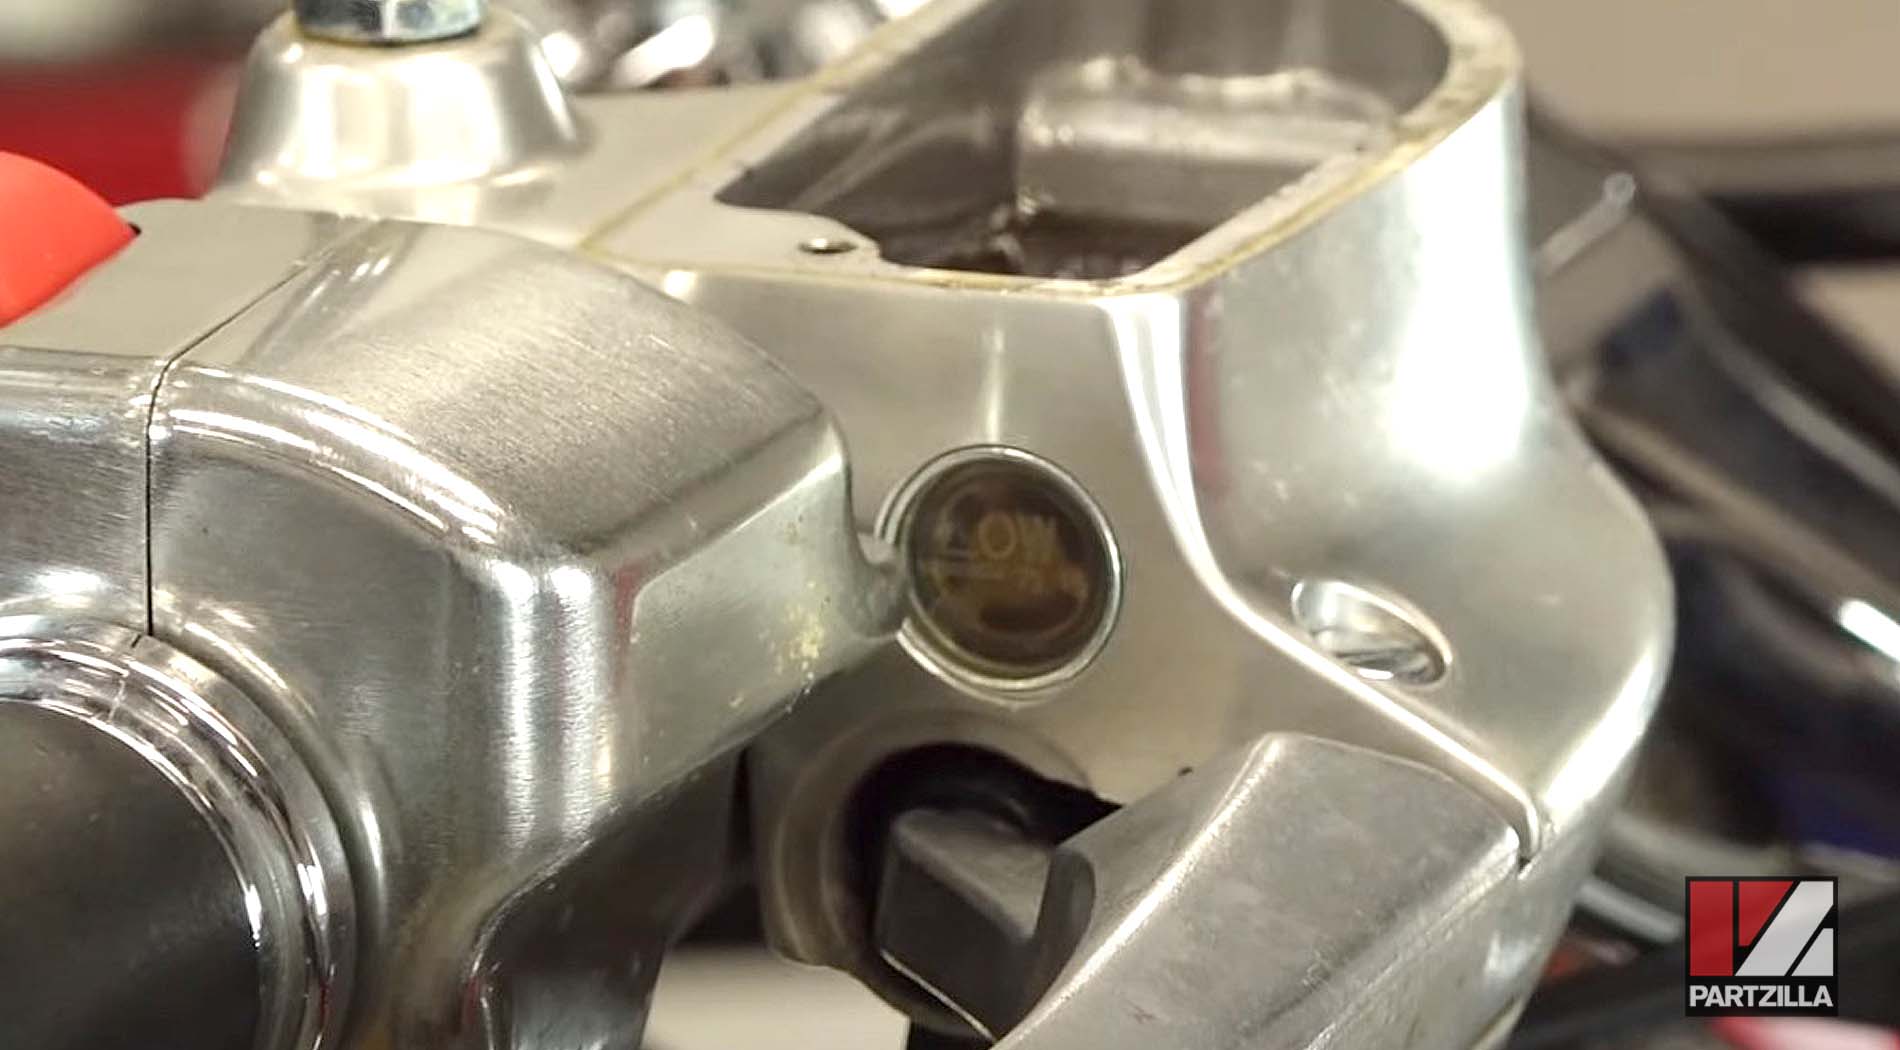
NOTE: The brake fluid level on our Yamaha Raider was a little high, which is common after pushing the brake calipers back and pushing fluid back up into the system. When bleeding the brakes, never let the reservoir dry out, and keep the fluid level topped off just at the top edge of the sight glass.
Need help bleeding the brakes on your motorcycle? Watch the video below for a more in-depth look at how to bleed Yamaha Raider motorcycle brakes.