How to Bleed the Brakes on a Yamaha Raider
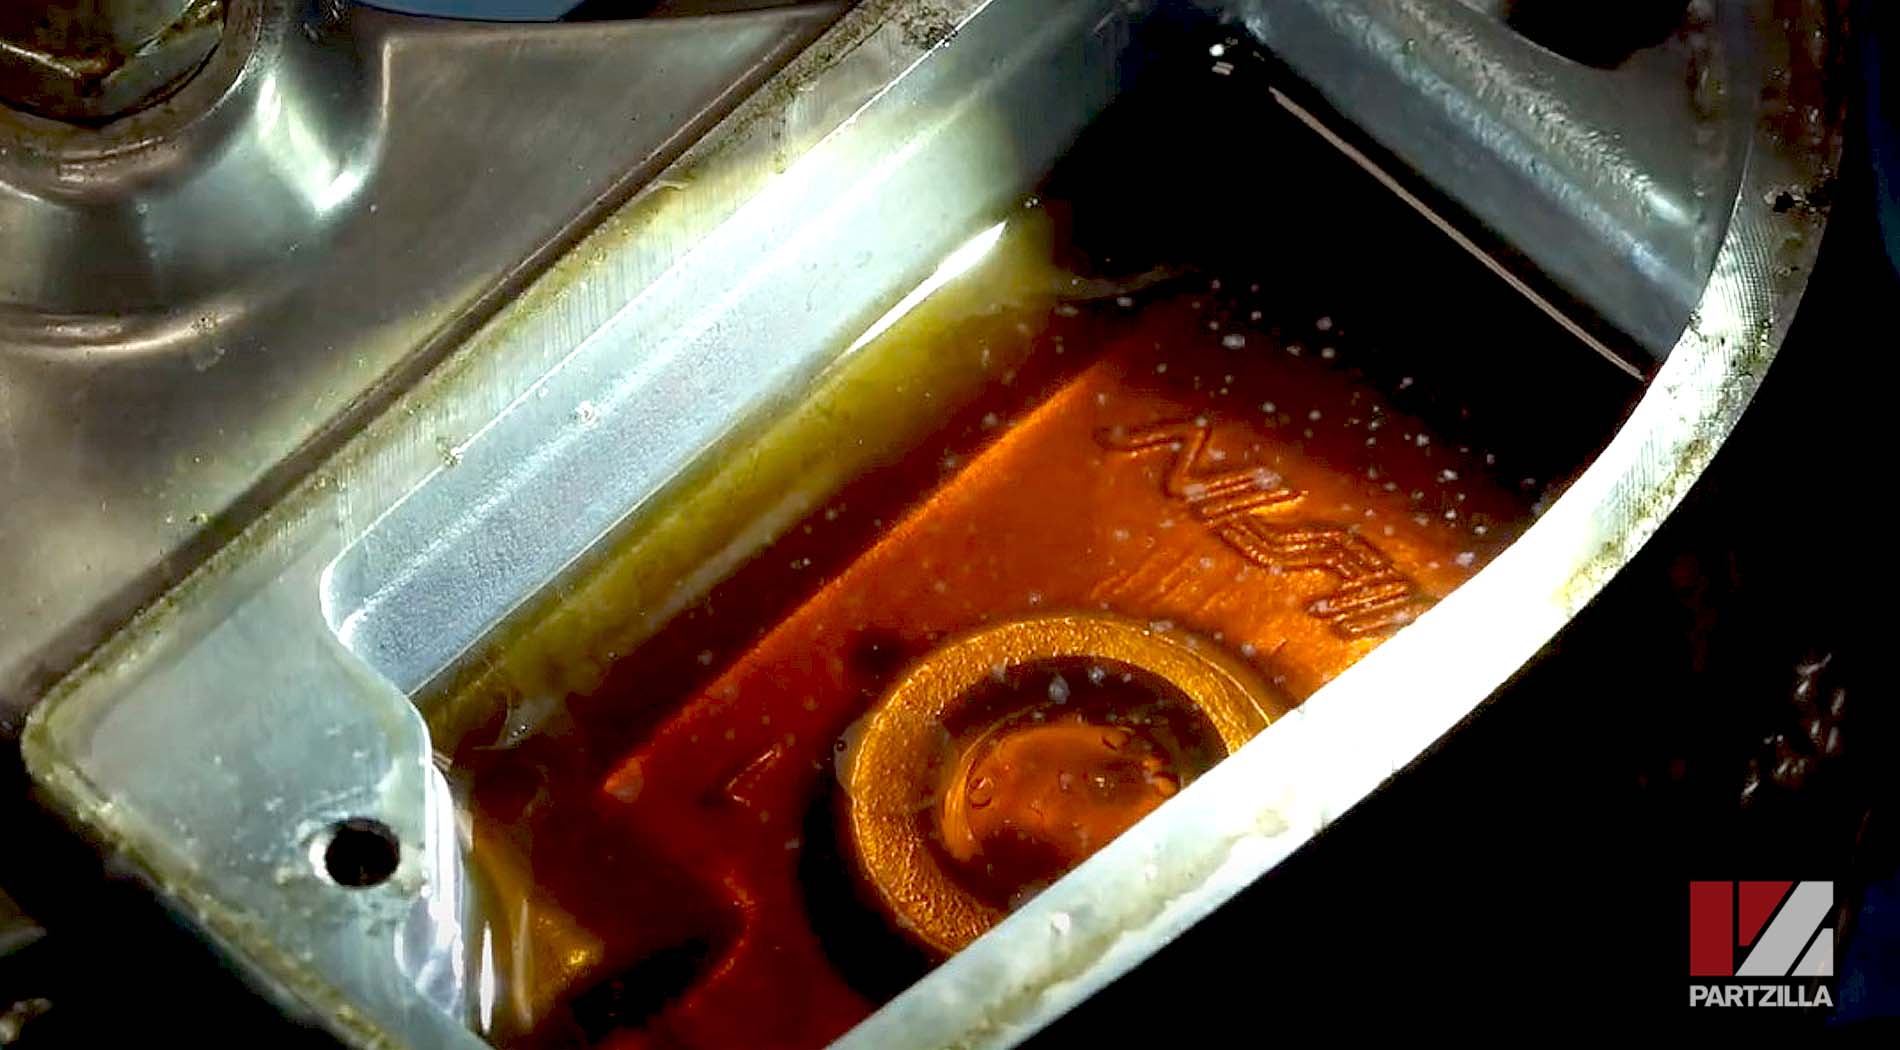
The brake fluid on our 2008 Yamaha Raider was looking pretty bad, with some condensation built up in it, so it was time to bleed the brakes and replace the fluid.
Watch the video above or follow the steps below to bleed the brakes on a Yamaha Raider motorcycle.
Tools and Parts - Yamaha Raider Brake Bleed
- Phillips screwdriver
- 8mm wrench
- 2.5mm Allen
- Shop rag or cloth


Yamaha Raider Brake Fluid Flush
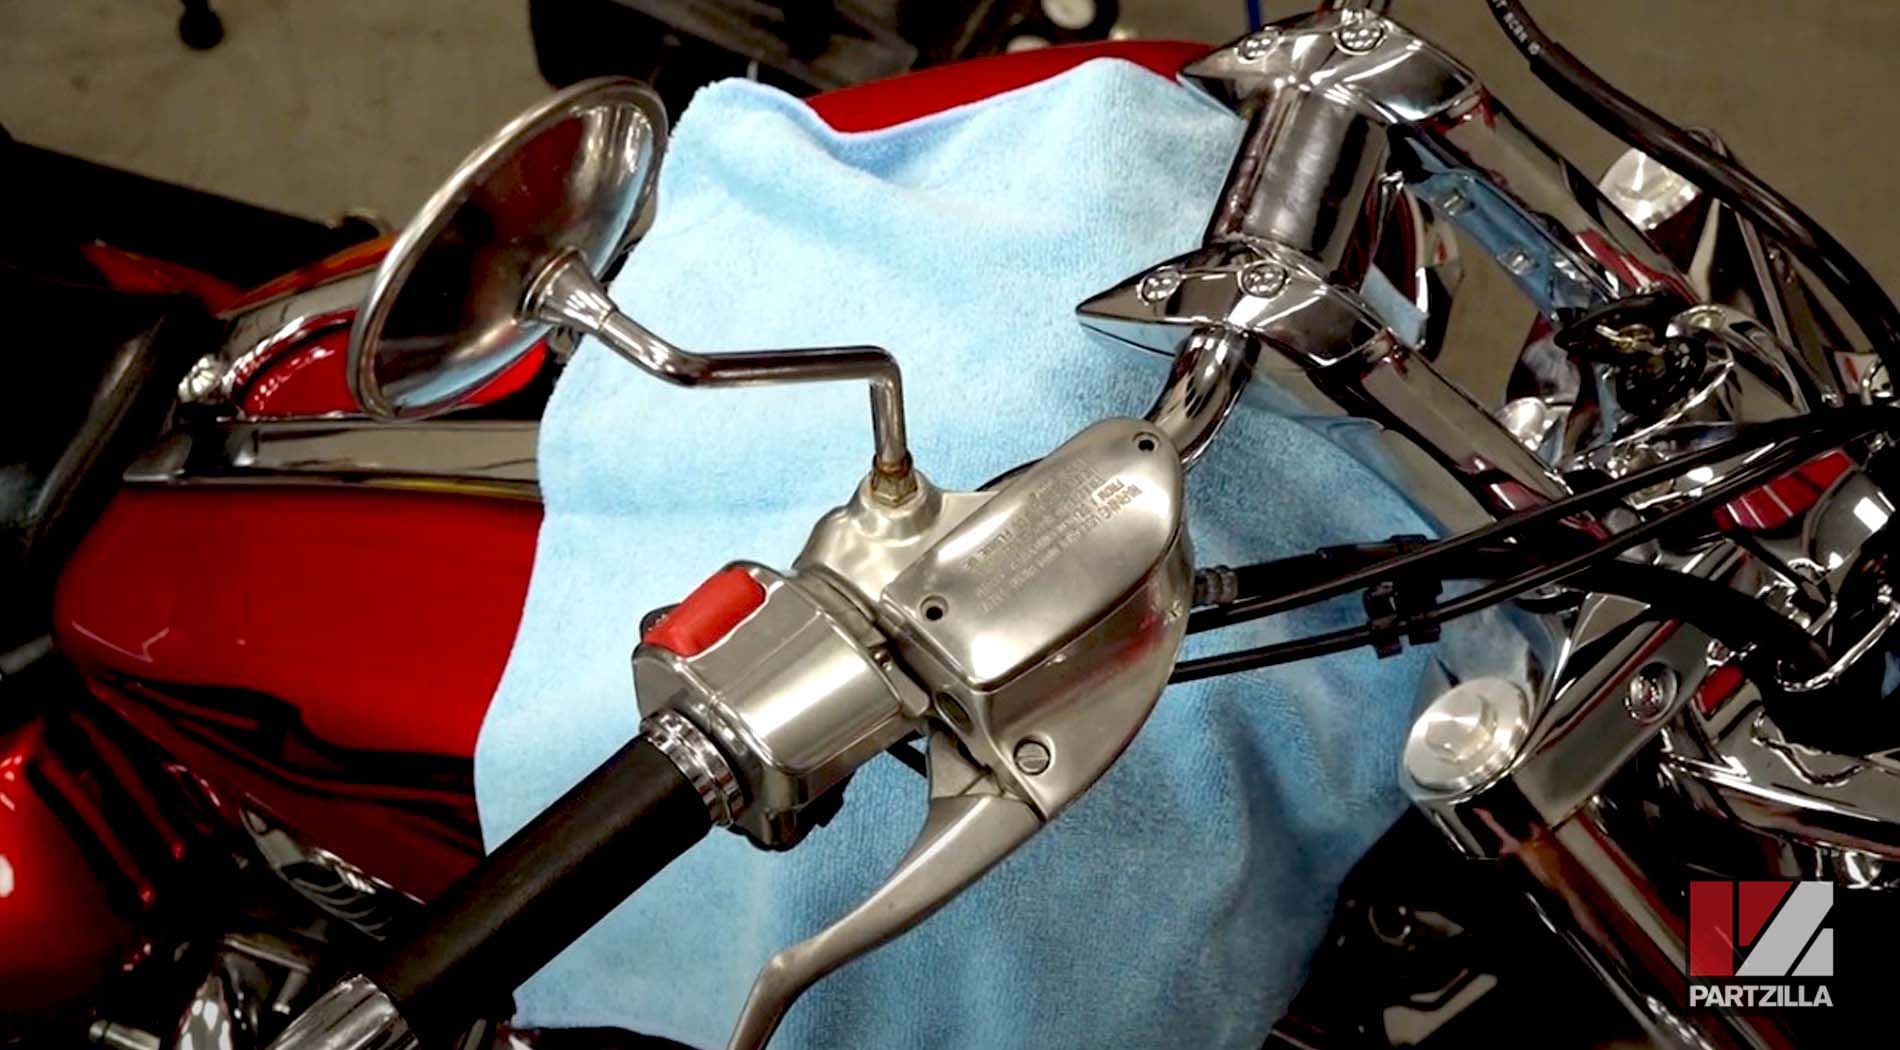
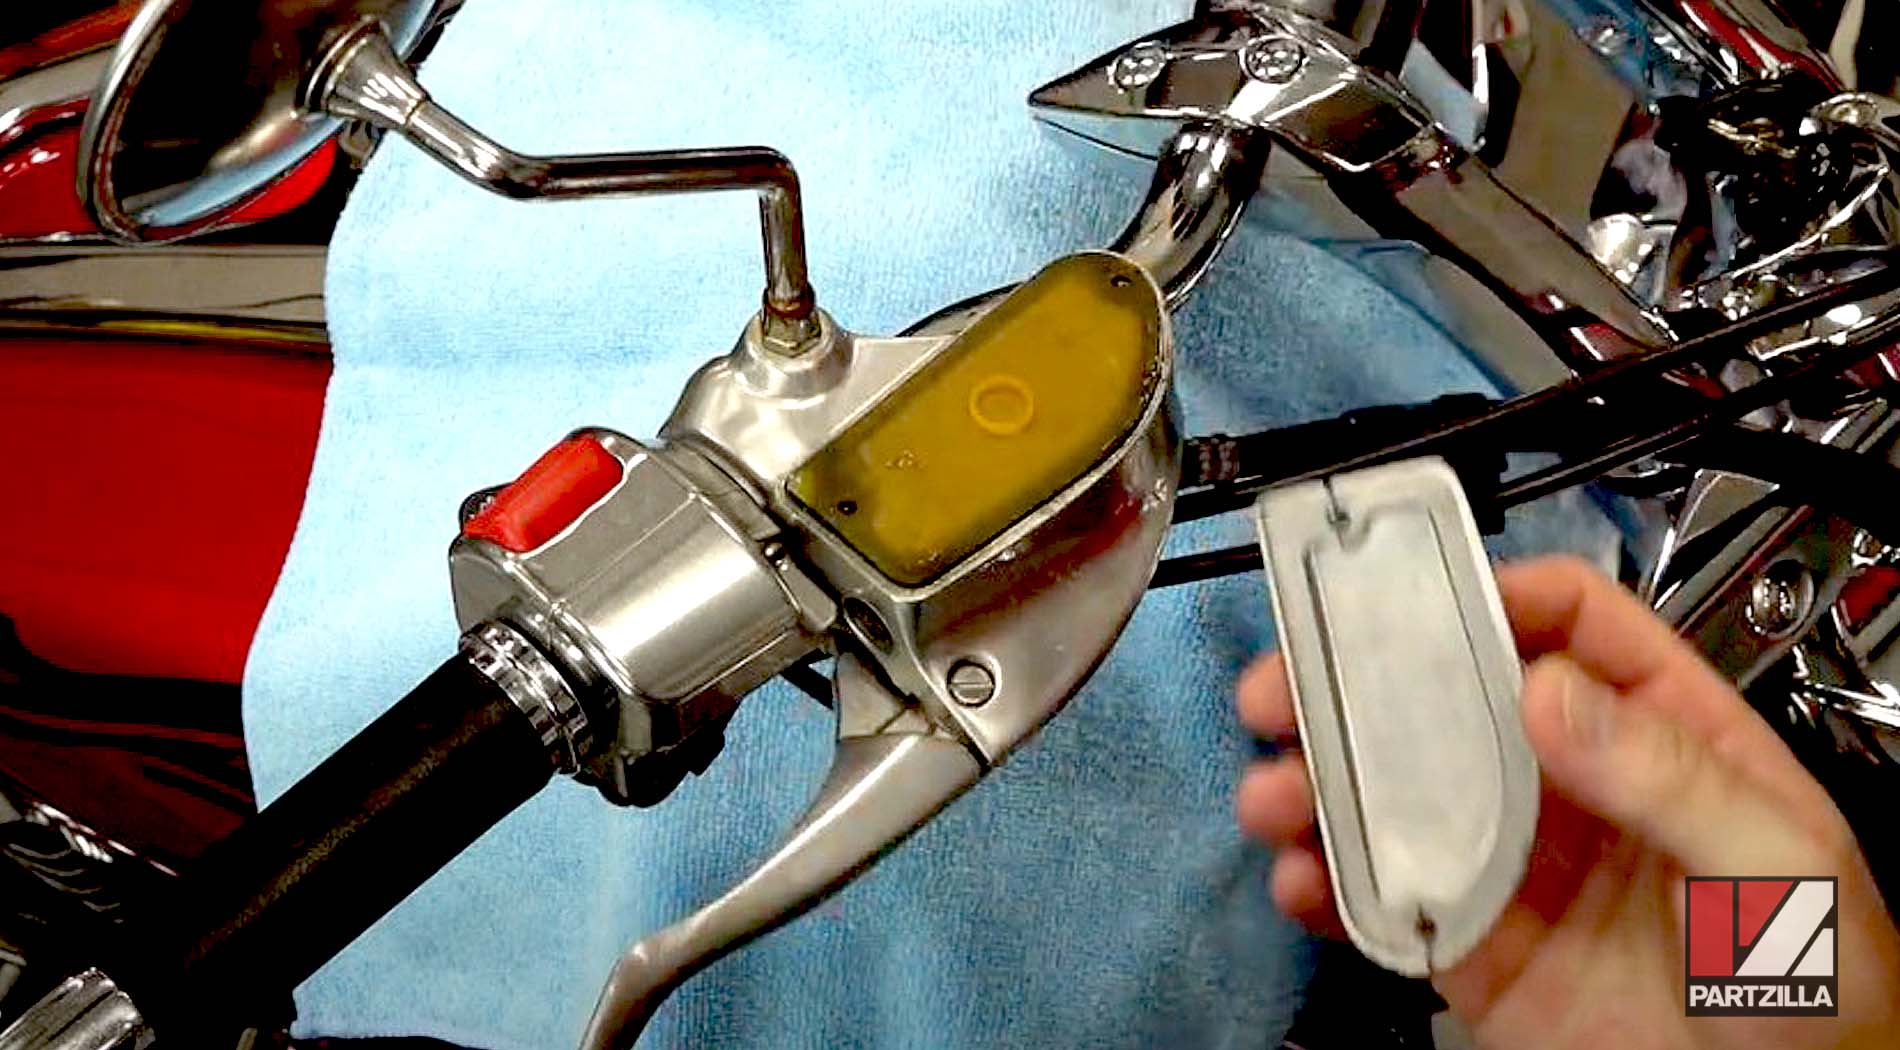
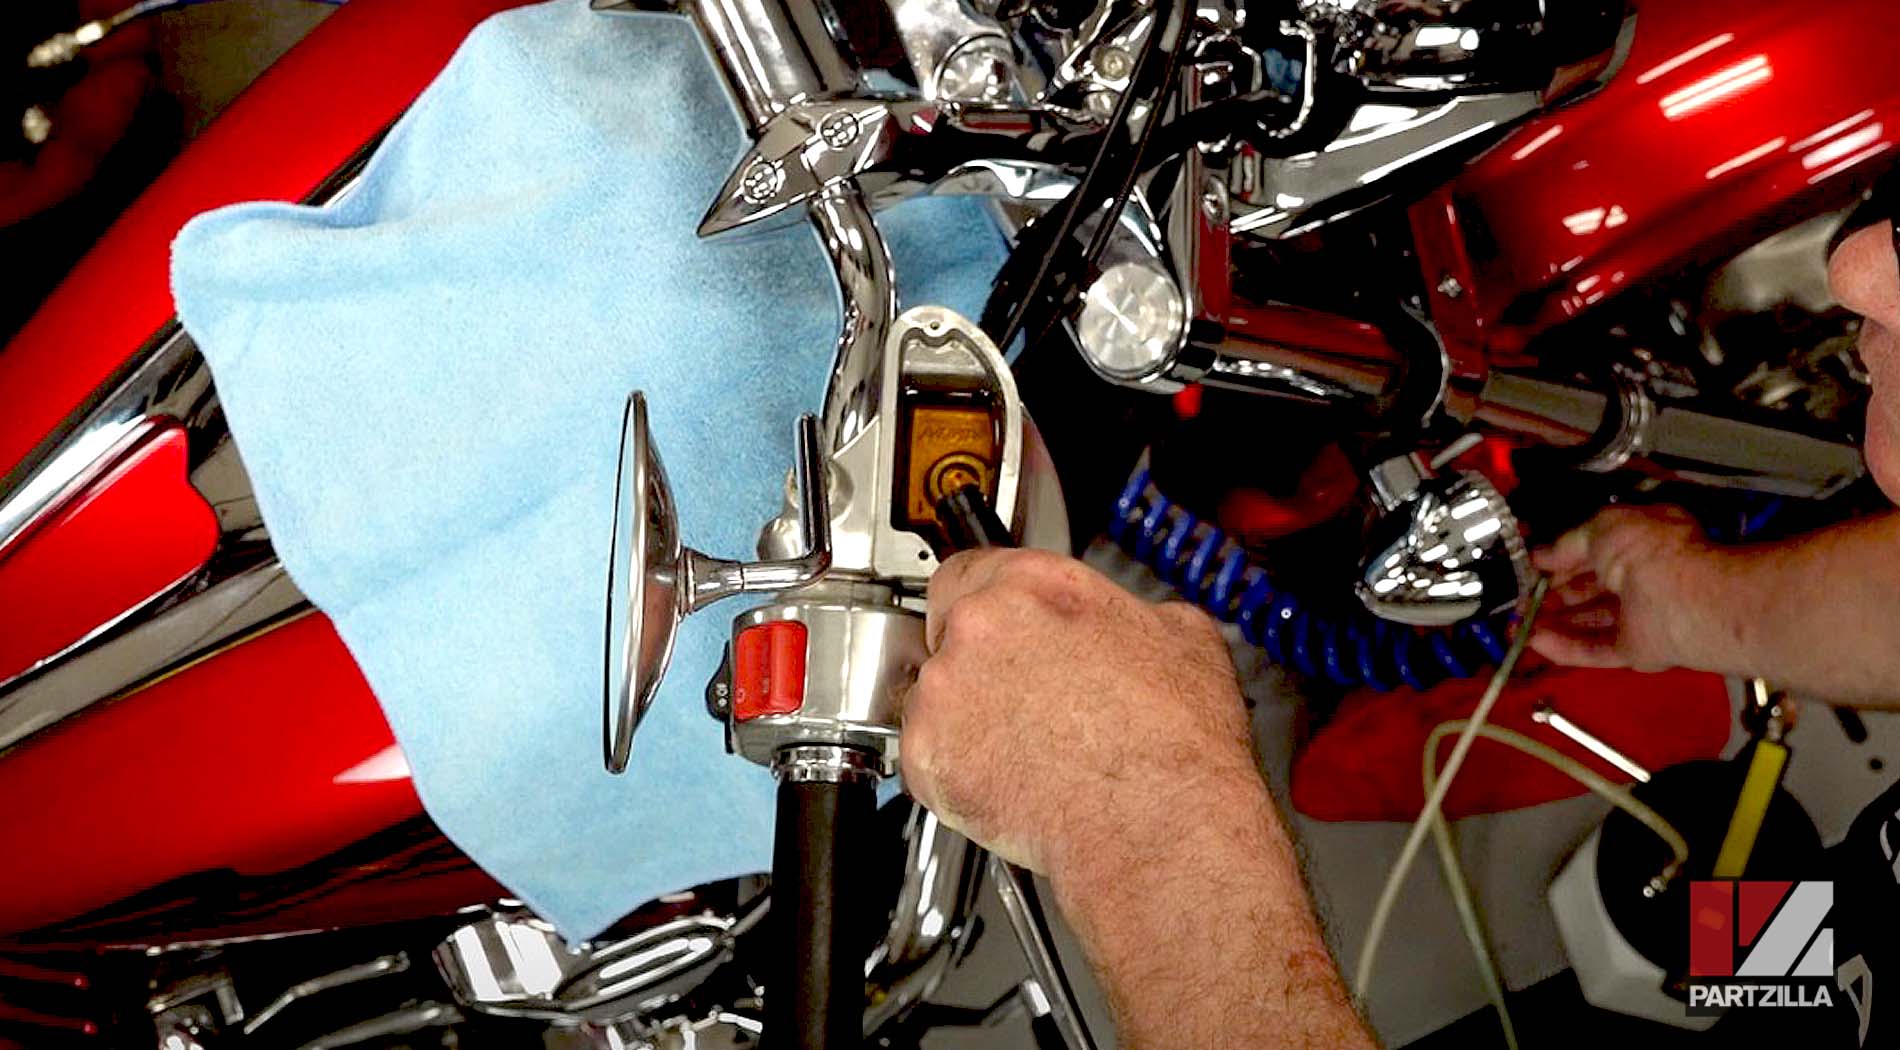
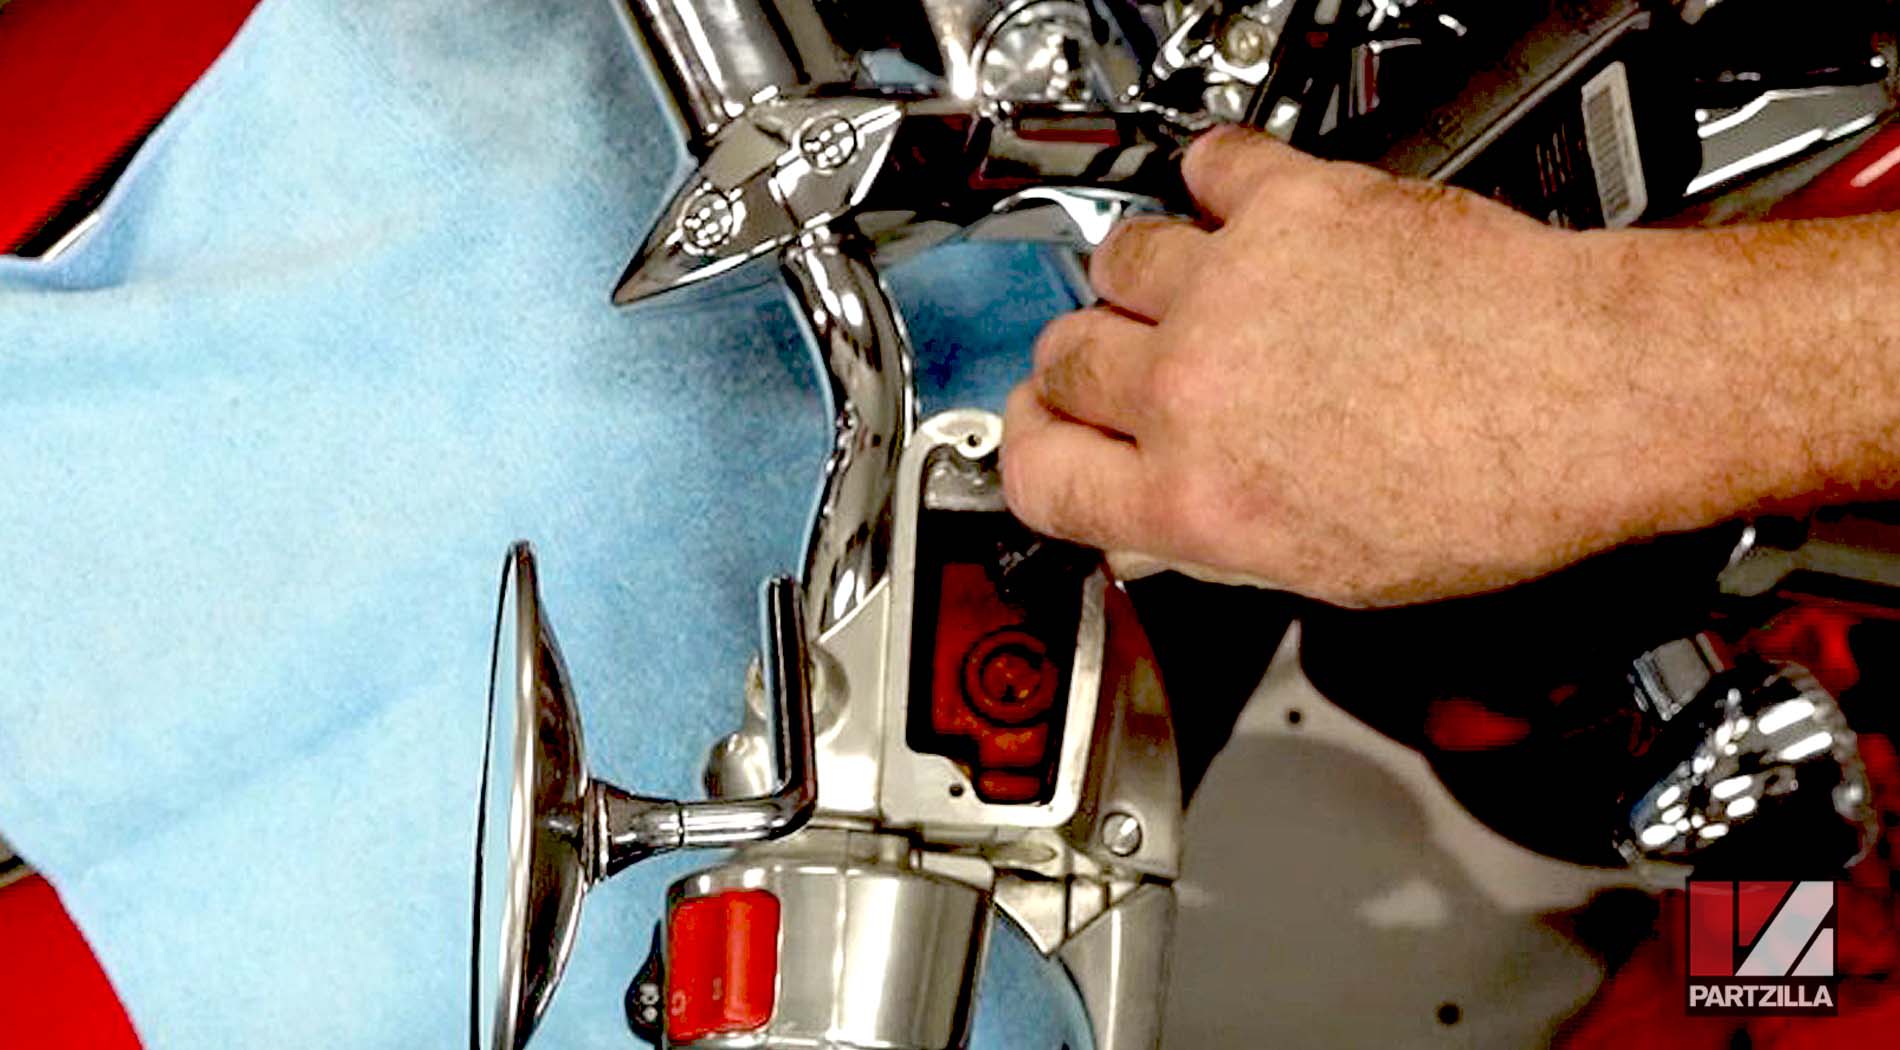
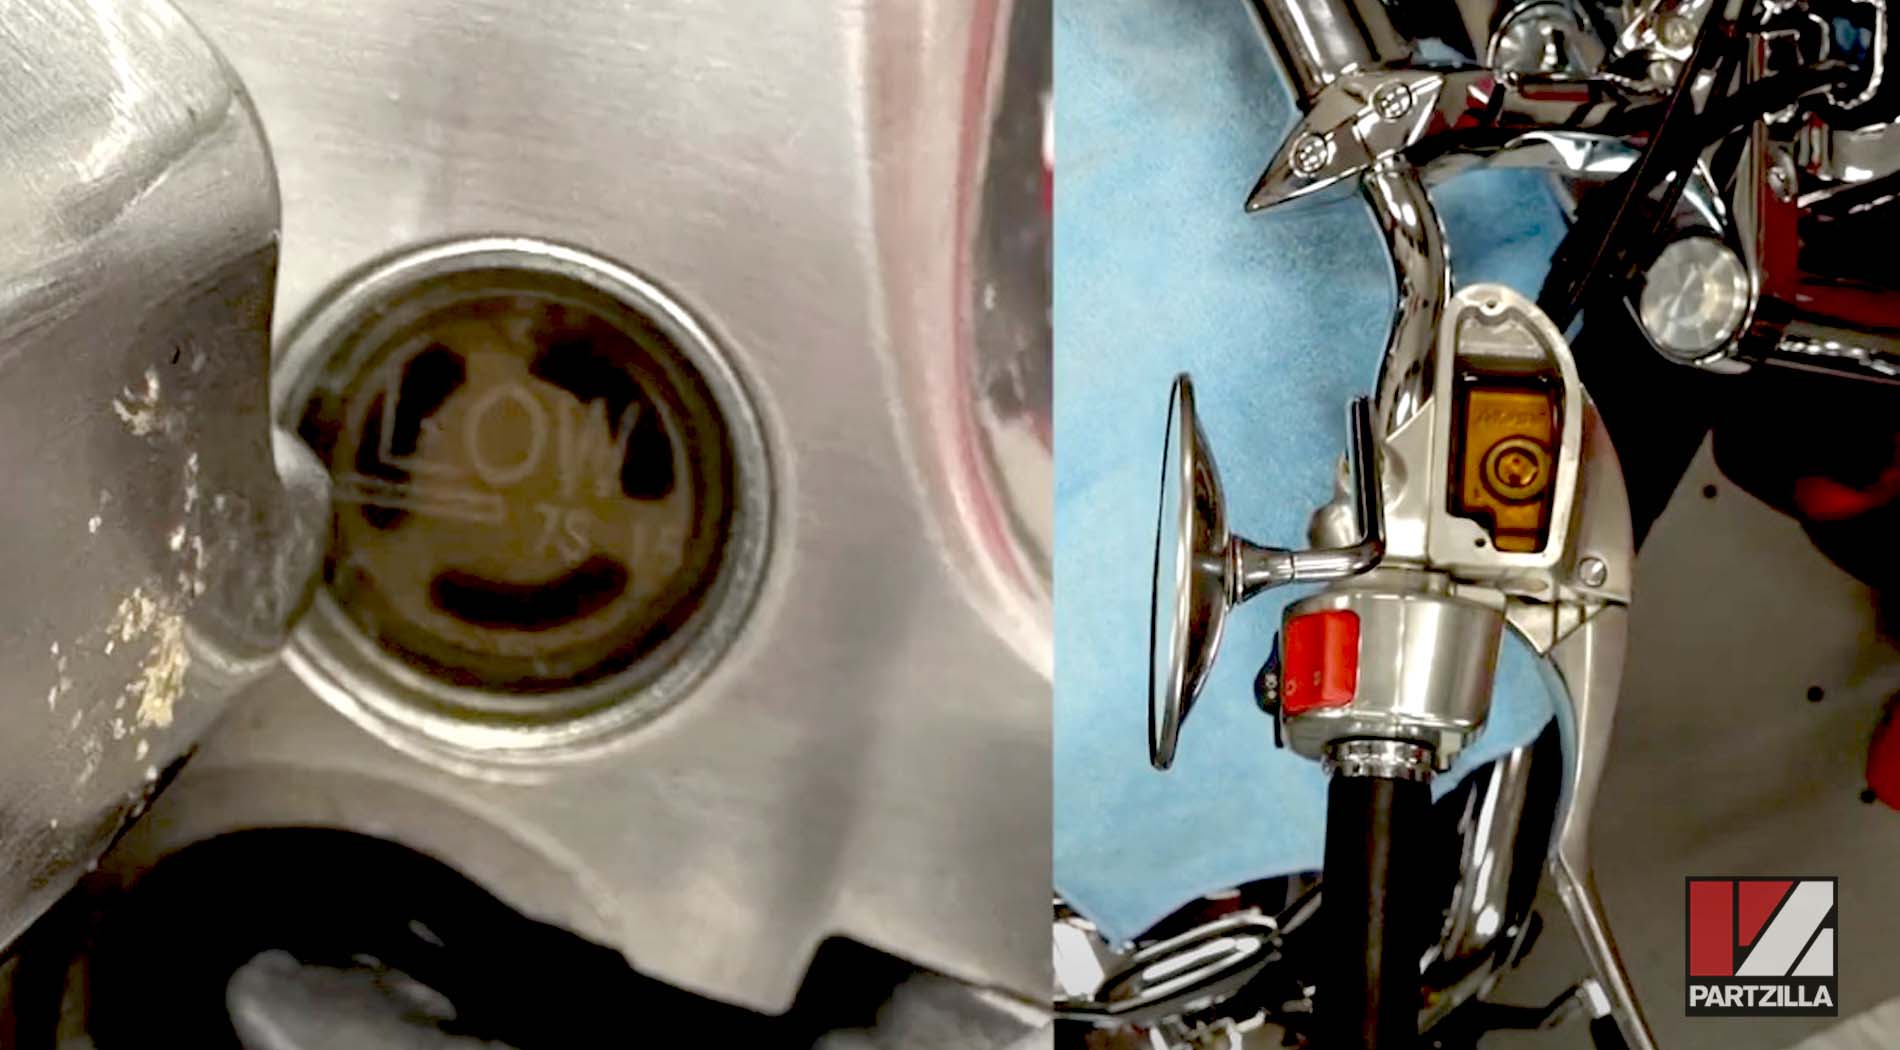
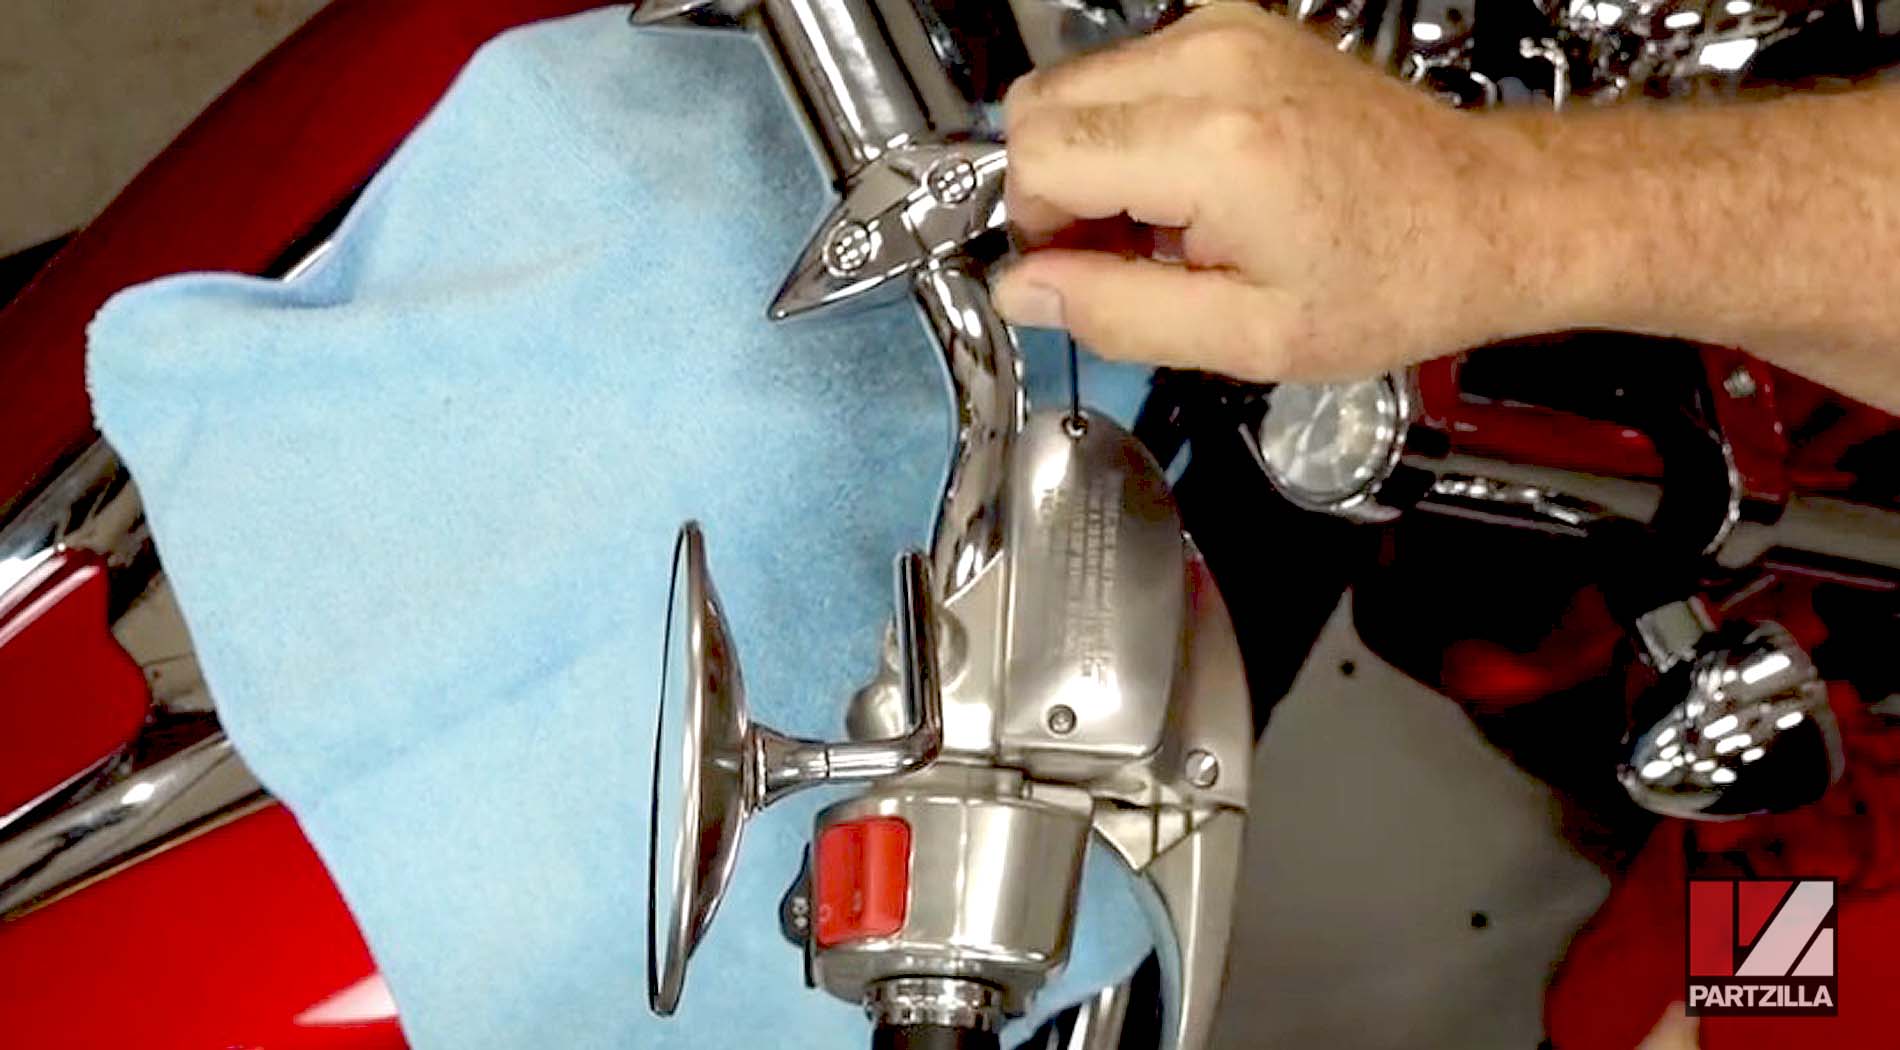
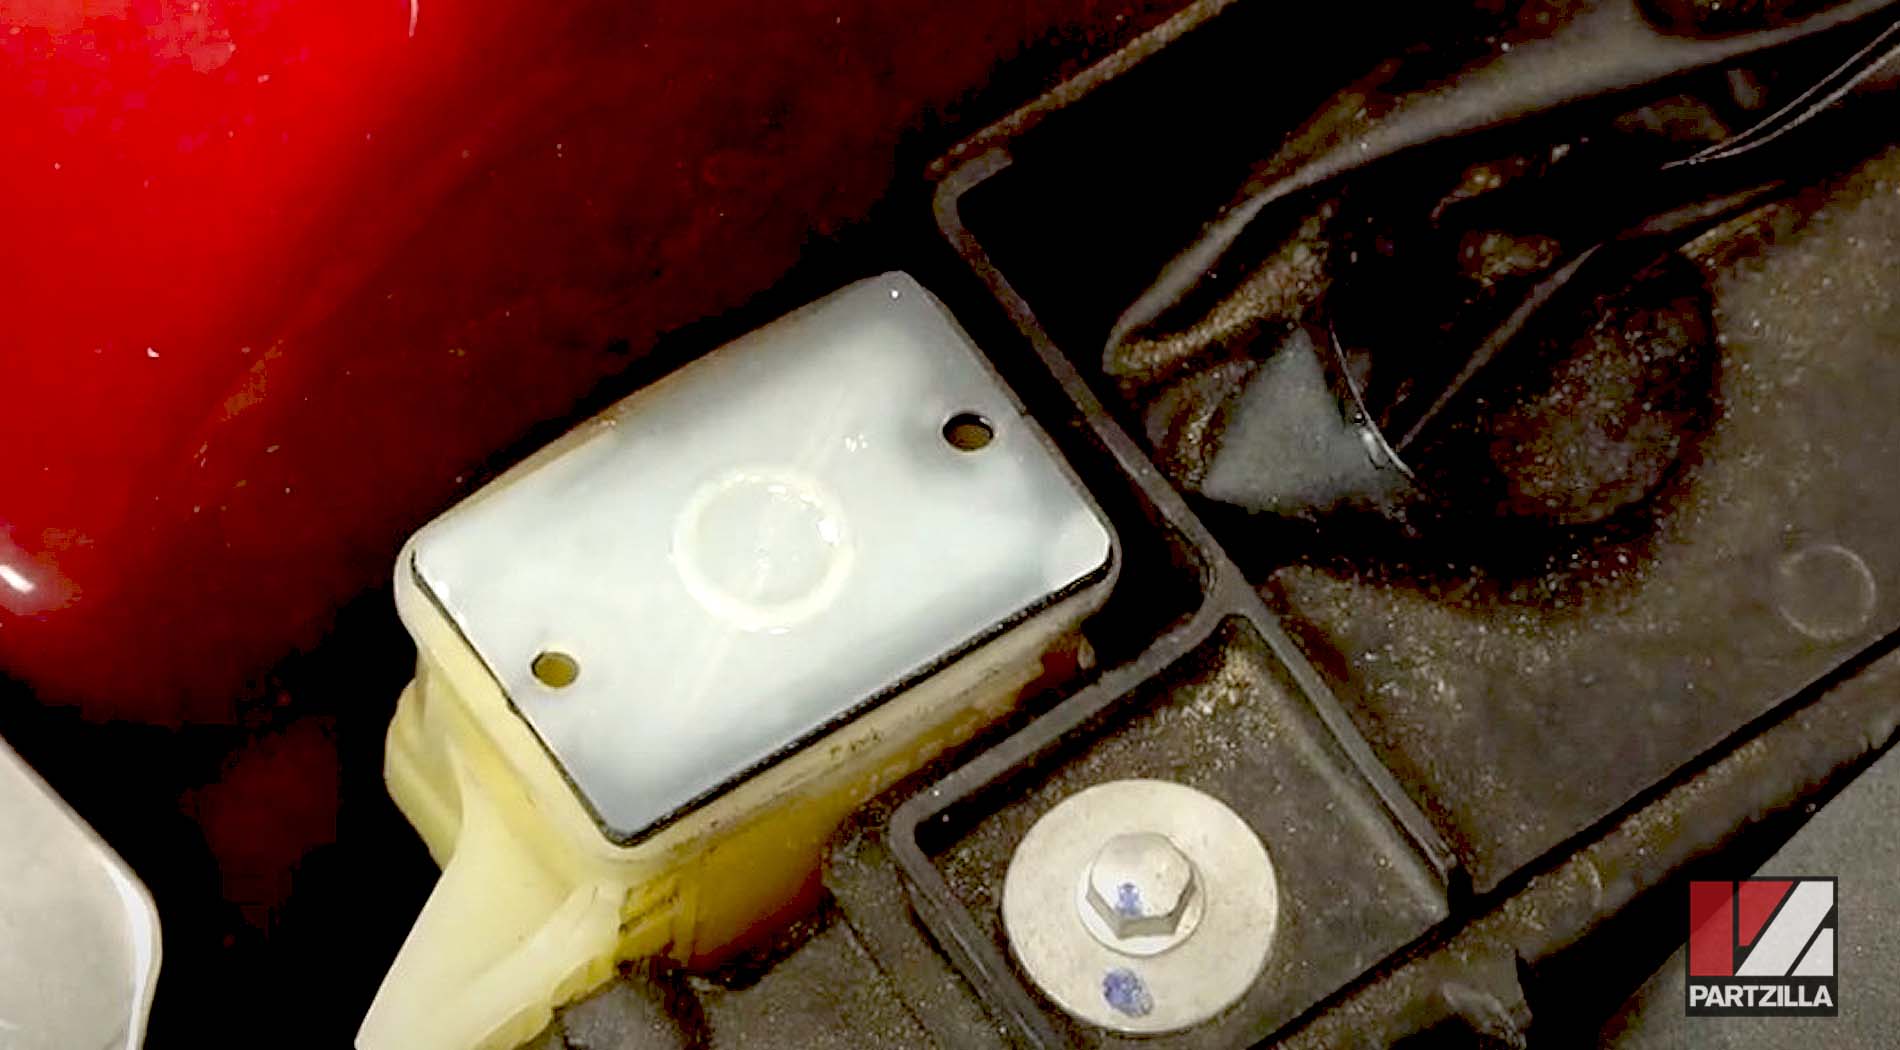
Step 1. Remove the brake fluid reservoir cover for the front brakes with a 2.5 mm Allen, followed by the diaphragm below it.
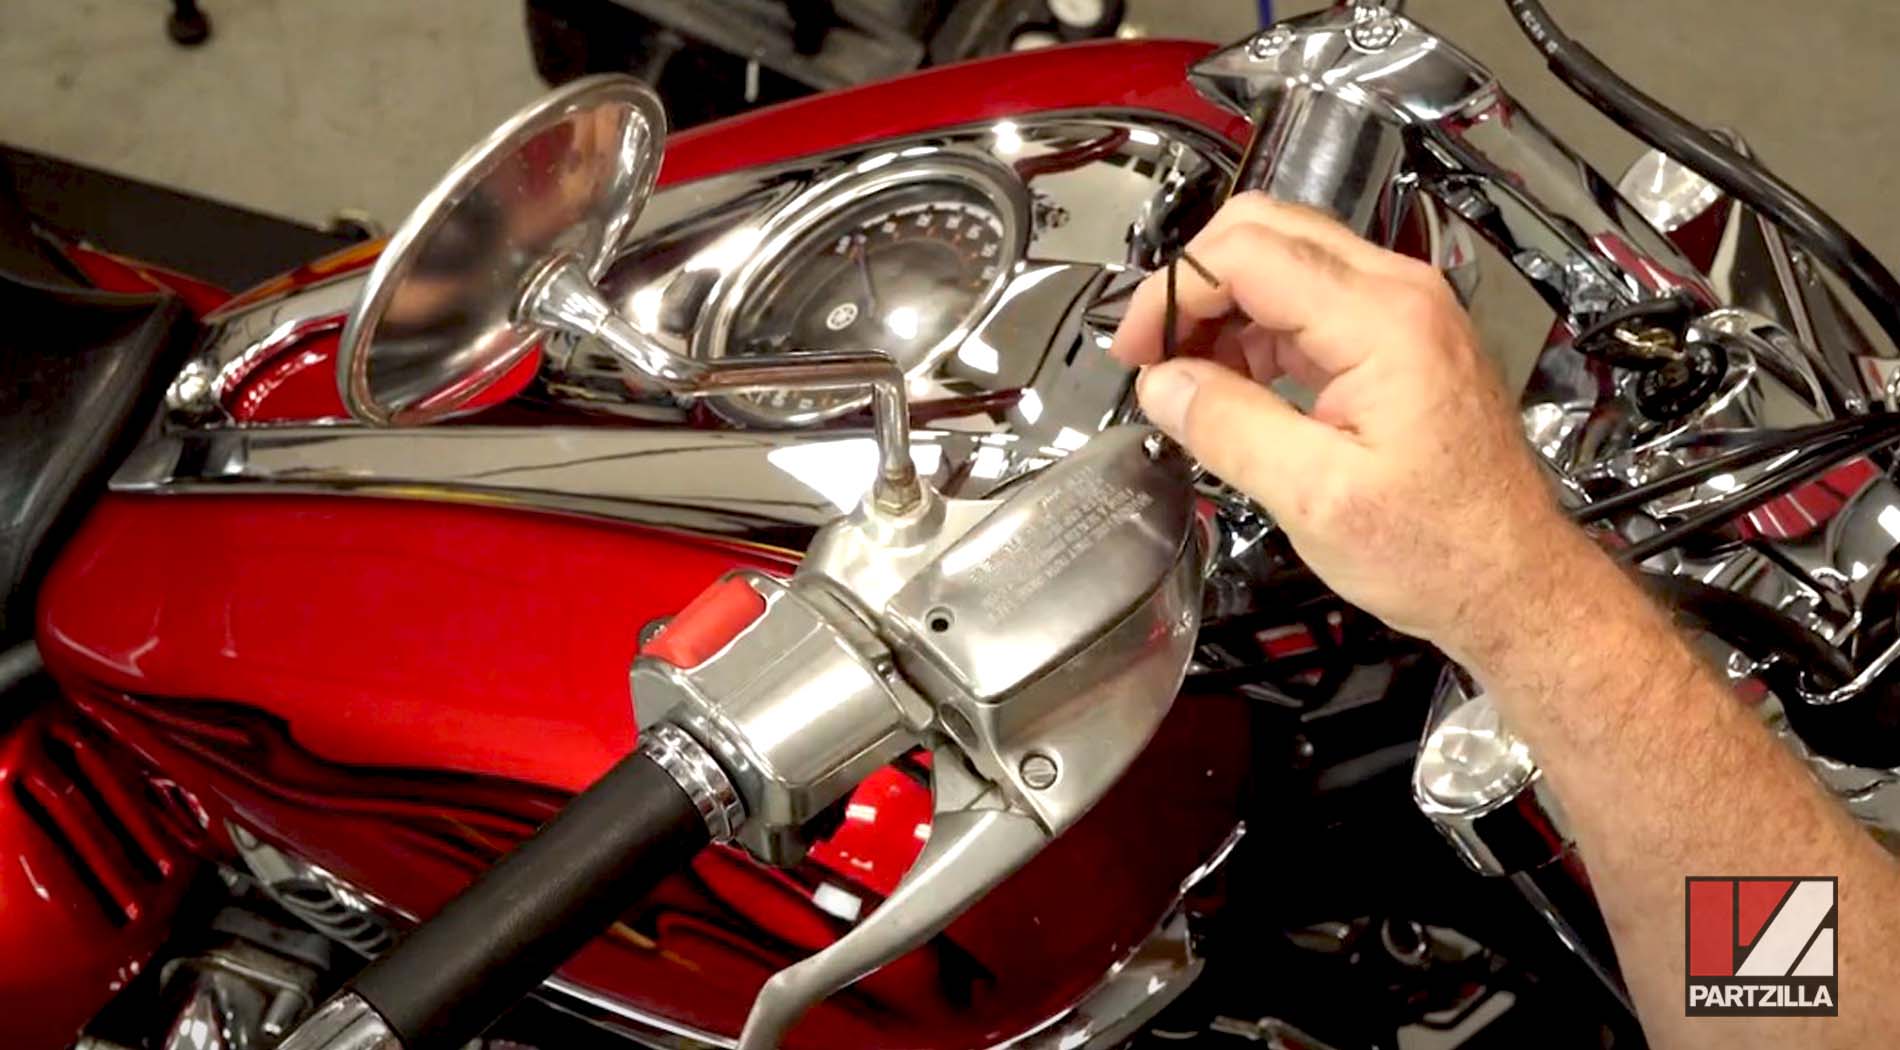
NOTE: Before removing the cover, place a cloth or plastic covering over the fuel tank to prevent brake fluid from spilling on it, as brake fluid can damage the clear coat painted surface upon contact.

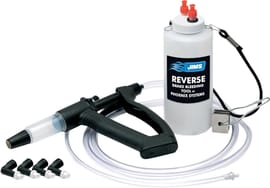
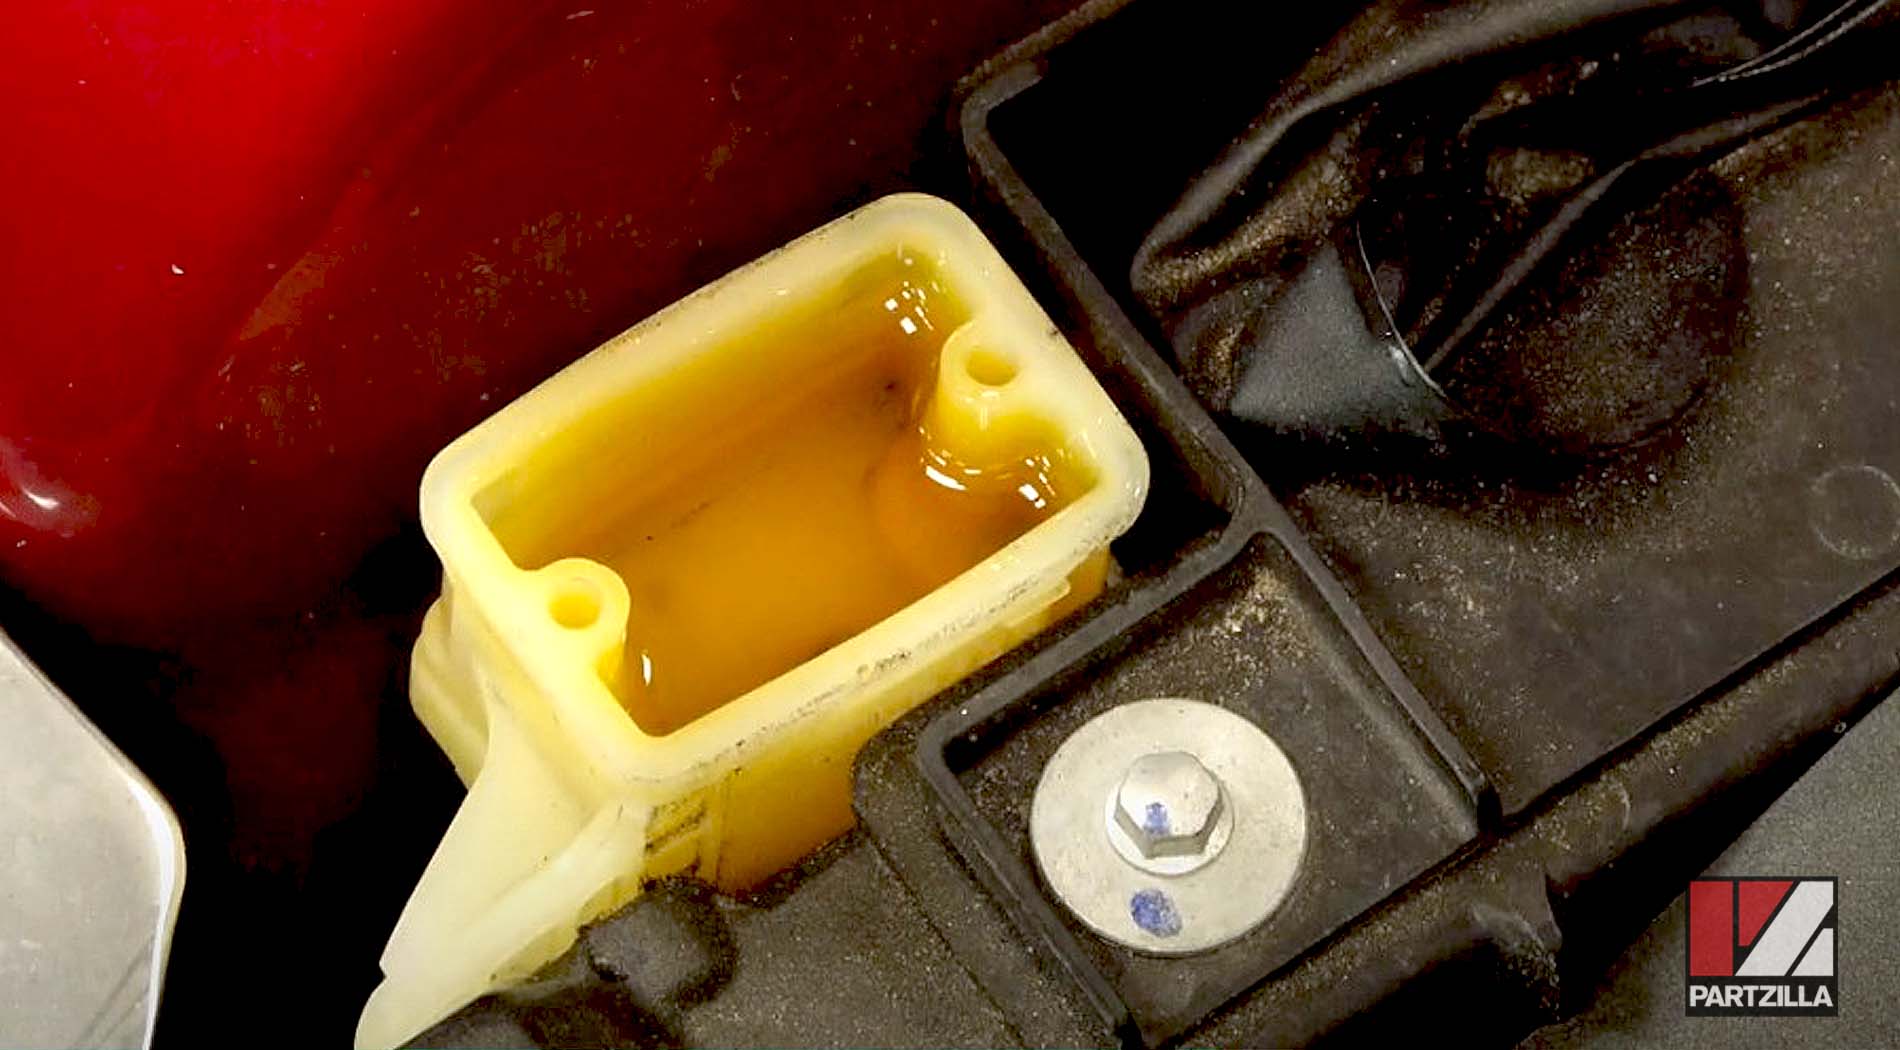
NOTE: Our Yamaha Raider’s brake fluid had water or condensation pooled up in the reservoir, so to avoid pulling that contaminated top layer through the system, we used a brake fluid extractor to vacuum out the top layer before bleeding out the brakes. If your bike’s brake fluid looks this bad, proceed to Step 2. Otherwise, you can skip ahead to Step 3.
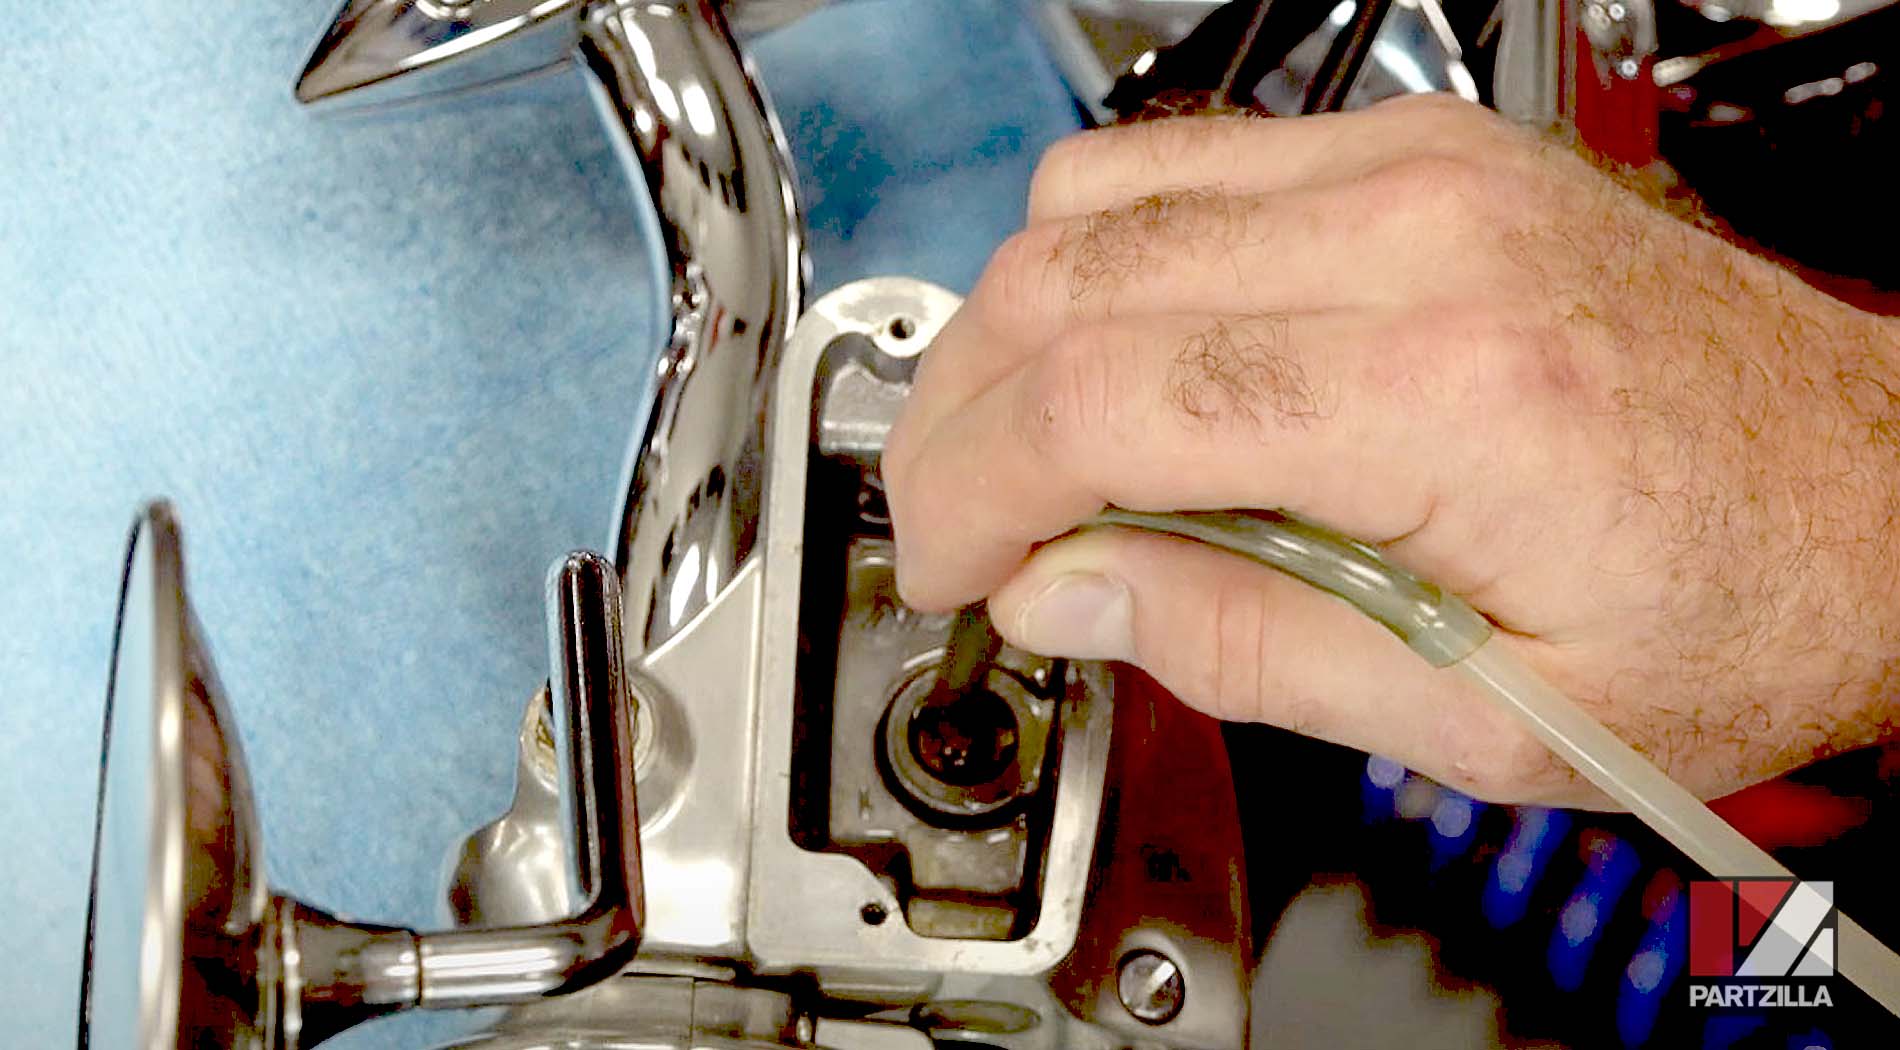
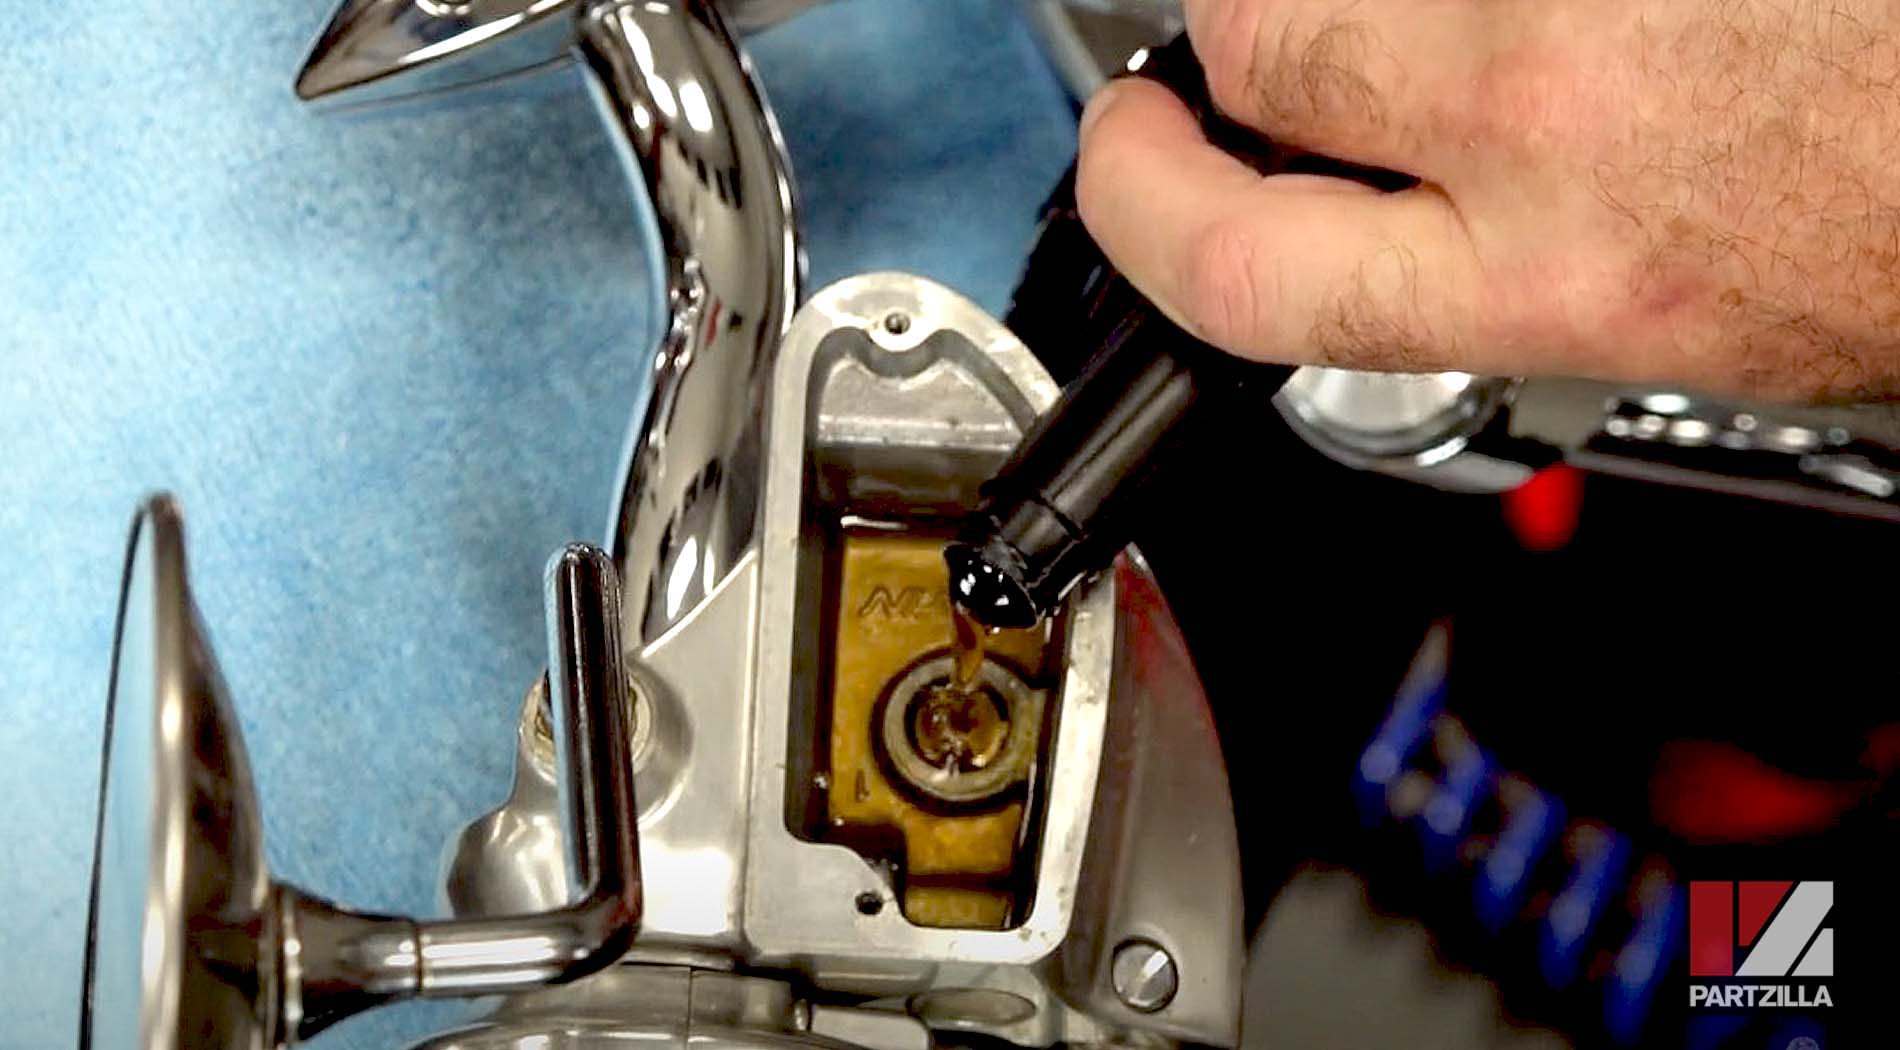
Step 2. Turn on the brake fluid extractor tool and vacuum out the top layer of brake fluid in the reservoir.
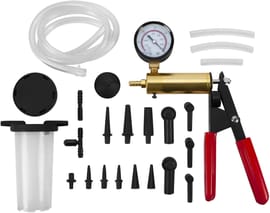
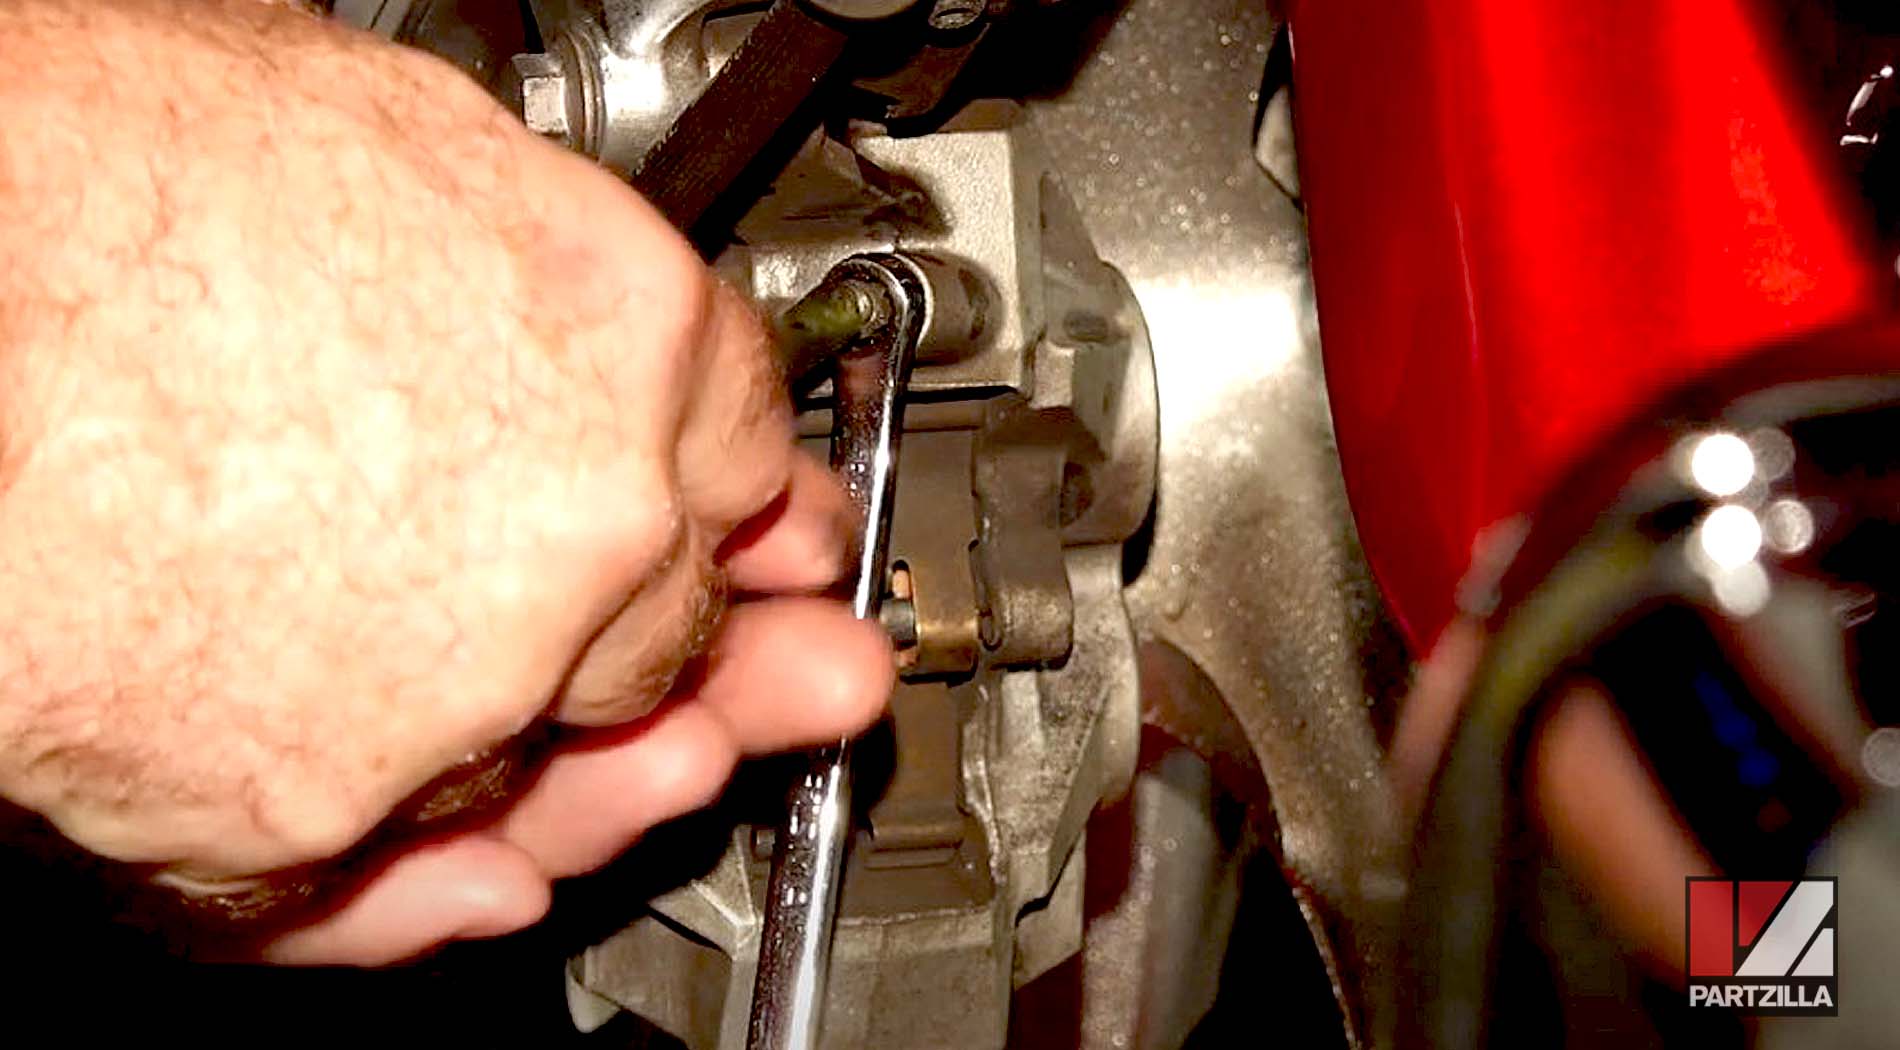
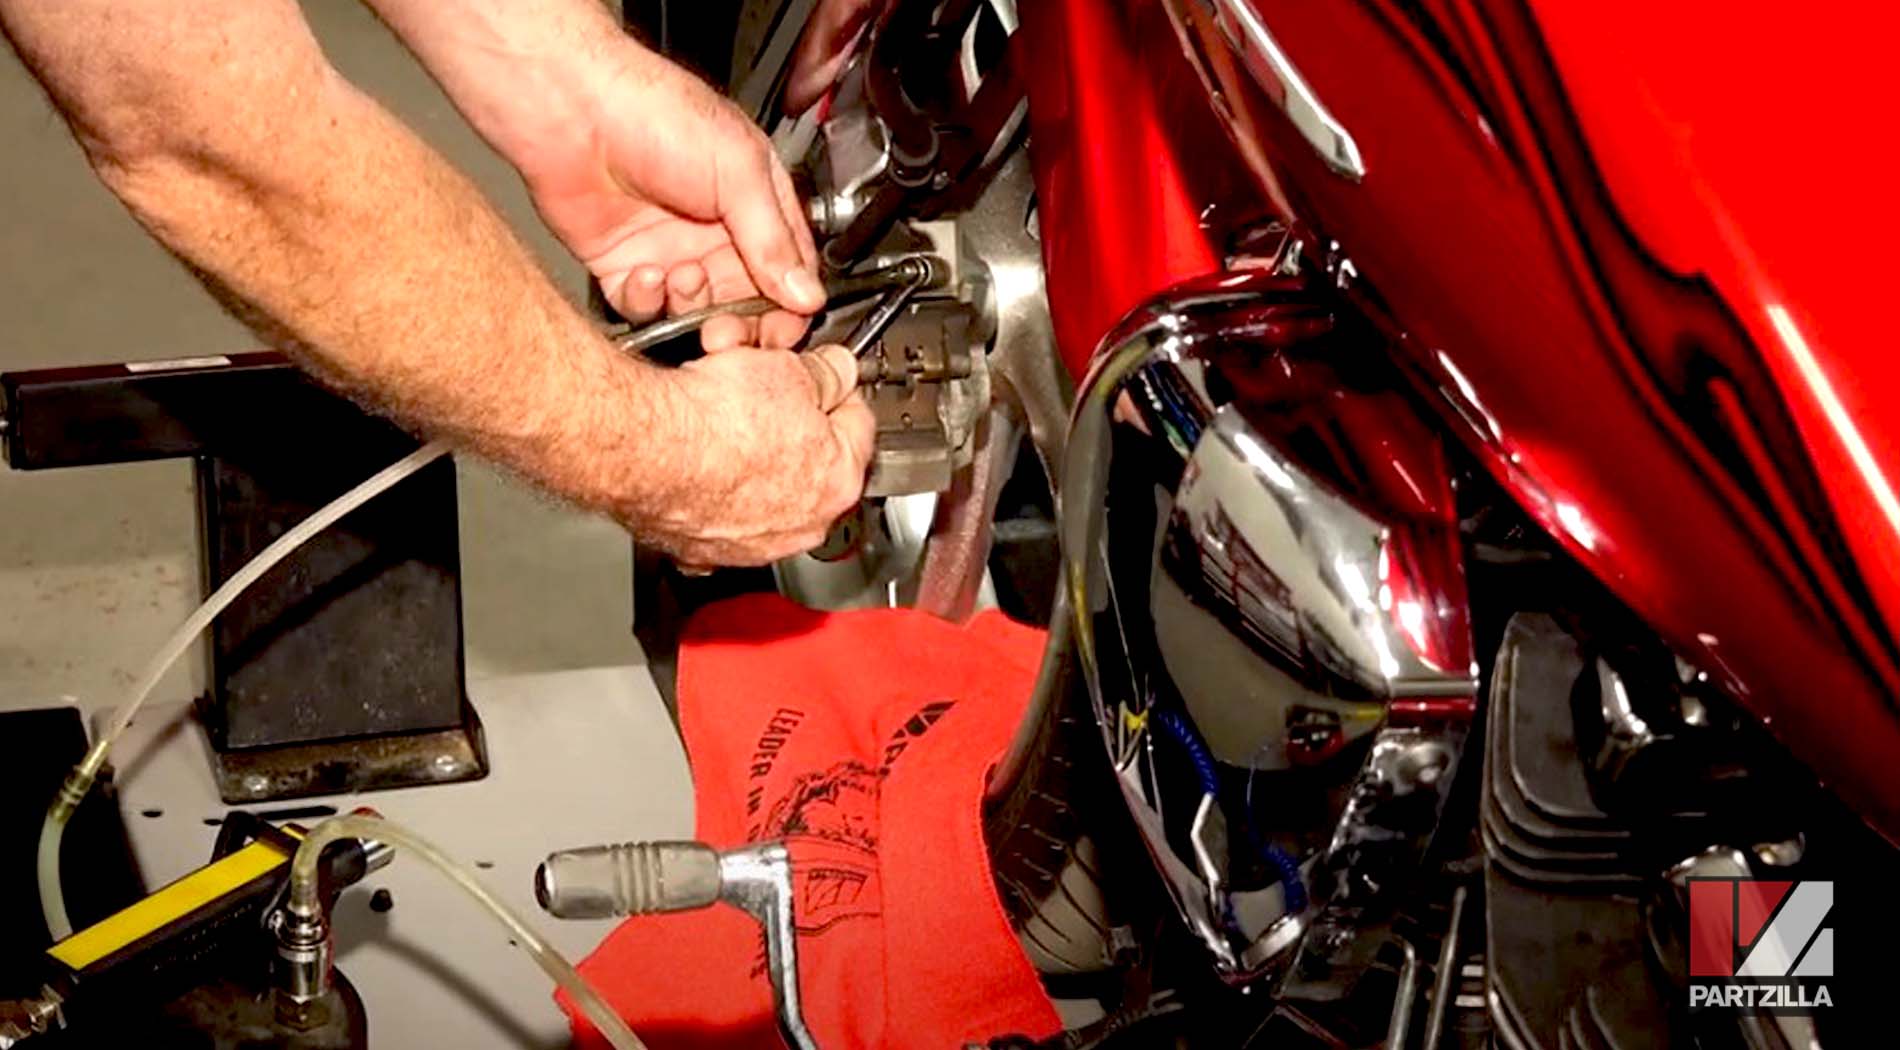
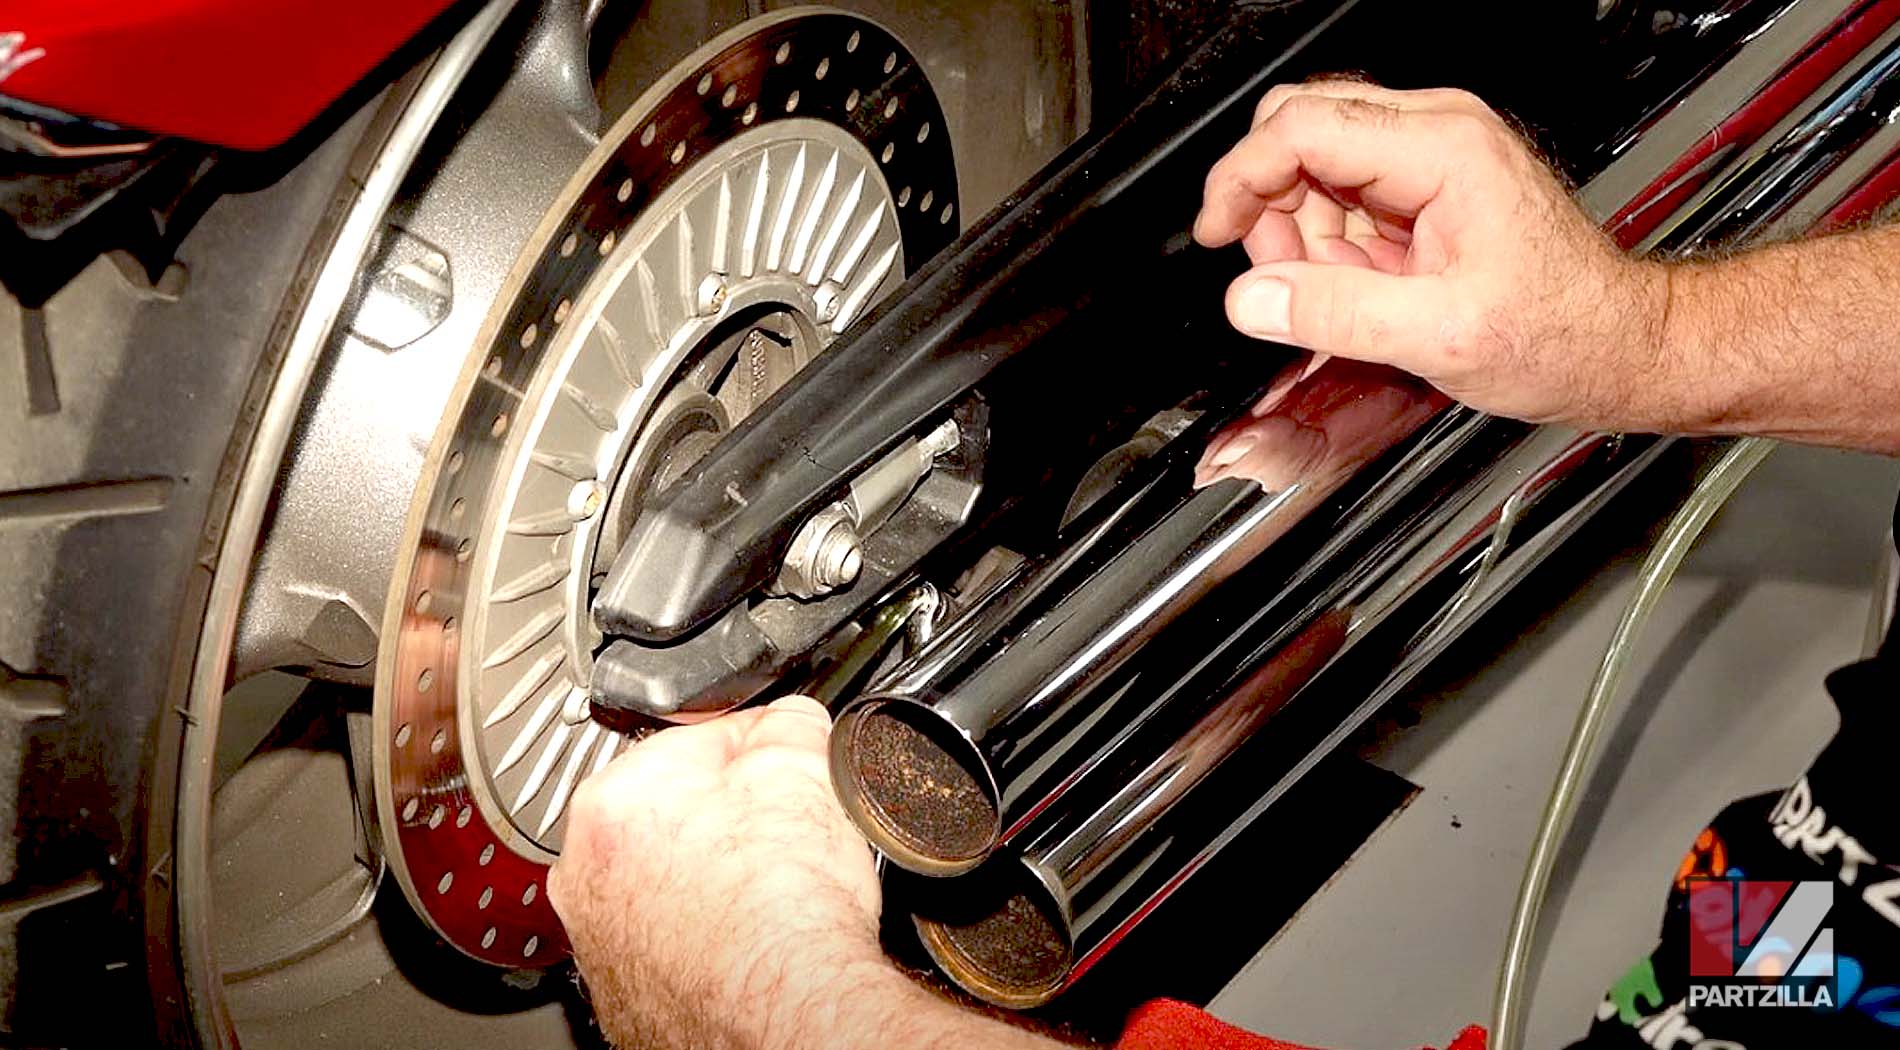
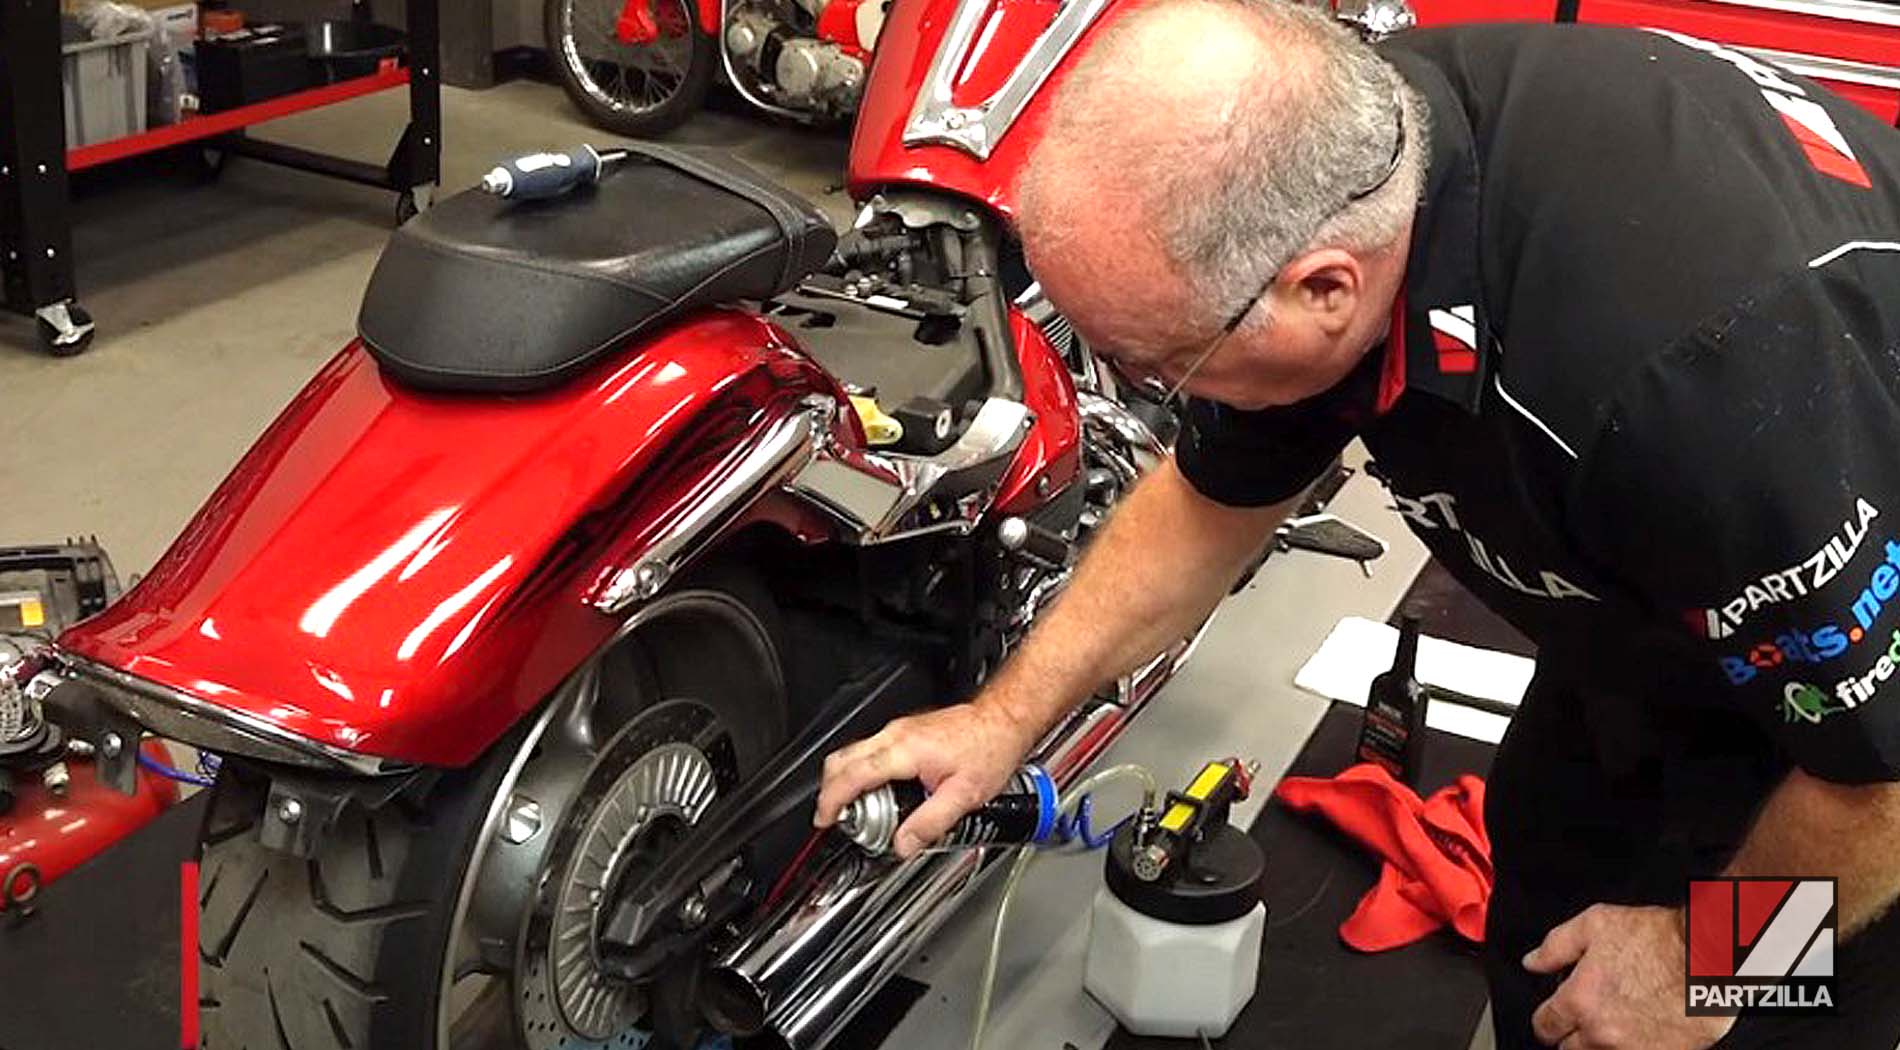
Step 3. Fill the reservoir with fresh brake fluid, then hook up the brake fluid extractor down to the bleed screw at the front right caliper, open the bleed screw with an 8mm wrench, turn on the vacuum and start adding brake fluid to the reservoir as the bleeder tool vacuums out the old brake fluid.

NOTE: Partzilla sells various brake fluid extractors/fluid exchangers/vacuums/brake bleeders, etc. that are all designed to do the same job. We often use these terms interchangeably in our videos.
Step 4. Repeat Step 3 for the left side bleed screw of the front brake caliper.
Check the brake fluid level from the sight glass to make sure it’s over the halfway point, and top it off if necessary.
Step 5. Reinstall the brake reservoir diaphragm and cover, and tighten the 2.5mm Allens for the cover.
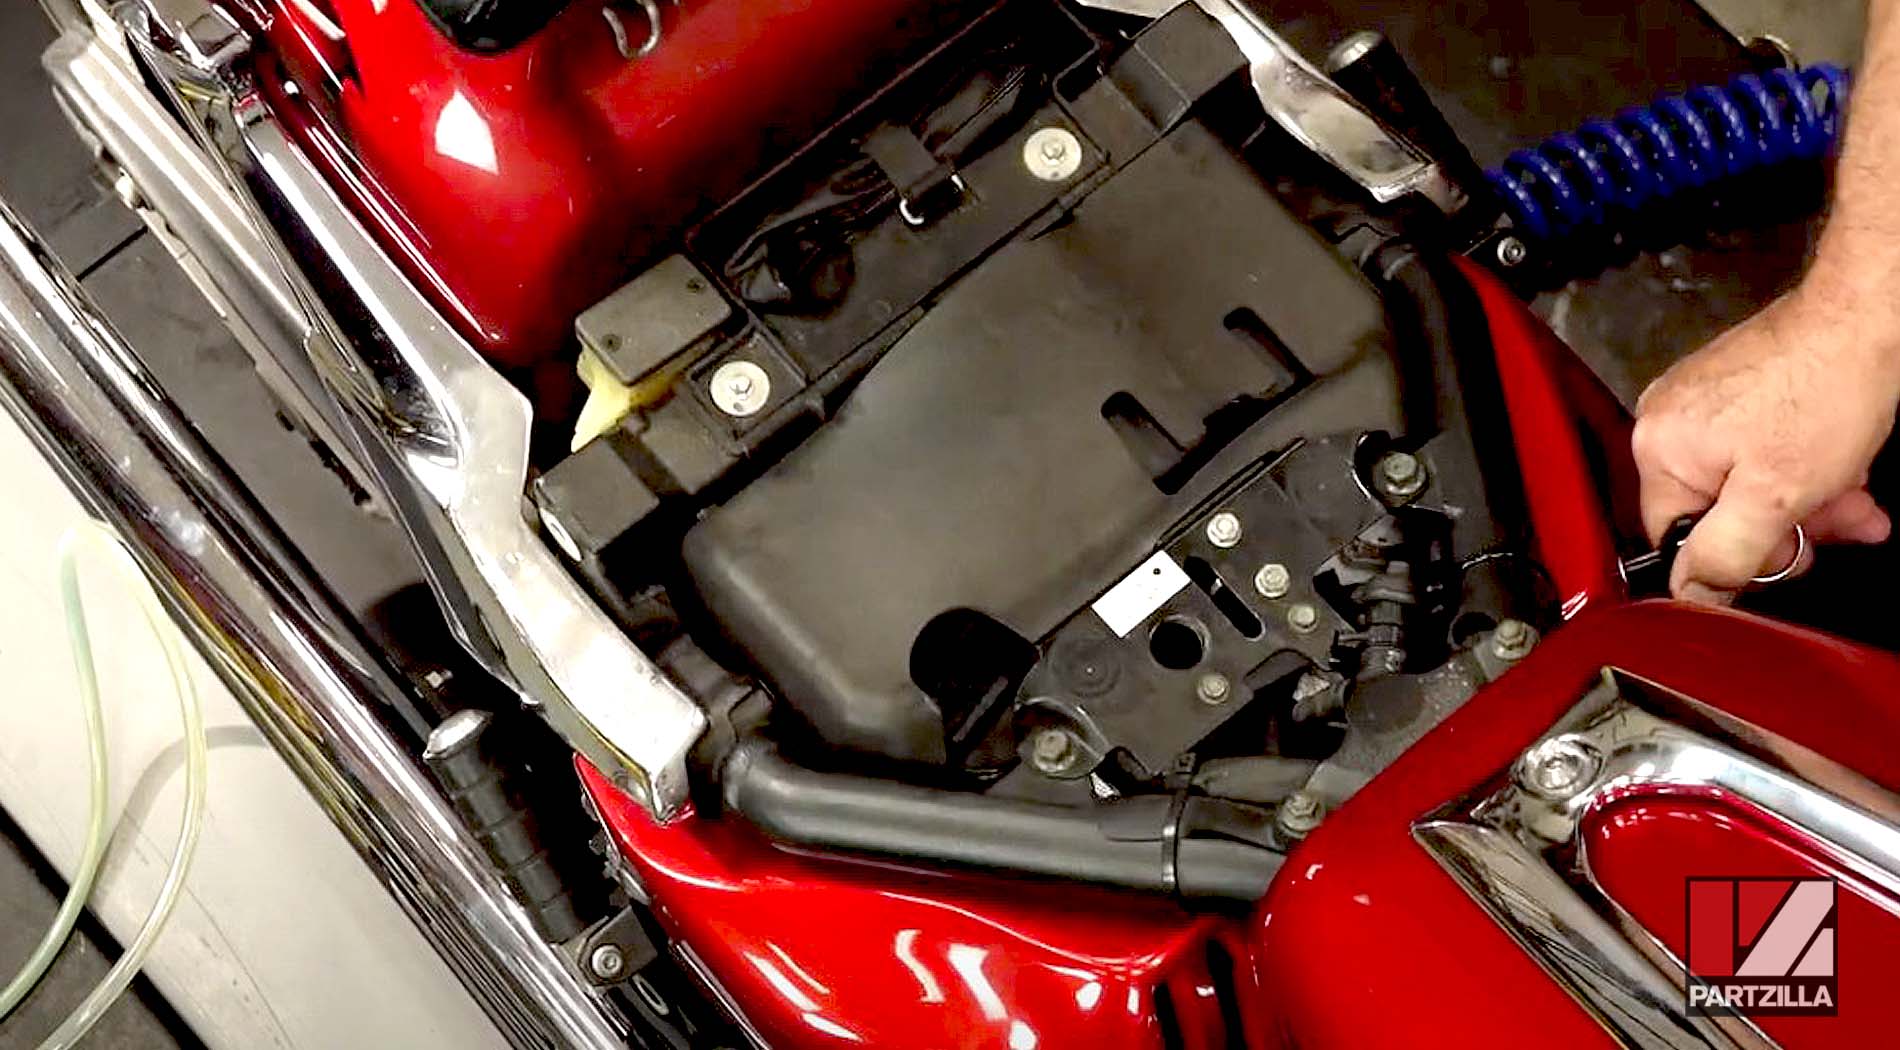
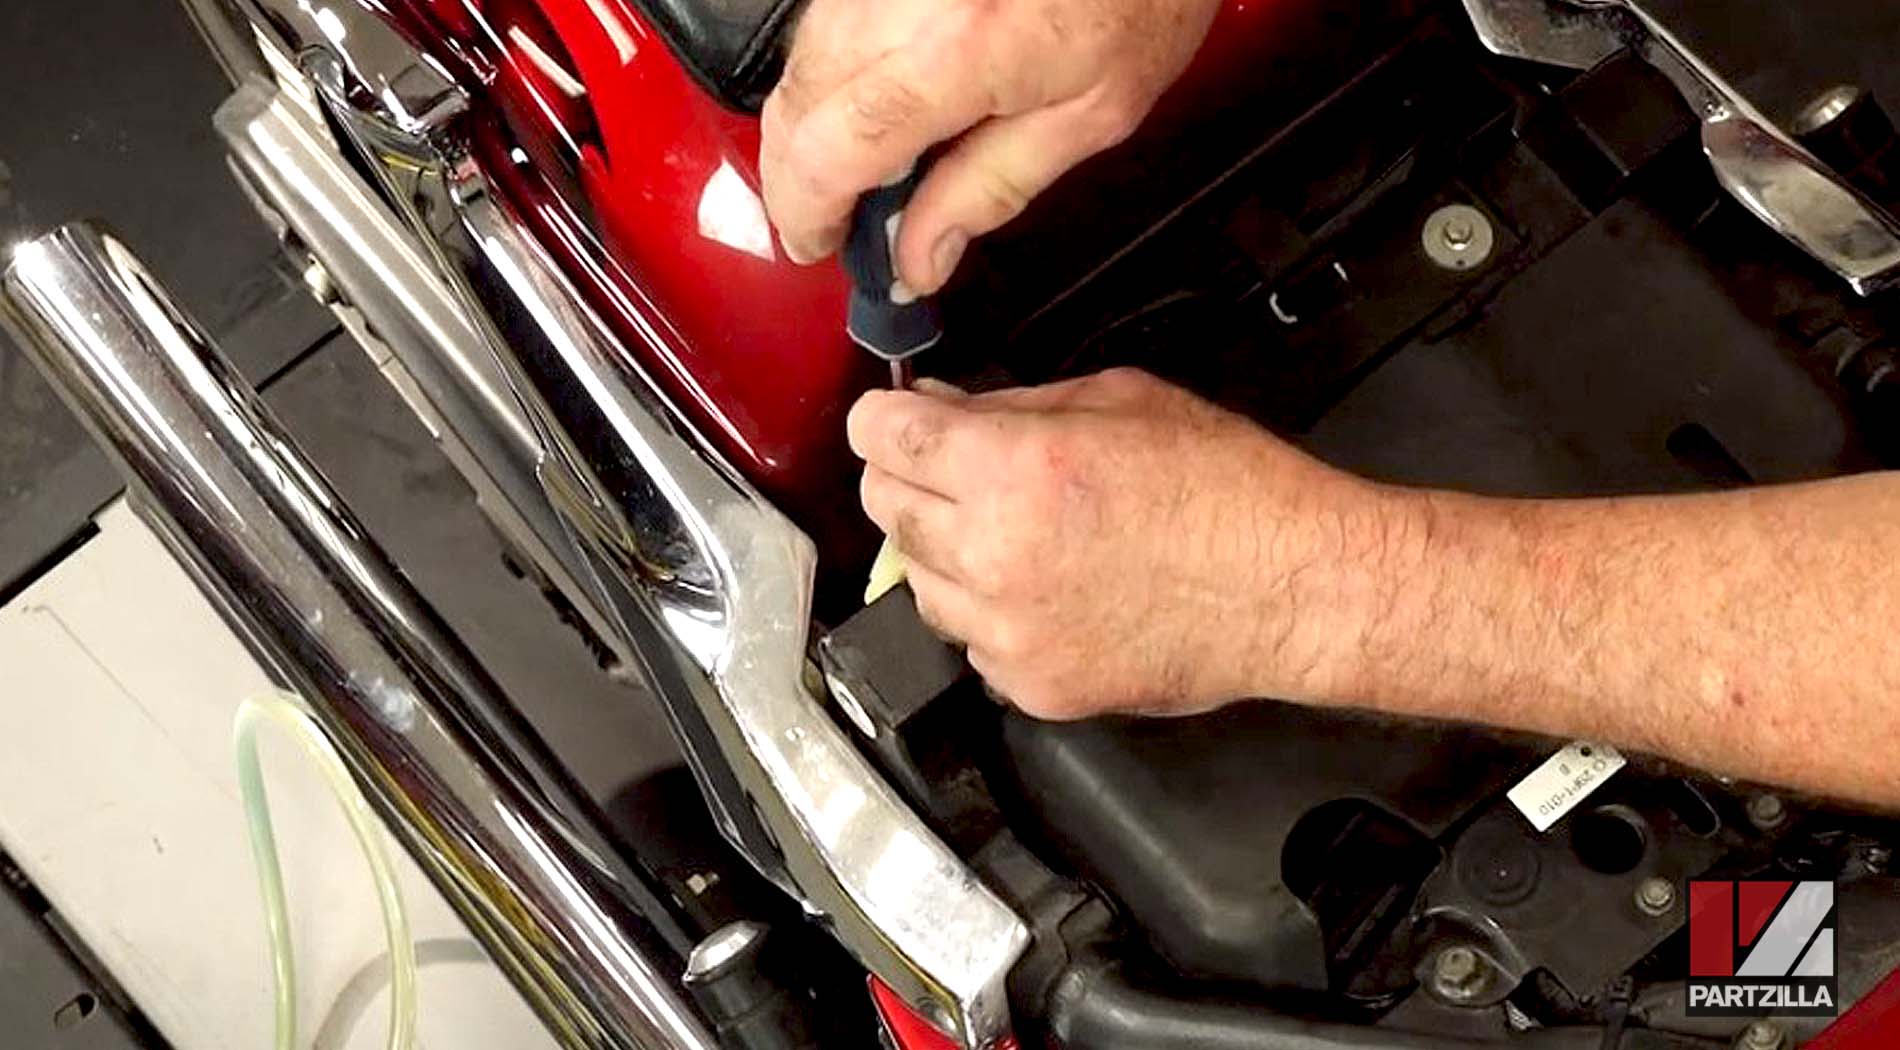
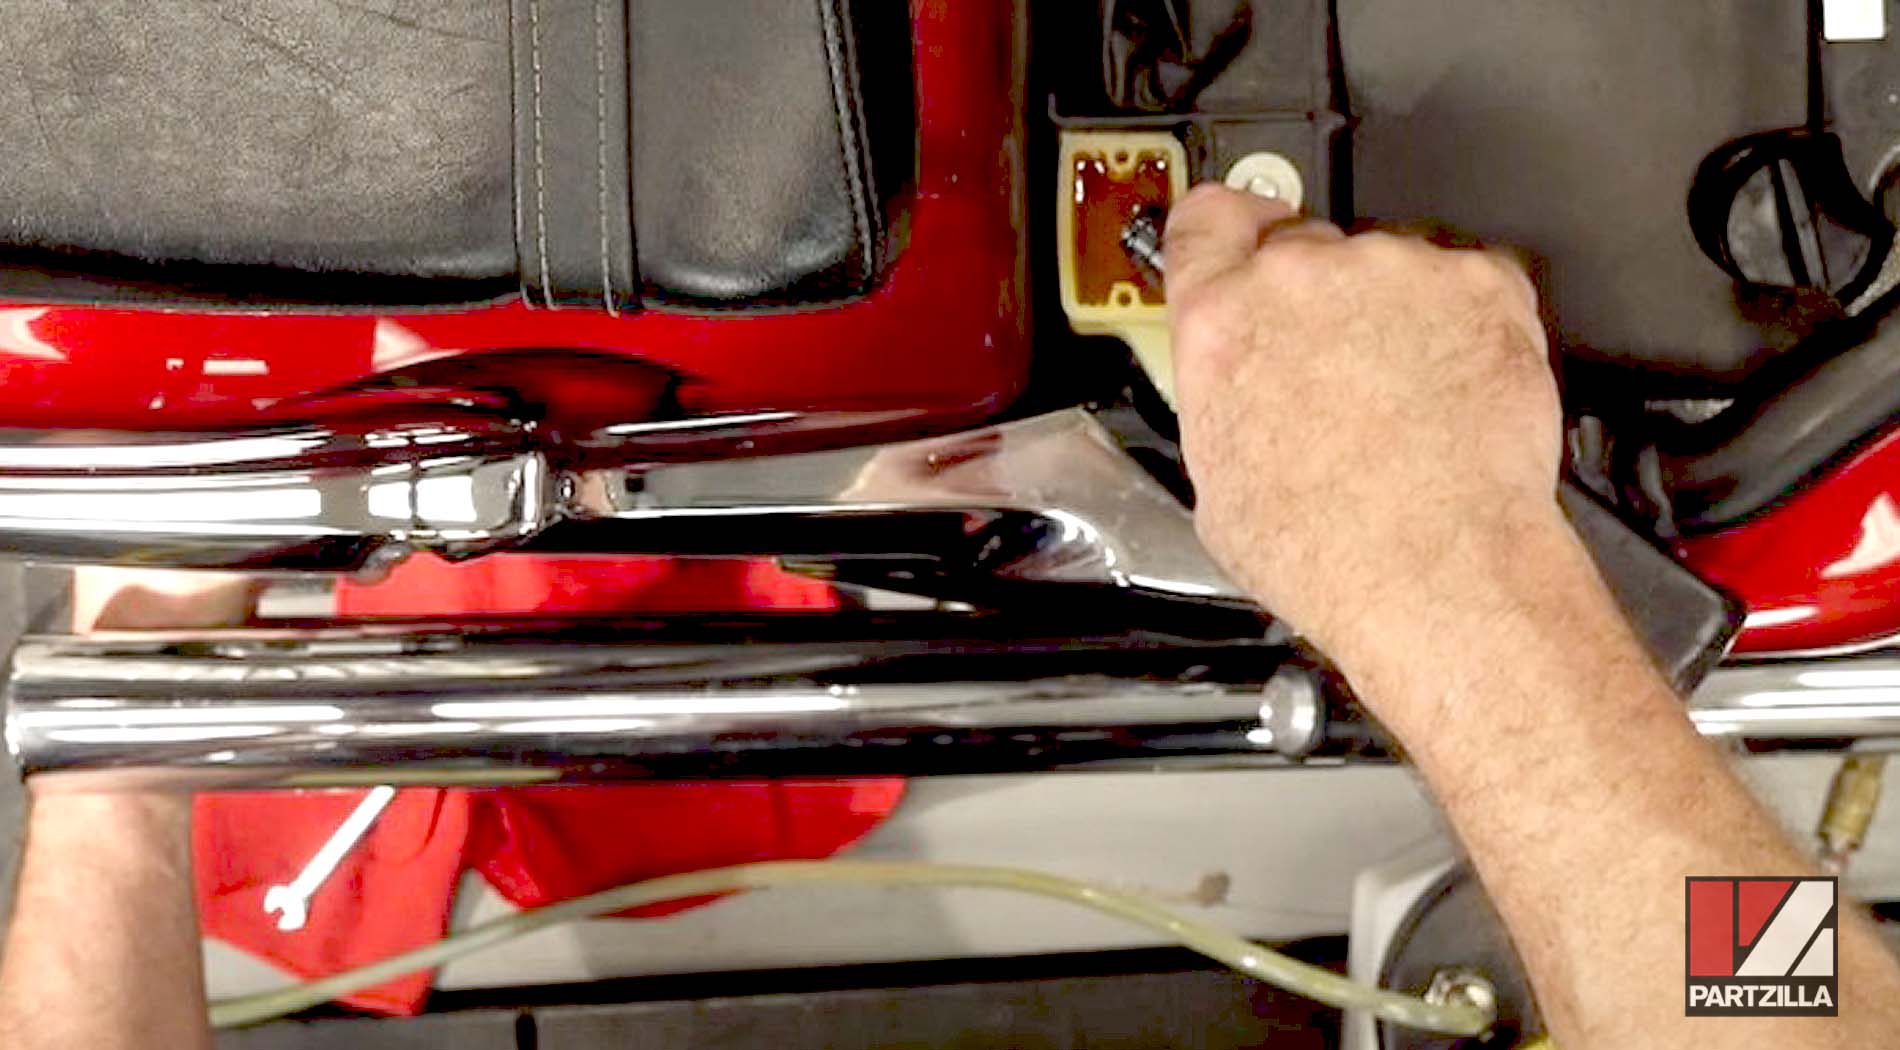
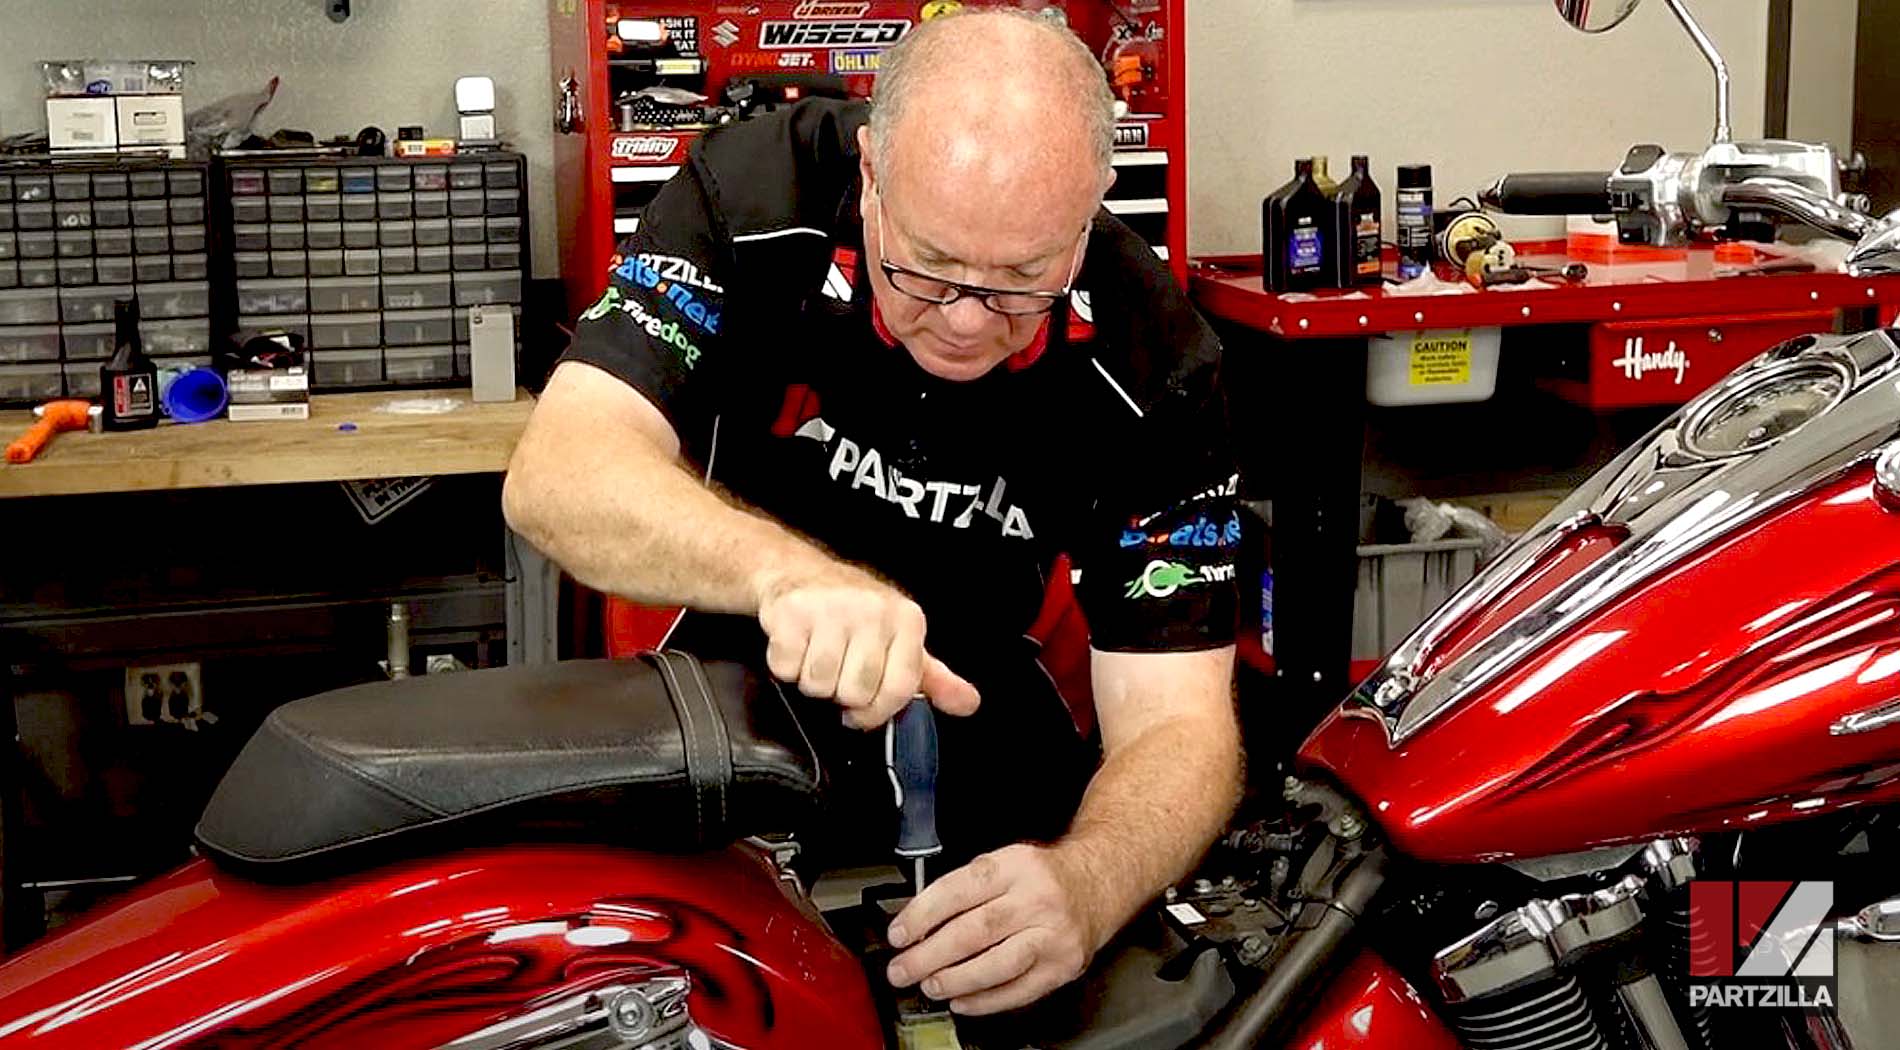
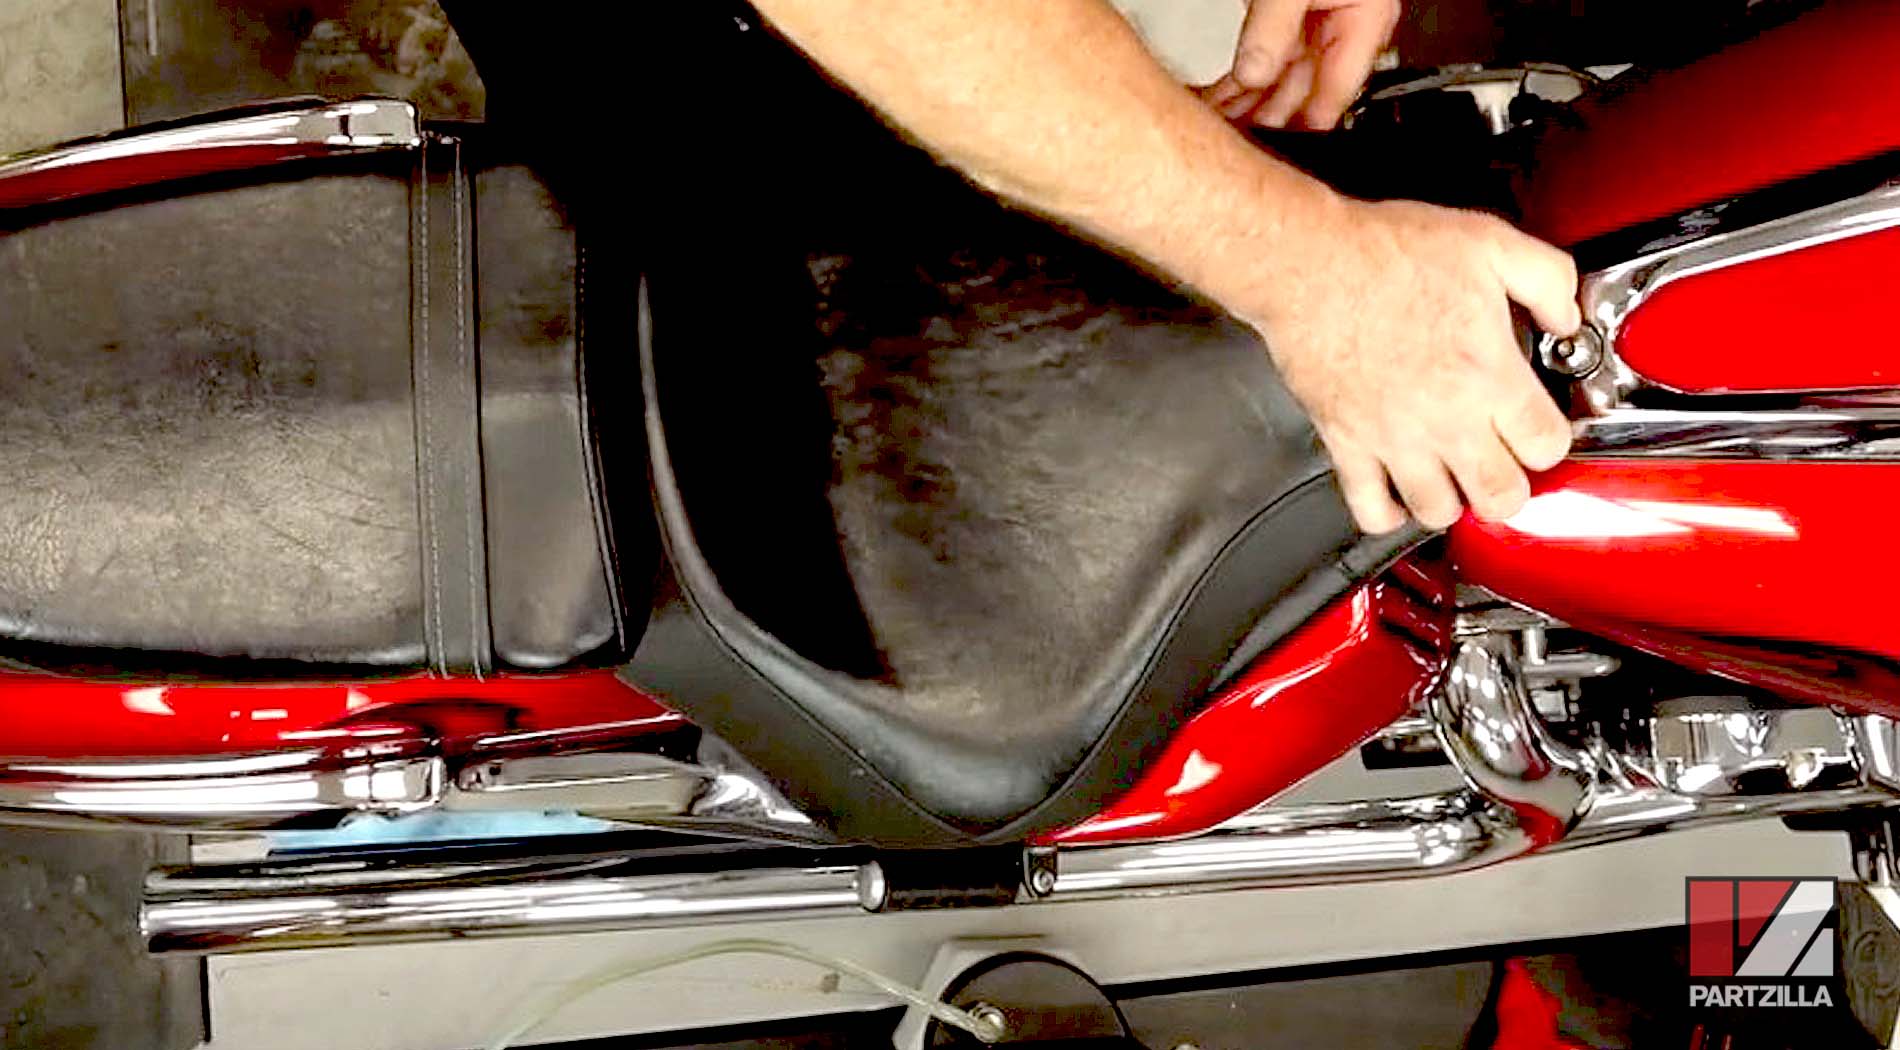
Step 6. Remove the seat from the bike to access the brake fluid reservoir for the rear caliper, then remove the two Phillips screws from the cover, followed by the cover itself and the diaphragm beneath it.
Step 7. Bleed the rear brakes the same way as the front brakes, with an 8mm wrench to open and close the bleed screw and the brake fluid bleeder attached to it, while setting the brake fluid level during the extraction process.
NOTE: If you spilled brake fluid onto the caliper like we did, clean it off immediately with some contact-brake cleaner so the fluid doesn’t damage it.
Step 8. Reinstall the diaphragm, the brake fluid reservoir cap and the seat and you’re done.
We also replaced the brake pads on our 2008 Yamaha Raider. Watch the videos below to see how to replace the front brake pads and how to change the rear brake pads on a Yamaha Raider.