How to Change Honda VTX 1800 Coolant
Changing the coolant is an often overlooked motorcycle maintenance task. Aluminum components corrode as the coolant breaks down, so replacing the coolant every two years or 24,000 miles is recommended.
Watch the video above or follow the steps below to learn how to change the coolant in a Honda VTX 1800 motorcycle.
NOTE: We changed the coolant in a Honda VTX 1800 motorcycle, but the steps for changing the coolant are the same or similar for most Honda motorcycles.
Tools and Supplies - Honda VTX 1800 Coolant Change
- 5mm, 6mm Allen
- 3/8th ratchet and extensions
- 10mm socket
- 10mm wrench
- Pliers
- Phillips-head screwdriver
- Coolant
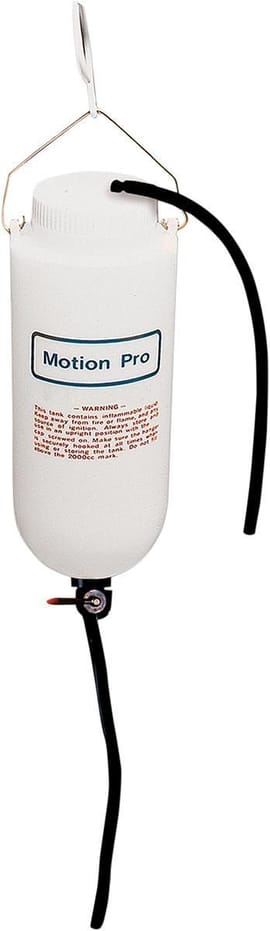
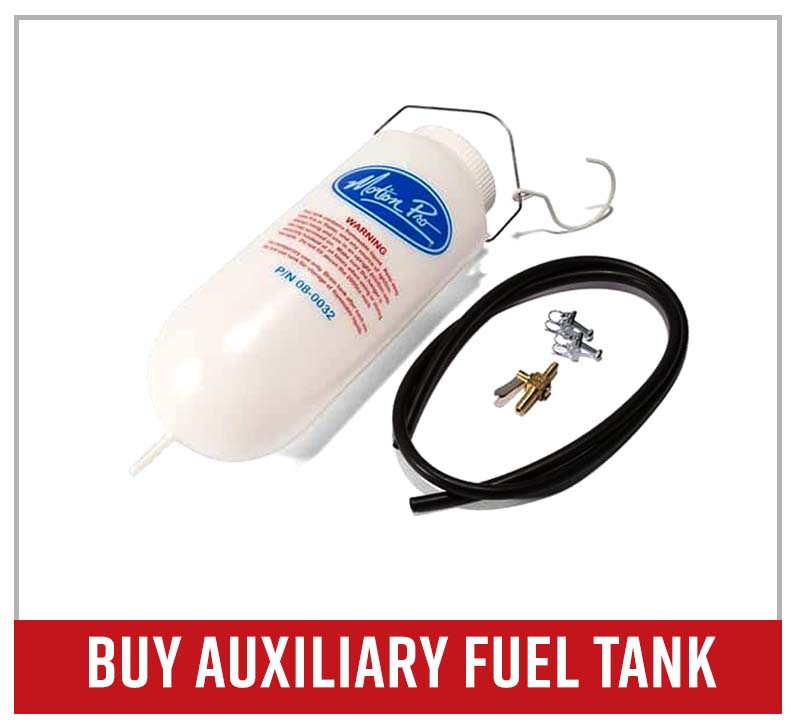
- Auxiliary fuel tank
Honda VTX1800 Coolant Change - Remove Fuel Tank
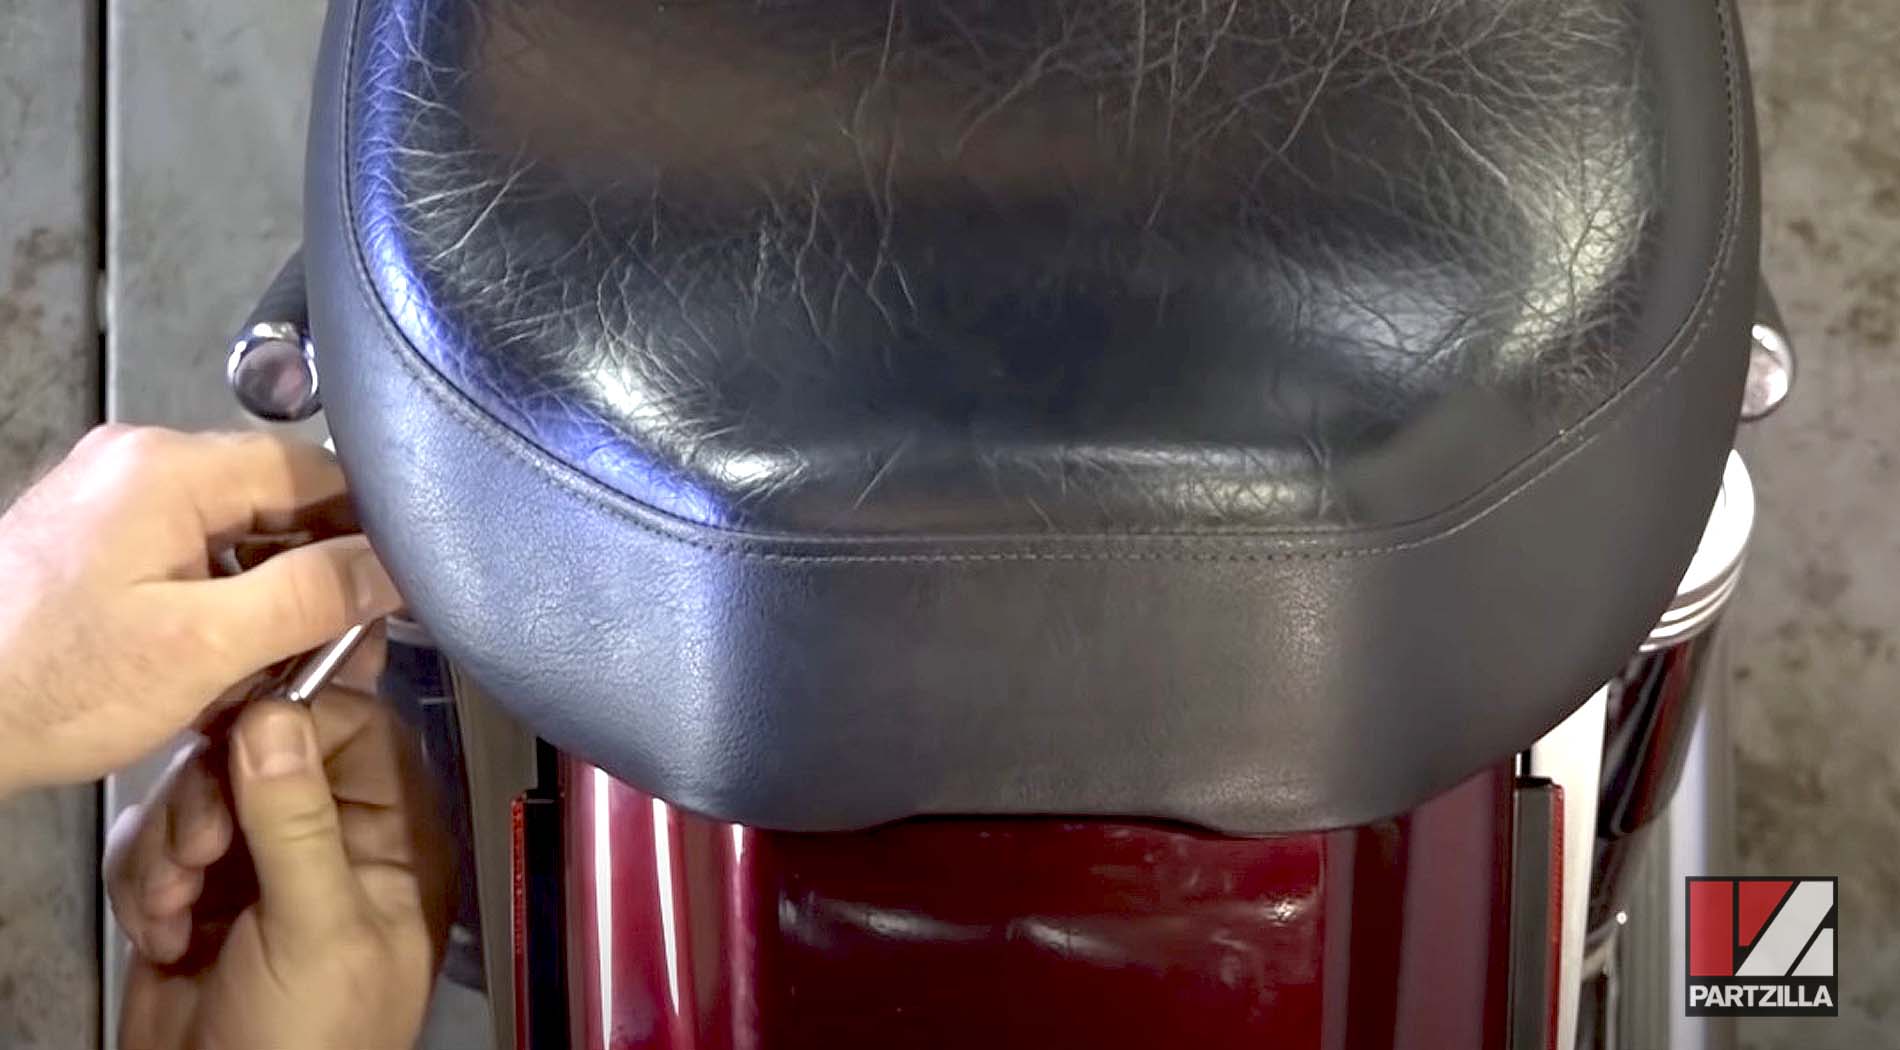
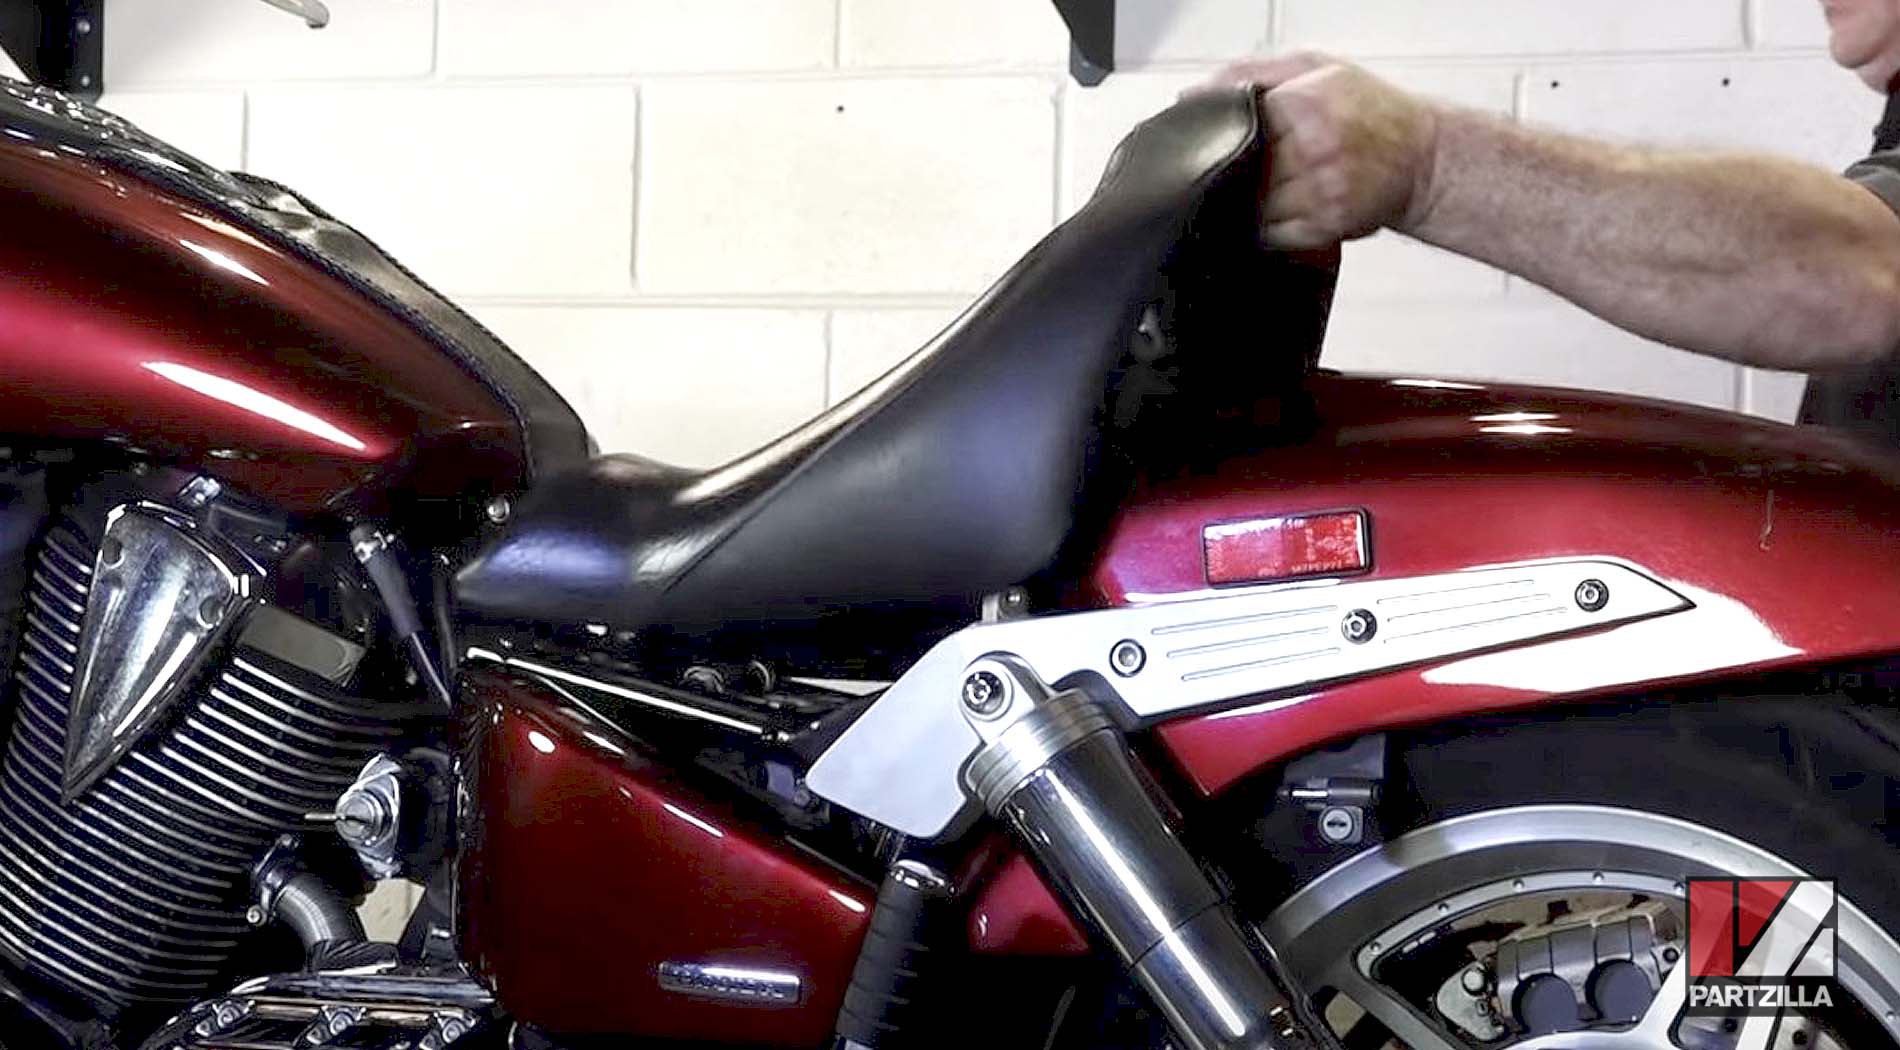
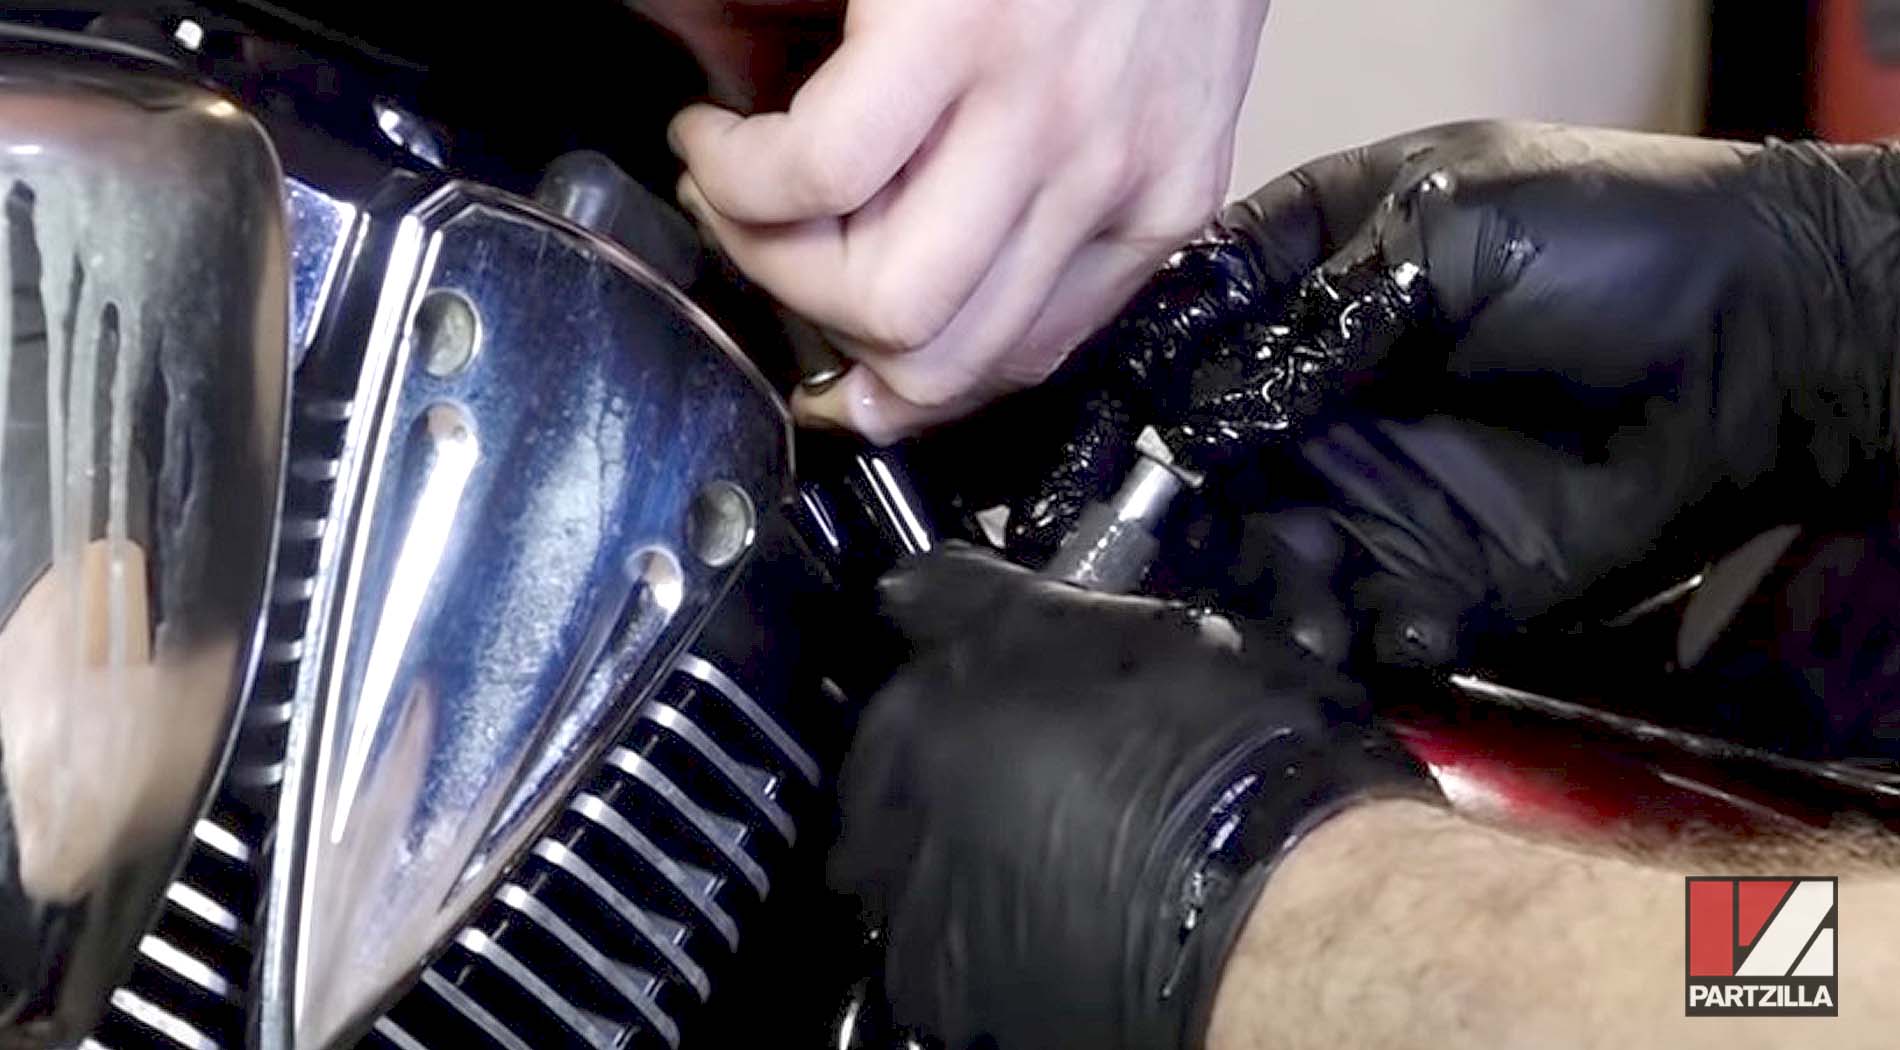
Step 1. Remove the seat by locating two 6mm Allen bolts, one on each side of the seat near where the shock absorbers connect. Once those bolts are removed, the seat simply lifts off.
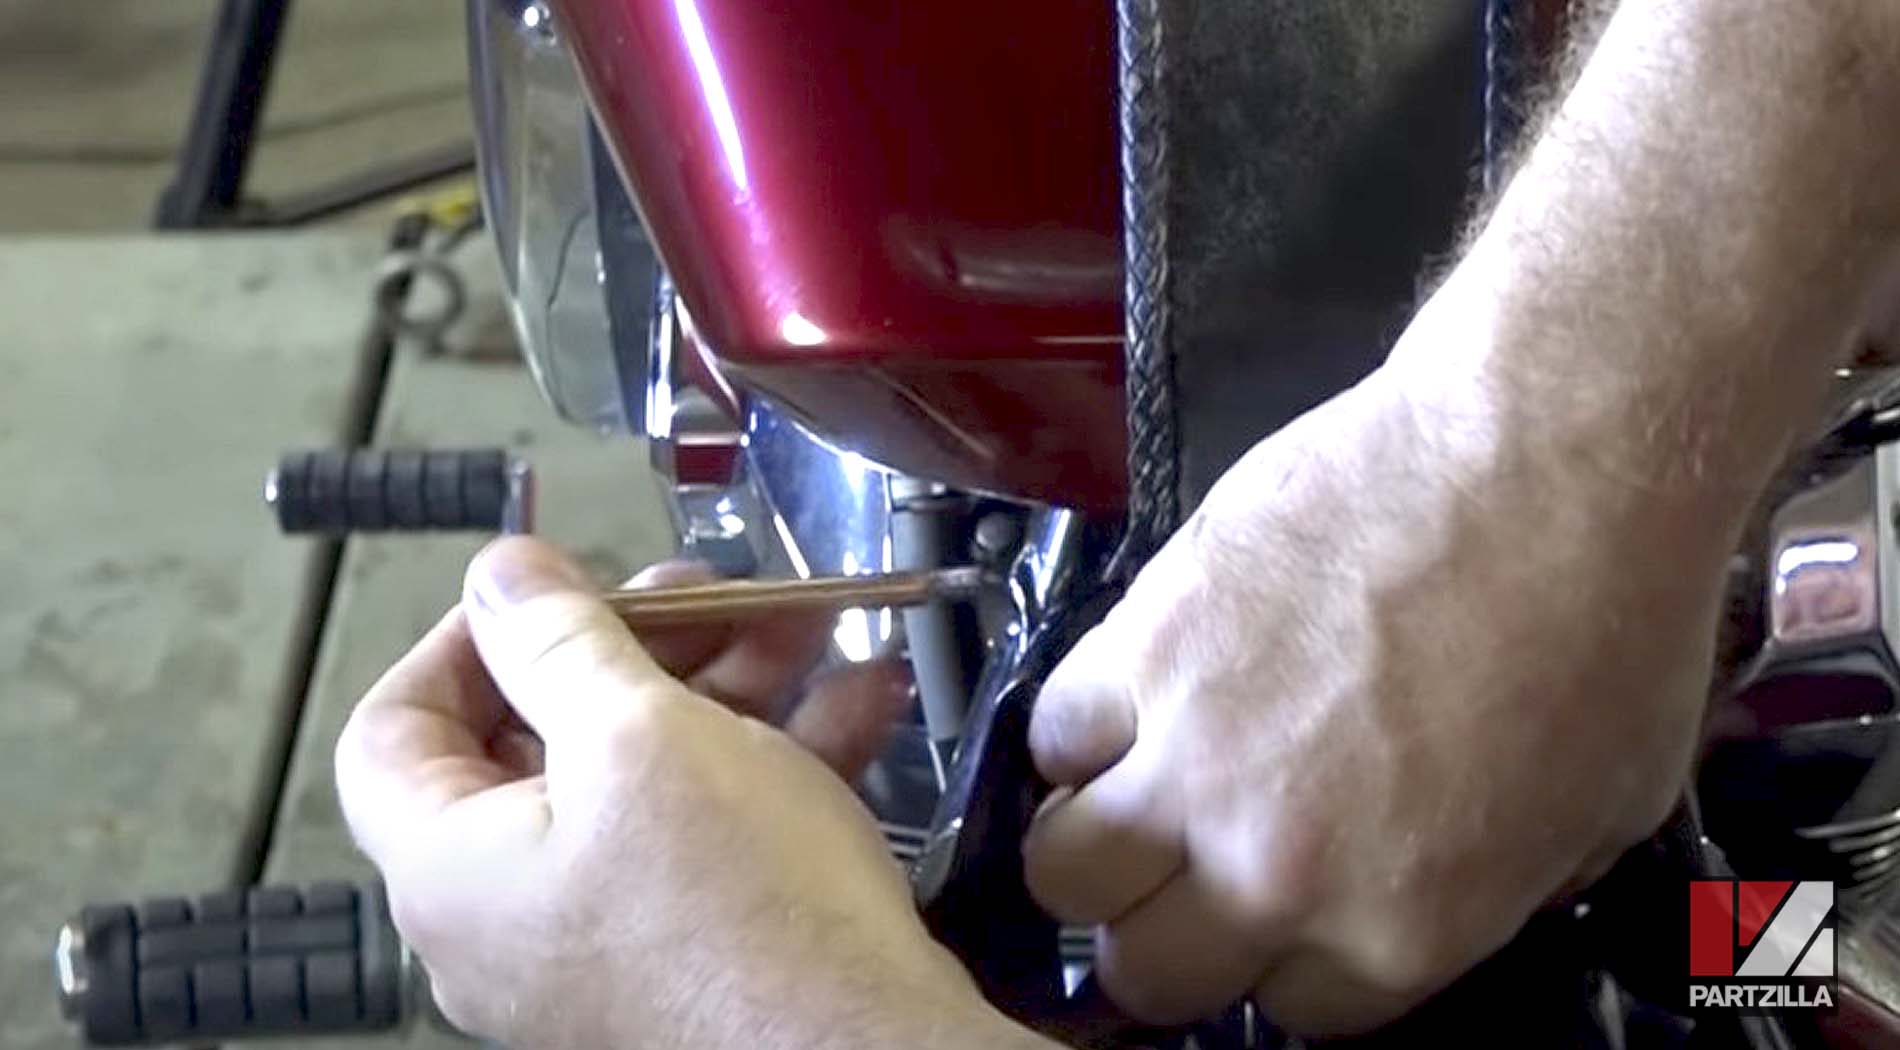
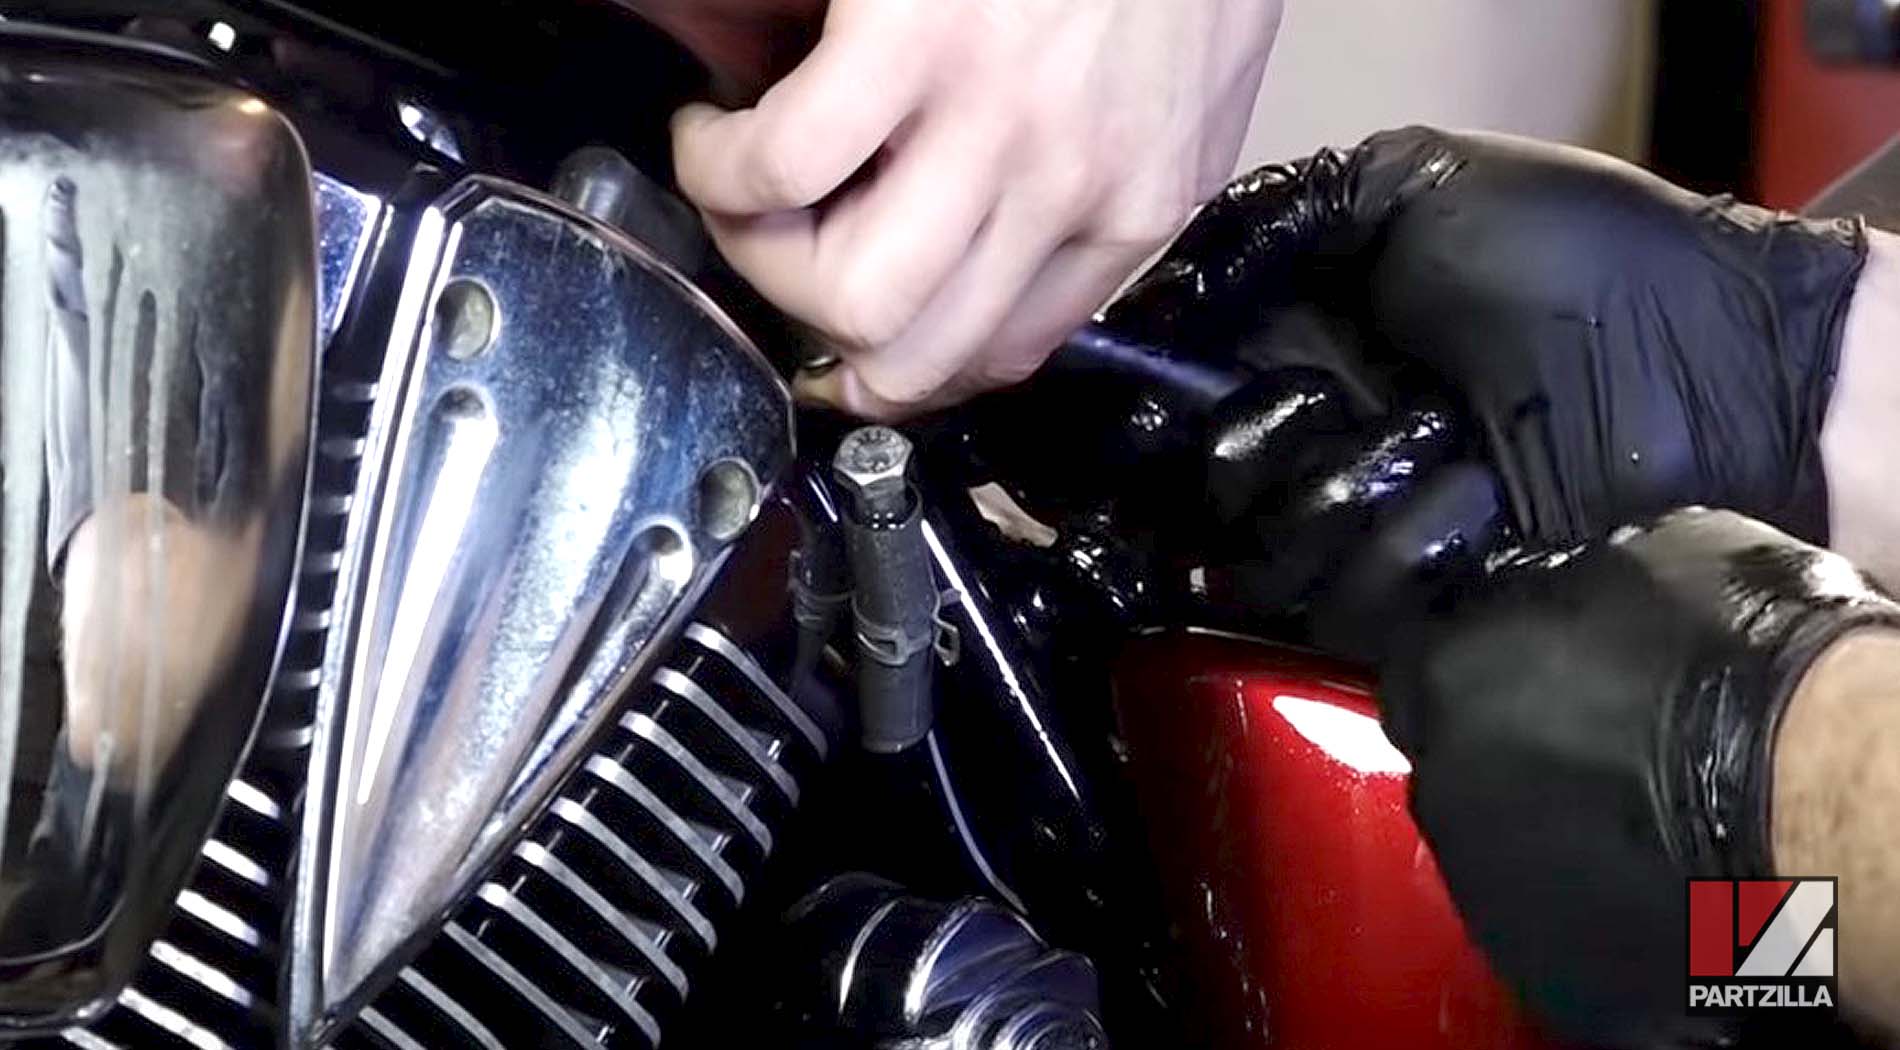
Step 2. Remove the fuel tank by taking the rear nut and bolt off. They're located at the base of the tank near where it meets with the seat.
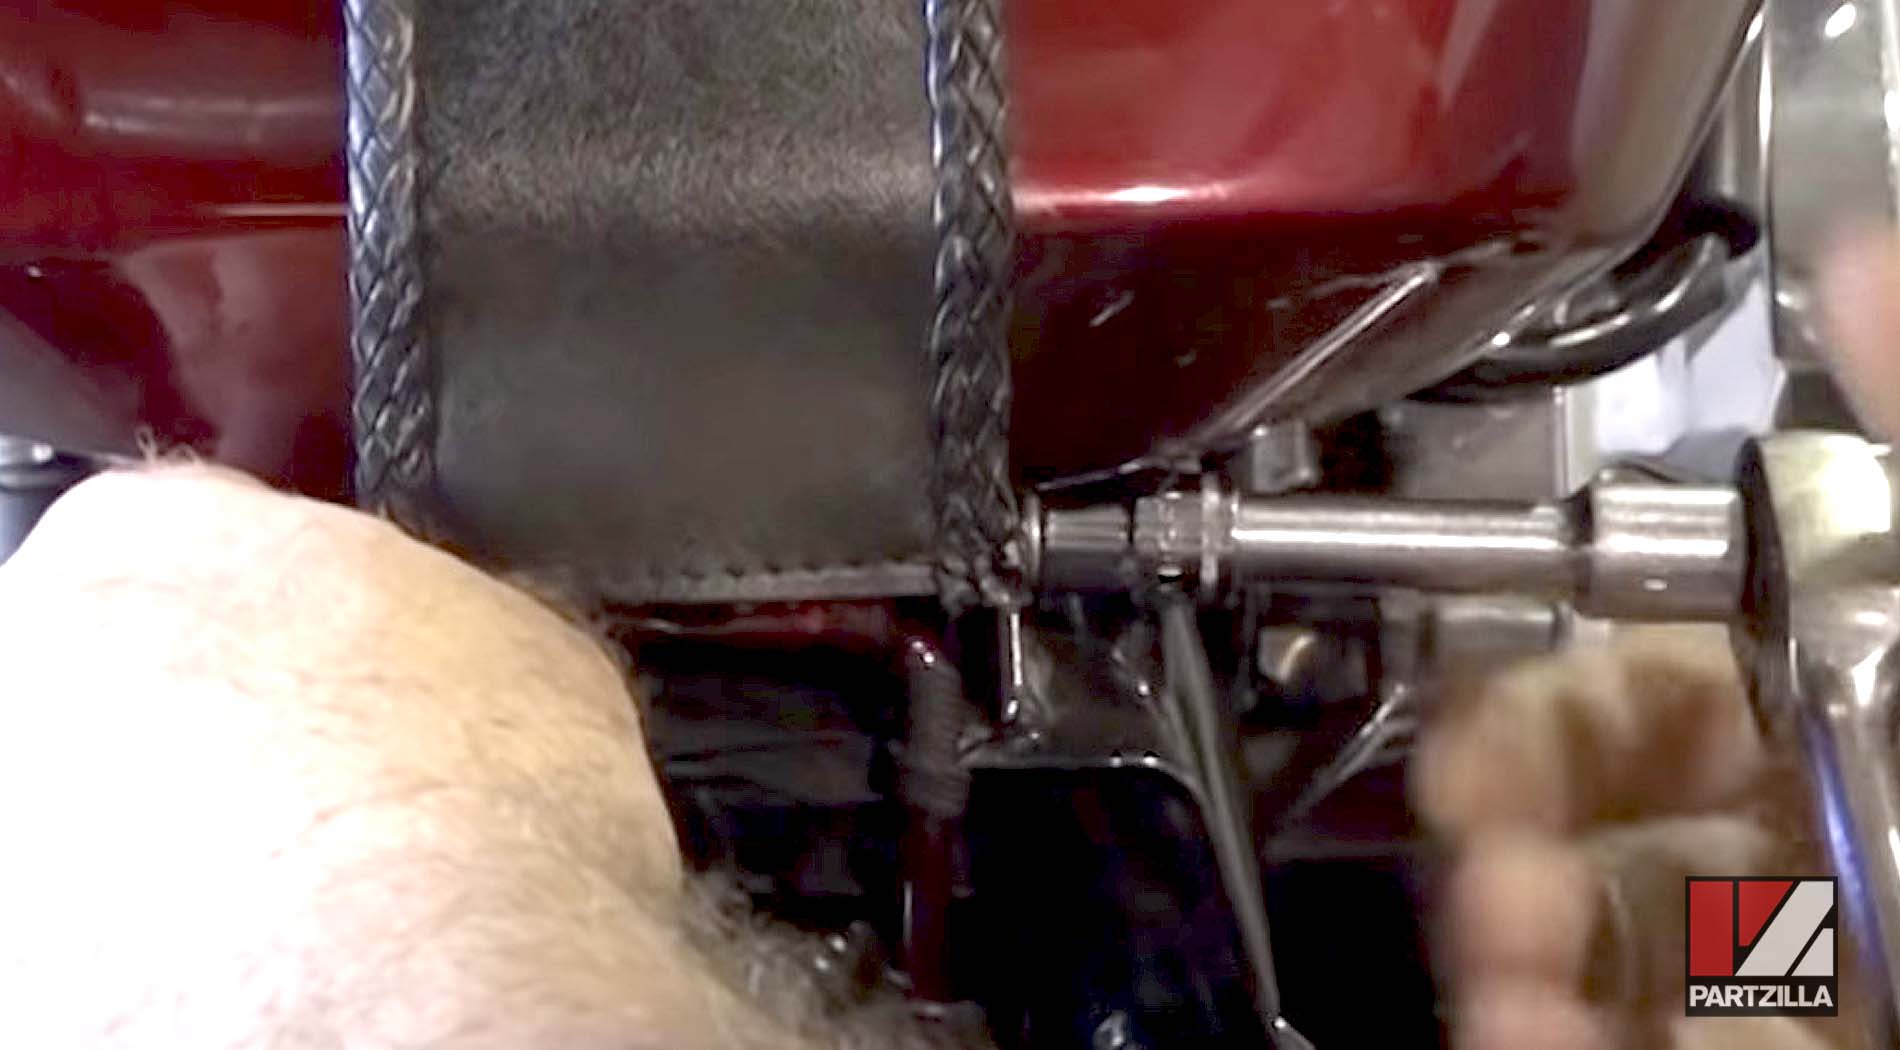
NOTE: You may need to lift up slightly on the tank to relieve the pressure on the bolt.
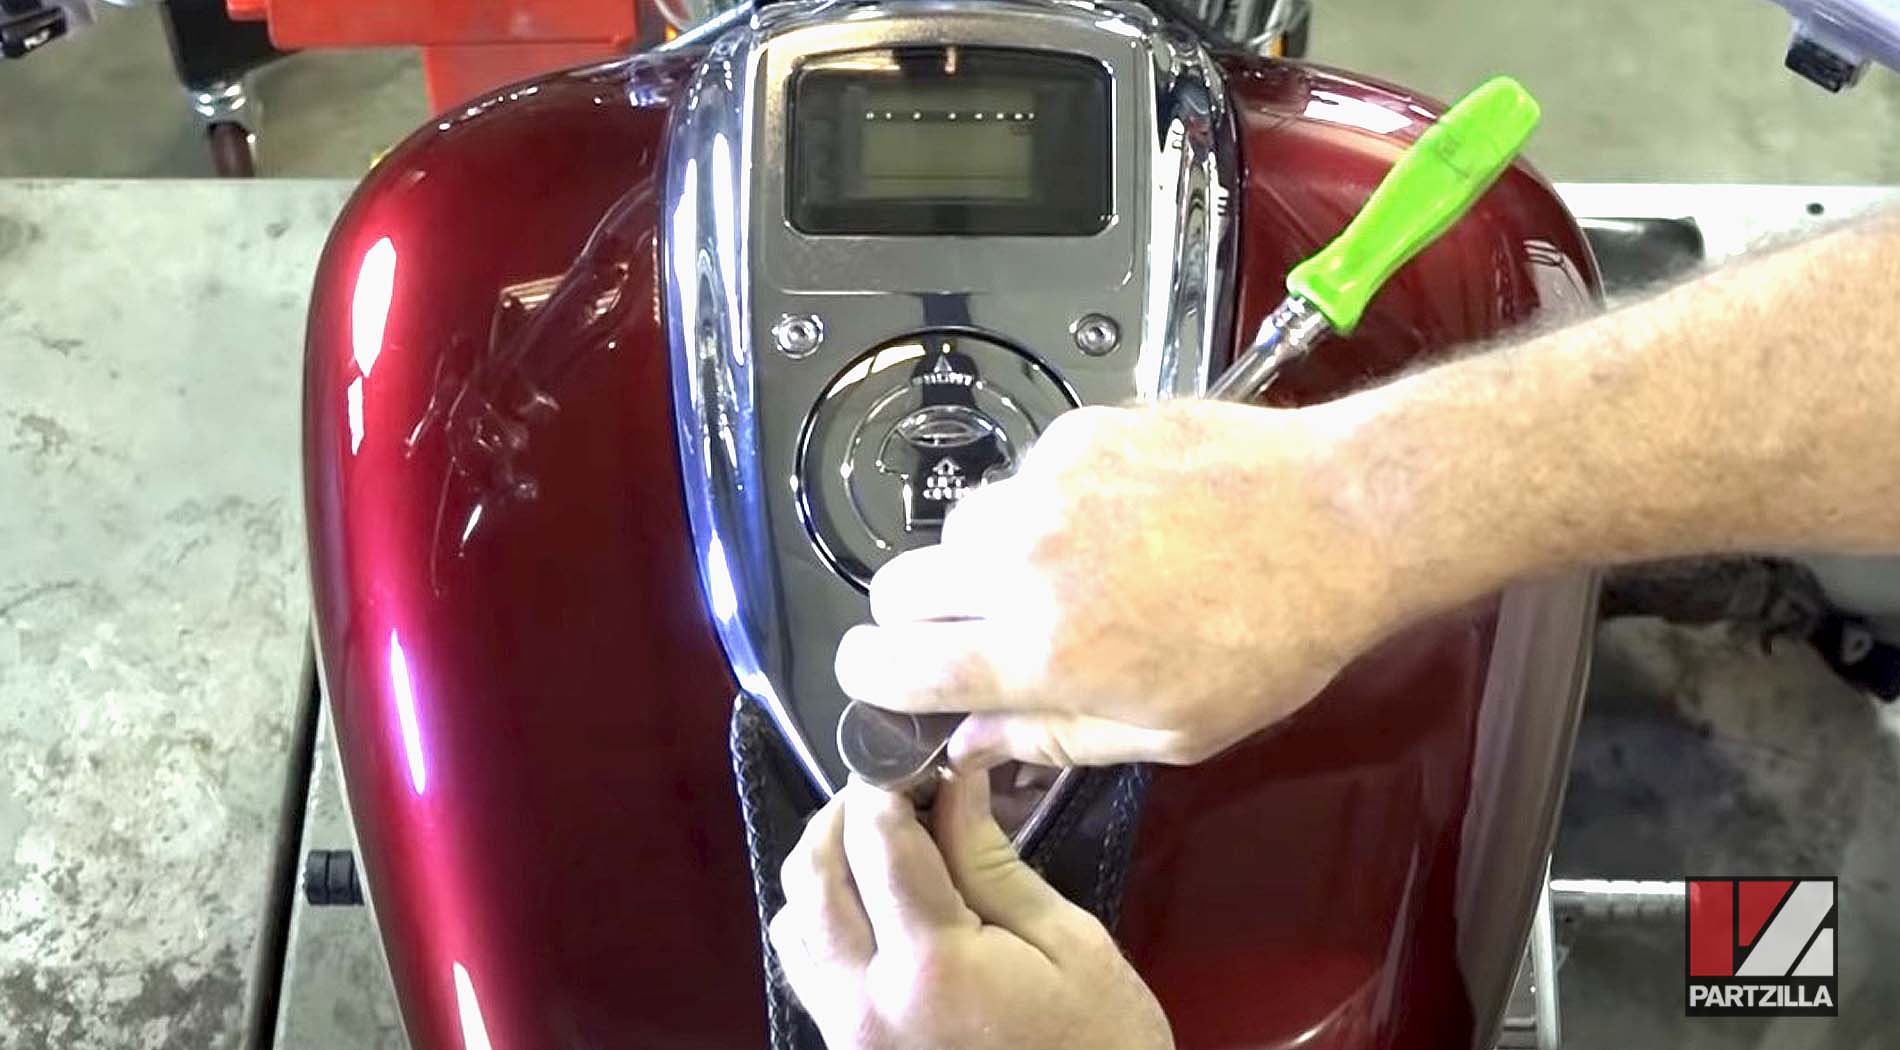
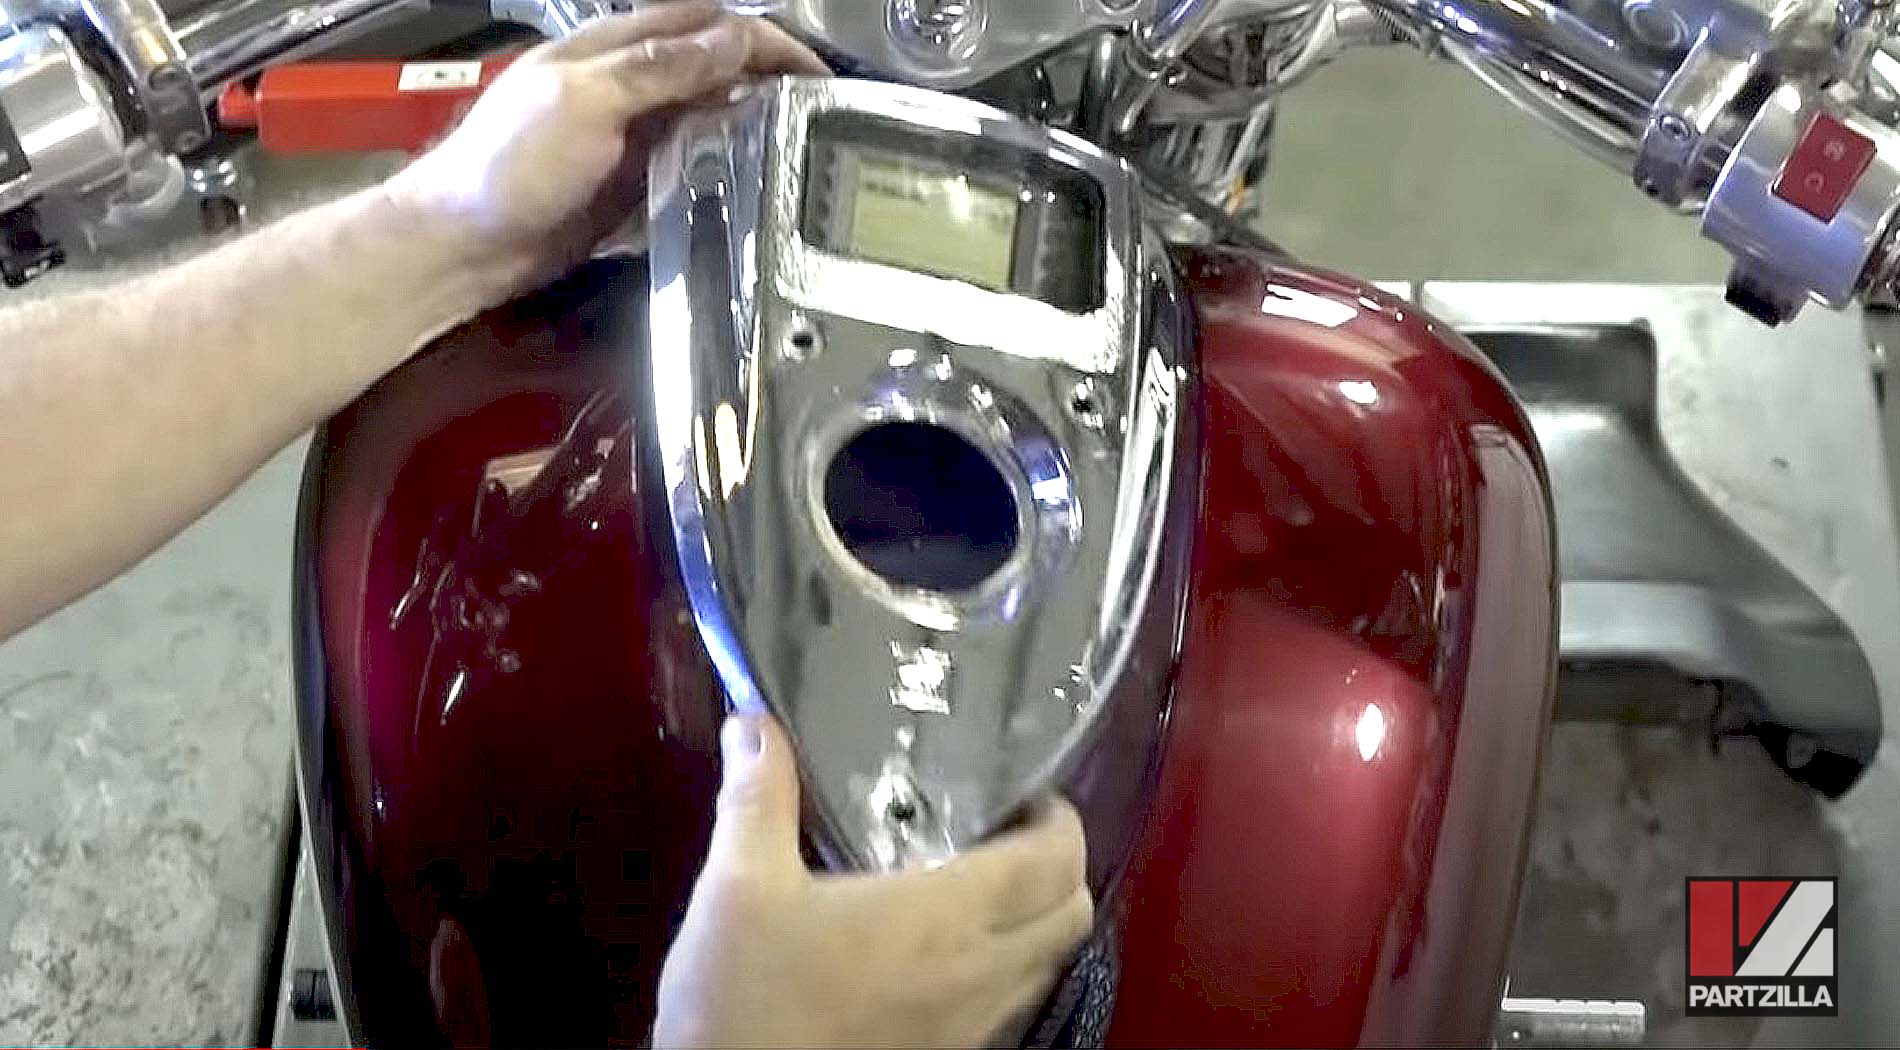
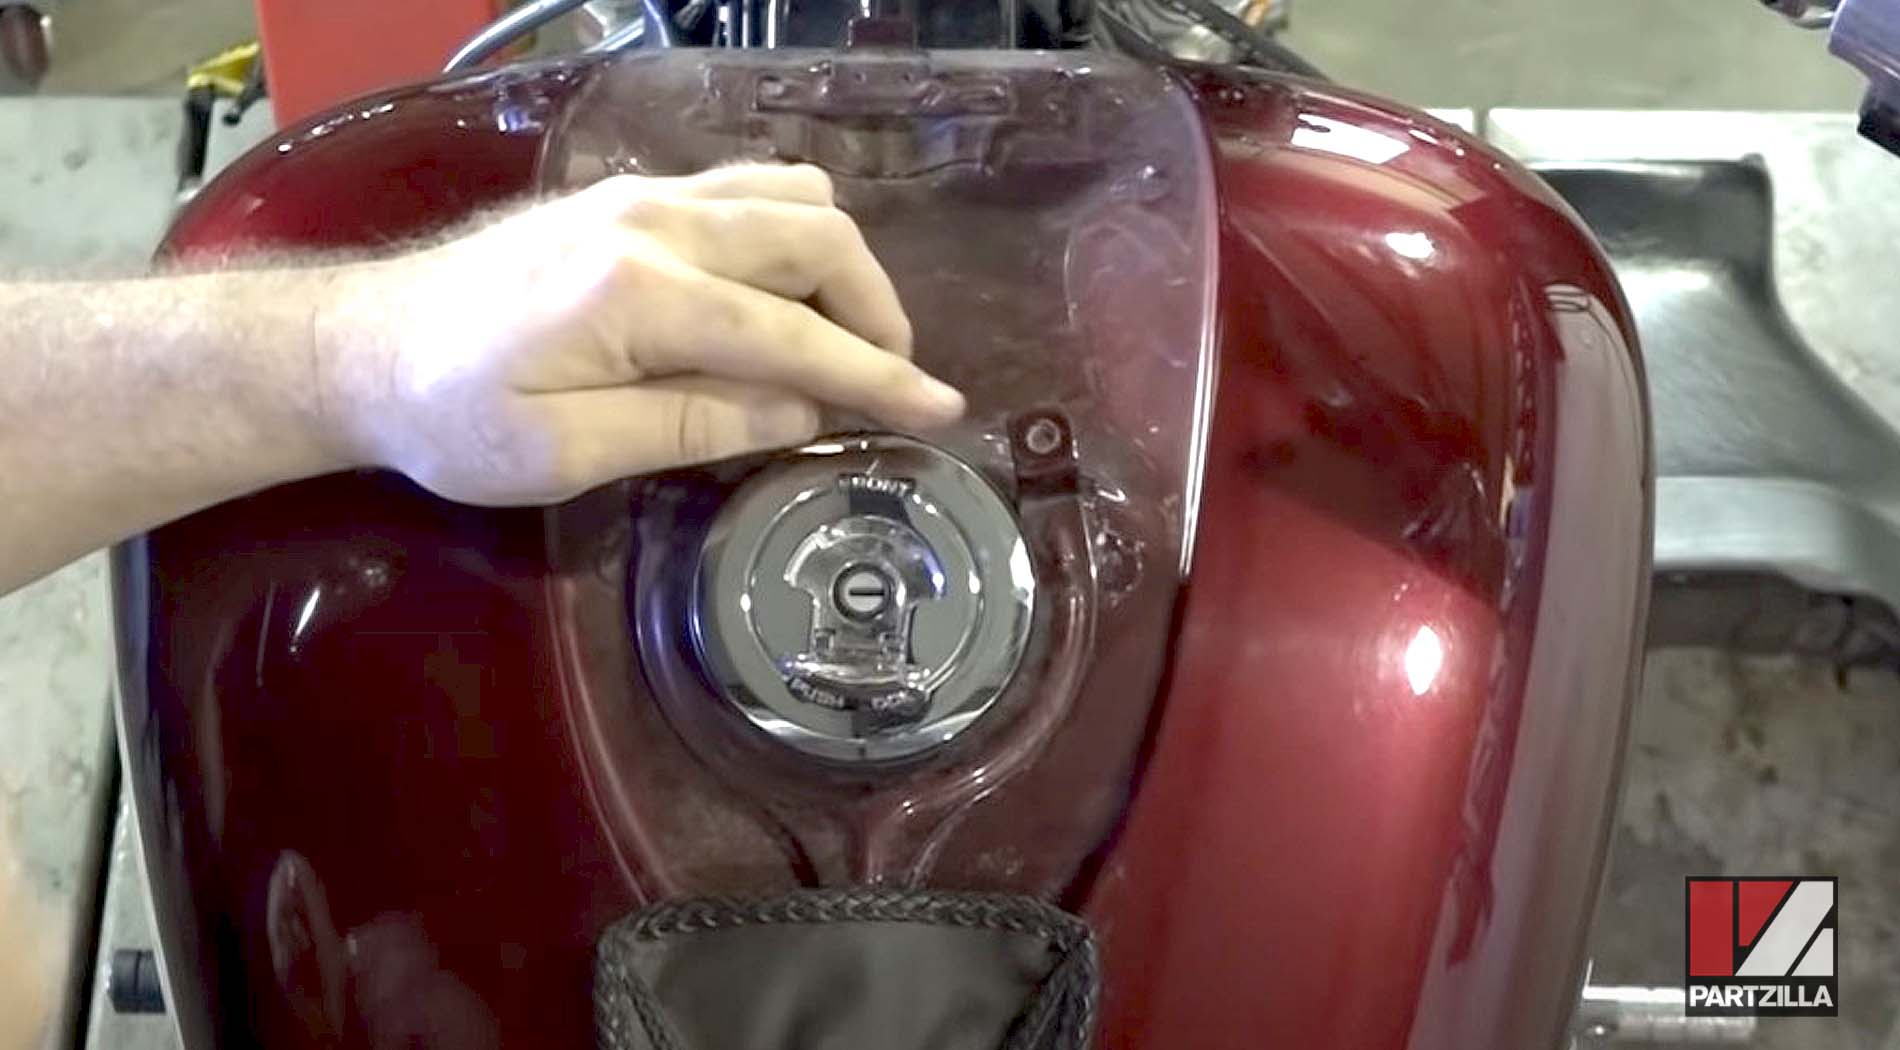
Step 3. Remove the center display of the tank by taking off the 5mm Allen bolts holding the center display on the tank. Then, remove the fuel cap so you can lift the display off the tank. Once the display is removed, you can replace the fuel cap.
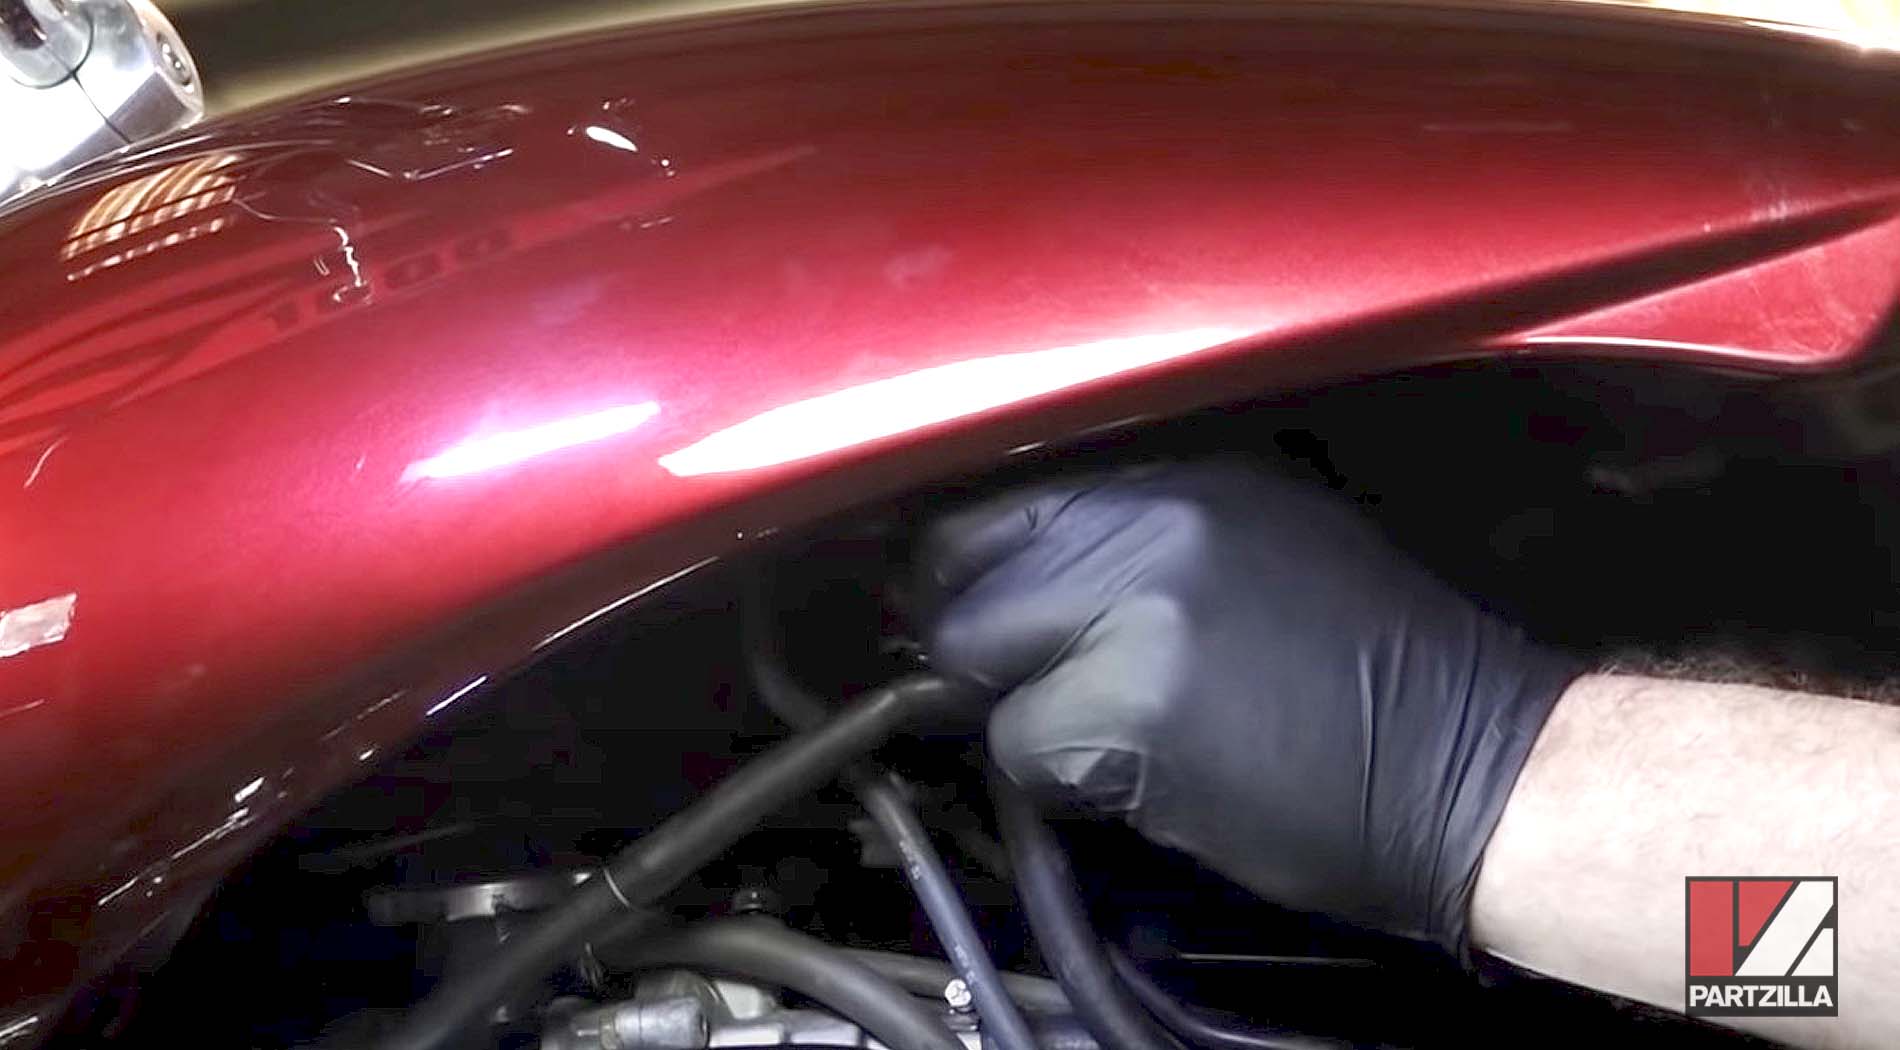
Step 4. Drain the fuel from the tank. The VTX 1800 has two lines: one feeds the motor and one is a fuel drain line. You'll need to get to the fuel line that feeds the motor to drain the tank. First, disconnect the fuel line and then immediately connect another hose to the tank running to an auxiliary fuel tank.
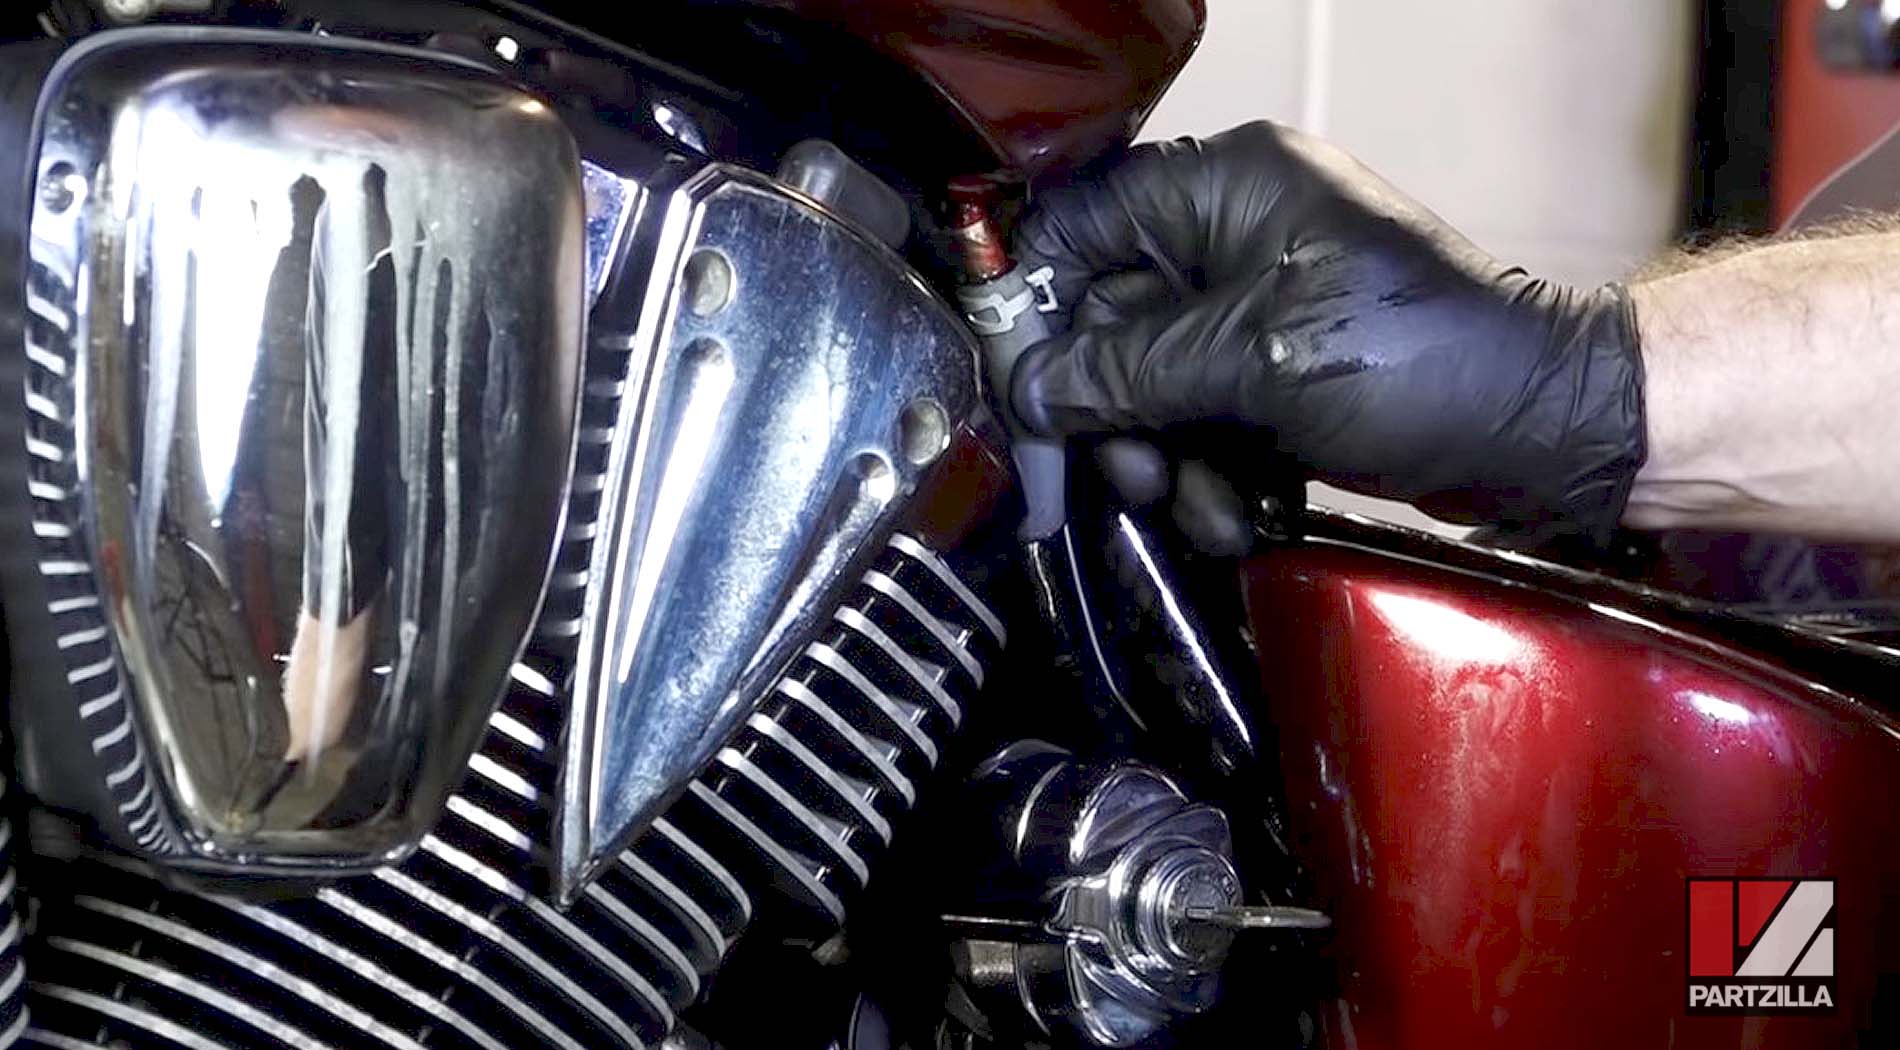
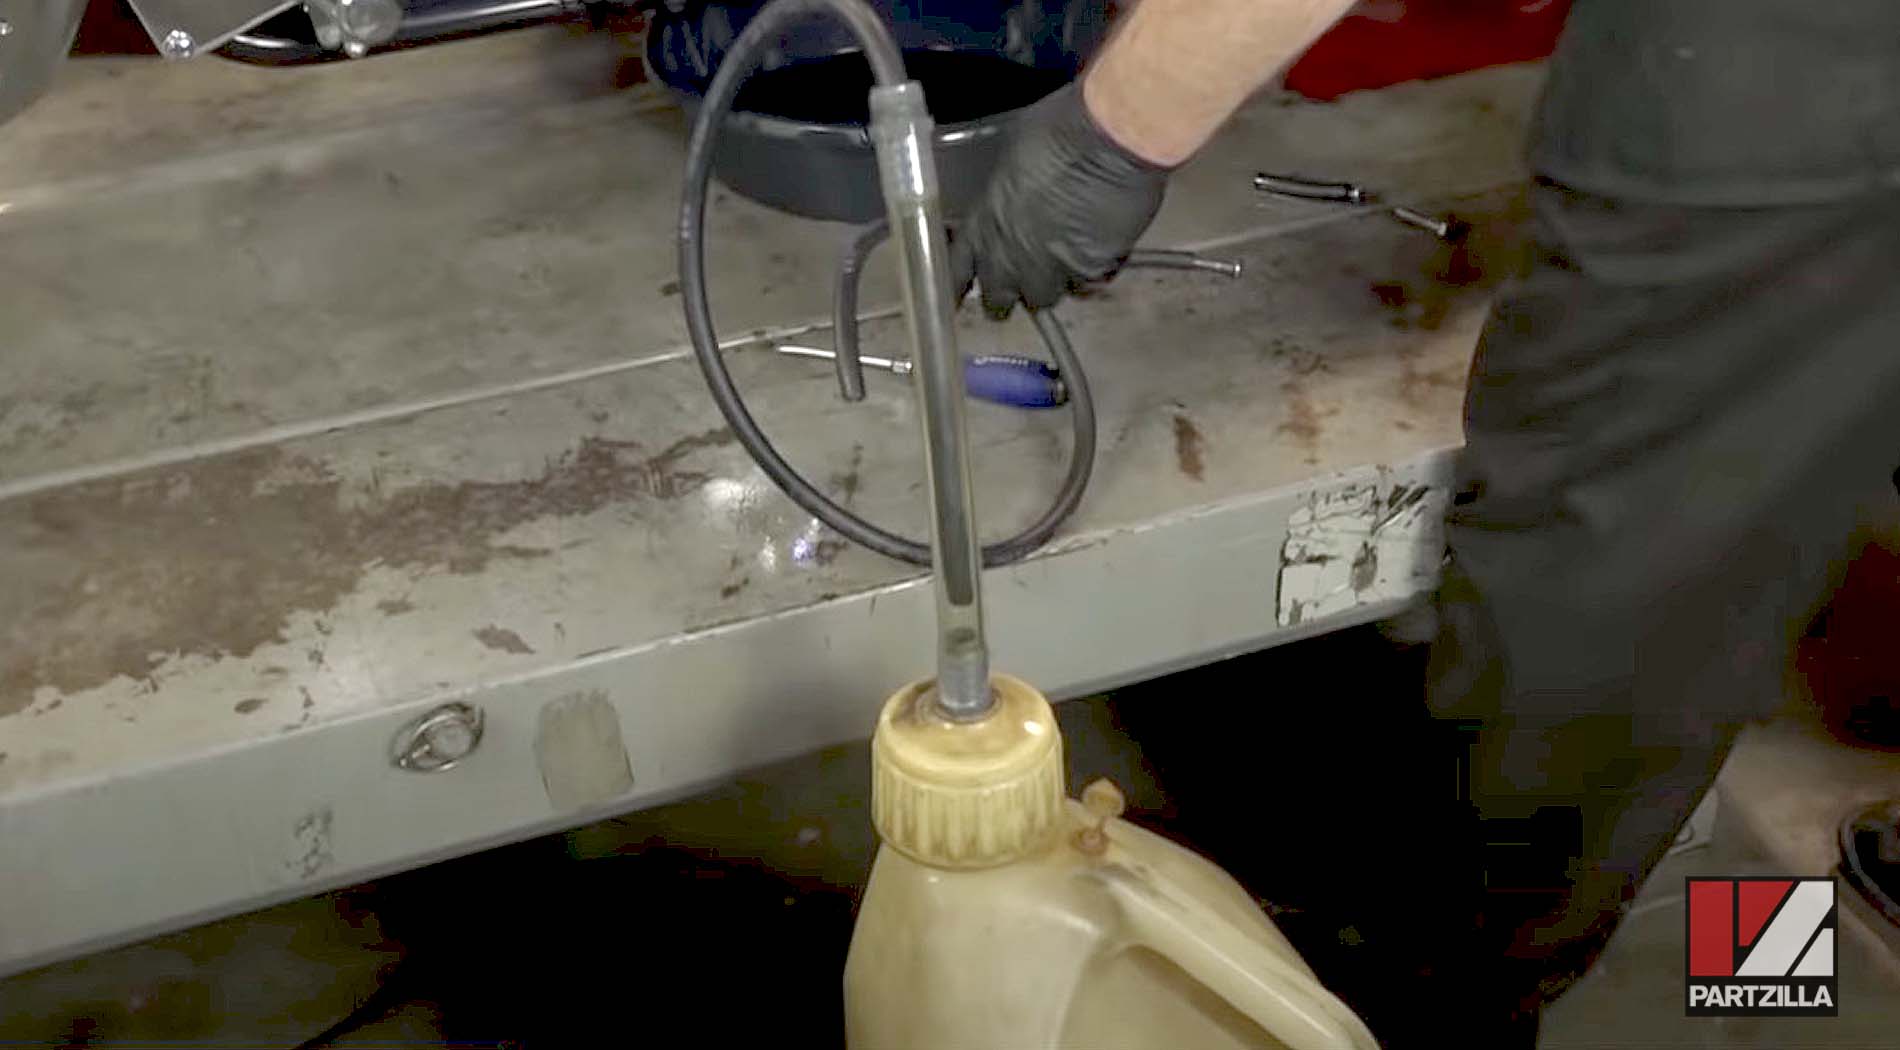
NOTE: Fuel will pour out during this step, so make sure there isn't anybody smoking nearby.
Step 5. Lift up the tank just enough to disconnect the fuel level sensor, two vent lines and the drain hose.
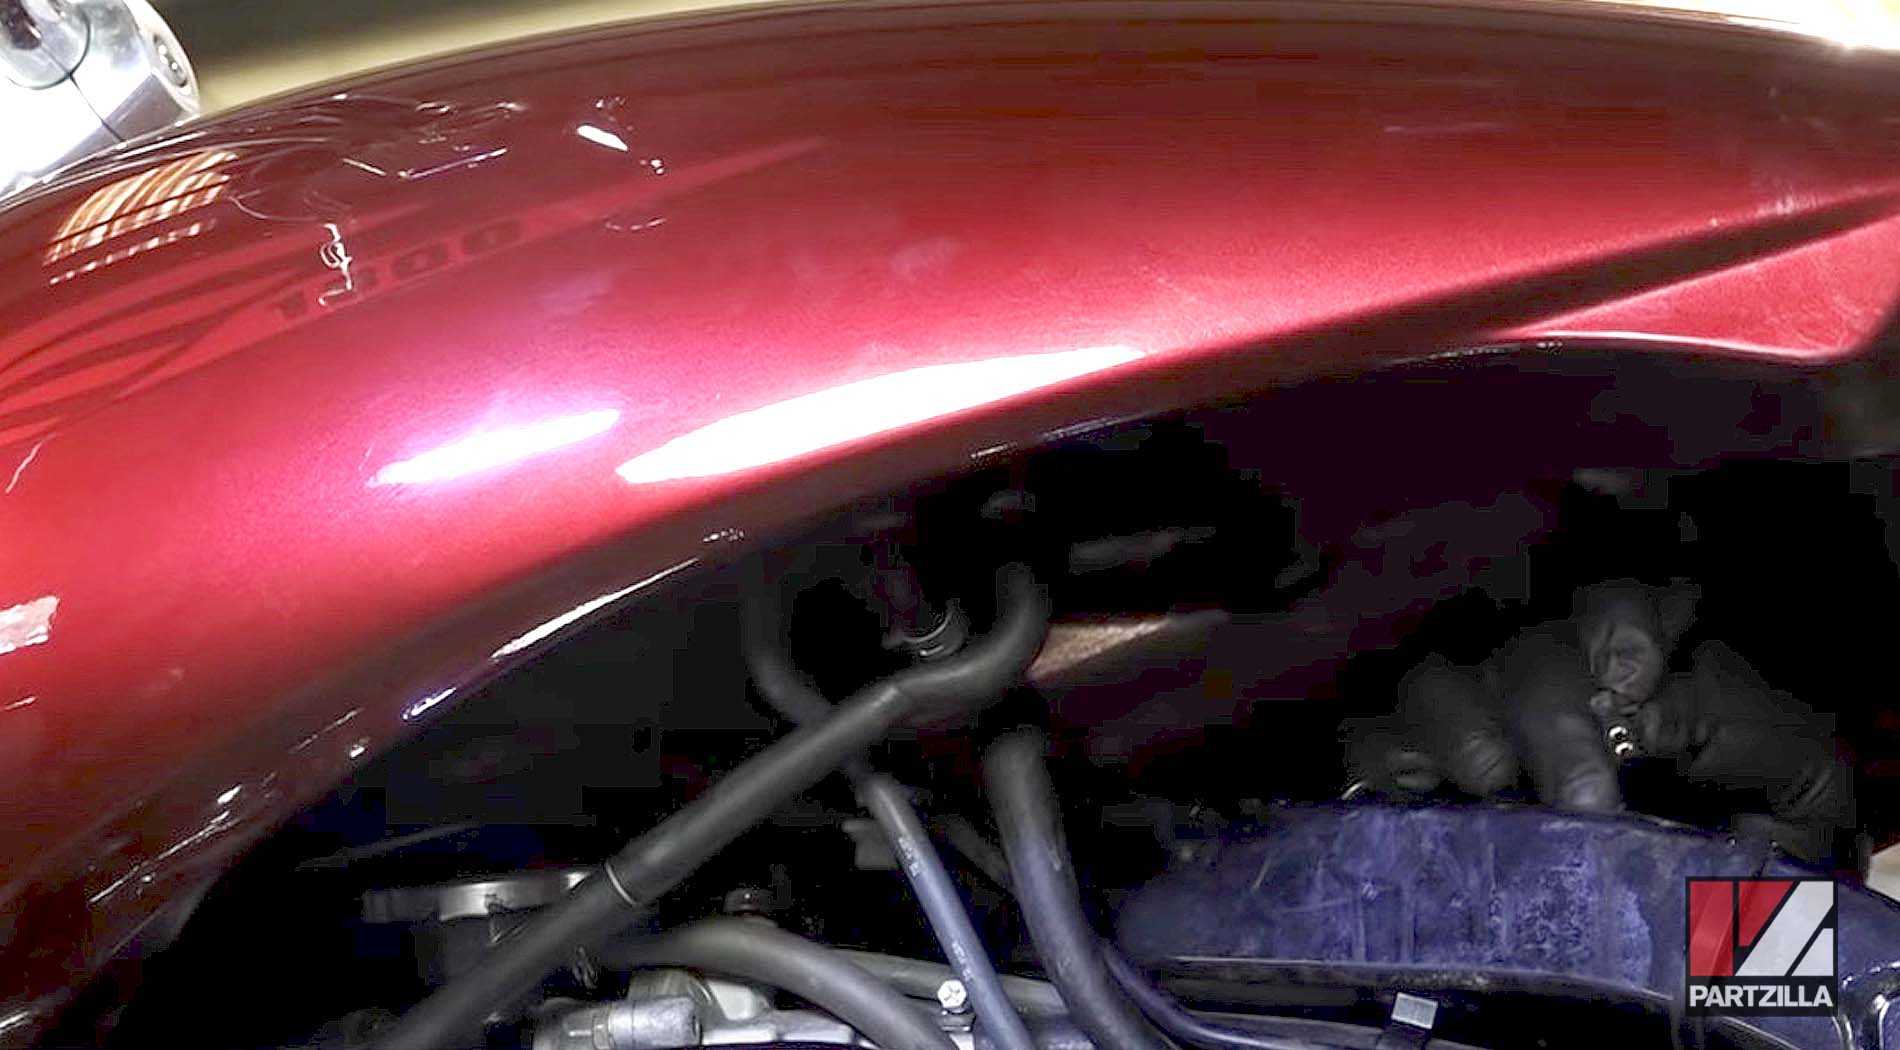
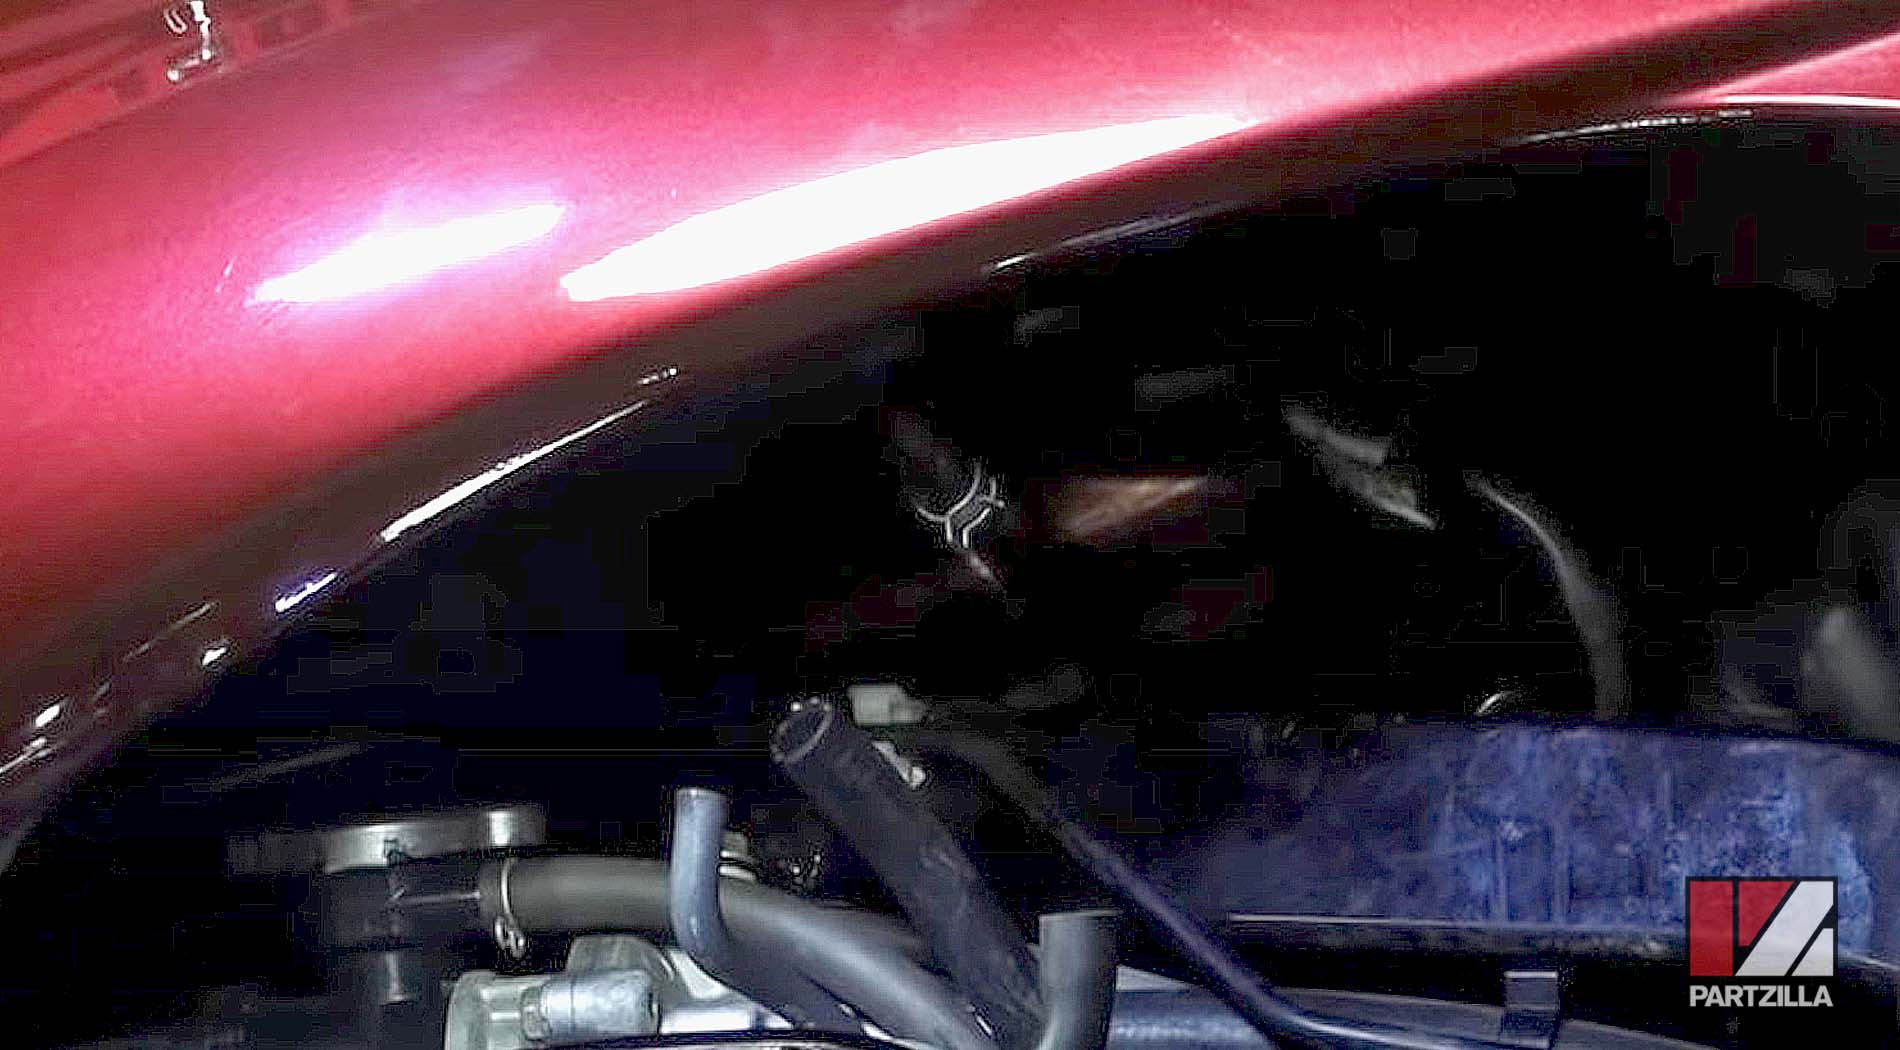
Step 6. Slide the tank back and lift it off of the machine.
NOTE: Engine coolant is extremely toxic, so make sure all of the drained coolant is captured in a reservoir, and keep it away from children and pets.
Honda VTX 1800 Coolant Change - Drain Coolant
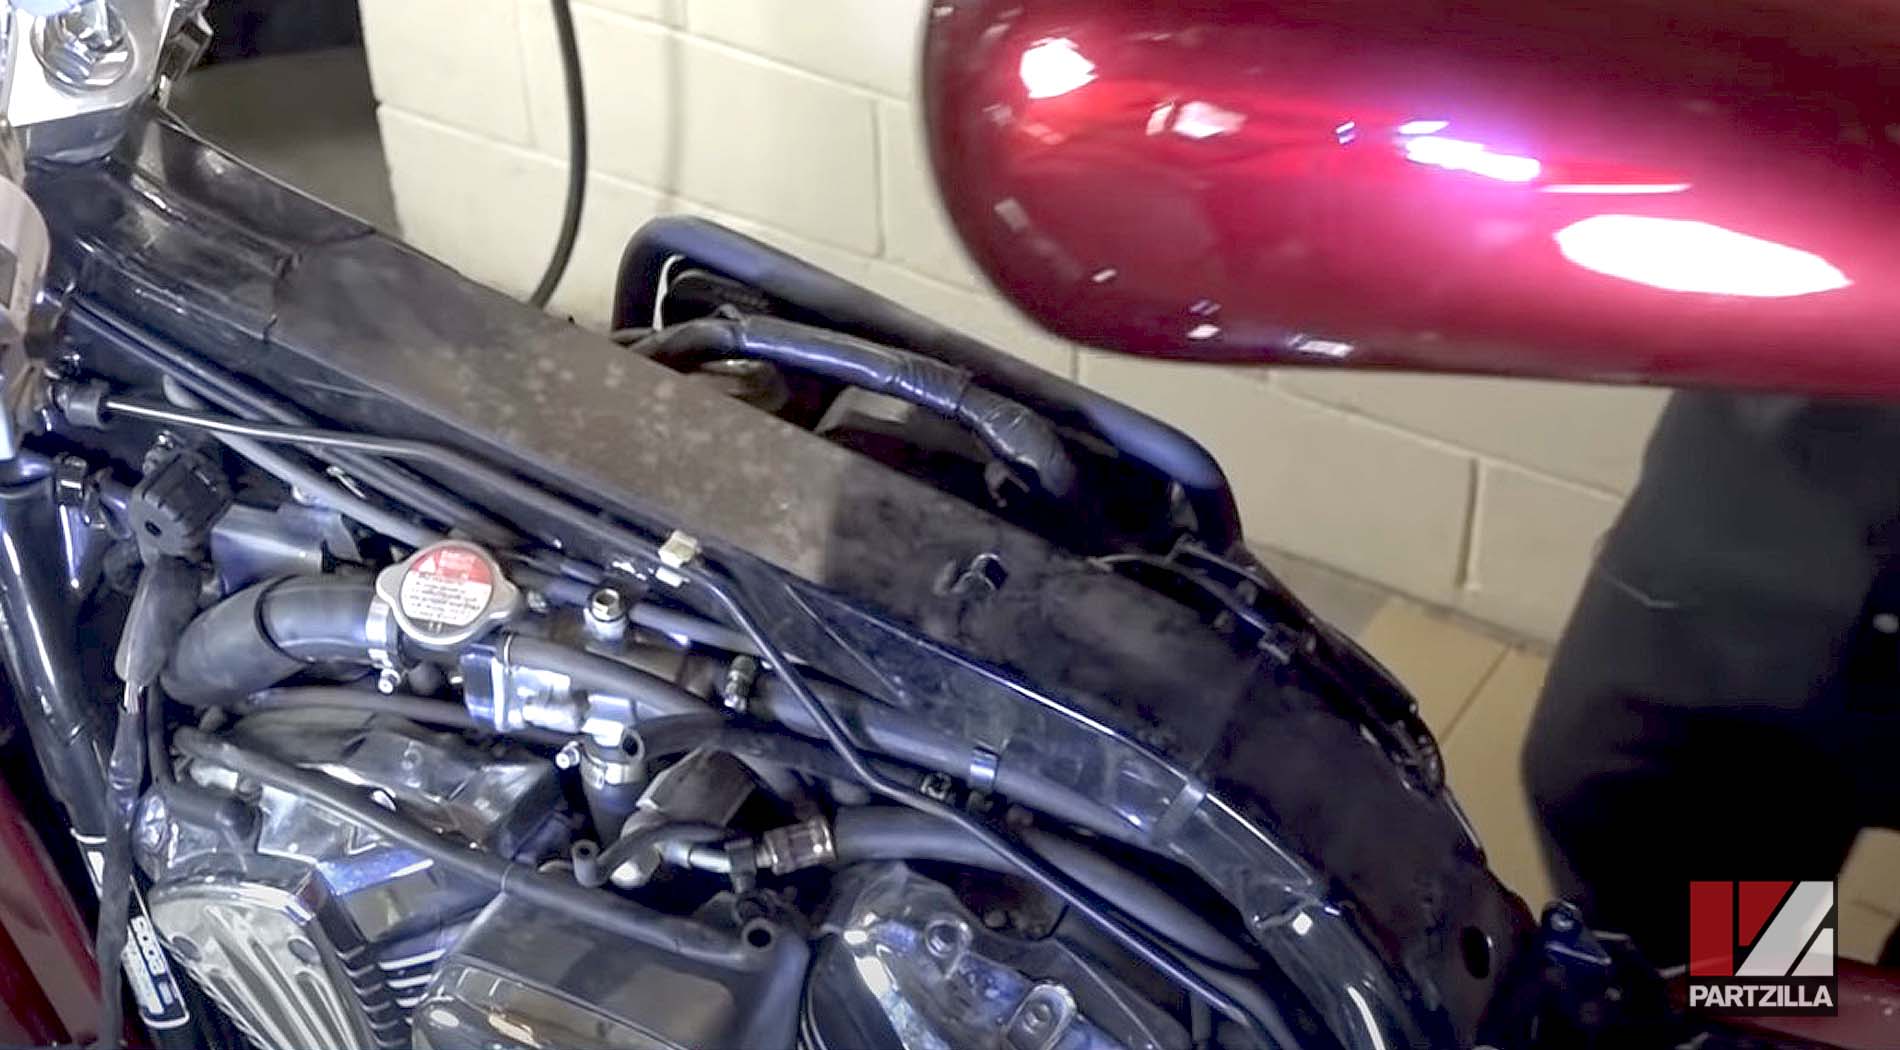
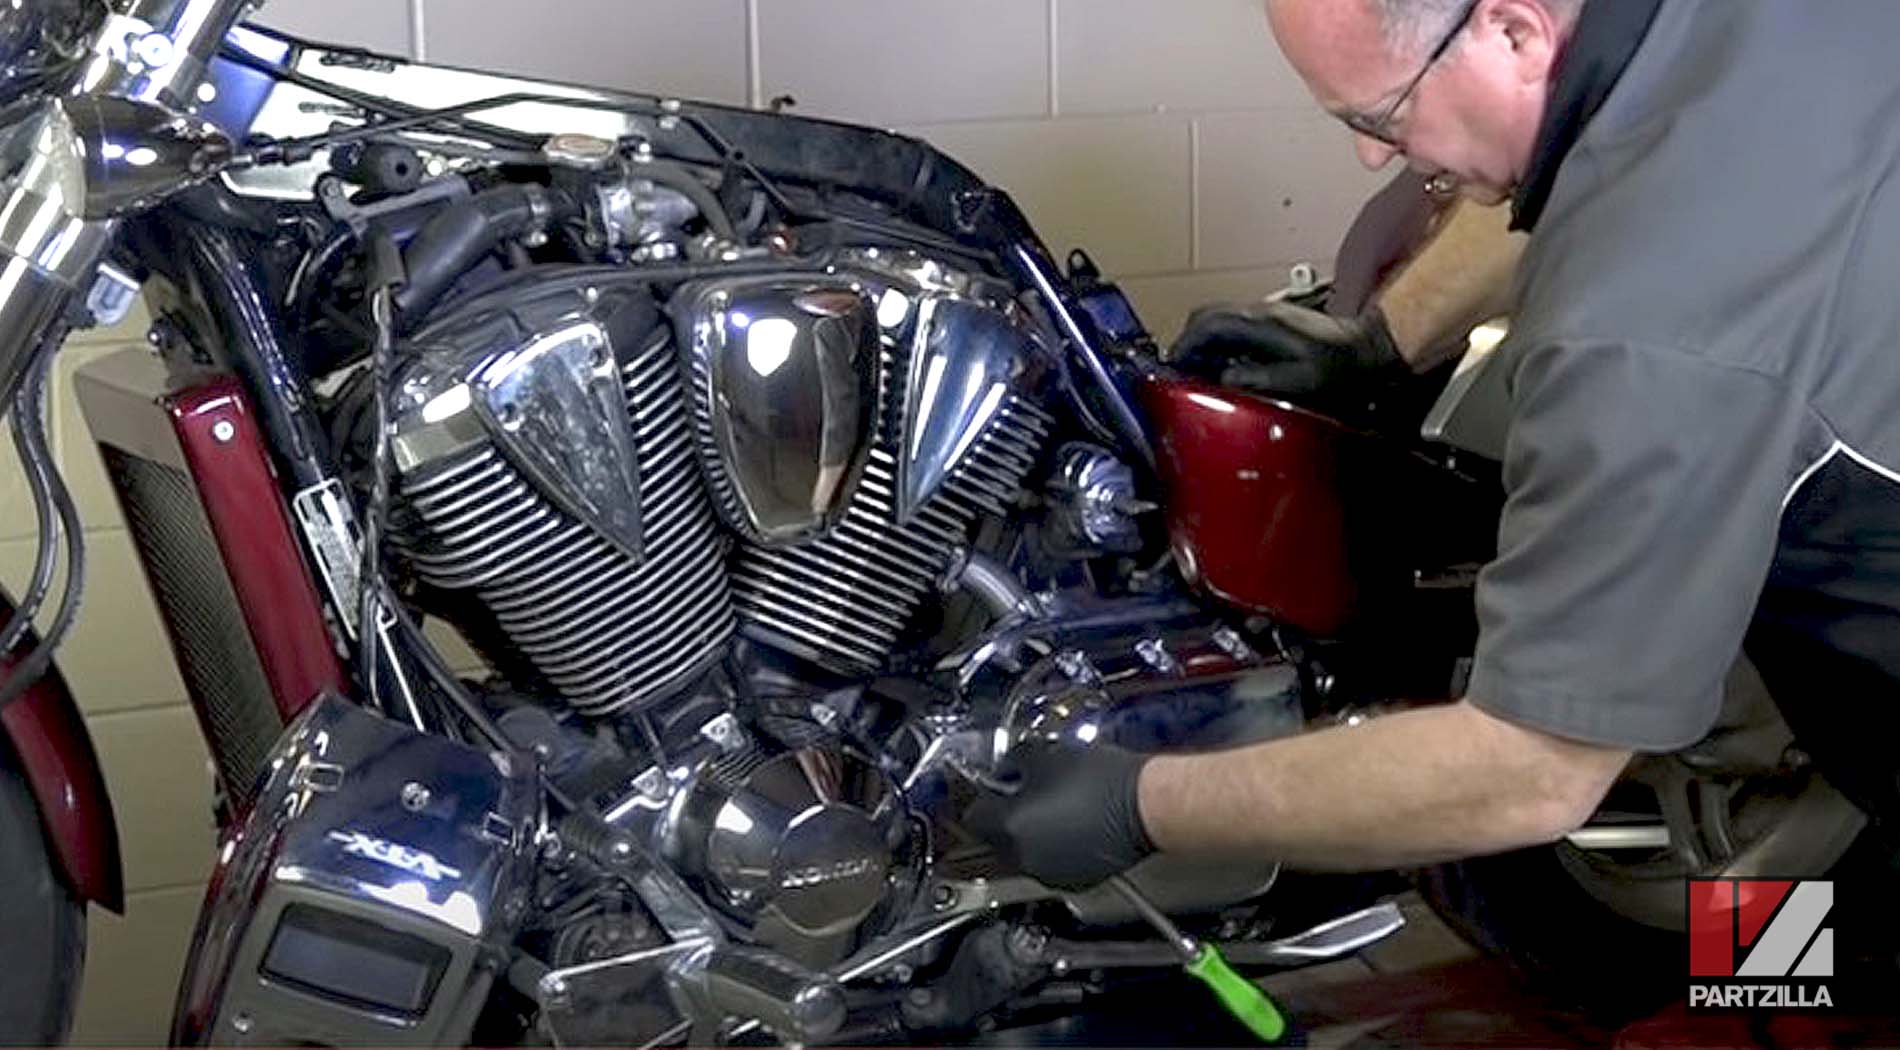
Step 1. Remove the cover on the left-hand side of the motor that protects the thermostat housing and drain bolt. It's held in place by several 5mm Allens that ring the perimeter of the cover.
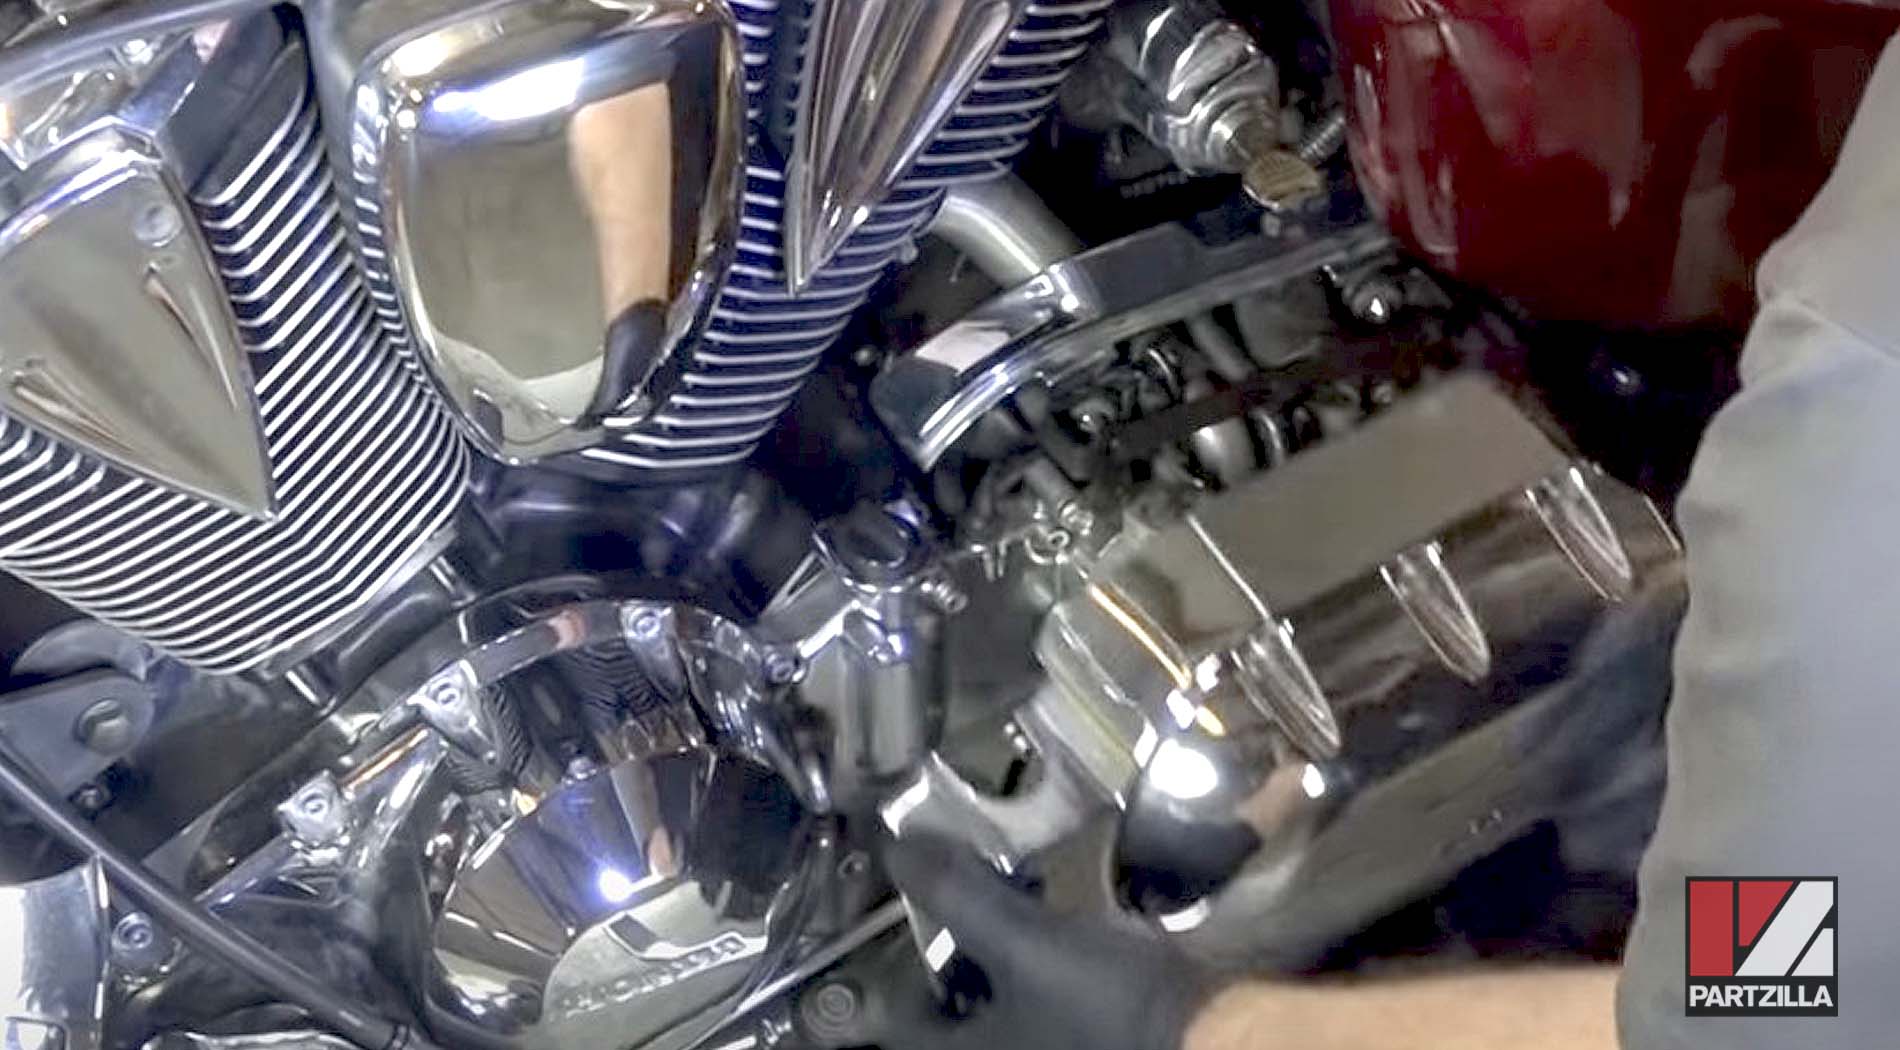
Step 2. Remove the filler cap. On the Honda VTX 1800, it's located on the left side of the engine and visible once the fuel tank is removed.
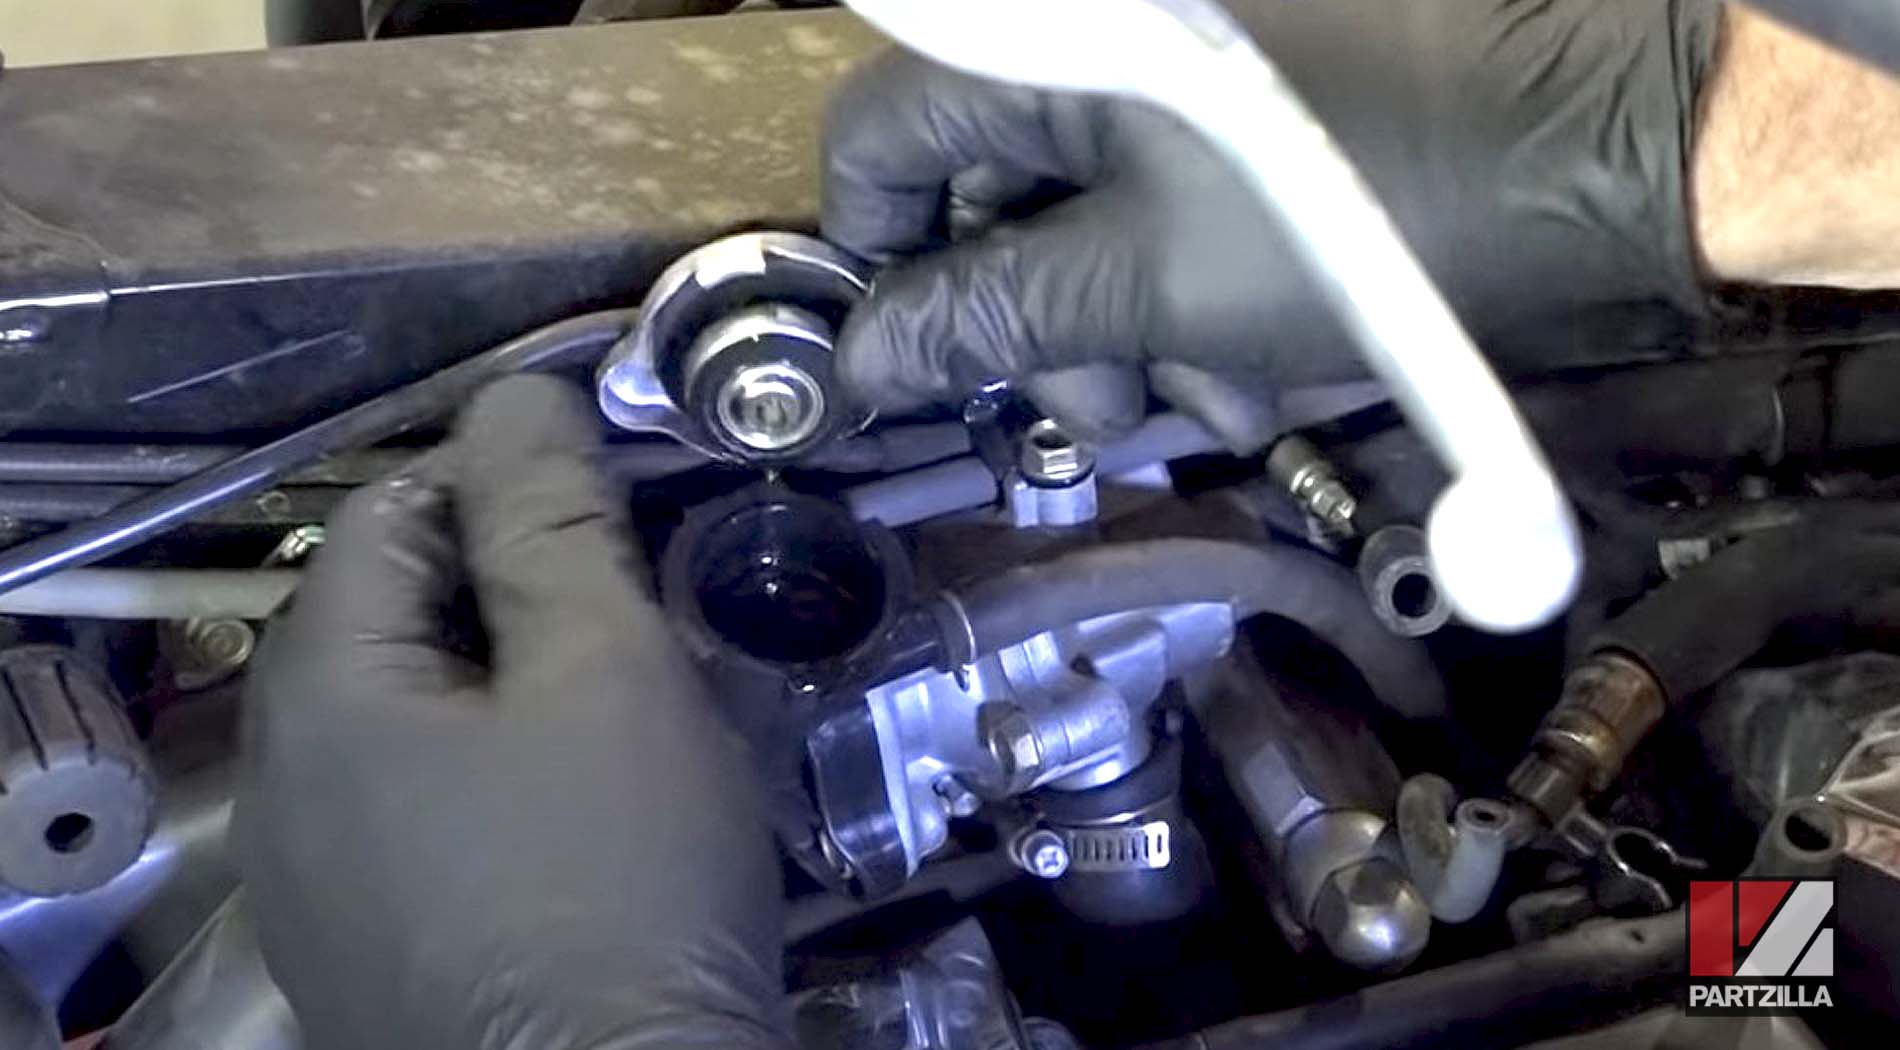
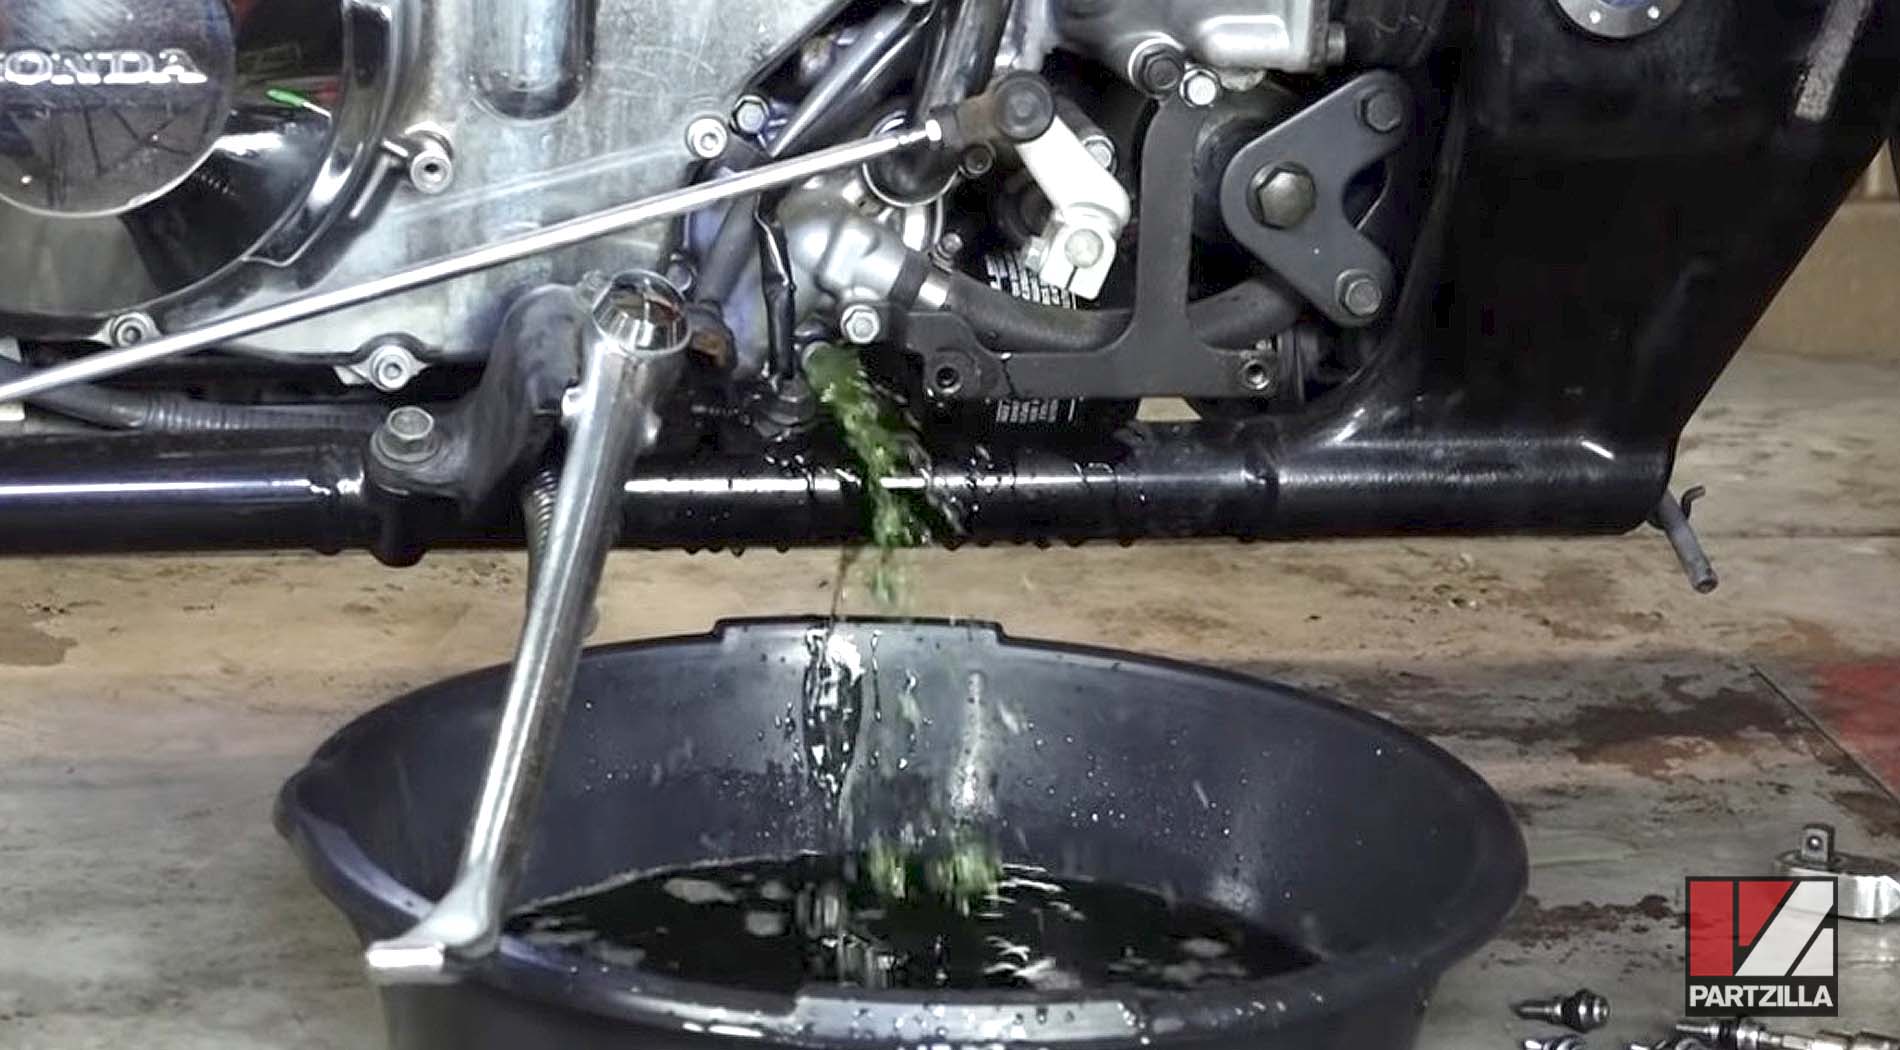
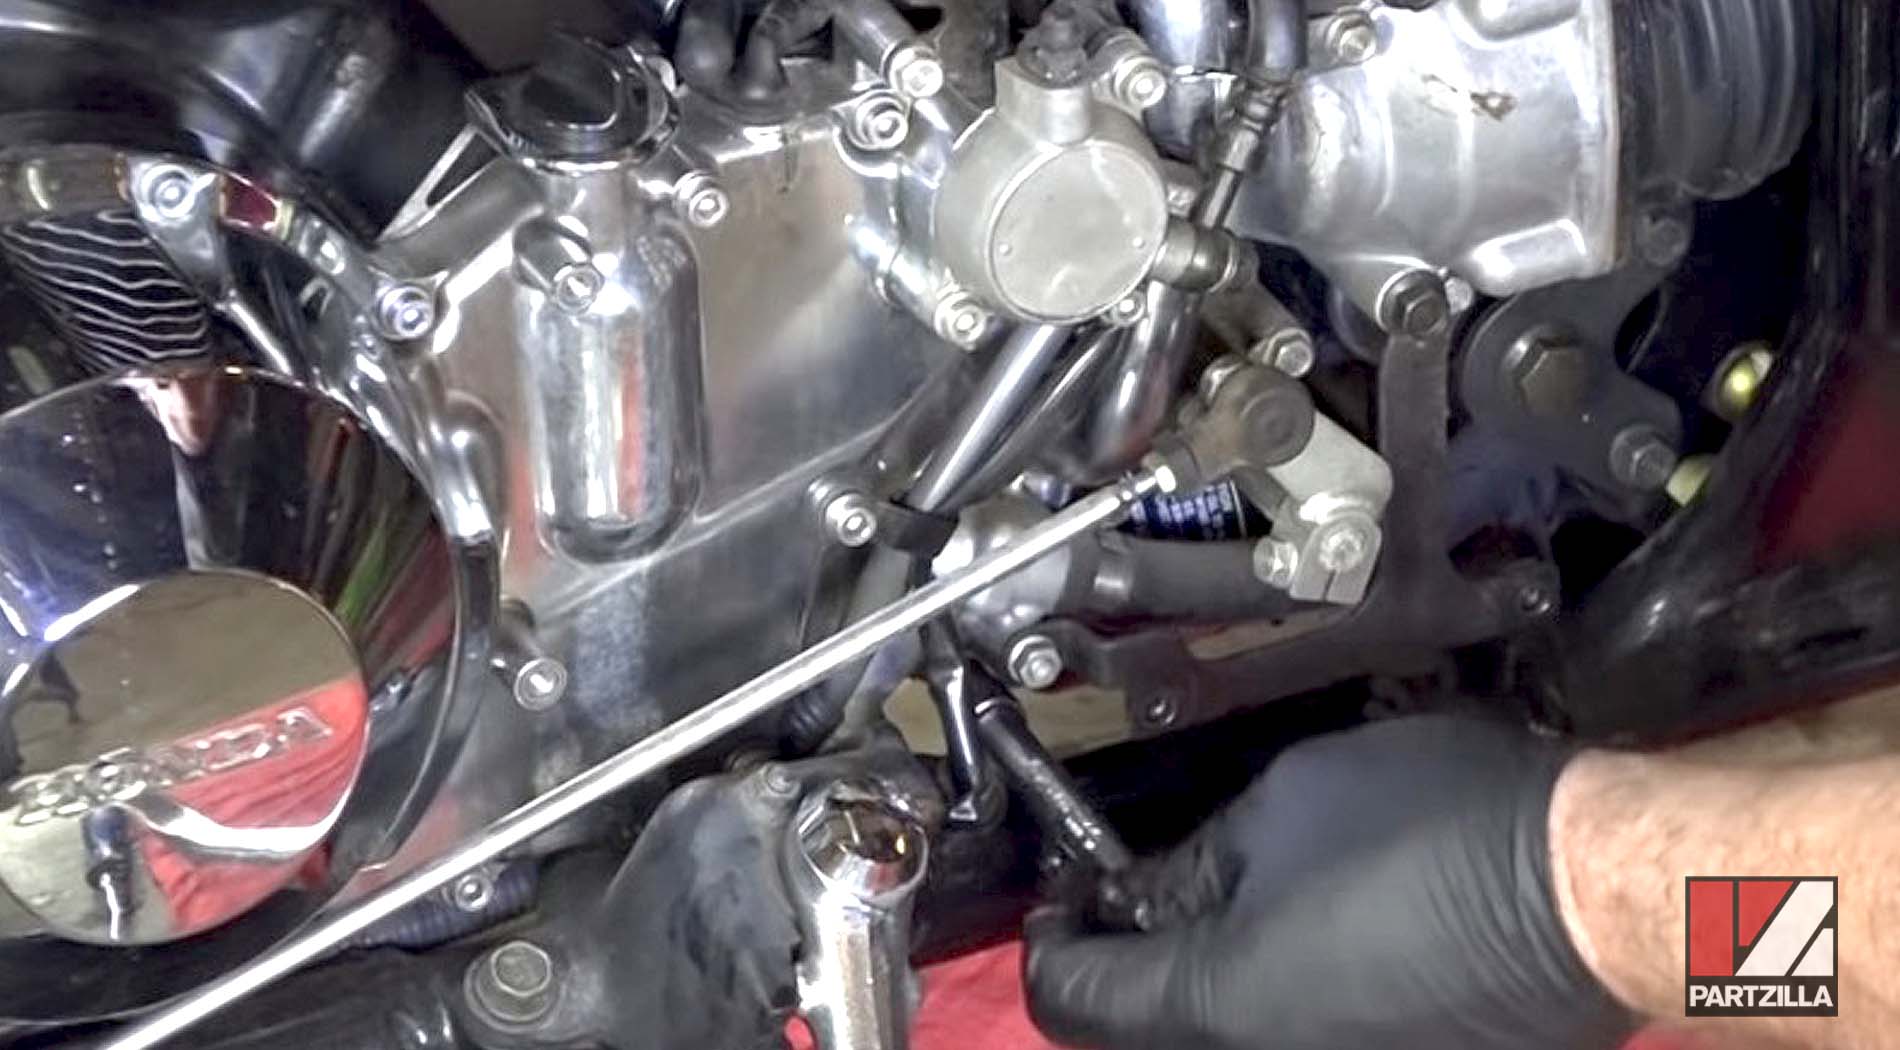
Step 3. Access the drain bolt down below where the thermostat cover was just removed. Have a drain pan handy, and then loosen the bolt. The coolant will flow out of the system.
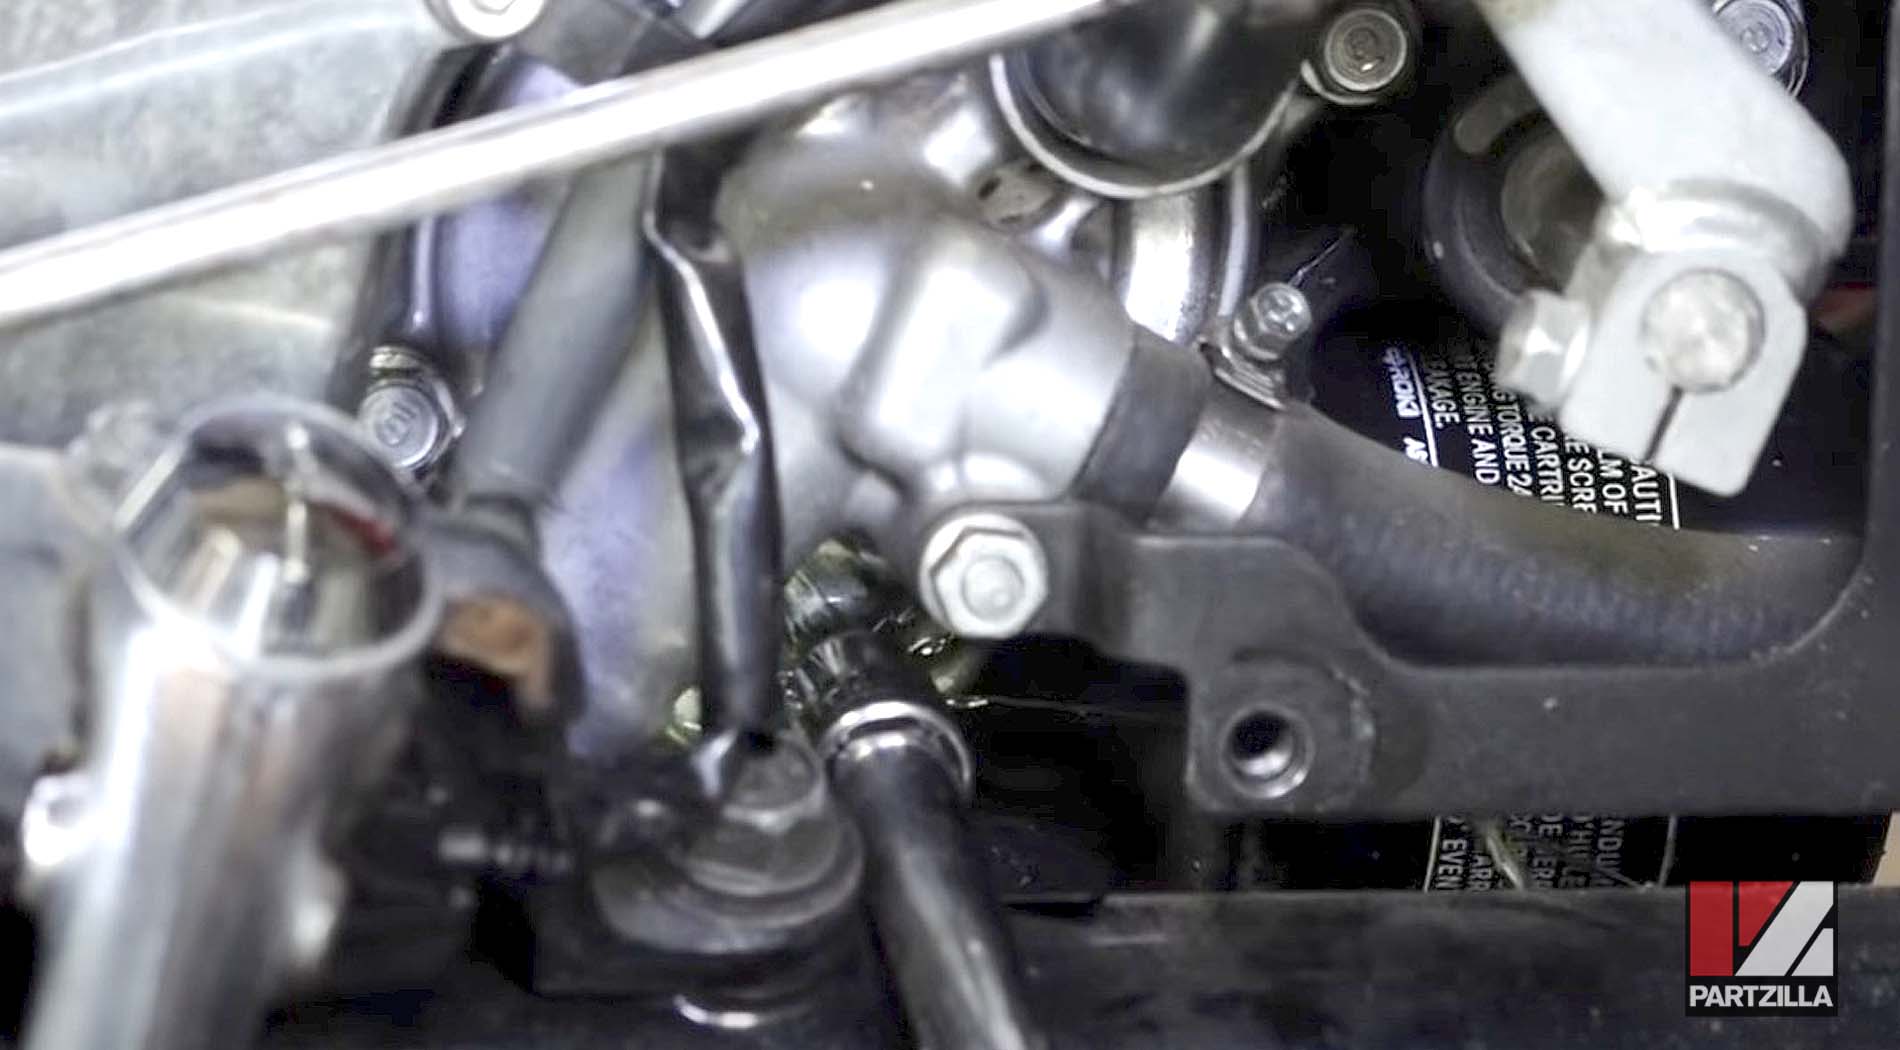
NOTE: You don't need to remove the bolt all the way to drain the system, but if you do, make sure not to lose the crush washer on the drain bolt.
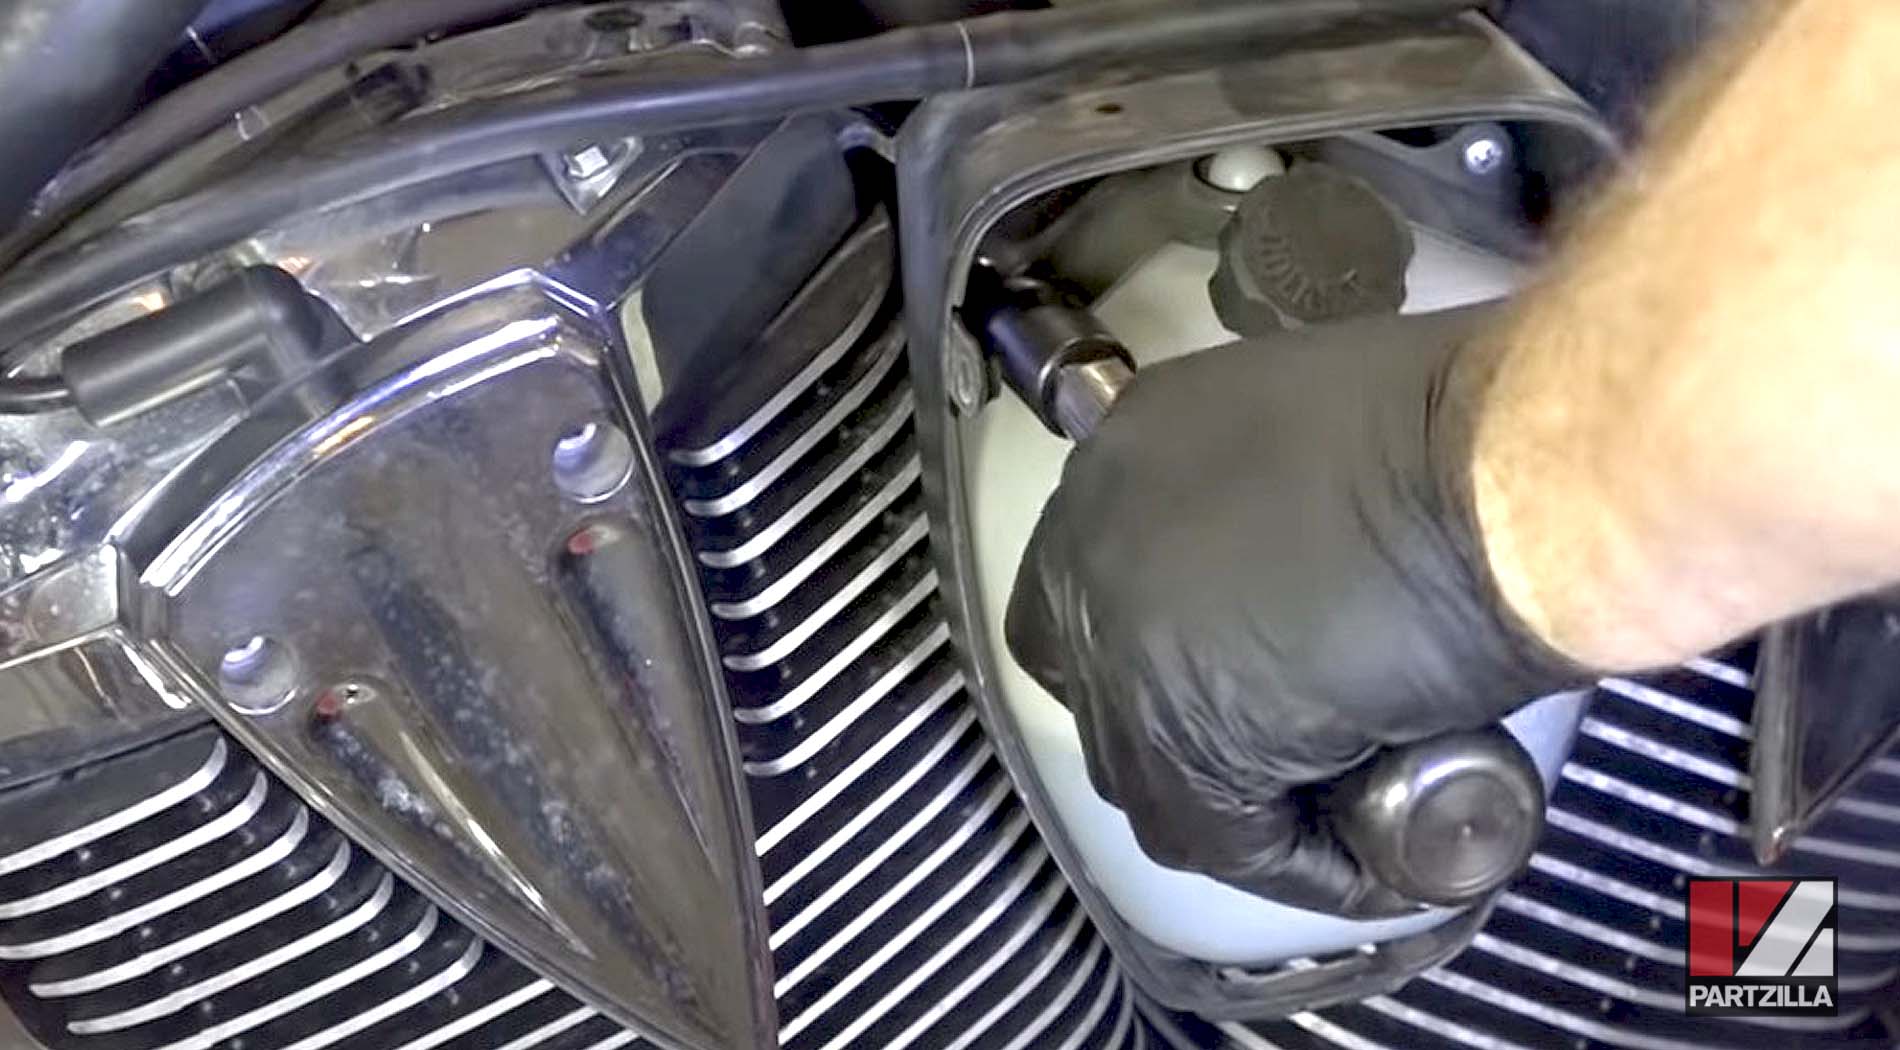
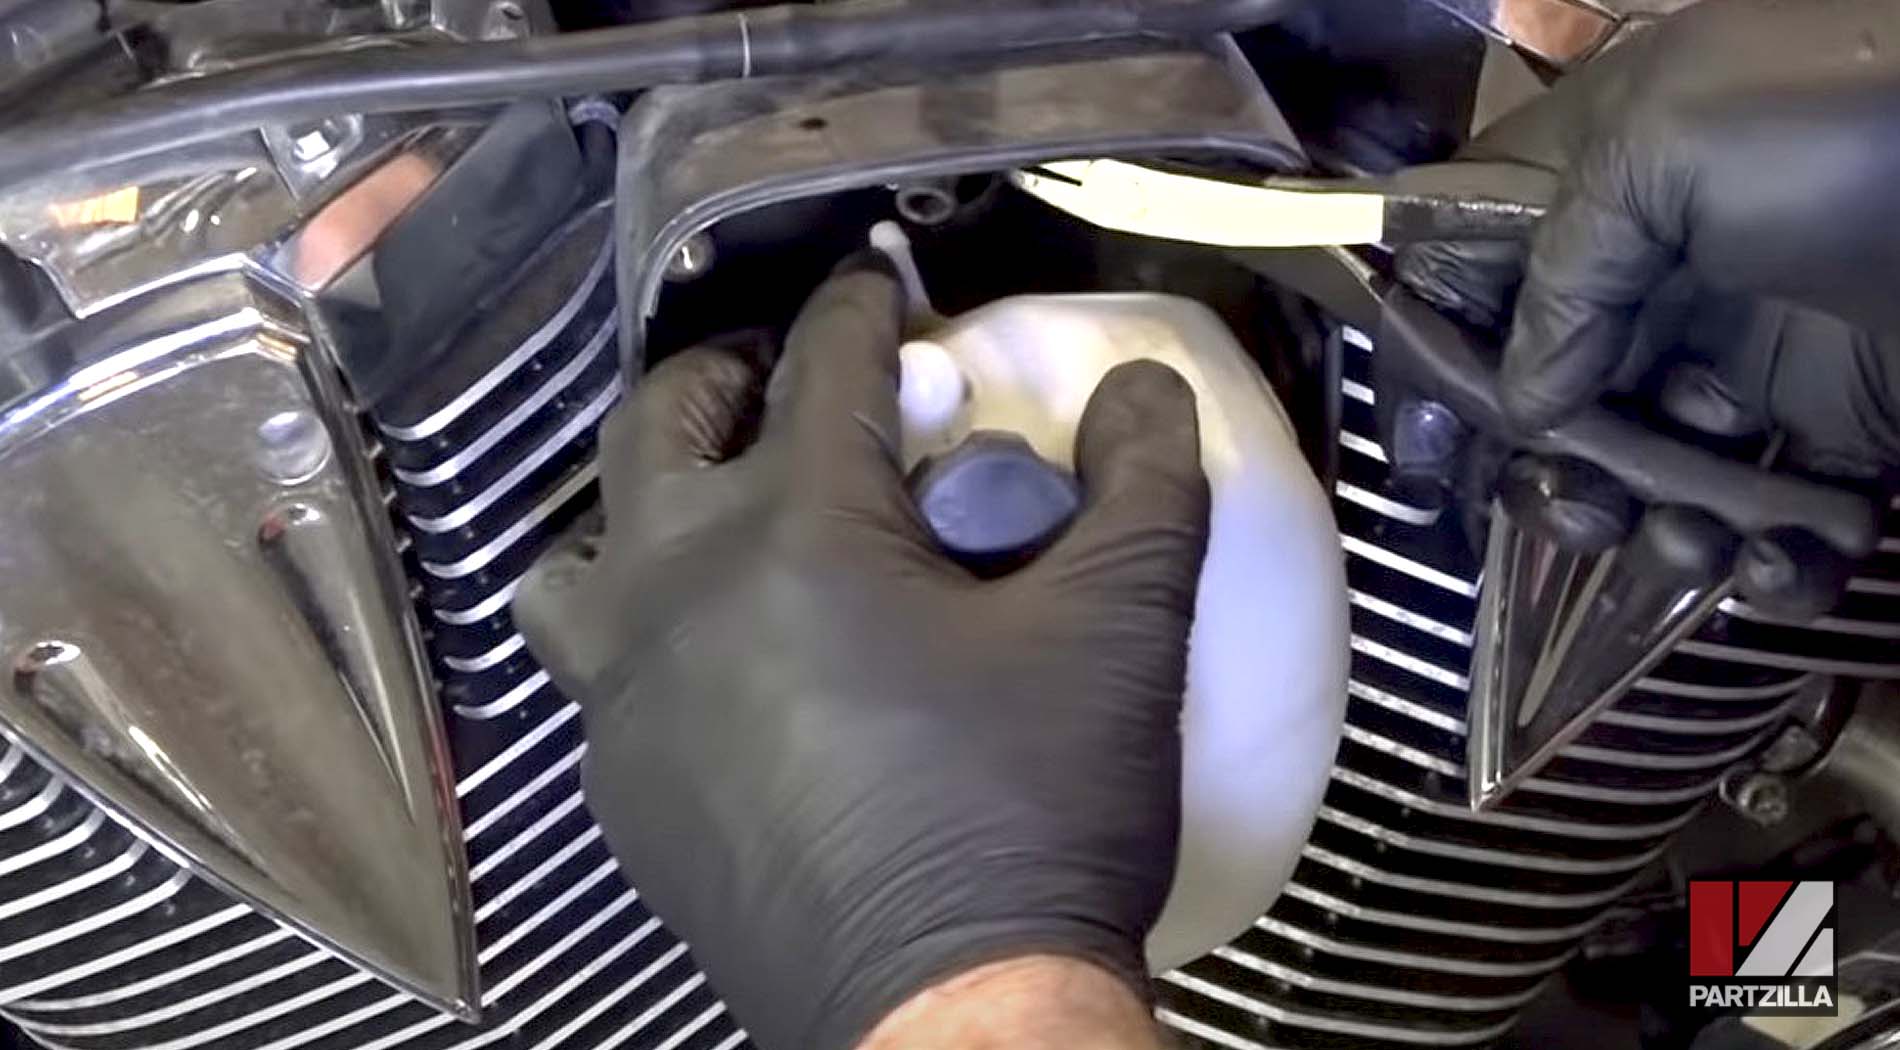
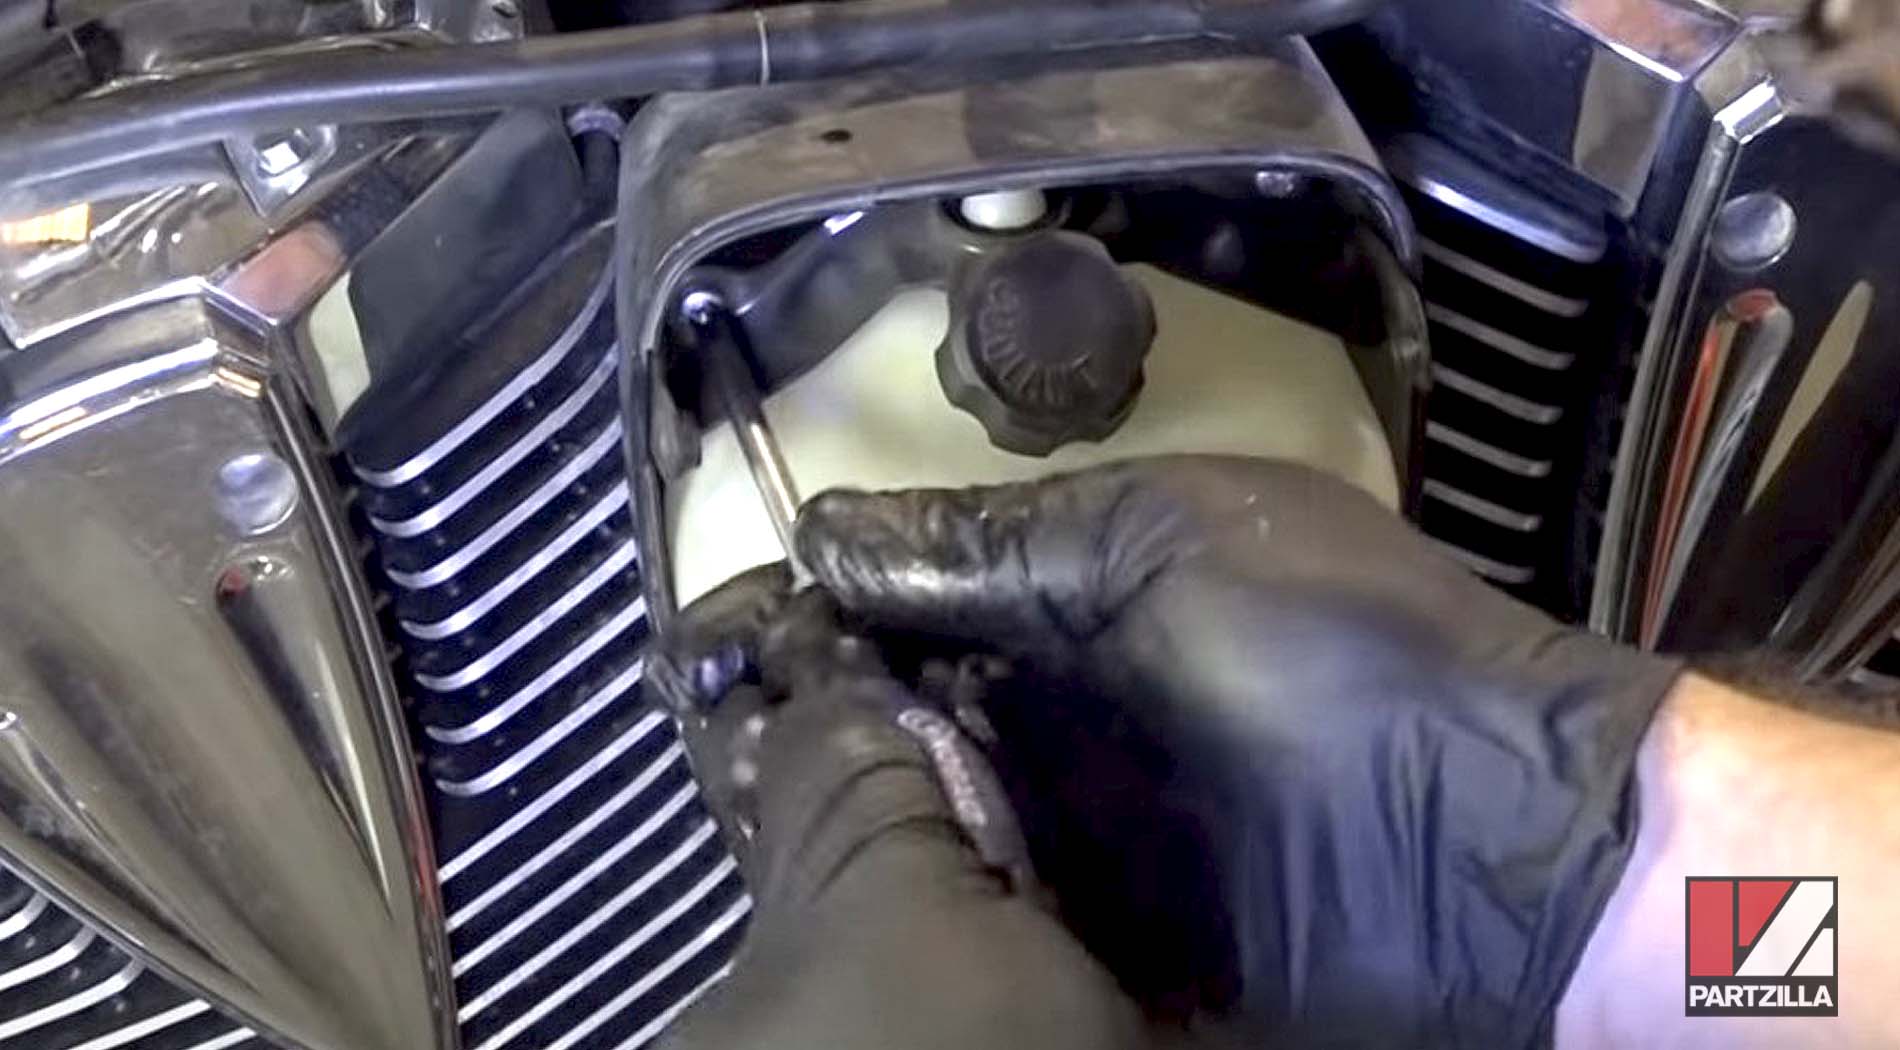
Step 4. Remove the cover protecting the reservoir. It's held in place by a couple of Phillips screws.
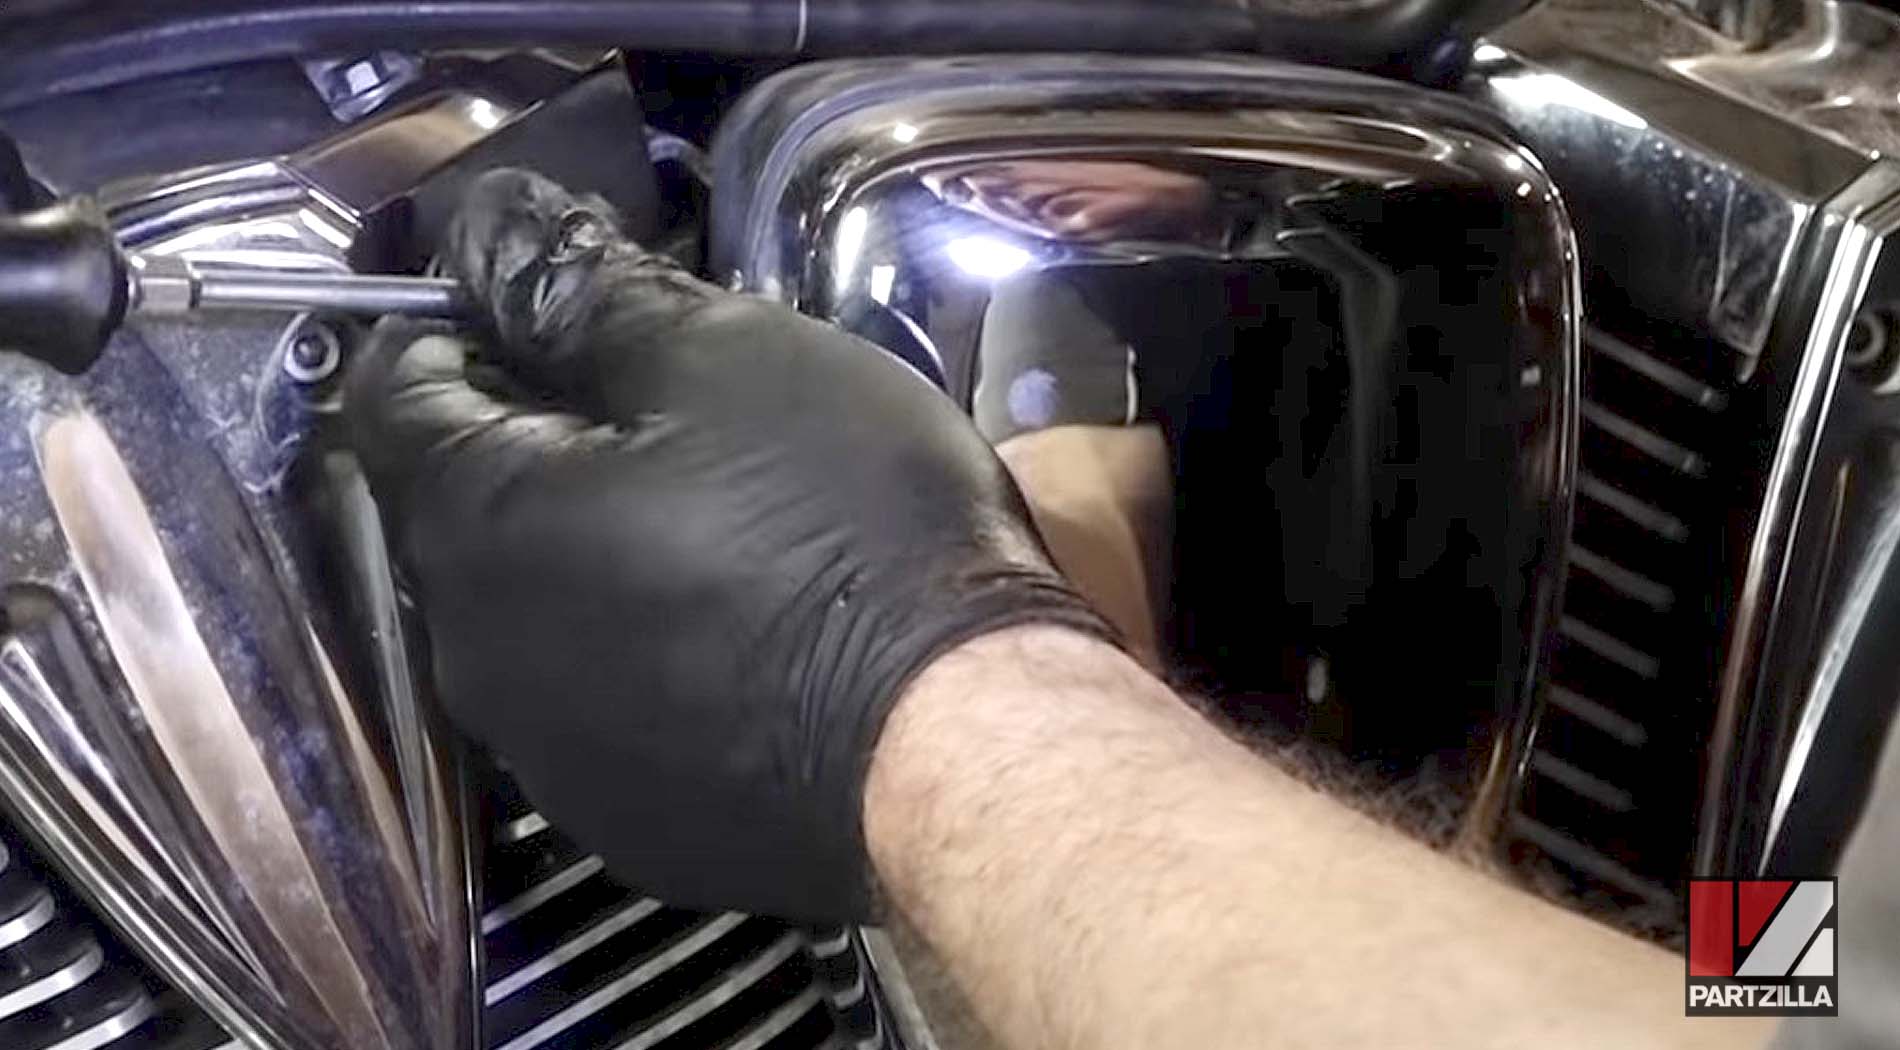
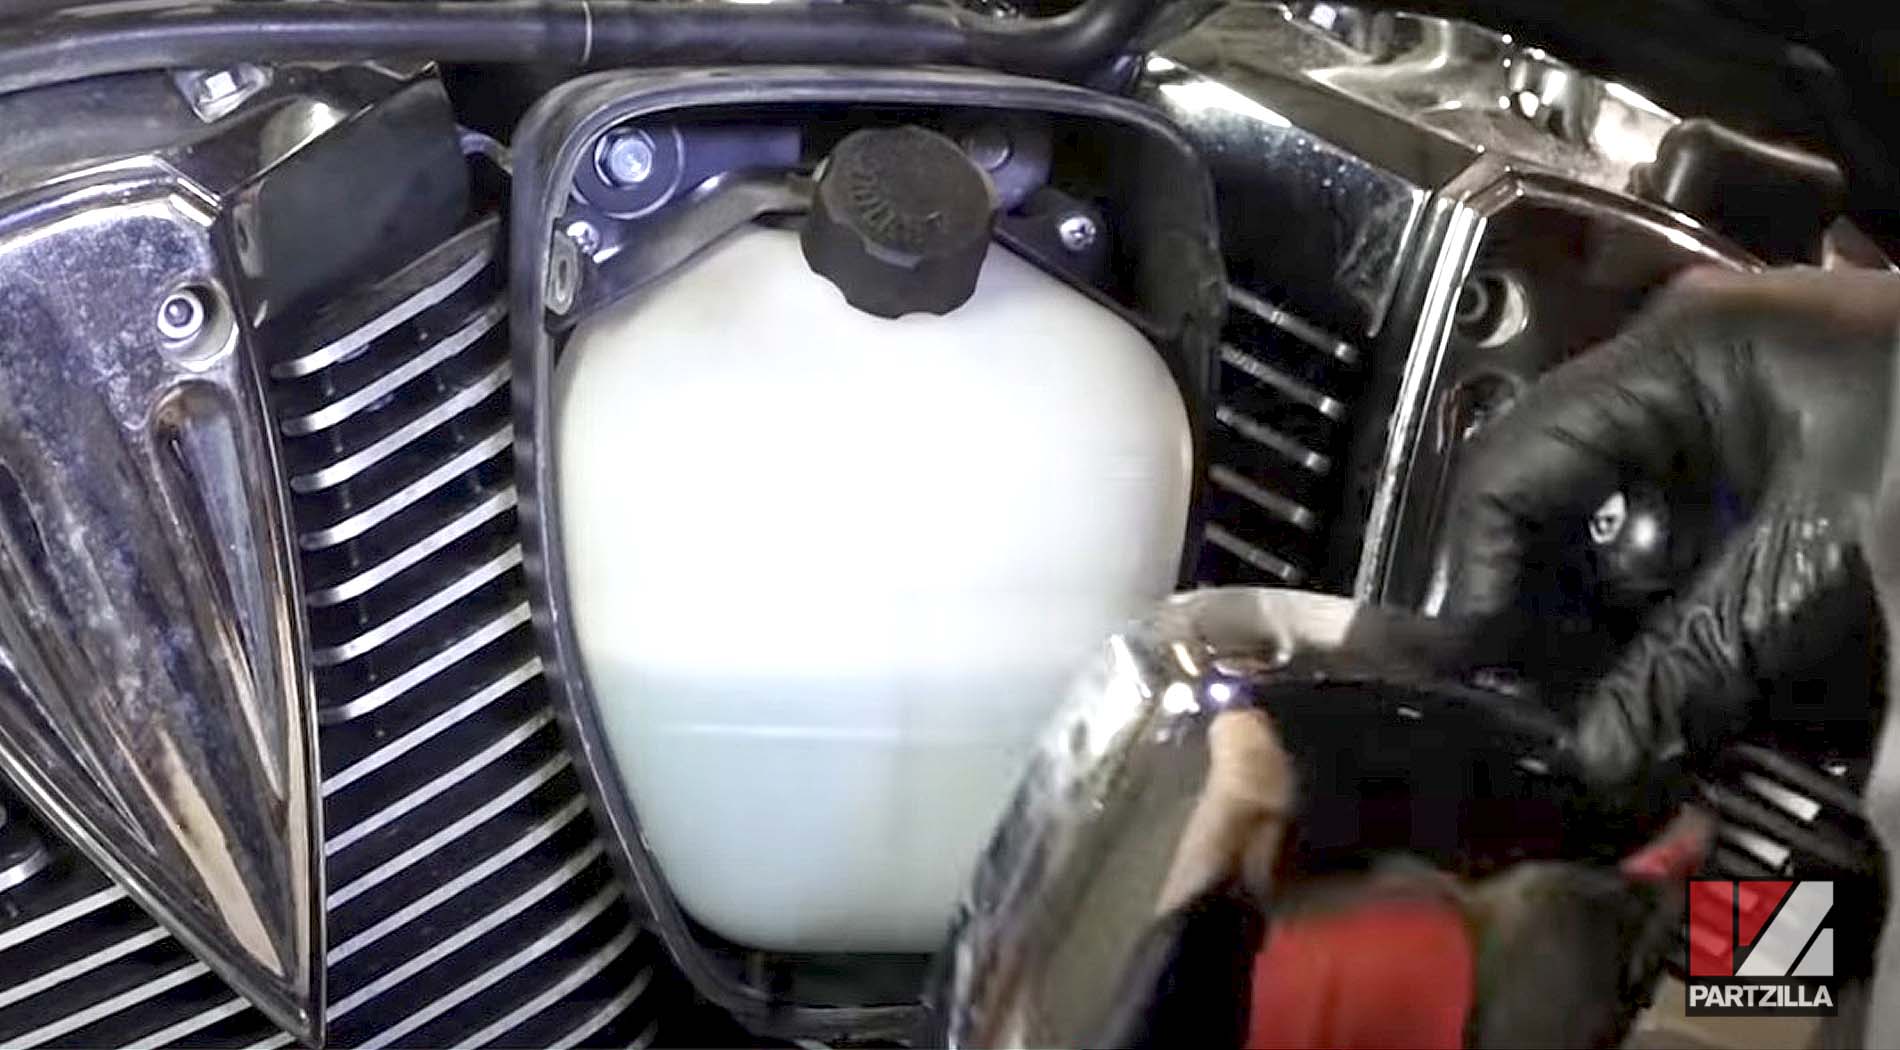
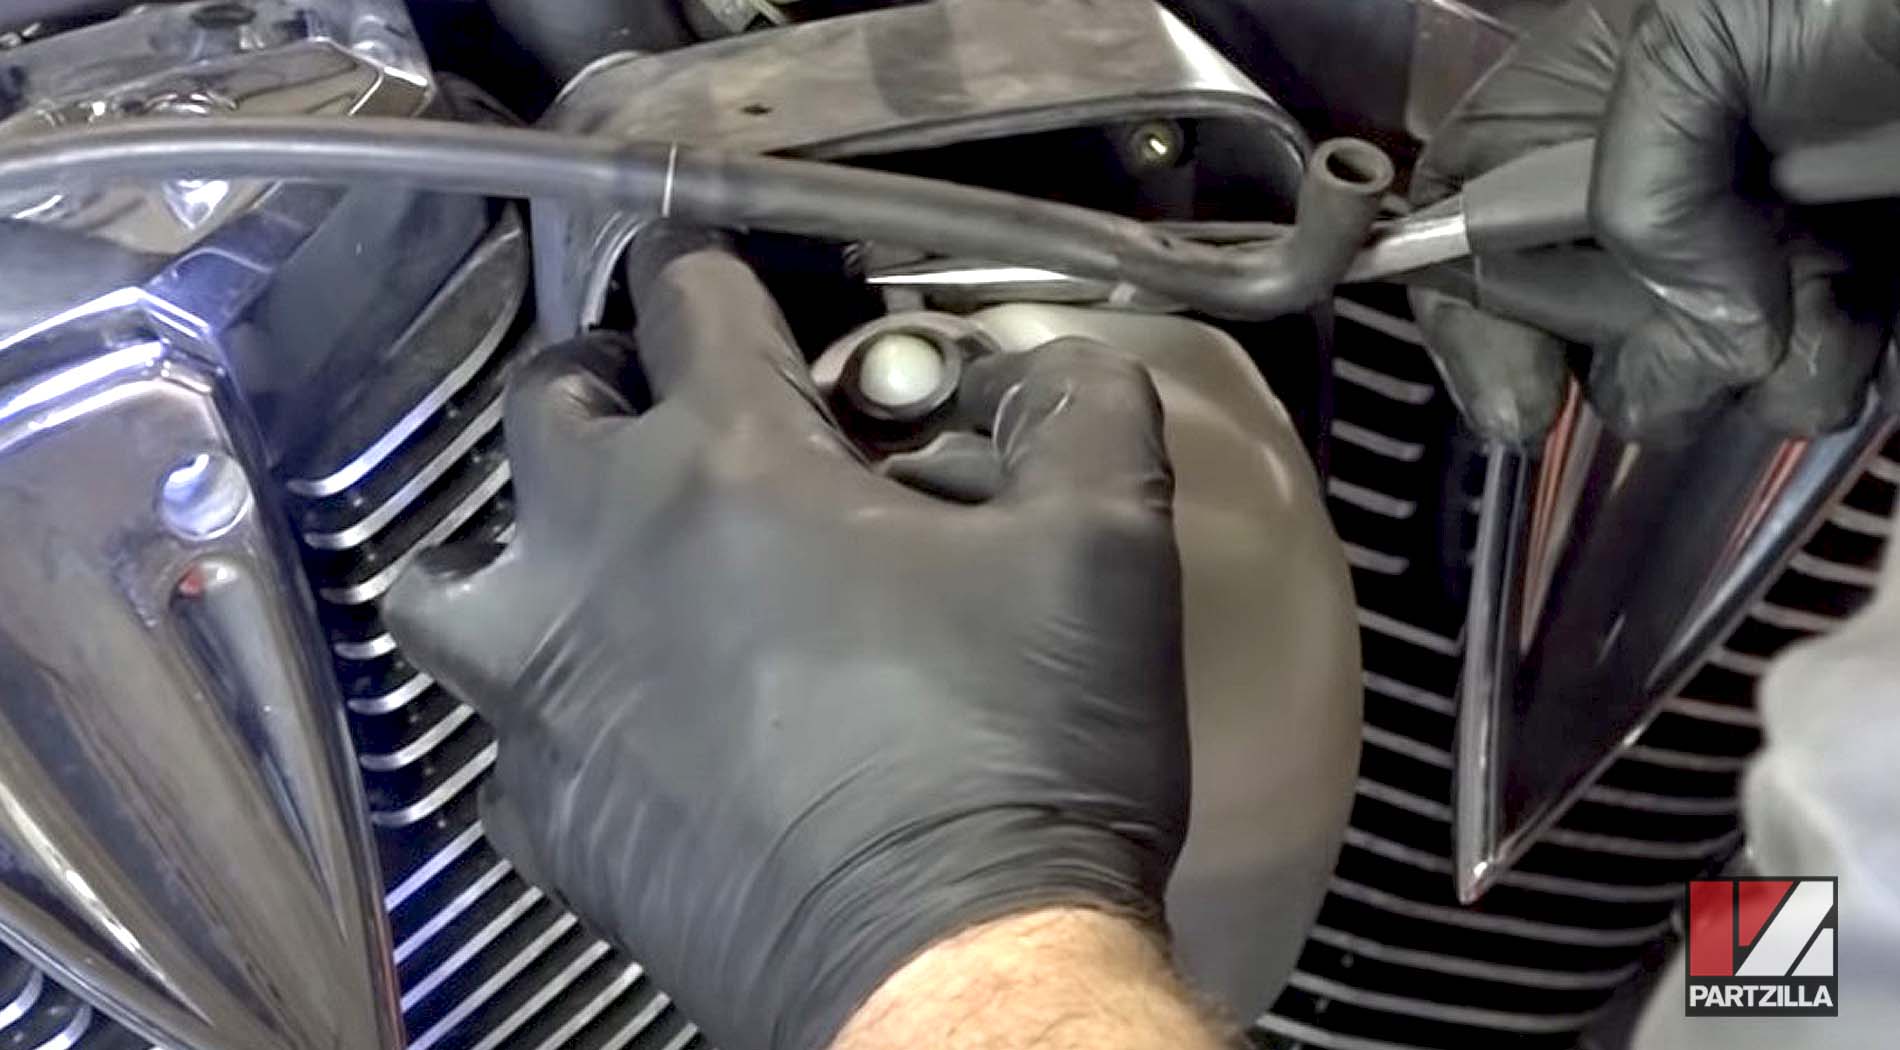
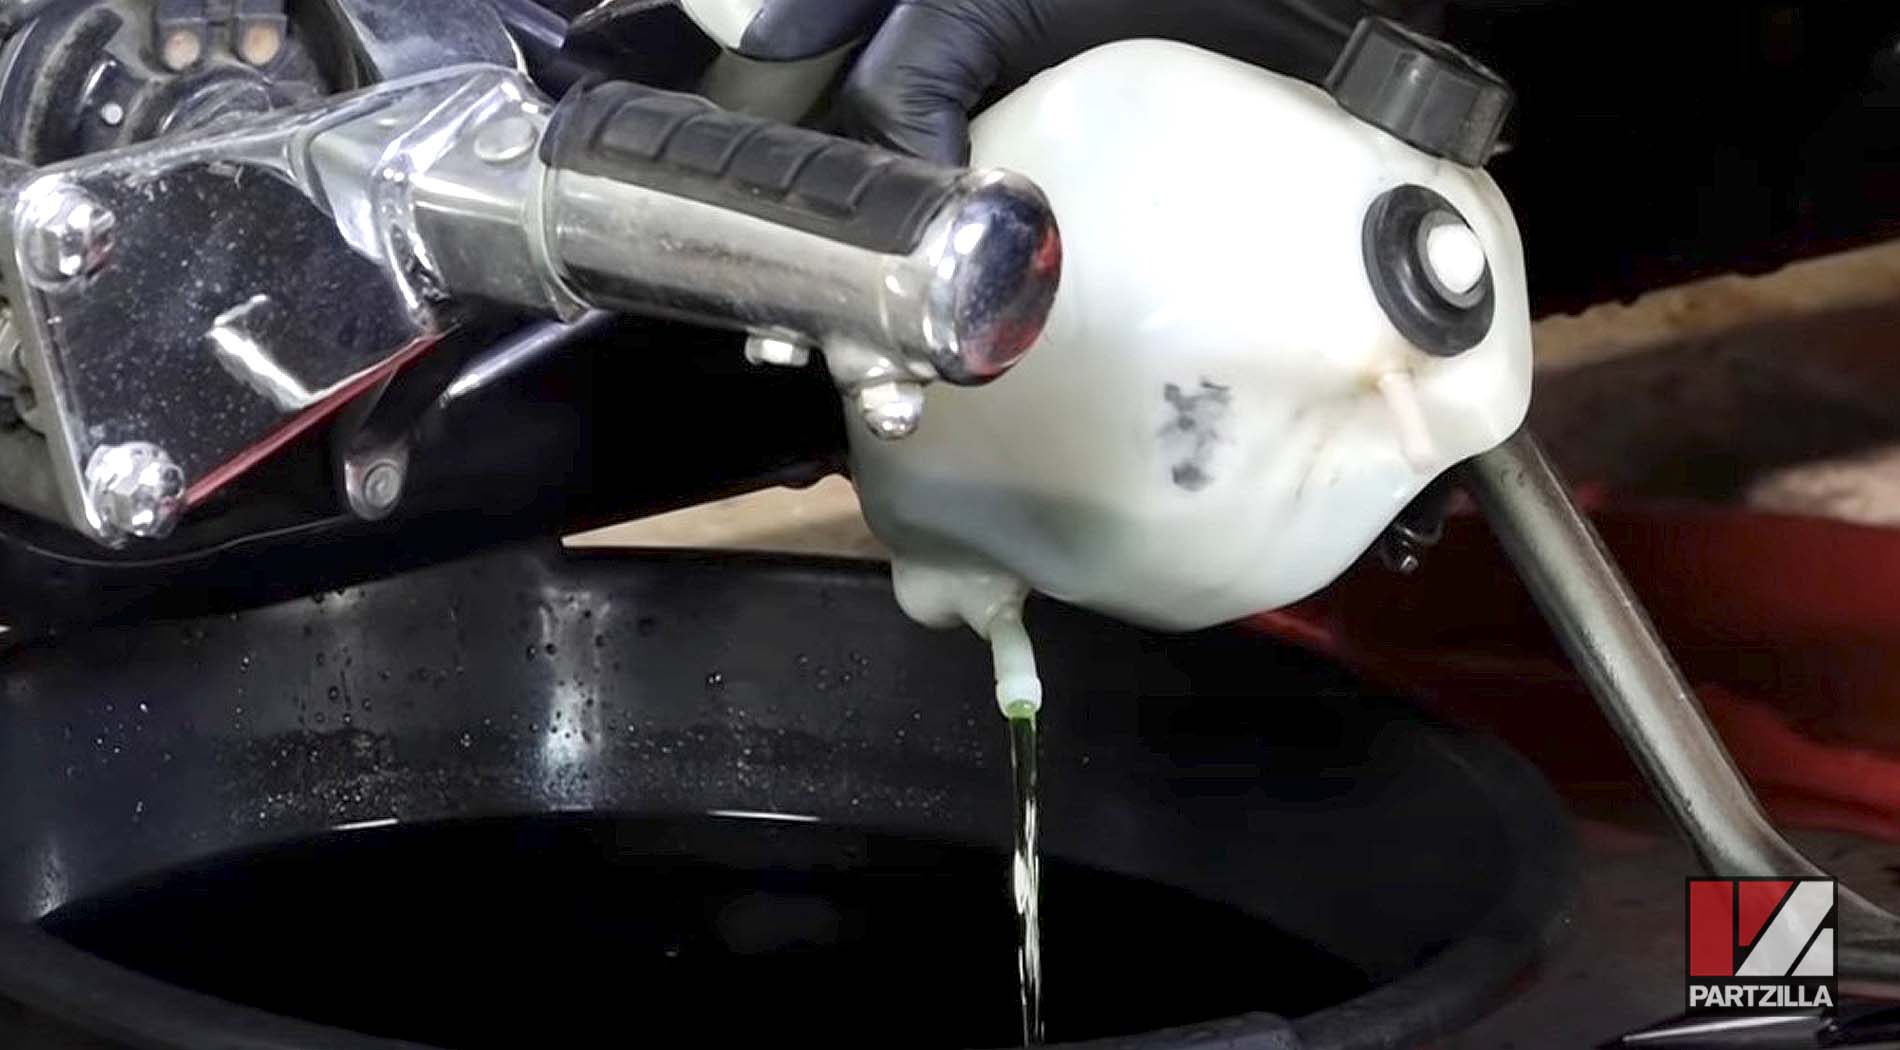
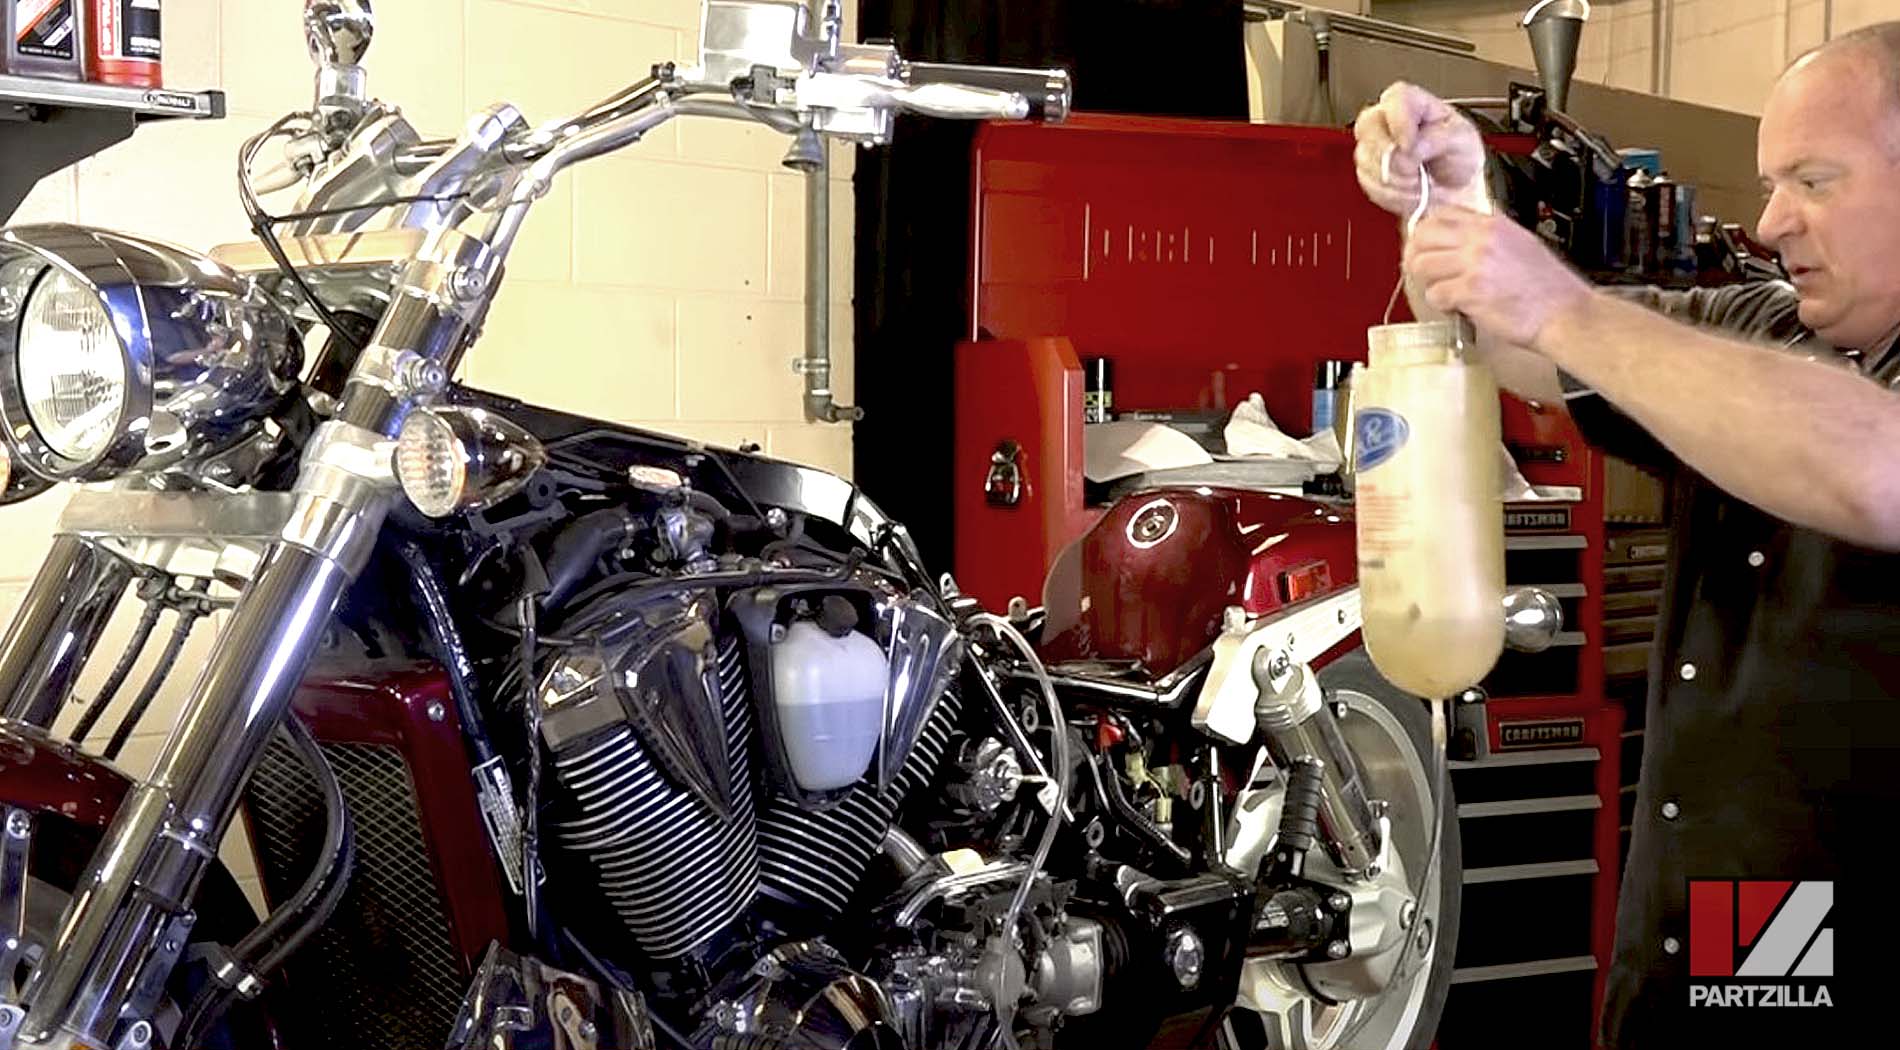
Step 5. Remove the reservoir, which is also held in place by two Phillips screws. Next, disconnect the top and bottom hoses with a pair of pliers.
NOTE: Before refilling the motorcycle coolant, first close off the system.
Honda VTX 1800 Coolant Change - Refill Coolant
Step 1. Empty out and then remount the reservoir, reconnecting the top and bottom hoses, and replacing and tightening the Philips head screws holding the reservoir in place.
Step 2. Reinstall the drain bolt. If you removed it completely, make sure you install it with the crush washer.
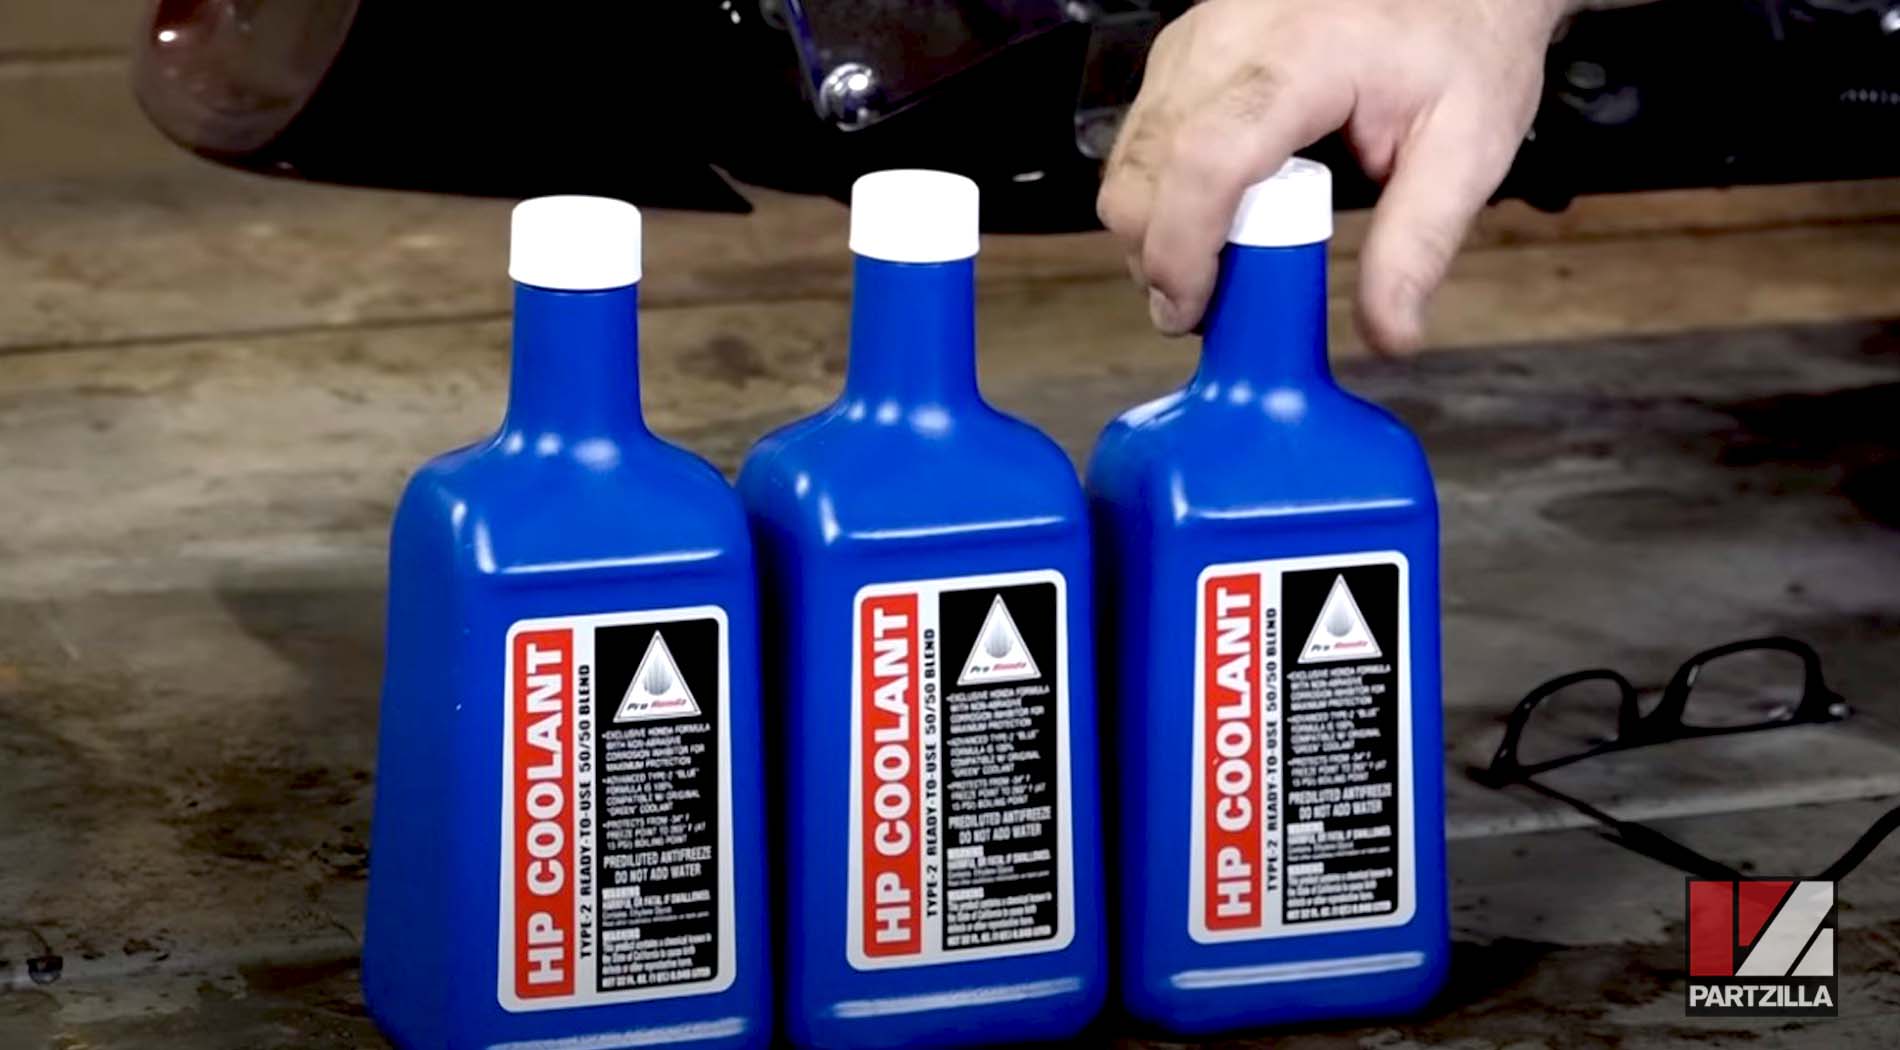
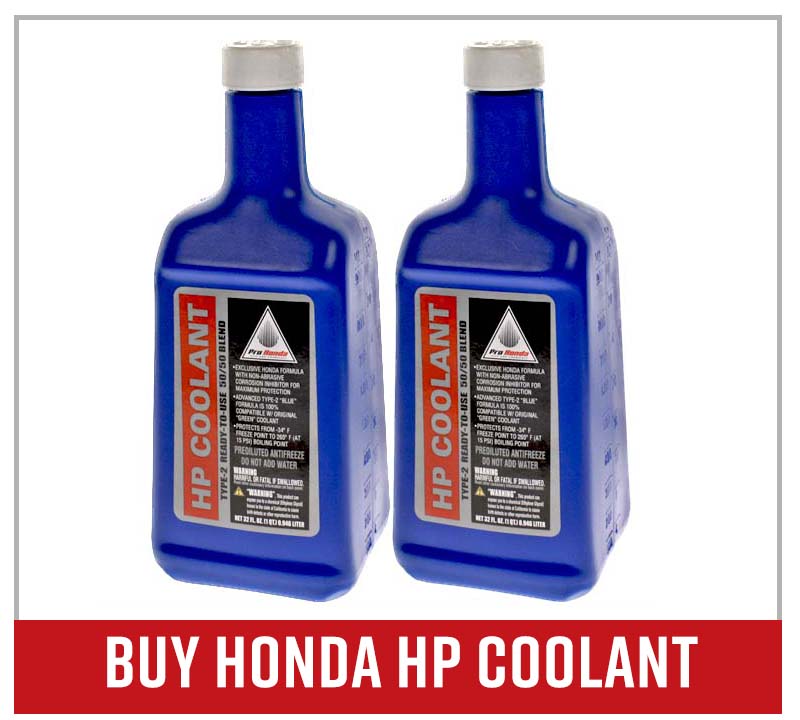
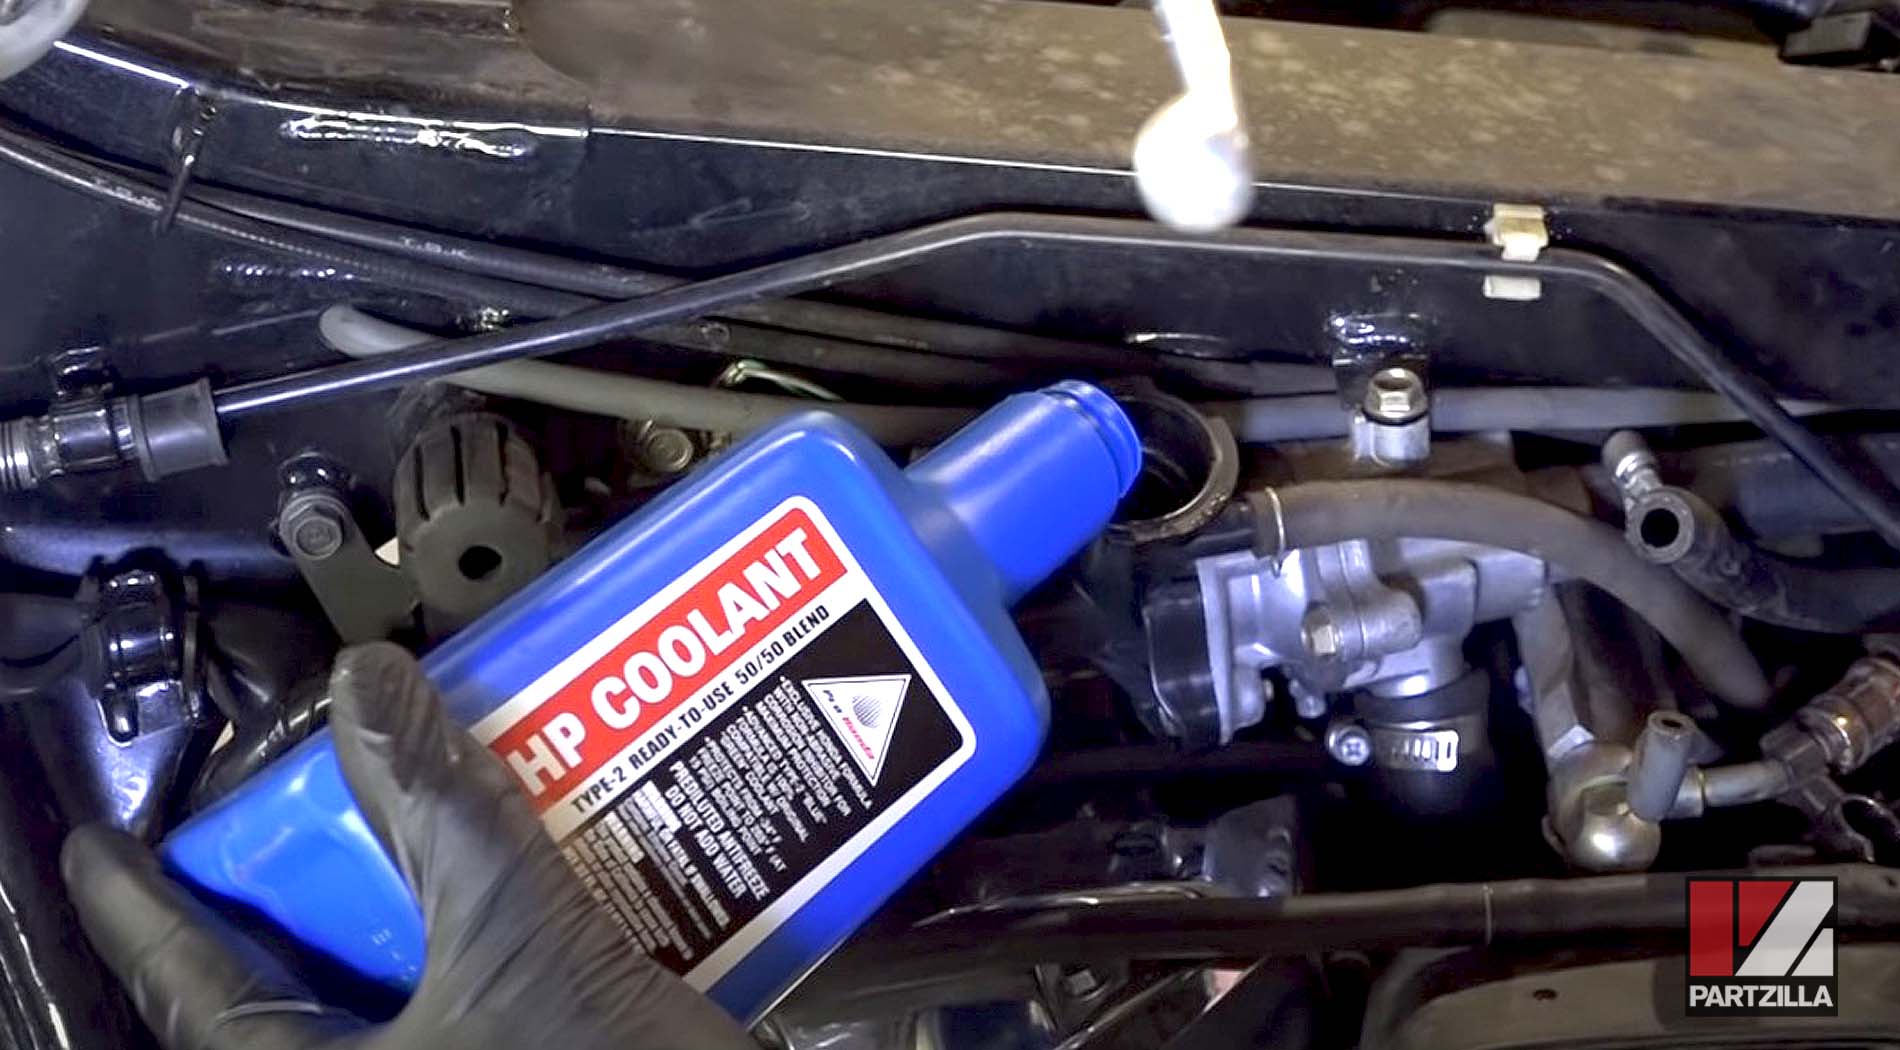
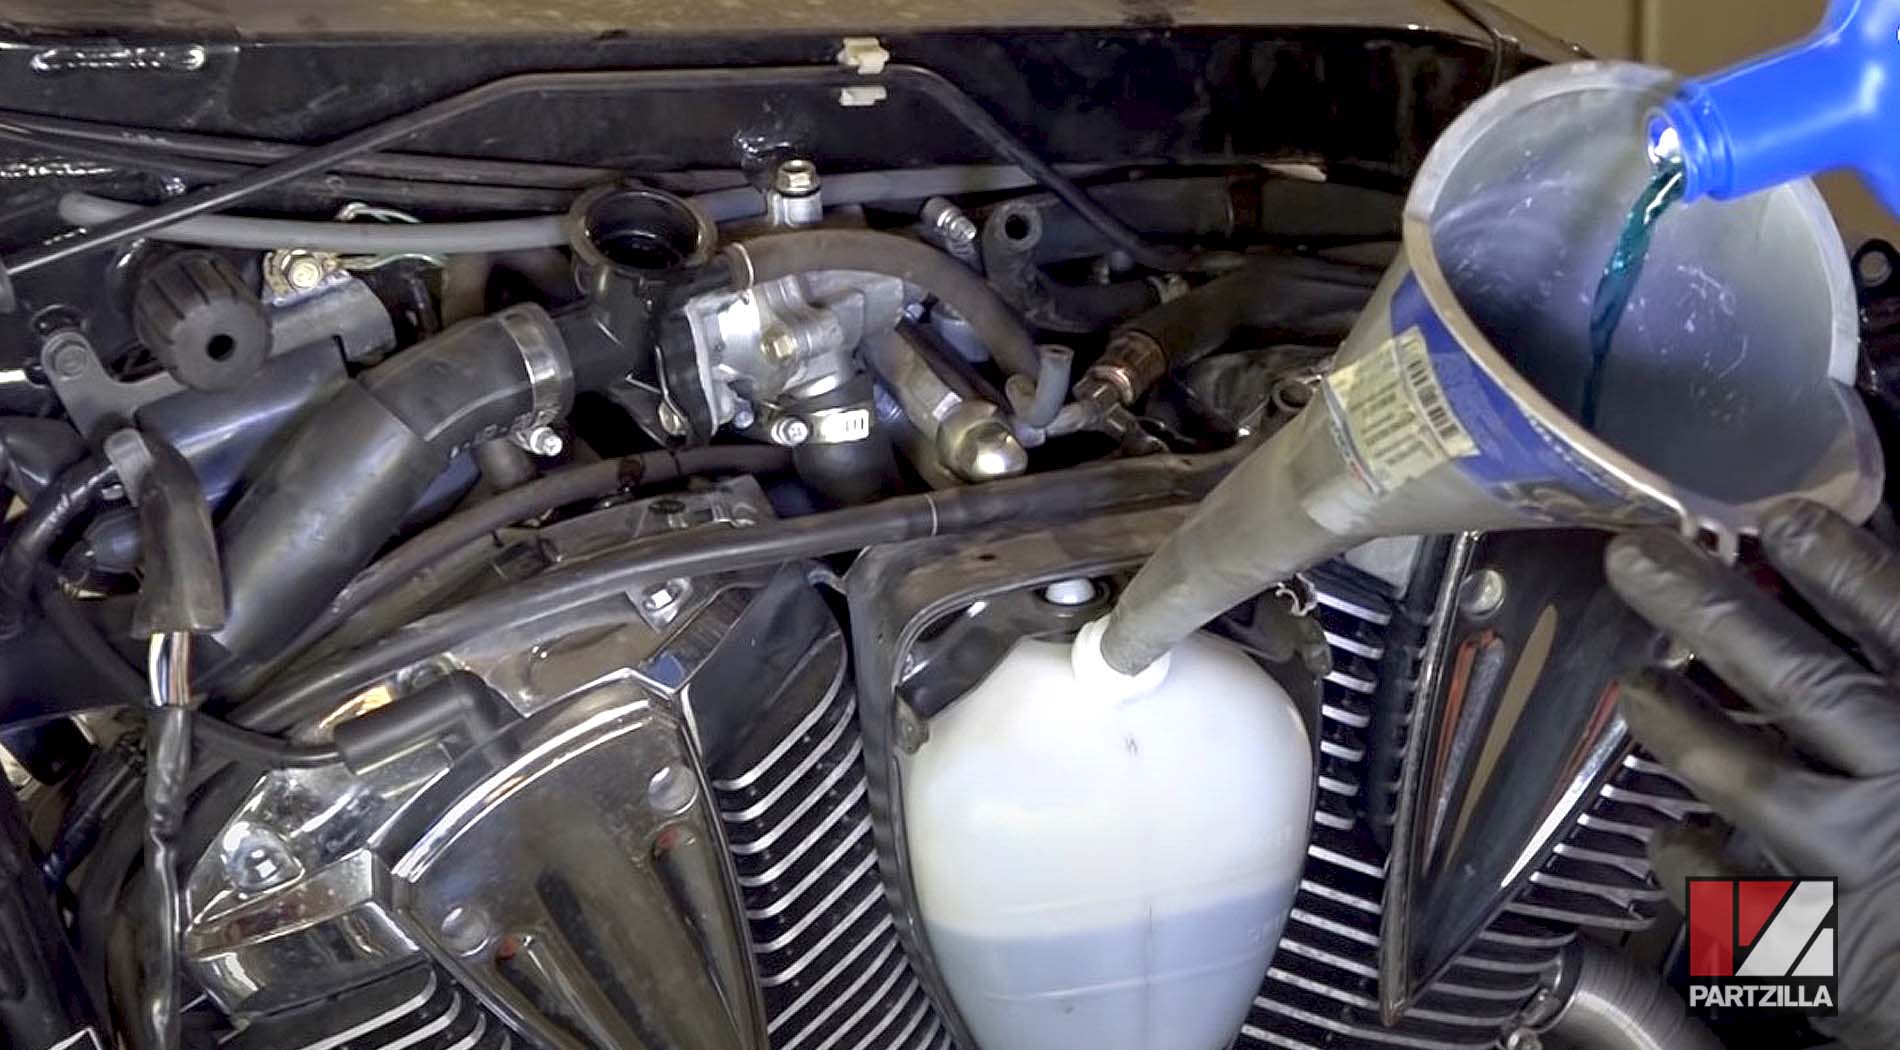
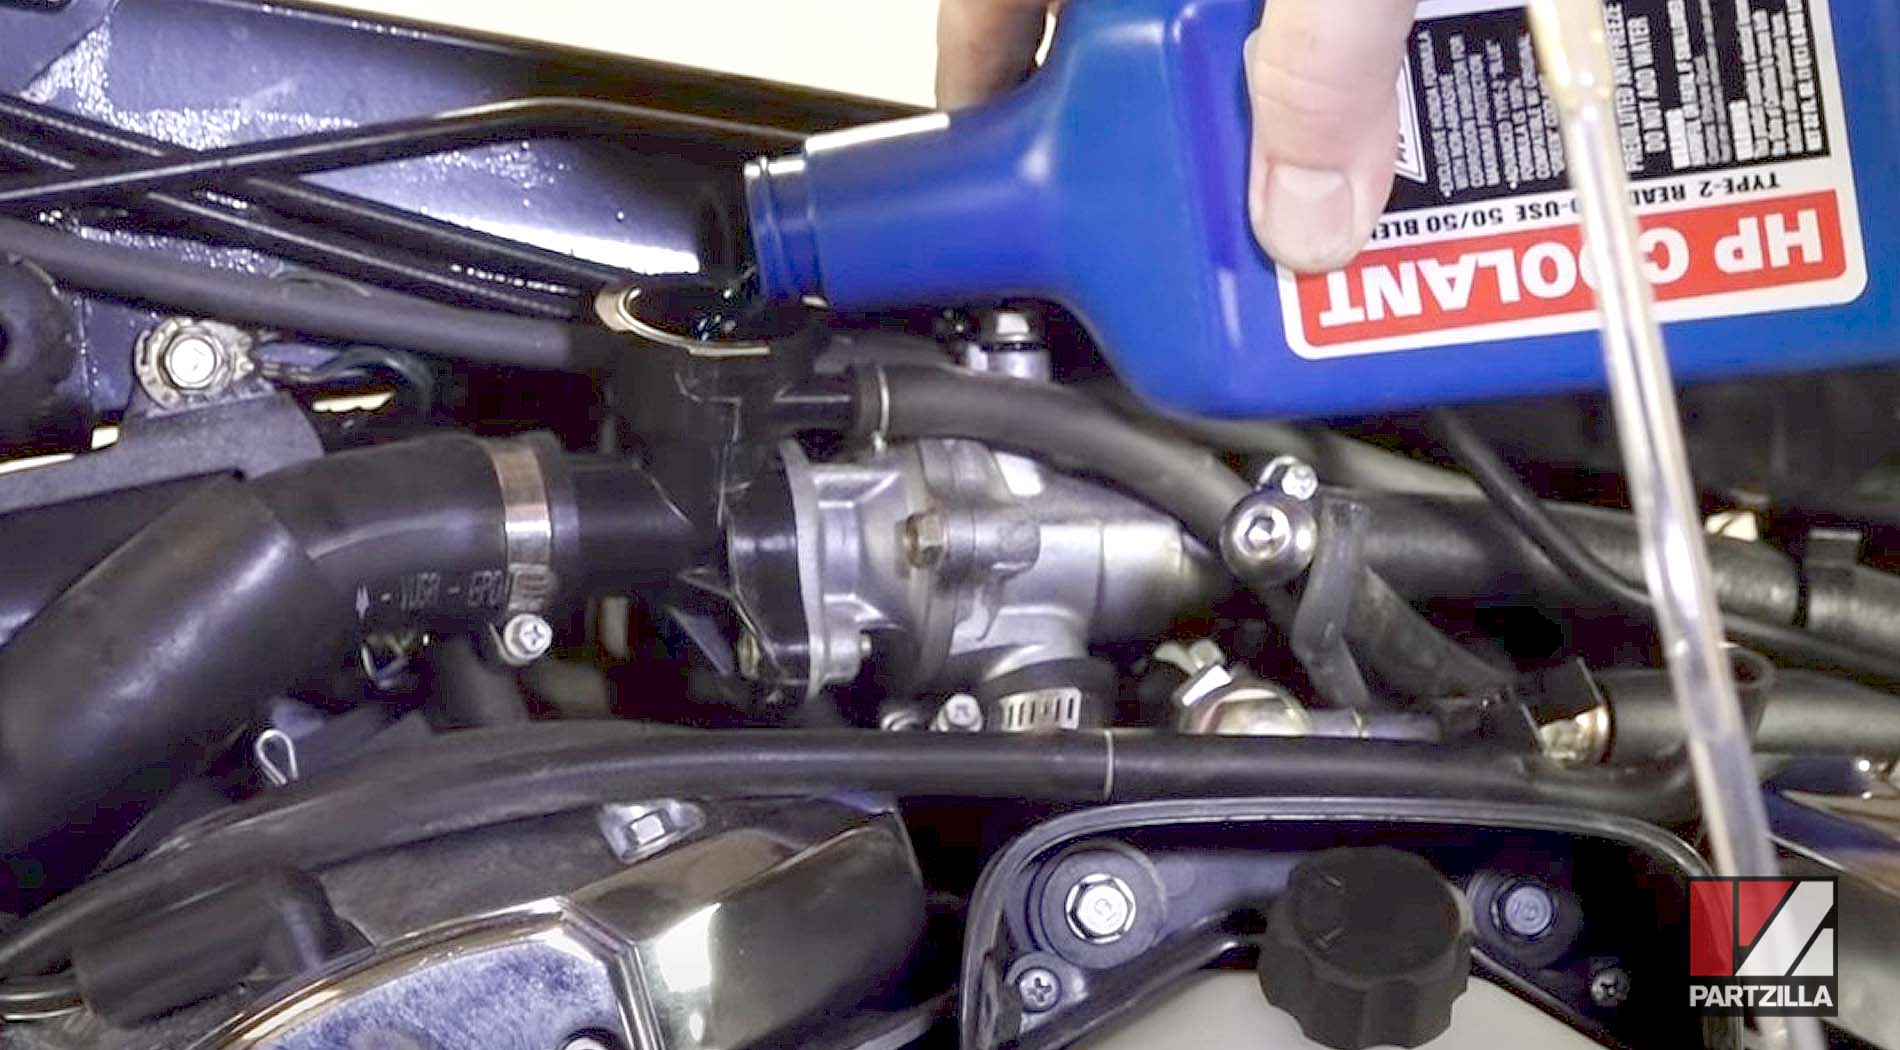
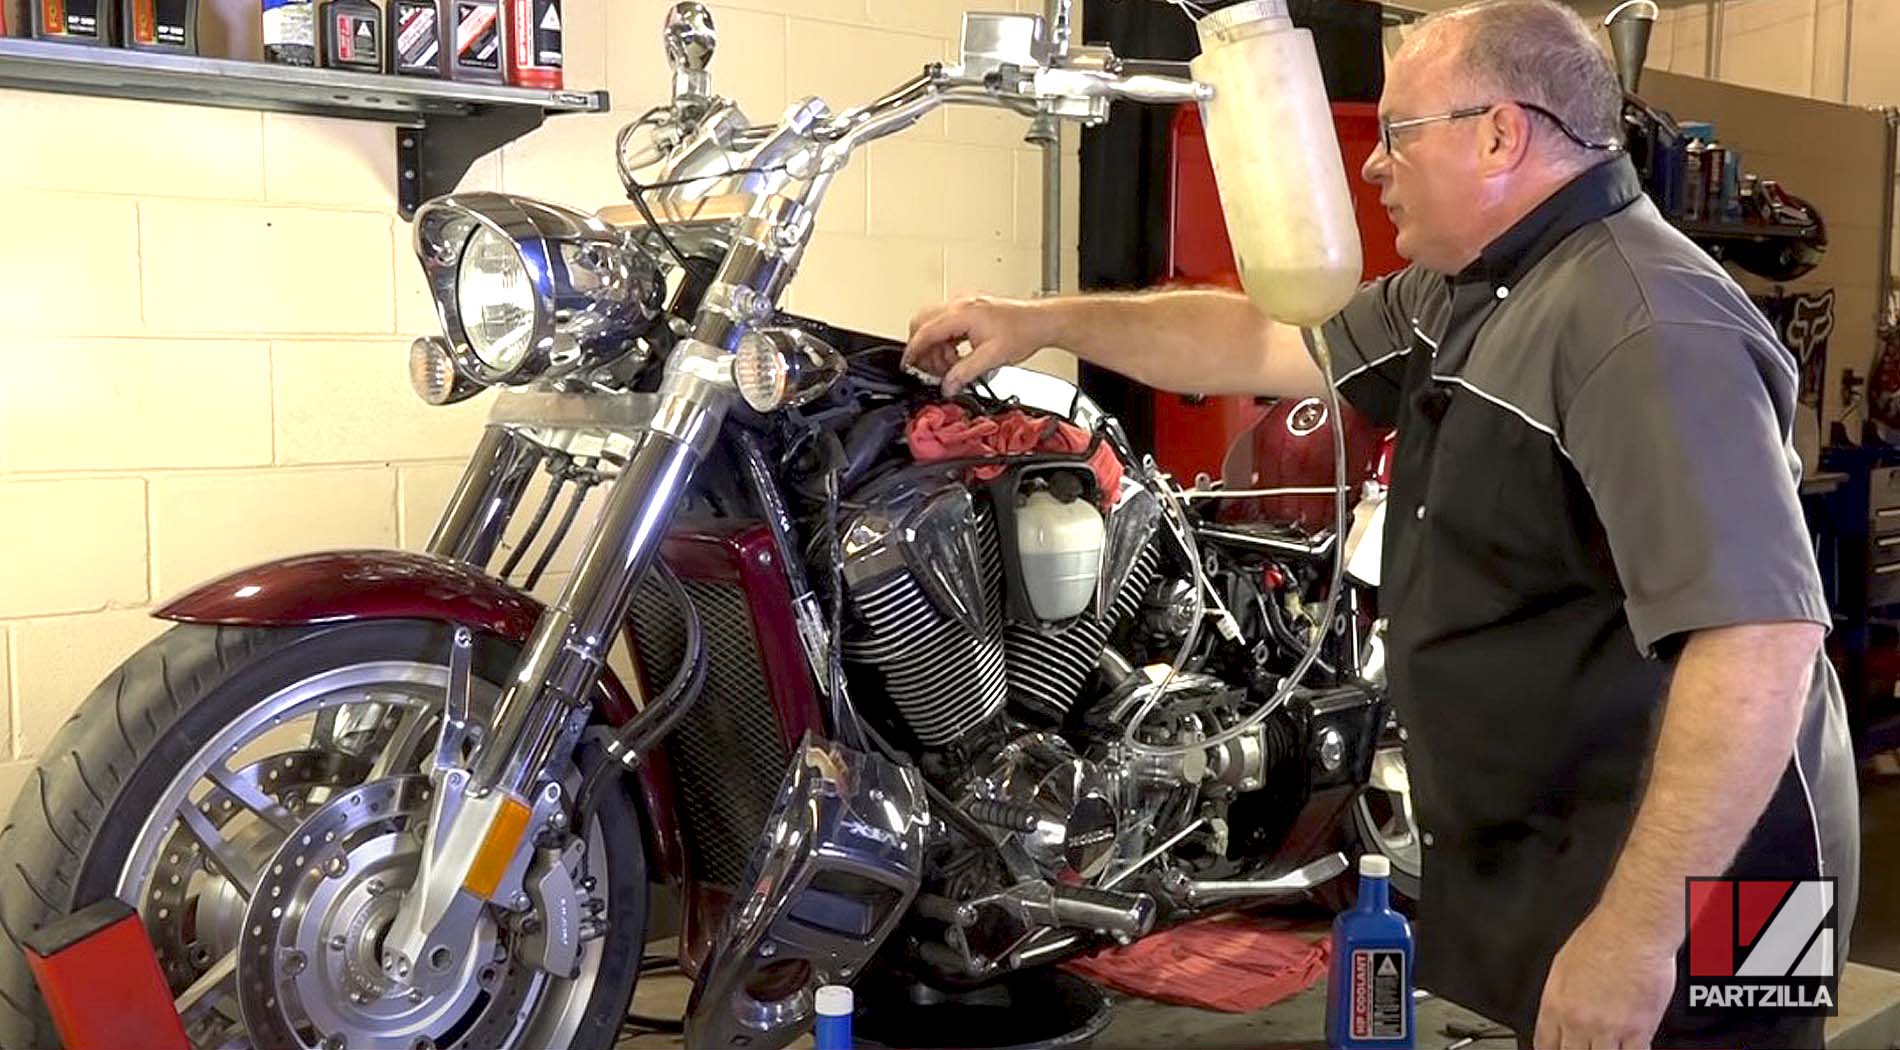
Step 3. Refill the radiator and the reservoir with Honda HP coolant. The coolant capacity on the 2005 Honda VTX 1800 is 3.3 quarts, so begin pouring it into the opening for the fill cap.
NOTE: If you moved the fuel to an auxiliary fuel container, connect that tank to the fuel line on the motorcycle and plug the fuel drain line.

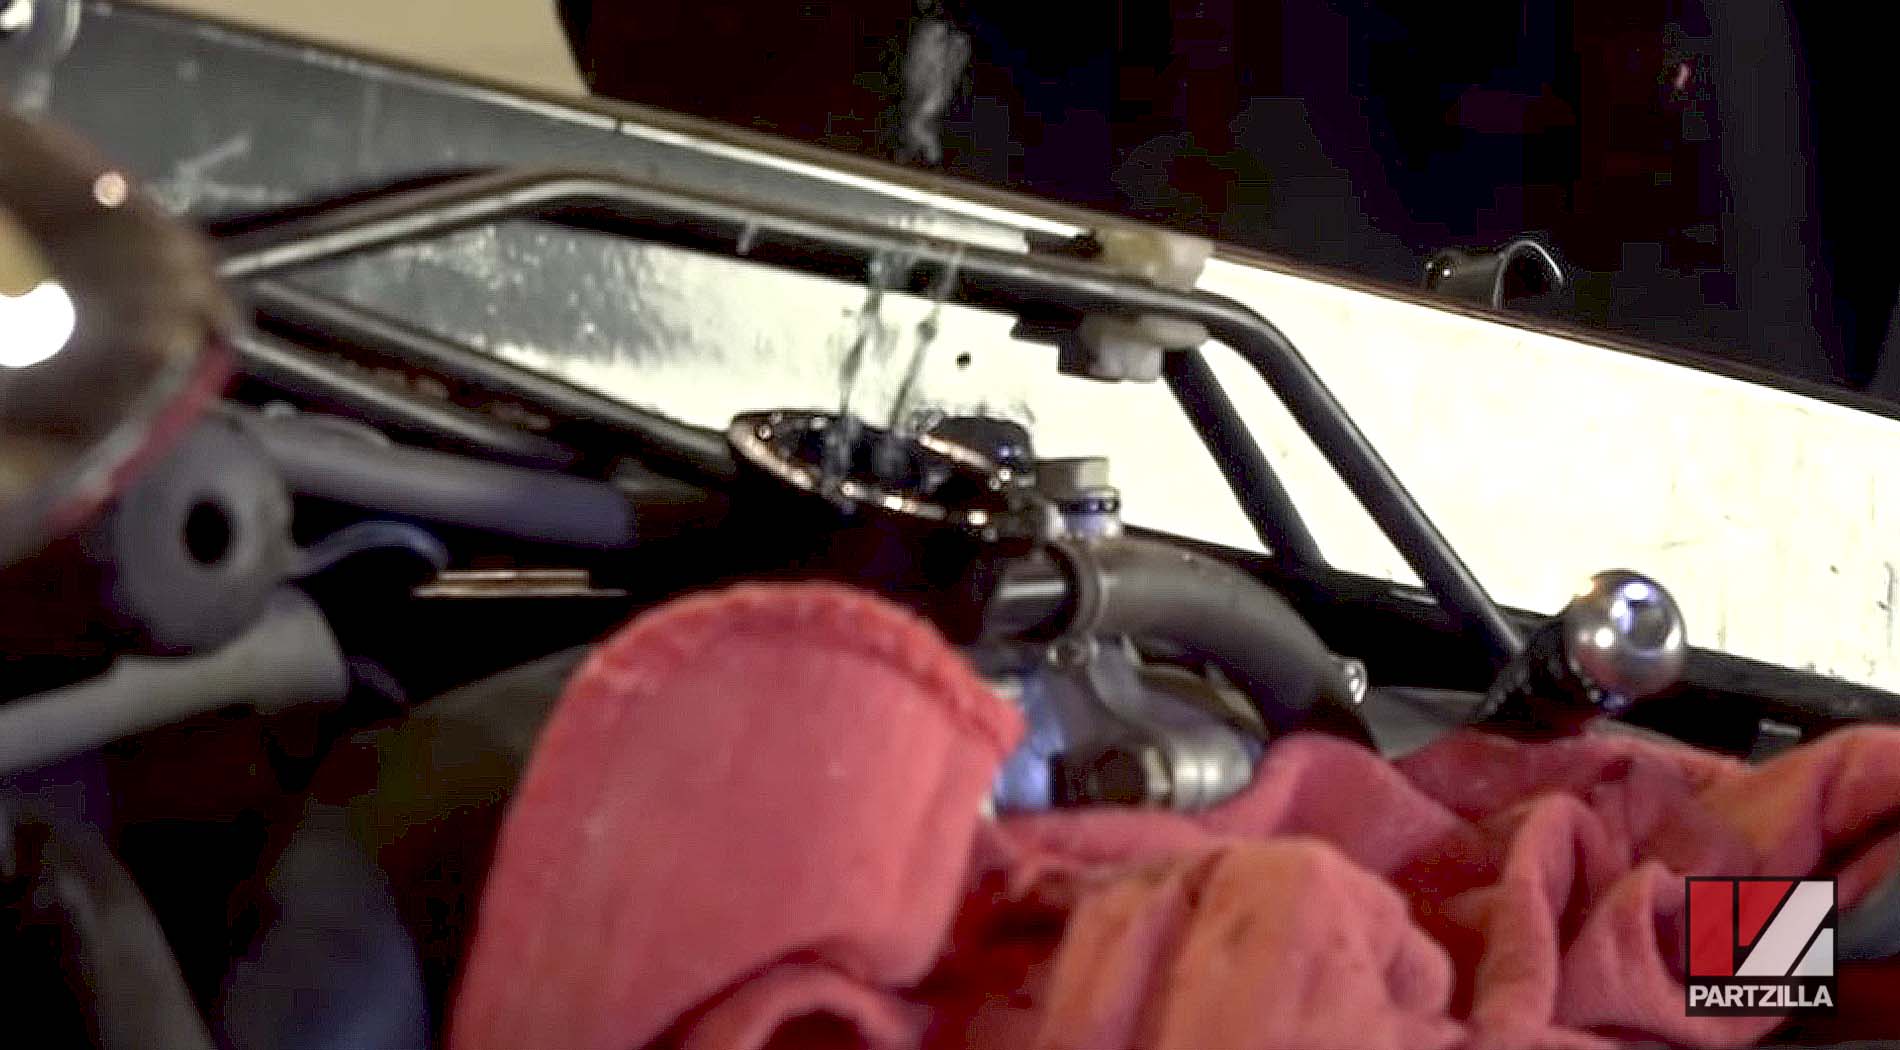
Step 4. Leave the radiator fill cap off and start the engine.

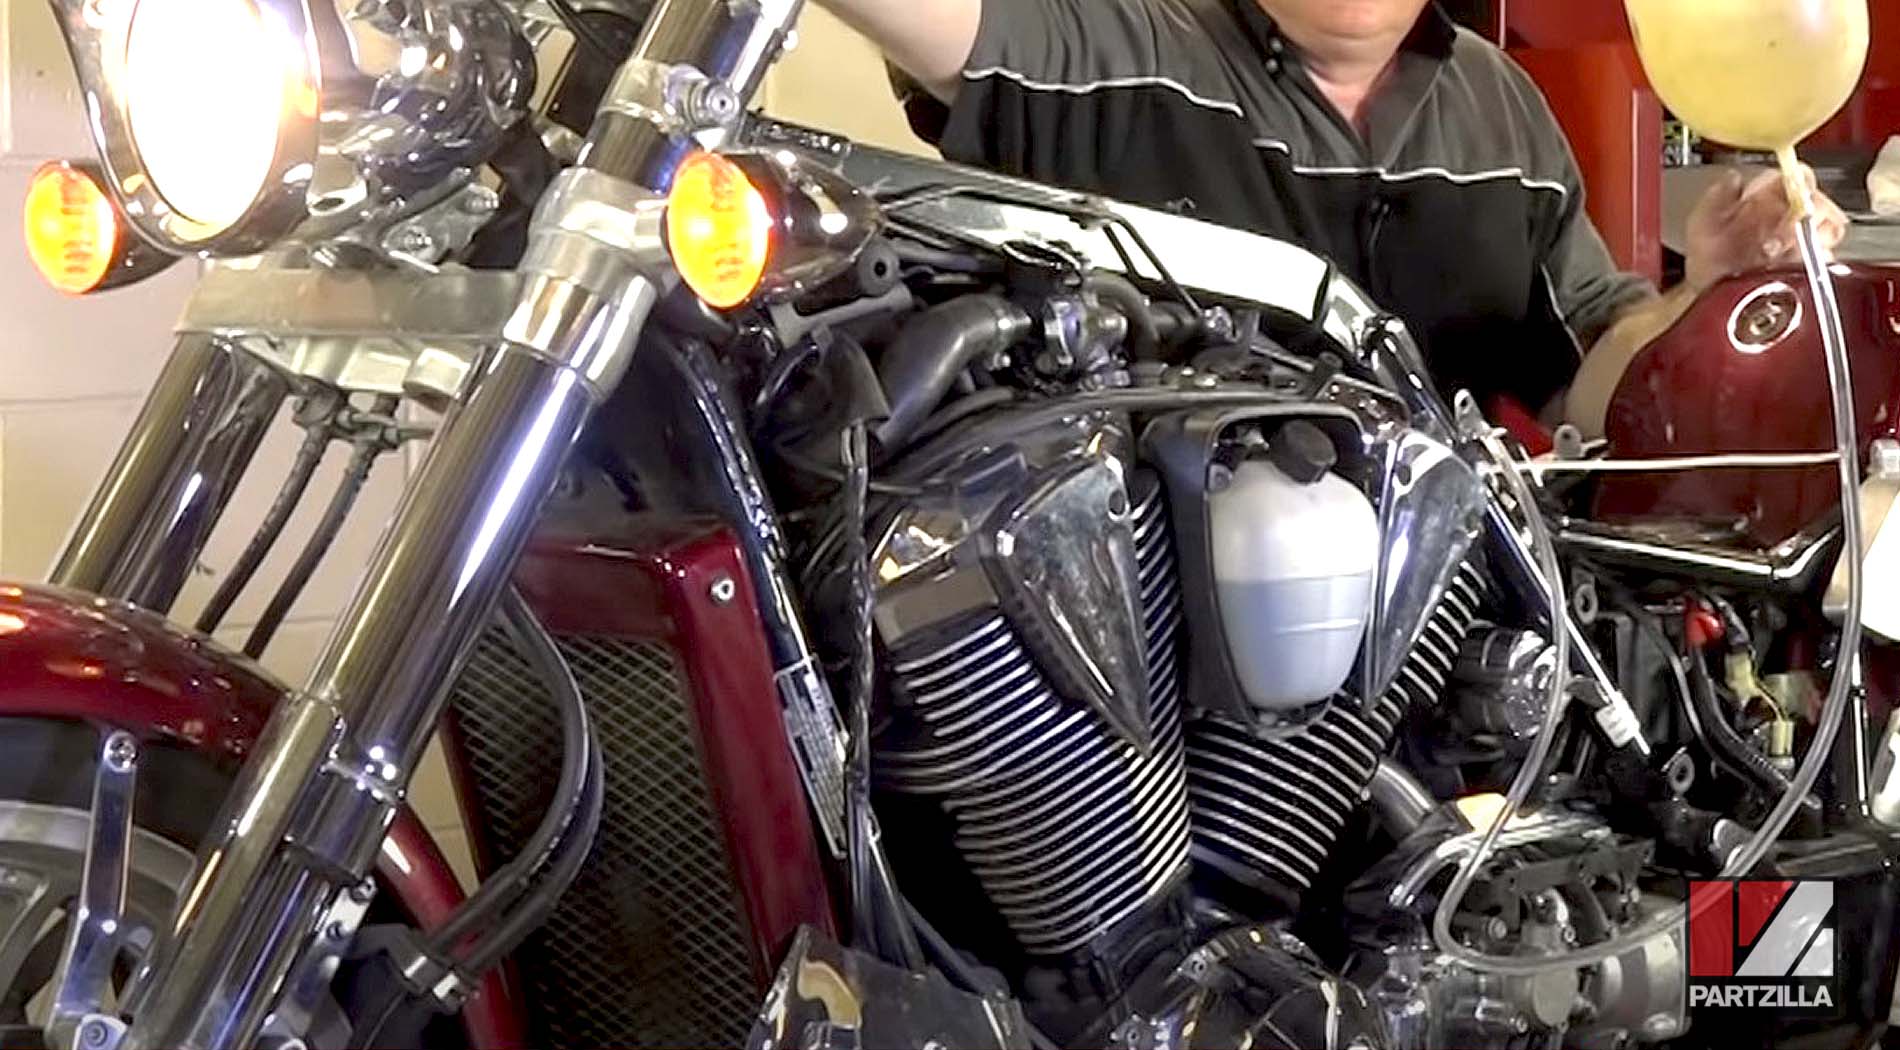
Step 5. Add more coolant as you see the fluid level inside the radiator drop. As you're running the machine, rev the engine a few times to move the coolant around. After two or three minutes, stop the engine. Finally, replace the radiator cap; the covers over the thermostat and drain bolt; the reservoir; and the fuel tank and seat.
Ready to do a Honda motorcycle oil change next? Watch the video below to see how to change the oil in a Honda VTX1800 motorcycle.