How to Replace a Motorcycle Kickstart Seal
The kickstart shaft seal on a motorcycle loses its flexibility, becomes brittle and starts leaking over time, resulting in the bike dripping oil.
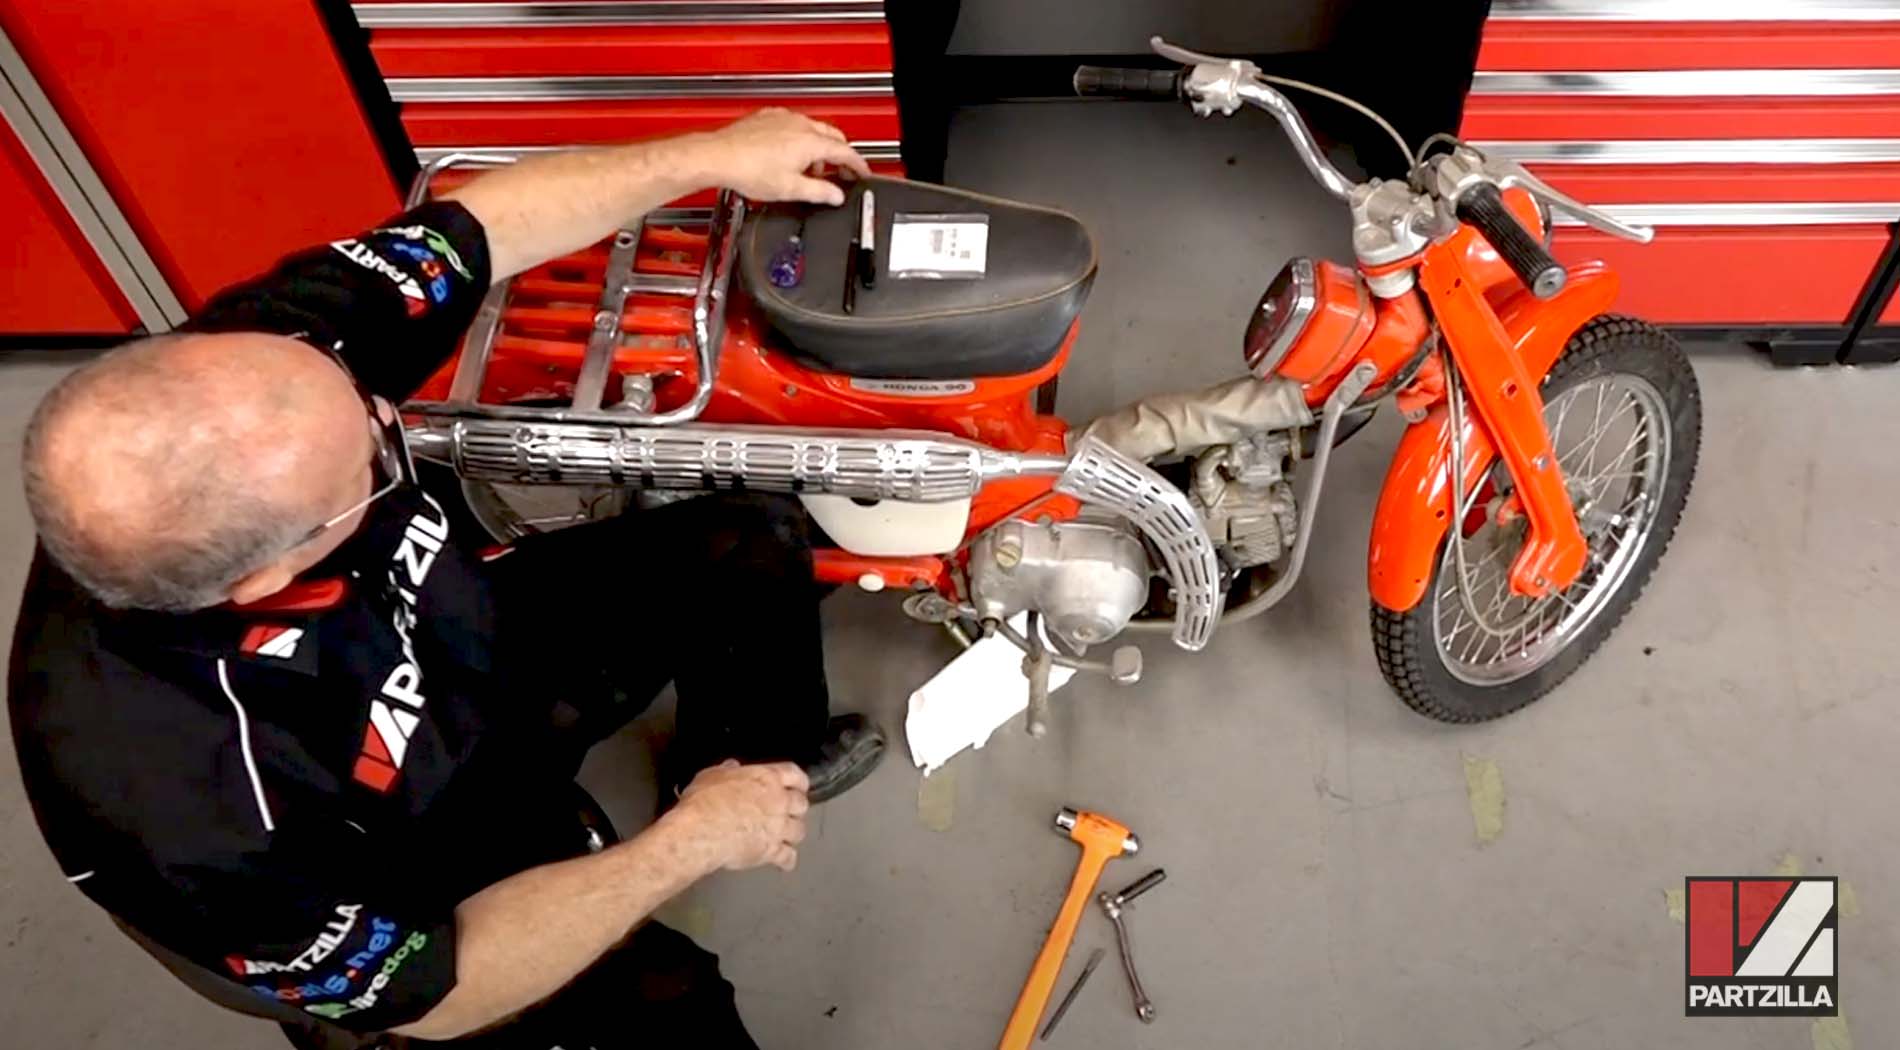
Replacing a worn kickstart shaft seal is a simple do-it-yourself repair job that can be completed in a handful of minutes. Watch the video above and follow the steps below to learn how to replace the kickstart seal on a Honda motorcycle.
Tools and Parts – Honda CT90 Kickstart Shaft Seal Replacement
- Ratchet and sockets
- Flathead screwdriver
- Hammer
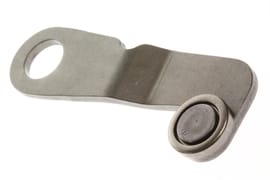
- Kickstart shaft seal
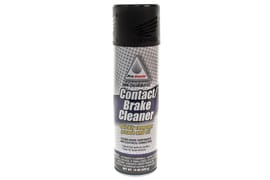
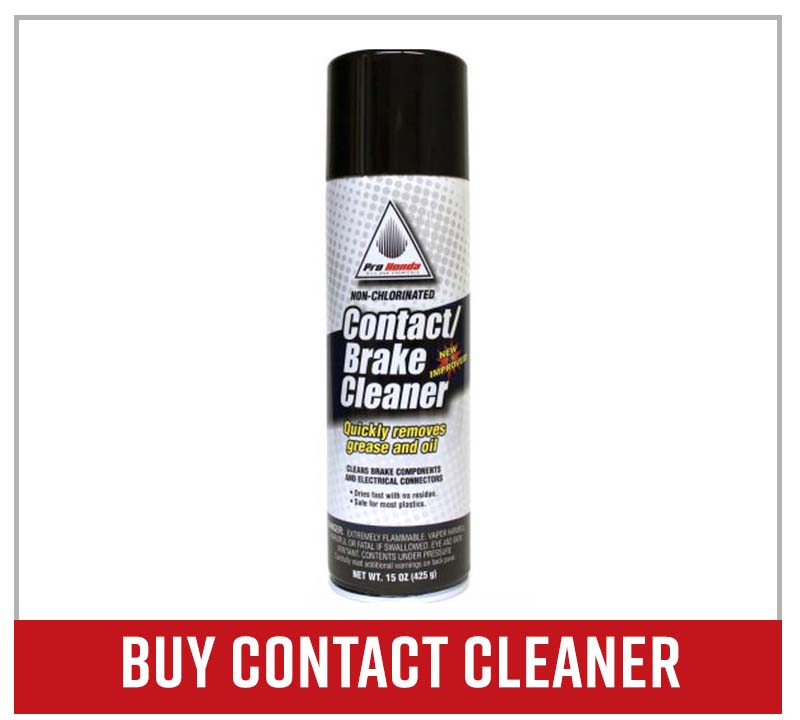
- Contact/brake cleaner
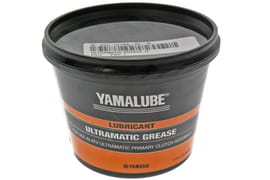
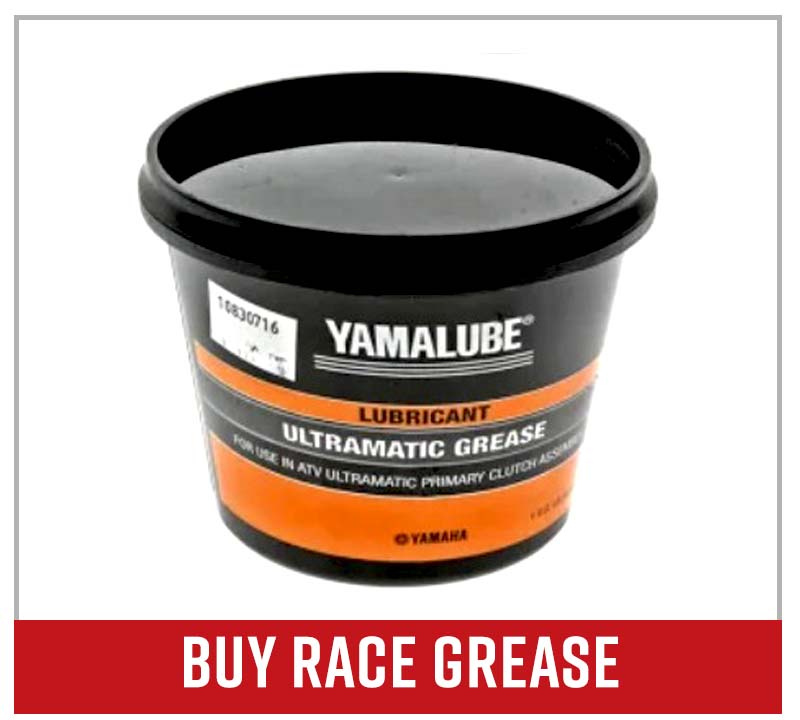
- Grease
NOTE: We replaced the kickstart shaft seal on a 1967 Honda CT90, but the process is the same or similar for most motorcycle makes and models.
Removing a Motorcycle Kickstart Shaft Seal
Step 1. Check for a punch mark on the kickstart shaft next to the split in the kickstart arm, which indicates where the kickstart arm should be positioned. If there isn’t a mark, make one with a marker pen to allow you to position the kickstart arm correctly when you reinstall it.
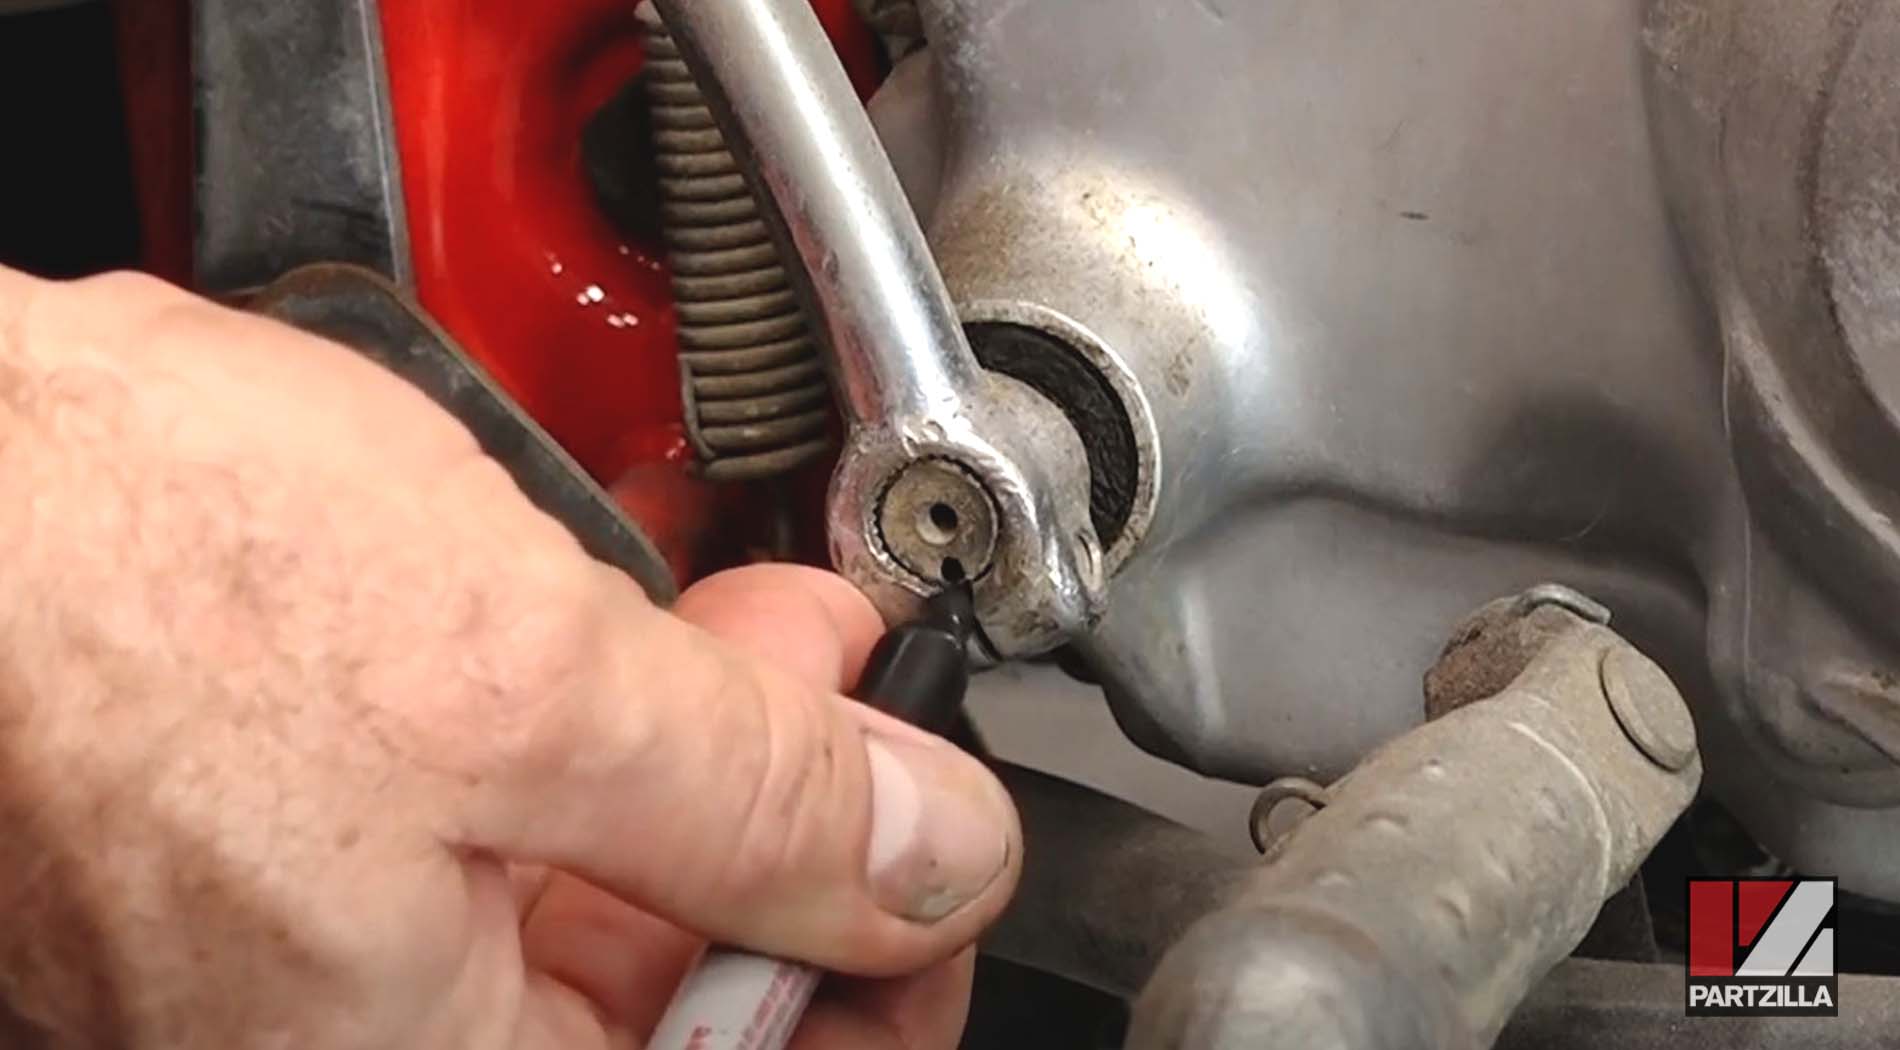
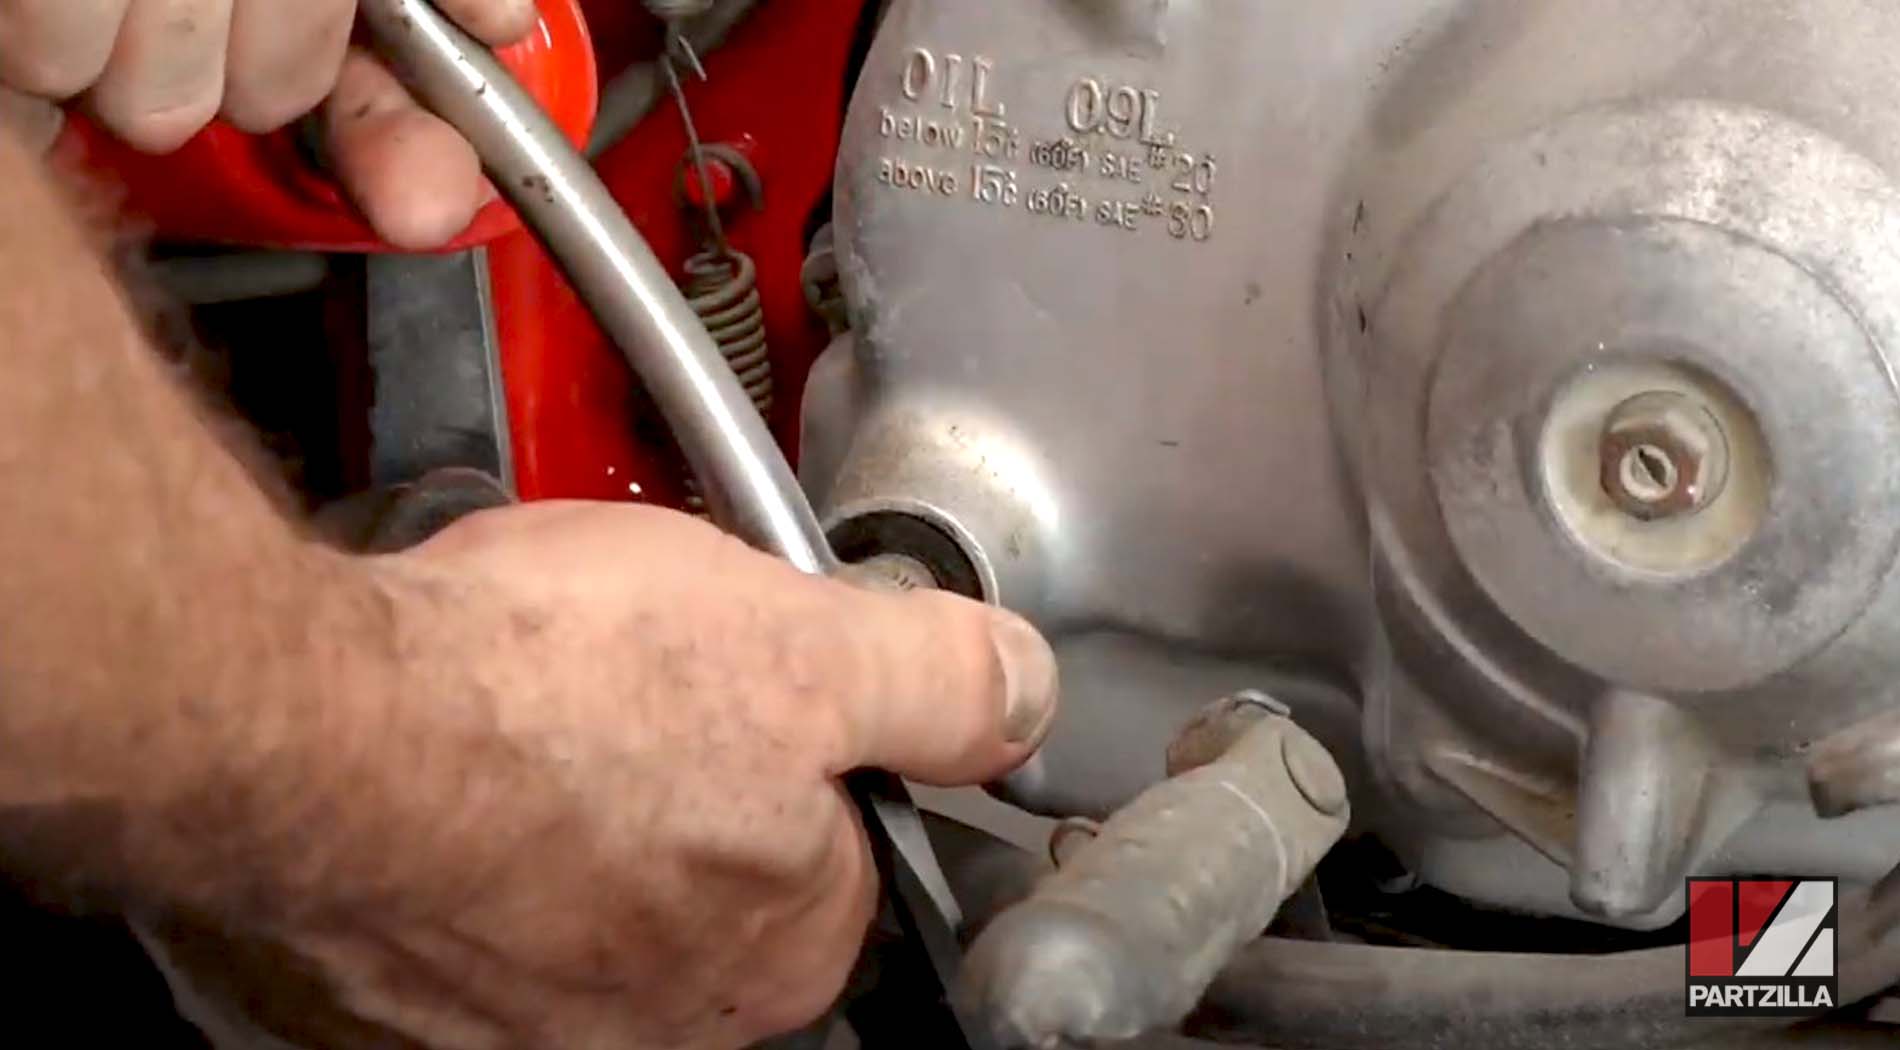
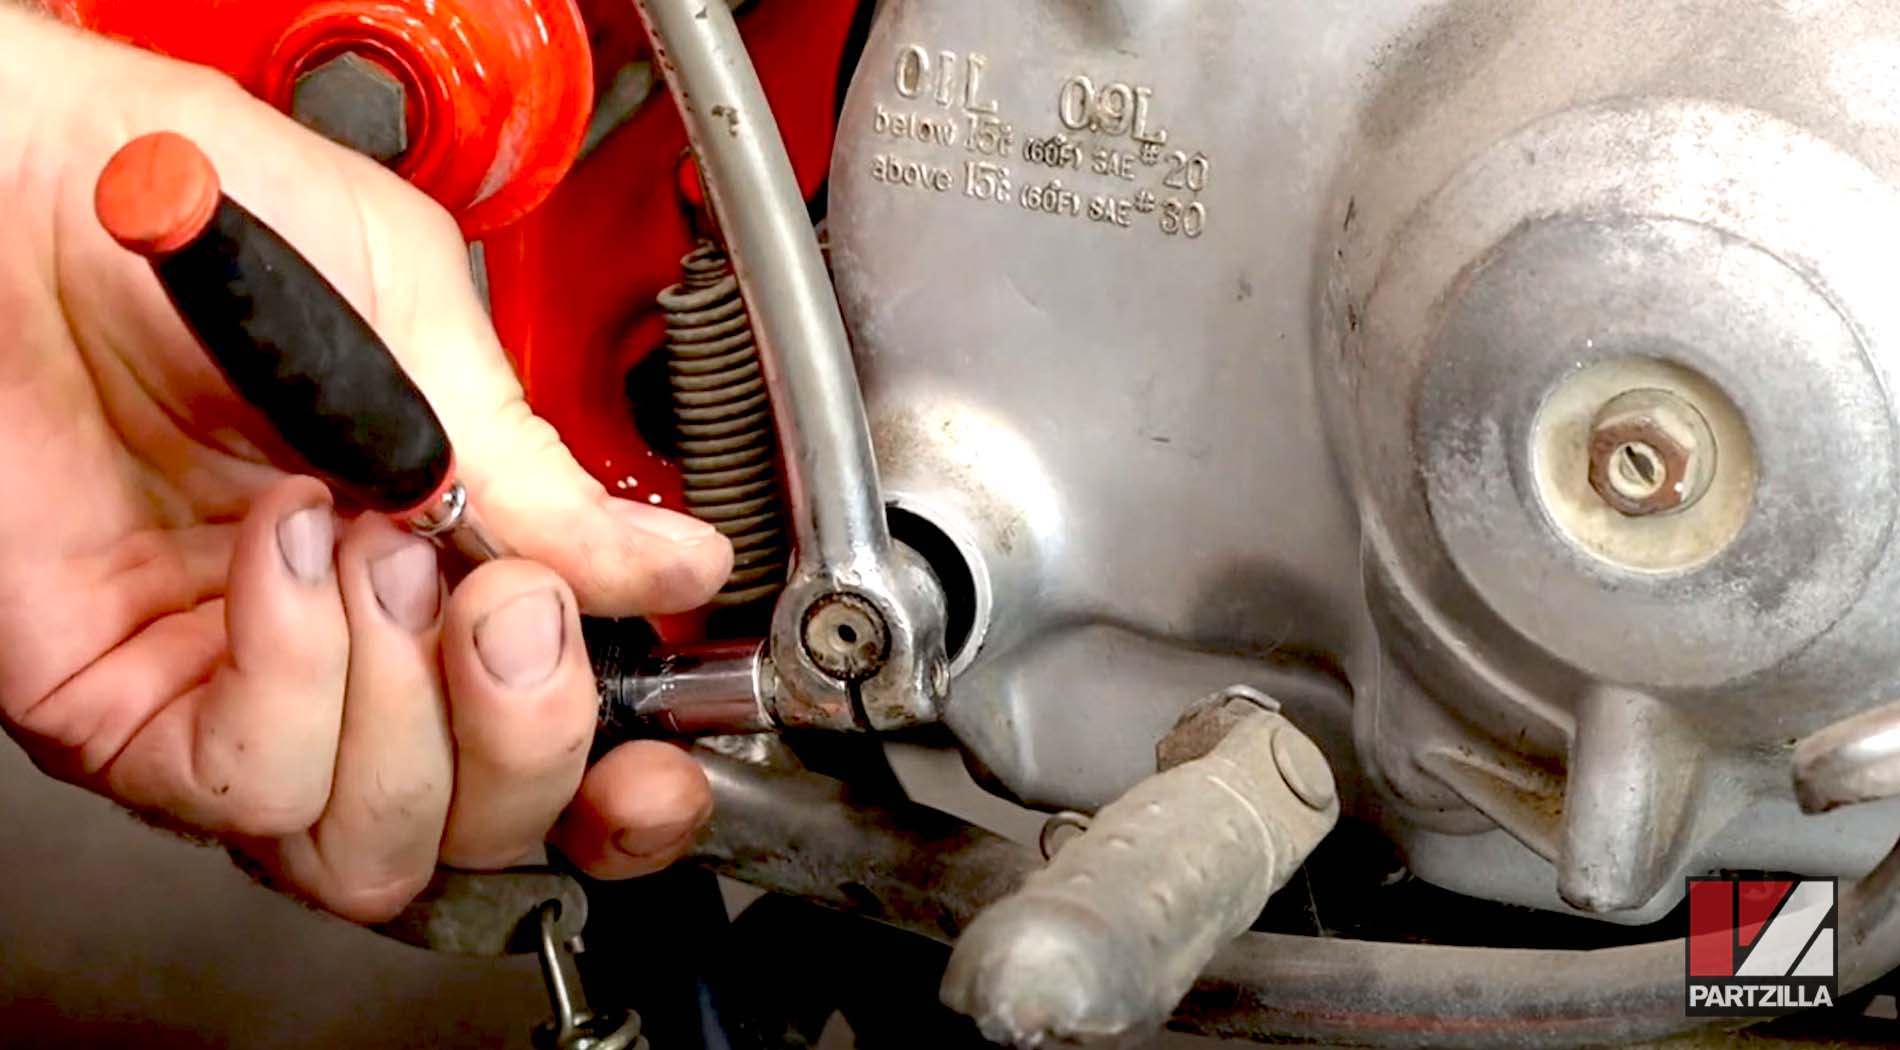
Step 2. Remove the pinch bolt holding the kickstart arm to the kickstart shaft.
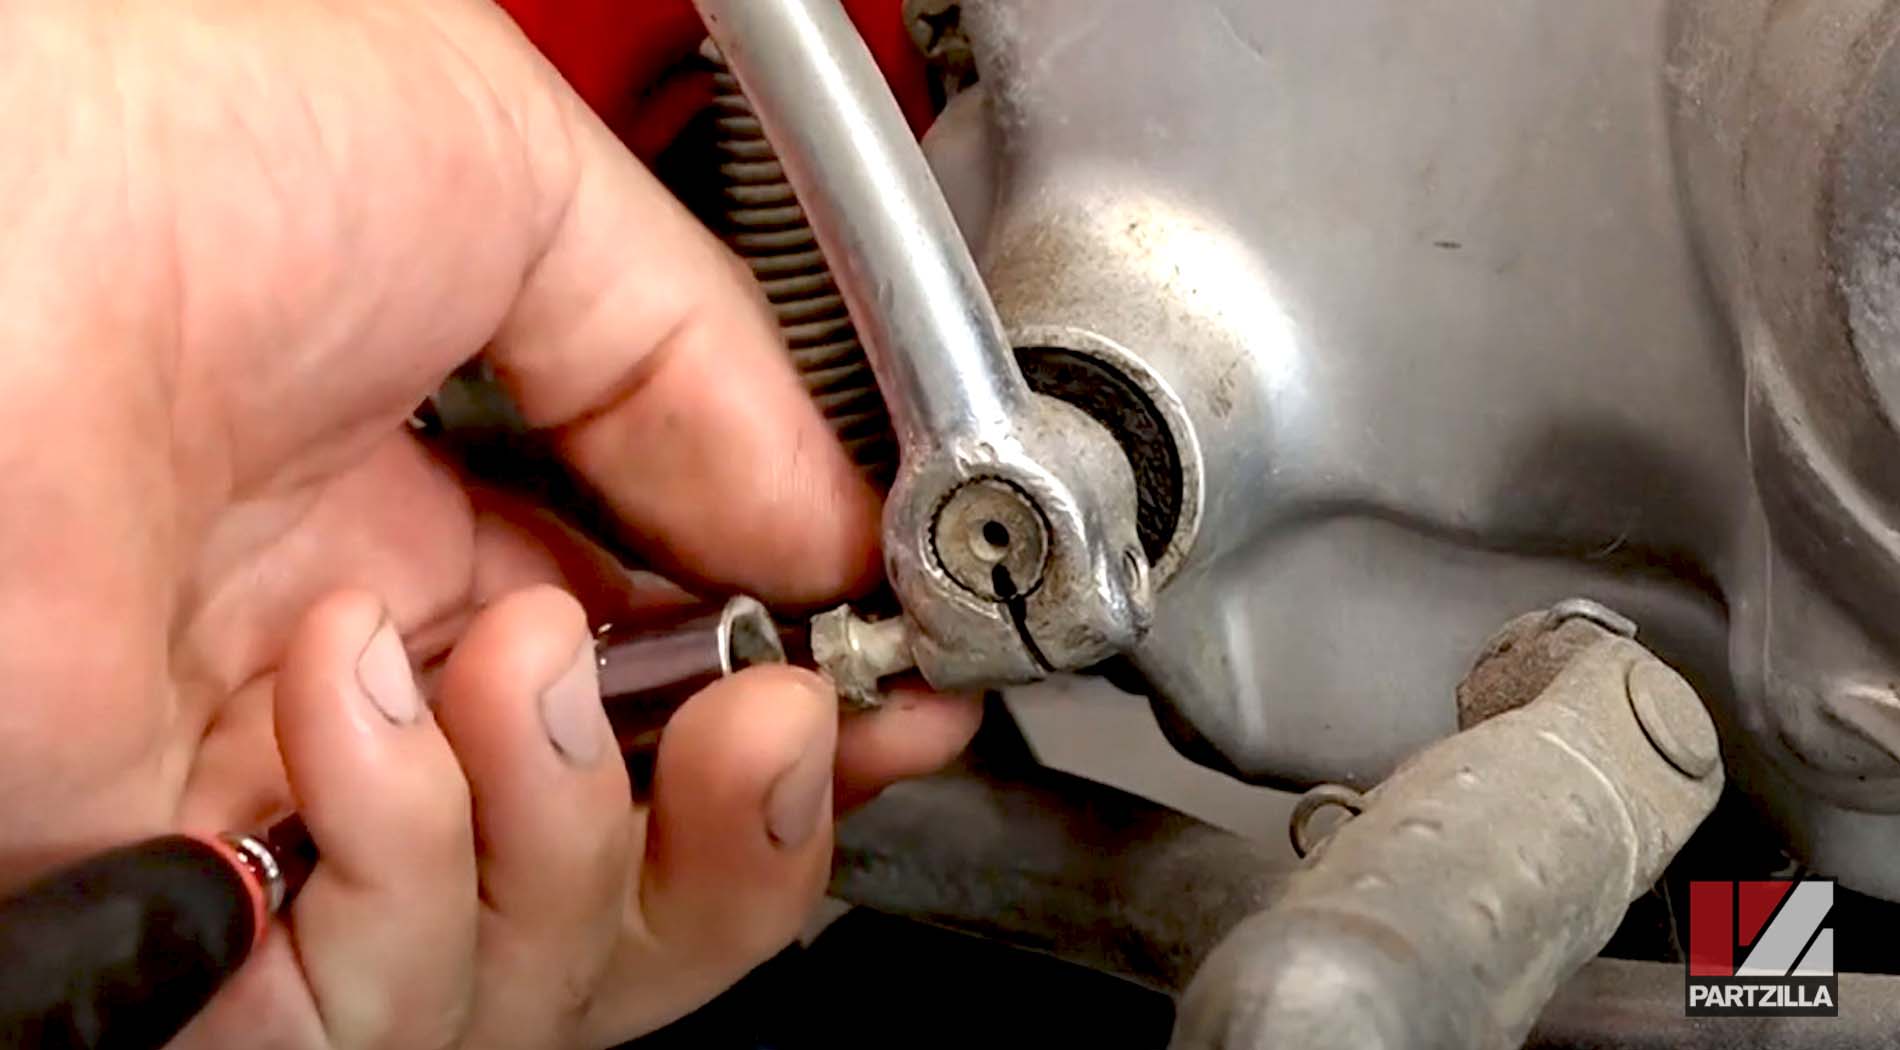
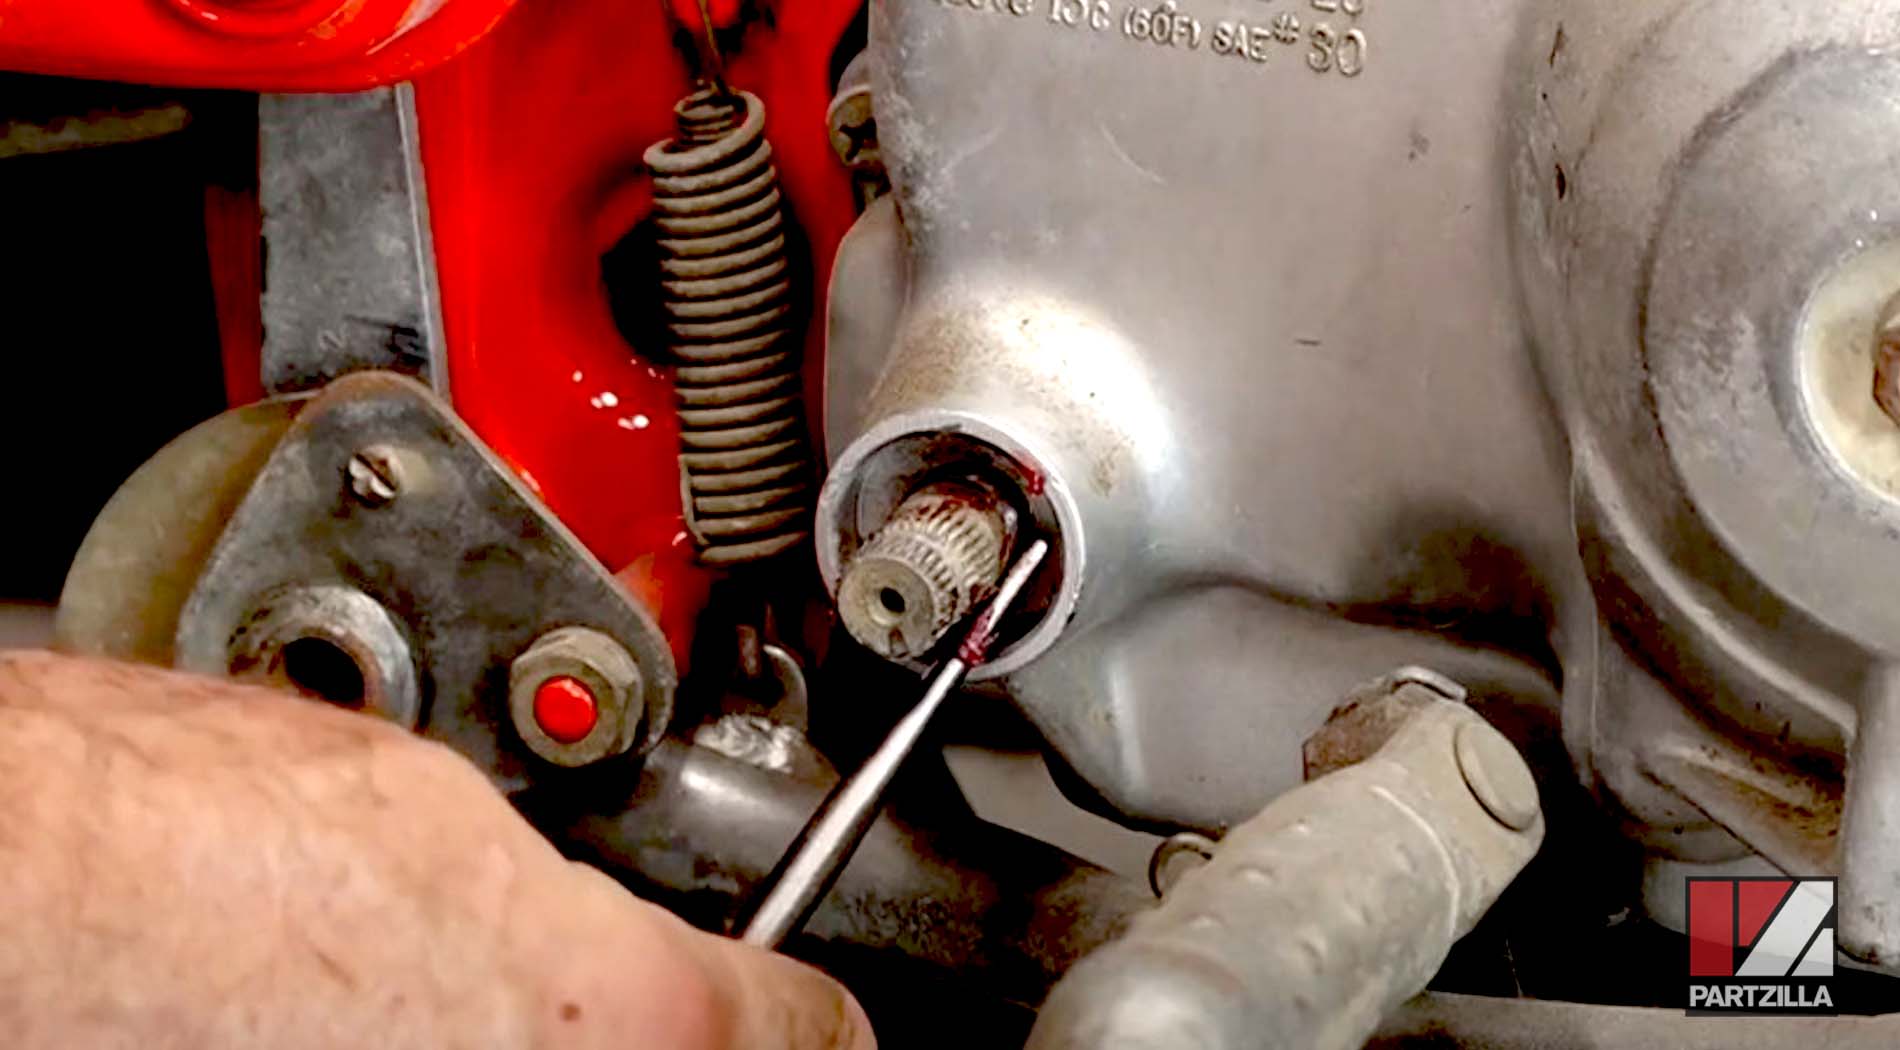
Step 3. Slide the kickstart arm off the kickstart shaft. If the arm is too tight to move, use a flathead screwdriver or chisel to widen the split in the kickstart arm and loosen it.
Step 4. To remove the old kickstart shaft seal, try one of these methods:
- Screw a drywall screw into the kickstart shaft seal, then grip the screw with a pair of pliers and pull the seal out from the crankcase.
- Slide a pick tool around the outer edge of the kickstart shaft seal and gradually pry the seal out from the crankcase.
- Press a punch tool into the kickstart shaft seal beside the shaft itself and lever the seal out from the crankcase.
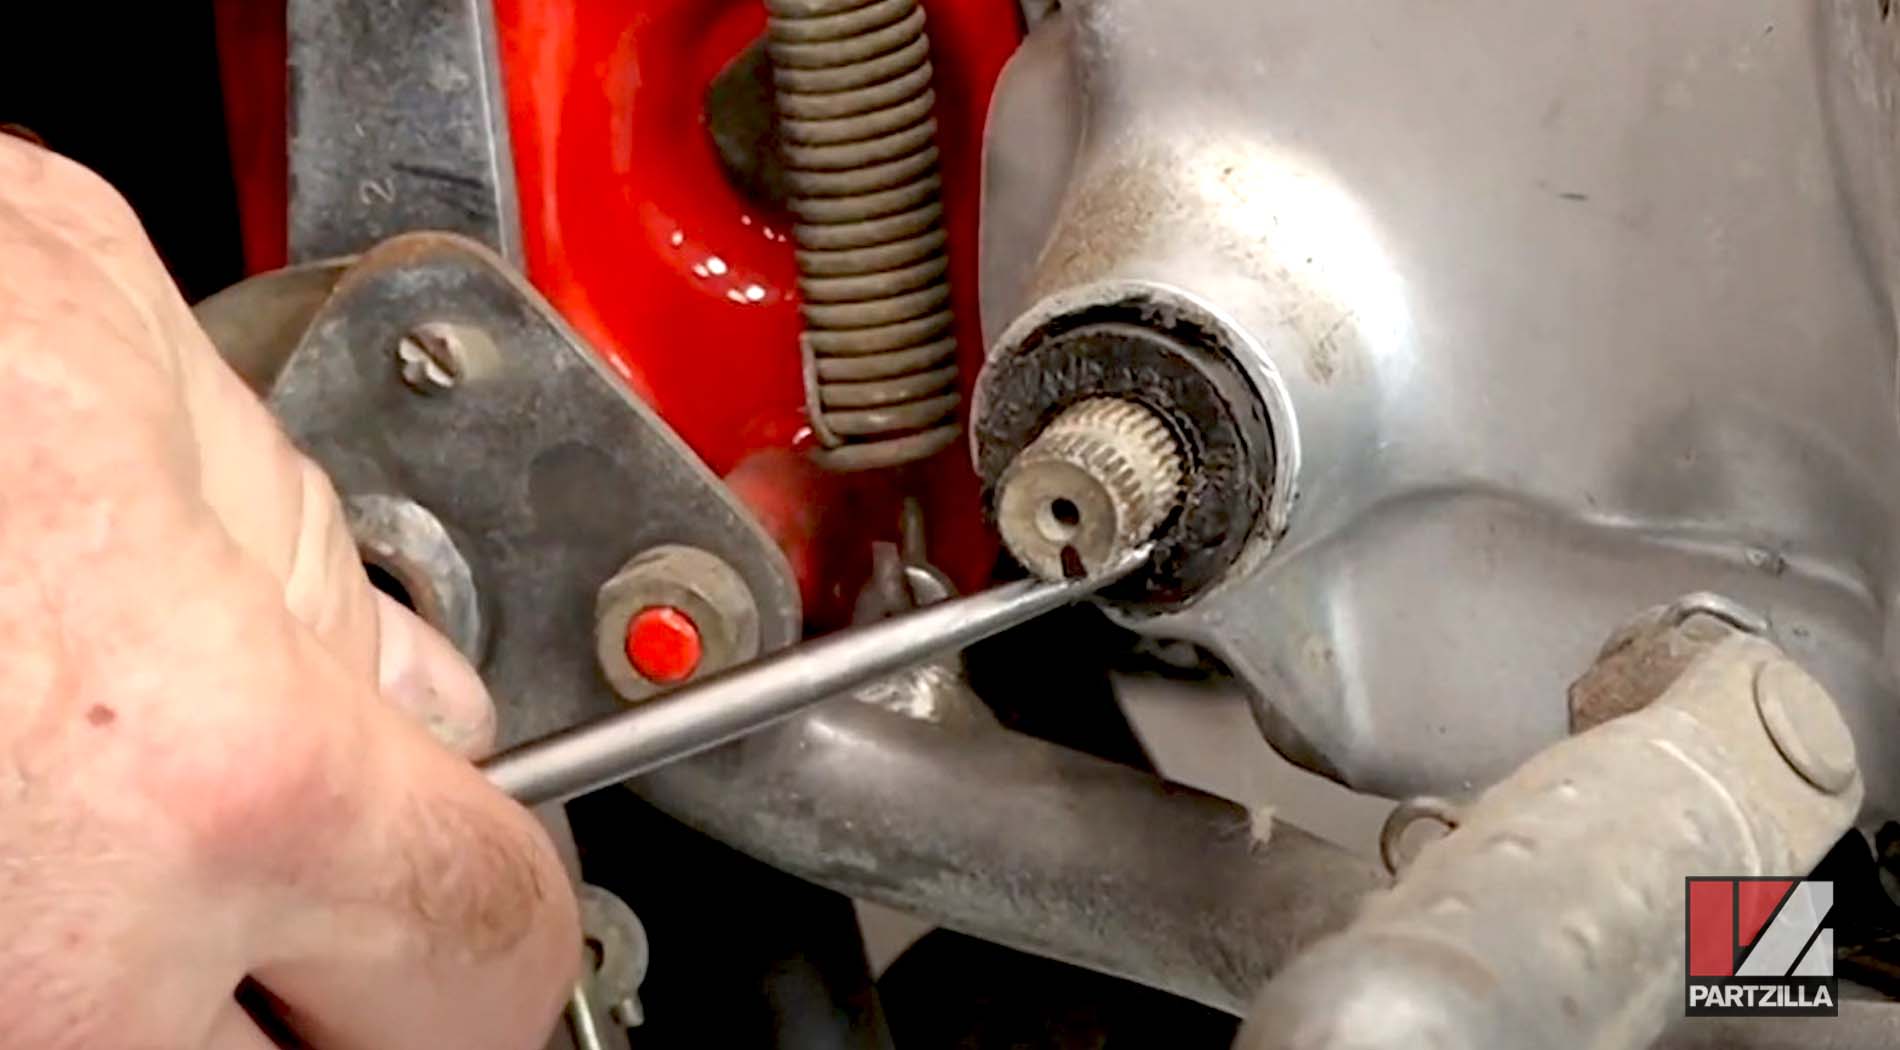
NOTE: Be careful not to drive the screw, pick tool or punch tool too deeply into the seal to avoid scratching the seal housing in the crankcase, which will prevent the new seal from sealing properly.
Installing a Motorcycle Kickstart Shaft Seal
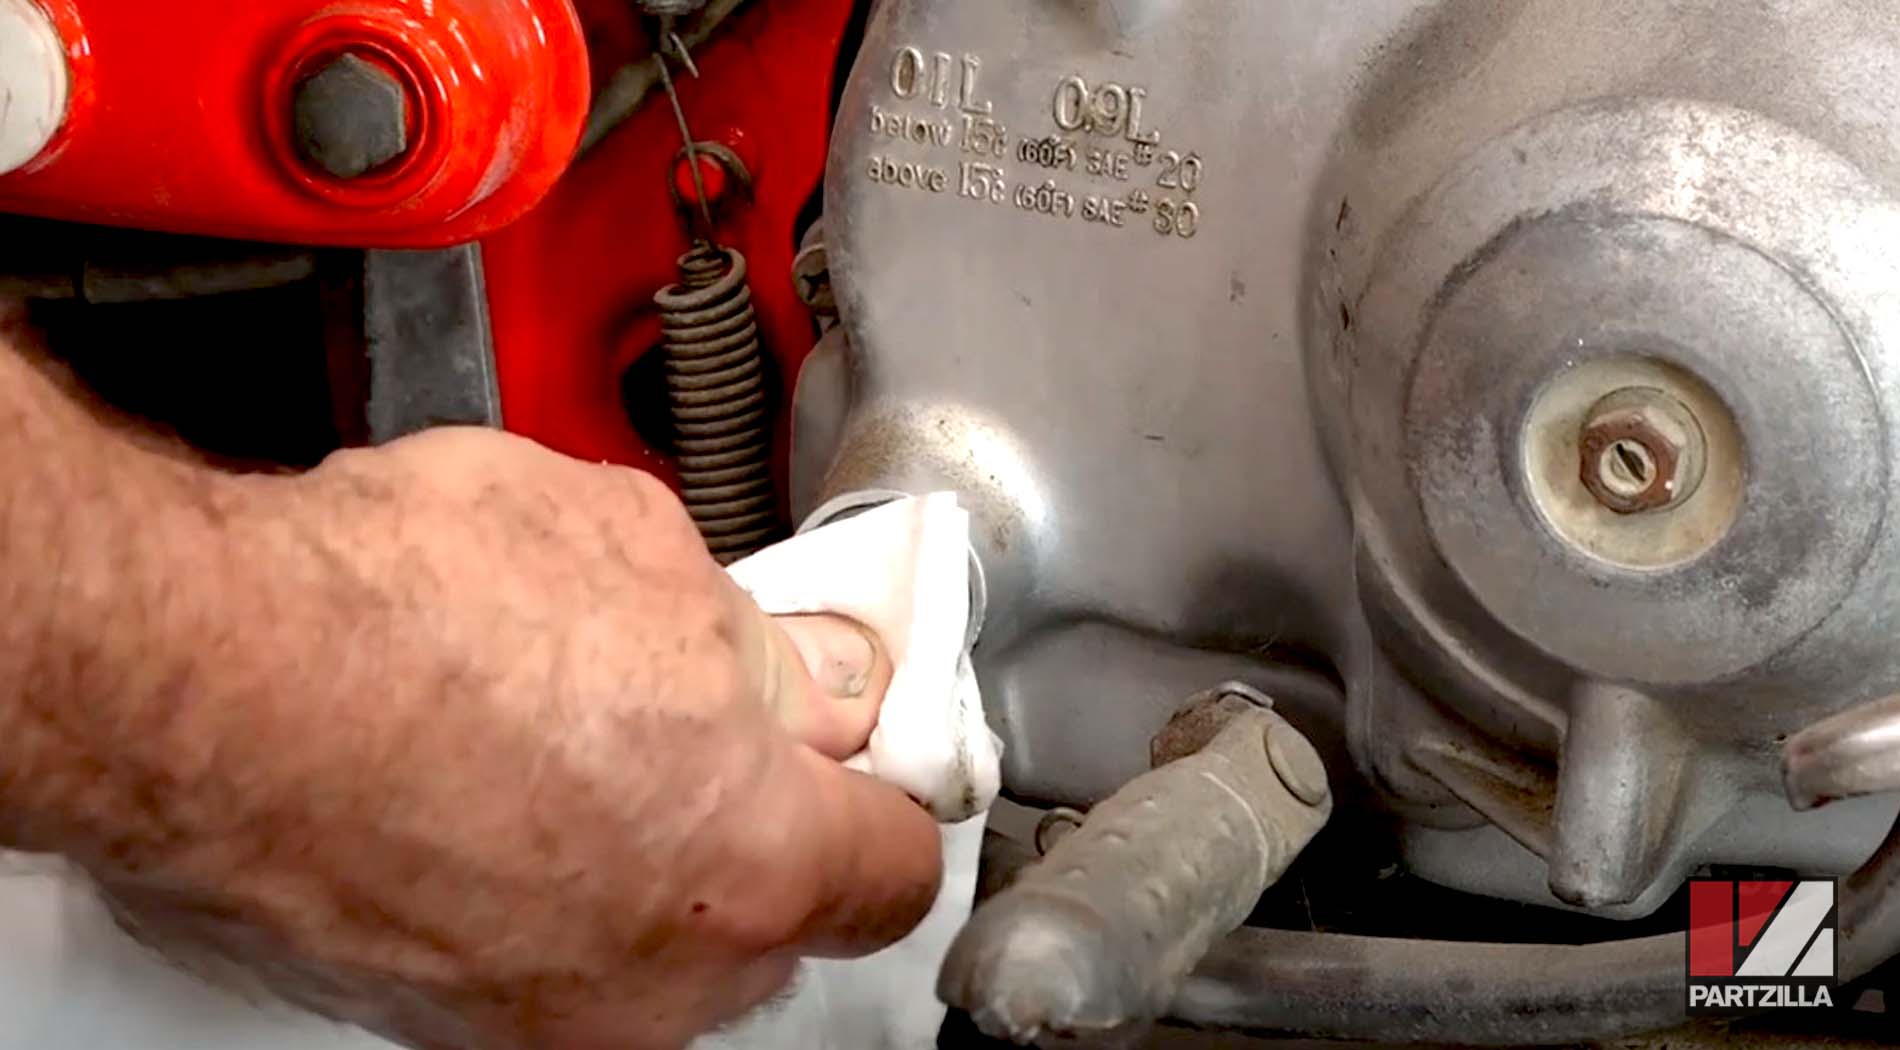
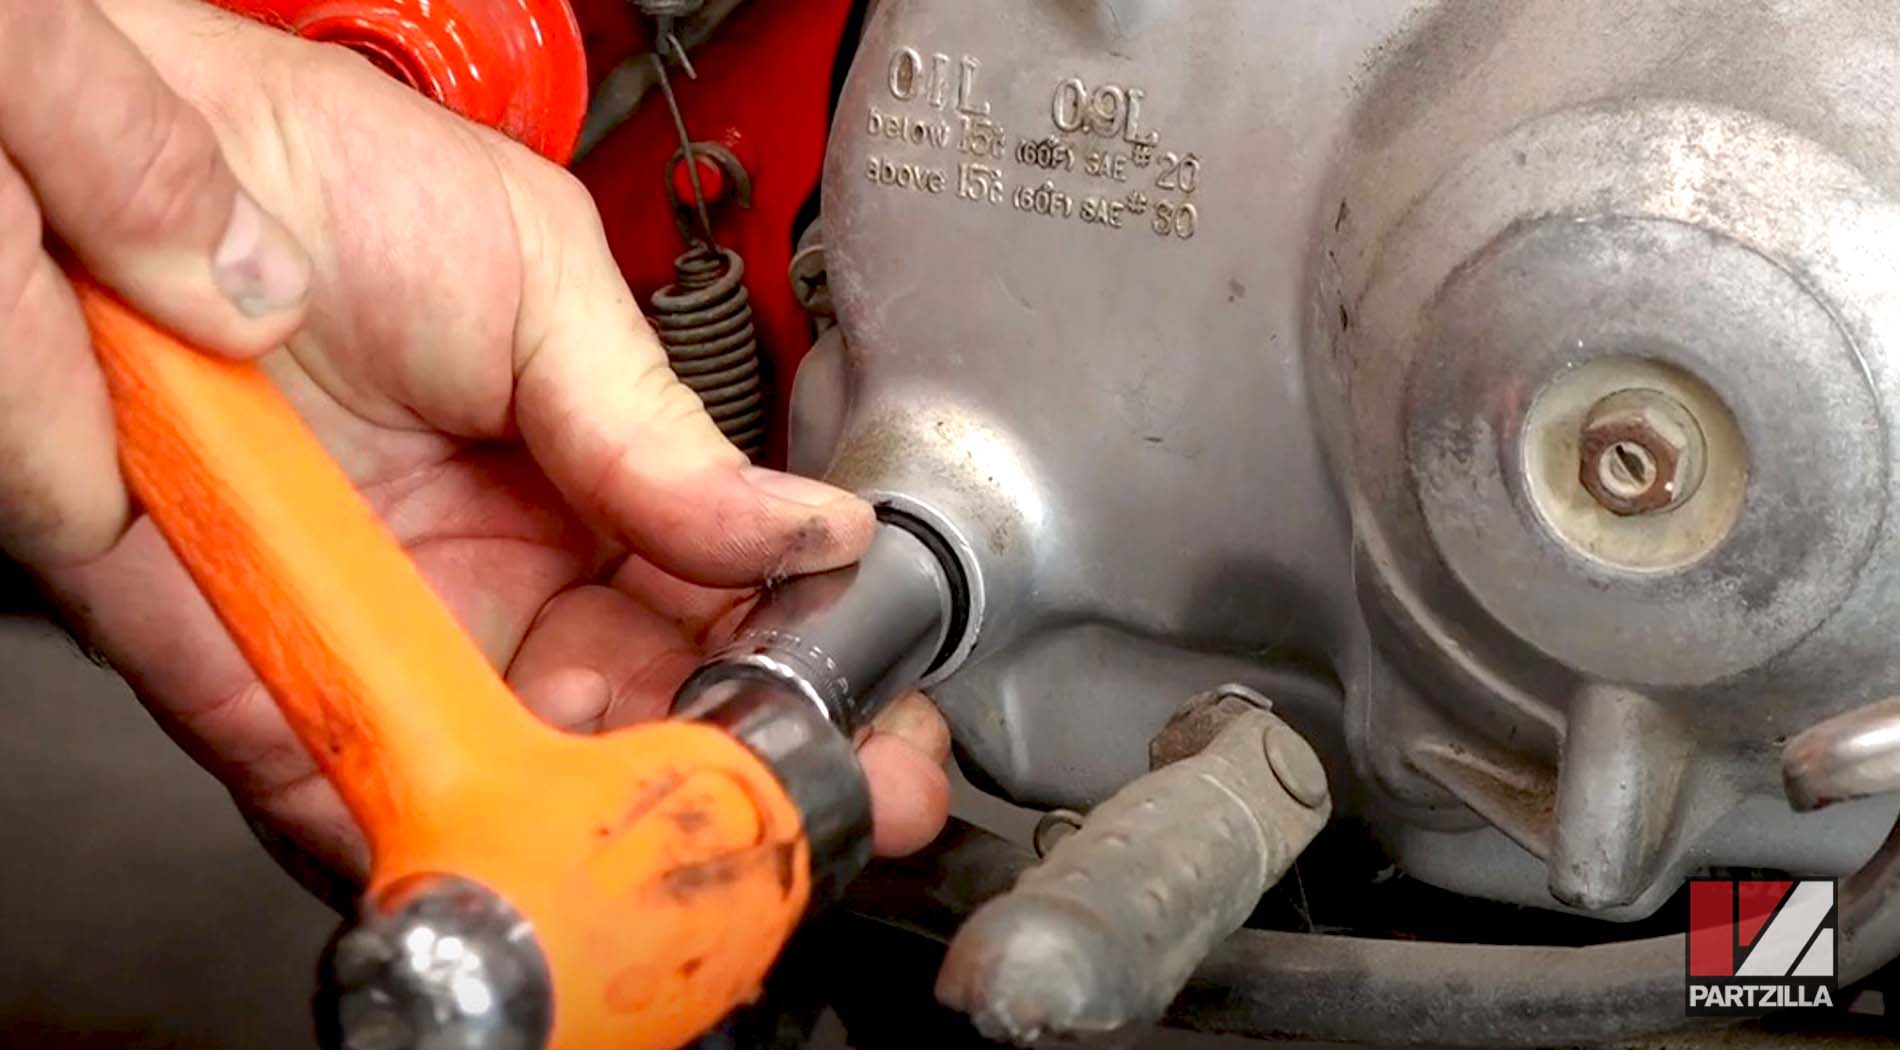
Step 5. Clean the crankcase and kickstart shaft with contact/brake cleaner.
Step 6. Lightly grease the kickstart shaft and the inside of the new seal where it contacts the shaft.
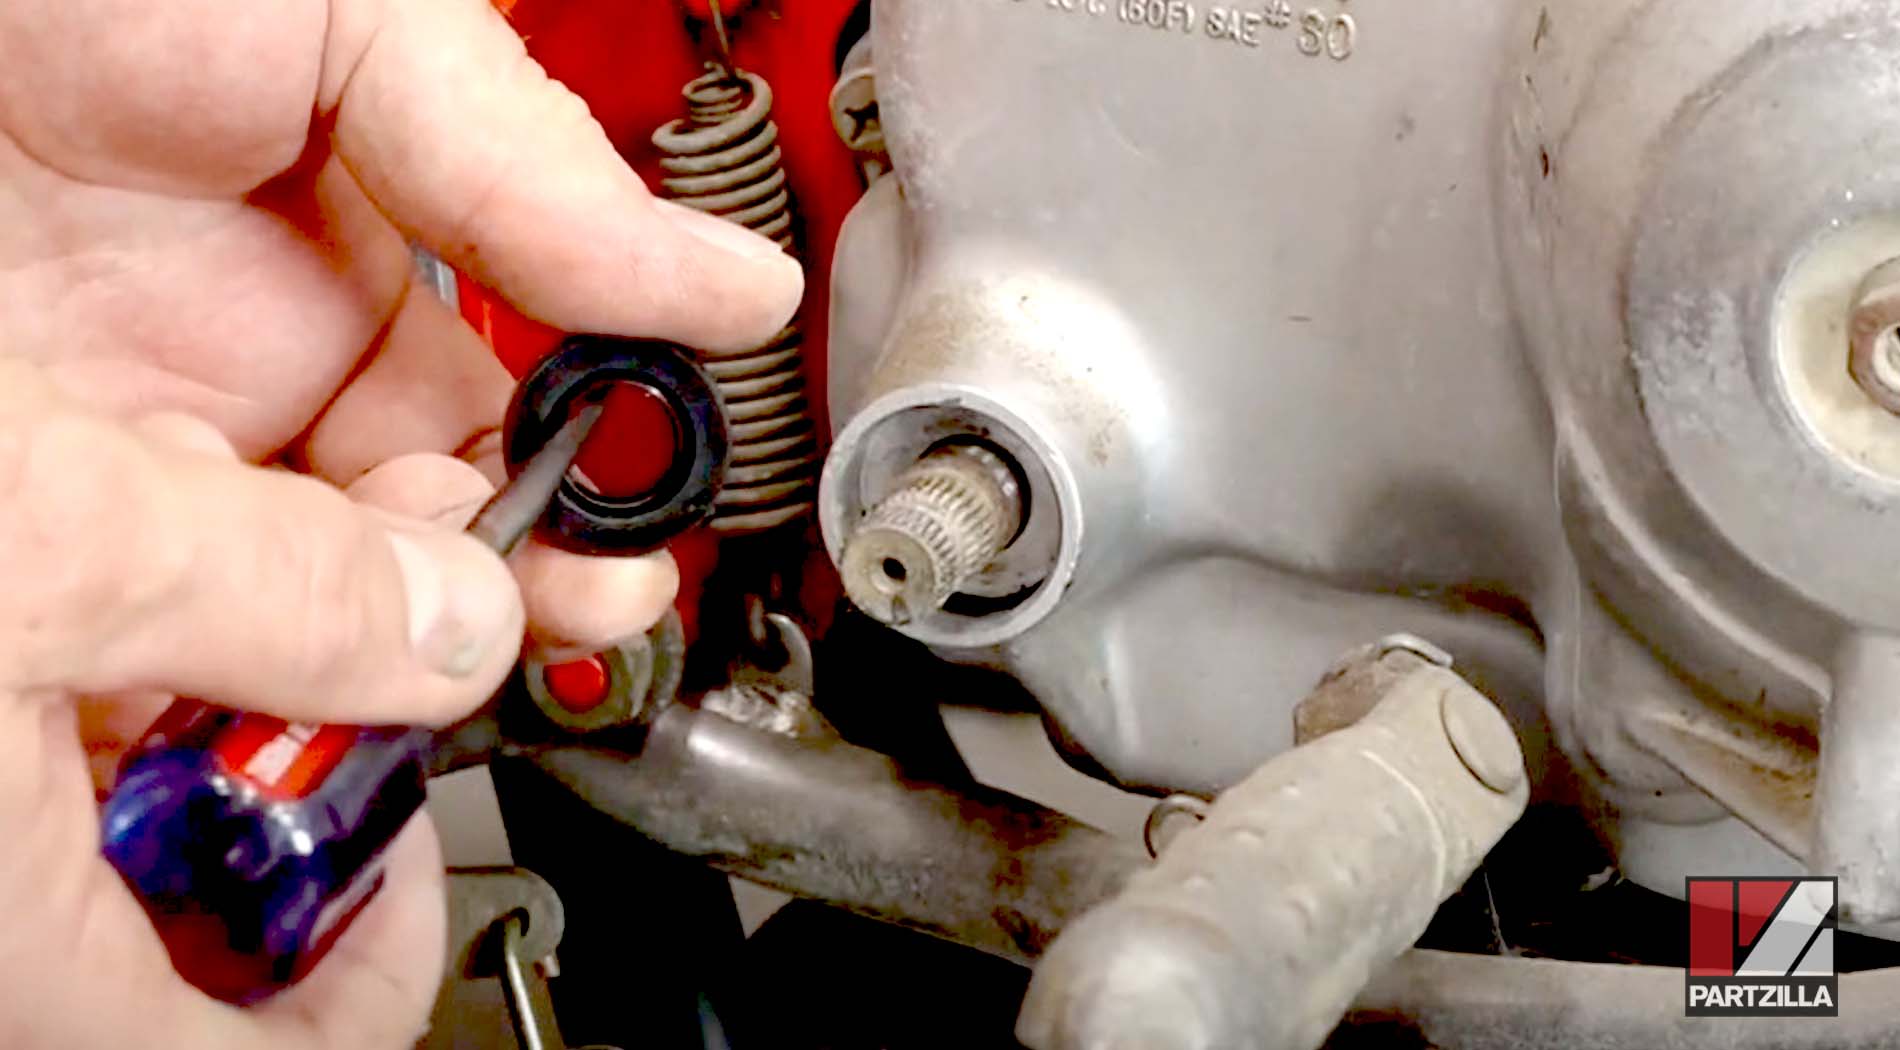
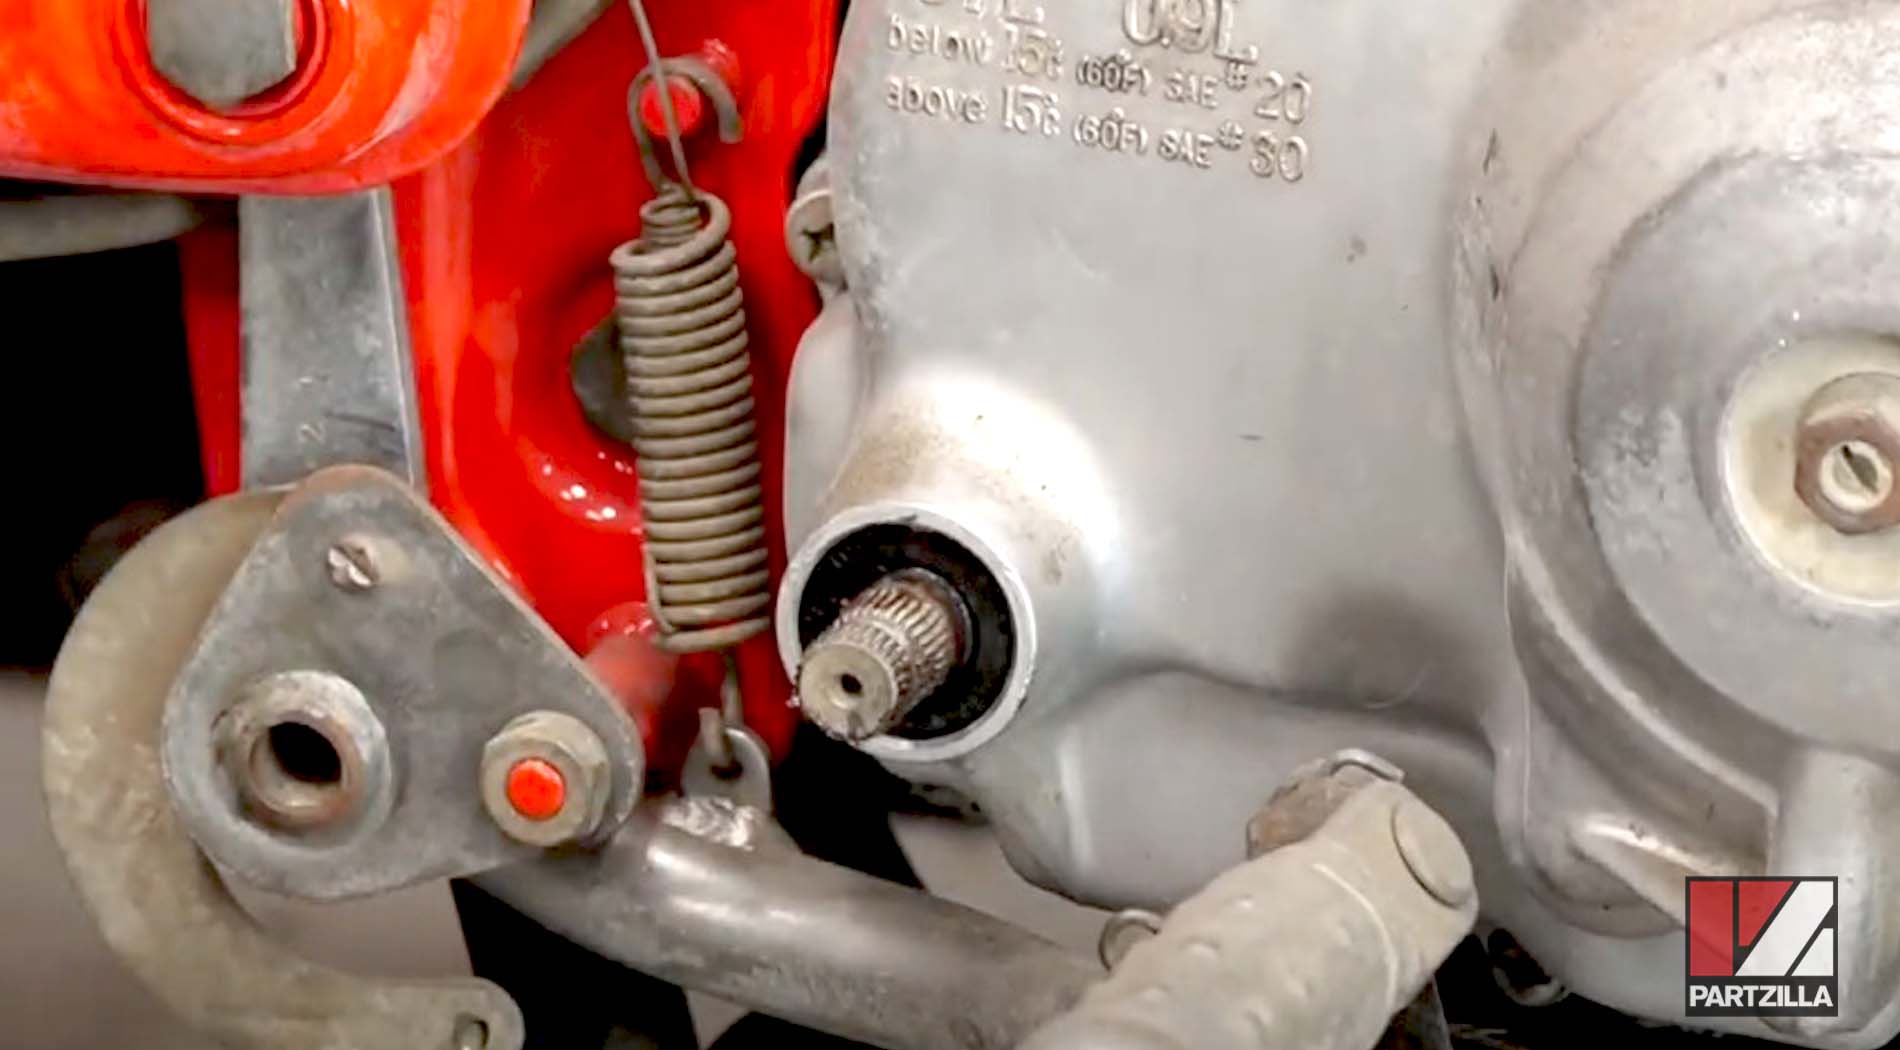
Step 7. Press the new kickstart shaft seal into the crankcase. Use a socket with a diameter that’s just under the diameter of the new kickstart shaft seal, and gently tap the new seal into the crankcase.
Step 8. Reinstall the kickstart arm with the split in the arm aligned with the mark on the kickstart shaft.
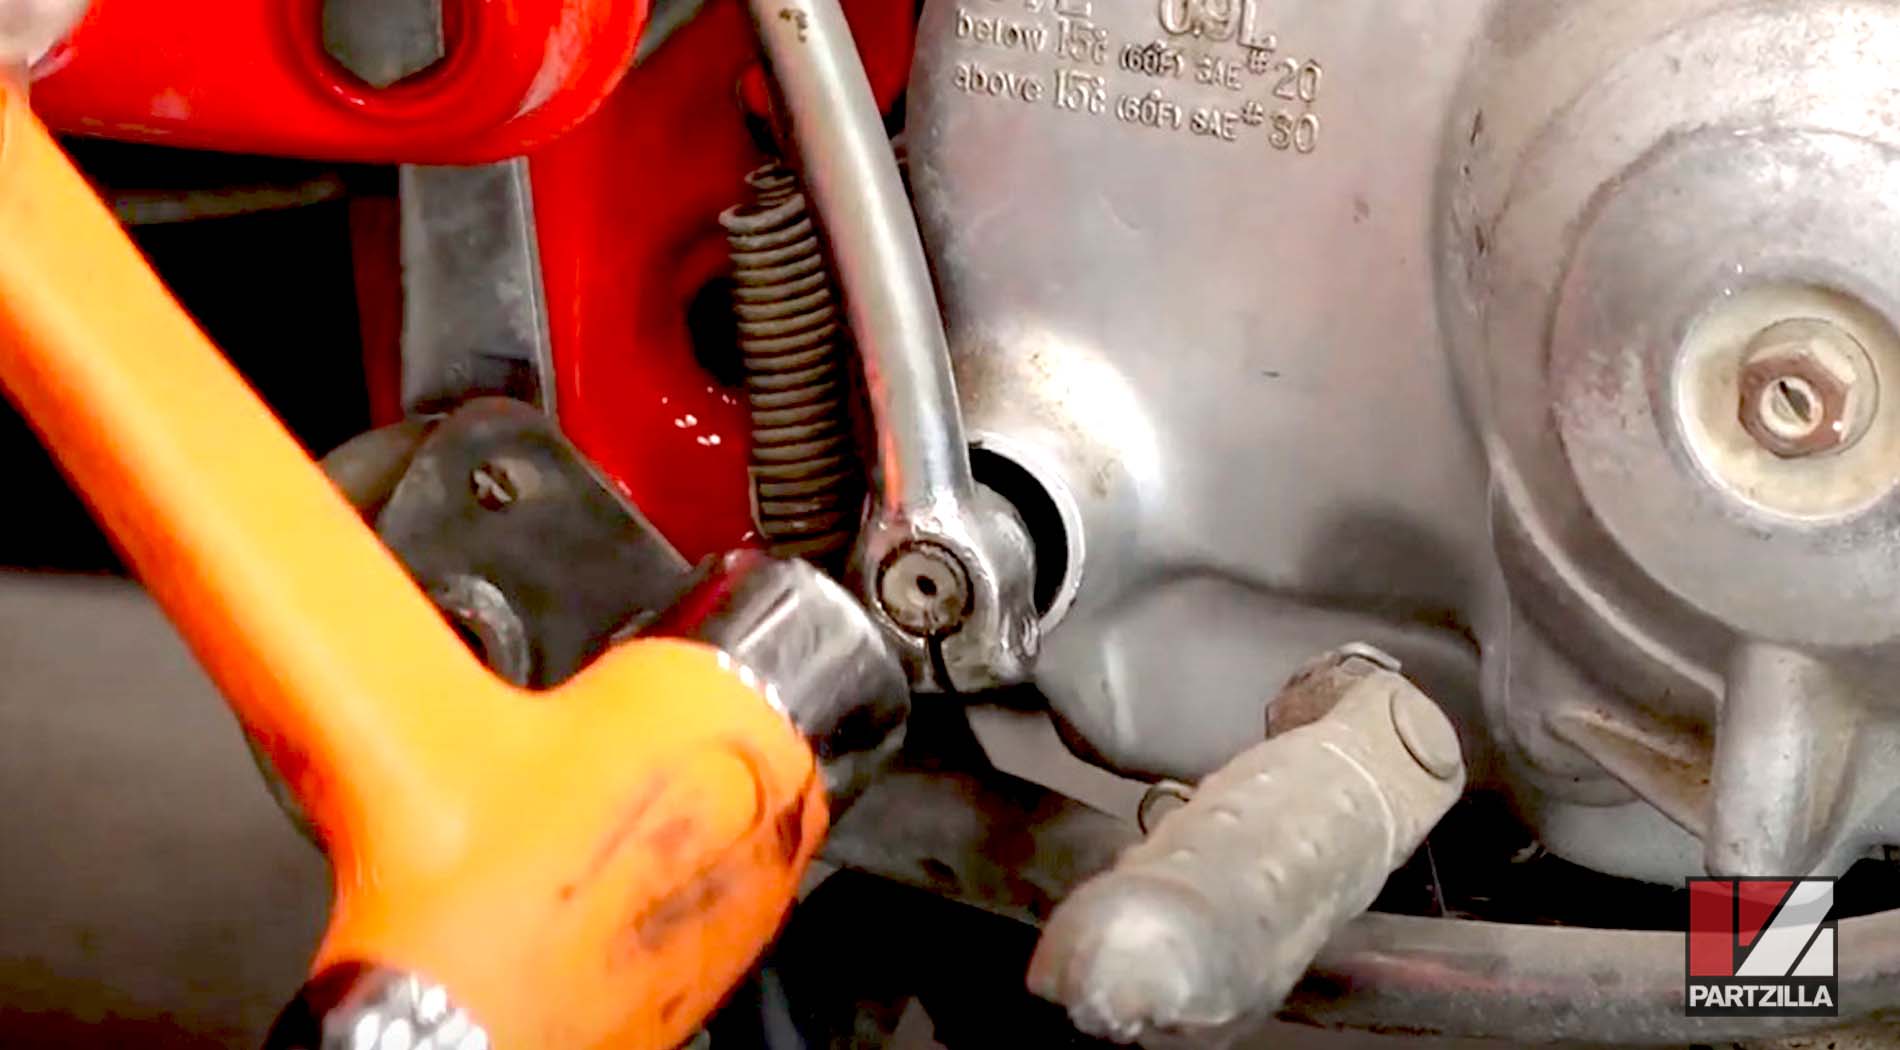
Step 9. Make sure the kickstart arm is set at the correct depth on the kickstart shaft so the pinch bolt can slide through the channel in the shaft. Next, reinstall the pinch bolt, then tighten it completely and you’re done.
Ready to change out another seal while you're at it? Watch the video below to see how to replace a shift shaft seal on a Honda CT90 motorcycle.